
Plants vs Zombies Garden Warfare Guide Gardens and Graveyards Gardens and Graveyards Maps
Driftwood Shores
The Mega Flower is the guardian of the coast and the zombies are trying to destroy it! Will the plants be able to stop them?
Phase 1: Zomboss Mountain
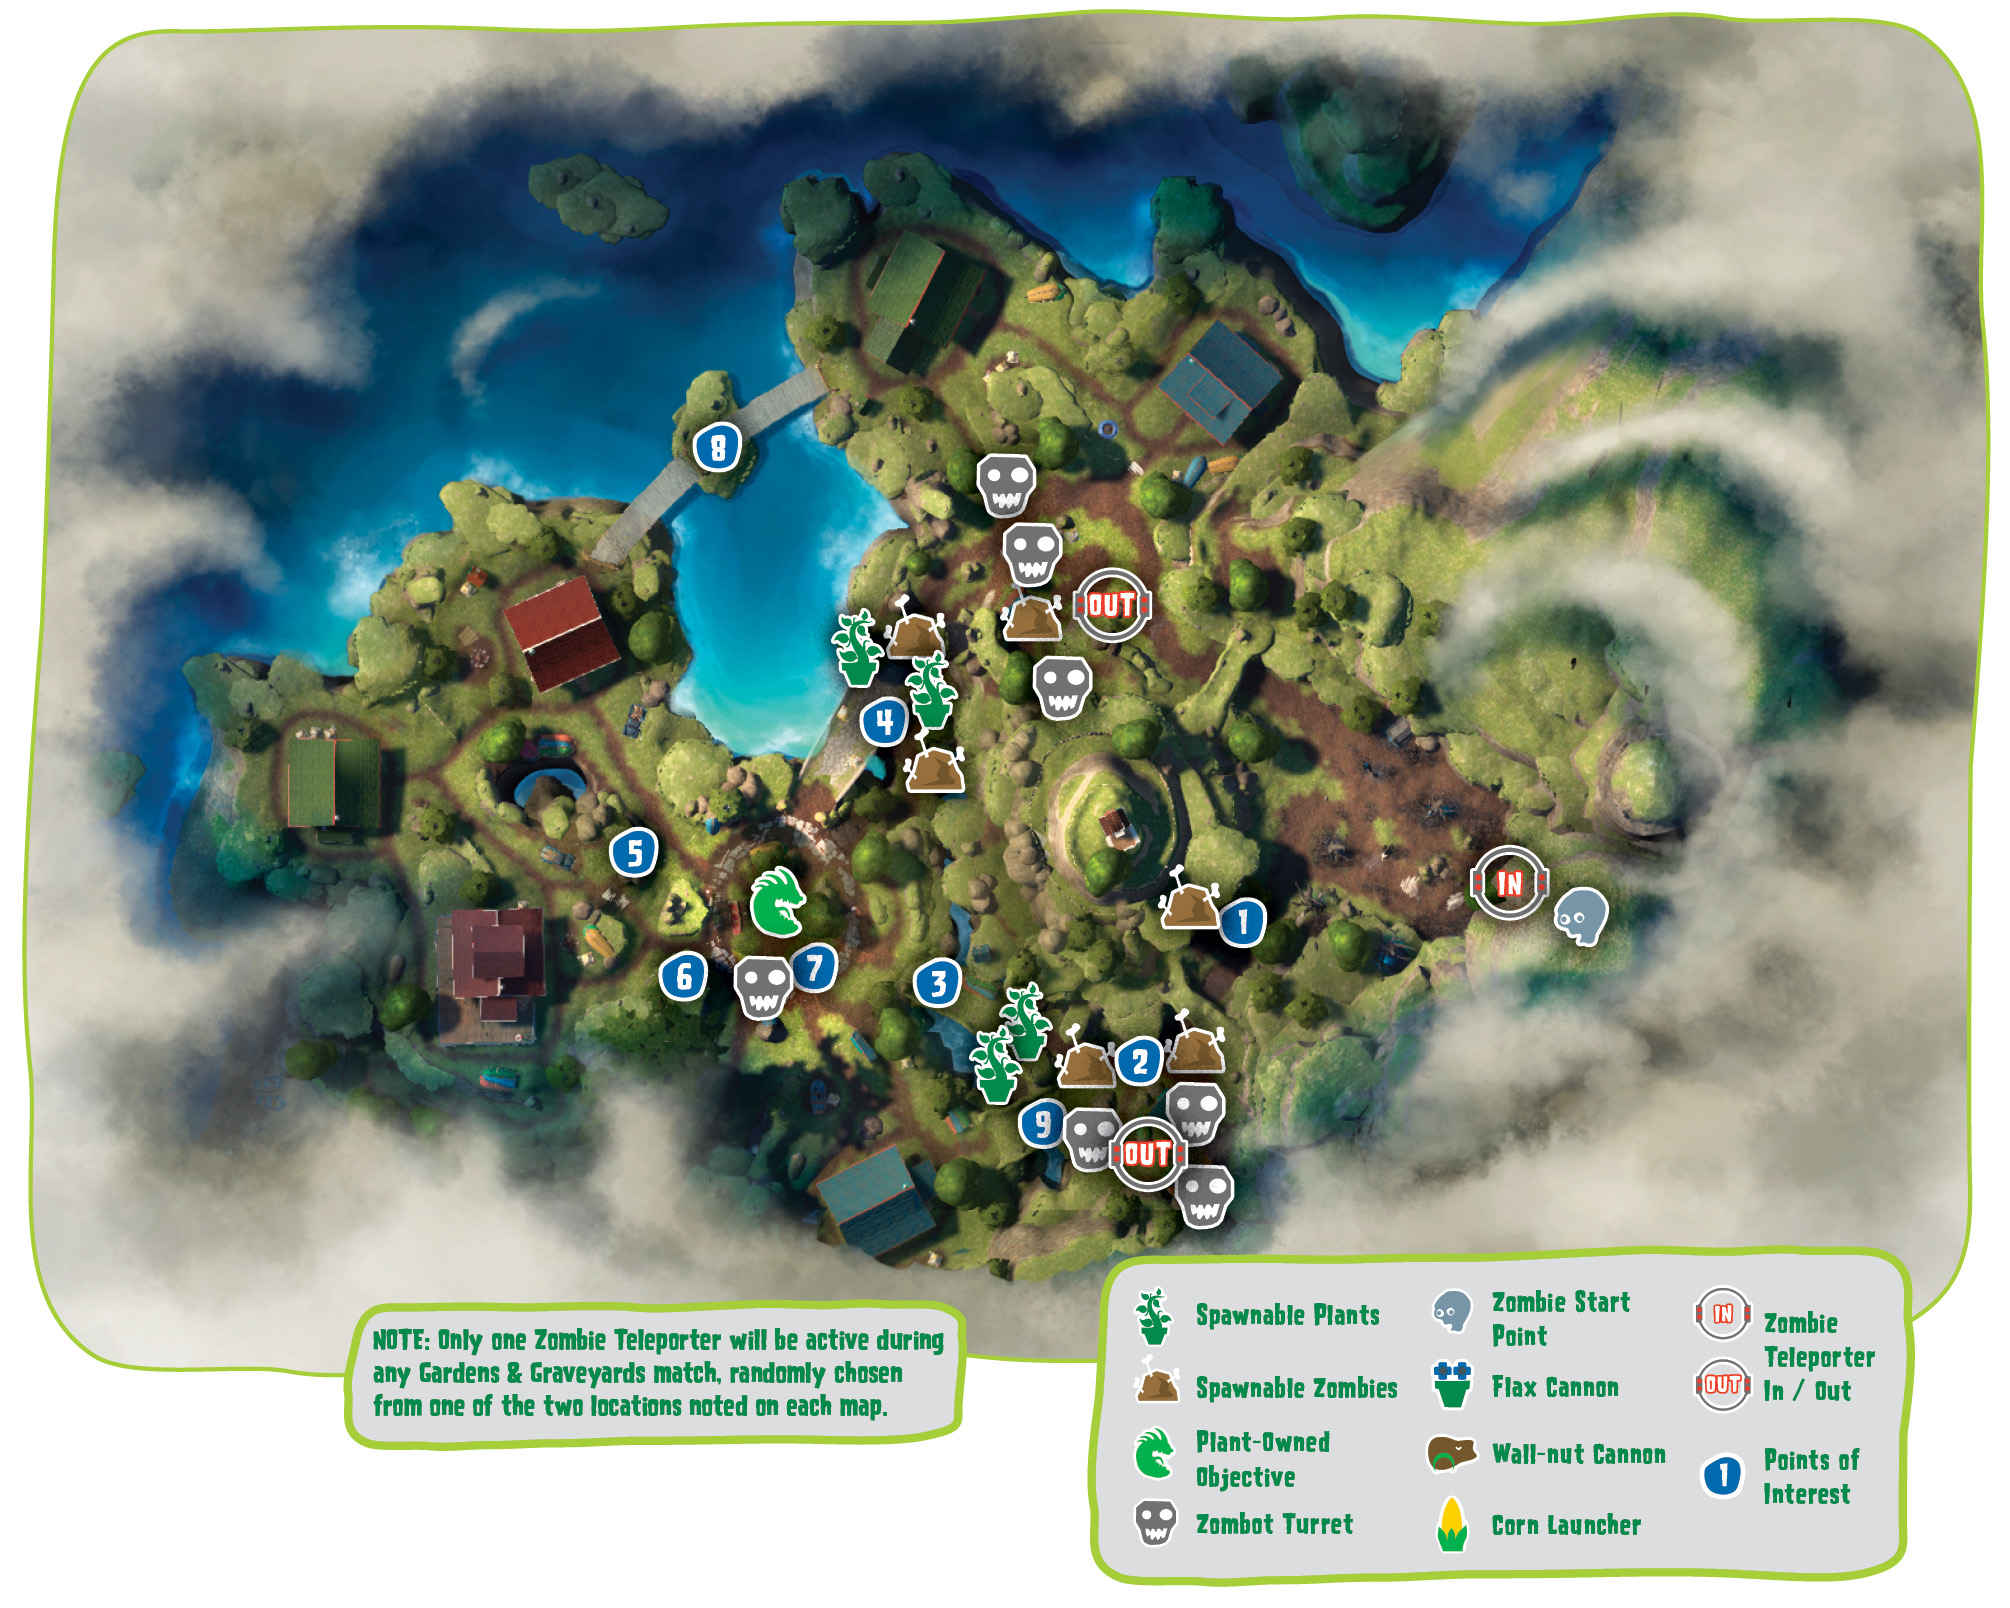
Points of Interest
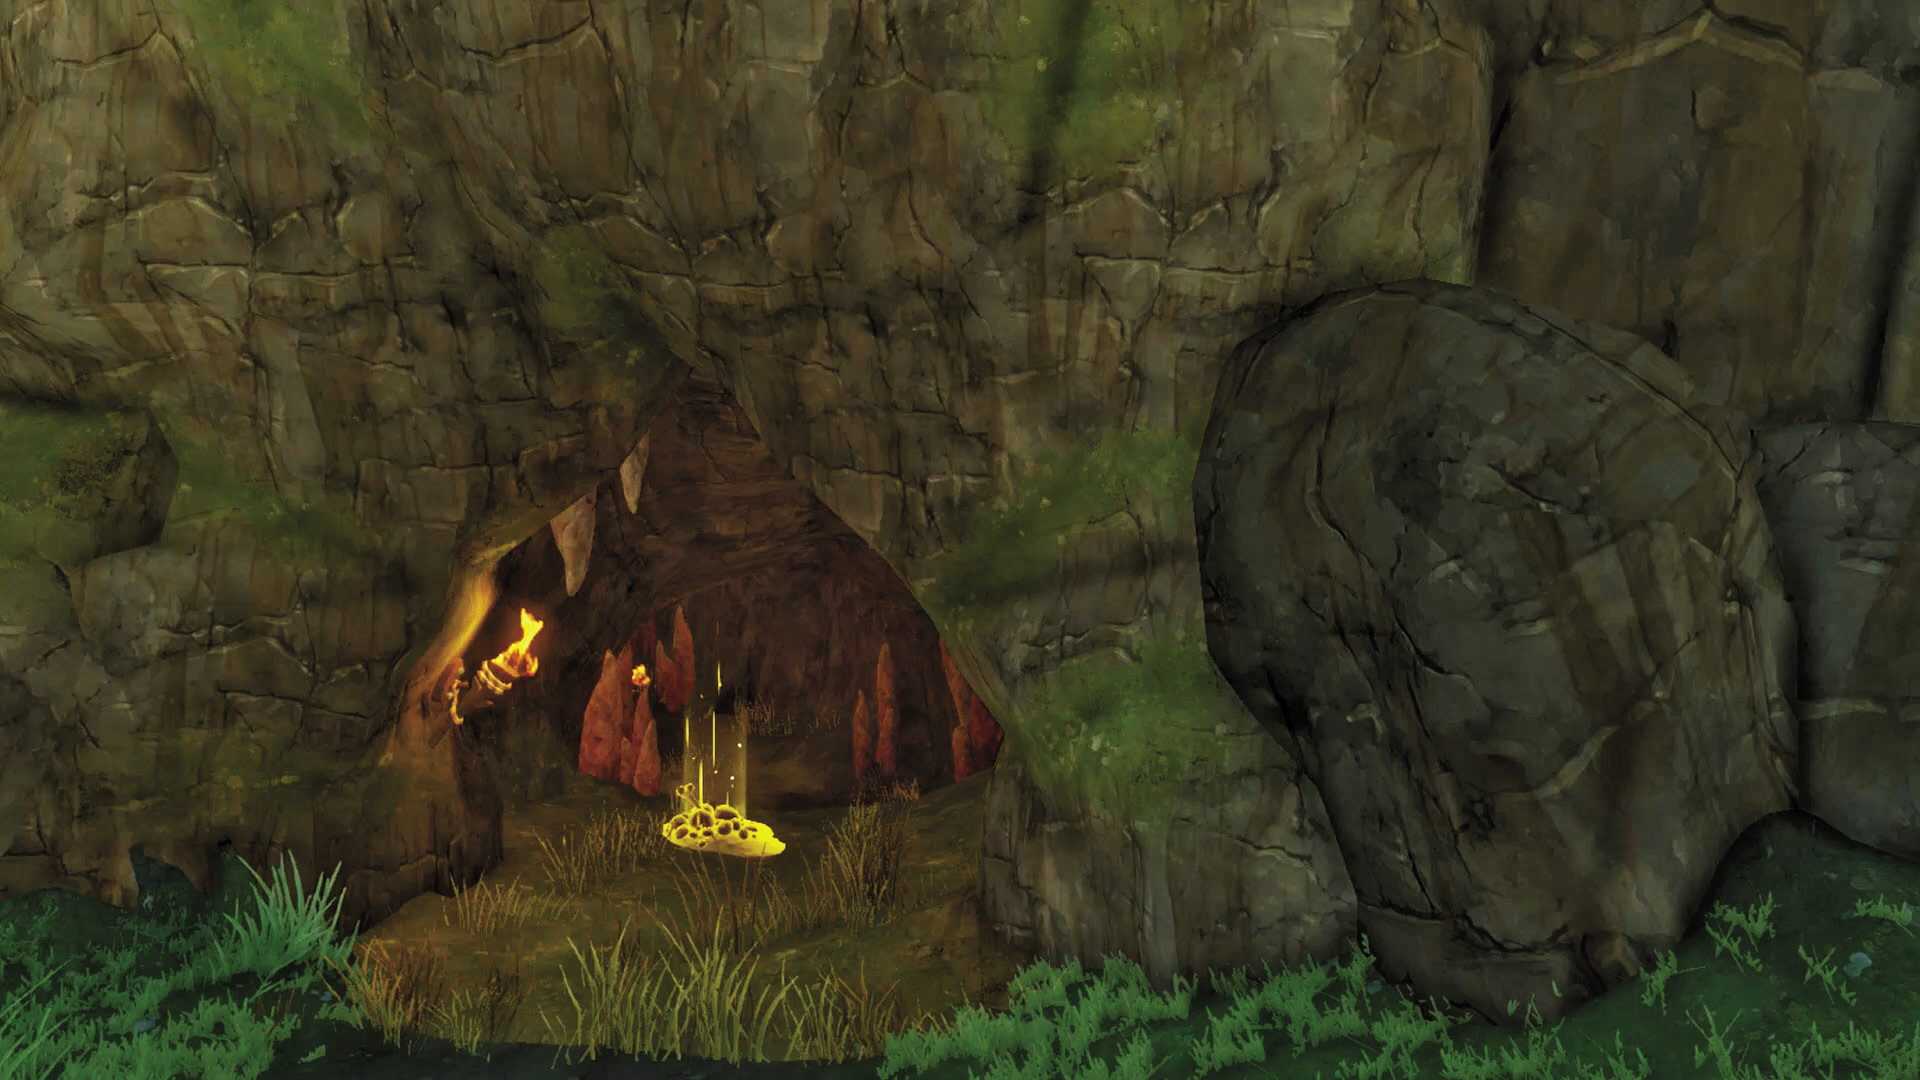
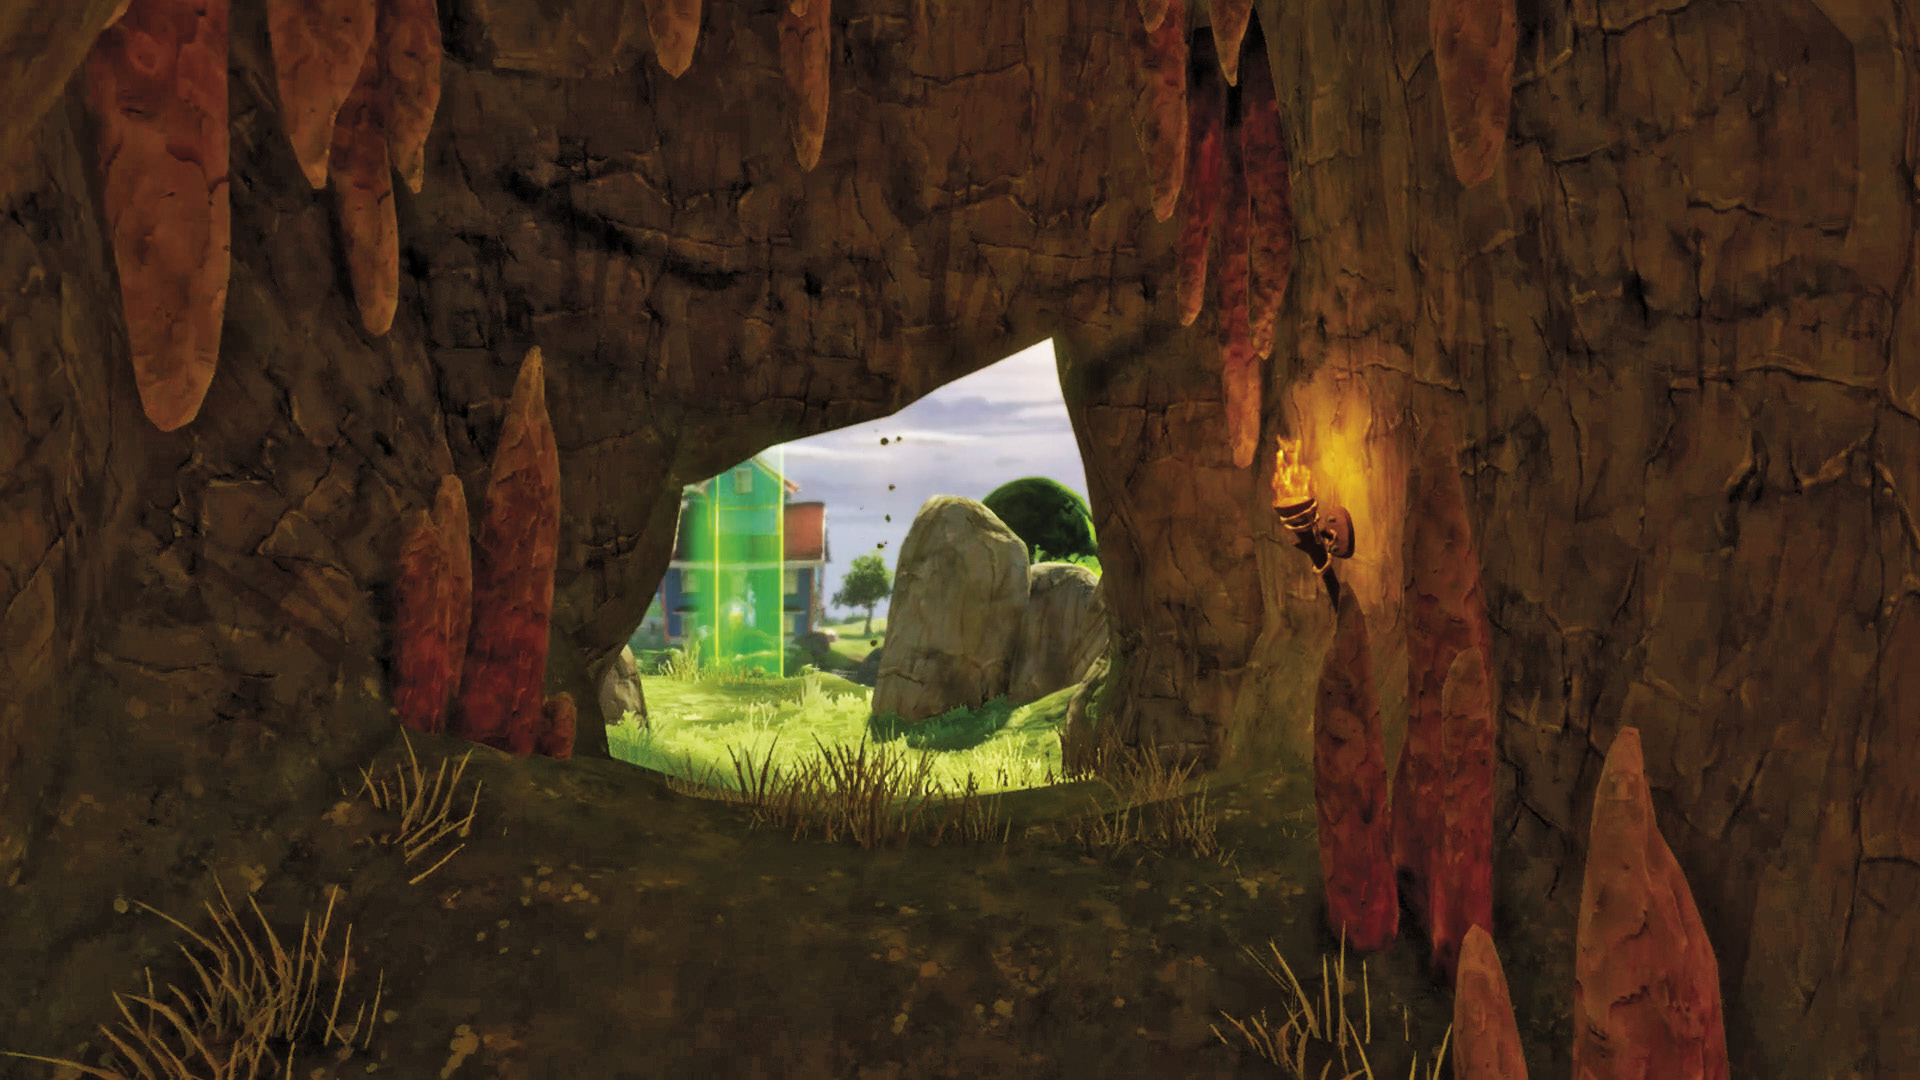
[1] Zombies: It’s a ways from Zomboss Mountain proper, but this hidden tunnel is one of the better ways to mount an assault on the plants’ Garden. Follow it until it leads you straight to where you can see it, and summon a Spawnable Zombie while you’re at it!
Plants: Every once in a while you’re going to see zombies try and attack from this point, and you won’t be able to directly reach them. Keep an eye out in that direction and get ready to disable them from a distance, since attempting to take the area for yourself can be quite the chore.
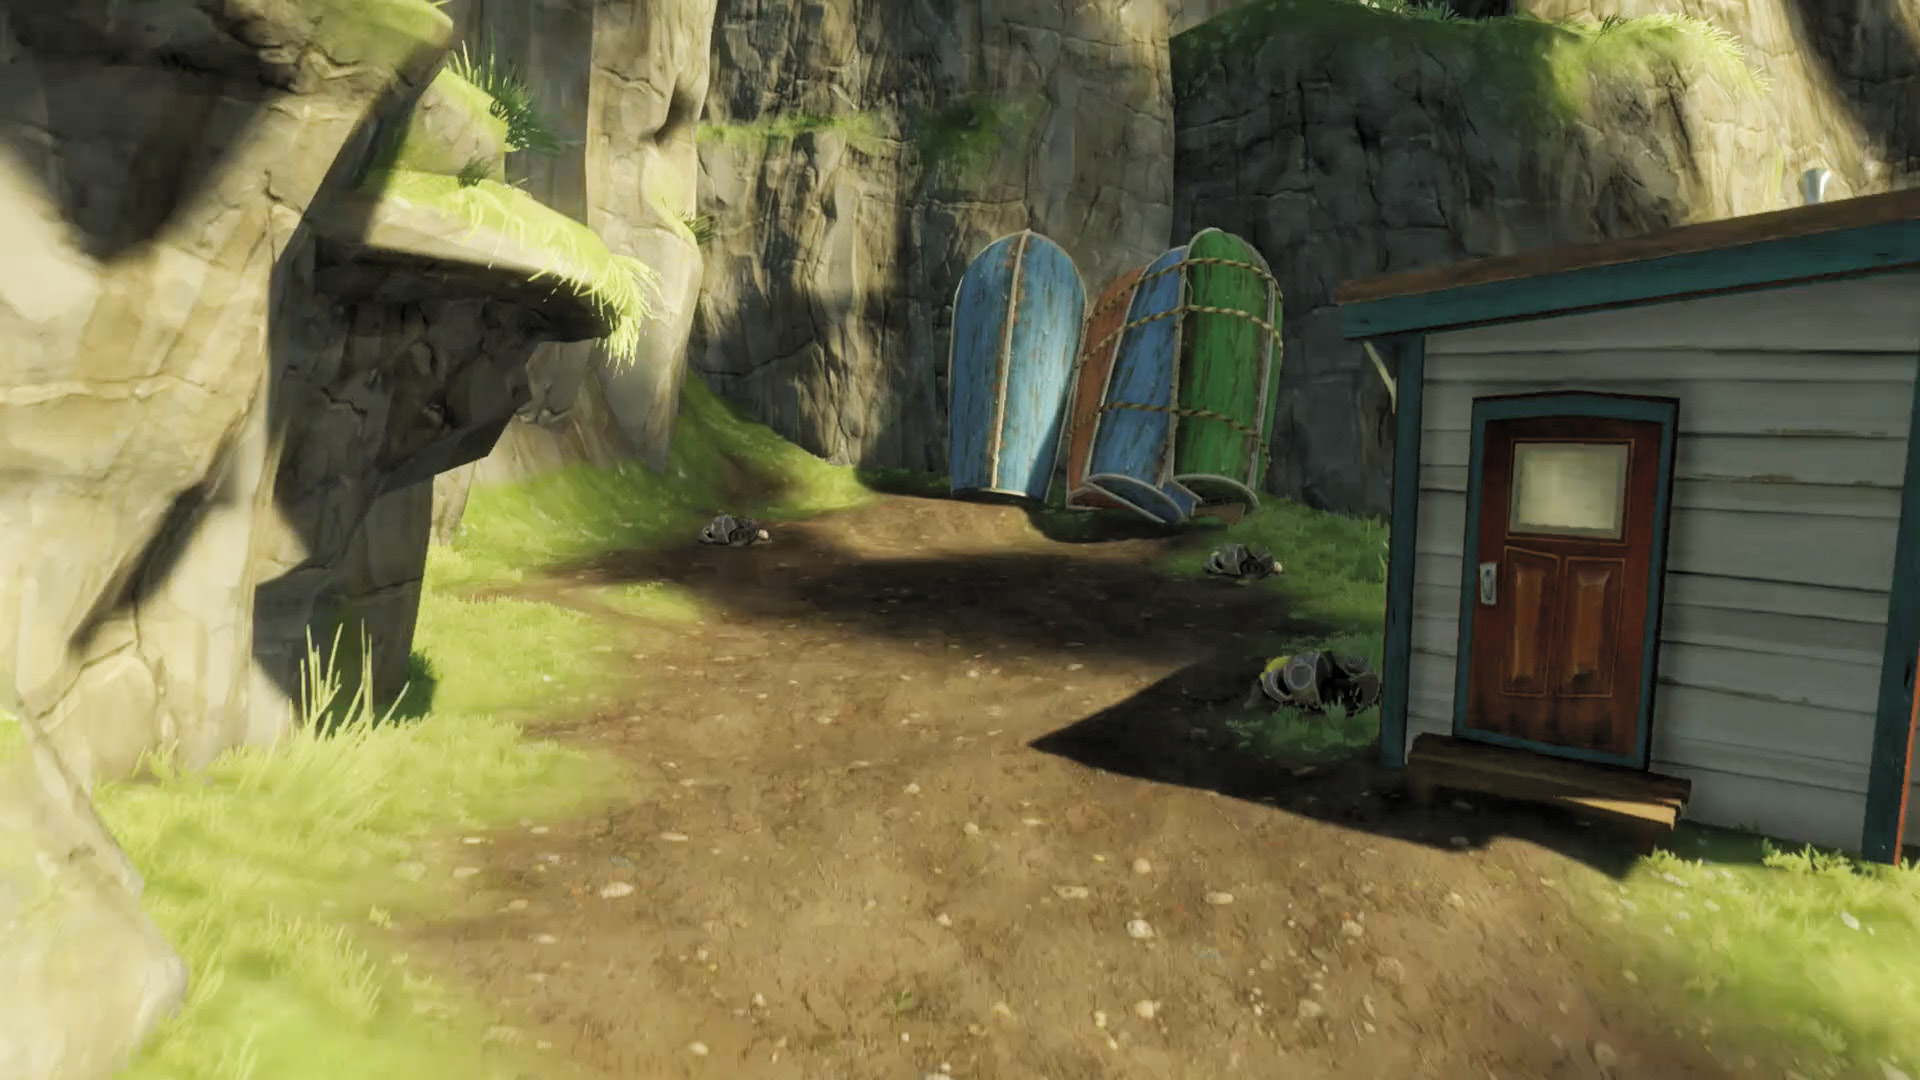
[2] Zombies: You’re going to want to get this place fortified early—it can teach the plants early on to know that their place is with the Garden, and nowhere outside of it. Build and guard those Zomboss Turrets if you can!
Plants: Venture too far out of your comfort zone and you’ll encounter heavy zombie resistance, likely complete with Zomboss Turrets, which can create a real hot zone. Stay away unless you have huge numbers—and if you do have huge numbers, they’re still arguably better off being used to fortify your Garden.
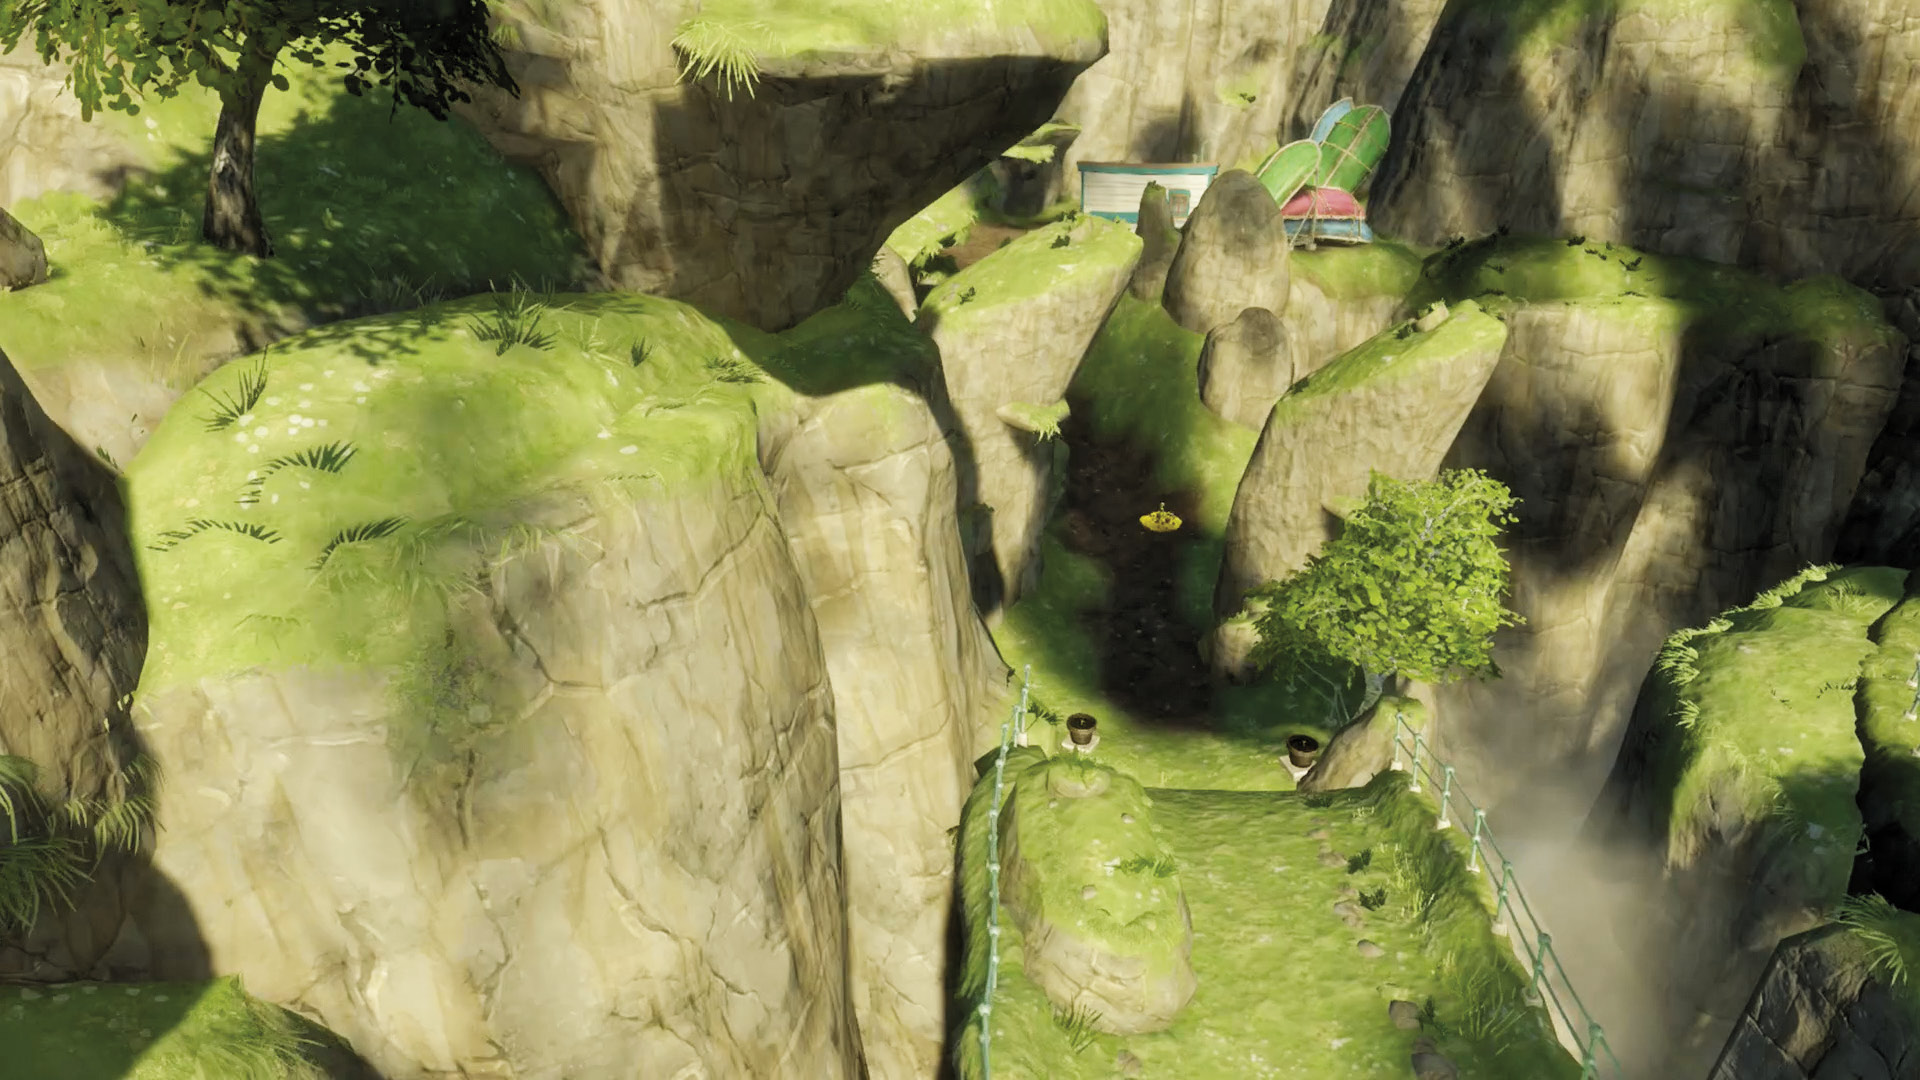
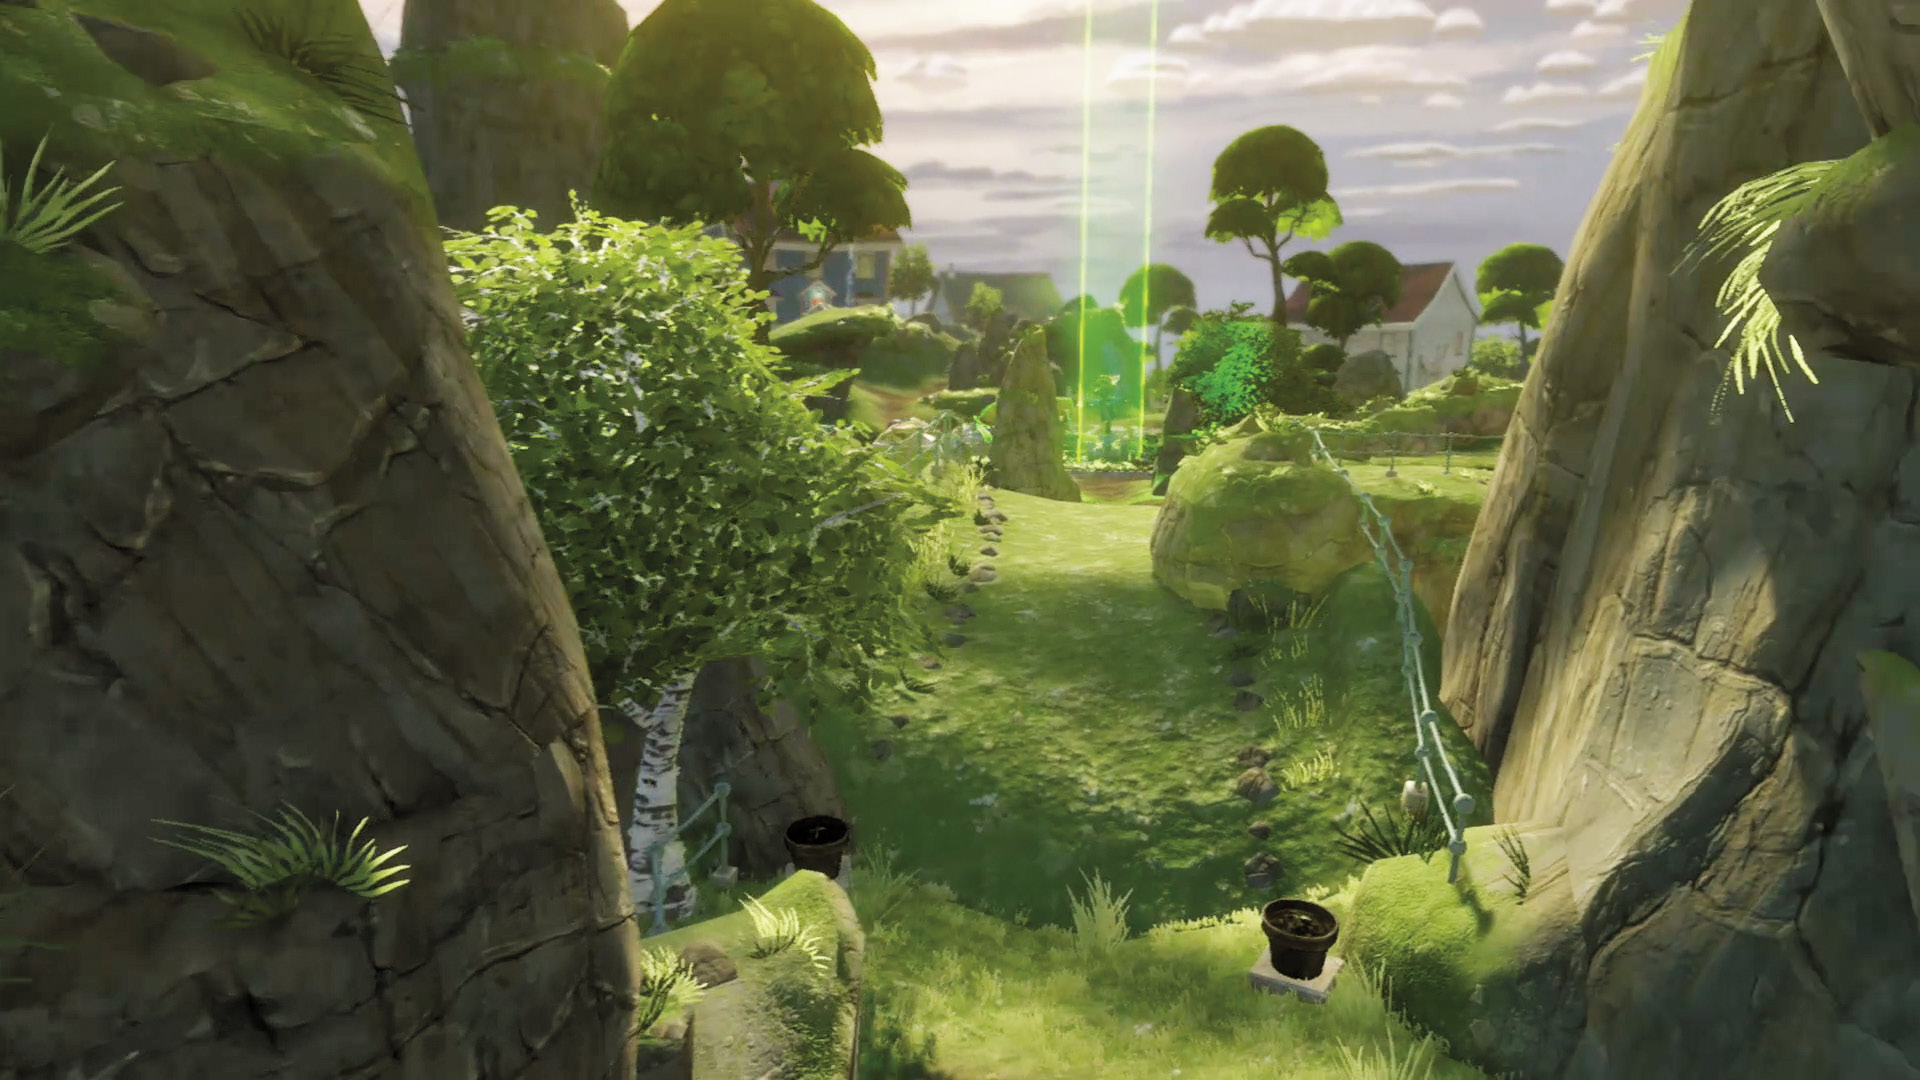
[3] Plants: The good thing about the approaching walkways to your Garden is that most of them are straight bridges, making any marching zombies much easier targets. That said, still keep an eye out for air units and fire.
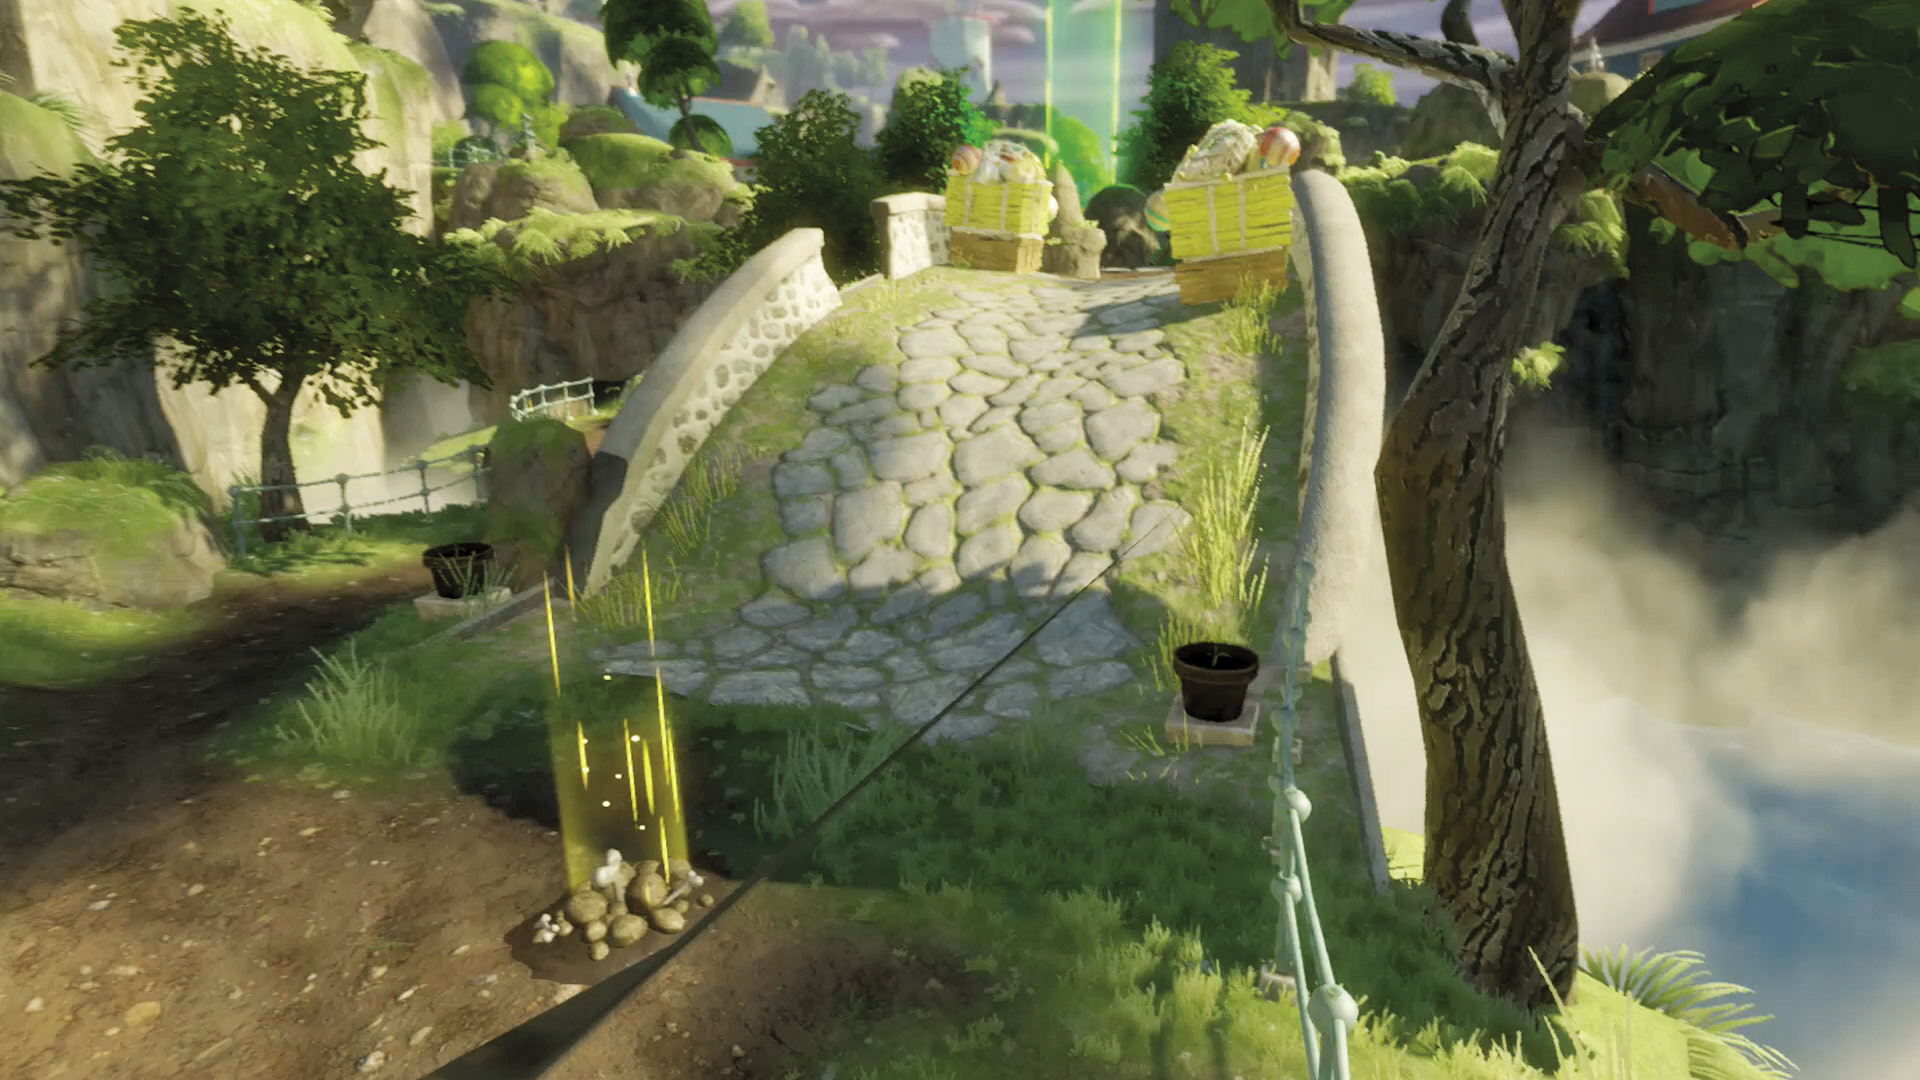
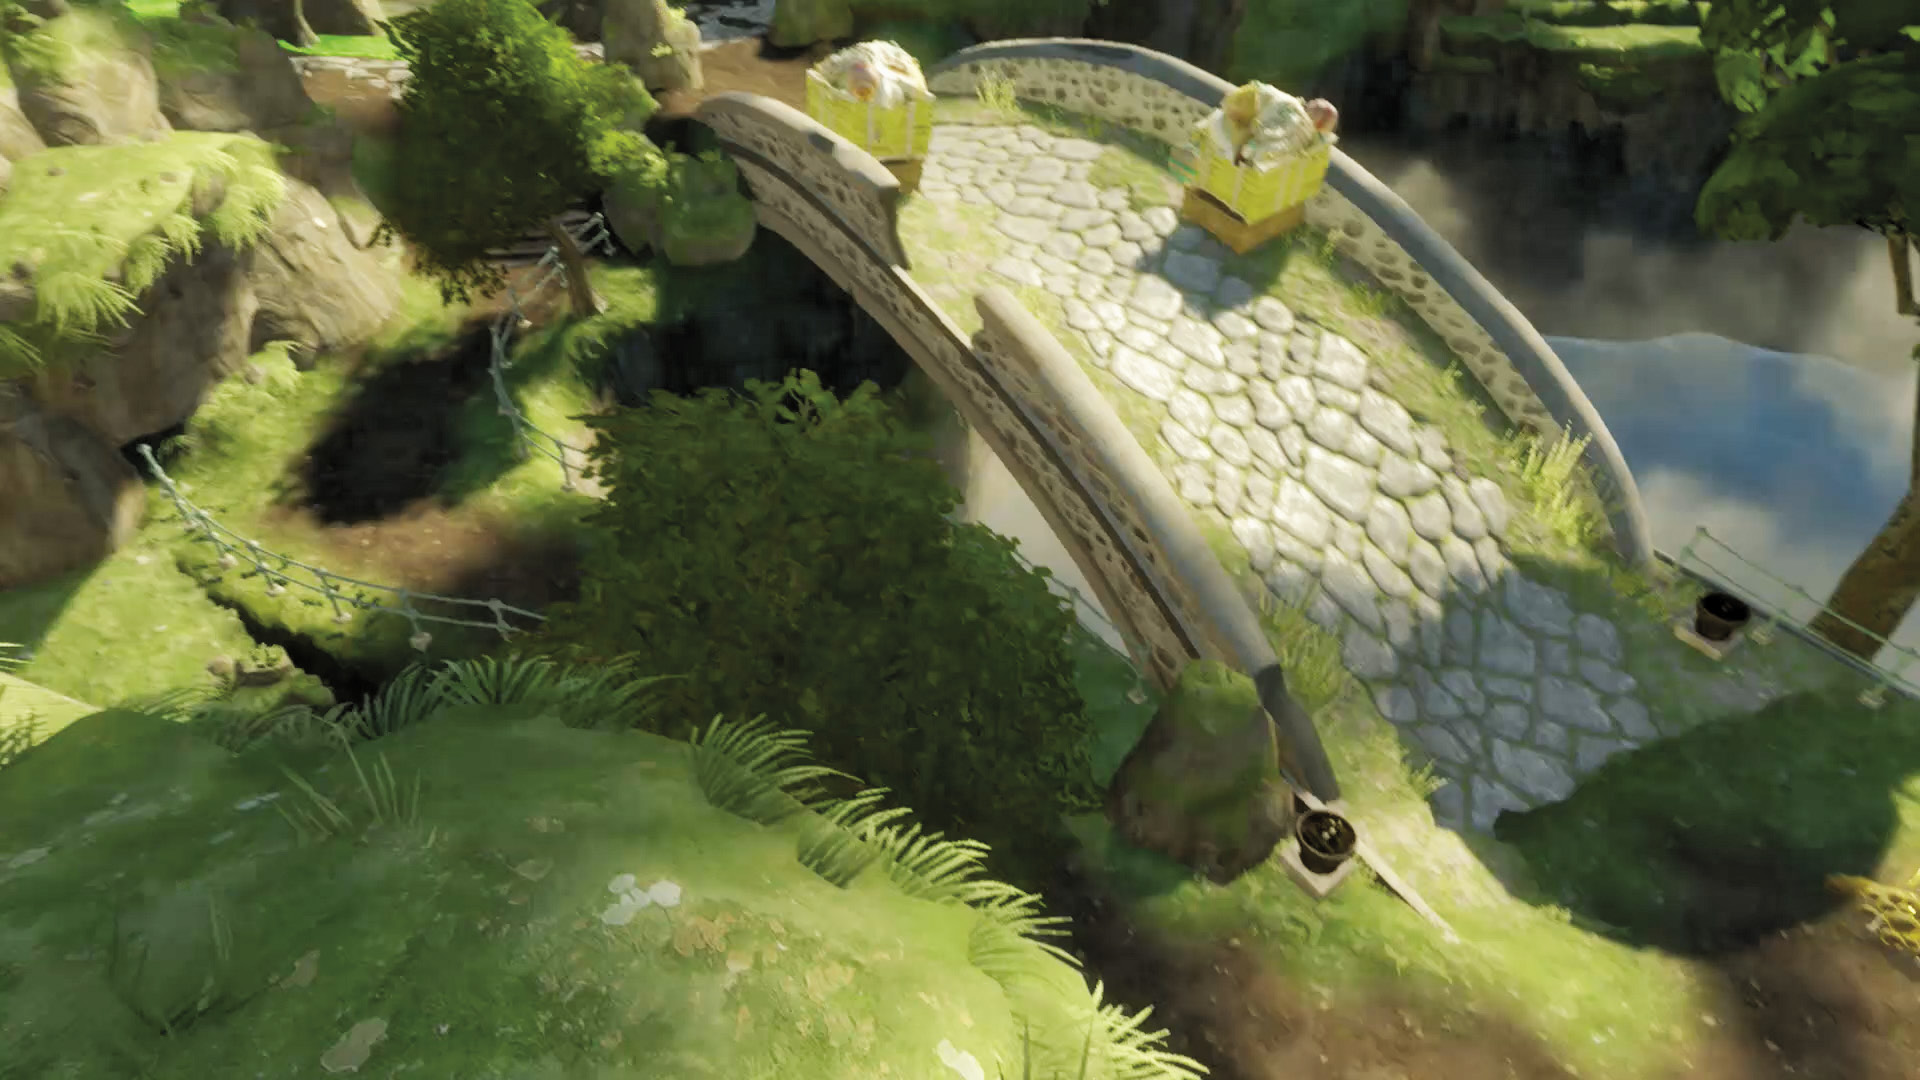
[4] Plants: This one’s a little trickier than [3]; you still have the straight bridge to your base, but you also have an underpass with steps to worry about, meaning some zombies can pop up under what you might consider to be ground level. Consider watching one while laying static defenses on the other to alert you.
Zombies: If you can do it, this is the better way to approach the plants’ Garden. You have more cover on the upper bridge, and a lower underpass with which to launch sneaky attacks. That said, you may end up splitting your forces temporarily to make your assault effective, leading to a risk-vs.-reward scenario. Make sure your forces on one end aren’t crippled—this can easily render your mission a failure.
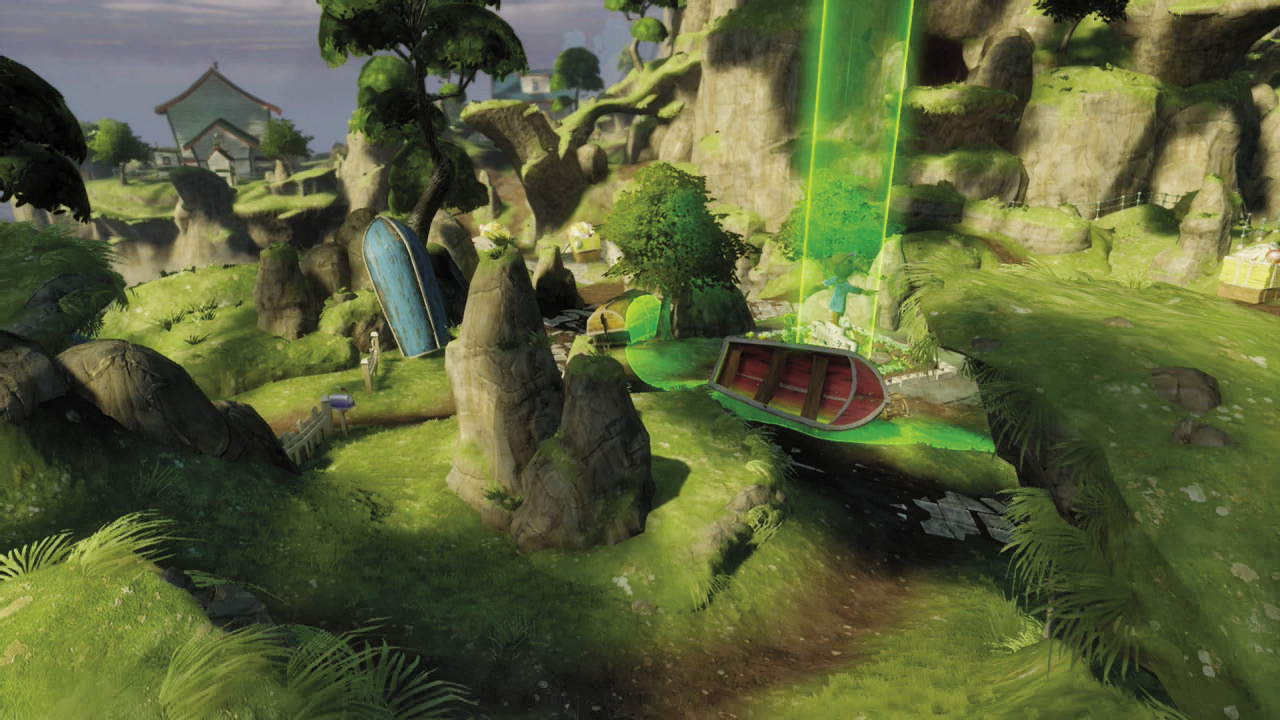
[5] Plants: The rear of the Garden provides good defensive high ground, and it’s more accessible to most Classes.
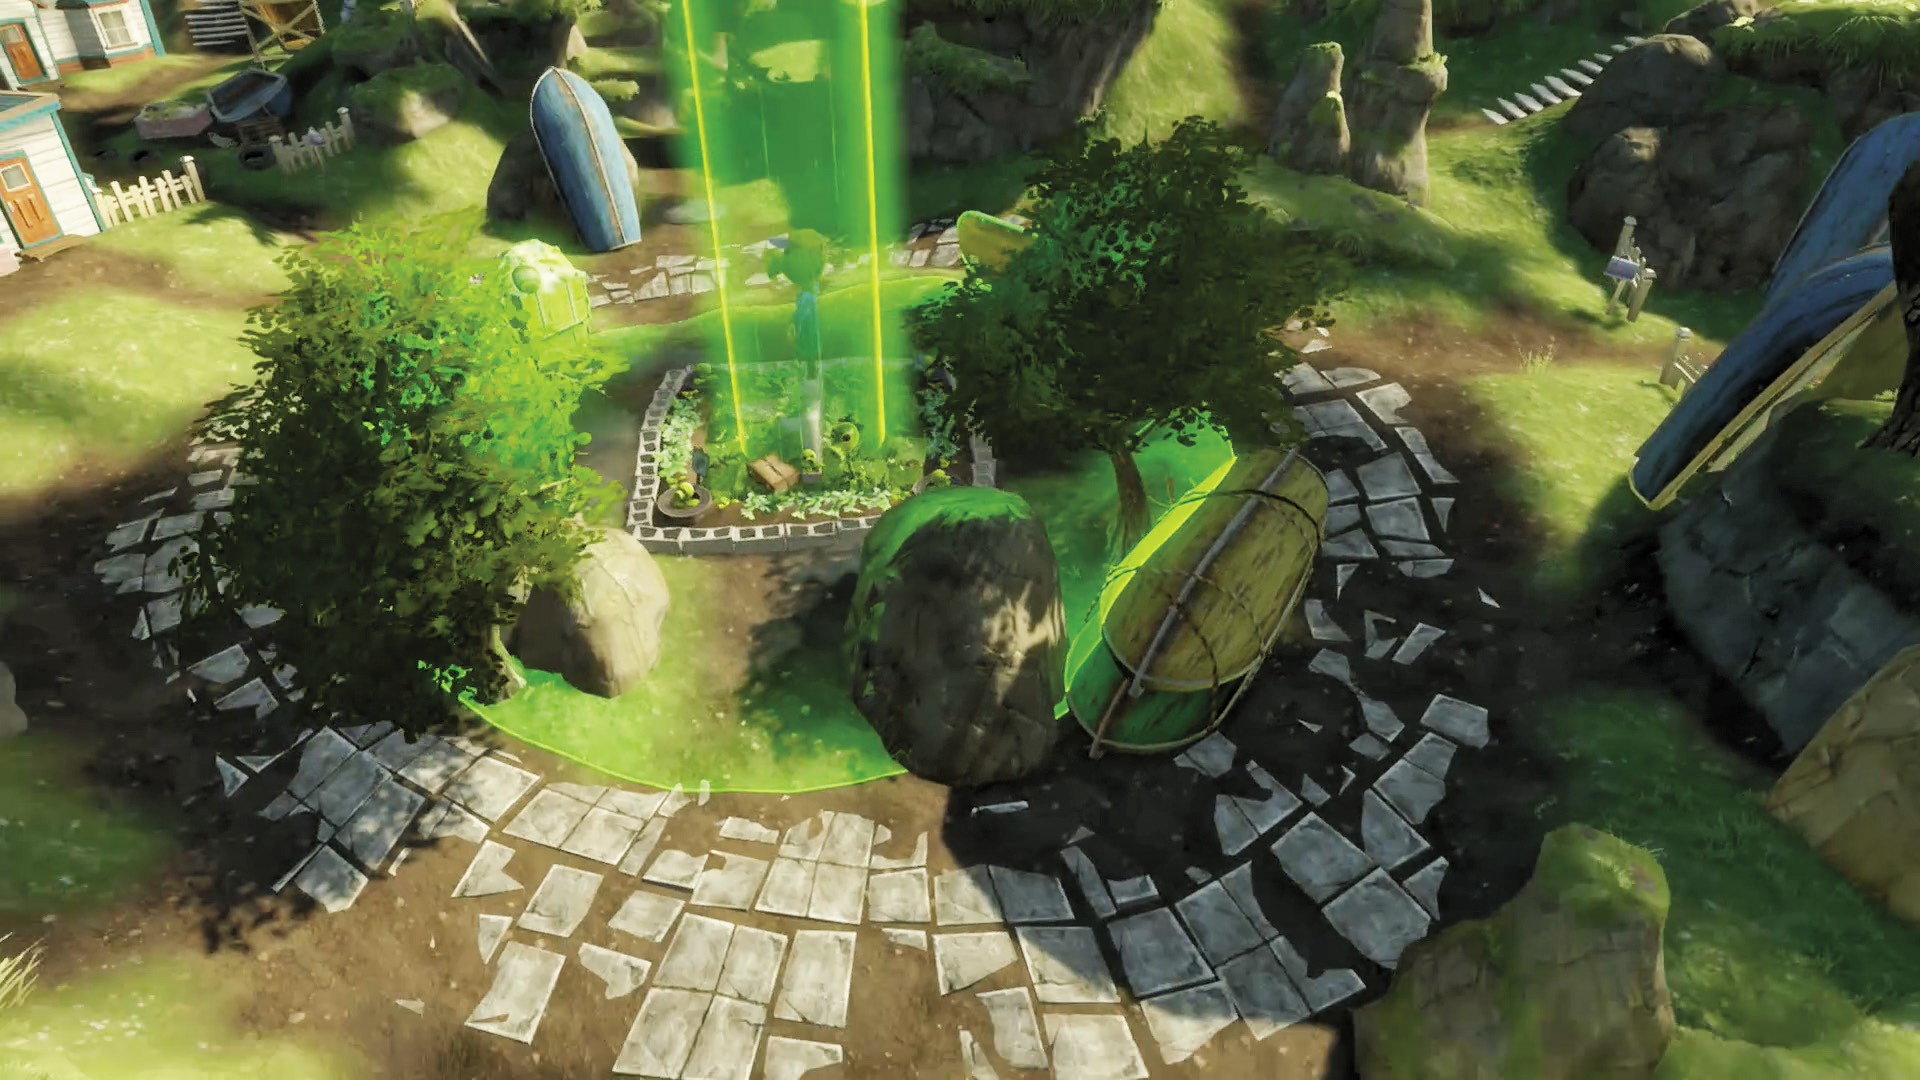
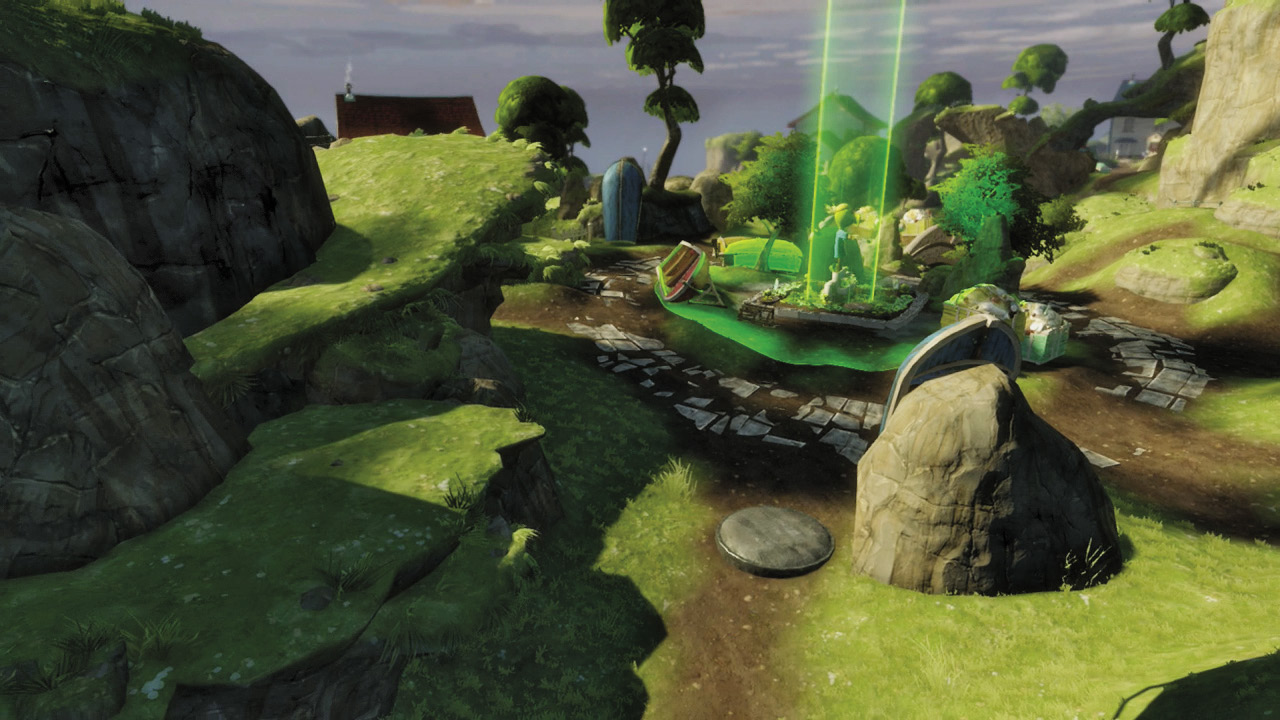
[6] Plants: The eastern end of the Garden also provides decent defensive high ground. Use Peashooters with Hyper for easiest access.
[7] Plants: This Garden should set the pace for the type of opposition you’ll face on Driftwood Shores: attacks from all sides, above, and sometimes even below! Get a feel for creating wide areas of defense that cover an entire circular perimeter. Ranged Spawnable Plants work well here, and there’s high ground behind the Garden for you to use. The zombies only have a semicircle to work with, while you have the others, so as long as you make sure to cover your weak points, you’ll be well suited for this defense. Try not to go too far out of your sphere of influence, as the zombies have the outer areas pretty much covered—this is their mountain, after all.
[8][9] Zombies: Want ultimate flanking abilities? The Zomboss Down patch adds two new bridges to this phase. These out-of-the-way bridges lead straight into the heart of the Plants’ Garden so you may conquer at will. These are especially great routes for Engineers with their fast-moving Jackhammer ability. Watch out, though—Plants will be watching these bridges extra closely!
Phase 2: Marina
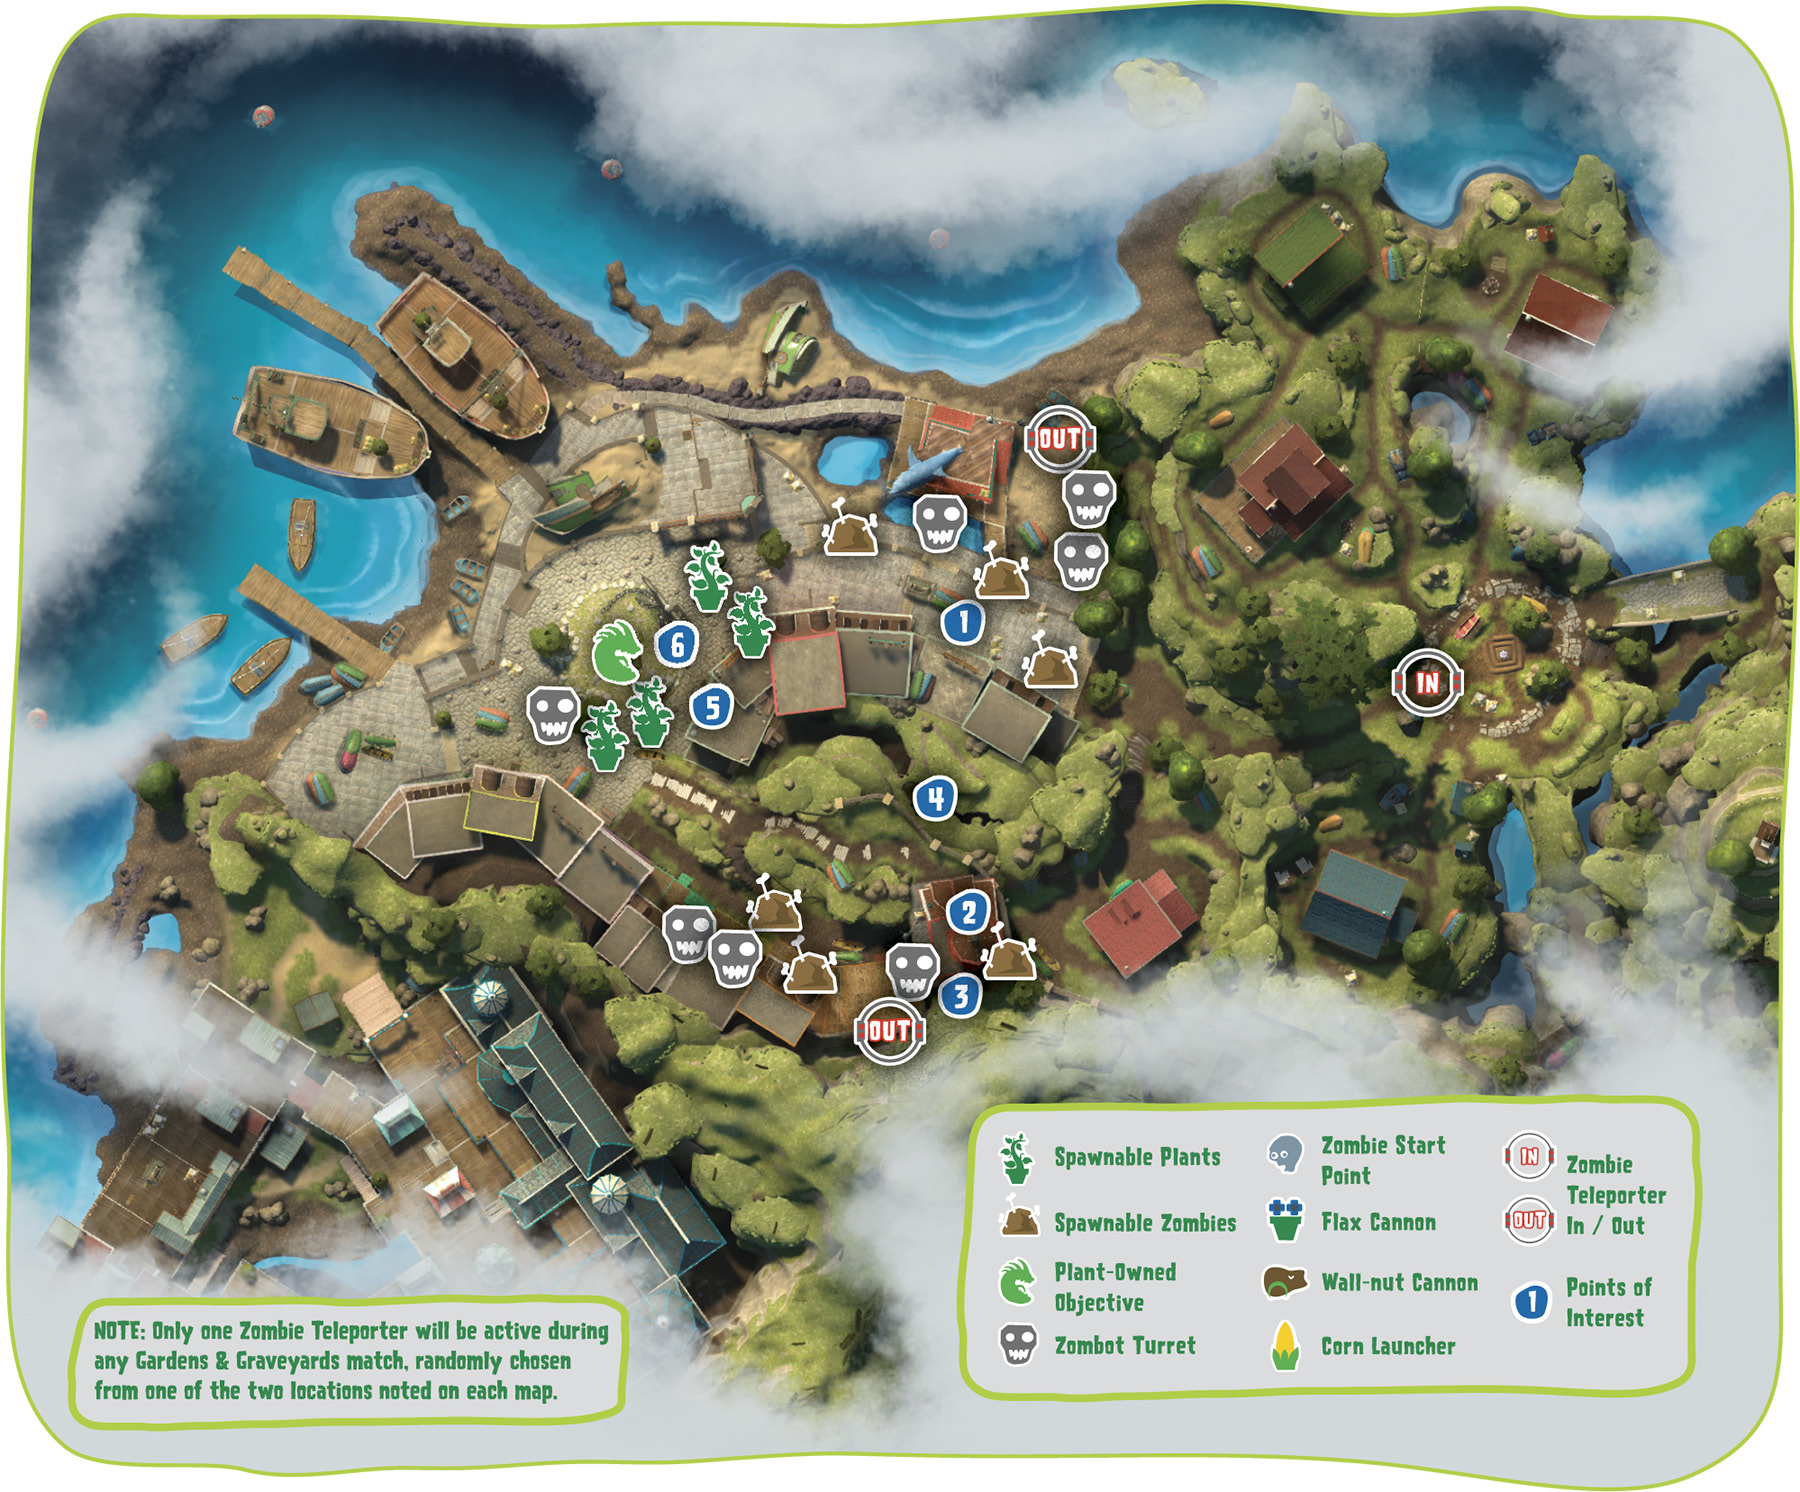
Points of Interest
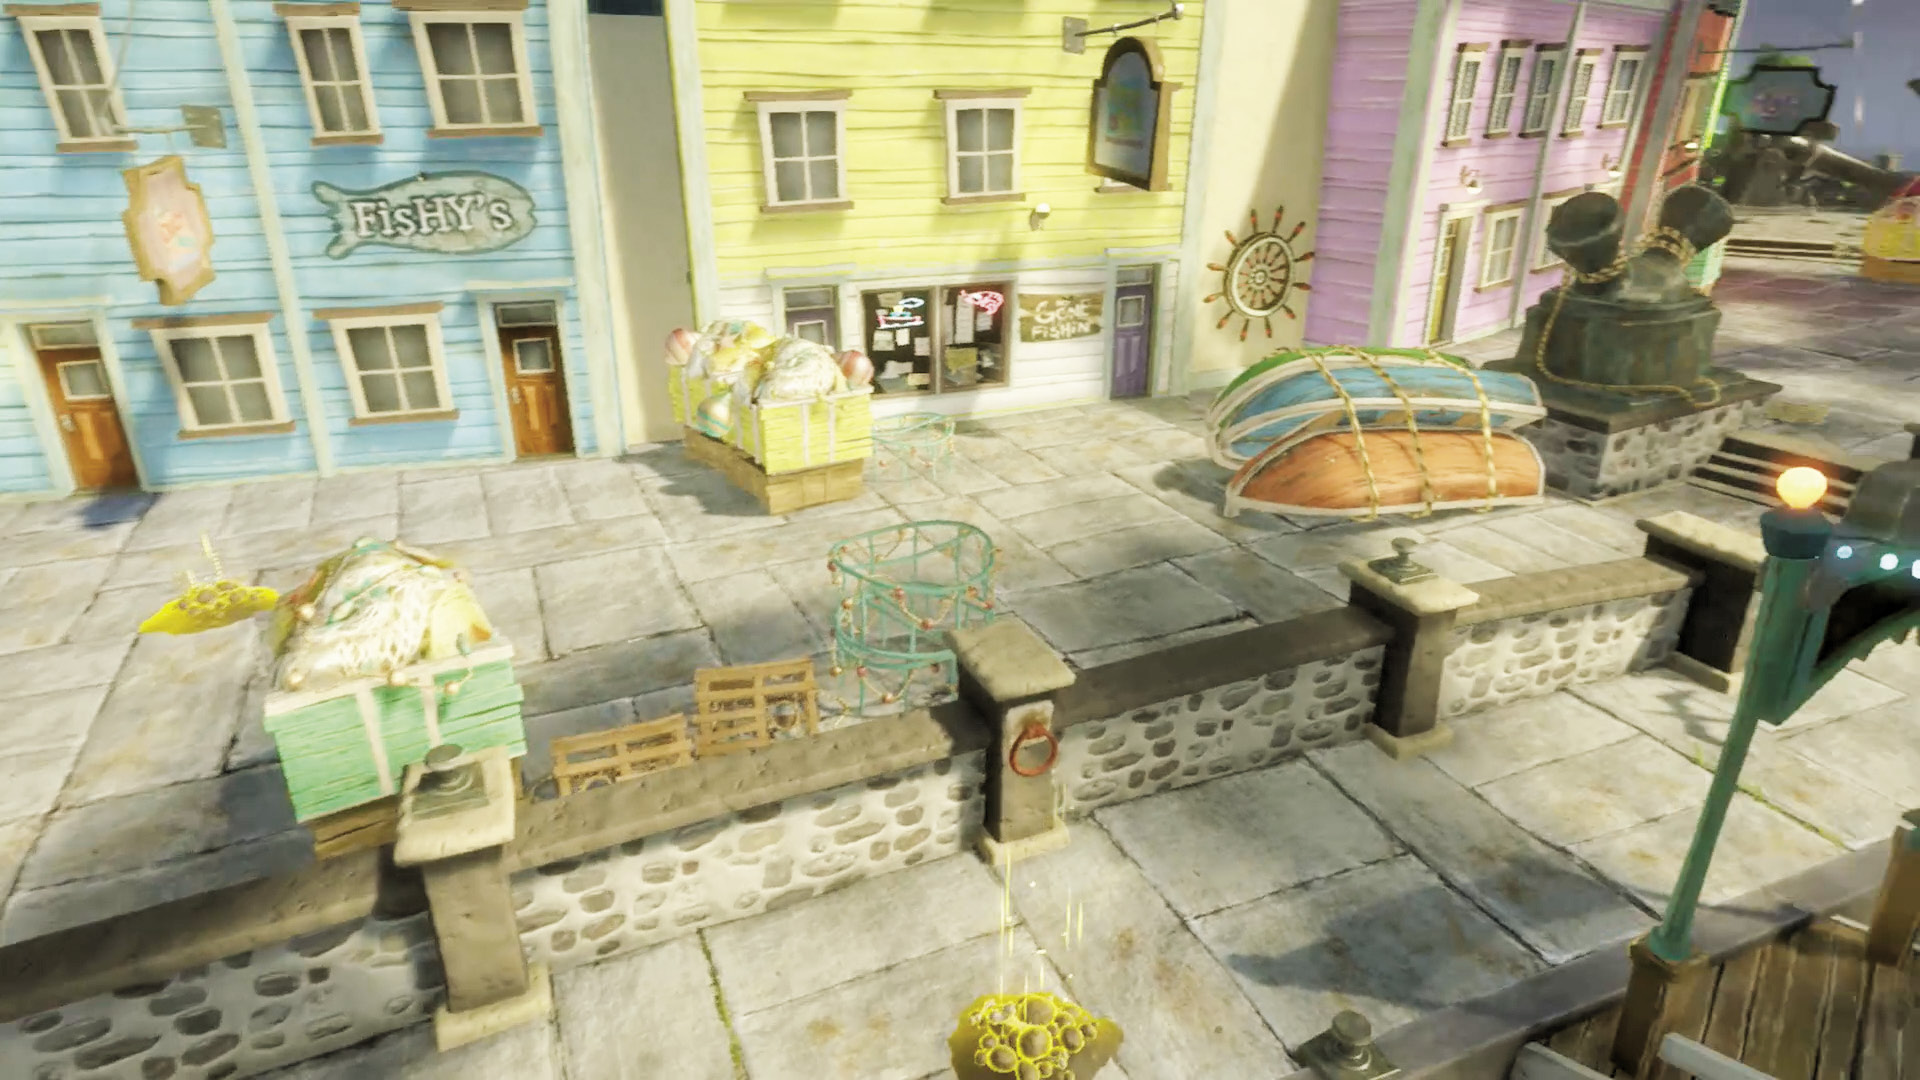
[1] Zombies: While it’s fairly well-fortified, think twice about rushing straight up this area—it’s an easy way to get into a long and drawn-out cover firefight, and there are sneakier ways to approach. That said, it’s a good place to throw bodies at plants if you’re looking to distract or overwhelm.
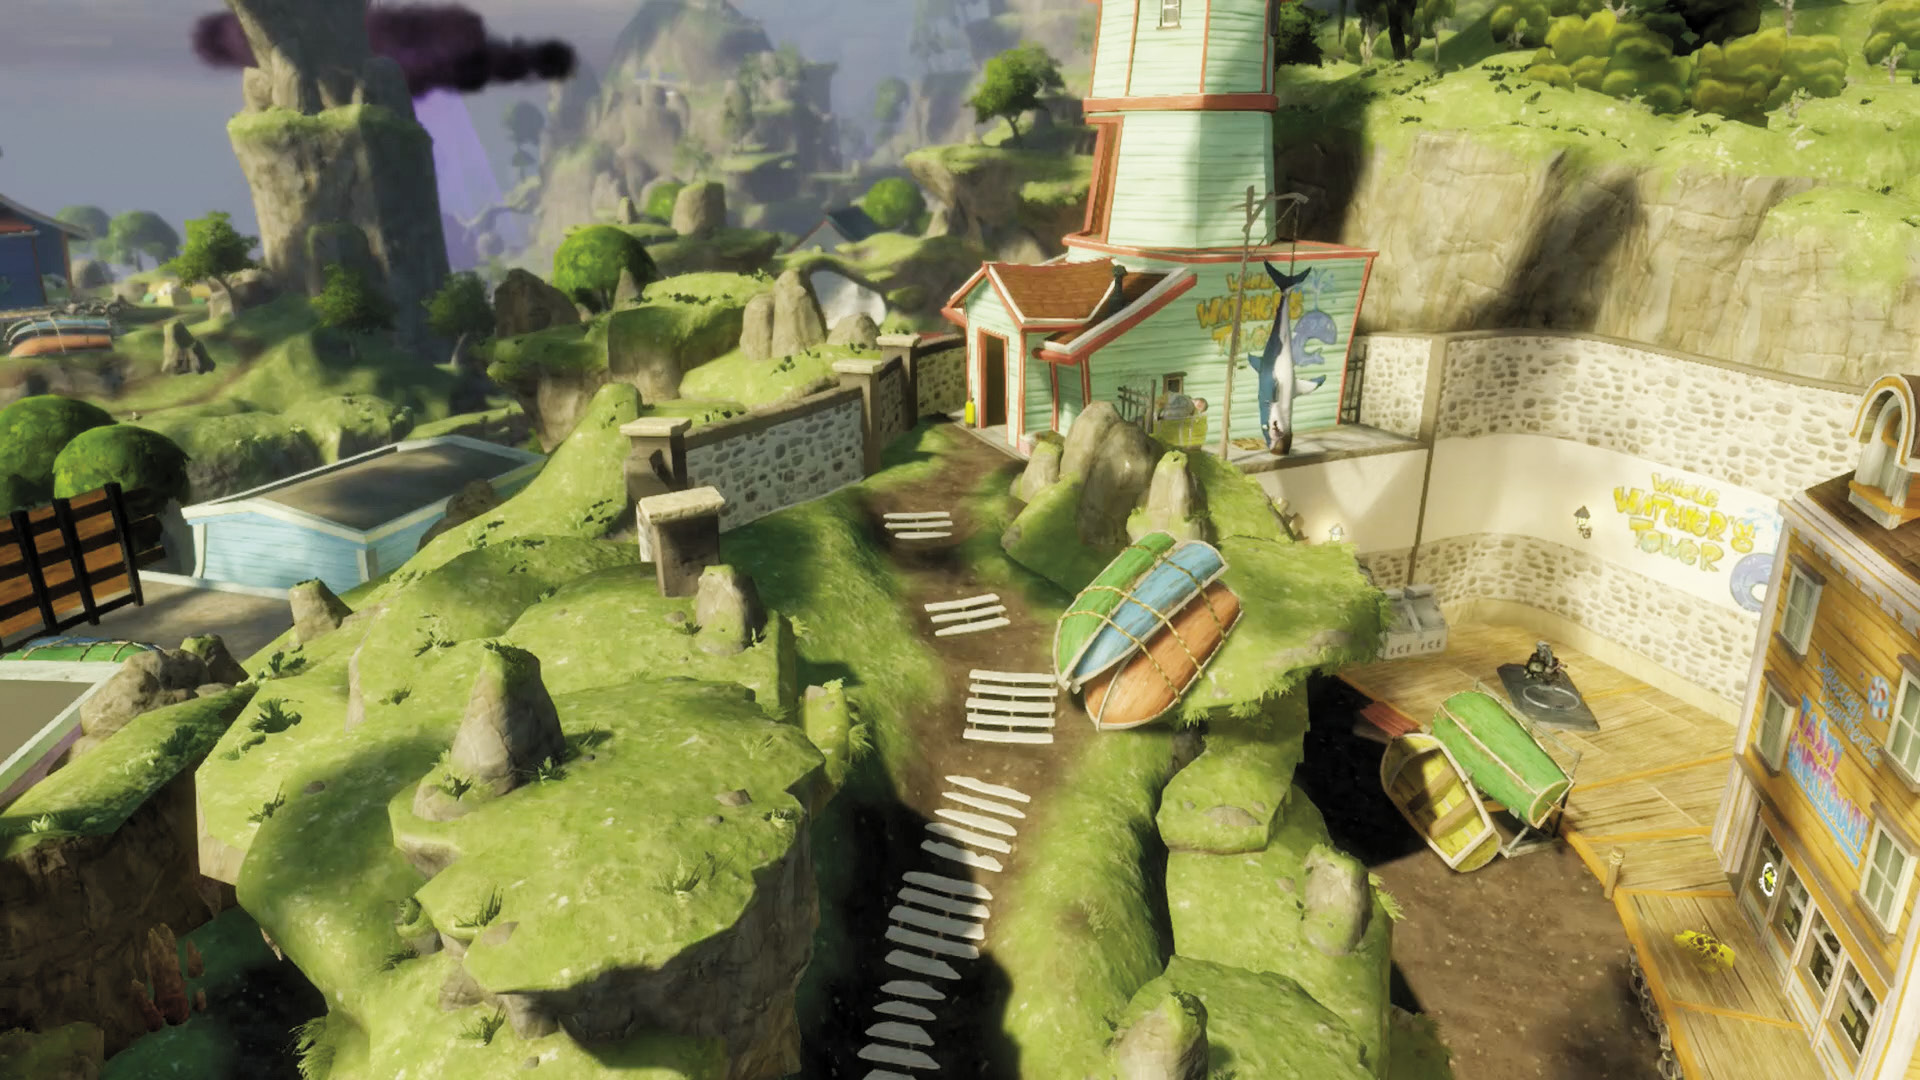
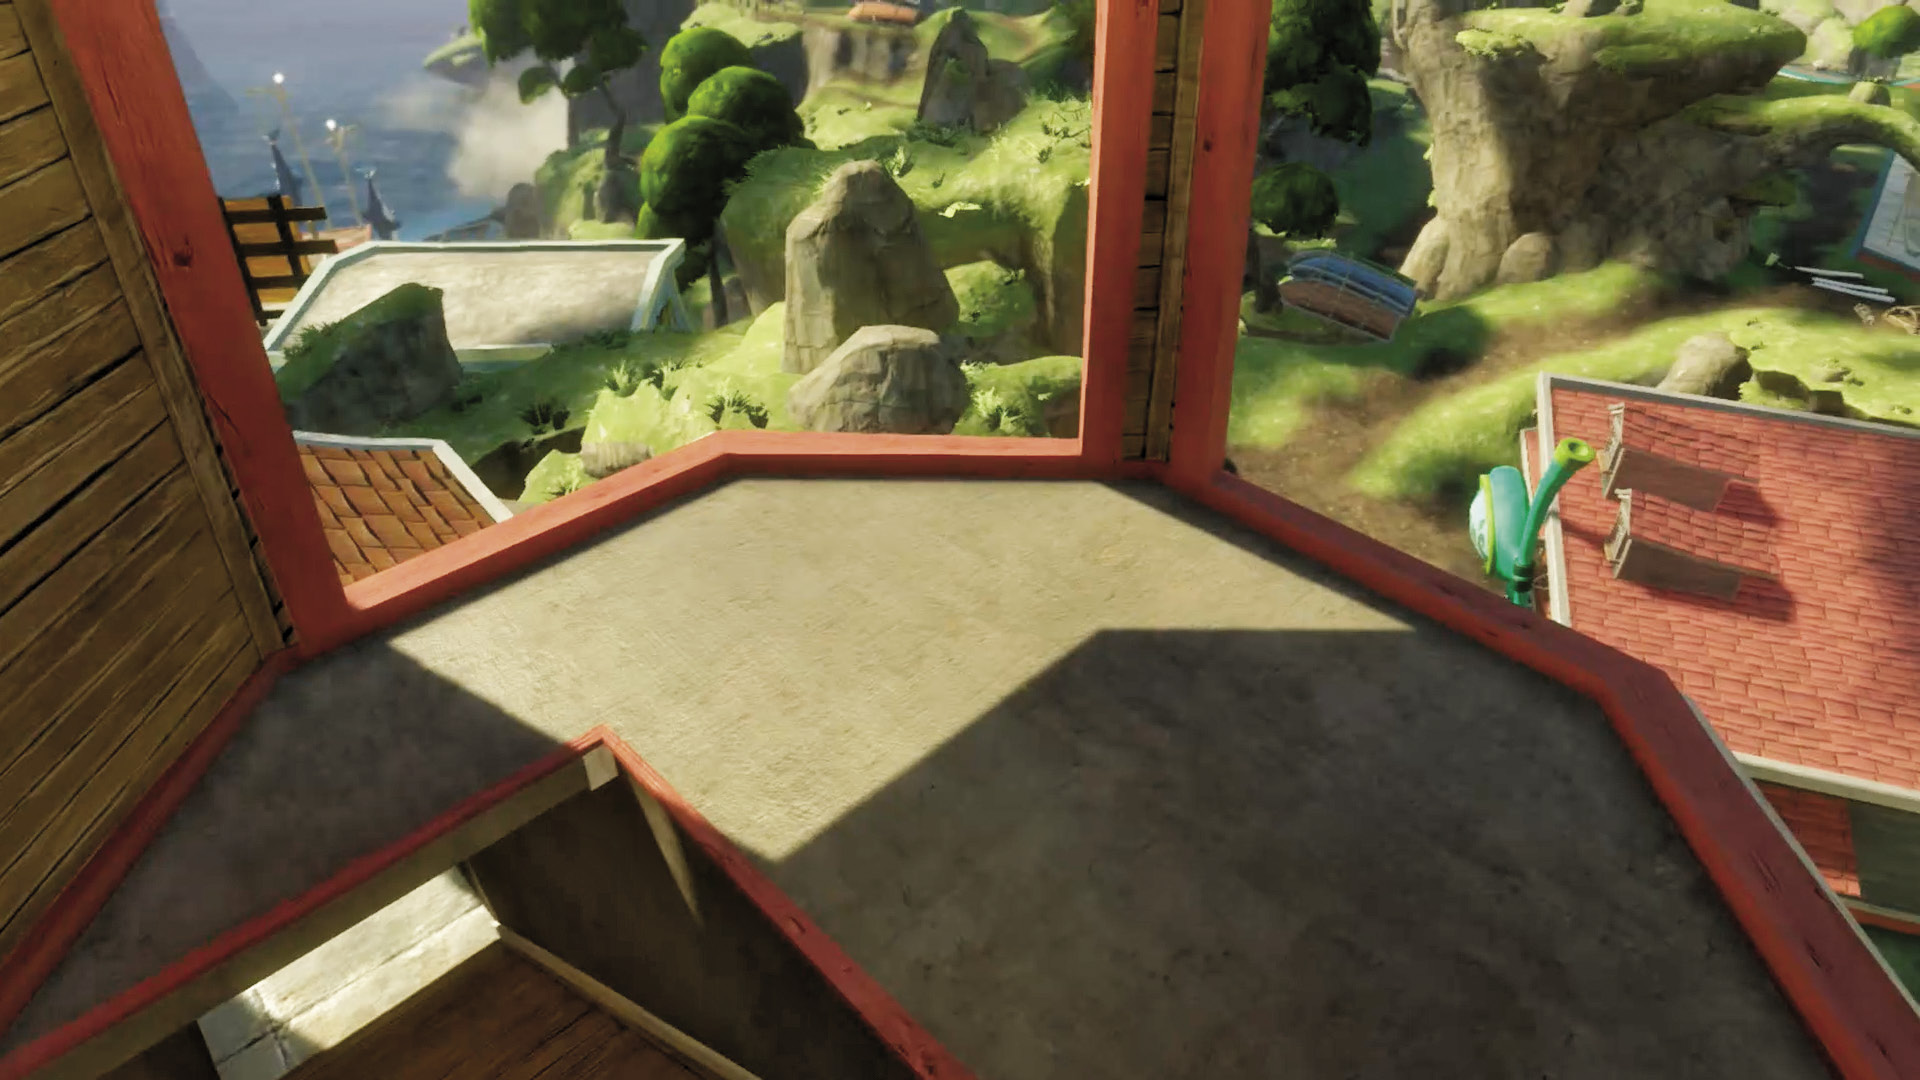
[2] Zombies: The tower here is a good place to get a high perch to look down on and menace plants. Bring your sniping units. You won’t be able to make much of an assault on the base, but you can stop plants trying to venture out of their comfort zone.
Plants: If you make it here, this point works even better for you, as you’ll be able to pick off approaching zombies. Teleporters will make it a moot point, though, so you’ll have to work fast.
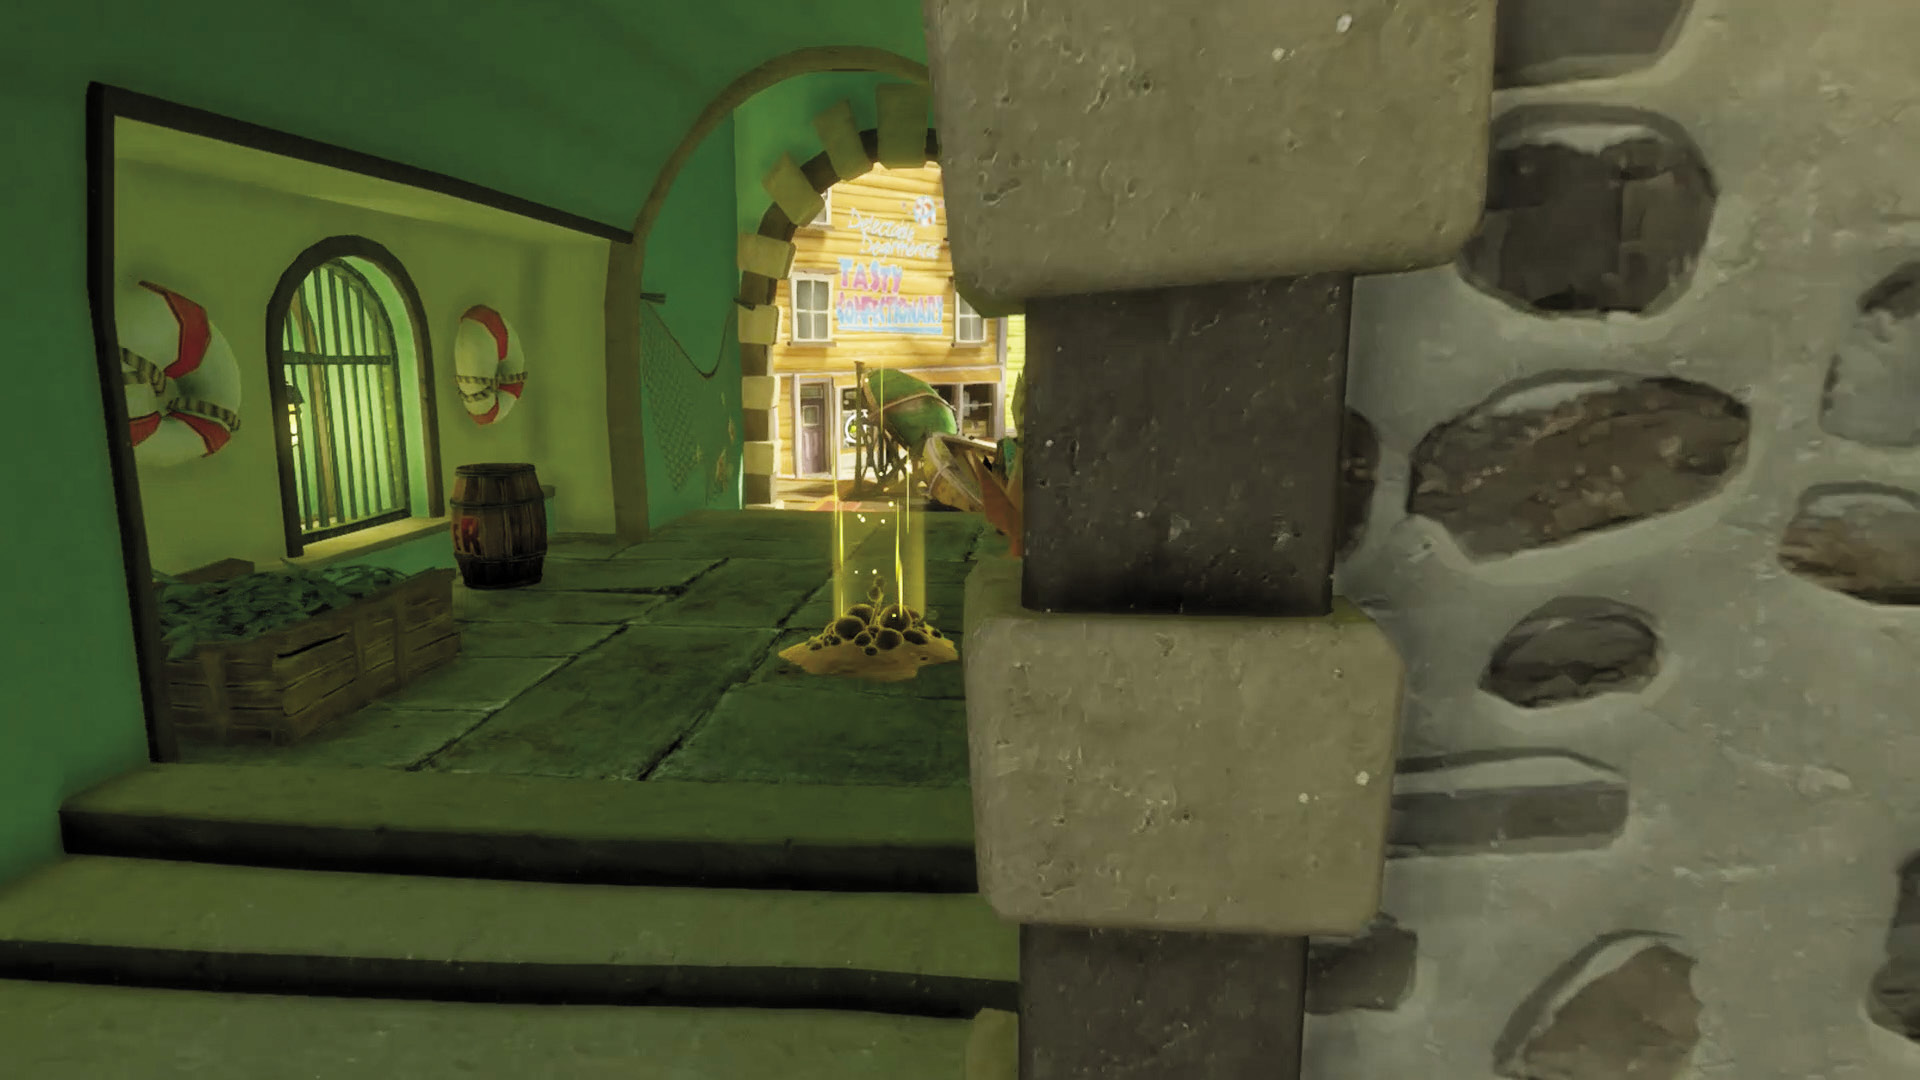
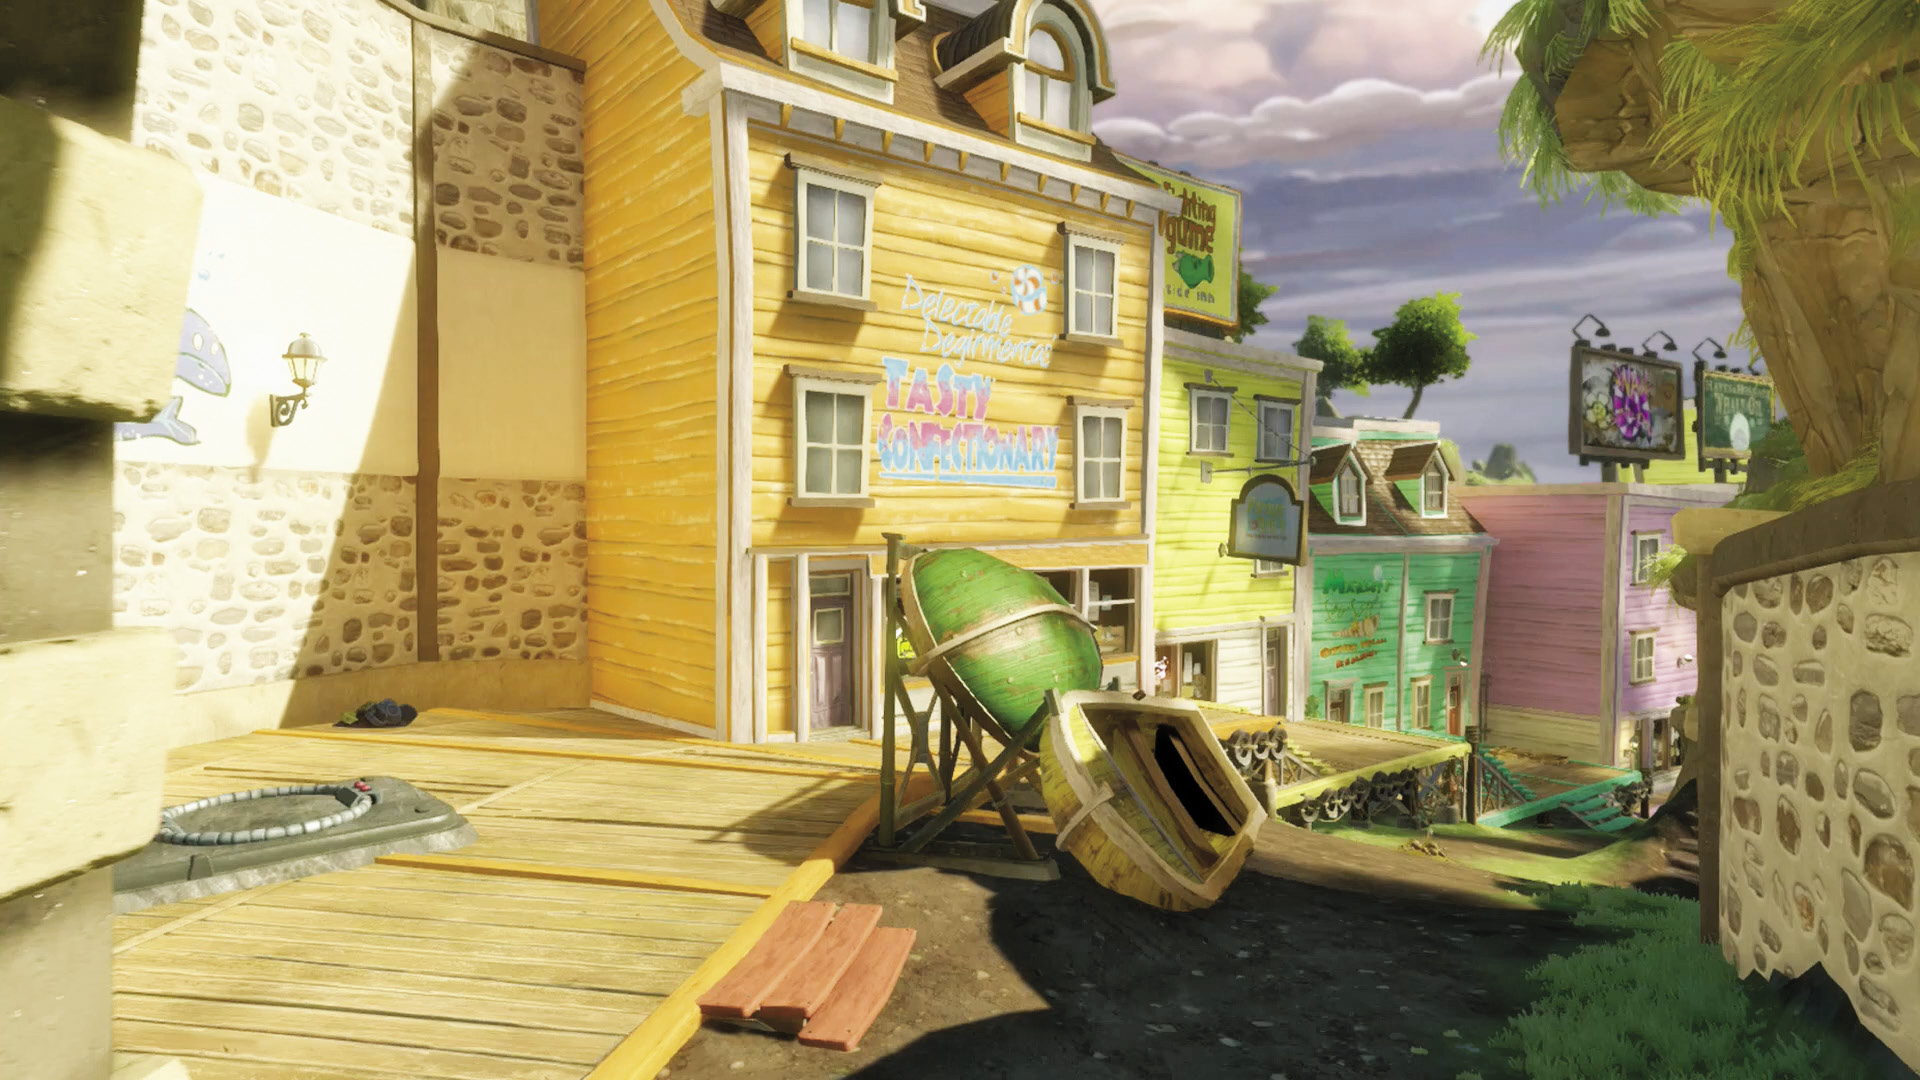
[3] Zombies: This underpass leads to Spawnable Zombies and possibly a Teleporter, and it’ll be harder for the plants to see you coming. It’s also one of the shorter walks to the actual Garden, though if you check the map, you’ll see that that’s not quite saying much.
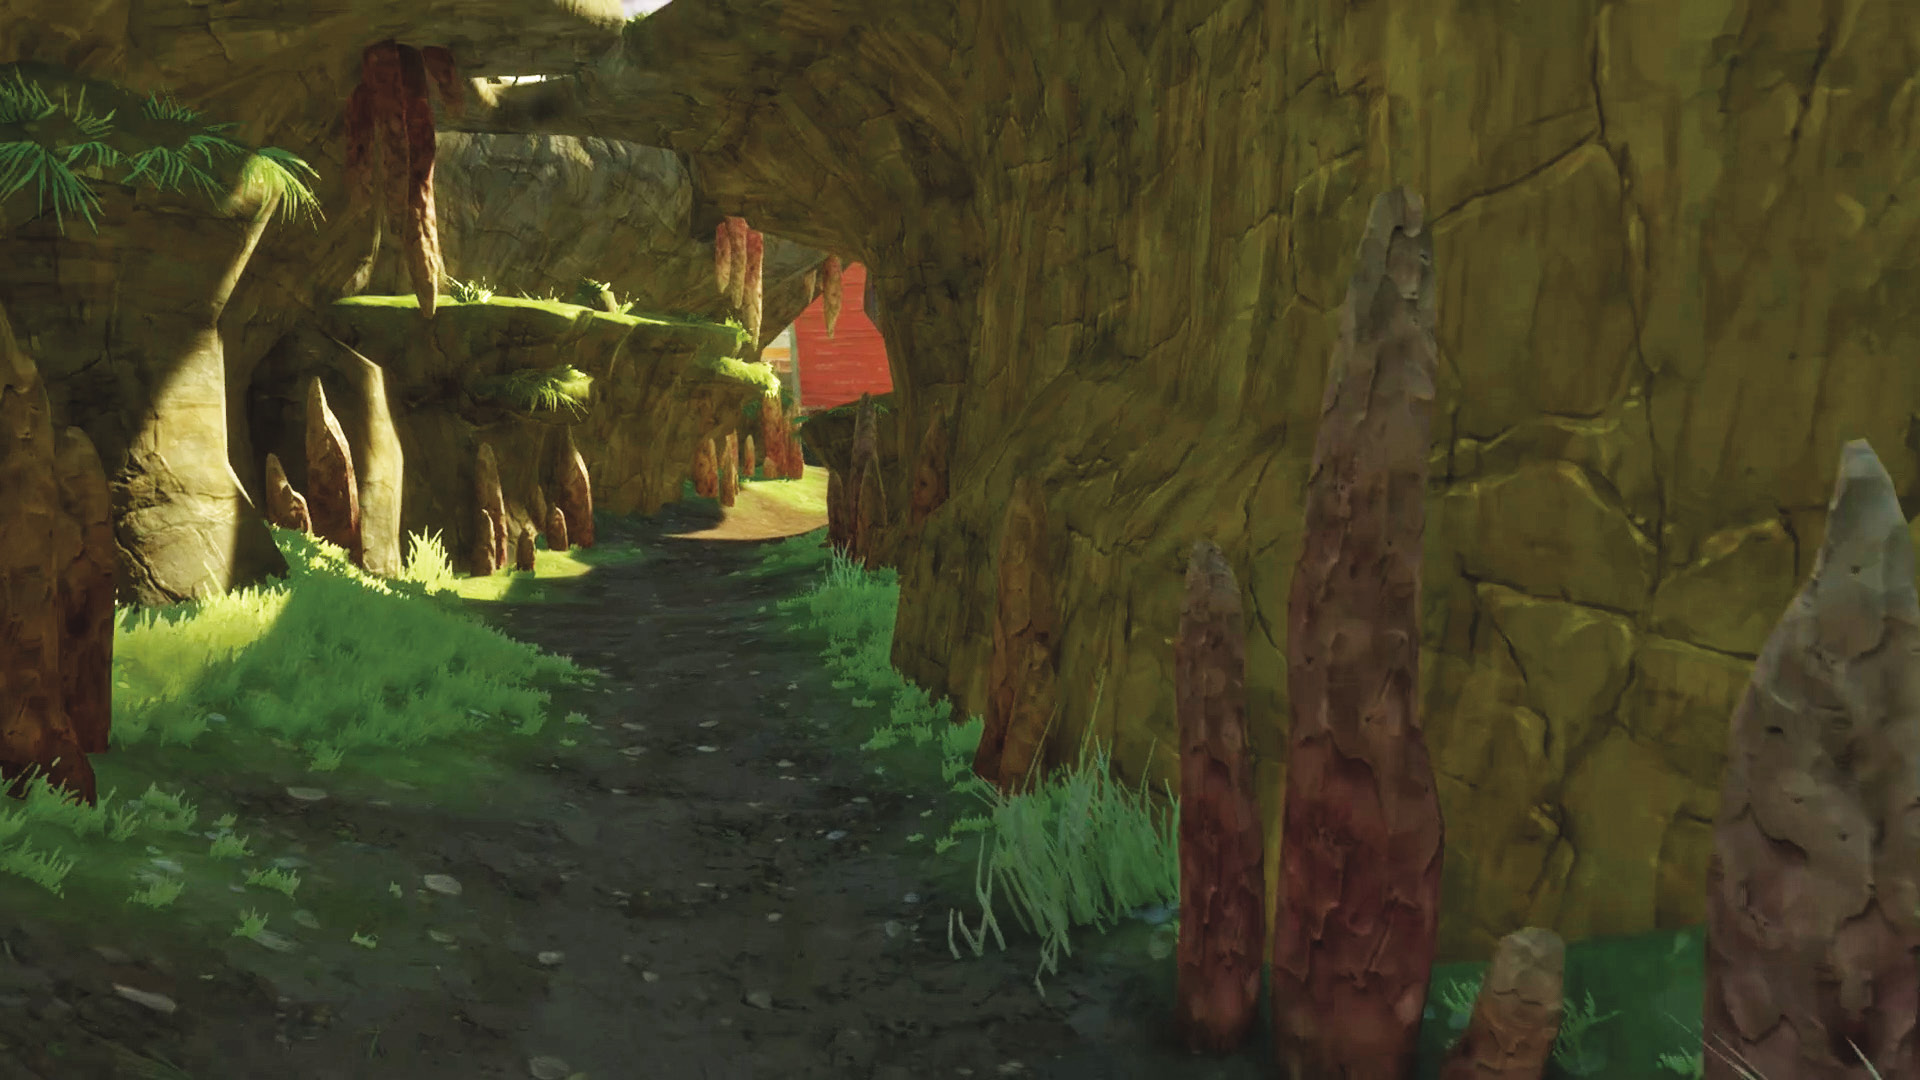
[4] Zombies: This is by far the sneakiest and coolest path you can take on this section of the map. This hidden tunnel leads to a roof that provides an easy view of the Garden, fresh for the sniping, jumping, remote Drone deployment, or whatever trick you can dish out. Do what you will.
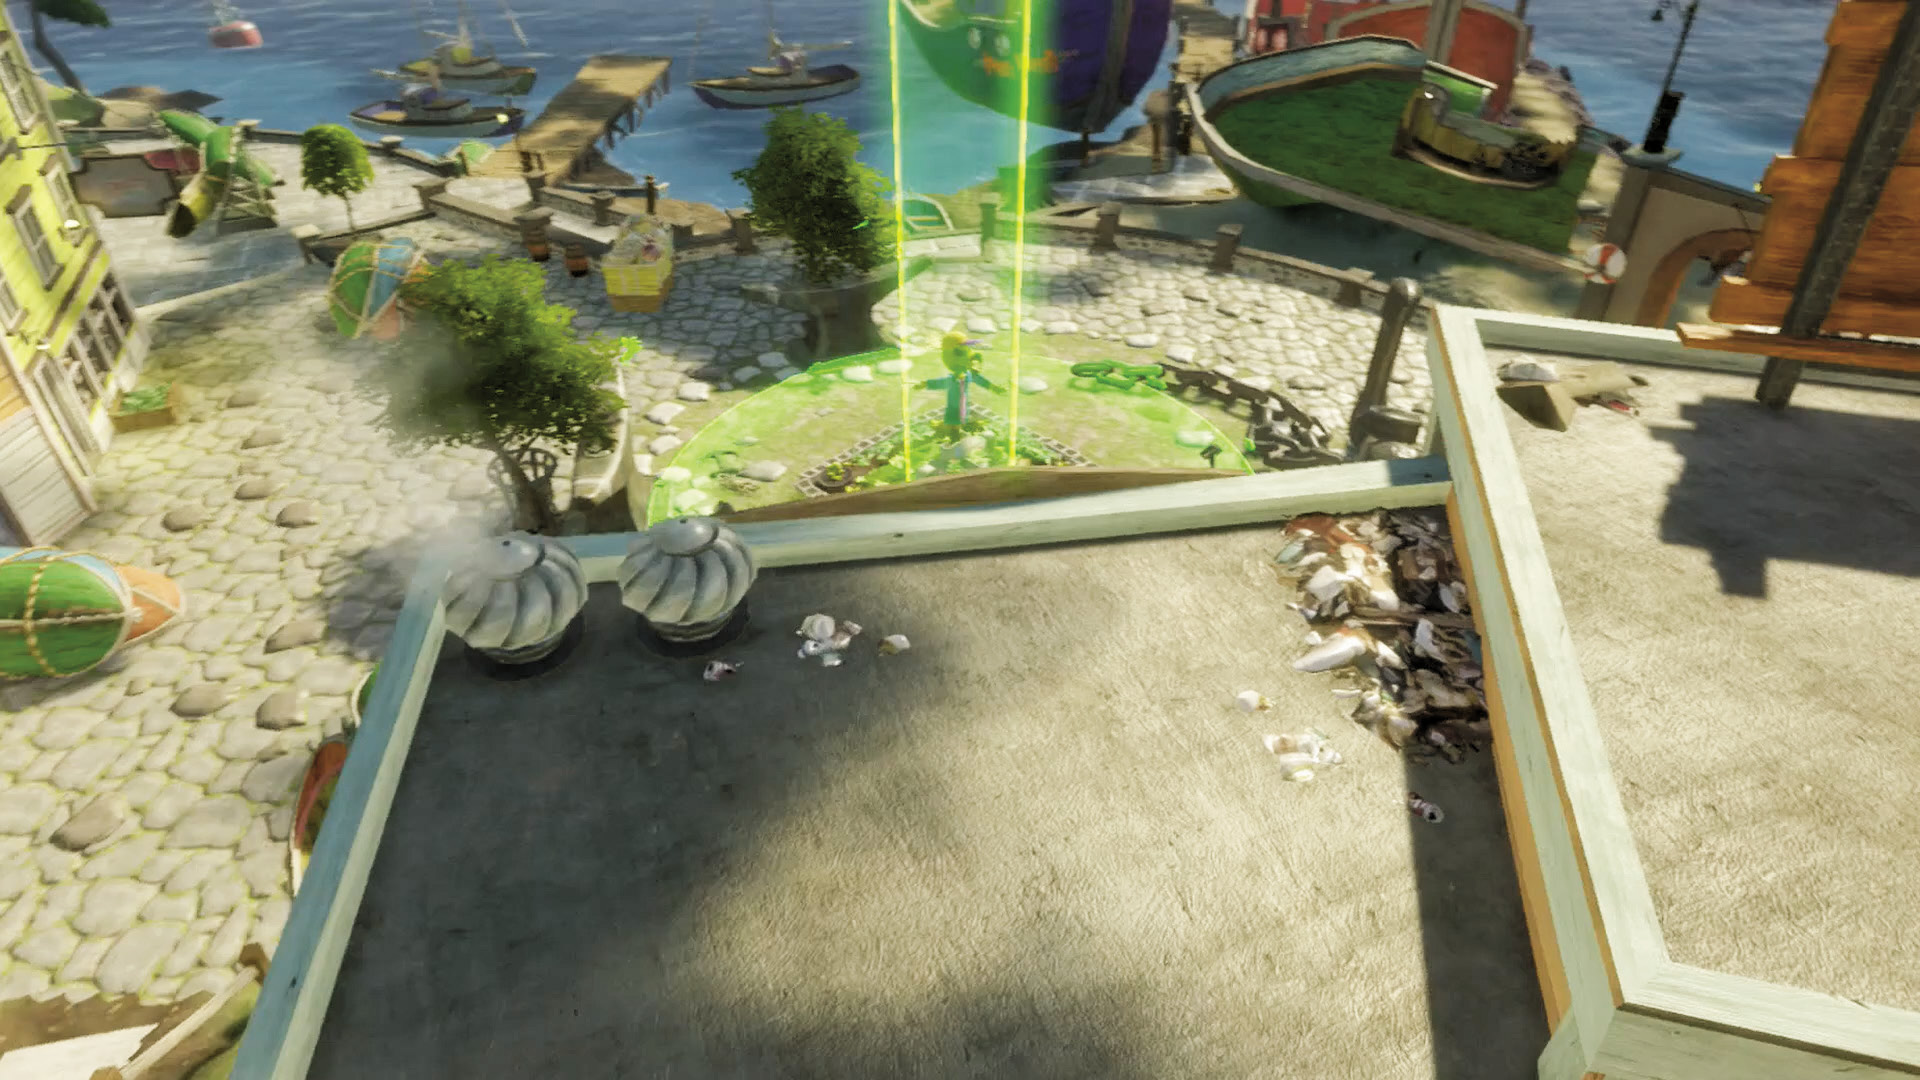
[5] Plants: You’re going to be looking northeast from your base a lot, and you’re going to hate it. It’s an incredible access point for zombies, and they’ll either jump down from it or be trying to snipe from it constantly. Bring your mines and traps, and keep lookouts trained on that roof at all times.
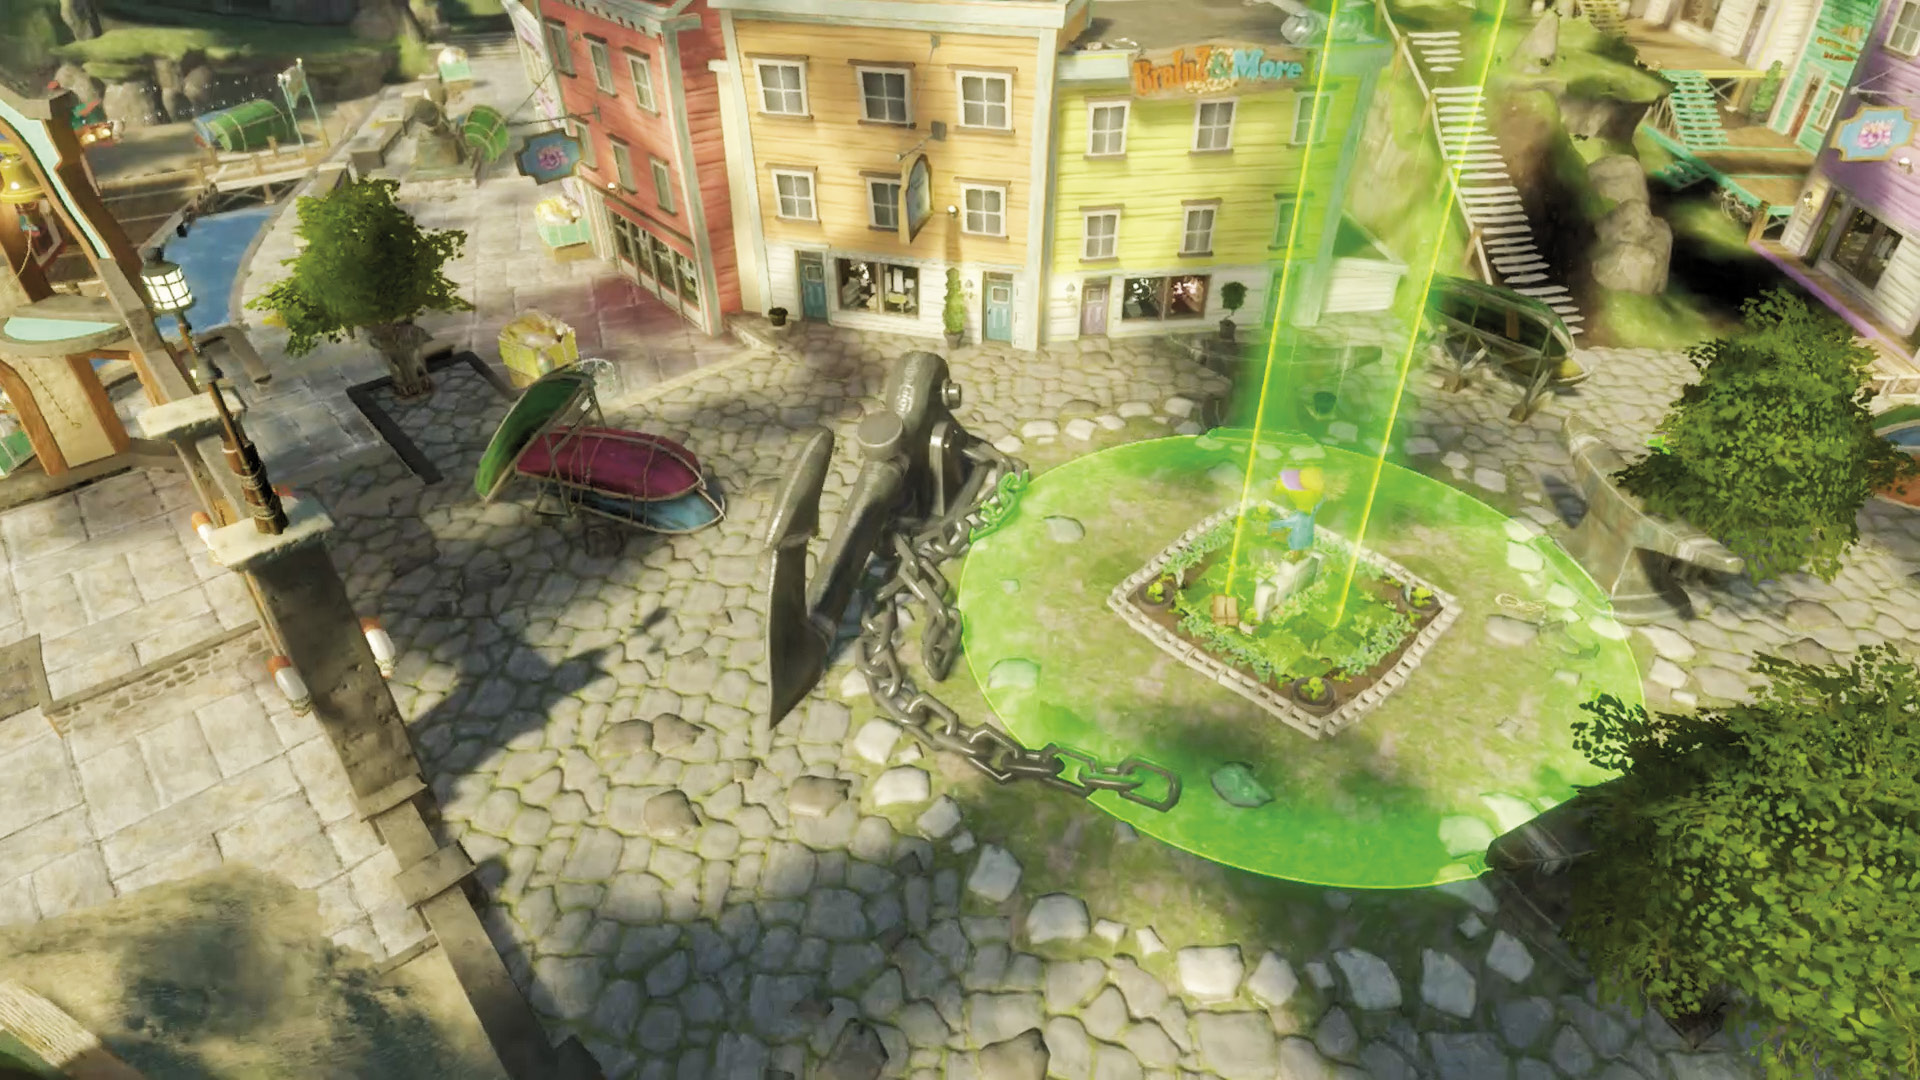
[6] Plants: This Garden is actually much the same as Zomboss Mountain: A semicircle of brutal assaults to watch out for, from above and slightly below ground level. The area’s a little more open this time and the zombies have much better high ground, making this a little tougher. Once again ranged Spawnable Plants are advised, as well as keeping every eye trained on every out-of-the-way spot possible. Most cover on this phase is zombie-controlled as well, though you do have some anchors and anvils to keep you company.
Phase 3: Docks
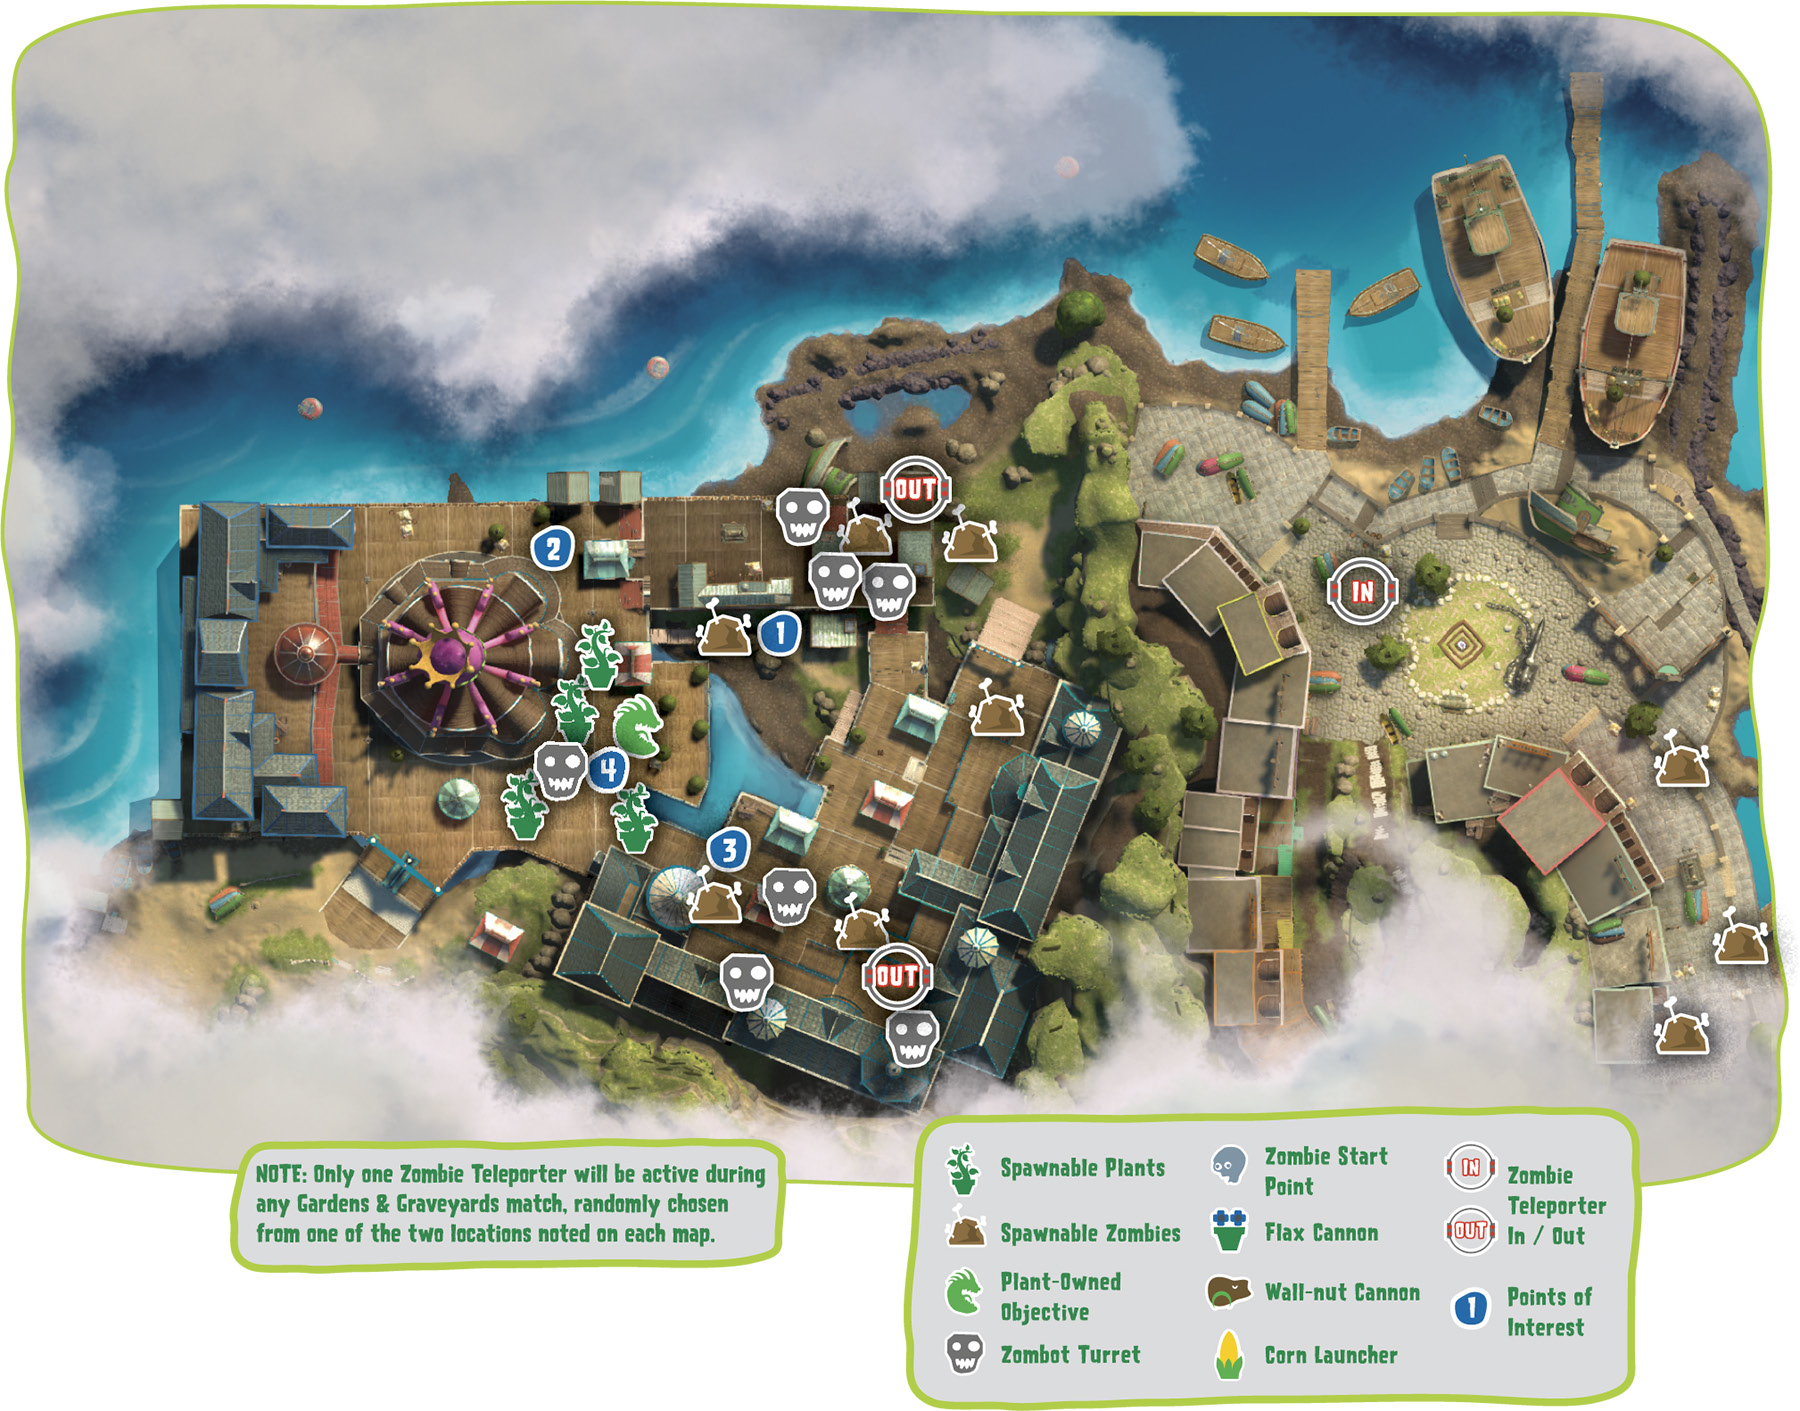
Points of Interest
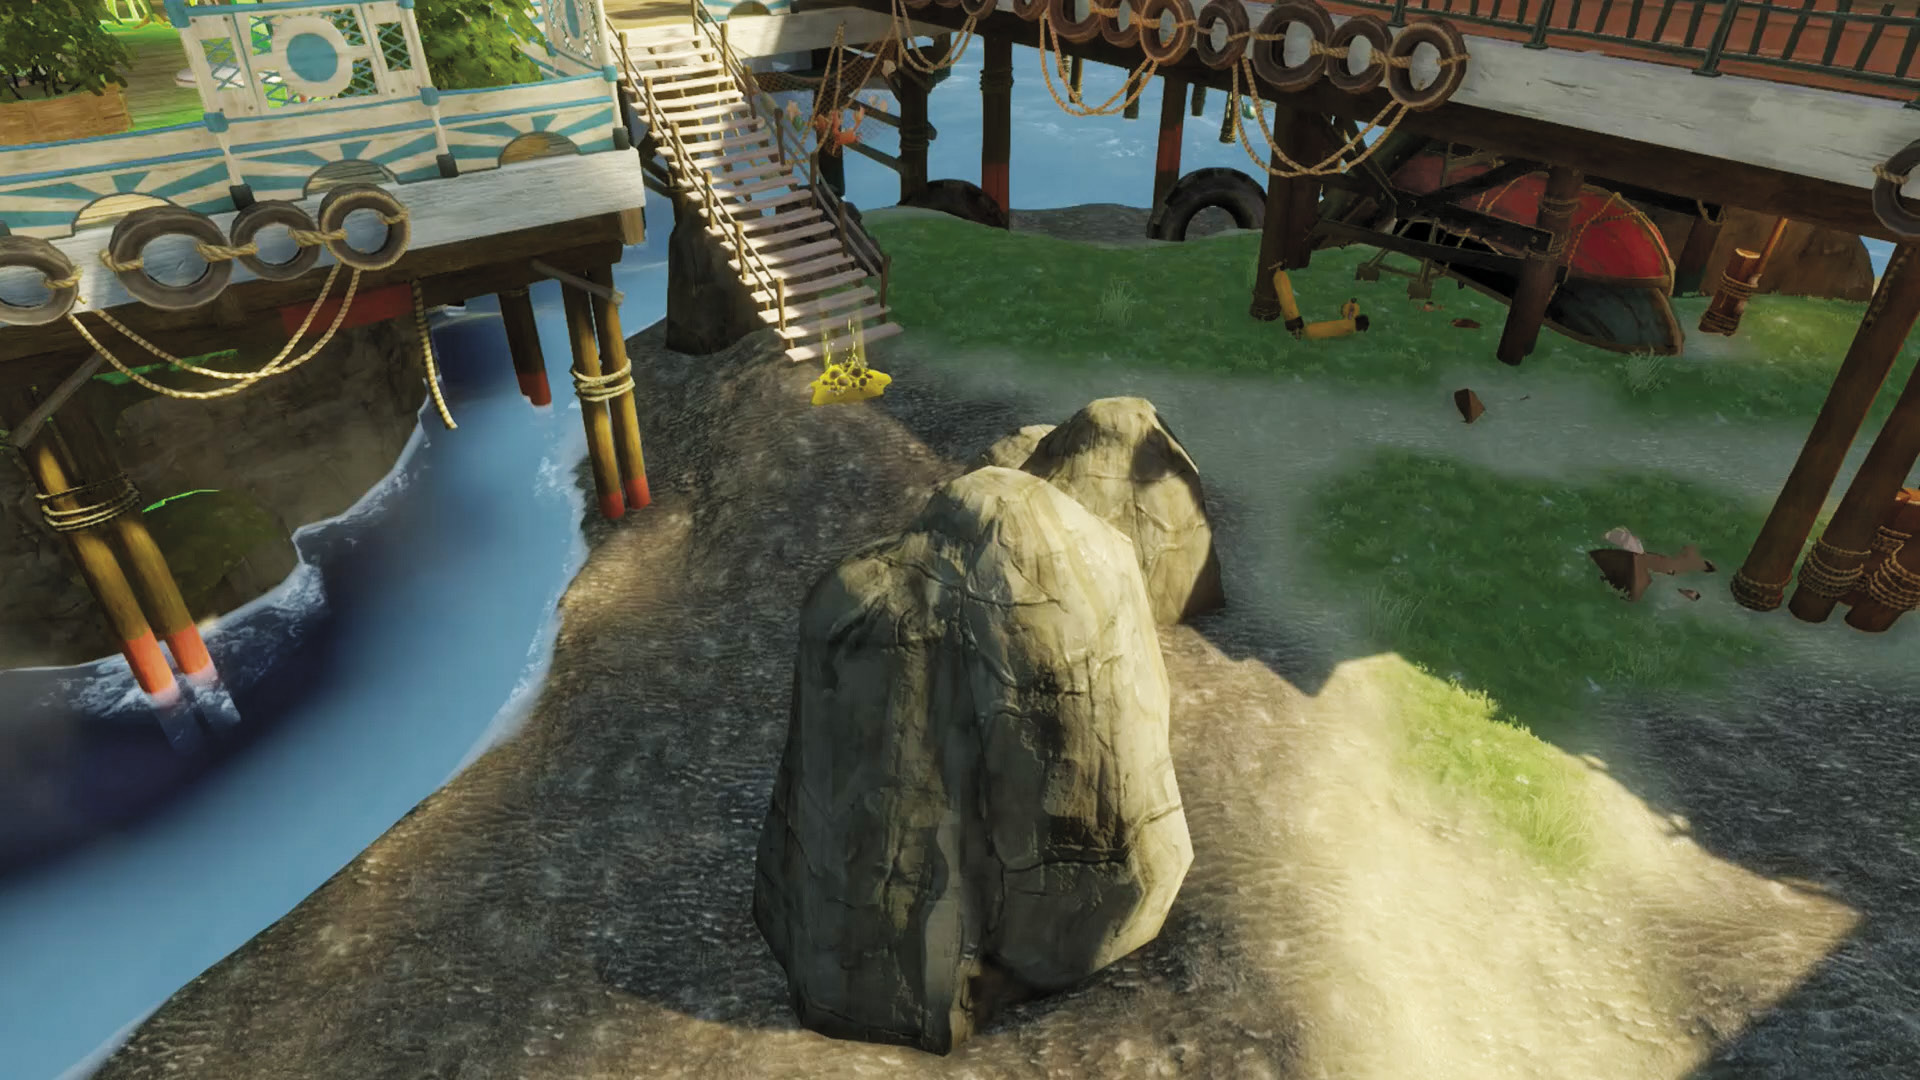
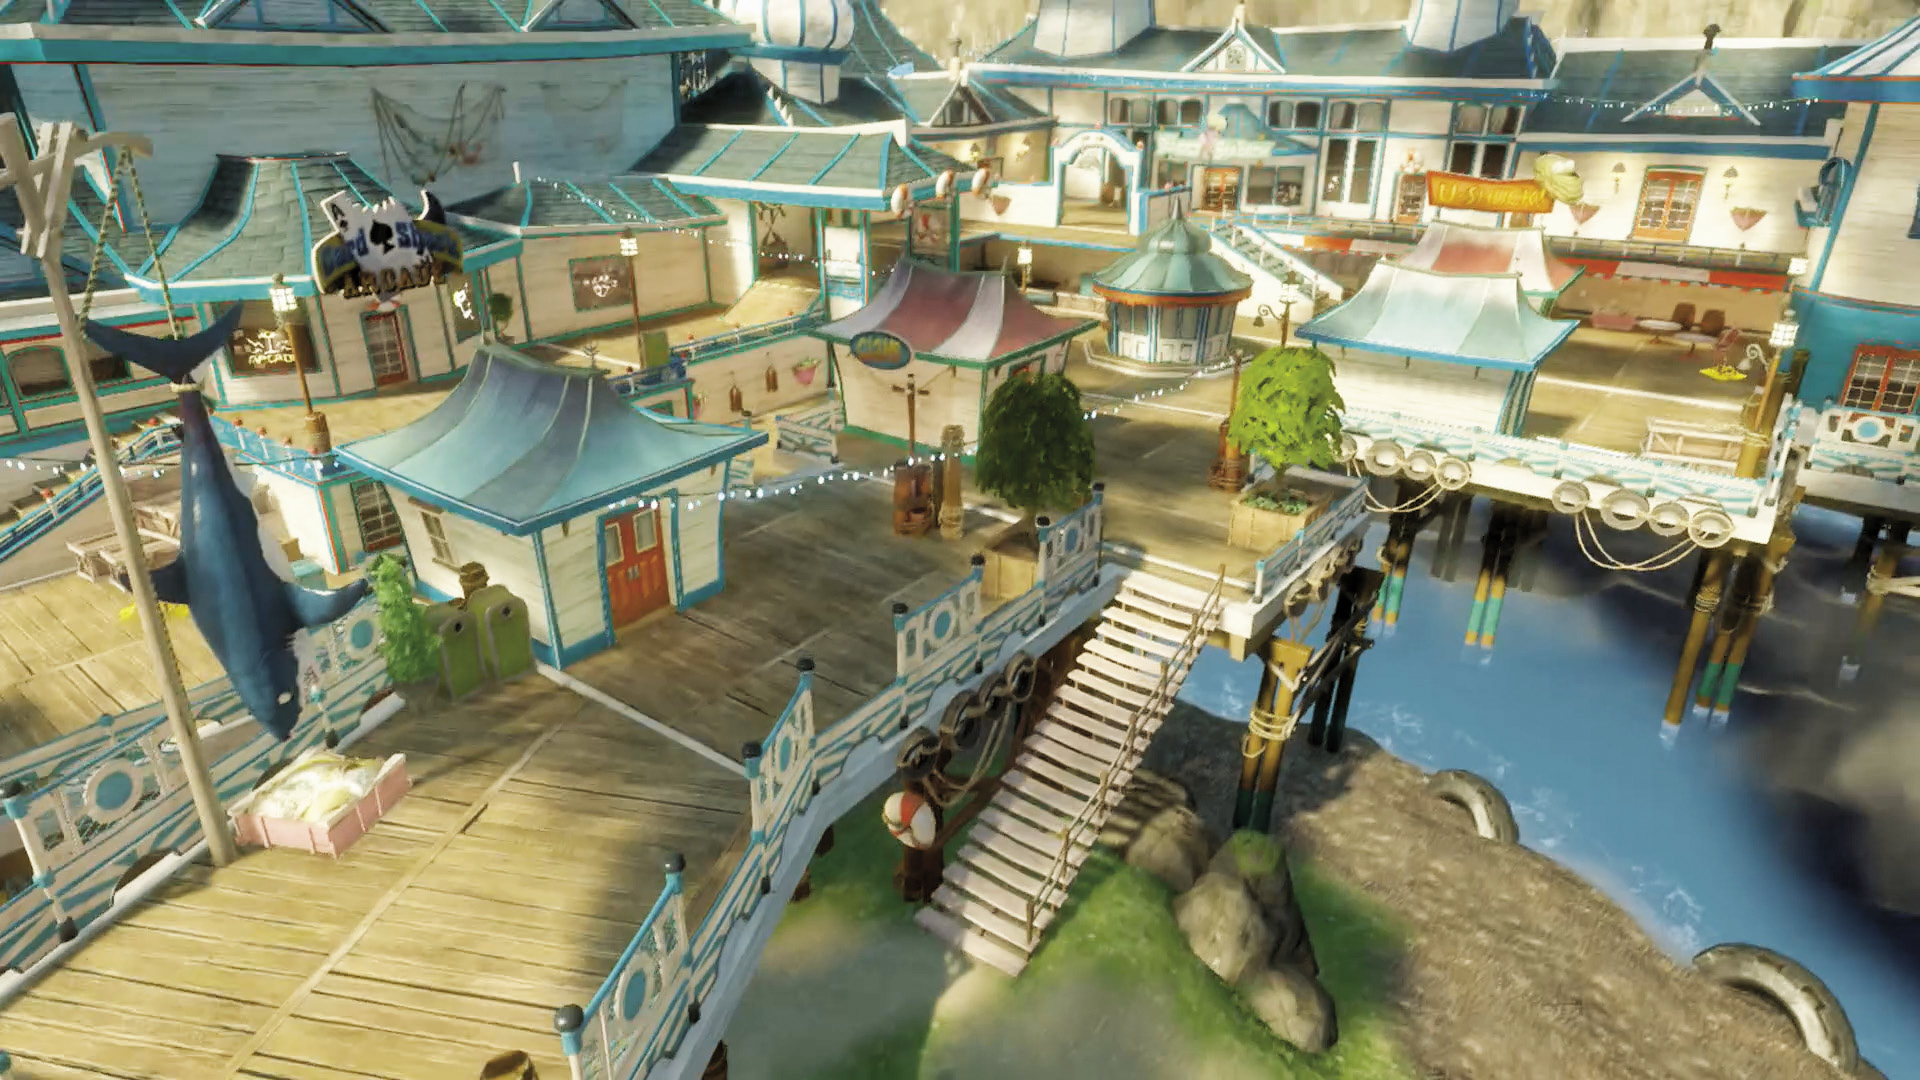
[1] Zombies: There aren’t too many ways to avoid taking the direct approach on this map, but the steps at ground level in this phase allow you to keep your zombies hidden under the docks for as long as possible before you’re ready to make your move. Consider staying at ground level to launch Drones as well.
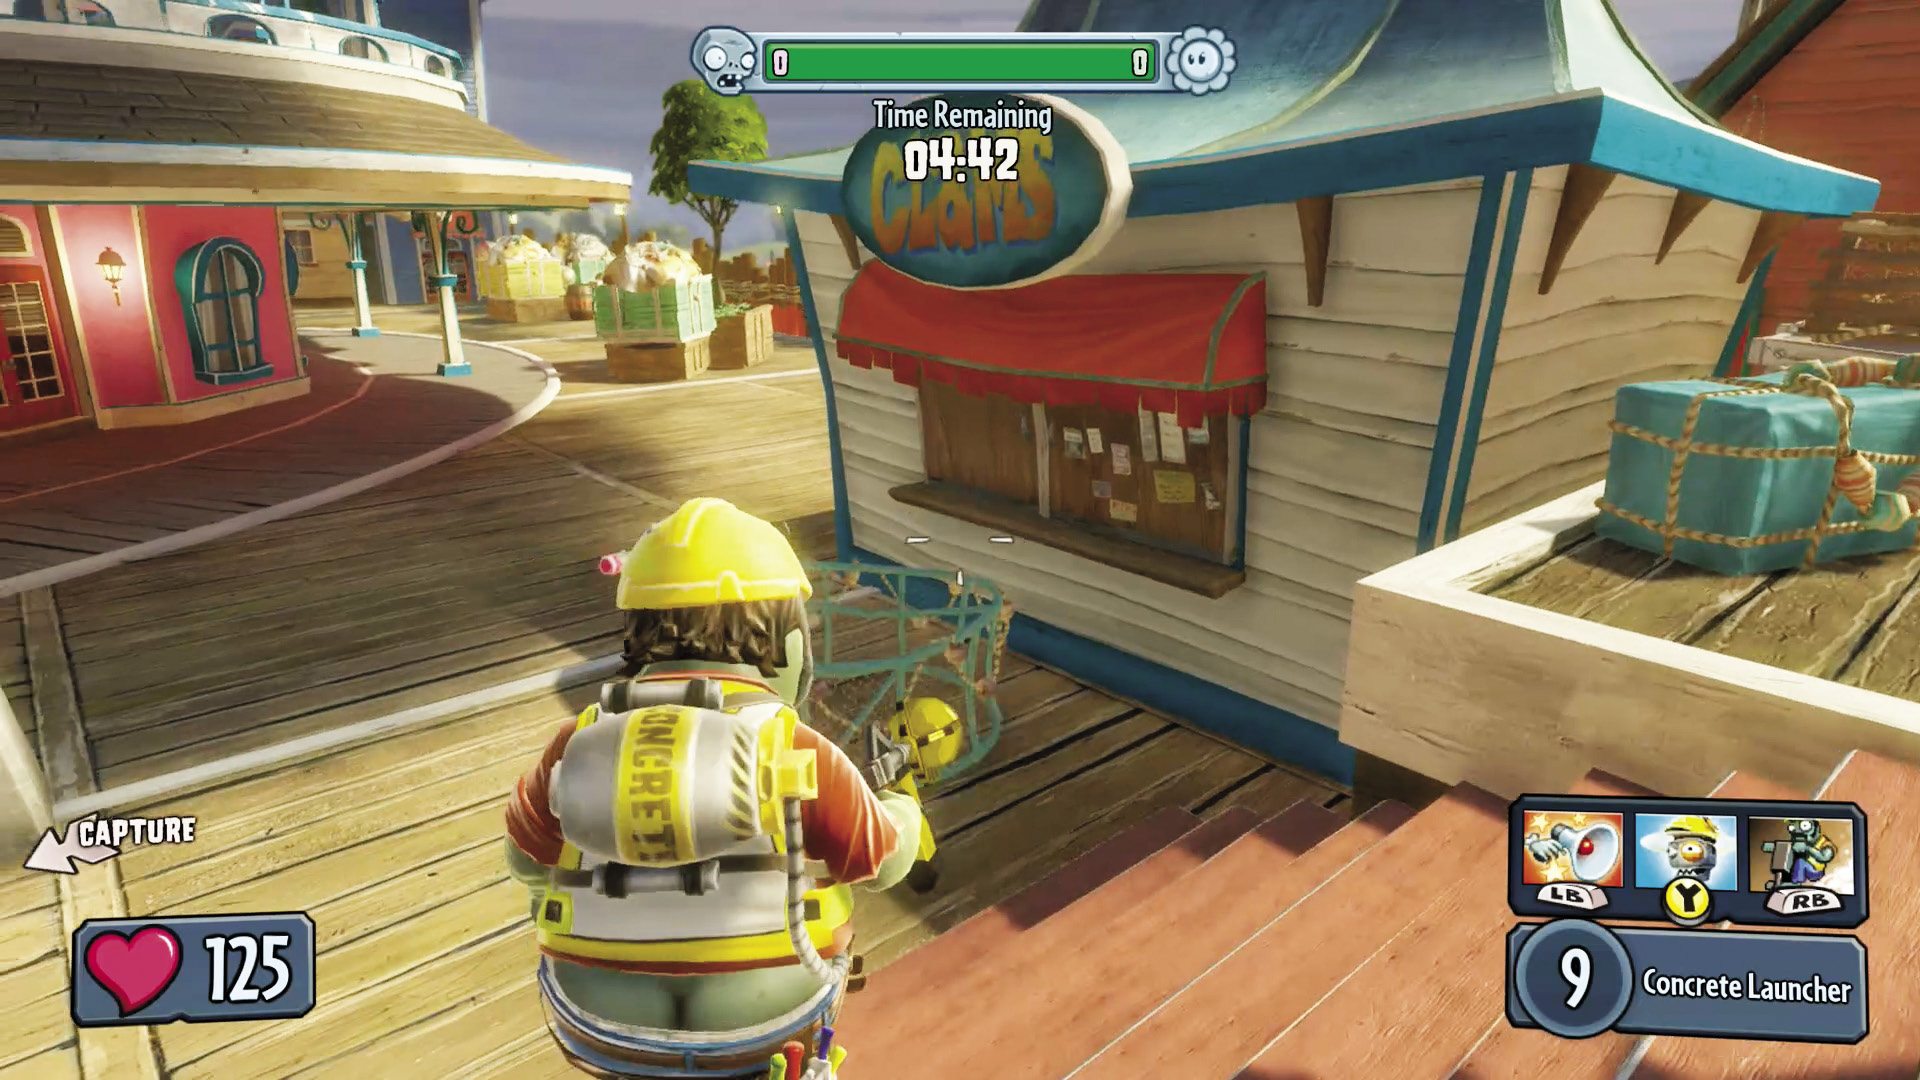
[2] Zombies: Accessible from on one of the stairways in [1] as well as one of the Teleporters, this is the other good way to flank the Garden.
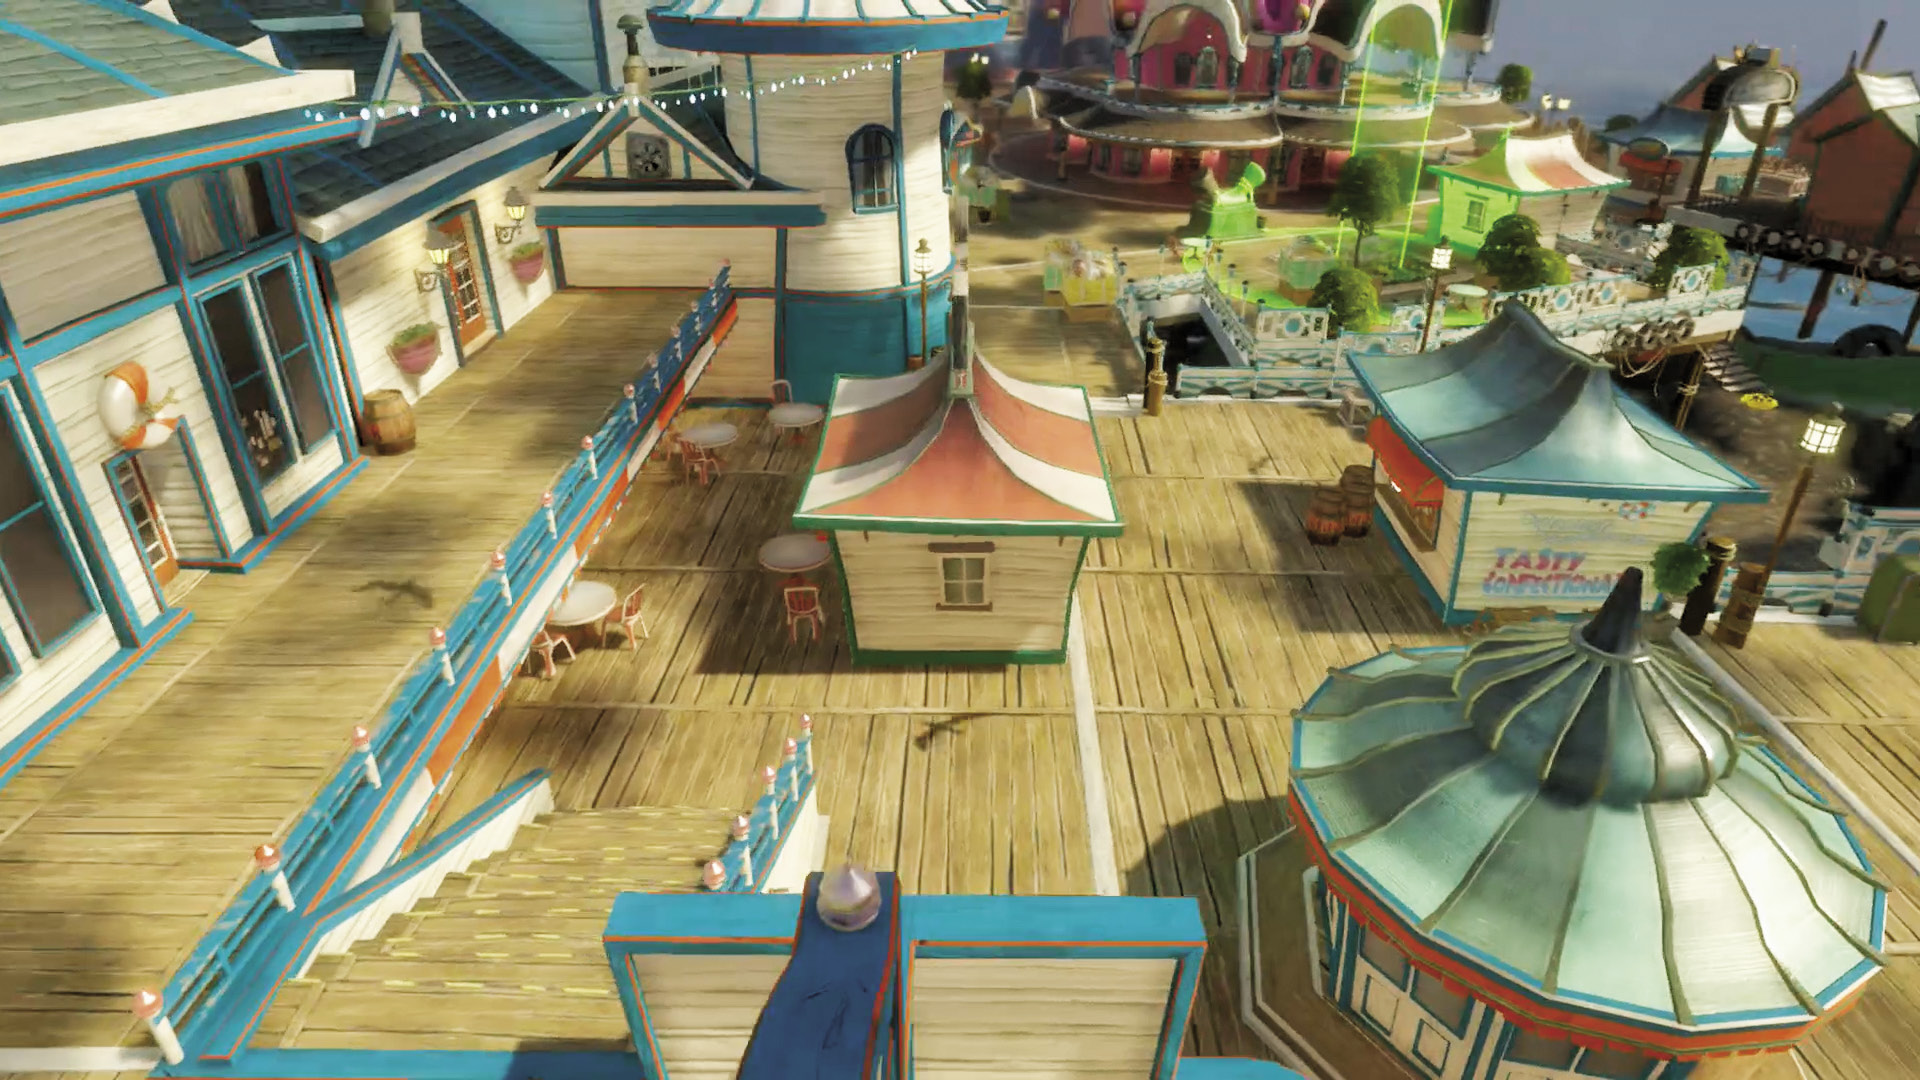
[3] Zombies: Given an on-foot approach, there’s little way the enemy won’t see you coming. However, the docks themselves provide several good perches from which to mount a long-range assault to the Garden. The buildings give good cover as well.
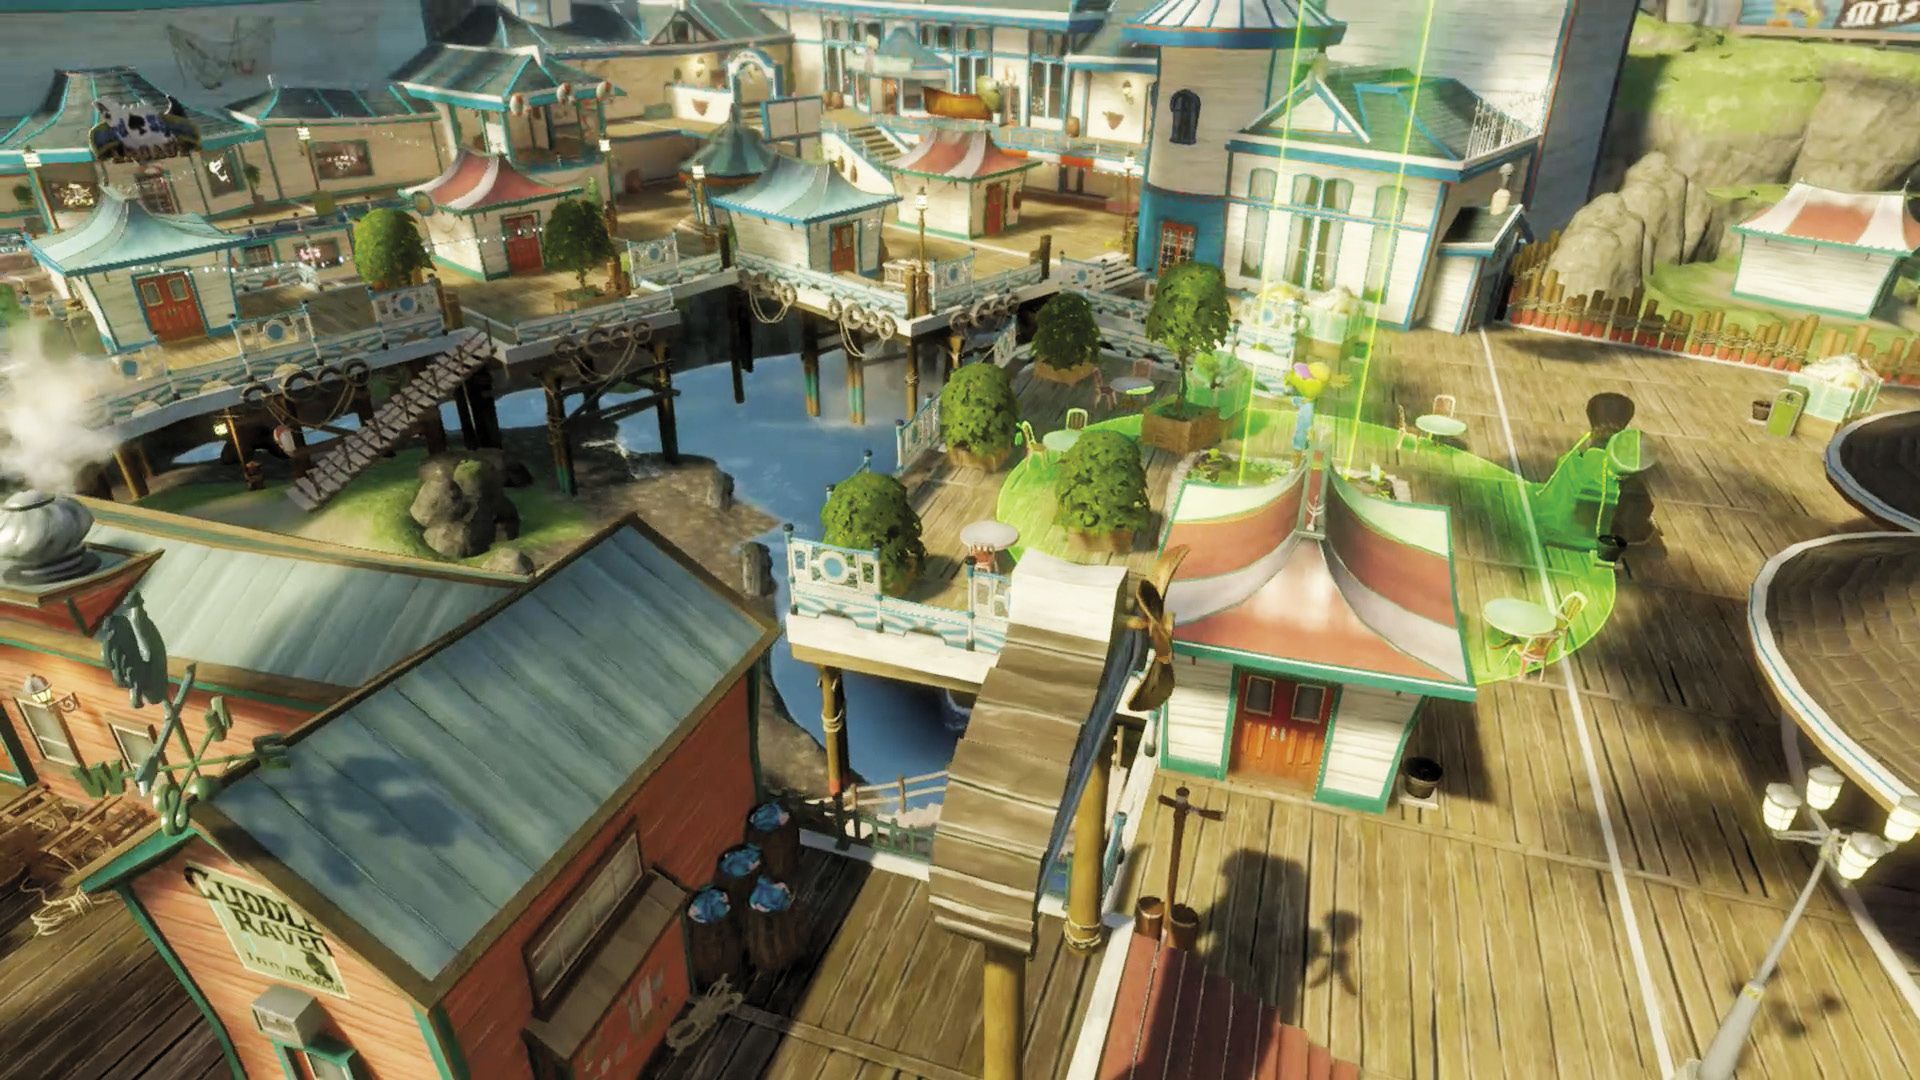
[4] Plants: An easy-to-defend rear and sides, combined with close quarters for your Garden, means you’ll have a much easier time of this than in the first two phases. It’s actually a good idea to spread out your sphere of influence slightly so that zombies don’t get a chance to overpopulate. As you do so, watch out for attacks from above and behind from units with high-jumping capabilities. In all, consider this the calm before the storm; the Castle gets absolutely crazy!
Phase 4: Castle
Points of Interest
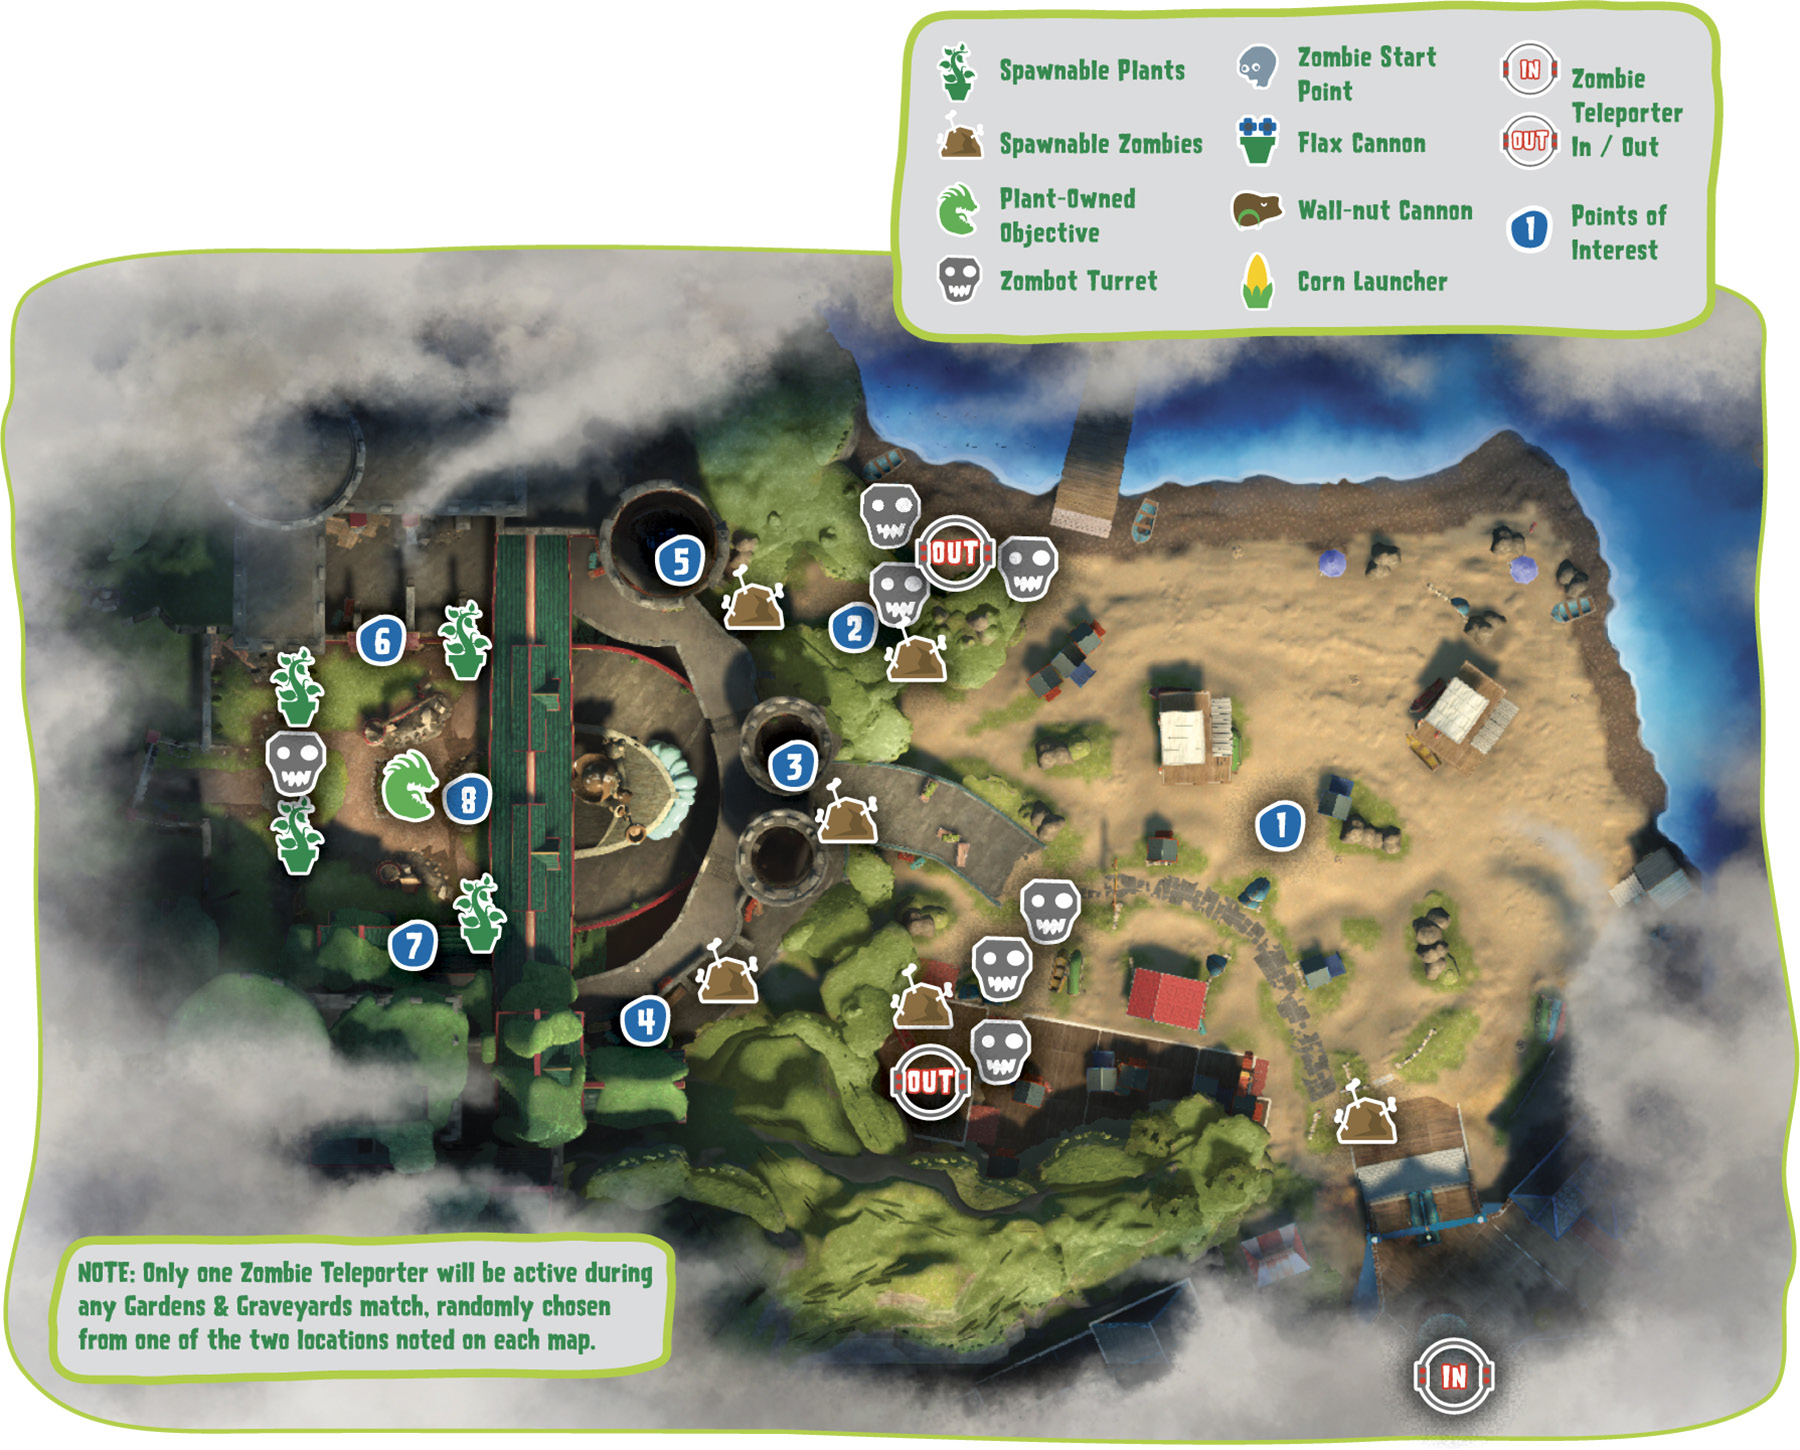
[1] Zombies: There’s just one word to describe the beach—madness. It’s a massive battlefield with flimsy cover and you’ll have to trudge through it to make it to the castle. However, for much of while you’re out in the open, you’re sitting ducks for the plants unless you exercise smart team interplay with your units. Do so.
Plants: If at all possible, get out here and stop the zombies from gaining as much ground as you can. If you don’t, they can weed through the castle and make your life miserable.
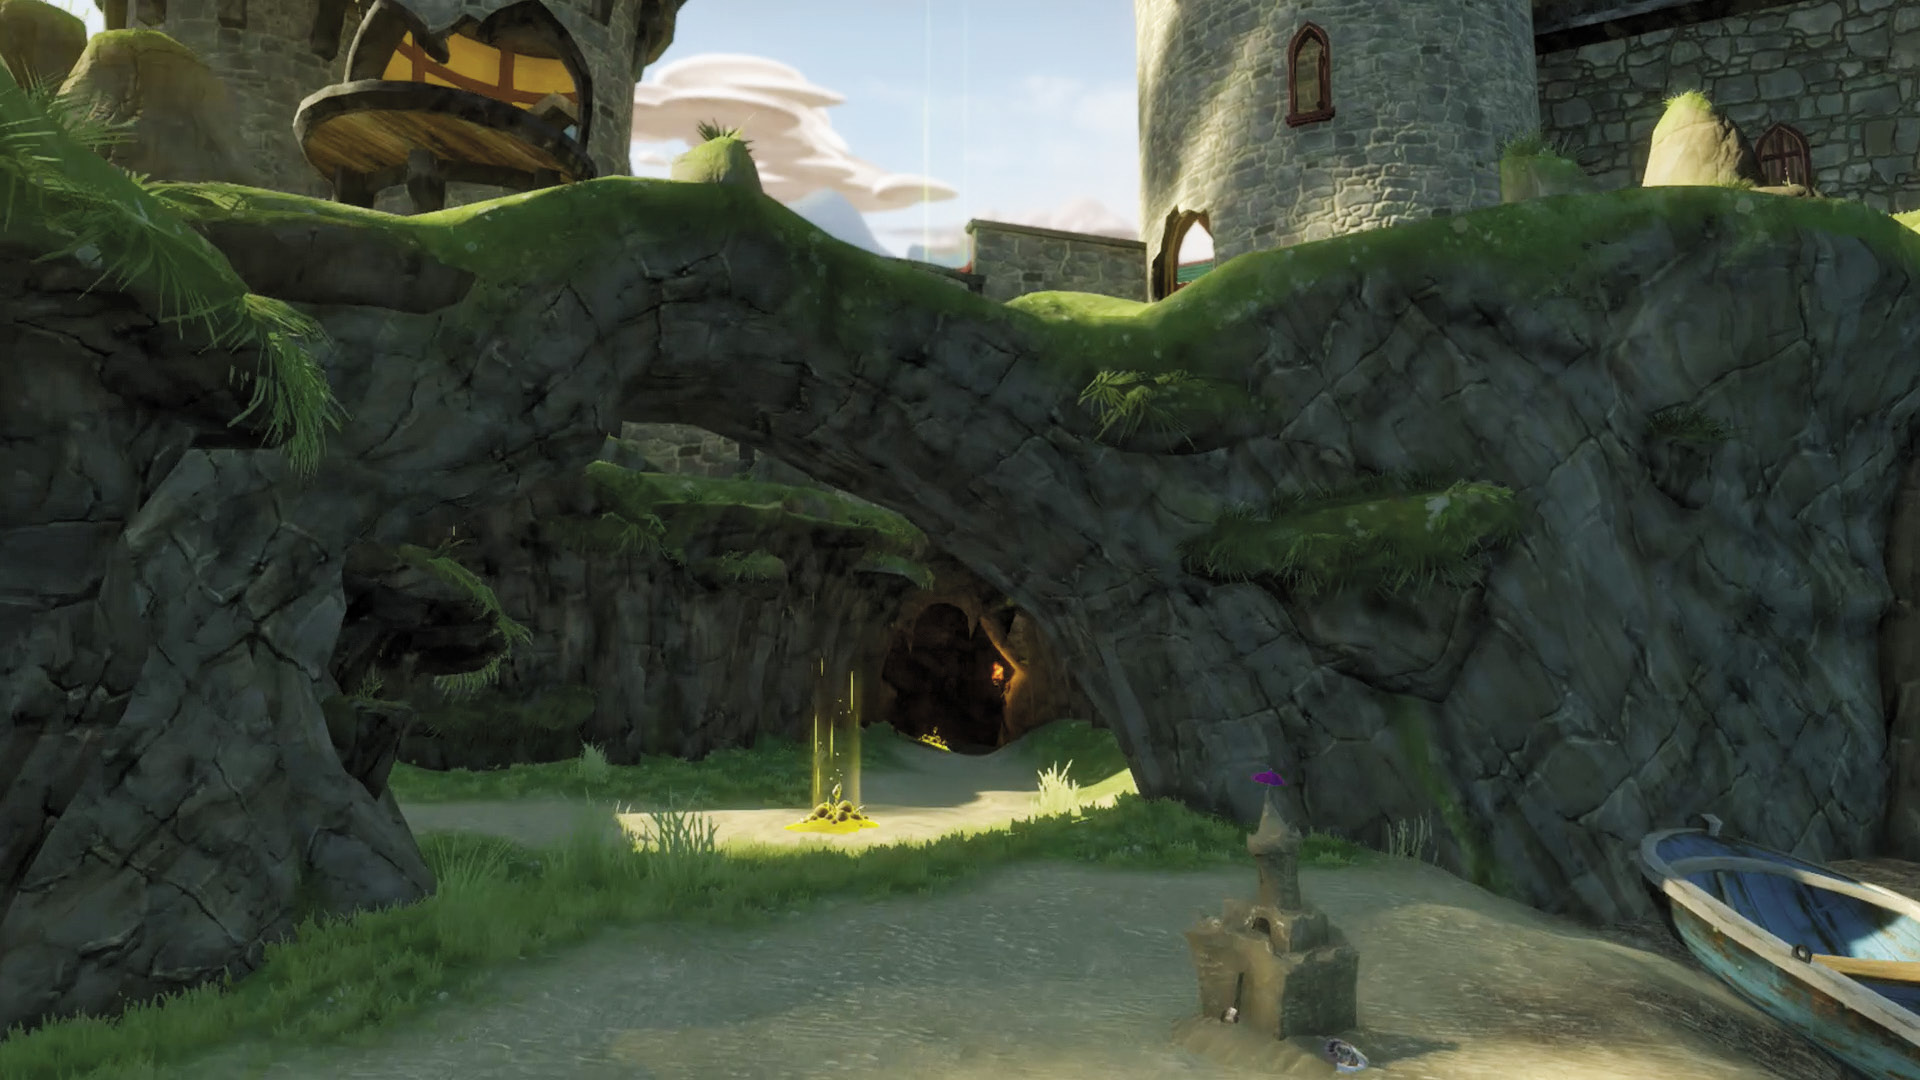
[2] Zombies: This cave leads directly to one of the Castle’s towers, and some excellent infiltration and sniping areas, so be sure to direct some zombies here. There’s a chance that a Teleporter will lead here as well, making this tactic all the more accessible.
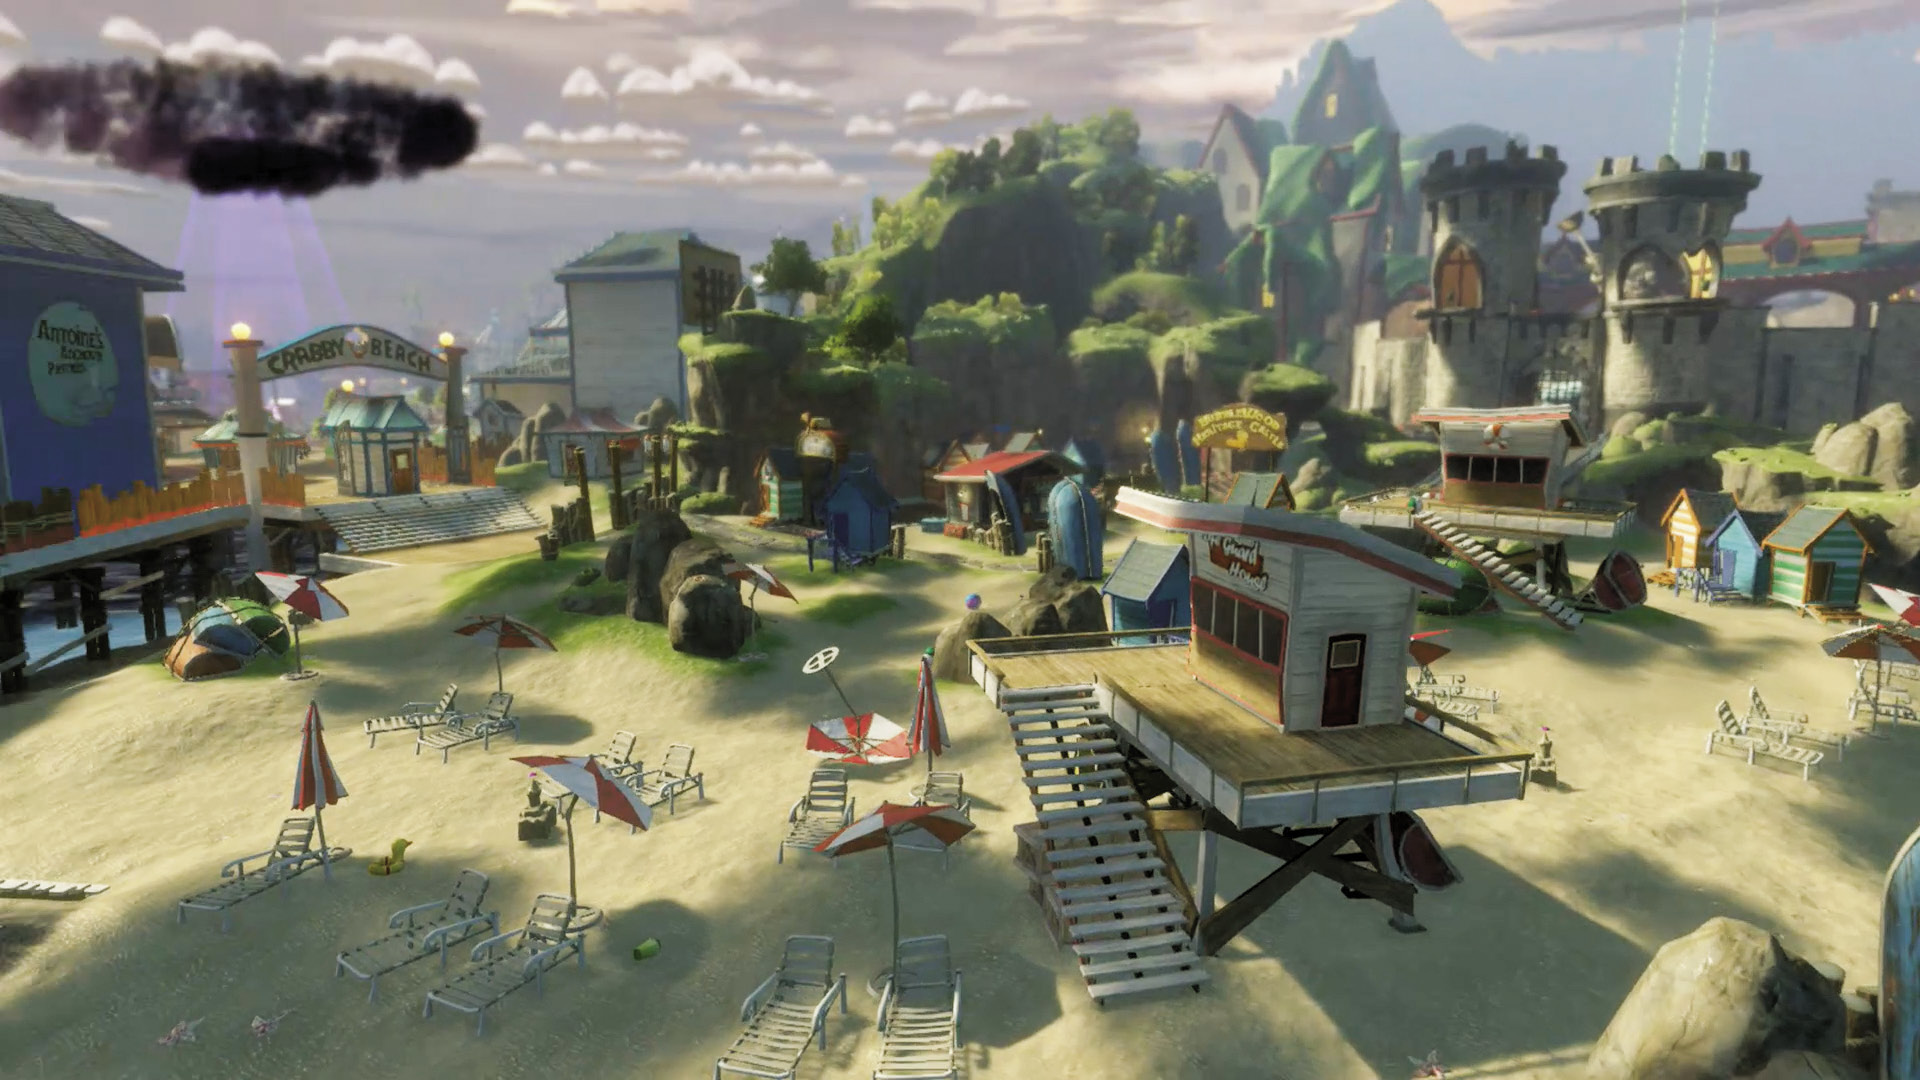
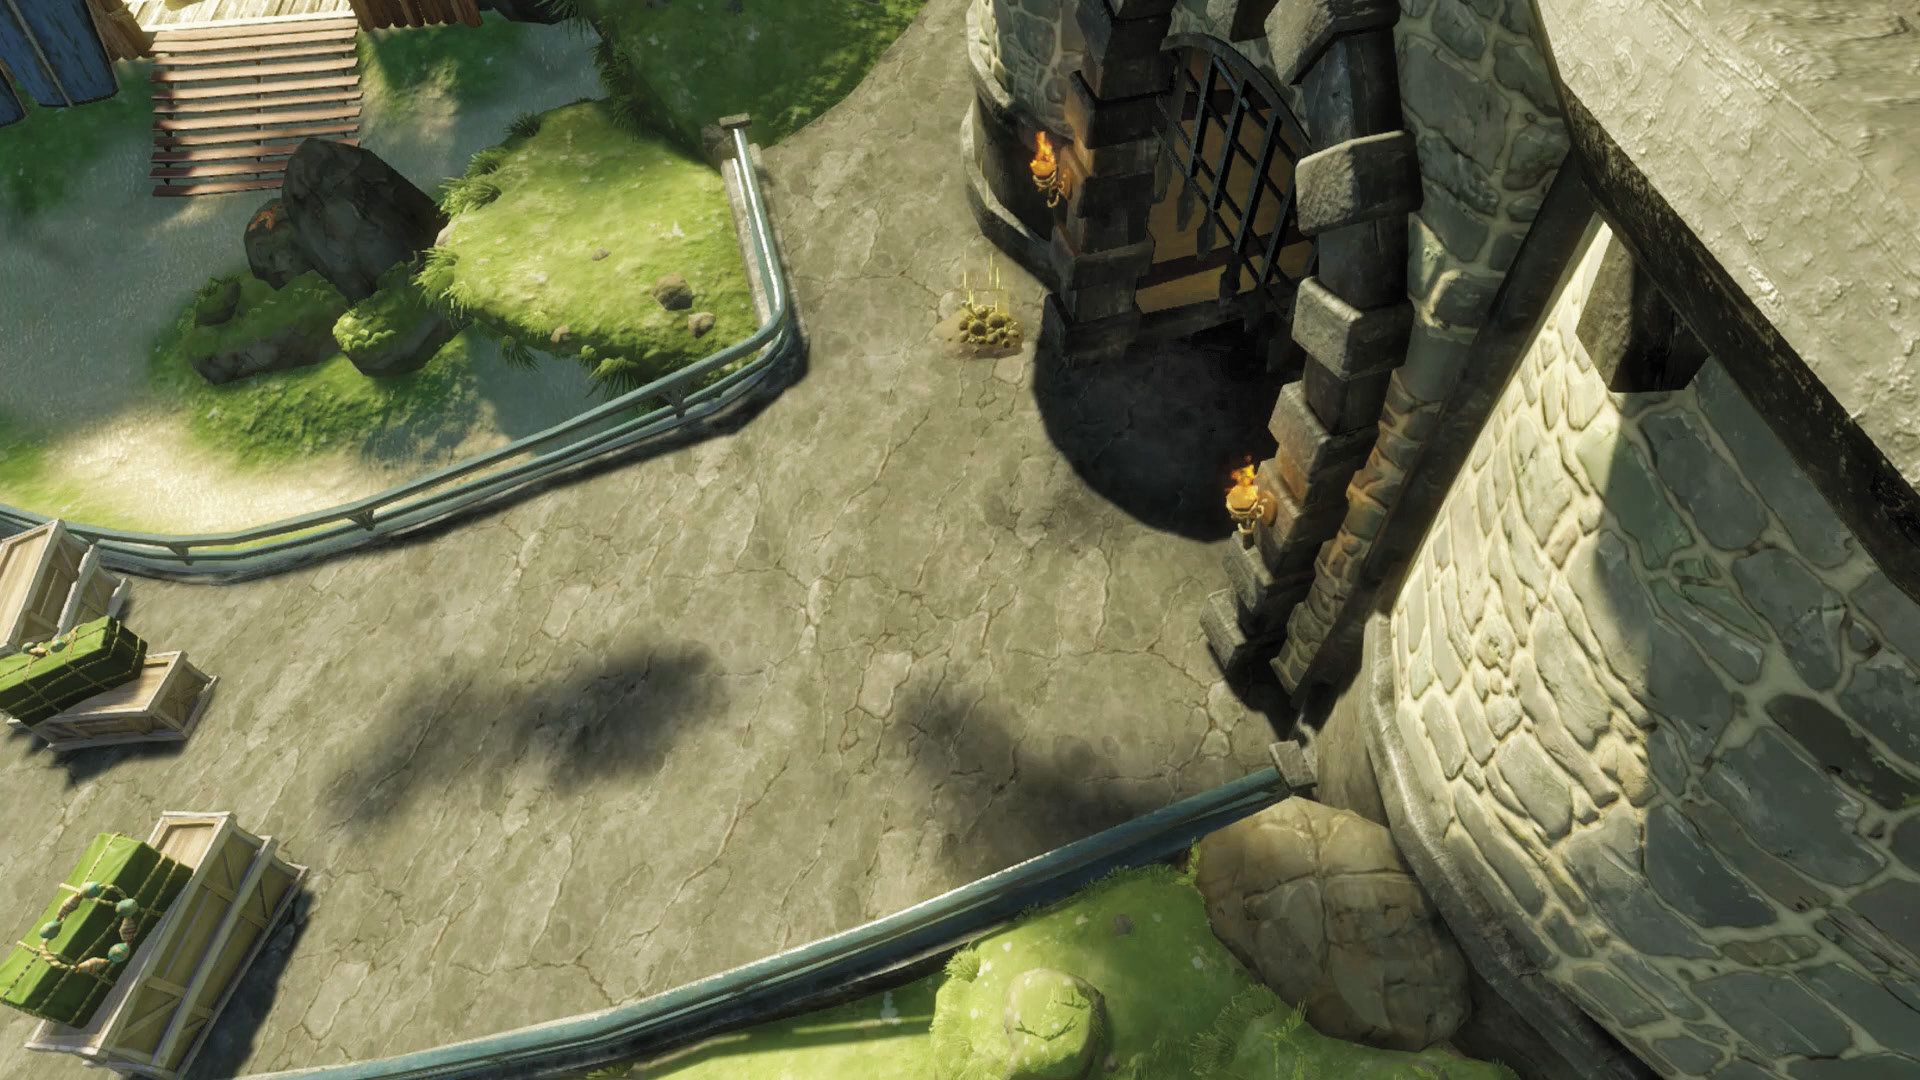
[3] Zombies: Storming the front of the castle isn’t as bad an idea as you might think, but go for the sides as much as possible first.
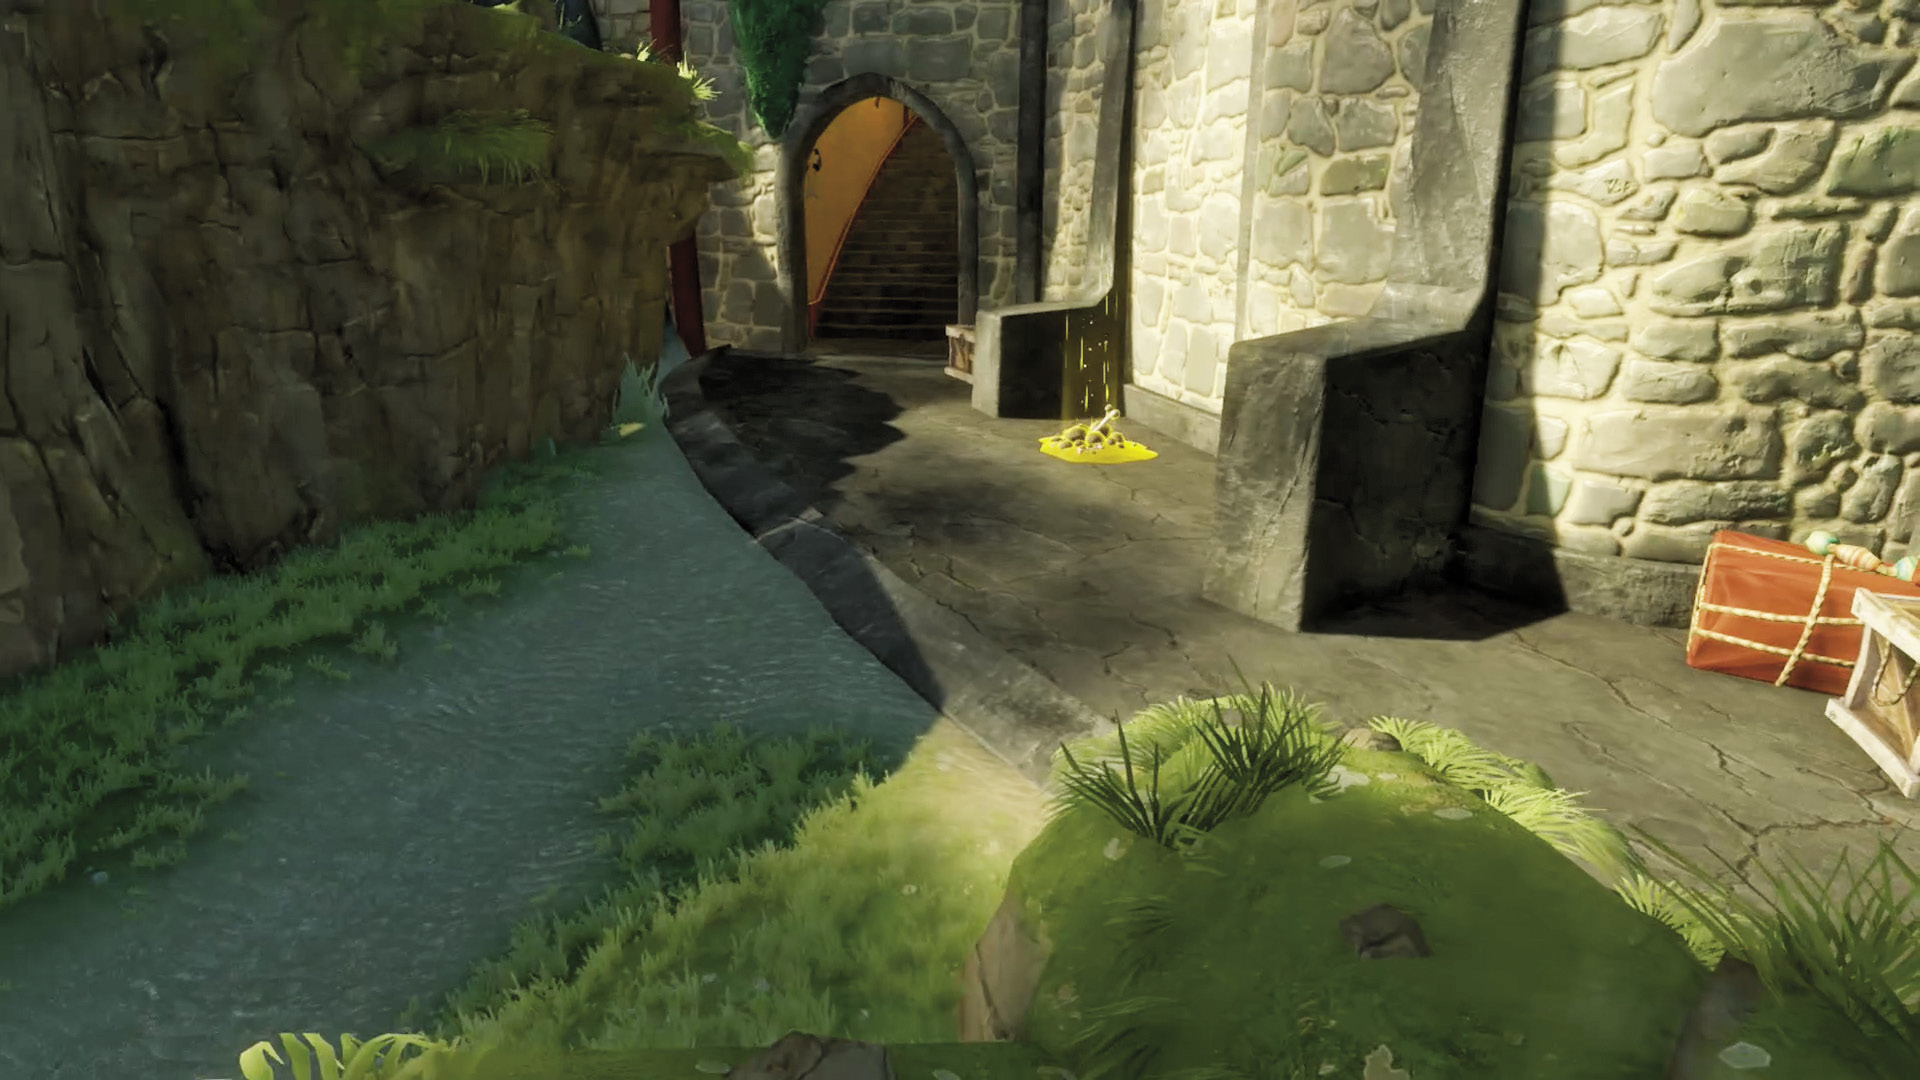
[4] Zombies: Case in point: this side entrance leads upward and ever closer to a great spot overlooking the plants’ Garden. Expect plants to defend it with their lives.
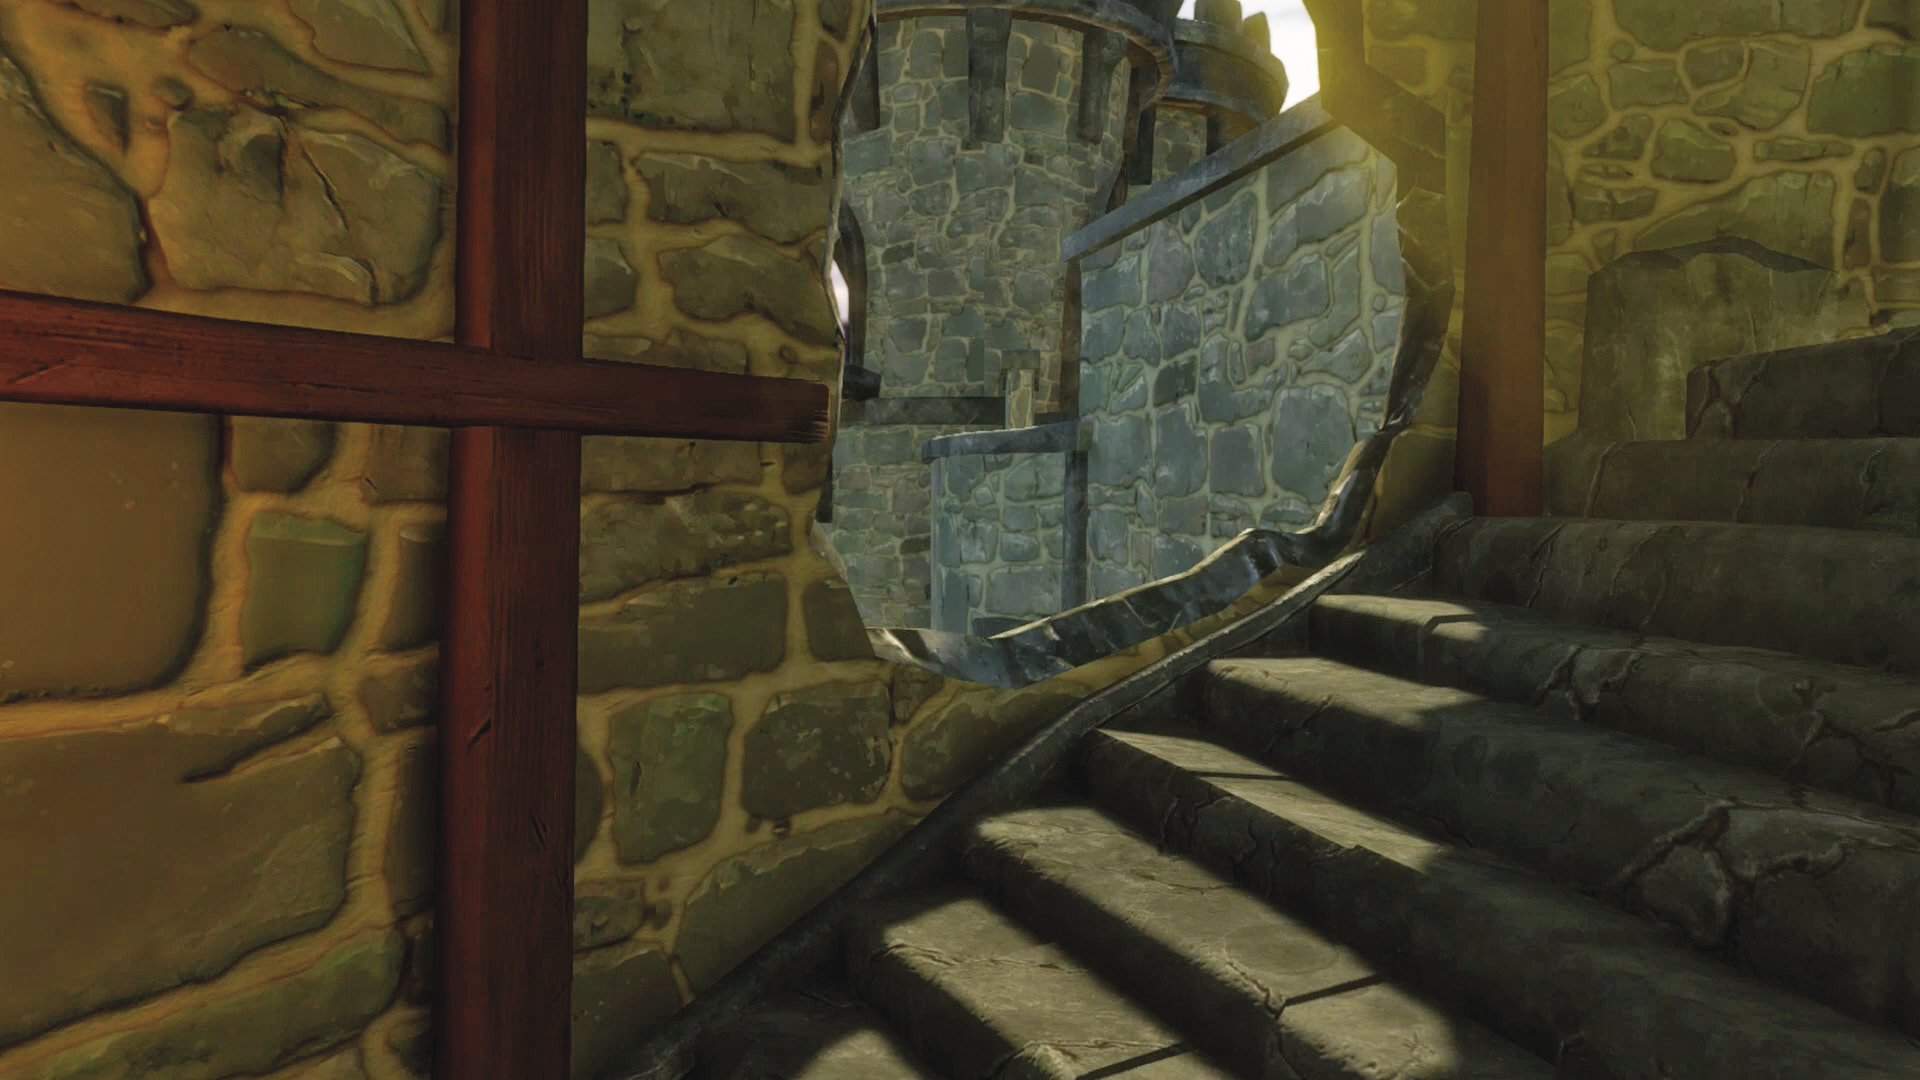
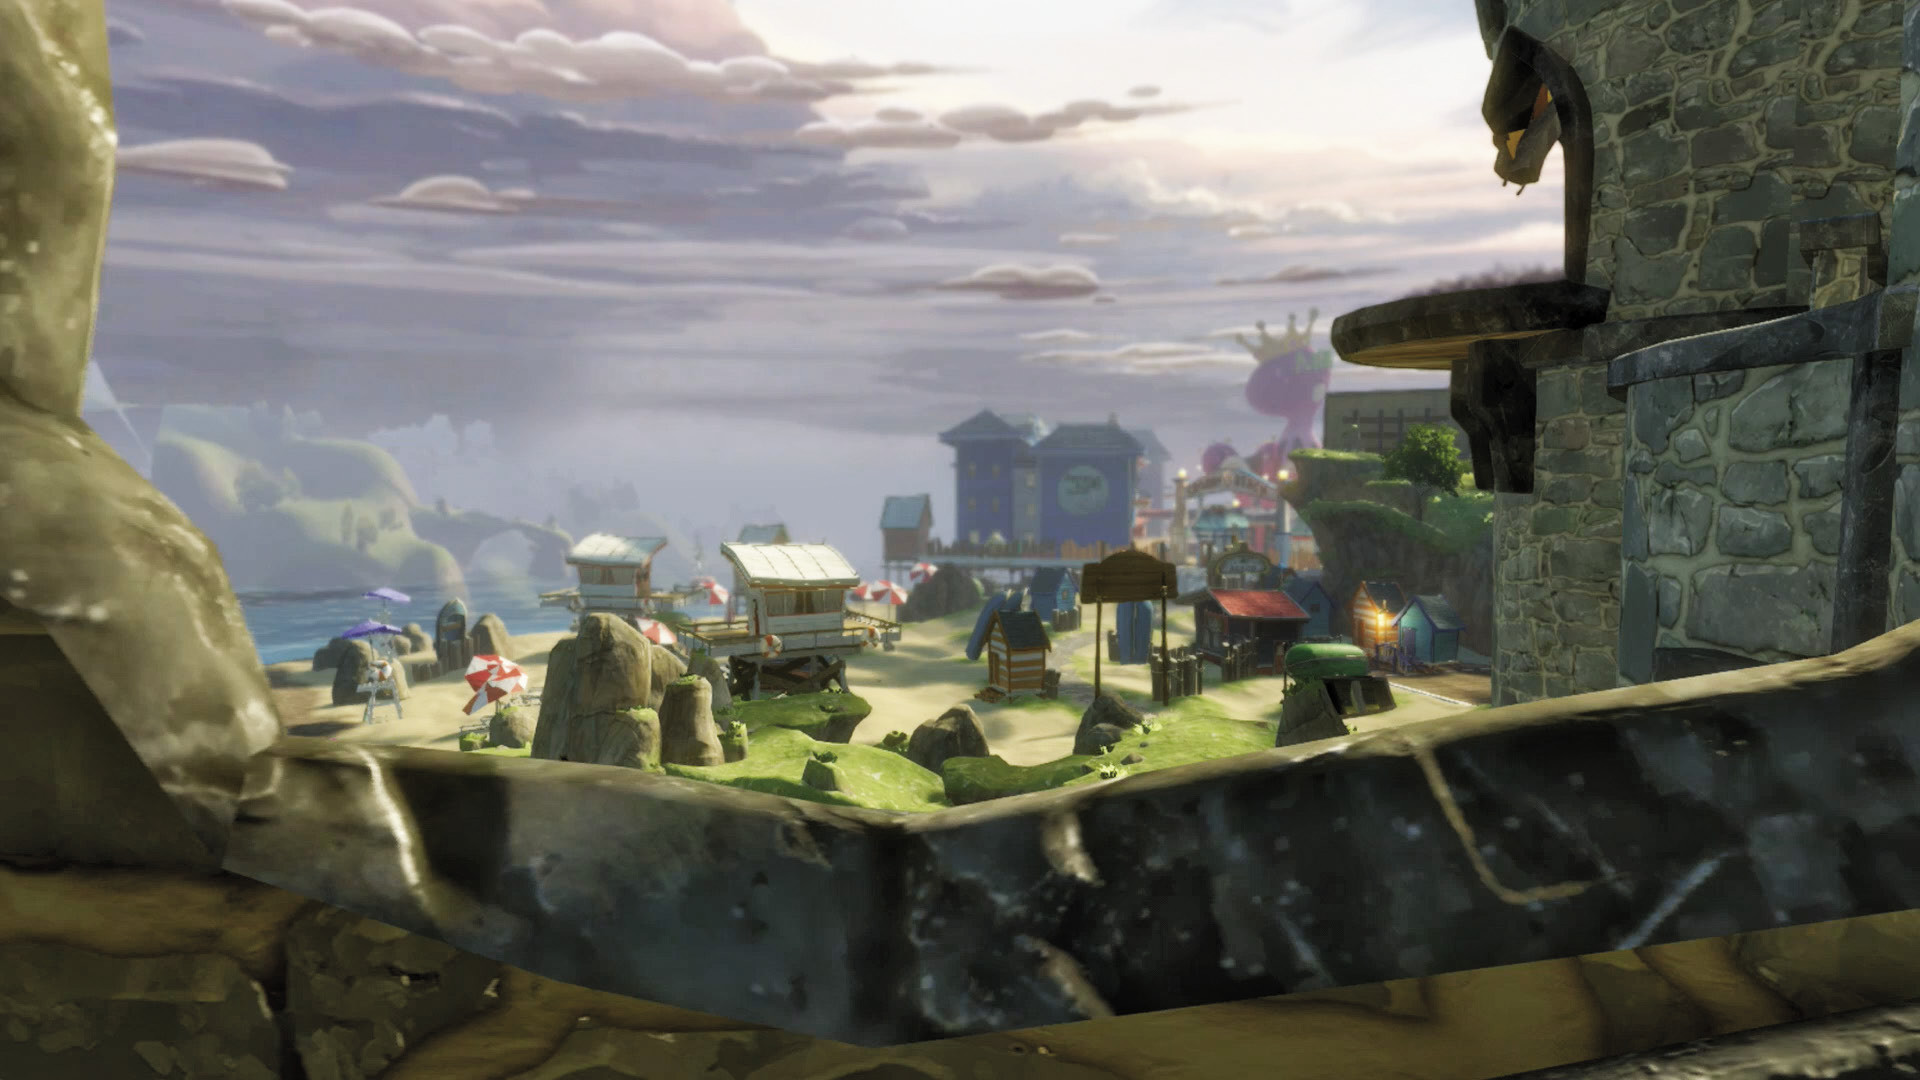
[5] Zombies: Accessible from [2], this perch will likely have plants trying to stop you from a distance. If you can, take it from them and provide your fellow zombies with your own long-range support. Watch out for plant reinforcements, though.
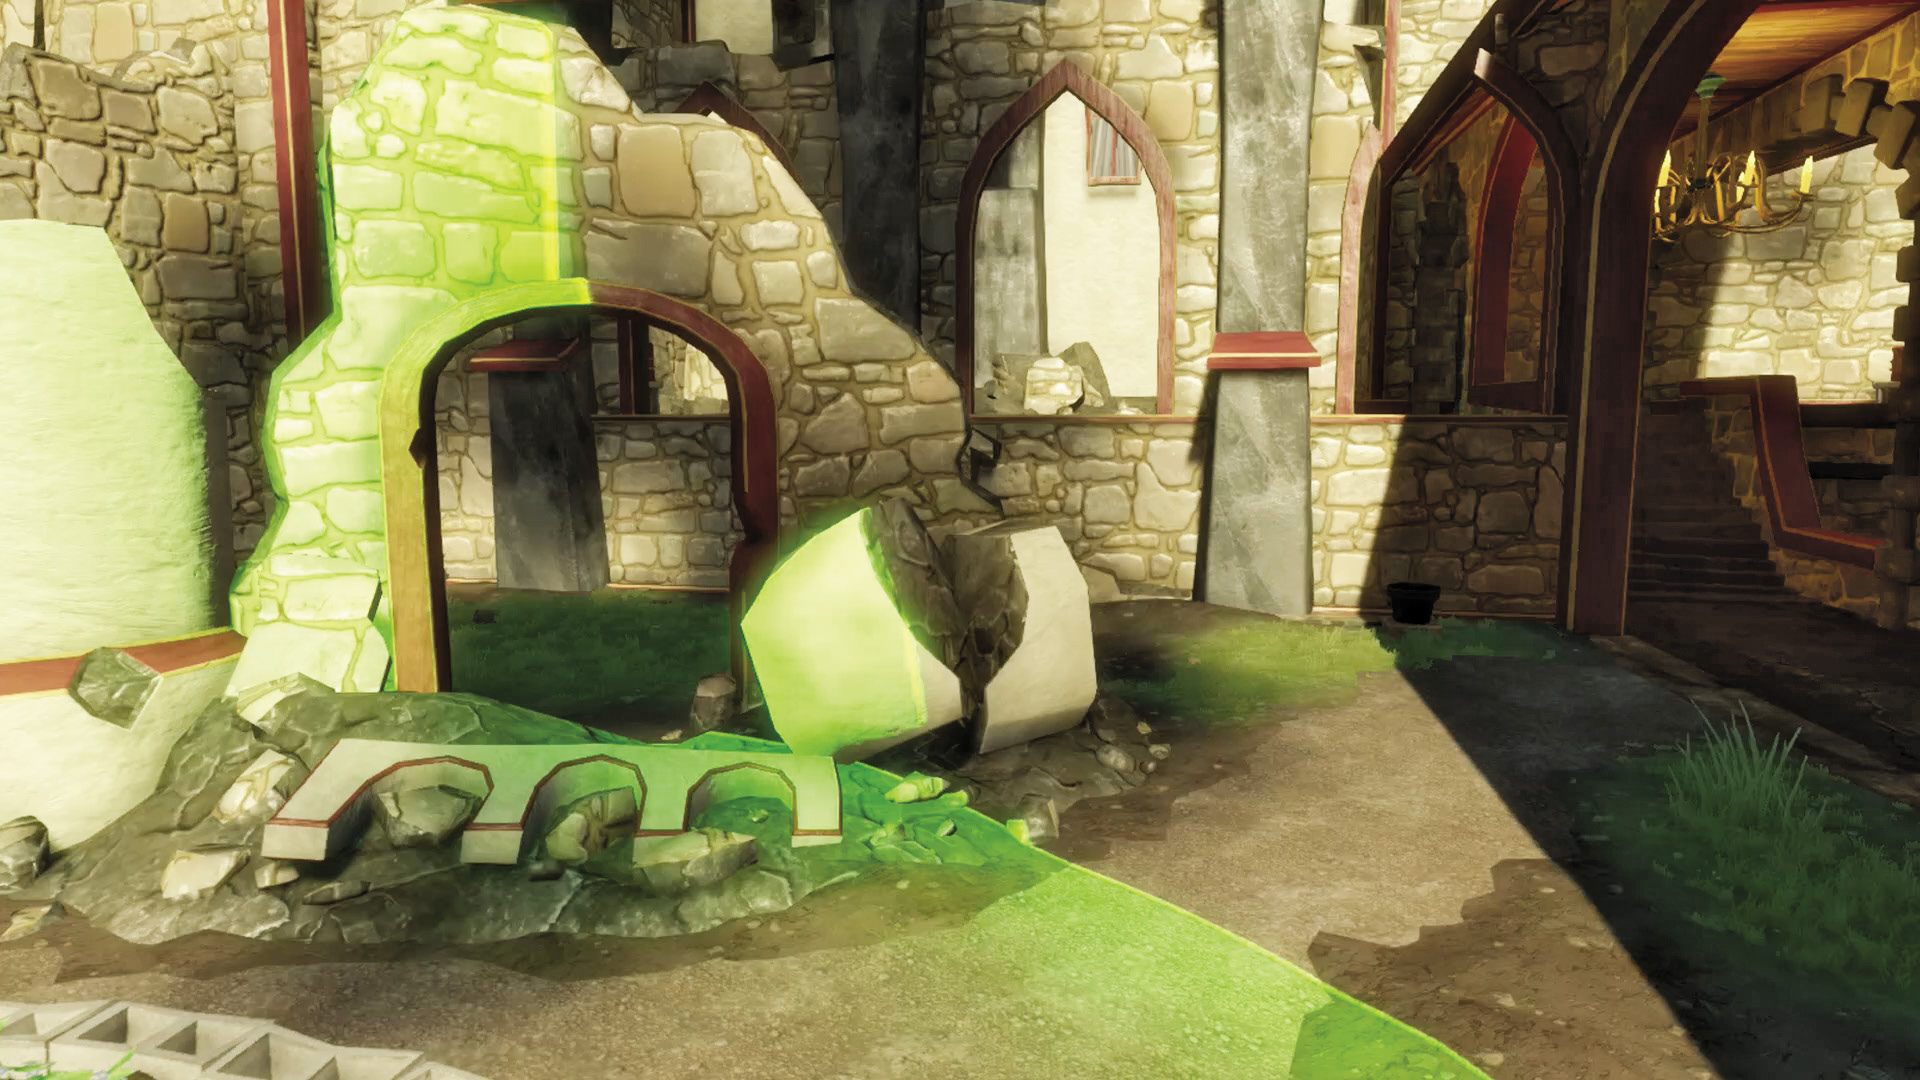
[6] Zombies: While [7] is a better assault point overall, this is a good place to get the jump on the Garden, and a little easier to access since it doesn’t involve running up the front entrance of the castle first.
Plants: This isn’t actually a bad spot to counter against zombies trying to bring destruction to your Garden from above and the other side. This close to your Garden you’re going to want any elevation you can, and this along with [7] are the best you’re going to get.
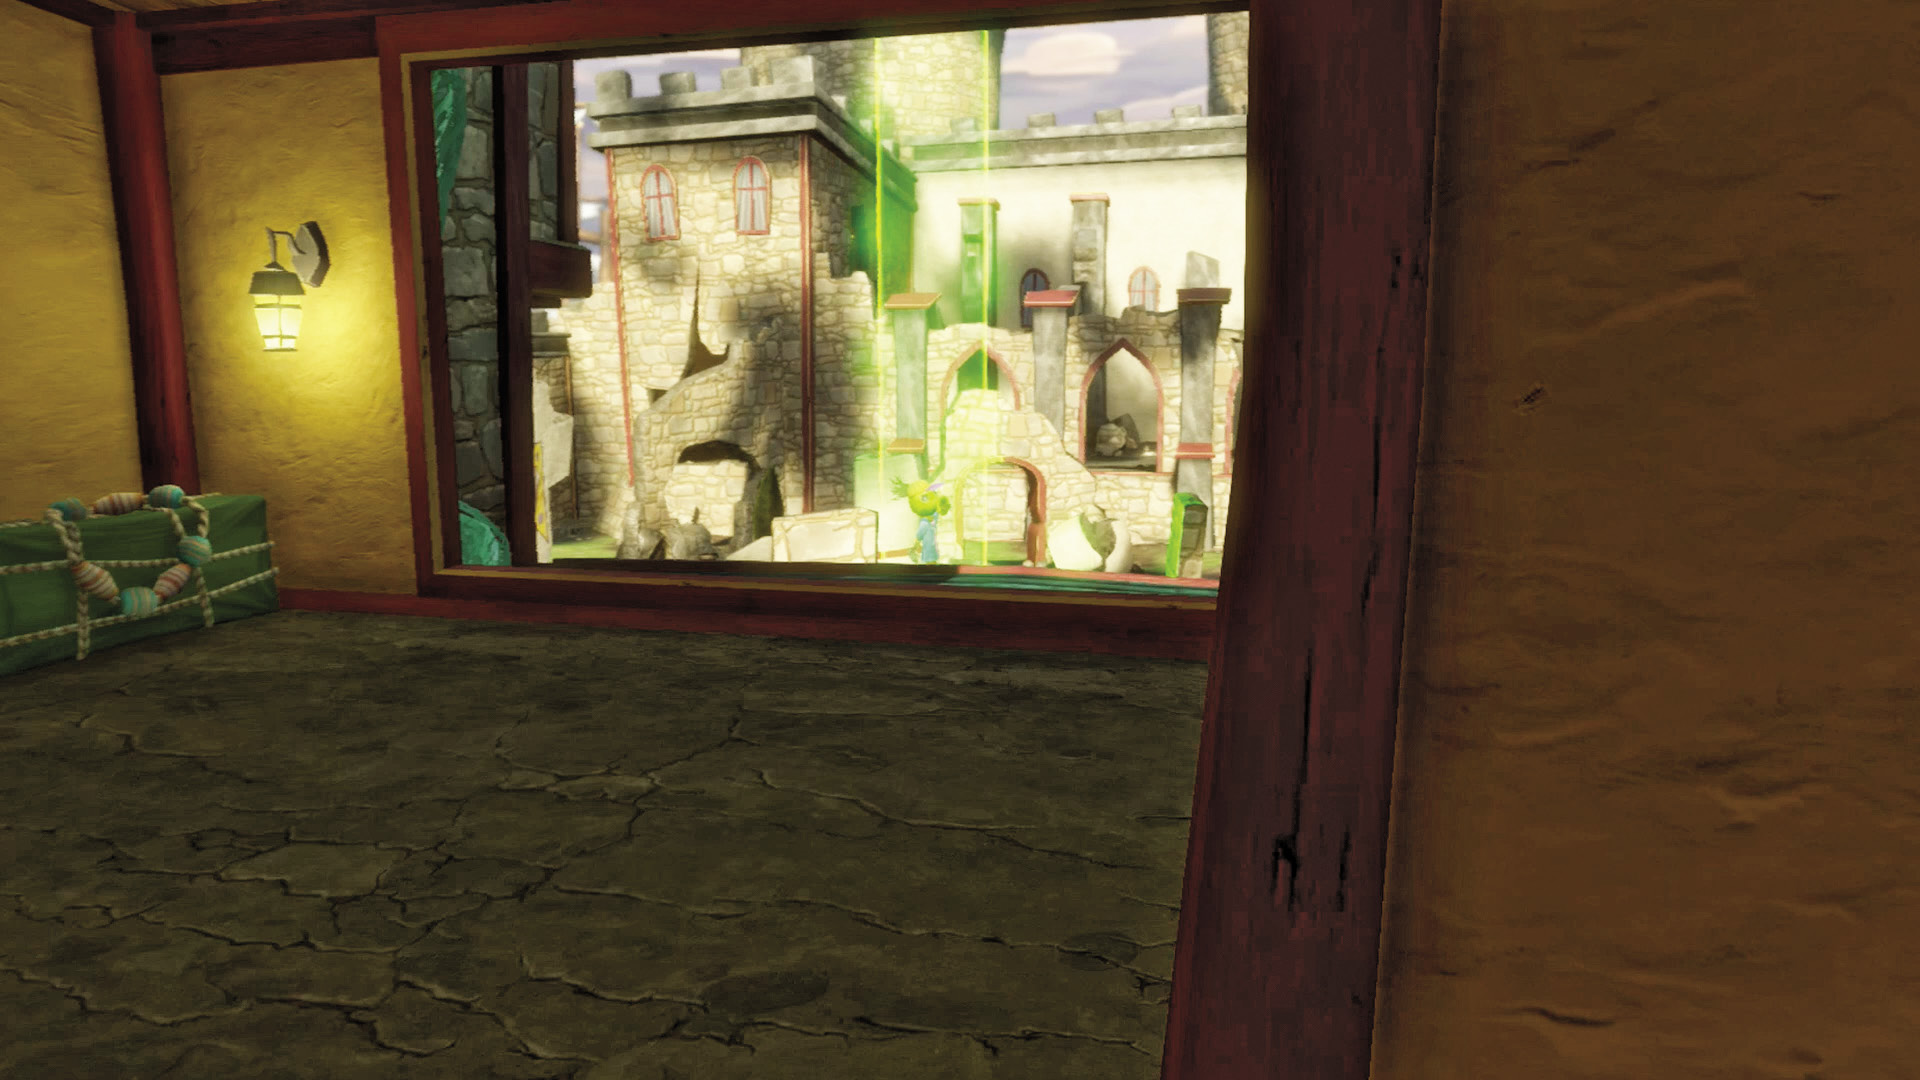
[7] Zombies: [4] leads here. You want to be here. It’s an incredible lookout over the Garden, and you want to be able to assault it from here at your leisure.
Plants: You absolutely do not want zombies to be here, so keep an eye here whenever you can, and consider sending troops to the side entrance accessible at [4] to stop that from happening.
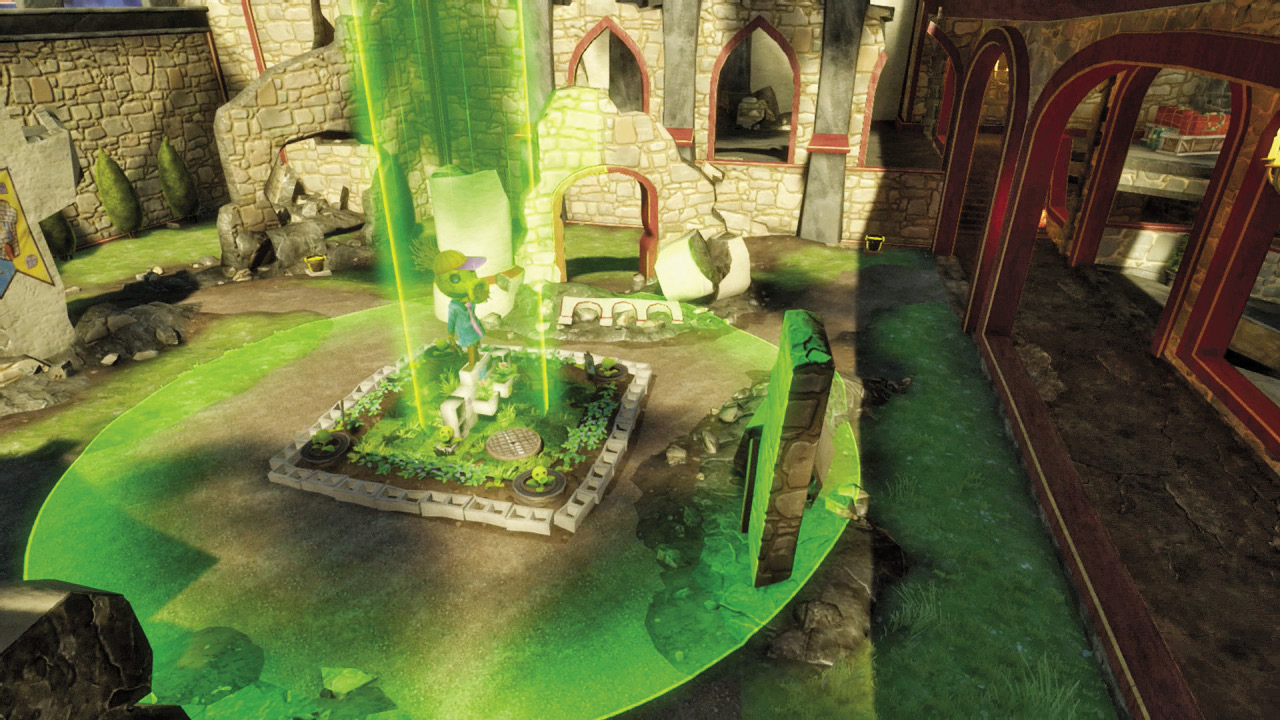
[8] Plants: You’re going to want to take this fight to the enemy, no questions asked. There are too many places where zombies can be allowed to maintain a foothold and utterly cripple your defenses and your Garden. The more players you have on your team to spare, the better. Go for the beach first and try to hold them off there, and also get them at any of their lookout and sniping points. You don’t want any of them getting through, because as you can see here, even your Garden has perches that are more advantageous to them than you. Fall back as slowly as possible if you find yourself being overwhelmed, but keep in mind at all times that your objective is to run out the clock. The defensive game only gets more dire from here, so be sure to practice.
Phase 5: Pirate Ships
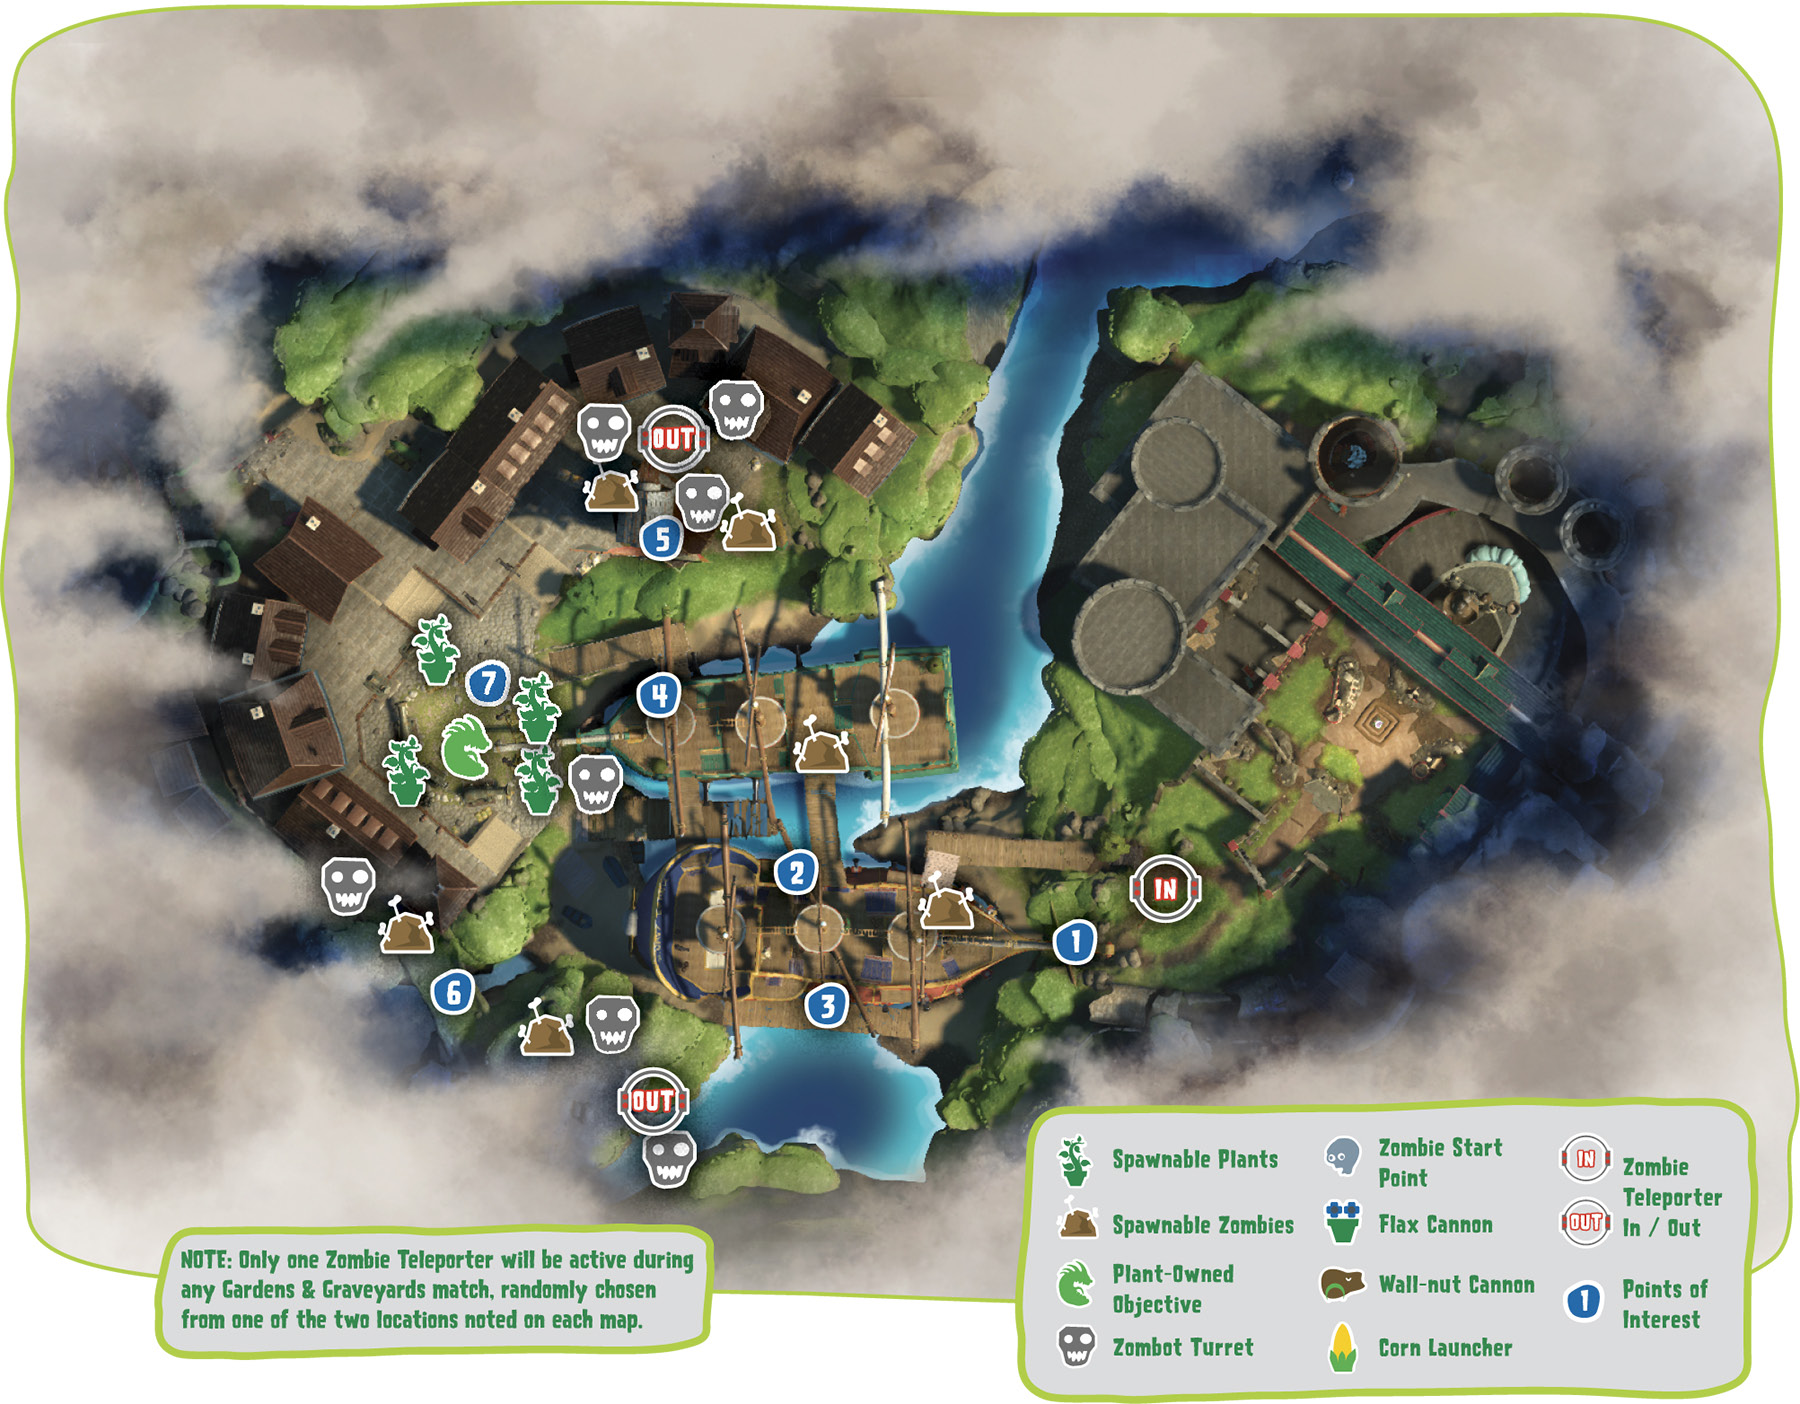
Points of Interest
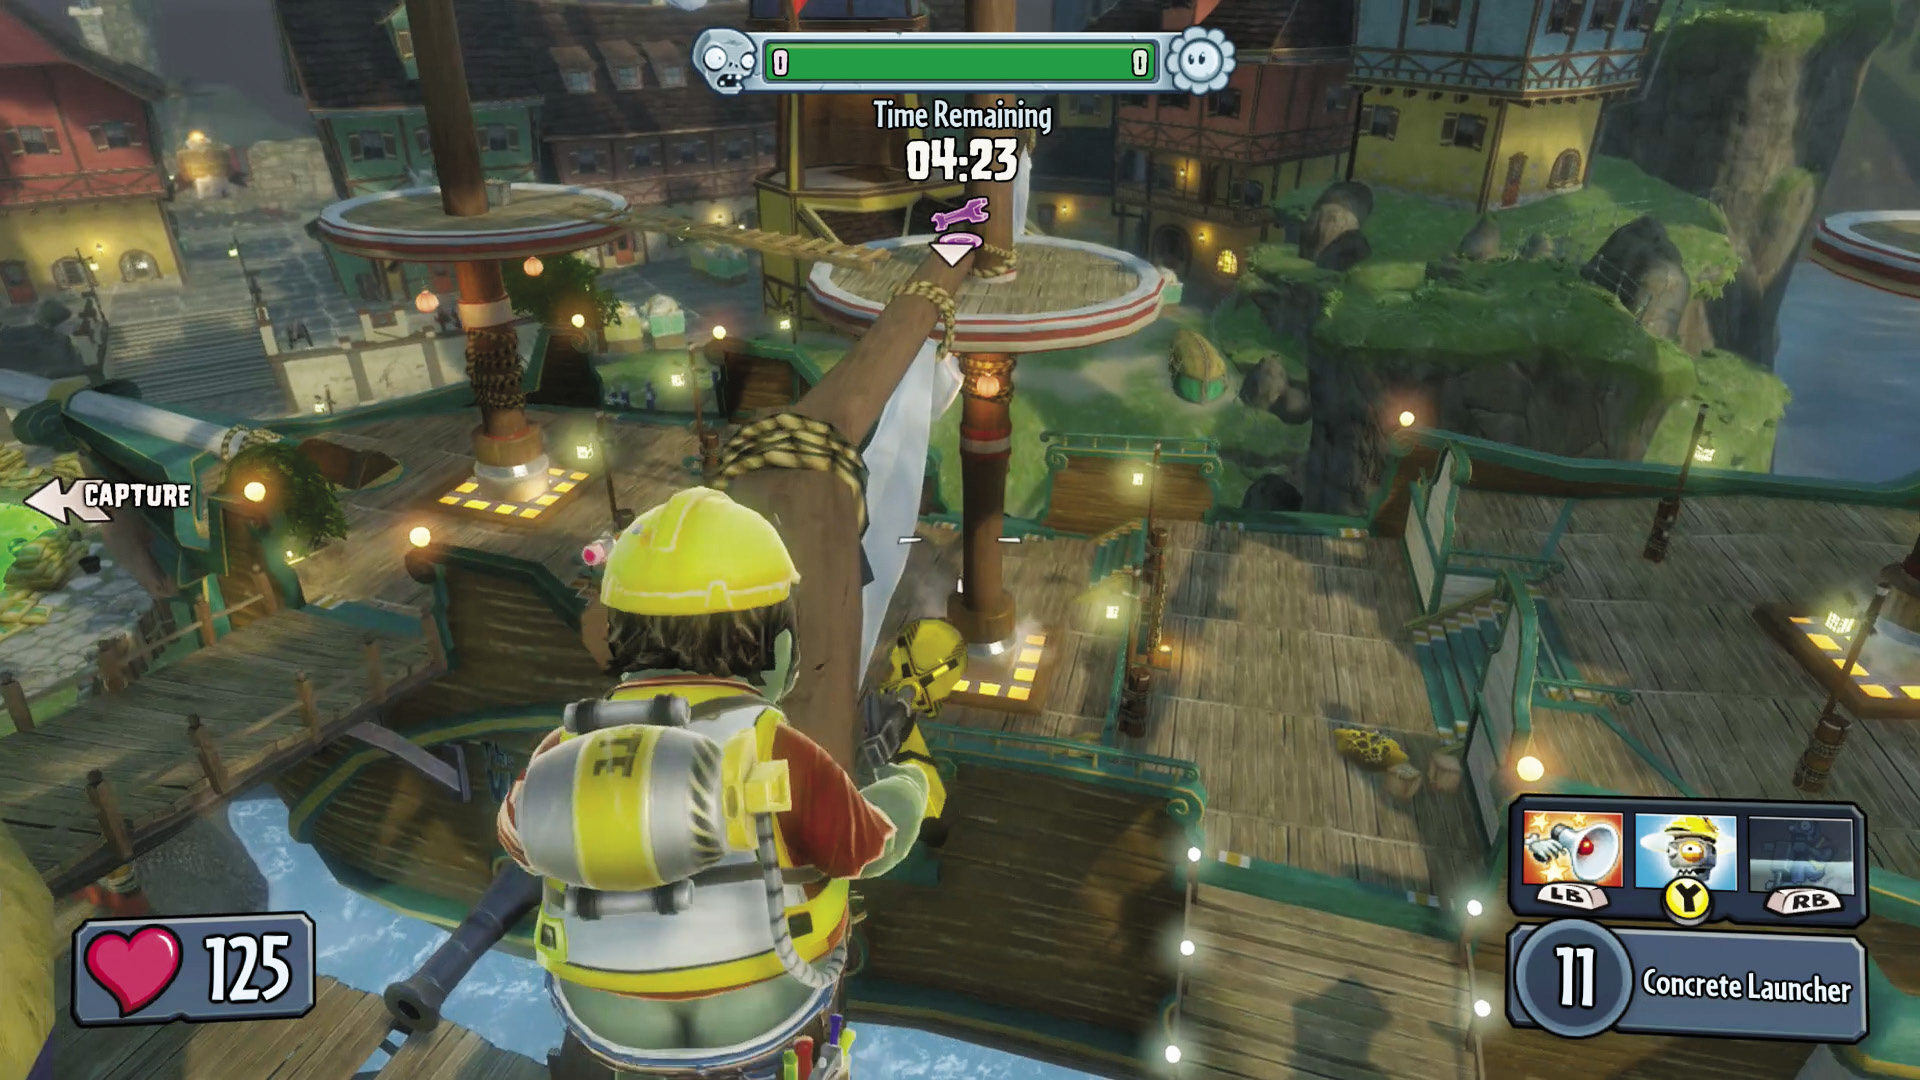
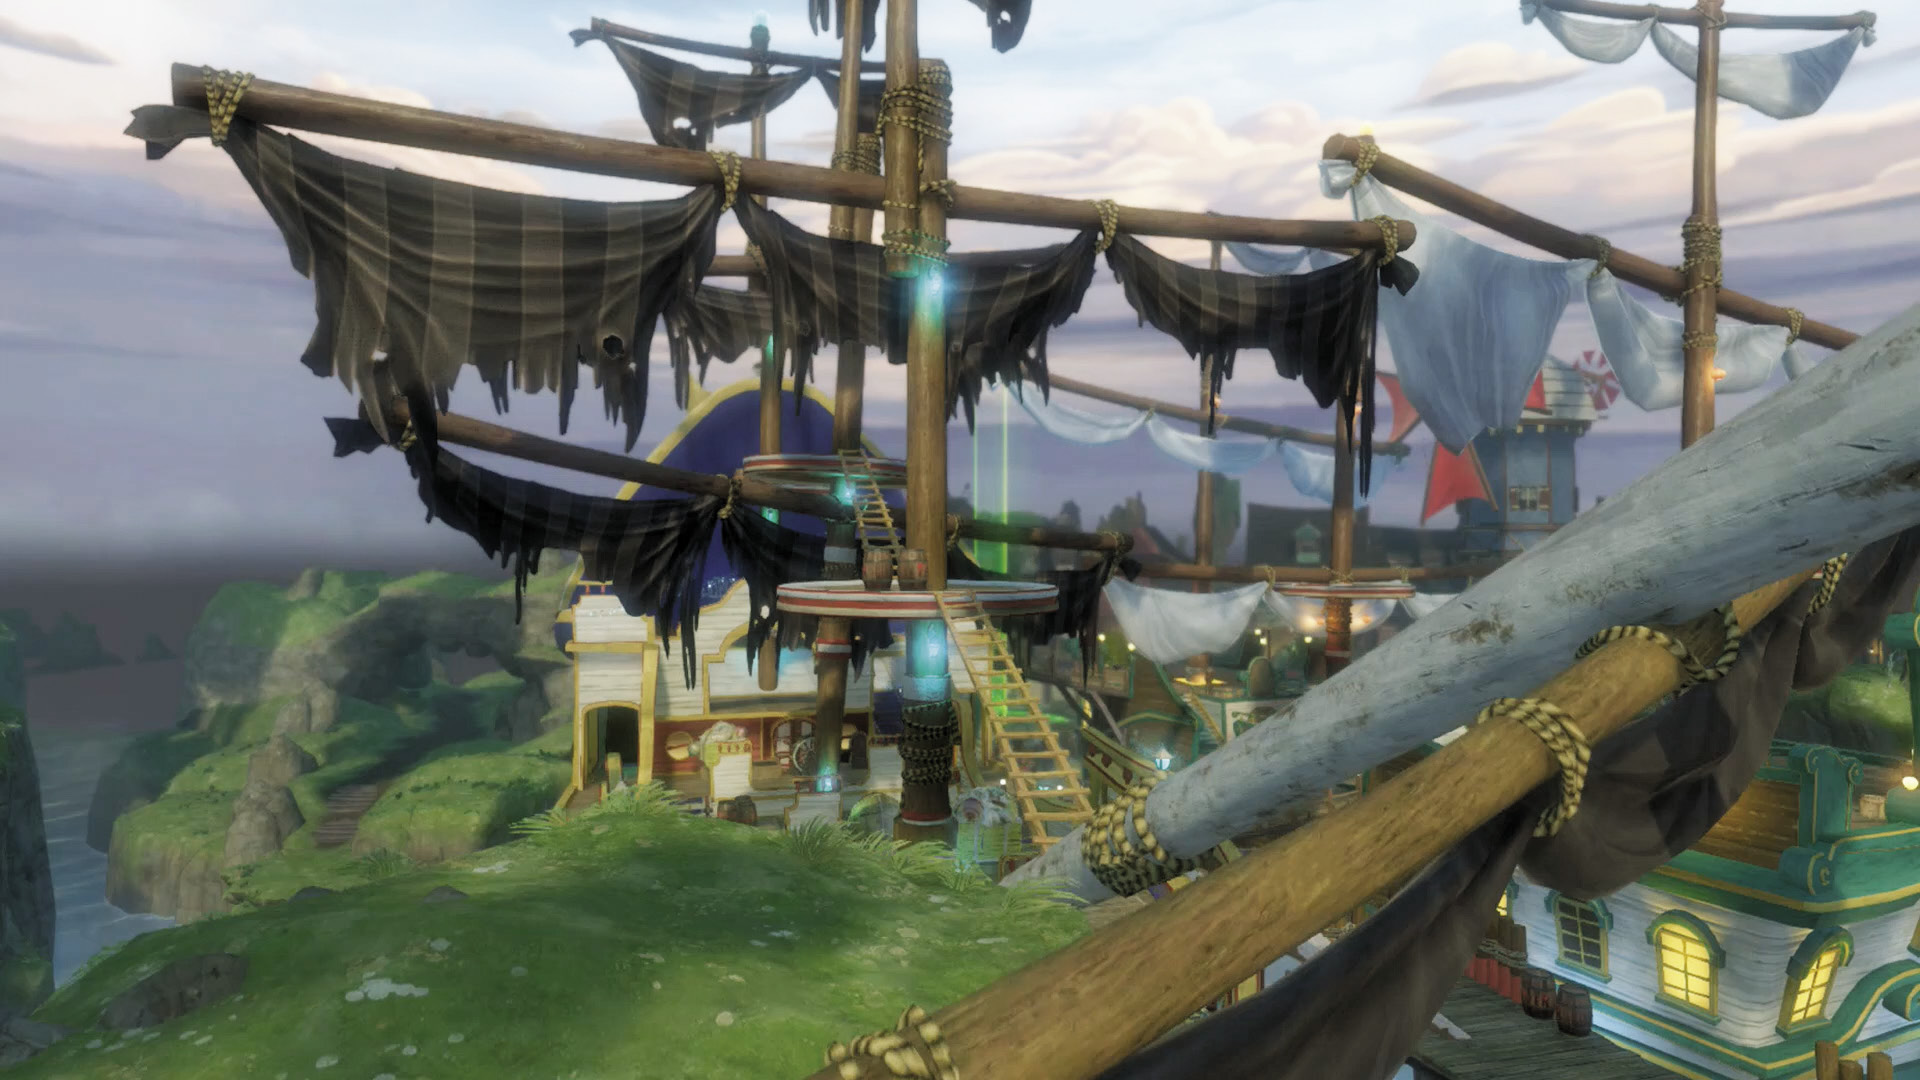
[1] [2] Zombies: Are you daring and adventurous? Then you’re going to love this phase. This is one of a few points where it’s possible to jump on the masts of the ships and walk around up high. Use this knowledge to keep the ships under your control and the plants pinned to their Garden area while you roam free.
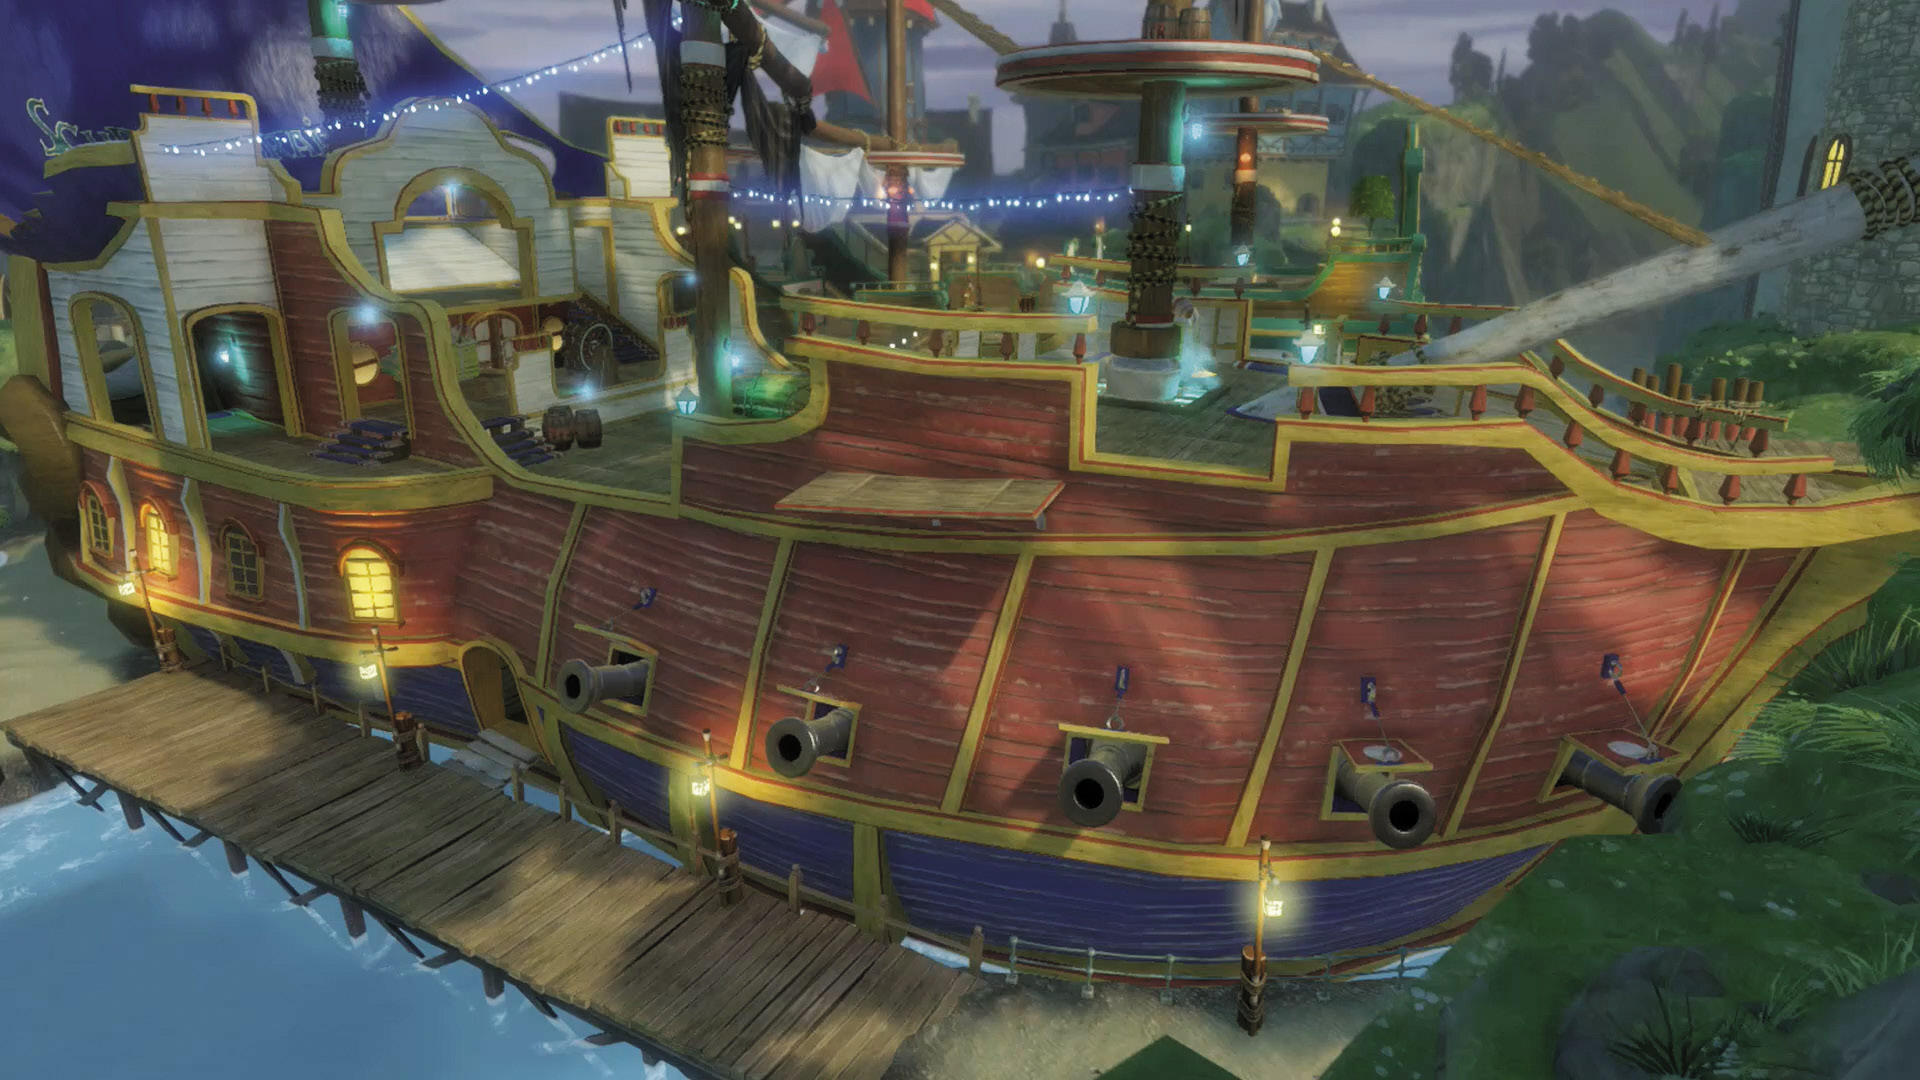
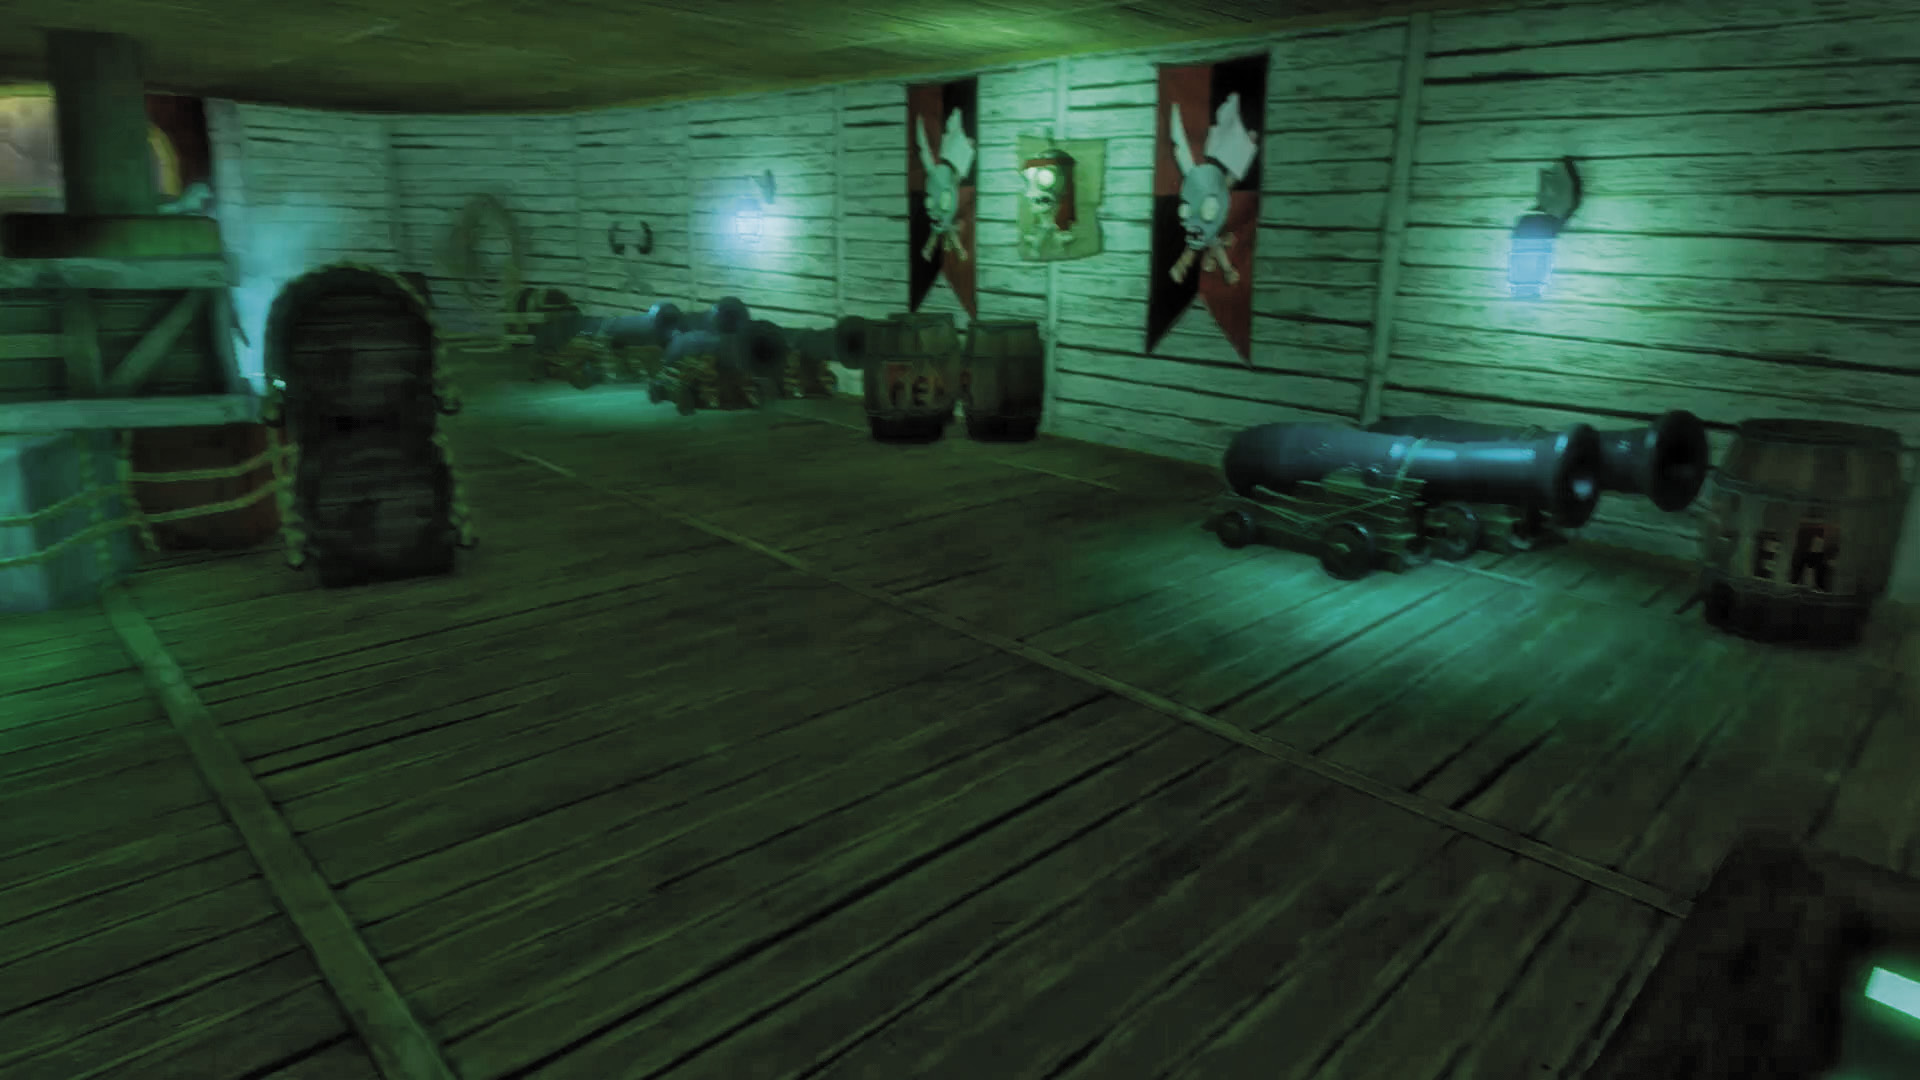
[3] Zombies: The base of the blue boat contains a great place to hole up and strategize on your way to the Garden. It’s also hard for plants to see from their starting point.
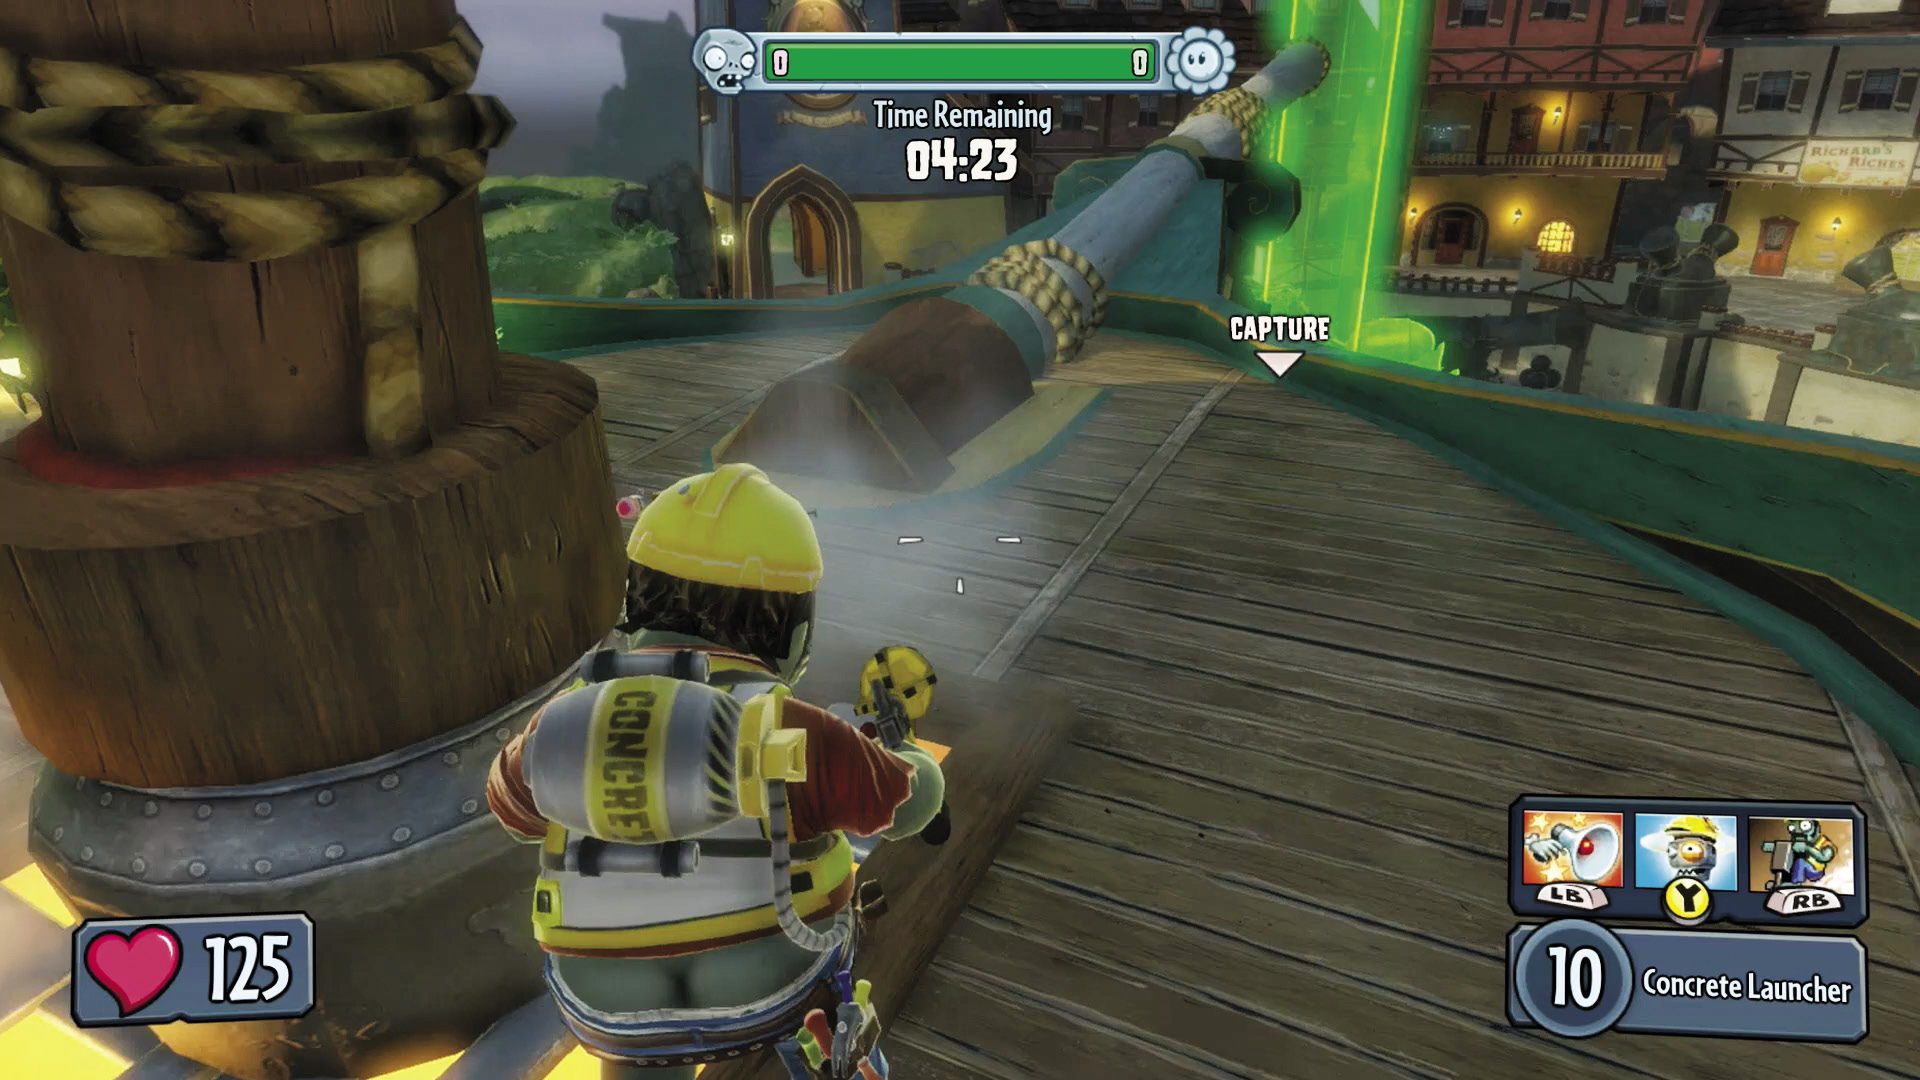
[4] Zombies: The main decks of the ships will likely see heavy fighting, and you should do your best to keep control of them due to the advantageous masts, and the good lookout that they provide over the plants’ Garden.
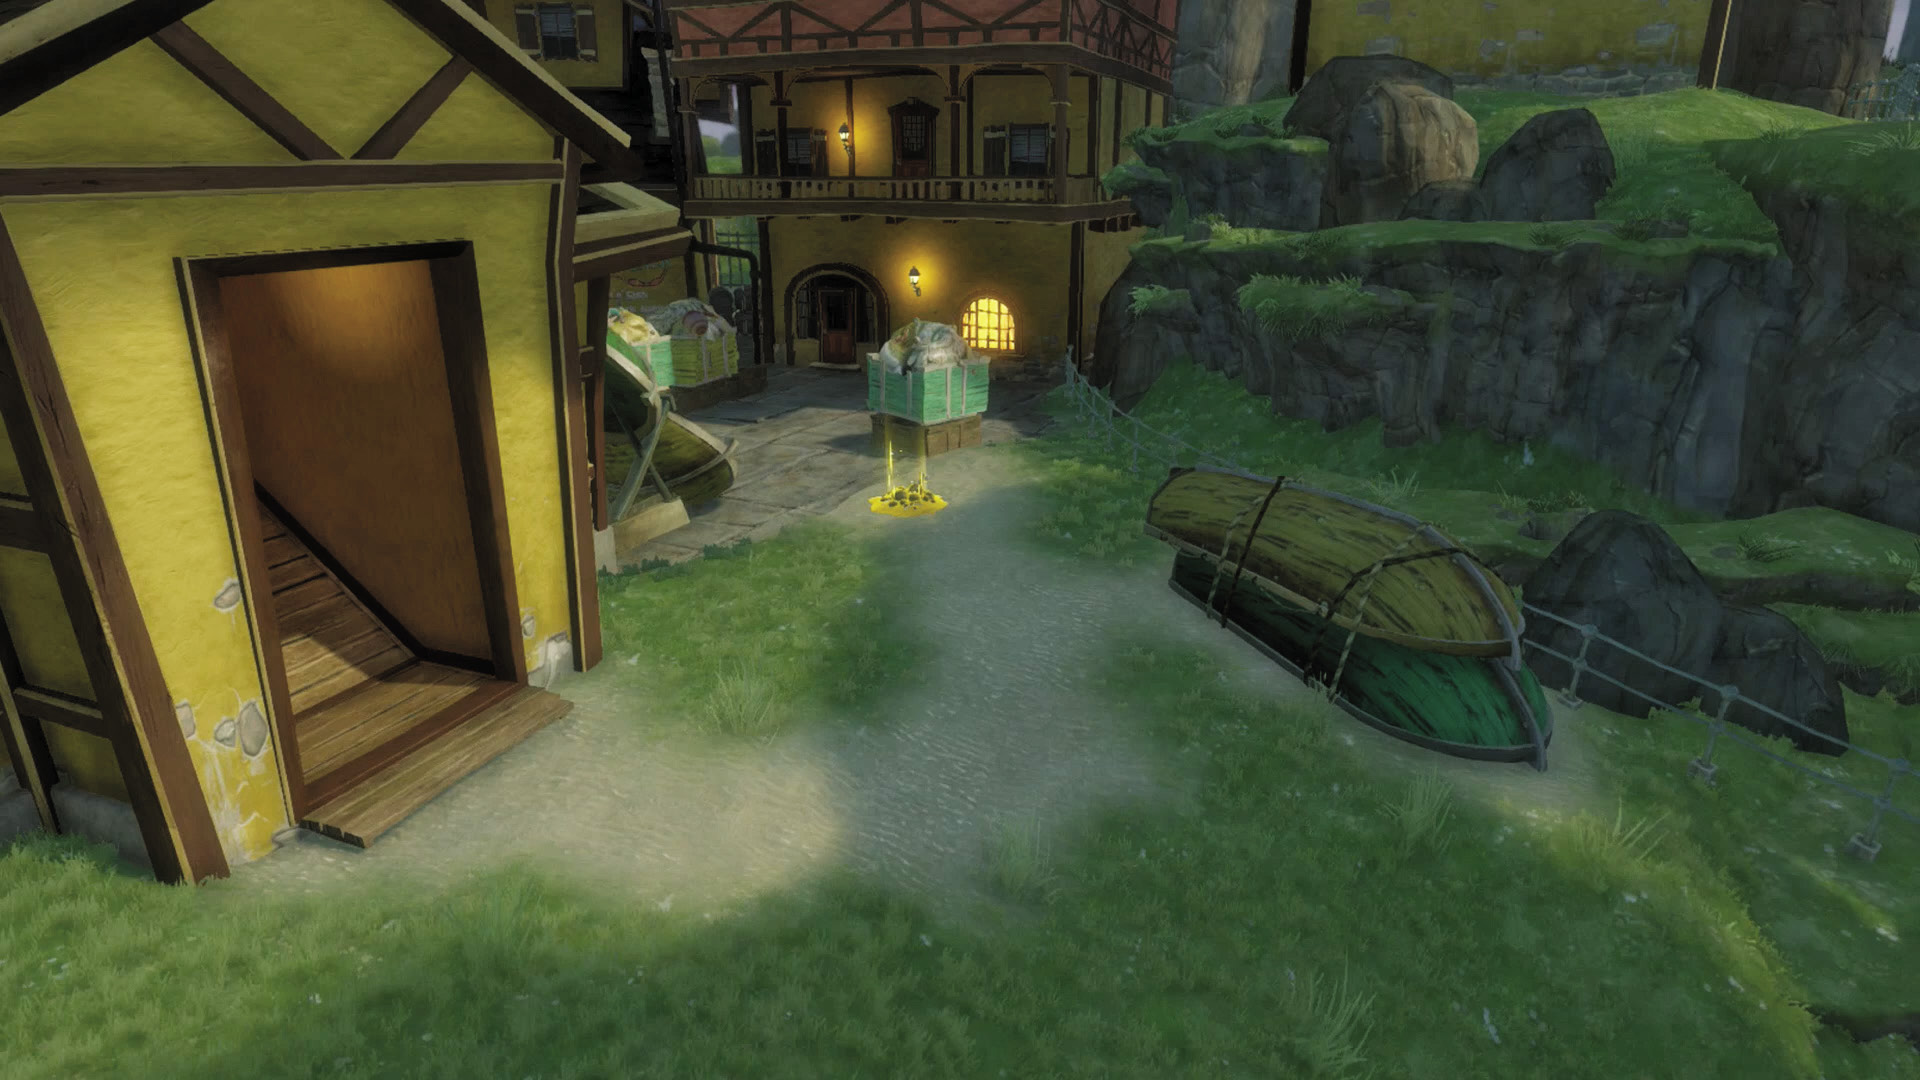
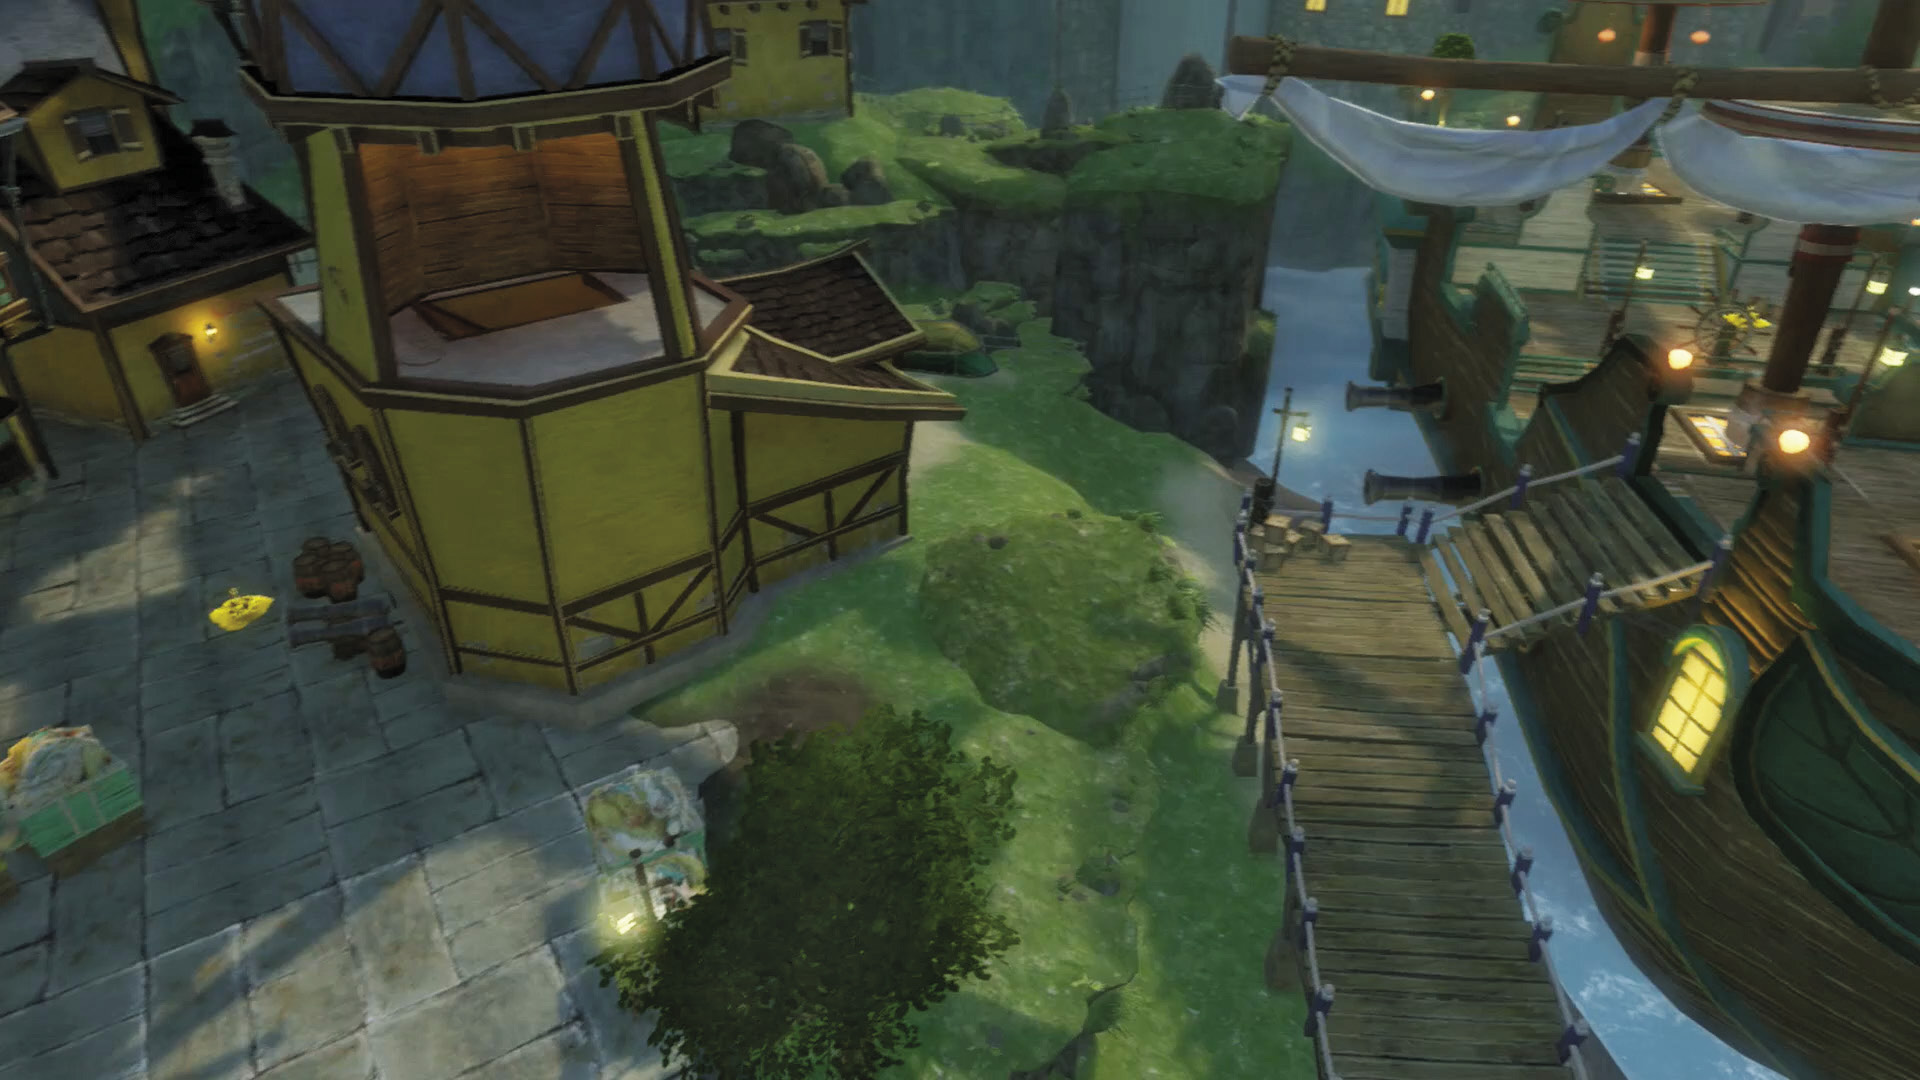
[5] Zombies: To the east of the ships is a building that makes for an easy vantage point over the Garden. If your Teleporter leads here, then so much the better. Fortify the area and go to town.
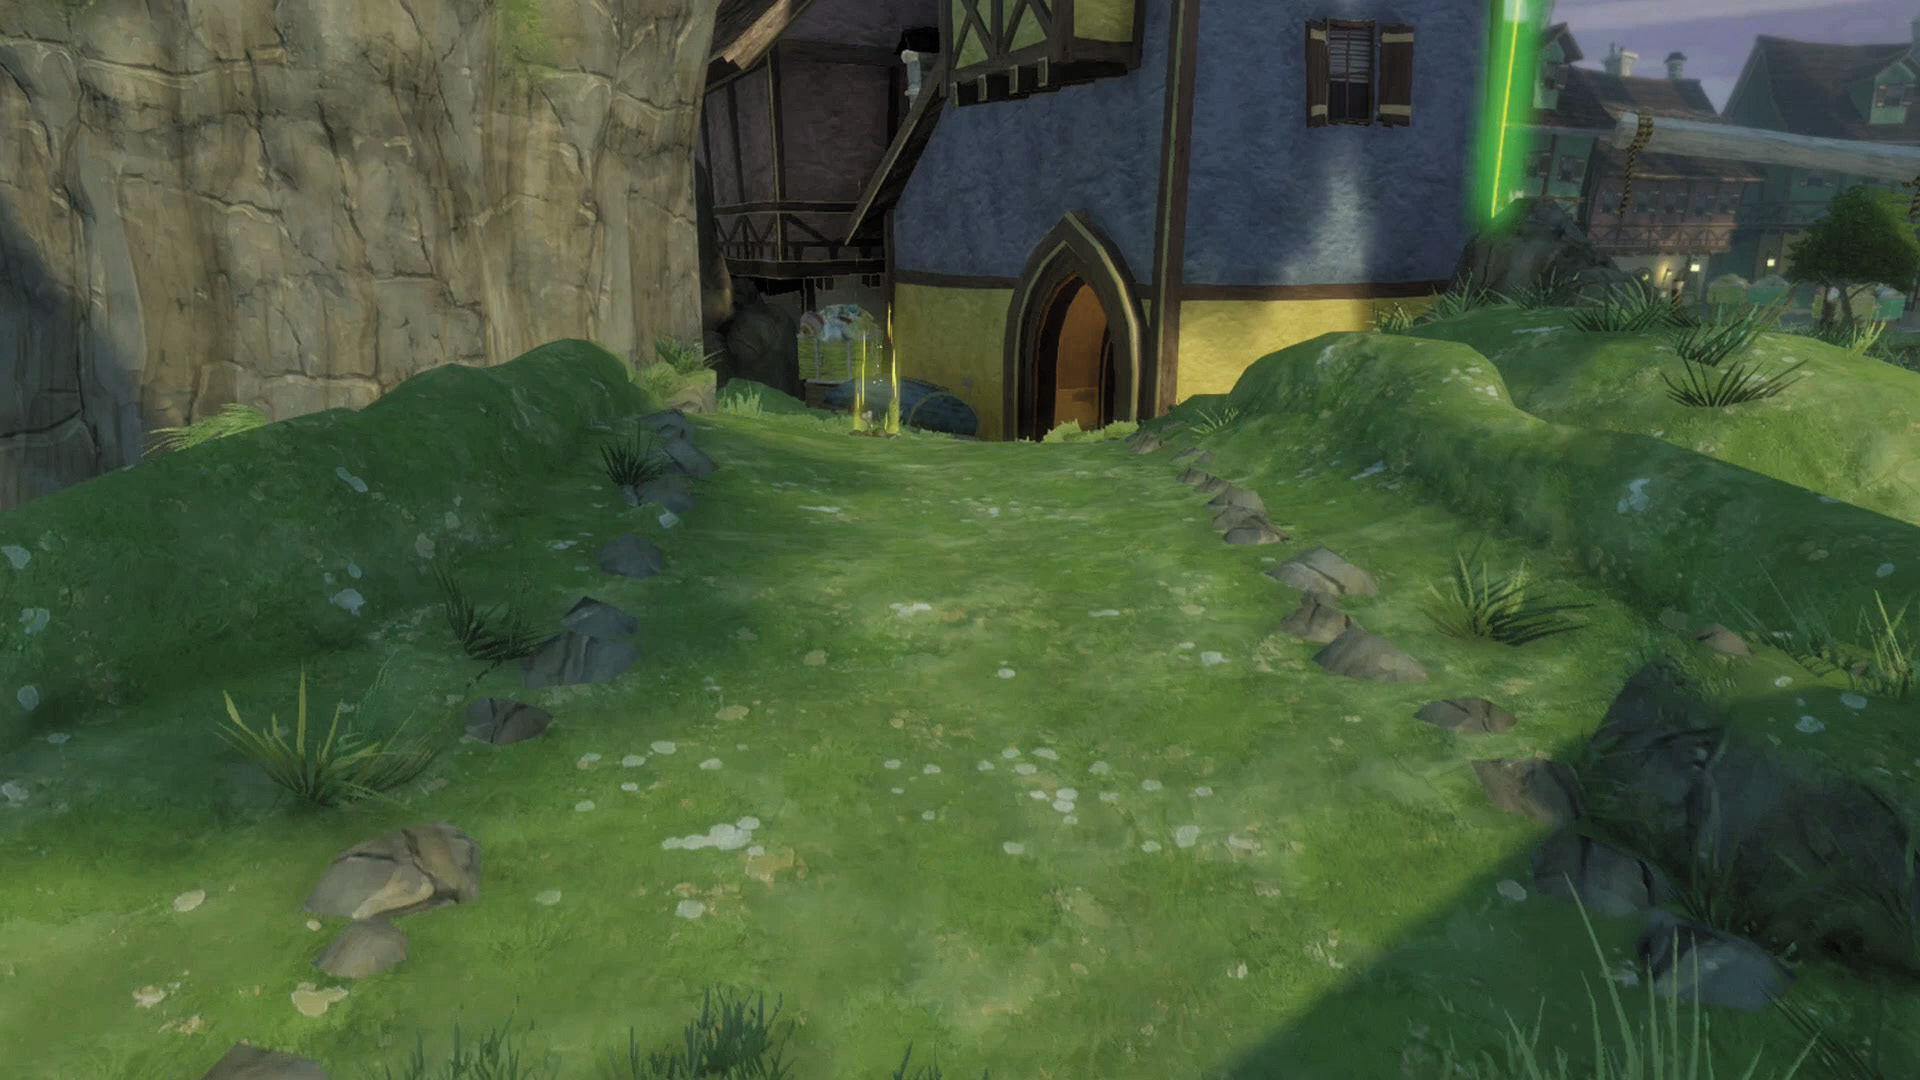
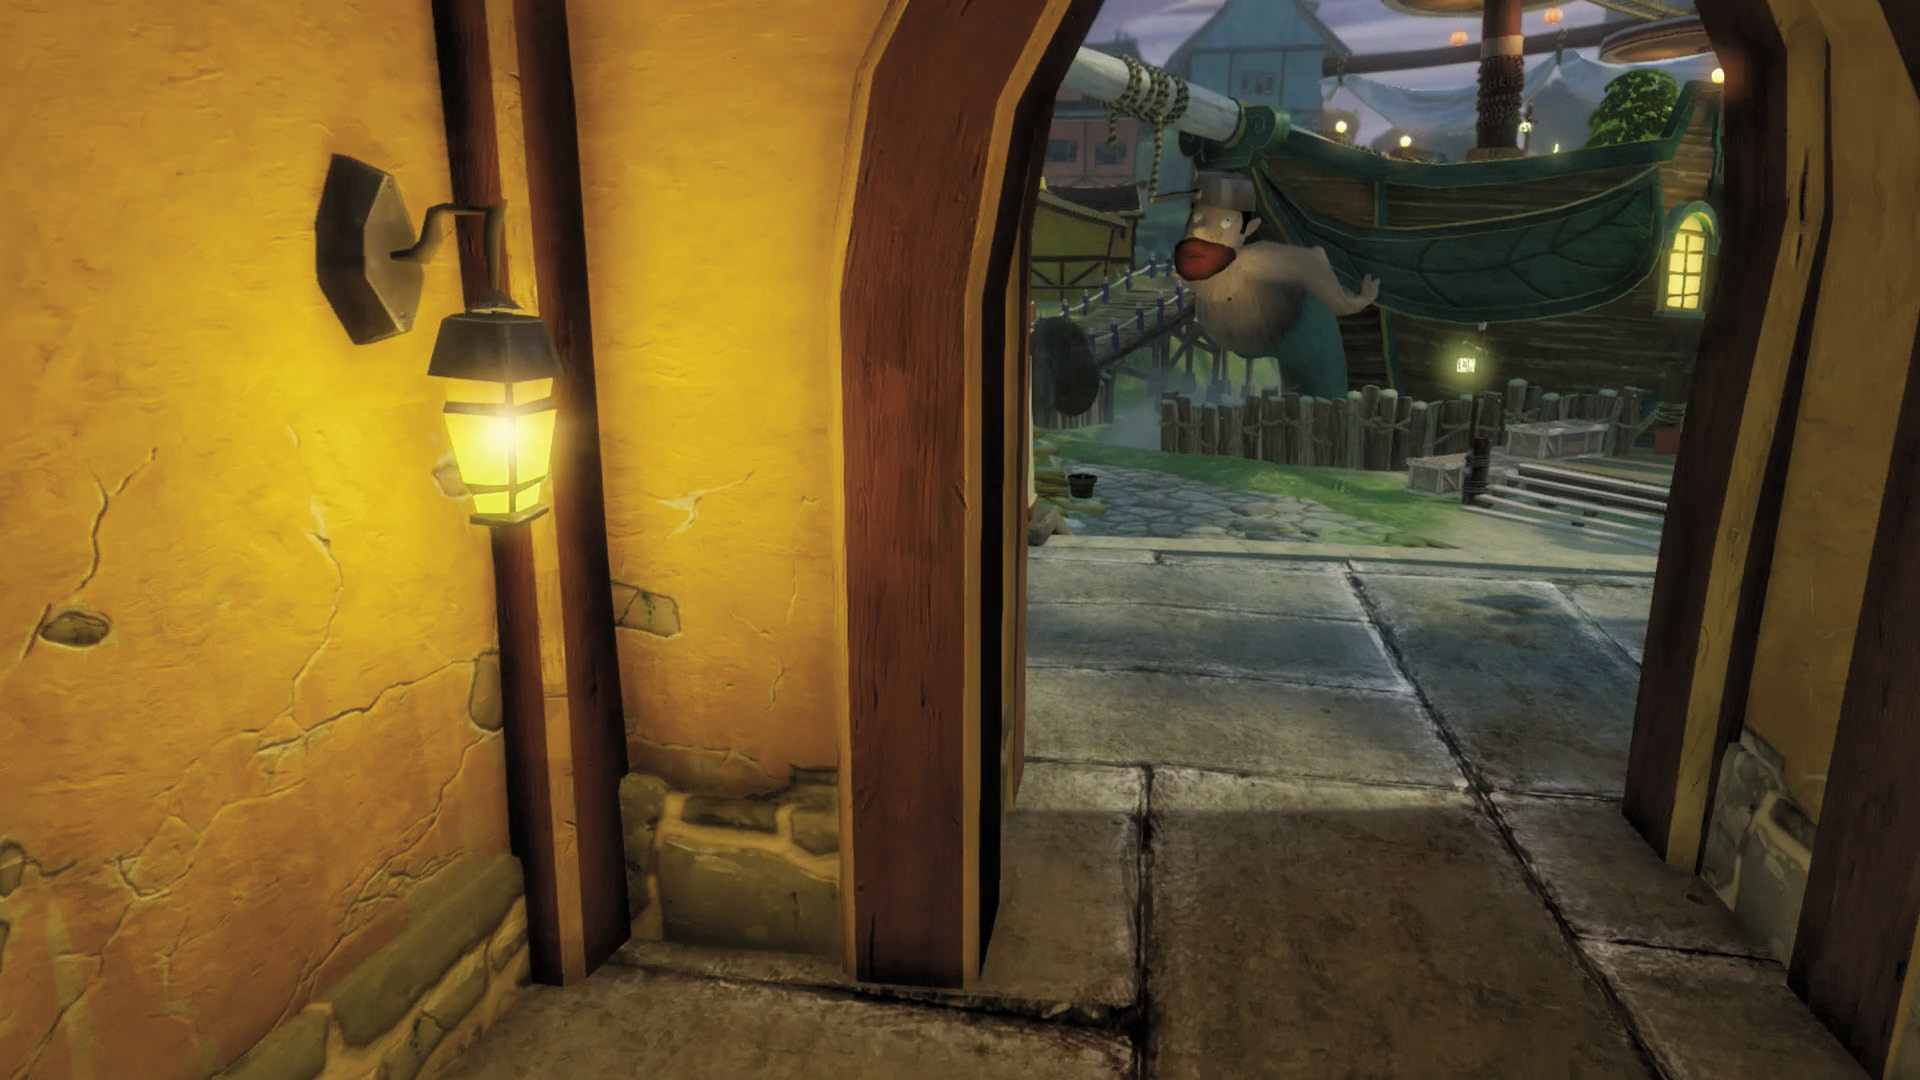
[6] Zombies: To the extreme west is a hard-to-see, out-of-the-way path that leads to the side of the Garden. The doorway is narrow but also provides good cover, so you can use this to either shuttle zombies directly to the Garden, or menace plants from a distance.
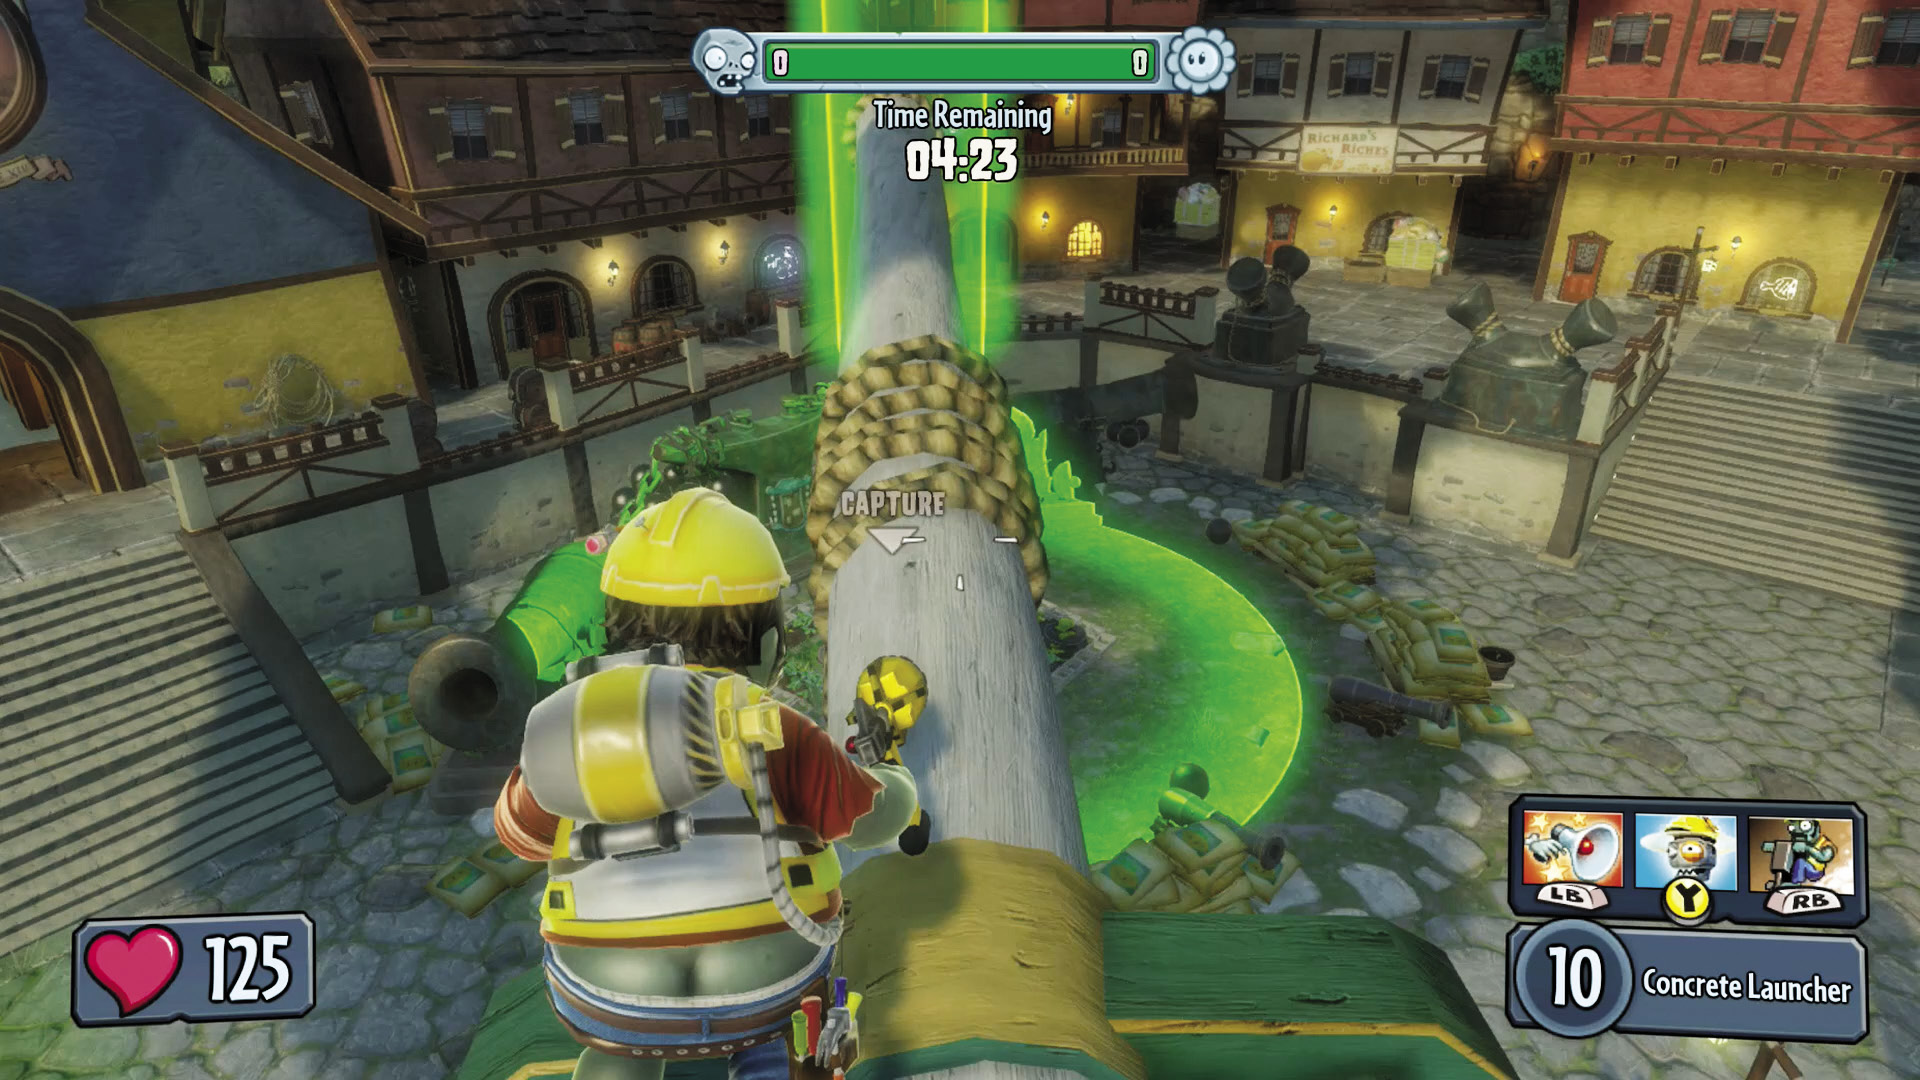
[7] Plants: This one picture should show you just how dire your situation is. Your trouble isn’t as multilayered as it was in the castle, but it’s far more direct. If the zombies are allowed to have their way, then they’ll have two cases of extreme high ground pointed right at your doorstep, plus one to the side. Use ranged Spawnable Plants and do everything you can to keep them at bay, even if it means boarding the ships themselves and doing what you can (such as firing at the masts) to keep them under your control. Use the cover behind your Garden to fortify your defenses from a distance with sniping and long-range fire units. Sadly, fans of Chompers will find themselves of lessened usefulness here due to the many raised platforms around.
Phase 6: Lighthouse
Points of Interest
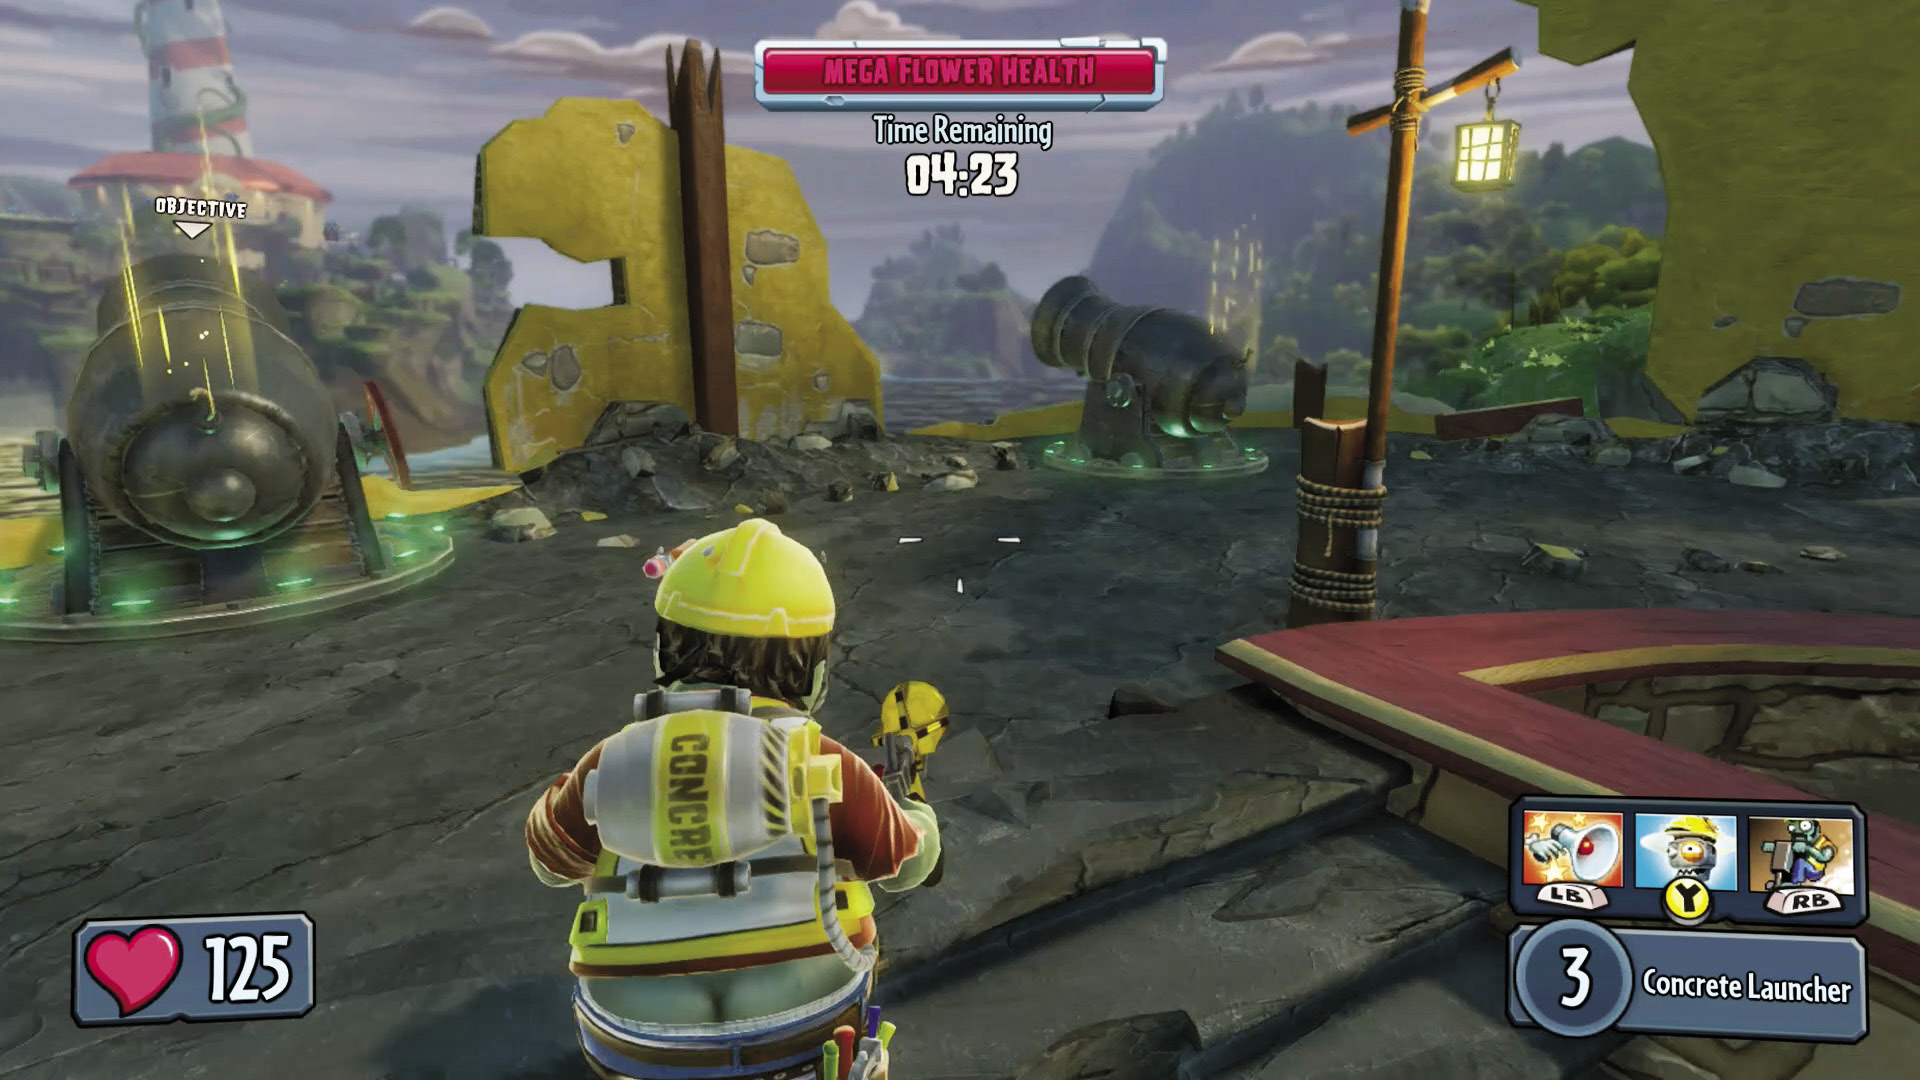
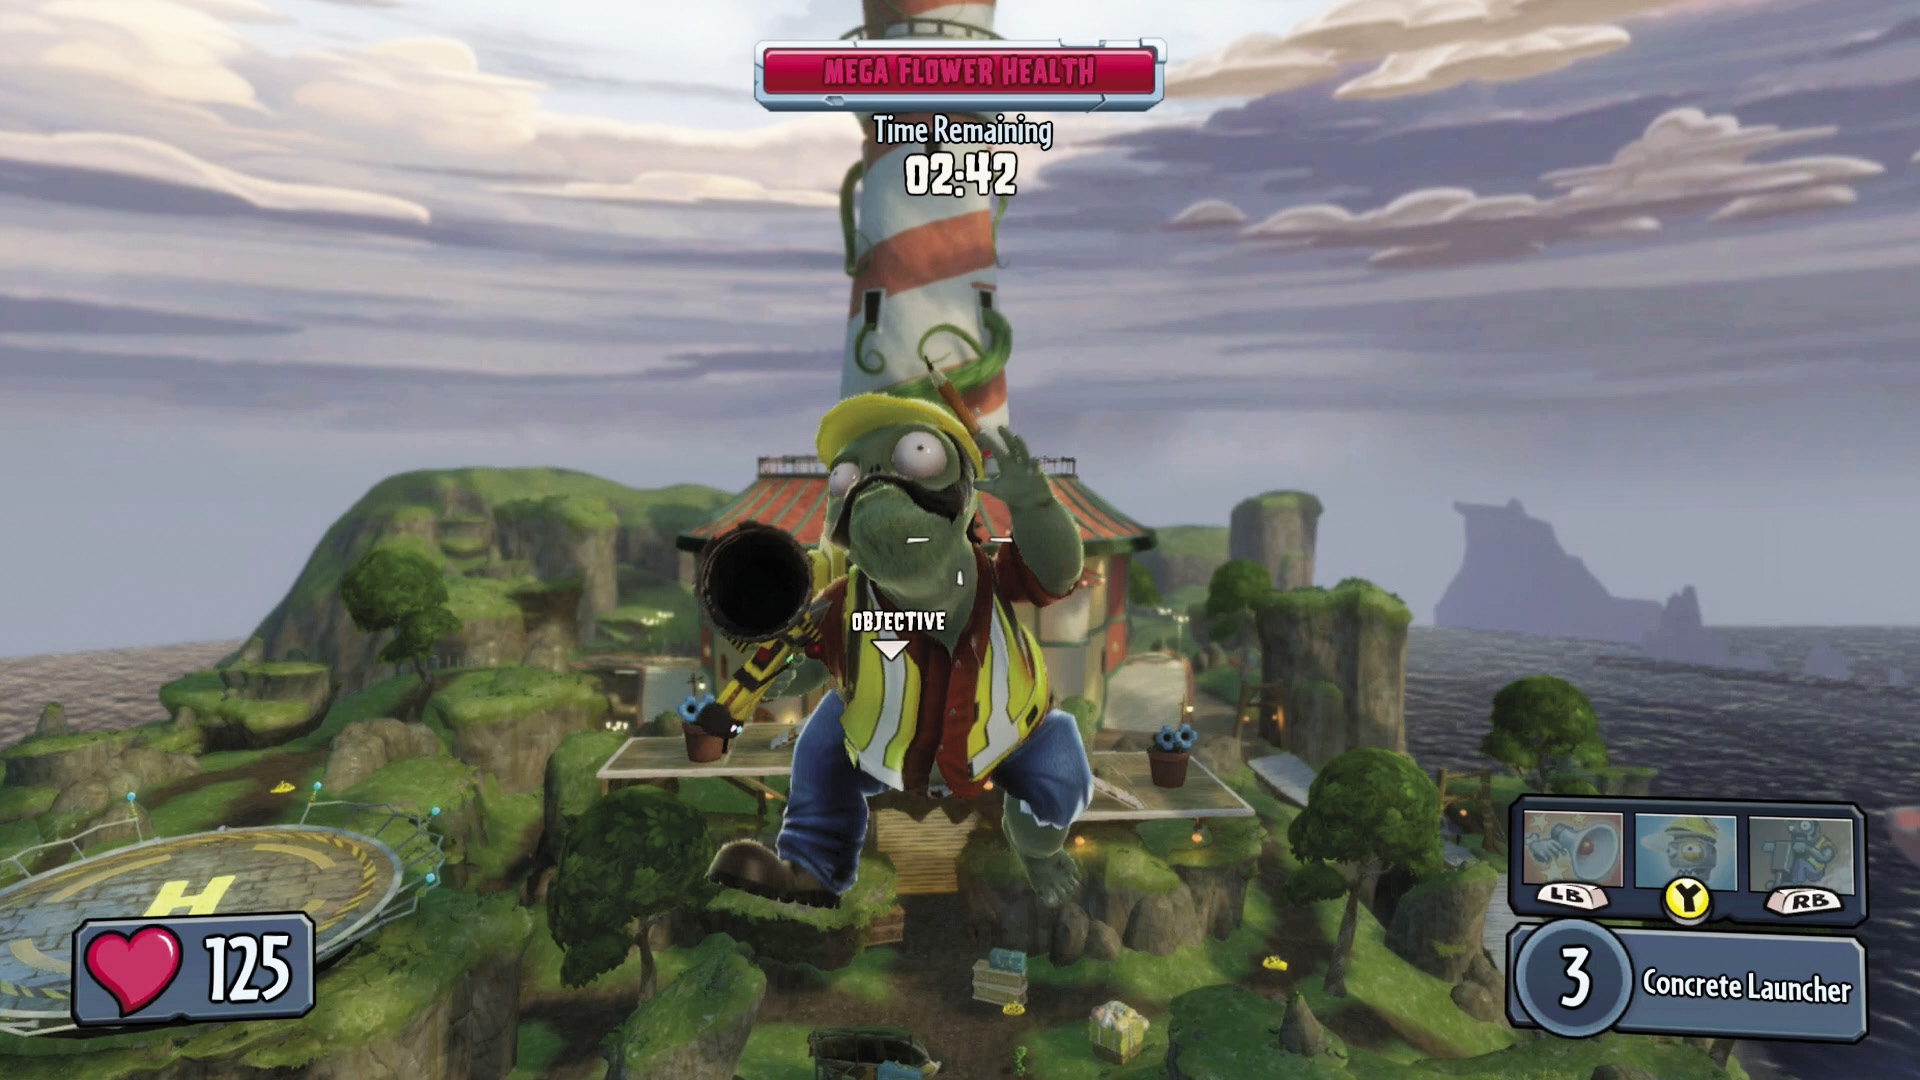
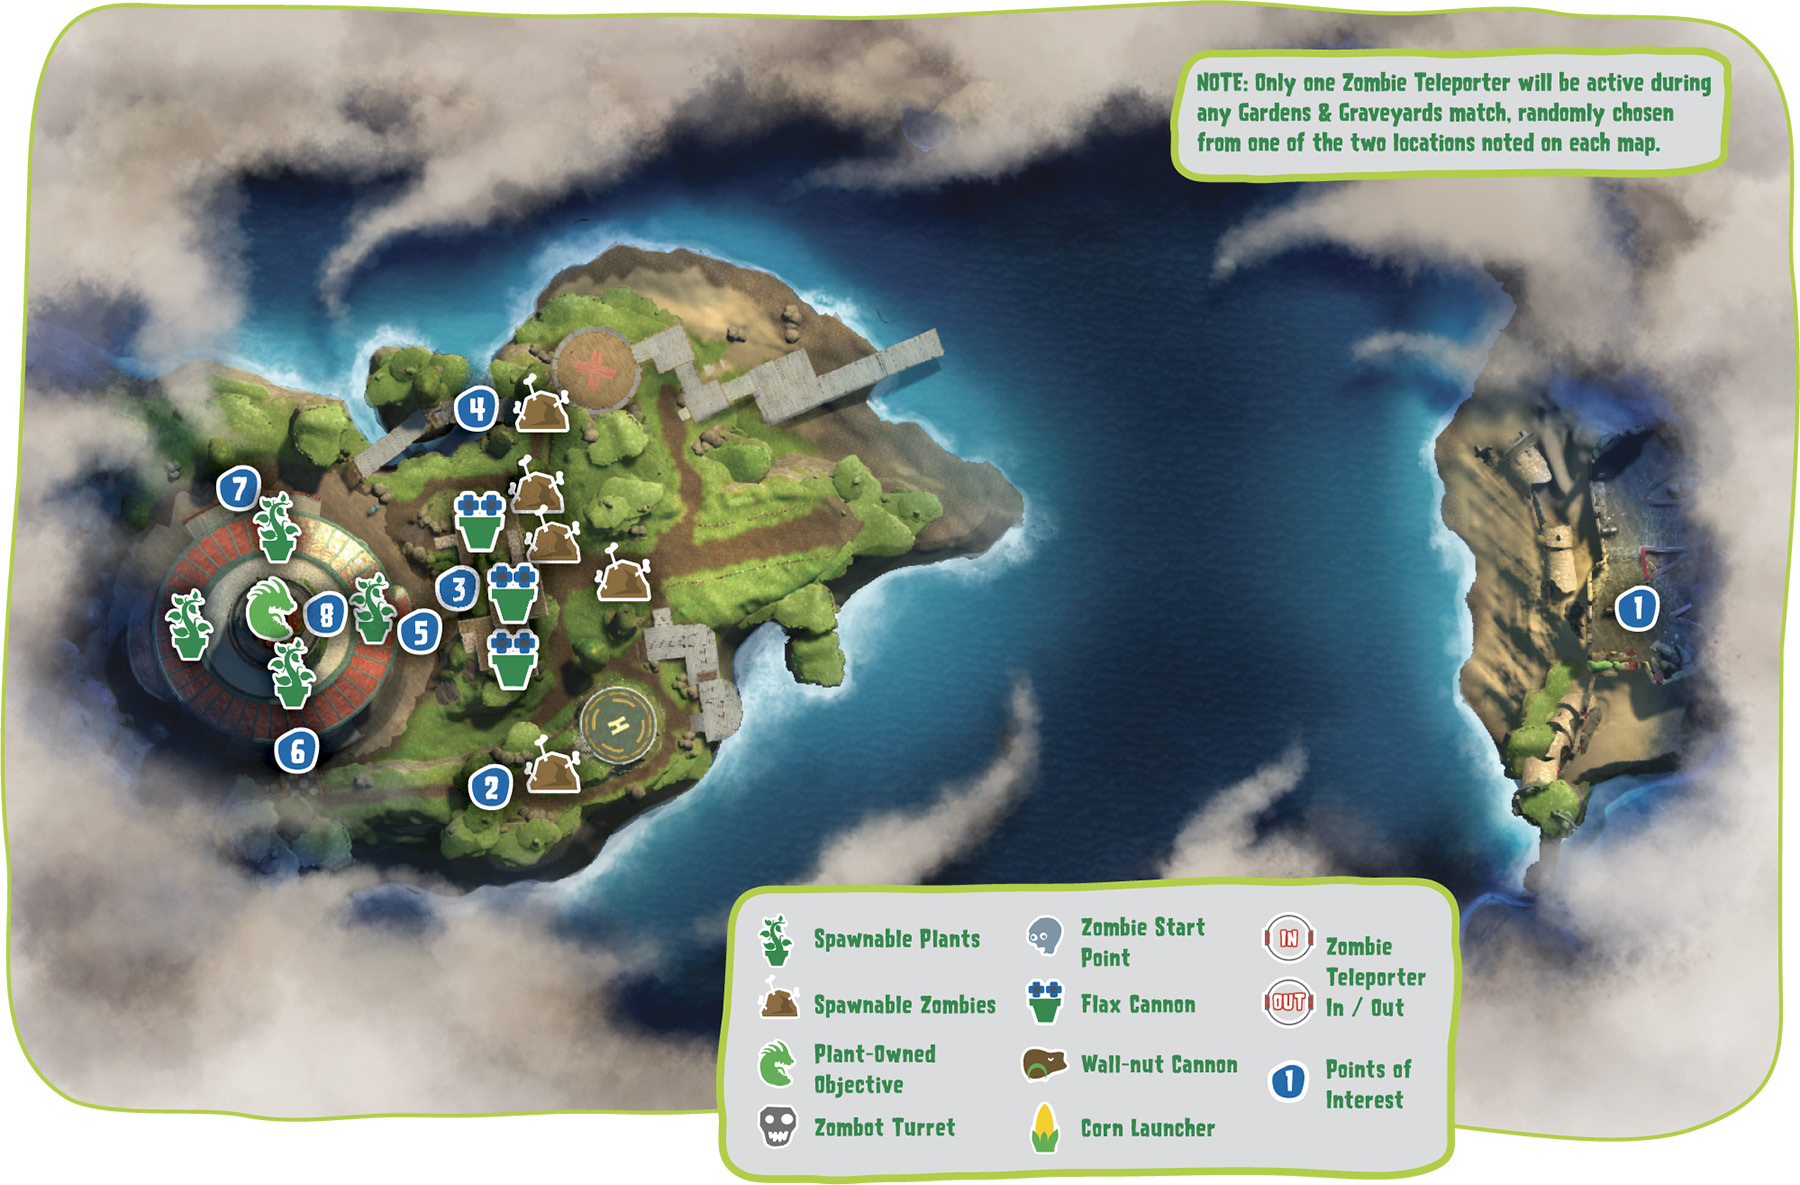
[1] Zombies: Once you’ve claimed the pirate ships, head beyond to the nearby cannons. When ready, launch yourself across the islands! Steer your zombie around the shots that the plants will be firing from their own cannons on the island! Make it across, and the Mega Flower awaits....
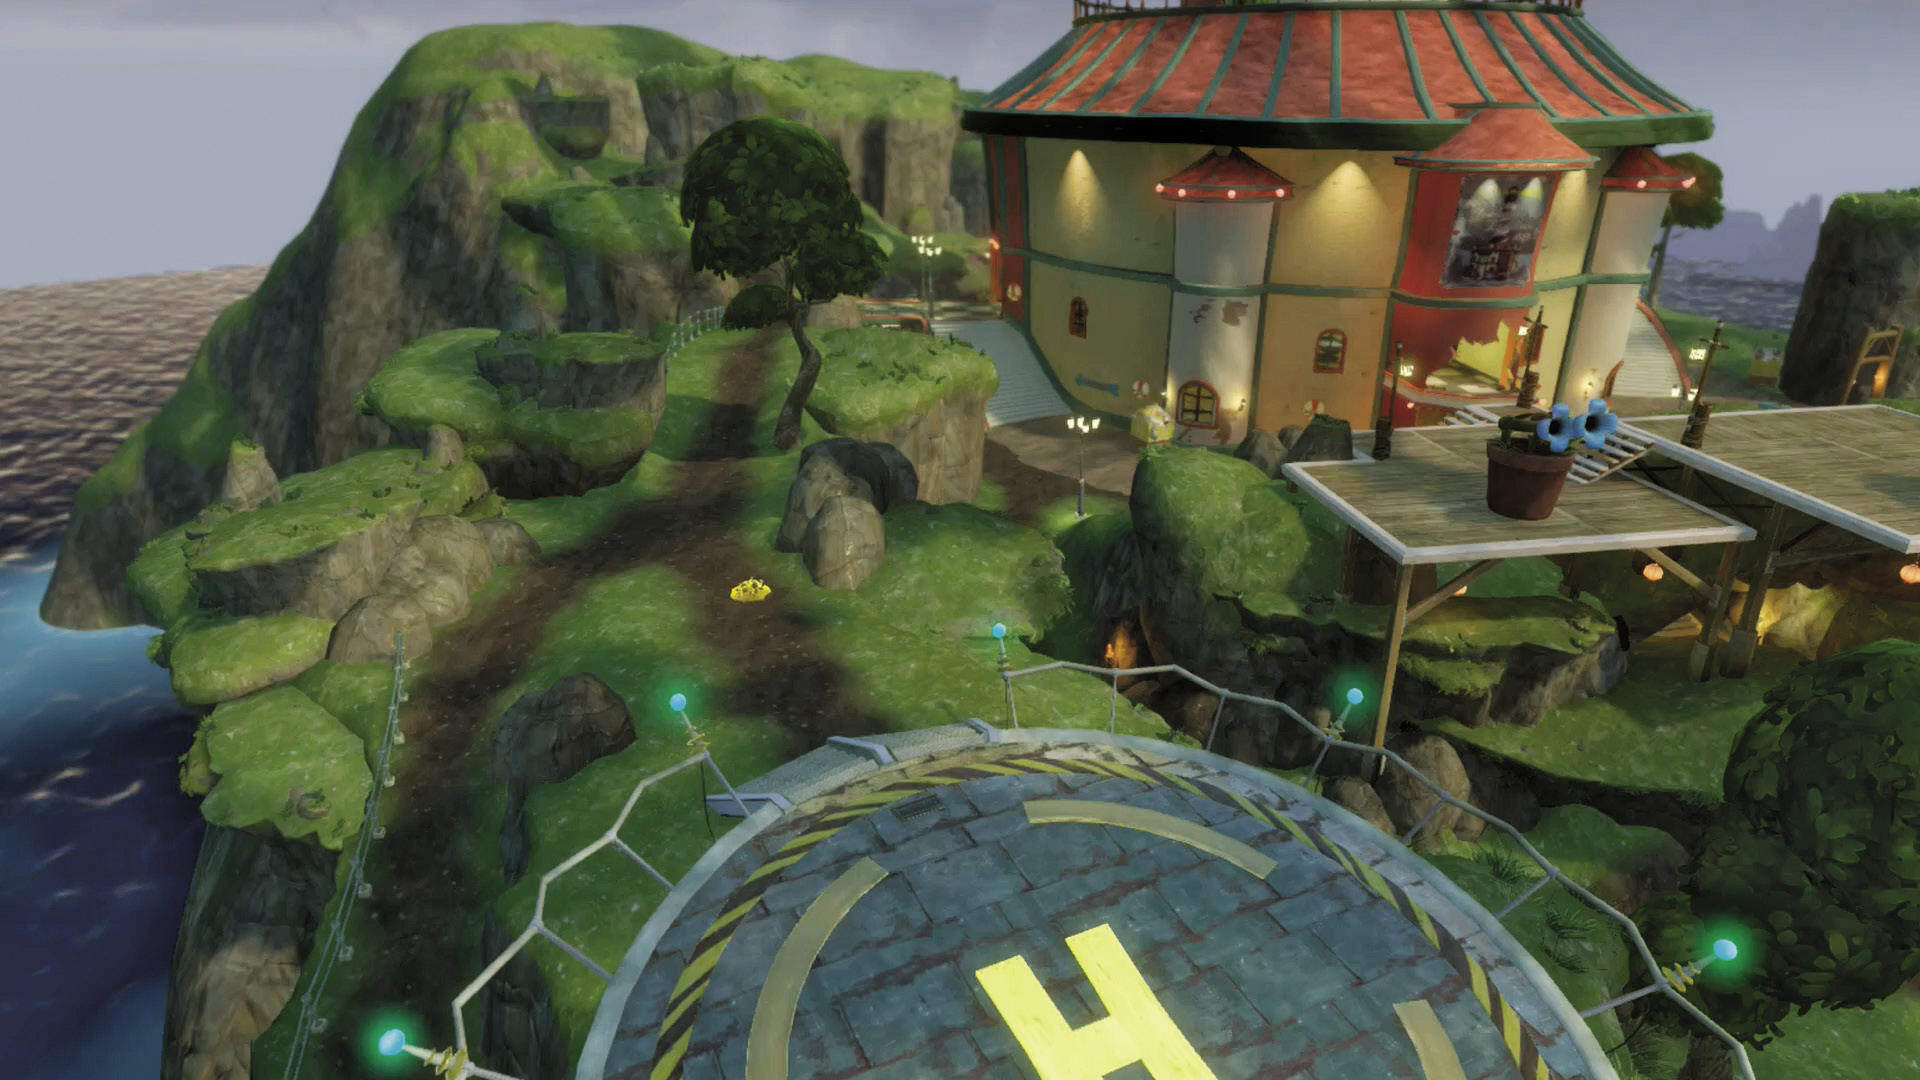
[2] Zombies: For the most part, this is a good path to use to stay out of the way and reach the base; the trouble is that pesky lookout area in [3]. You’ll have to keep it occupied.
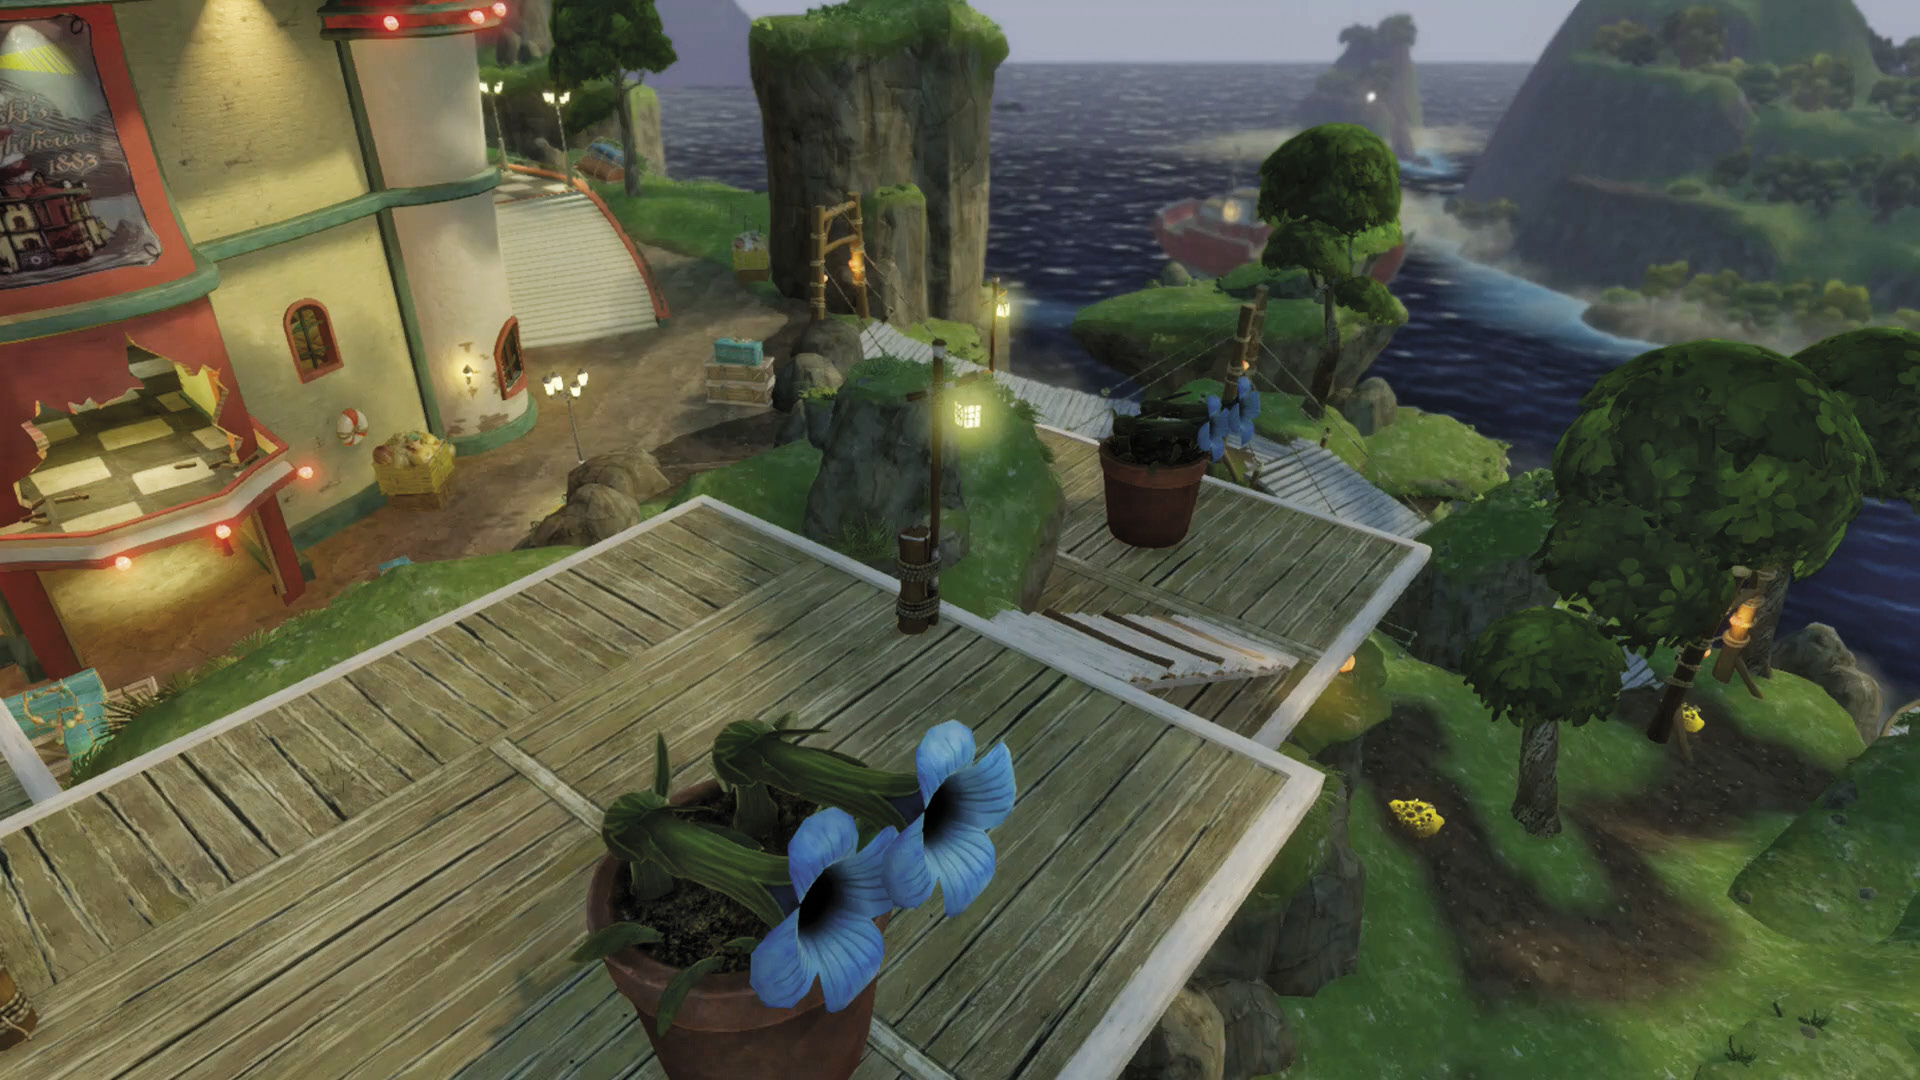
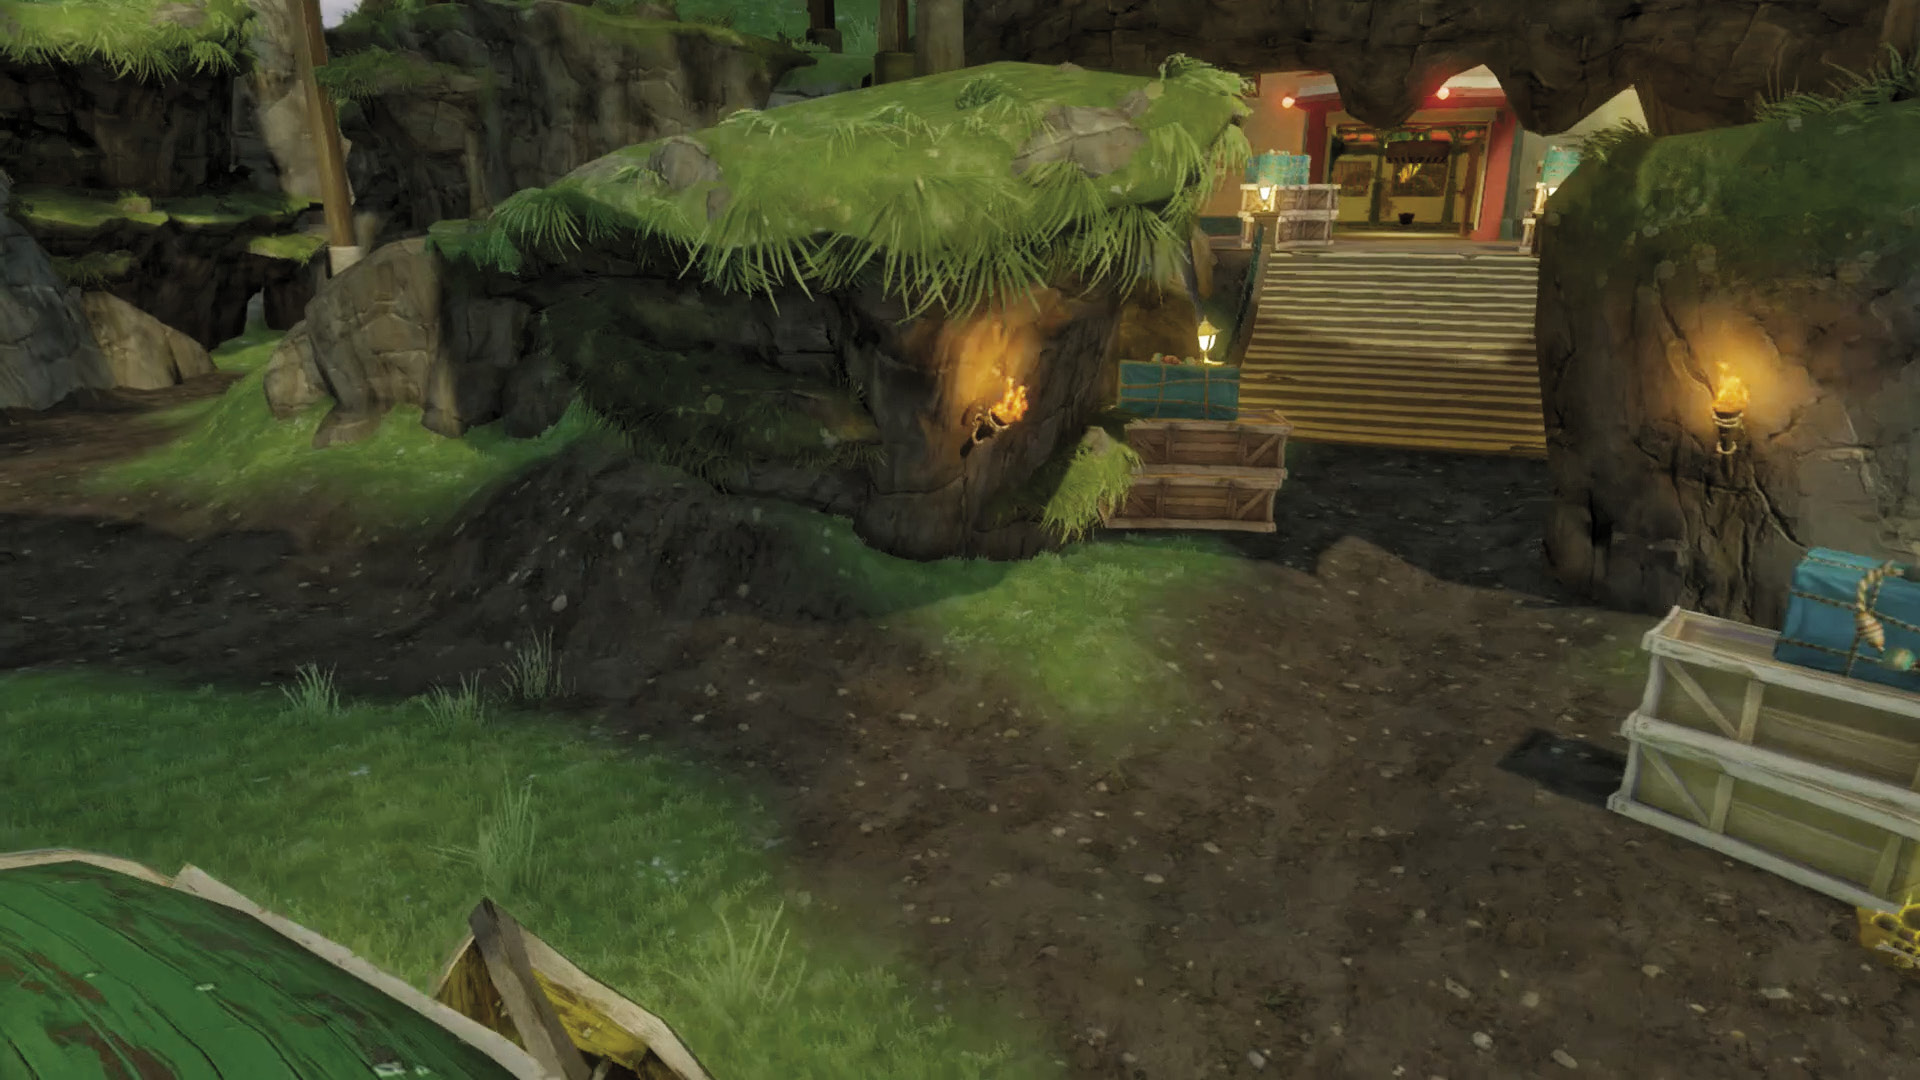
[3] Plants: Not only is the high road a good point to see zombies coming, but the flowers here act as player-controlled cannons to shoot down zombies approaching from the previous island. Use them to their fullest to protect that Mega Flower!
Zombies: Meanwhile, you’re going to want to rush to the low road to protect yourself from plant fire, and to gain direct access to the Mega Flower’s core. Don’t waste time!
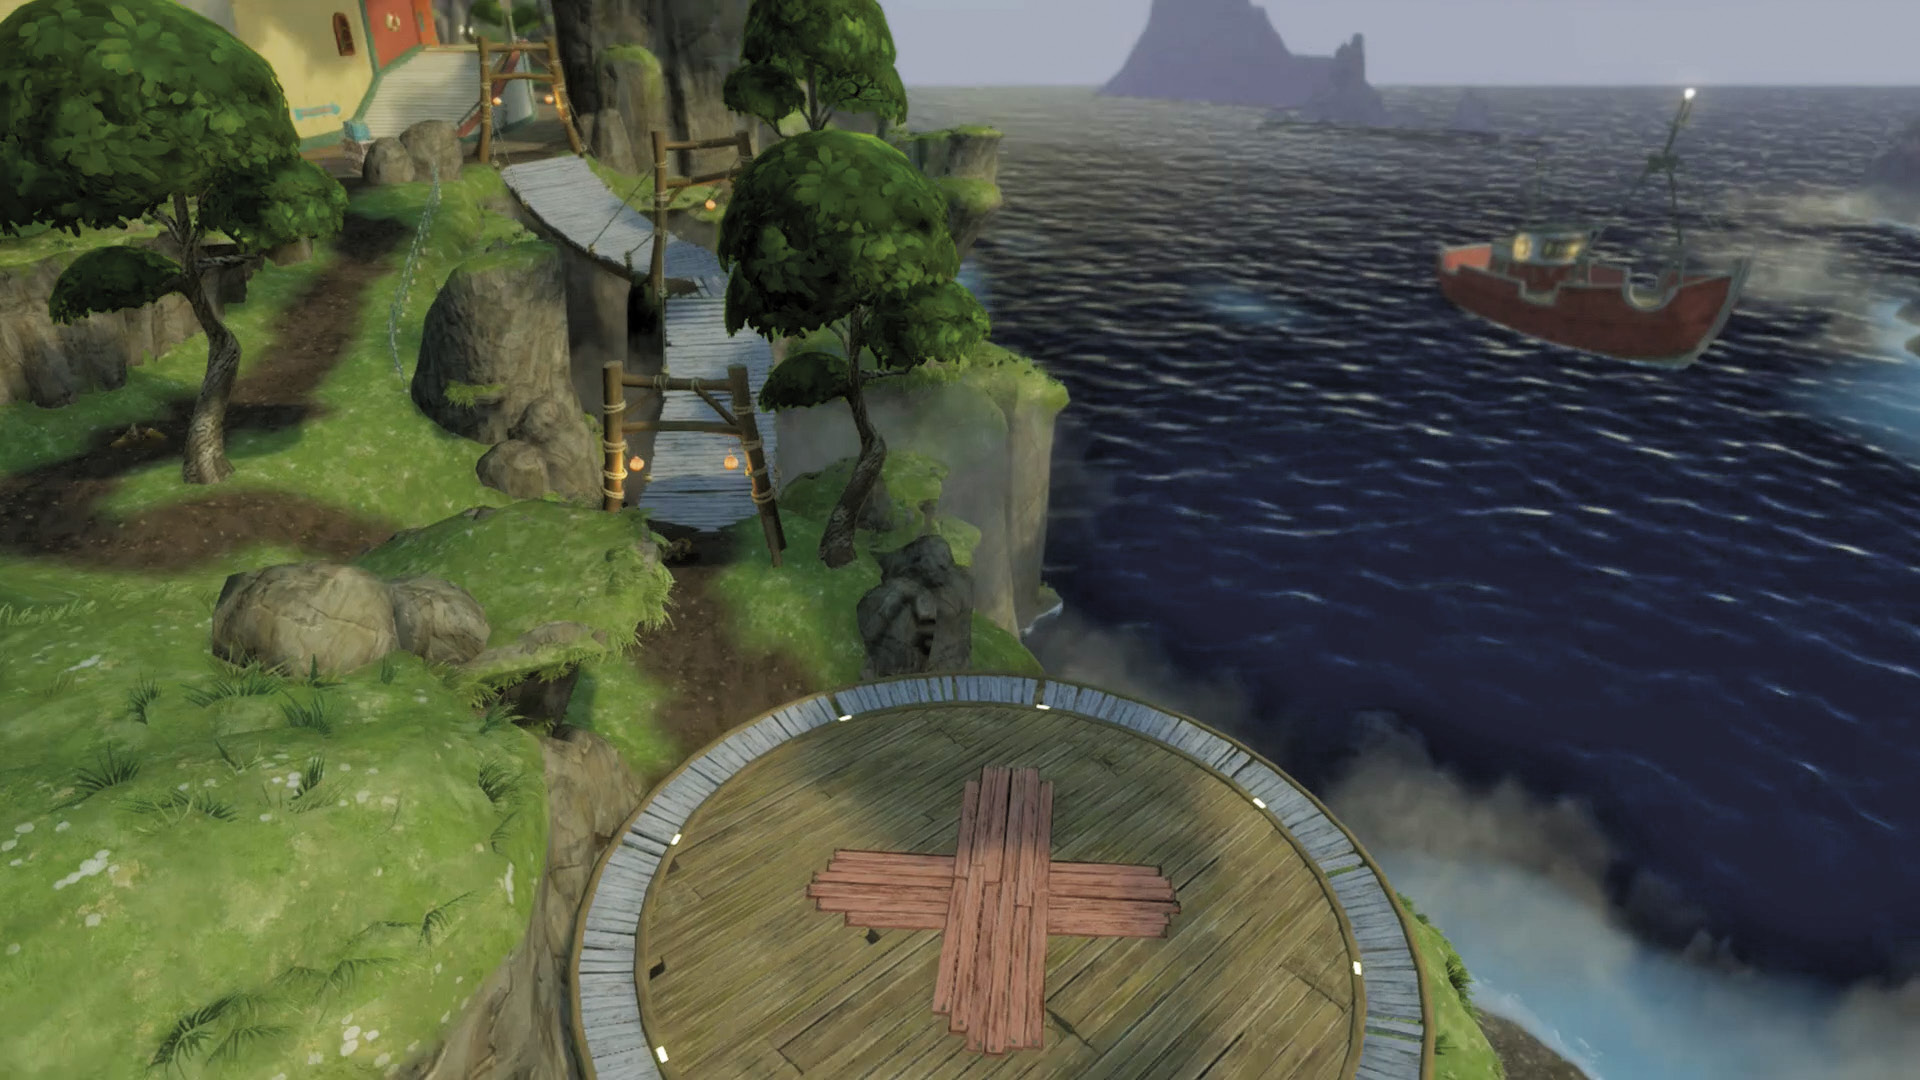
[4] Zombies: Everything that applies to [2] applies here as well; however, since this path’s a little lower to the ground, it’ll be a bit of an easier time. Use this one if you can.
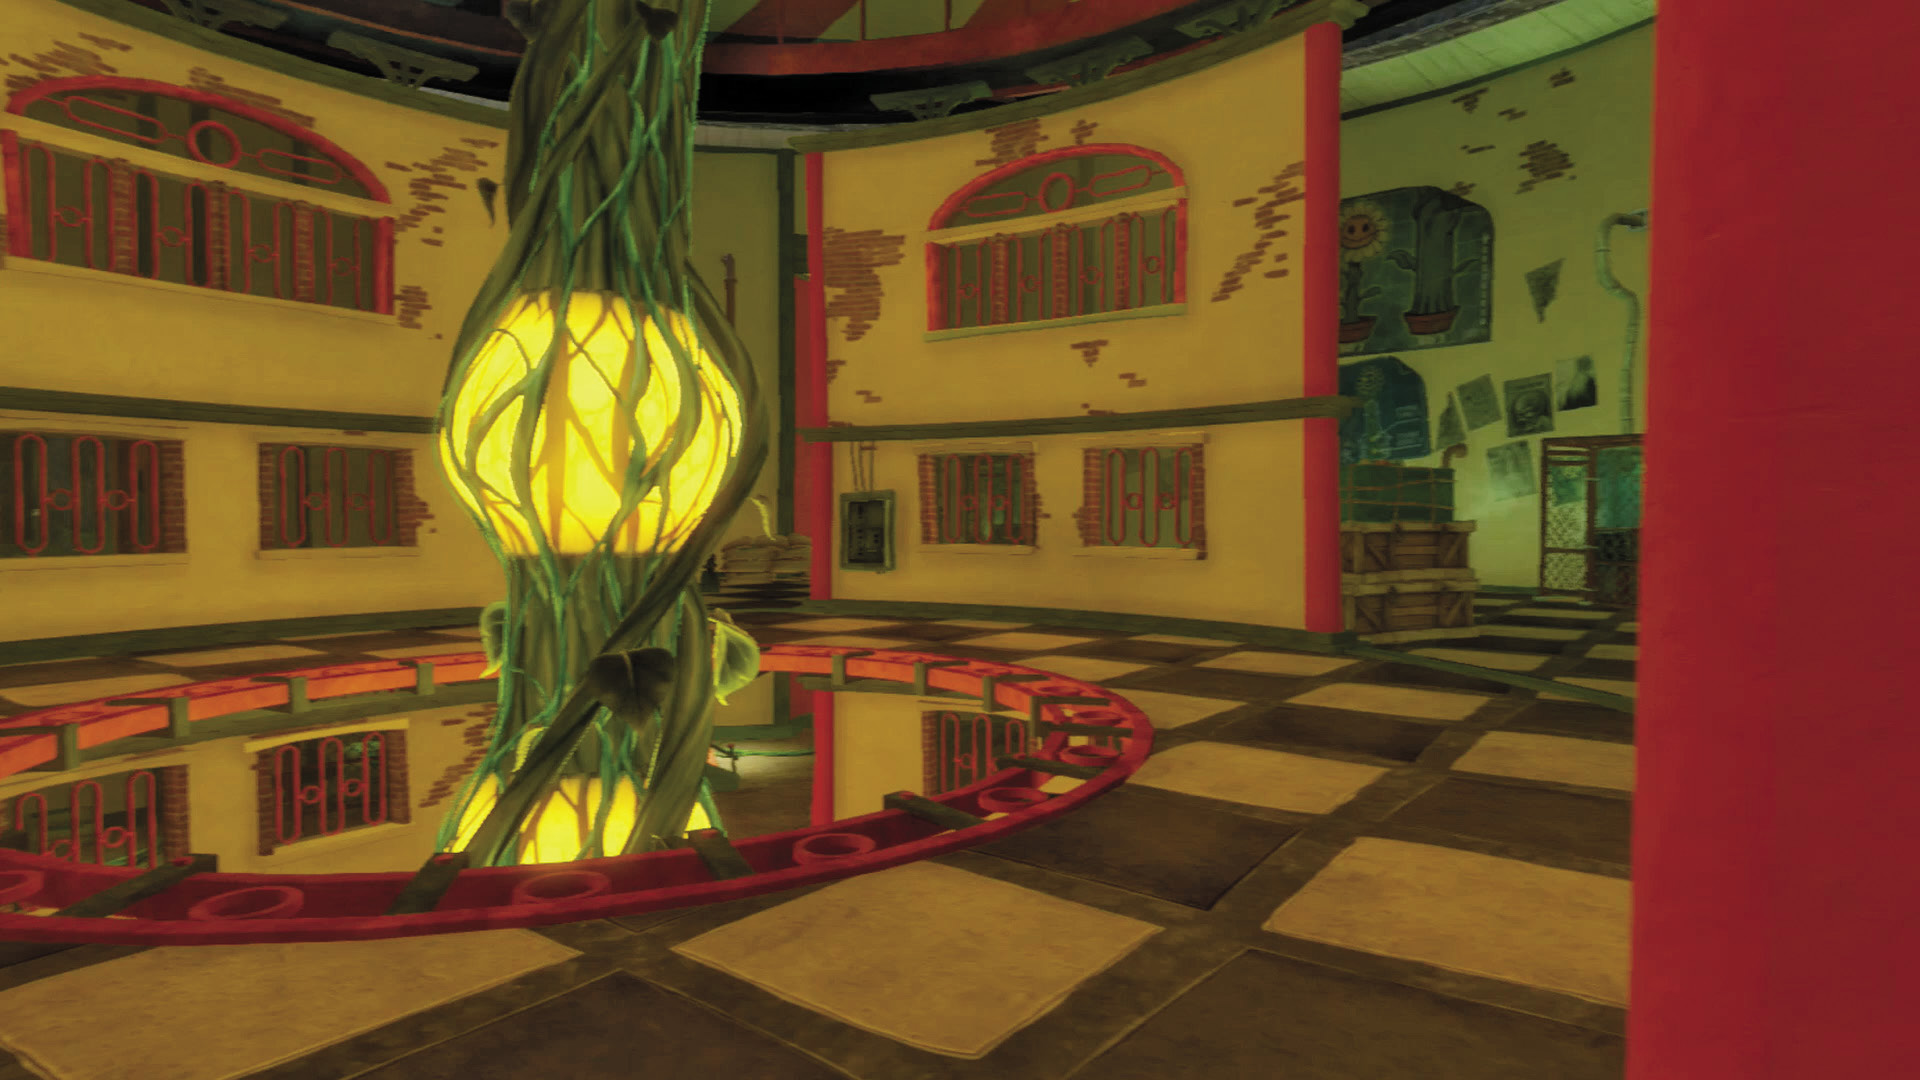
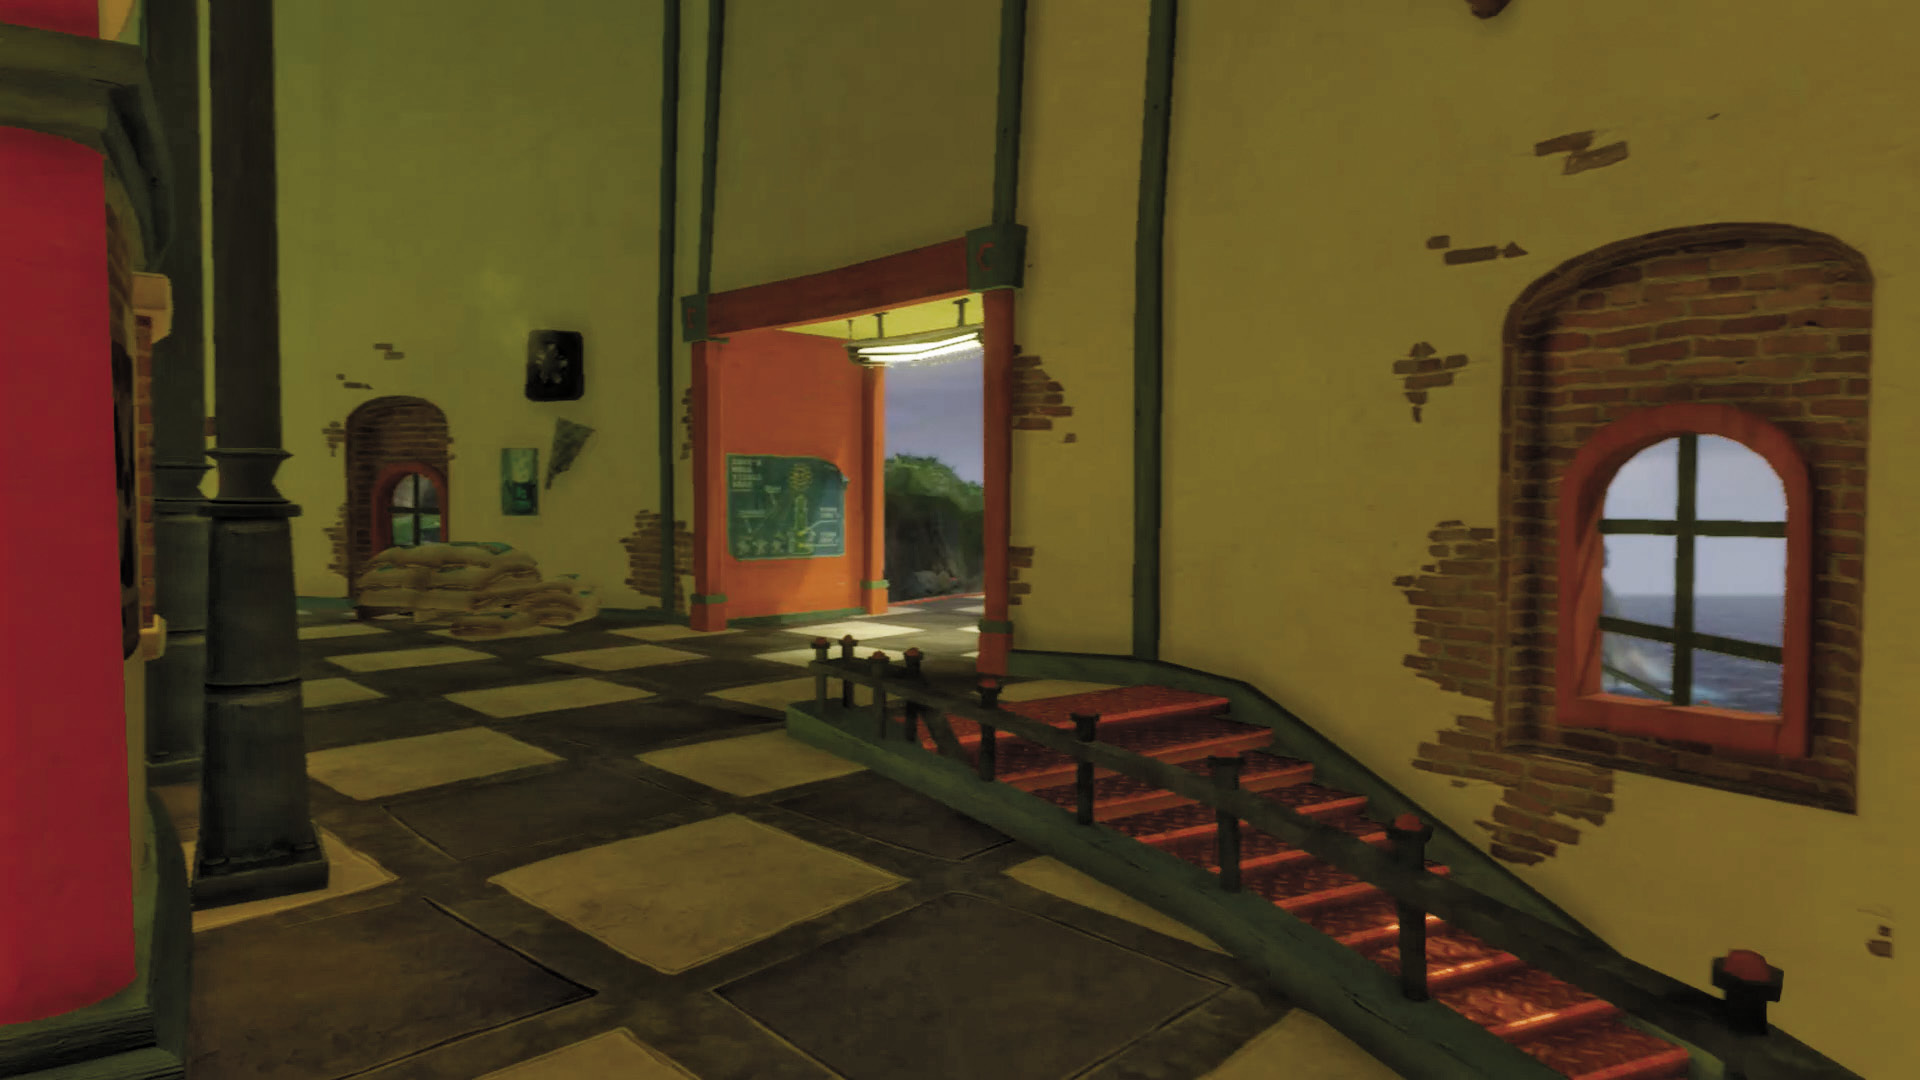
[5] Plants: Your stronghold is well-fortified, and contains steps for easy transport between floors. You’ll want to be shuttling units back and forth, up and down steps, to keep it clear of zombie riffraff. Since quarters are close, go for close-range Spawnable Plants.
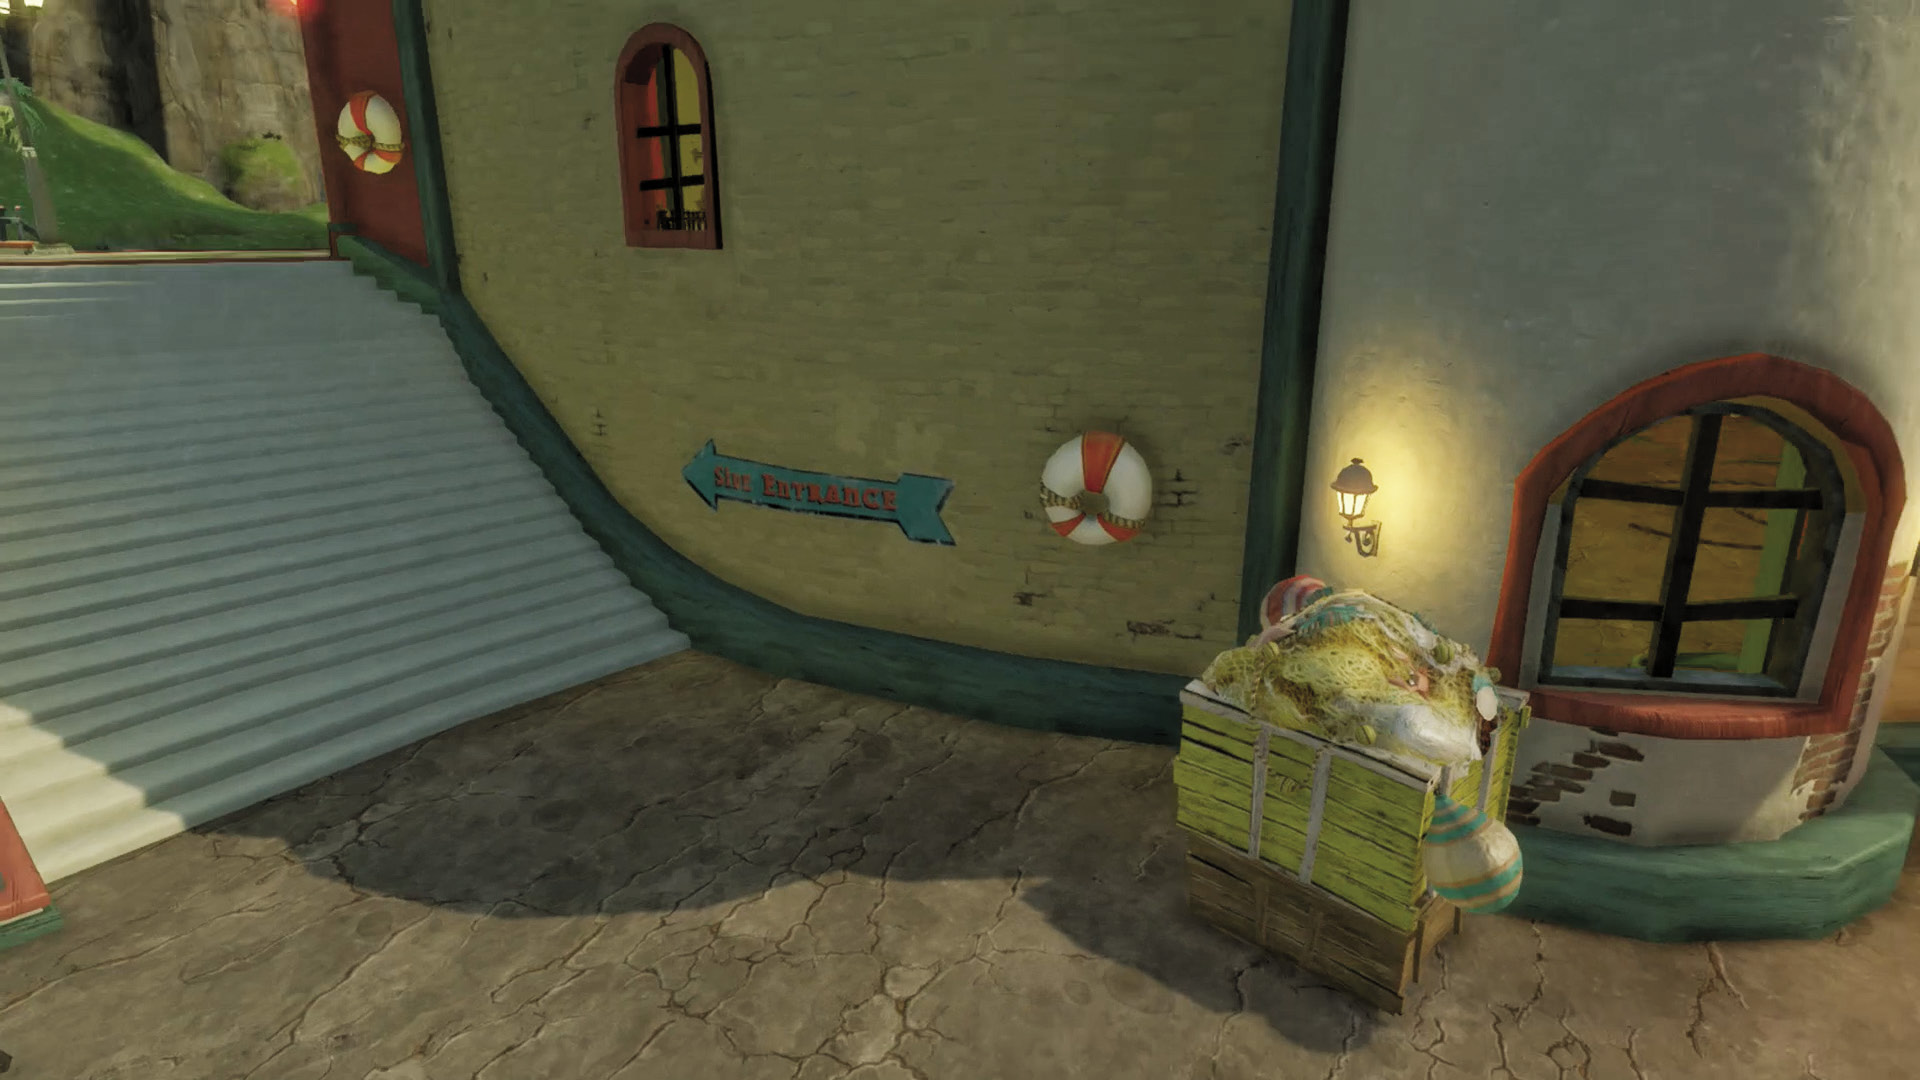
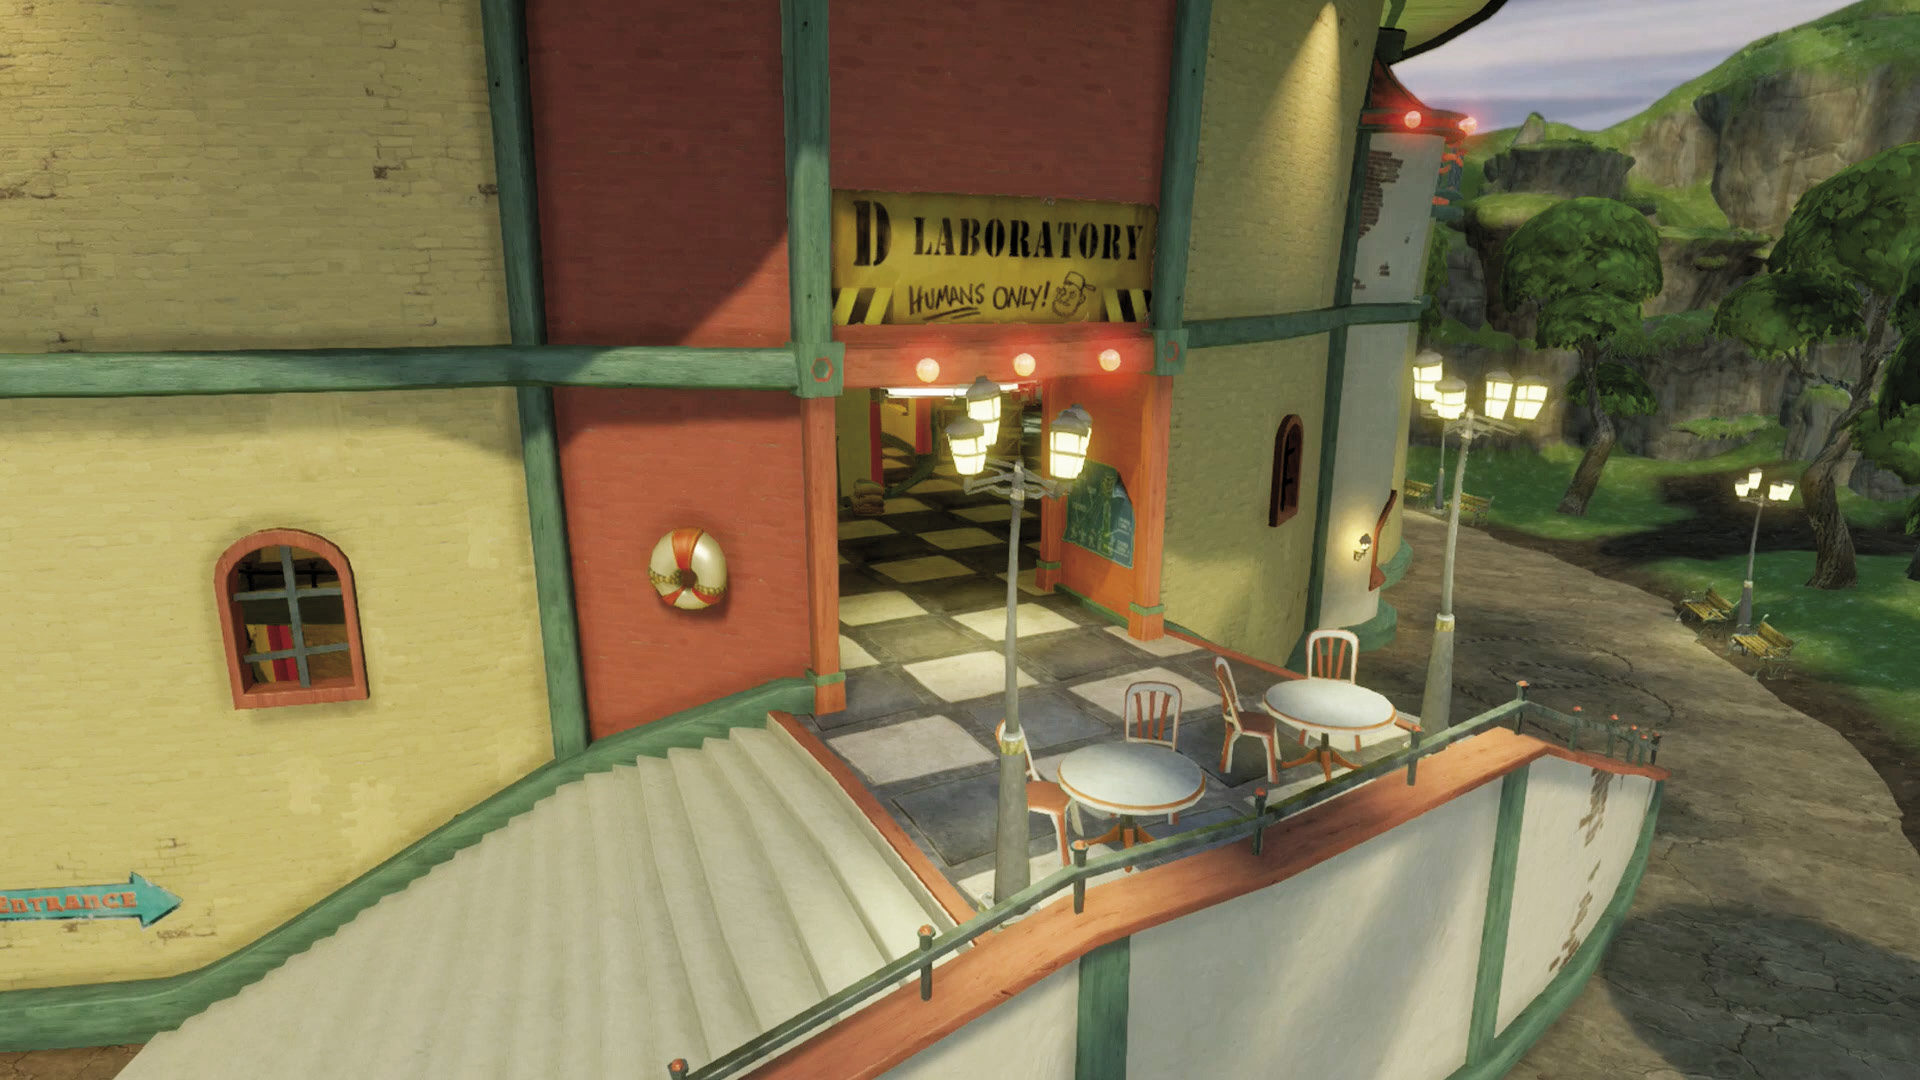
[6] [7] Zombies: If you can make it here, these two side entrances are your best bet for crippling plant defenses before going for the Mega Flower. Doing this will leave the Flower helpless, which is what you want given the time limit—far more efficient than simply throwing bodies at the lighthouse.
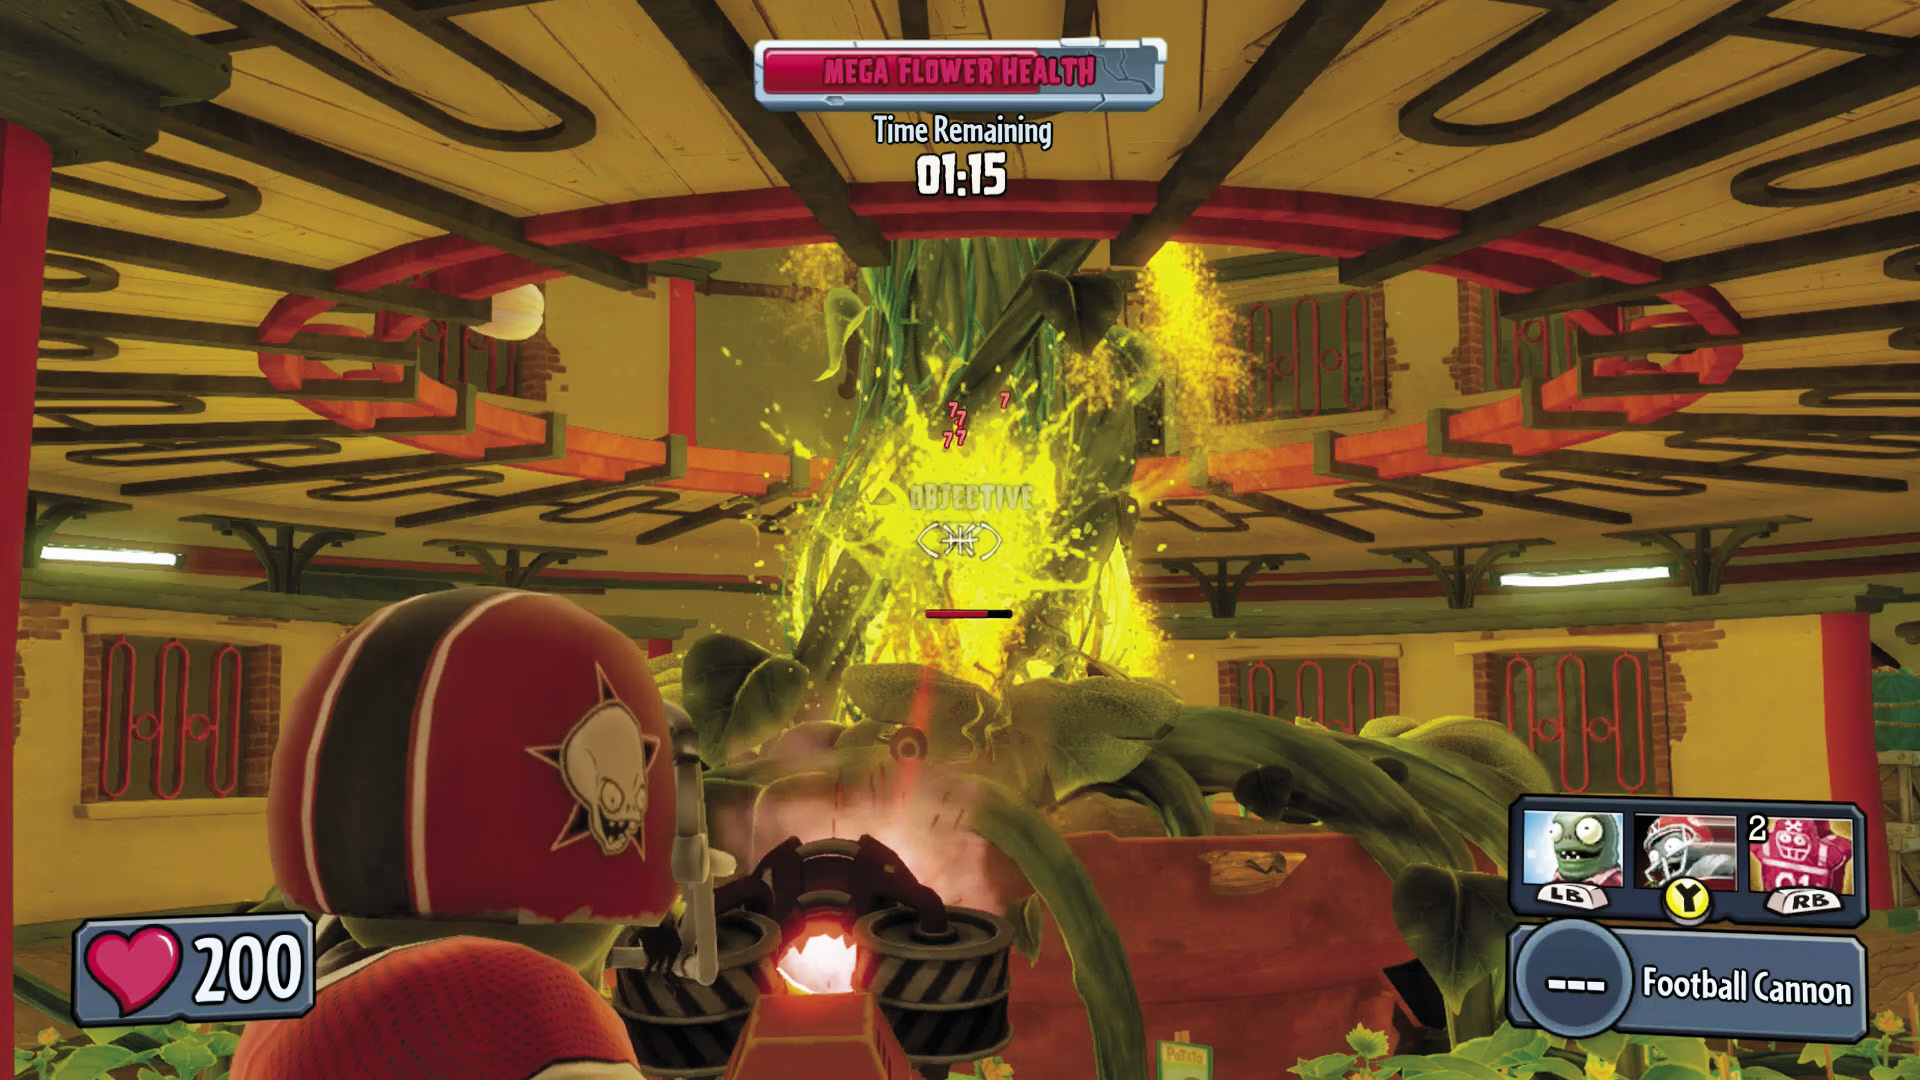
[8] Zombies: Your mission is tough and twofold: not only do you need to make it to the Mega Flower unscathed, you’re going to do so while bringing your heavy hitters to quickly damage the Mega Flower’s yellow cores before time runs out. Bring anything that packs a punch: All-Stars, Tank Commanders, even airstriking Drones. The time for subtlety has passed—the Mega Flower must fall!
Plants: The Mega Flower can take a lot of punishment, but isn’t invincible. The base is close quarters and every way in is narrow, making it easy to keep track of incoming zombies and squash them wherever they might show up. Beware of All-Stars, Drones, and heavy artillery–carrying Soldiers such as the Tank Commander, as they can do tons of damage to your forces and the Mega Flower in a hurry.