
Plants vs Zombies Garden Warfare Guide Gardens and Graveyards Gardens and Graveyards Maps
Main Street
The plants have deployed their secret weapon, the TACTICAL CUKE. Can the zombies destroy it before it launches and destroys Zomboss Mountain?
Phase 1: Backyard
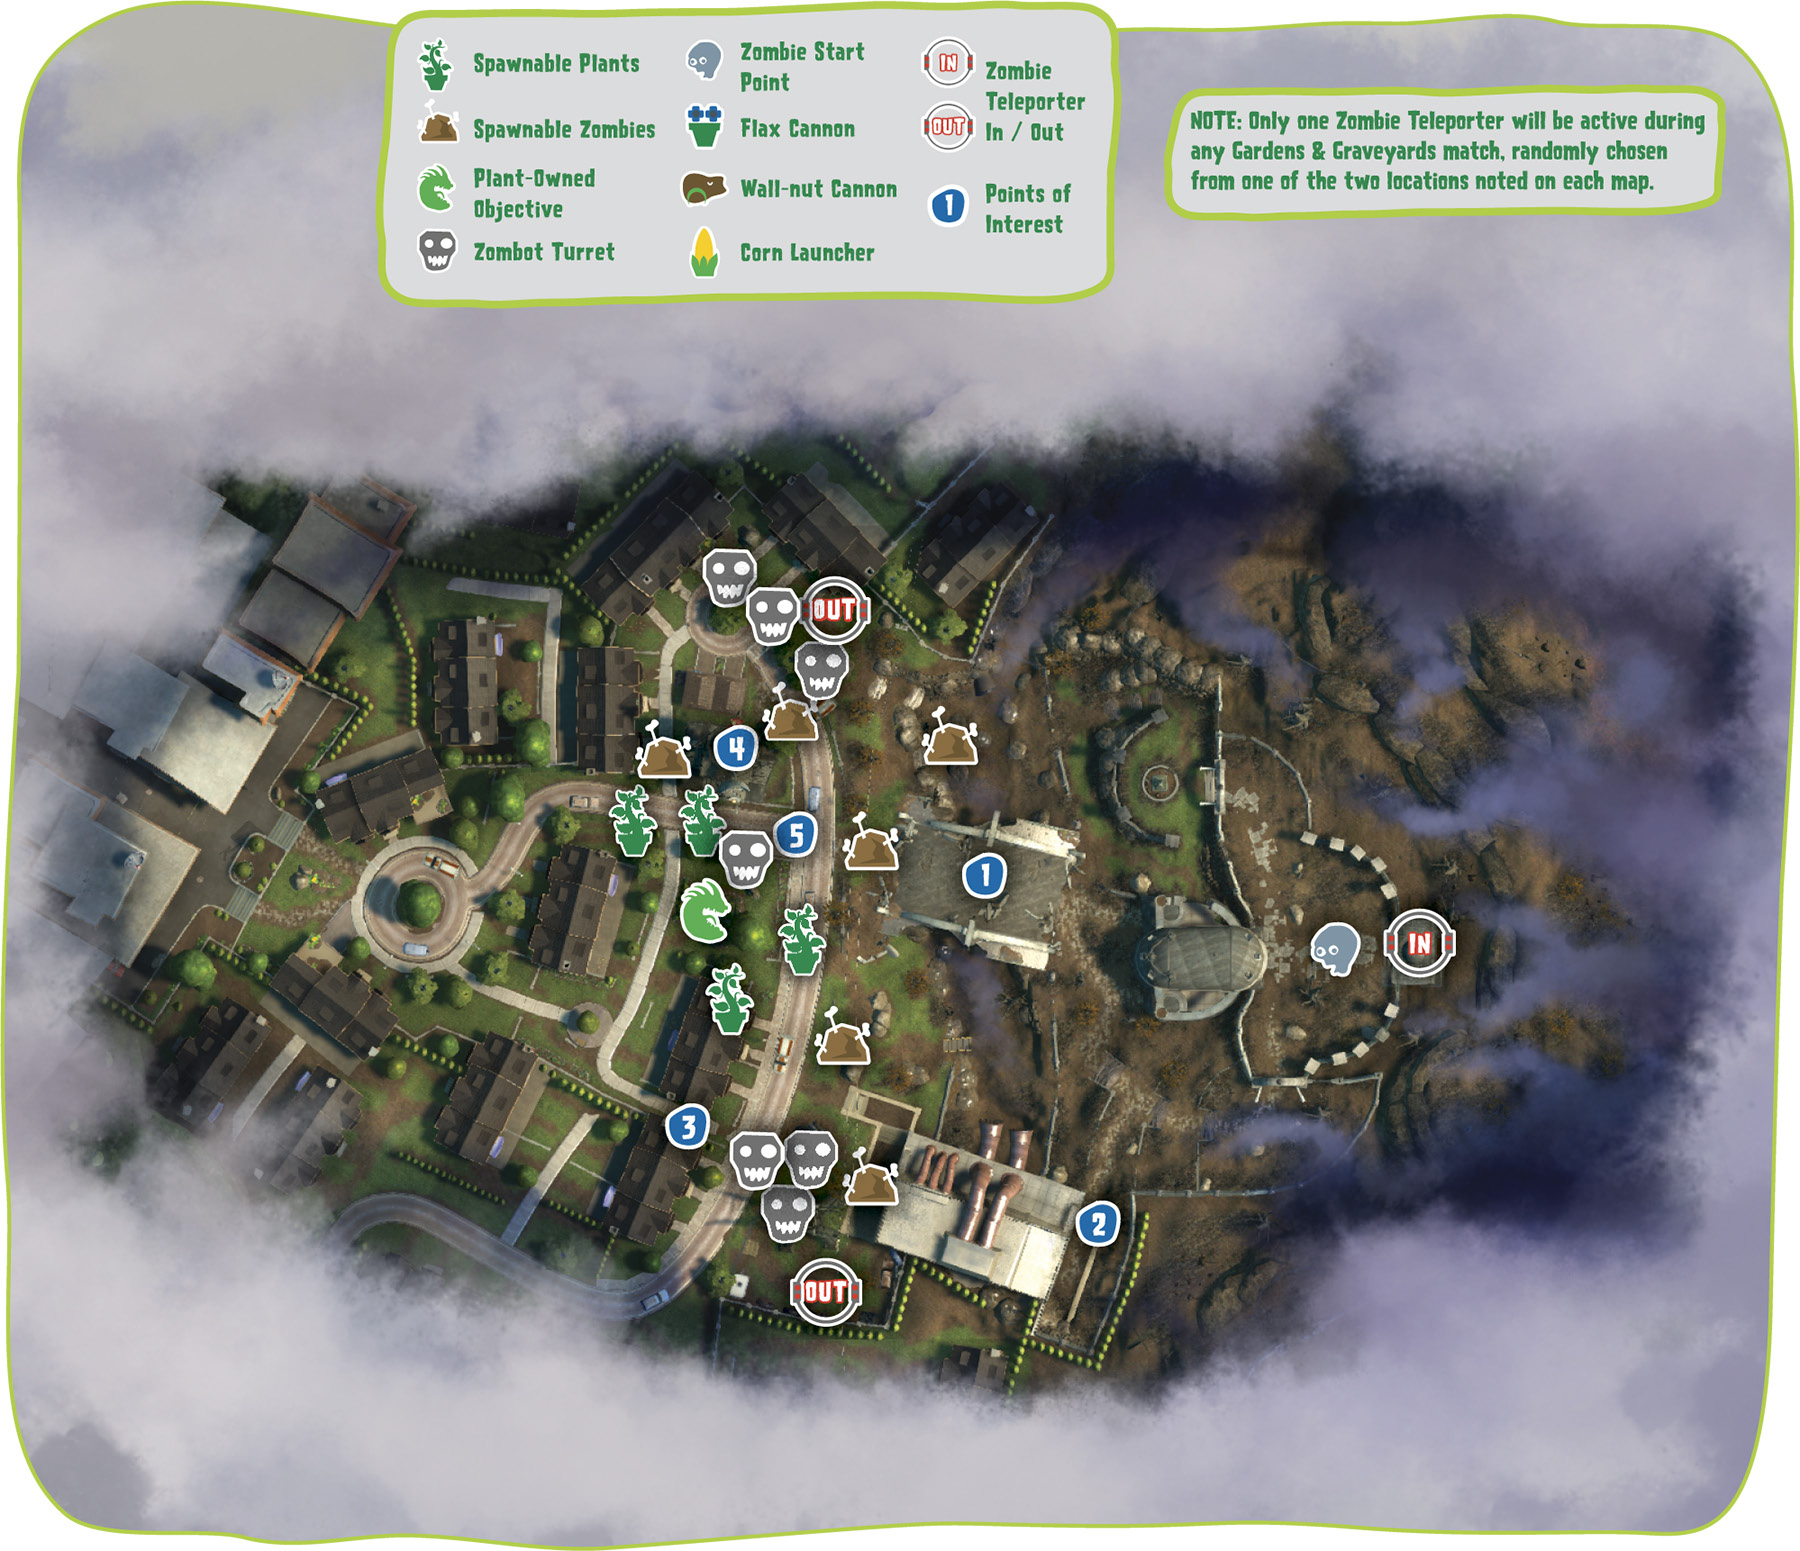
Points of Interest
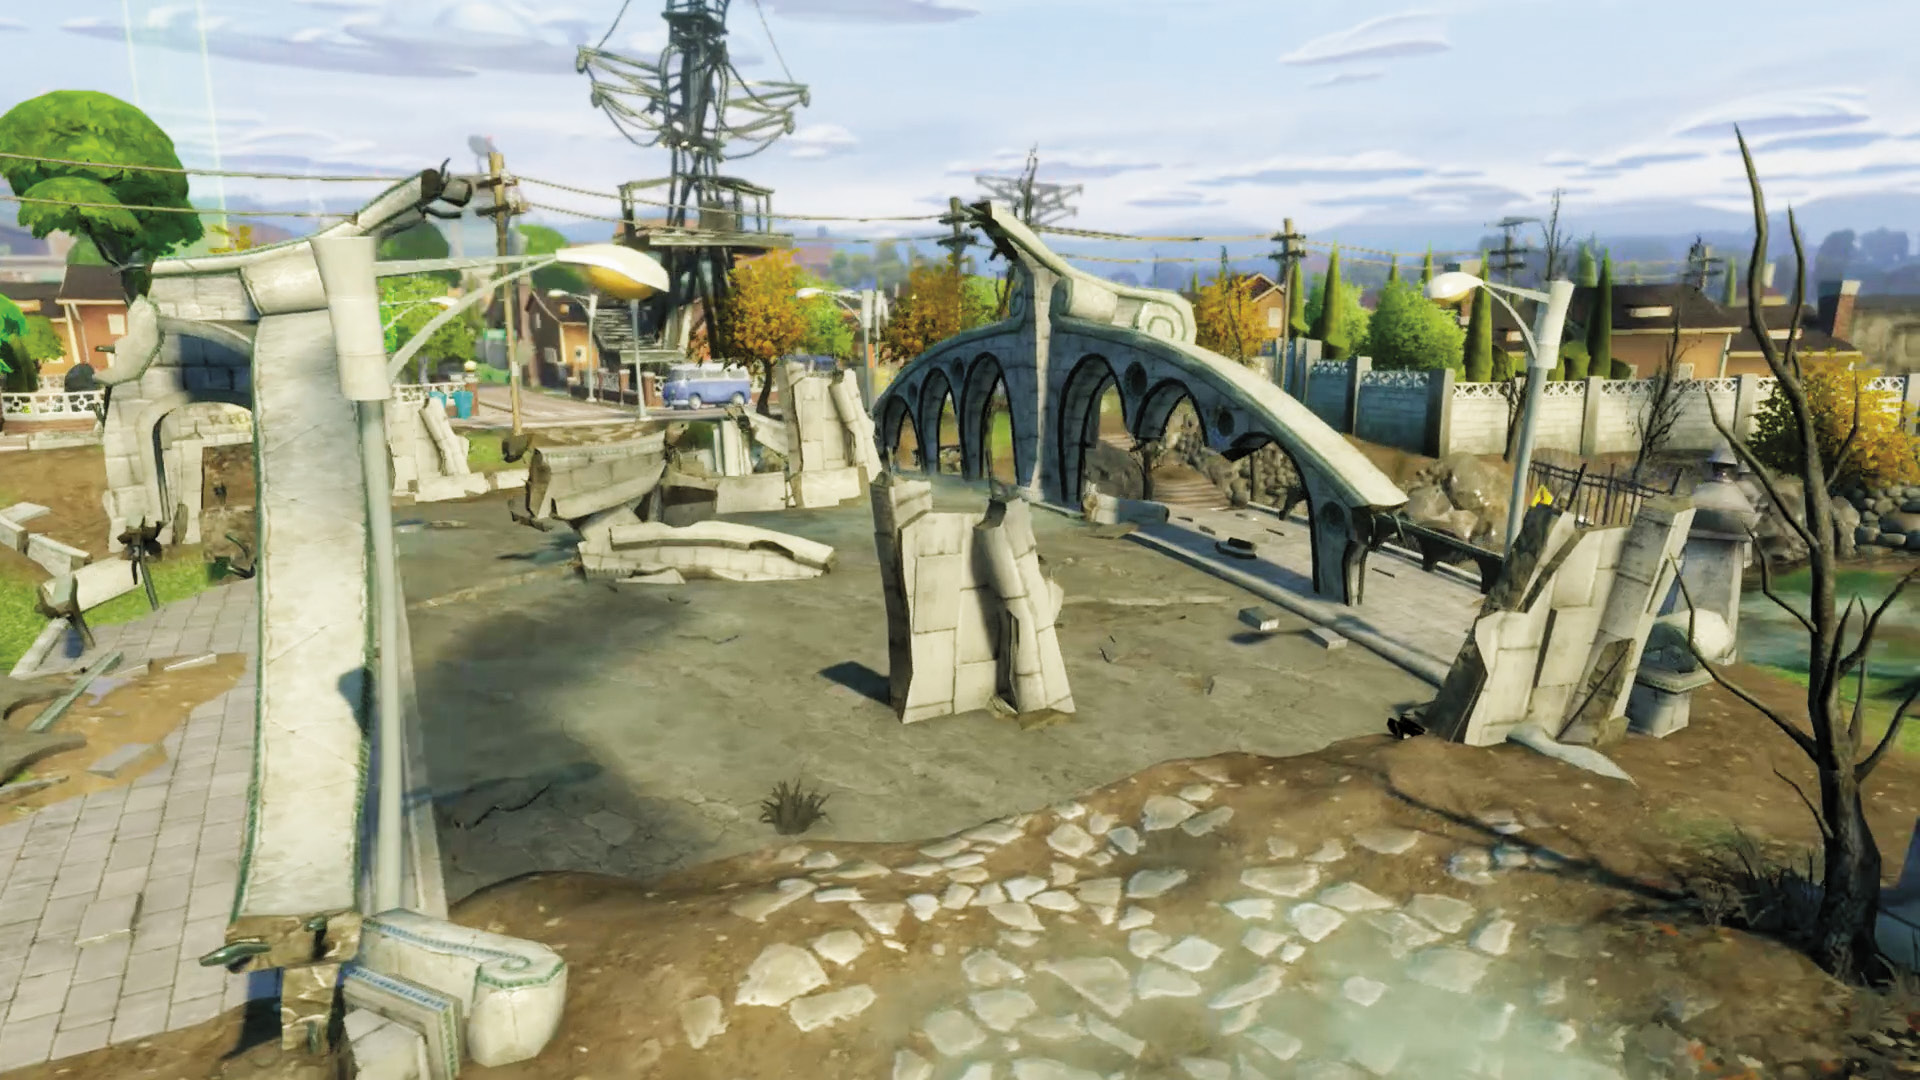
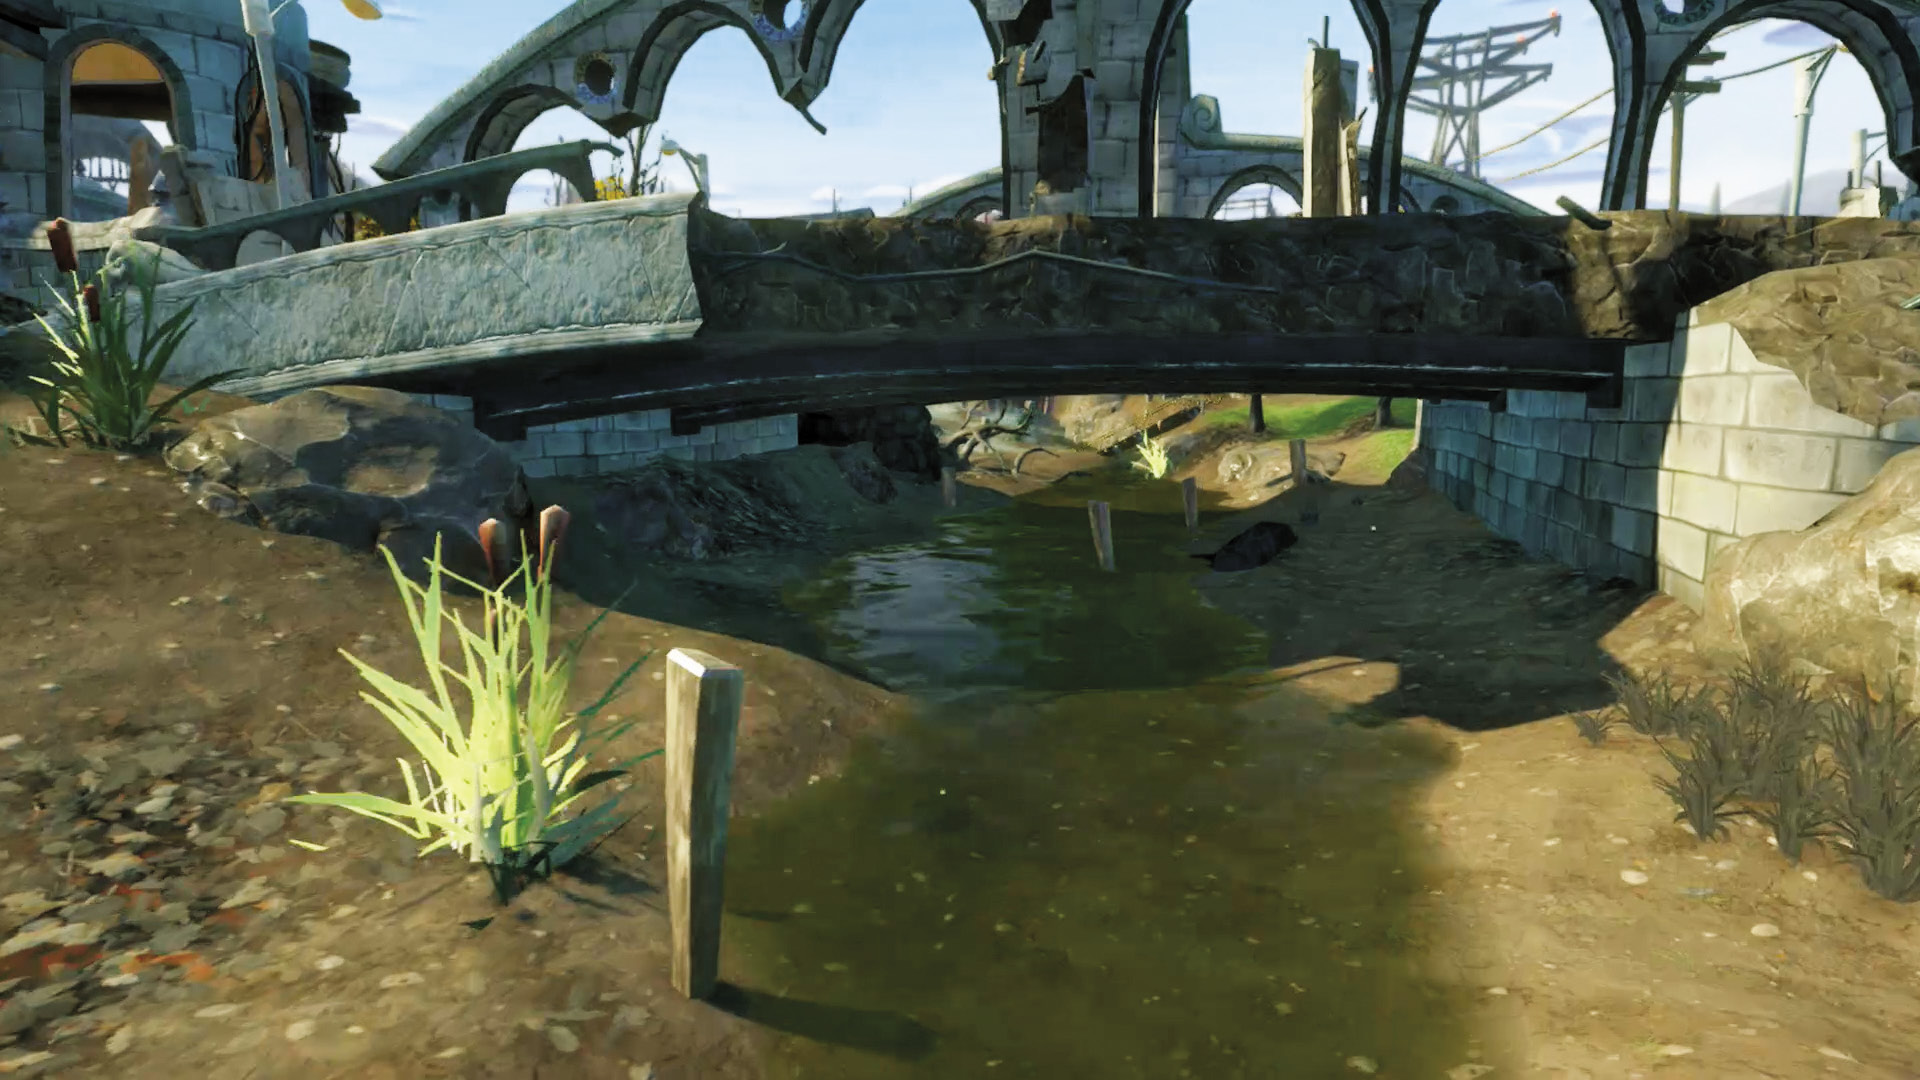
[1] Zombies: The bridge leads straight toward the Garden, and provides ample cover. That said, if you can use the lower bogs around the bridge, try doing so in order to not be as obvious. Spawnable Zombies are spread about the area to make your job a little easier.
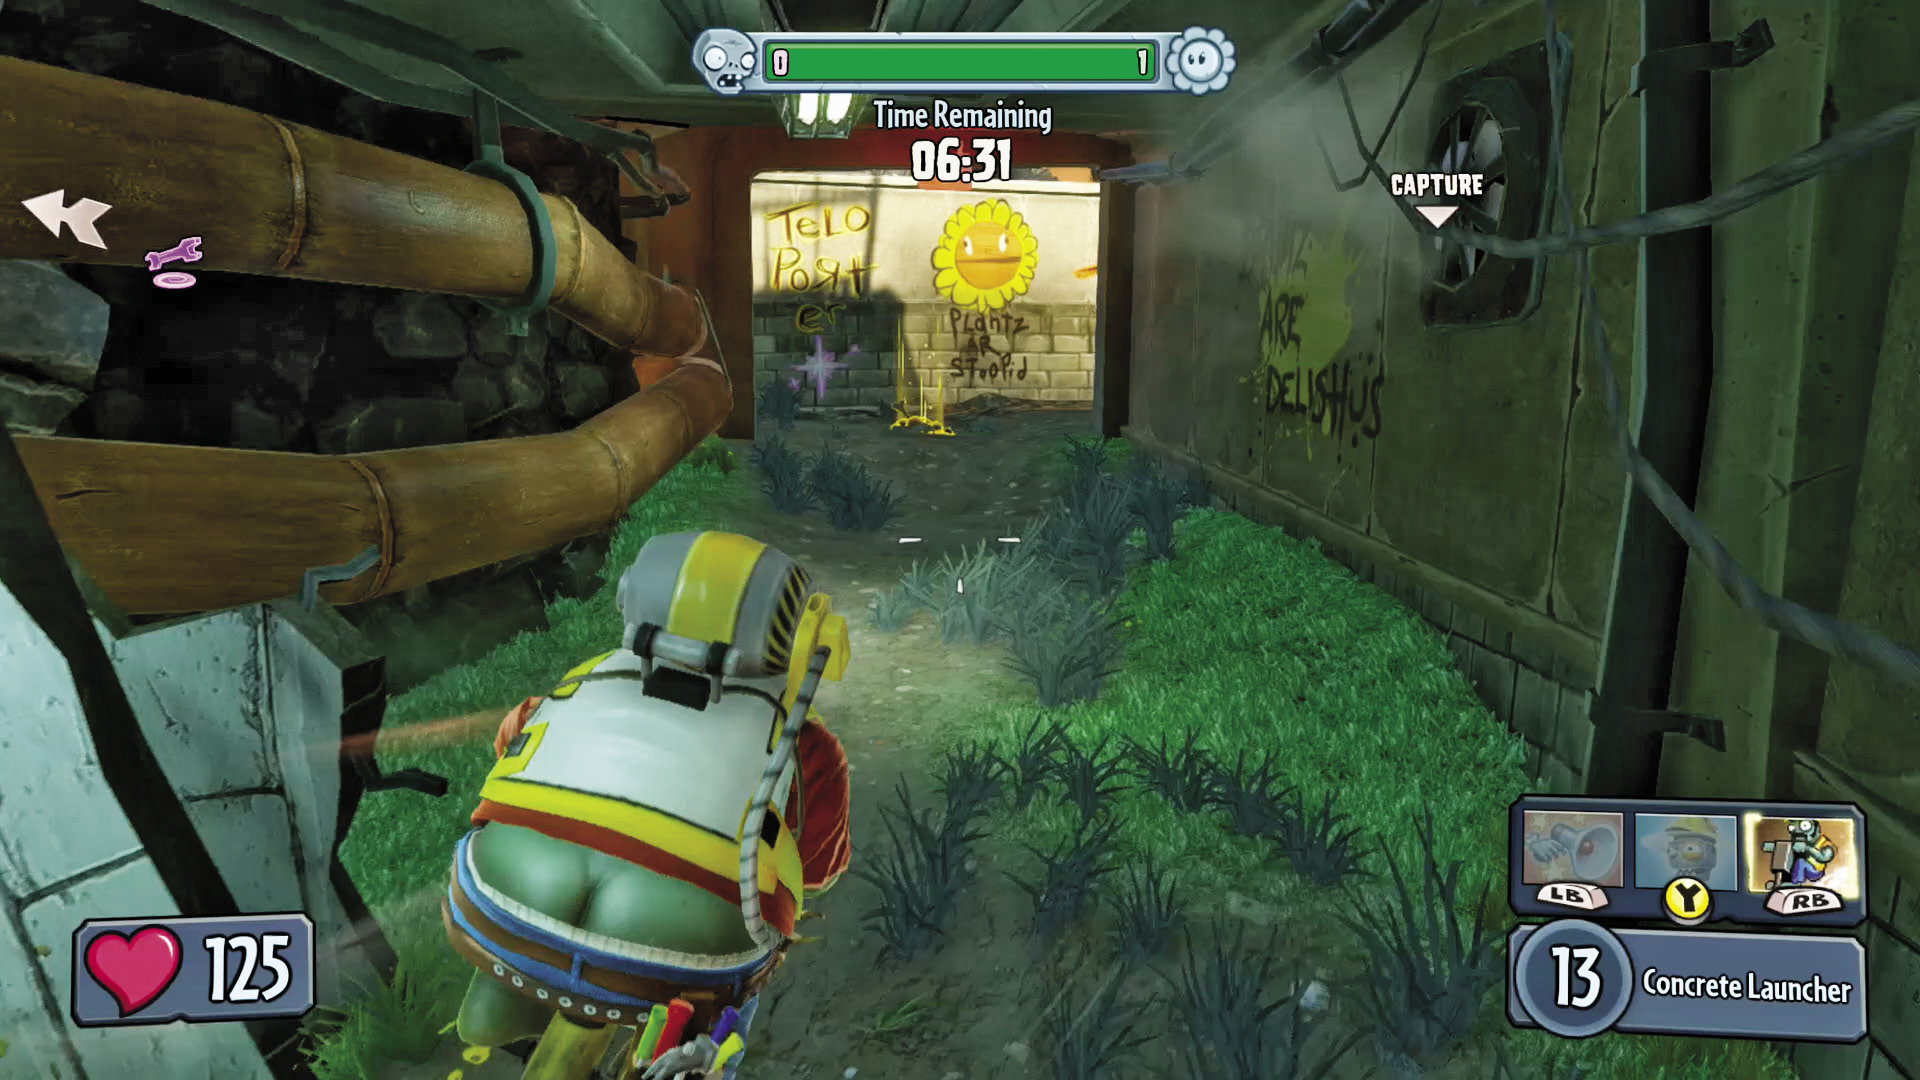
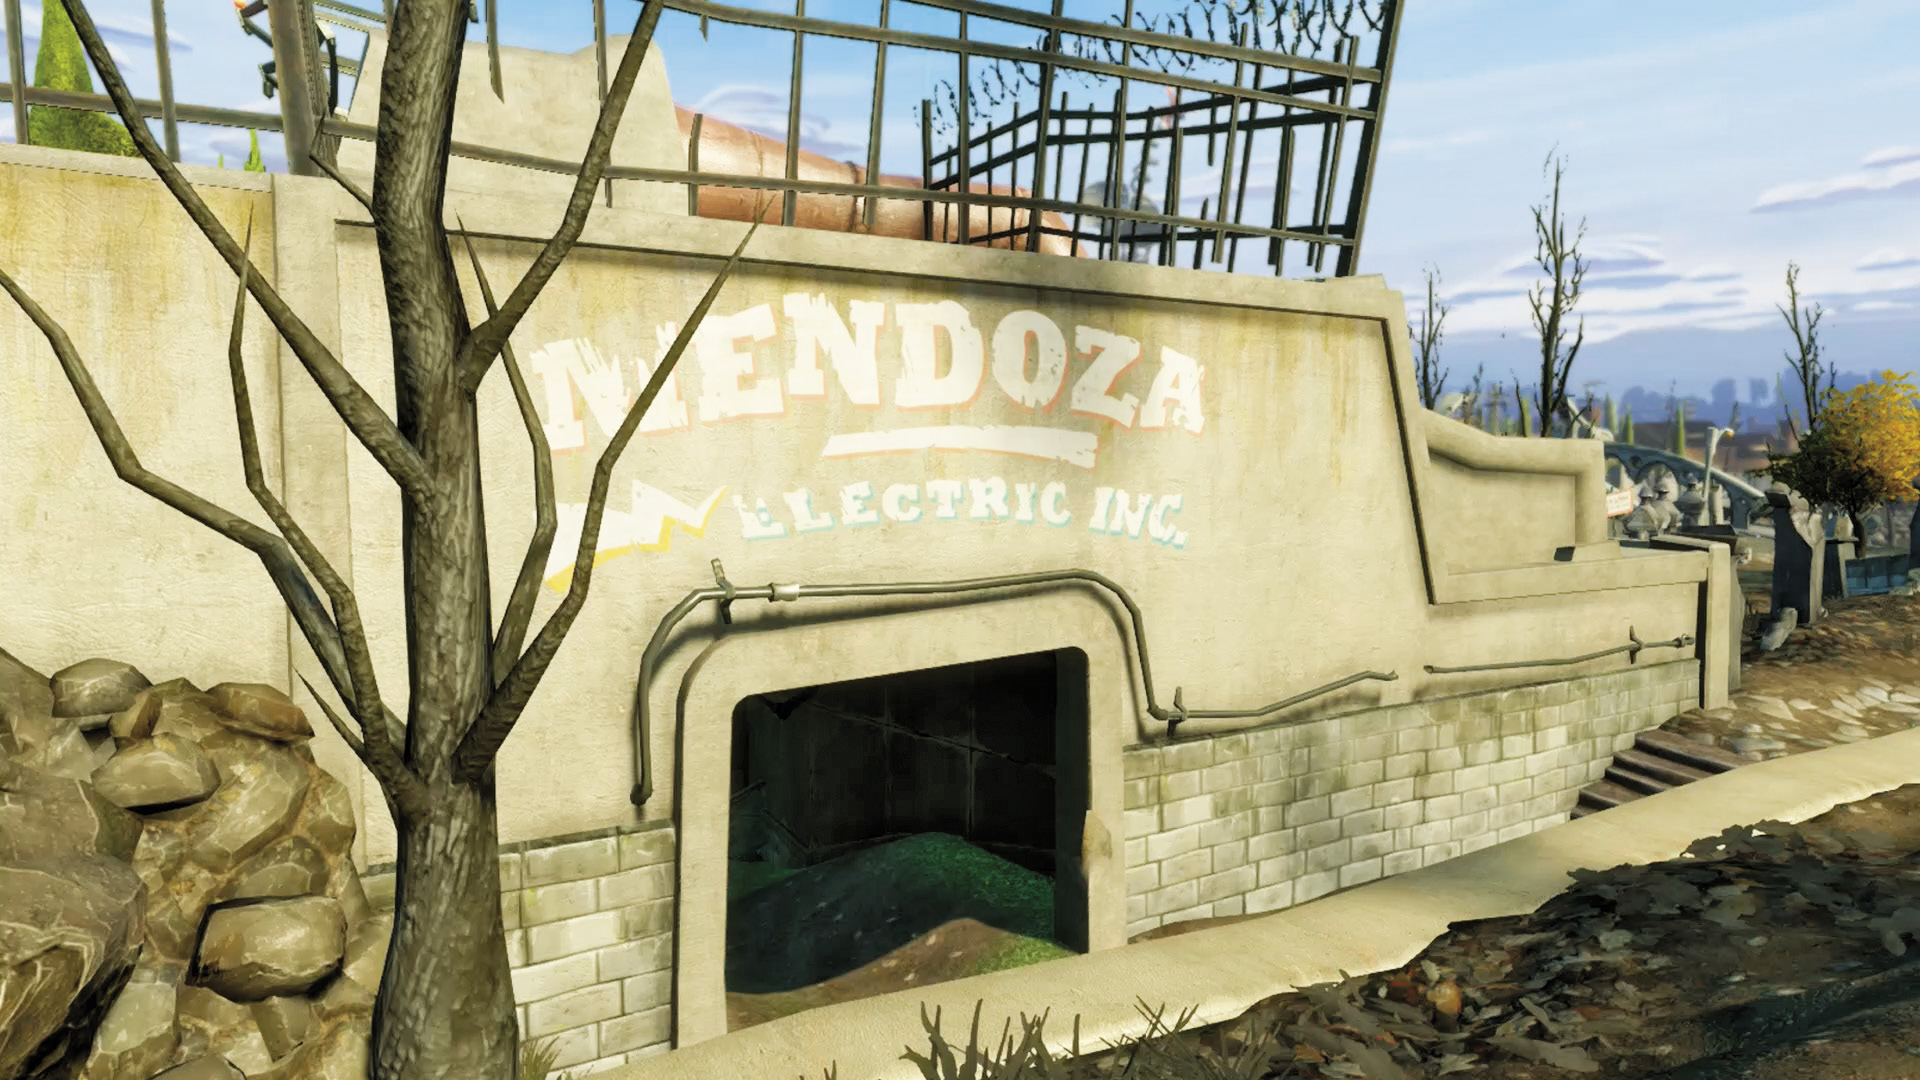
[2] Zombies: This small building serves as a good way to stay out of sight while making your way to the Garden, as well as the path to a possible Teleporter.
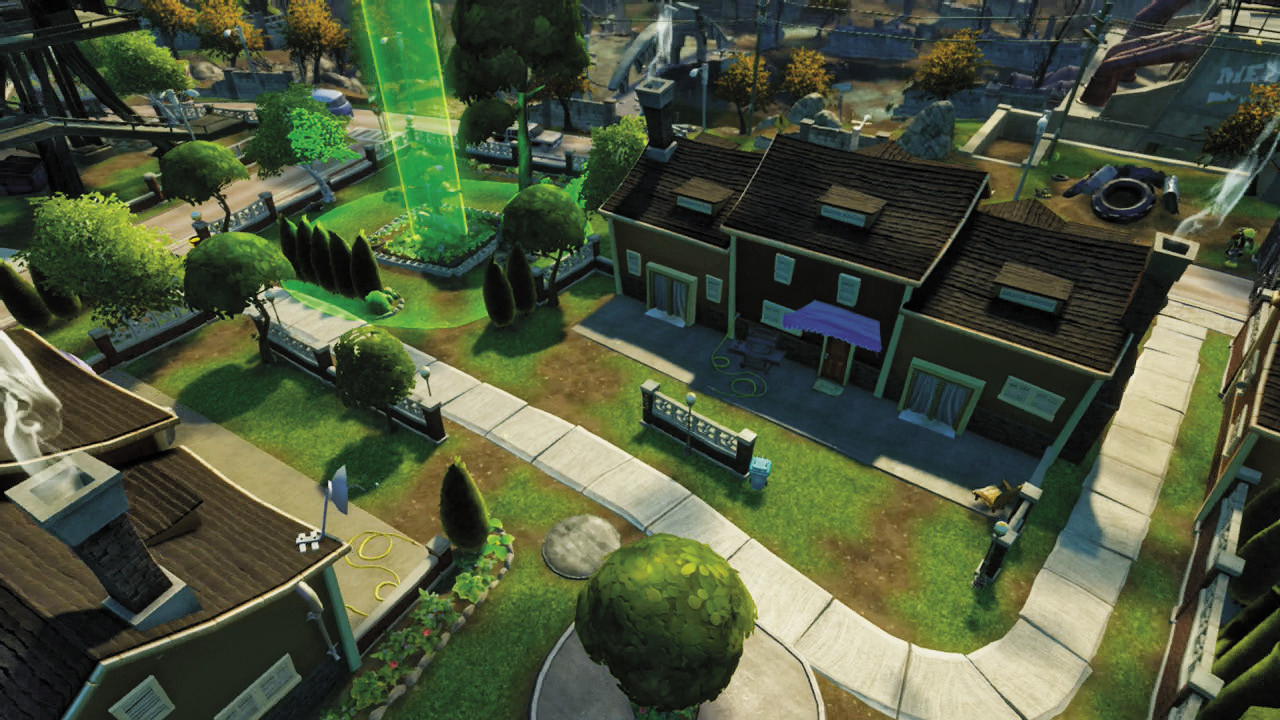
[3] Zombies: Keep going from [2] (or your Teleporter) to reach a back alley that can allow you to mount an assault on the Garden from the rear. Keep in mind that any plant player worth their salt will be watching this path, and that said path is narrow. Risk and reward.
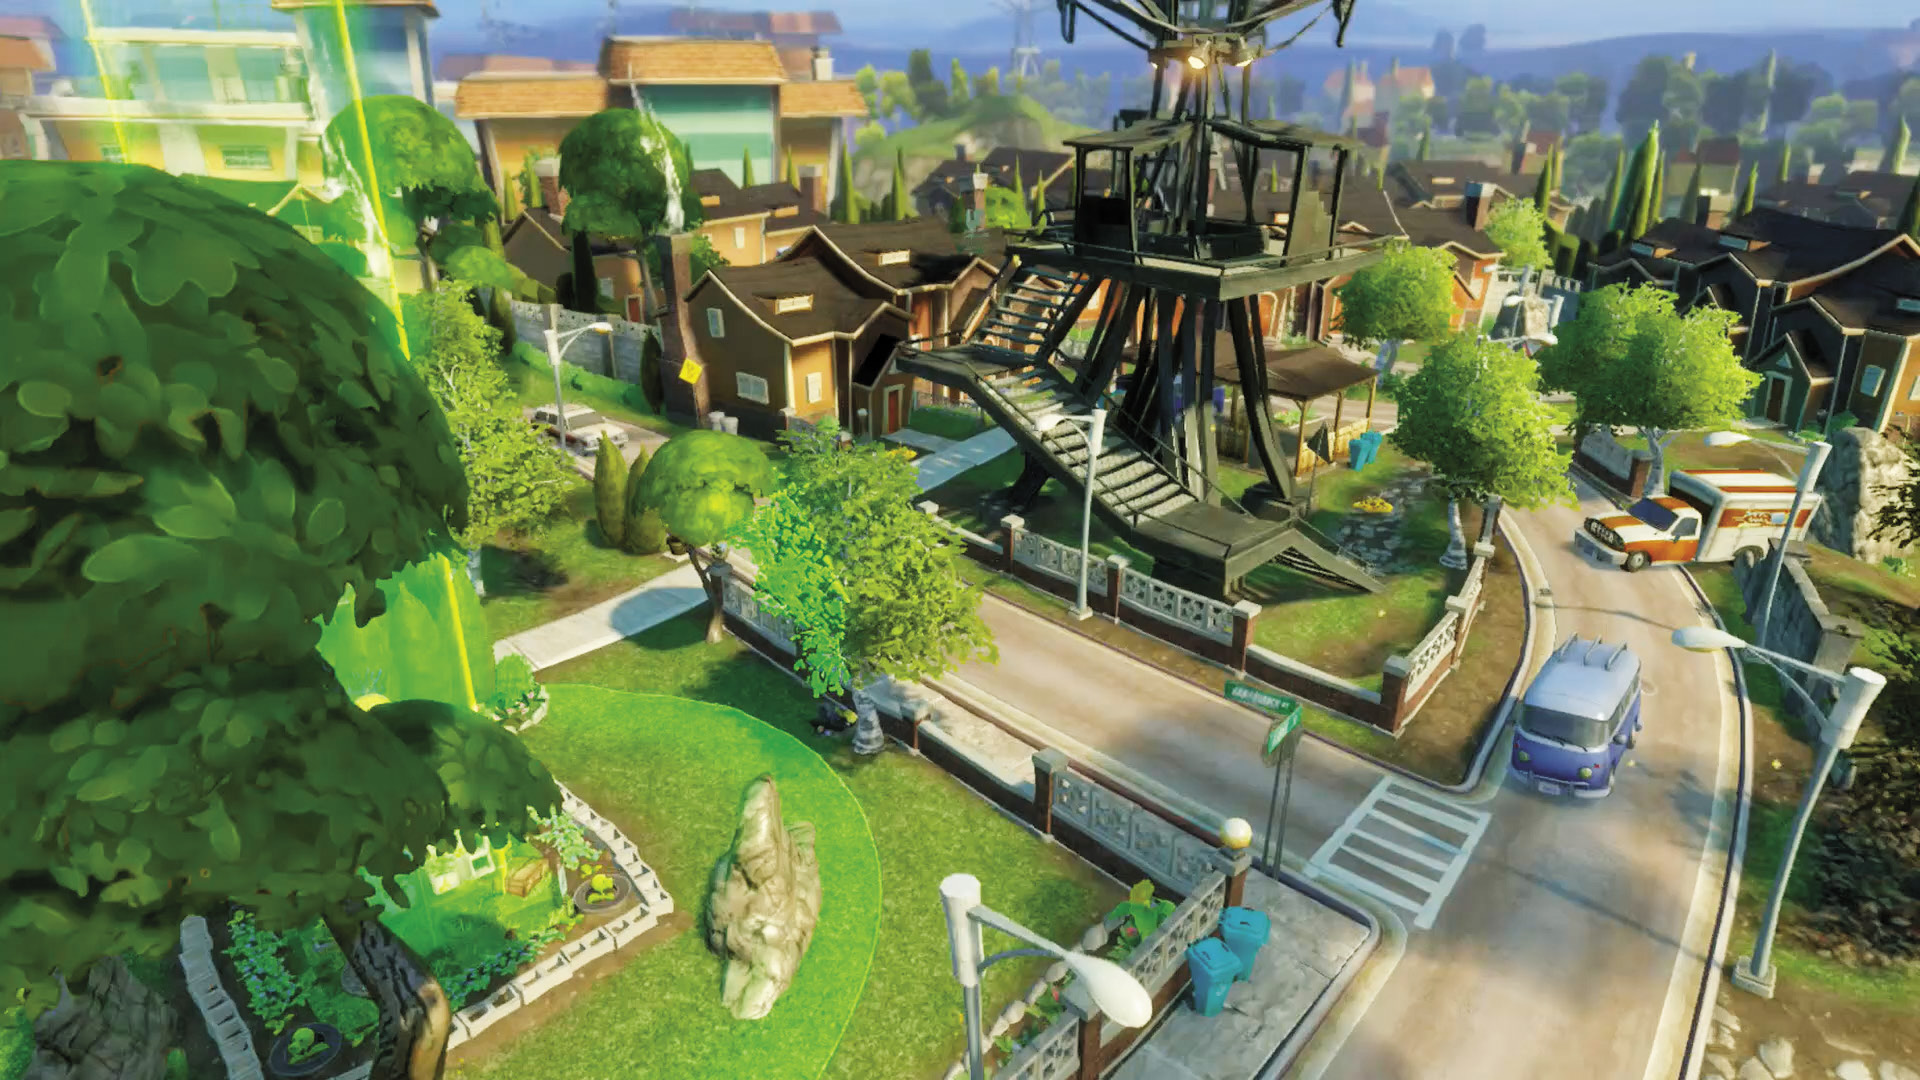
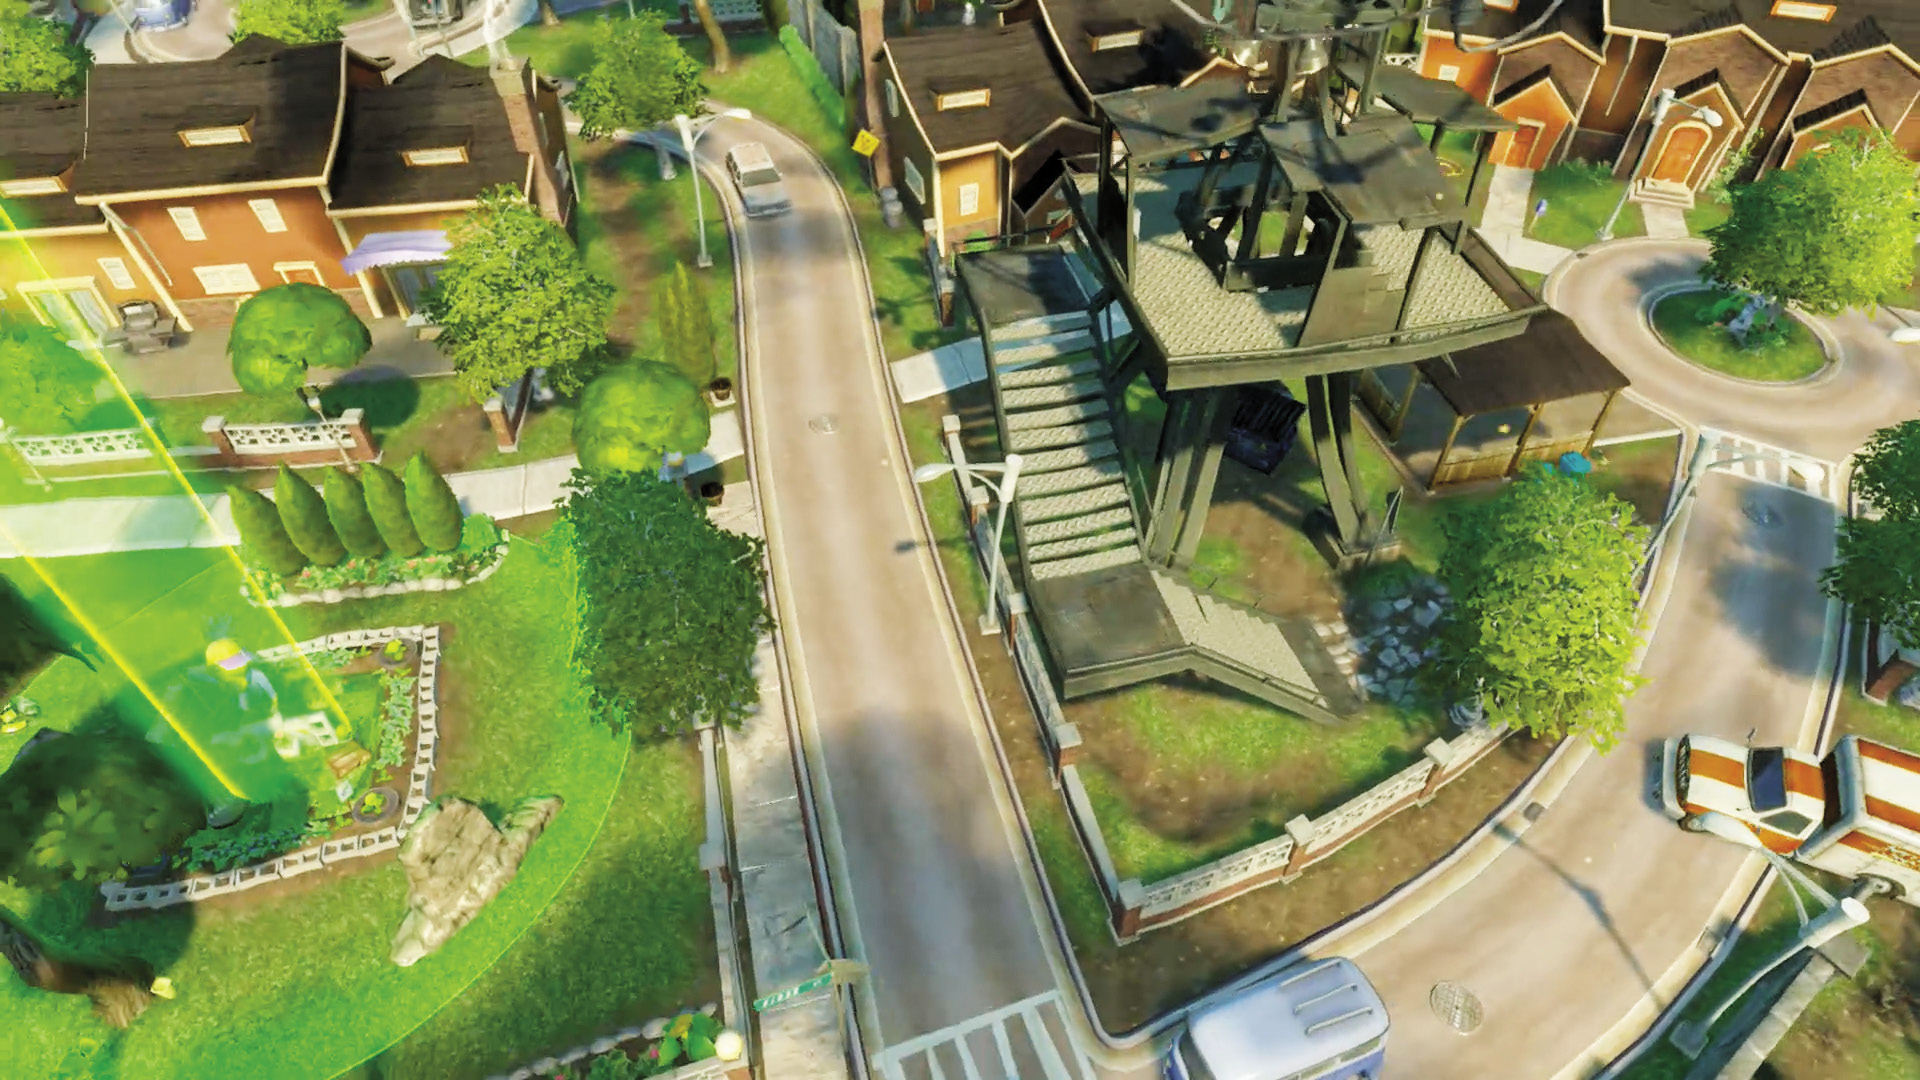
[4] Plants: This tower is going to be the most-contested part of the map next to the Garden itself. Those who own the tower own the best lookout spot in this phase. It contains multiple levels which allow you to adjust to any situation, and it comes with cover as well. As plants, you should head straight for it and secure it ASAP.
Zombies: It’s worth it to fight for the tower for the reasons stated above. That said, keep it second priority to the Garden.
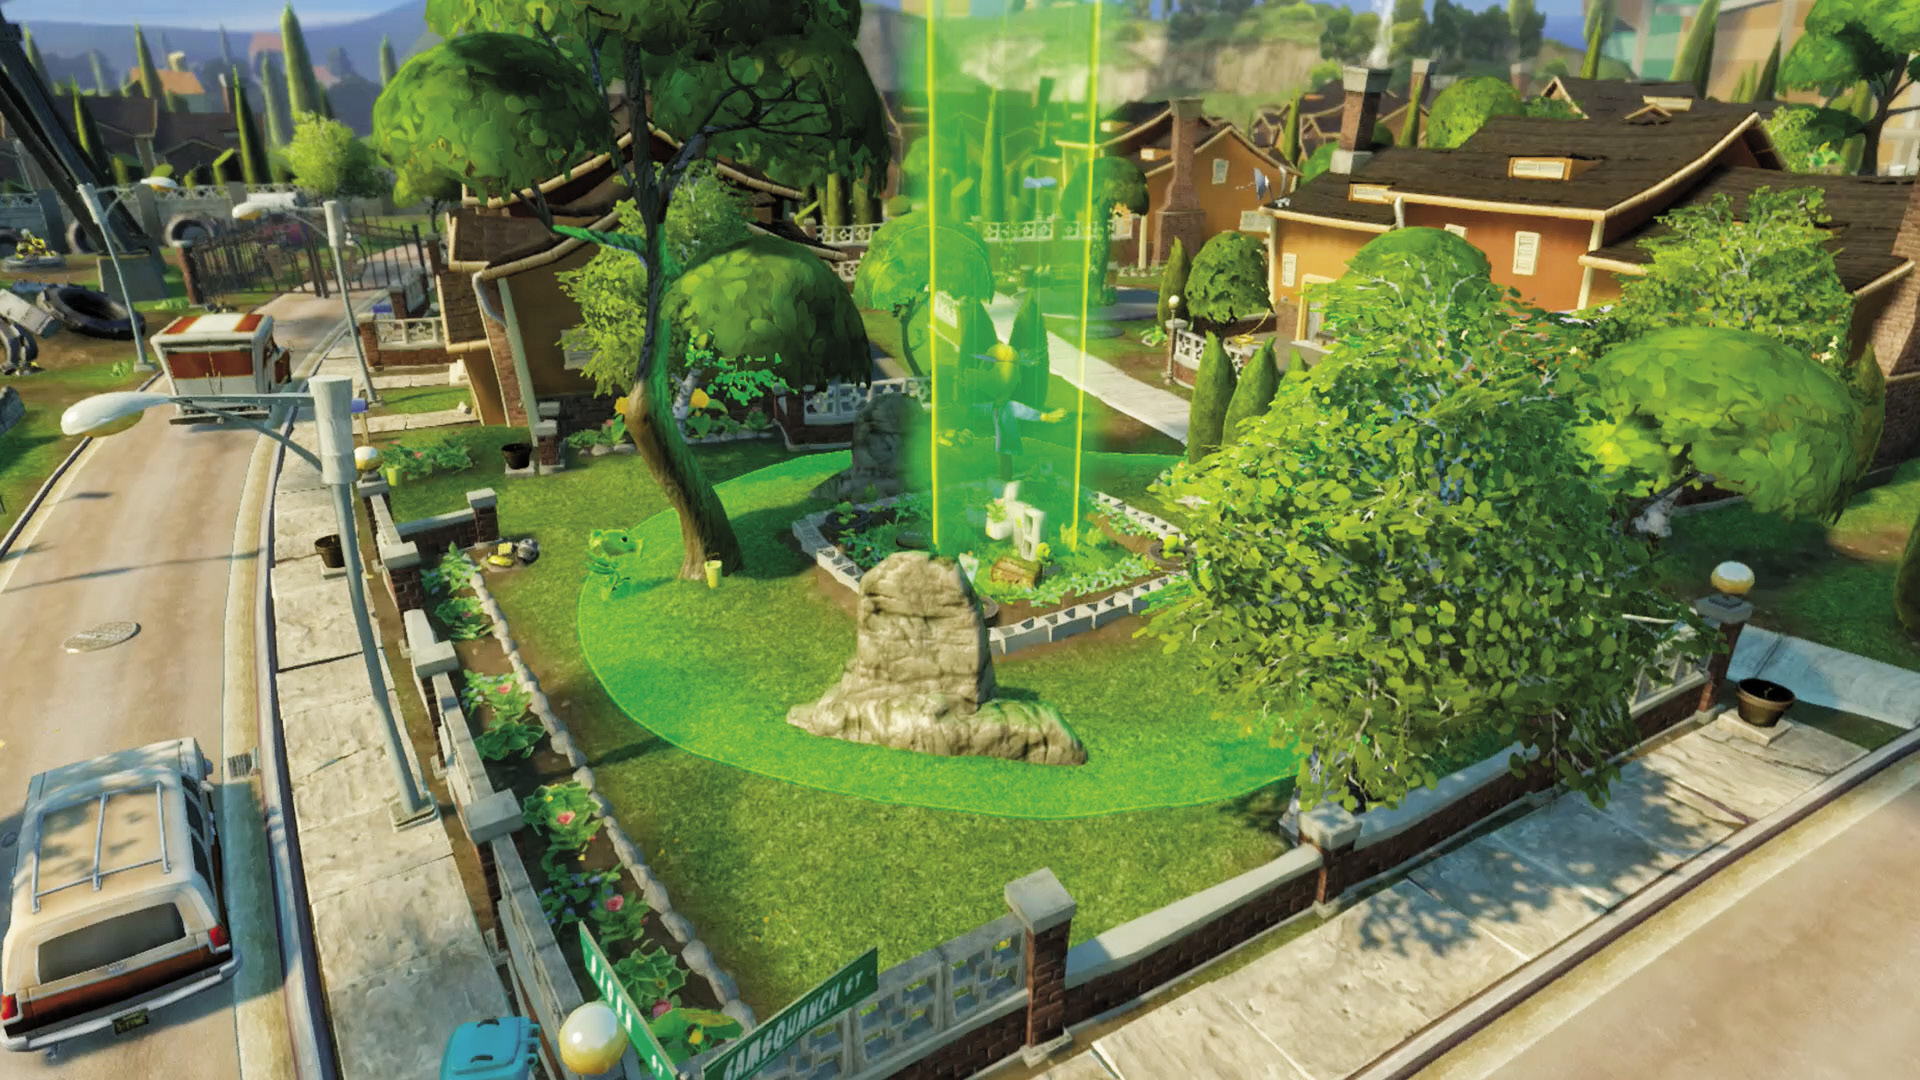
[5] Plants: The key to defending this Garden is to keep a wide view out in front of you, which is easily done if you have control of the tower. Make sure to make constant checks to the side and rear as well, since there are a couple of ways inattentive plants can allow zombies to sneak in from the back. Otherwise, stick to ranged Spawnable Plants and pick off any zombies that come your way, and you shouldn’t have a hard time.
Phase 2: Condos
Points of Interest
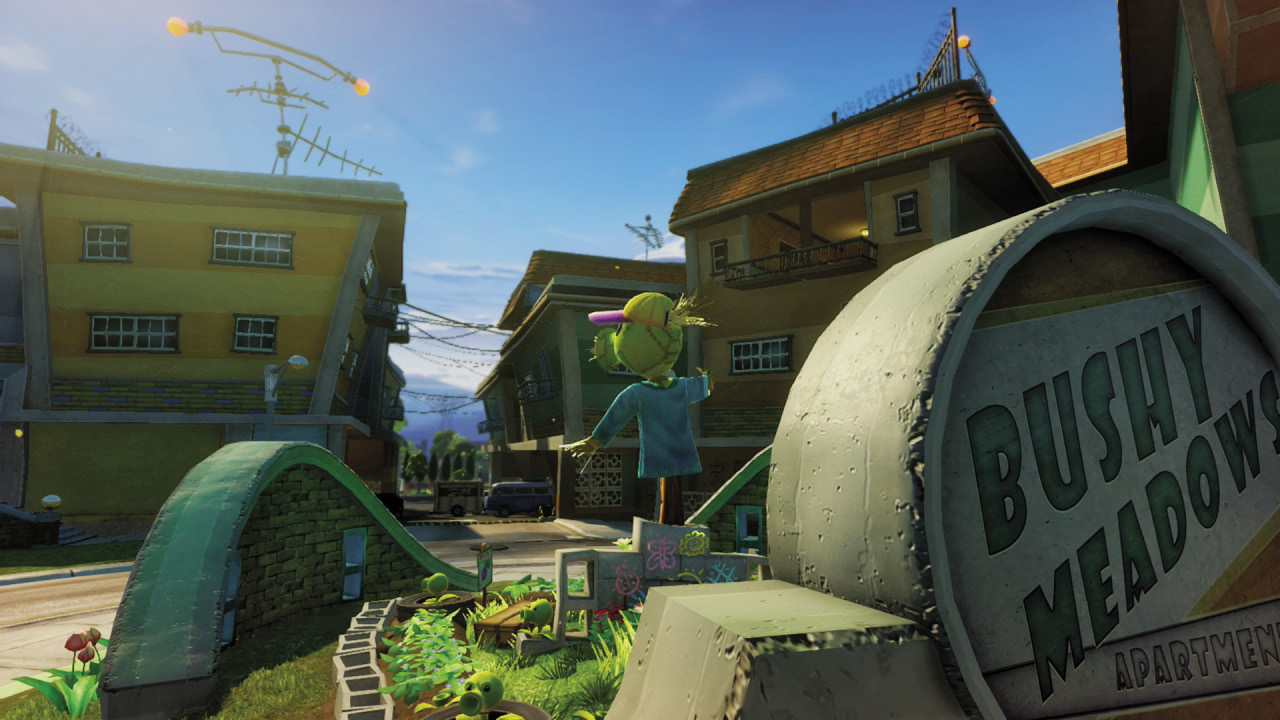
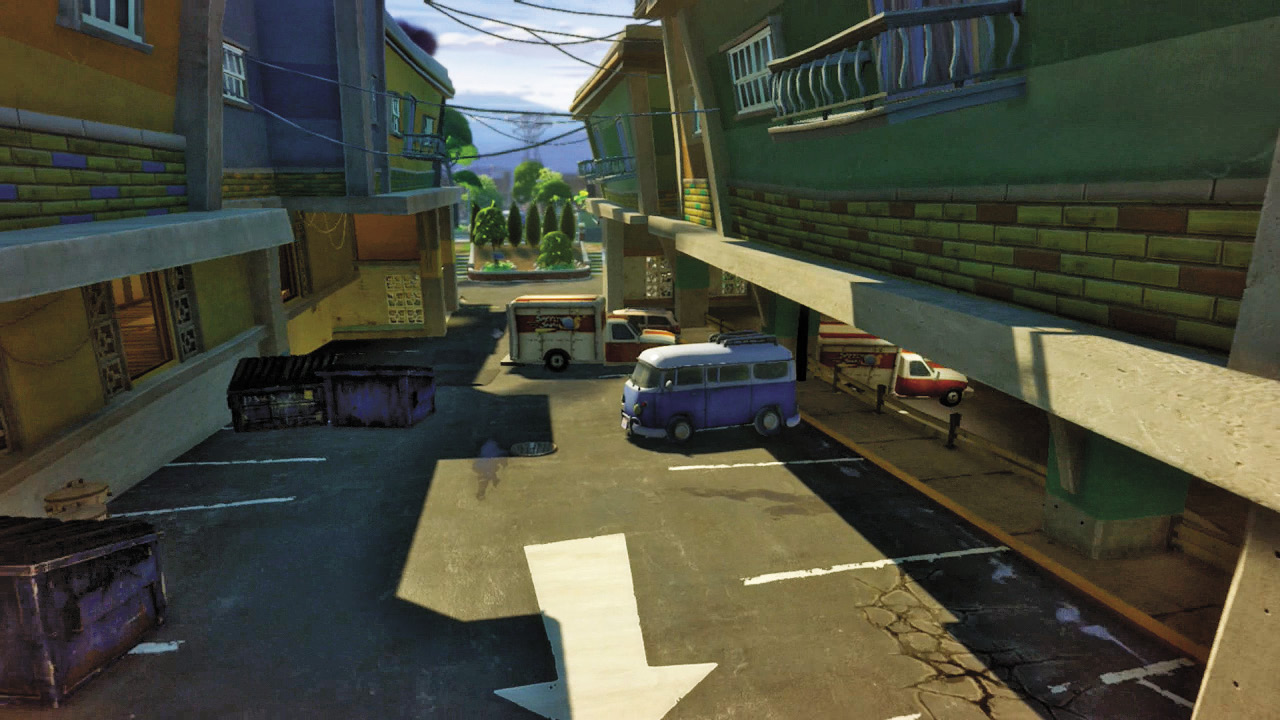
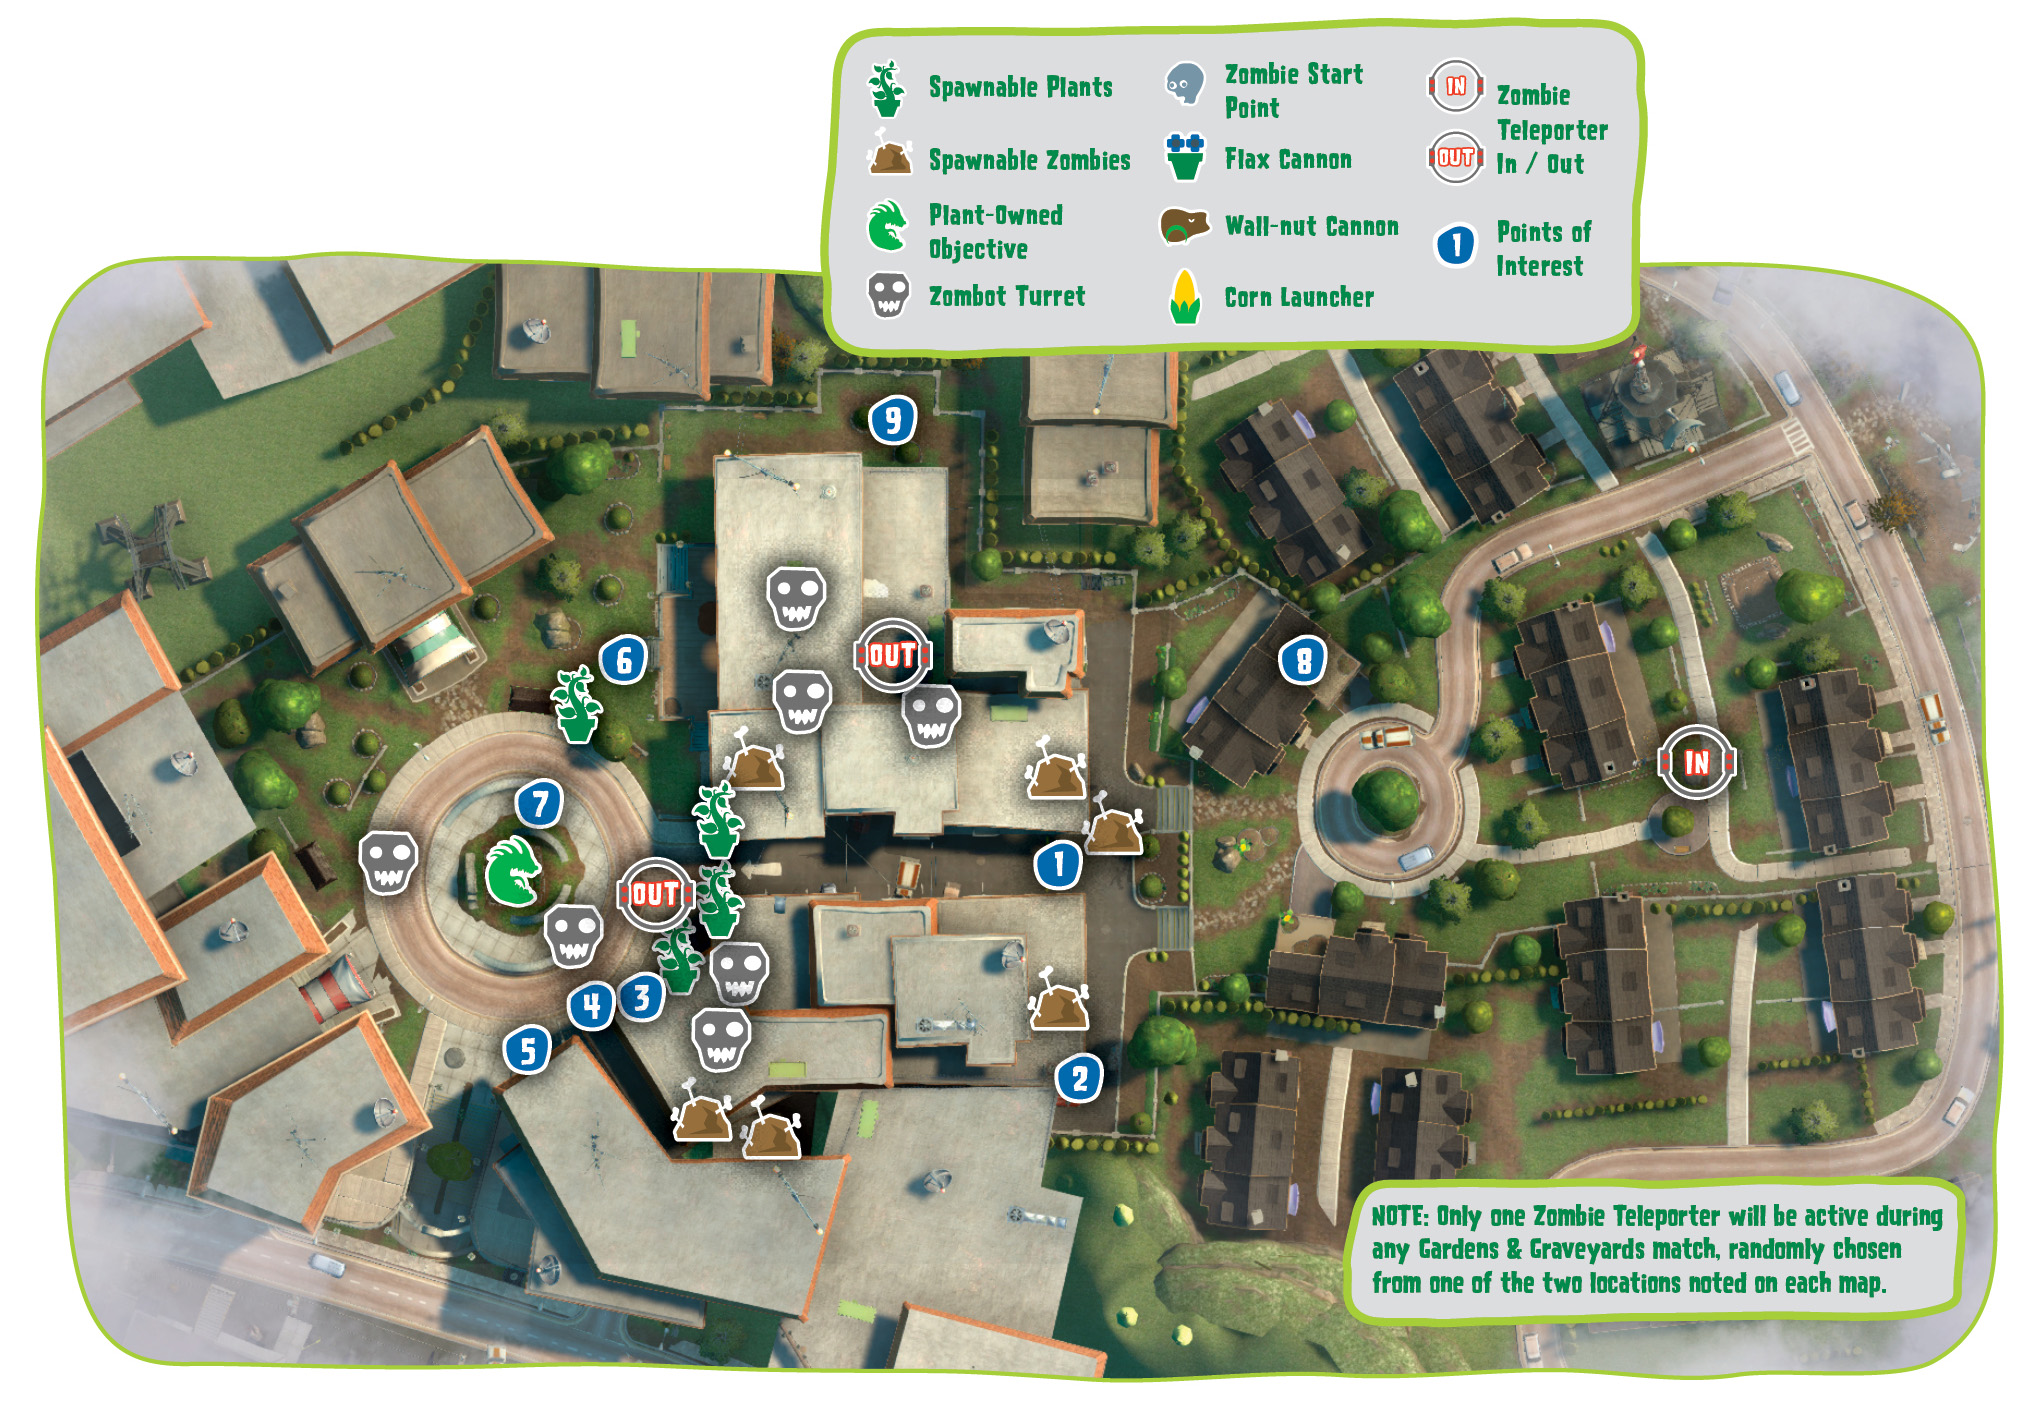
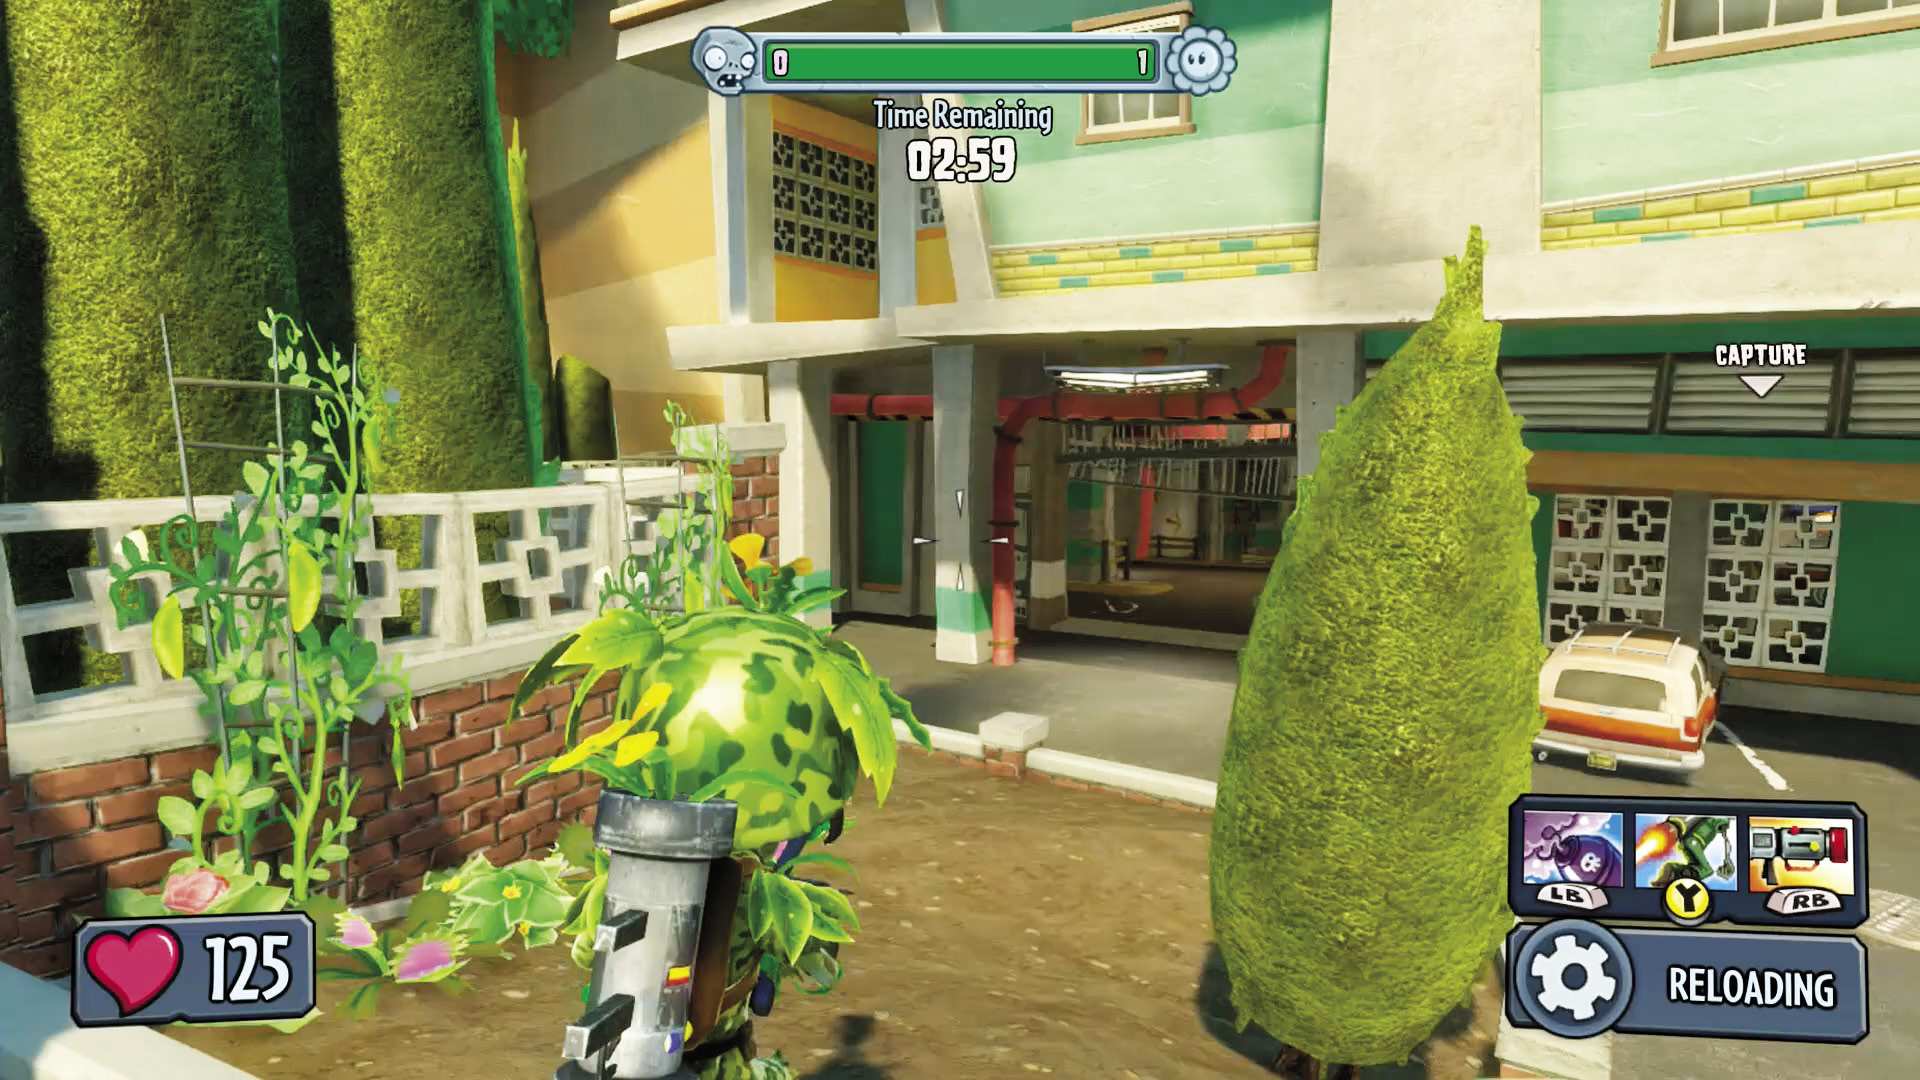
[1] Zombies: See this long strip of ground leading directly to the Garden? You might see a parking lot; what the plants see, however, is a bowling alley. If you’re going to run up the middle, make sure you have a plan to keep your team alive as you do so, and do not overestimate the vehicles and dumpsters when it comes to cover!
Plants: If you see any zombies coming this way, use your perches to let them have it. At the same time, watch your sides to make sure the zombies aren’t second-guessing this tactic—they have perches too!
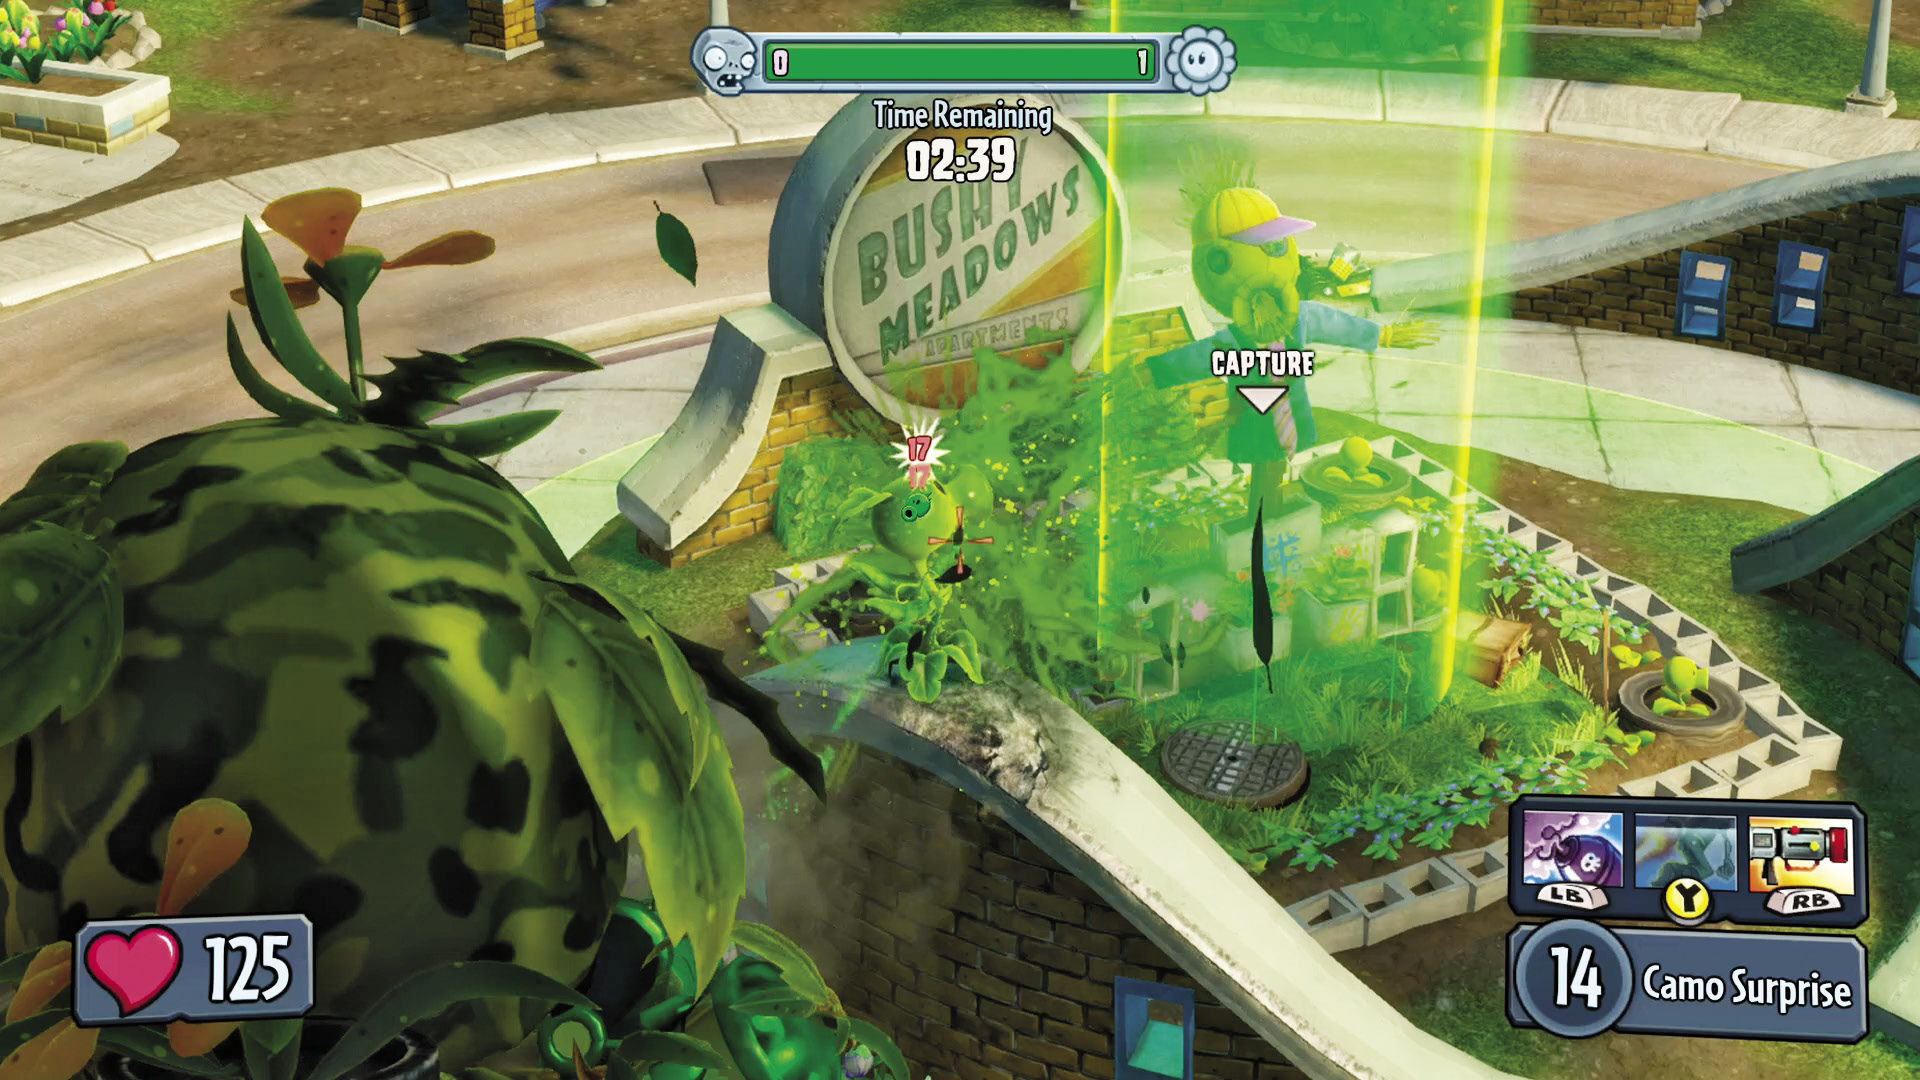
[2] [3] Zombies: Get some Soldier-Class zombies on your team and have them Rocket Jump up to this ledge. It leads to [3], which is a stellar high-assault point on the Garden.
Plants: [3] is one of those windows you’re going to have to always watch, since it allows zombies to easily mount an offensive and harass your Garden. Train a teammate on it now and save the headache later.
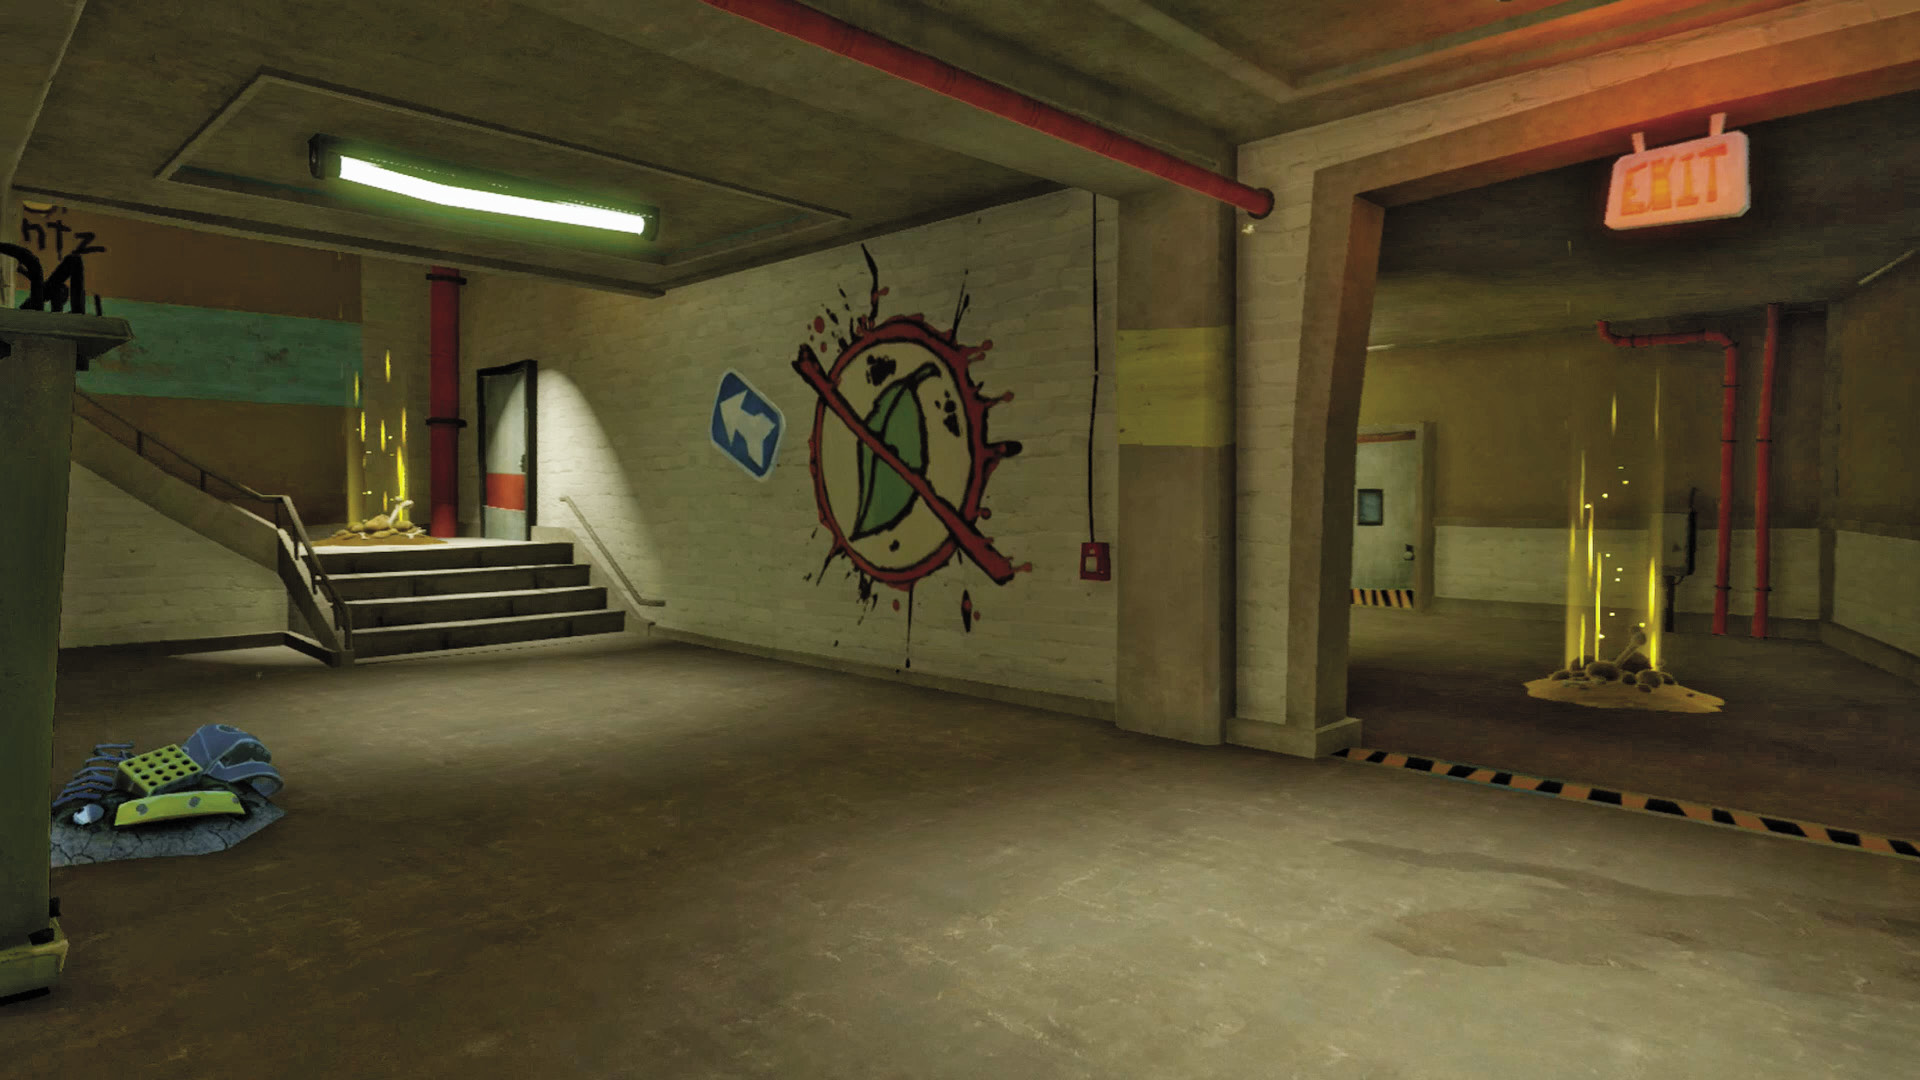
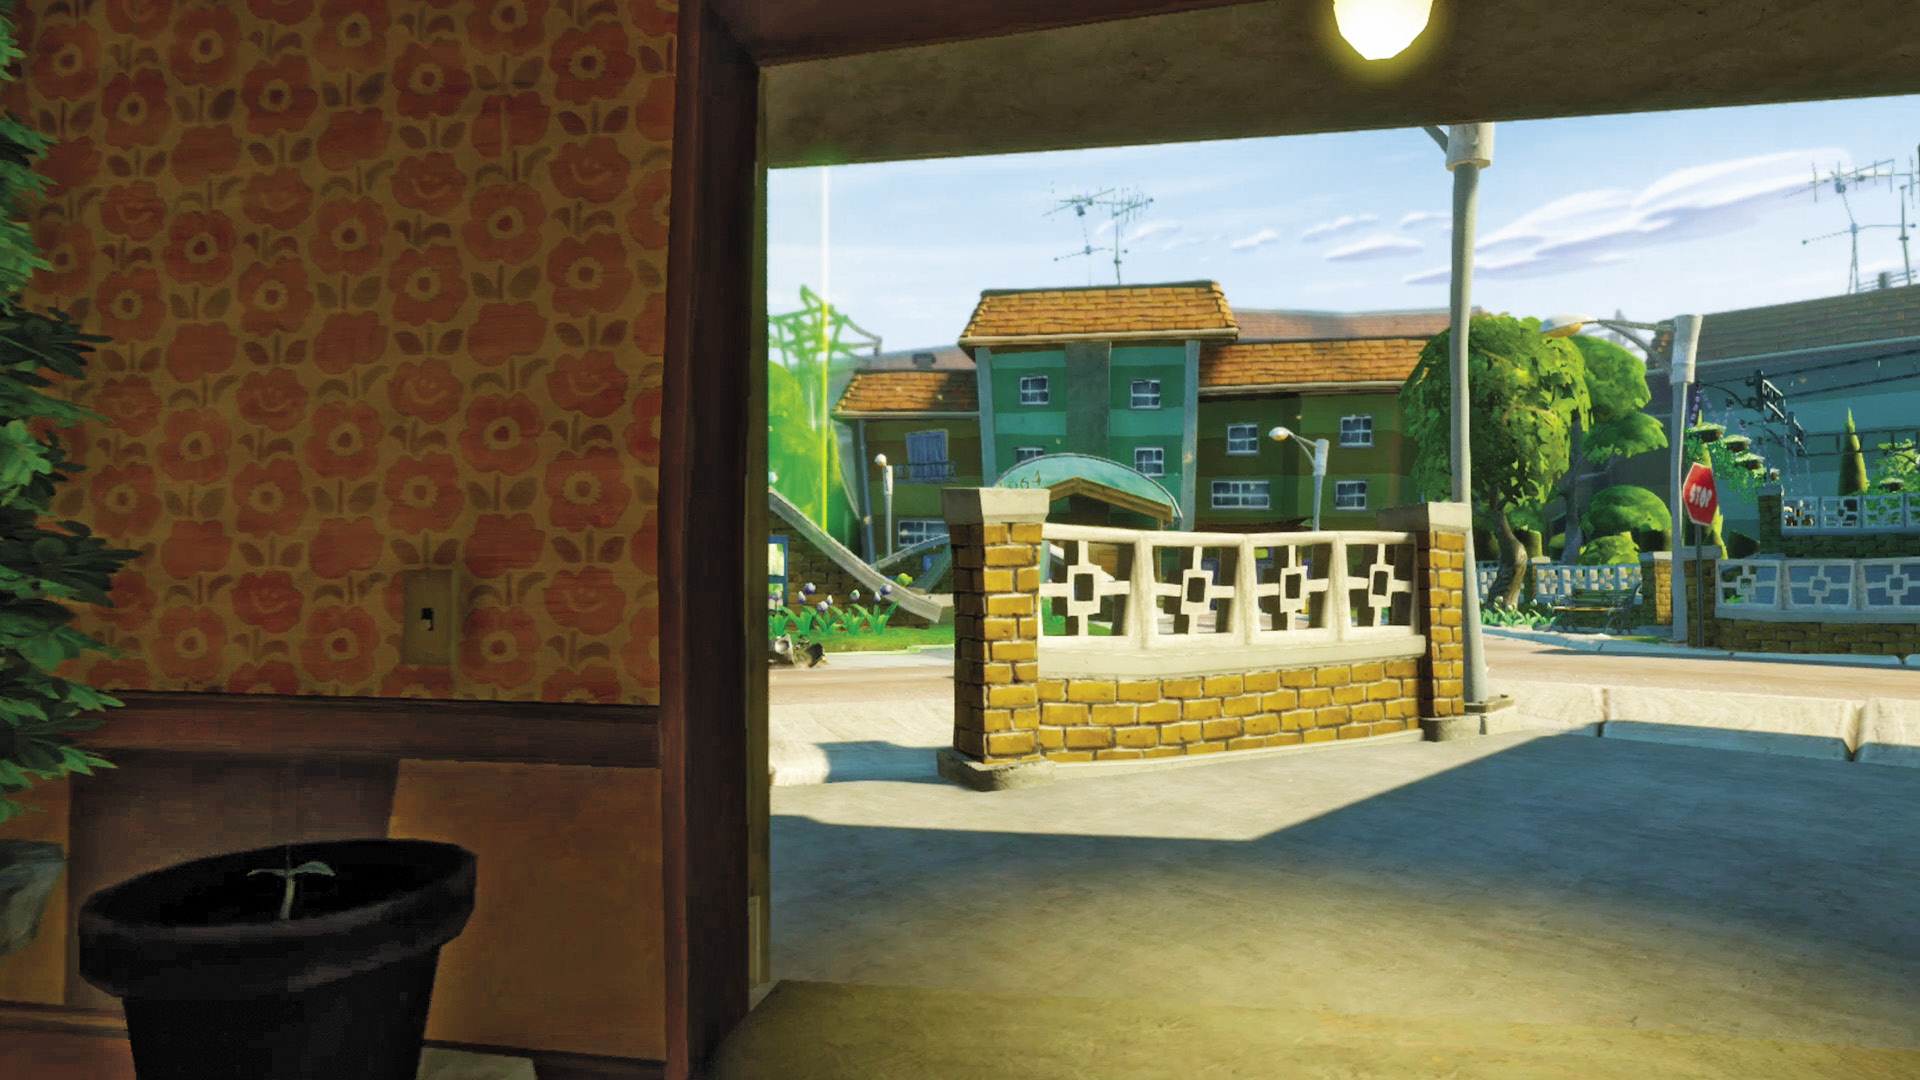
[4] Zombies: Going through the left parking lot at the start will lead you to this room. Going the left way leads you to [5] for a more frontal assault on the Garden—and also some Spawnable Plant defenses. Watch out!
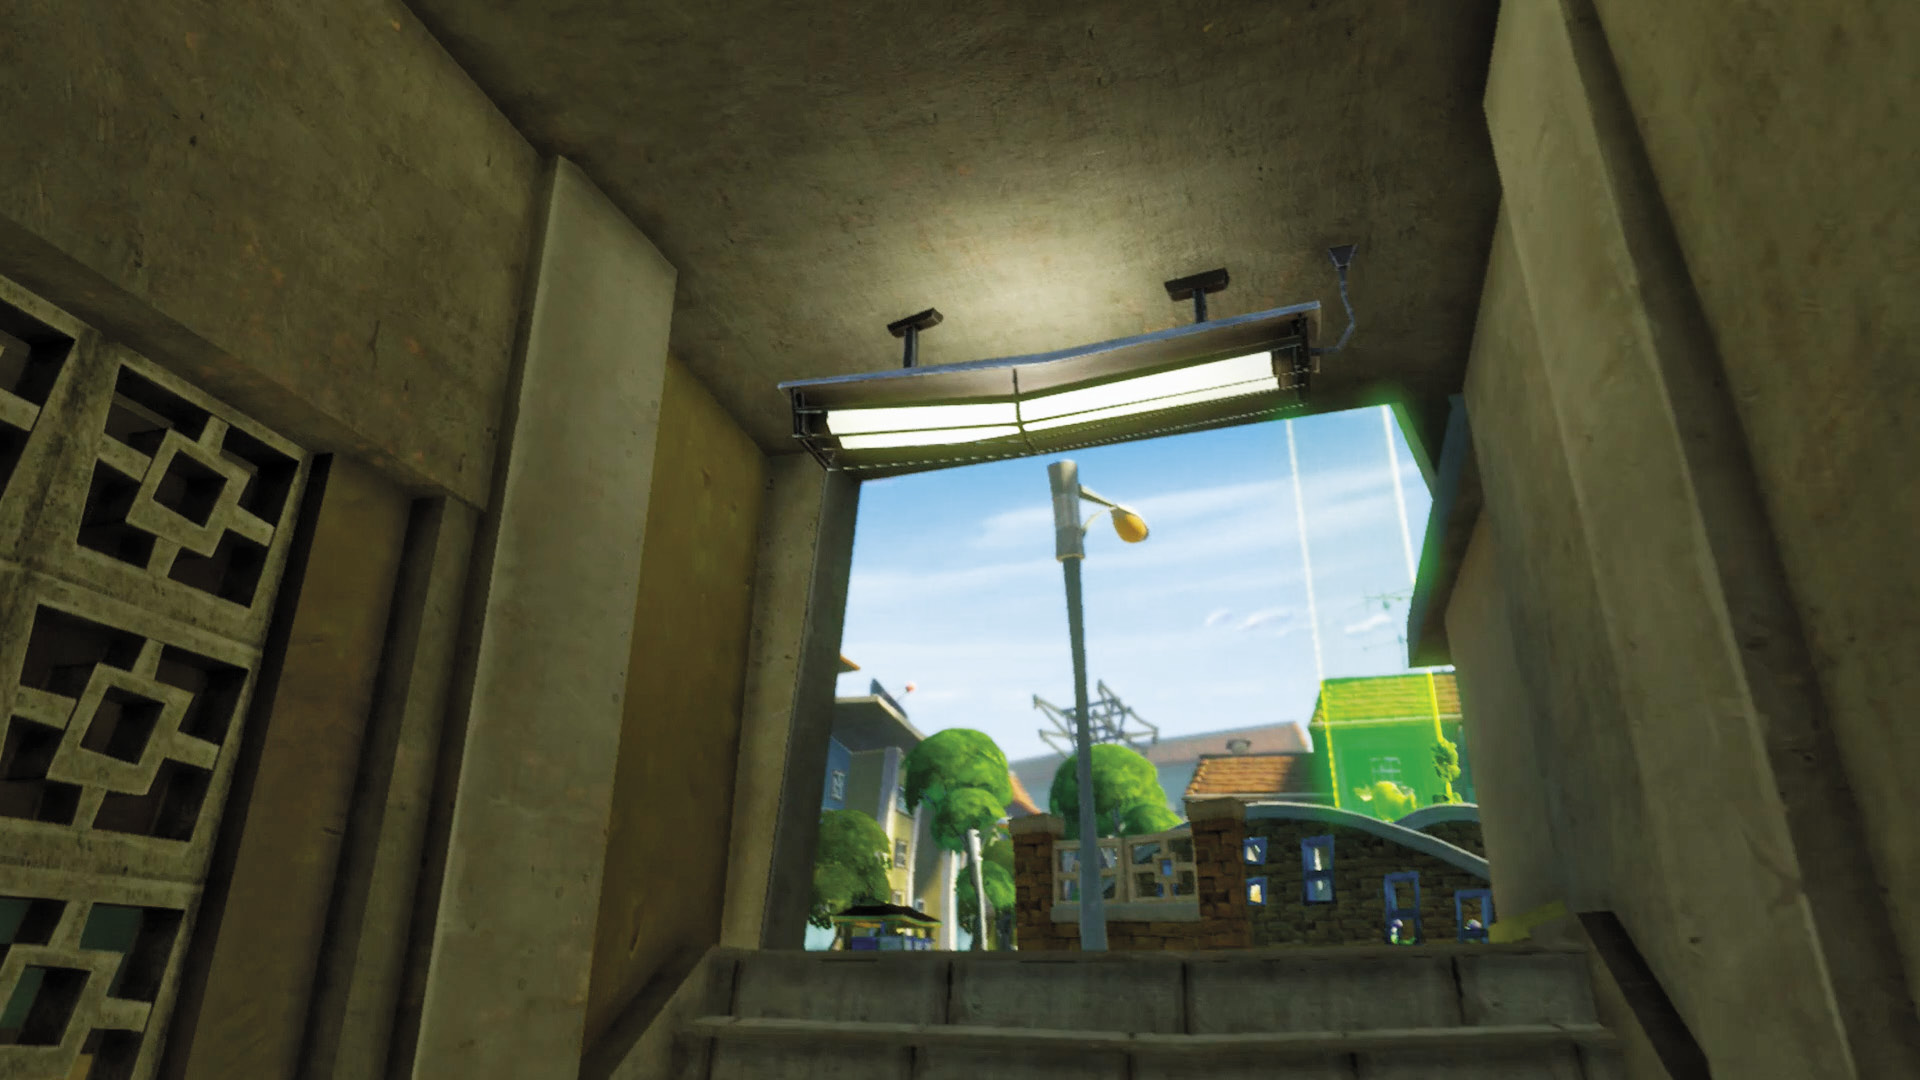
[5] Zombies: Taking the right path from [4] leads you to the even more preferable rear Garden exit. Flank the plants with ease, without even having to worry about Spawnables.
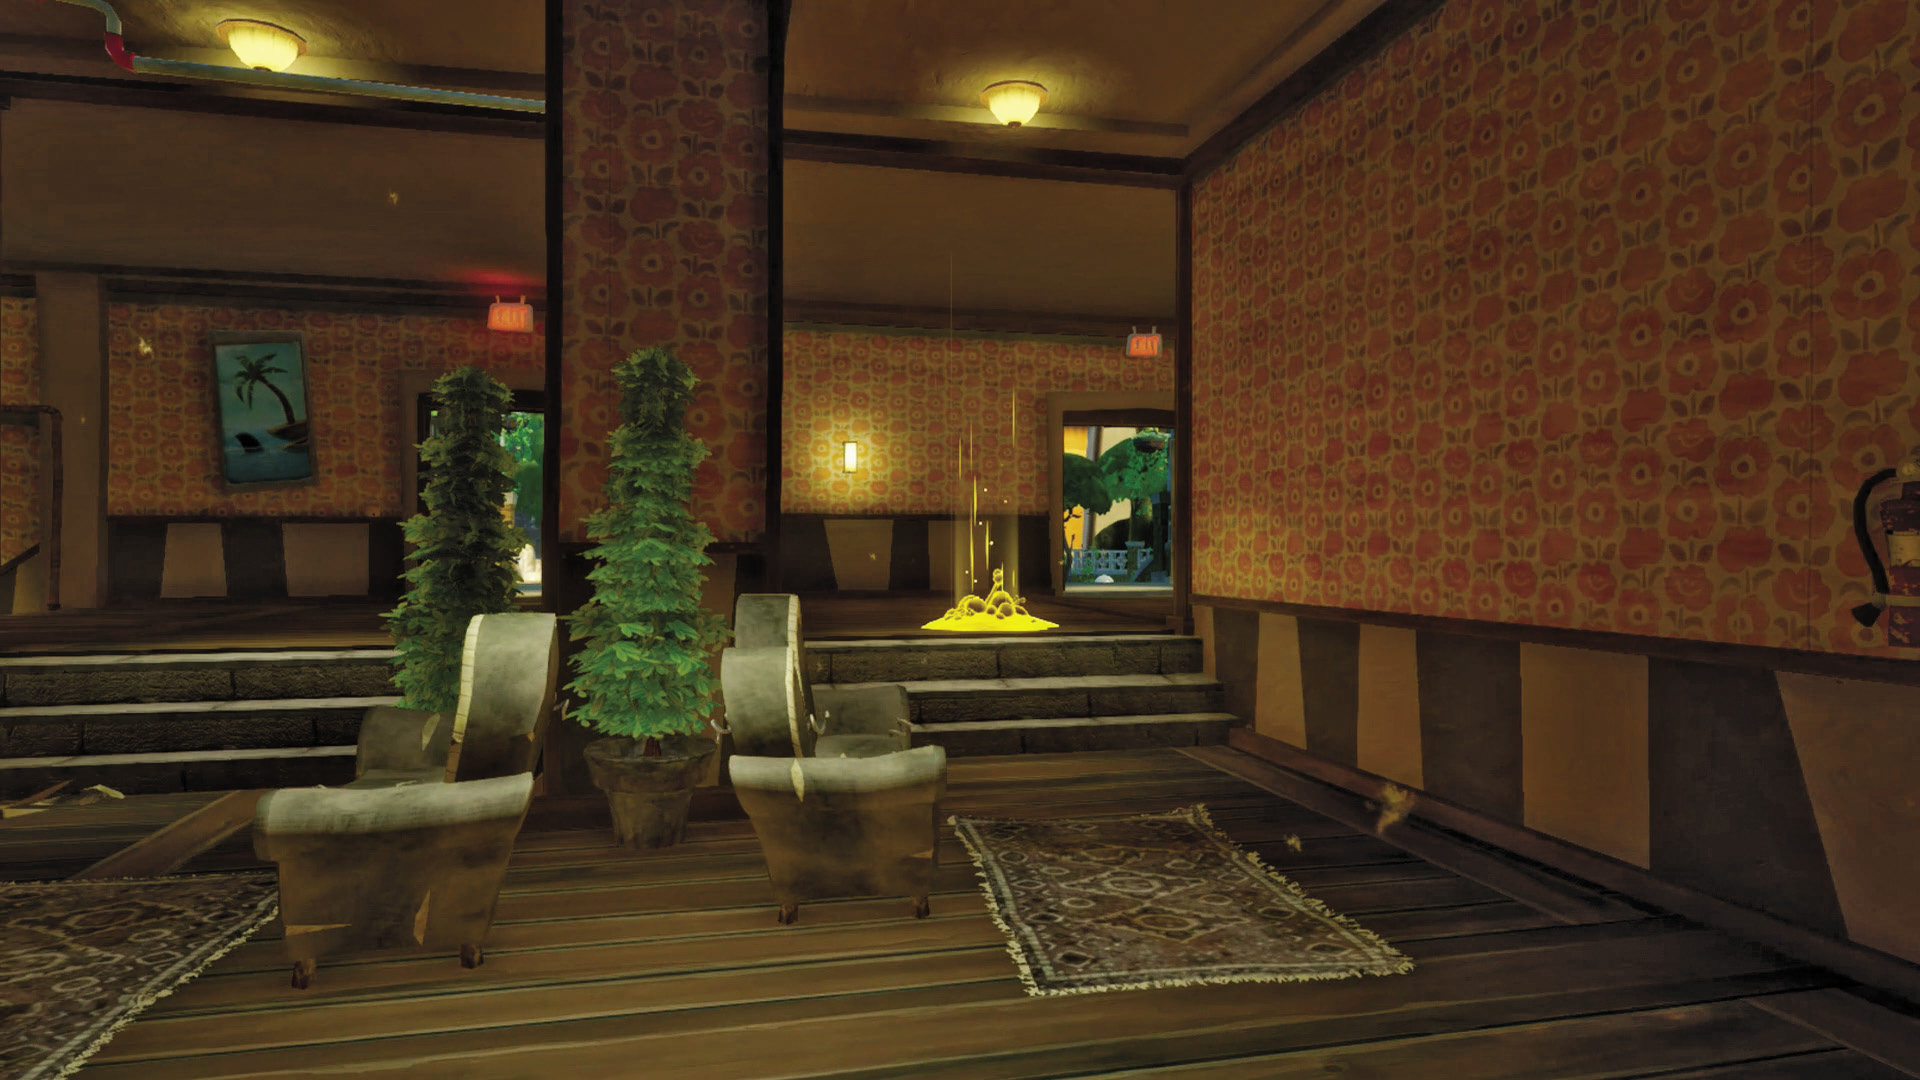
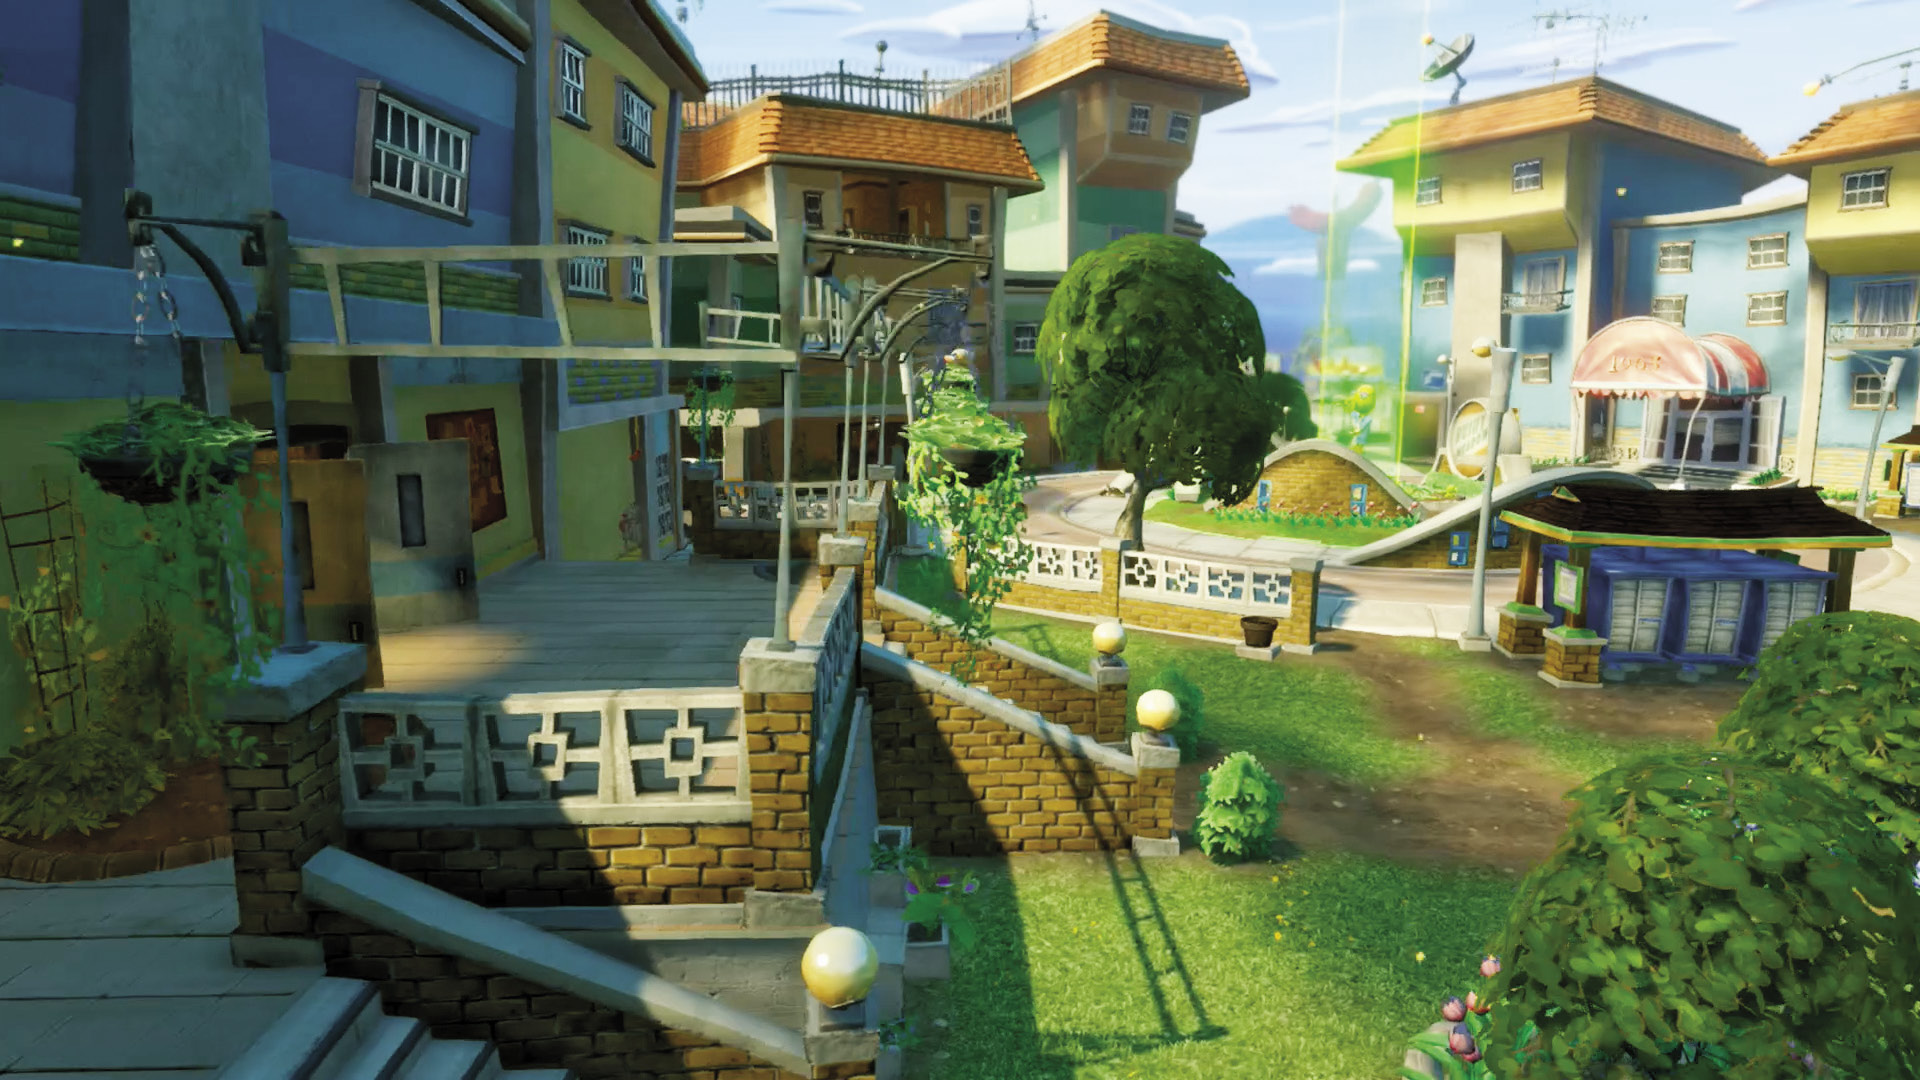
[6] Zombies: Going to the right of the starting parking lot leads you through a twisting maze, which takes you through a walkway you can use to support zombies running up the middle. However, the more preferable use is to follow it all the way to its end, taking you right to the Garden and an open field to the side of it, where you can gather your forces for a full-on charge.
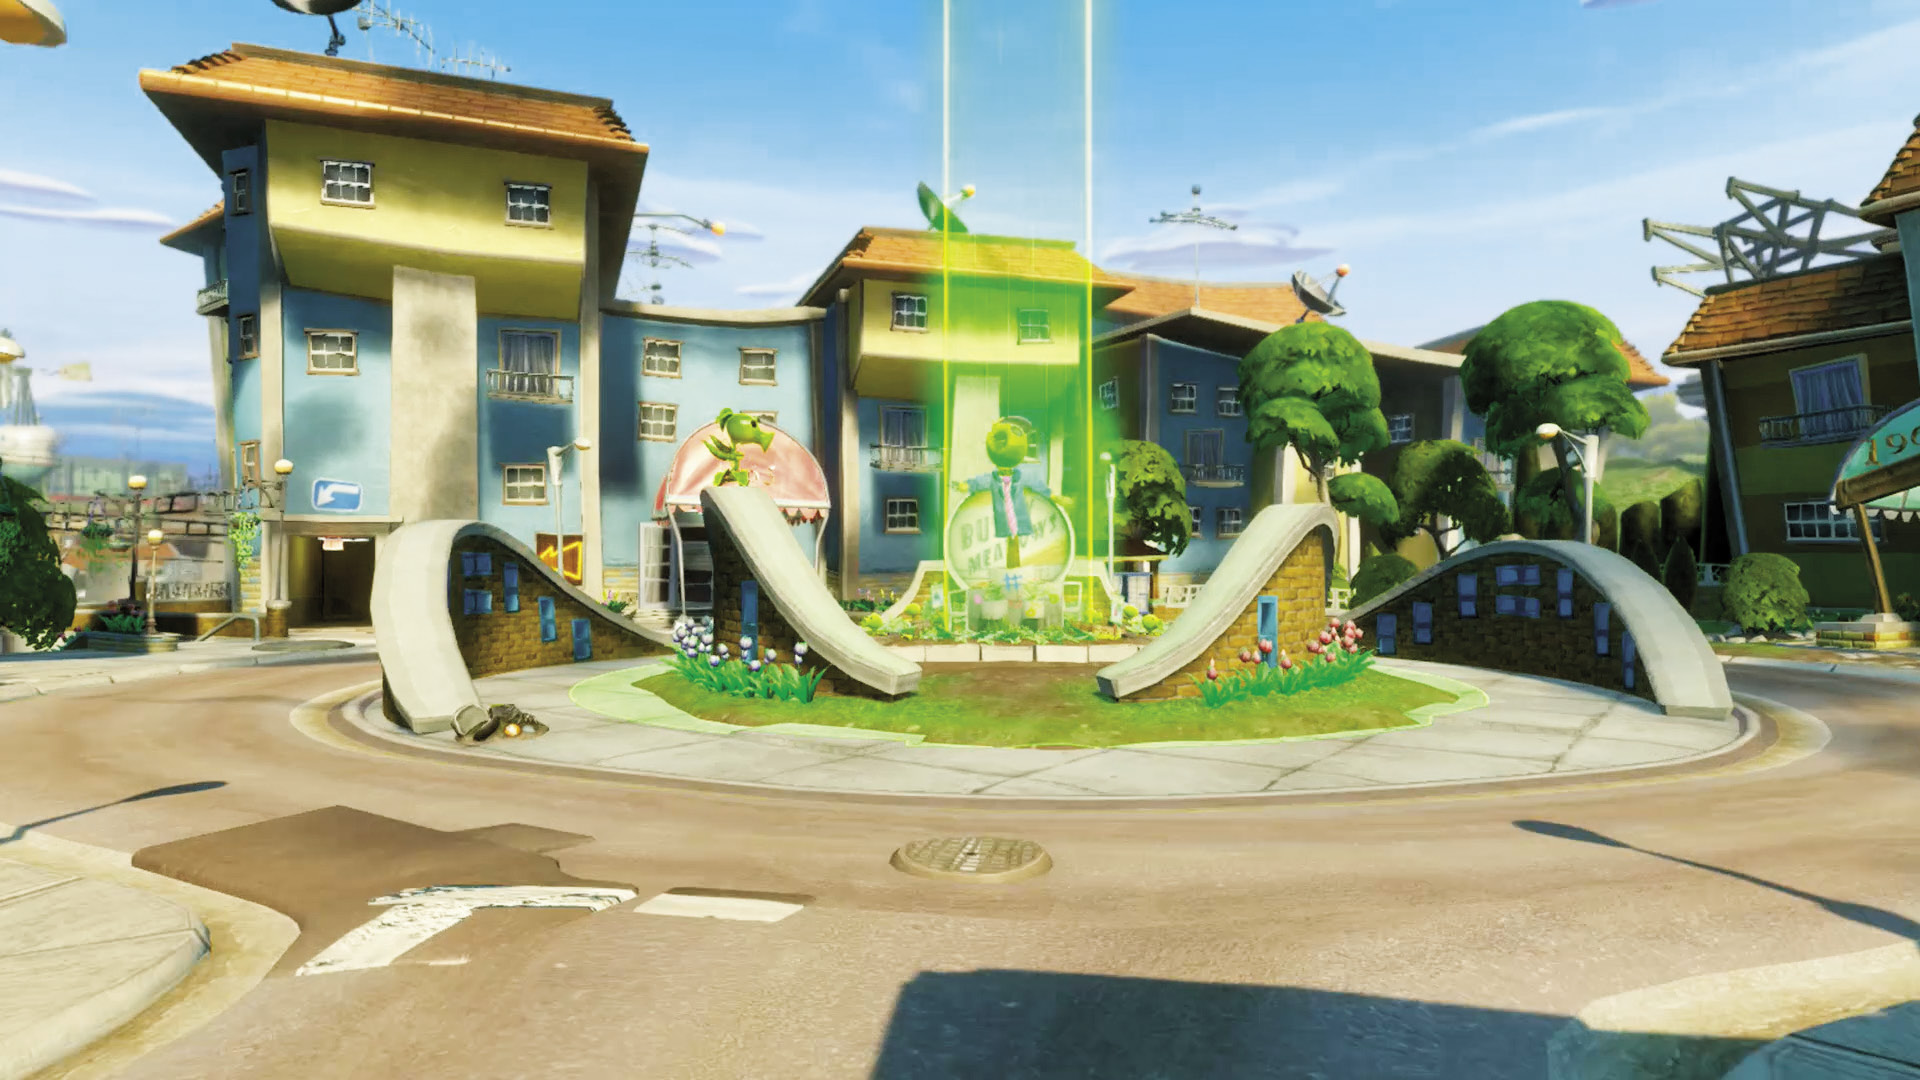
[7] Plants: At the outset, this looks like an easily defendable Garden; however, a closer look reveals several nooks and crannies that zombies can crawl out of like mice. Make sure to patrol the circular perimeter around your Garden regularly, and even poke your heads into those passages to see what’s coming. Don’t get caught unawares!
[8][9] Zombies: The Zomboss Down patch adds some extra flanking routes to this phase. Taking the long way around the right-side housing can let you bring your Zombies to distant areas that Plants can barely see for sneak attacks. Better yet, use both the housing and the back route to combine your forces!
Phase 3: Rooftops
Points of Interest
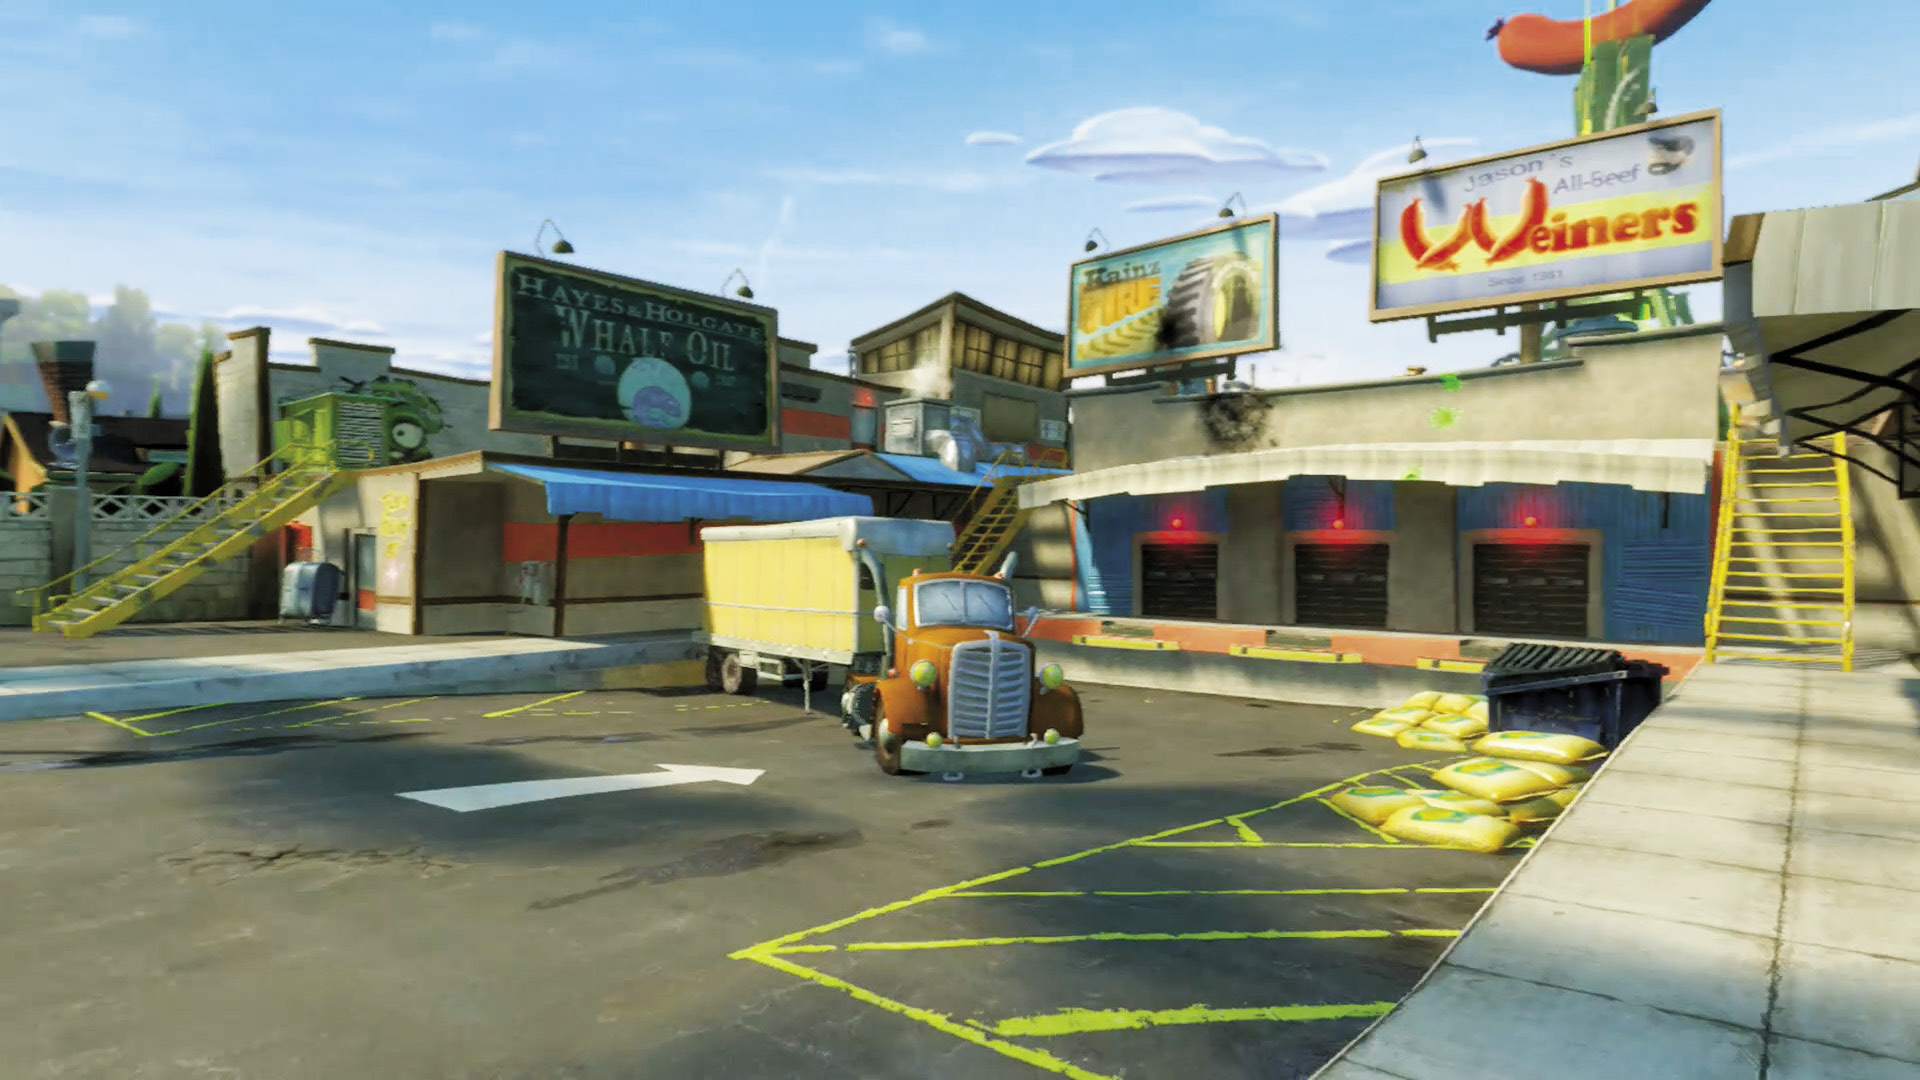
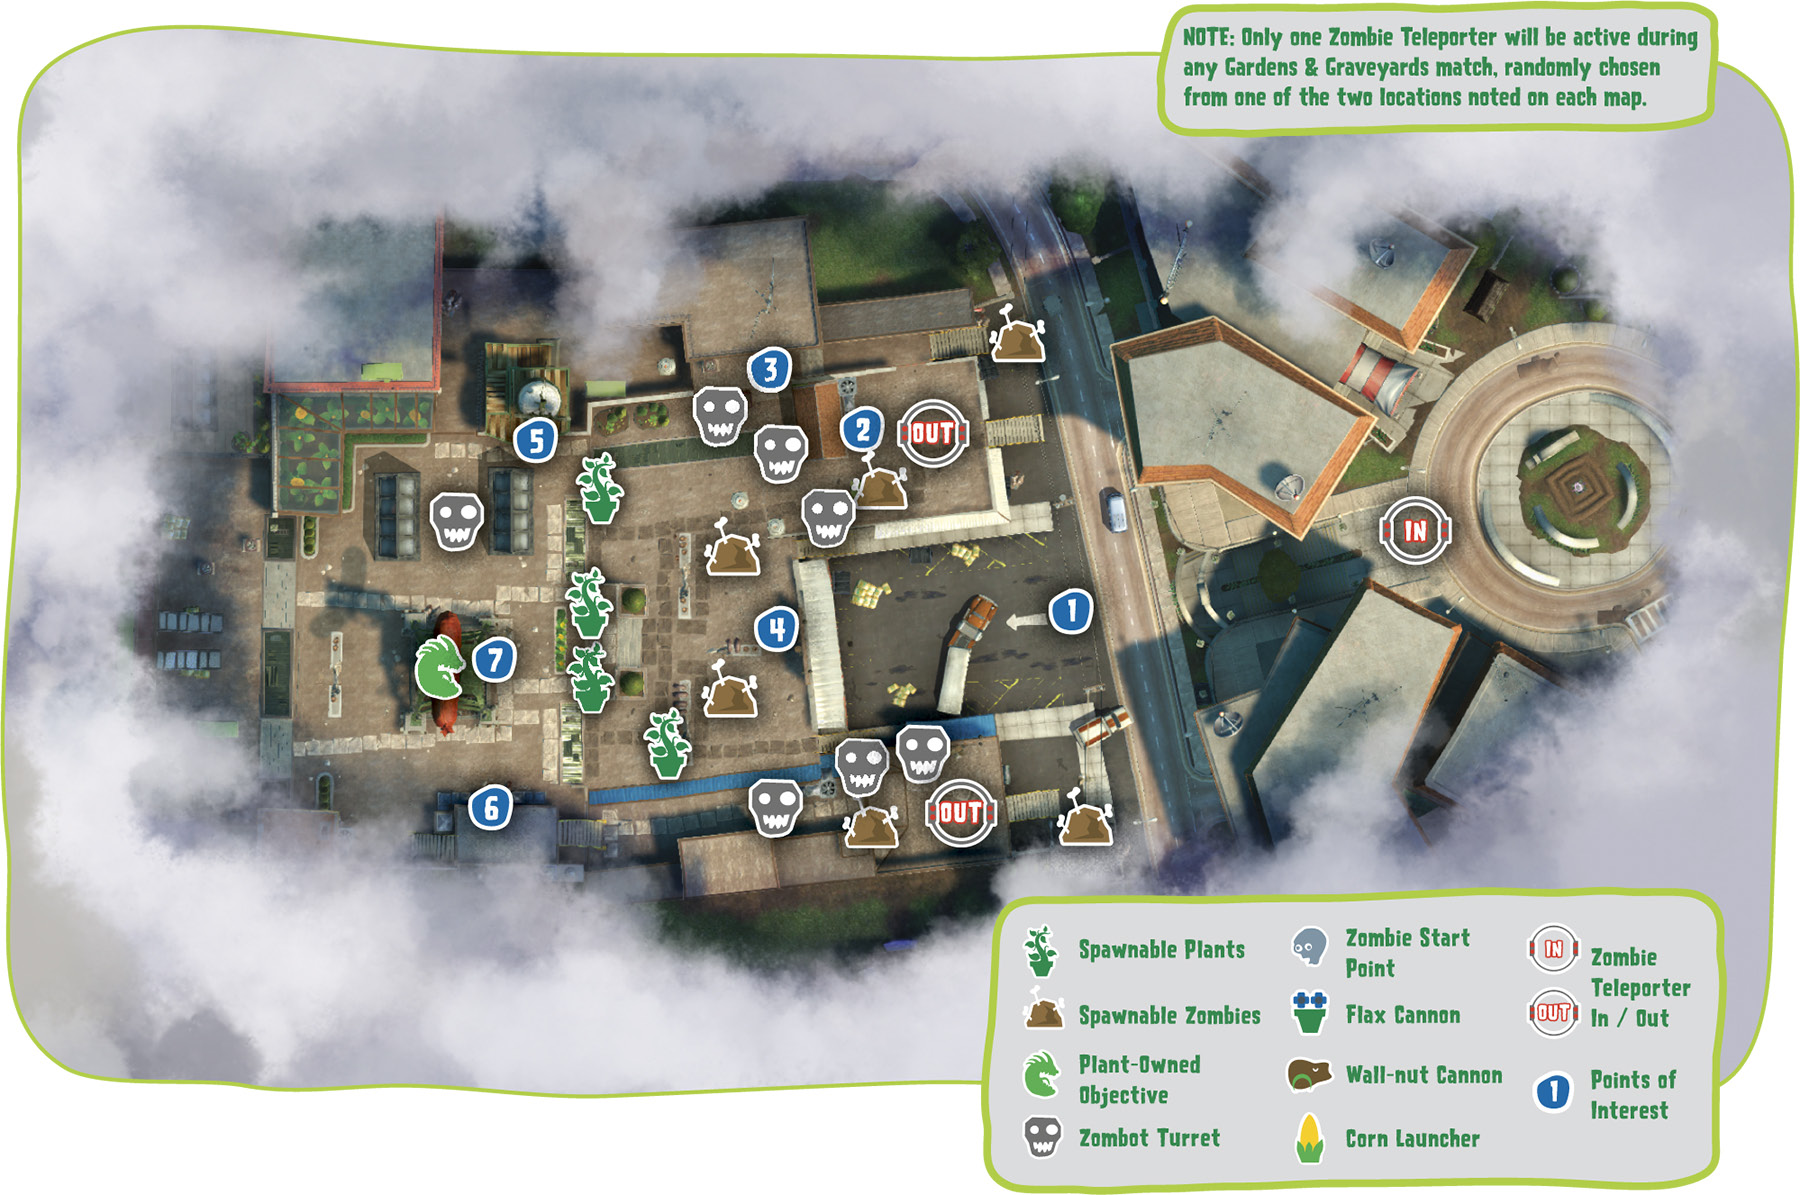
[1] Zombies: Expect massive firefights as soon as you get here. Any smart plants are going to have the high ground already, putting you in a bad position to retaliate. Advice for this area is to get away and get to the sides as soon as possible. The last thing you want to be is fish in a barrel.
Plants: As soon as you see zombies showing up here, make sure they never get past this spot. As mentioned above, you have the high ground, and you should always have a group of plants looking over it, firing when ready.
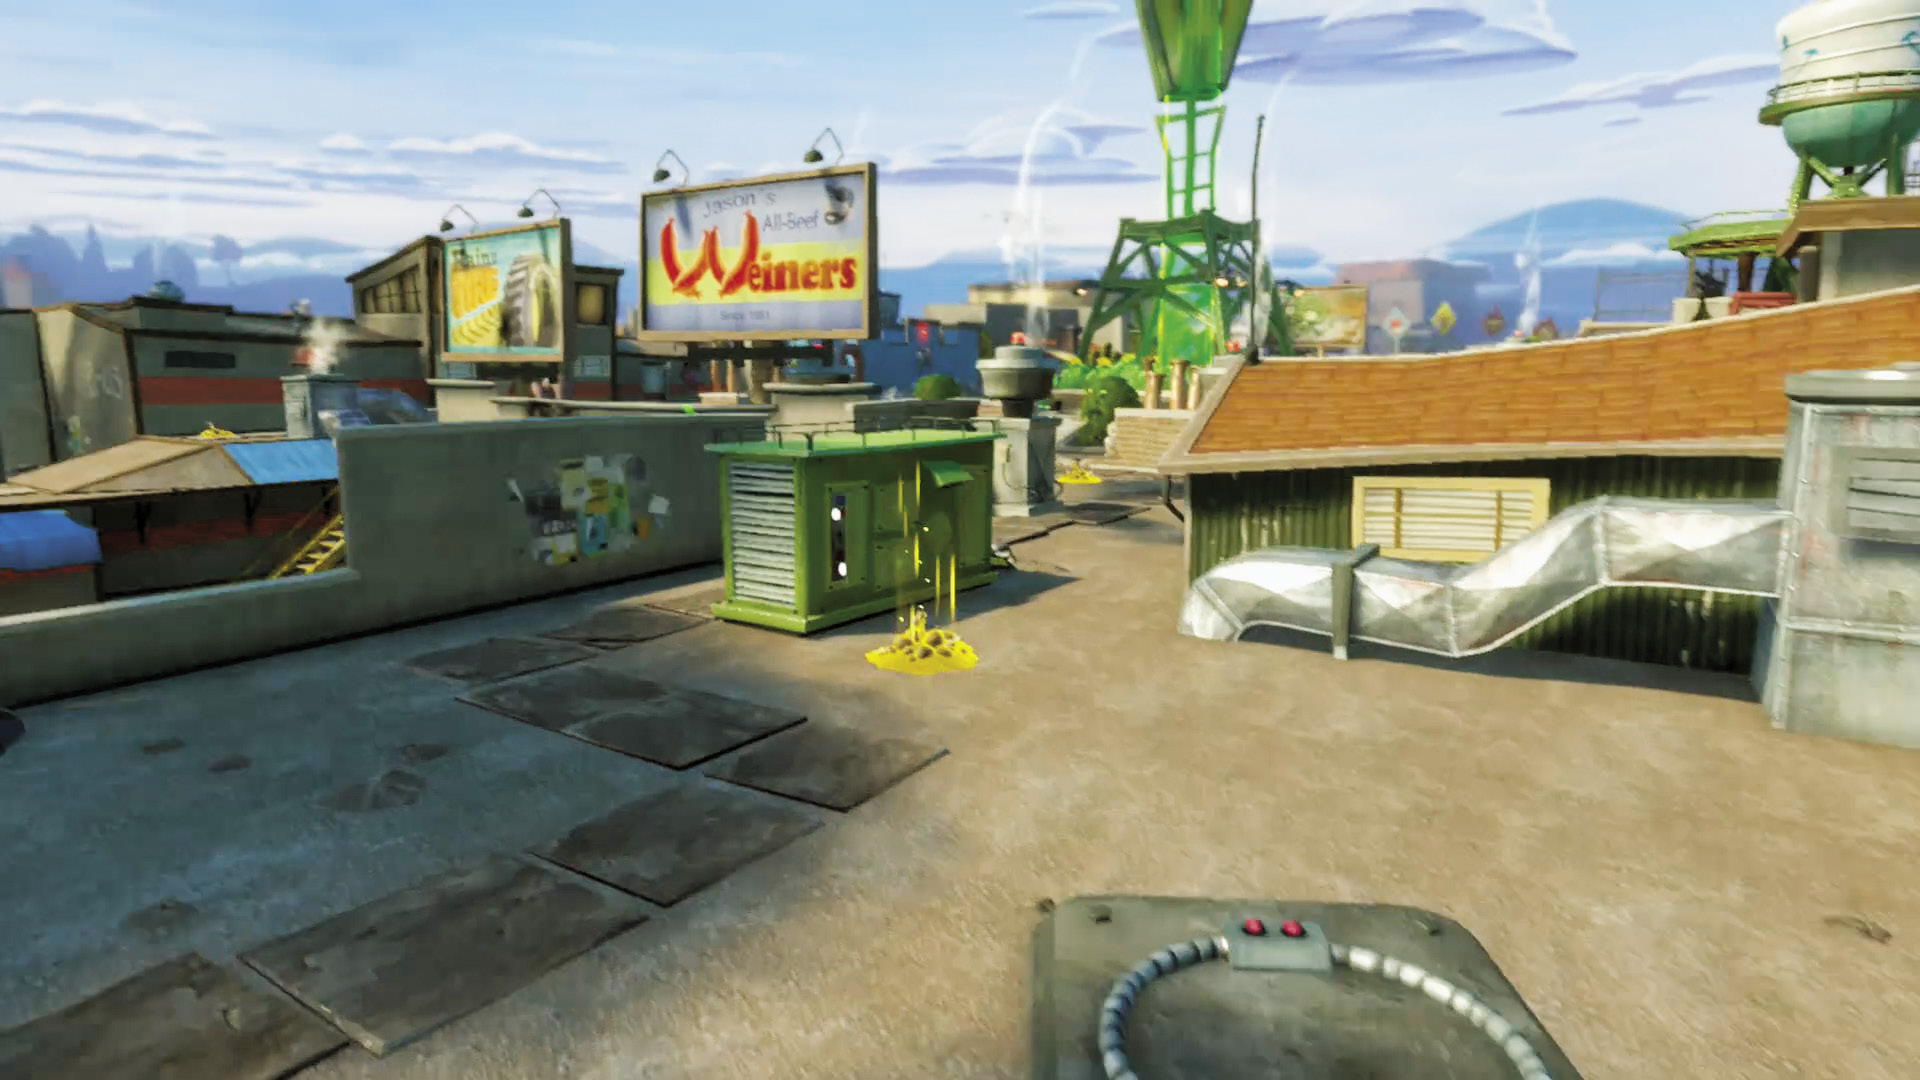
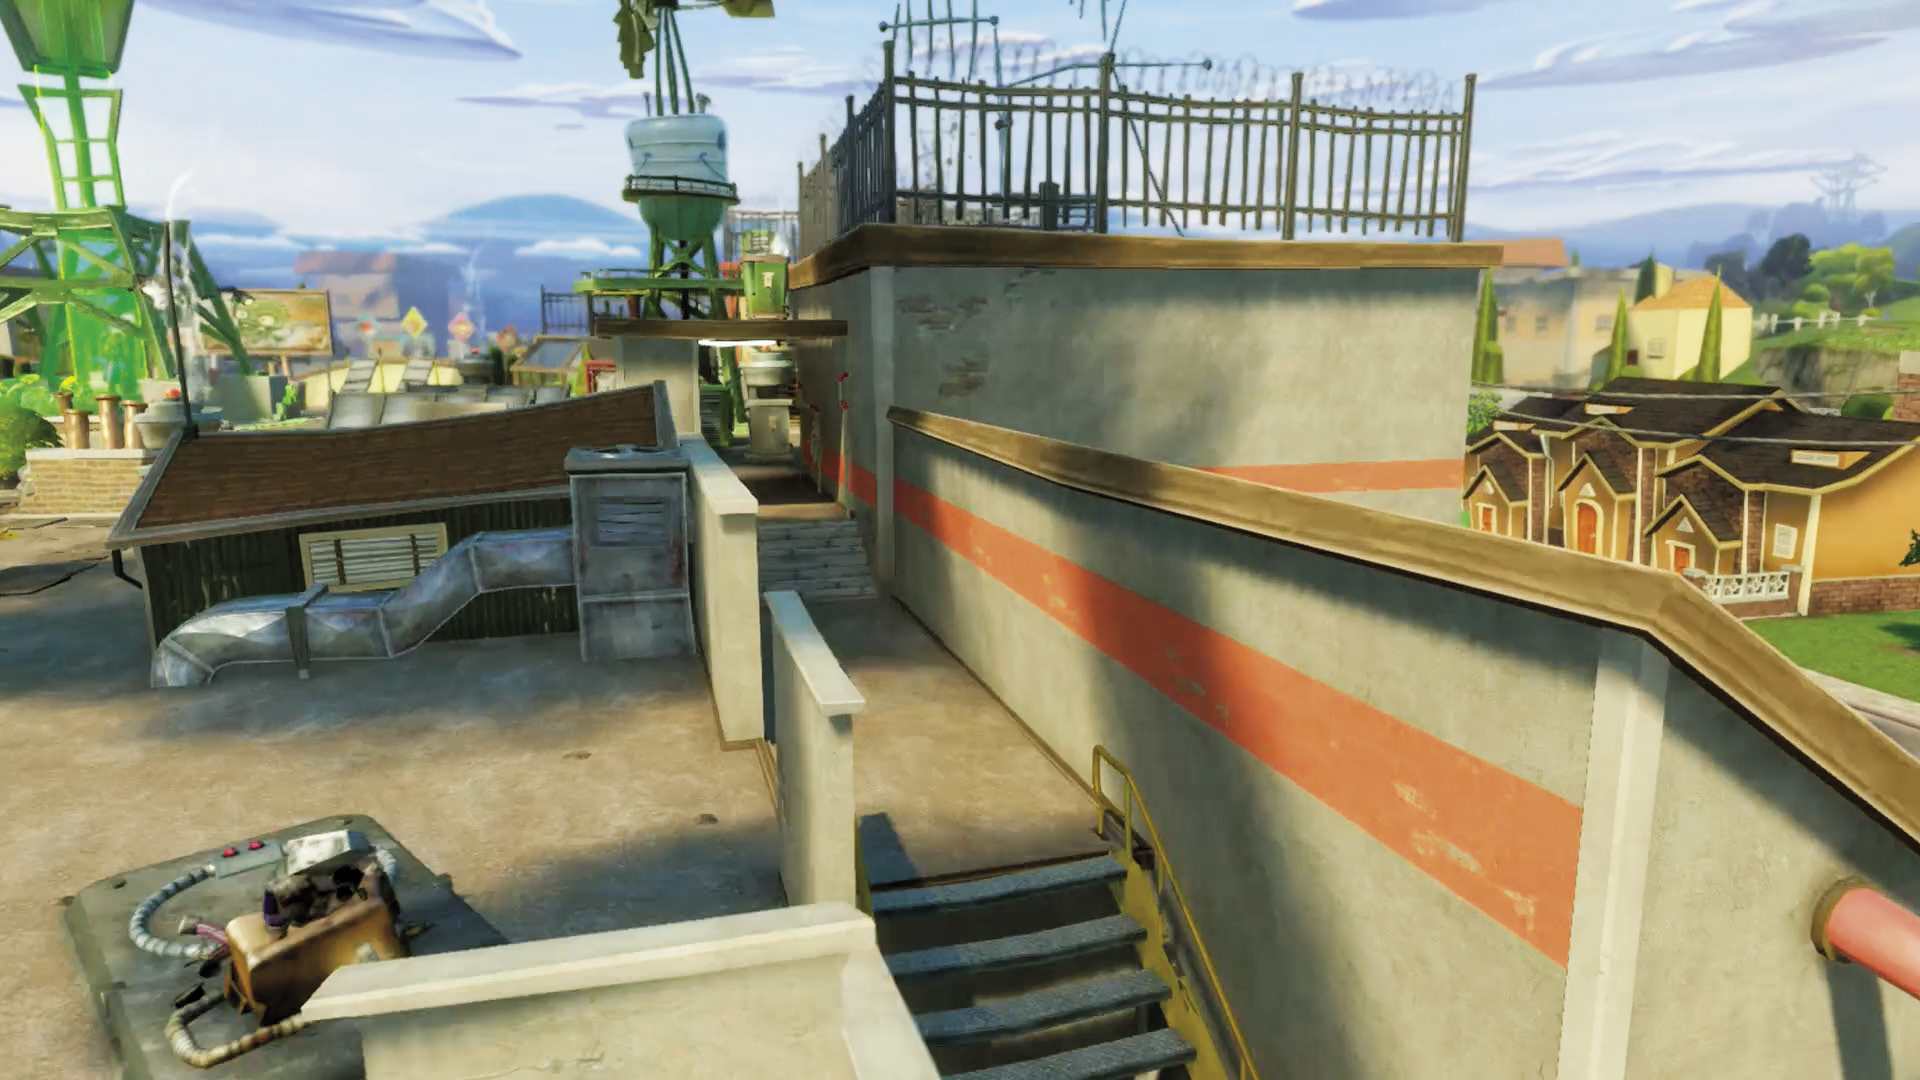
[2] [3] Zombies: Make your way up the right side to find some Spawnable Zombies and a possible Teleporter. You’re going to want to use the passages here to mount your assault now that you’re on level with the plants.
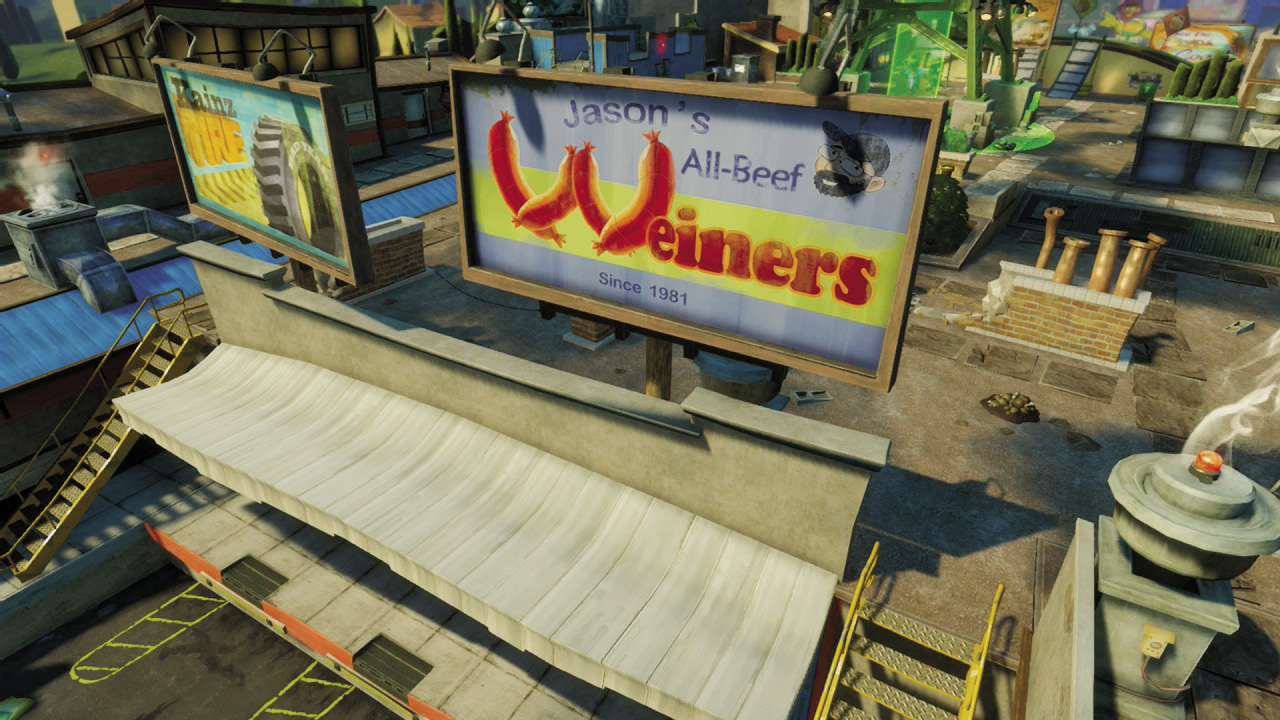
[4] Zombies: This is going to be a hotly contested area—if you want to have any hope of easily taking the Garden, then you’ll first have to take the place where plants can most easily shoot at you. This is the place.
Plants: You’re going to want to protect this area with everything you have, as it’s one of the cornerstones of your Garden’s defense. Set up mines and traps, and keep shooting zombies on the low ground and the sides to make sure they don’t have a chance to come up.
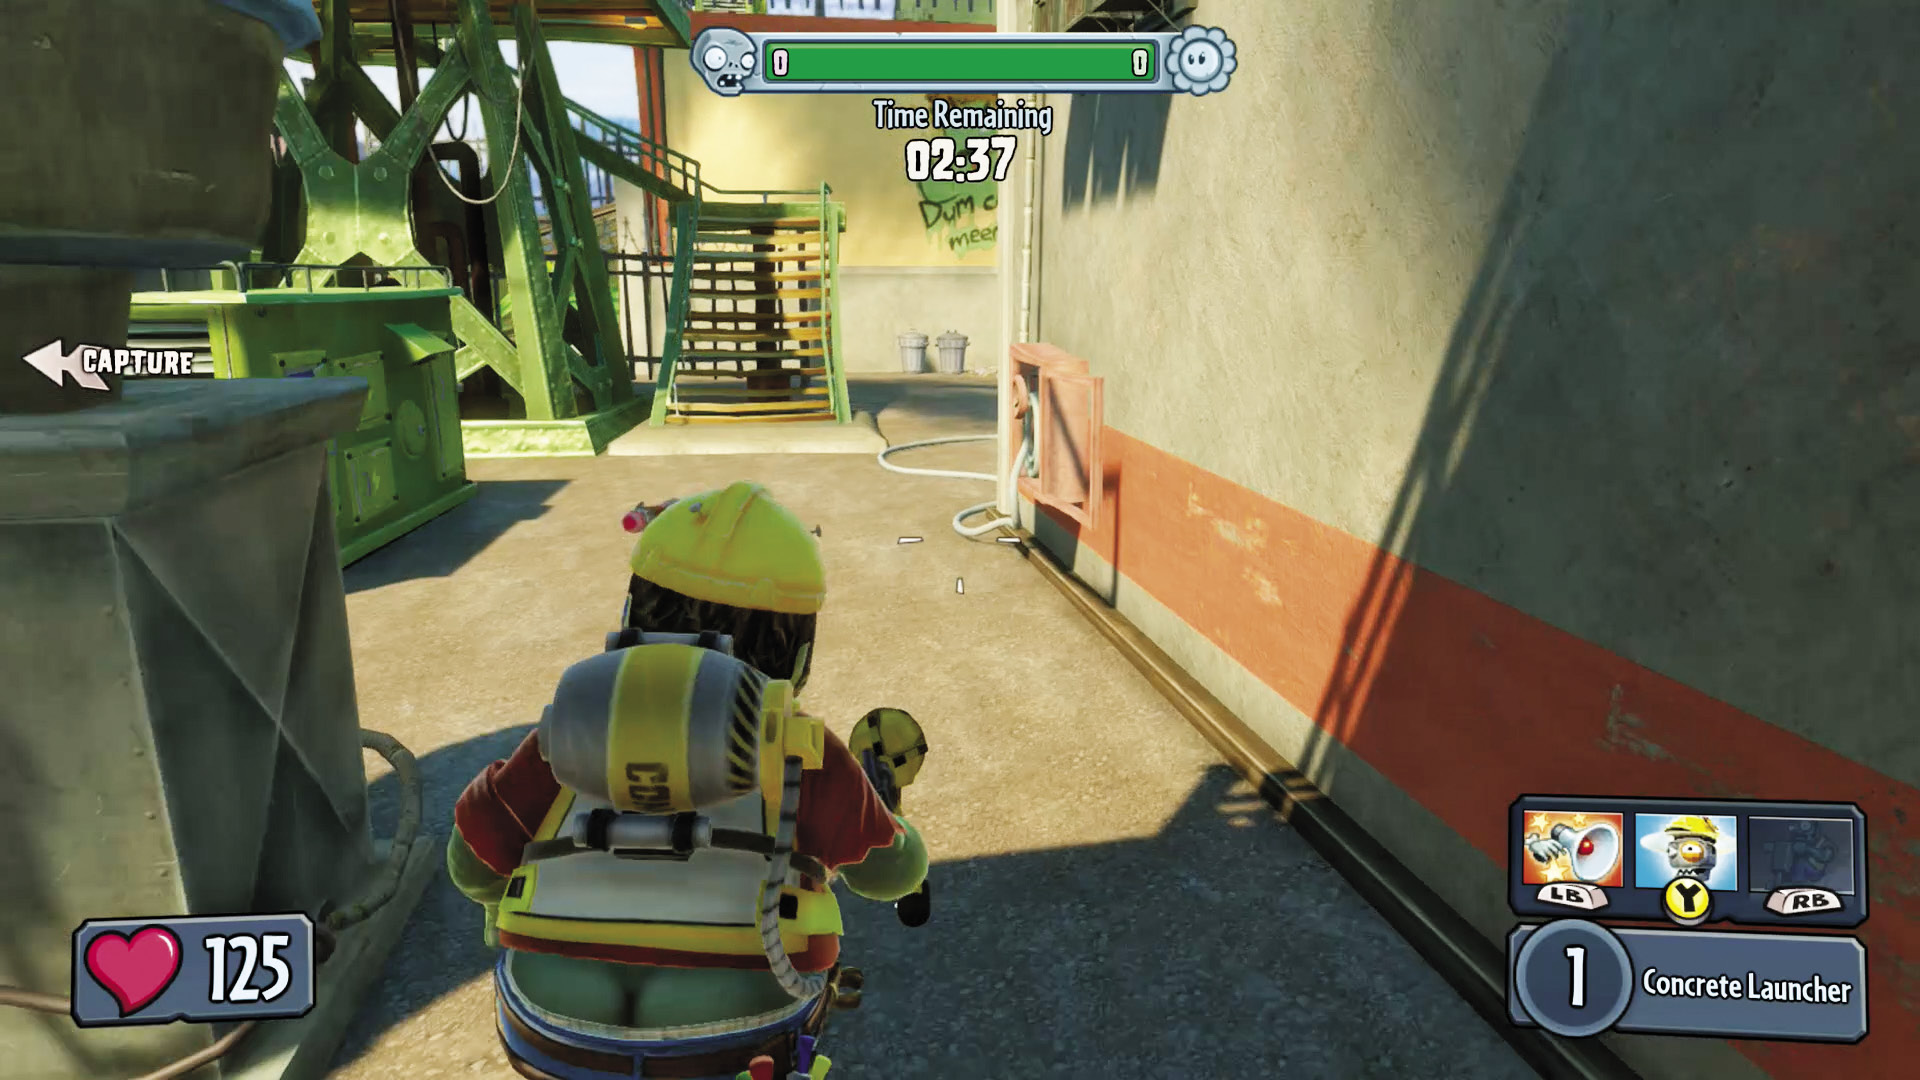
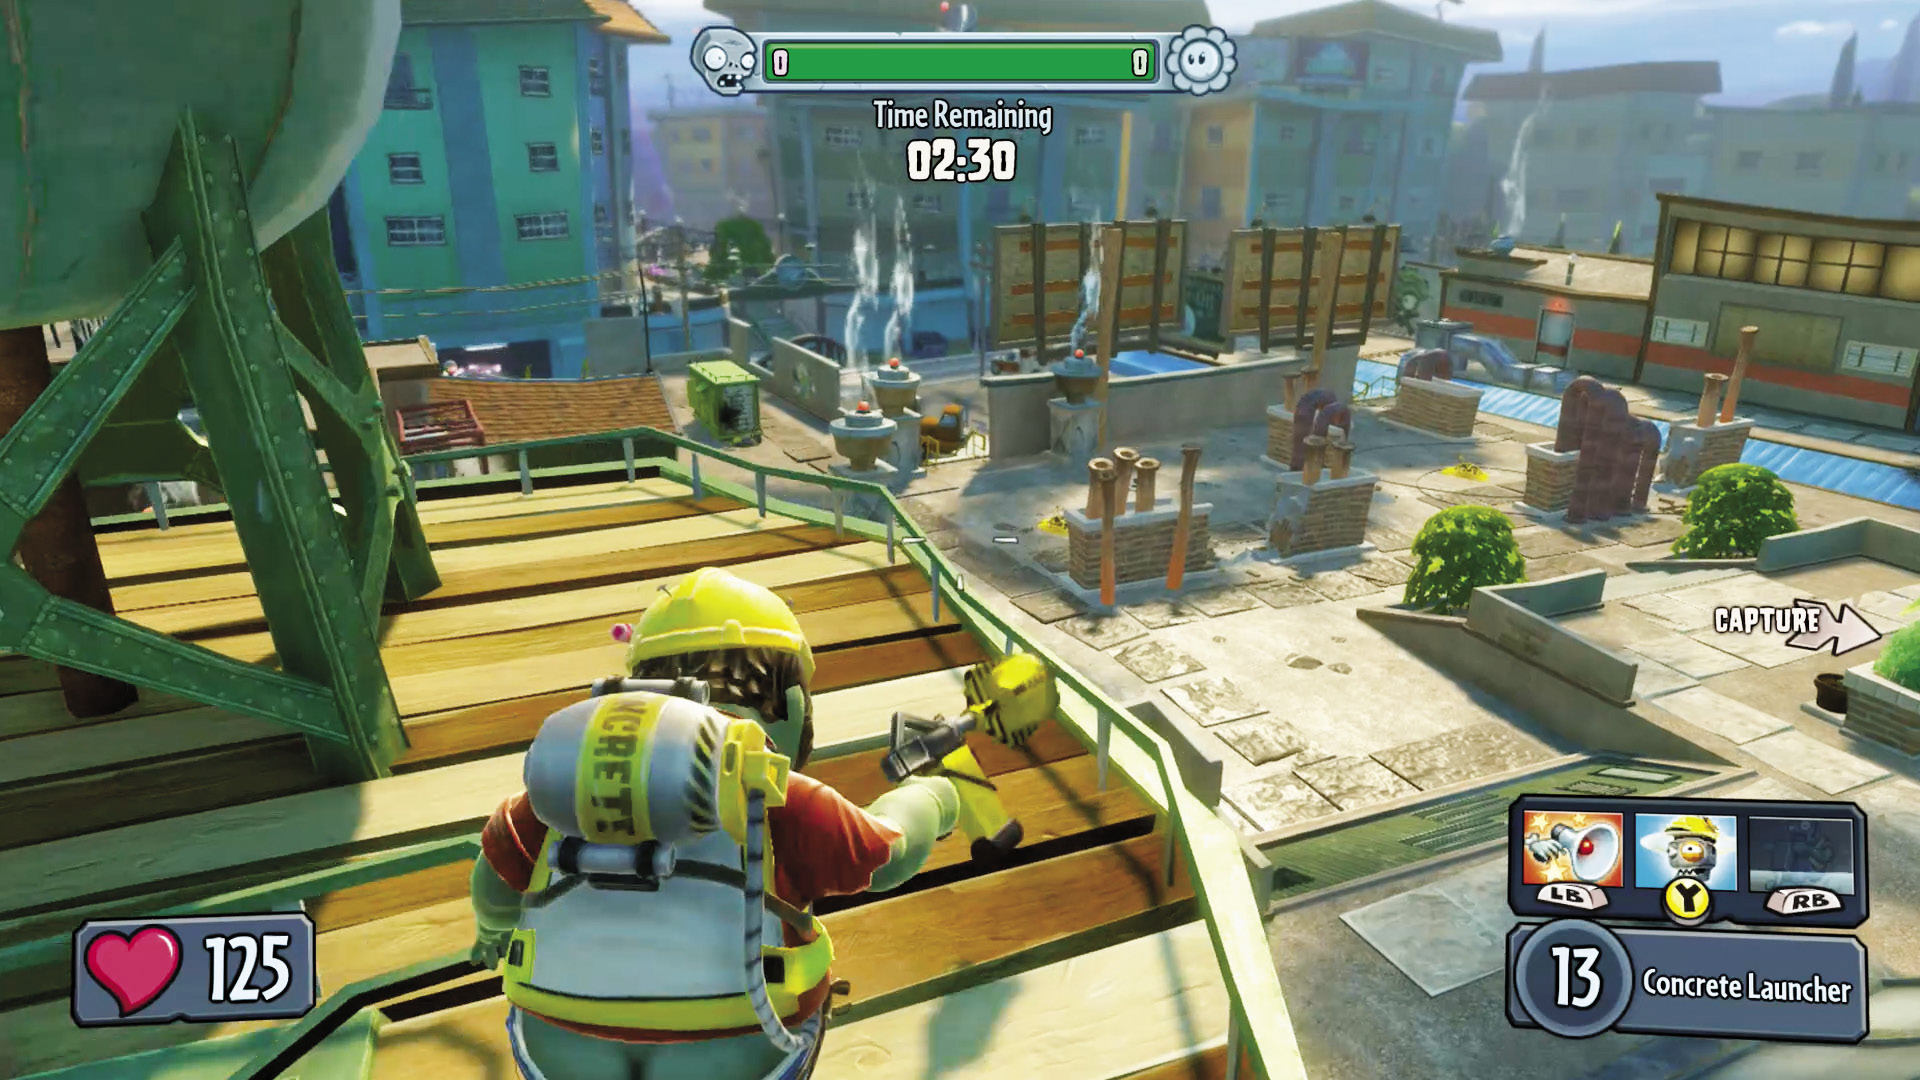
[5] Zombies: This tower is incredibly useful for looking over and assaulting the Garden, and it’s easy to get to by running up the left side as quickly as possible.
Plants: This tower isn’t quite as useful for your purposes, but you can still use it to guard against zombies running up the middle path—plus you don’t want zombies getting hold of this perch anyway.
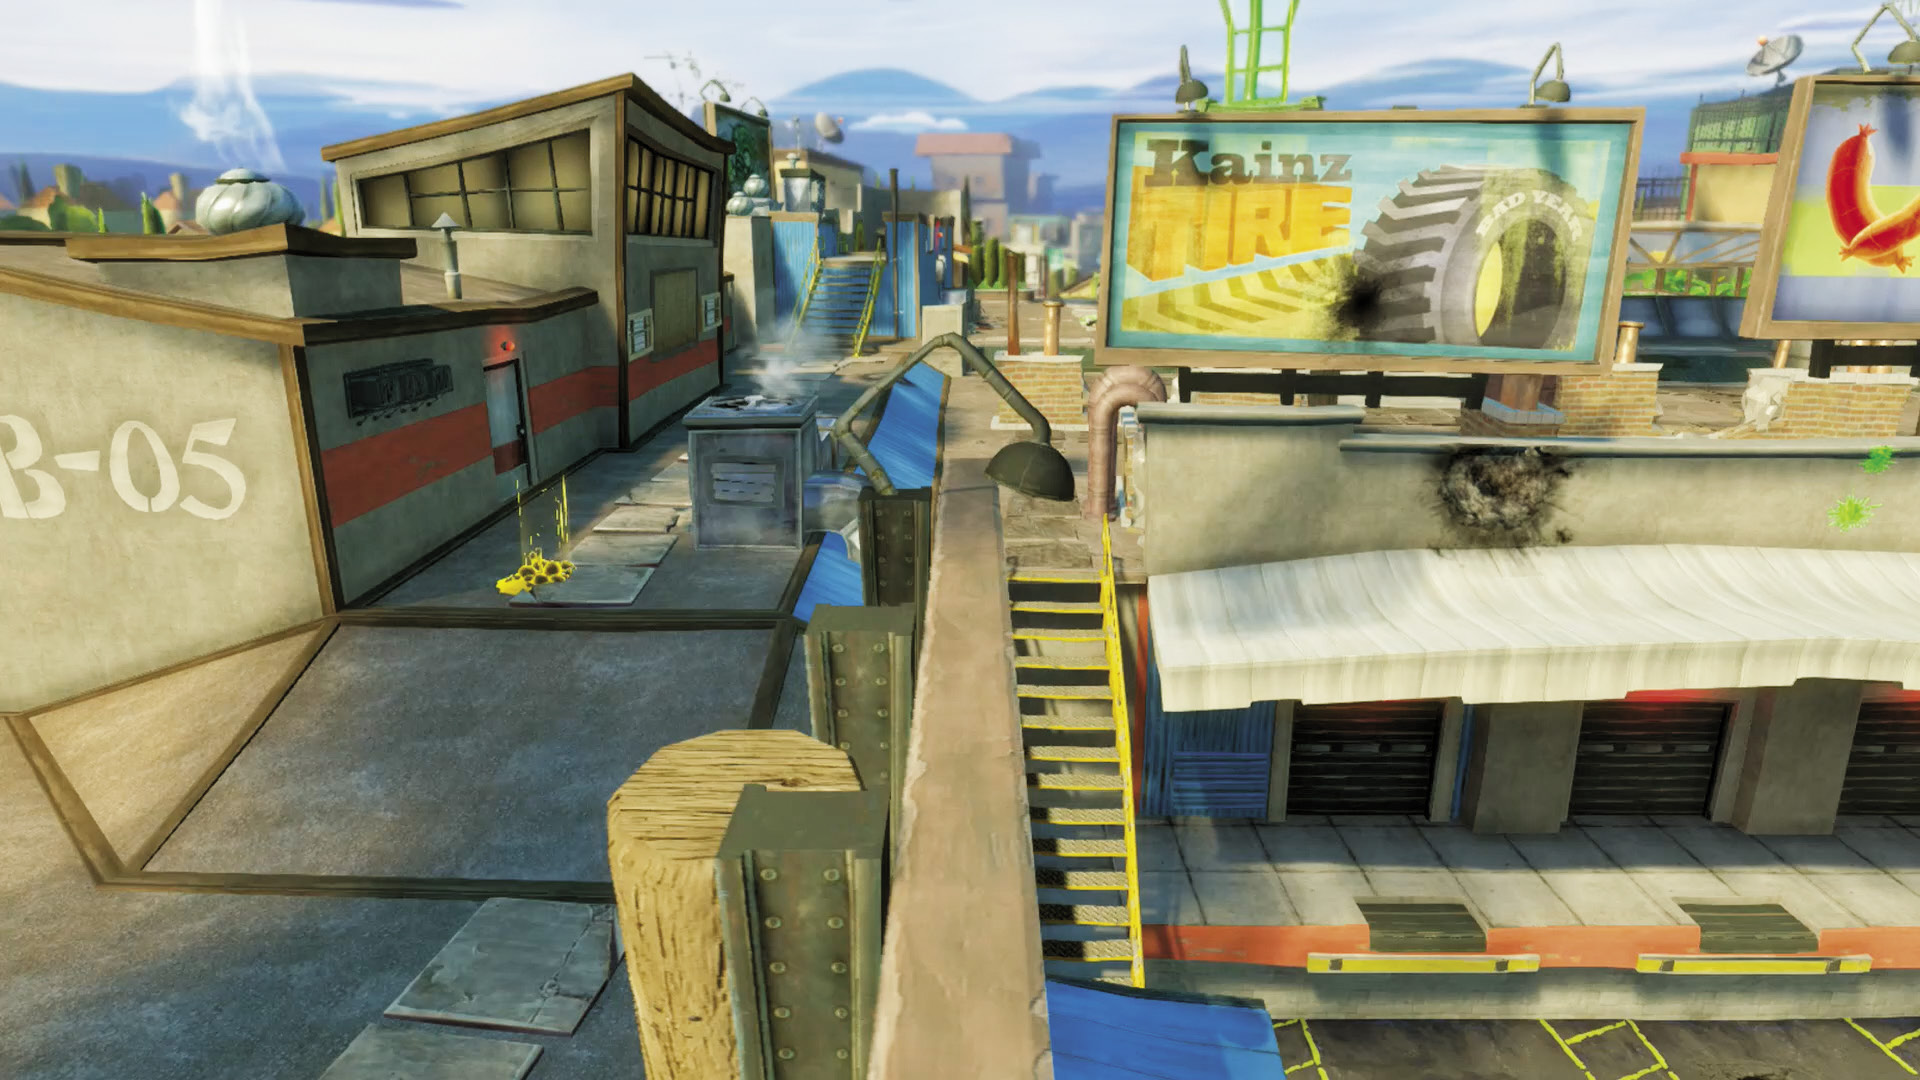
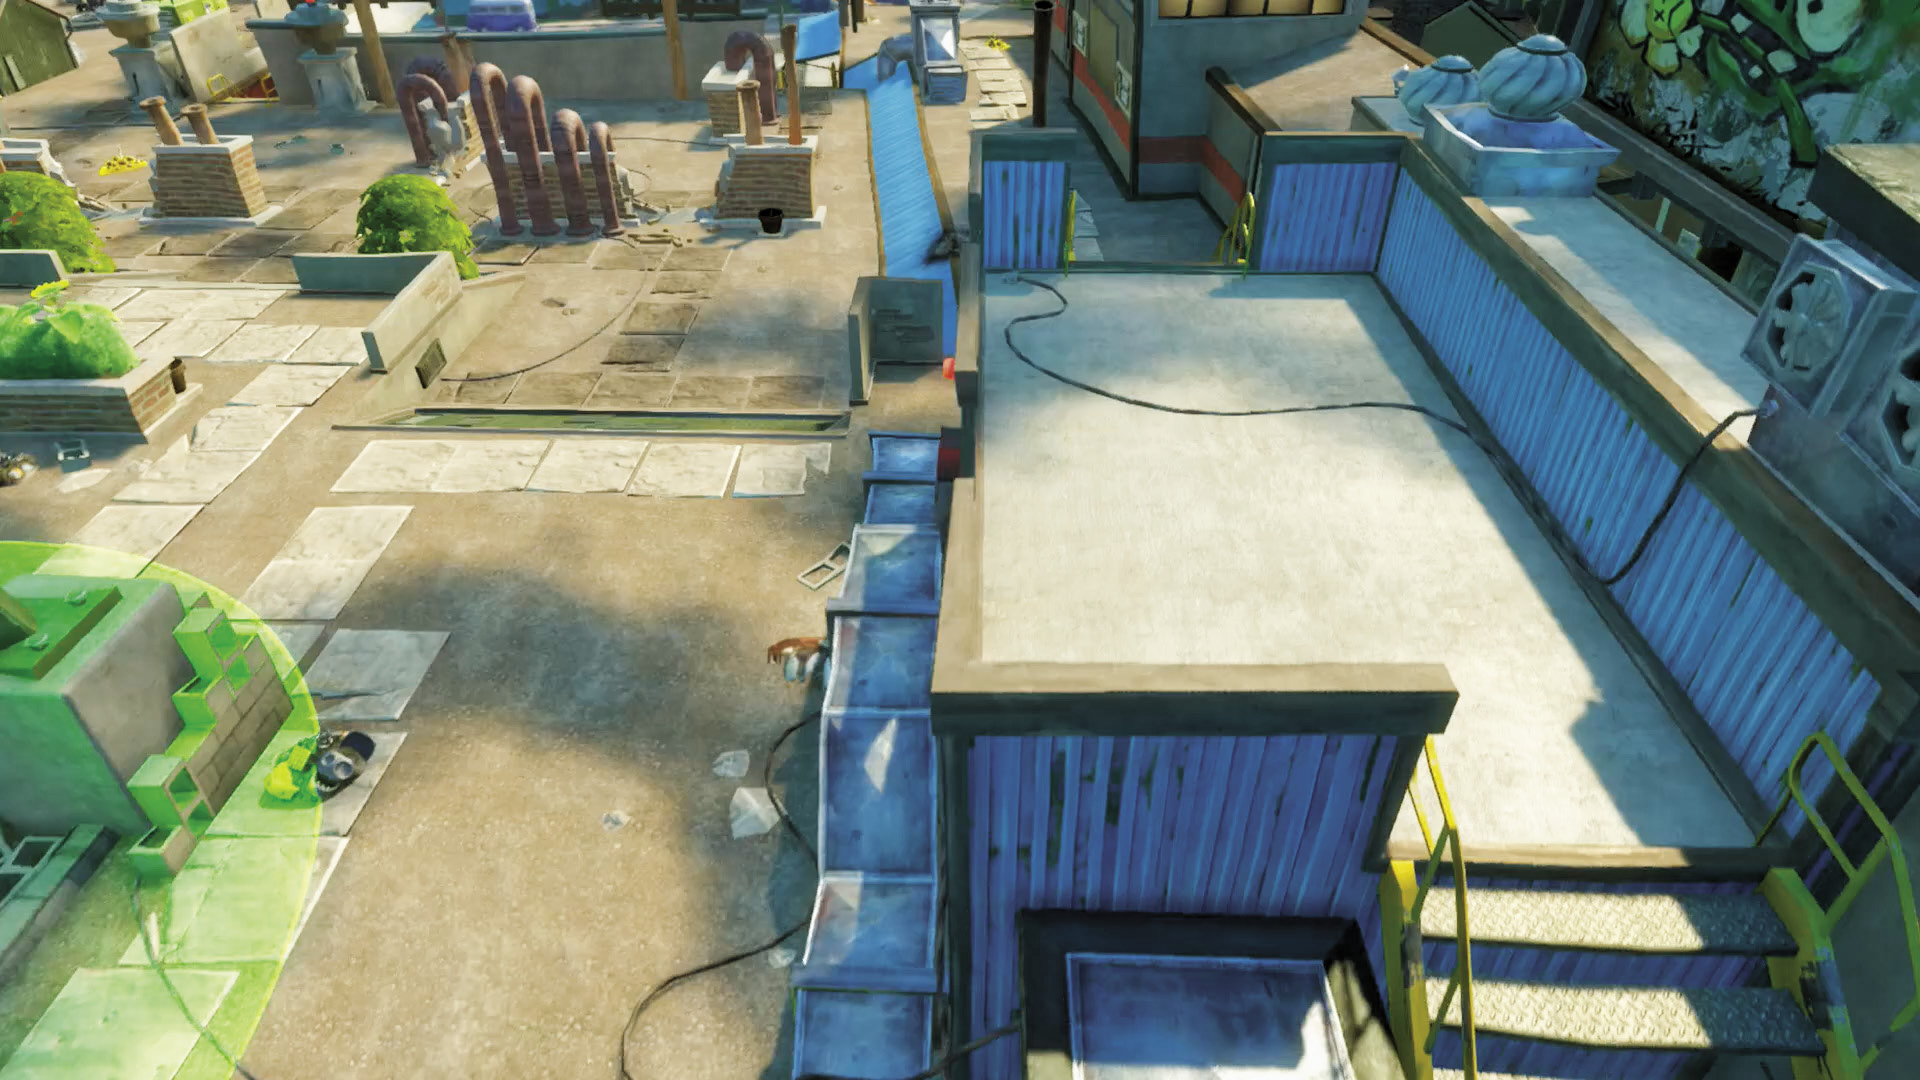
[6] Zombies: Everything that applies to [5] applies here—more so, actually, since this leads straight to the Garden. If you can make it up here, you’ve halfway won the battle already.
Plants: More so than [5], you’re going to want to make sure no zombies actually get here. This is extremely close to your base, and what’s more, it bypasses most of your best defenses.
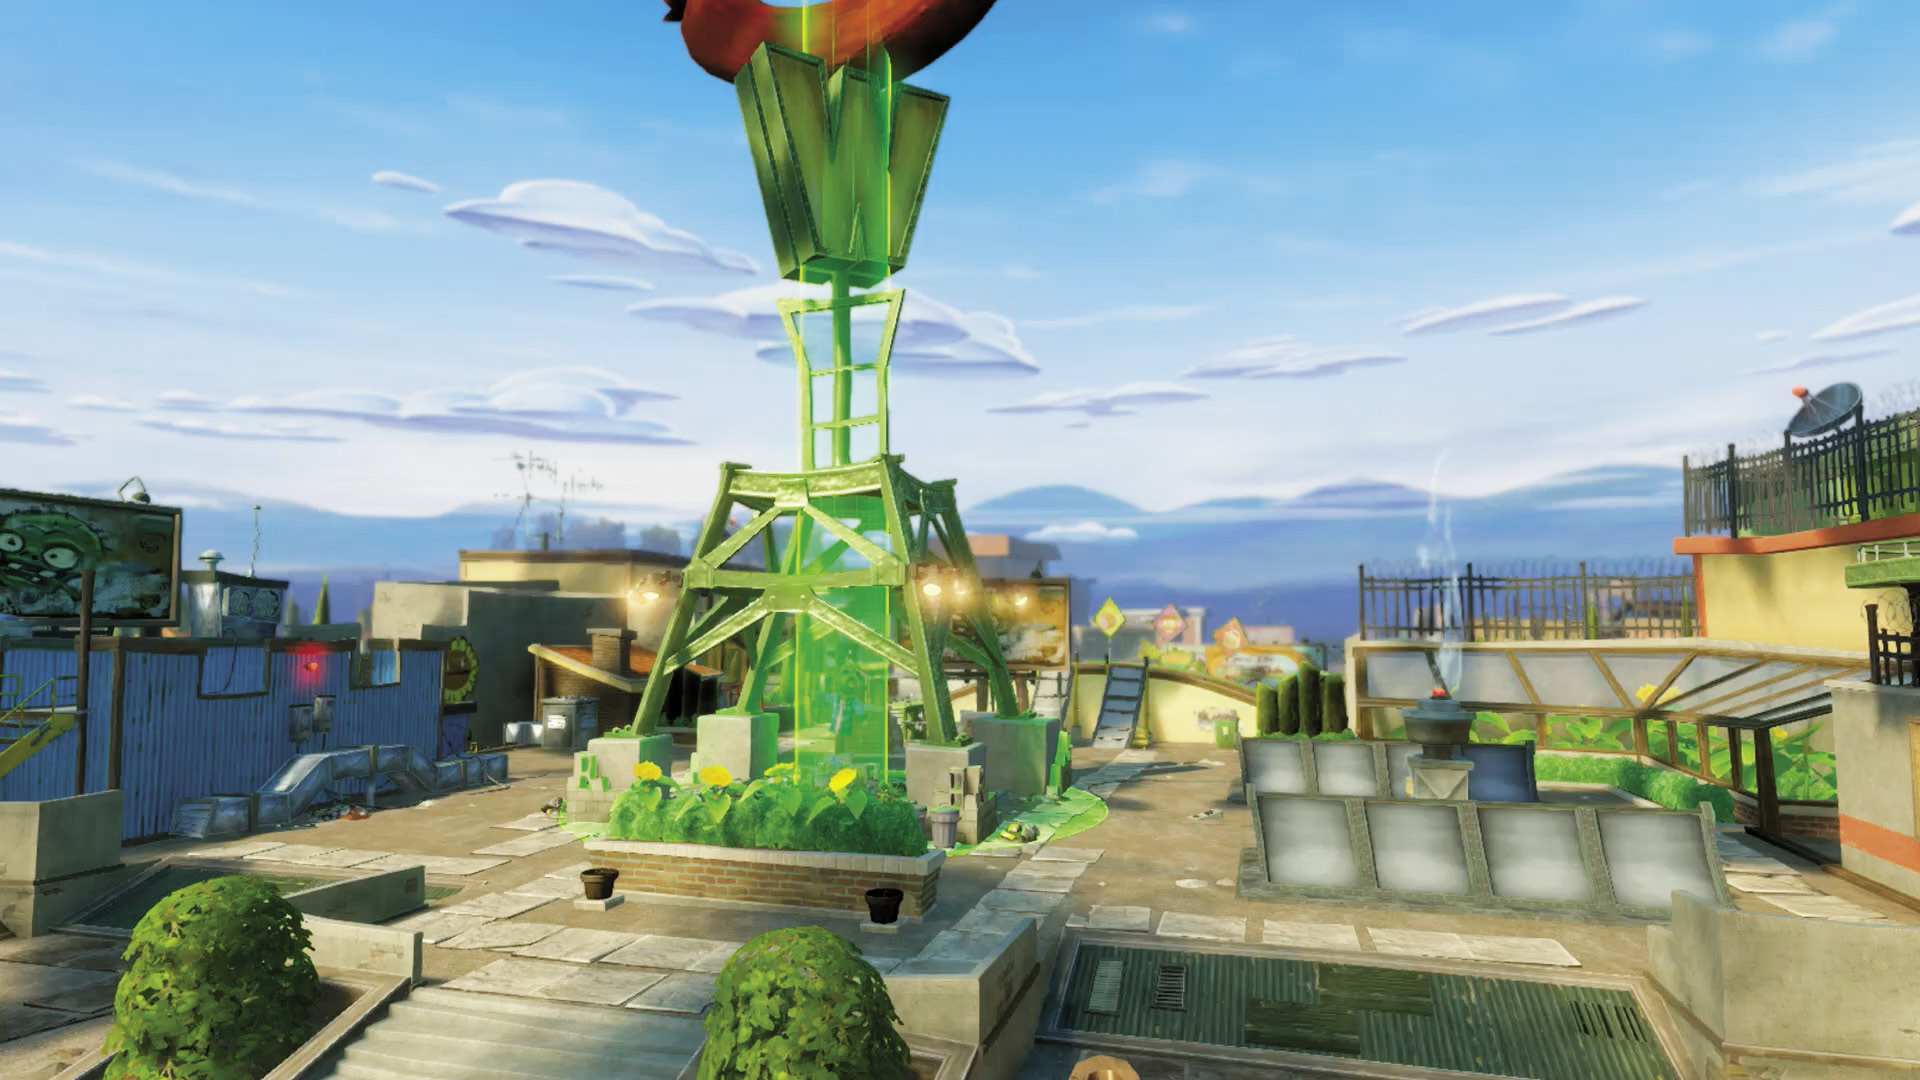
[7] Plants: Guarding from the front can be a long and protracted battle, but if you don’t watch your sides in this phase, things can be over before you have a chance to blink. Spread some of your plants out to watch the entry to the Rooftops, and stop problems before they start.
Phase 4: Burger Joint
Points of Interest
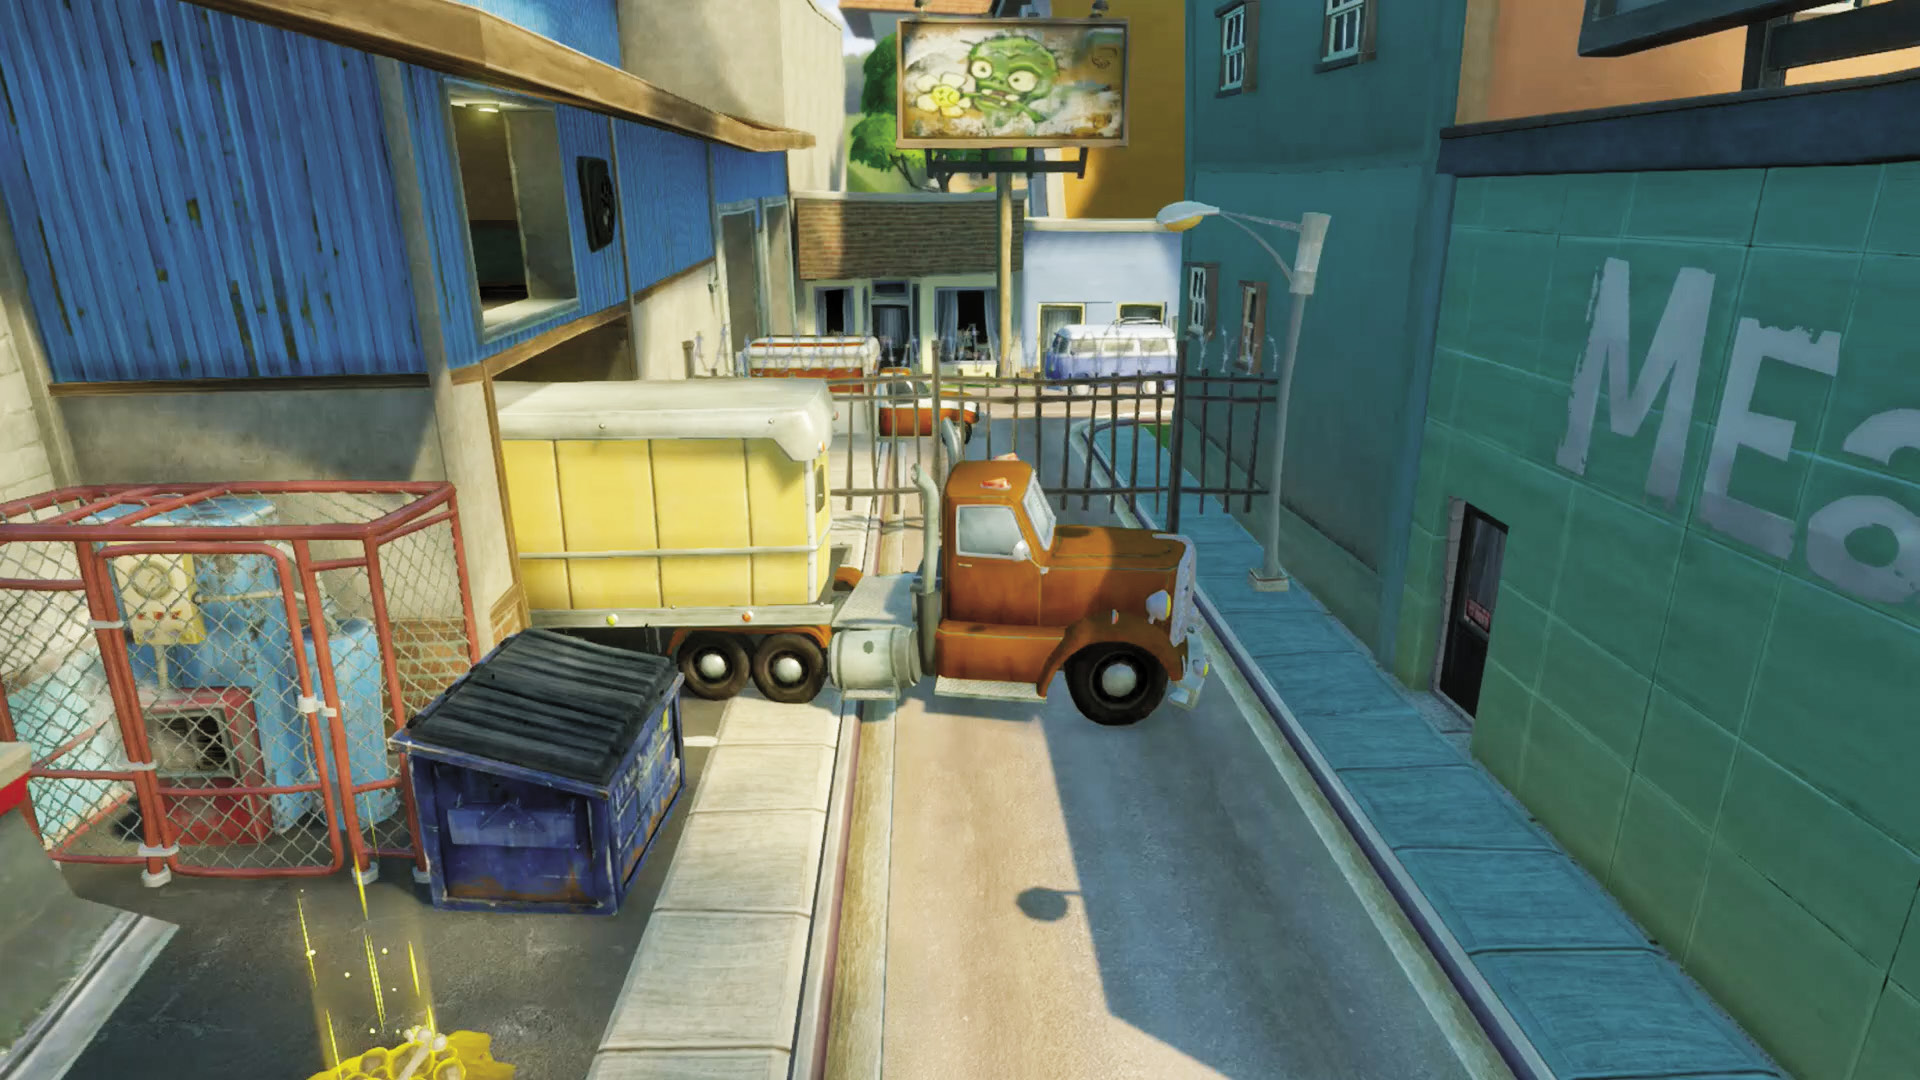
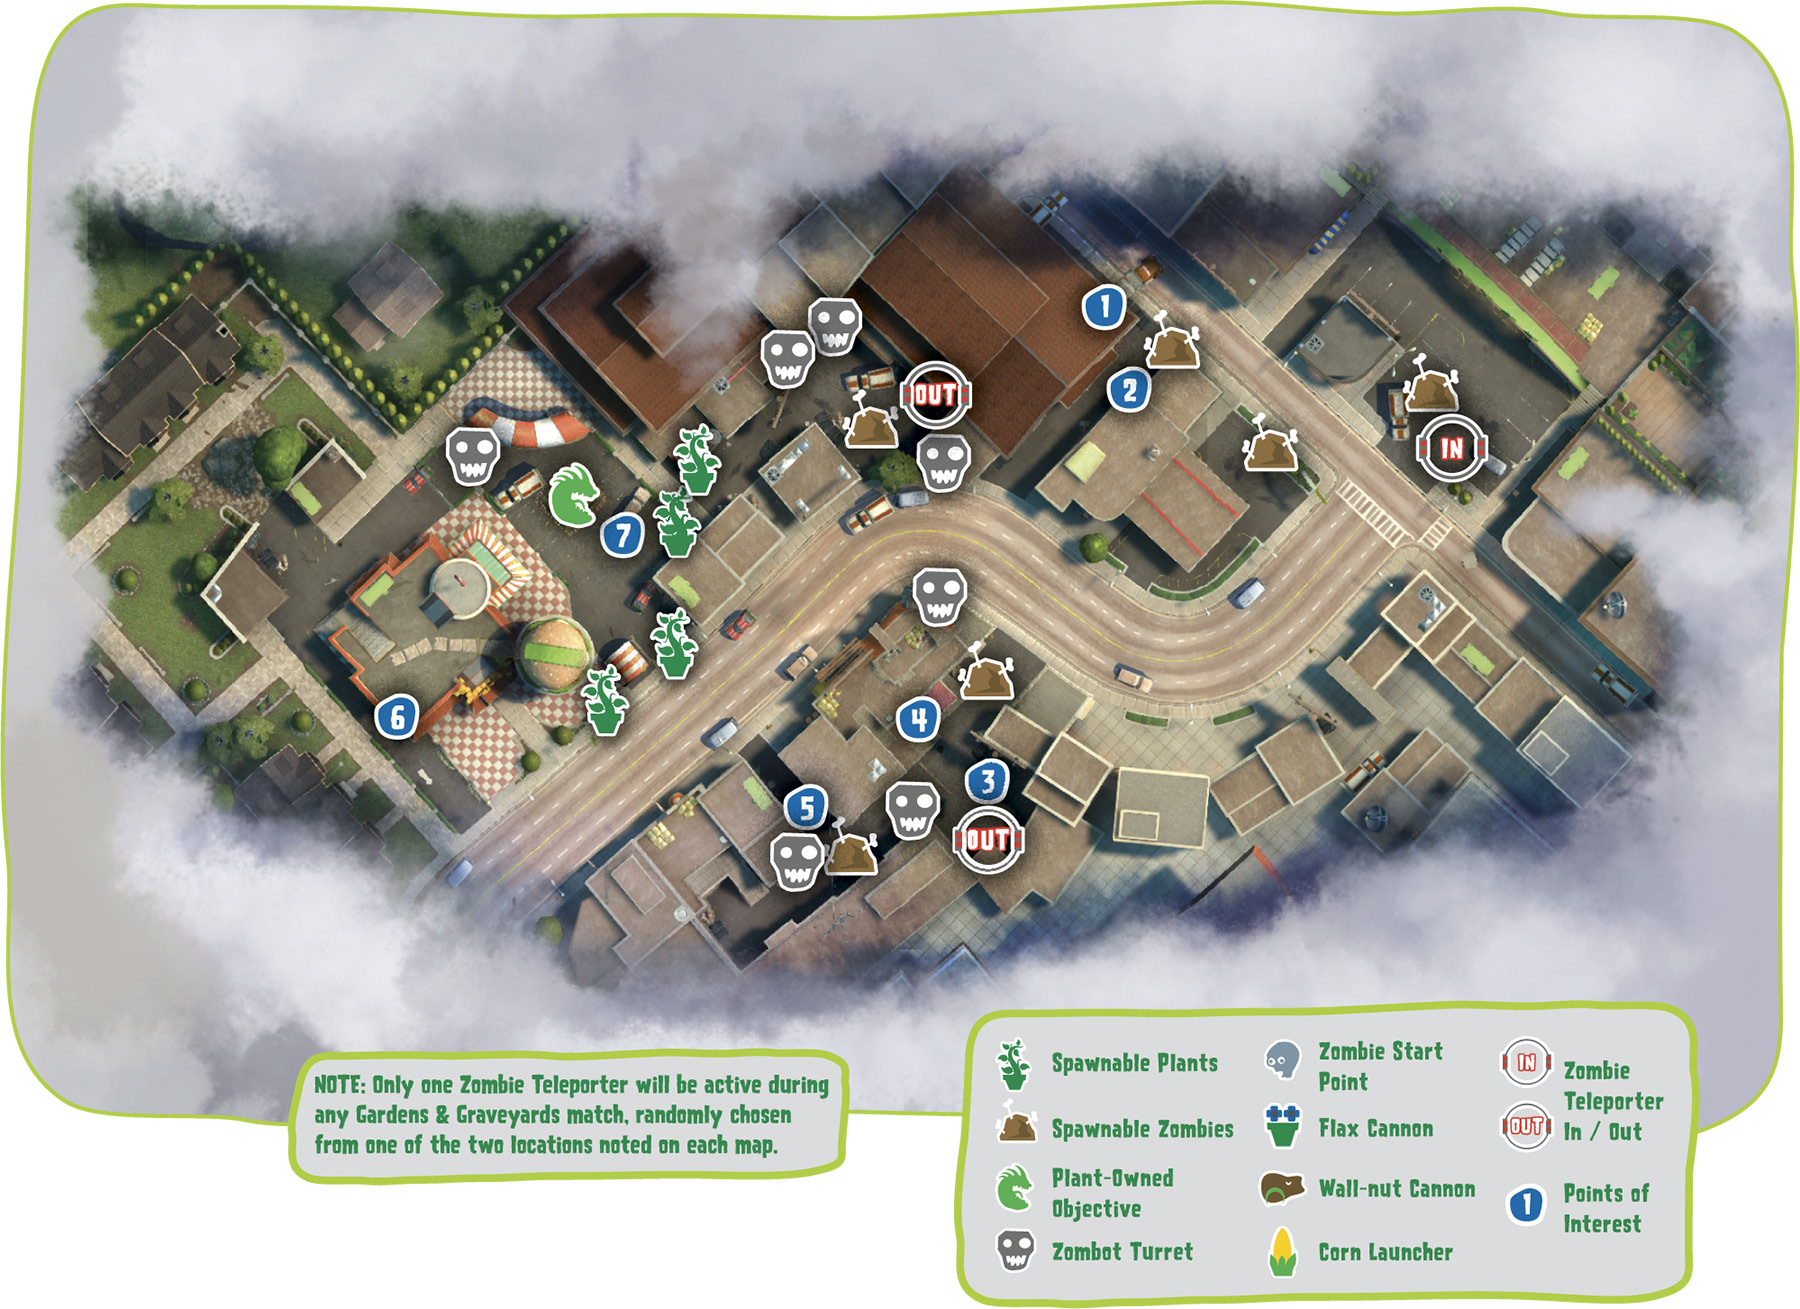
[1] Zombies: Right off the bat, there’s a great place that Foot Soldier Zombies can Rocket Jump to in order to more quickly access the Garden.
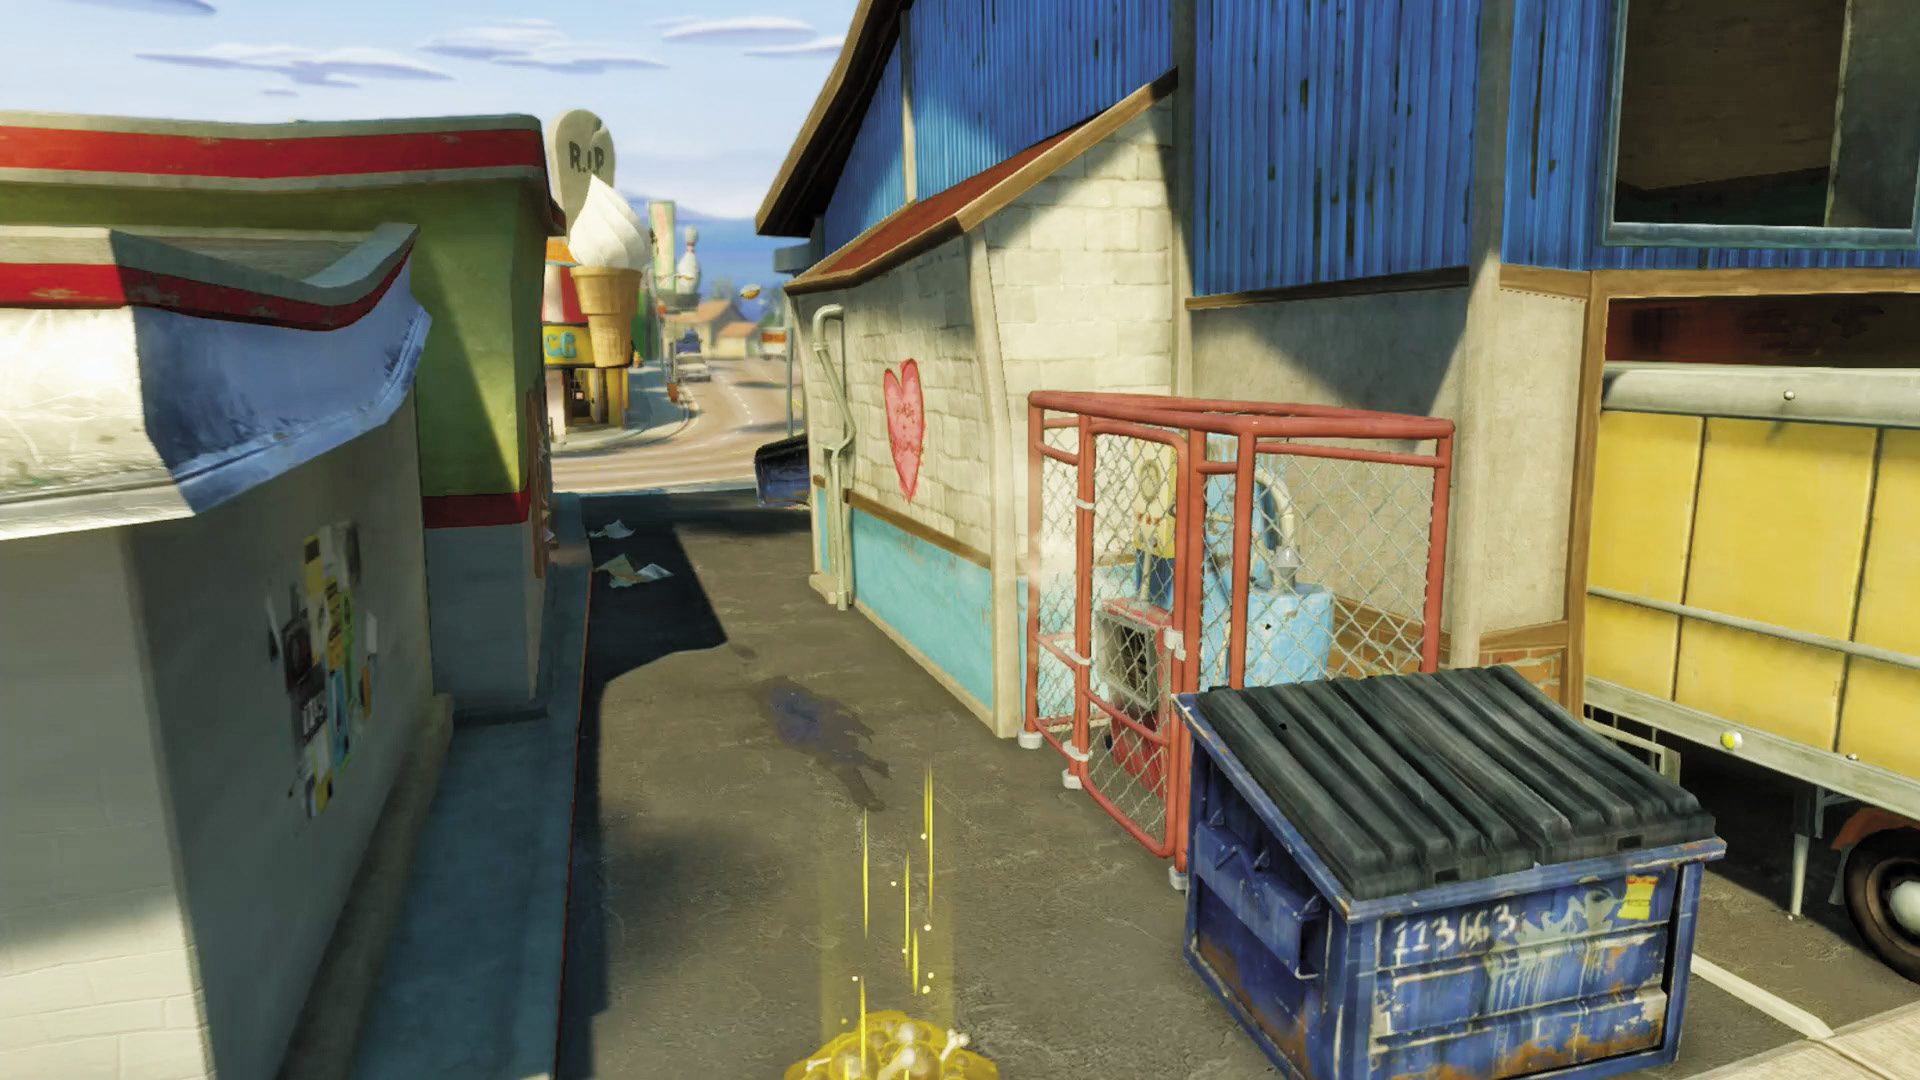
[2] Zombies: Non-Foot Soldier Zombies will have to take the long way around, but can still remain hidden in alleys.
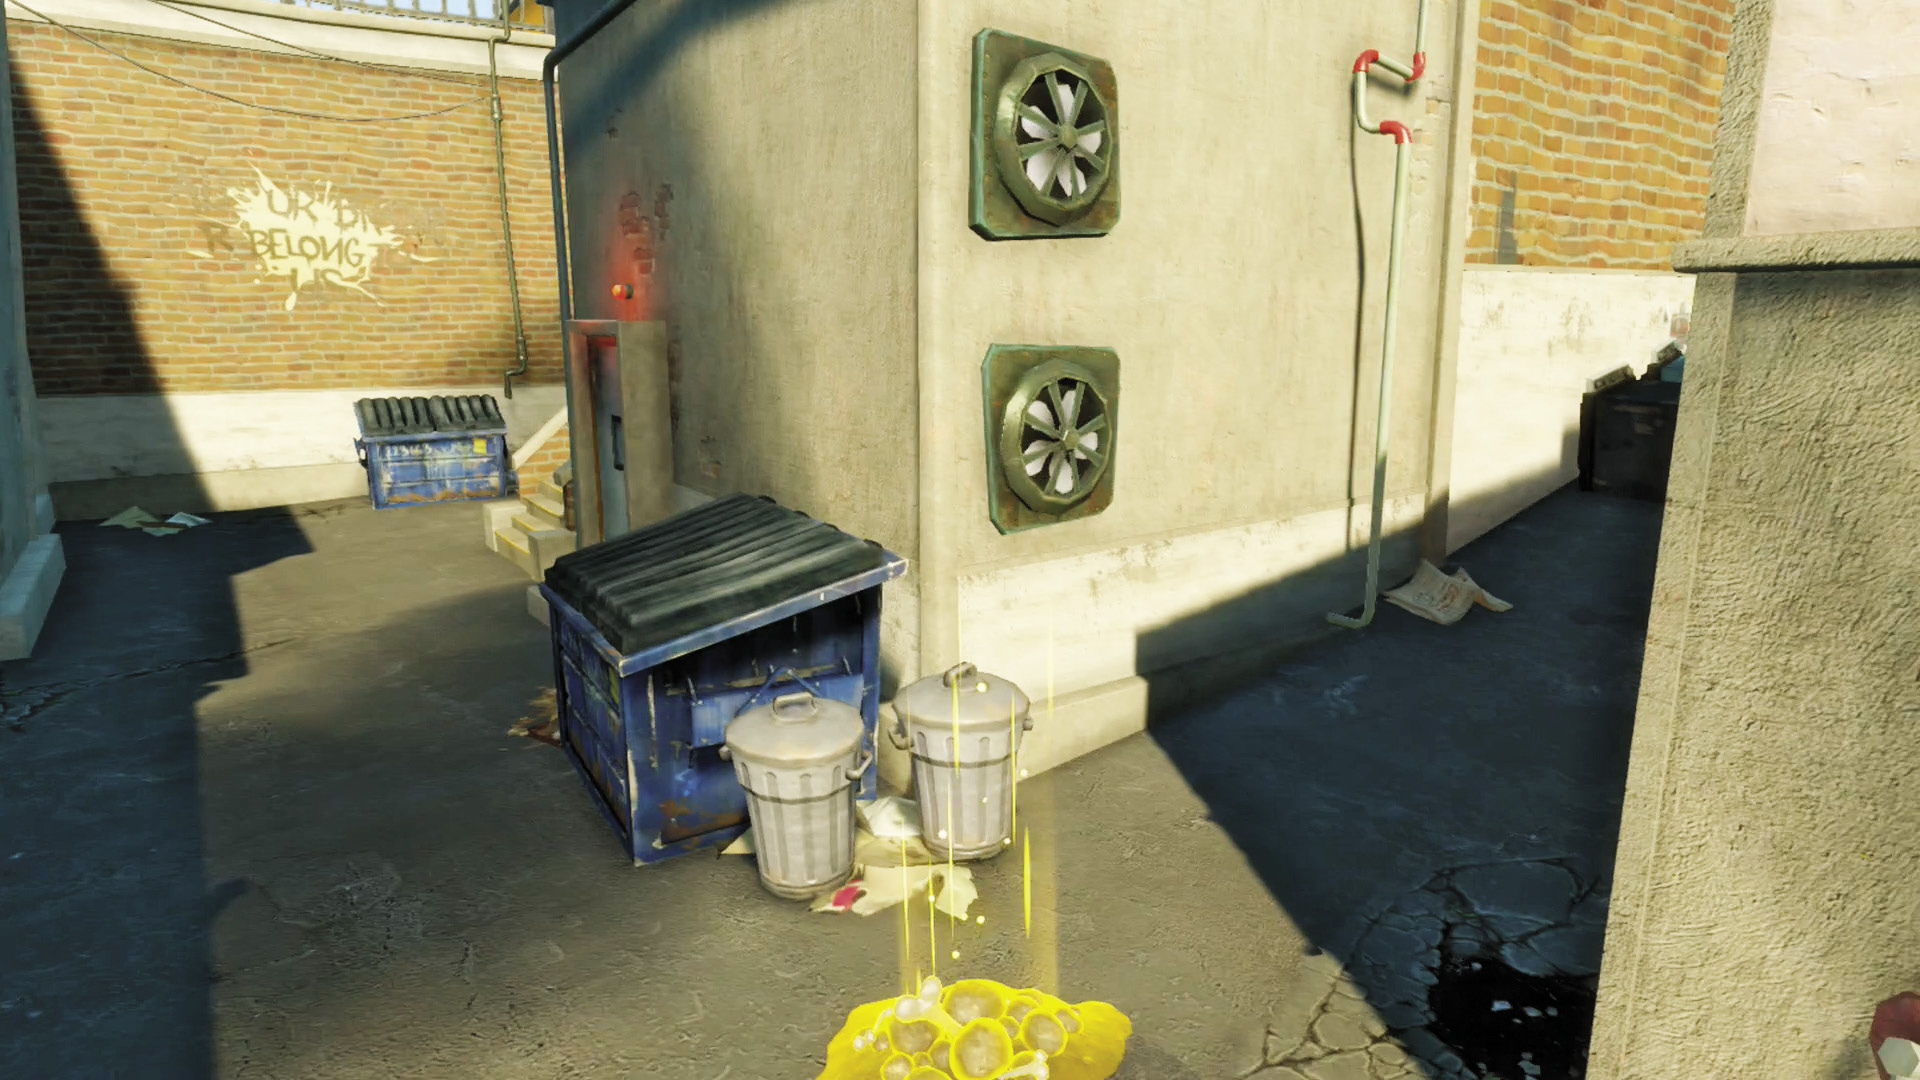
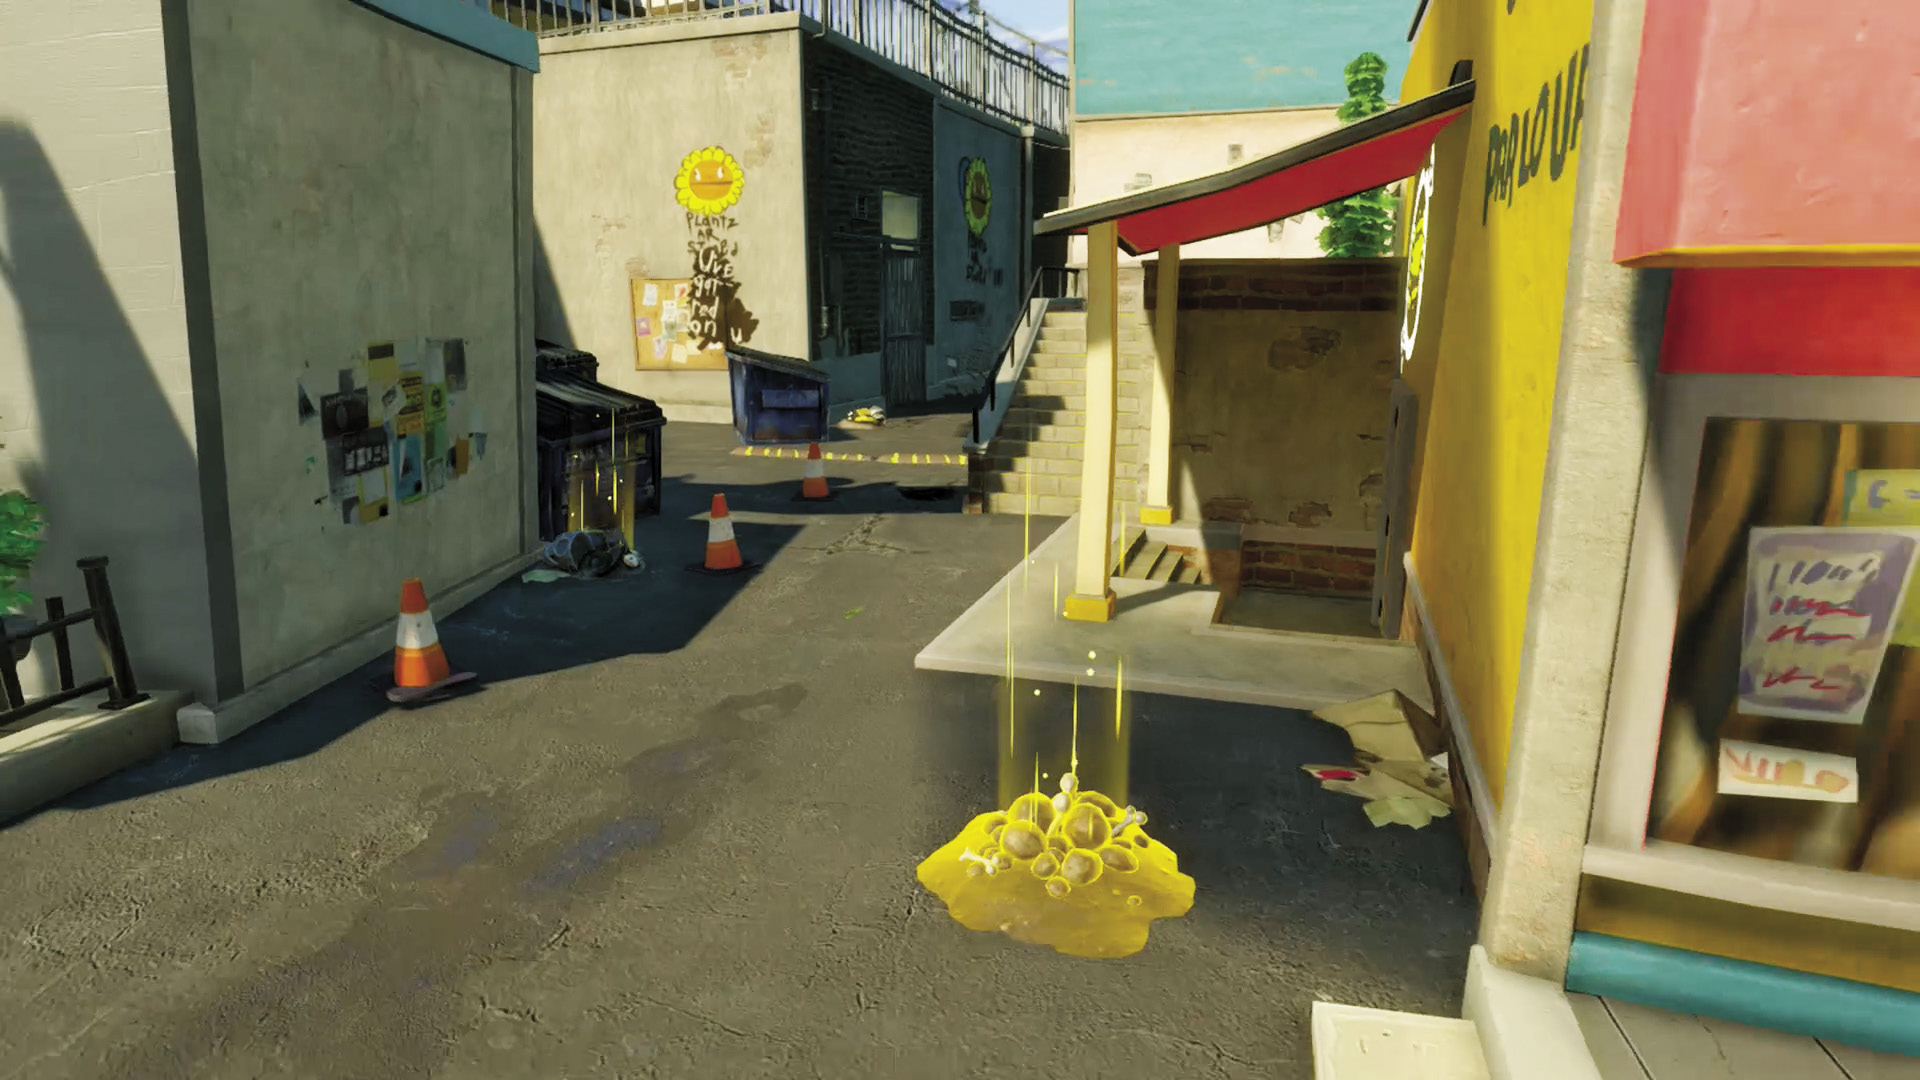
[3] Zombies: We weren’t kidding about alleys in this phase. This one gives you some great options, which we’ll cover below.
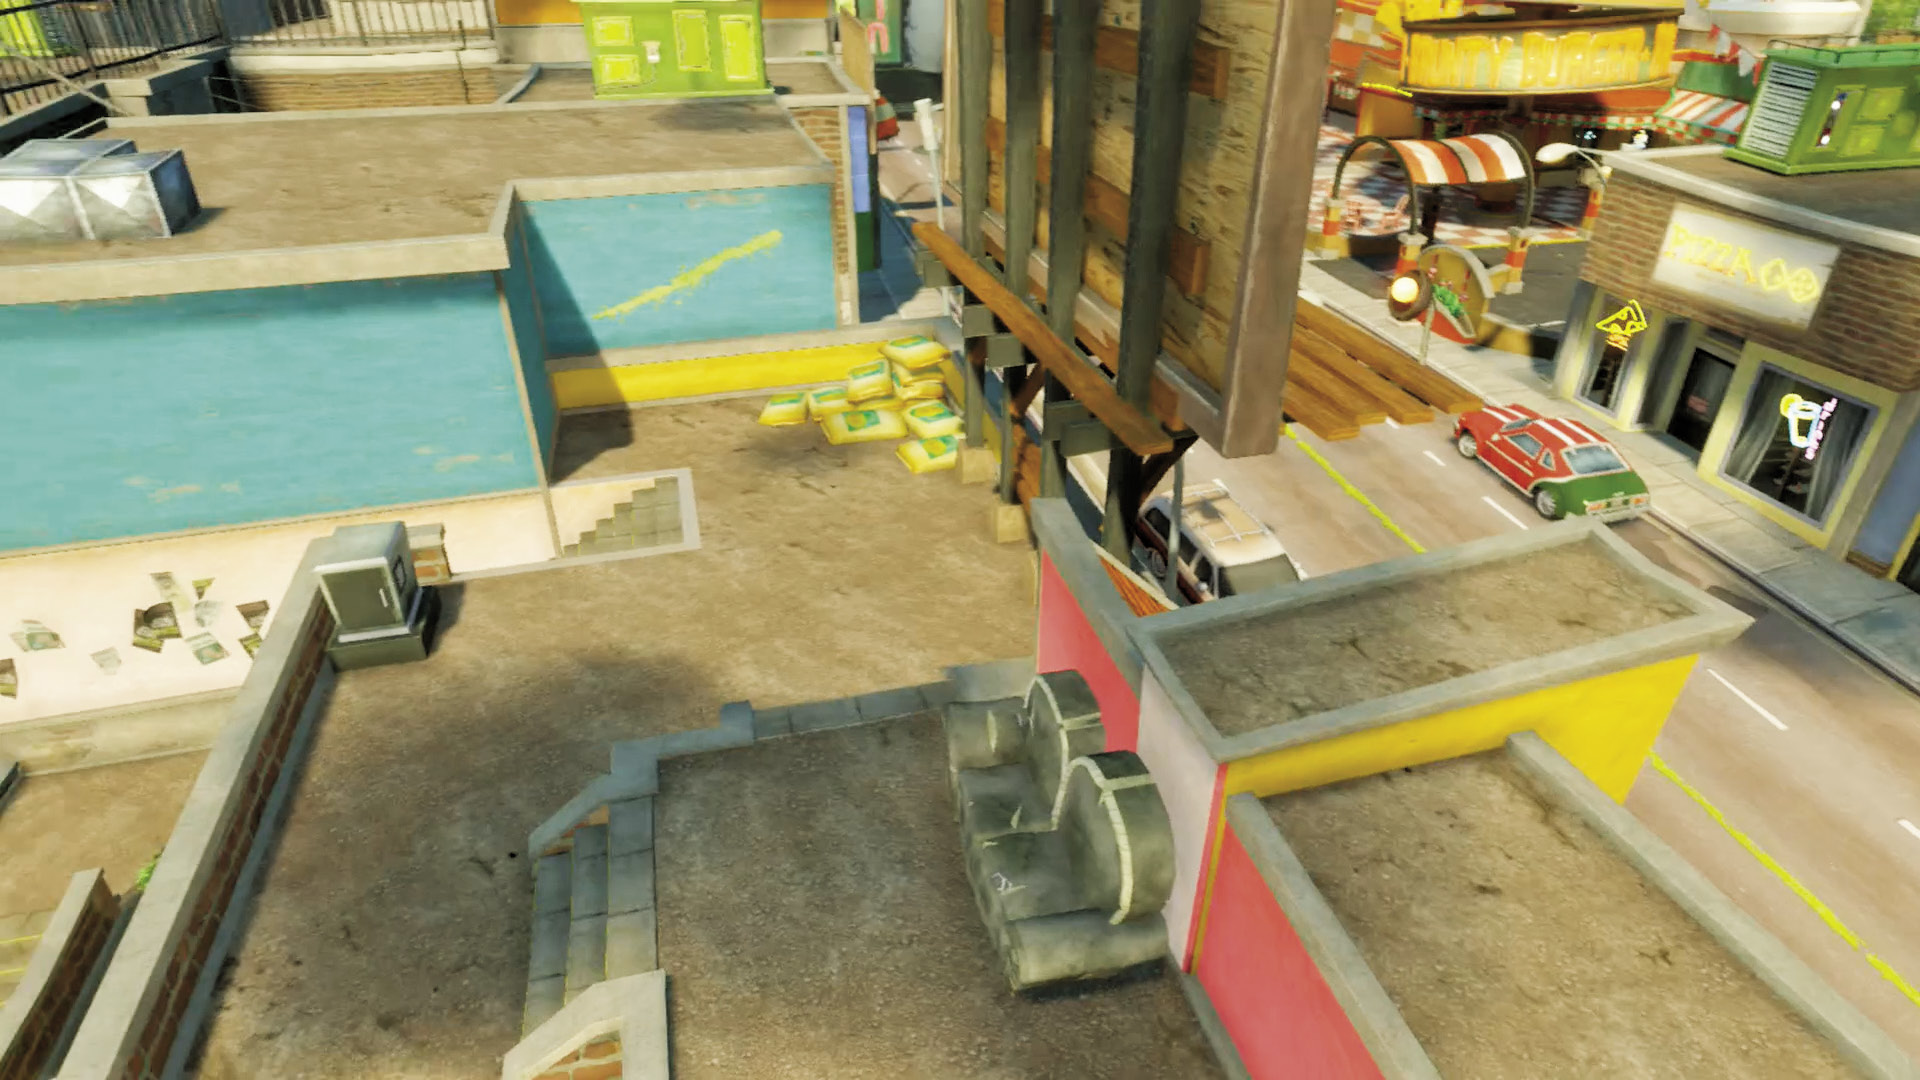
[4] Zombies: Take the steps from here—you can find some high ground to give you a view of all of the map that matters. Support your zombies who are looking to take the Garden!
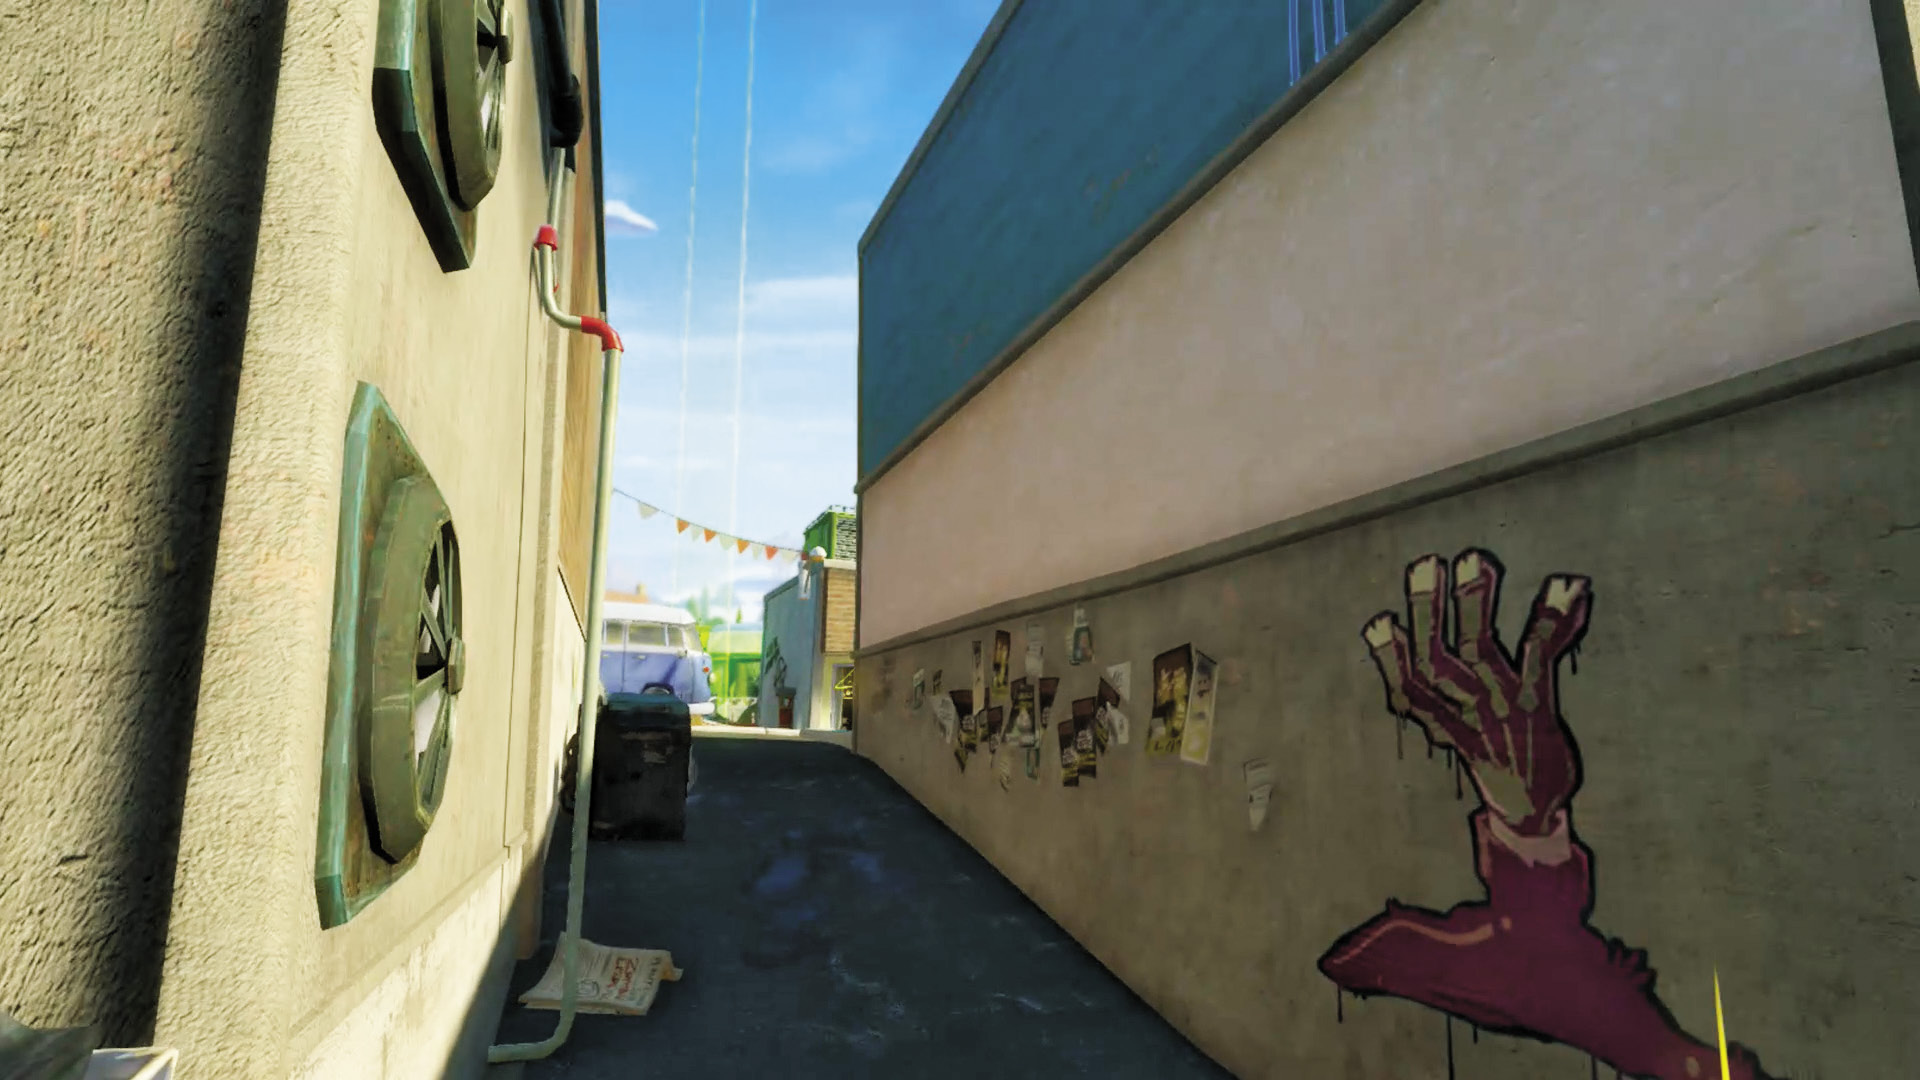
[5] Zombies: Meanwhile, keeping straight while looking to the right can reveal alleys which allow you to take the long road toward flanking the Garden.
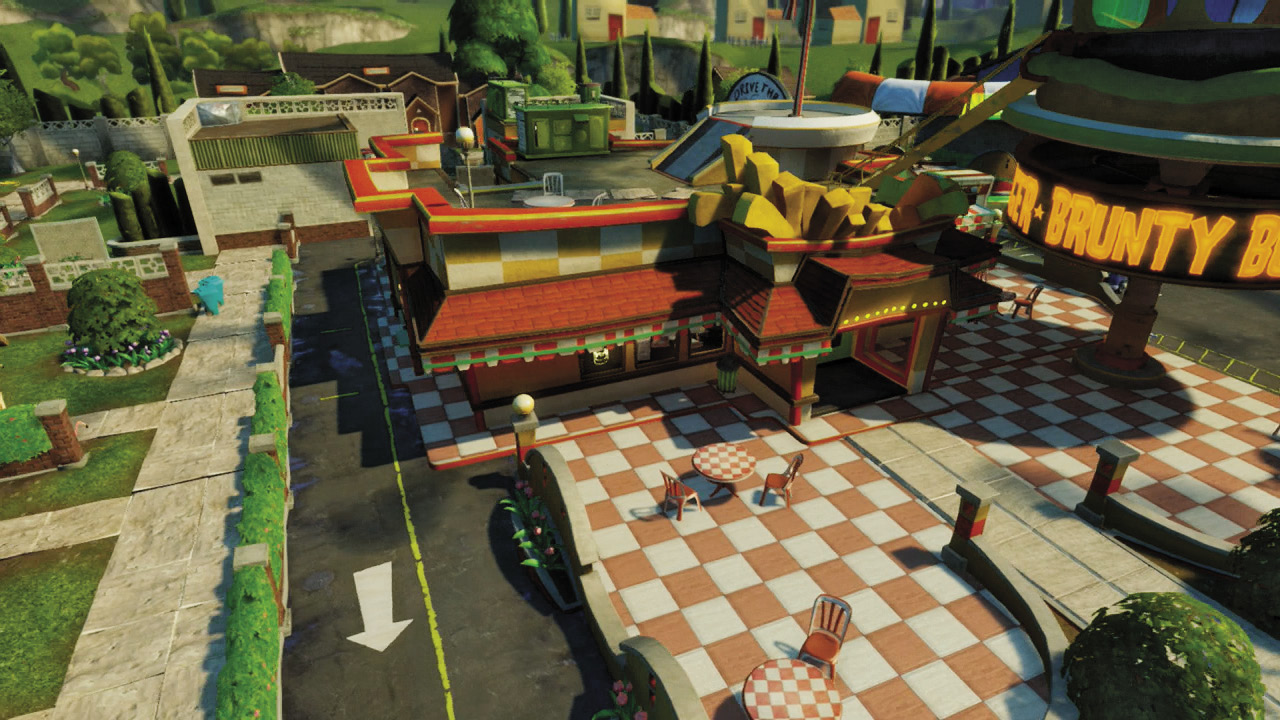
[6] Zombies: If you want to play the extra-long game, you can go all the way to the very end of the Burger Joint and swing back around. Most plants will be trained to guard the places which take less time for zombies to get to, and this isn’t one of them.
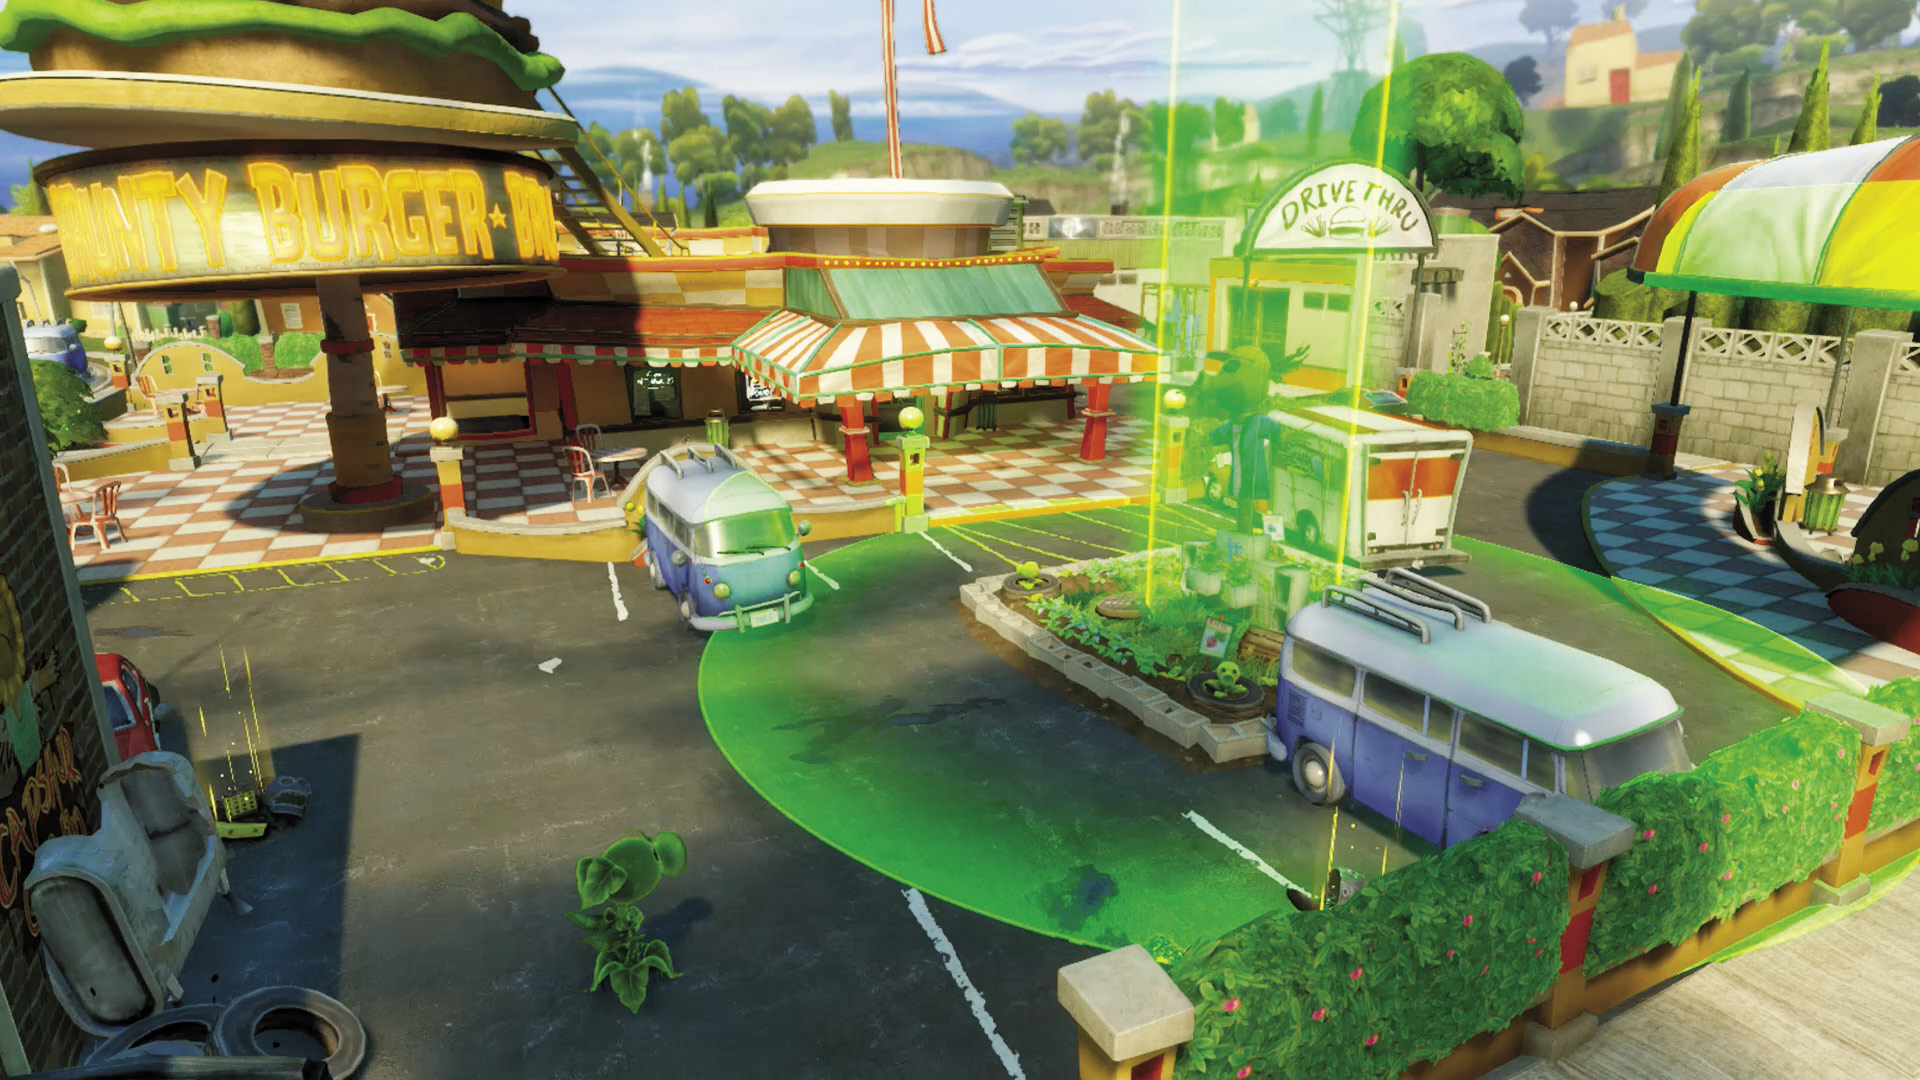
[7] Plants: Even if you attempt to spread out on this map, the odds are very much stacked against you. There are just so many alleys and winding paths zombies can take to get to you, from every direction—front, behind, and to the side. Concentrating your defense on the Garden is the advisable tactic, as unless you’re playing with a very large squad of plants, there’s just no way to cover every possible approach. Go into shooting gallery mode and vanquish all comers! Be sure to keep an extra-watchful eye on the drive-thru!
Phase 5: Taco Restaurant
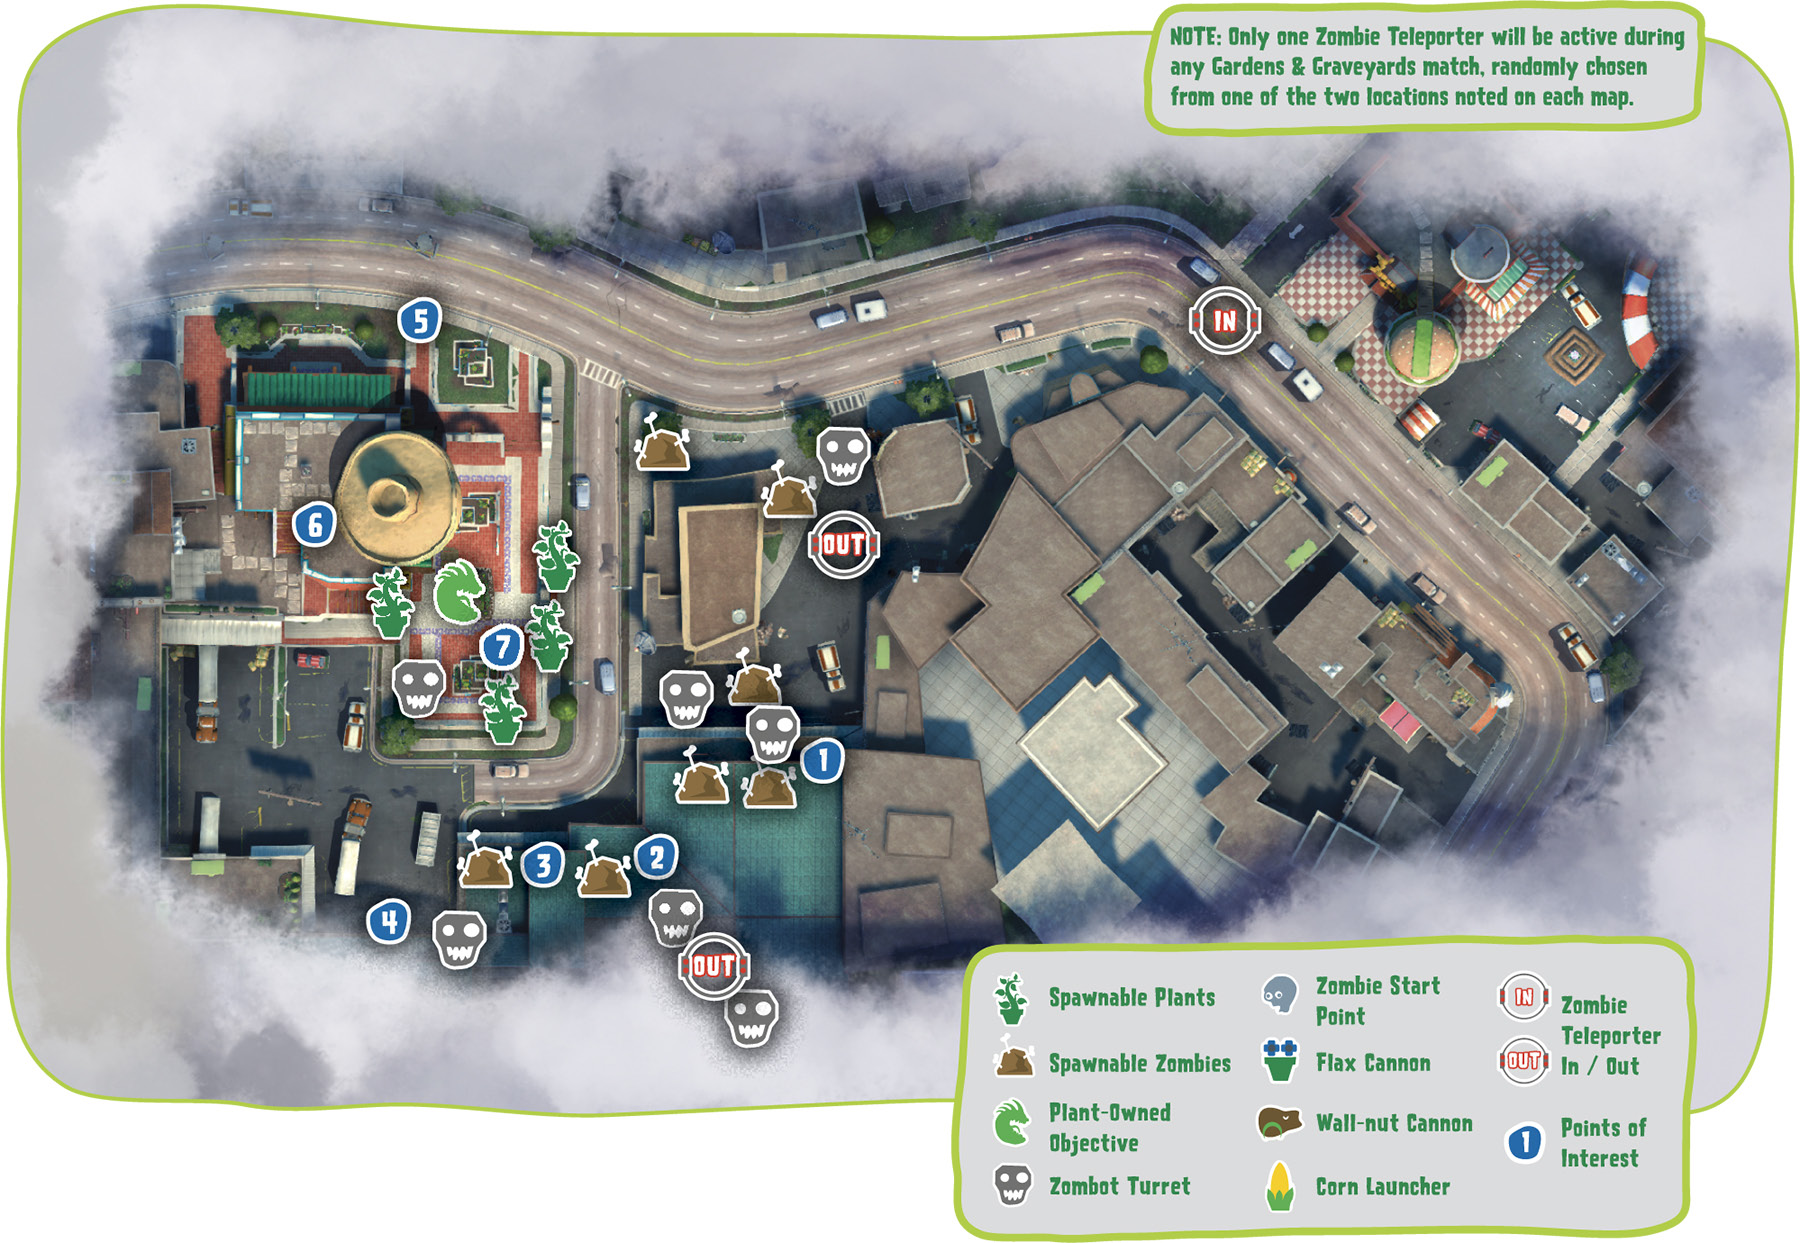
Points of Interest
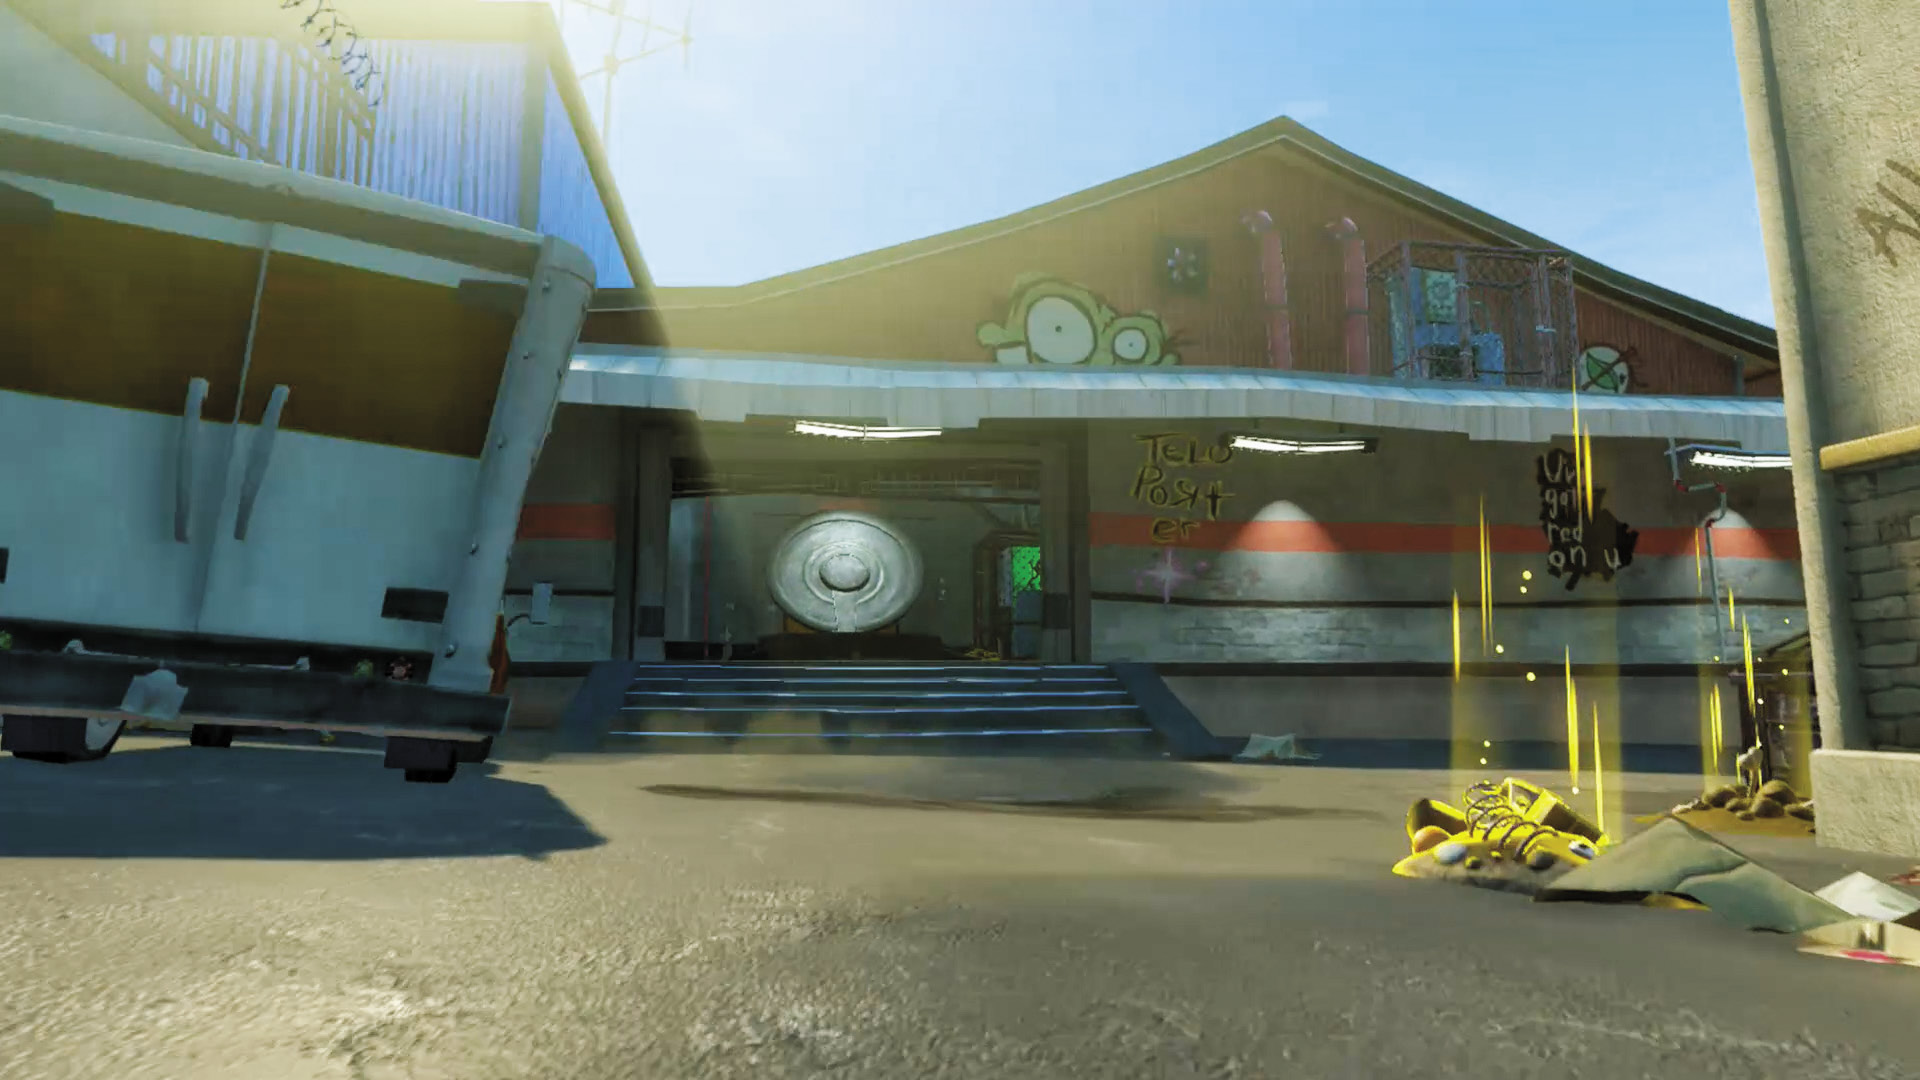
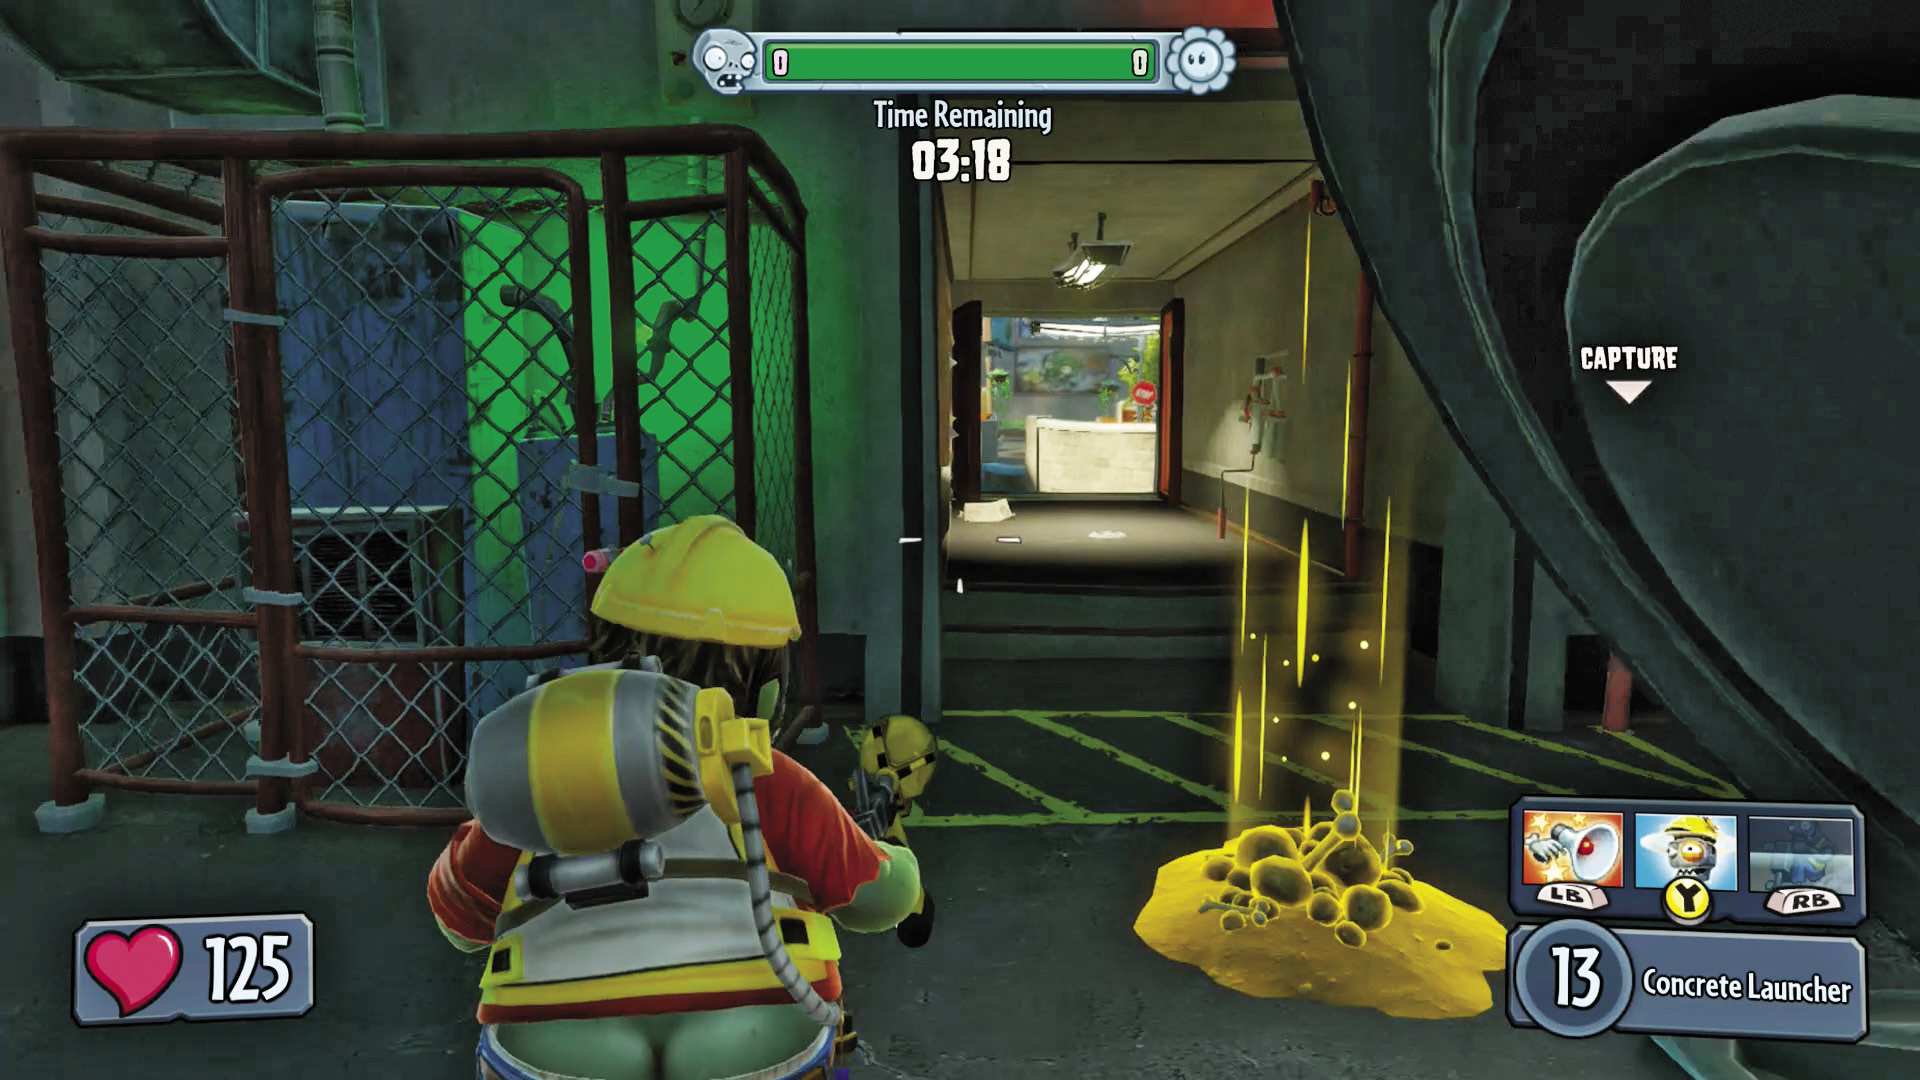
[1] Zombies: This building gives you the option to quickly make your way to the Garden, or take a winding path with a more tactical advantage.
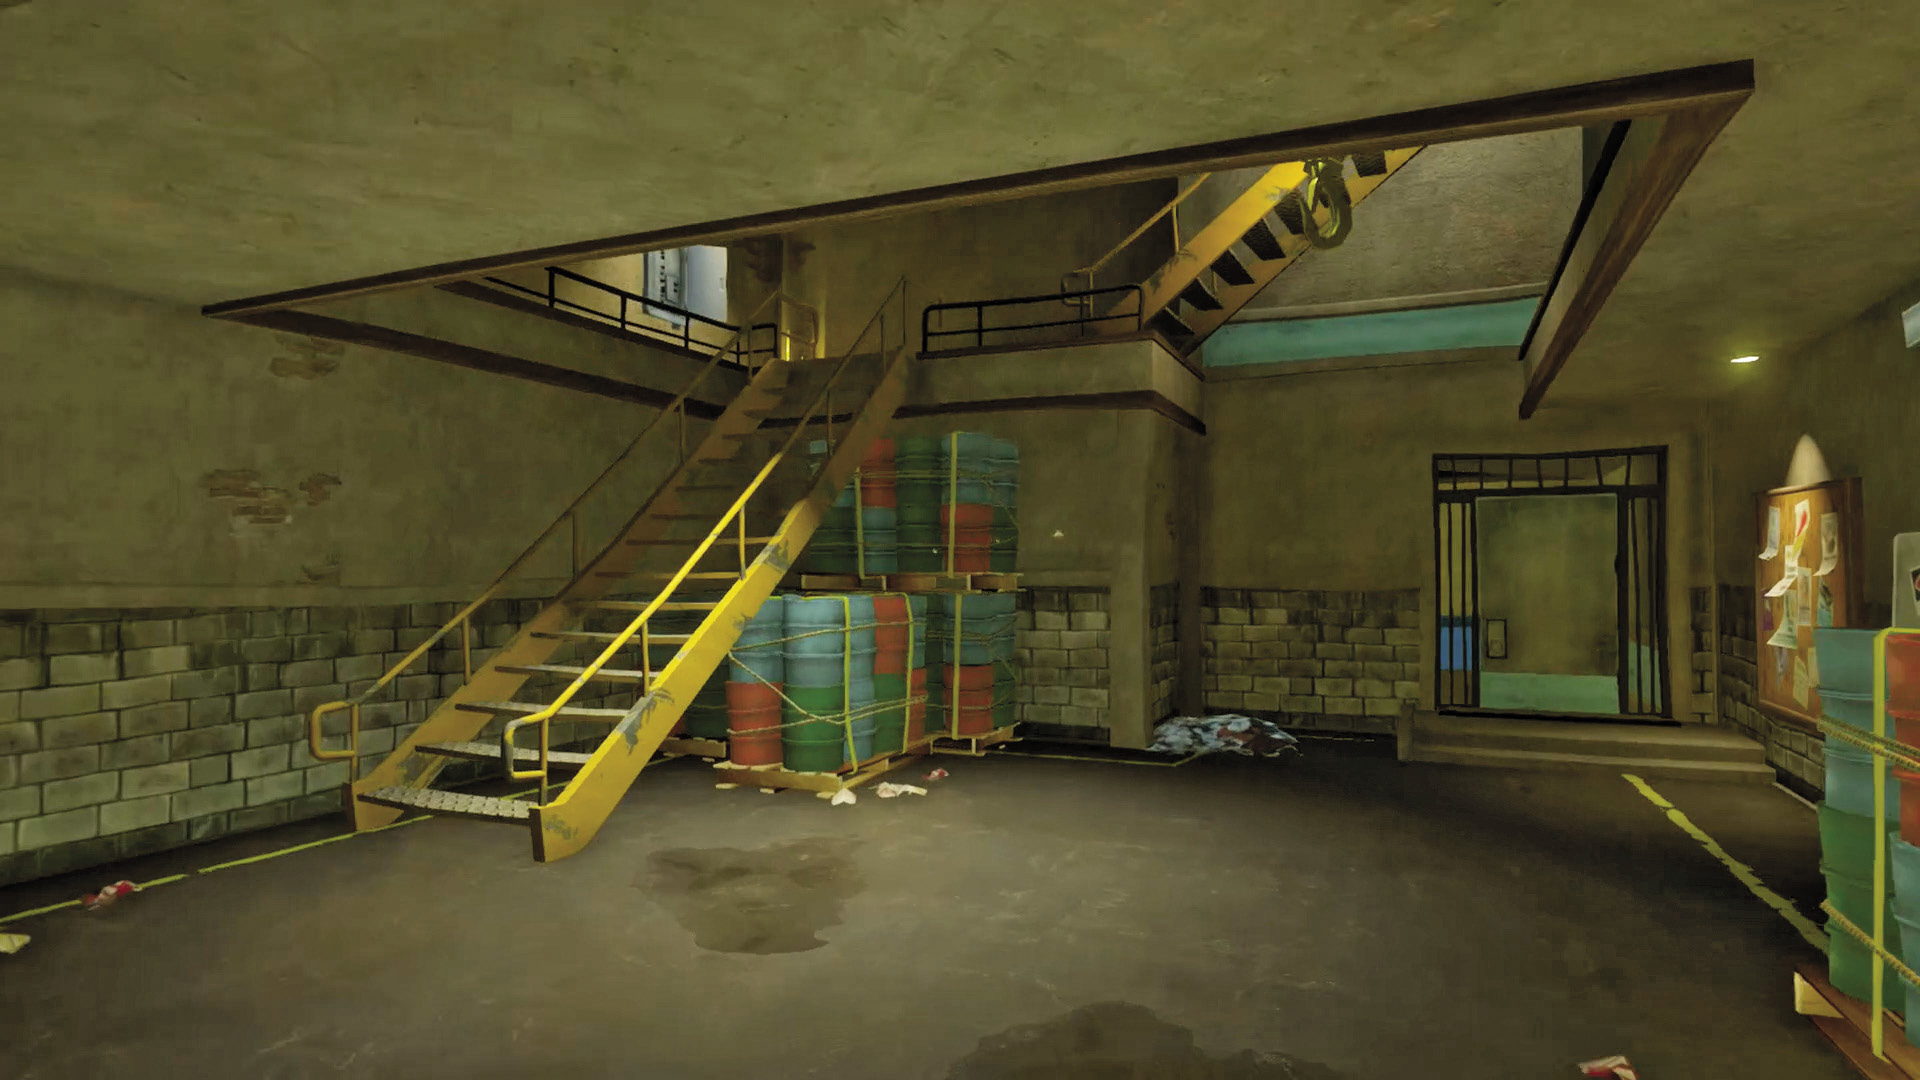
[2] Zombies: Going down and taking the sewer eventually leads you to this building, which is an excellent place to gather your forces and plan your assault strategy.
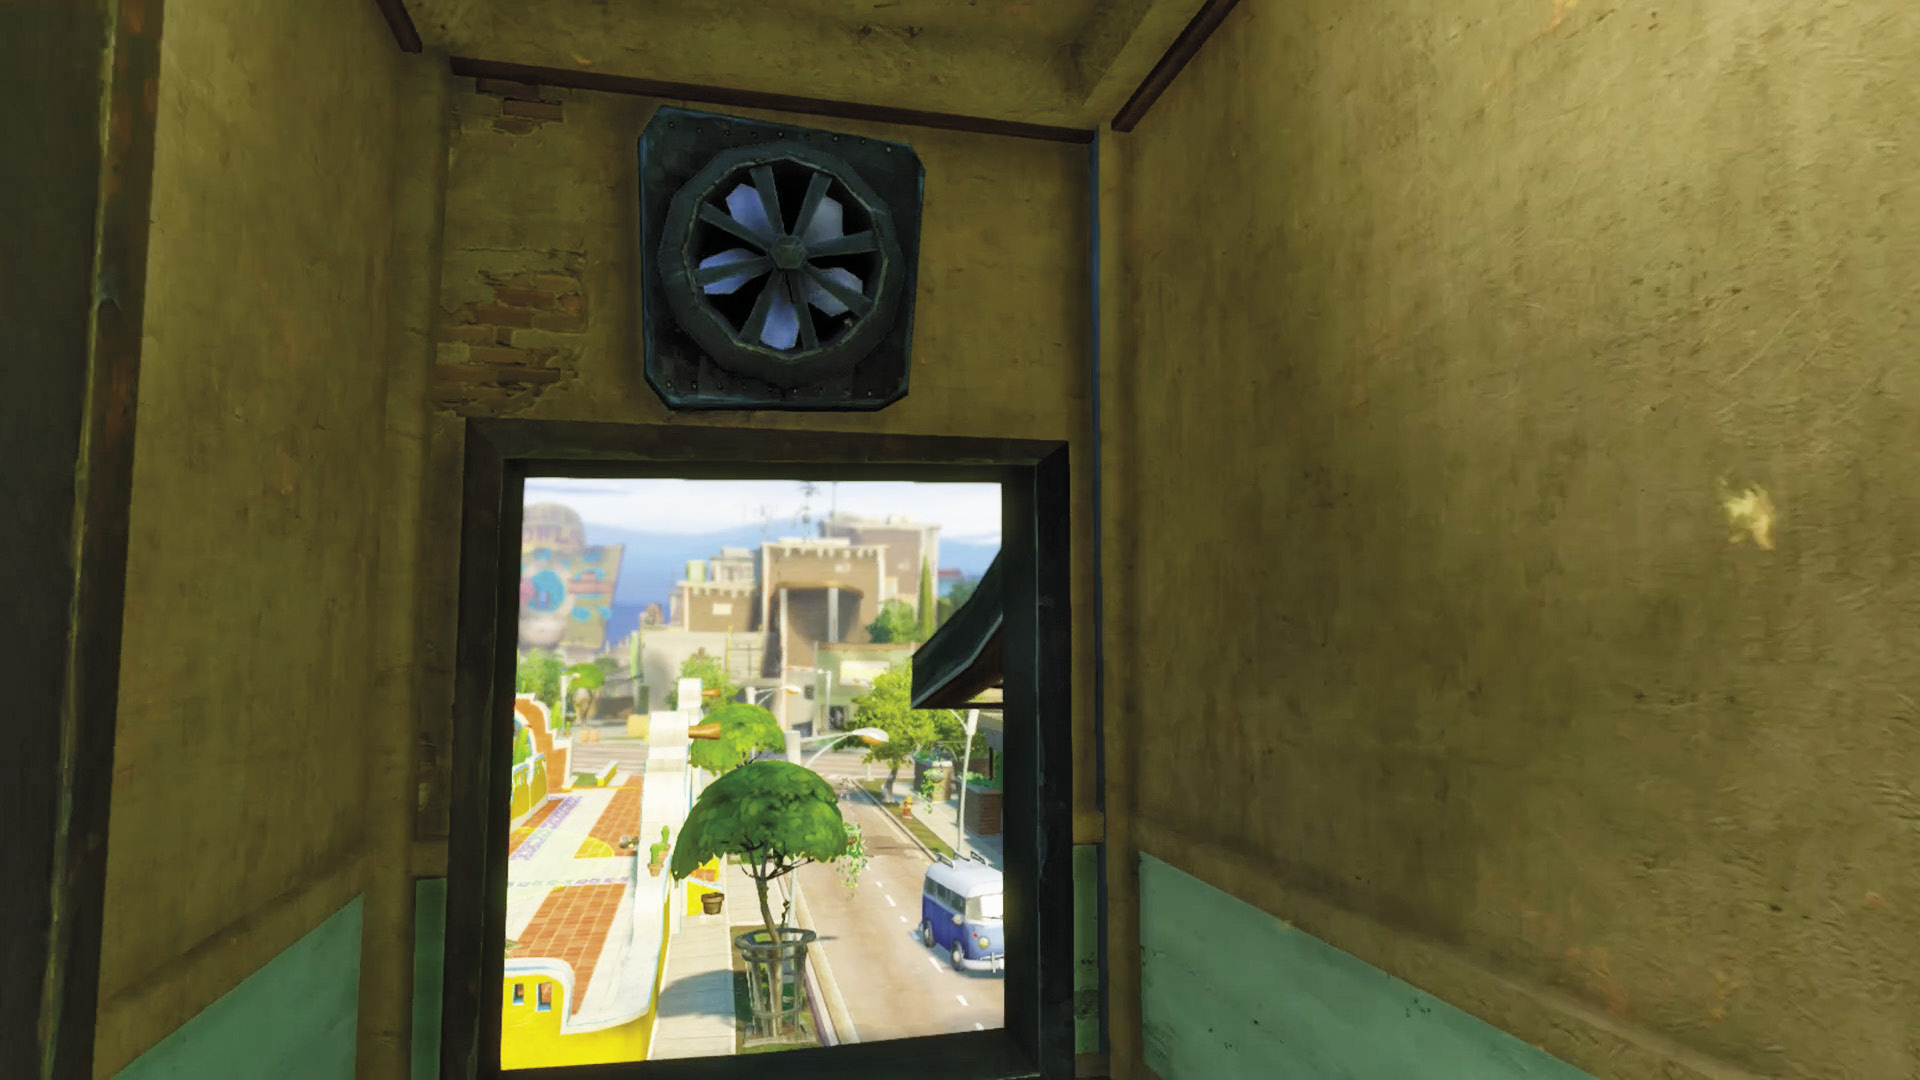
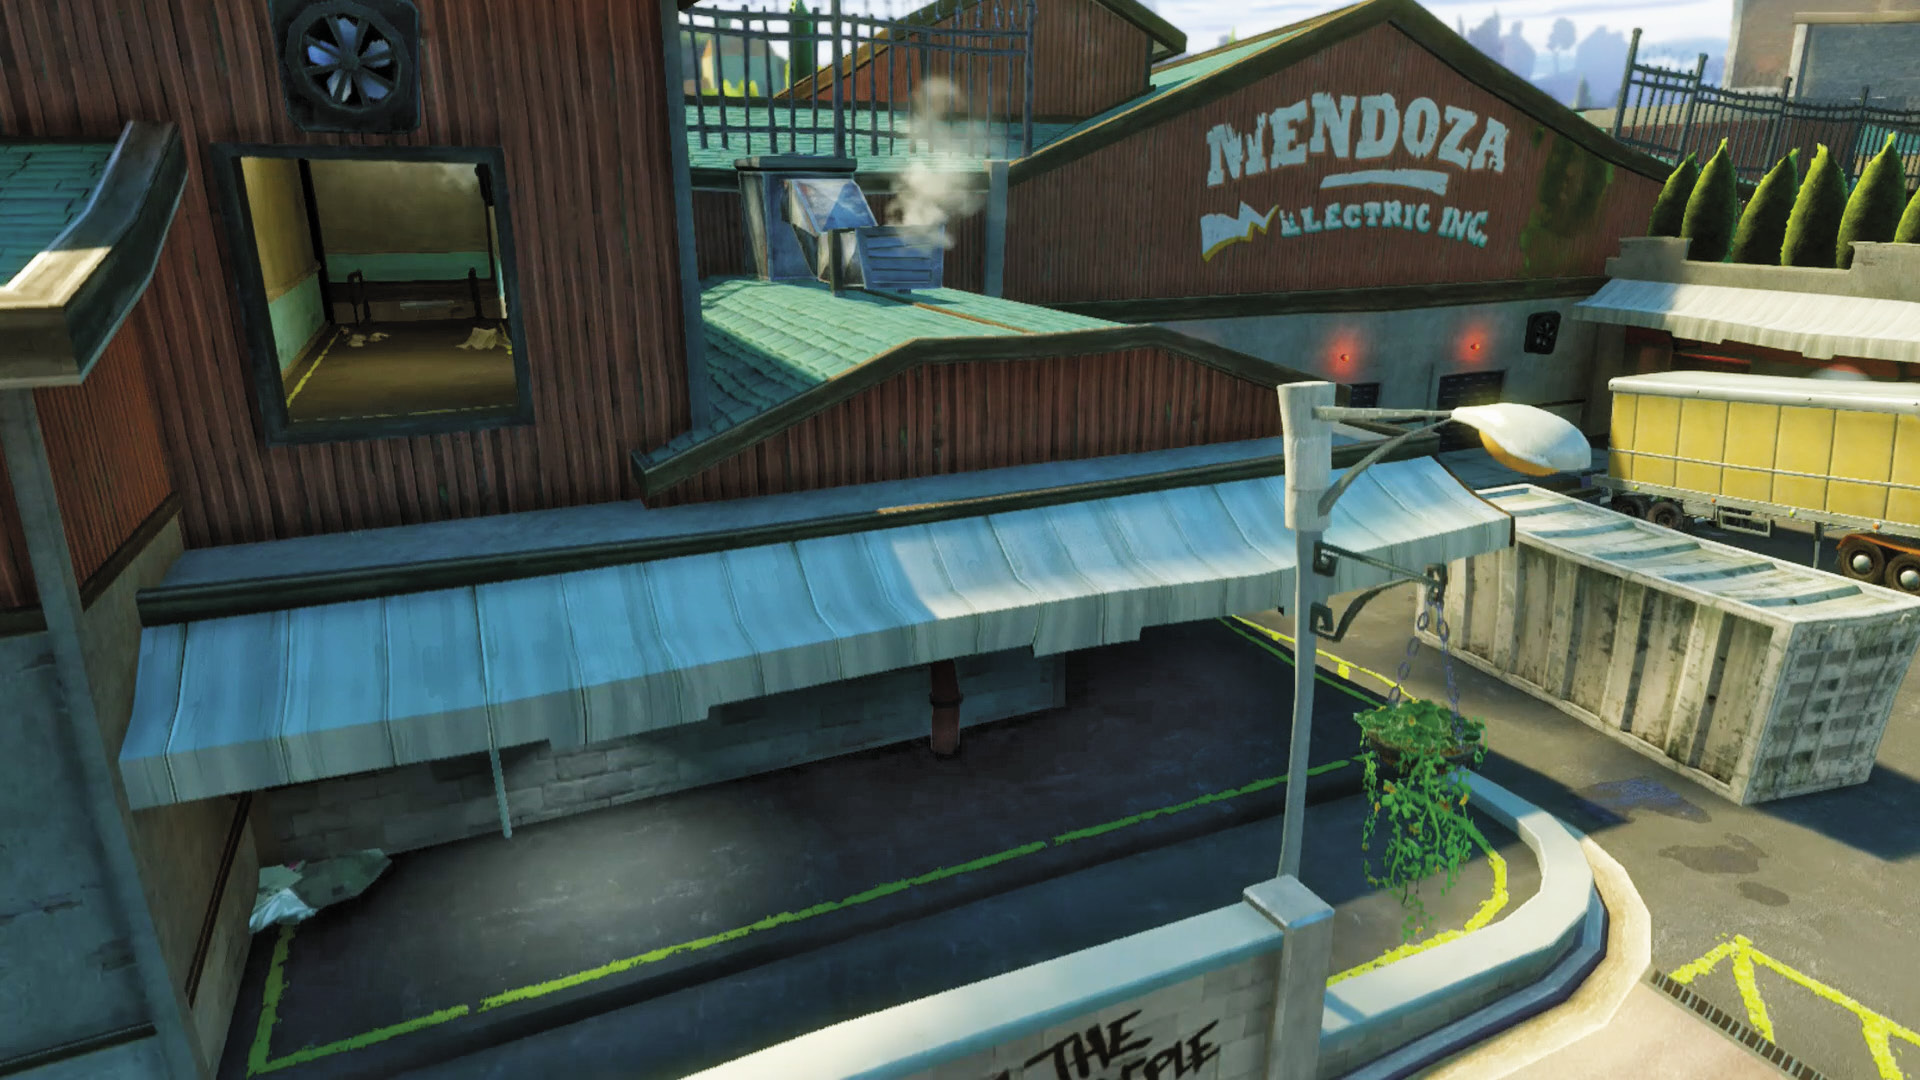
[3] Zombies: Going up the steps from the building reached via [2]’s sewer will lead to this sweet sniping point. Make sure the plants aren’t watching!
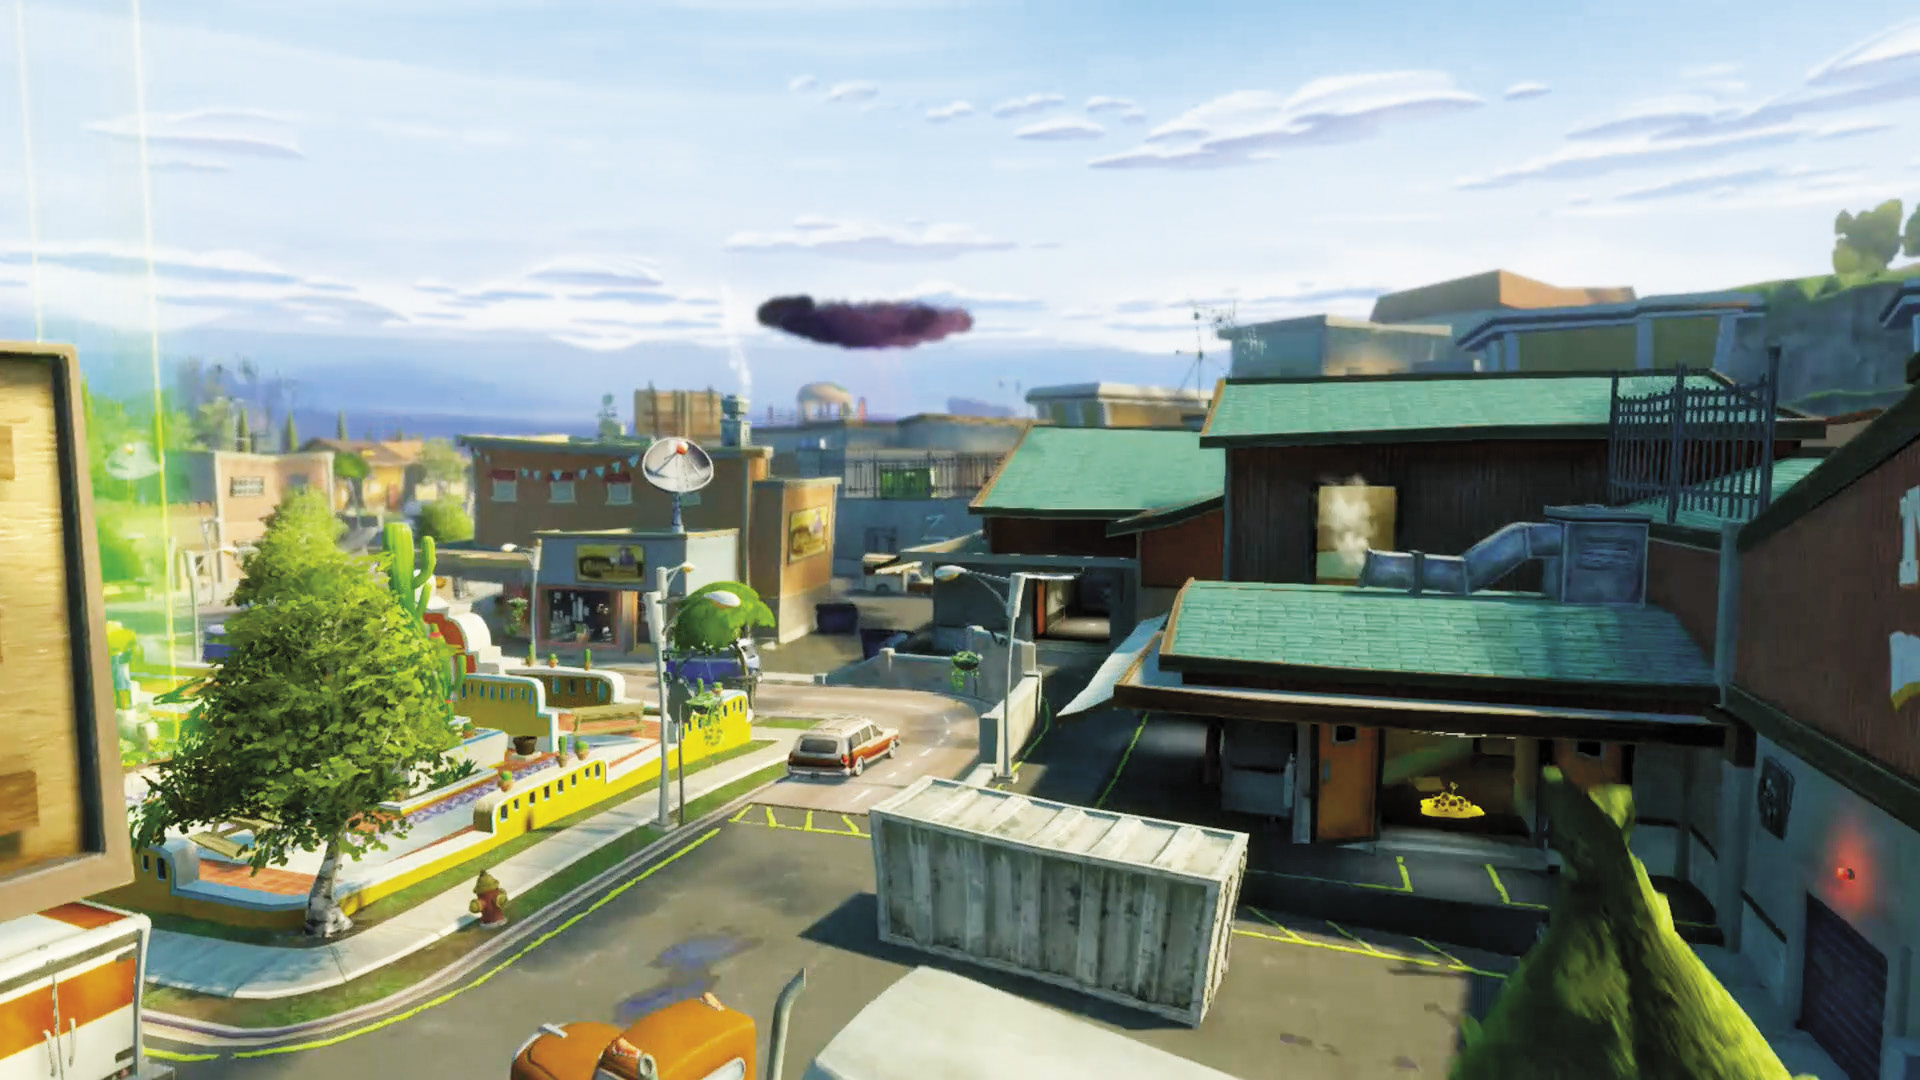
[4] Zombies: Head in the other direction just before reaching [3] to reach a wide-open factory space where you can mount a larger assault in a larger battlefield. Take advantage of your new rooftop advantage as well!
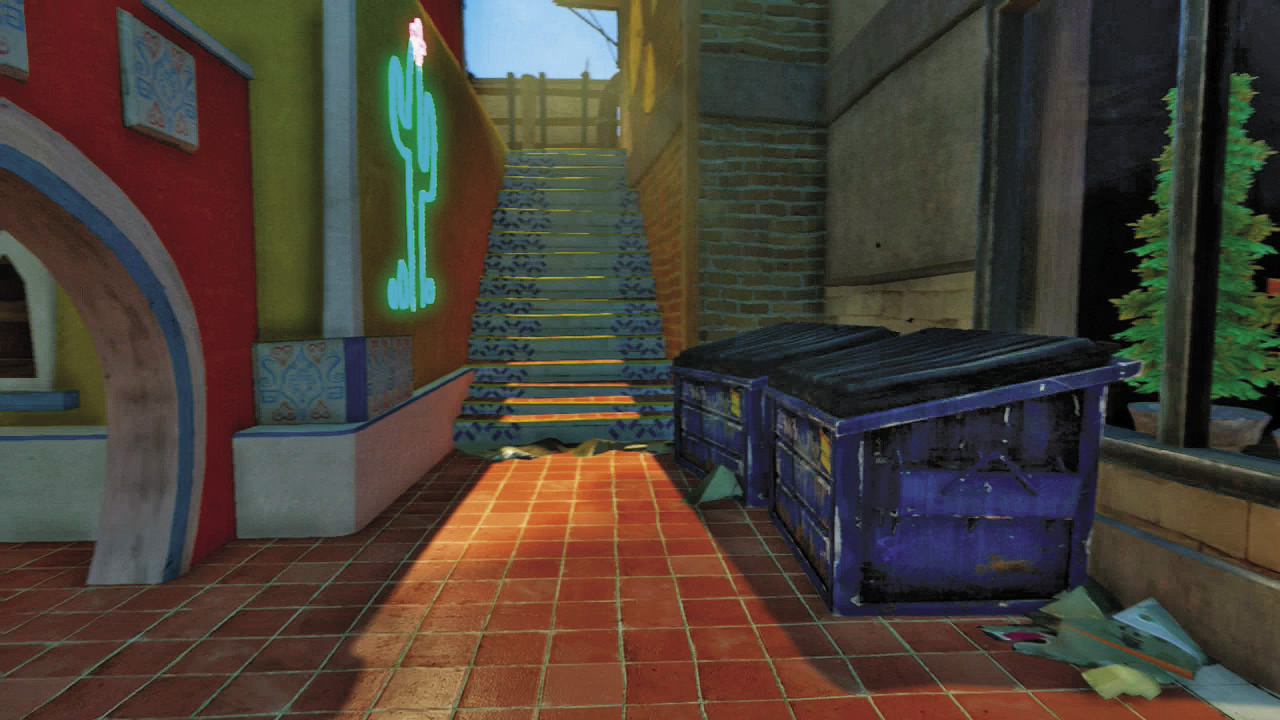
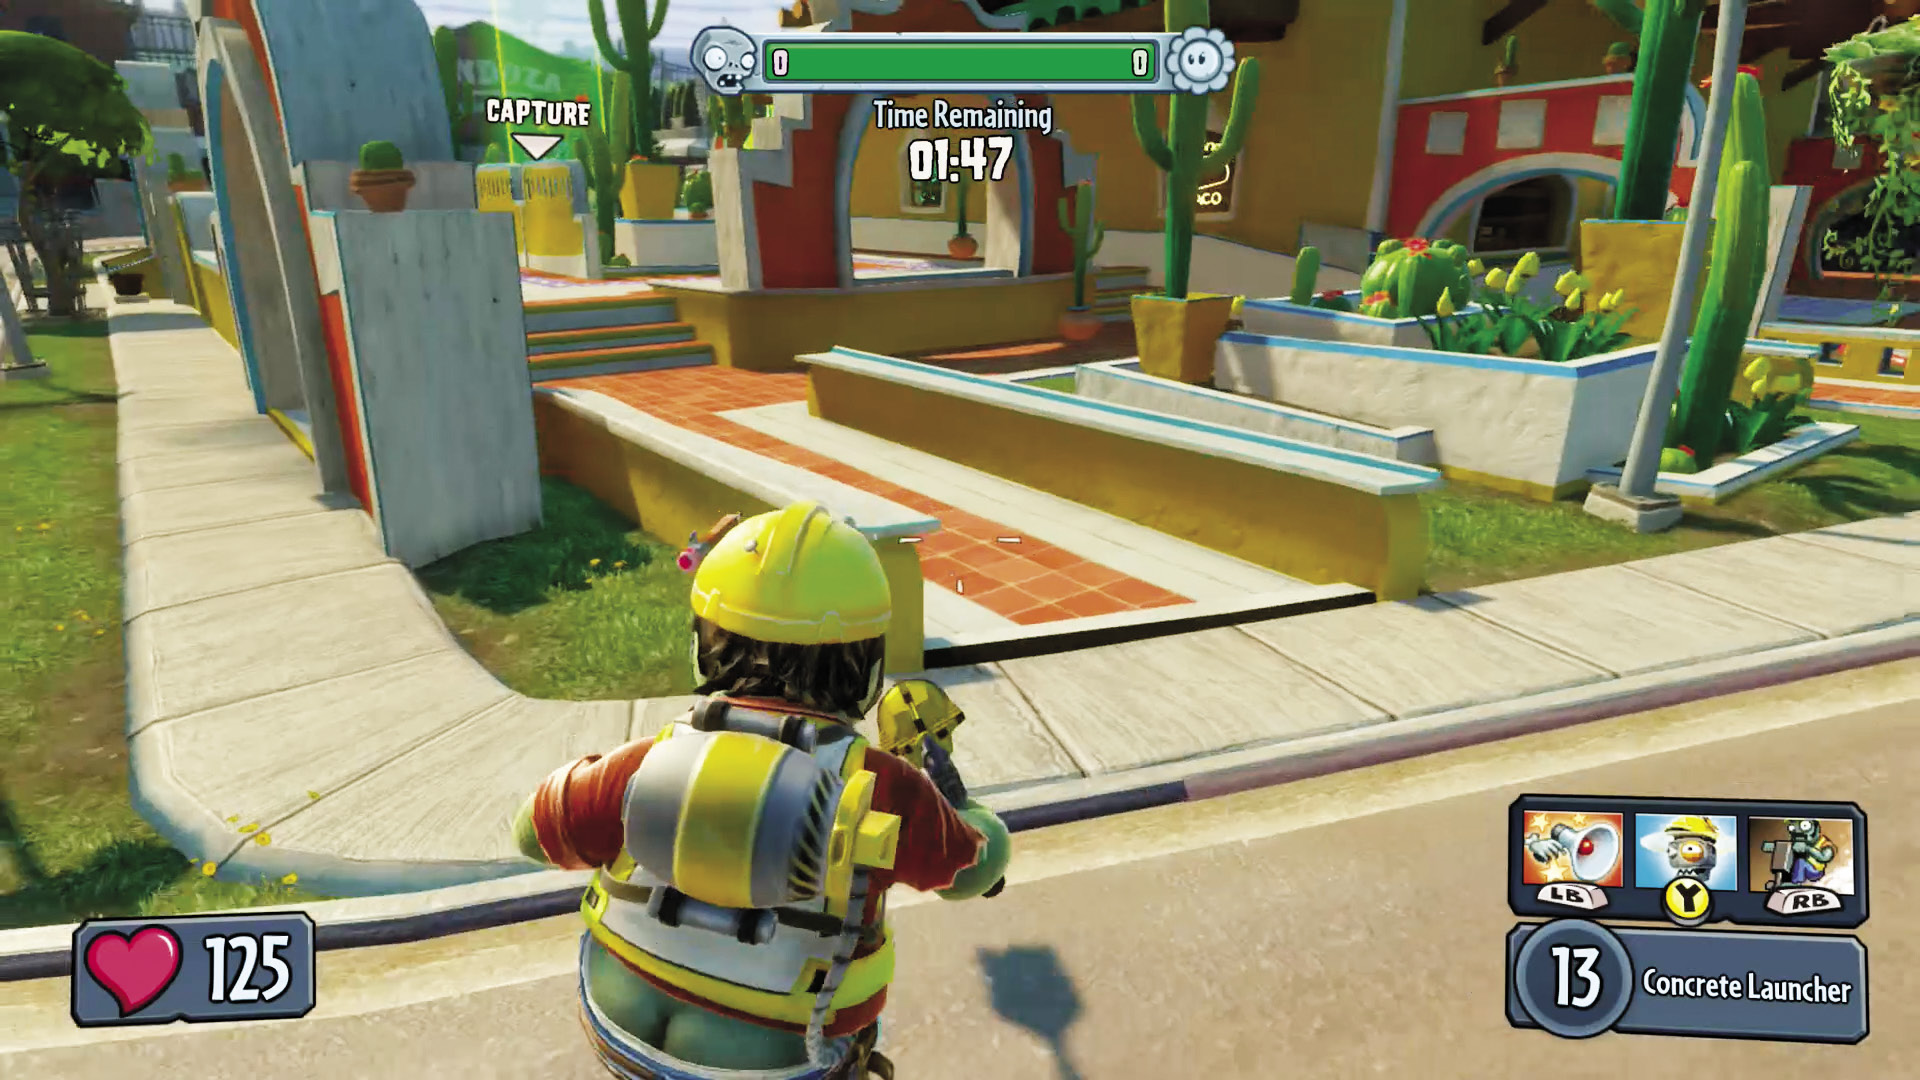
[5] Zombies: Don’t forget about the rear and sides! The rear especially has steps that can take you to the top of the restaurant, where plants will undoubtedly be camping. Cripple their defenses!
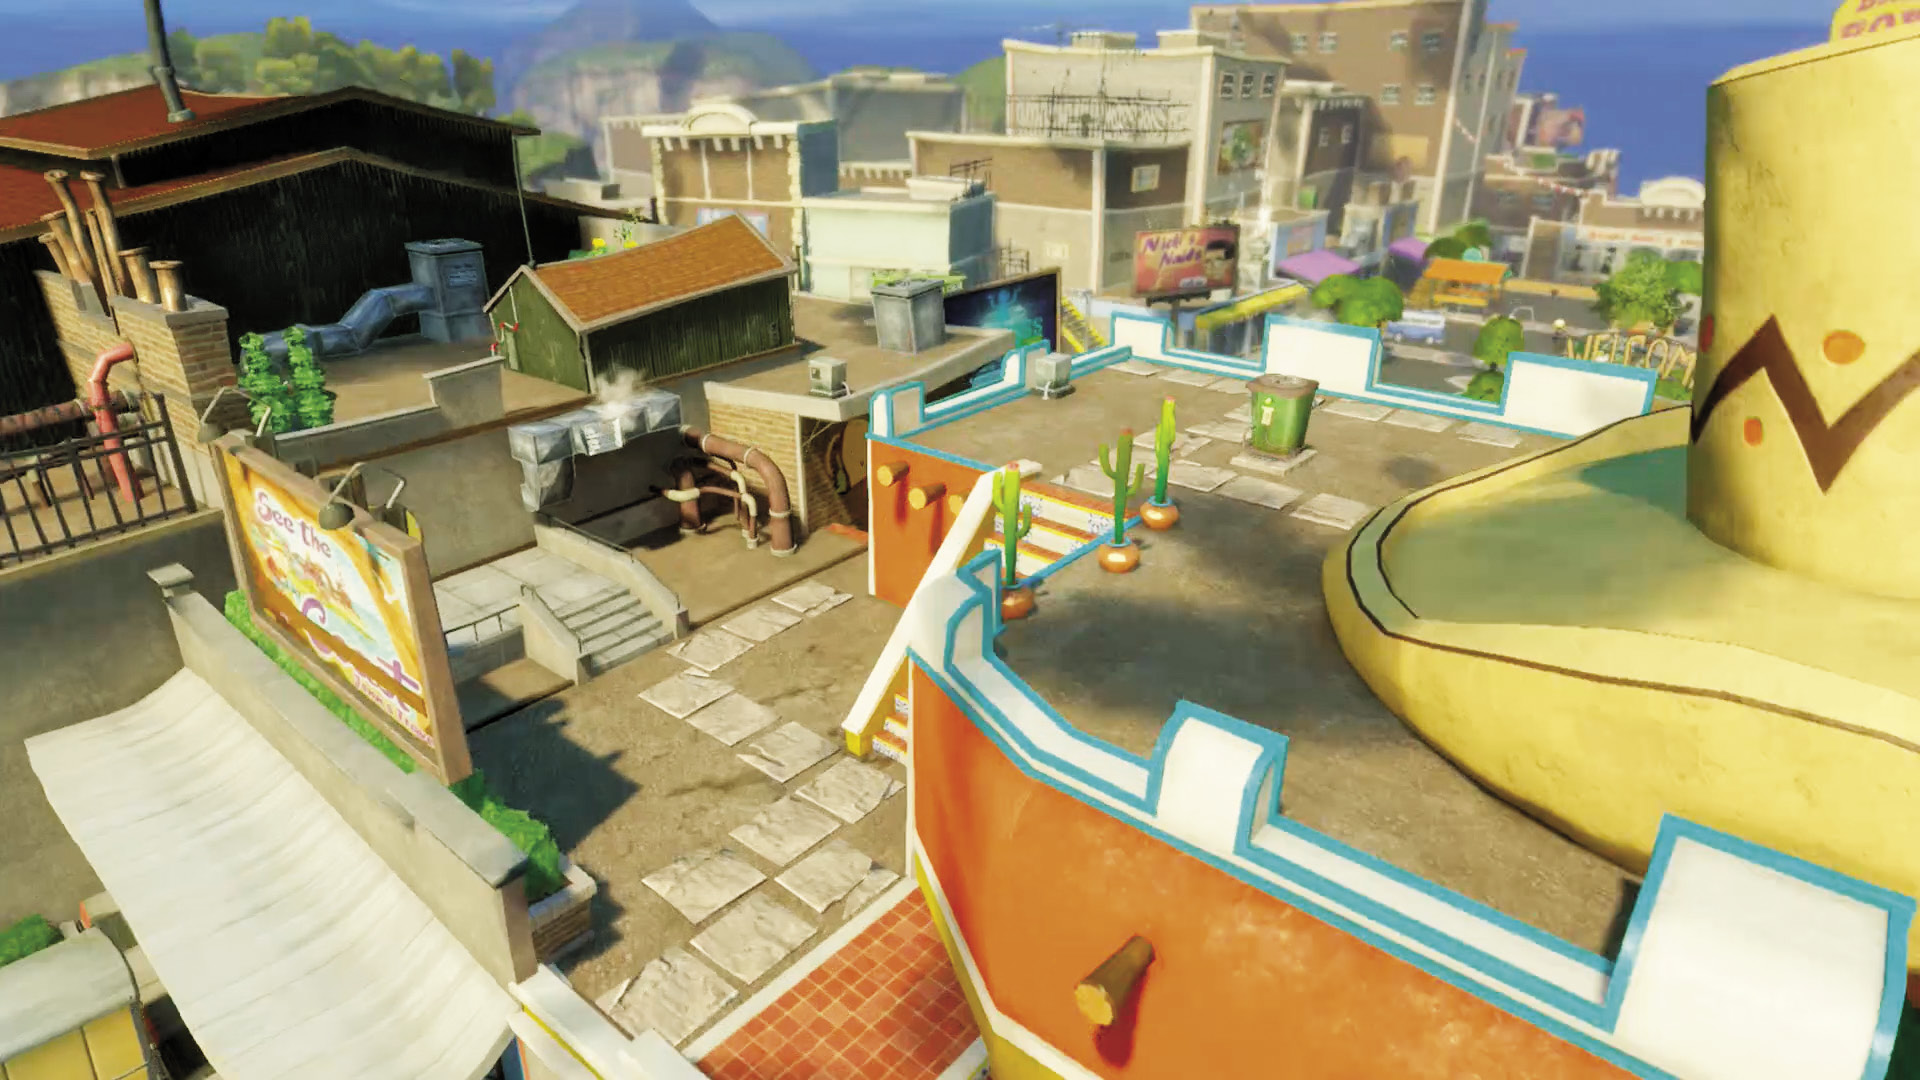
[6] Plants: This is one of the cornerstones of your defense and you don’t want to let it fall under any circumstances. If you do, you lose tons of aerial mobility and the zombies gain a lookout point right over your Garden. Use the perch to pick off zombies coming from all directions on the ground; meanwhile, watch the rear steps like a hawk, as sneaky zombies will try to make a move on this place from there.
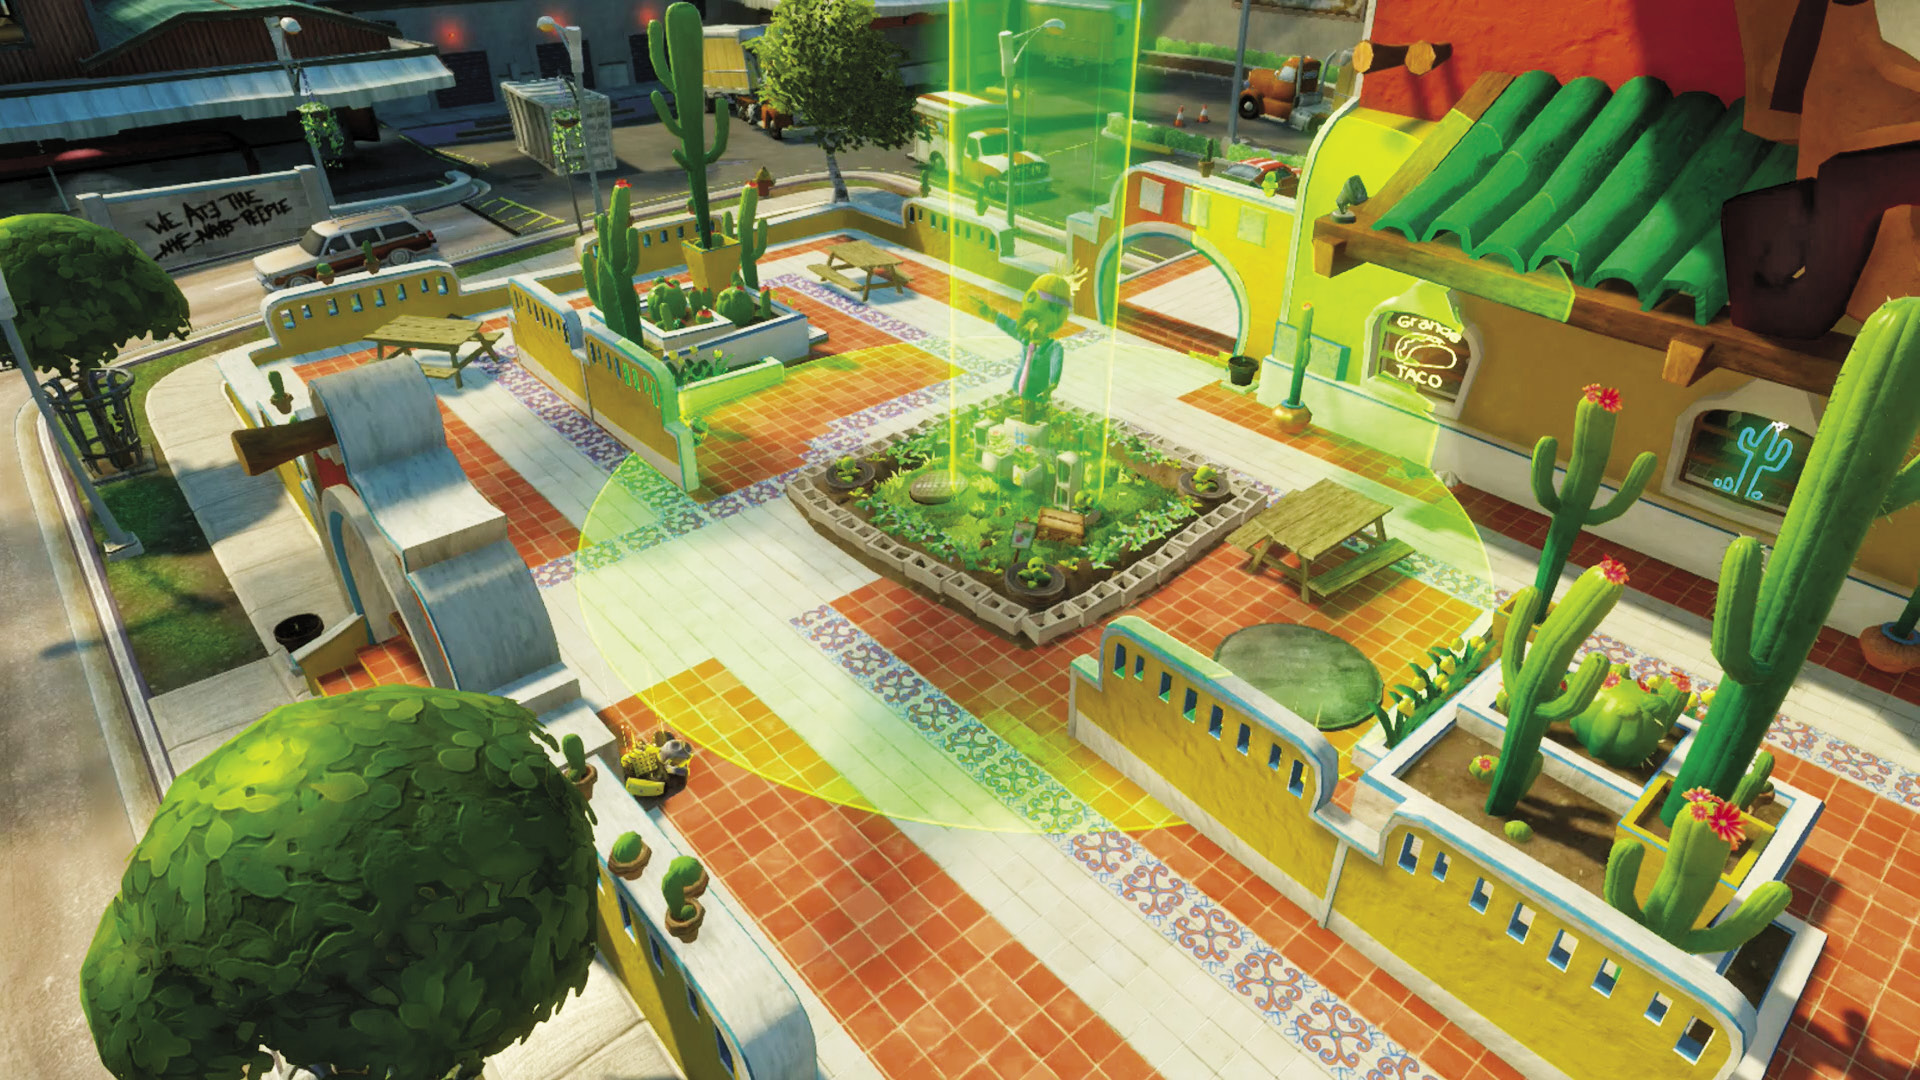
[7] Plants: This is another one of those bases where you’ll be set upon by all sides; fortunately, you have much better defensive options than in the previous phase. Use the cover on the ground and the high points in [6] to protect yourself, and if you can spare the troops, head into the zombie shortcut routes to flush them out before they can become a problem.
Phase 6: Hardware Store
Points of Interest
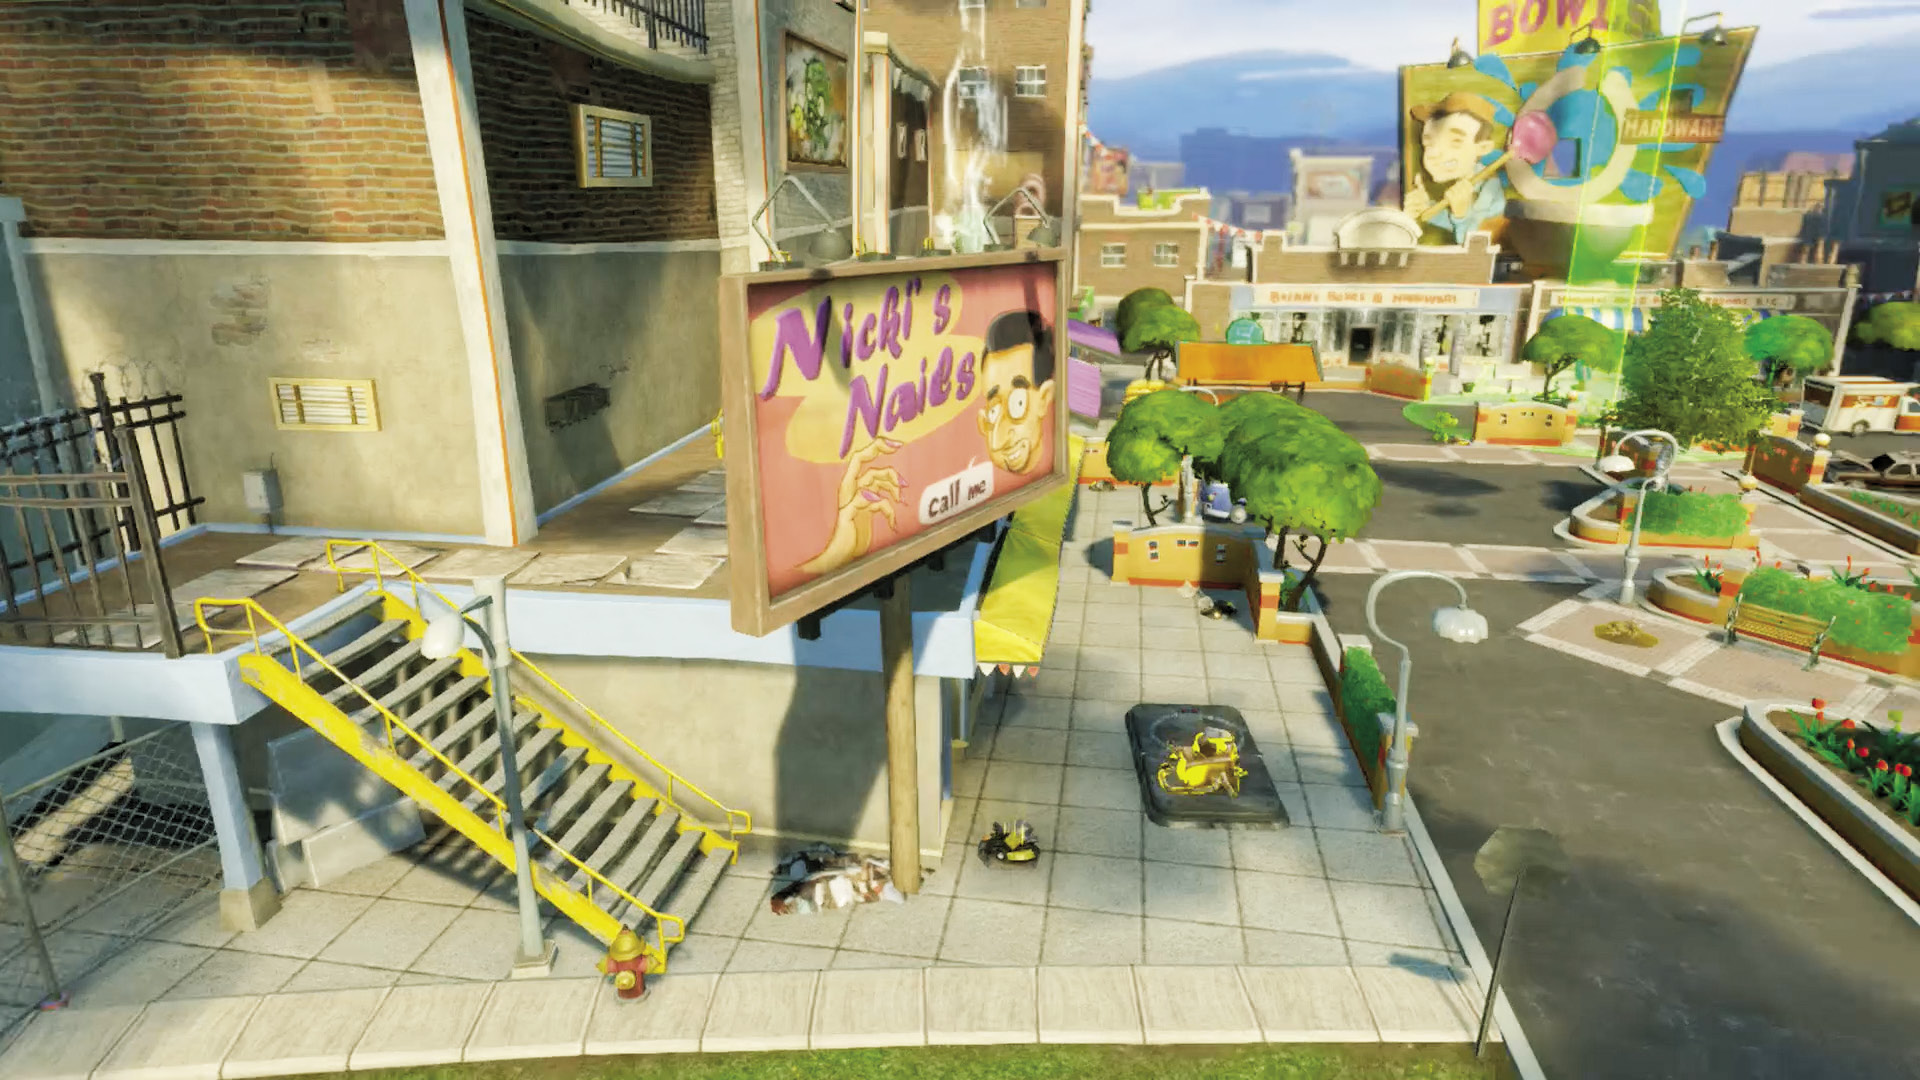
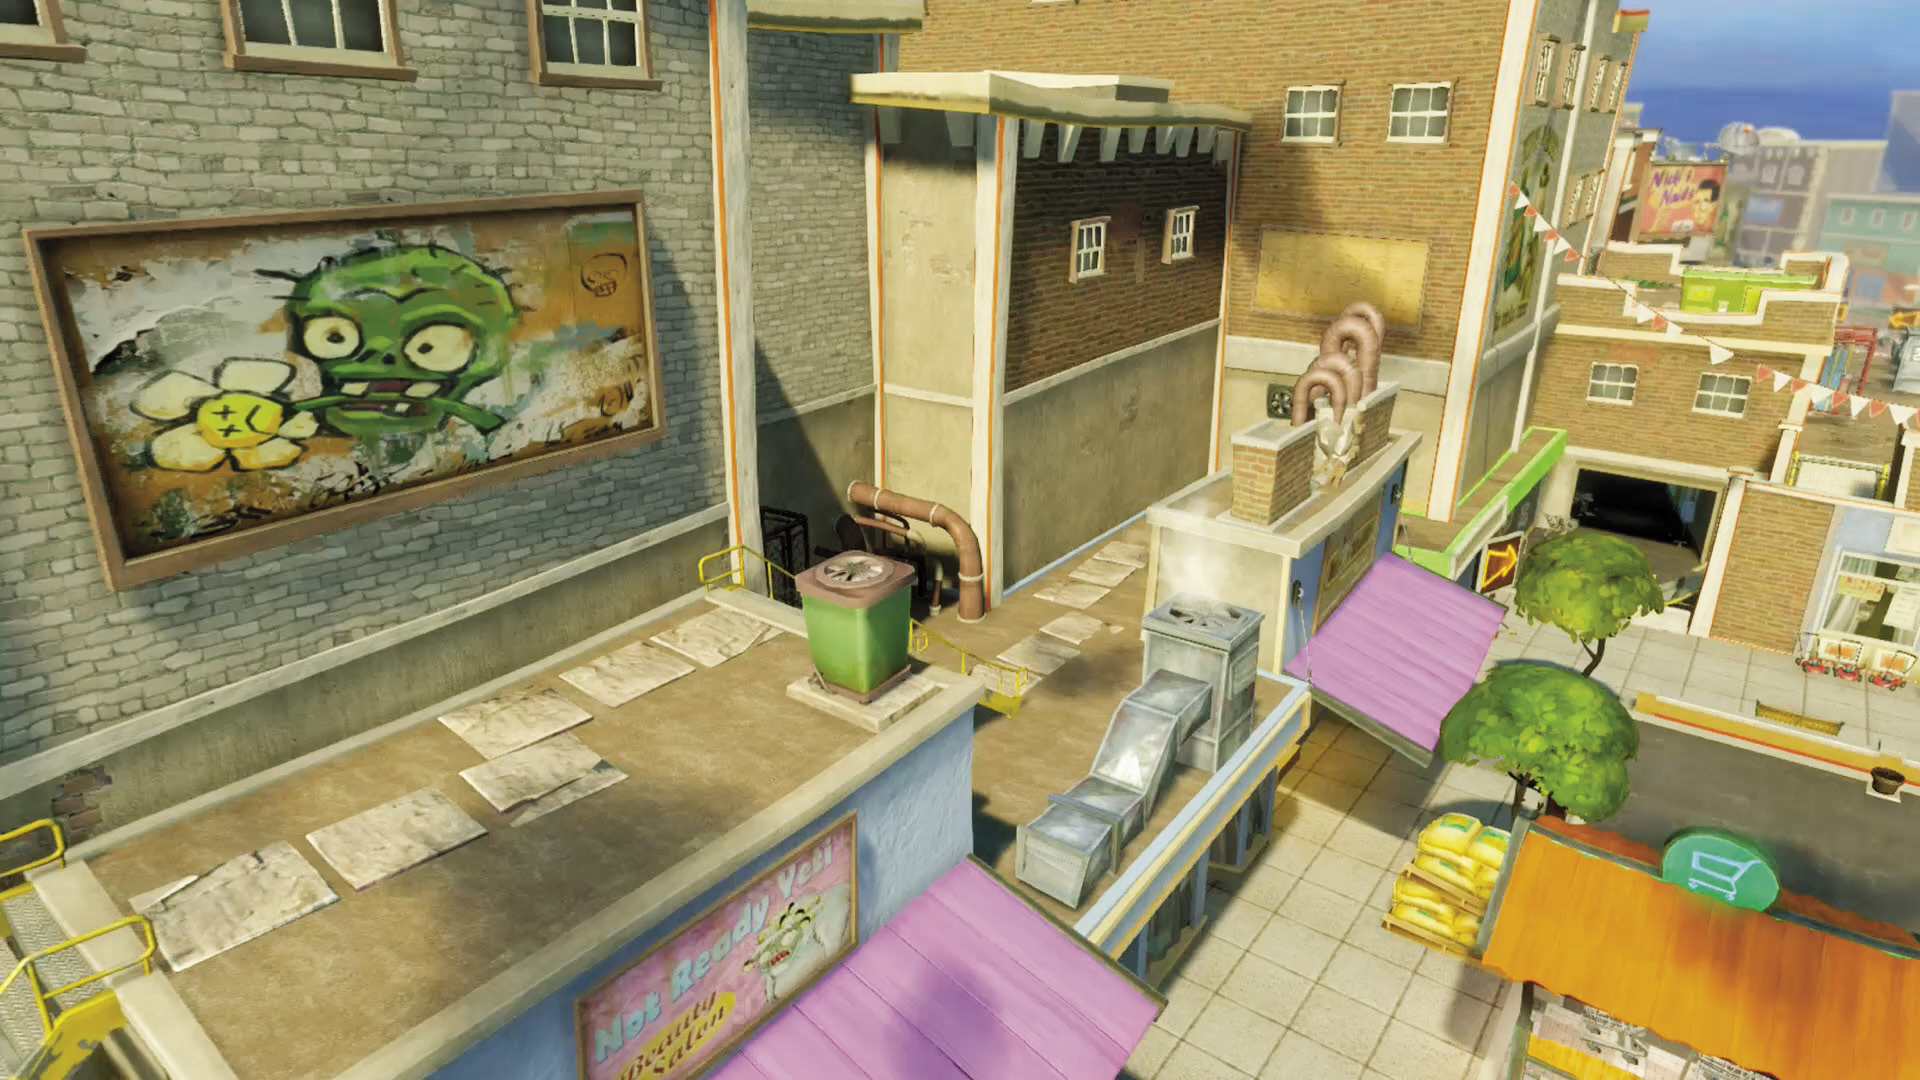
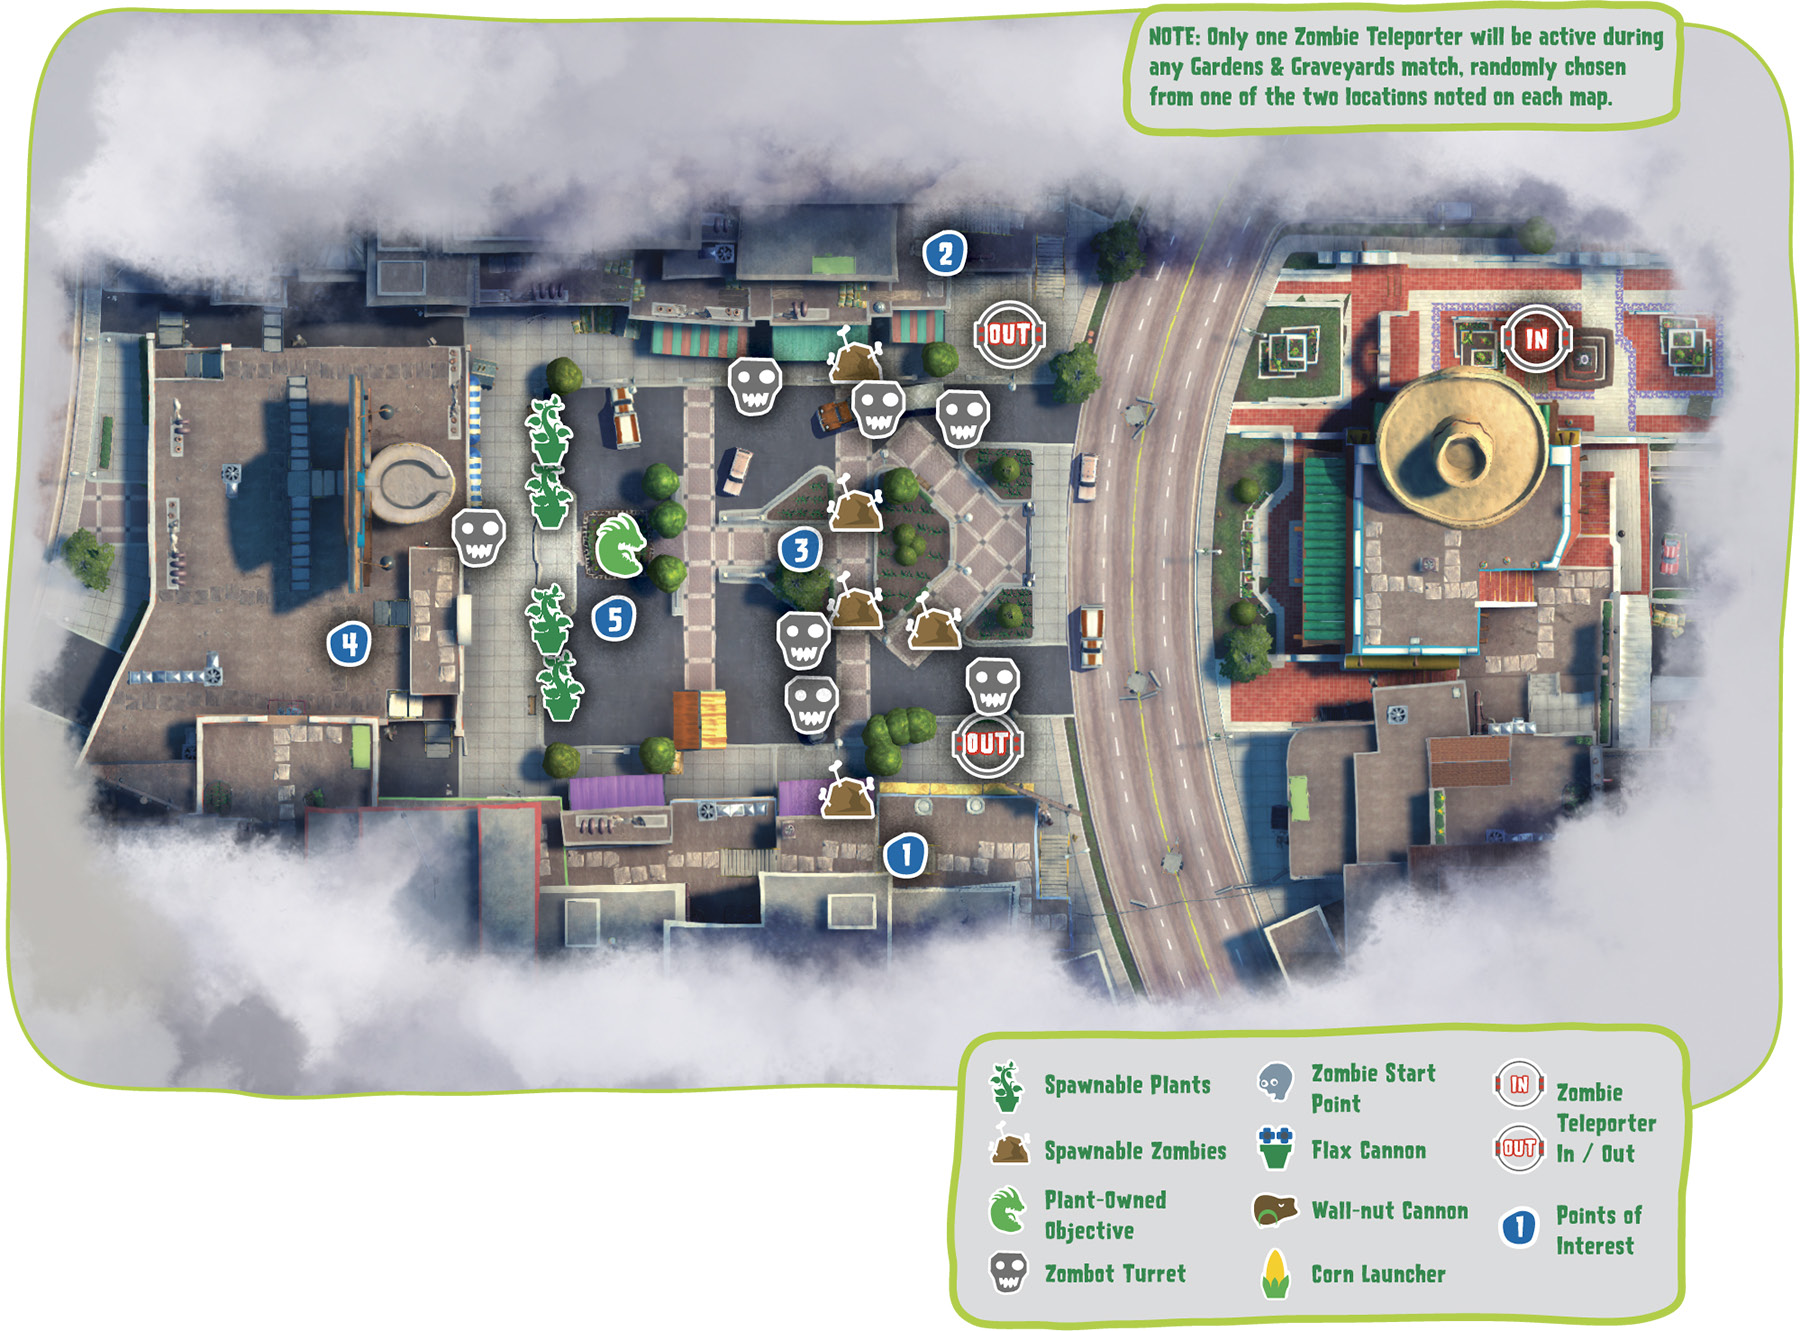
[1] Zombies: These steps lead to a great set of overhead passes that you can trail along and use to give your fellow ground zombies support as you all fight your way up to the Garden.
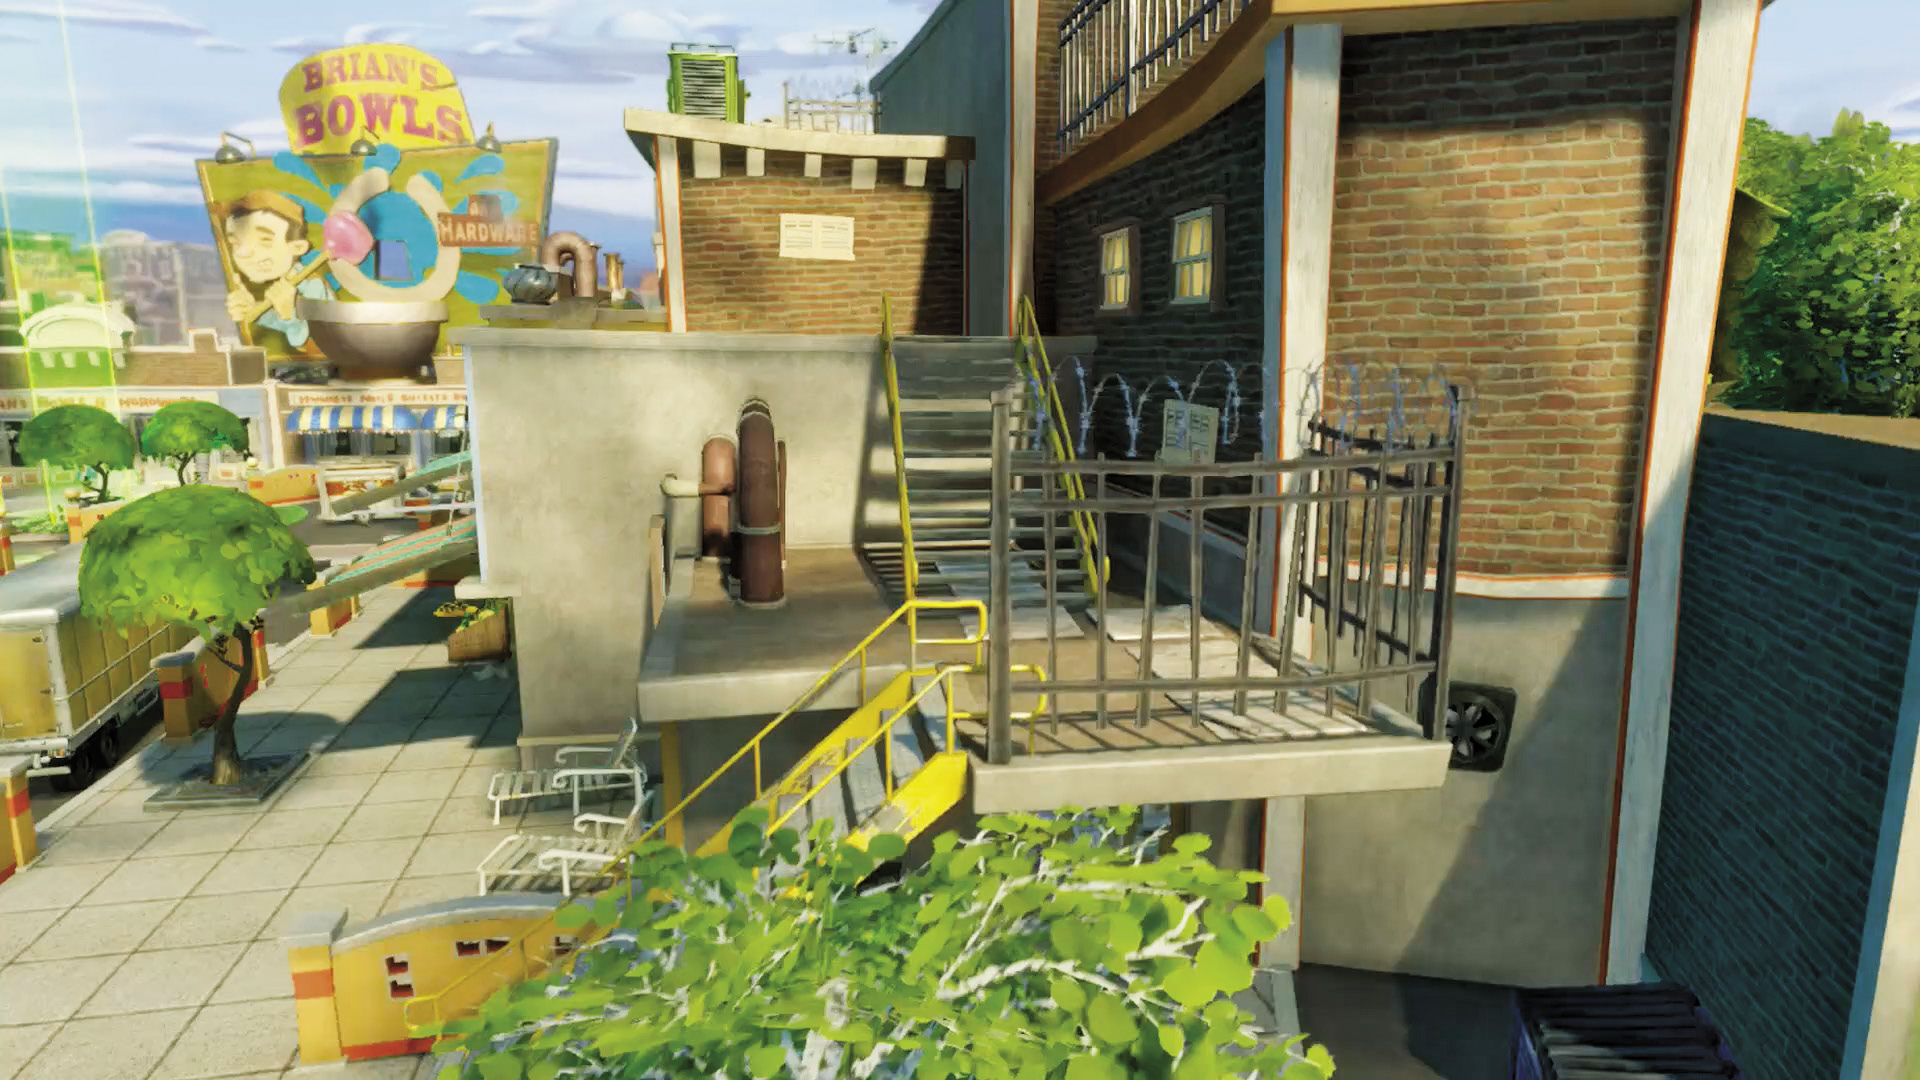
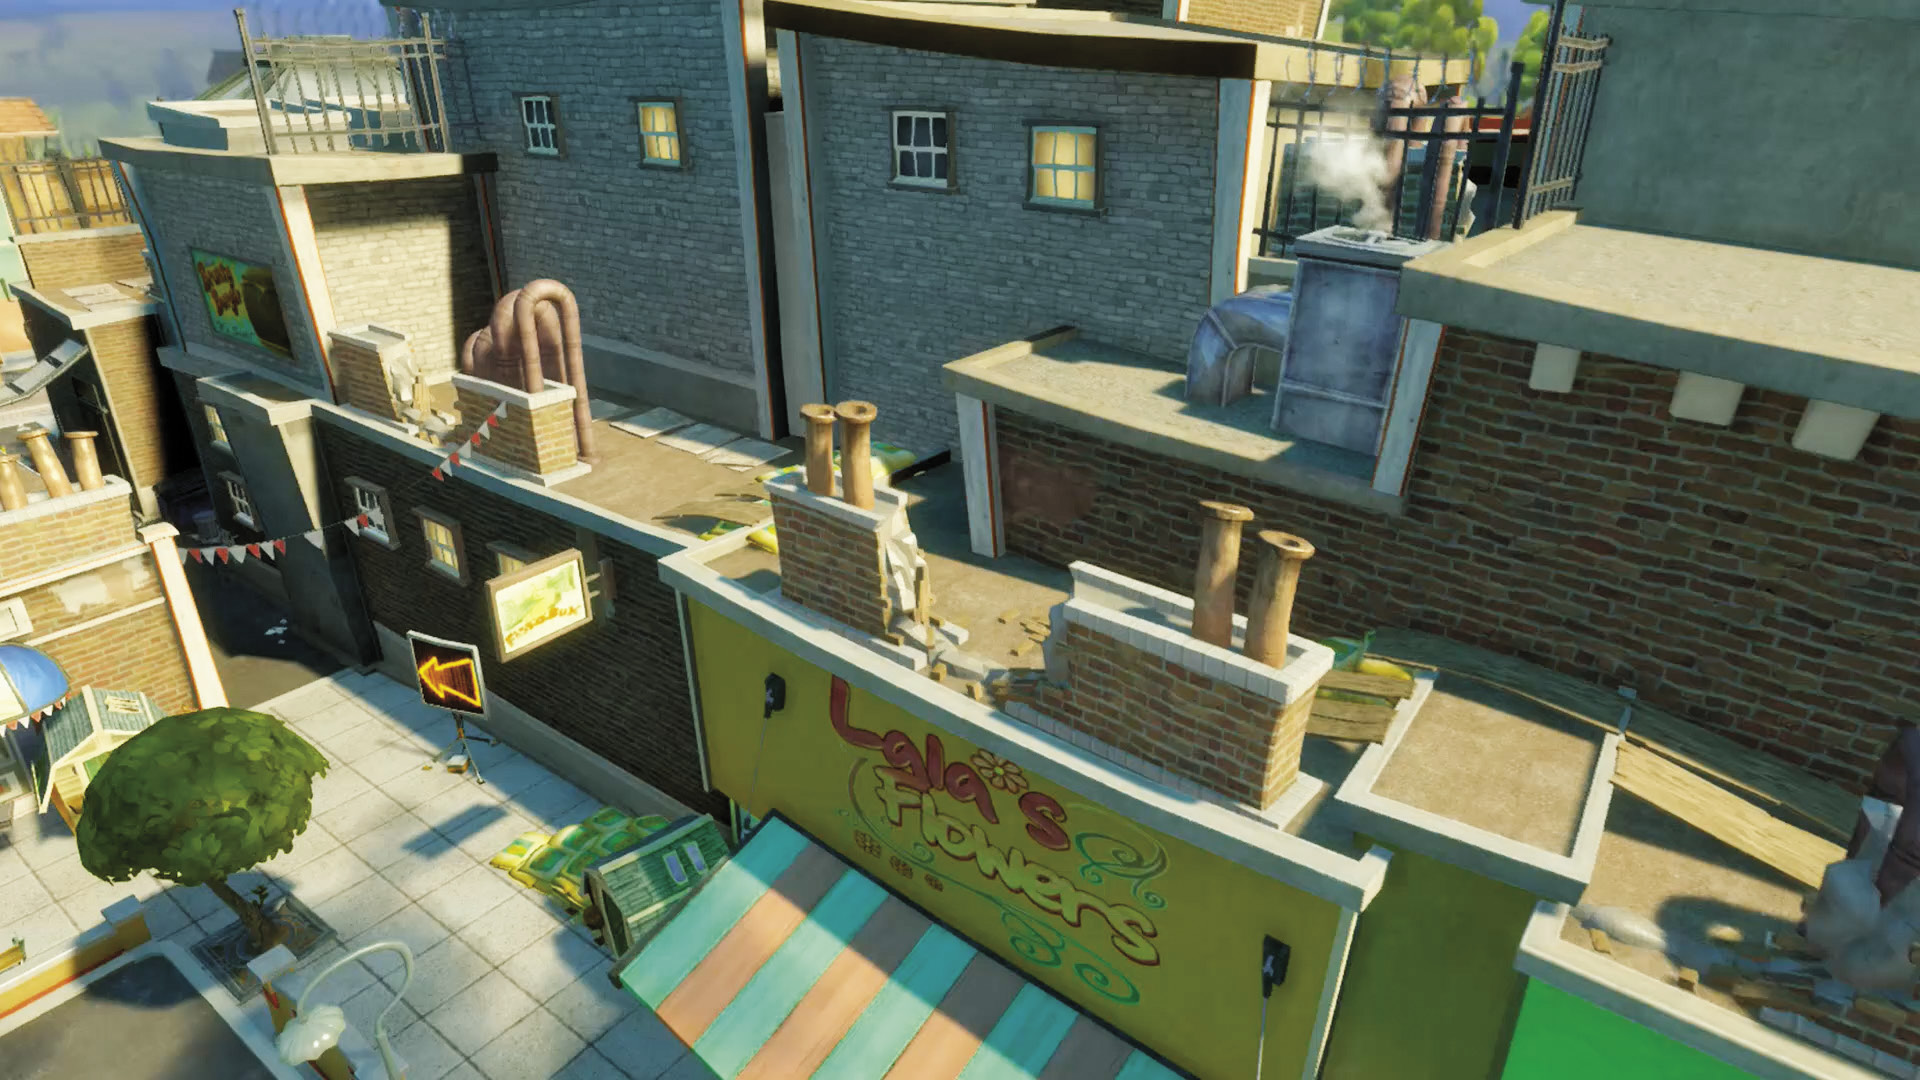
[2] Zombies: Just like [1], these allow you to have a good lookout point to trail along while your ground forces fight their way up to this Garden.
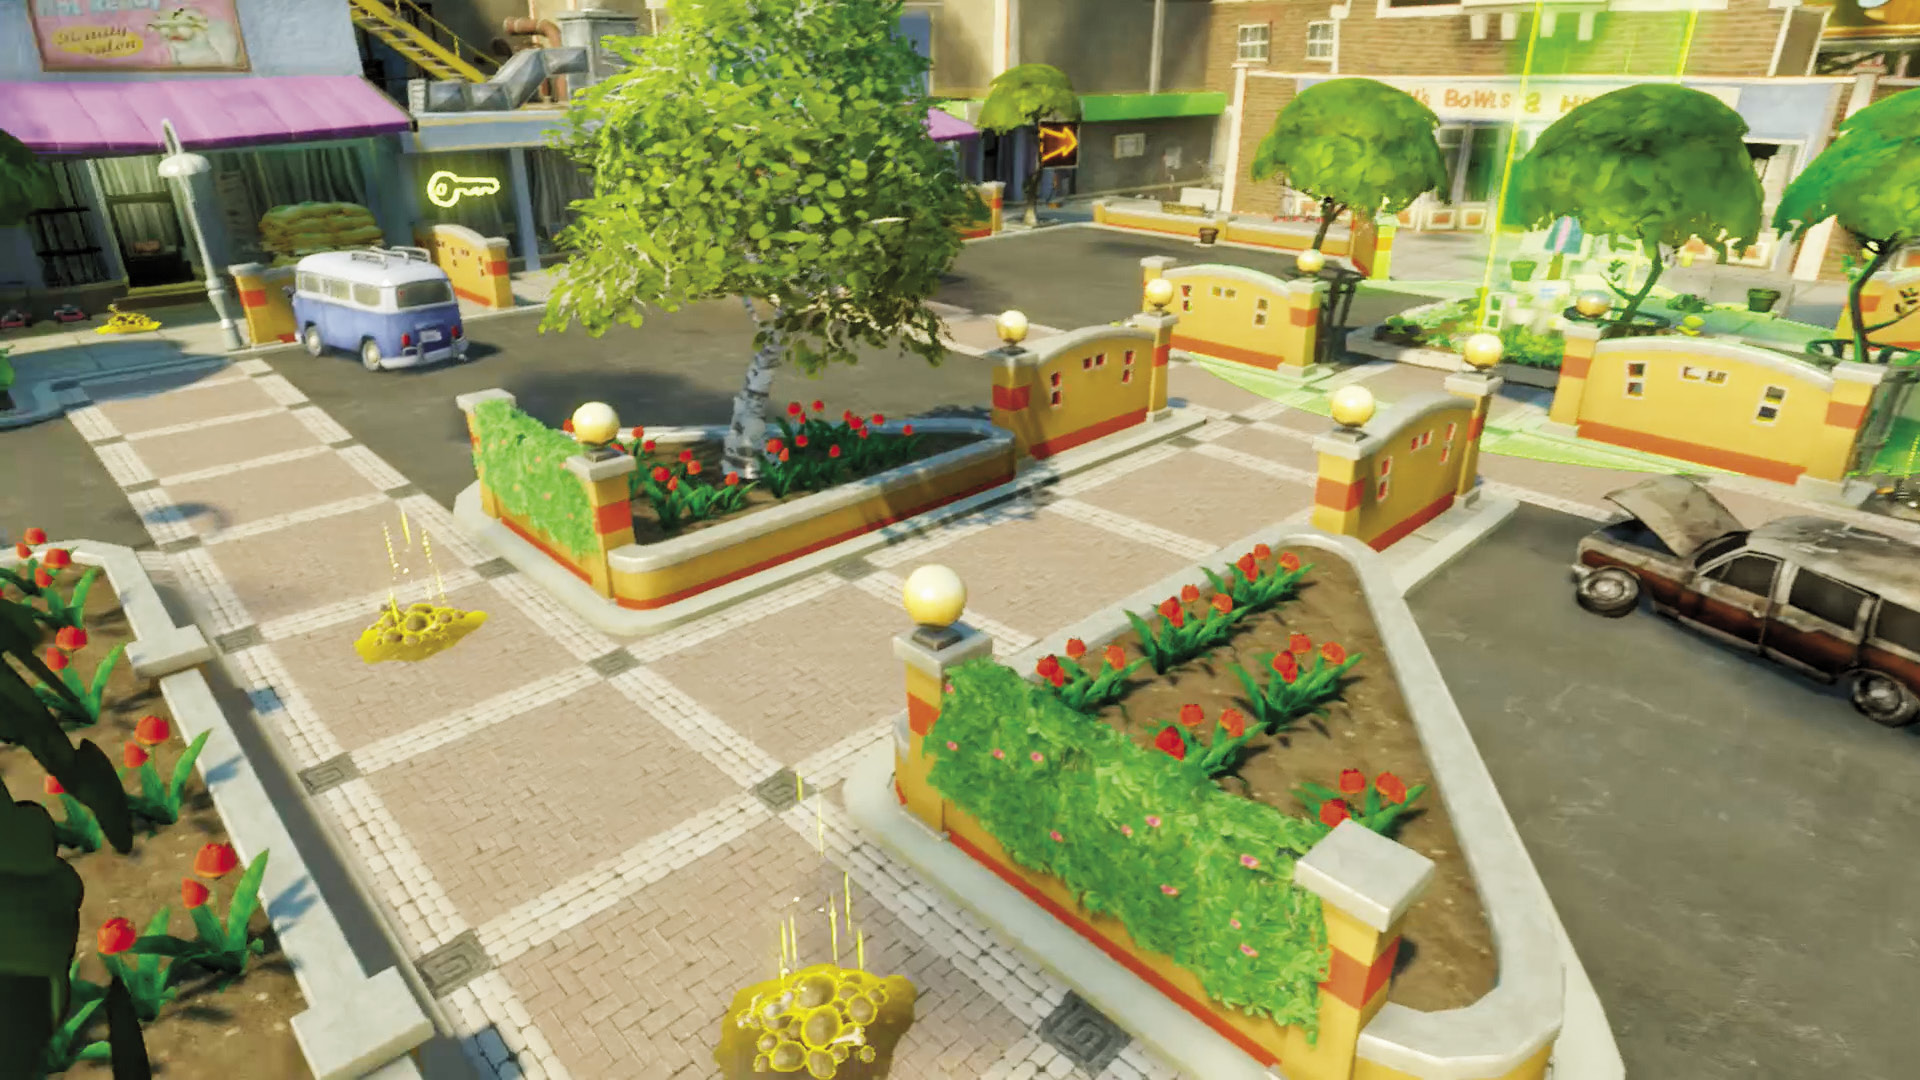
[3] Zombies: This is the big battlefield. The odds are in your favor given the high walkways and Spawnable Zombies, but keep in mind that the plants are holed up tight, have a wall behind them, and a high perch straight above. Your objective is straightforward, but it won’t be easy. Use the cover to inch forward as you let loose with all your firepower!
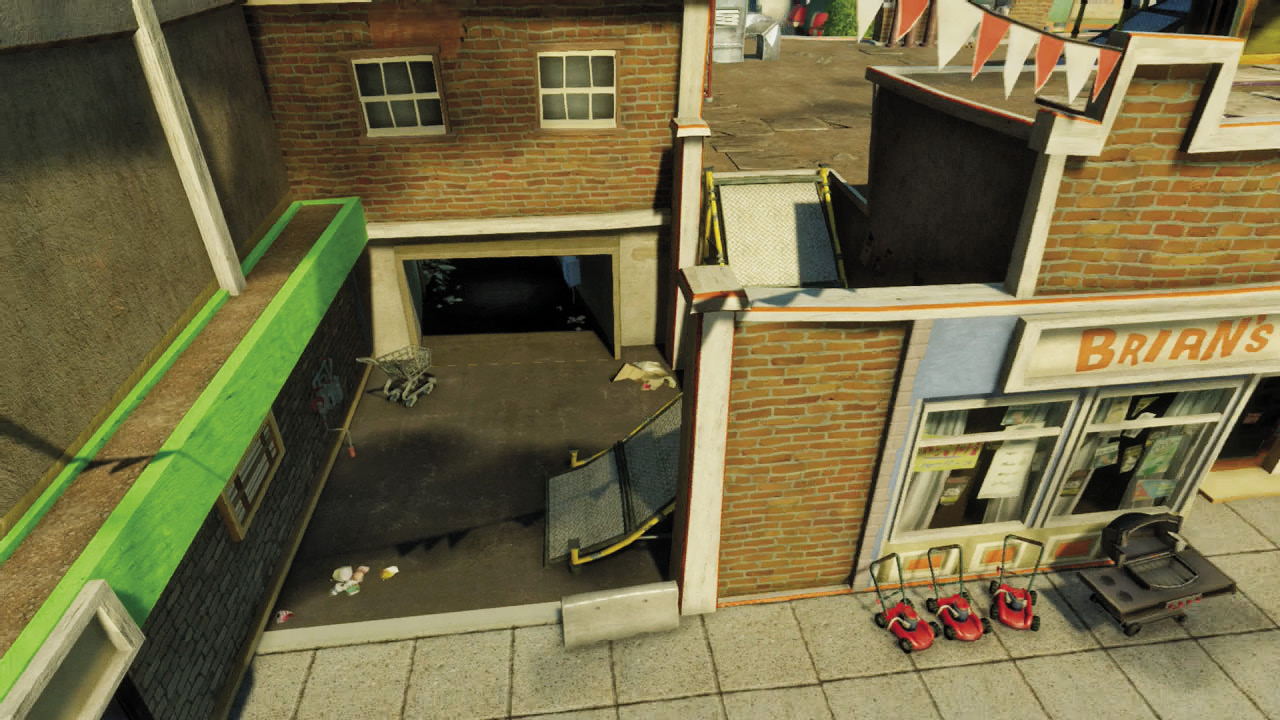
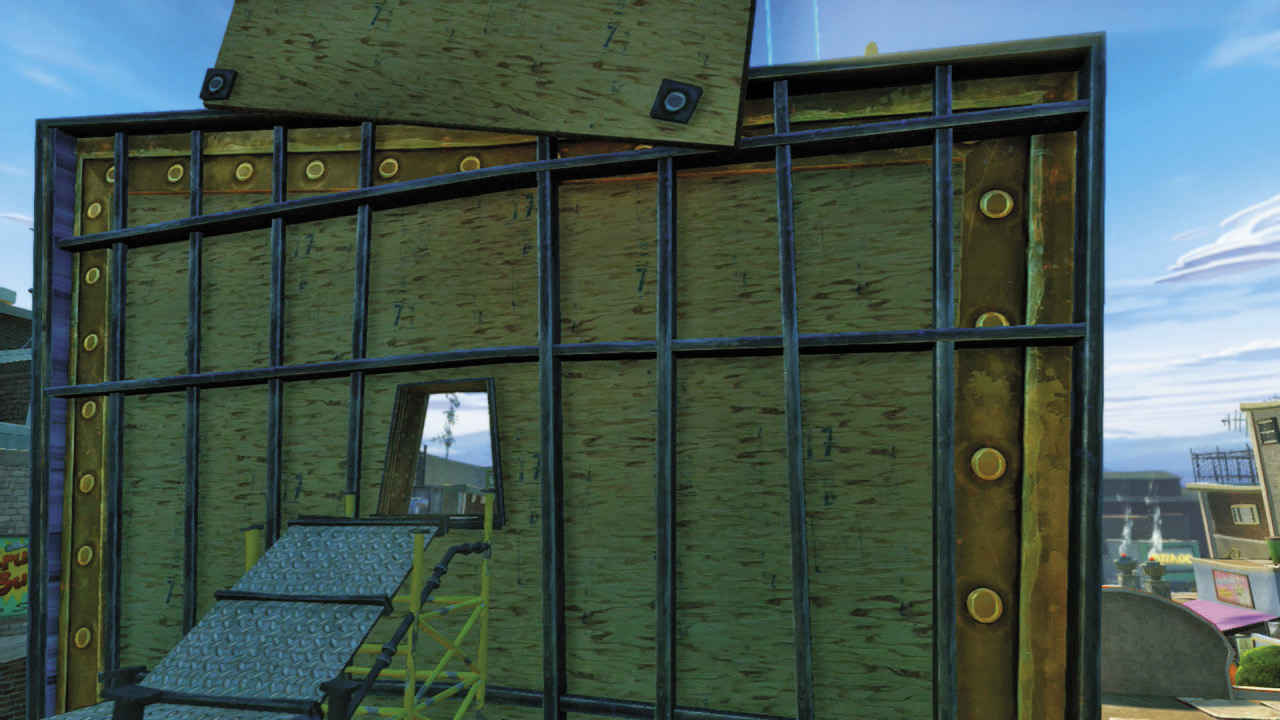
[4] Plants: The best defense you have is behind your Garden. Head up the walkway to the roof for a great high perch, including one hilarious and useful spot for snipers in the middle of the big billboard.
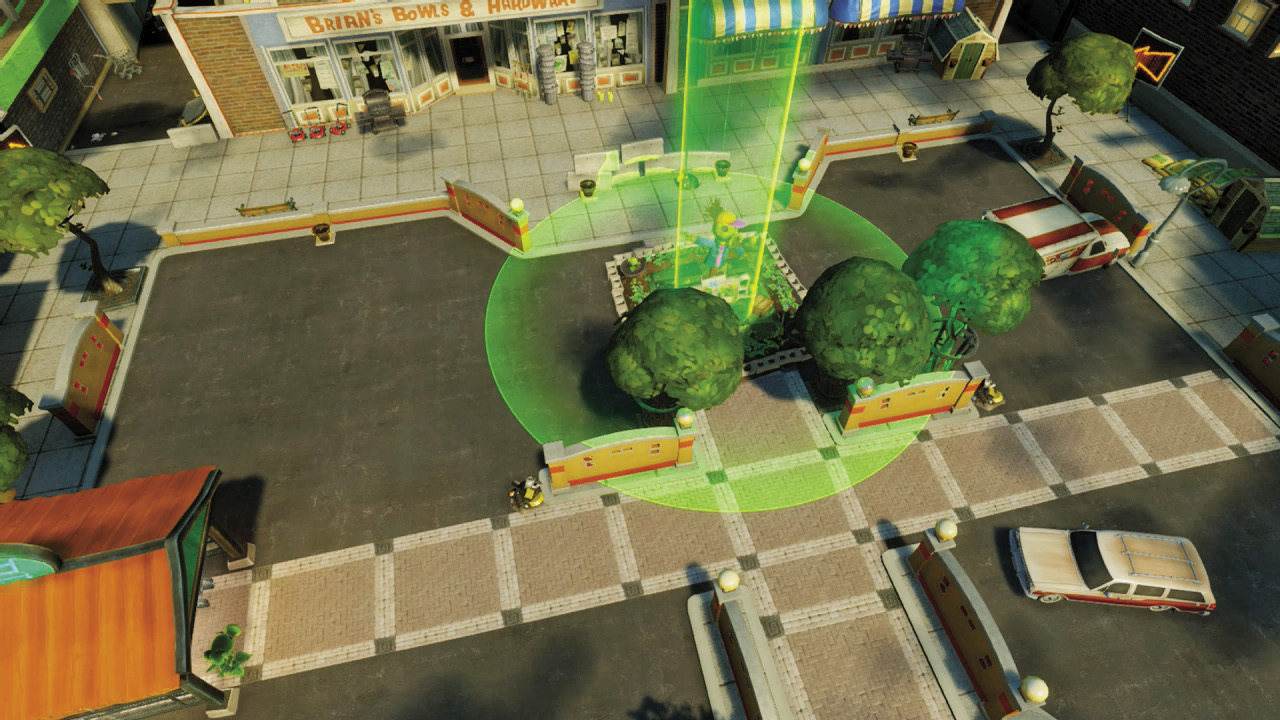
[5] Plants: You’ve got good odds here and a straight view of everything that could come your way, but stay ever wary of pincer attacks and multidirectional assaults, due to the high ground afforded to zombies by [1] and [2]. Otherwise, use ranged Spawnable Plants and play a straight defense.
Phase 7: Garden Center
Points of Interest
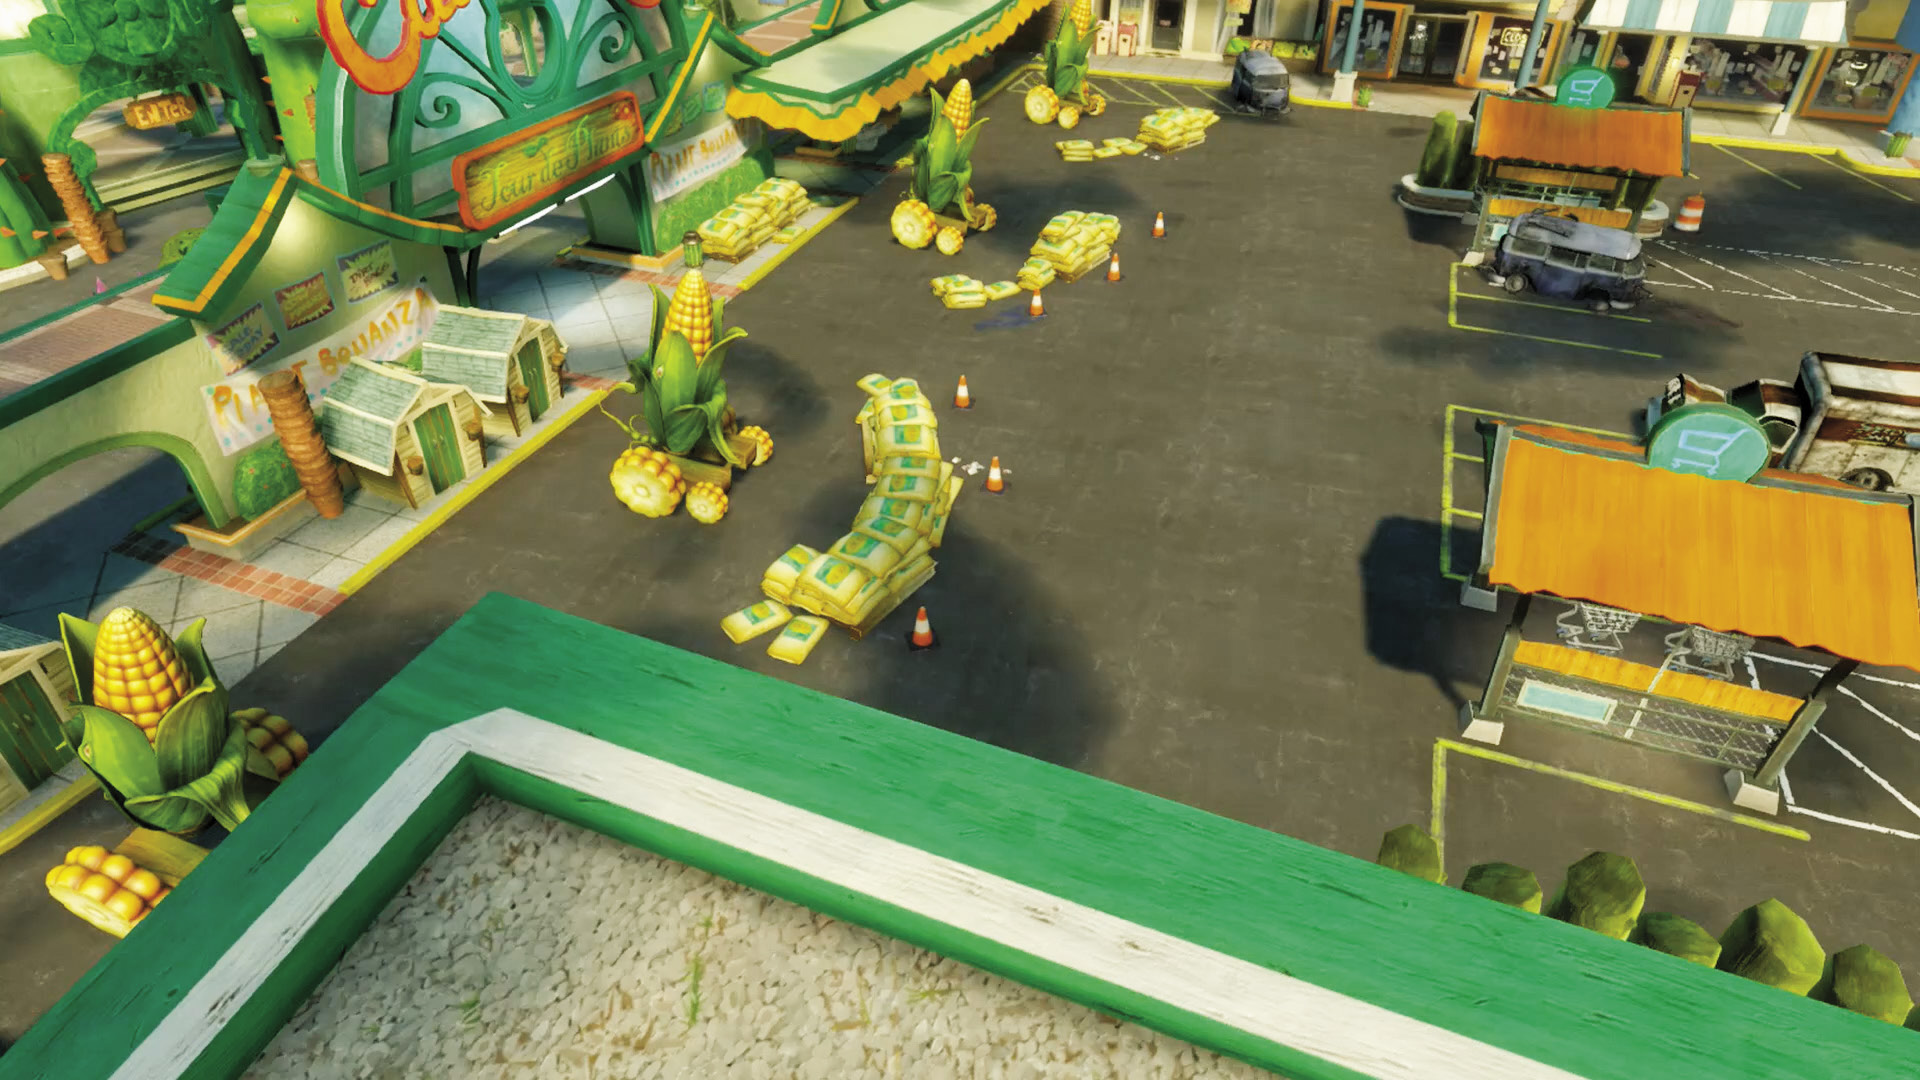
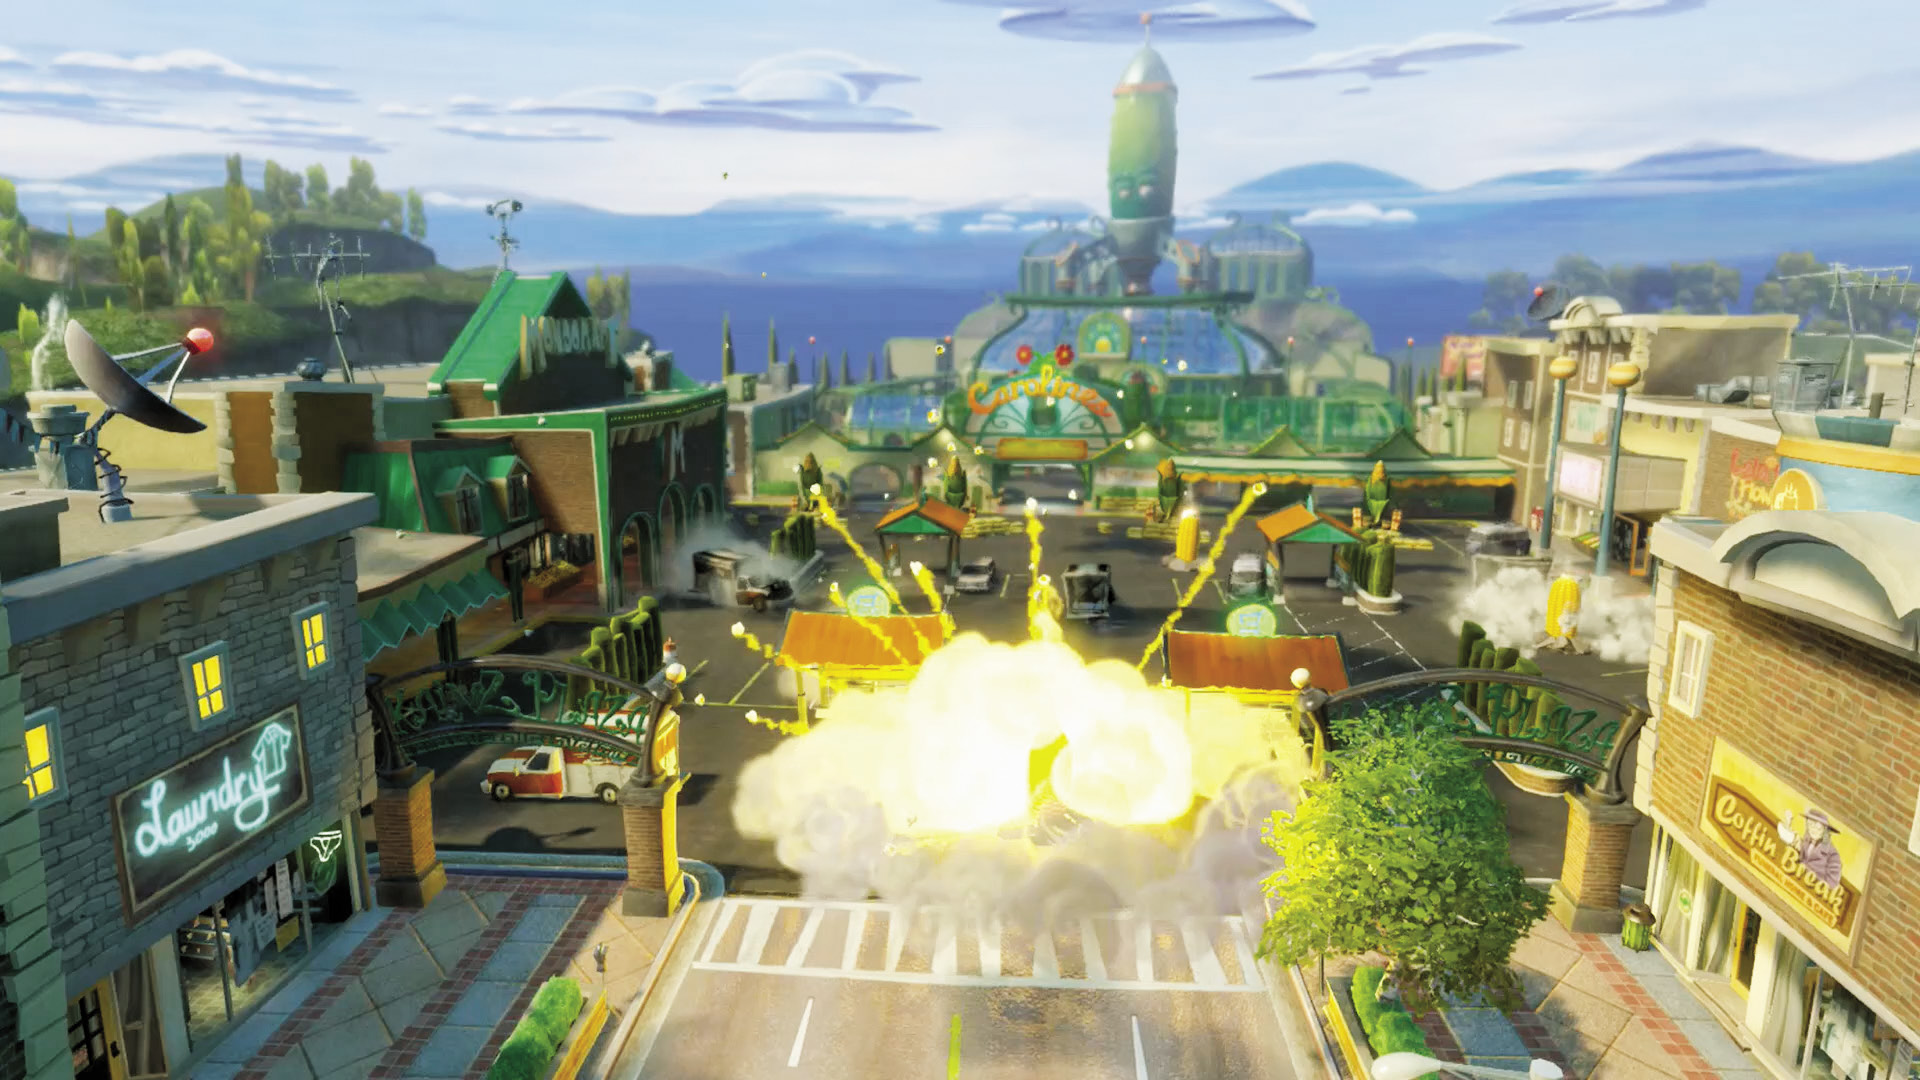
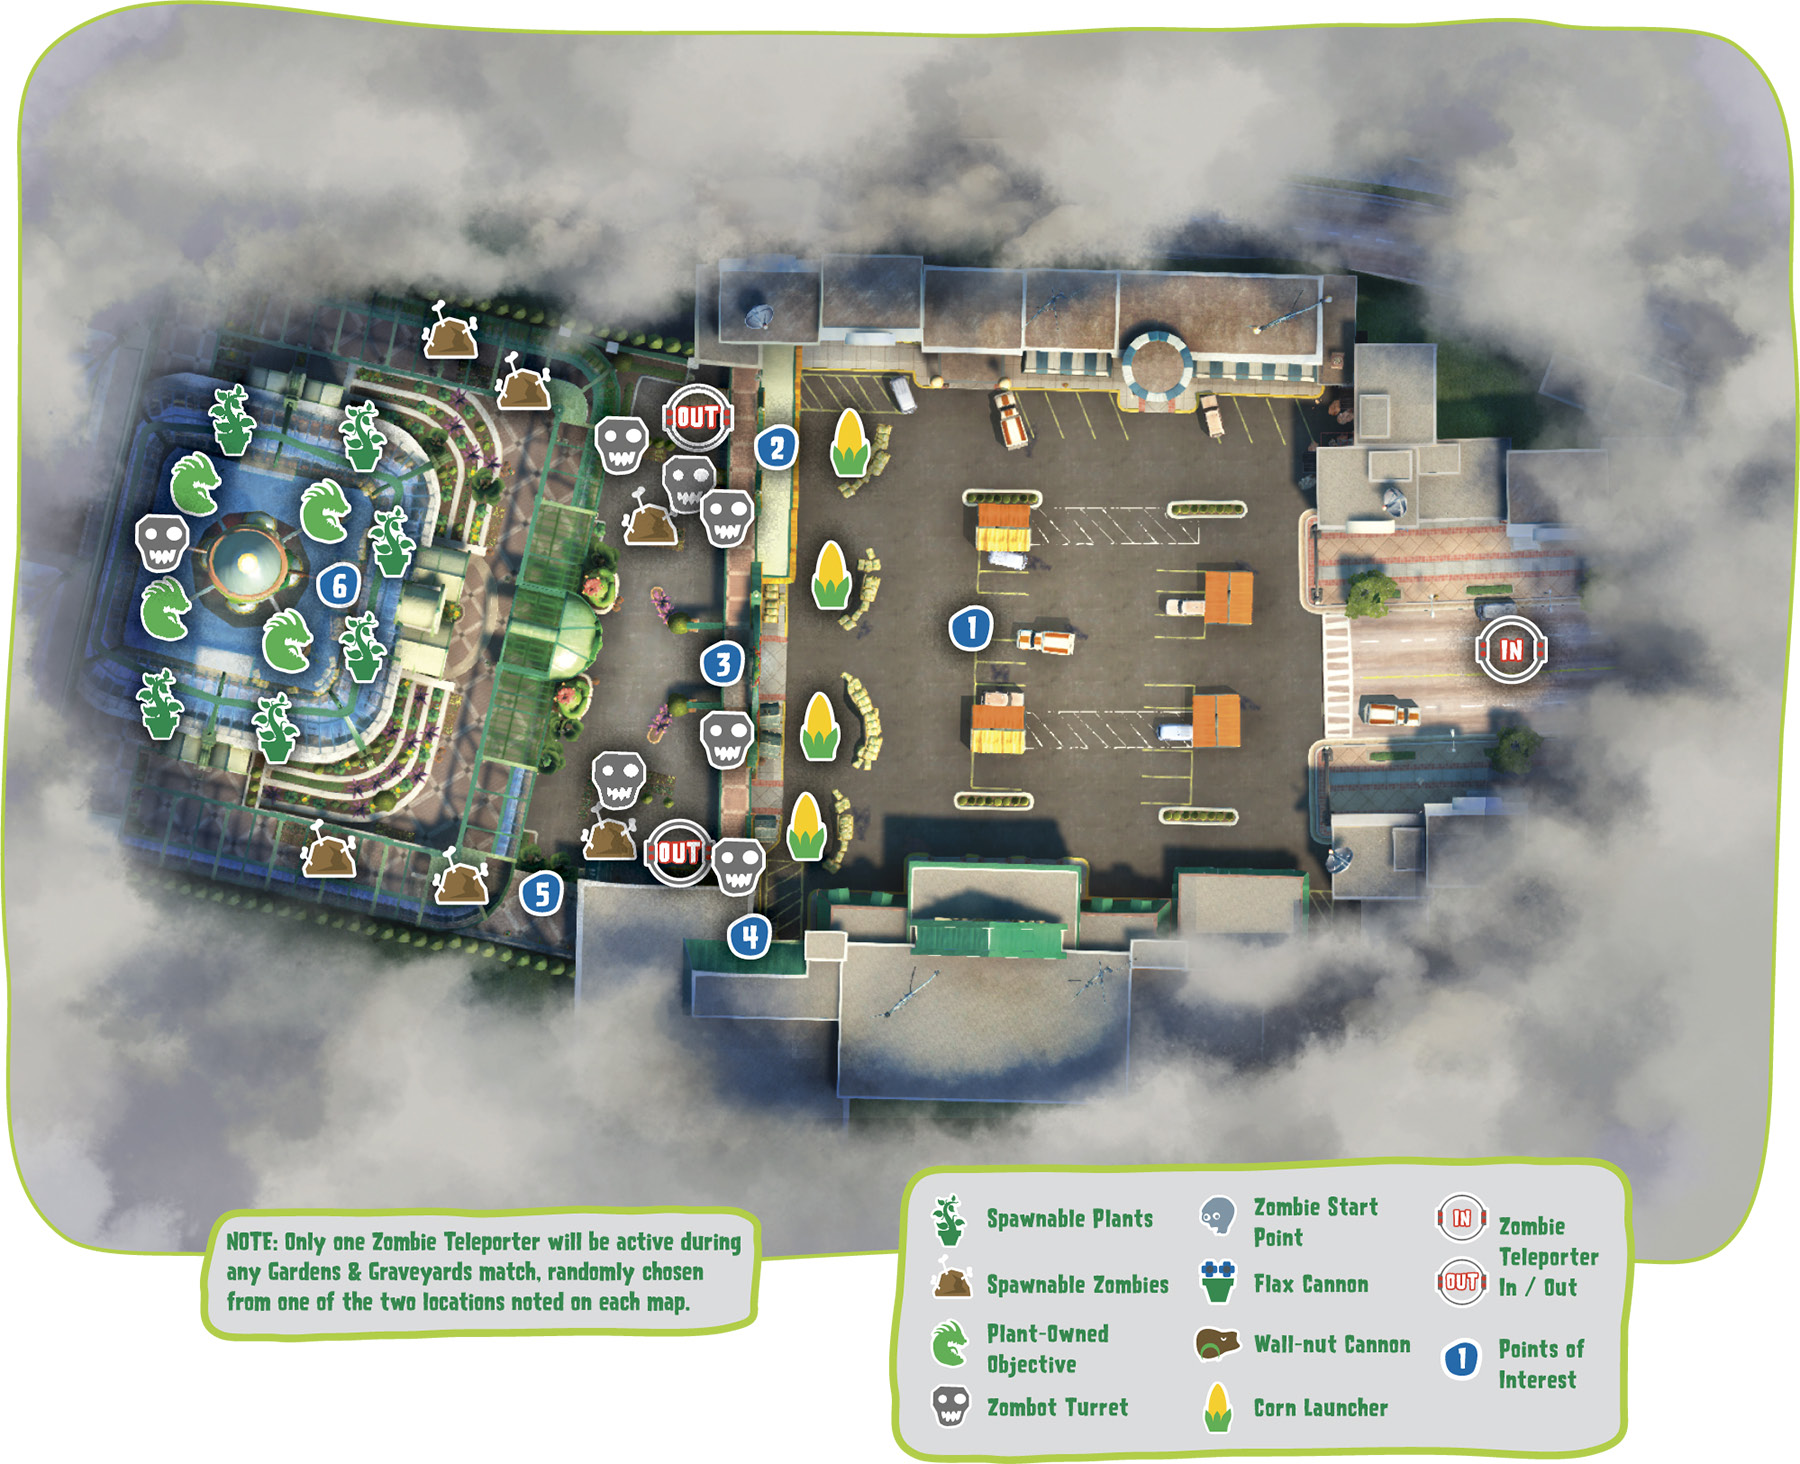
[1] Zombies: This is the final battleground! Corn Launchers will pepper your approach to the greenhouse with explosive popcorn. You’ll have to stay on the move to avoid both them and fire from other plant troops. As usual, sticking to the sides is a very good plan.
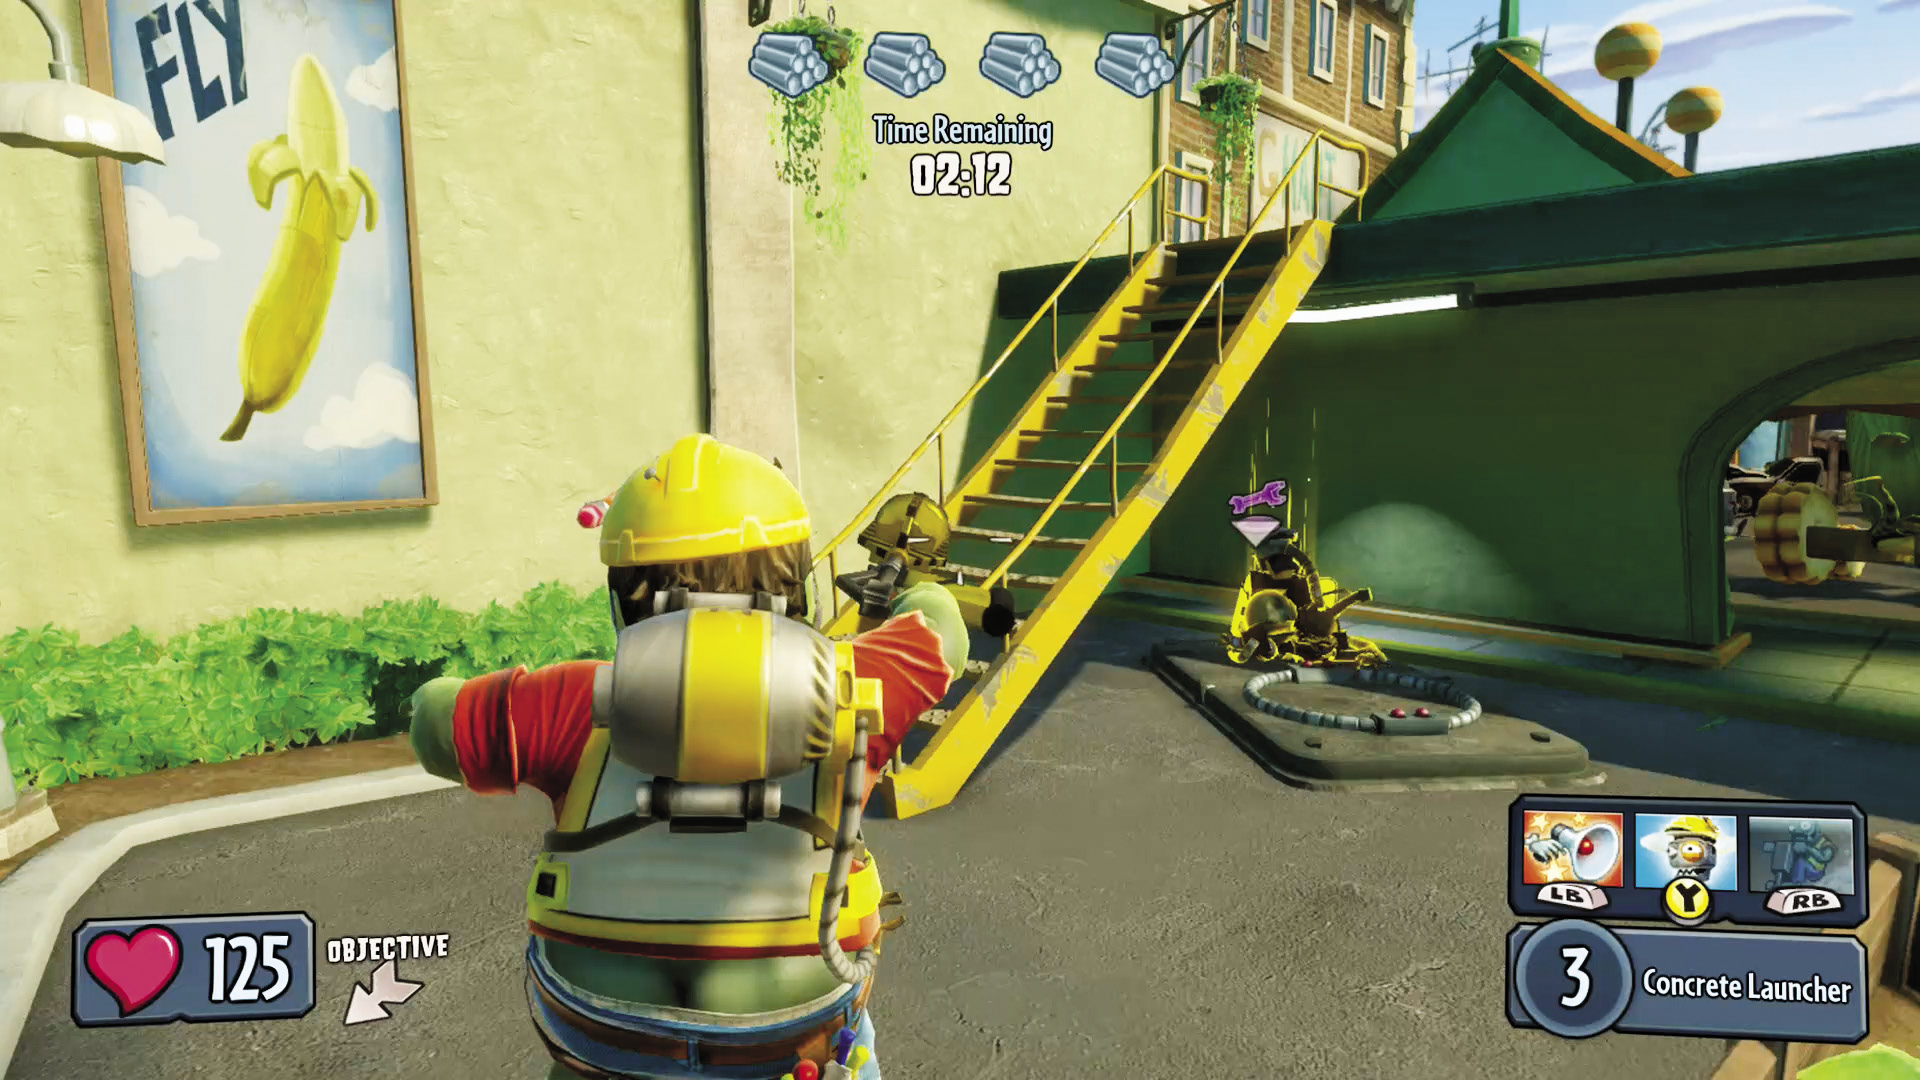
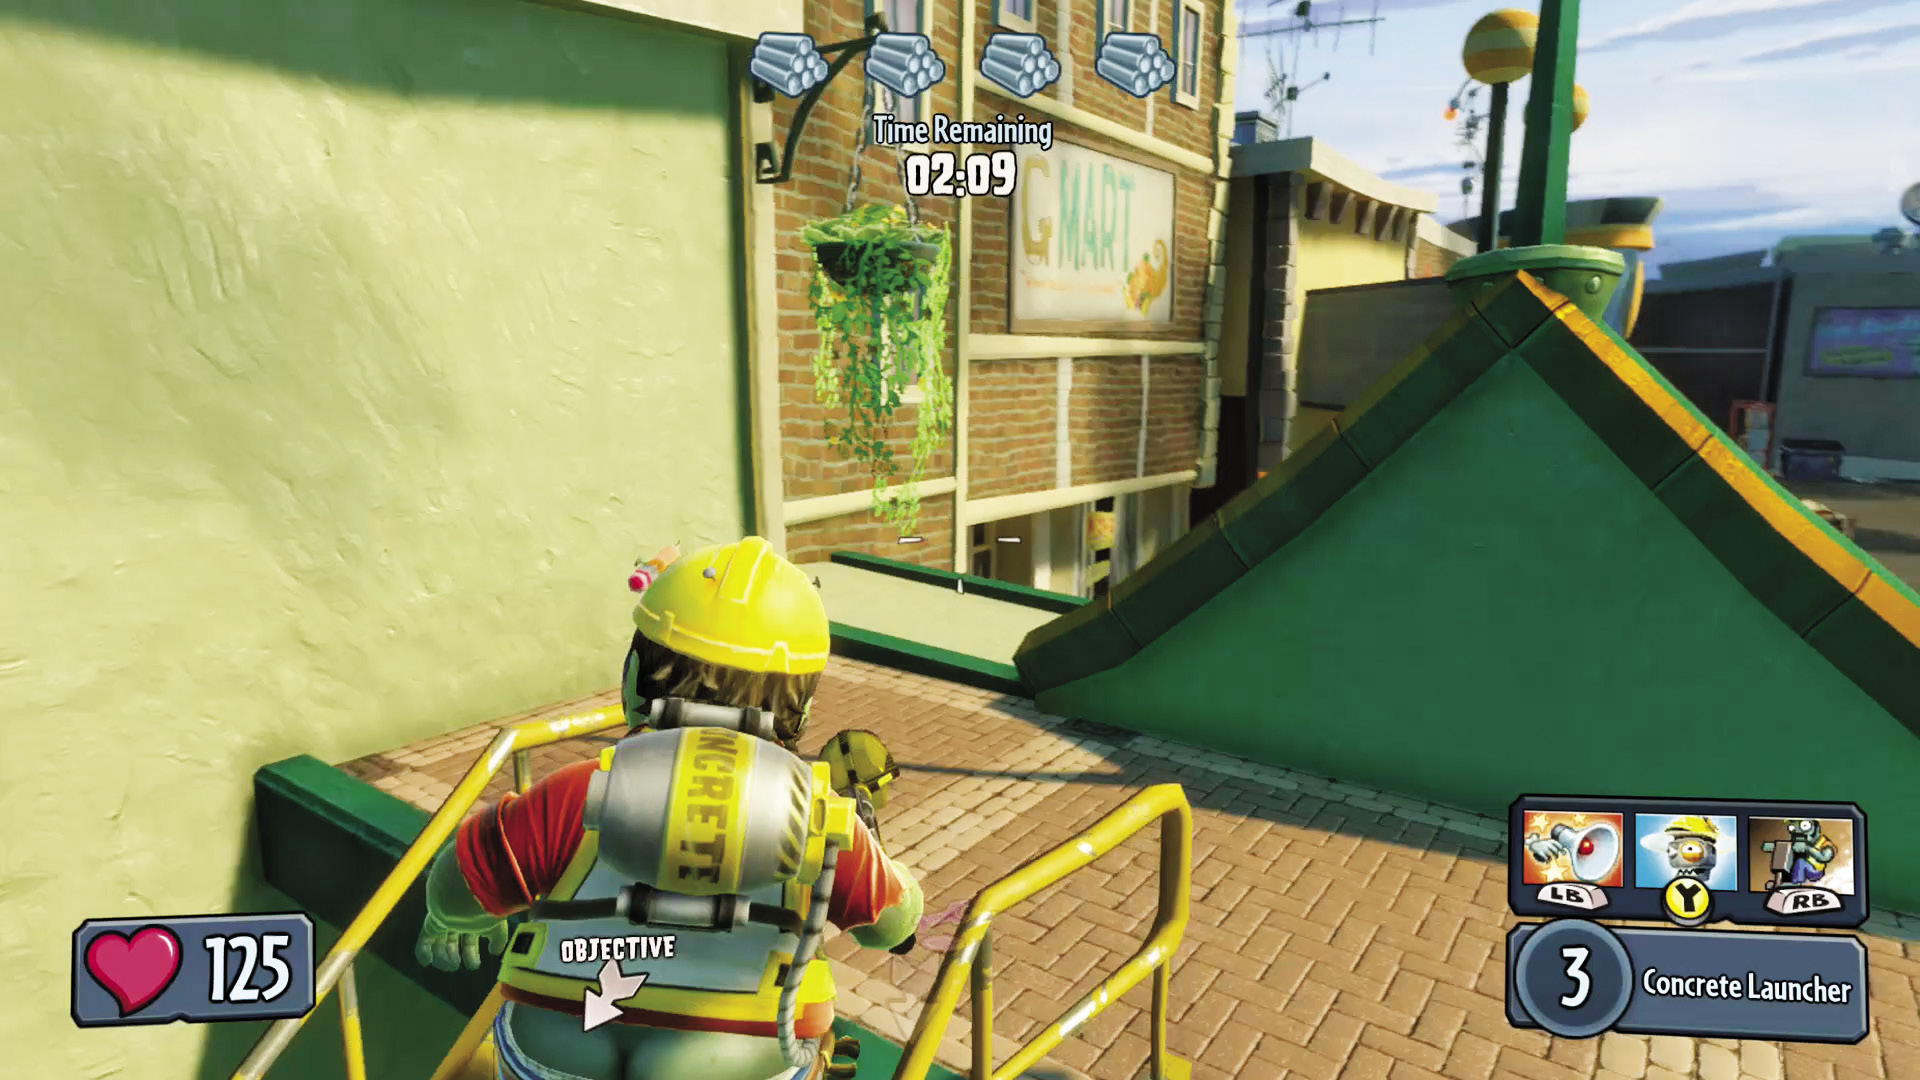
[2] Zombies: The eastern steps lead to high ground that you can use to support fellow zombies coming up the battlefield. This is also a pretty good place to deploy some Drones if you’ve made it this far. Be wary of plant resistance.
Plants: A good way to keep the zombies from taking advantage of the above is to stop them from building their Teleporters. Make this a priority along with protecting the greenhouse.
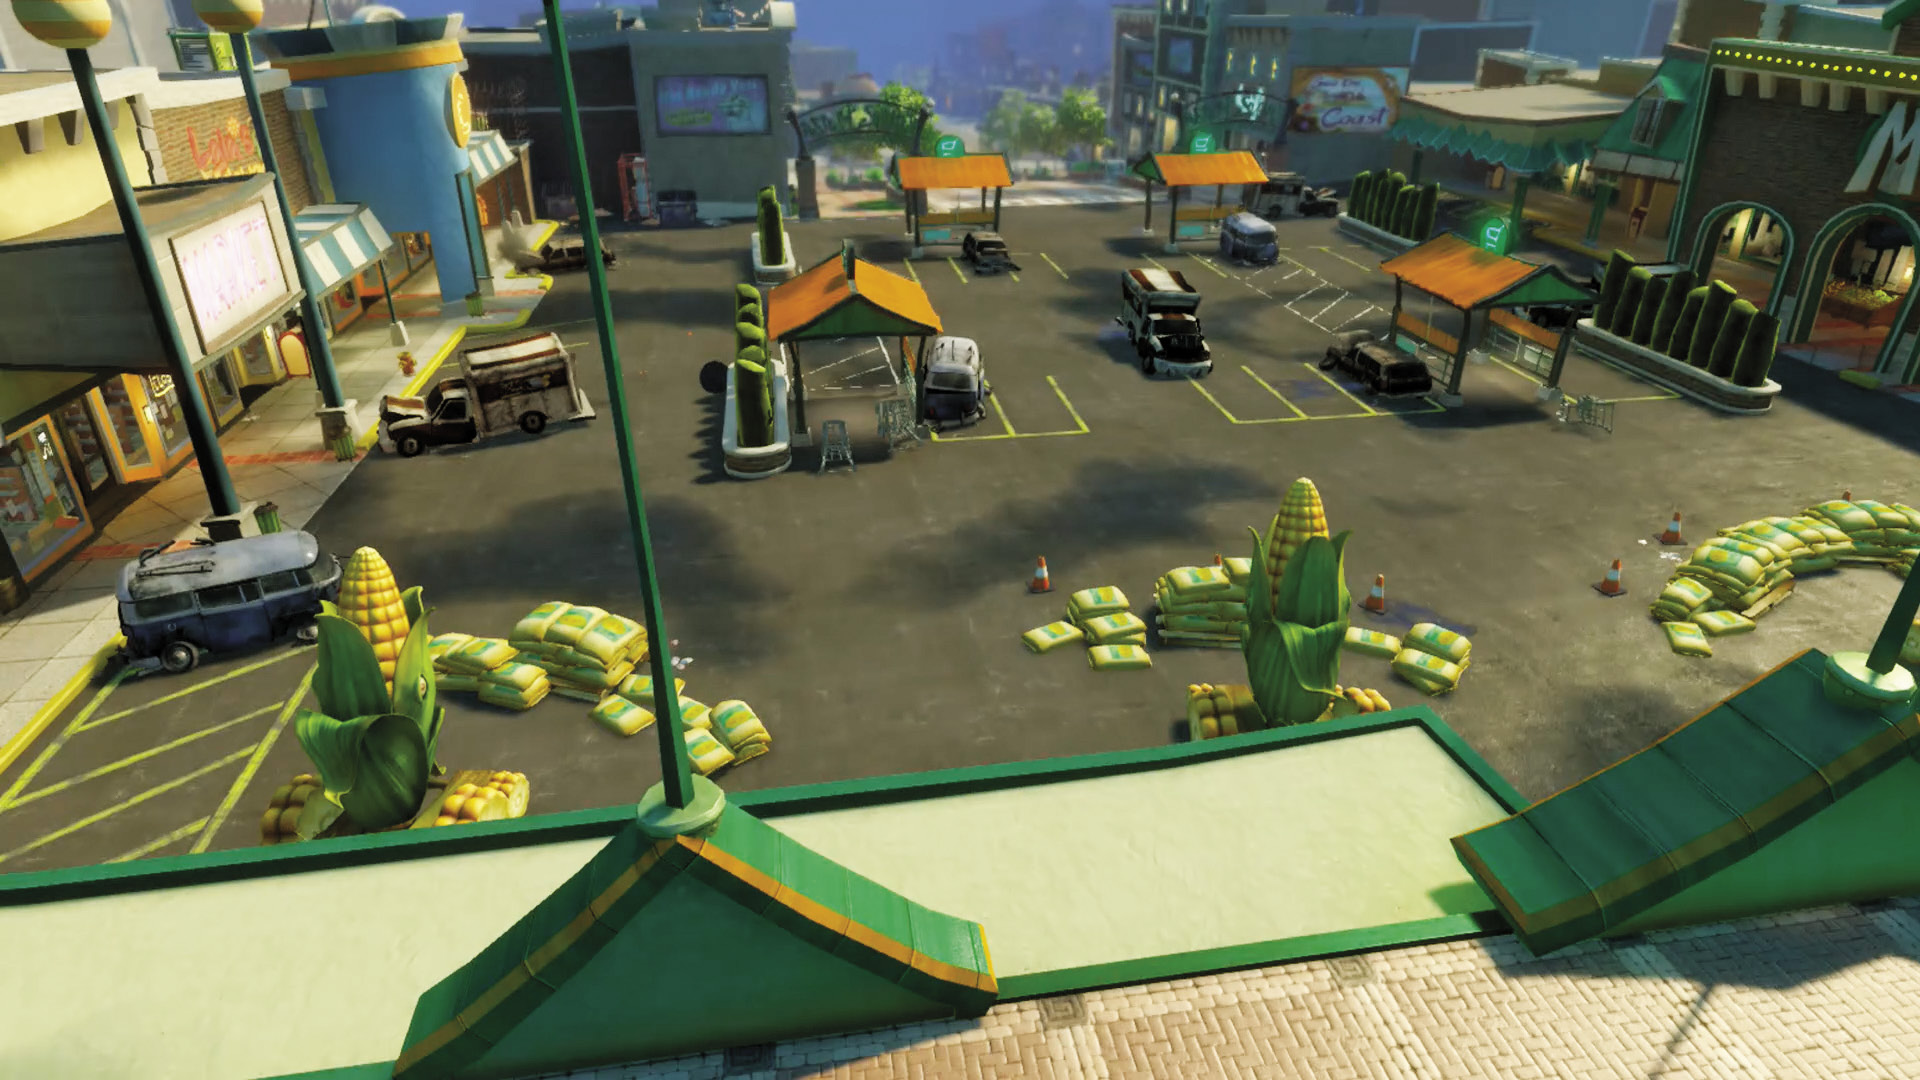
[3] Zombies: The high ground in [2] also leads to a lookout over the very center of the battlefield for extra support. You can also use this area to try and take out at least one of the Corn Launchers as well; be aware that they’ll take lots of punishment before they fall.
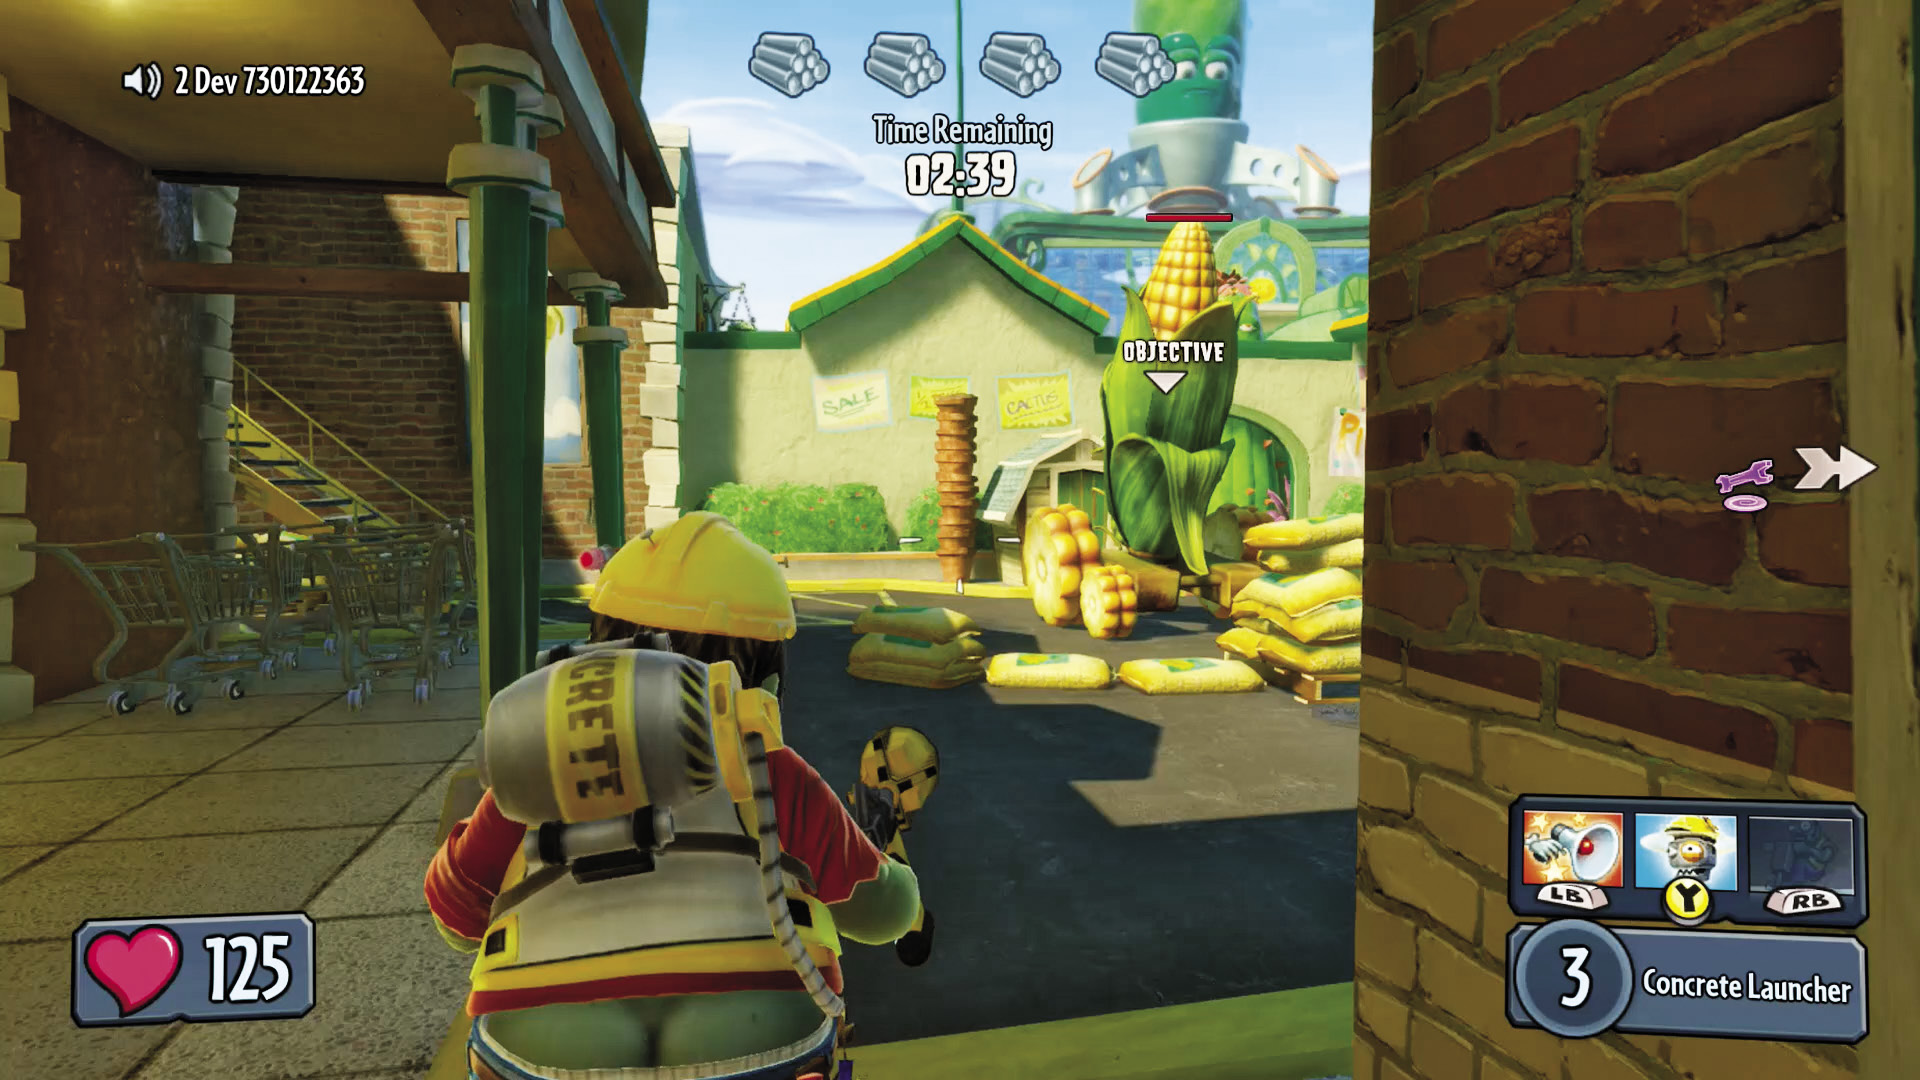
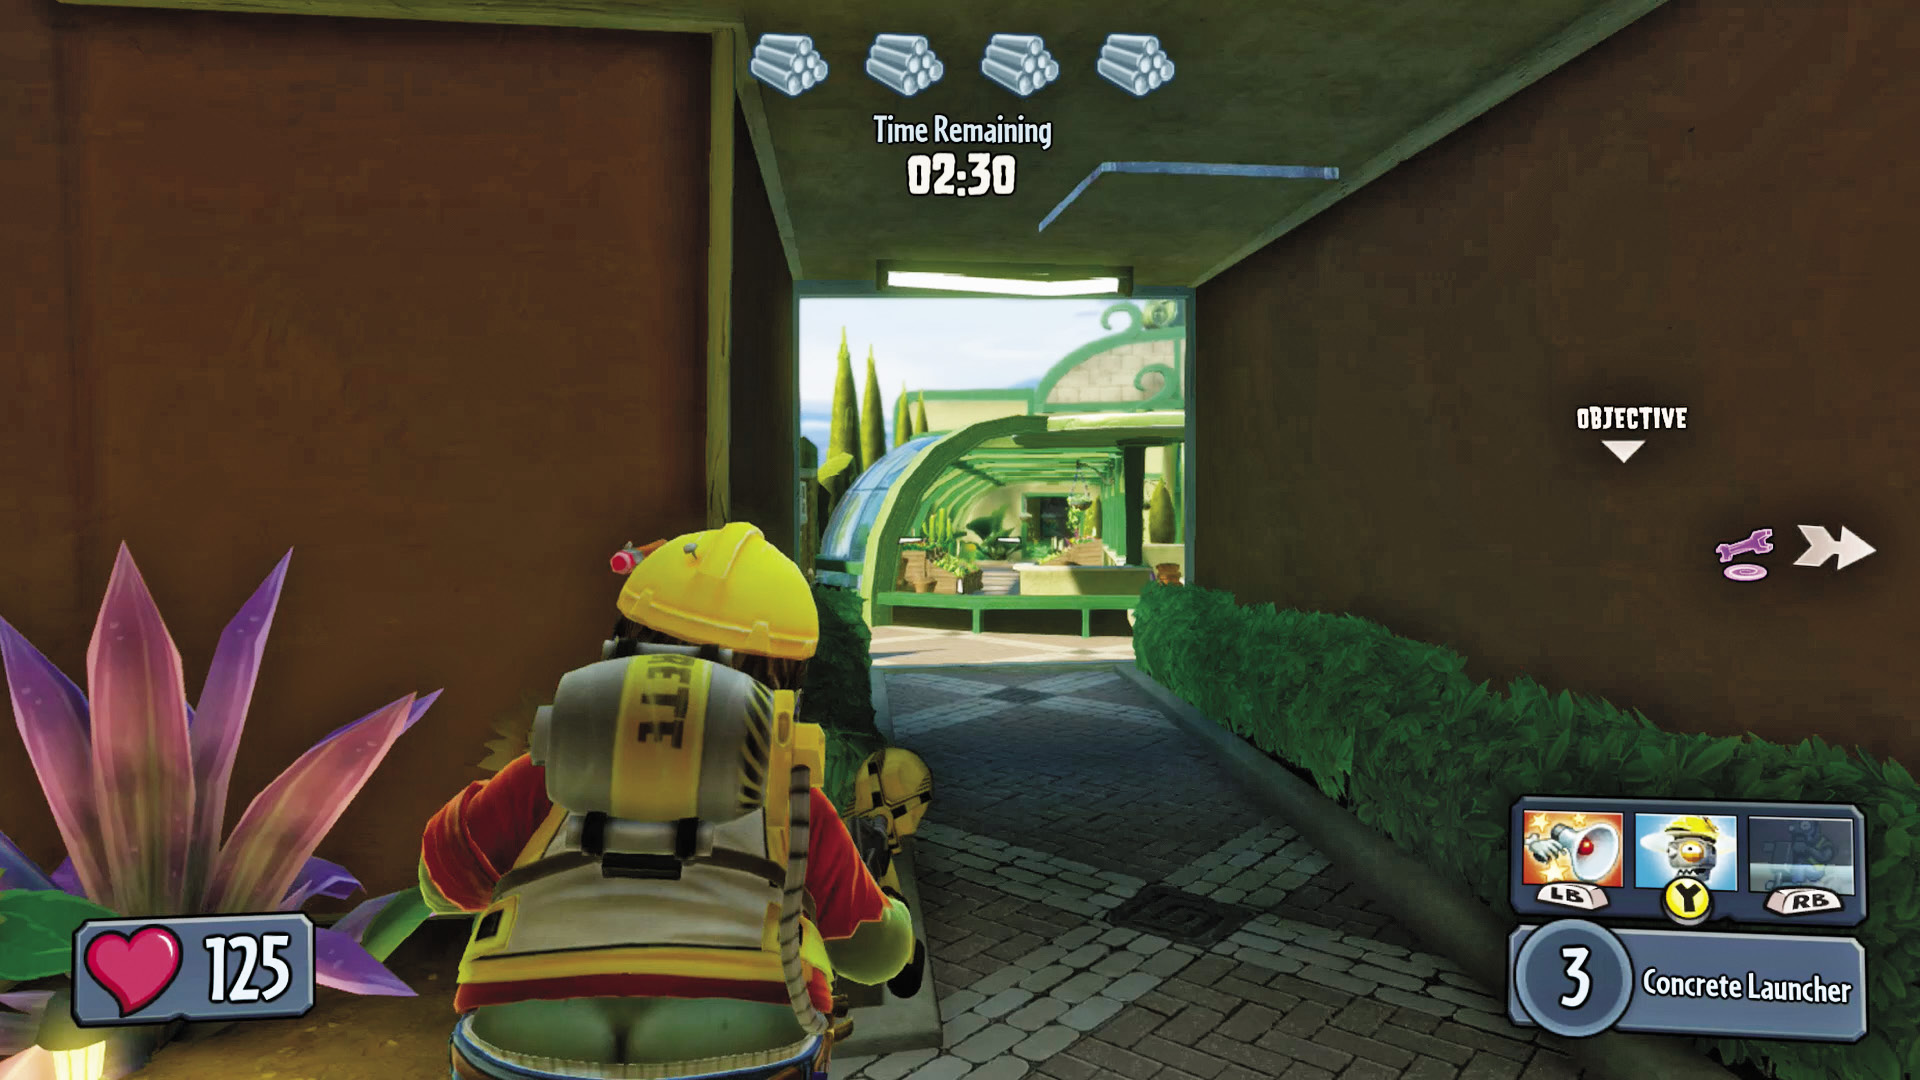
[4] Zombies: Made it to the sides? Good! To the west you can slip up the steps and through a passageway overlooking the midway steps and leading you almost right to the greenhouse, where your true objective lies.
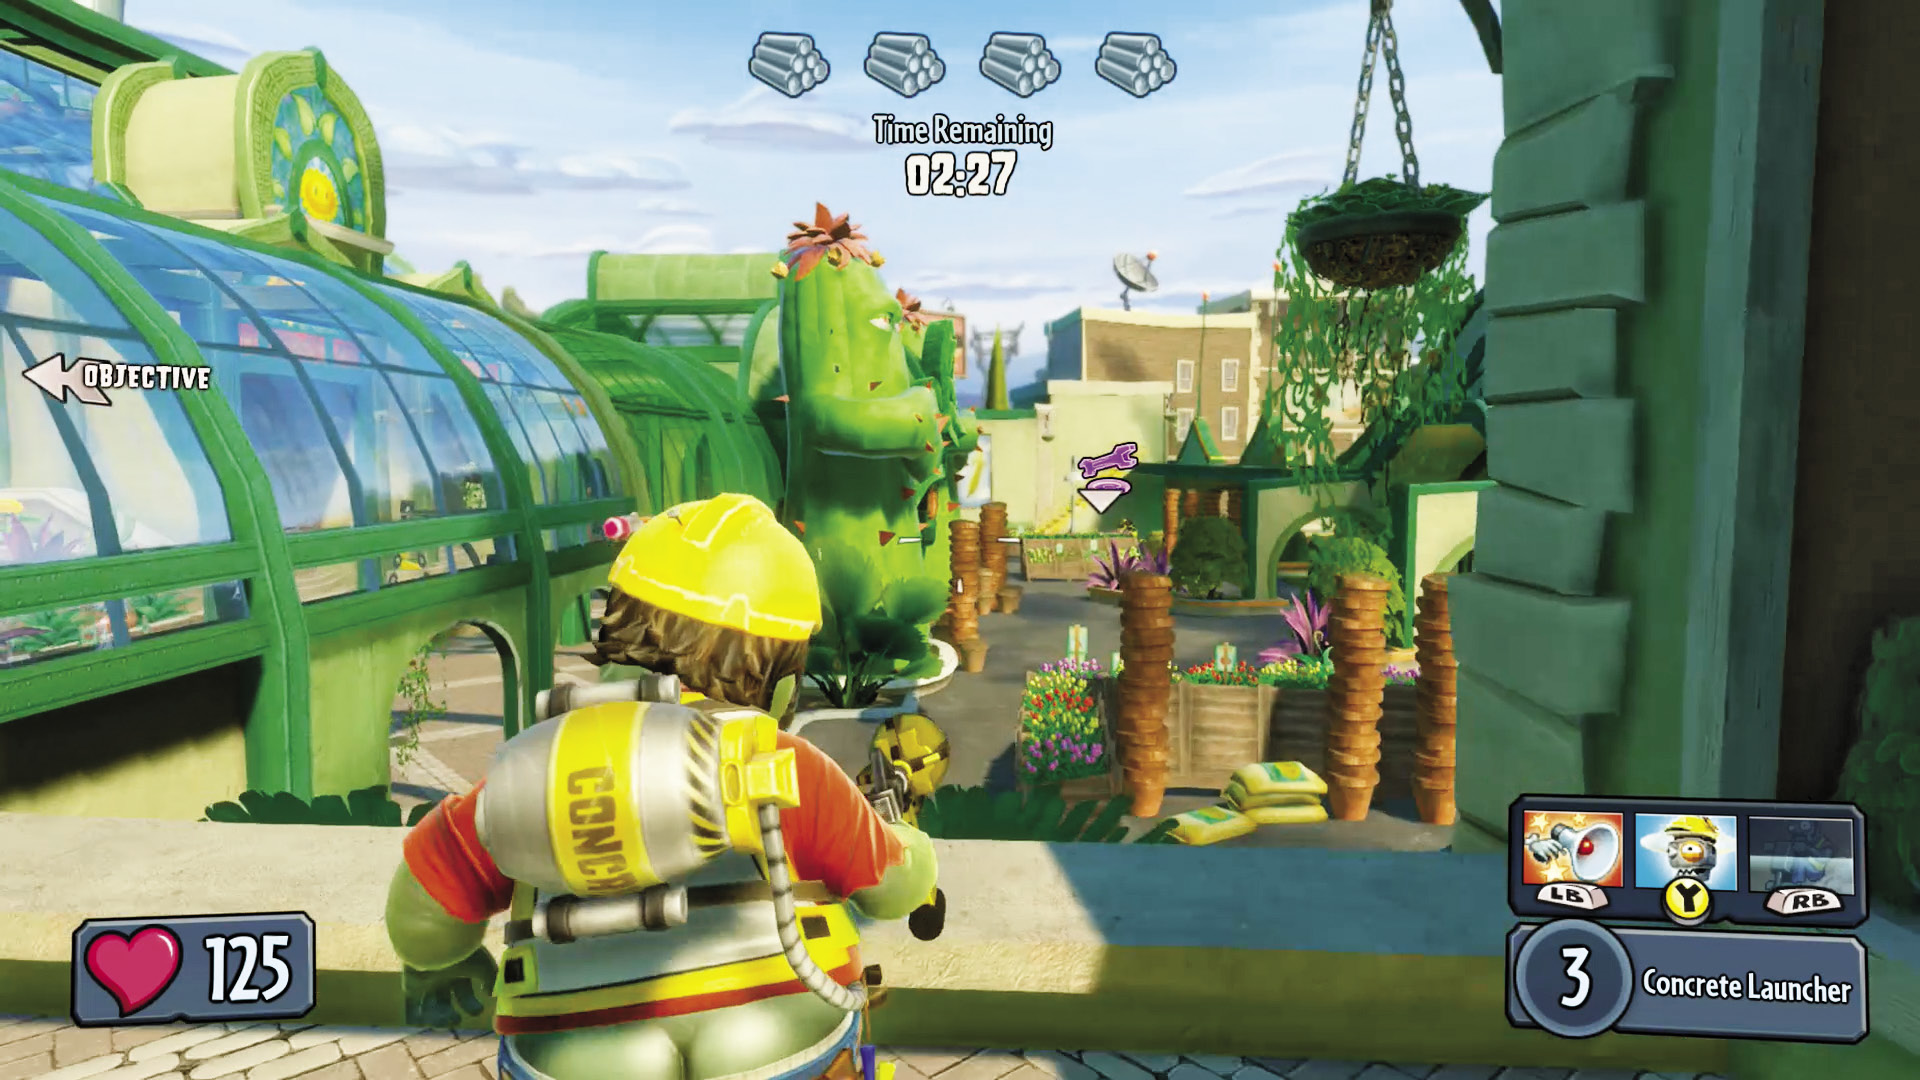
[5] Zombies: This is the passageway that [4] leads to. Use this for extra support for the zombies that made it past the initial bombardment battlefield.
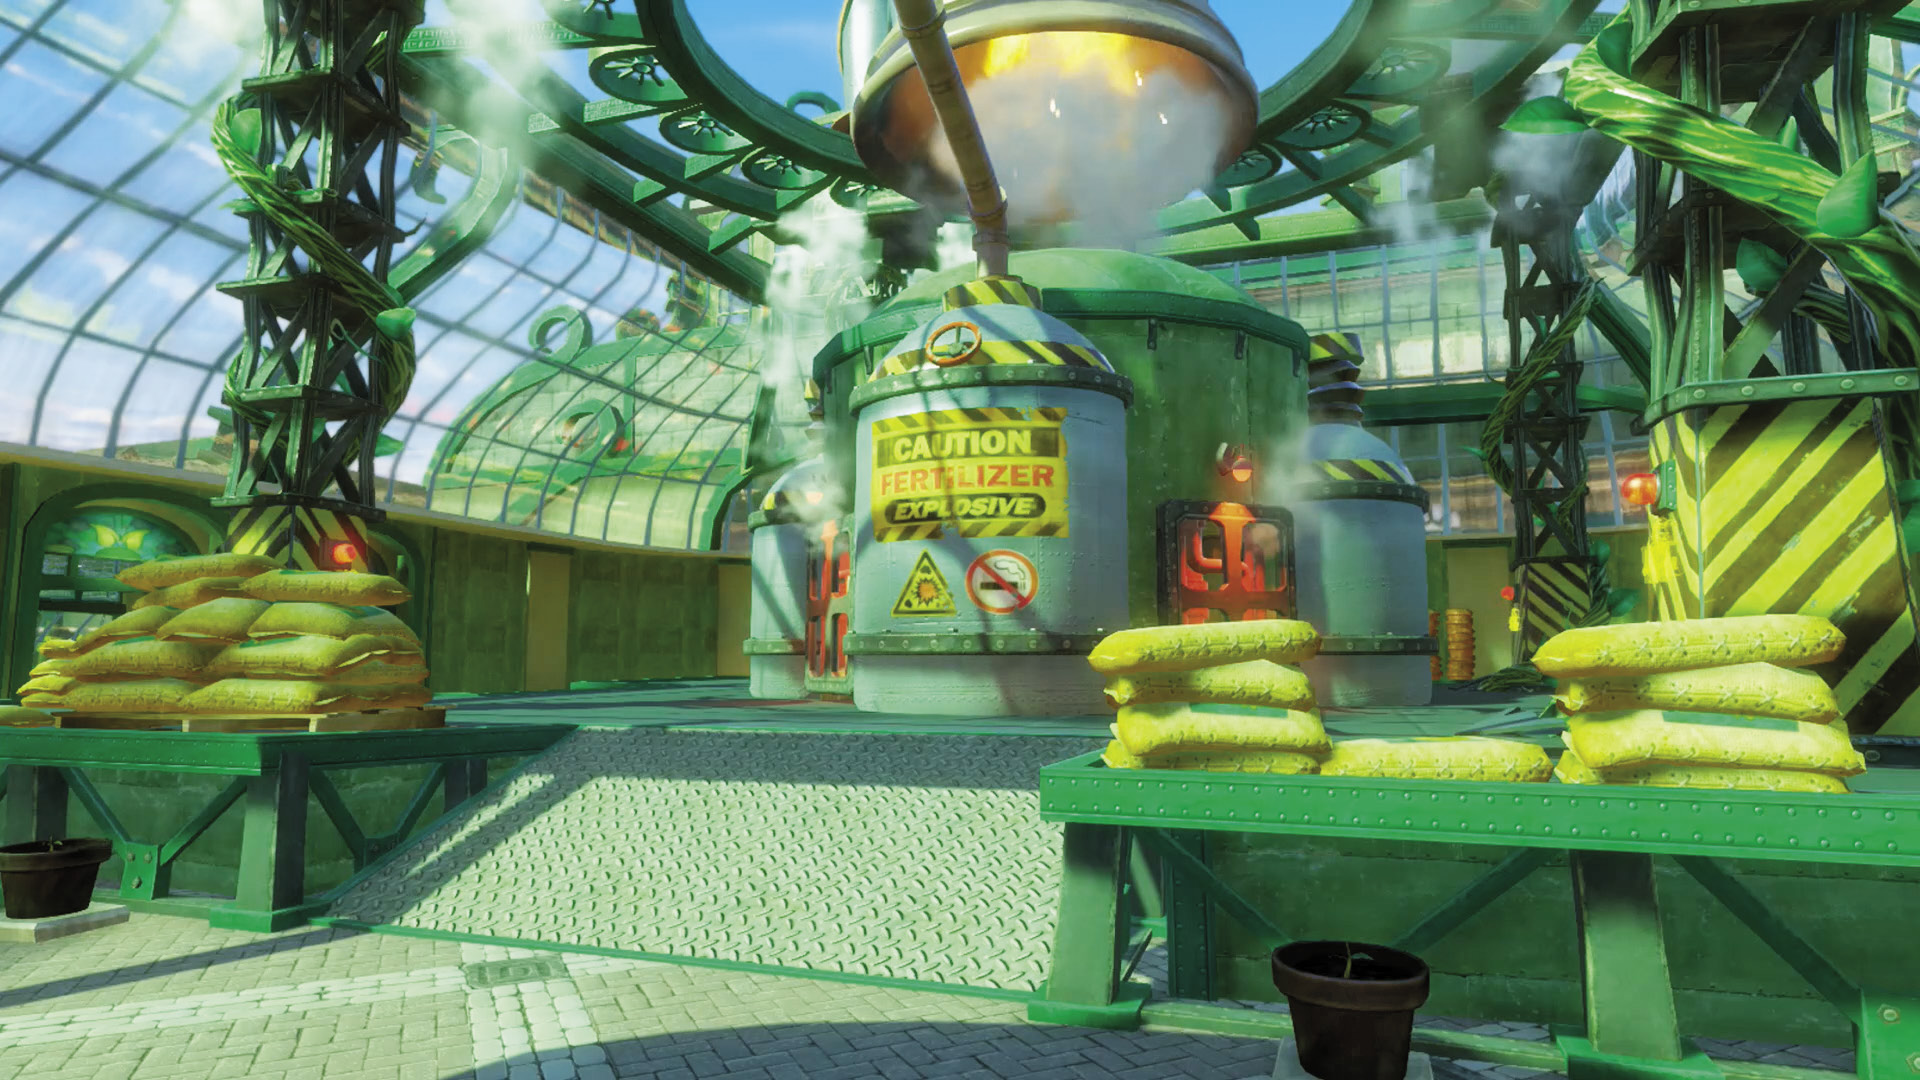
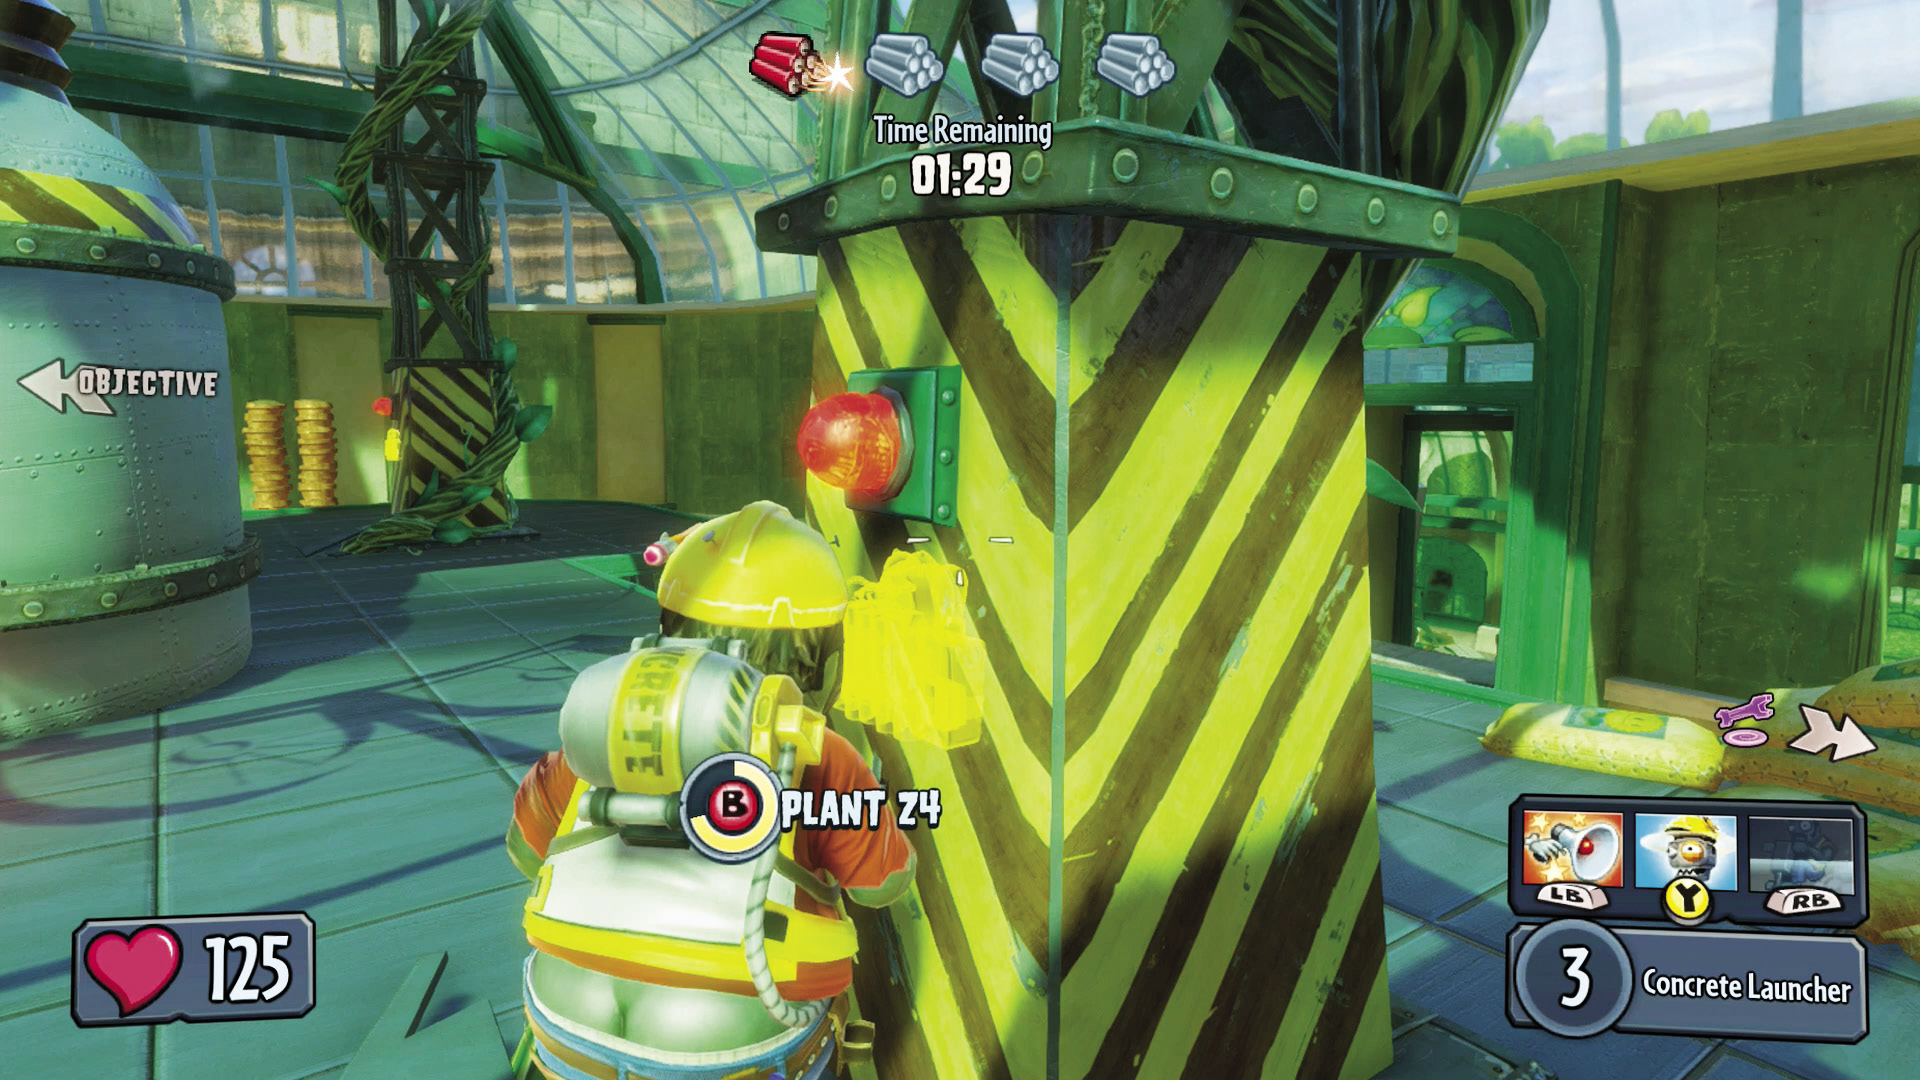
[6] Zombies: If at all possible, try to make it here with a team! There are four pillars where you have to plant Z4 to destroy the base, and having a team close will make it tougher for the plants to pick you off. Planting each explosive will take time.
Plants: If the zombies have made it here, then it’s time to give it all you’ve got! Make sure the zombies don’t have time to plant any of their explosives around the base’s four pillars.