
Plants vs Zombies Garden Warfare Guide Gardens and Graveyards Gardens and Graveyards Maps
Wall-nut Hills
The zombies just found out about Crazy Dave’s sweet mansion and want to take it over. If the plants can’t stop them, Crazy Dave will be living on the streets!
Phase 1: Backyard
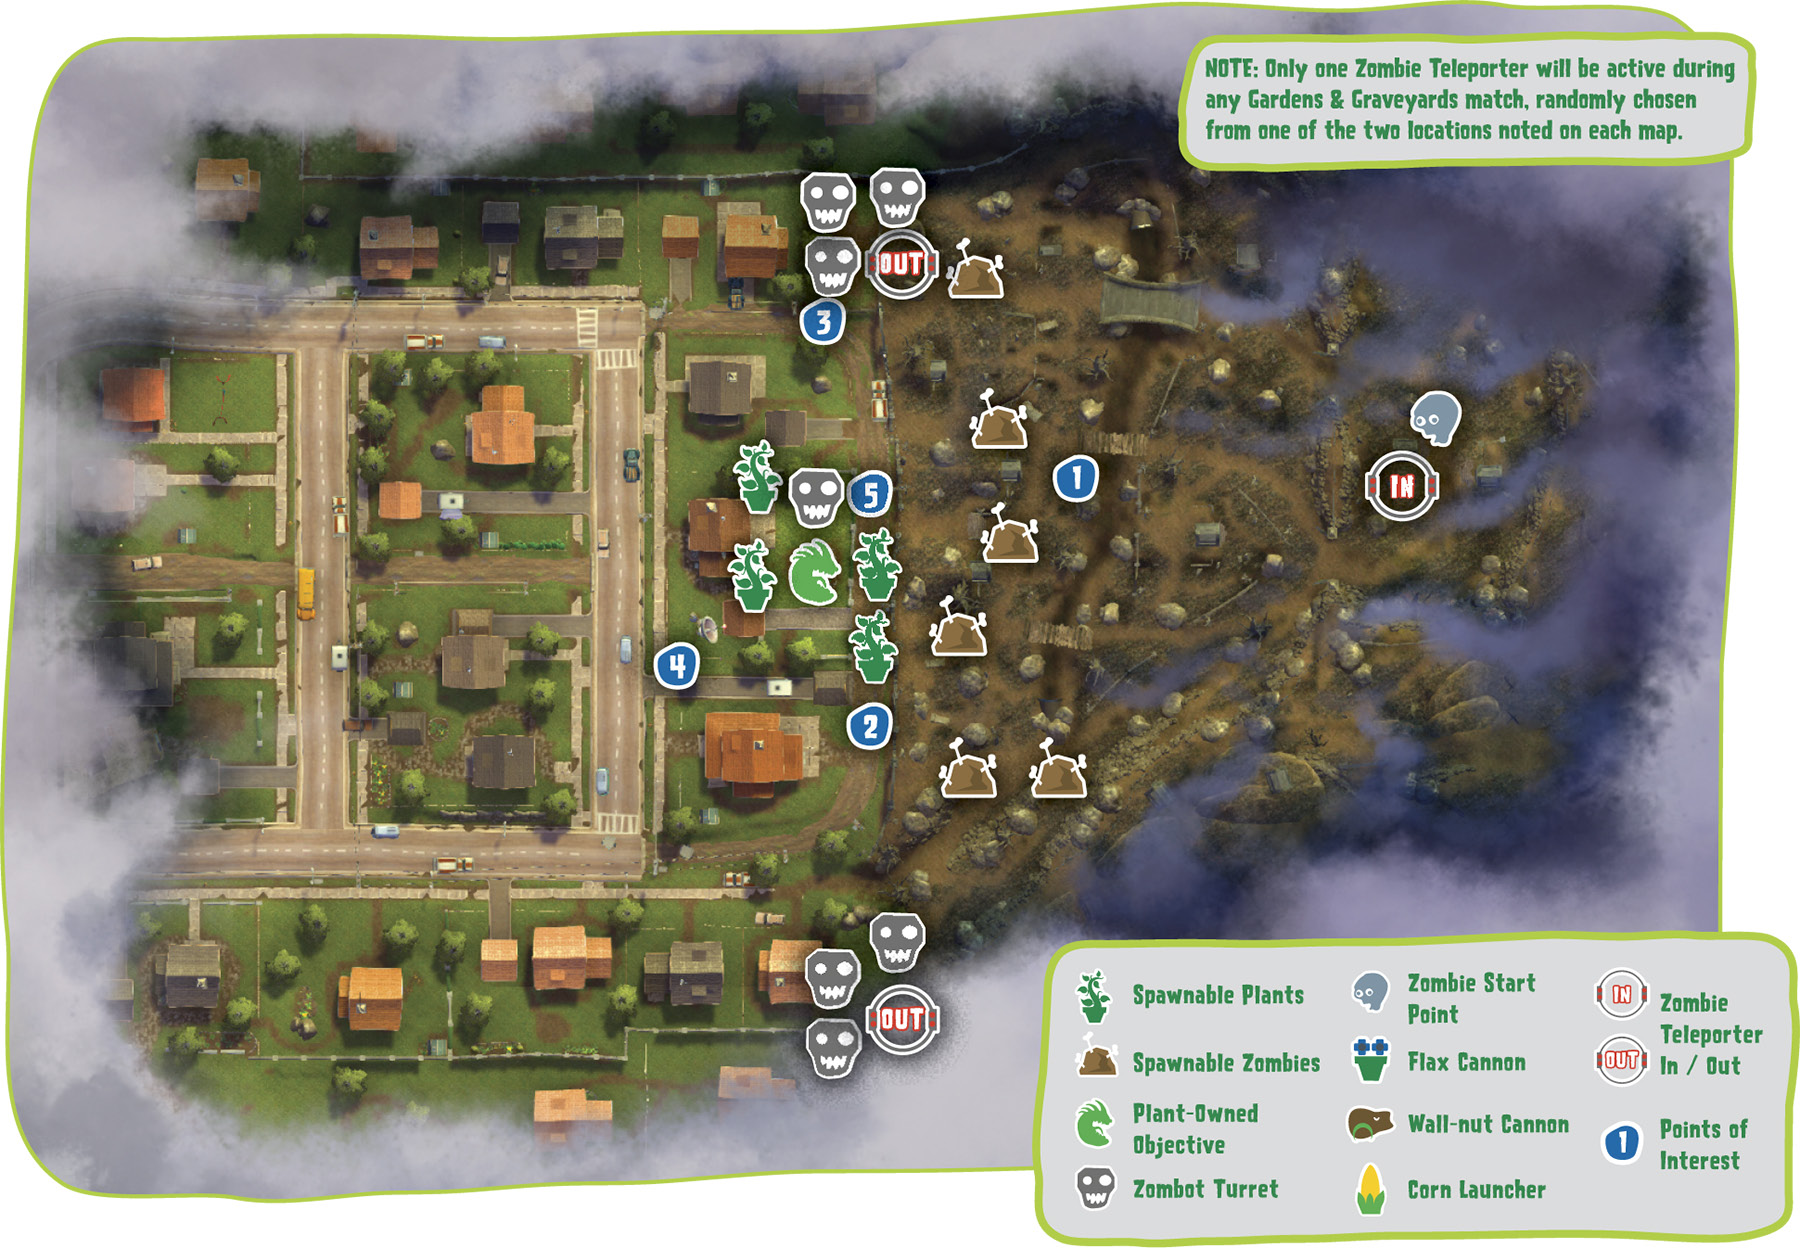
Points of Interest
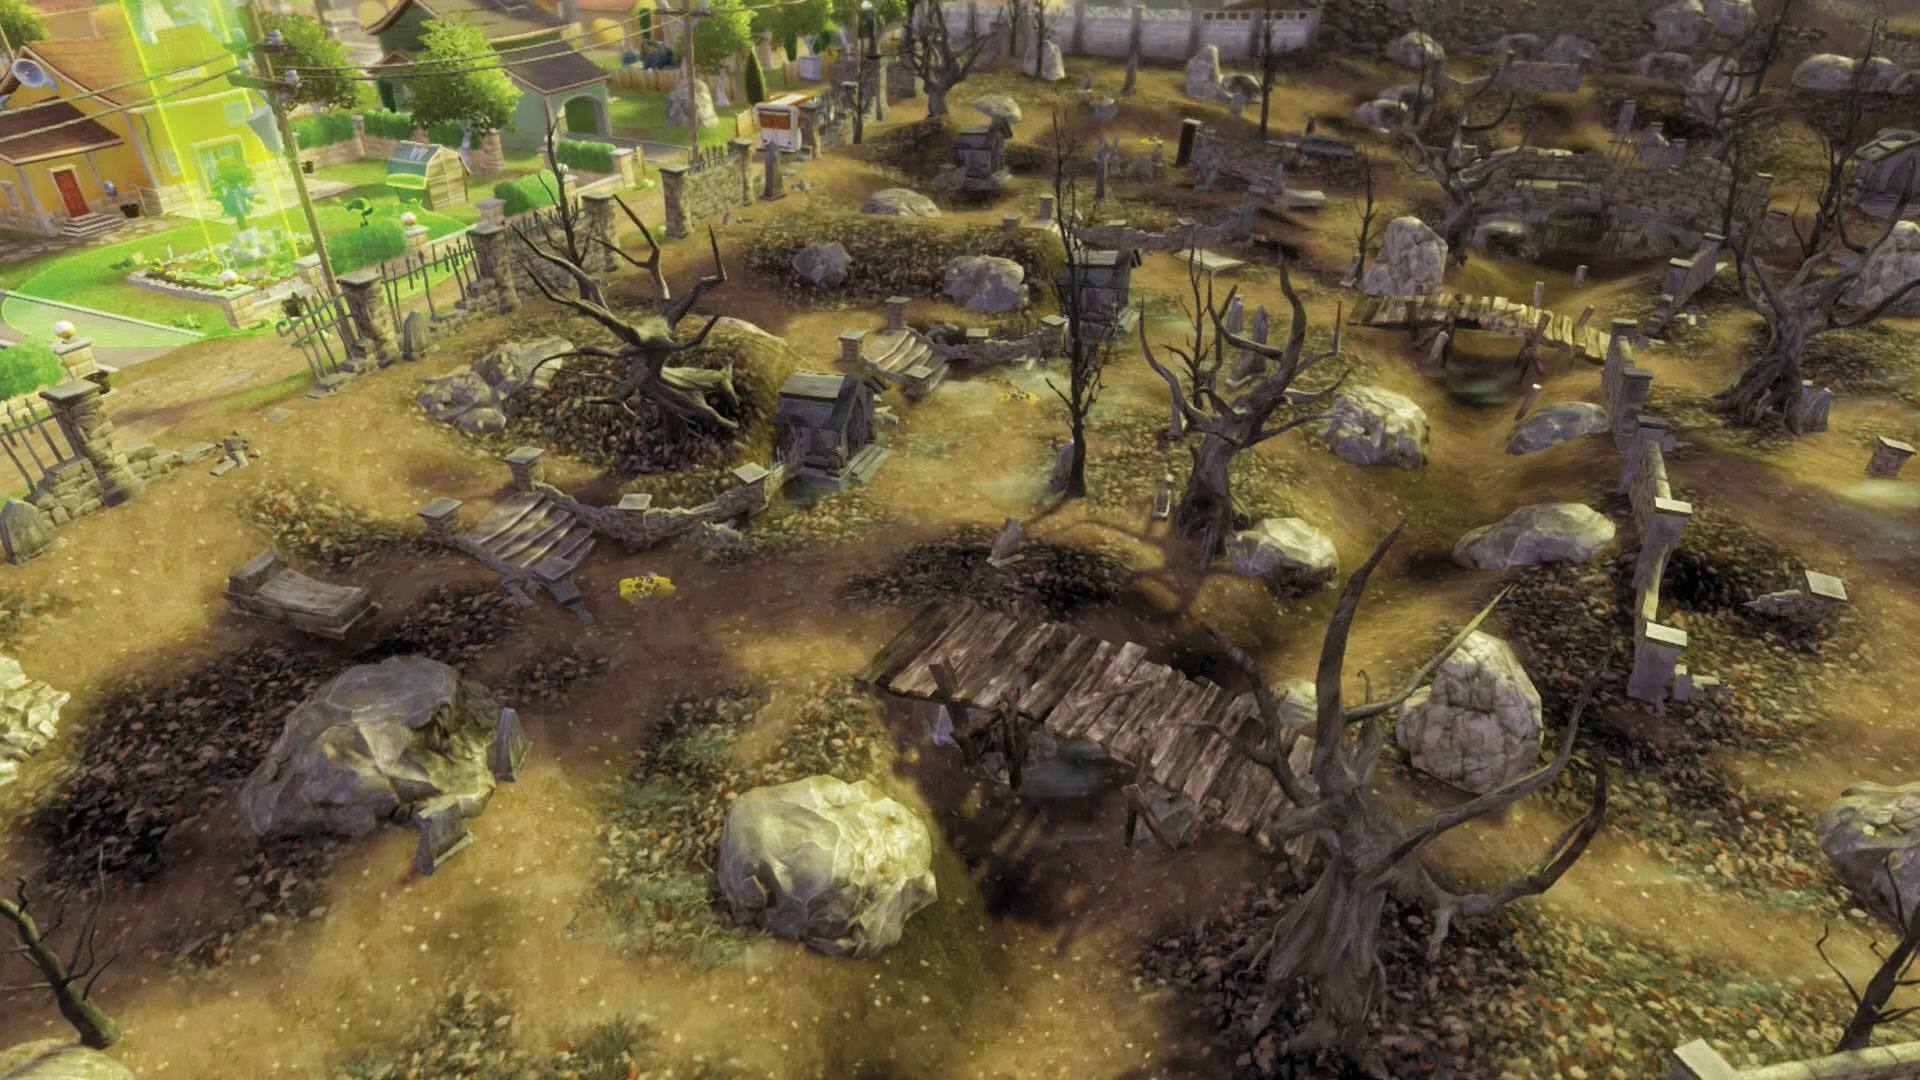
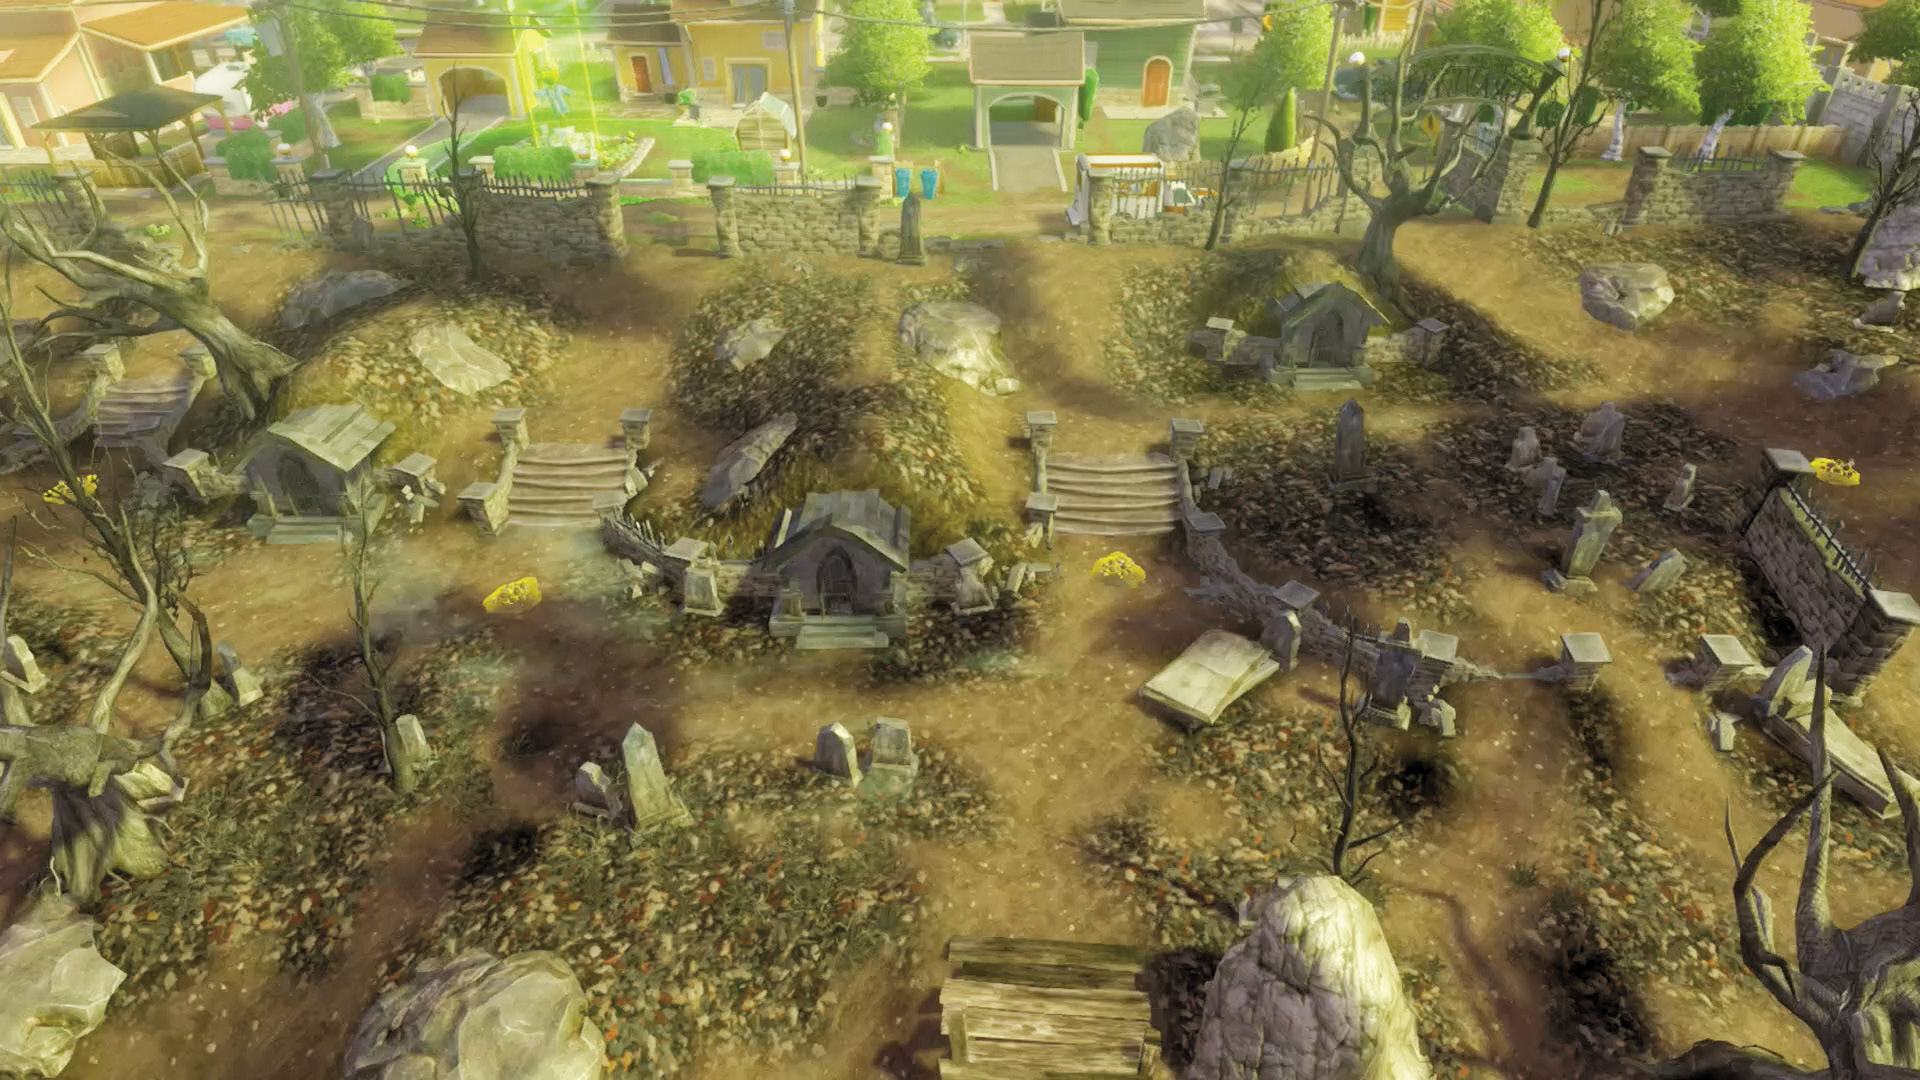
[1] Zombies: This is the area where you will start out, and it’s where you’re going to want to bolster your ranks as fast as possible using Spawnable Zombies. Fortunately, Spawnables are all over the place here, which makes this a relatively easy task. This is also where you’re going to want to keep track of your teammates’ Classes and form strategies based on who you have on the field. Simply put, strategize and prepare here while keeping out any pesky plants that try to overstep their bounds.
Plants: You and your Garden are not far away from this area, so watch it closely! As mentioned above, this is where the zombies are going to have their huddles before charging out onto your Garden, and you want to be prepared for anything.
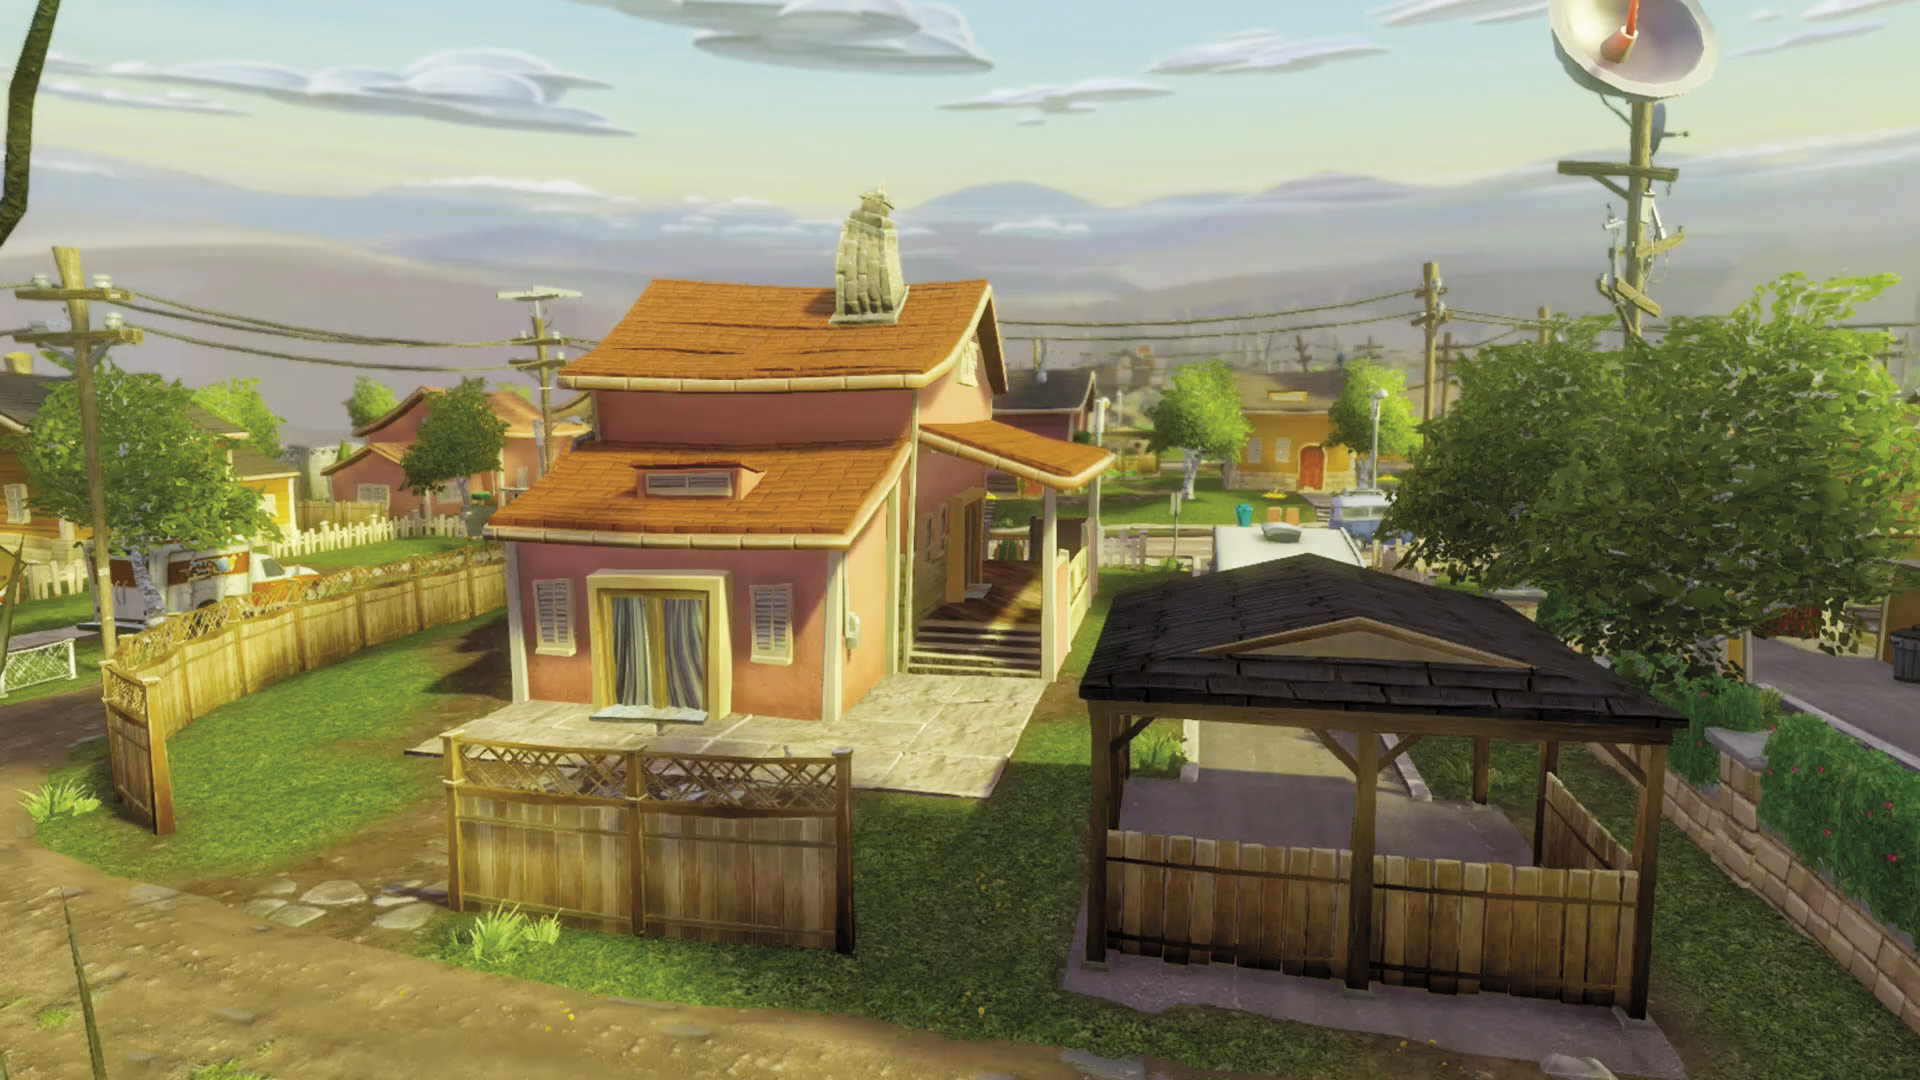
[2] Zombies: A decent flanking point can be found to the west of the house. If you can keep the plants busy such that you can sneak some zombies past, you can come at the their Garden from behind.
Plants: This is another area you’re going to want to watch closely to prevent being flanked by zombies. The nearby wall is a double-edged sword; while it can make life hard for zombies trying to take the direct approach, it can also make them tougher for you to see.
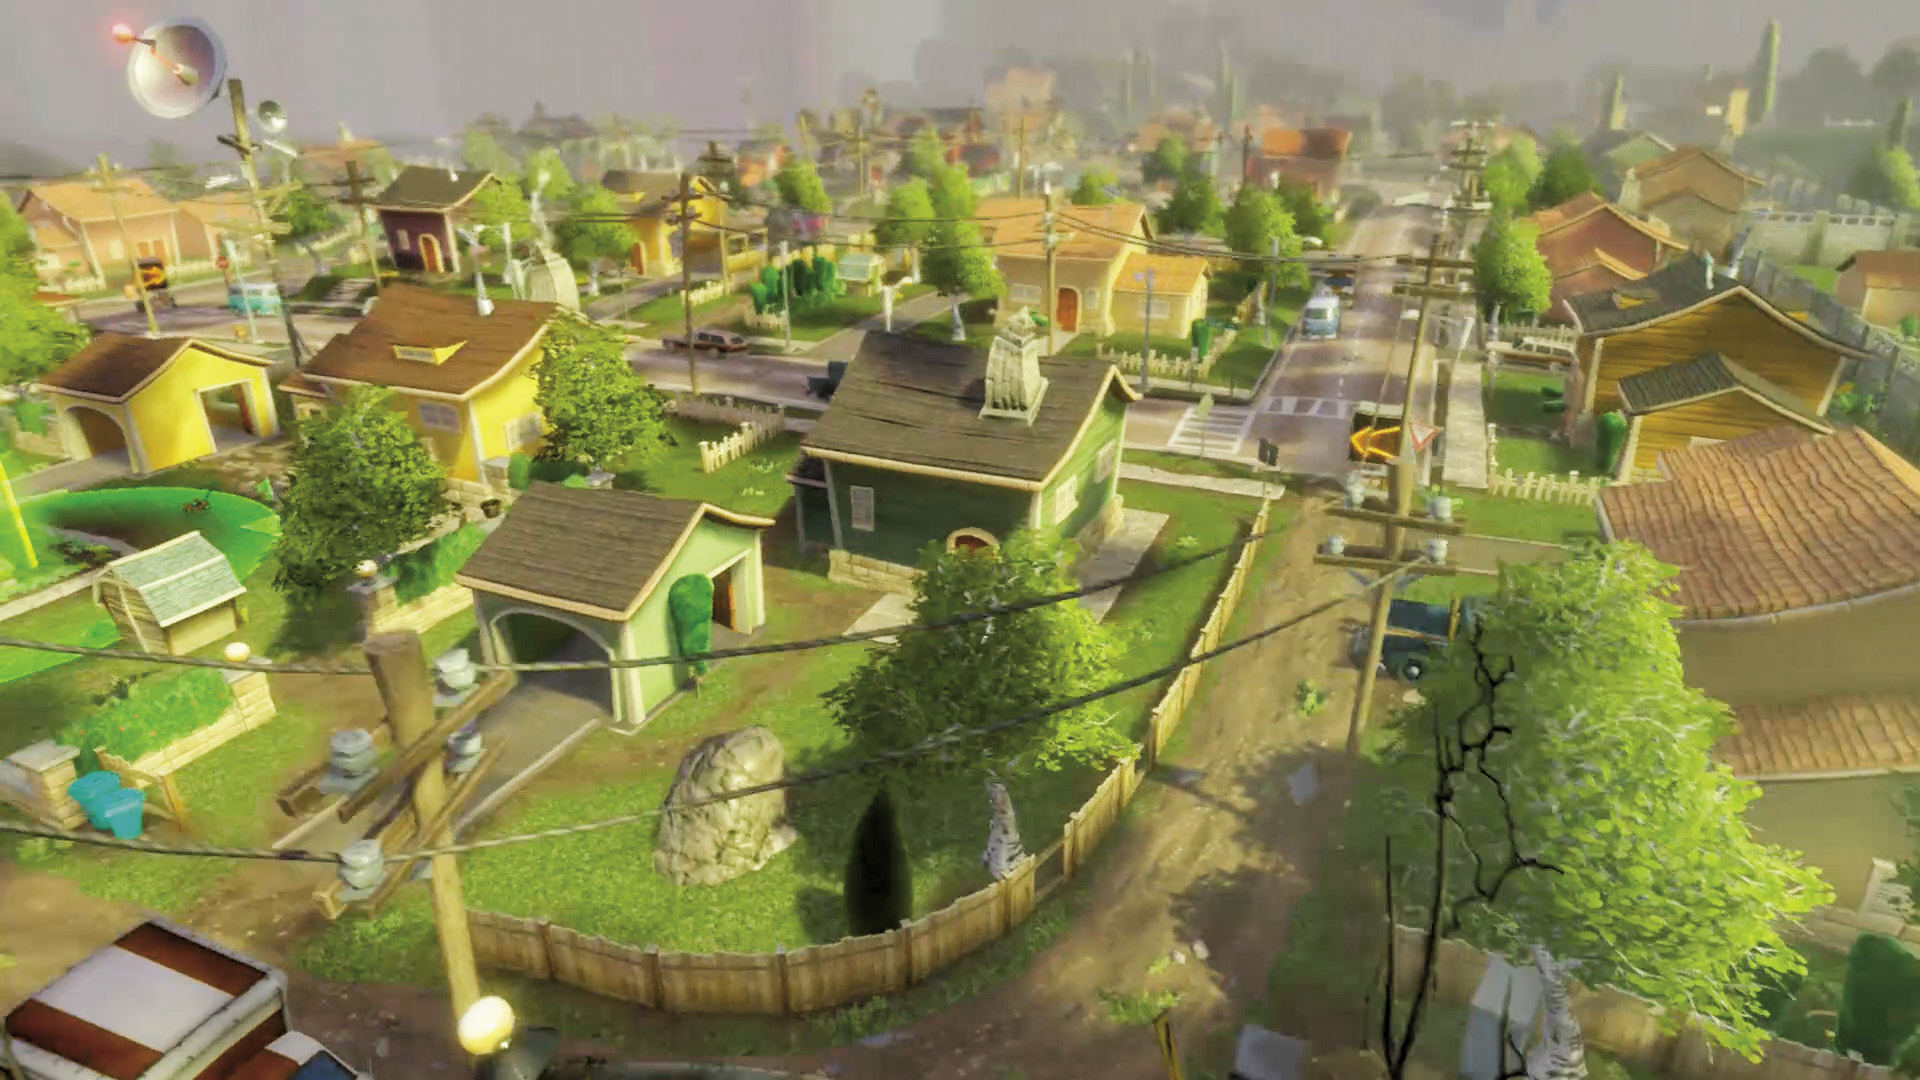
[3] Zombies: This is another excellent flanking point, using largely the same principles as in [2] above.
Plants: This is another possible flanking point to watch, for the same reasons as [2] above. Don’t let the zombies get the drop on you!
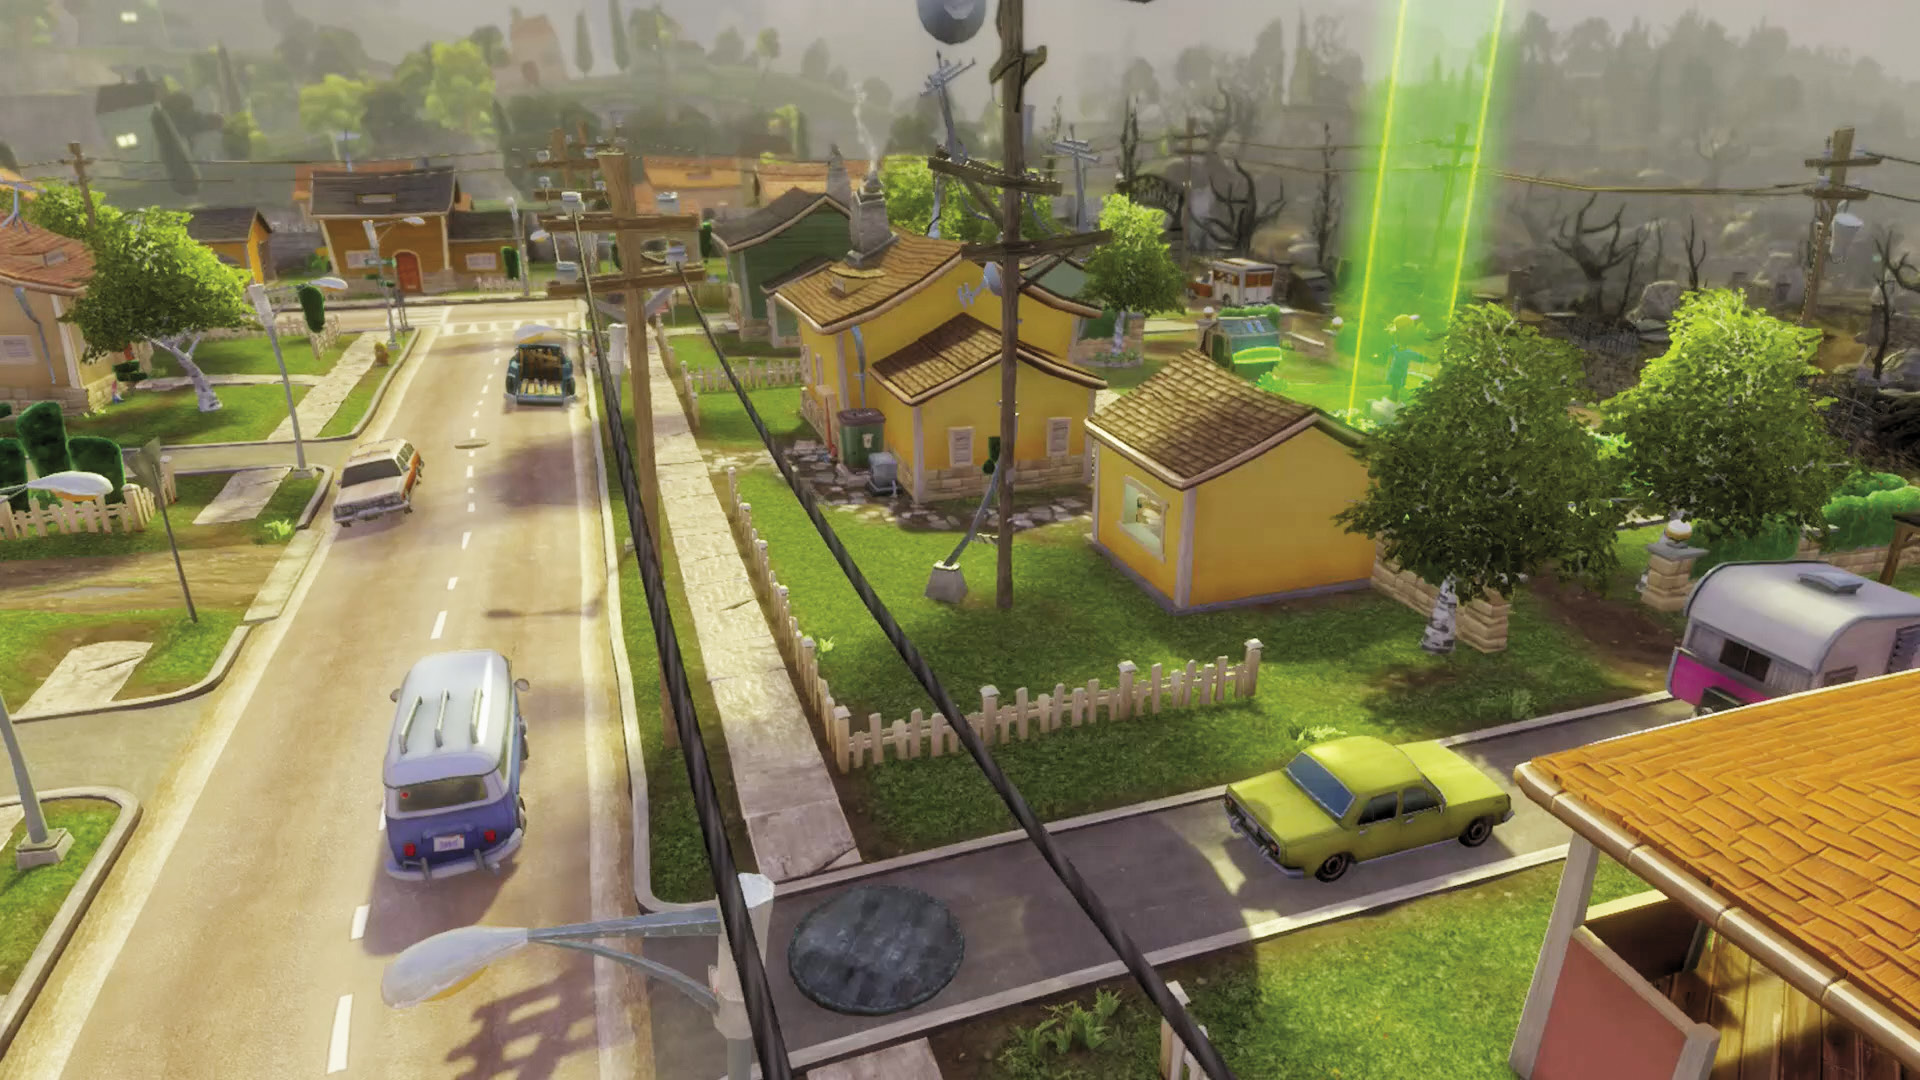
[4] Zombies: This is where most of your sneak attacks are going to come from. Familiarize yourself with the street behind the plants’ Garden, and make note of the holes in the walls and fences. If you manage to grab the upper hand in this area, bring a Scientist and use his Zombie Heal Station to allow your ranks to be replenished and flourish, allowing you to set up pincer maneuvers.
Plants: It is imperative that you always watch your backs, and as you can see, this area has a lot of back to cover! If you can, always have some scouts waiting in the rear ranks to take out zombies before they reach this vulnerable area.
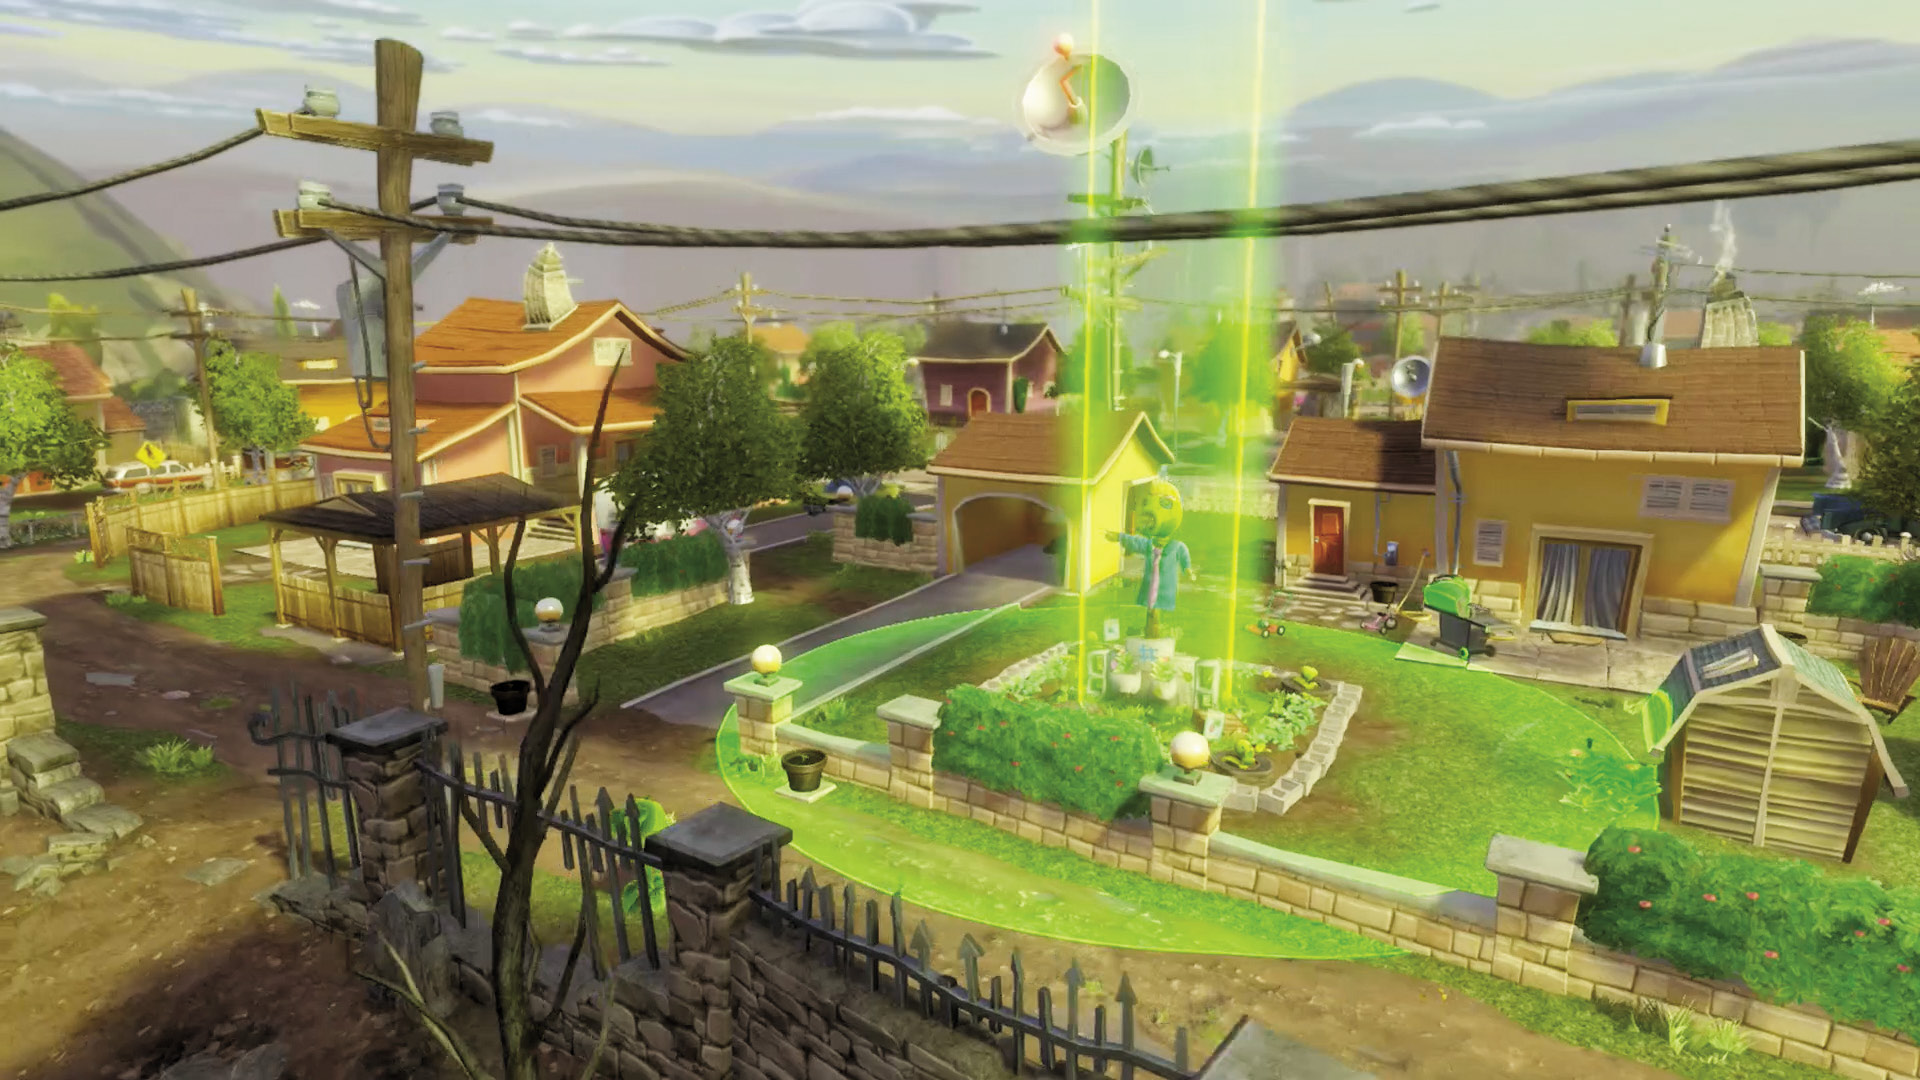
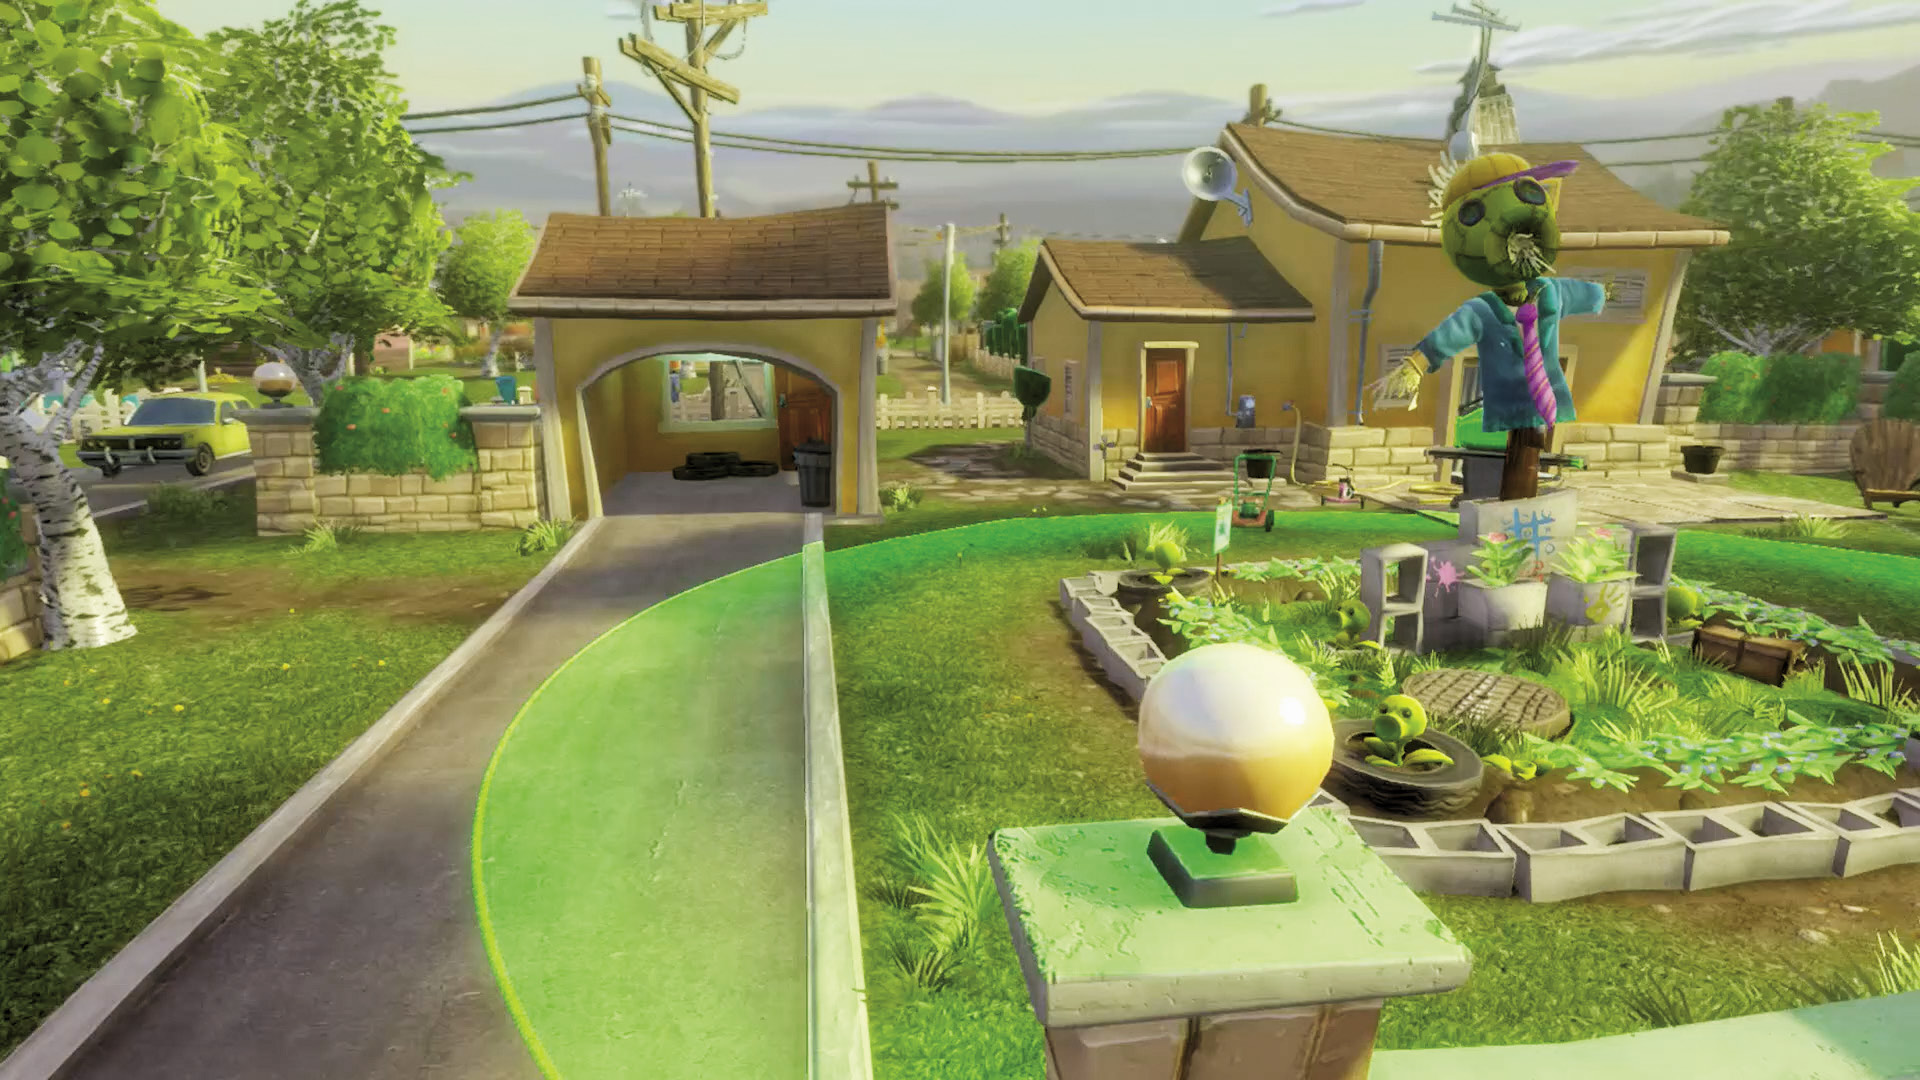
[5] Plants: This is your Garden for the area, and while it’s not too tough to keep defended, it has a lot of open areas that require your attention. You’re going to want to make sure no zombies leak to the extreme right or left, mainly so that they don’t reach the rear and sandwich you. The garage to the west is a handy cover spot that lets you see both the front and back. Choose some Spawnable Plants with long-range capabilities to round out your defense.
Phase 2: Tree House
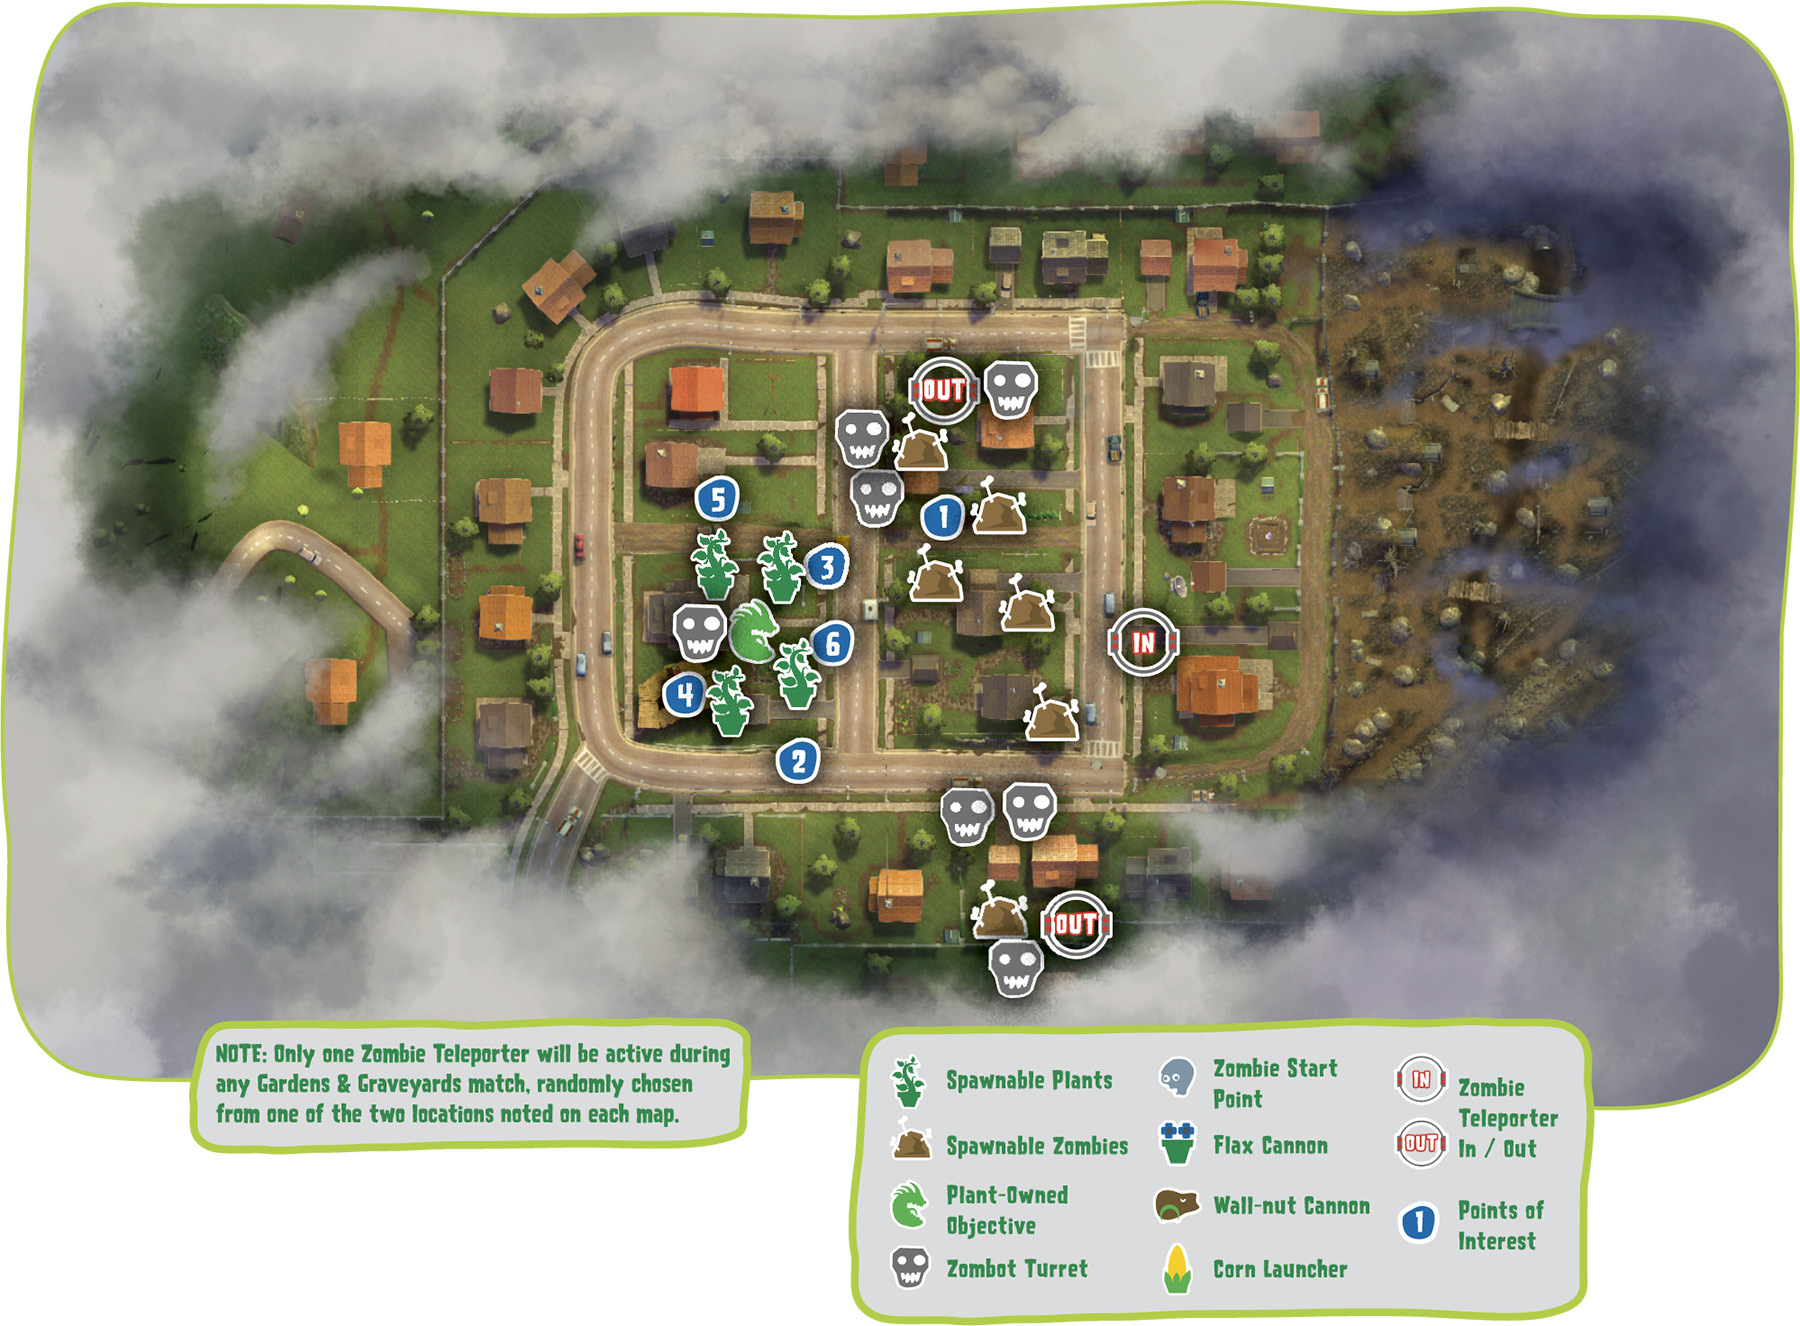
Points of Interest
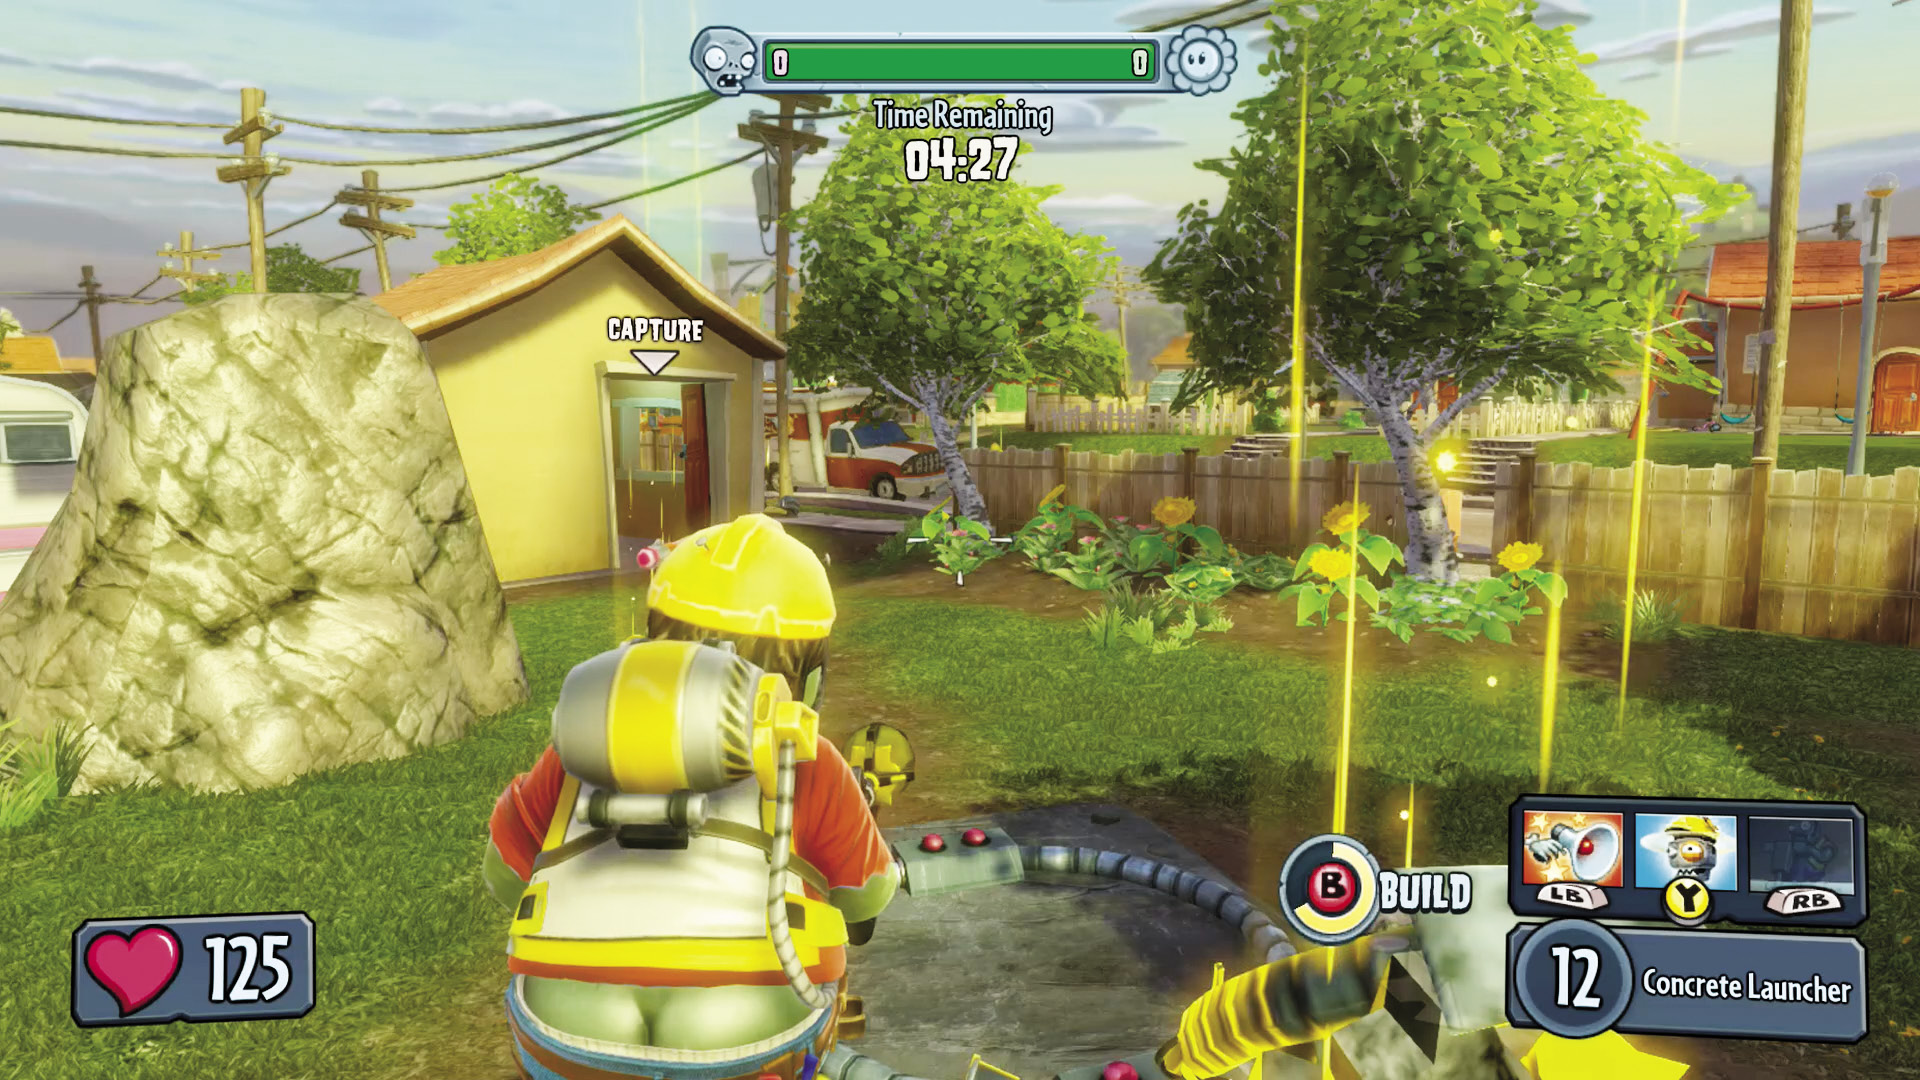
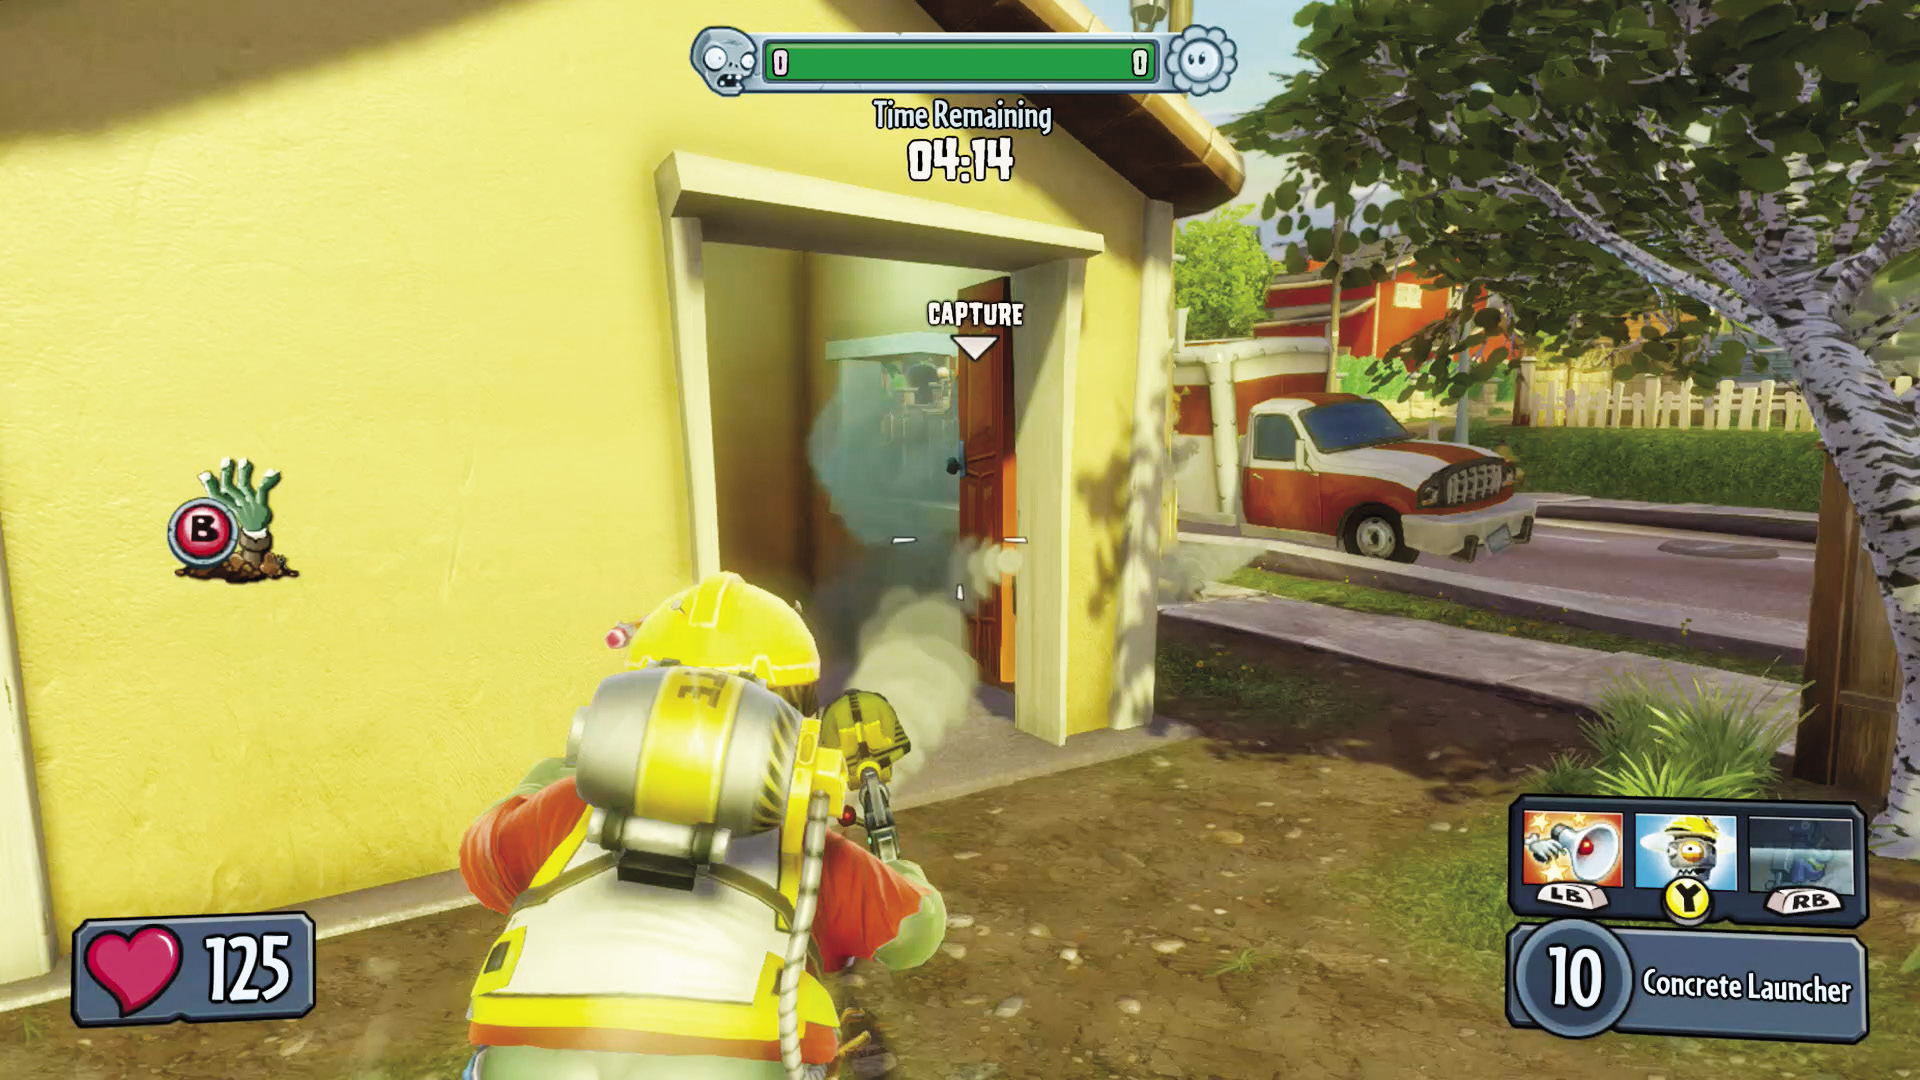
[1] Zombies: Near one of your Teleporters is a good place get a good view of the road and fire your weaponry from easy cover. Sadly, sniping maneuvers will be made tough, due to the vehicles in the way of your line of sight, but you can still catch any wandering plants unawares.
Plants: If you can keep the pressure on the zombies here, you’ll force them to guess at your position and run blindly into the open to escape your assault, making them even easier prey. Make sure to still keep an eye on your Garden!
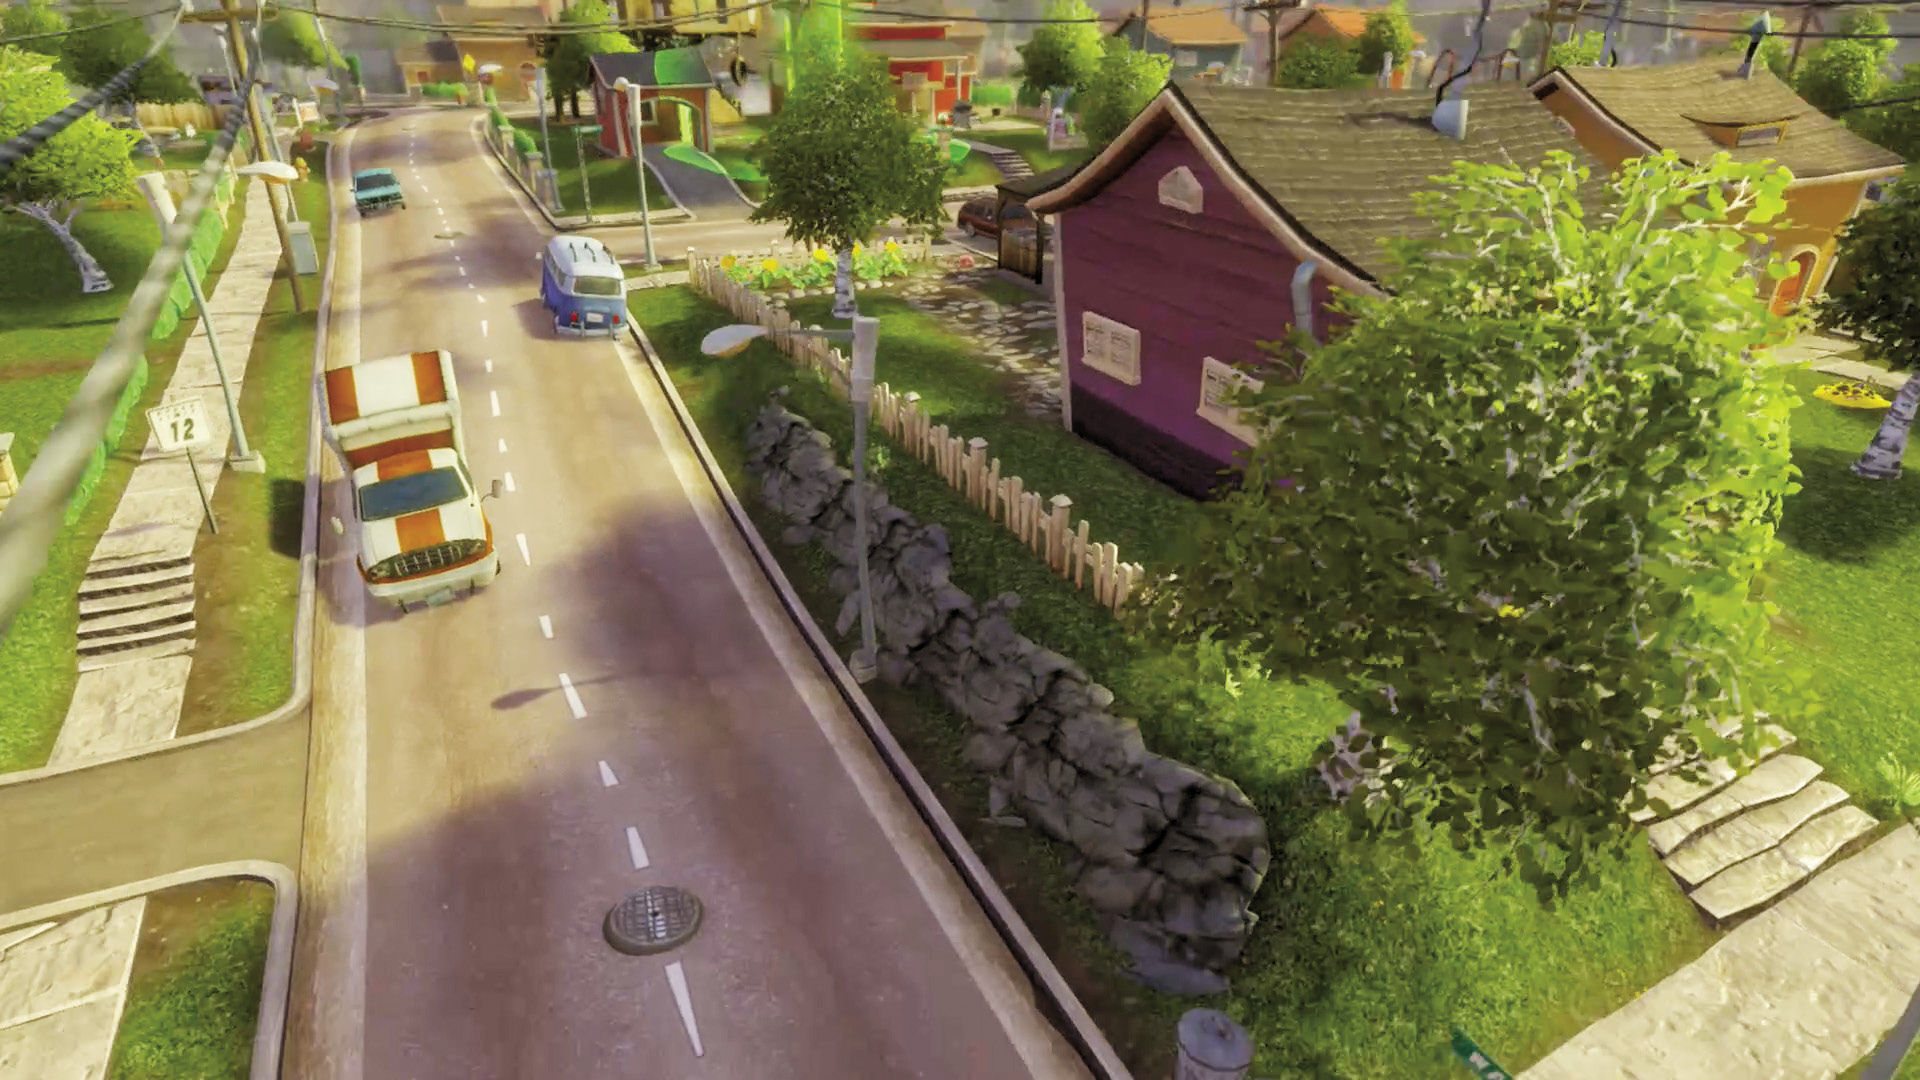
[2] Zombies: Approaching from this direction will allow you to come at the Garden from a closer angle, while still not approaching it head-on.
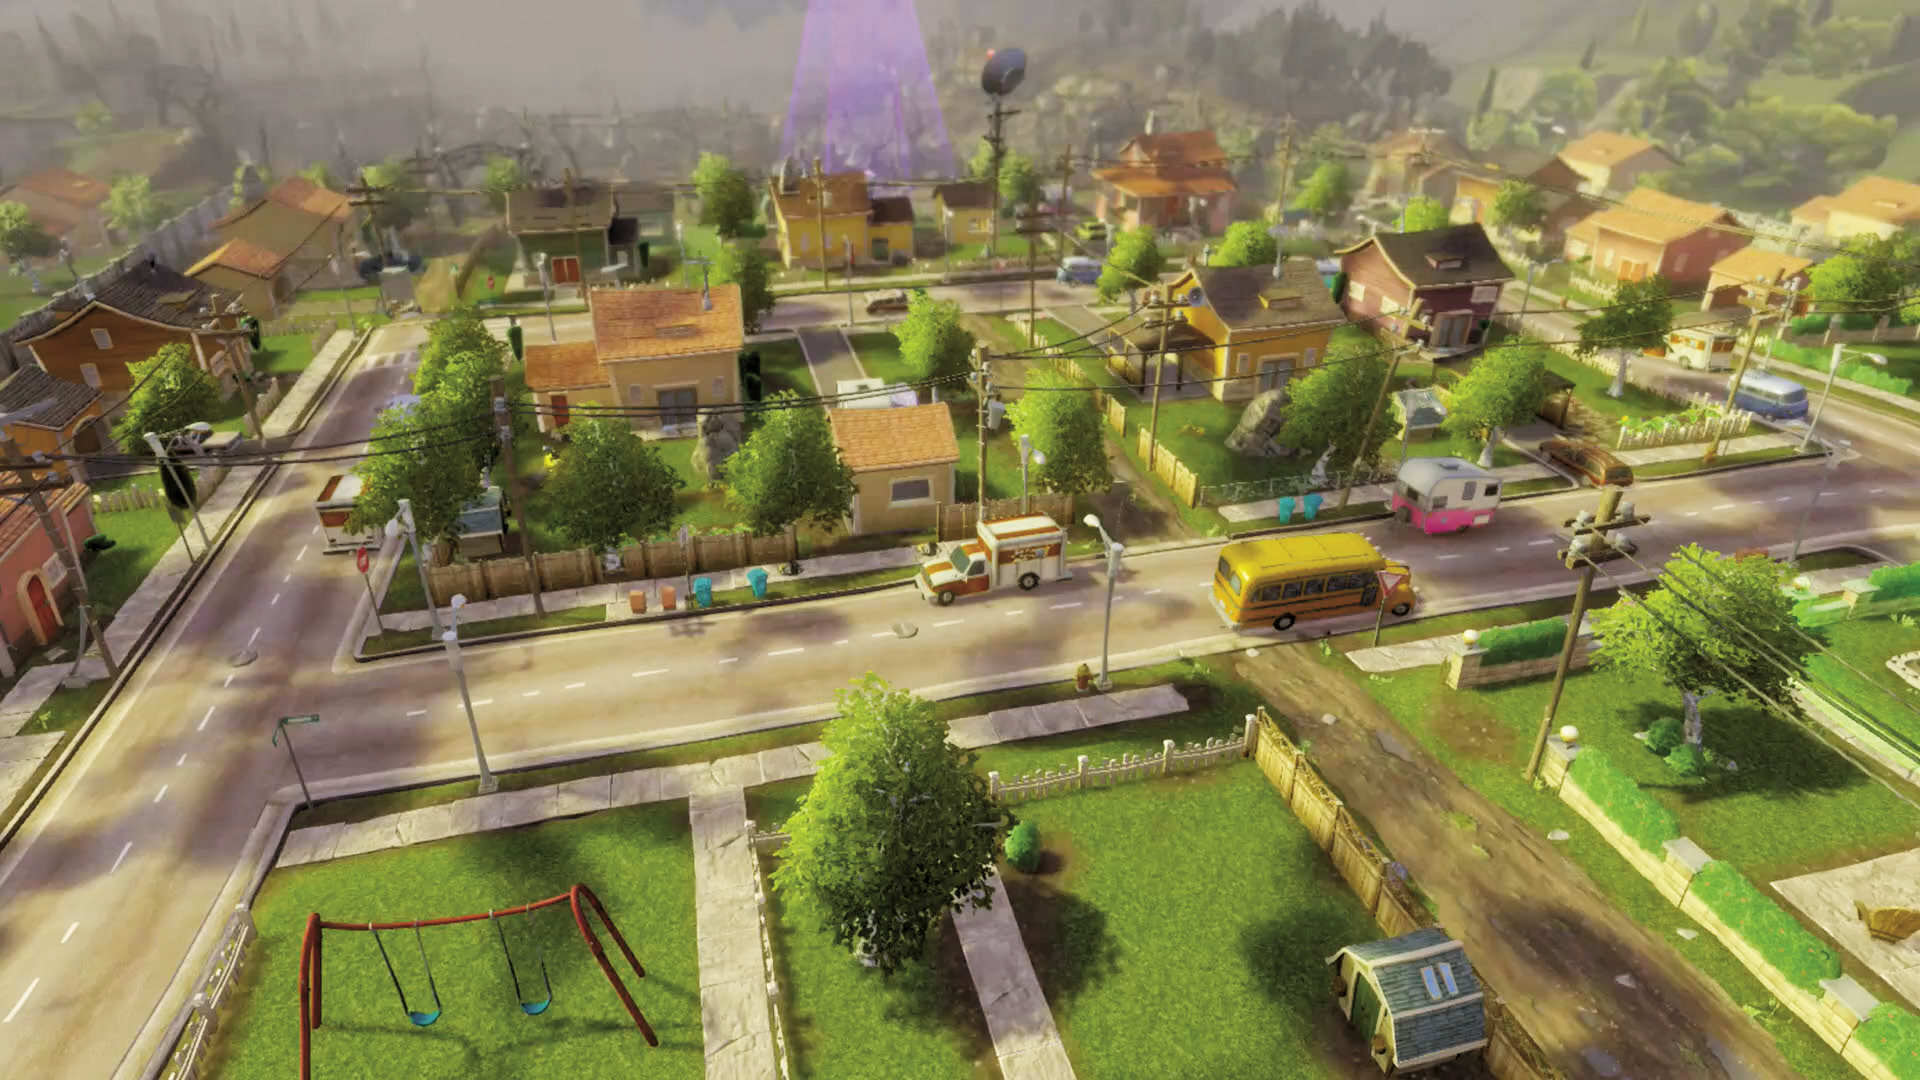
[3] Zombies: Much like [2], this way will allow you to approach the Garden at an odd angle, and the vehicles that were once visual obstructions now provide a good deal of cover. However, keep in mind that you’ll be open if you take the road path, while the path through the housing will make it harder to keep your bearings until you reach the Garden itself.
Plants: This area, as well as [2], are good places to set up traps and mines with Chompers and Cacti. zombies looking for a quick win will be approaching from both of these directions, so be sure to prepare yourselves and your territory.
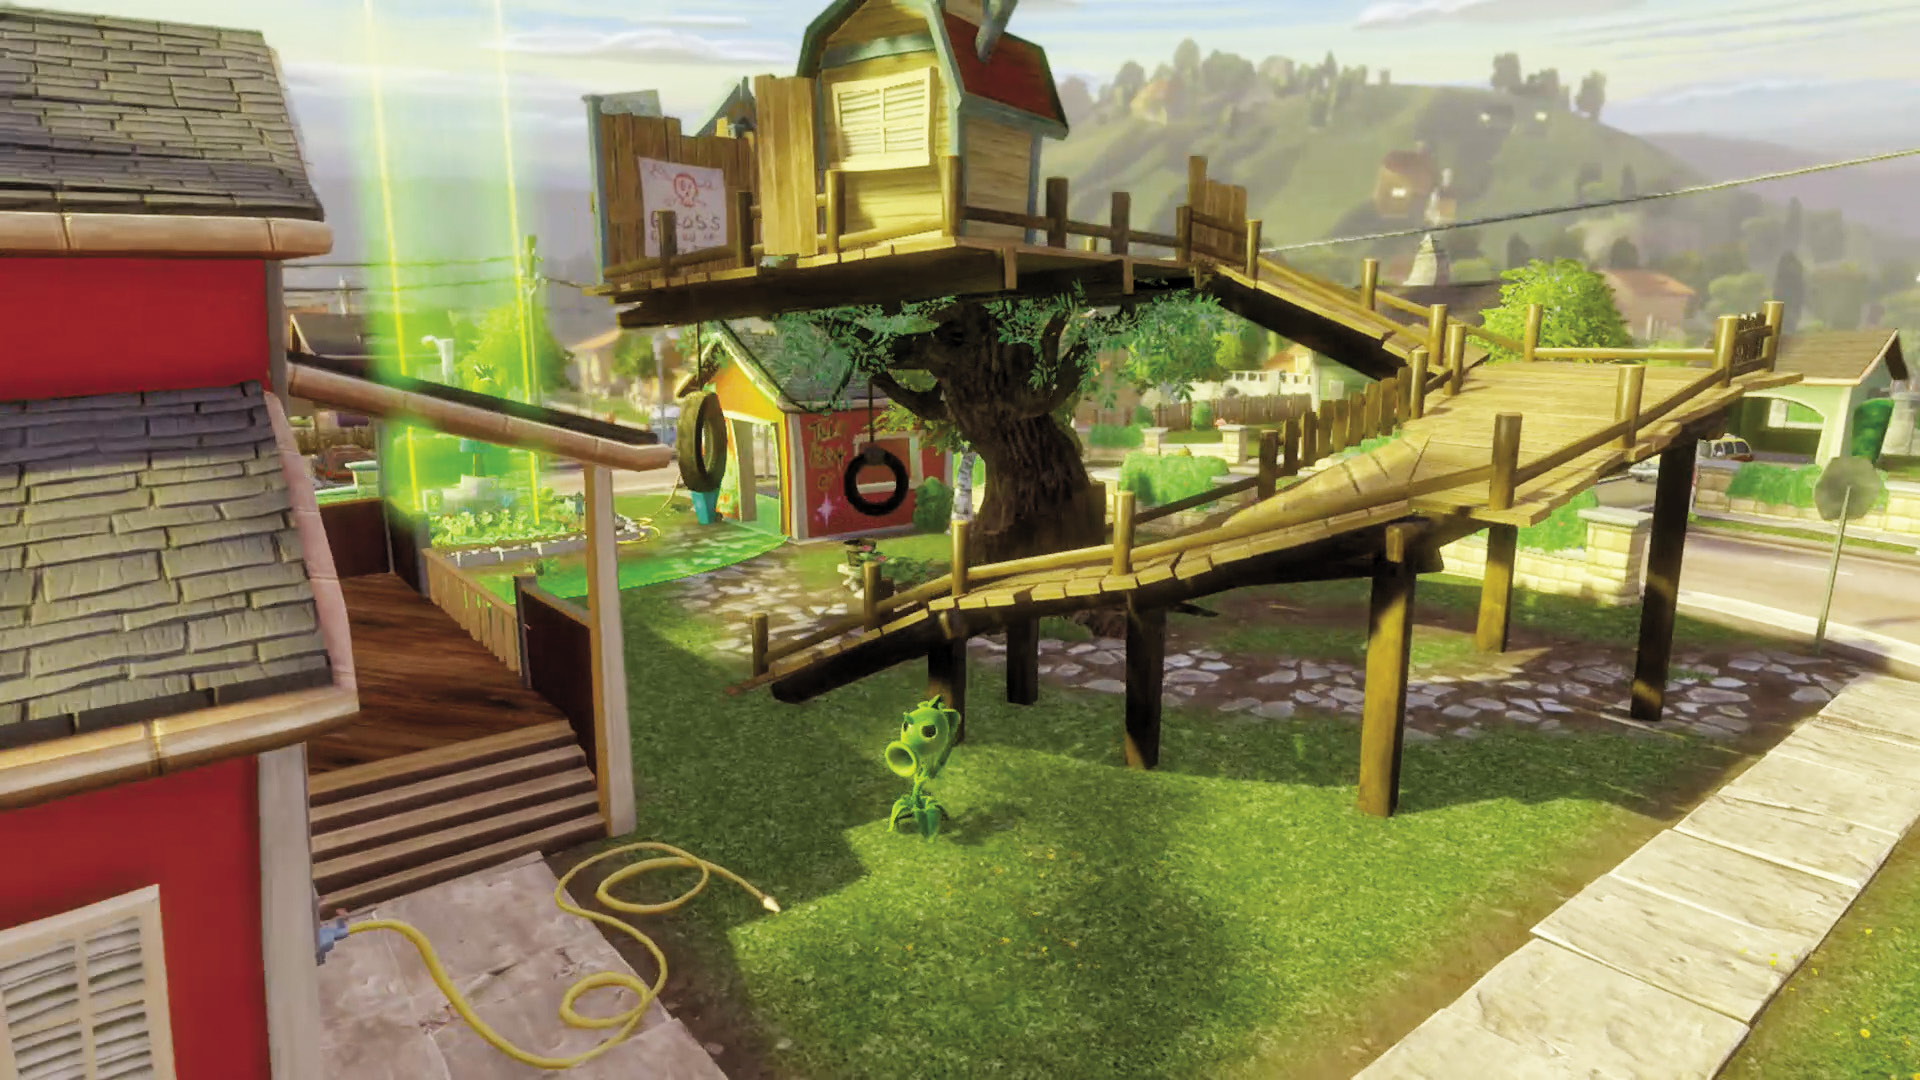
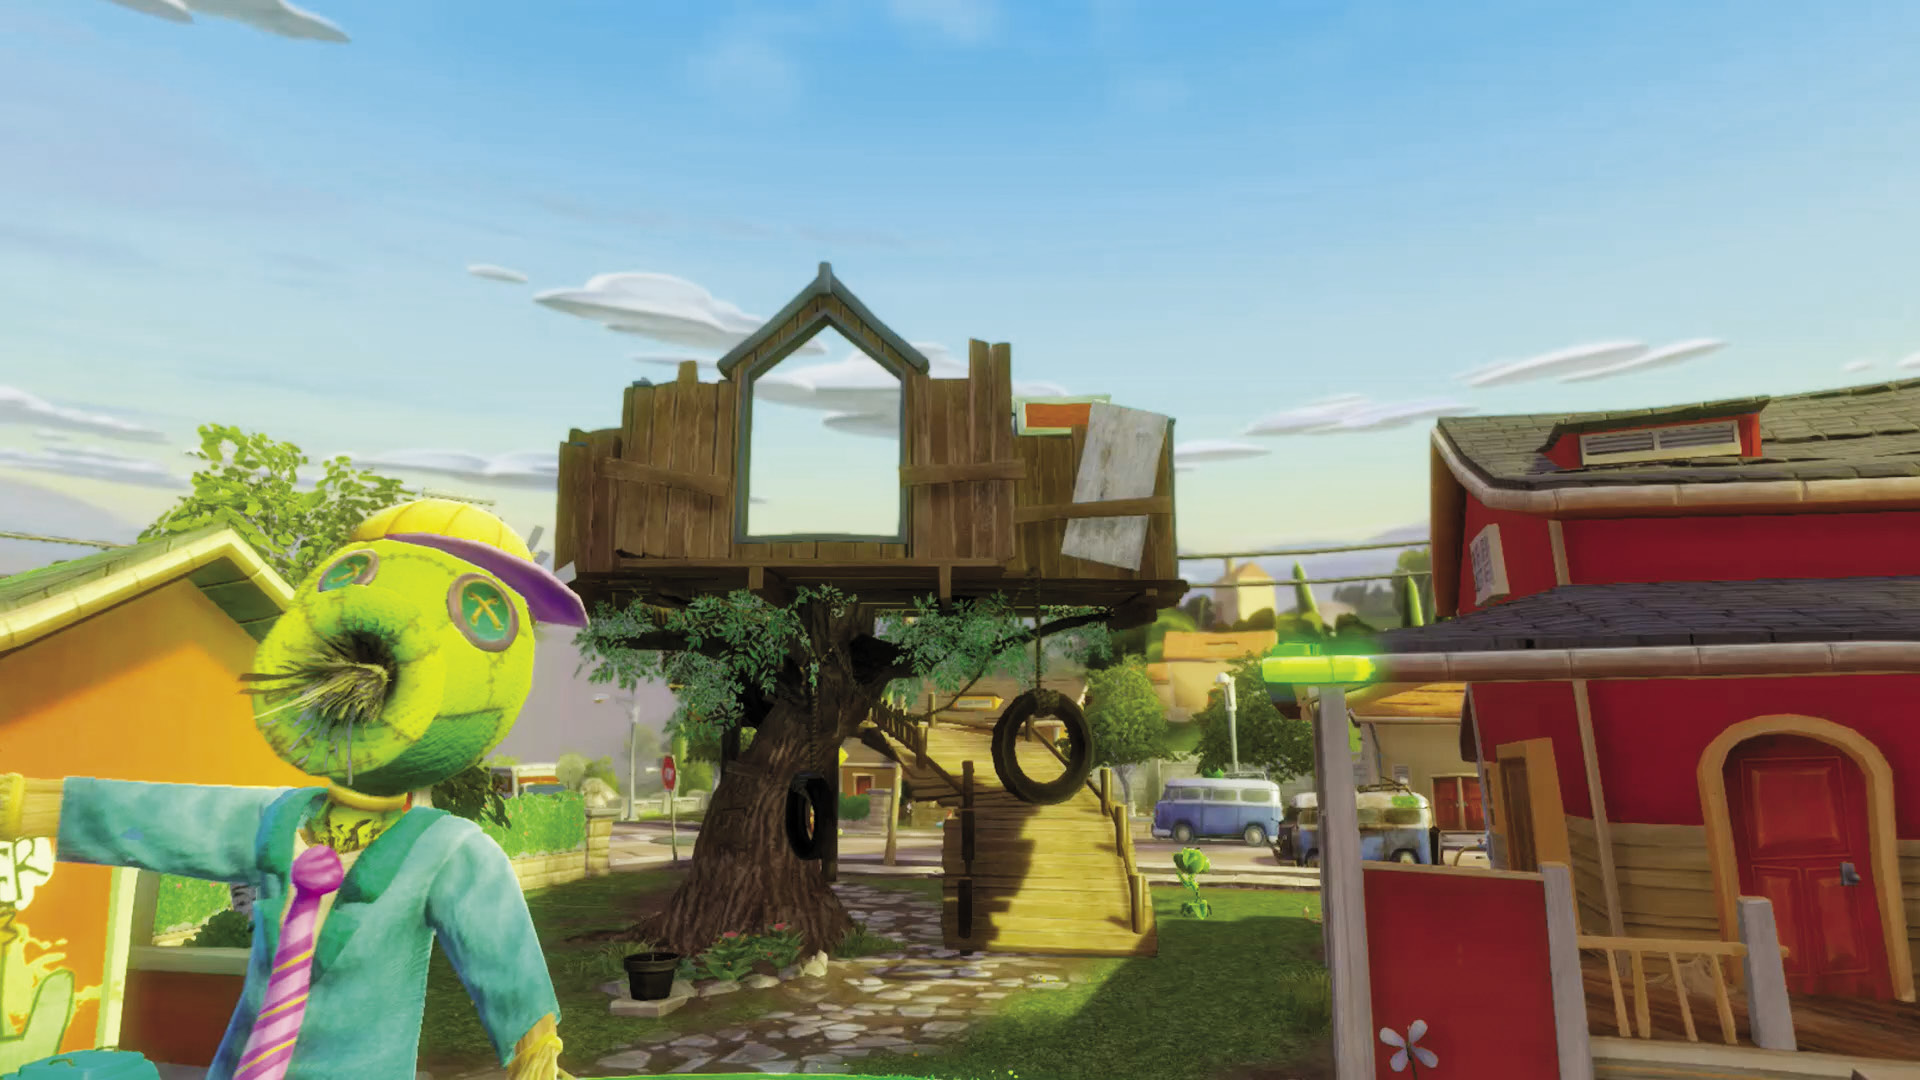
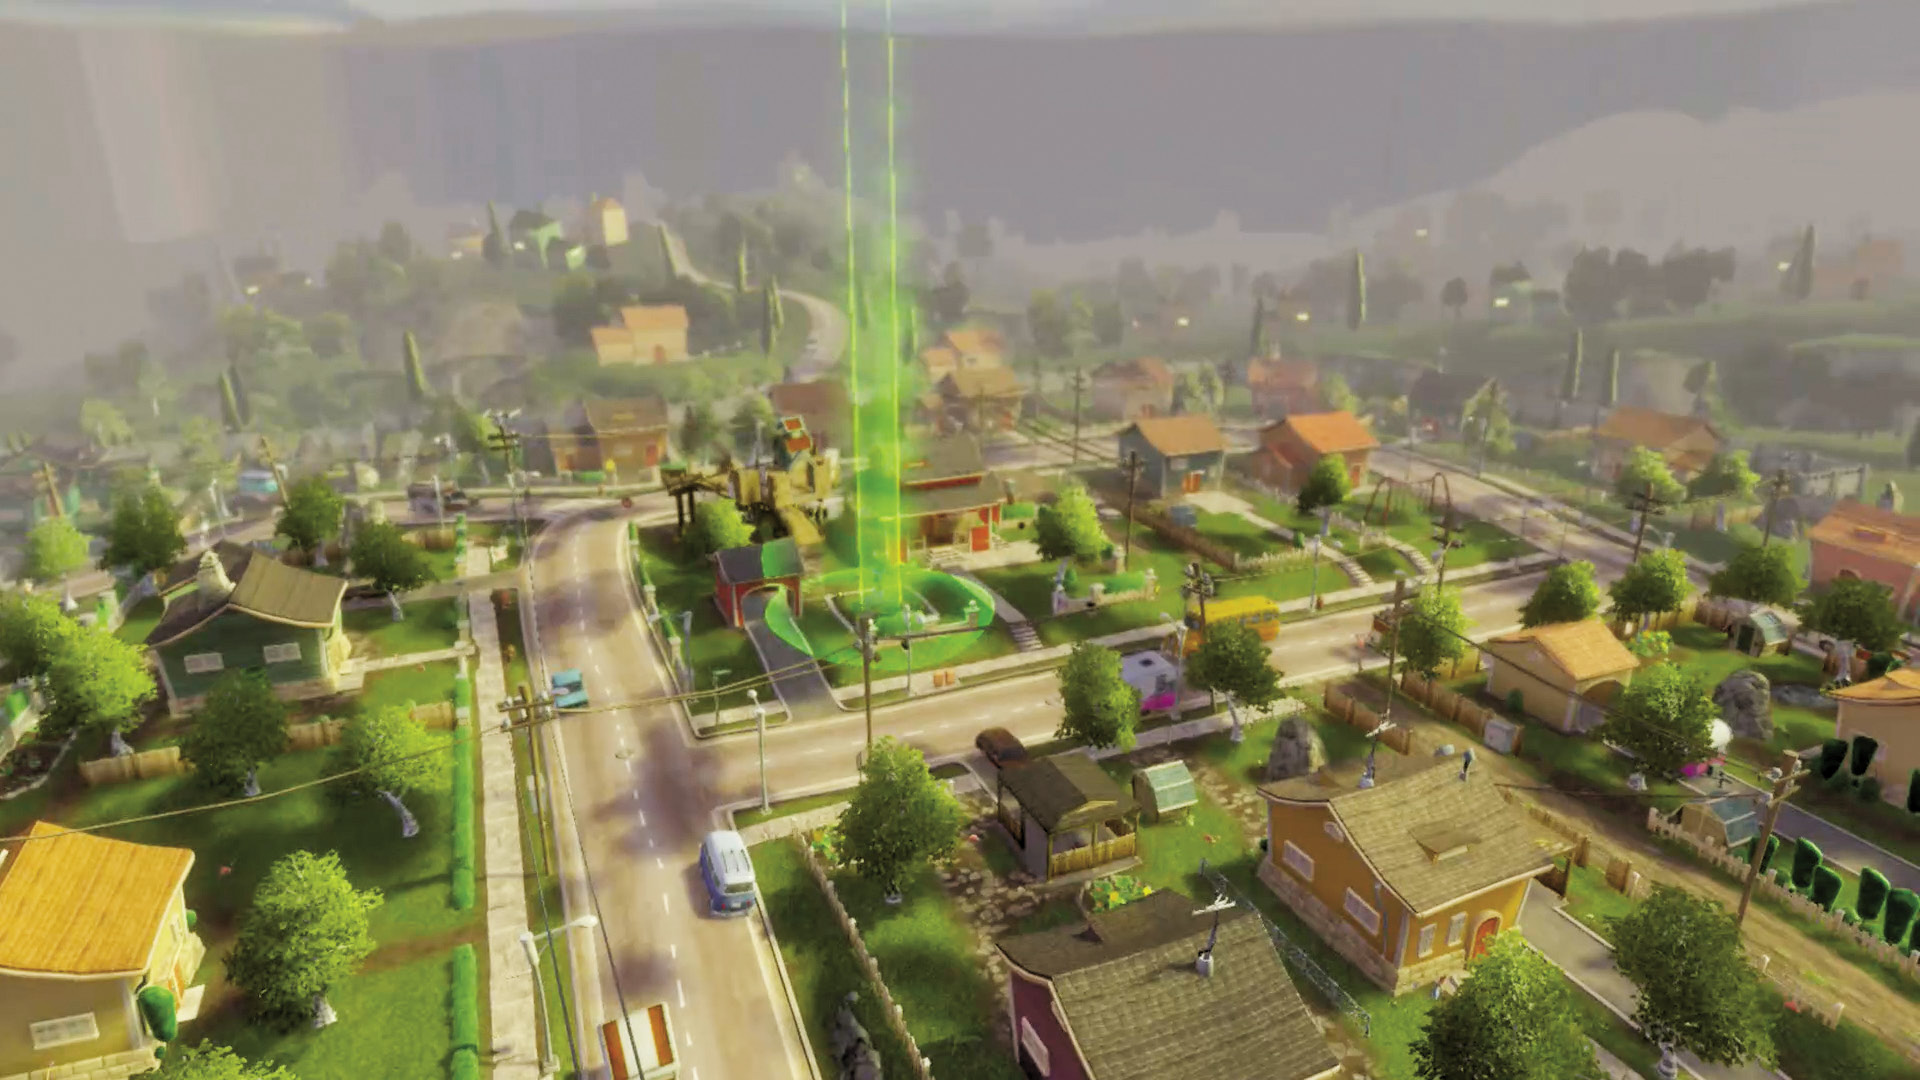
[4] Plants: The titular tree house is one of the cornerstones of your defense. It provides an excellent lookout point covering a good deal of [2] and [3], which can free up some plants to look out for your flank. Get some scouts and a sniping unit up here, and you’ll have a much easier time.
Zombies: The tree house is going to make life tough for you, and it’s why taking the back ways through shrubbery and houses can sometimes be preferable to approaching from the road. There is a bright spot, however: if you manage to take the tree house for yourselves, you have the opportunity to render the plants near-helpless! Use air support to try and take out any plants holing up in here ASAP.
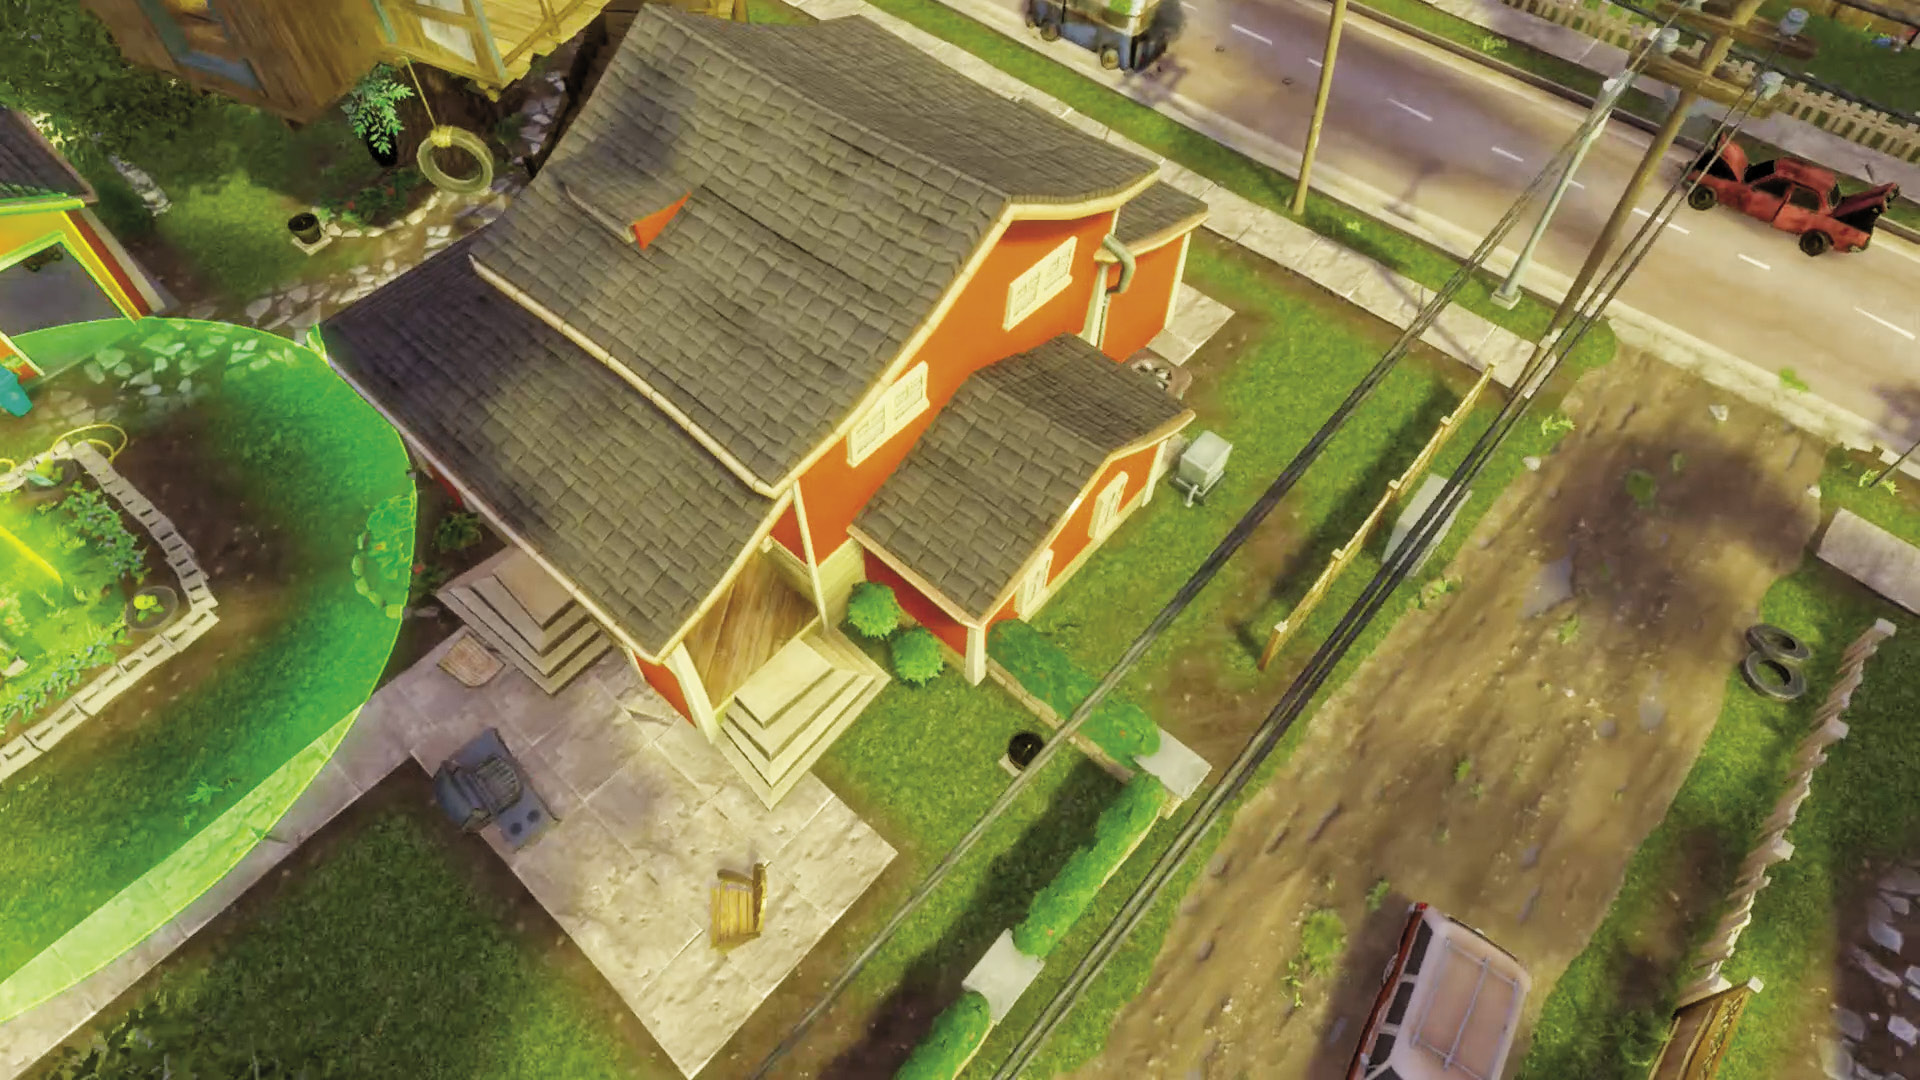
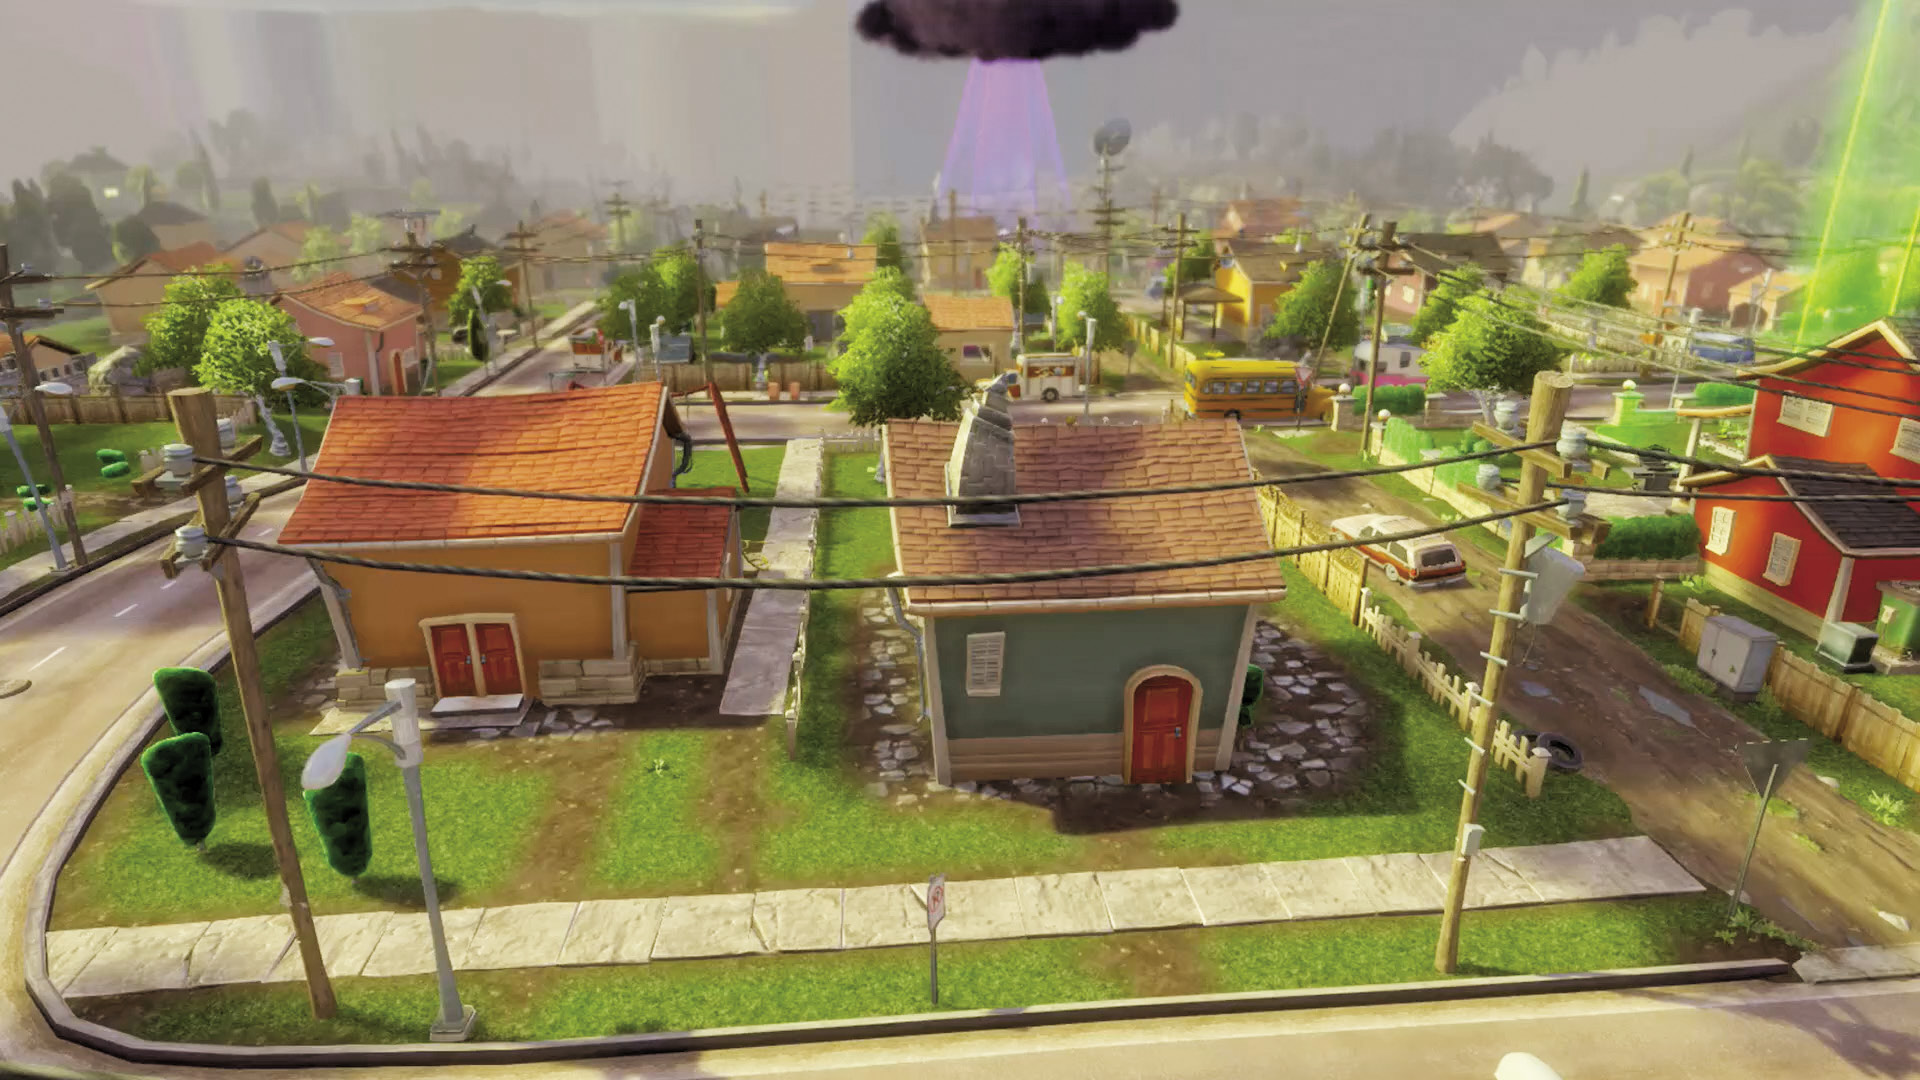
[5] Zombies: Taking the long way around will allow you to more easily approach the Garden from behind. However, be mindful of the lessened amount of cover when making the journey.
Plants: Be sure to watch this area, as it’s both open and one of your vulnerable spots.
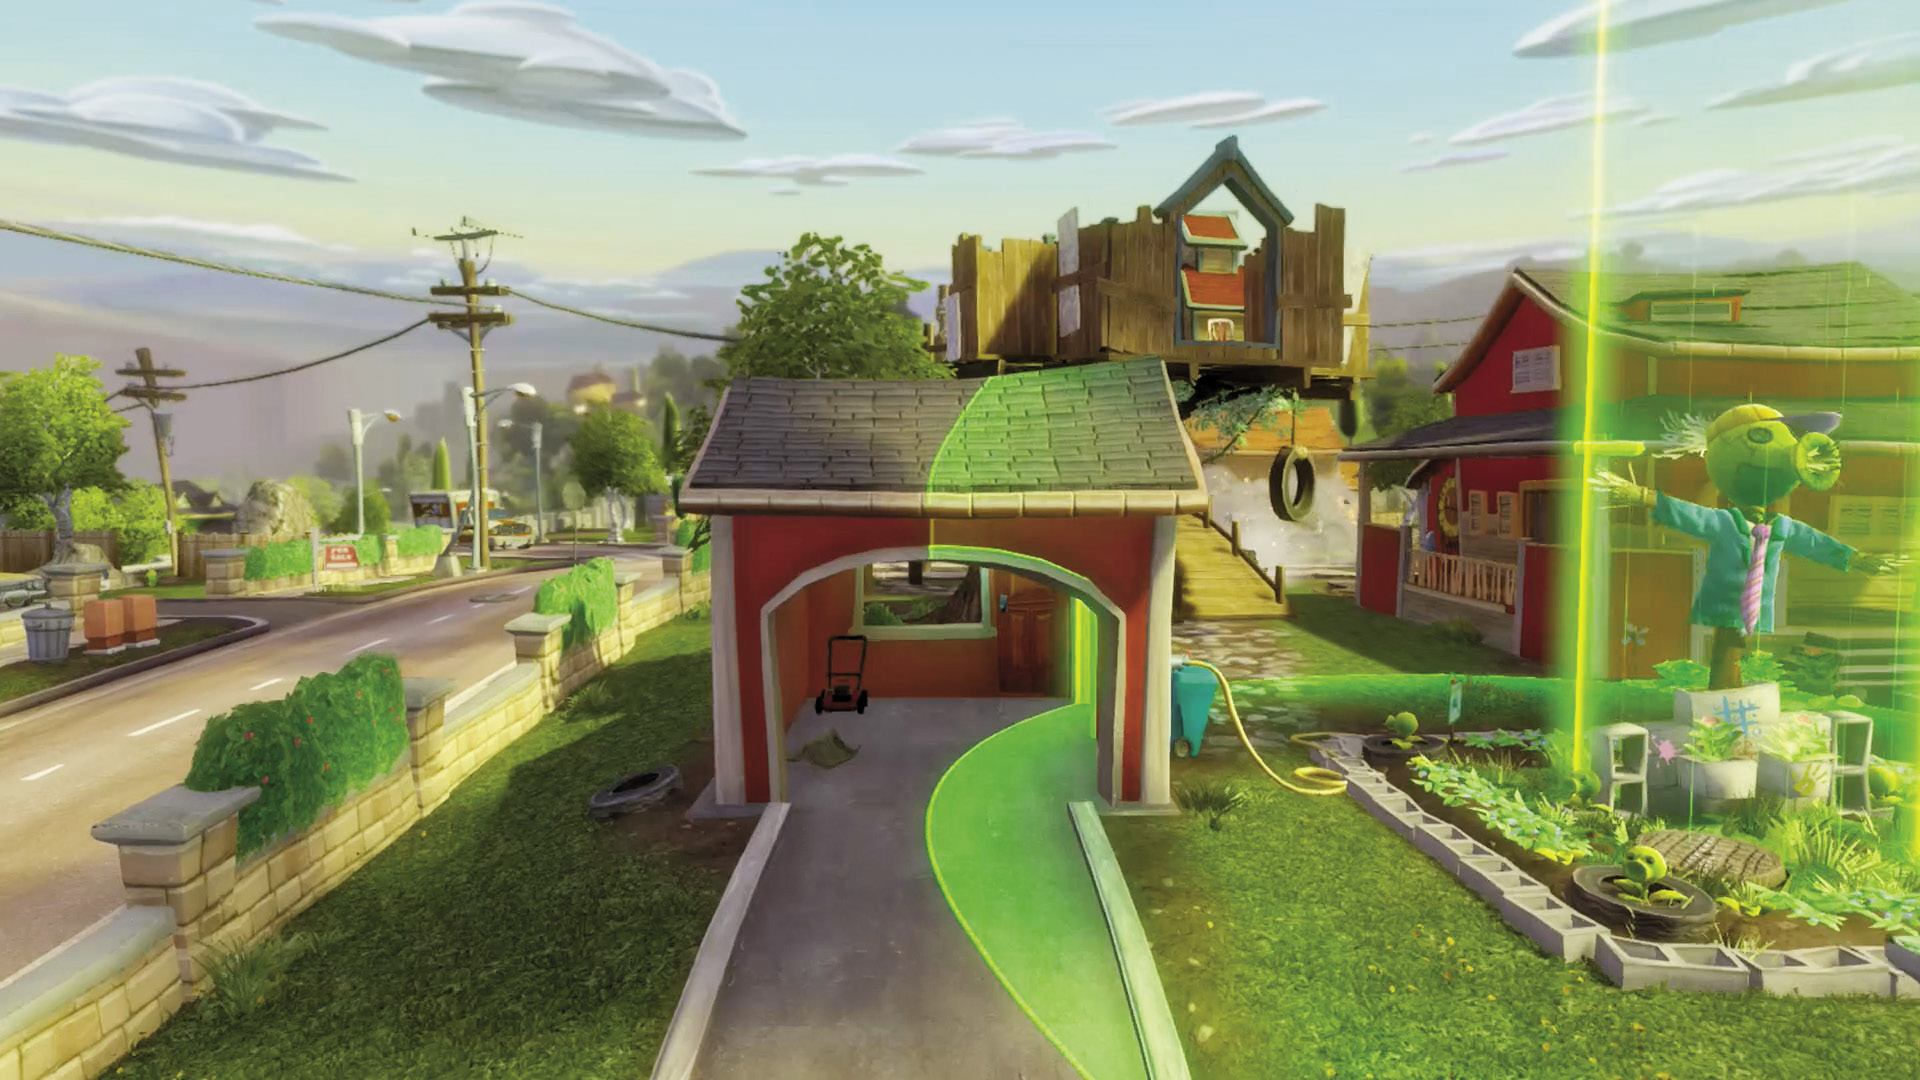
[6] Plants: After the relative ease of the first Garden, this is your first true defense test. You’re given a few good places to provide aerial defense and ground cover, such as the garage and tree house, but otherwise you’re going to have to deal with sneak attacks from all directions. Once again, ranged Spawnable Plants are a good idea, though you might want to switch to some close-ranged ones near the front of the house, depending on the situation. Finally, this is a good place to set up traps and mines to make life harder for zombies either trying to march up roads or take out-of-the-way paths to your Garden. Good luck!
Phase 3: Playground
Points of Interest
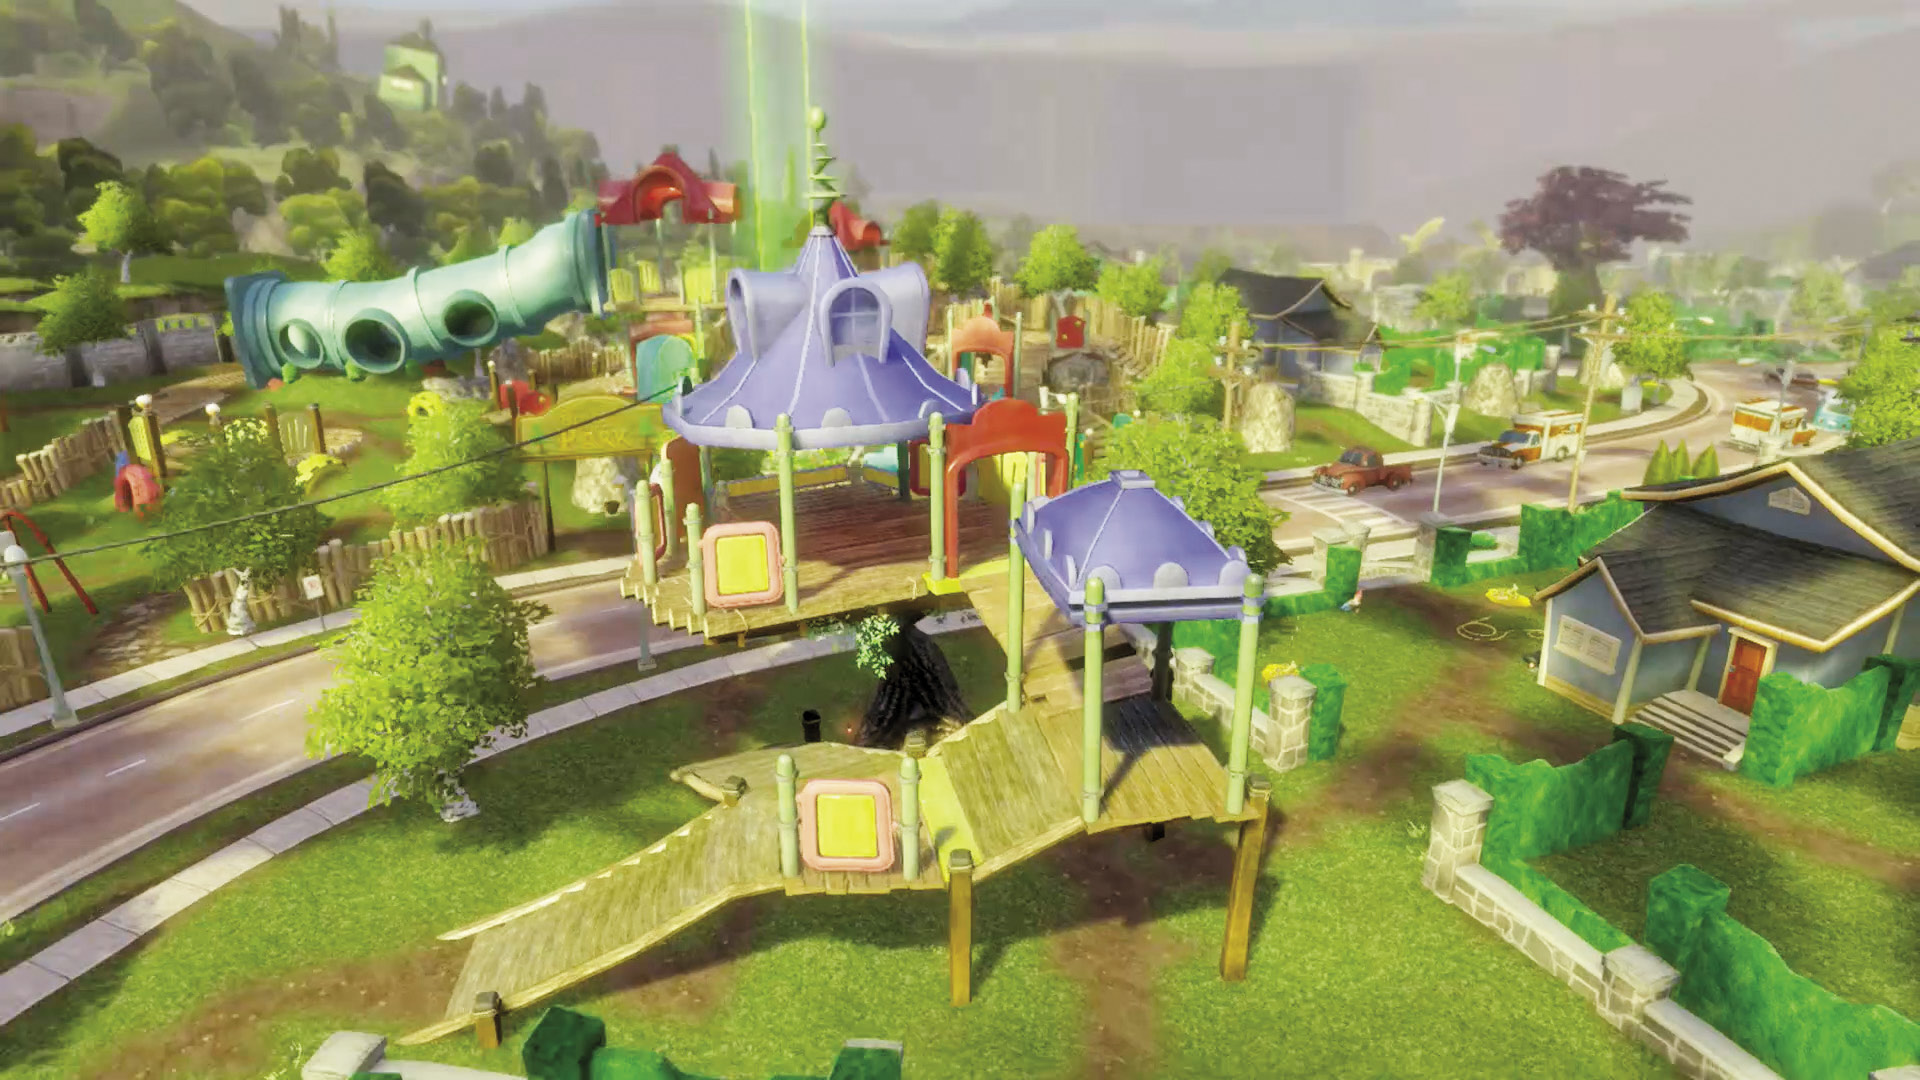
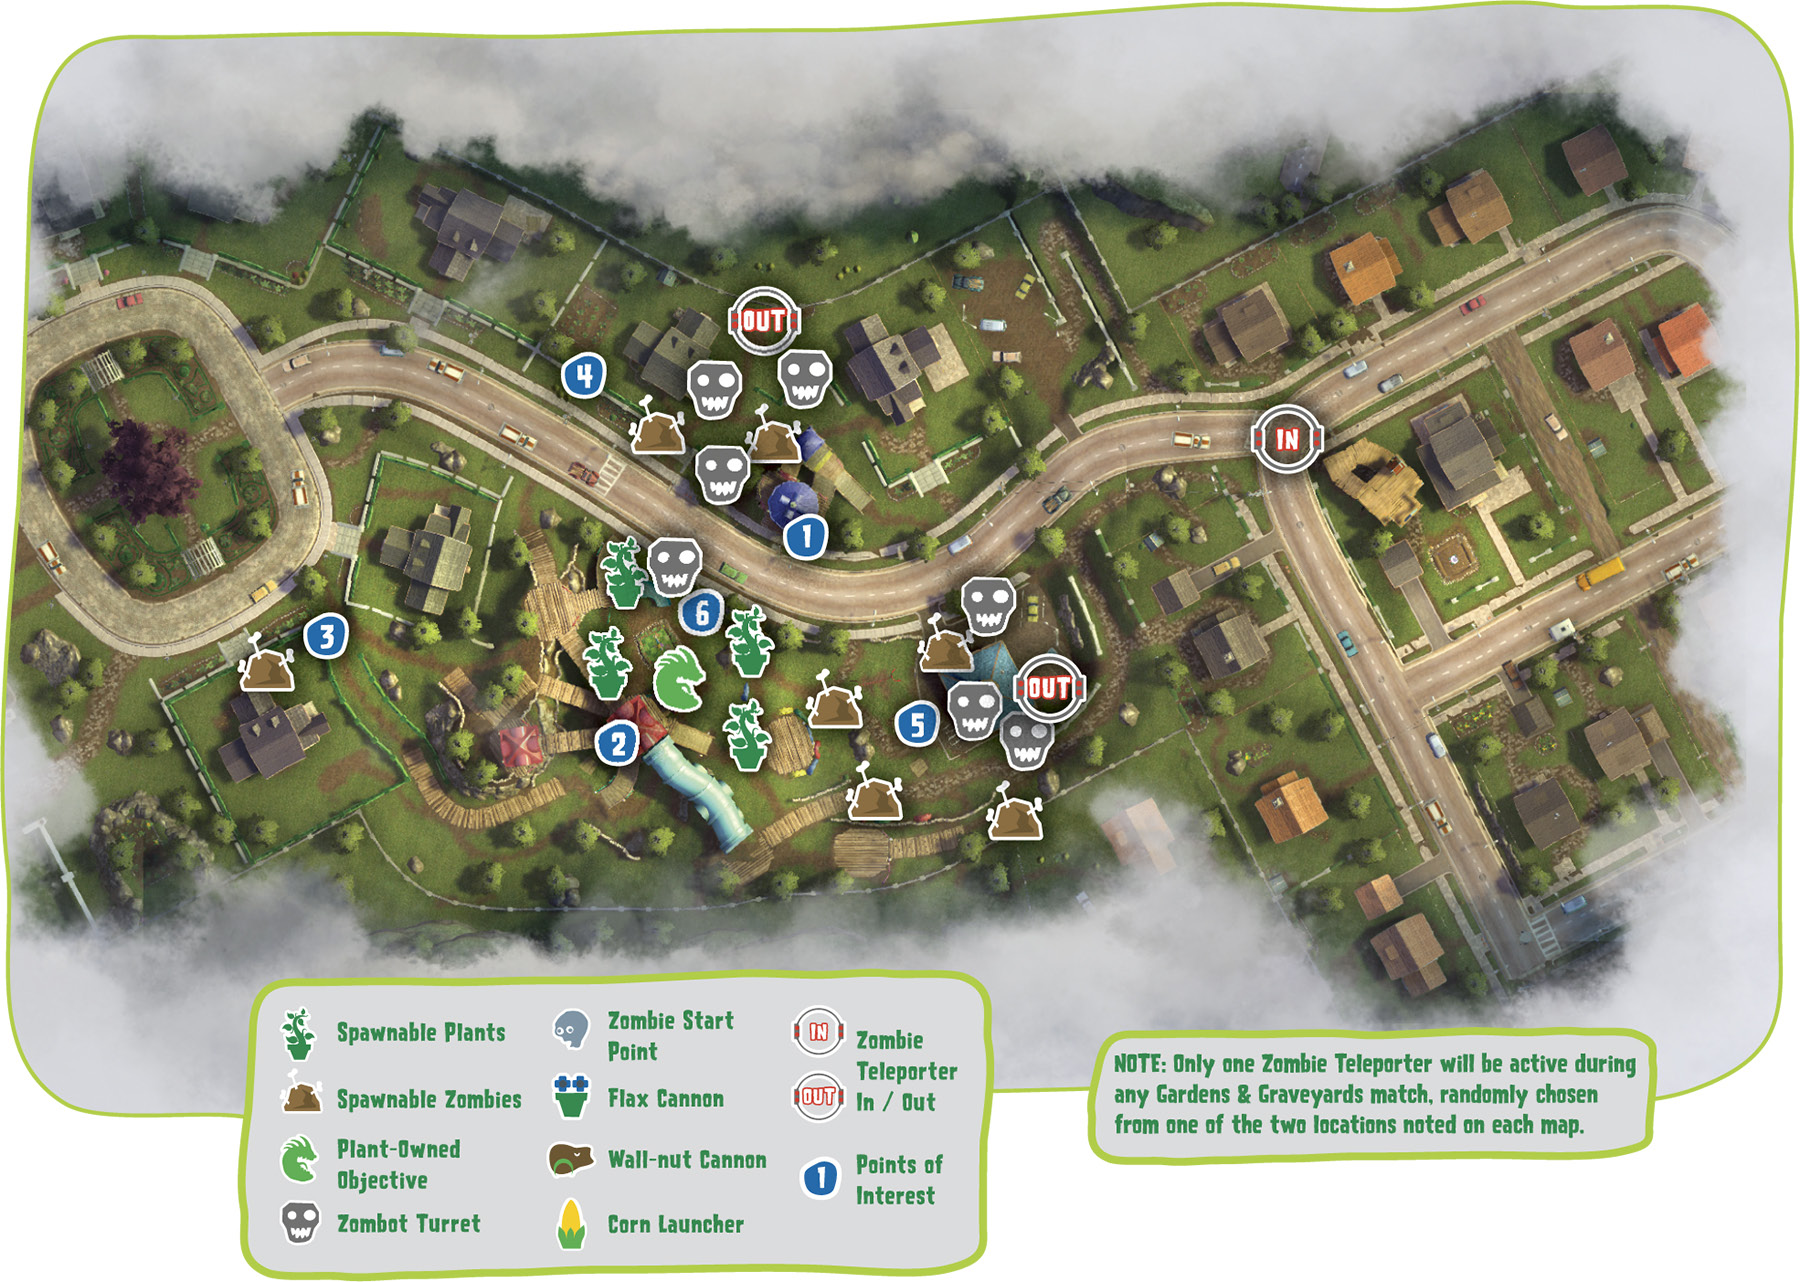
[1] Zombies: The playground lives up to its name, as it contains all sorts of nifty structures with which to engage in battle! The walkway here allows you to menace plants from a distance and provide cover for zombies taking the low road. It even has a small bit of cover to make your troops placed here a tougher target. However, keep in mind that due to its distance from the Garden proper, it’s not quite viable for launching a siege all by itself. Still, it makes for great support.
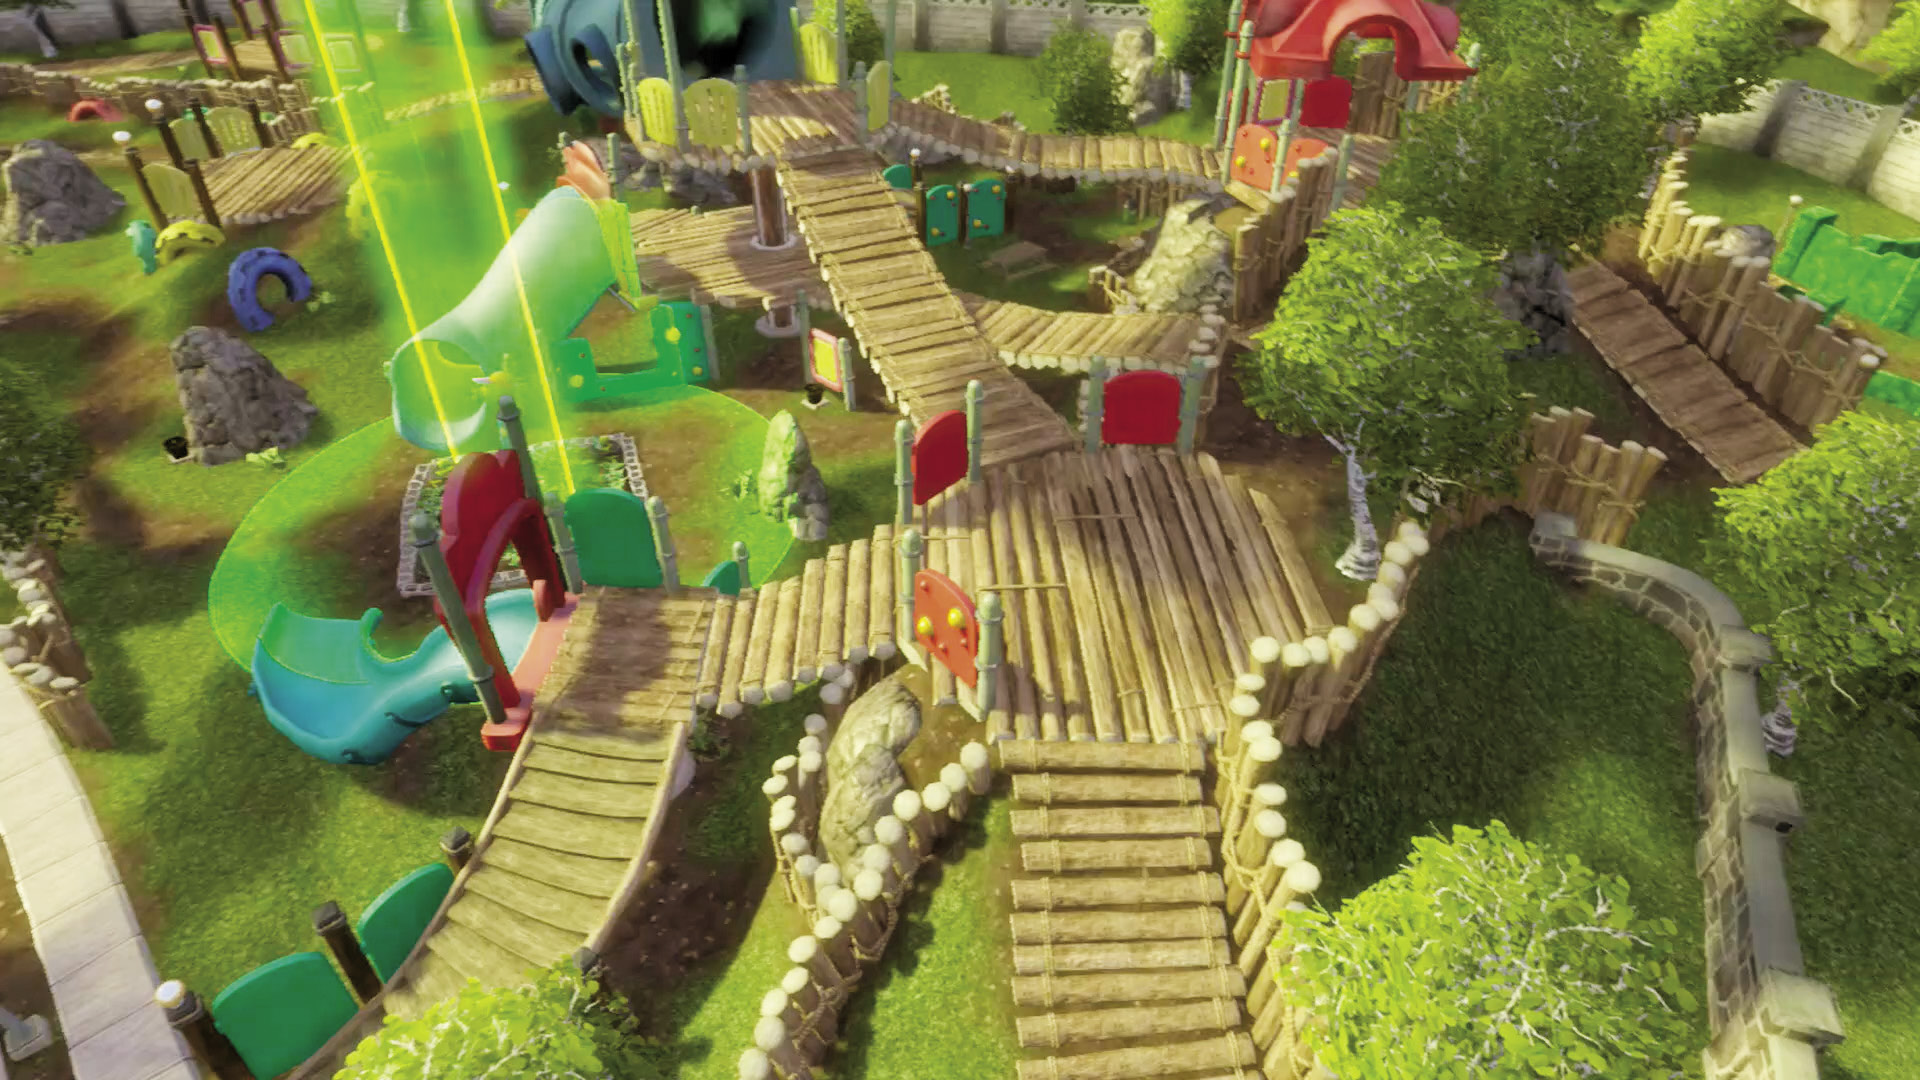
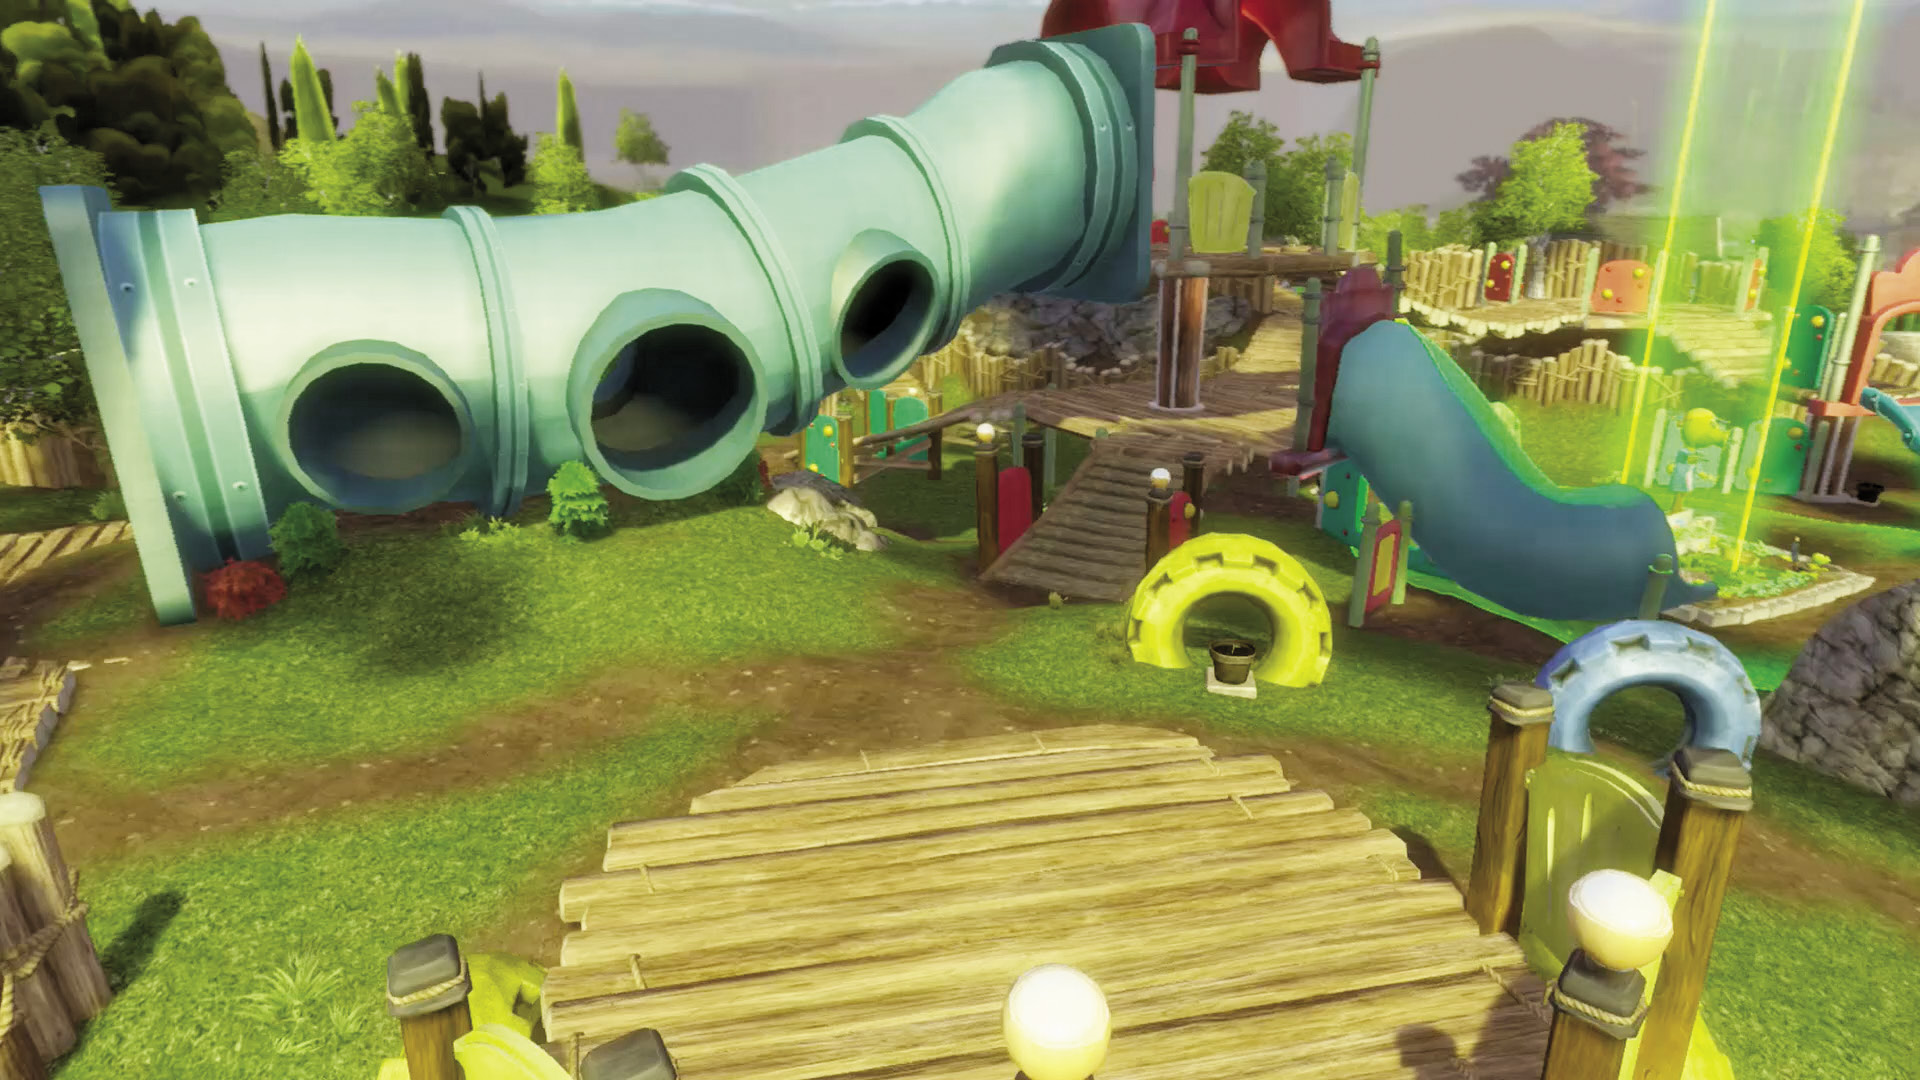
[2] Plants: Don’t worry, you also get your own playthings! The slide and platforms here are teeming with areas for you and yours to mount a stable forward defense! Place lookouts and snipers in the holes in the slide, and use the raised platforms to look over the Garden and keep an eye out for any pesky zombies across the street. Use the myriad pathways to keep yourself mobile while also remaining above ground level.
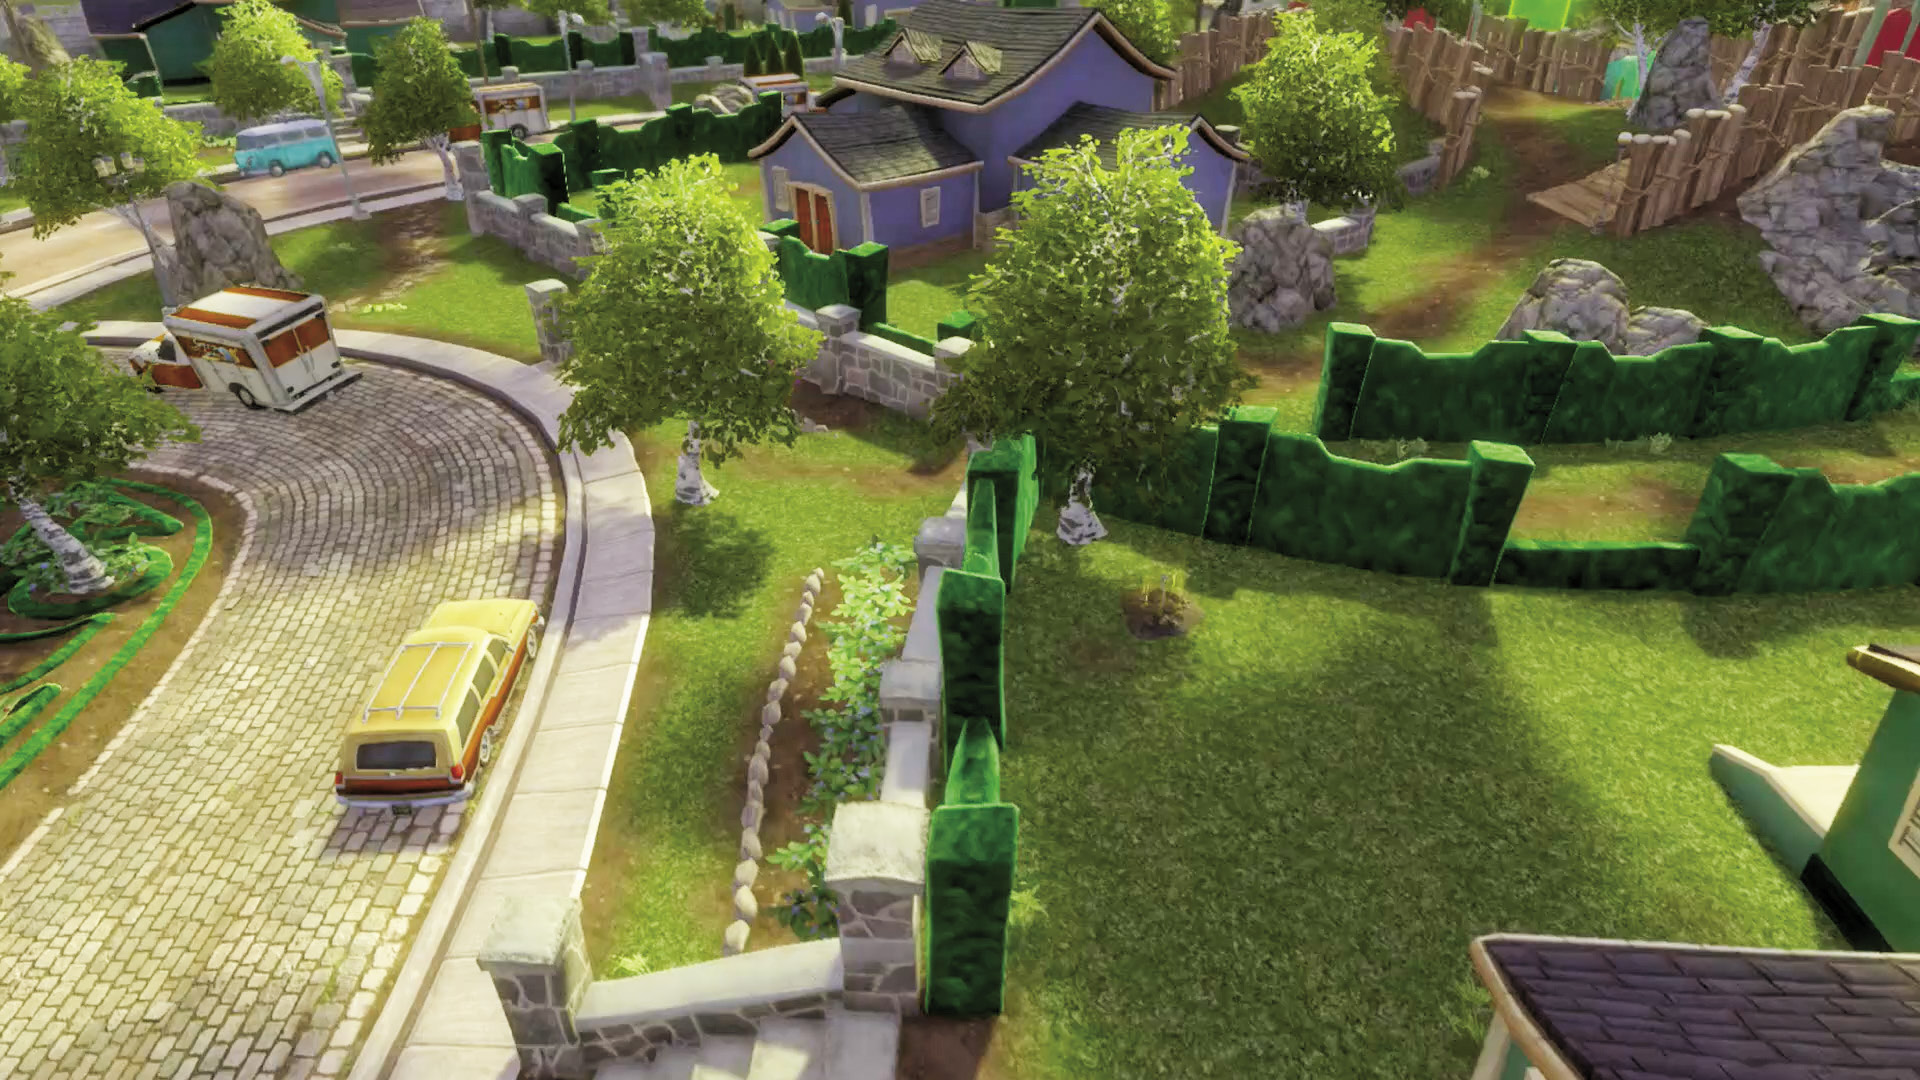
[3] Zombies: Feel like taking a road trip? Making the trek all the way back here can allow you to attempt to take on the massive battlement that the plants will undoubtedly have control of. This isn’t an easy task, however, and should only be taken on if you have several teammates at your disposal.
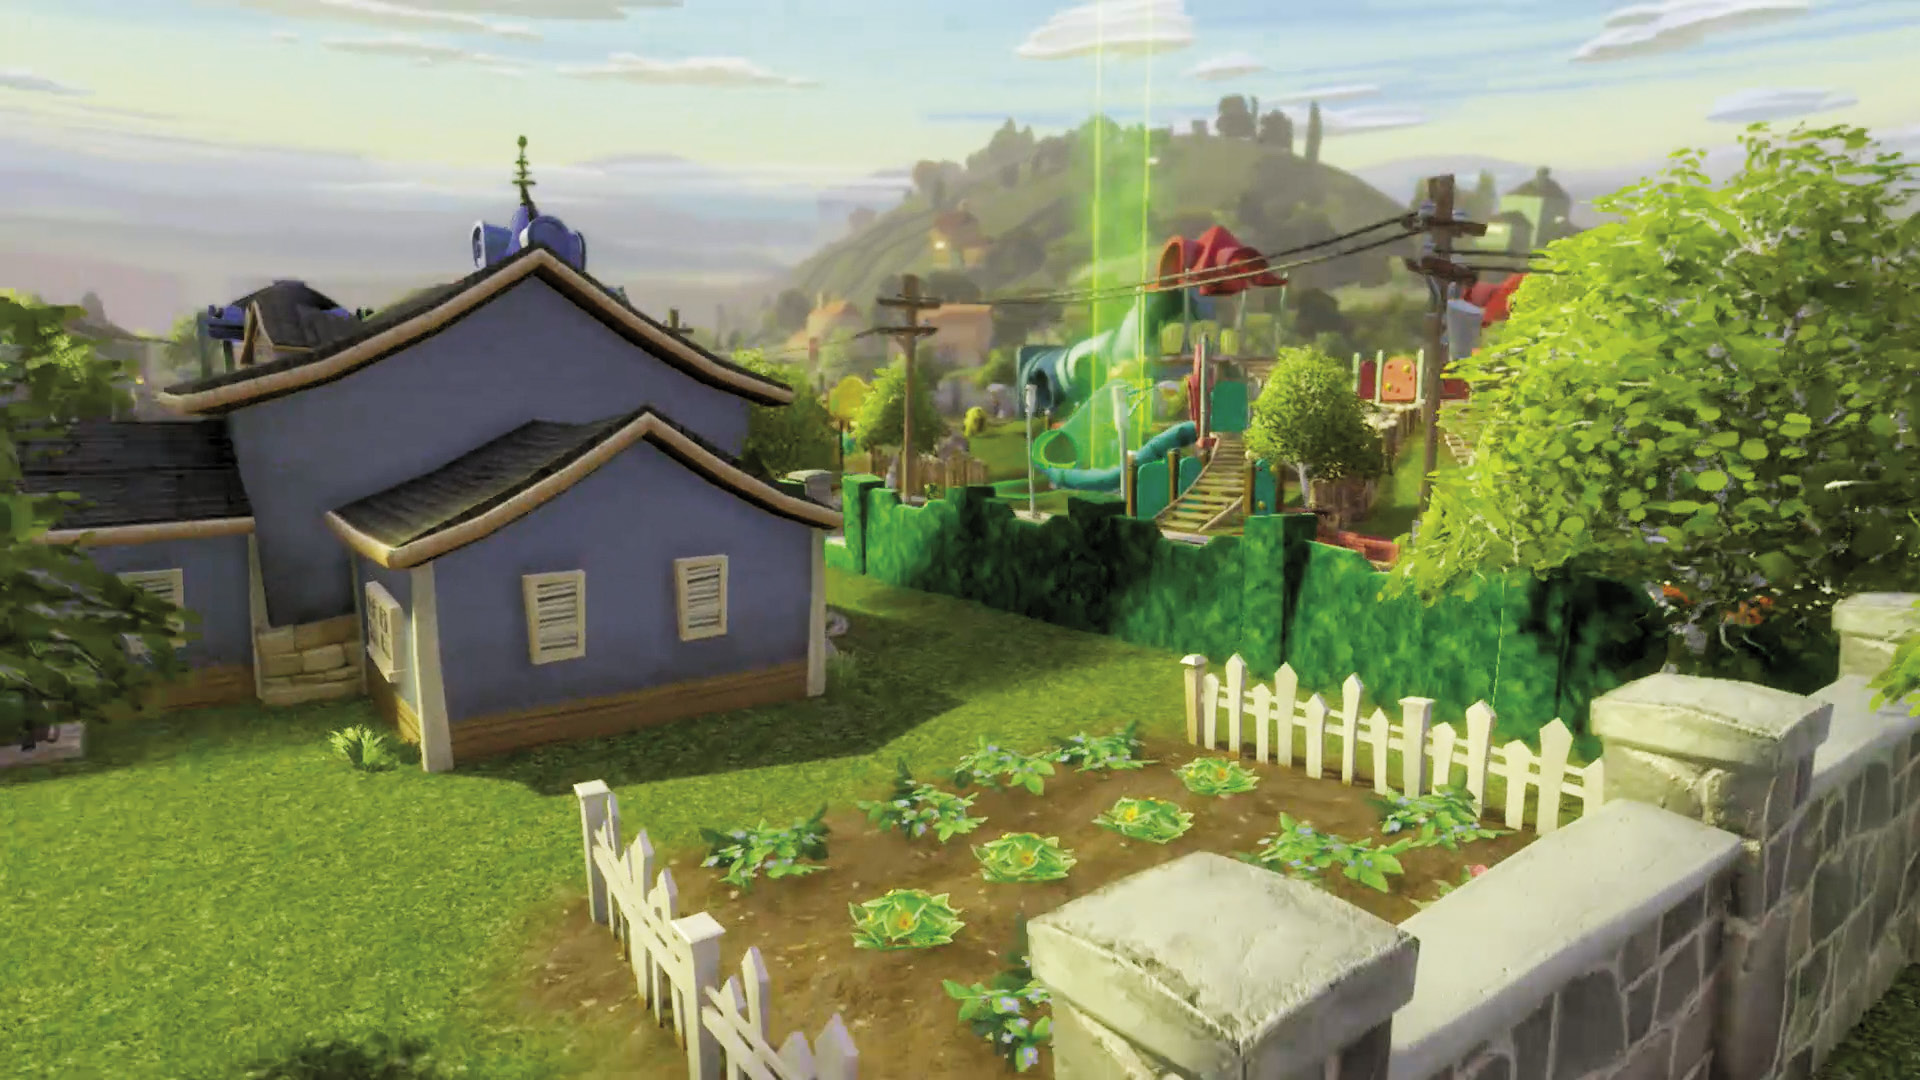
[4] Zombies: This is going to be one of the areas where you come from to take the plants head-on. The raised walls make it a little tough to get around, but on the plus side, they provide excellent cover.
Plants: Oddly enough, this is going to be another place to watch out for. Zombies can both pop out of here and rush you or try to weave around the raised pathways unseen for a flanking. Keep your eyes peeled.
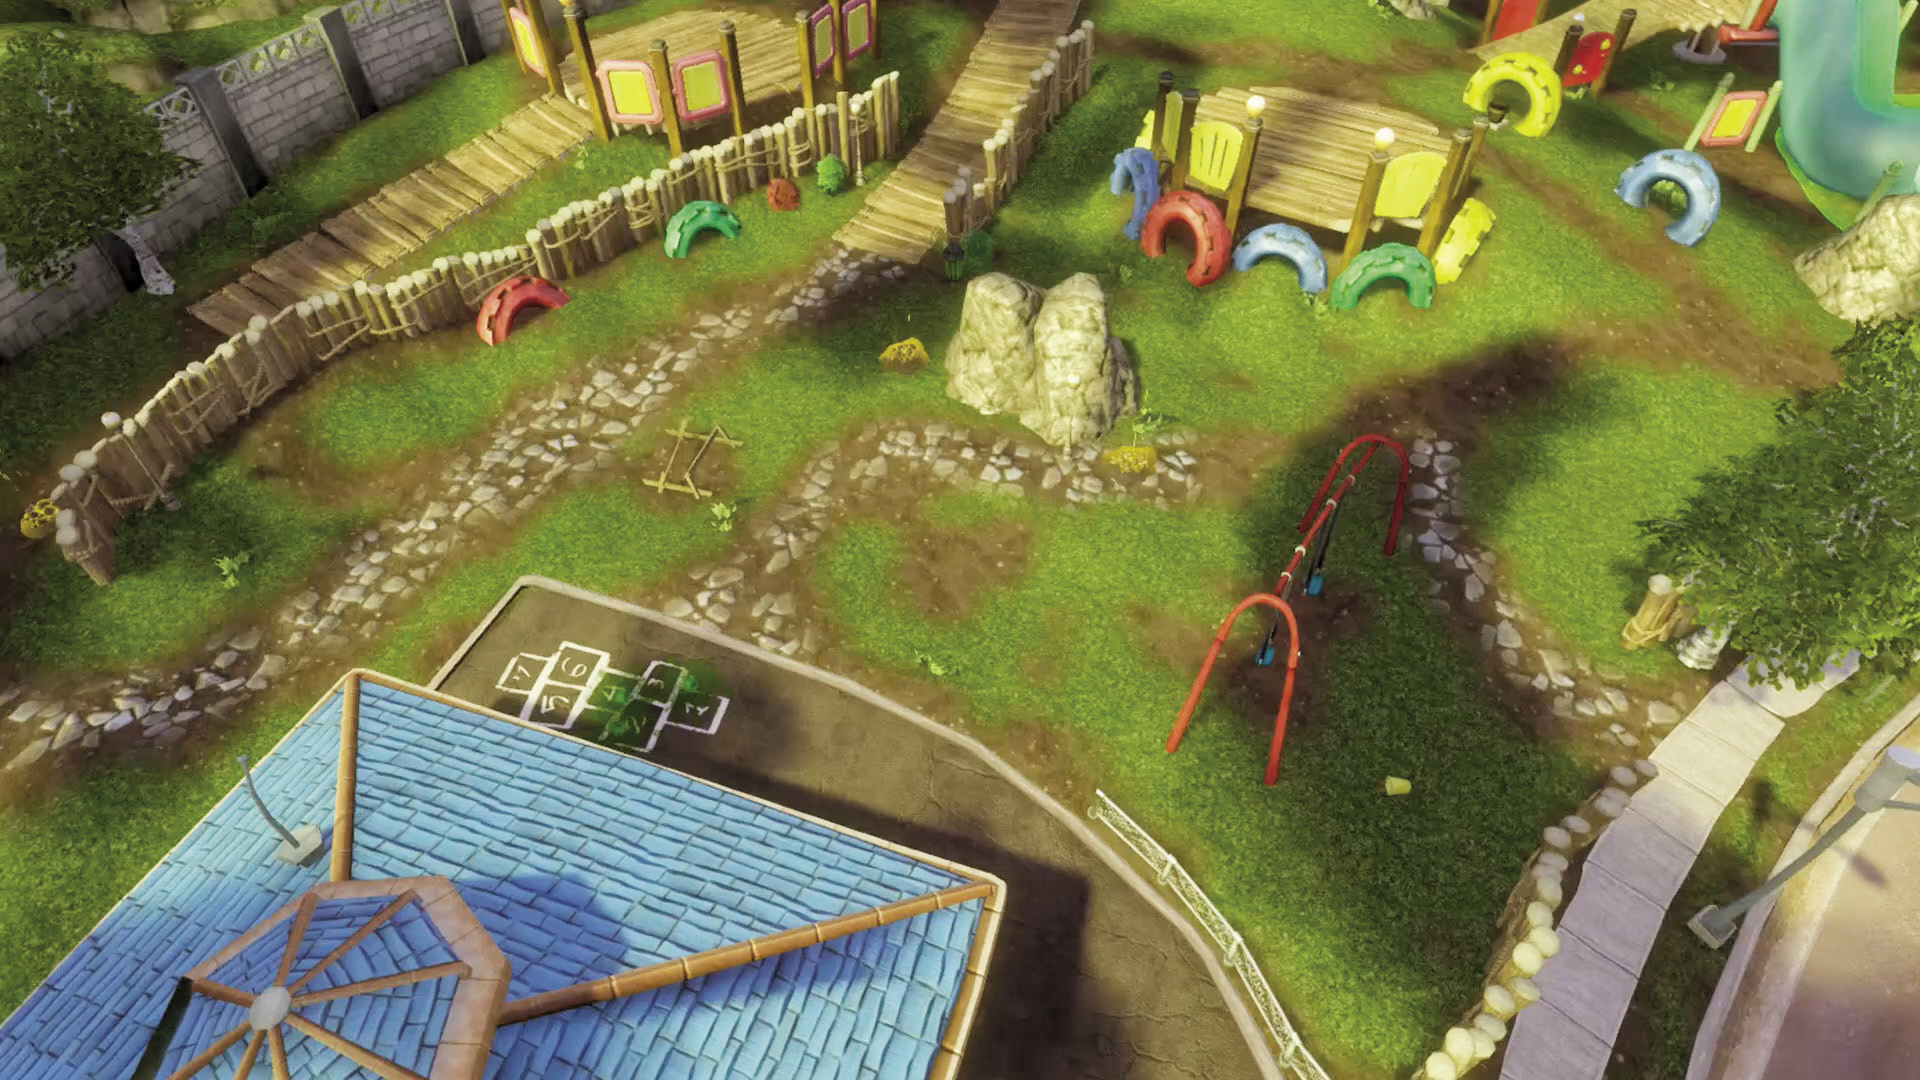
[5] Zombies: This is going to be another one of your linchpin areas. Take it early on and you’ll have a nice, open battlefield with Spawnable support, and a decent amount of places to take the high ground. Use the small building to mount a raised assault, though keep in mind it doesn’t provide nearly as much cover as the playground structure across the street. This is a good step to taking the plants’ key structures in general.
Plants: This isn’t too tough of a place to defend, but you’re going to have to watch out for attacks here a lot due to the amount of Spawnable Zombies and the odd angle from your main Garden. Either take it for yourself early on, or establish a perimeter. Traps and mines also work well here.
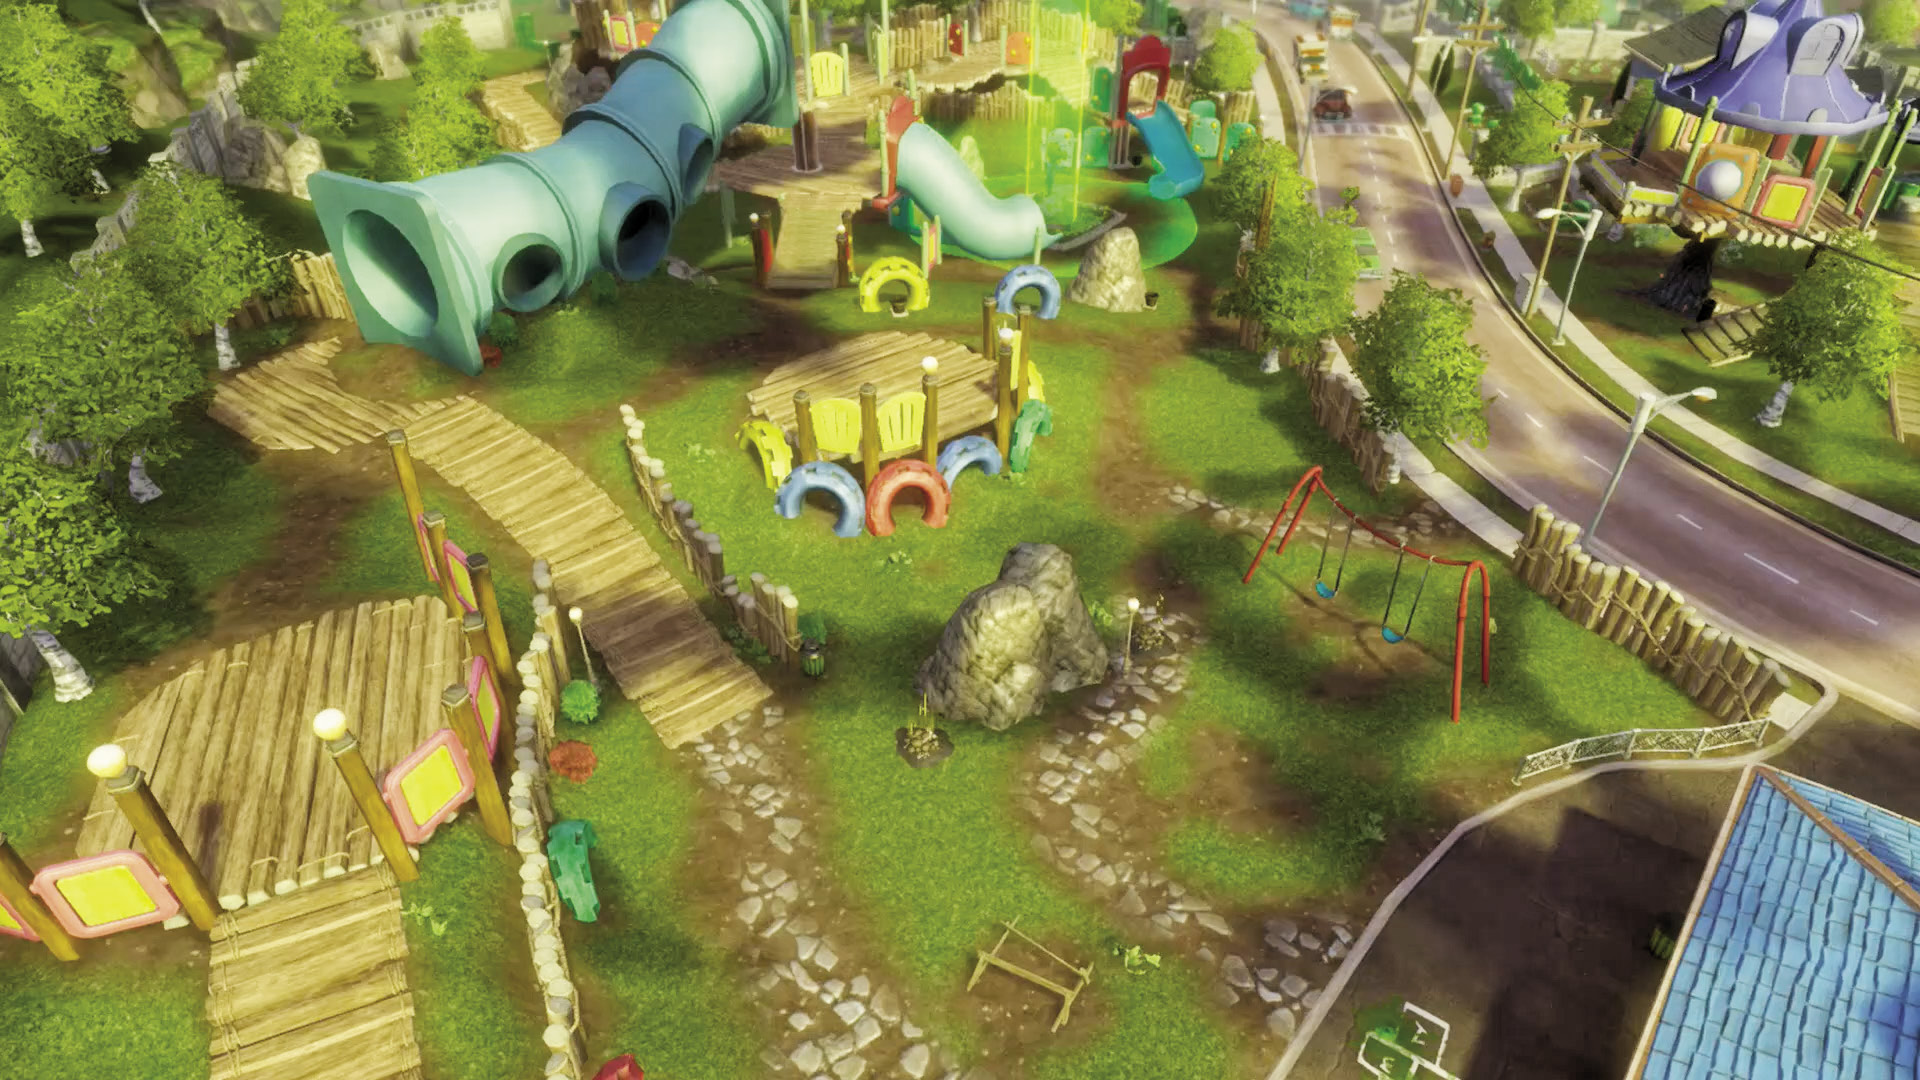
[6] Plants: After the craziness that was the tree house, it’s nice to have a Garden with actual defenses behind and around it! However, you do have a lot more ground to defend against. Use the tactics described in the points above, while also keeping in mind that more structures mean less visibility. Don’t hole up in too many places trying to play it safe only to never see the enemy until it’s too late!
Phase 4: Cul-de-Sac
Points of Interest
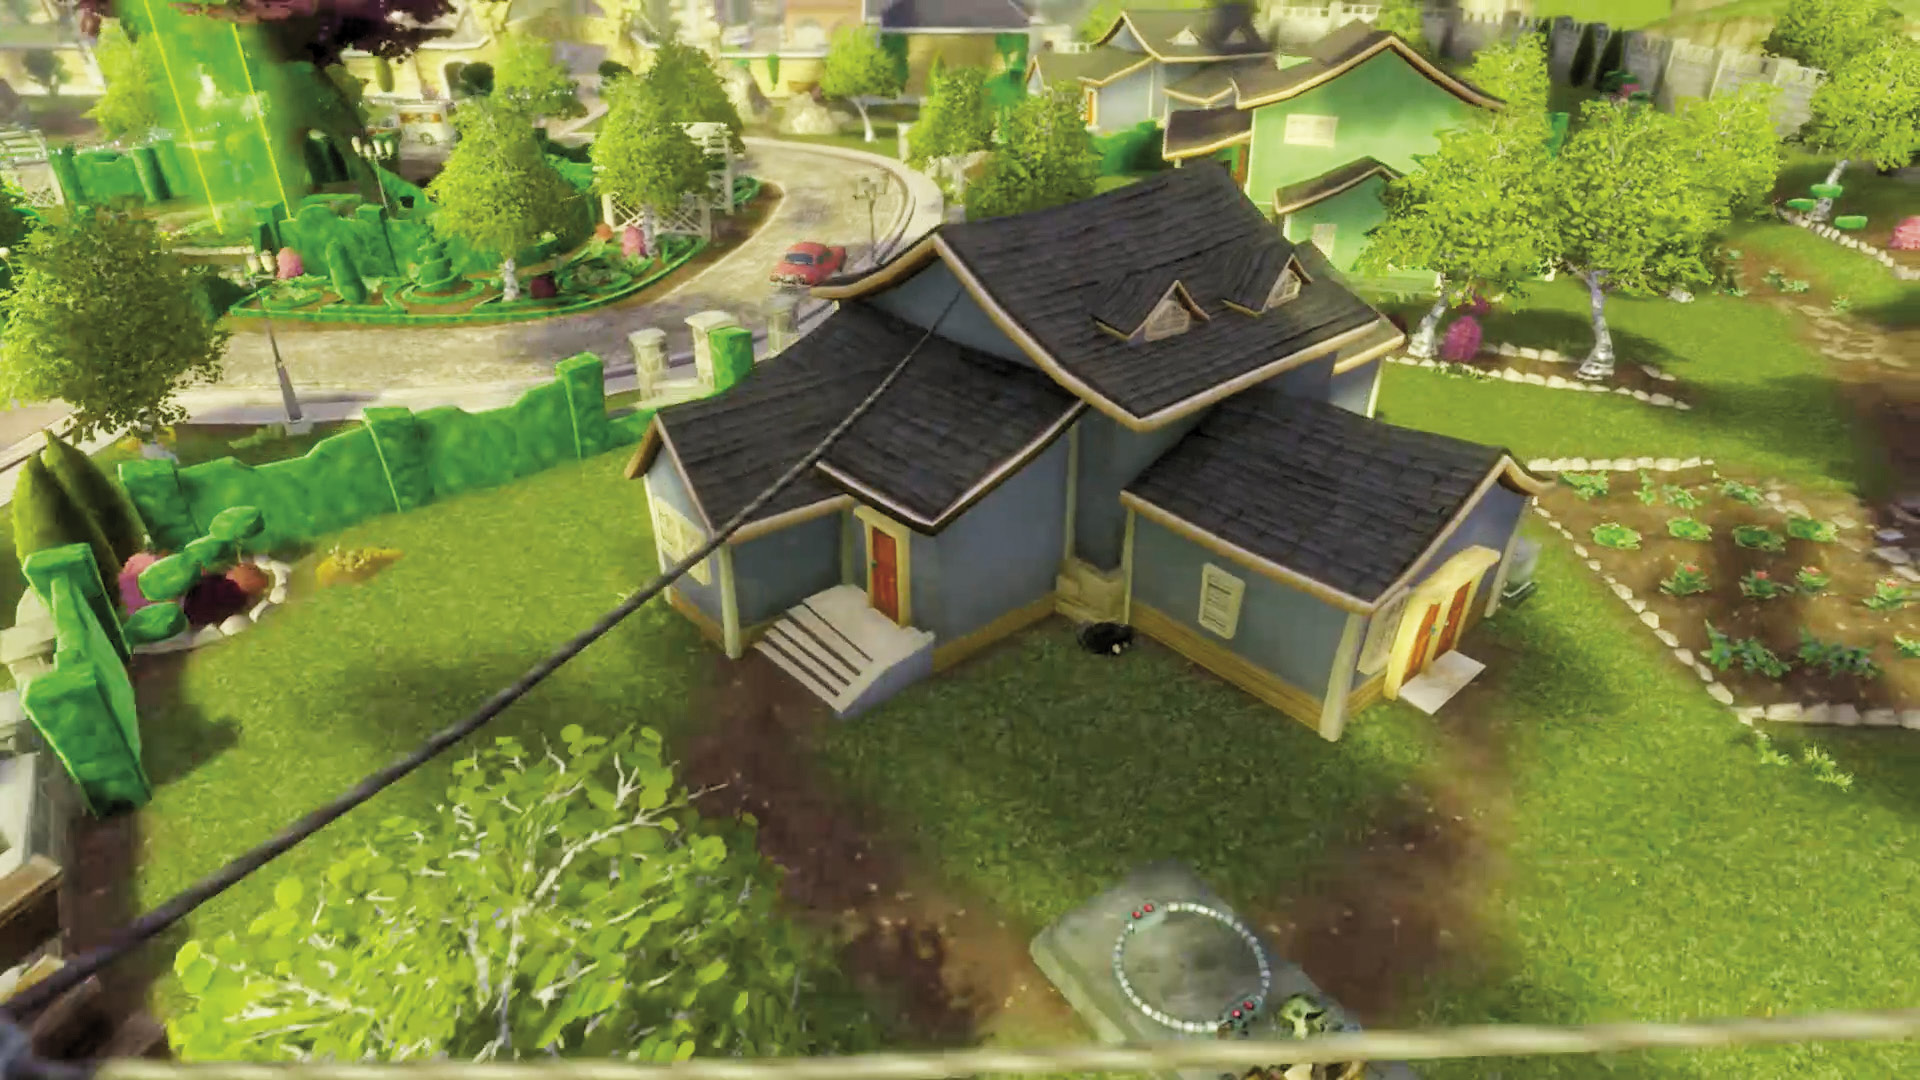
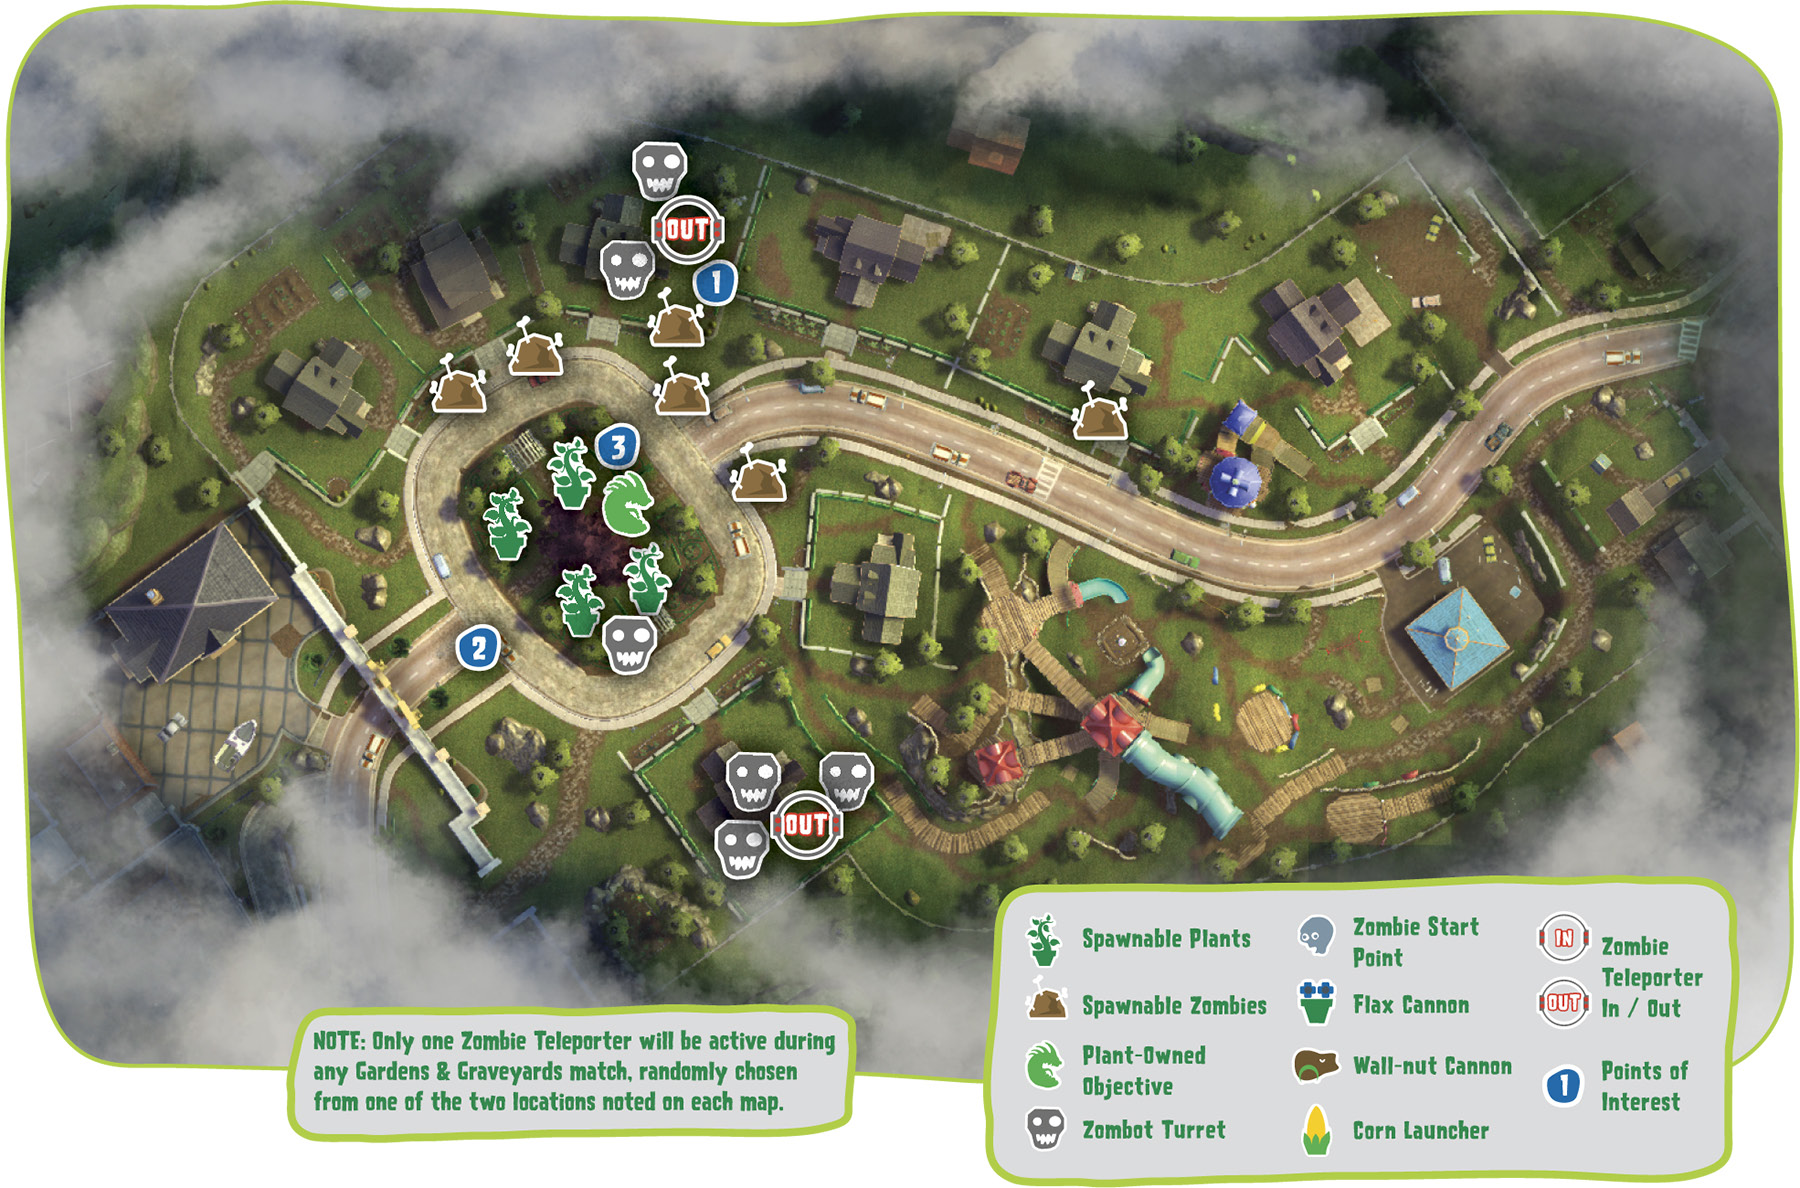
[1] Zombies: This is a good area to mount a strategic assault against the Garden—it’s at an odd angle, and coming from this direction in particular won’t run you up against as much of the cover around the plants’ Garden. Use the house for air support if at all possible. That said, you have the plants surrounded from nearly every angle on this section of the map, so you can also use the housing to hide your movements. Take your time and strategize exactly how and where you want to make your approach. You have the power here.
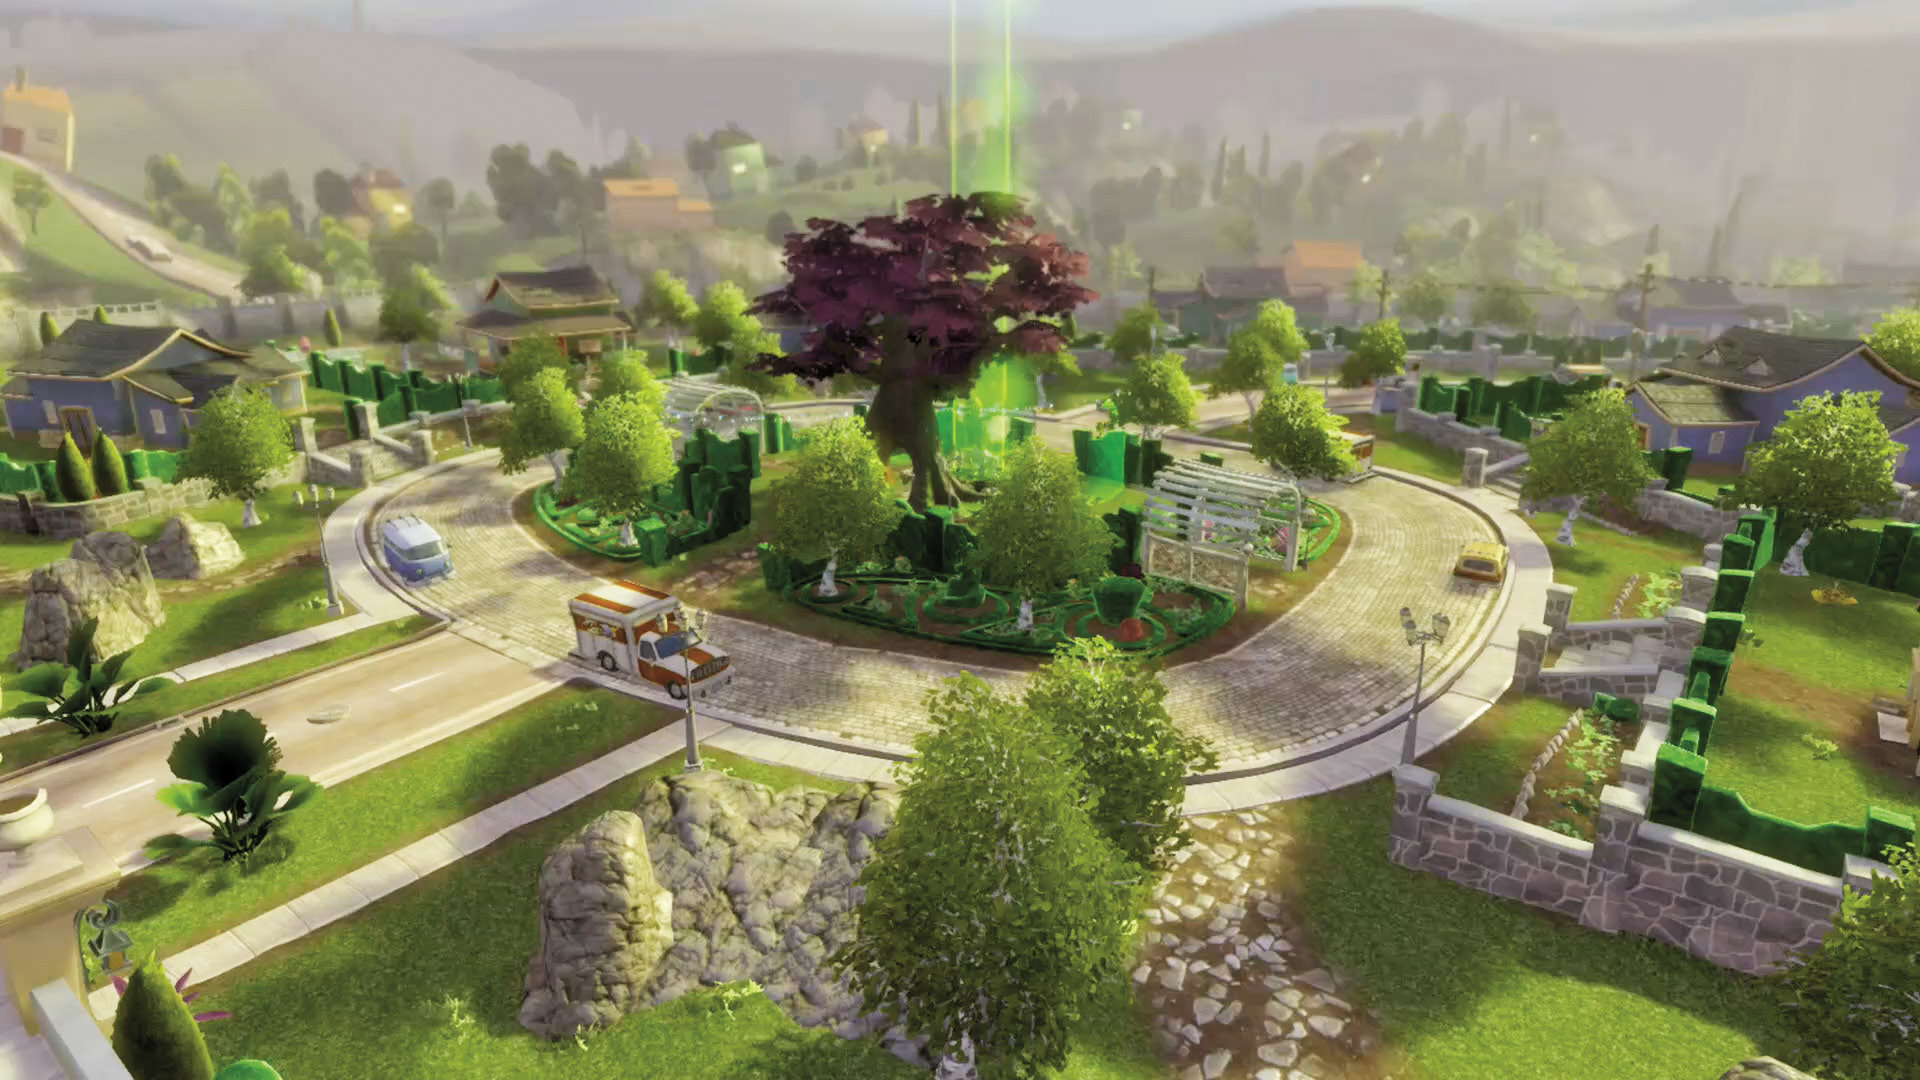
[2] Zombies: The open rear and sides are completely viable places to attack the Garden from. They’re situated more closely to the plants’ Spawnables, but if you can take those out, you can cripple a vital part of their defenses! Consider striking from above with the Engineer’s Drones as well.
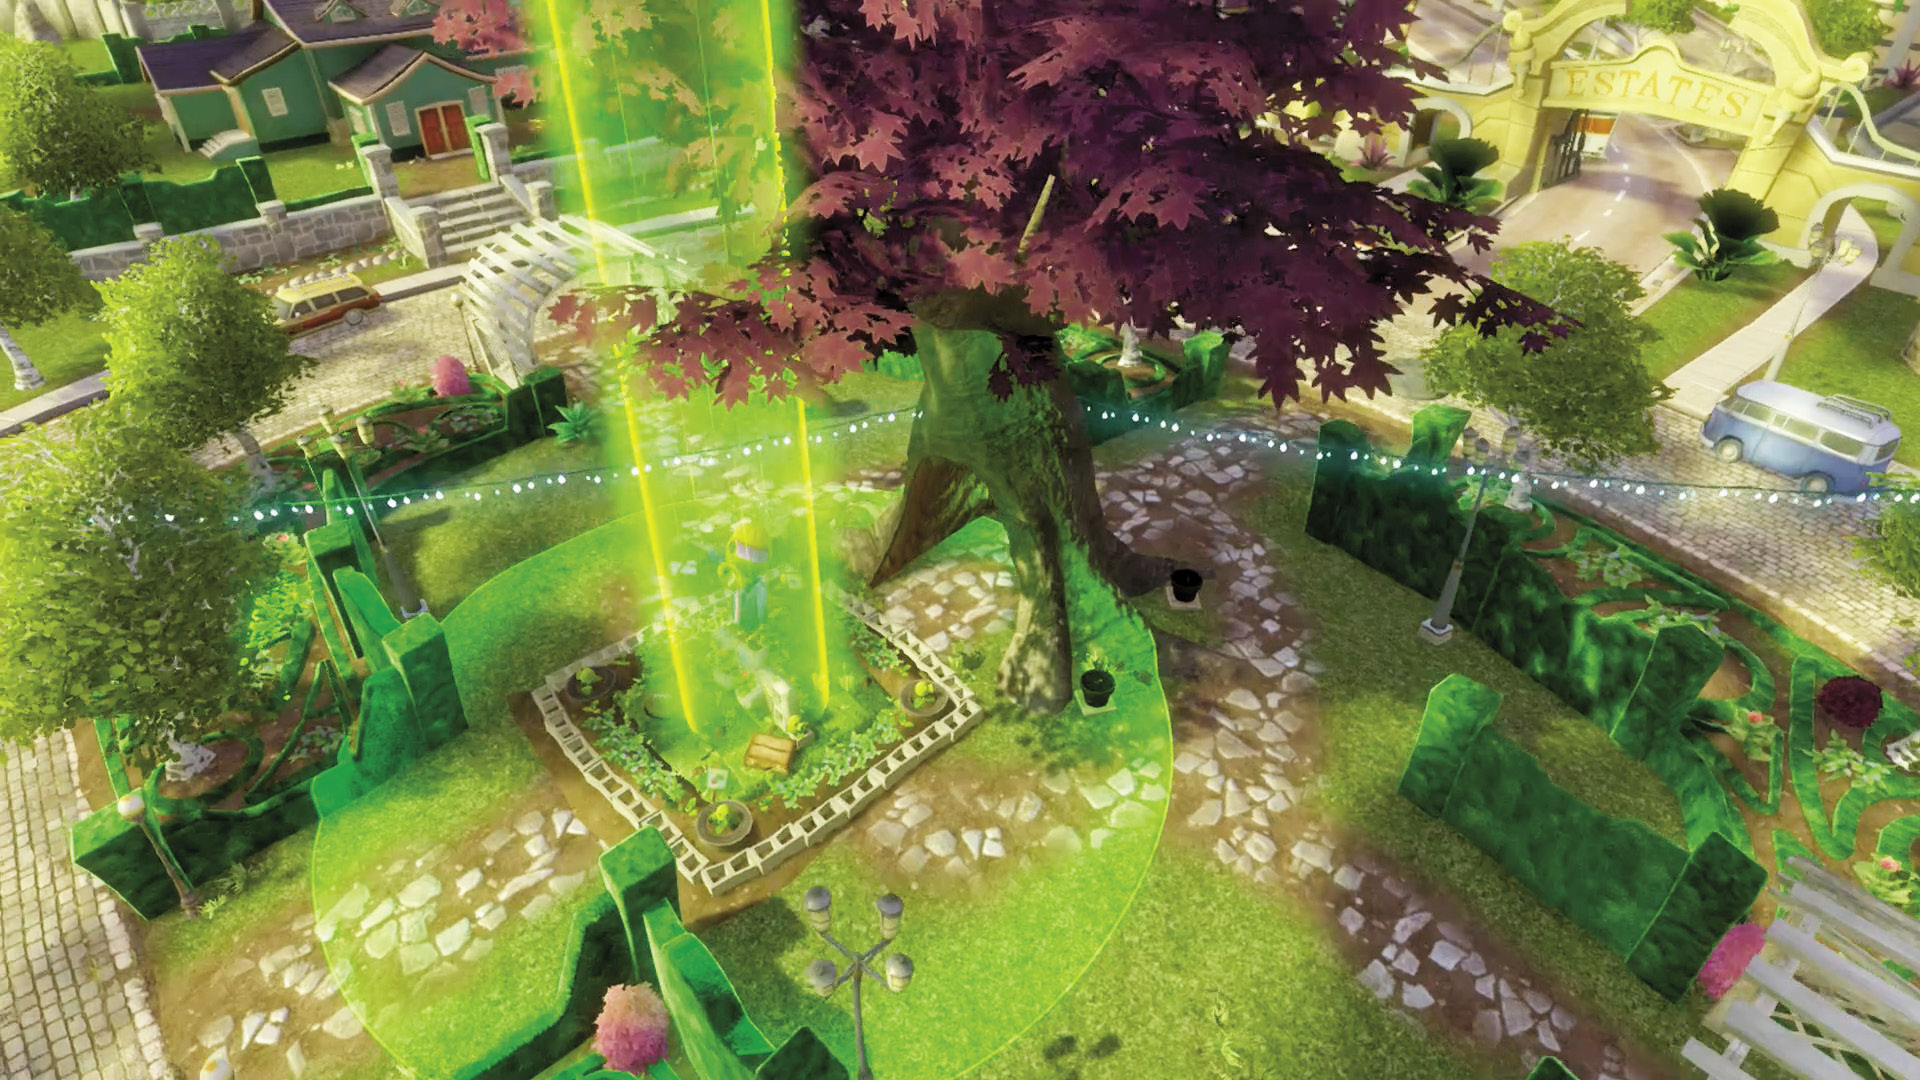
[3] Plants: Hope you enjoyed the playground, because you’re now in for the test of your lives! Your Garden is surrounded with lots of open space and hedge cover. The zombies will be coming, and they can come from anywhere. Your Spawnable Plants are placed in good spots for coverage, and you may wish to use close-range ones due to all the cover around you.
Plants: If you have the forces to spare, spread out a bit to make your perimeter safer and cut off any zombie you can at the pass—the last thing you want is to be holed in next to your tree! The good thing about the cover around the Garden, however, is that the hedges and fences will force incoming zombies to bunch up. Use weapons with area-of-effect as well as all of the static defenses you can!
Phase 5: Estate
Points of Interest
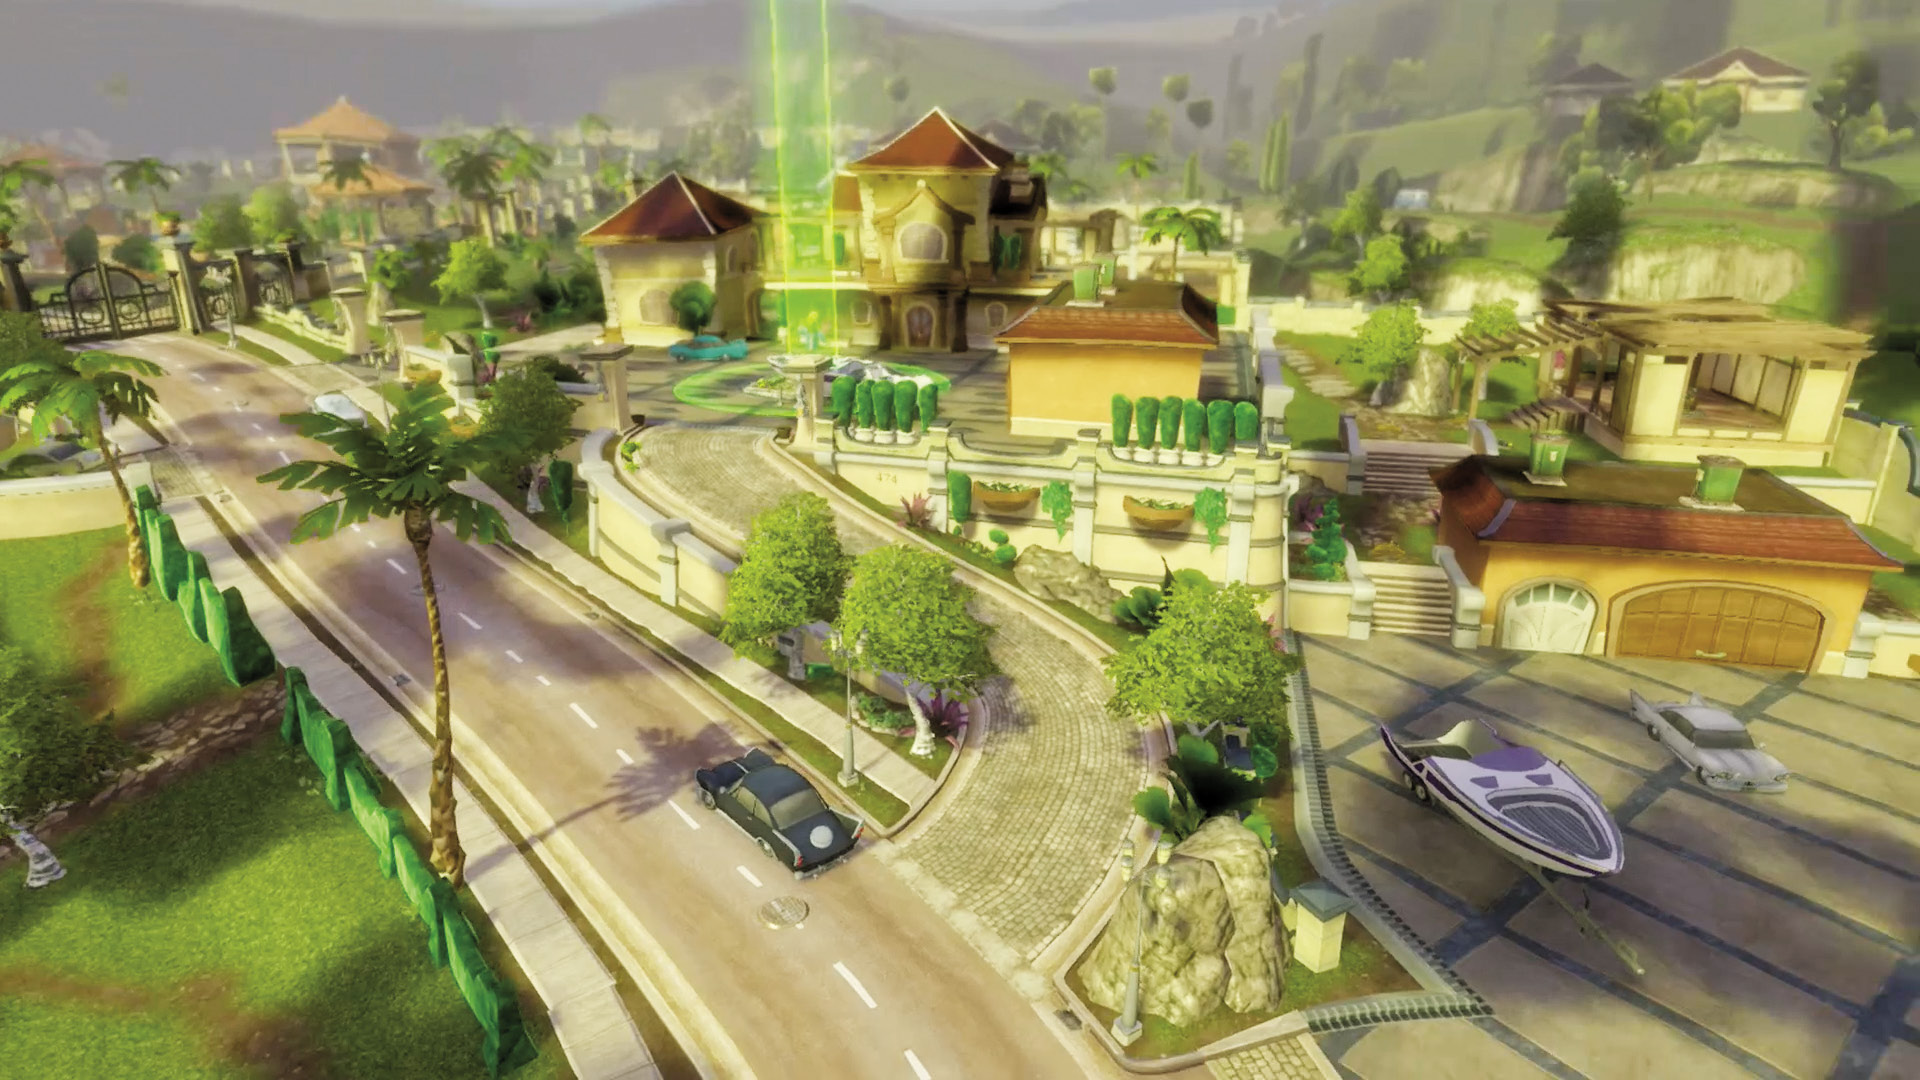
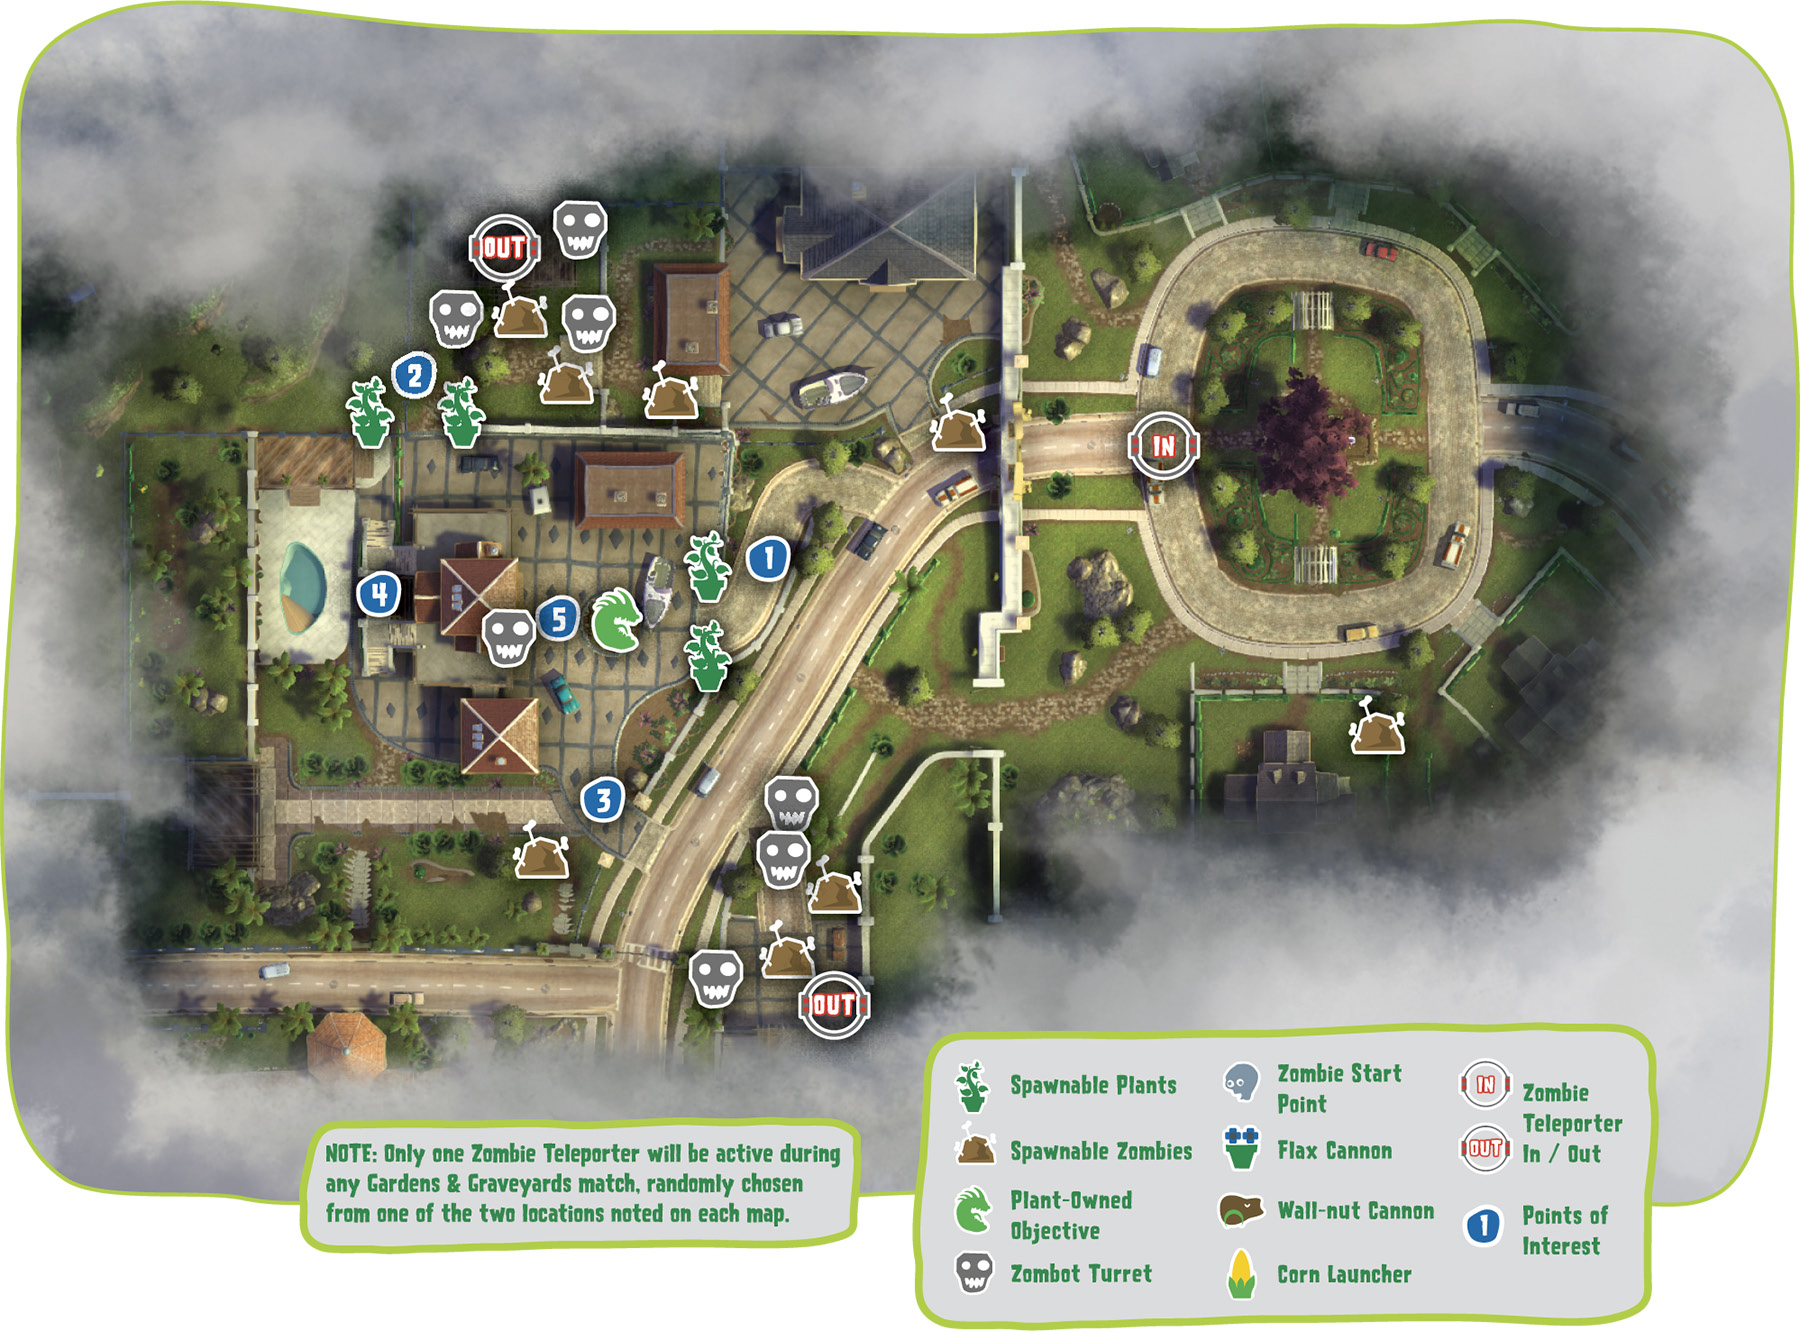
[1] Zombies: The estate has several viable areas from which to mount an approach. This should be one of the last ones you use. Hold off on the direct frontal until it’s safe—not only does the pathway also bunch up your zombies, but there are also Spawnable Plants in your path. That said, once you’ve weakened the plants’ defenses a bit, marching up the front gate with strength in numbers to claim victory is utterly satisfying.
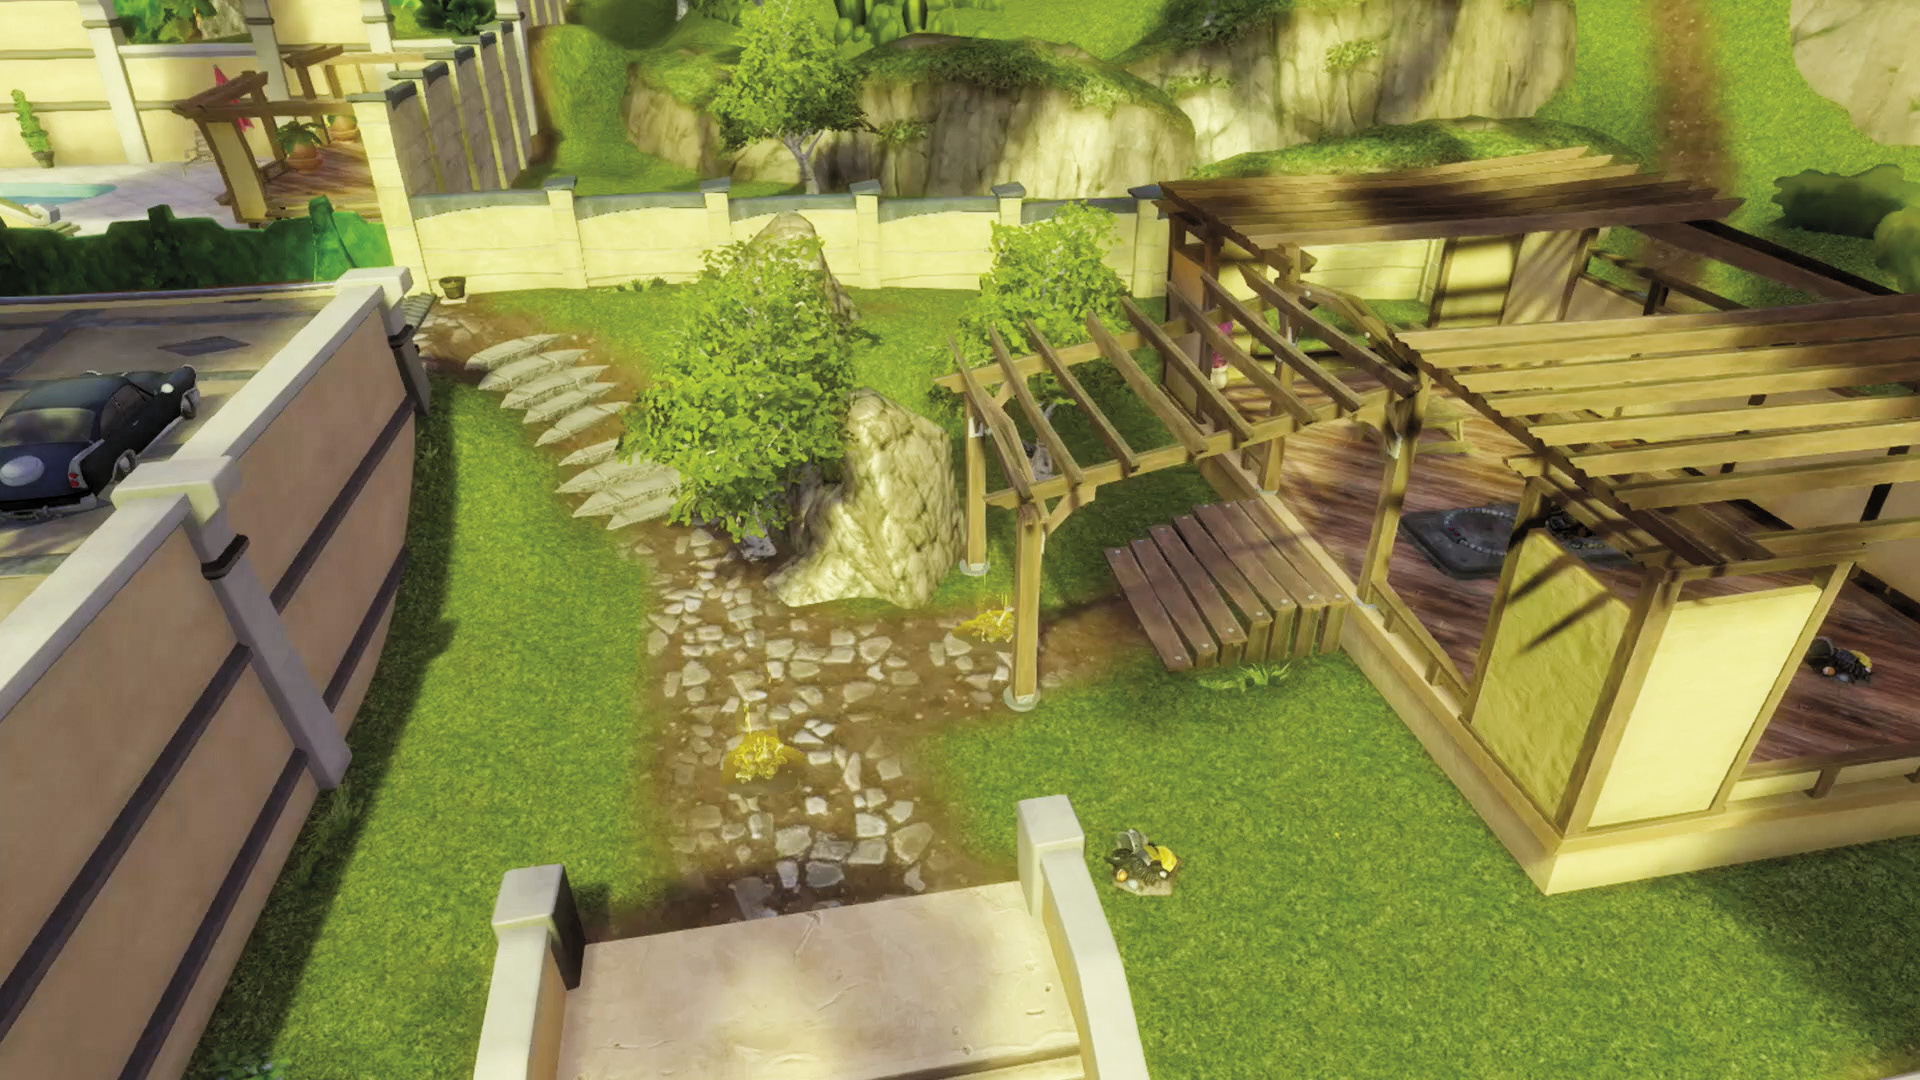
[2] Zombies: This is a better place to strike from, and one of your Teleporters may well lead here. However, keep in mind that the long and high walls, as well as the Spawnable Plants, mean that the plants will be better prepared for your arrival. You may want to overcome the Spawnable Plants and pour in the eastern path that the map gives you, or be prepared to take the long way around. Spawnable Zombies can help with the direct approach.
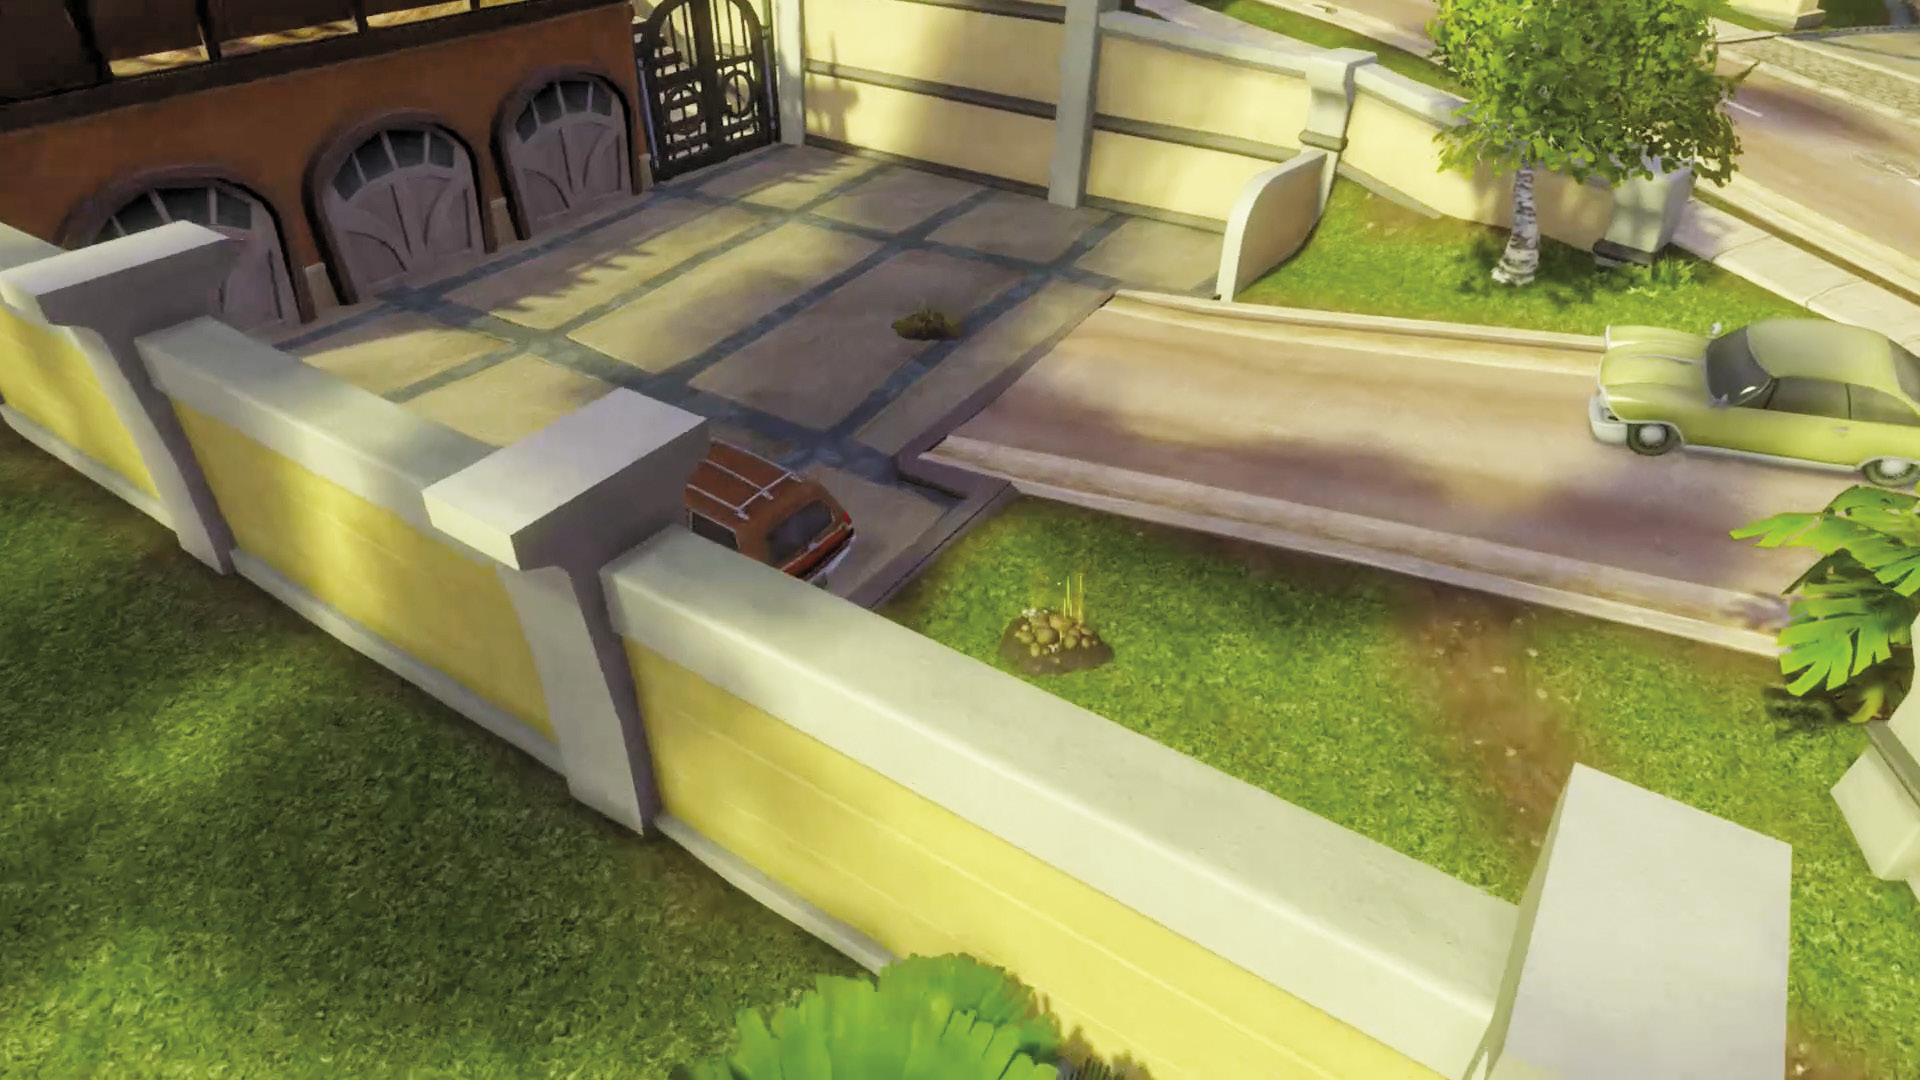
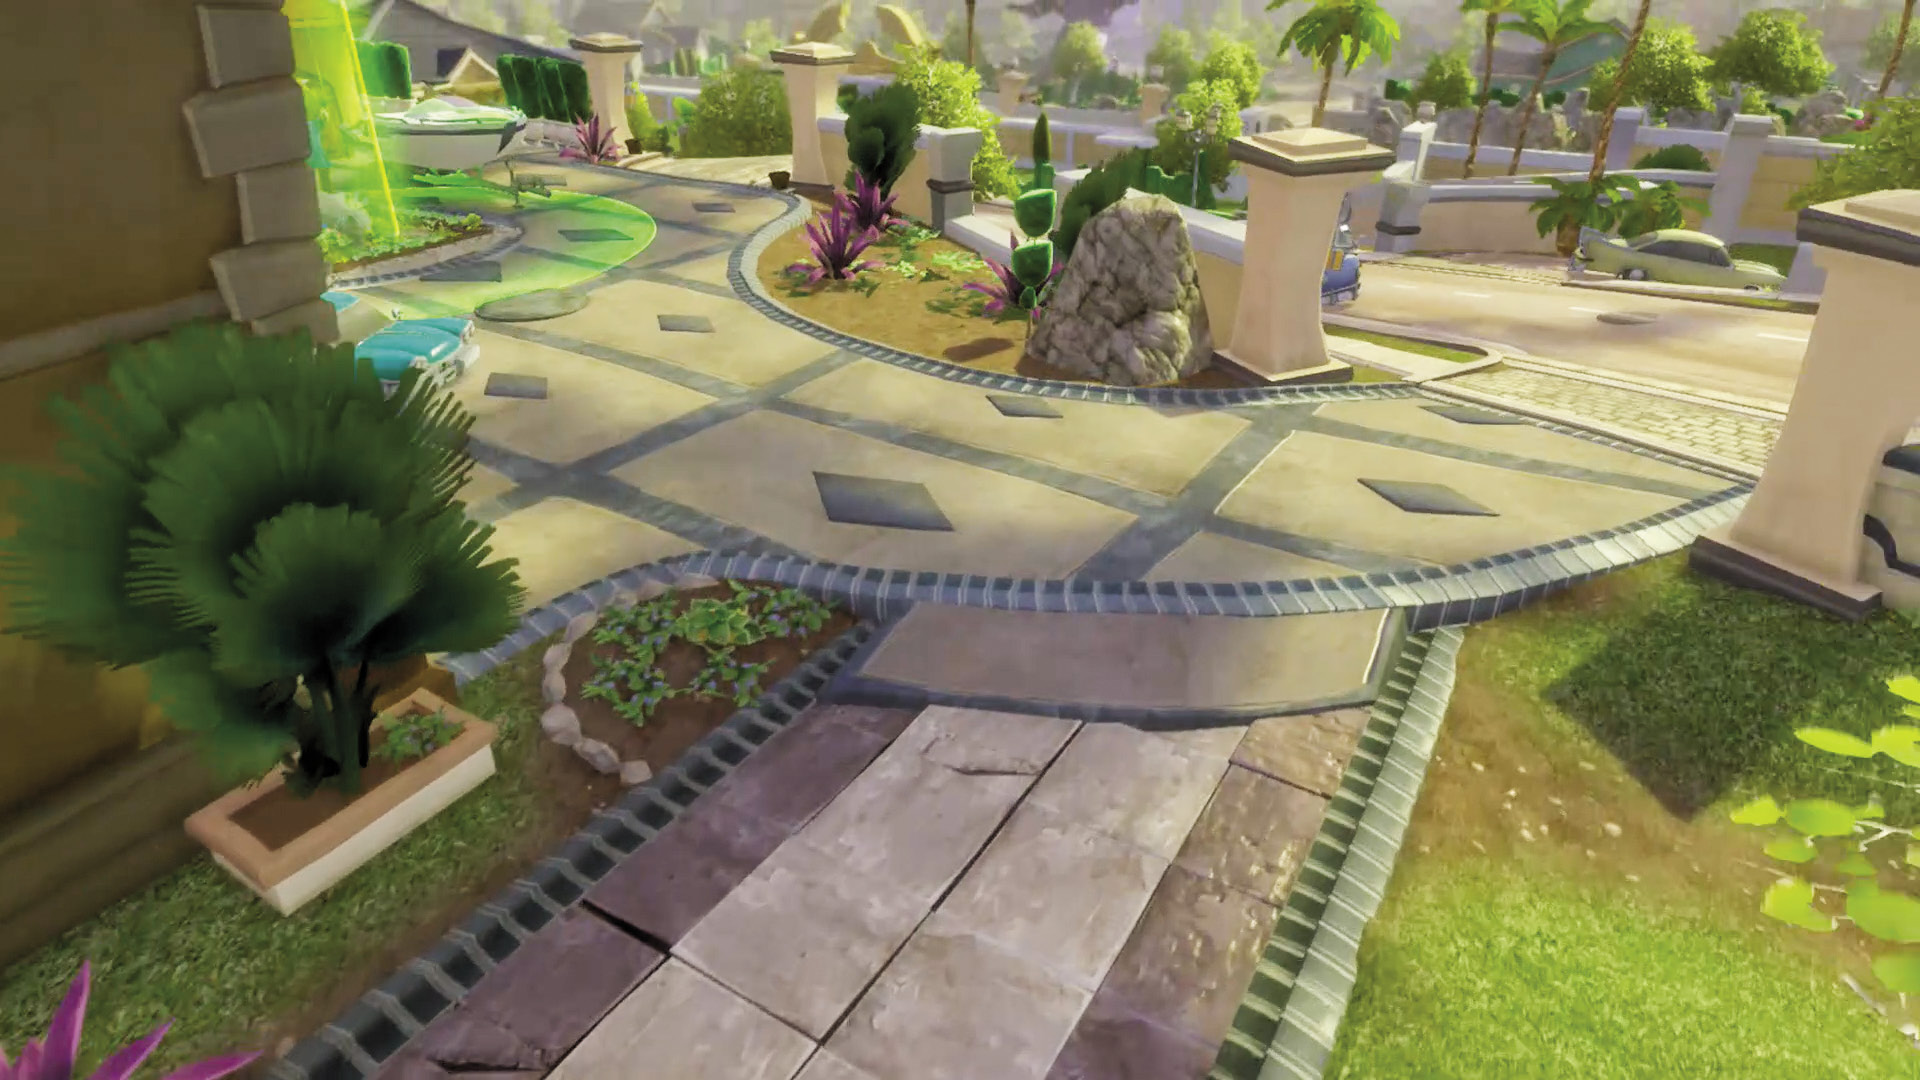
[3] Zombies: This is an even better place to approach since there are no Spawnable Plants around and a wider area to walk through. You may have noticed by now that this place is full of walls and only gives you a few narrow places to approach on foot. Consider using aerial attacks, and use some of the Spawnable Zombies found here for support.
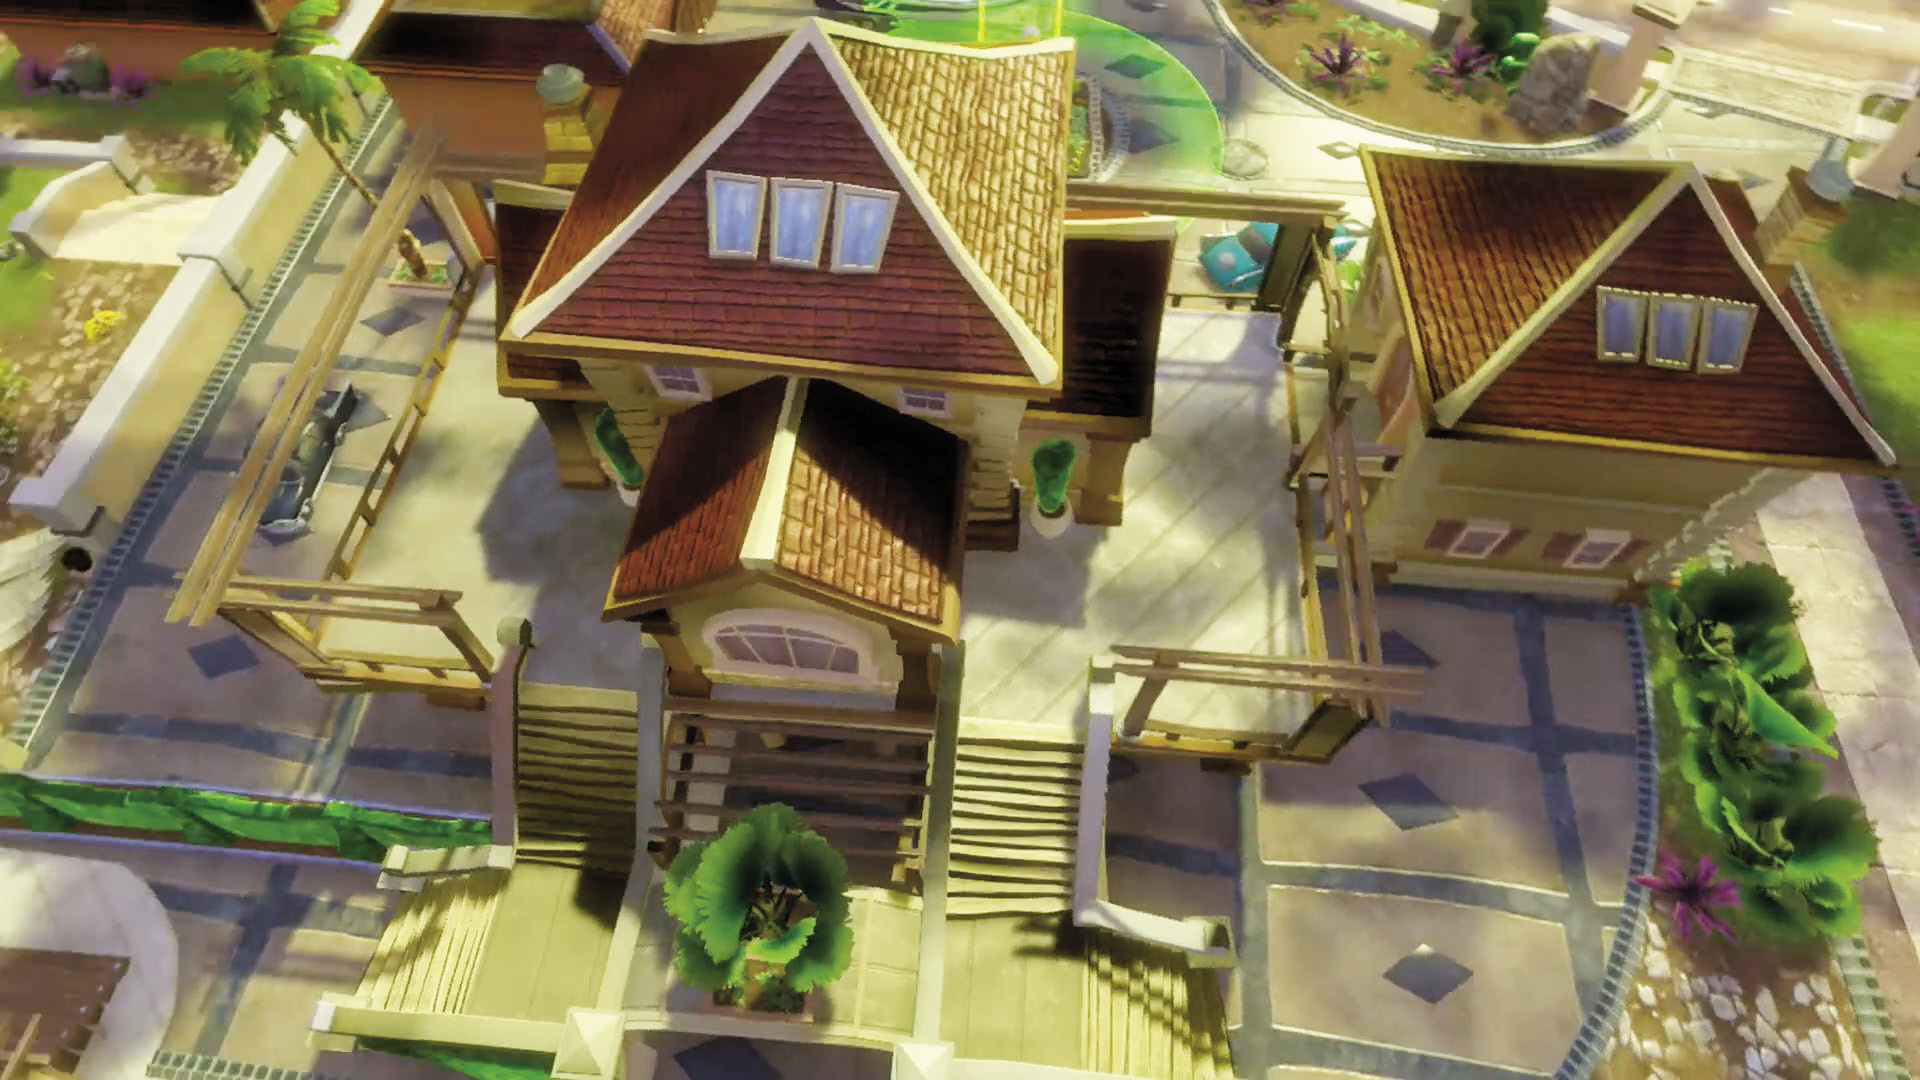
[4] Plants: You have a golden opportunity here in the form of the estate itself. Climb up the back steps to give yourself a view of nearly the entire area! Keep spotters up here to alert your teammates of approaching zombies, and don’t hesitate to use the easy high ground to provide defensive fire. Don’t put all of your eggs in this basket, however—you’ll still need forces on the ground!
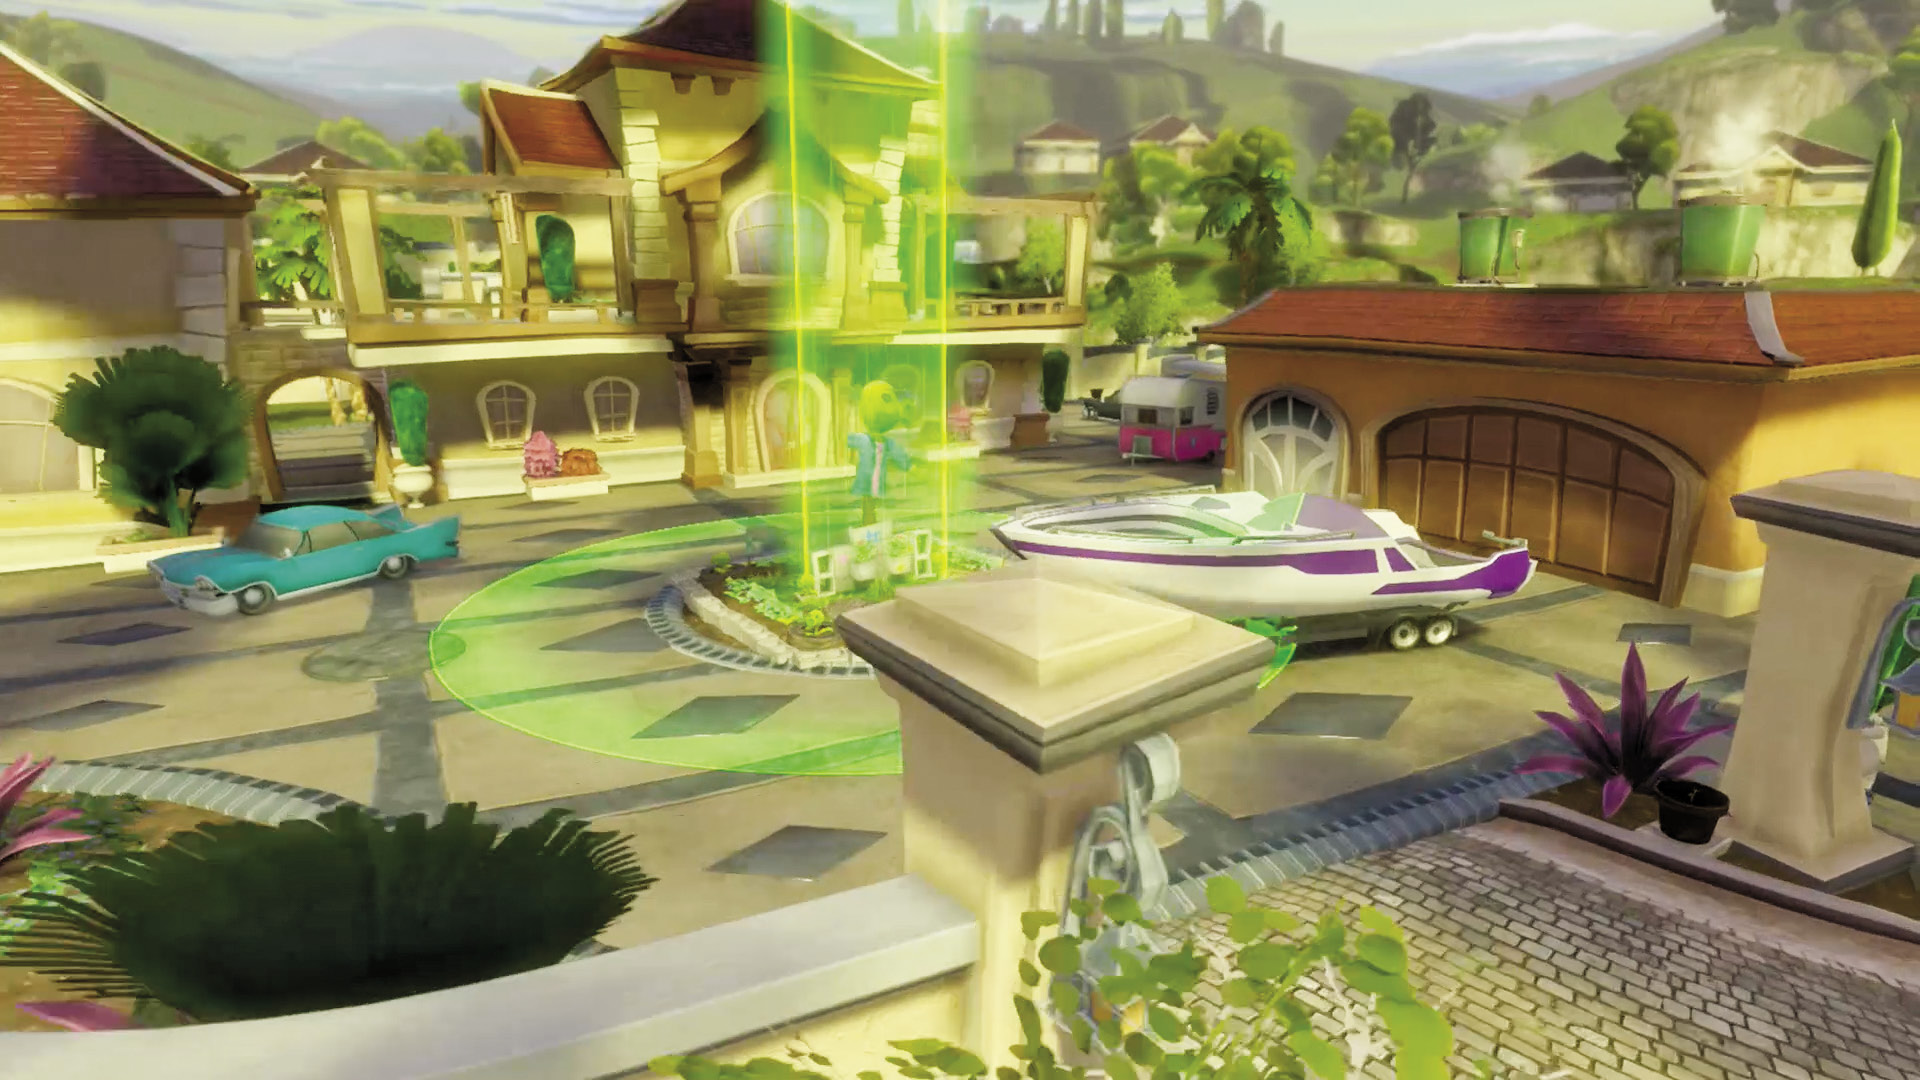
[5] Plants: After the nightmare that was the cul-de-sac, the estate overall cuts you a break. It’s fortified by way of the narrow paths seen in [1], [2], and [3], and the easy high ground in [4]. Really, the only strategy here is to not rest on your laurels. Faced with the first of this map’s true strongholds, zombies will get crafty with their powers and air support (watch out for Warping Scientists and Engineers’ Drones). Still, this is one of the easier few minutes you’ll spend defending a Garden.
Phase 6: Pool
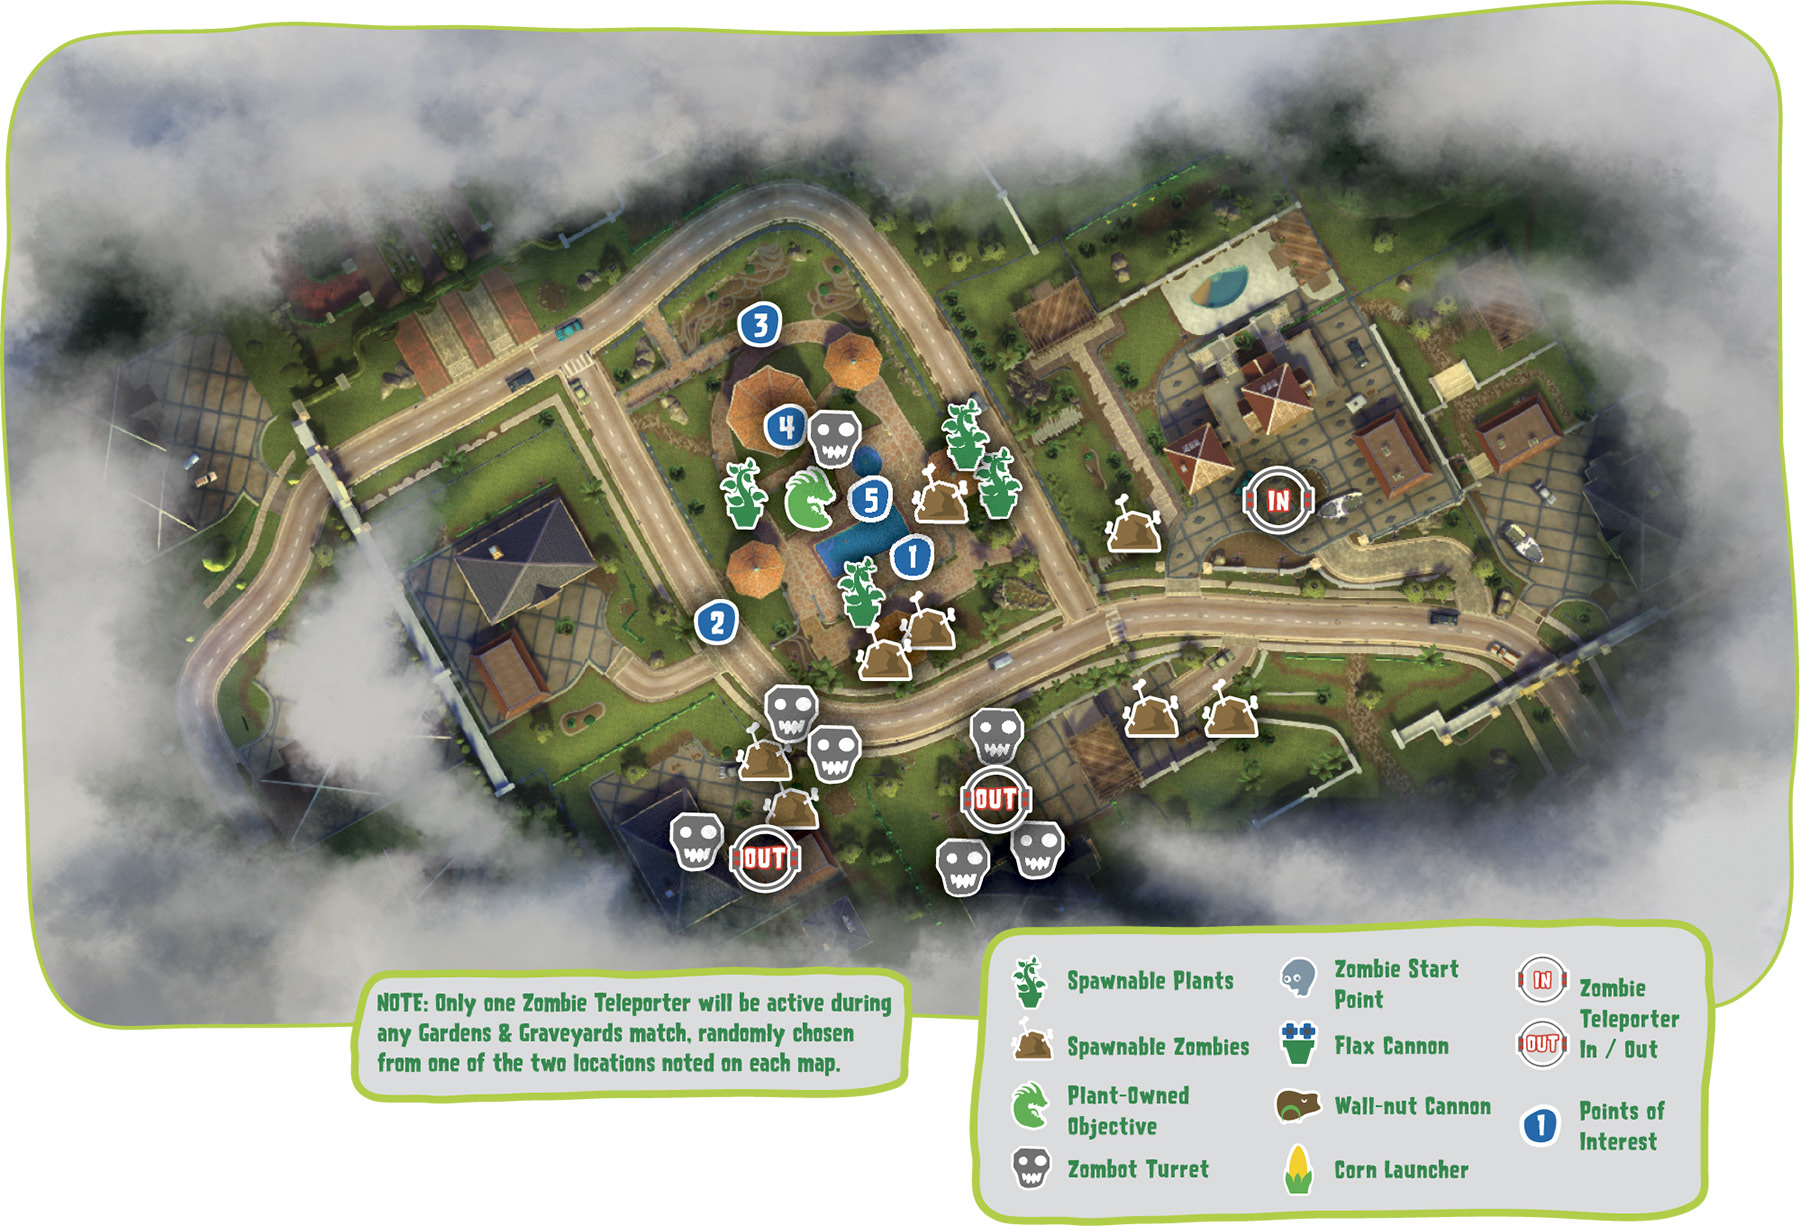
Points of Interest
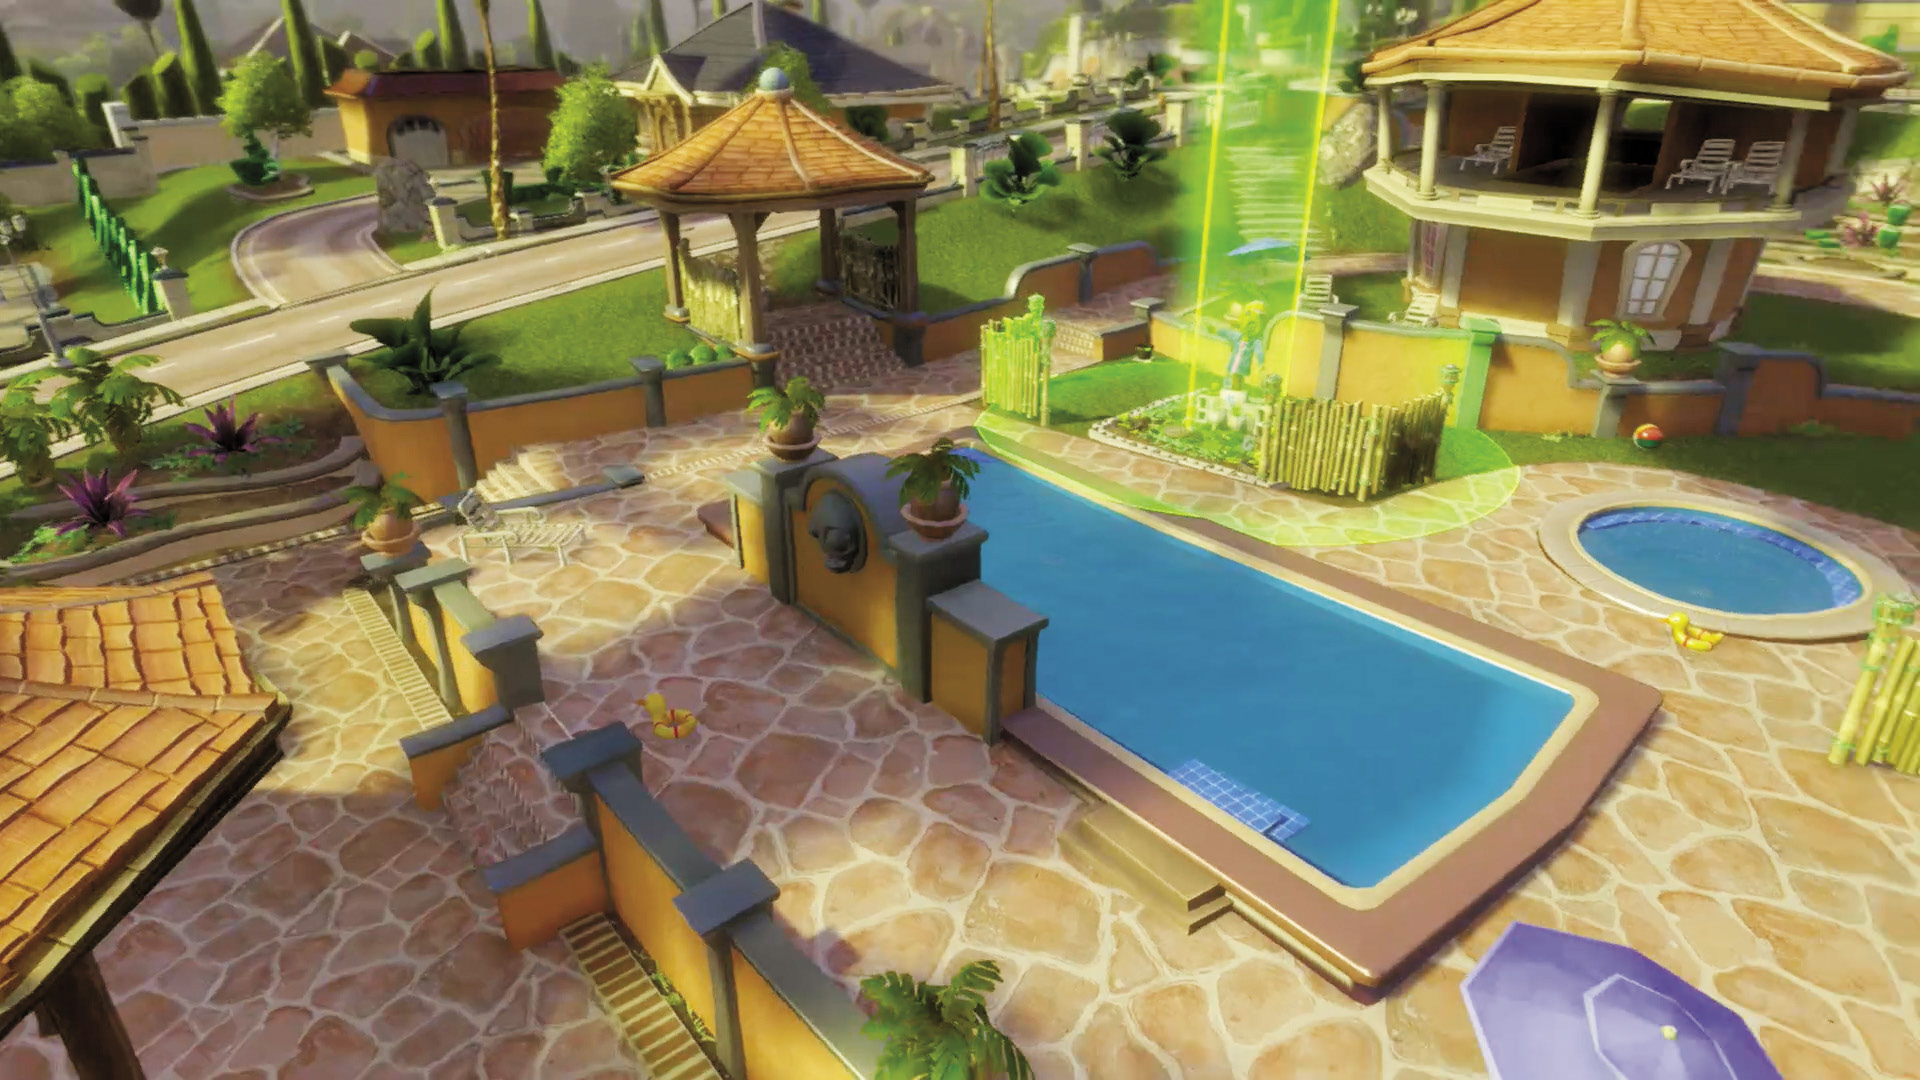
[1] Zombies: The Pool itself is going to be one of those hotly contested areas, where firefights are long and brutal. Sneak attacks from the side can help, but this is actually one of those times when simply overwhelming with superior numbers and firepower can well win the day. There isn’t a whole lot of ground to cover between here and the plants’ Garden, so consider simply sticking it out if you have the troops. Consider bringing as many Spawnable Zombies as possible to seal the deal.
Plants: You’re going to be doing a lot of shooting here, no two ways about it. Use mines and traps to make life easier for yourself, as well as power weapons and ammunition with area-of-effect properties. Keep eyes on all directions, but especially be ready for the inevitable frontal assault.
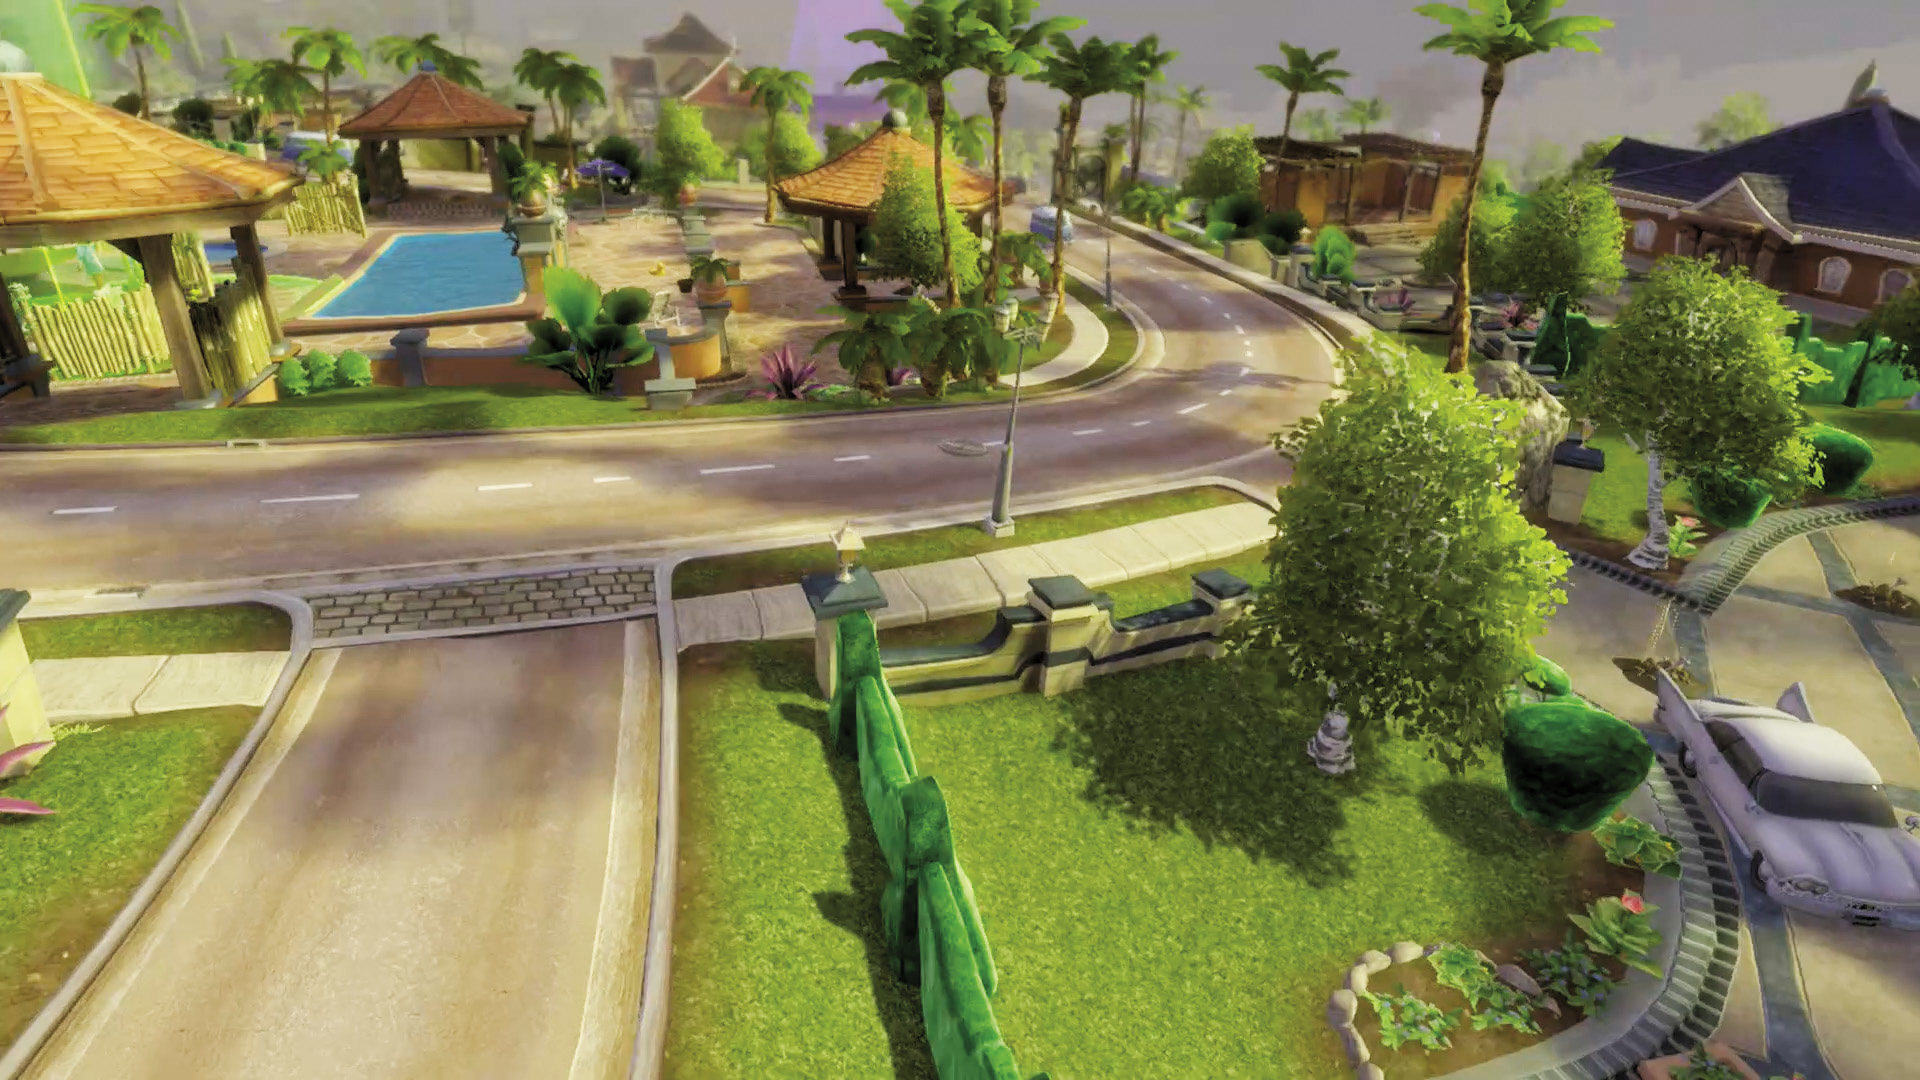
[2] Zombies: In your battle for the pool, this area is actually one of your best friends. Plant defenses around it are more spread out, and the path is wider as well to allow your zombies to mount varied attacks without being bunched up. Be mindful of aerial defenses, but otherwise, this is a good place to back up a frontal pool assault.
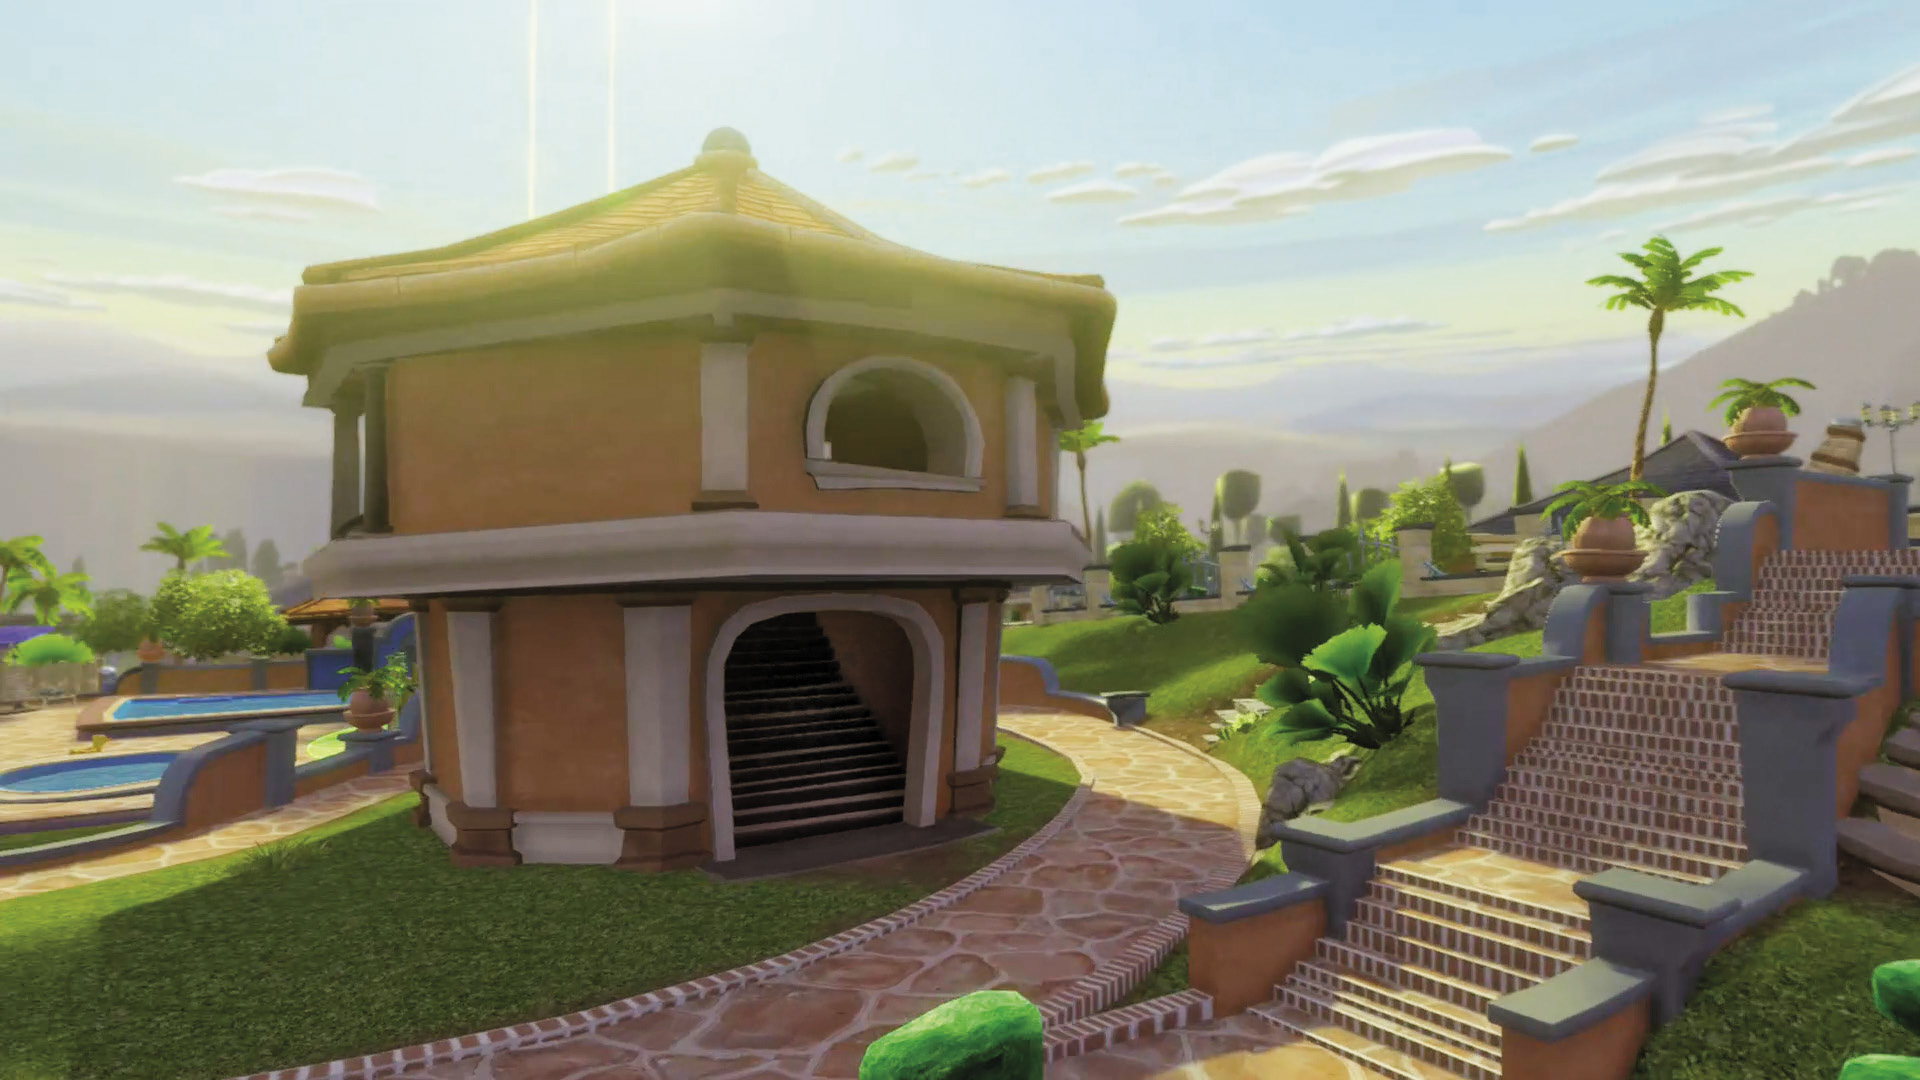
[3] Plants: This area is both a good place to catch a breather and find some high ground. Enterprising zombies might try to take the long road and take it over. Whatever you do, don’t let that happen.
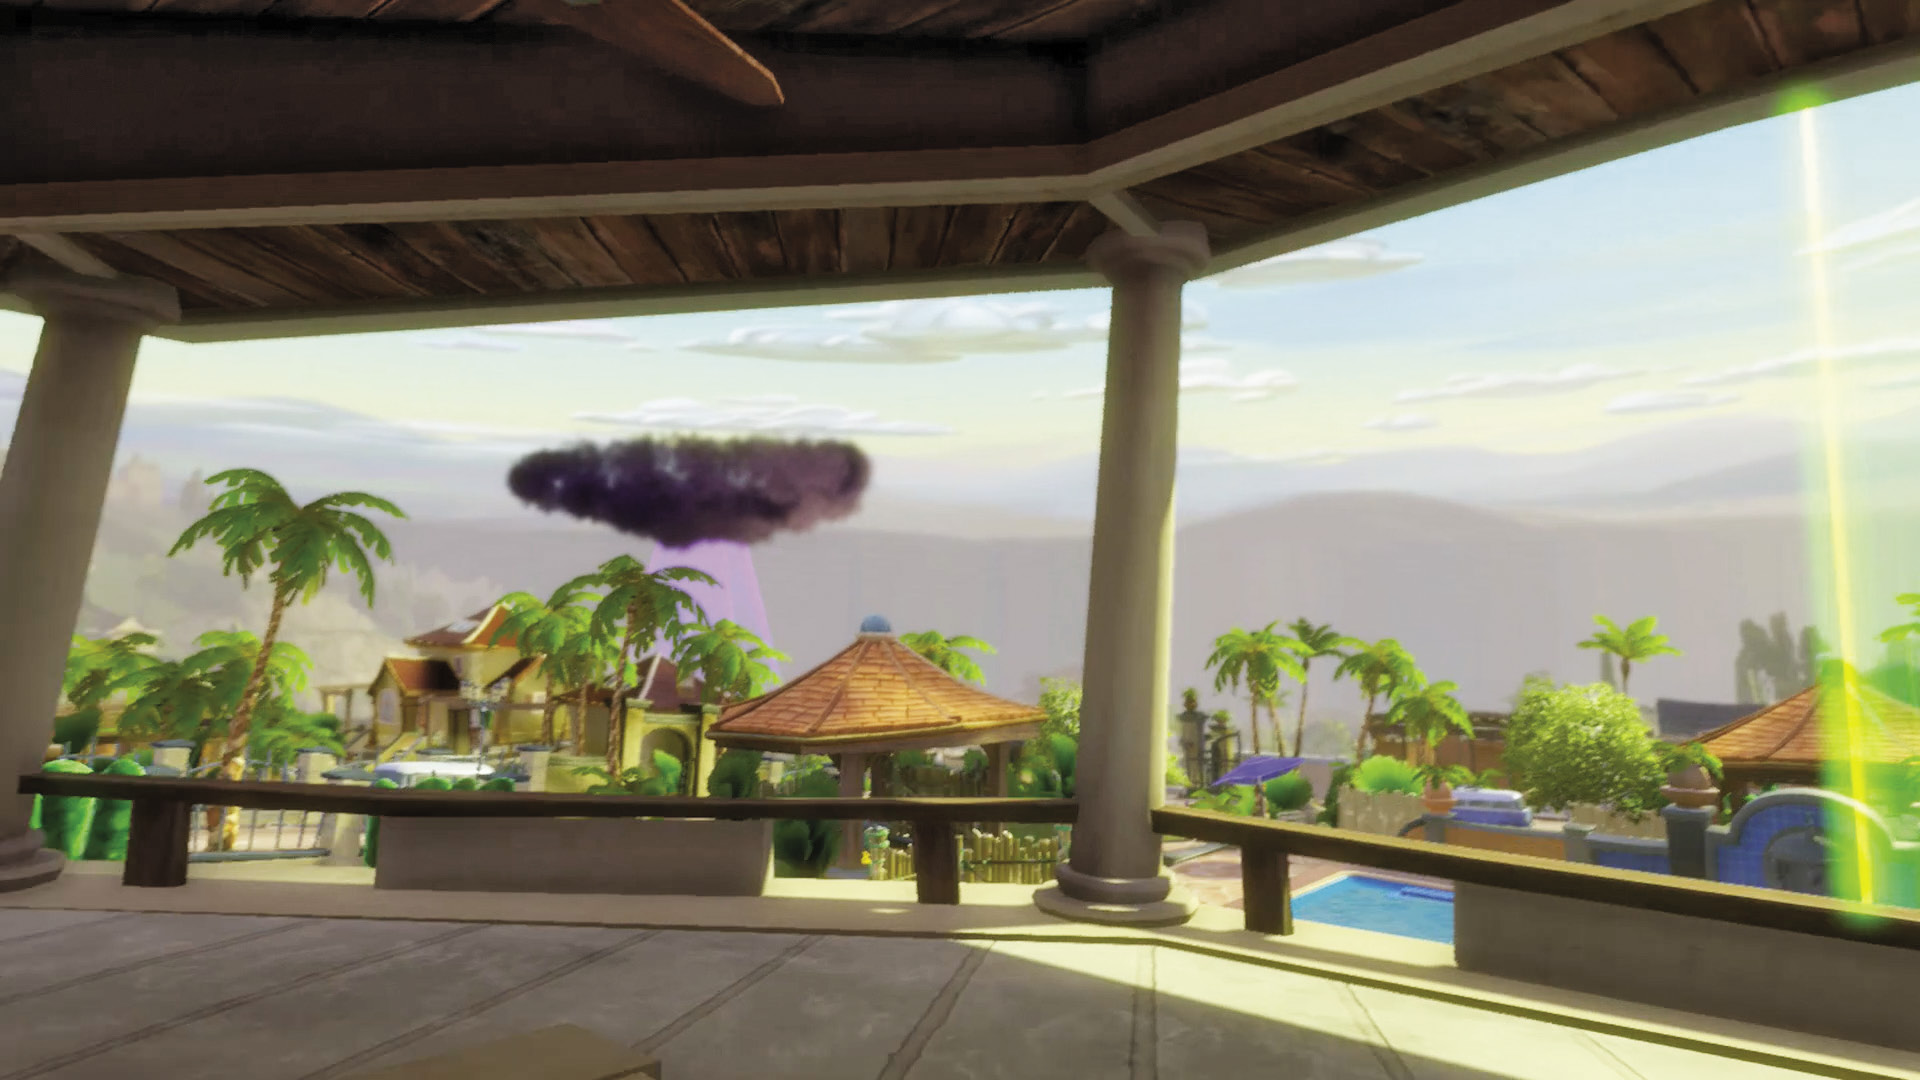
[4] Plants: The back area in [3] contains steps that lead up to a small house that allows you to look over the area. Be sure to bring forces up here to give your ground troops a break. Given the short range between here, your Garden, and the pool itself, sniper Classes aren’t necessarily required to mount a good defense.
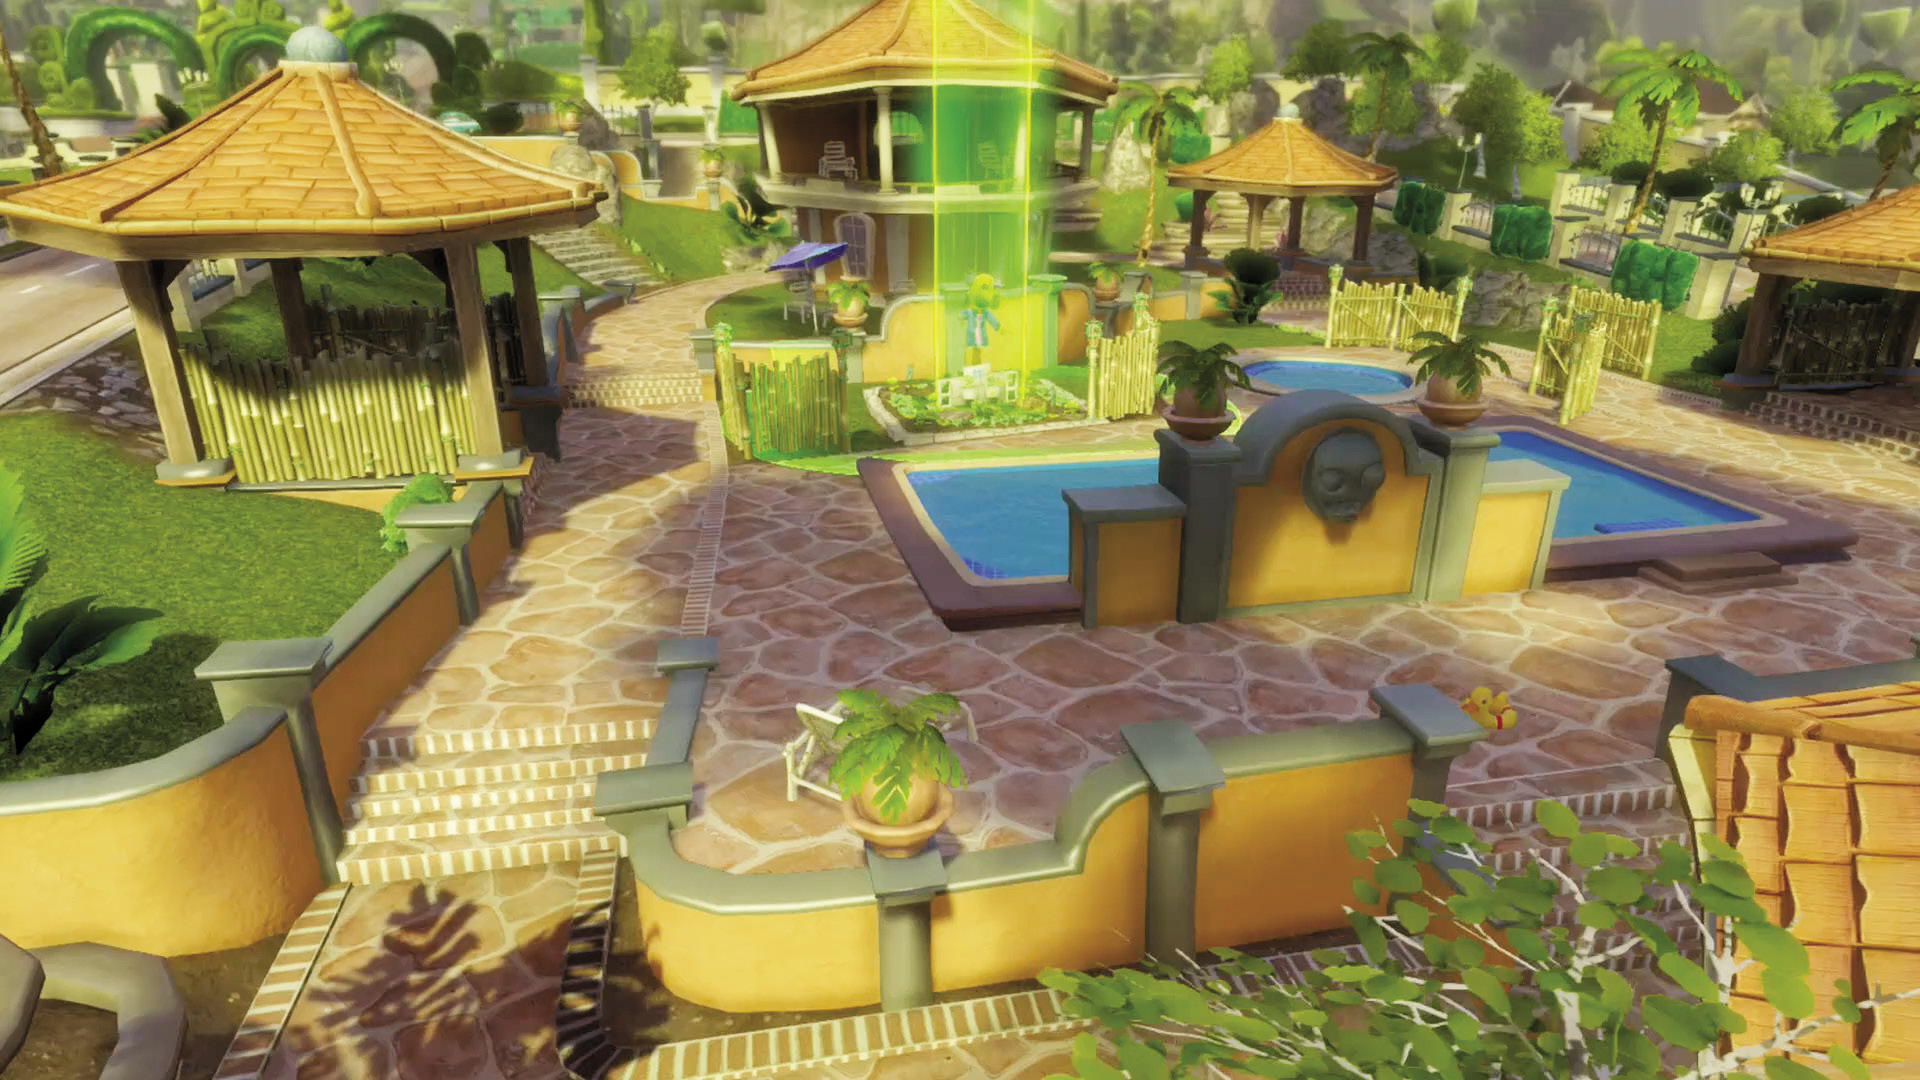
[5] Plants: As mentioned in [1], get ready to do a lot of shooting. You’re in almost the same sort of close quarters as the cul-de-sac, except the odds are a little more balanced in your favor. Keep your eyes peeled mainly on the front and sides, but make sure to also watch your rear—you depend on it for your best defensive strategies here. Use a mix of ranged and in-close Spawnable Plants. The key word here is versatility.
Phase 7: Crazy Dave’s Mansion
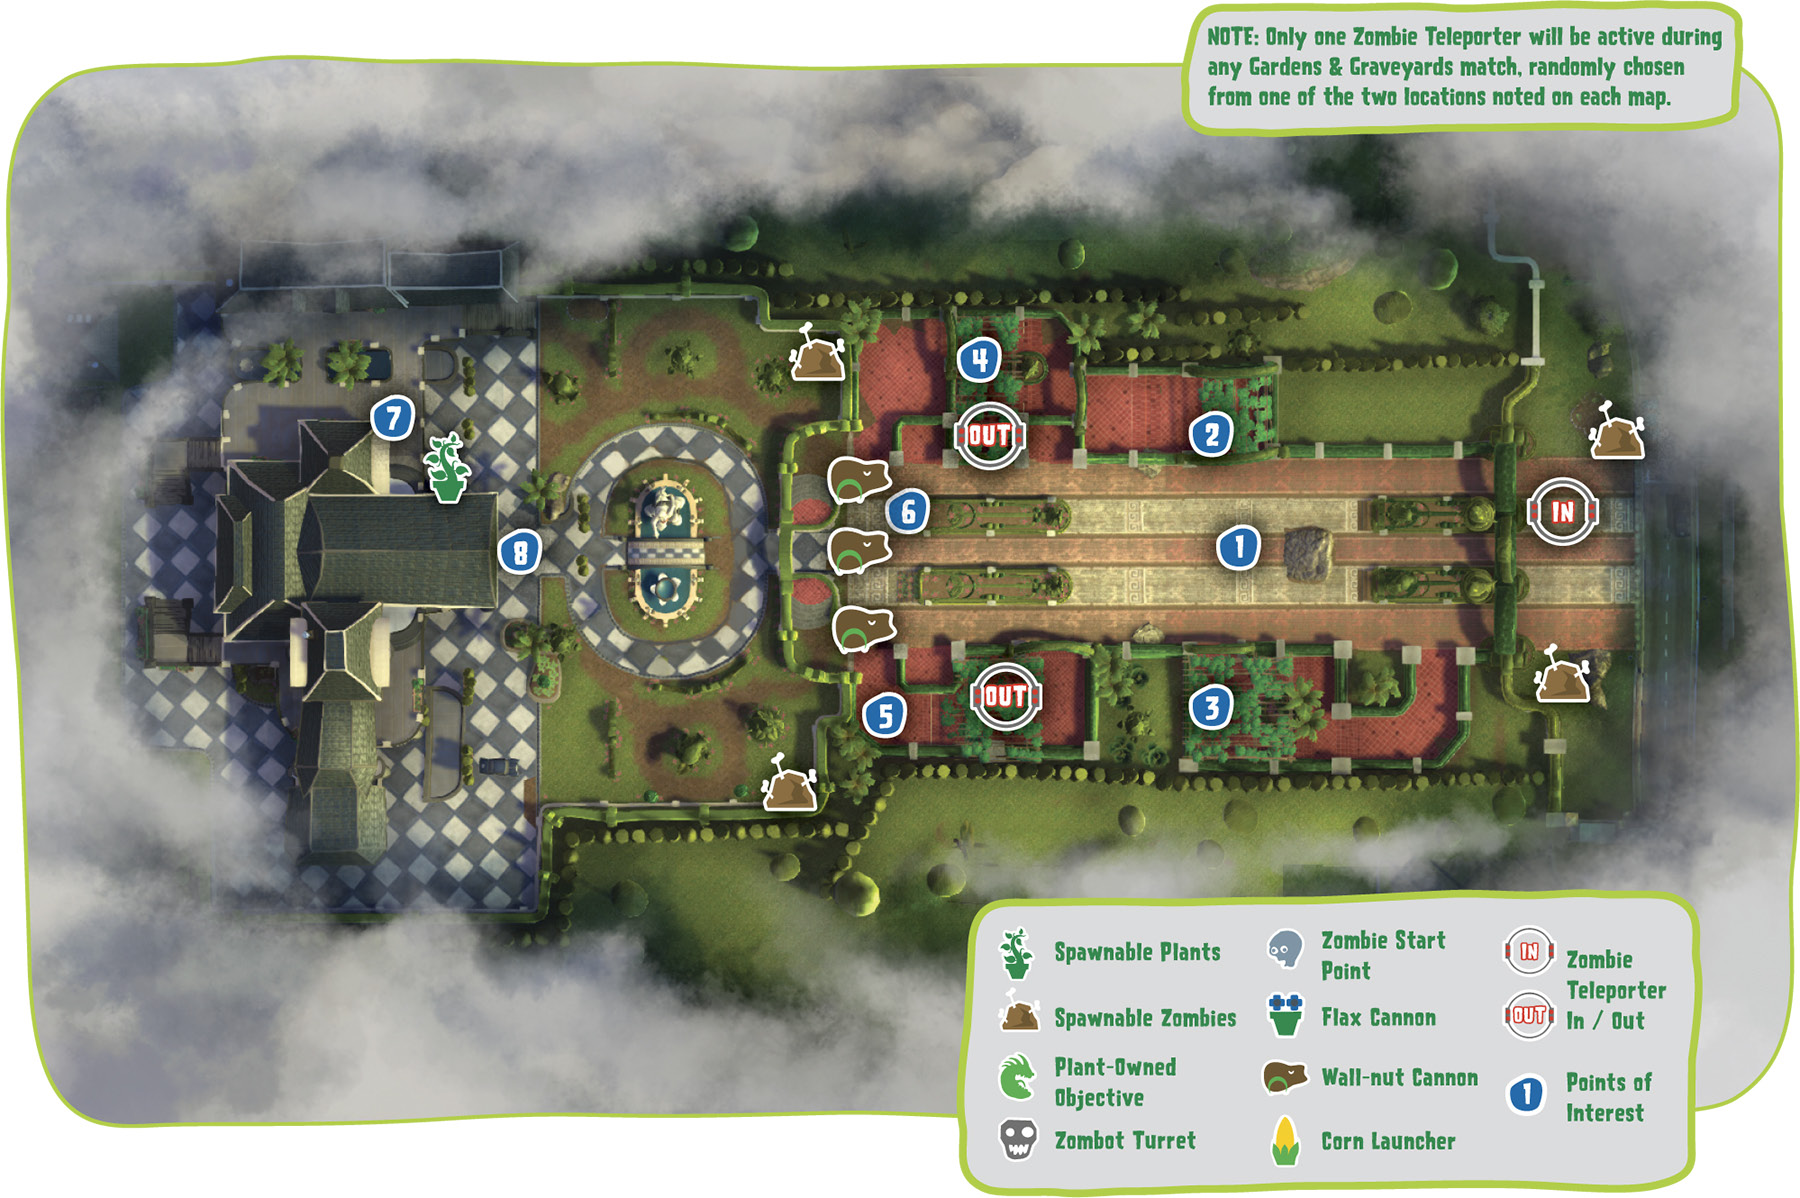
Points of Interest
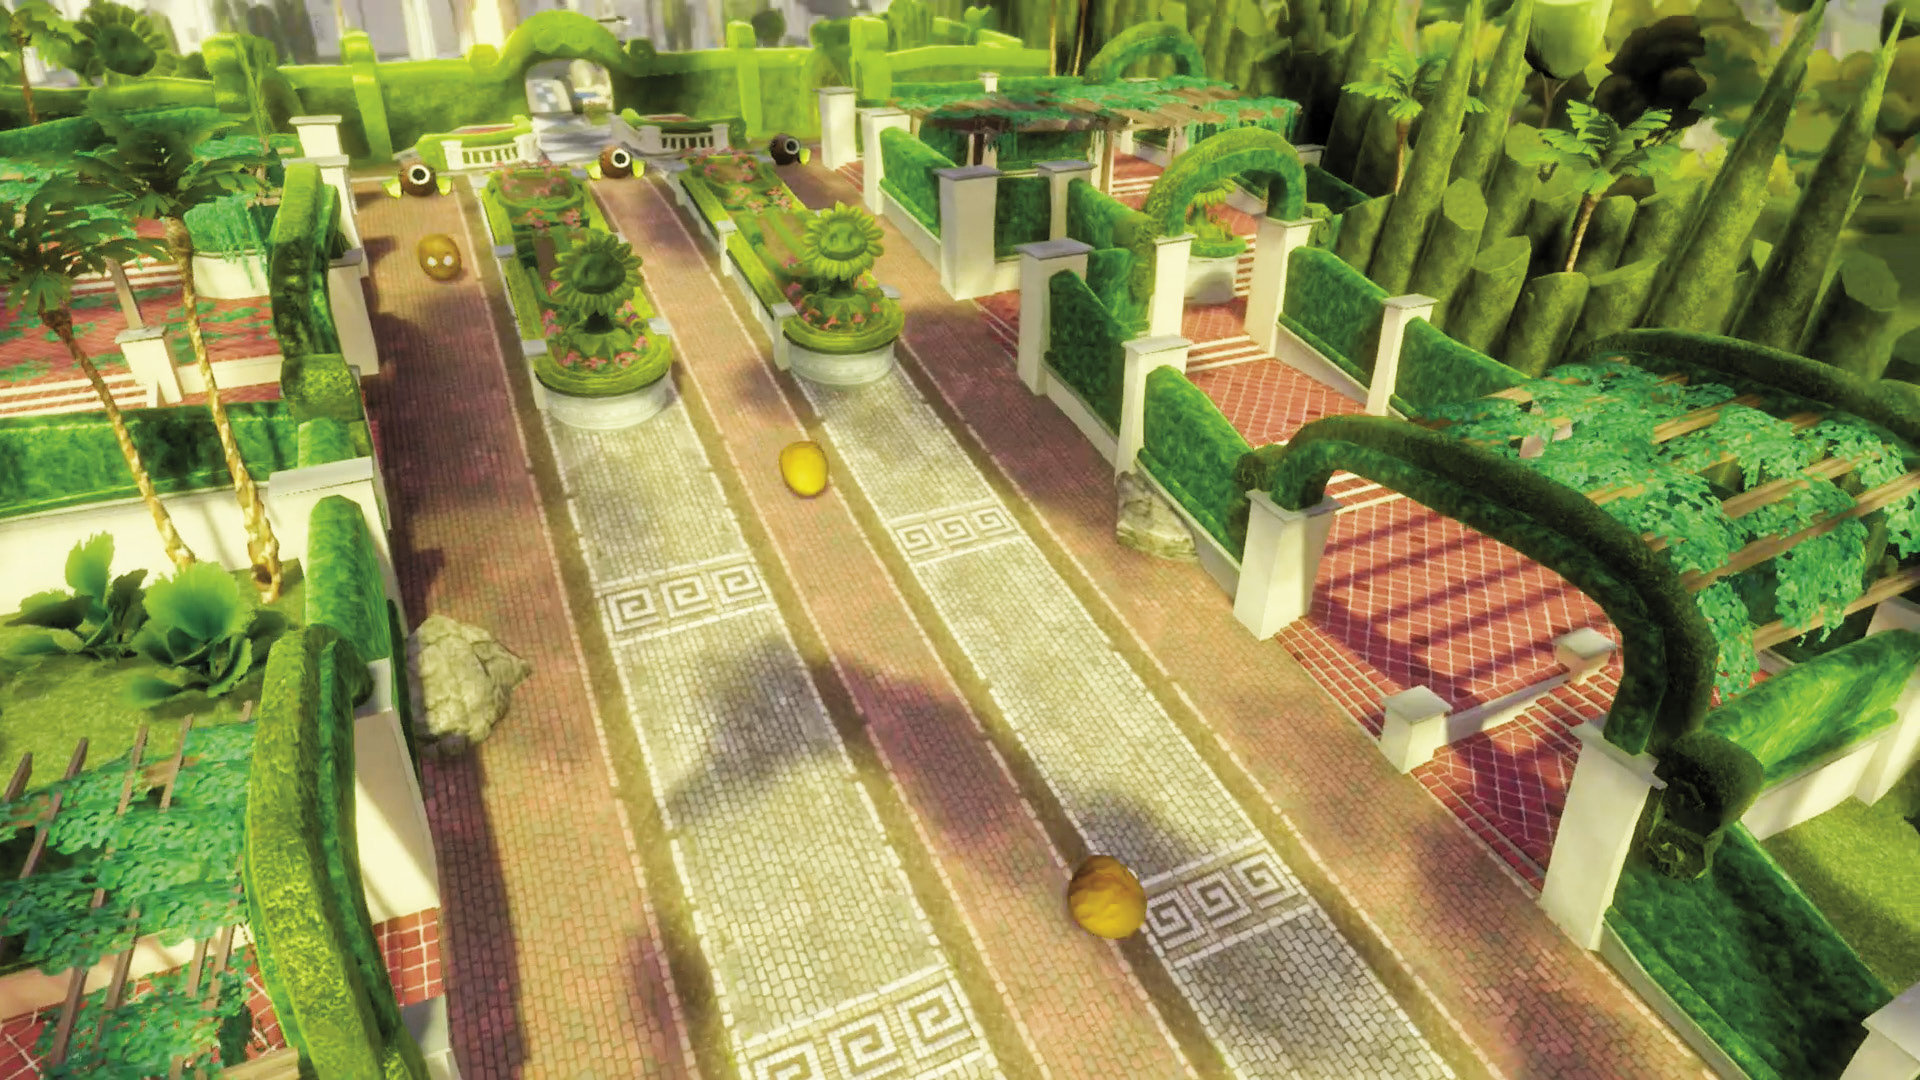
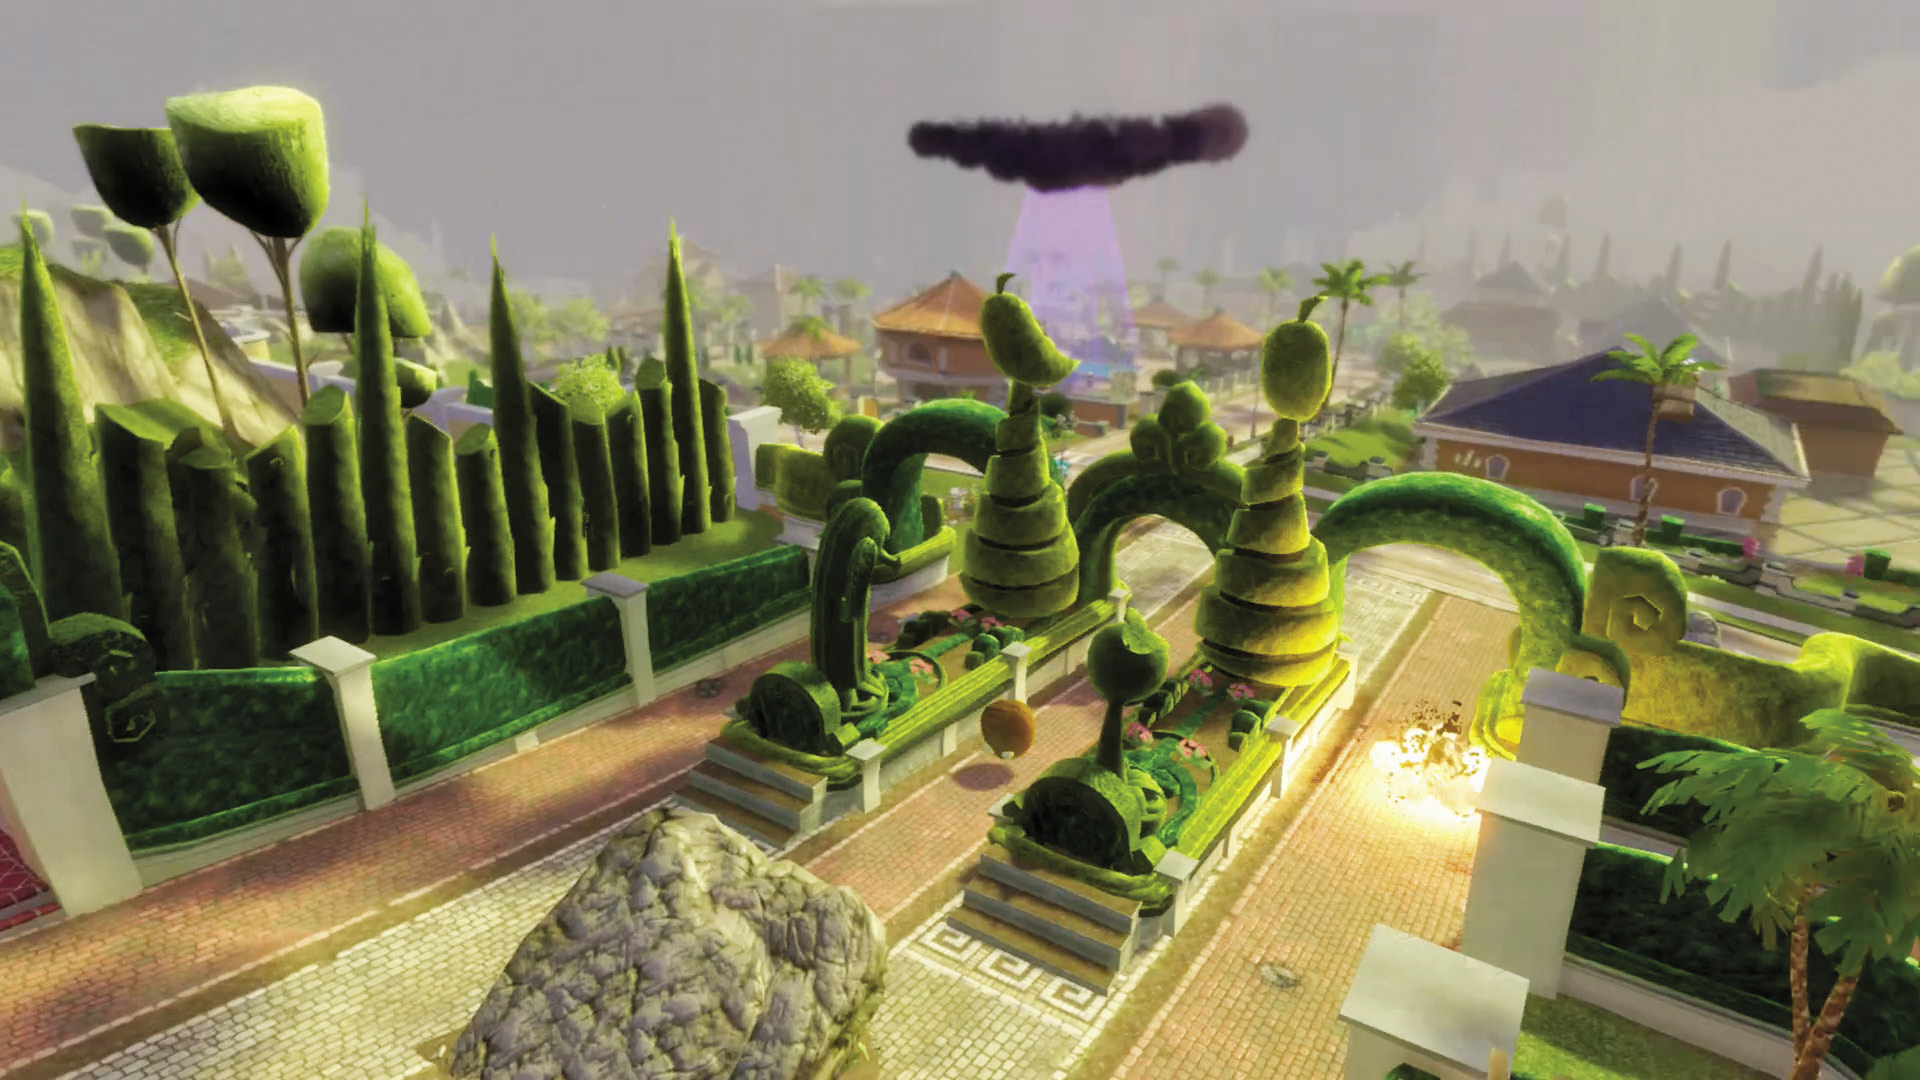
[1] Zombies: Crazy Dave doesn’t want you in his house—end of story. It’s a long road to reach it, and most of the way there is blocked by Wall-nut Cannons, whose explosive ammunition can vanquish you with one hit! You’ve got your work cut out for you!
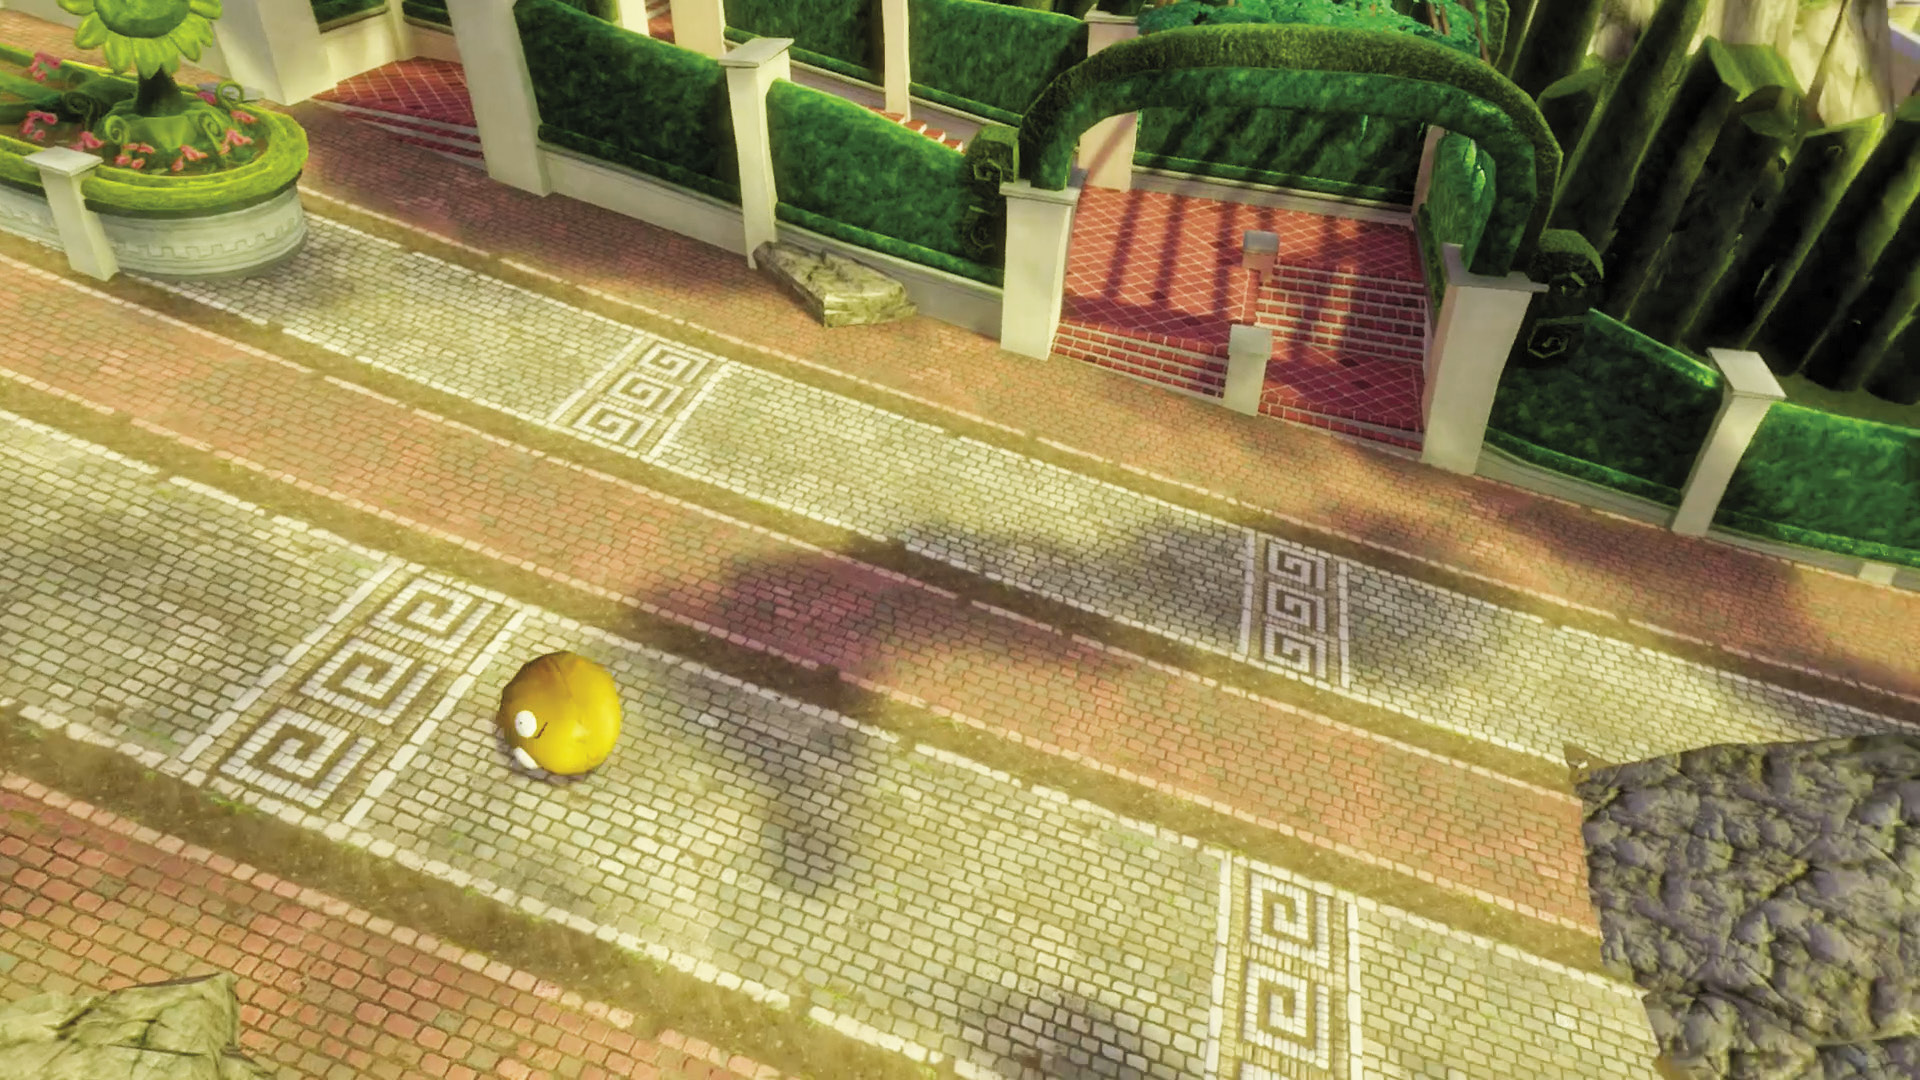
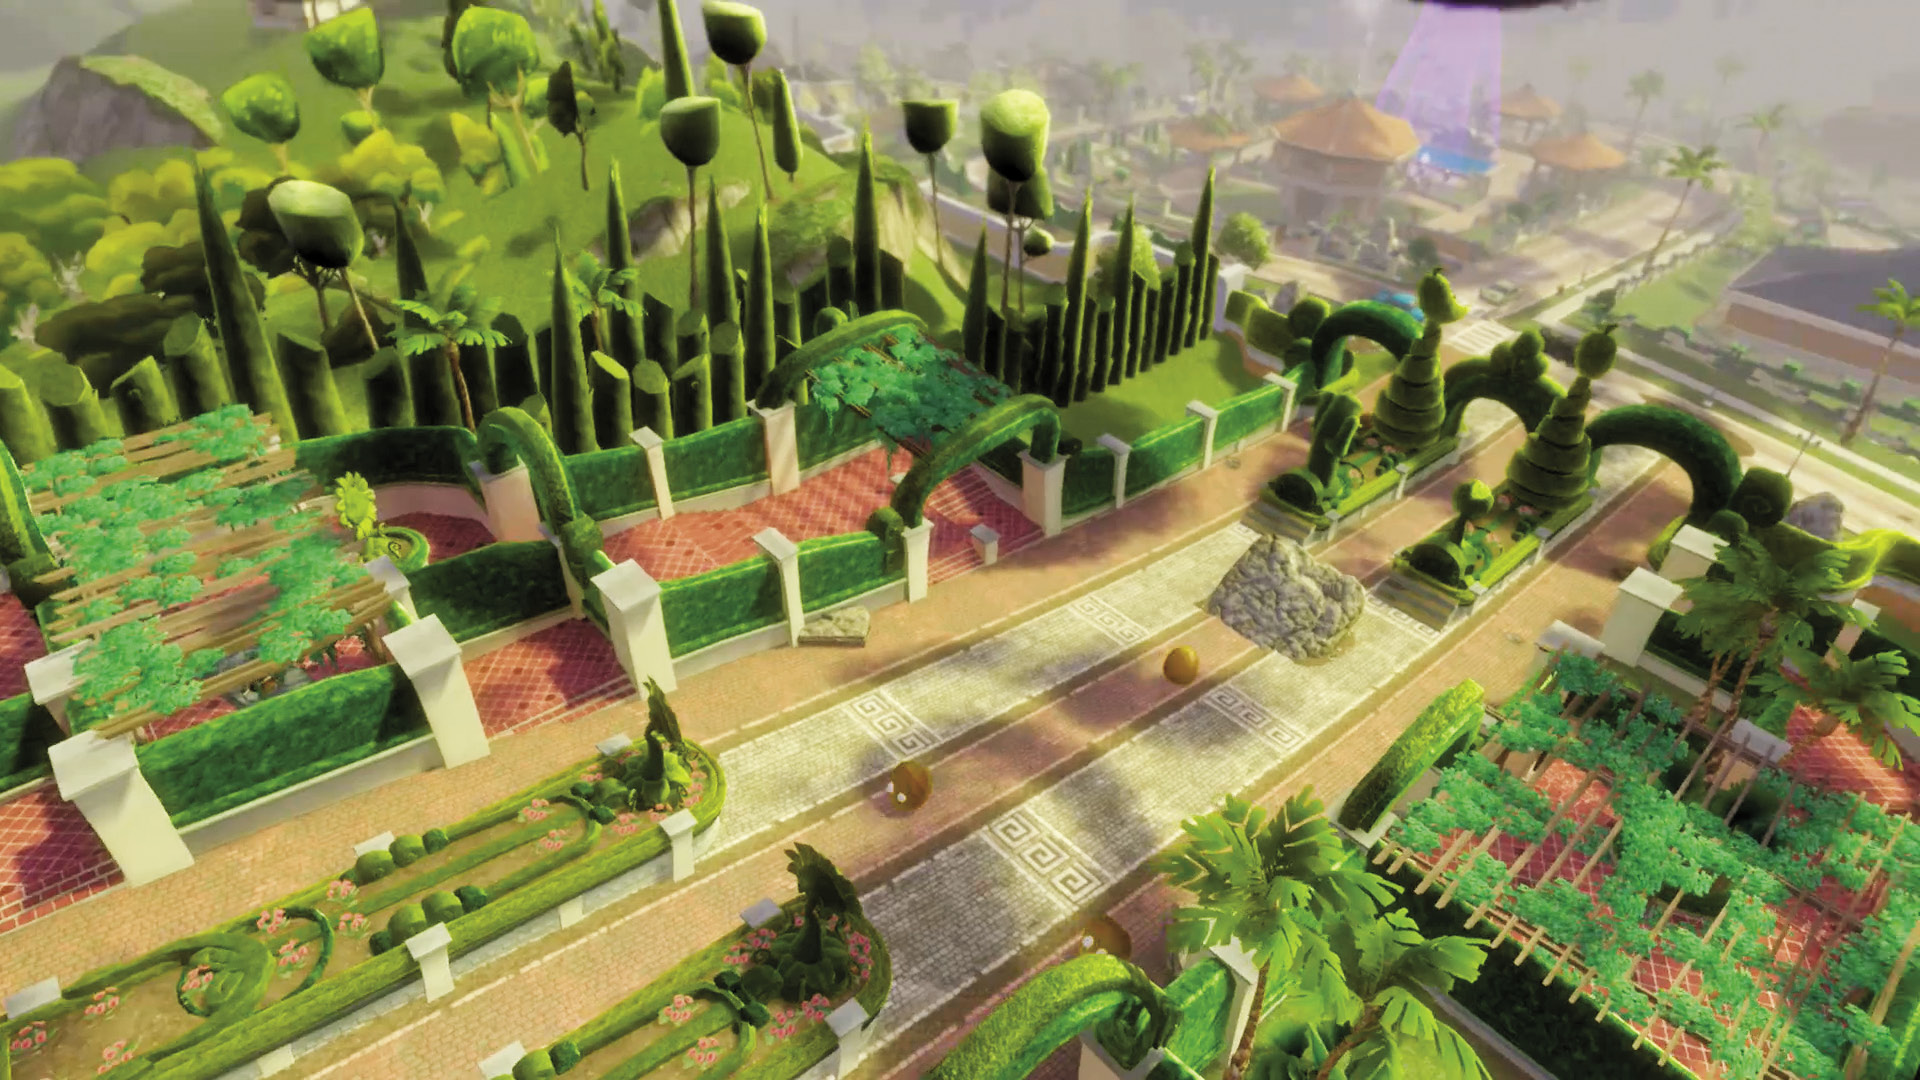
[2] [3] Zombies: The very first thing to do is make a clean break for either of the sides of the walkway. Once you reach it, you’ll be safe from exploding potatoes for a time, and can make your way up to where a Teleporter will hopefully be waiting depending on which side you’ve chosen.

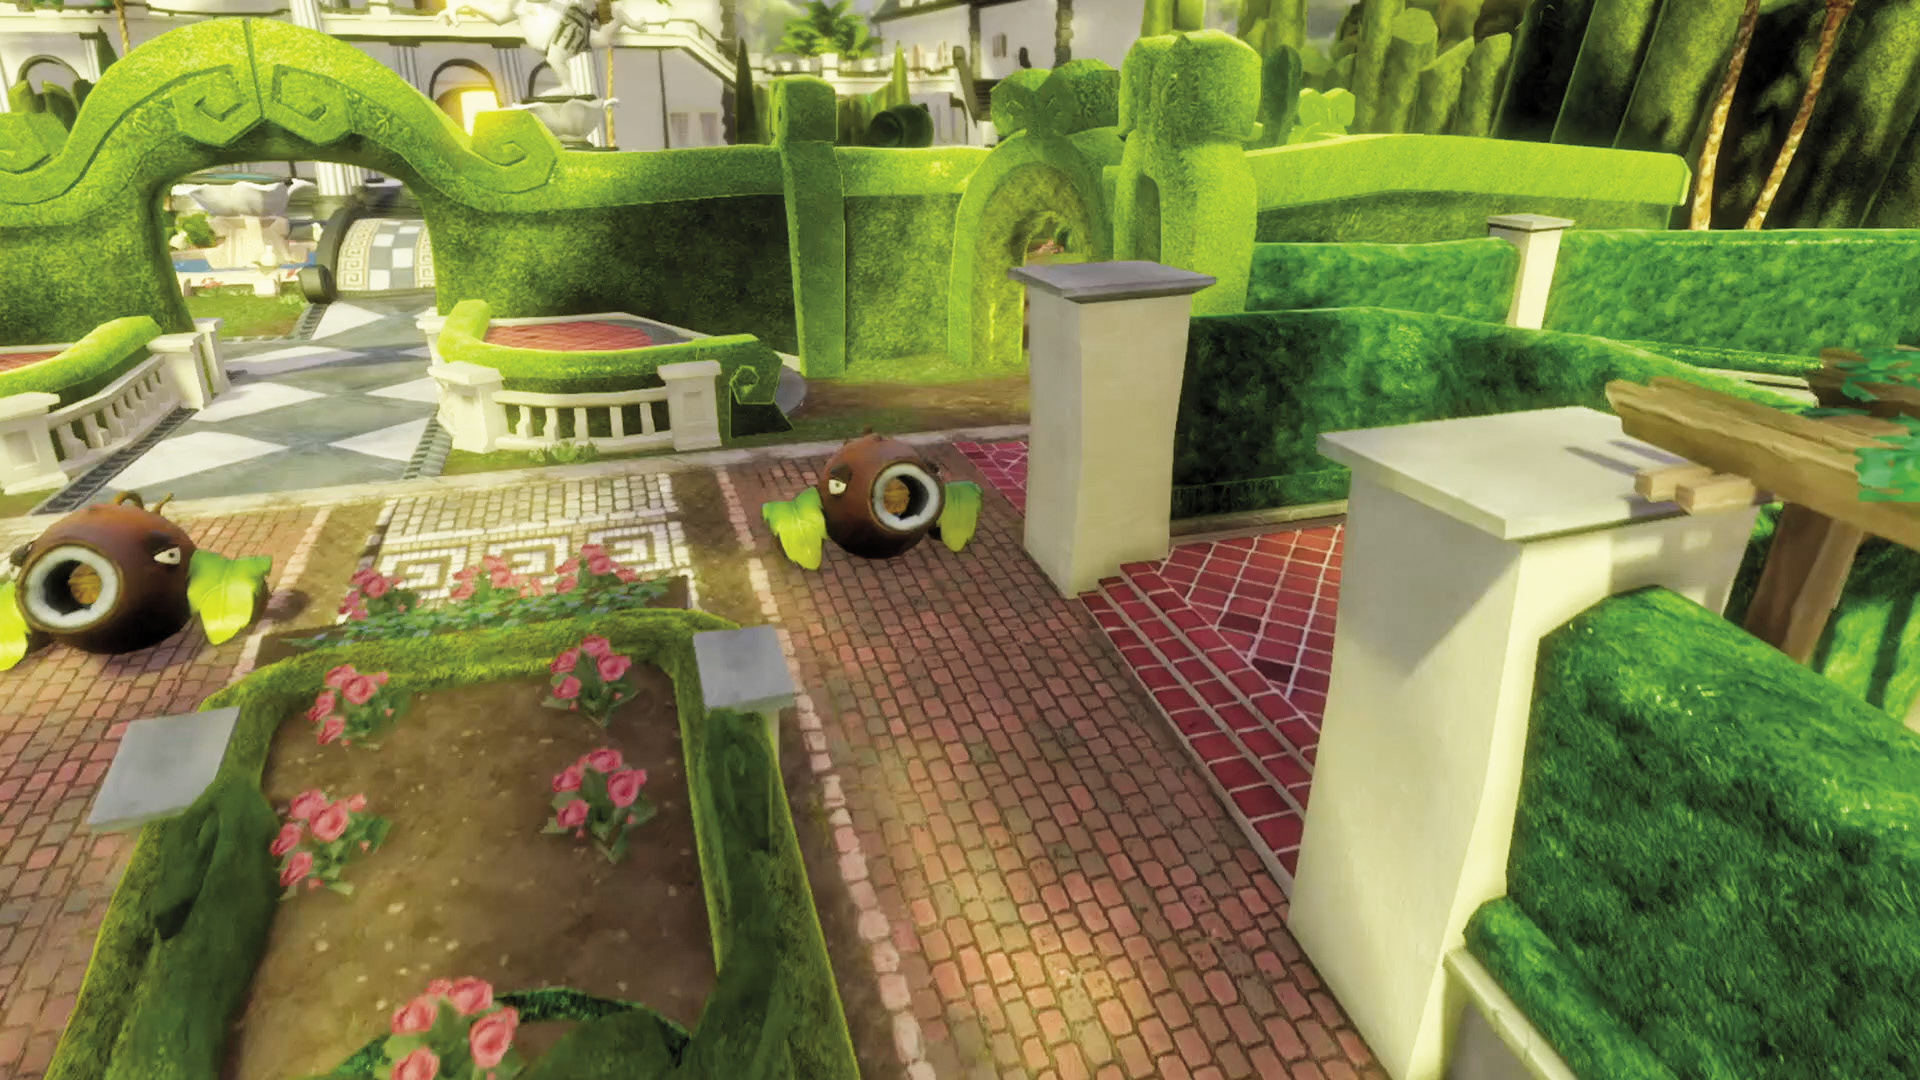
[4] Zombies: Activate your Teleporter, wherever it may be, and this mission becomes much easier because it’ll allow you to bypass the main walkway. Consider this to be your first main objective.
Plants: Simply put, if the zombies activate their Teleporters, they’ll have a much, much easier go of this place. Consider sparing troops to patrol them so that this doesn’t happen.
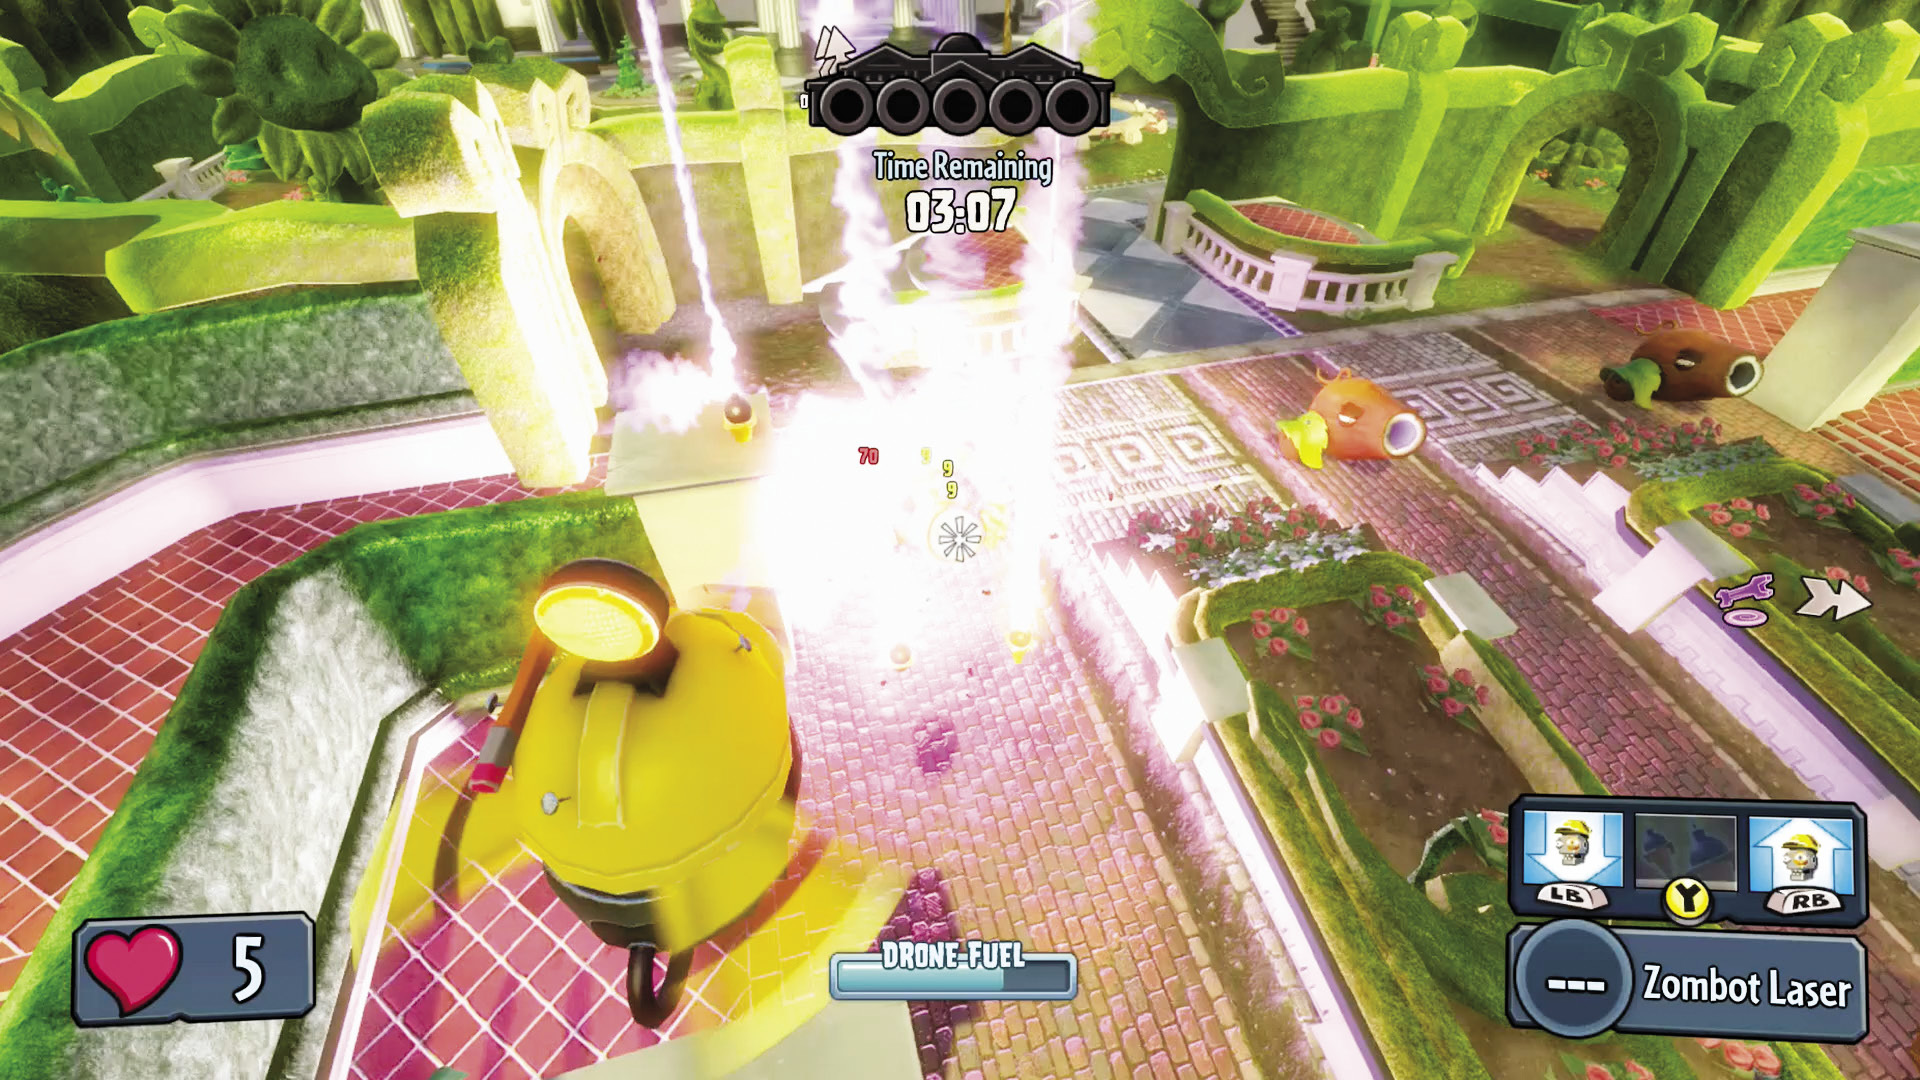
[5] Zombies: The Wall-nut Cannons can take a boatload of punishment, but they can be defeated with enough concentrated firepower. It is entirely your choice if you want to try and make life easier for your fellow zombies, or simply go around them and rush for the objective.
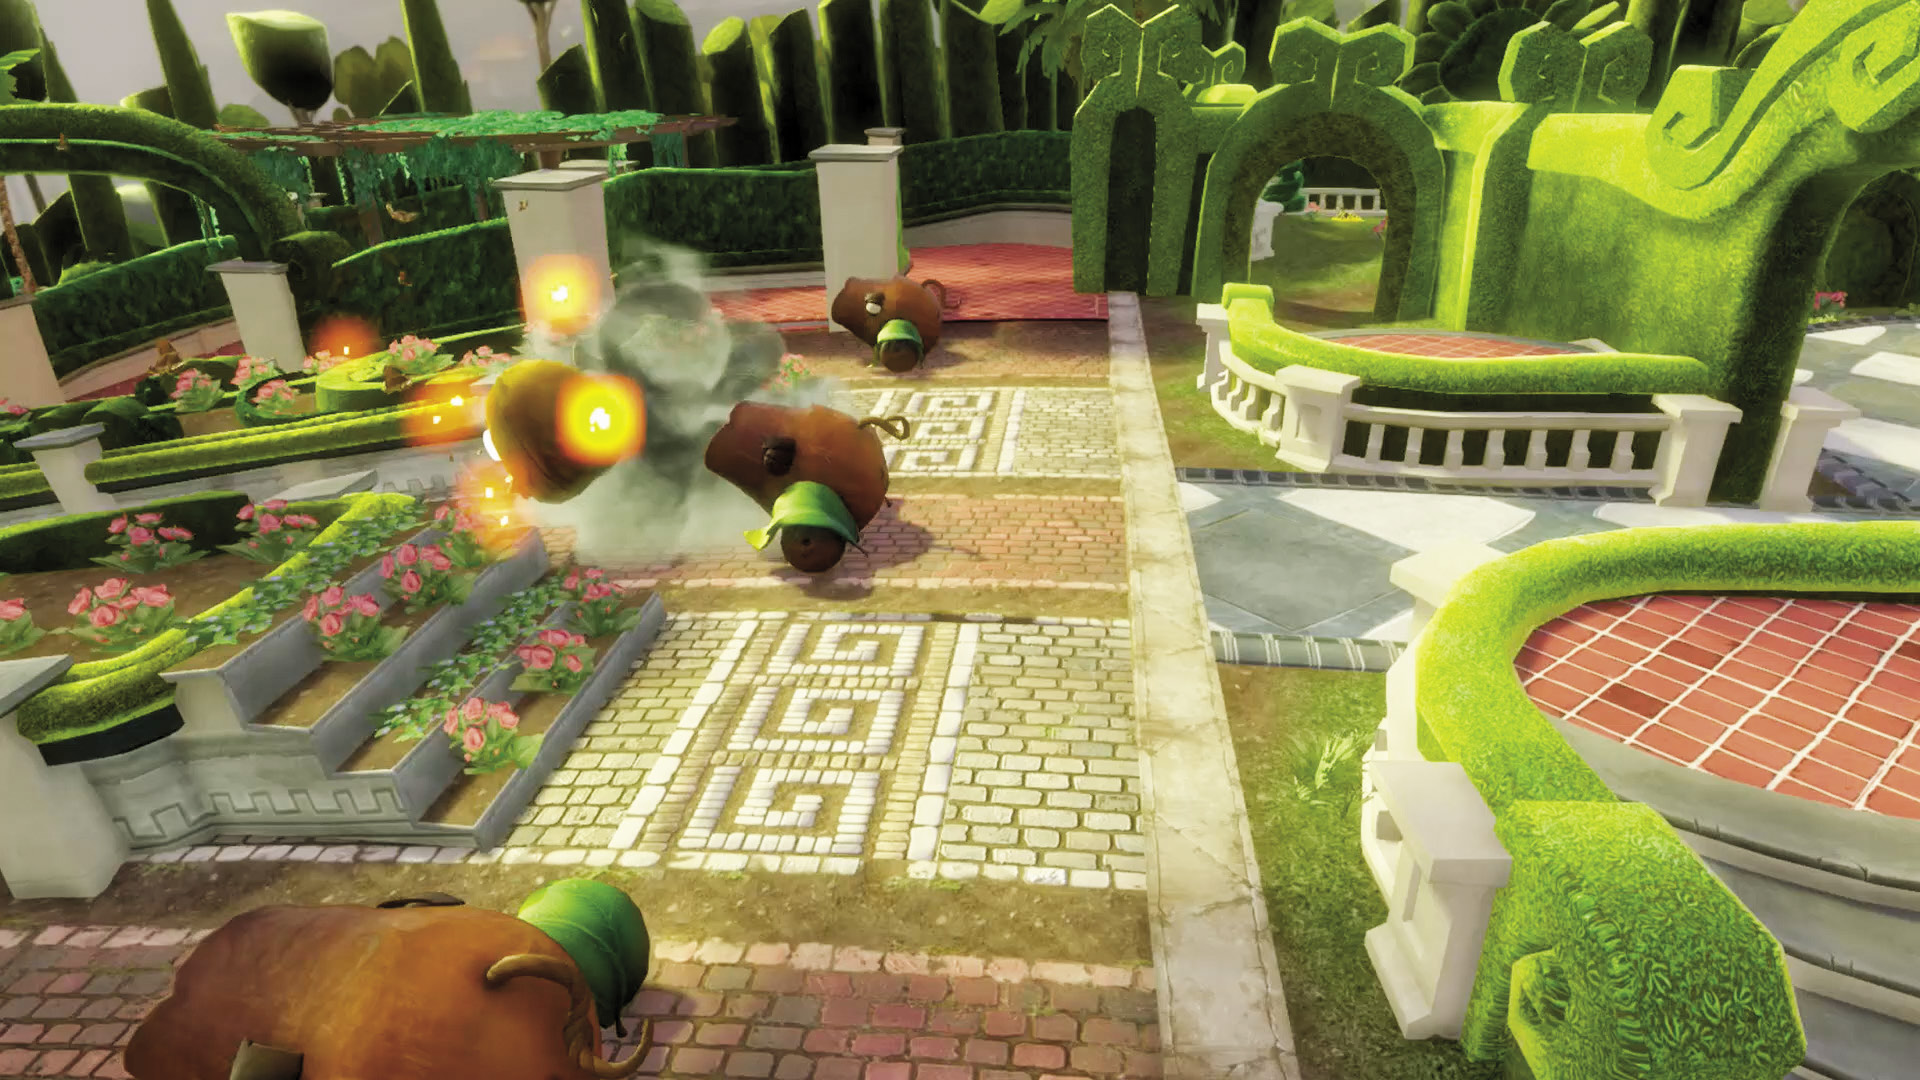
[6] Zombies: If you do want to simply go around the Wall-nut Cannons, wait until you’ve got a Teleporter built, the run up the sides and behind. If you want, you can also try and get in some potshots at the cannons, but odds are you’ll have actual plant players gunning for you at this point, so don’t sweat things too much if you can’t.
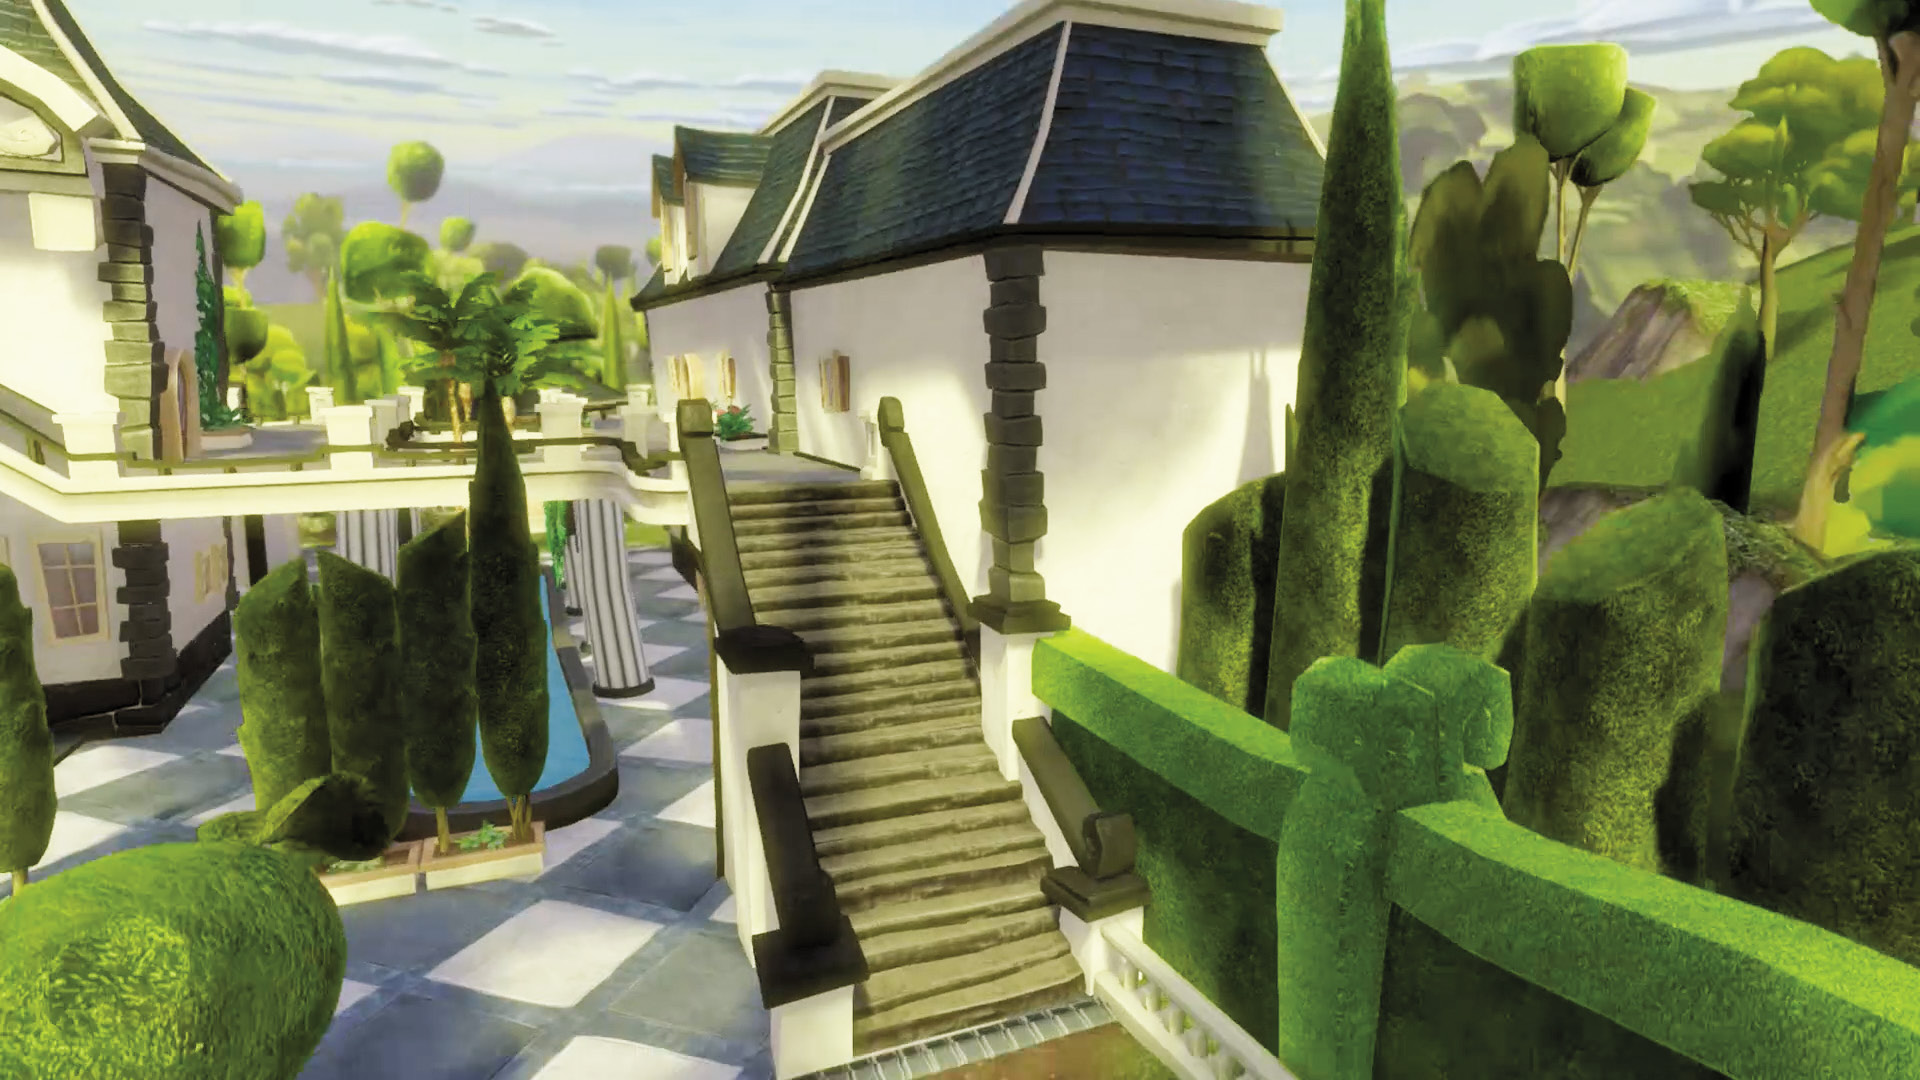
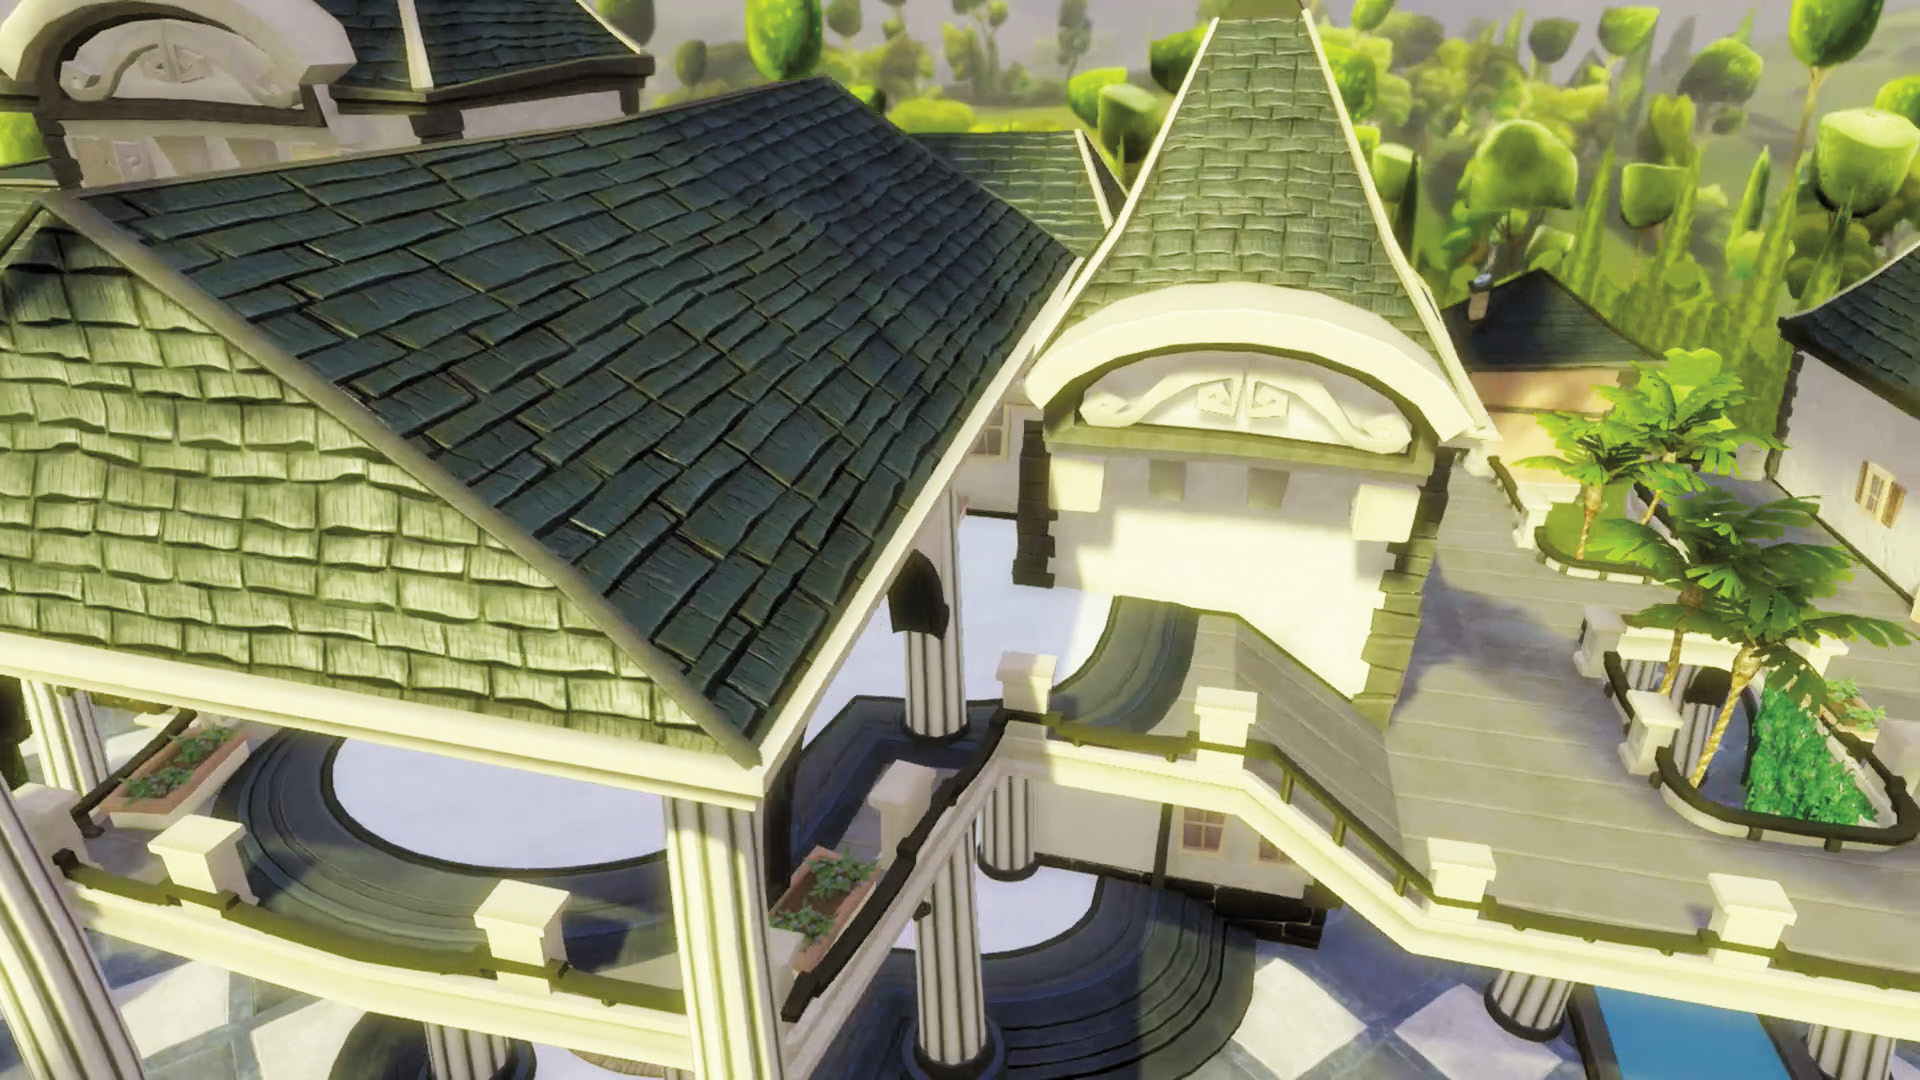
[7] Plants: Use the stairs lining the mansion to reach the upper floor and give yourself a view of the entire courtyard. From here, follow your instincts.
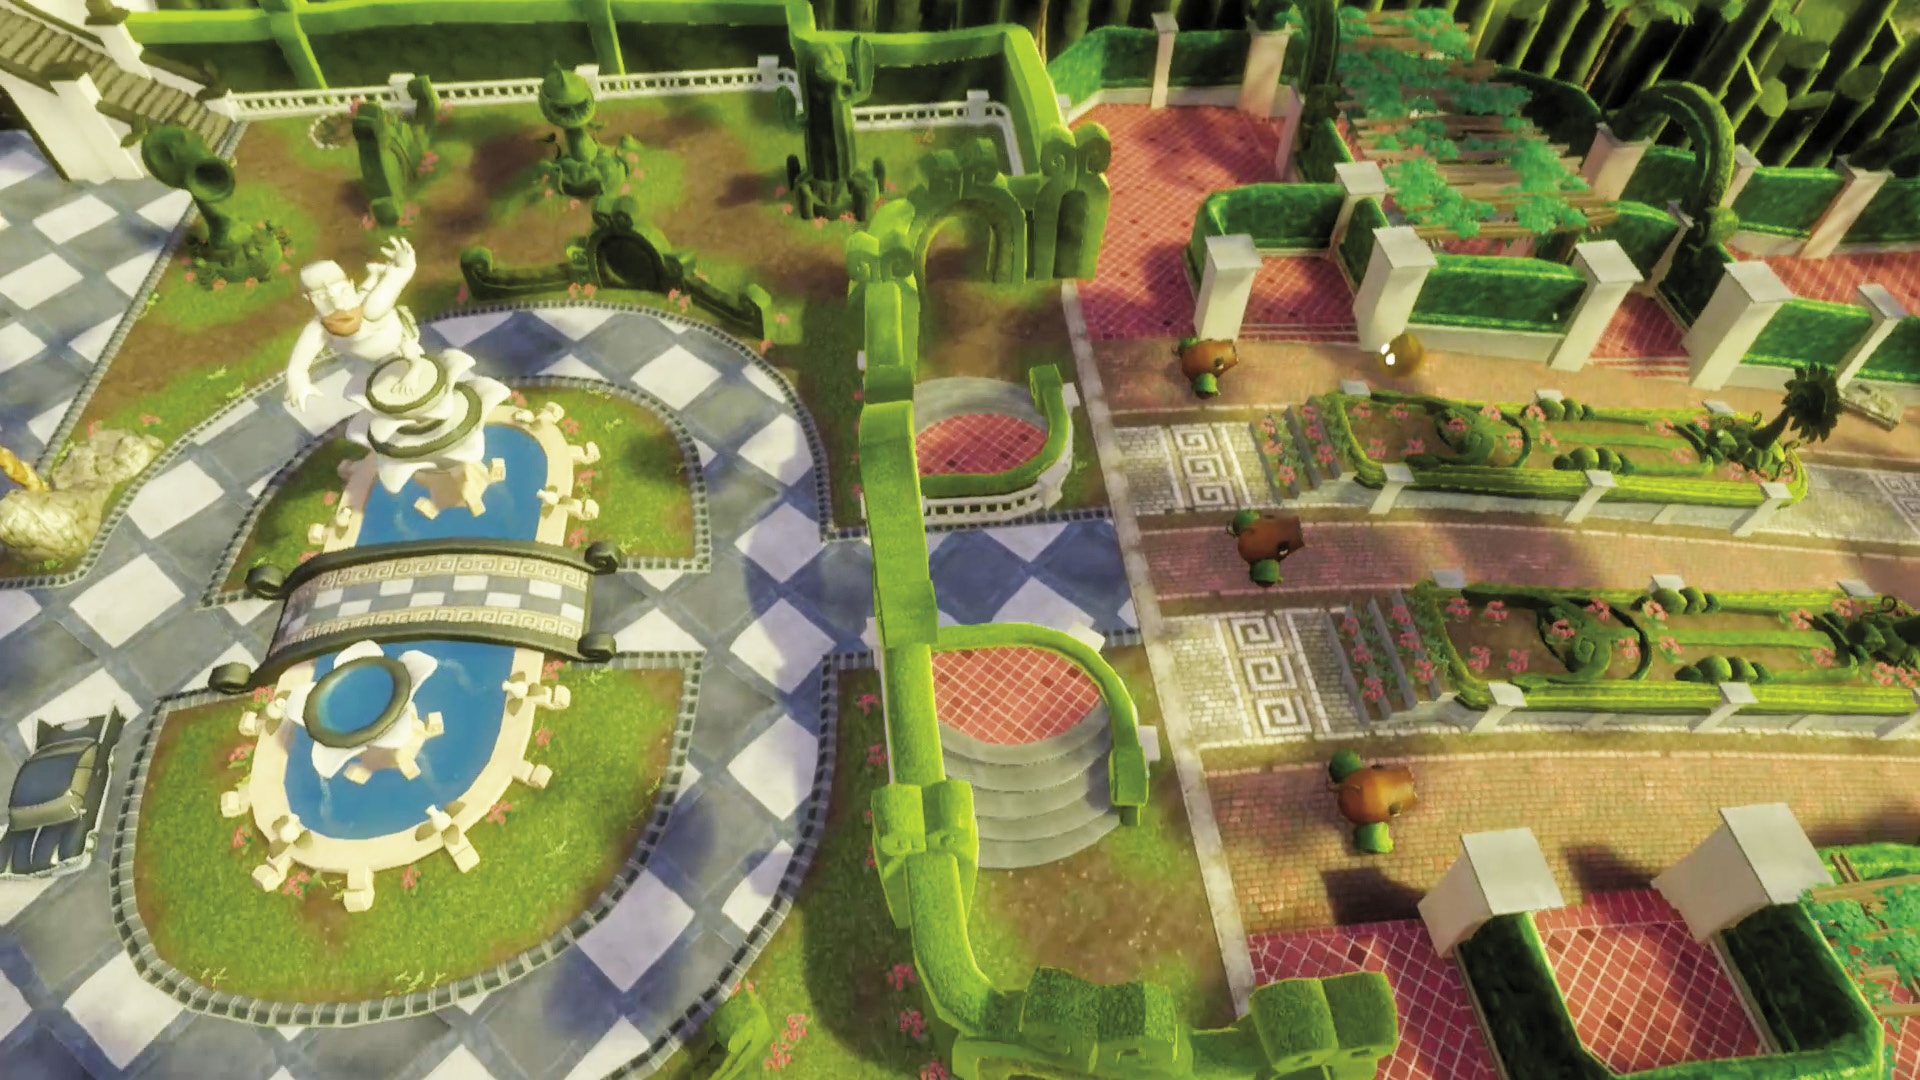
[8] Plants: You’re going to be doing a lot of shooting here, and quite frankly, you want to! Once reaching this area, zombies don’t have far to go, so pull out every stop you can! Use the open area and the high ground afforded in [7] to your advantage.
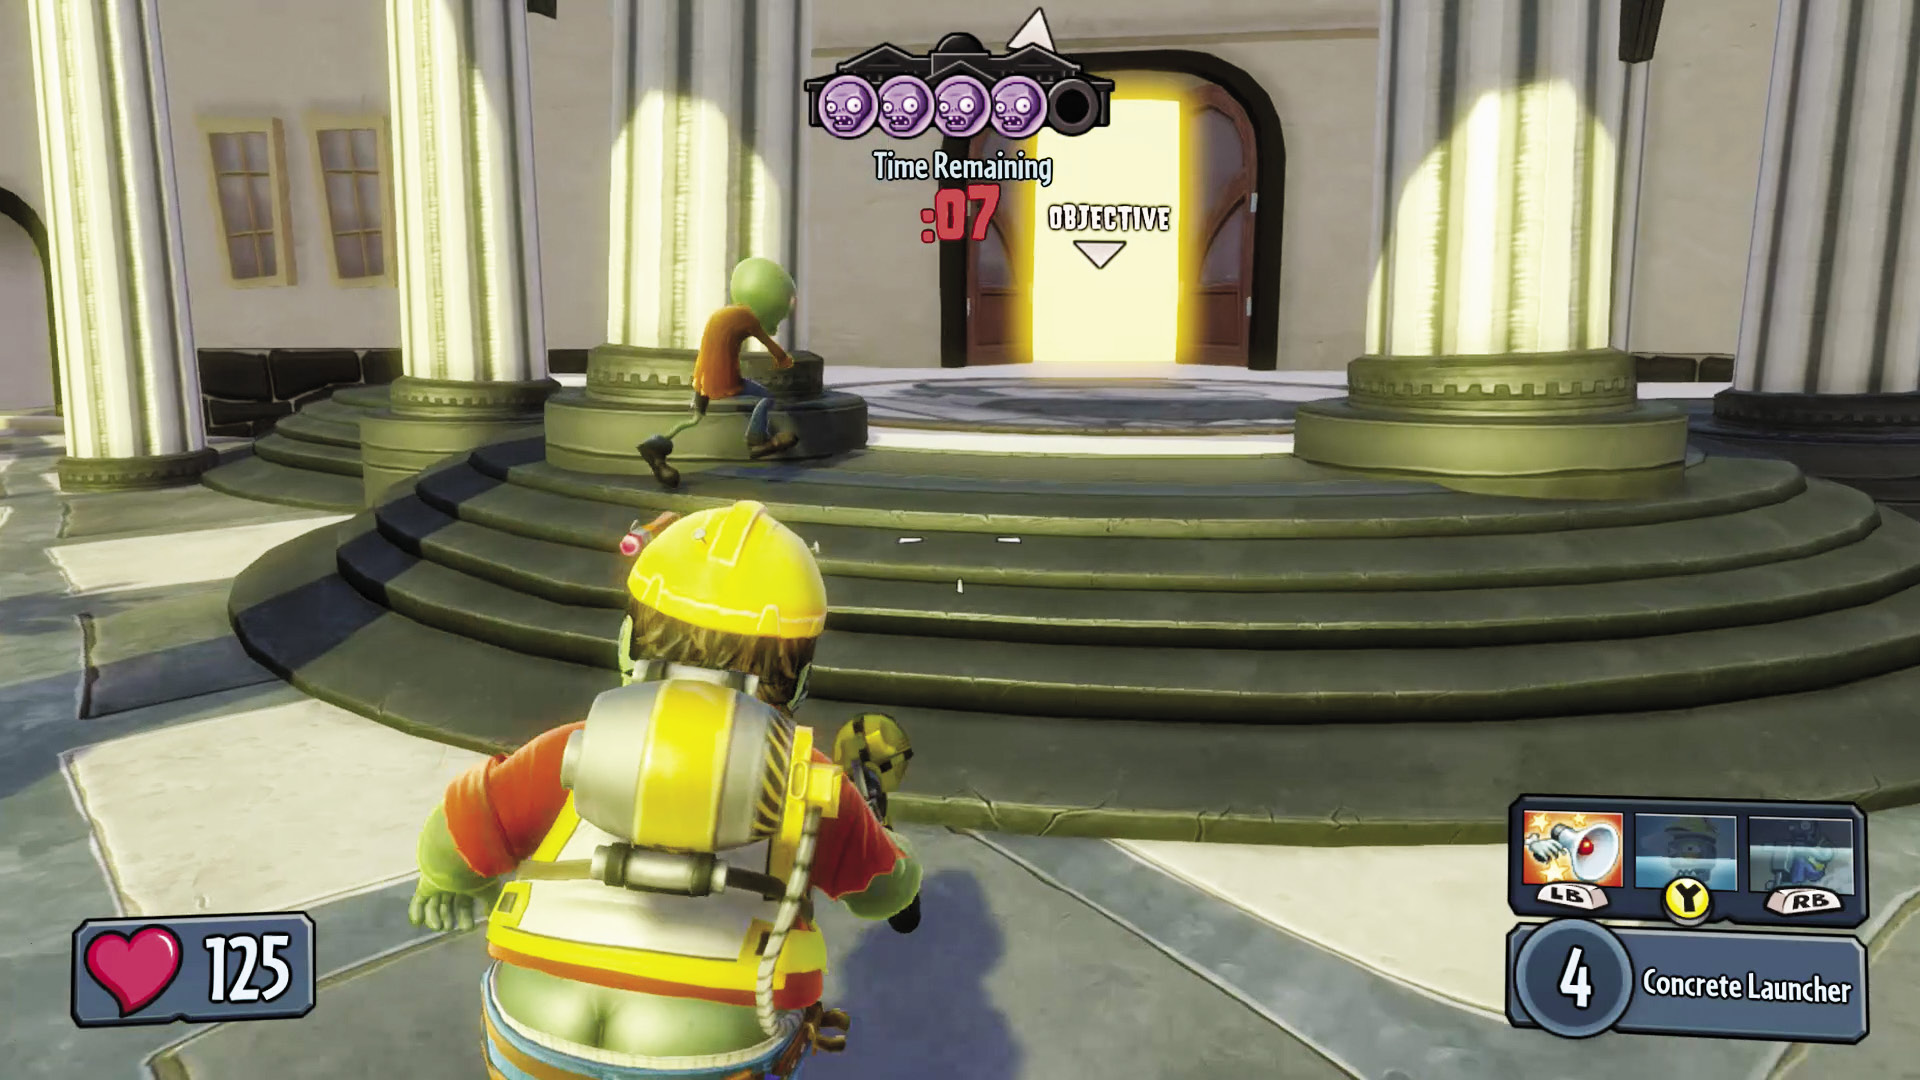
Zombies: You’re almost there! Your main objective is to get five zombies through the front door of Crazy Dave’s mansion. These zombies can be you, your teammates, or even Spawnable Zombies! If you and your teammates pass through the door, you’ll also respawn back at the entrance for another run at the gauntlet. Depending on how the plants’ defenses are set up, it may be viable to simply rush for the door with your speediest units.