
Battlefield Bad Company 2 Guide Walkthrough Campaign
Zero Dark Thirty
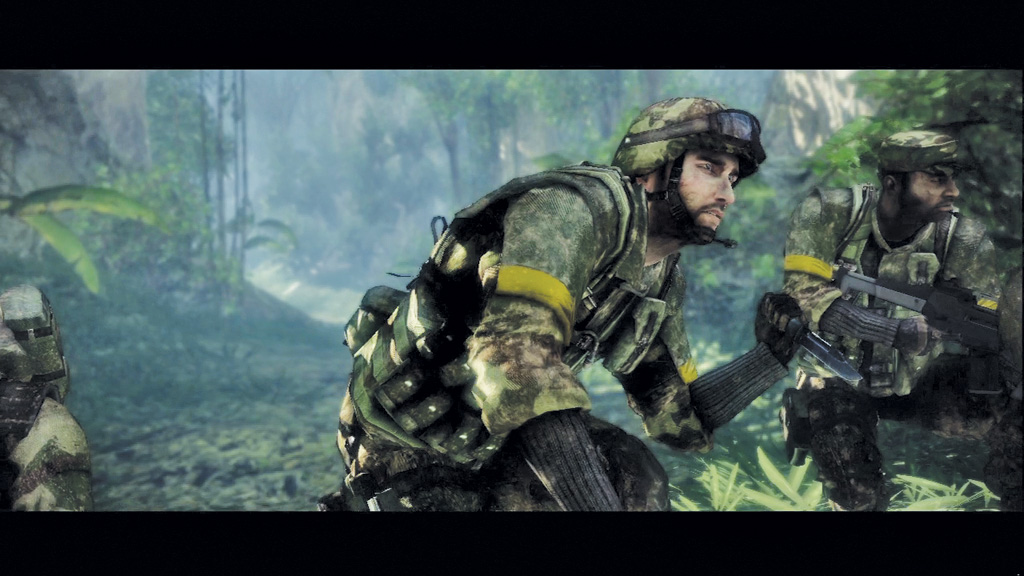
After escaping Kirilenko, the guys take a moment to gather their thoughts. Aguire’s betrayal and Flynn’s death are hard enough to deal with, but now Kirilenko has the final piece to complete his scalar weapon. The serene ambient noise of the jungle is broken by the crackle of a radio. A Russian soldier patrols nearby. Sarge orders Marlowe to take him out quietly. Now that your team has an enemy radio, you can figure out Kirilenko’s next step.
1. Assault Through Village
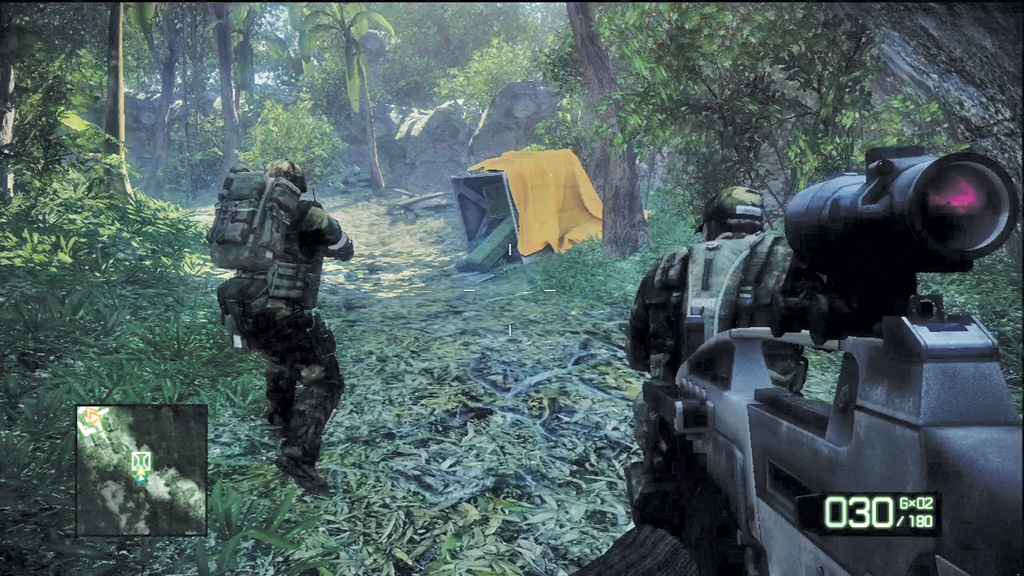
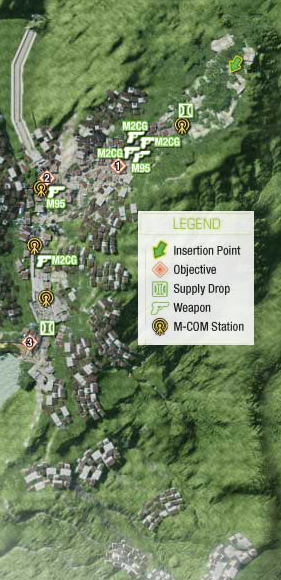
Follow the squad through the jungle. Along the way, Sweetwater monitors the Russian radio chatter. Apparently Kirilenko is headed to a harbor. Suddenly an eerie moan rumbles through the jungle, similar to the one Wyatt and his team heard back in Operation Aurora. Is Kirilenko prepping the scalar weapon already? Just ahead is a supply drop crate. Take a moment to gear up, grabbing an assault rifle of your choice and the M95 sniper rifle.
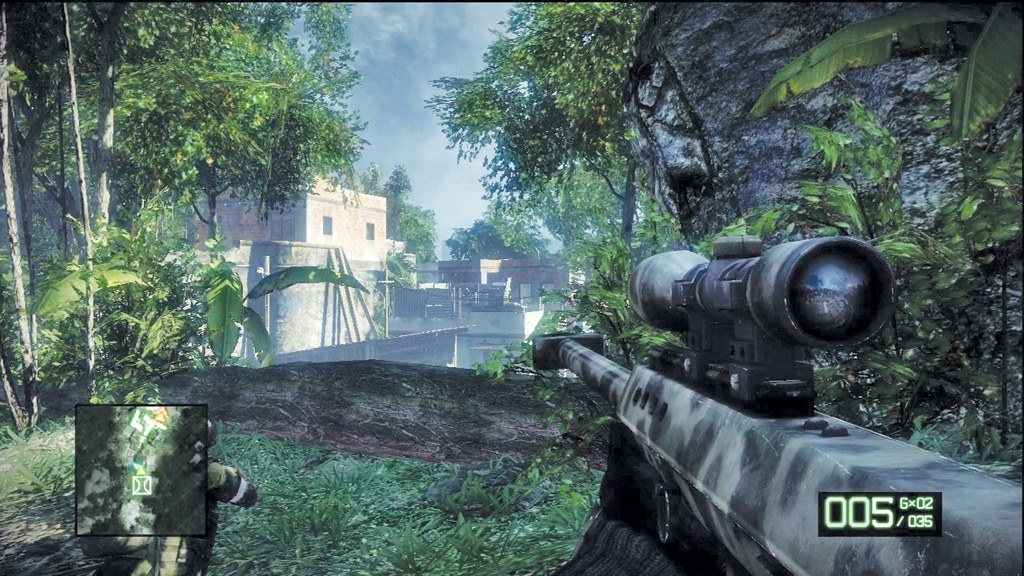
The jungle path leads to the outskirts of a village defended by local militia. Study the situation below before attacking. Equip your sniper rifle and target the guy behind the machine gun on the roof. The armor plate in front of the gun makes him tough to hit head-on, so shoot him in the left shoulder where he’s exposed. With the M95, it only takes one shot to neutralize this guy, regardless of where you hit him. After firing the first shot, use the log at the end of the path for cover while helping your squad clear out the rest of the hostiles below.
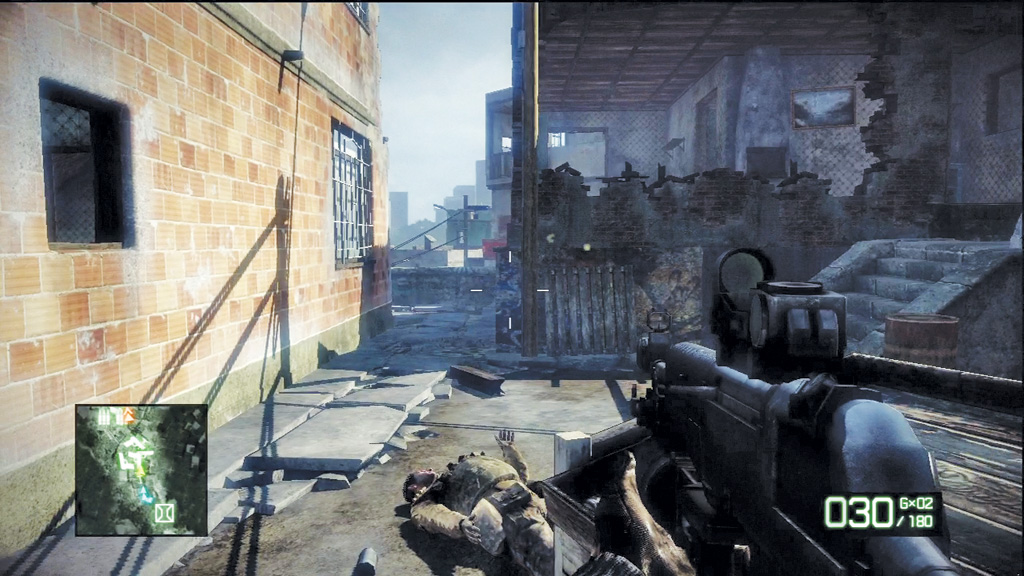
Equip your assault rifle and cautiously enter the village, watching for stragglers hiding in the buildings. As you near the end of this alley, a few enemies attack from the rooftop of a distant building. Instead of targeting the hostiles directly, shoot the red barrels at the base of the building. The large explosion gives significant damage to the structure, causing it to collapse. Enter the building on the right side of the street and use it for cover while engaging more hostiles on the rooftops to the west.
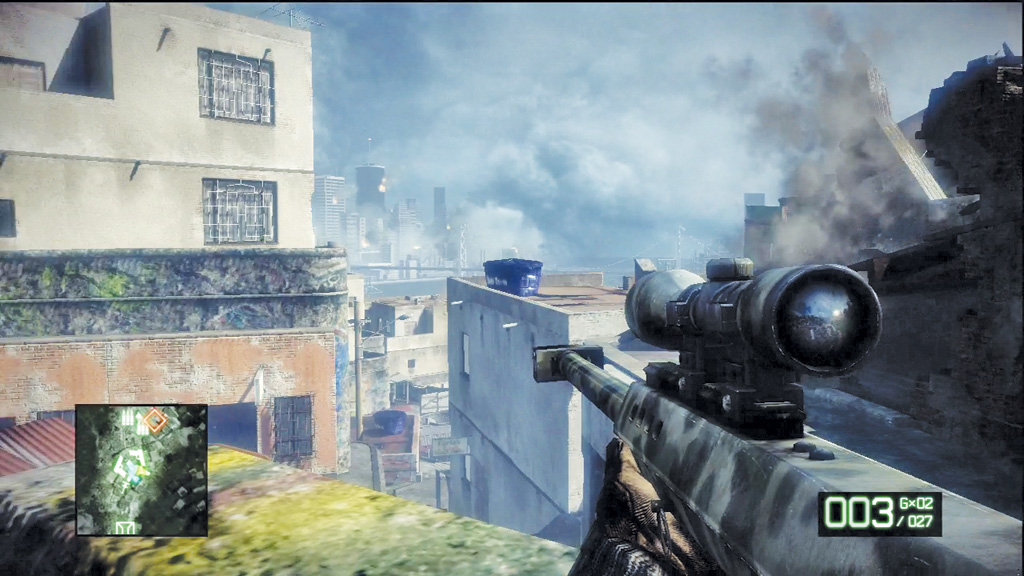
Switch back to your sniper rifle and begin sniping distant targets to the southwest. Even at this range it’s easy to spot muzzle flashes and incoming rockets. Center your sights on these rooftop enemies and pick them off one at a time. There may still be a few enemies in the street below too, so keep an eye on the minimap for nearby contacts and help your squad eliminate them.
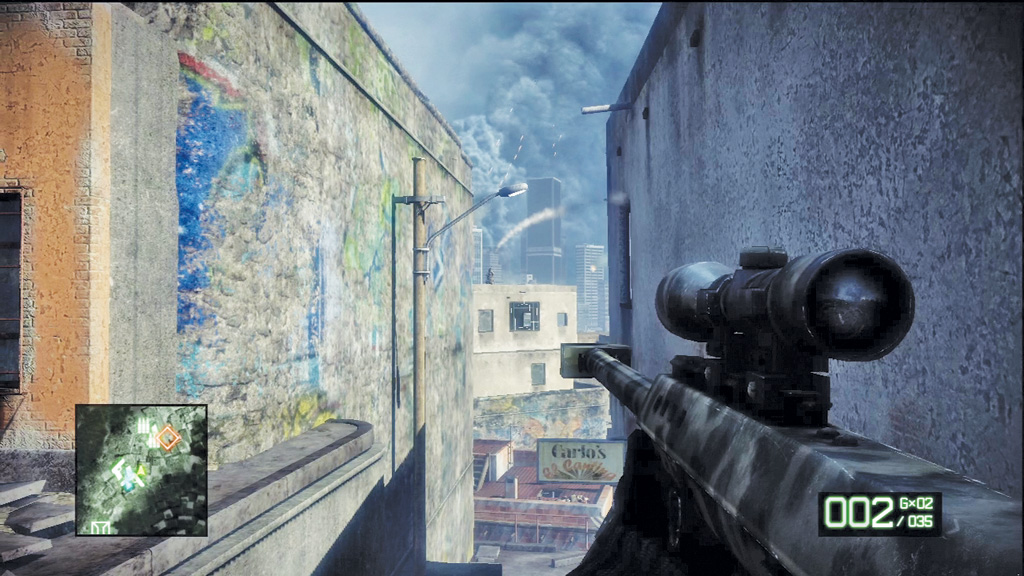
Descend the steps at the end of the alley and continue deeper into the village. If you don’t have an M95 already, grab the one sitting on the ground next to these steps and use it to snipe the militia members on the rooftops ahead, but watch out for incoming rockets and grenades. Once the distant rooftops are clear, lead your team down the steps.
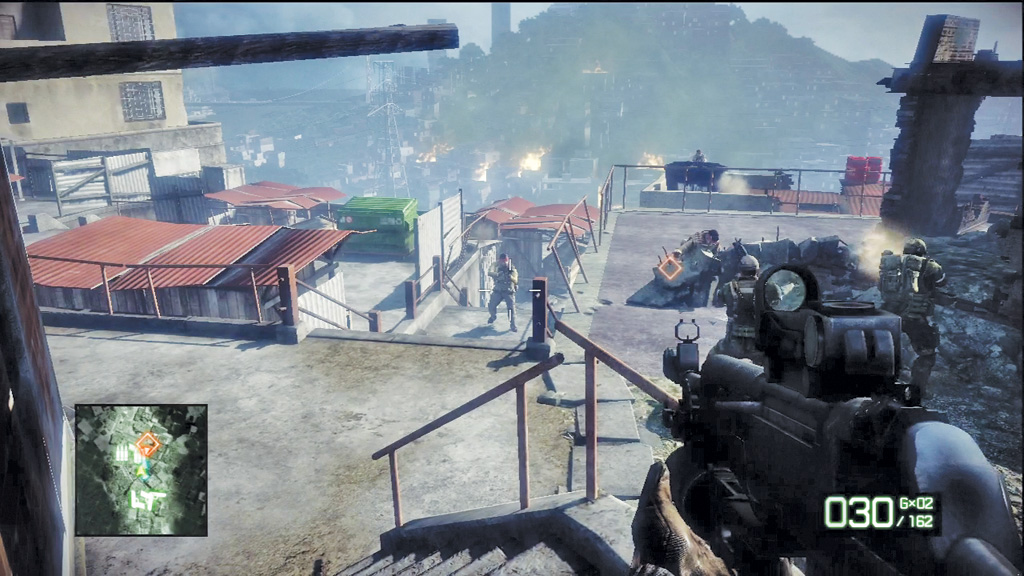
Prepare for an ambush as you descend this set of steps. Immediately open fire with your assault rifle, and at the earliest convenience, target the red barrels on the roof on the right to collapse another structure, taking a few enemies with it. Hold near these steps and fire down on the militia below. If necessary, take cover near one of the buildings, but don’t expect the flimsy structures to offer much protection.
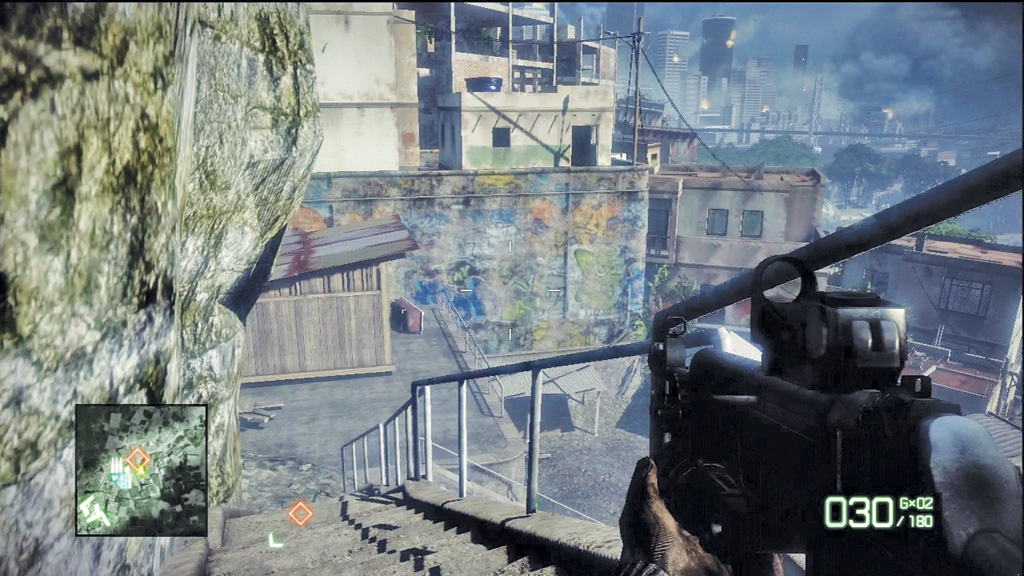
Following the ambush, continue the descent down through the village. When you reach this long staircase, several enemies can be seen scurrying about in the distance. Don’t bother shooting them. Instead, proceed to the objective marker at the bottom of the steps.
2. Enter the Canal
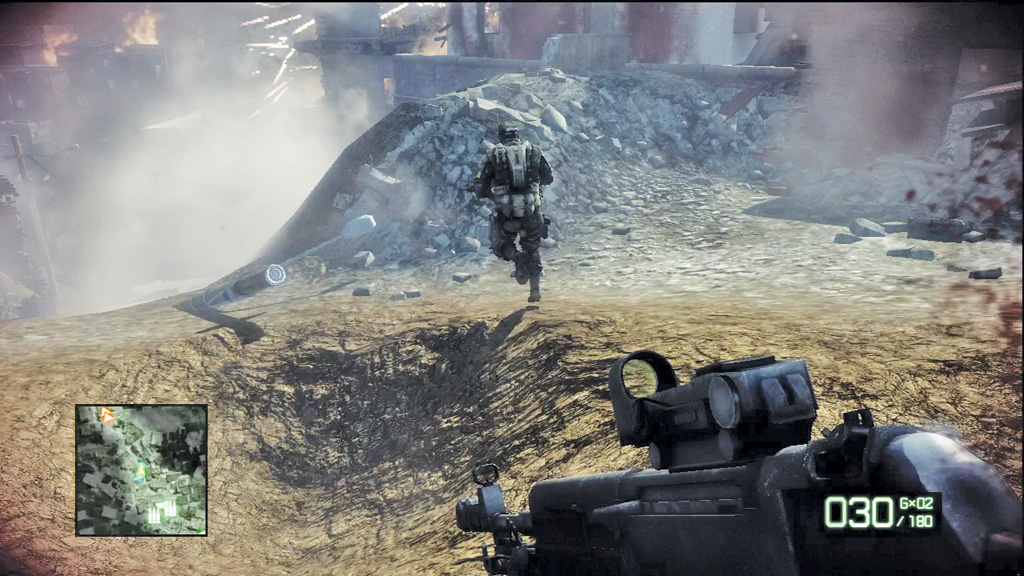
A cutscene reveals why the enemies are running away. There’s a mortar strike incoming on your position. You’re completely exposed here, so you need to reach the canal to the west. During this sequence you have to follow Sarge as closely as possible to avoid getting killed by mortar rounds exploding all around you. Sarge leapfrogs from one piece of cover to the next, so make sure you stay right on his back, moving and stopping when he does.
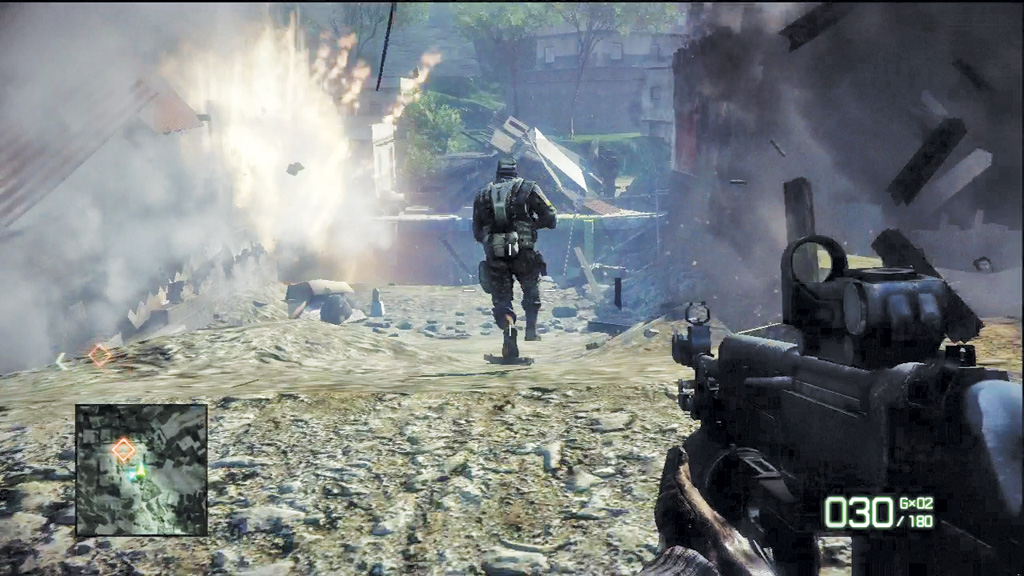
As you near the canal, it may be necessary to sprint to keep up with Sarge. During this final push, Sarge doesn’t stop. Follow him down the steps, then dart directly for the canal, dropping inside to take cover from the incoming shells. Whatever you do, don’t fall behind. Once you reach the canal, you’re safe from the mortar strike. But don’t let your guard down just yet.
3. Reach Surveillance Position
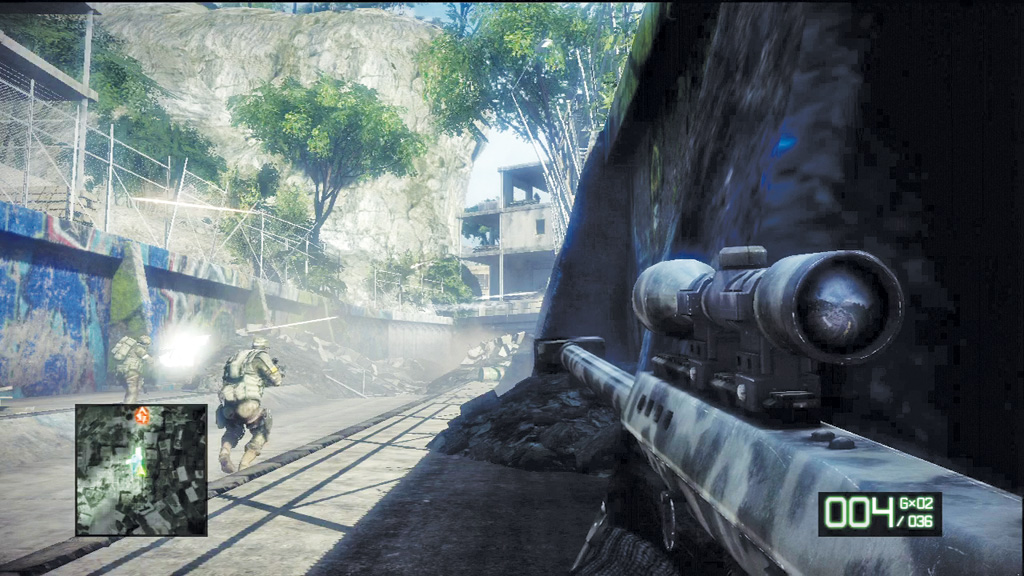
Equip your sniper rifle and creep along the canal toward the building ahead. When you come under fire, take cover along the side of the canal while your team advances and attacks. Hold back and pick off enemies in the building, starting with the snipers on the third and second floors. If you’re hit by either of these guys, quickly dash into cover and stay there until you recover. Once you’re at full health, peek out and give some payback. After eliminating both snipers, help your team take out the rest of the Russian troops in the building.
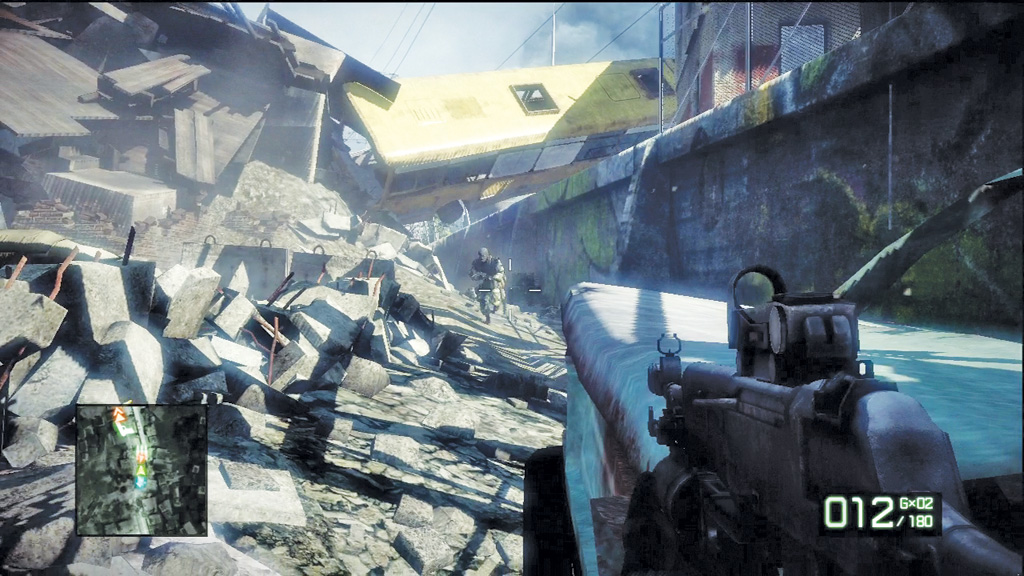
Continue along the canal and watch for more Russian troops passing beneath this wrecked yellow bus. Take cover behind the blue car and mow these guys down with your assault rifle. Watch out for more enemies positioned along the sides of the canal, too. Just beyond the crashed bus is an ammo crate and an M-COM station. Stock up on ammo, then blow up the station before the next attack commences.
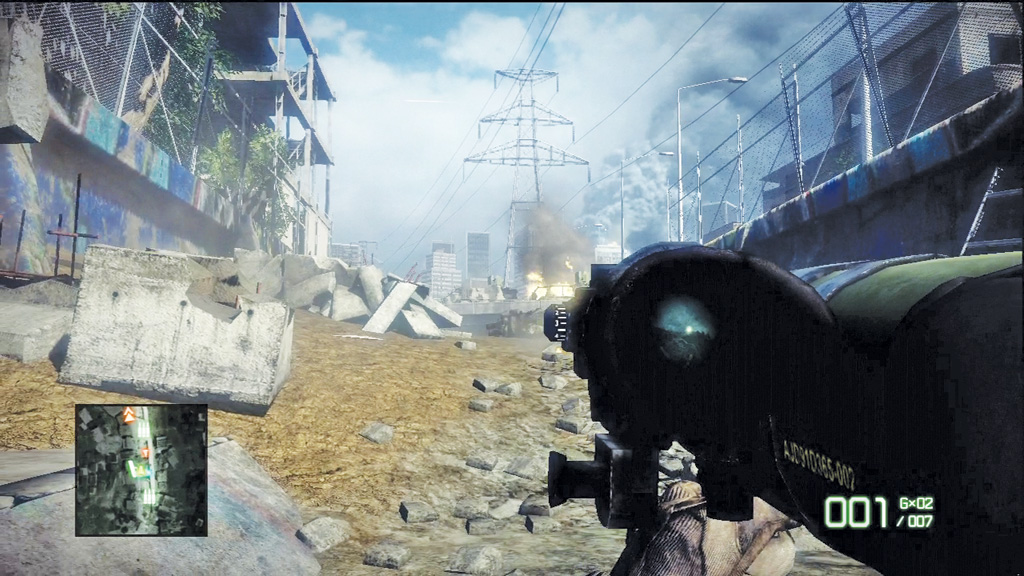
After taking out the M-COM station, take cover as more Russian troops advance along the canal. Help your team clear out the enemy infantry, then turn your attention to the two VODNs parked on the bridge ahead. It’s possible to neutralize the gunners with your M95. If you want to take out the vehicles, look for the M2CG rocket launcher on the left side of the canal and exchange your sniper rifle for it. Once you have the rocket launcher, take aim at the VODNs and destroy them. It only takes one hit per vehicle.
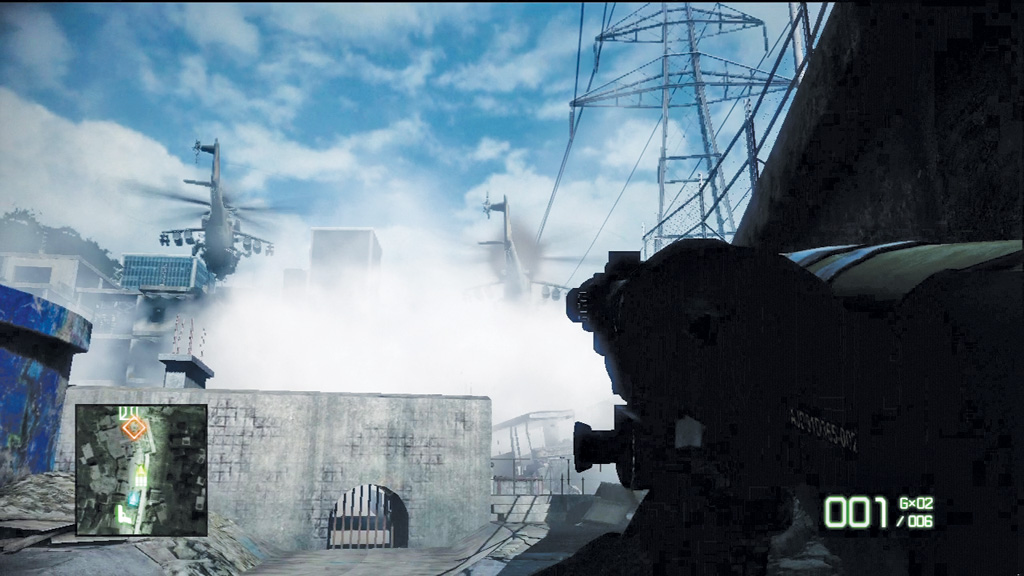
Pass beneath the bridge and listen for a couple of incoming MI24 helicopters. They don’t attack, but they drop off a couple of squads of Russian commandos in the canal ahead. It’s possible to shoot one of the helicopters down with the M2CG rocket launcher, but not before they drop off their troops. Hold back beneath the bridge and wait for the commandos to attack. Target the chokepoint ahead with a rocket to take a few of them out, then use your assault rifle to mop up the rest.
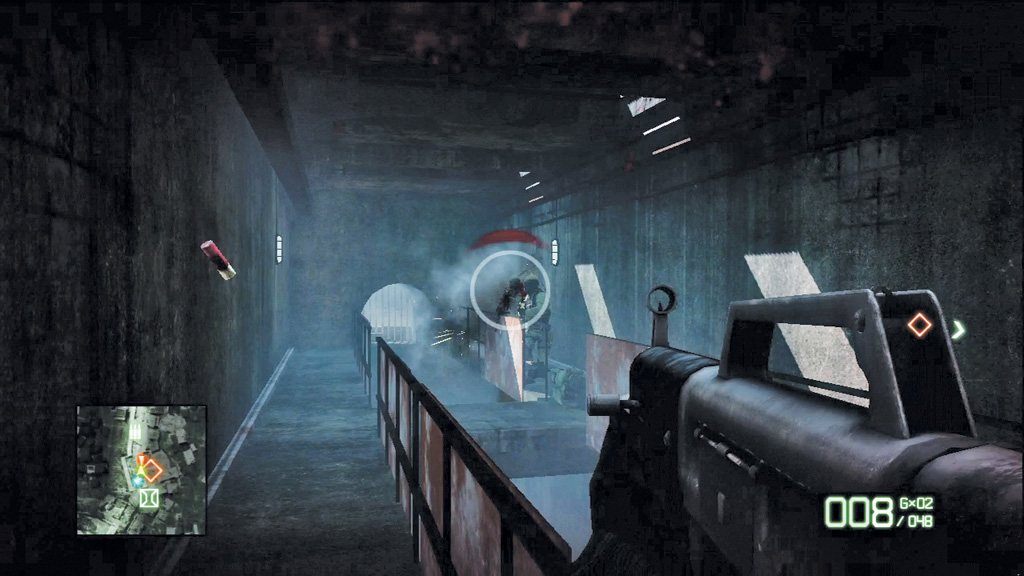
One of the commandos drops a USAS-12 shotgun. Swap it in for your rocket launcher. If the shotgun is low on ammo, backtrack to the bridge and stock up at the ammo crate. Once you’re ready to move out, proceed to the objective marker and pass through the hole in the wall on the left side of the canal to enter a short tunnel. The second squad of commandos breaches a door on the right side of the tunnel and storms in. Immediately wipe them out with your new shotgun, firing consecutive blasts until they’re all on the ground. There are a couple more commandos lingering outside the door, so be ready to take them out at close range. Or, if you prefer, let your team lead the way through the door.
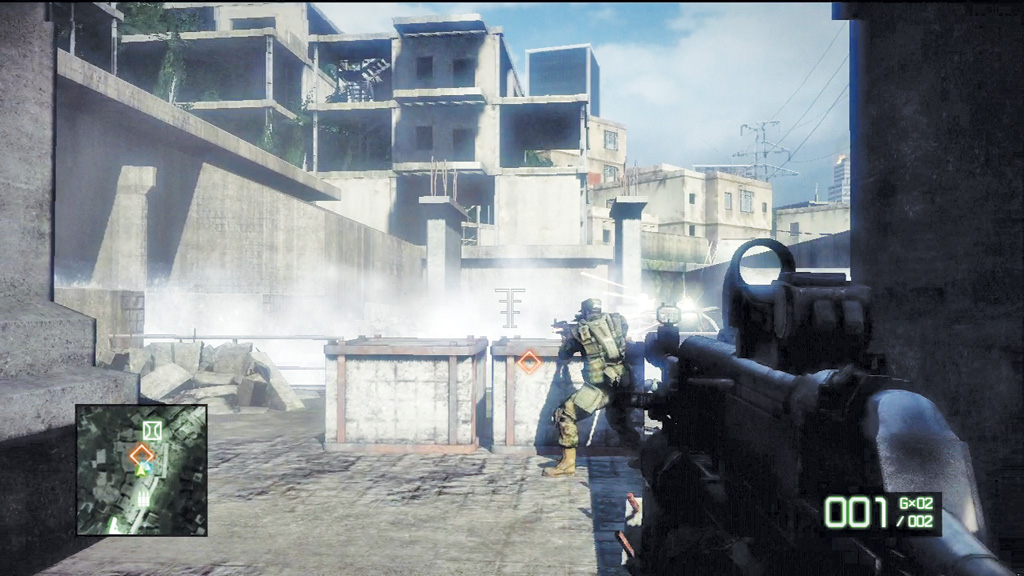
Exit the tunnel and rush toward one of the vertical concrete supports for cover. More Russian troops are positioned at the southern end of the canal, so help your team take them out. Equip your assault rifle and use its grenade launcher to hit the enemies hiding behind cover. Once the canal is clear, turn around to locate the very last M-COM station resting against the northern wall. If you’ve destroyed all the M-COM stations up to this point, blowing up this one earns you the Complete Blackout achievement/trophy.
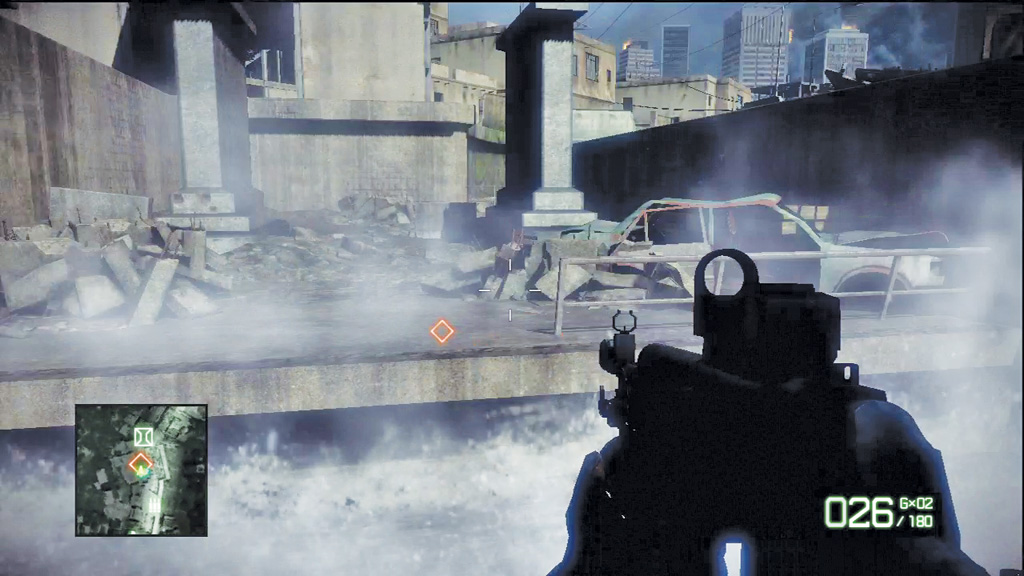
A narrow channel of rushing water blocks your advance. It may not look very threatening, but if you fall in, you’re dead. Back up and get a running start. Sprint full-speed toward the channel, then jump just as you reach the edge. Don’t jump too early, or else you won’t make it across. After leaping the channel, continue down the canal to a supply drop crate. Grab an assault rifle and a sniper rifle of your choice.
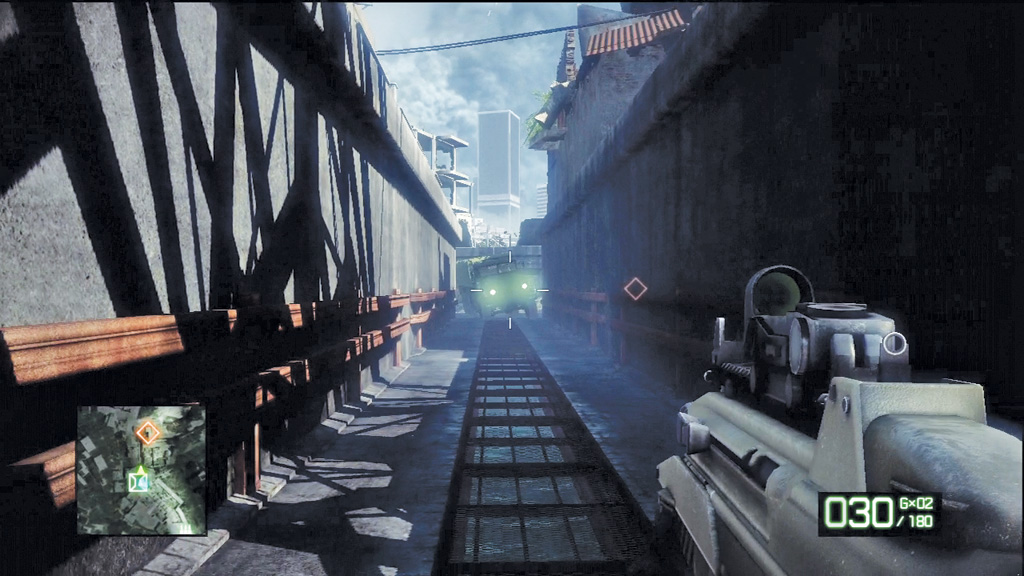
Drop into the narrow canal beyond the supply drop crate and watch out for a truck racing directly toward you. Backpedal and wait for the truck to crash on its own. You don’t need to shoot it as long as you keep your distance. After the truck crashes, that familiar low moaning sound can be heard. It sounds like Kirilenko is preparing to use the scalar weapon! Continue down this canal and enter the doorway on the right to reach the surveillance position.
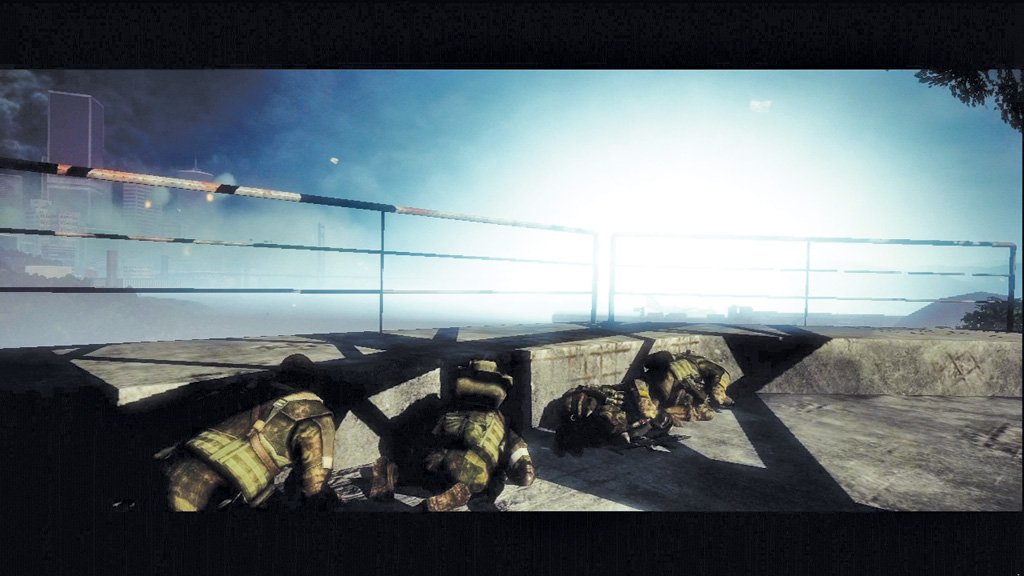
Your squad emerges from the canal with a sweeping view of the harbor. It looks like you’re not the only friendly units in town. The U.S. has launched a full-scale attack on the harbor in an effort to stop Kirilenko. Sweetwater notices a large cargo plane on a distant runway. For some reason, it’s glowing. Then Sweetwater realizes what’s going on and urges his squad to drop to the ground. A massive EMP blast emanates from the cargo plane, frying every circuit within a large radius. The devastating effect is evident when an Apache helicopter drops from the sky, nearly crushing Haggard.
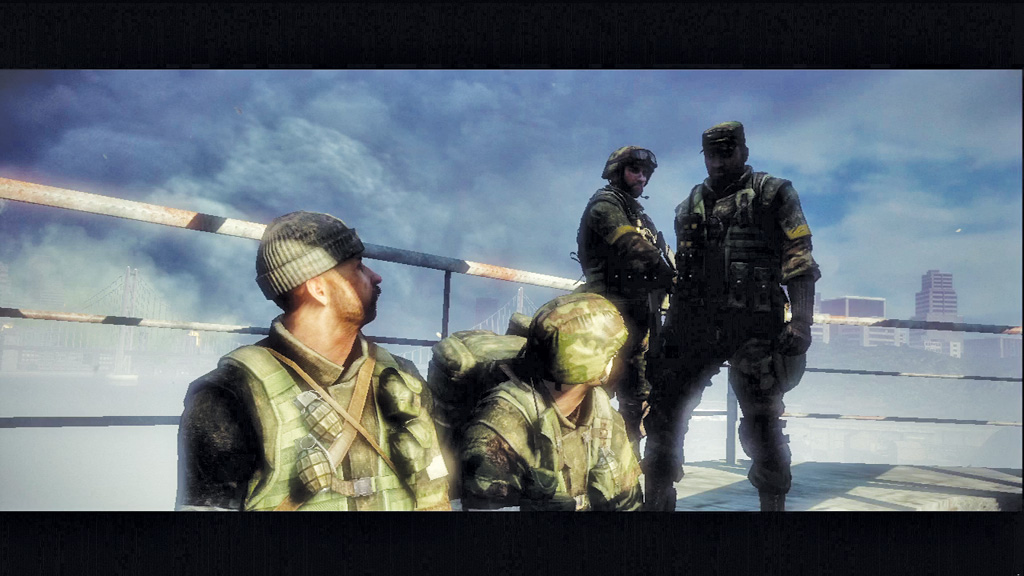
Kirilenko has succeeded in creating a scalar weapon, but it’s not too late to stop him. Overwhelmed by the latest event, Sarge, Haggard, and Sweetwater sit around in a daze, unsure what to do next. But Marlowe urges his squad to act, or else there won’t be a United States to return to. One by one, everyone eventually agrees. Now they just need to reach that cargo plane.