
Battlefield Bad Company 2 Guide Walkthrough Campaign
Heart of Darkness
Not long after the briefing with General Braidwood, the boys from Bad Company are over Bolivia in a Blackhawk piloted by an eccentric pacifist named Flynn. Flynn may be odd, but he’s good at his job, effortlessly dodging an RPG fired at the chopper. It looks like the area is hot. Time to find this Aguire guy and find out what he knows about the fake device Marlowe found in Russian territory.
1. Follow Unit
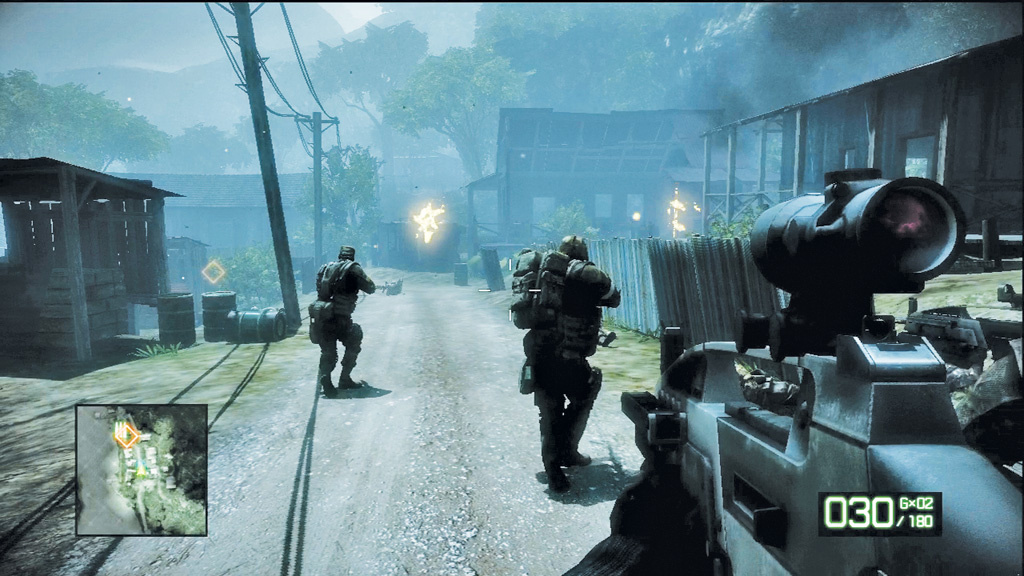
According to your intel, Aguire is stationed at a nearby village. As soon as you hit the ground, follow your team out of the shallow water and onto a jungle path. Things don’t look right as you near the village. There are no signs of life—quite the opposite in fact. Judging by the fires and dead bodies, it looks like the village was recently attacked. But Aguire may still be alive, so follow Sarge to Aguire’s hut.
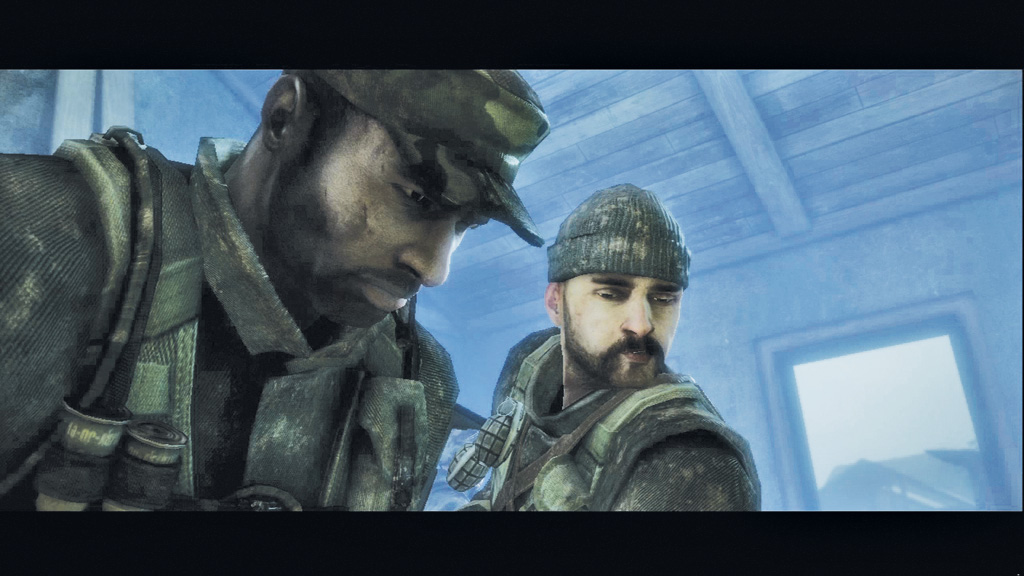
There’s nothing but more dead bodies in Aguire’s place, but Aguire doesn’t seem to be one of the victims. So where is he? Sarge finds a clue on a map left by Aguire. It looks like he may be somewhere up the river. But following him will have to wait. A commotion outside sets the guys on alert. Whoever attacked this village is still around.
2. Withstand Counterattack
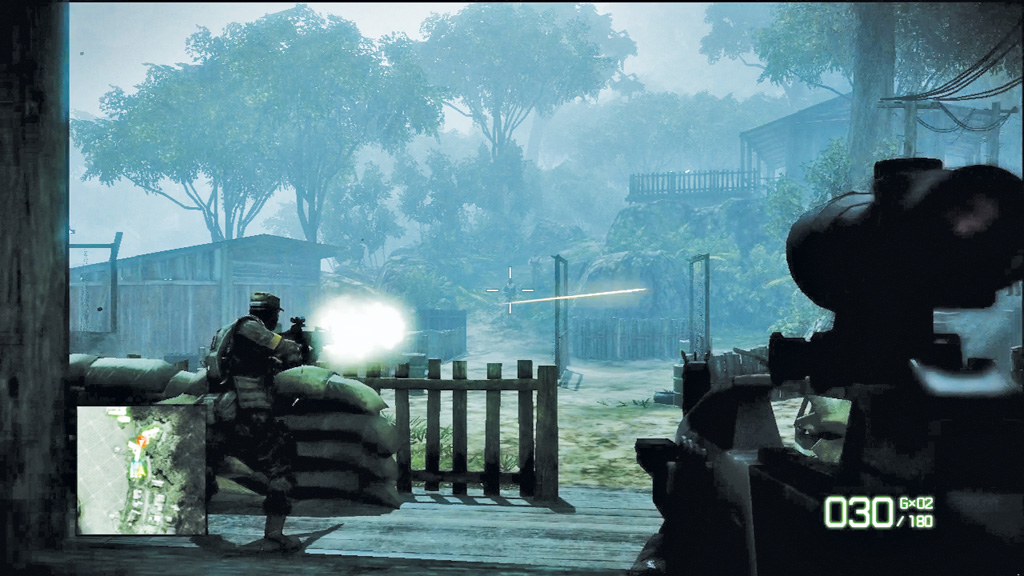
A group of local militia patrol outside Aguire’s hut. They’re unaware of your presence so wait for Sarge’s order before opening fire. Once the first shot is fired, prepare for a heated assault originating from the hill. Hold at the window in Aguire’s house and watch for enemies attempting to flank on the right of your position. Although the house offers decent cover, it’s made out of wood and will degrade over time. Be ready to move out onto the porch and take cover behind the sandbags near your squad.
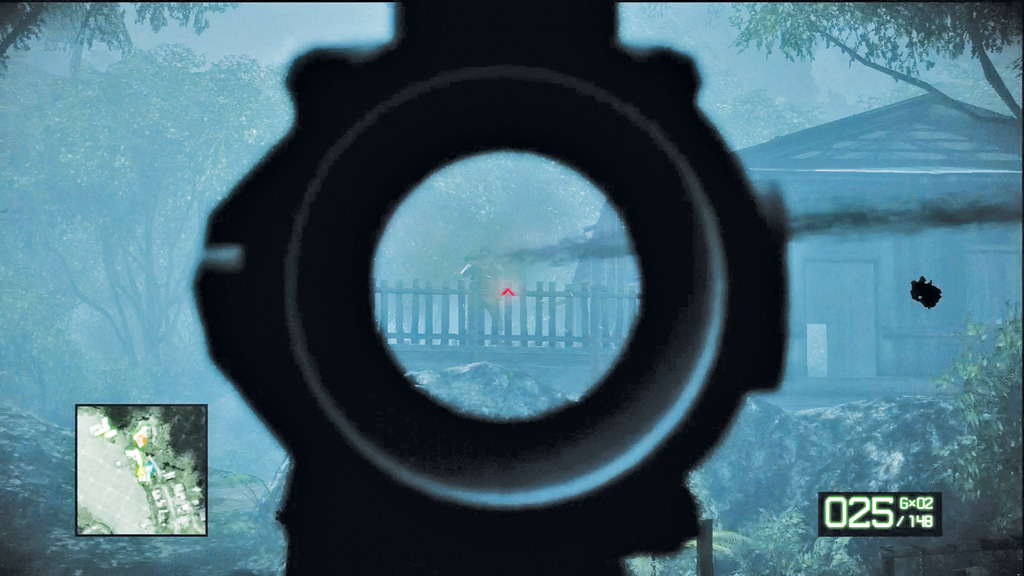
During the firefight watch for an enemy armed with a rocket launcher on the hill straight ahead. Haggard calls him out when he appears. Quickly line this deadly enemy in your scope’s sight and take him out before he can fire a rocket directly at your team’s position. Help the squad mop up the rest of the attackers, but don’t let your guard down just yet.
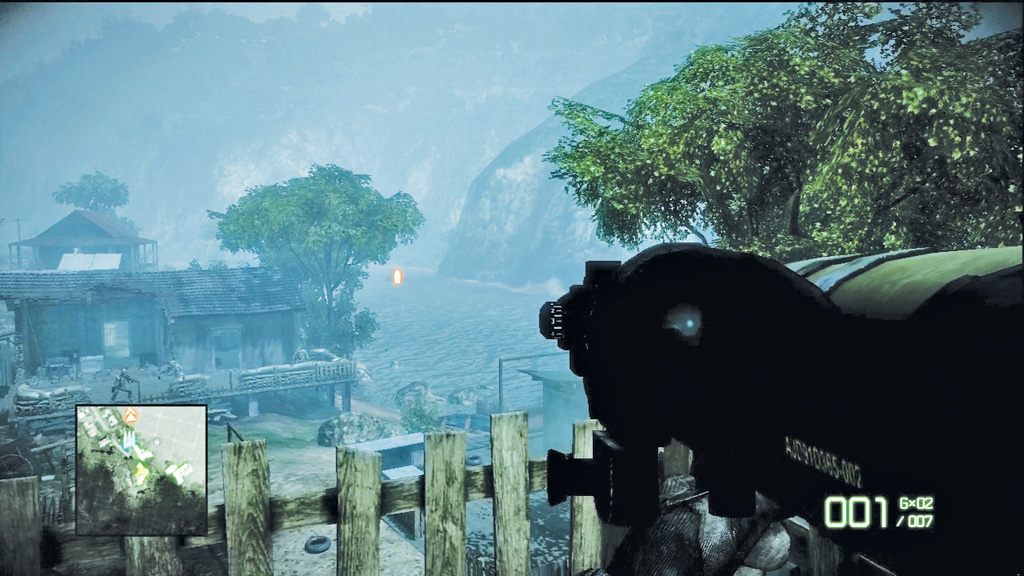
Shortly after taking out the enemy armed with the rocket launcher, a PBLB patrol boat races along the river, firing at your team with a grenade launcher. Immediately race up the hill where the rocket launcher enemy was positioned. Here you find an M2CG rocket launcher. Pick it up and immediately target the boat in the river. Zoom in and line up the boat in the launcher’s sight to score a direct hit, causing the target to explode. For best results, wait for the boat to slow down and make a turn before firing.
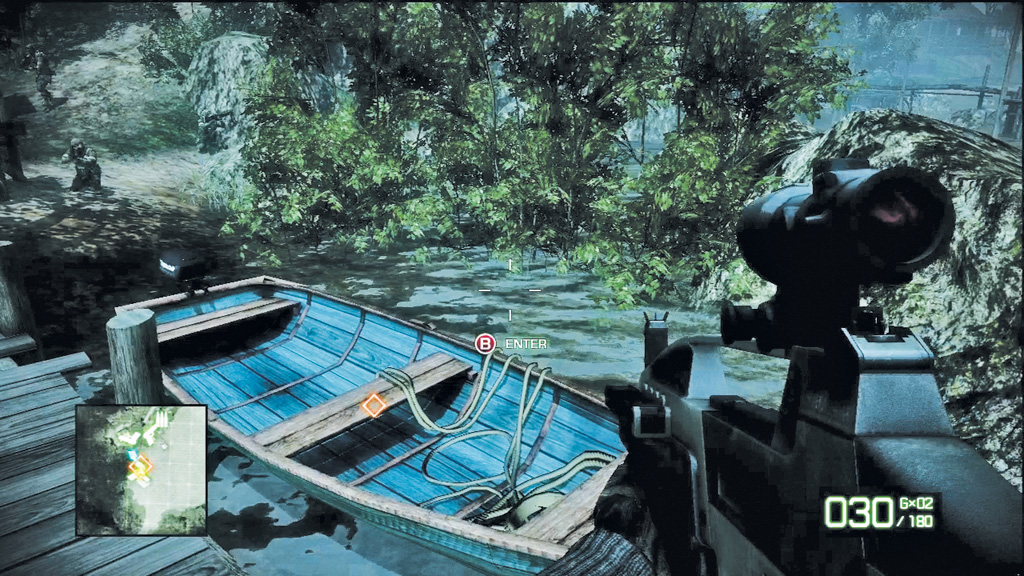
Destroying the patrol boat allows you to finally move up river and resume your search for Aguire. Move to the dock to find a small motorboat. It’s no yacht, but it will do the job. Hop into the boat and take your squad up river.
3. Follow Aguire's Trail
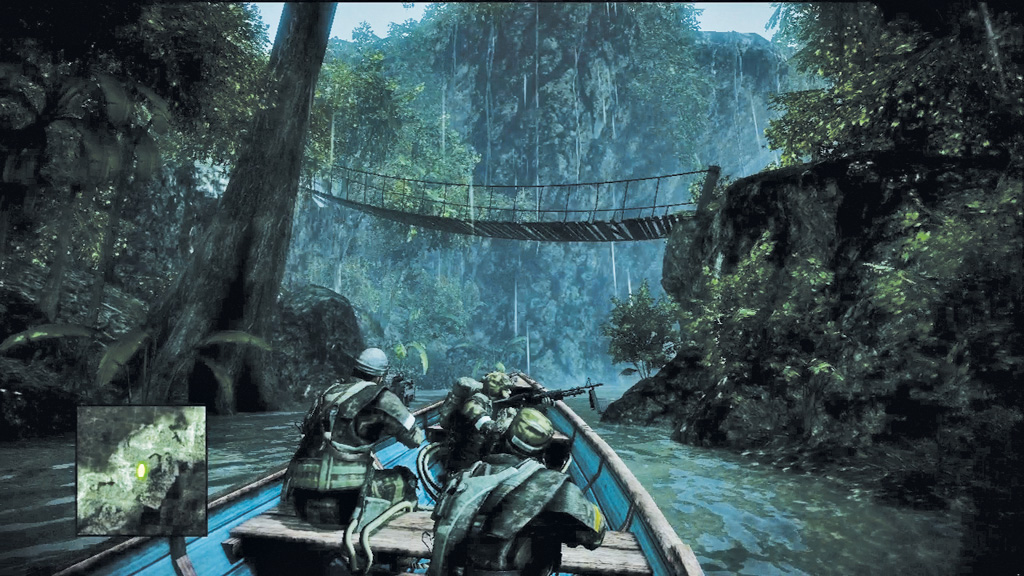
A pounding thunderstorm breaks out as you pilot the boat up the river. Keep the boat centered in the middle of the river to avoid colliding with the rocky banks. Although you can see militia running through the jungle, there are no threats during this short trip, so just follow the river. The water eventually becomes too shallow for the boat to navigate. You’ll need to continue the trek on foot.
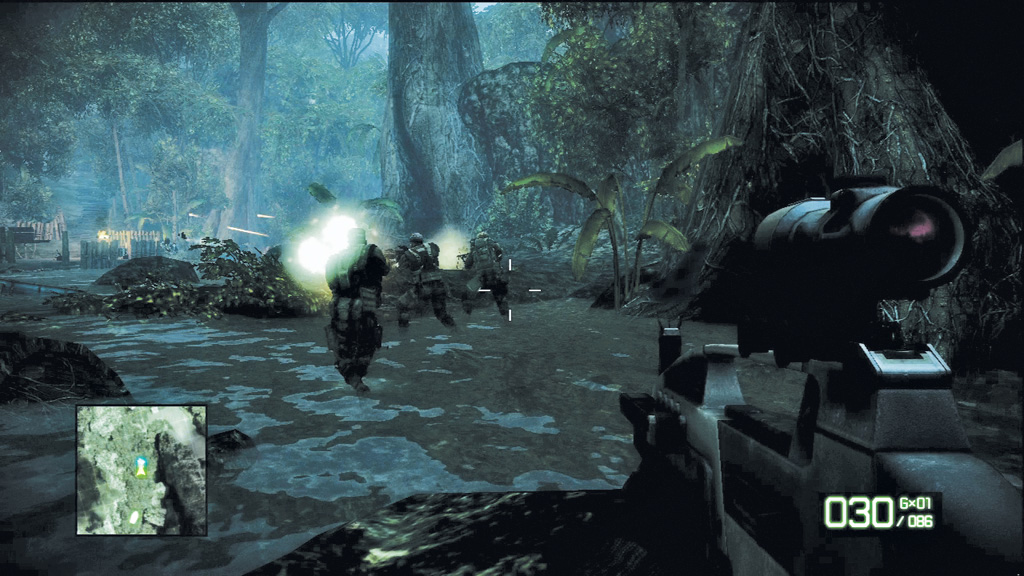
During the hike up the shallow river, more militia attack. Instead of standing in the middle of the river and returning fire, quickly seek cover behind one of the large rocks. The militia members are armed with a mix of shotguns and light machine guns. Prioritize the guys with shotguns first, as these enemies are very deadly, particularly at close range. As necessary, crouch behind your rock to recover or reload.
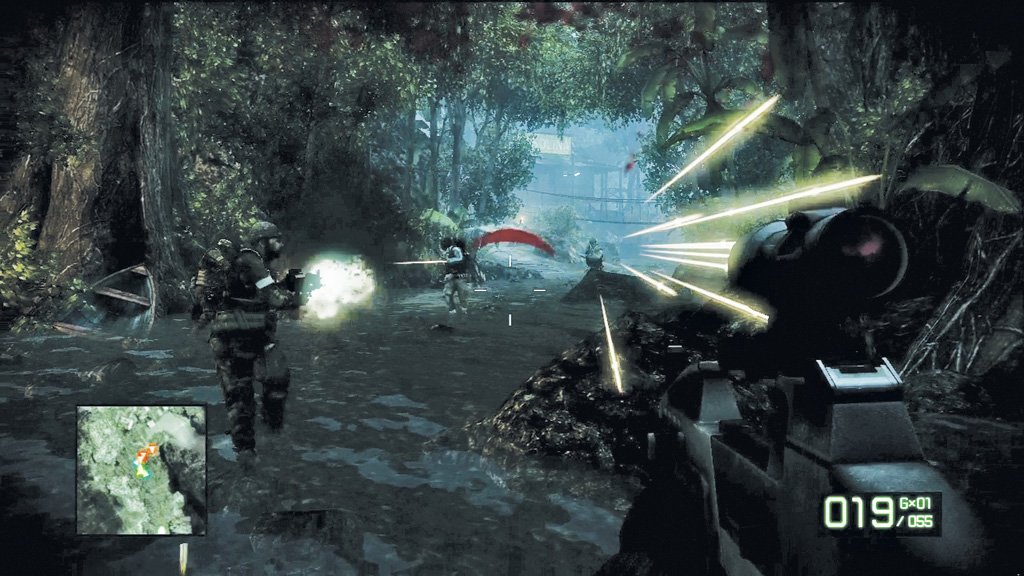
As the firefight dies down, proceed down the river as it bends to the right. Prepare for more action here as another group of militia attack from a small village. Once again, grab some cover and then return fire. Hold at the riverbend until you get a new objective.
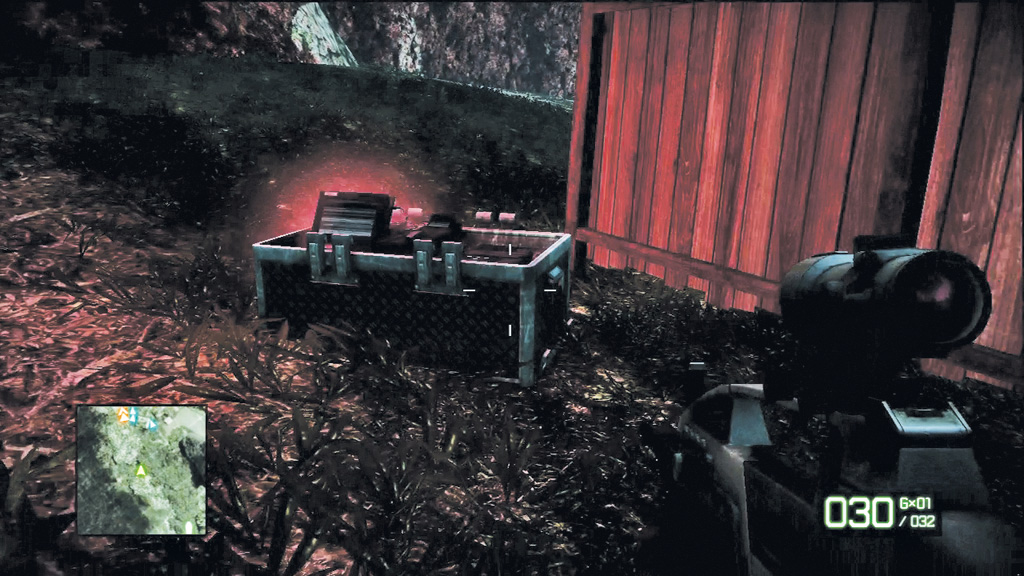
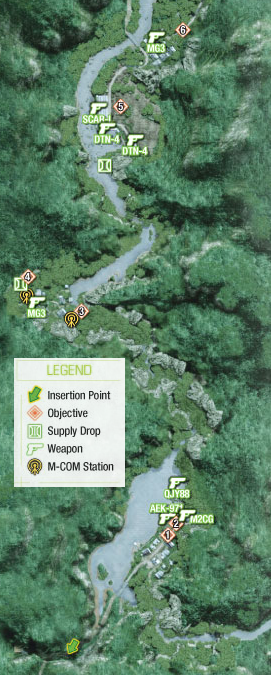
Before proceeding into the village, climb the path at the bend in the river to locate the first M-COM station. These satellite uplink boxes are scattered throughout most of the campaign’s levels. Simply walk up to the box and hold down the button indicated on the screen to plant a charge.
Step away once the charge is placed and watch from a safe distance as the M-COM station explodes. Destroying M-COM stations isn’t necessary to complete the campaign, but if you find and destroy them all you’ll earn the Complete Blackout achievement/trophy. In fact, you earn the Link to the Past achievement/trophy for just destroying one. So keep your eyes peeled for more of these boxes as you proceed through the campaign.
4. Resupply at Flynn’s Weapon Cache
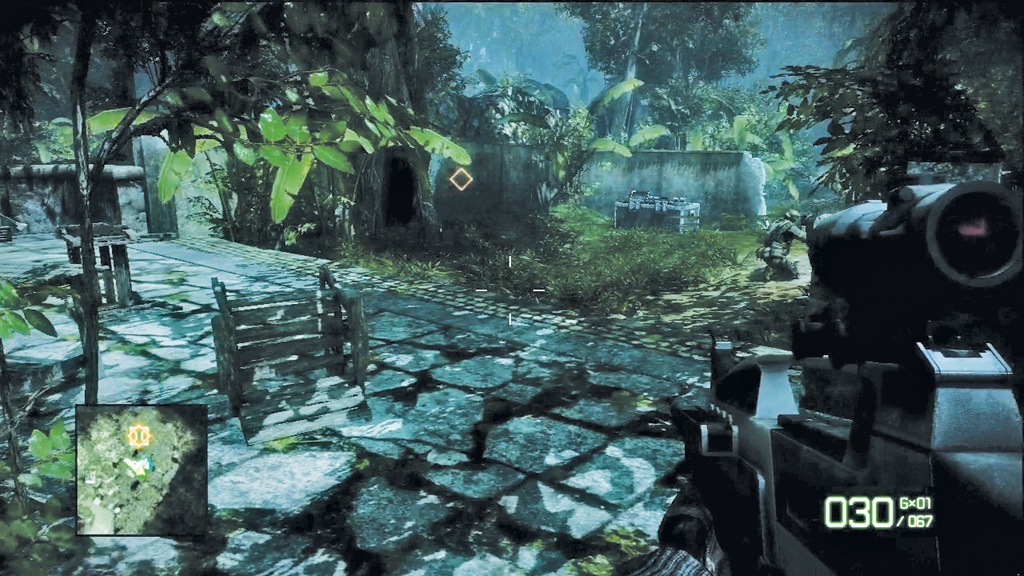
Follow your squad into the village and climb the stone steps ascending the side of a steep cliff. At the top of the steps you can grab an MG3 light machine gun as well as destroy another M-COM station.
That’s the second and final station in this level. Take the MG3 with you as it’s a great light machine gun with an amazing rate of fire. Simply picking it up unlocks it, making it available in all future supply drops.
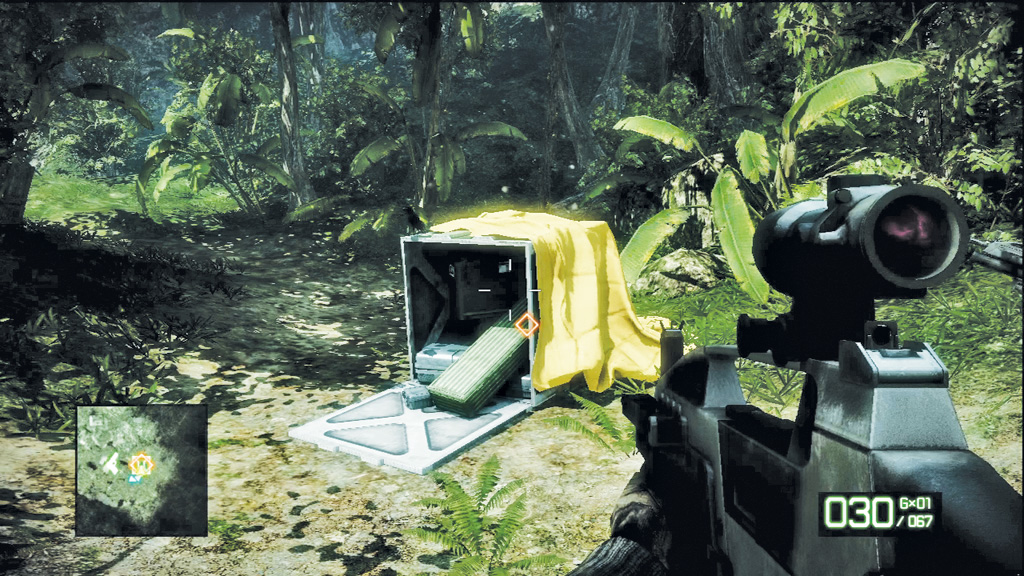
Speaking of supply drops, Flynn has dropped a crate for you on the path beyond the village. Interact with the crate to choose two primary weapons. Notice that all the weapons you’ve picked up thus far appear in the two parallel lists, along with stats for each. For the next phase of the mission, choose an assault rifle and stick with your newly acquired MG3 light machine gun as a backup.
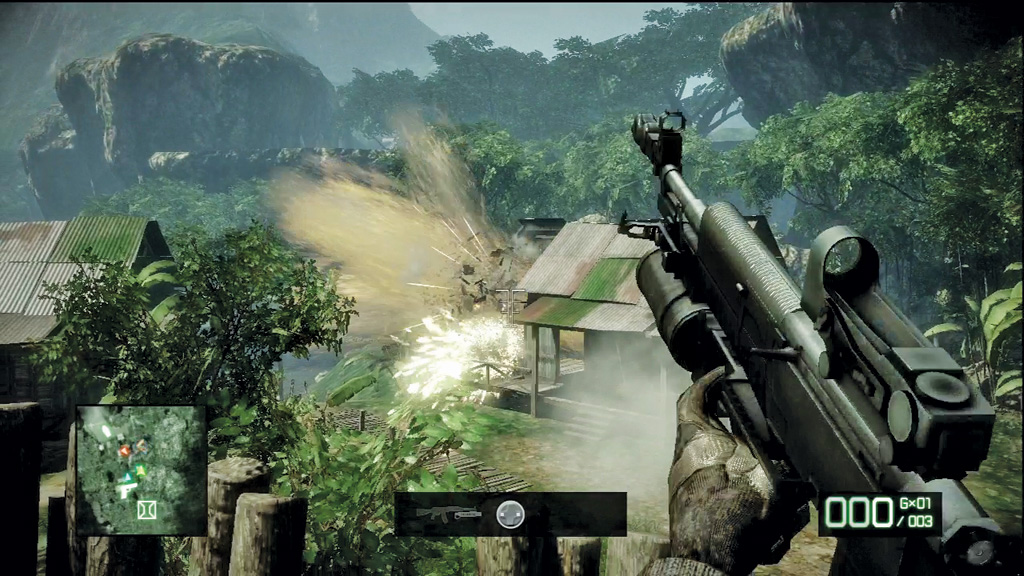
The trail beyond the supply crate leads back down to the same riverfront village, now occupied by more local militia. Most of the enemies here are in the two large shacks, firing from the windows. Instead of picking them off one by one, consider blasting them to bits with your assault rifle’s grenade launcher. At the very least, grenades demolish the shacks’ walls, giving the enemy nowhere to hide.
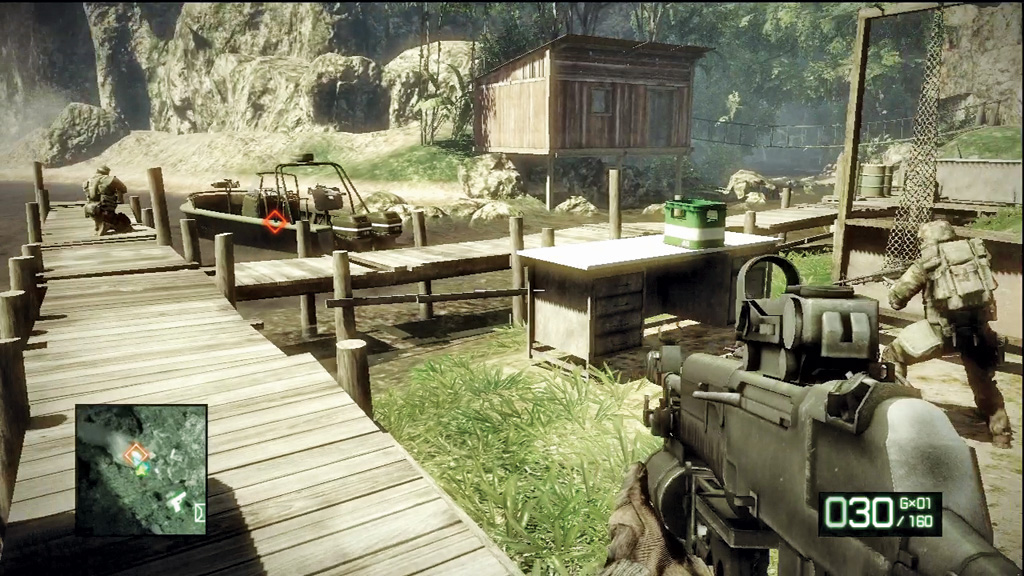
Once the village is safe to enter, return to the river and look for a PBLB patrol boat parked at the dock. The militia members you just wiped out won’t be needing this boat anymore, so hop aboard and ferry your squad further up river.
5. Sweep and Clear Militia Logging Camp
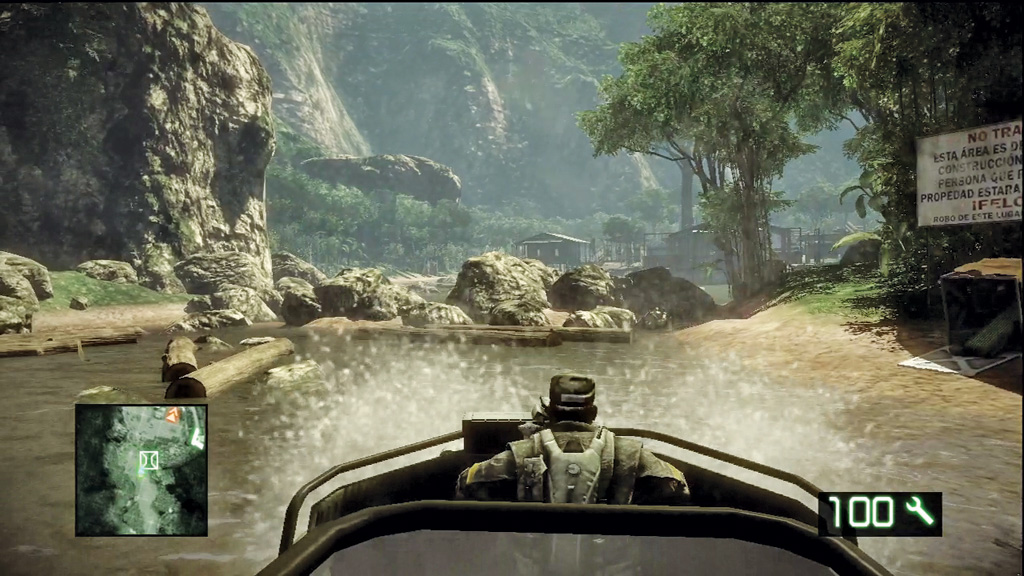
The PBLB is much faster than the motorboat you piloted earlier, plus it’s armed with a couple of grenade launchers. Still, watch your speed as you maneuver around tight corners. The river eventually dead ends near a militia-run lumber yard. There’s no way around it so you’ll need to fight your way through it.
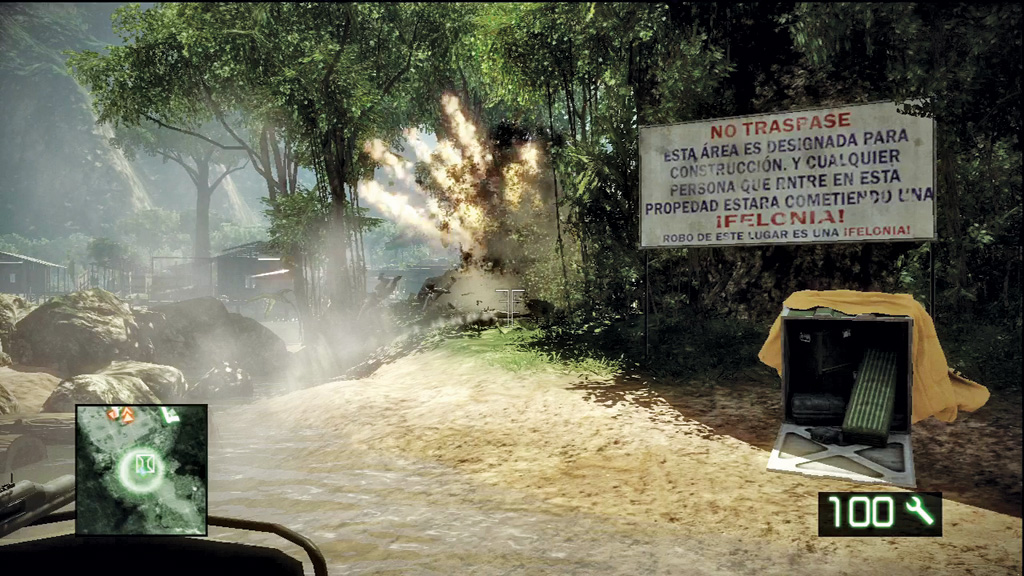
Instead of hopping out of the boat immediately, pilot the boat as close to the lumber yard as possible, parking it near the rocks and logs that block the river. Once in position, open fire on the lumber yard’s structures with the forward grenade launcher.
This should get the militia’s attention. Continue pounding the facility with grenades as more and more enemies move into view. However, watch for enemies attempting a counterattack along the right bank of the river near the supply drop crate. They stand no chance as long as you respond with a quick barrage of grenades.
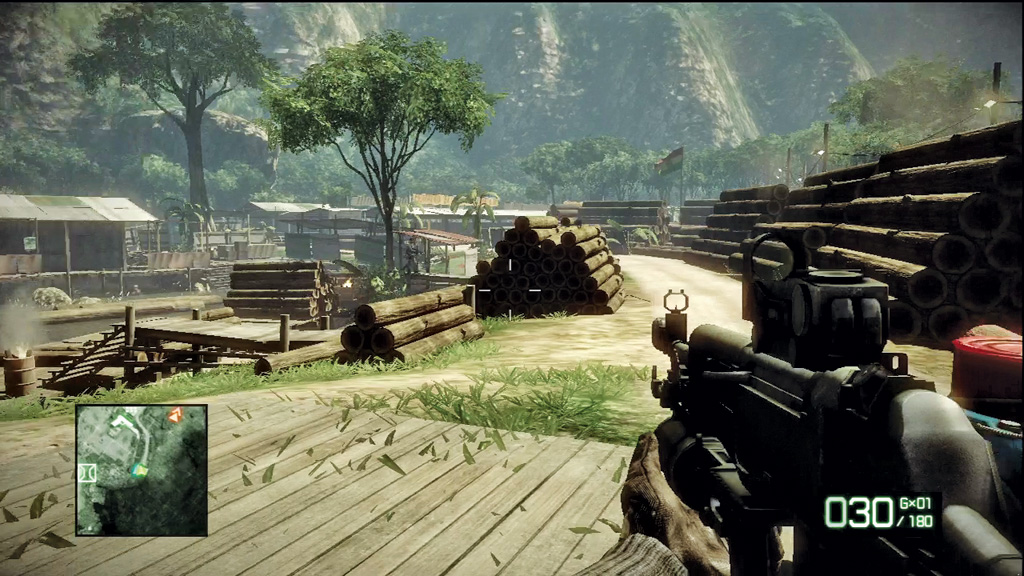
Once you’ve done as much damage to the lumber camp as possible from the PBLB, hop out and proceed on foot. If necessary, visit the nearby supply drop crate and swap out your weapons. Instead of trudging through the shallow lagoon by the lumber camp, stay on shore, circling to the right of the facility. Despite your efforts with the PBLB’s grenade launcher, there’s likely a few more militia hanging around, so stay on guard. There are a couple of weapon pick-ups near the lumber camp’s shore, both containing a DTN-4 remote detonator and explosives.
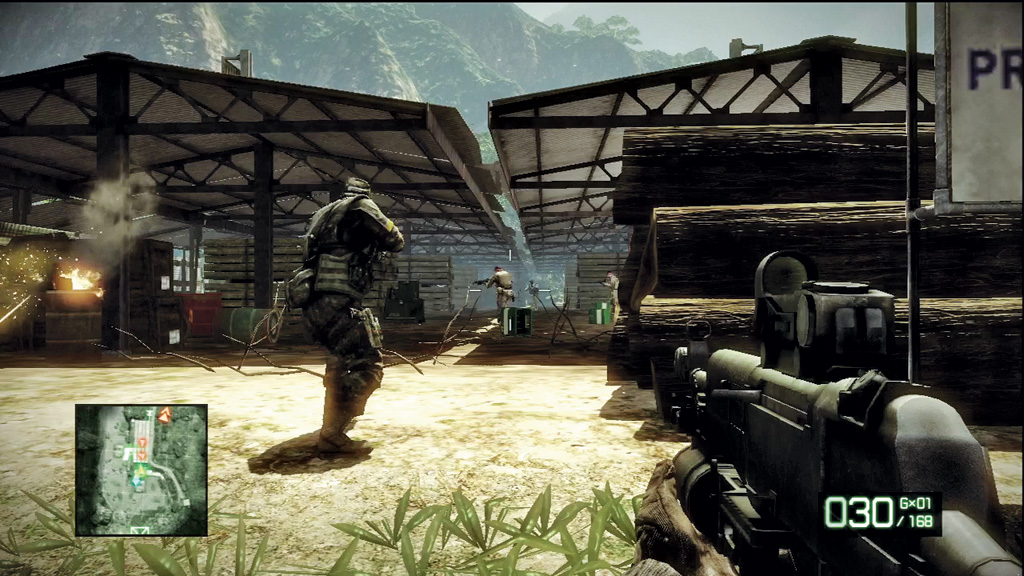
Expect heavy resistance at the lumber shed at the north end of the camp. Here several militia hide among the piles of lumber, waiting to ambush you and your team. Fortunately the wood piles offer excellent protection, so stake out some cover as soon as the lead starts to fly.
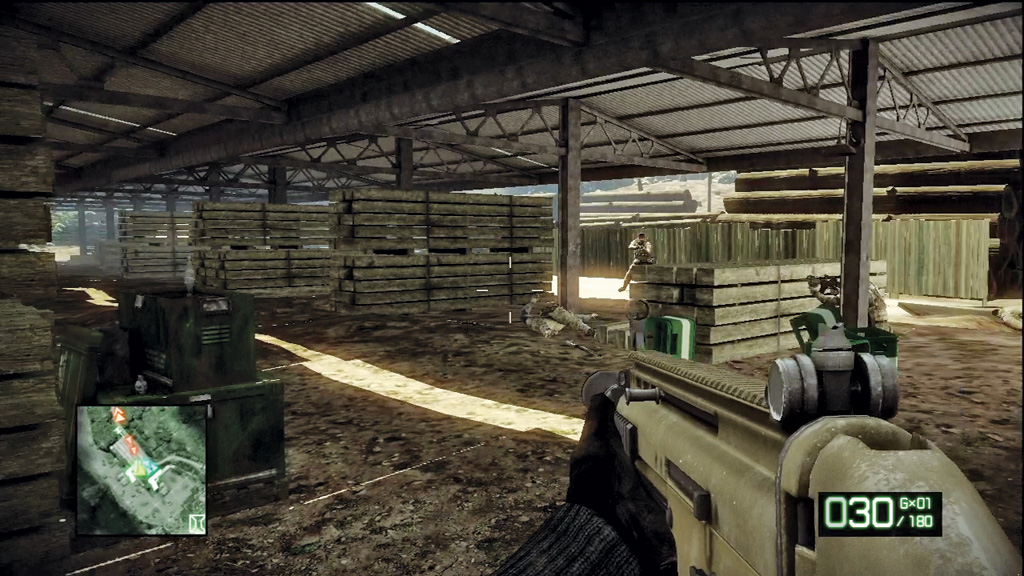
While your team performs a frontal assault on the shed, flank along its left side. Here you find a SCAR-L silenced submachine gun that makes your flanking maneuver a bit easier. The SCAR-L is a very accurate weapon, ideal for close-quarter fights such as this. Plus it’s quiet, allowing you to pick off targets without drawing too much attention. There’s a machine gun nest at the north end of the shed, so proceed with caution while clearing the rest of the camp.
6. Secure Access Road
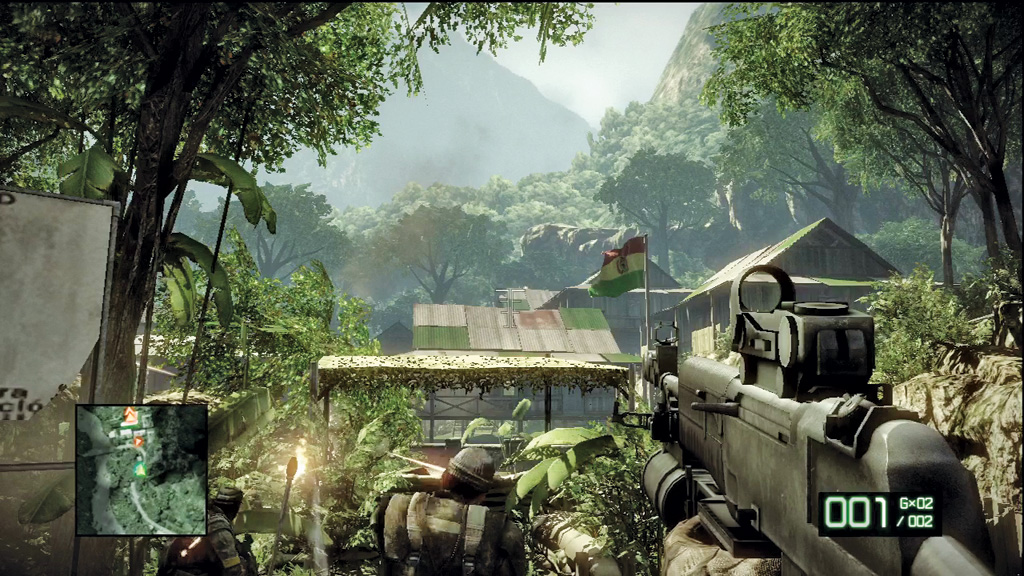
Having wiped out the militia at the camp, proceed down the dirt road toward a cluster of shacks. But be ready to take cover—the enemy is waiting to ambush your squad. Answer back by lobbing grenades at the shacks to knock out the enemies firing from windows. Eliminate as many militia members as possible from long range before attempting an advance.
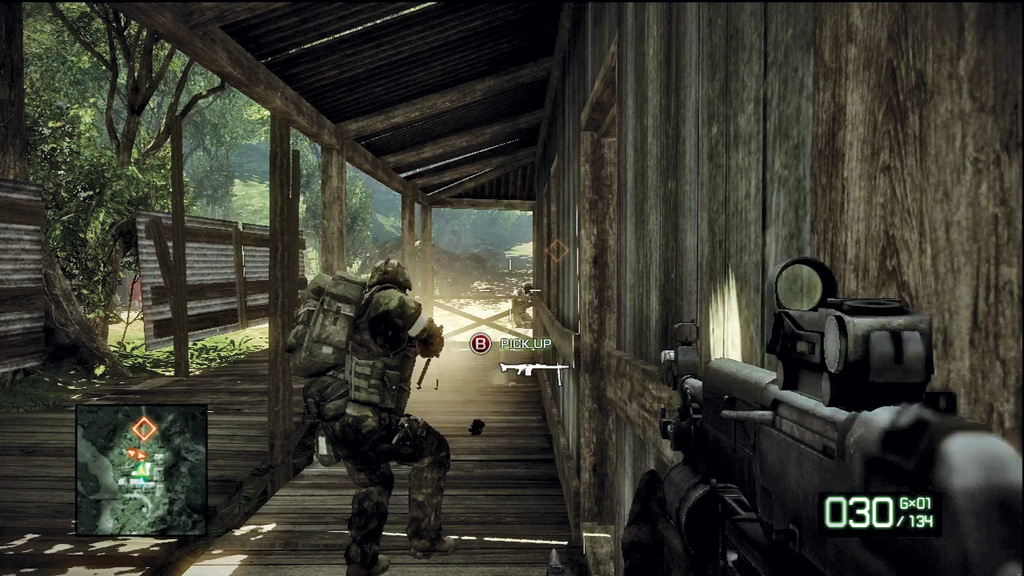
Let your squad members lead the charge up the wooden path leading between the shacks. There are most likely a few enemies lurking about the interiors, so it’s best to let your team spot them first. Your teammates can’t die, but you can! As you near the last shack to the north, watch for more enemies blocking the path to the access road. Once again, let your squad lead the way while you hold back and provide support. If you missed the MG3 light machine gun earlier, you can pick one up here, too.
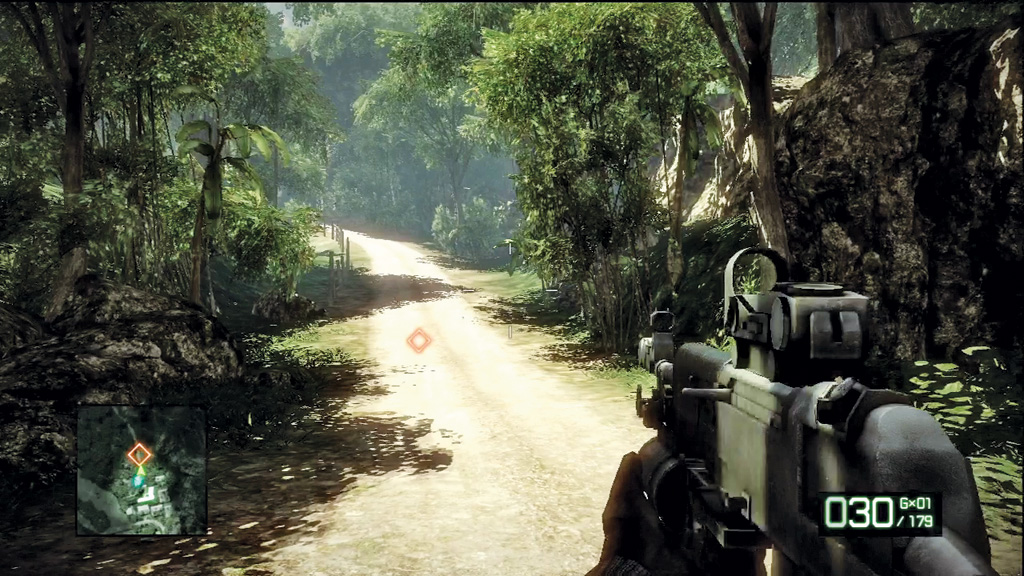
Beyond the shacks is the access road. Race up this dirt path to load the next part of this mission. Your search for Aguire continues in Upriver .