
Battlefield Bad Company 2 Guide Walkthrough Campaign
Upriver
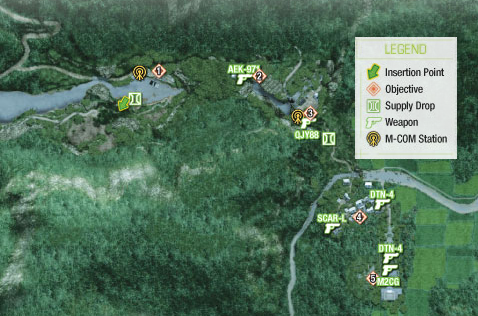
1. Terminate Militia Sentries
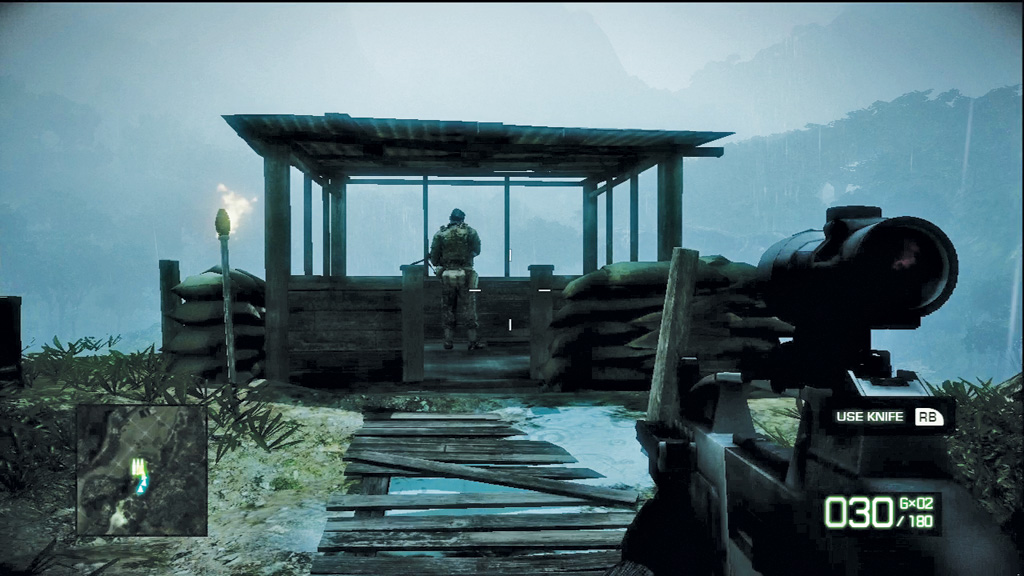
As you continue the search for Aguire through the Bolivian jungle, follow Sarge and the gang up a narrow path until you can spot a guard post. Sarge wants you to take this sniper out silently. Drop to a crouch and sneak up on the guard. When you’re directly behind him, knife him in the back.
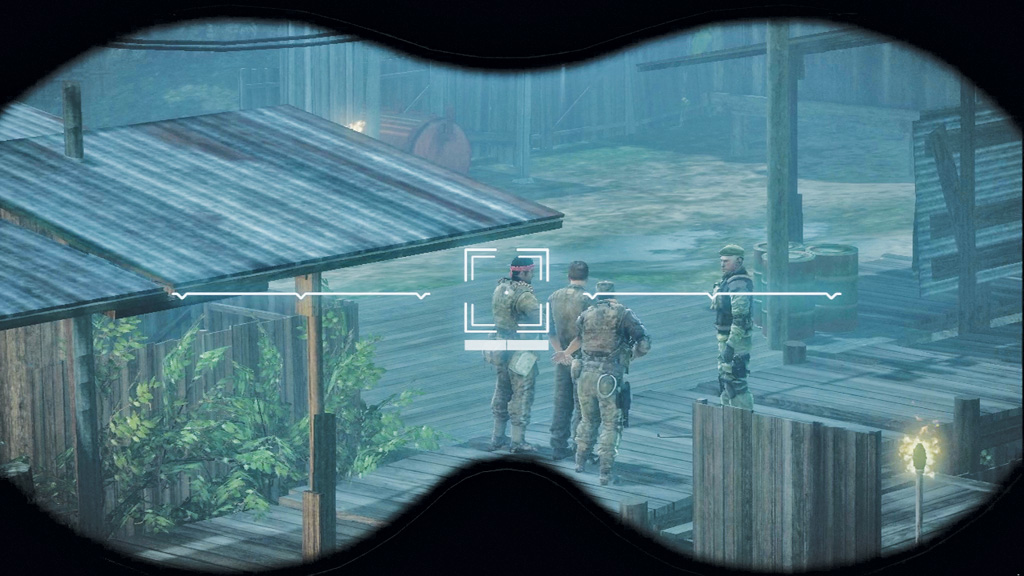
With the sniper out of the way, you can now use the guard tower’s high vantage point to scout the nearby cluster of buildings. Sarge spots Aguire being held by the militia, but it looks like a Russian officer is behind this operation. Sarge wants you to provide cover while he and Sweetwater move in for a closer look.
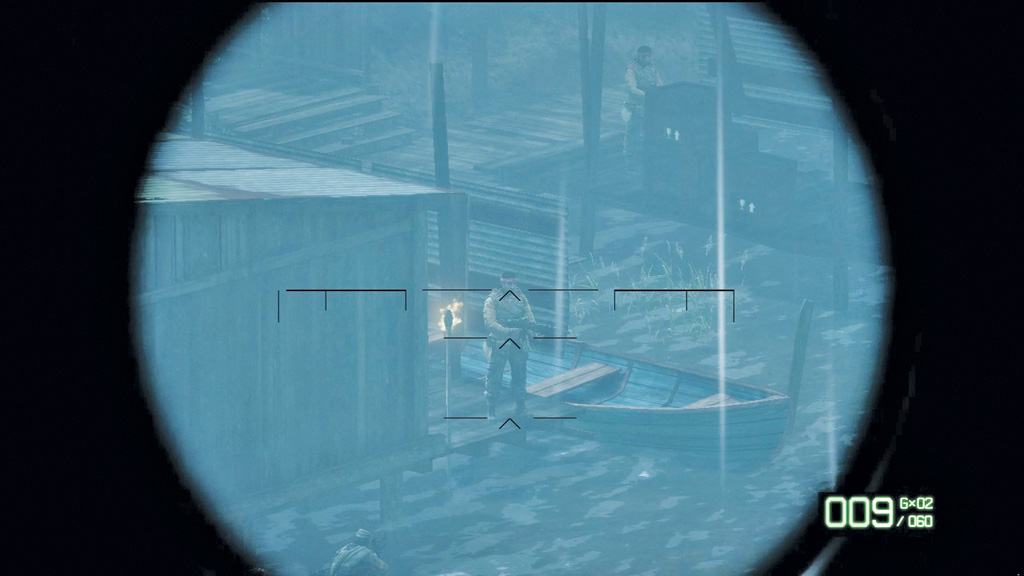
Hold in the guard tower with Haggard while Sarge and Sweetwater move out. You can now use the T88 S sniper rifle dropped by the guard you just knifed. During this sequence you must take out four guards standing watch on the piers below. Instead of opening fire immediately, listen to Haggard’s instructions.
He points out which guards to take out and when. Once you have the first target in your sights, hold and wait for the thunder to obscure the report of the rifle. Watch for the flash of lightning and then wait for the thunder to roll in before squeezing the trigger. If you time your shots just right, the other guards won’t notice your rifle shots, allowing Sarge and Sweetwater to advance stealthily. However, if you screw up, Sarge and Sweetwater’s positions will be compromised, forcing you to start over from the last save checkpoint.
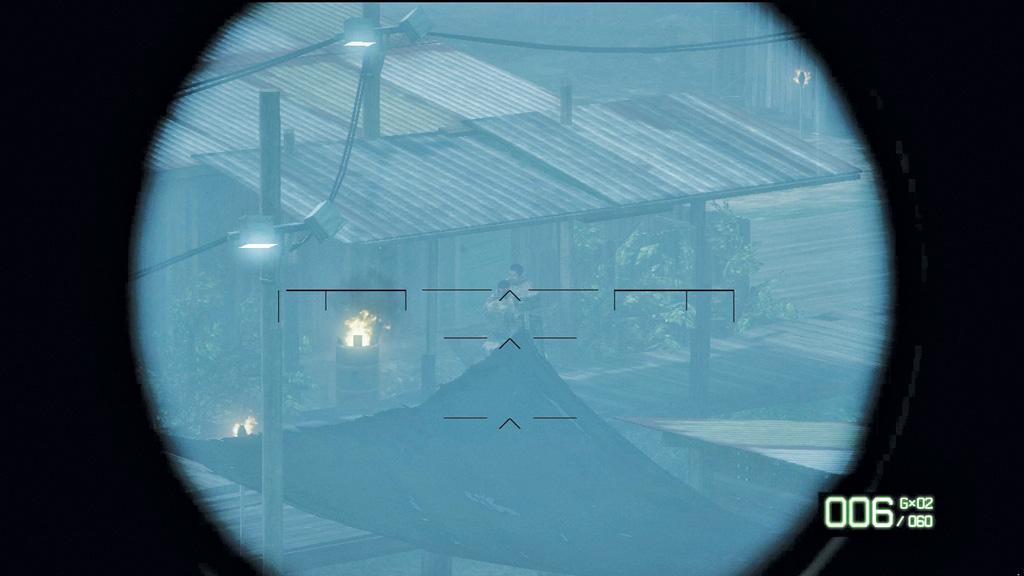
Now it’s time for a very cool trick shot. The last two guards cross in front of the central building, looking directly at each other. You need to kill both guards at once, or else the survivor will go on alert, causing you to restart this sequence. Focus on the guard on the left first and follow his movements. As he passes in front of the guard on the right, squeeze the trigger just as the thunder crash sounds. If you timed it just right, you can take out both guards with a single bullet, earning Haggard’s praise.
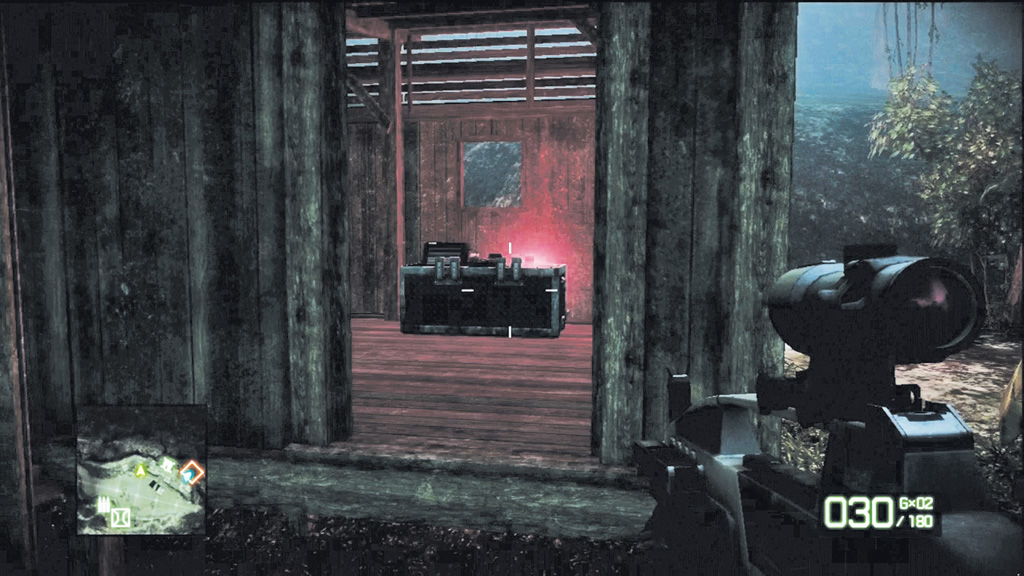
The path is now clear for Sarge and Sweetwater. Follow Haggard down the hill. If you want to swap weapons, there’s a supply drop crate just below the guard tower. Before rejoining your team, search the shacks on the west side of the lagoon for another M-COM station. Attach a charge to it, then regroup with the squad.
2. Follow Unit
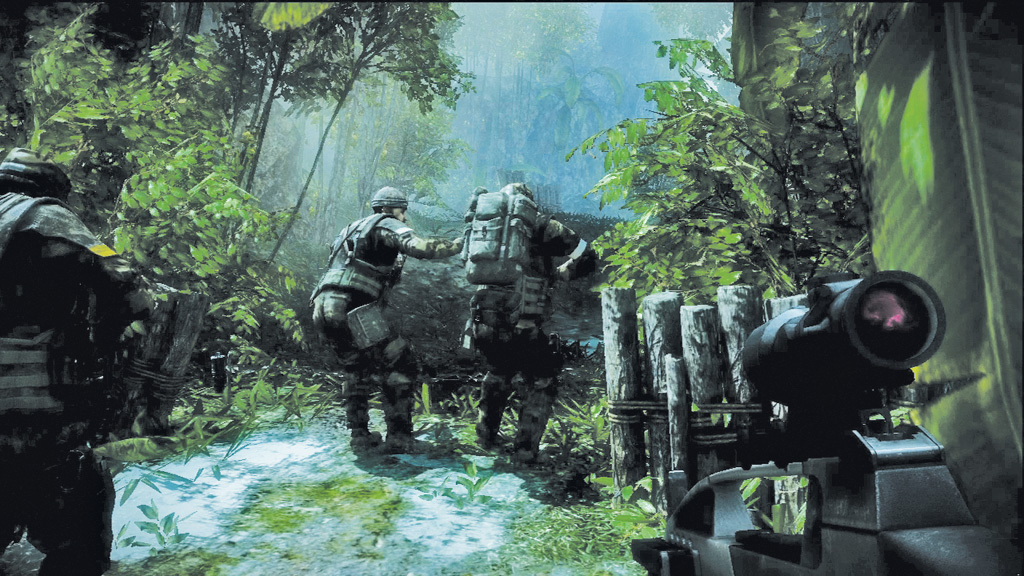
As you follow your team up a narrow jungle path, Haggard halts the advance when he spots a trip wire. This whole area is booby trapped, requiring slow and careful movements. The trip wires are attached to flares. If you hit a trip wire, every militia member in a large radius will know exactly where you are.
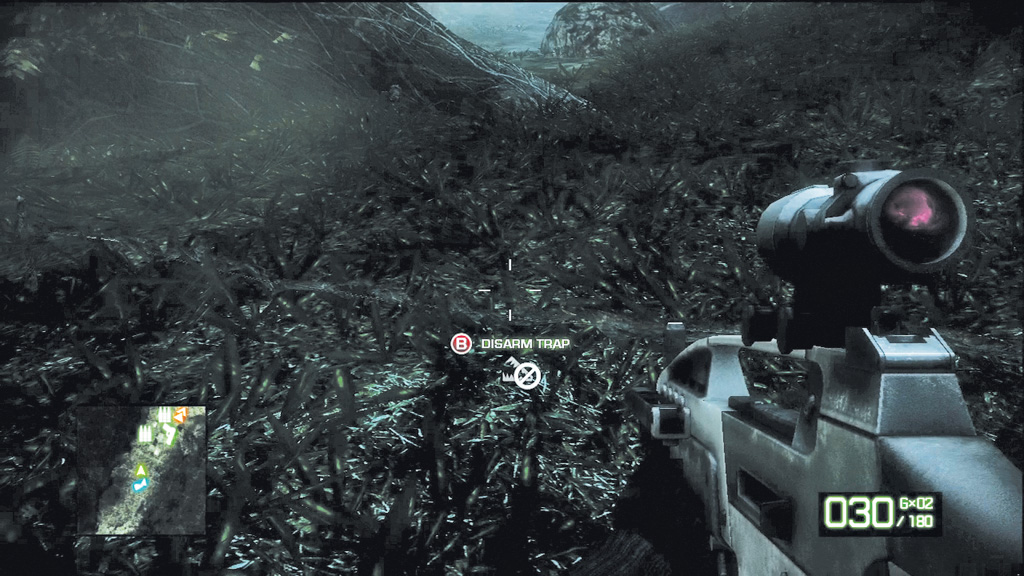
It’s up to you to lead the way up this booby-trapped path. Start by crouching so you’re closer to the ground. This makes it much easier to see the trip wires, plus it makes you move slow. The trip wires look like thin, twisted vines. When you spot one, creep up to it very slowly until the Disarm Trap text appears on the screen. Press the button shown to cut the trip wire. There are three trip wires you must cut before you reach the small village at the top of the hill.
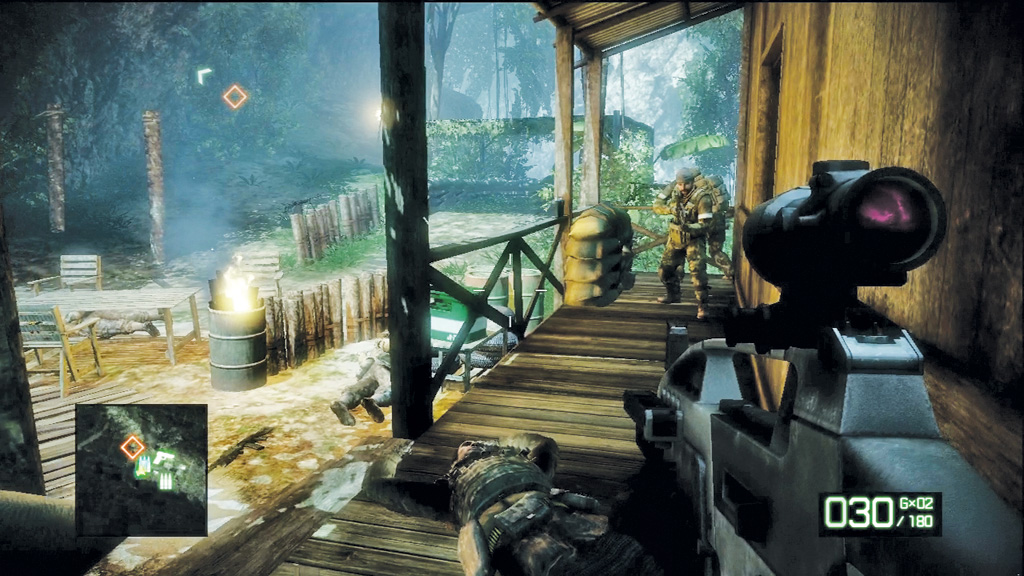
Advancing through the booby-trapped jungle path without triggering a trap allows you to sneak up on the next group of militia. They’re located at the back of the small village, relaxing and listening to the radio. Help your squad take these guys by surprise. If you move in fast, you can take them out before they know what’s going on. An AEK-971 assault rifle is located in the village, if you don’t already have one. Follow the green pistol icon on the minimap to find it. When you’re finished in the village, follow your squad up the narrow path climbing high above the river.
3. Assault Upriver
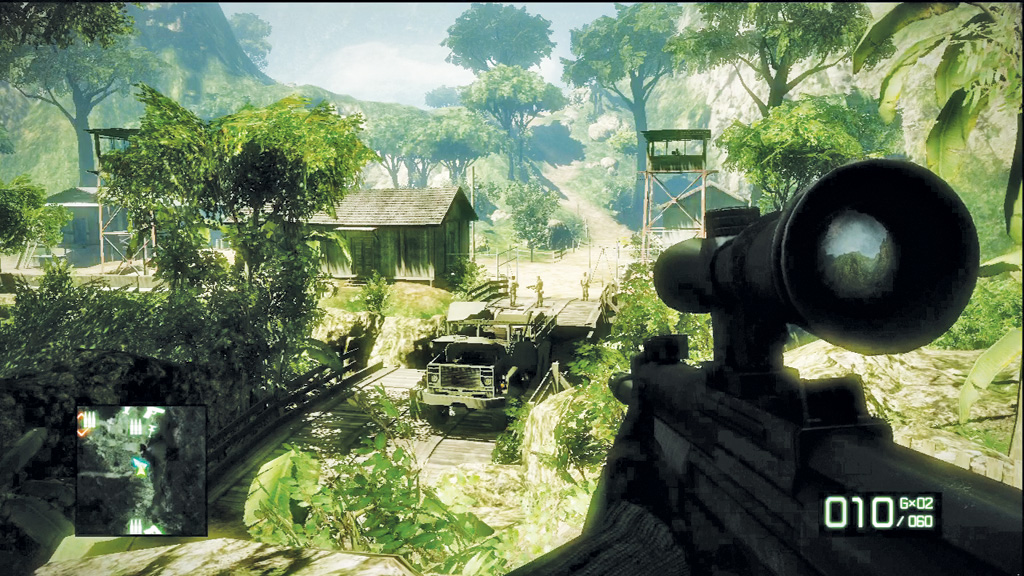
The militia outpost ahead is well defended and the bridge over the river is impassable. Sarge suggests dropping down into the river and climbing the opposite bank to get across. Before moving out, you need to clear out a few serious threats. Equip your sniper rifle and quickly pick off the machine gunners in the two guard towers. Once they’re down, eliminate any other visible threats hanging around the guard post.
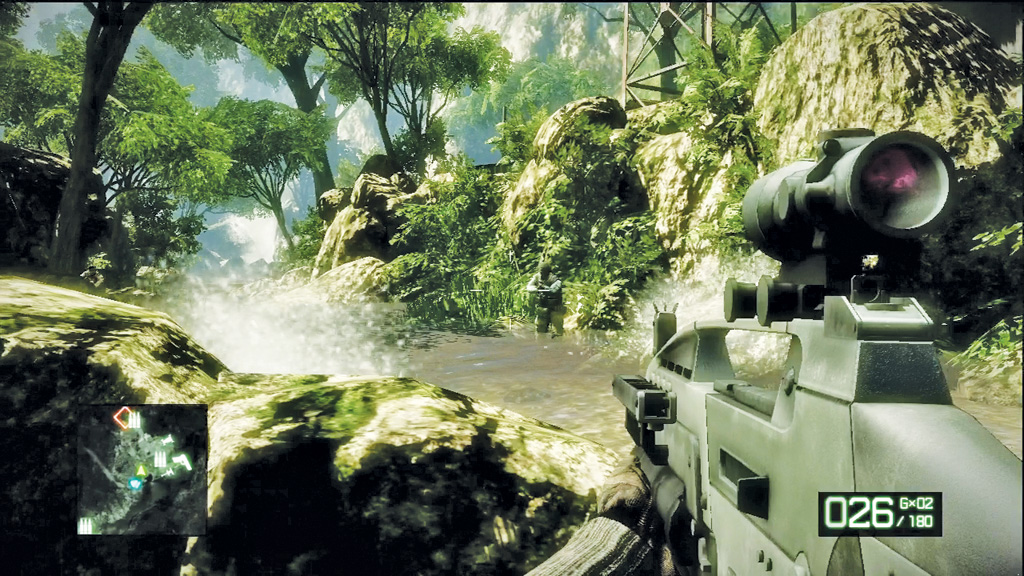
Now it’s time to move out. Approach the bridge and drop off its left side. If you drop off the right side, you’ll fall down a steep waterfall. As you step into the river, more militia appear ahead. Quickly take cover along one of the banks and return fire with your assault rifle. The large rock on the left side of the river offers the best protection, especially if you crouch. Stand up to open fire, then drop back down to take cover and reload. Watch for more enemies rushing into view as you advance up the river. The red objective marker leads to a spot where you can climb out of the river and assault the guard post.
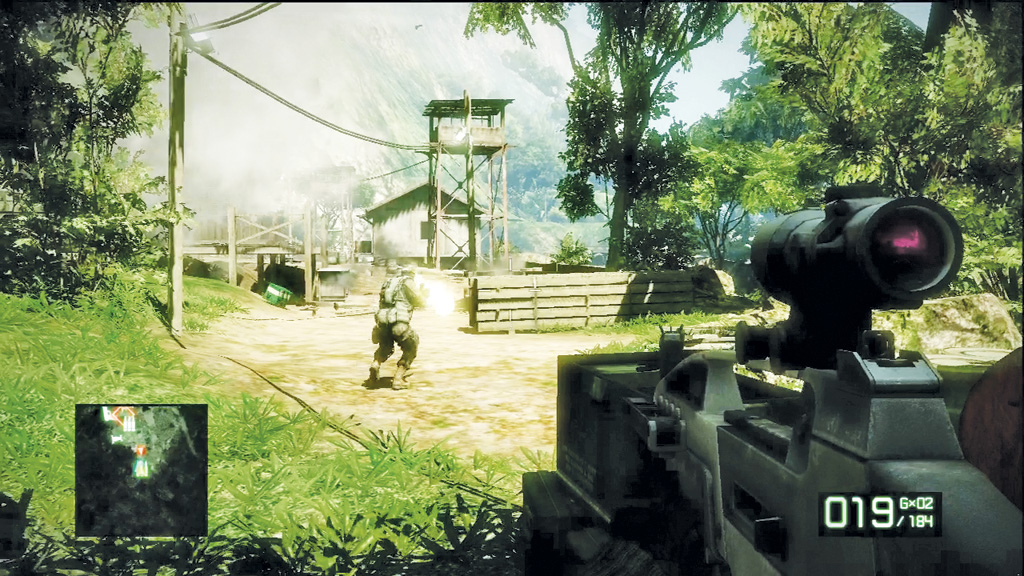
There are still plenty of enemies lurking around the guard post, so advance with caution, bounding from one piece of cover to the next. Some of the militia may be hiding in the buildings, so feel free to blow the buildings up with your assault rifle’s grenade launcher. There are plenty of ammo crates here, so you don’t need to worry about running out of grenades. You know the area is clear when the current objective is completed.
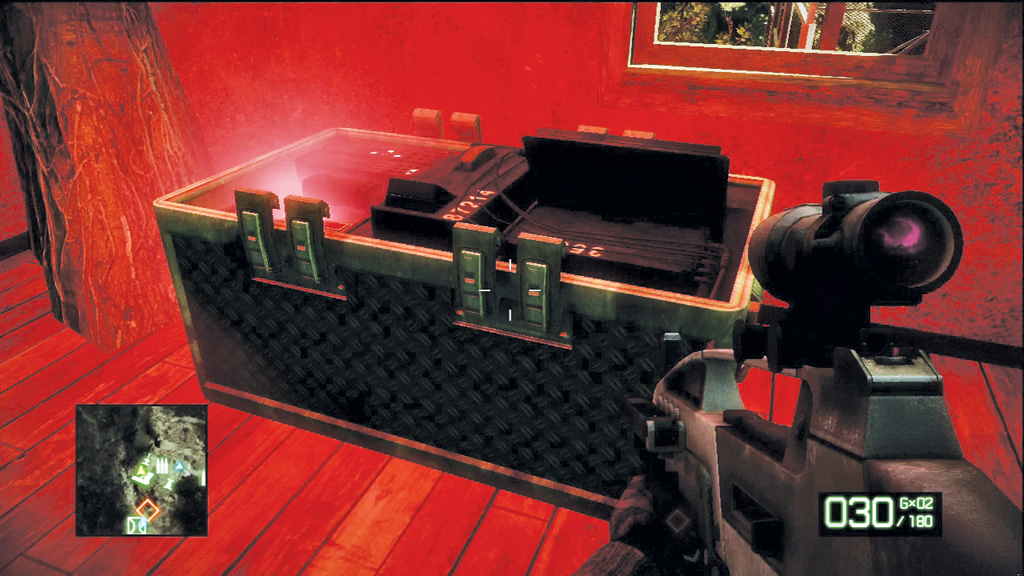
Before moving out, search the building on the south side of the guard post. Inside is another M-COM station. Slap a charge on the box to destroy it, then rejoin your squad. Outside the same building is a QJY88 light machine gun, if you don’t already have one in your collection.
4. Assault Militia Stronghold
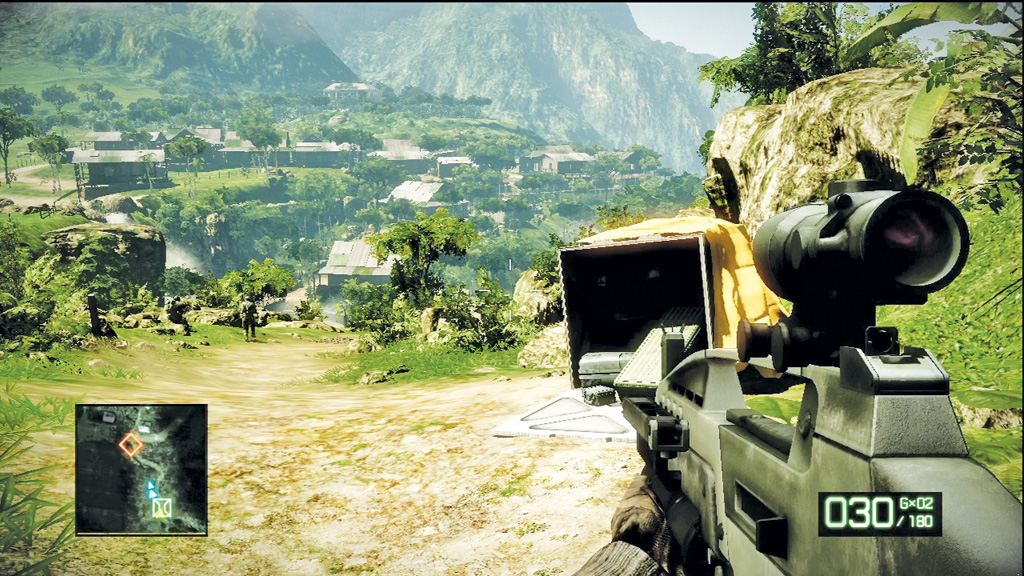
At the surveillance position, Sarge spots Aguire being led into a huge compound crawling with enemies. The presence of Russian choppers flying overhead is even more unsettling. What are the Russians up to? And what do they want with Aguire? Before initiating the attack on the stronghold, access the nearby supply drop crate and add a sniper rifle to your inventory if you haven’t already.
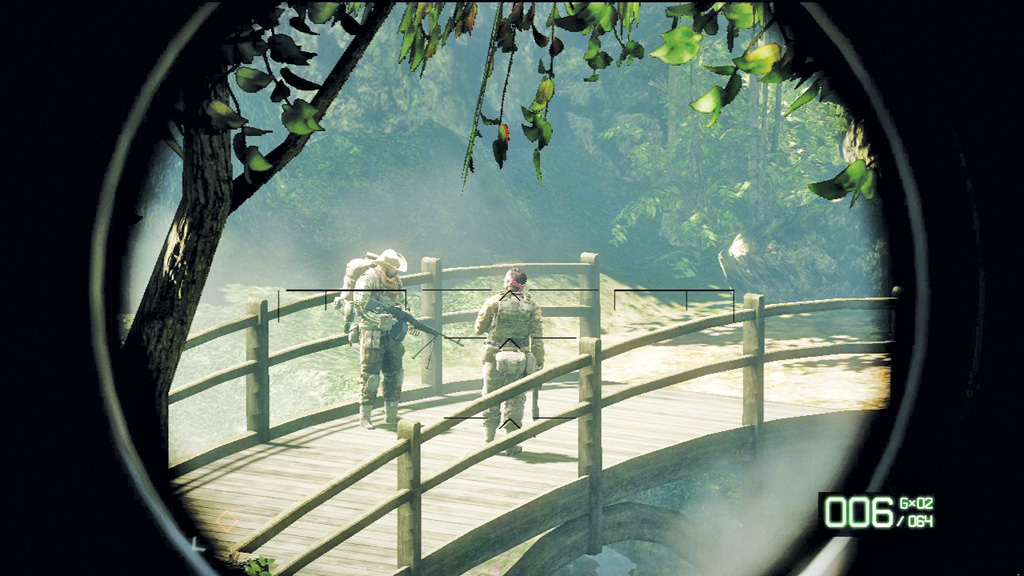
As the rest of the team moves forward, hold back with your sniper rifle and scout for targets. Use one of the rocks on the hill for cover and then start the attack by picking off the two guards standing on the footbridge. As soon as you squeeze the trigger, gunfire erupts from the compound. Center your sights on the muzzle flashes and dispatch the shooters as fast as possible.
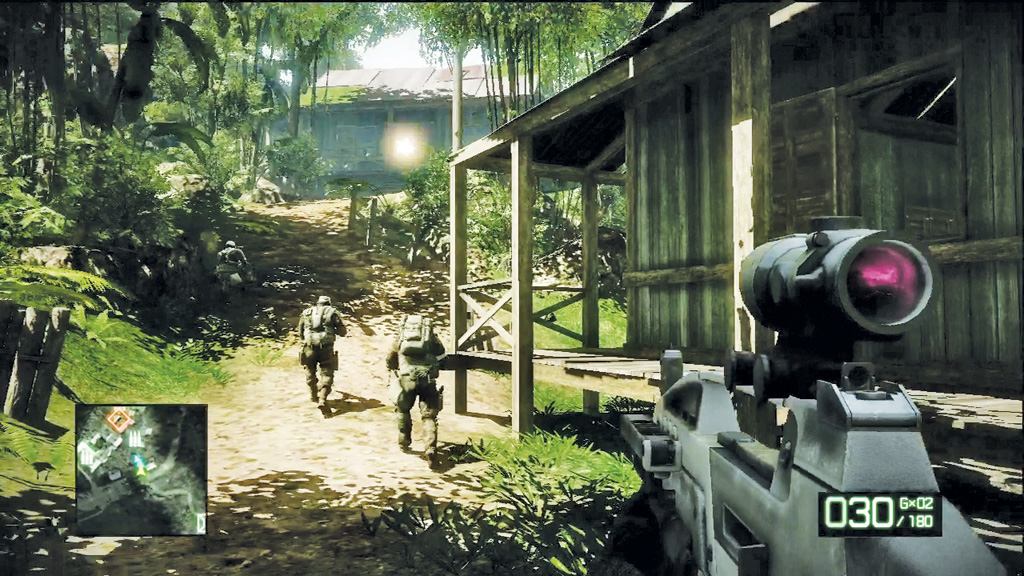
Maintain your hilltop sniping position until your team moves out and crosses the footbridge. Once across the bridge, you take heavy fire from a large shack, but Haggard levels the building with a single grenade. Pass through the rubble and burning bodies and proceed up the next set of steps.
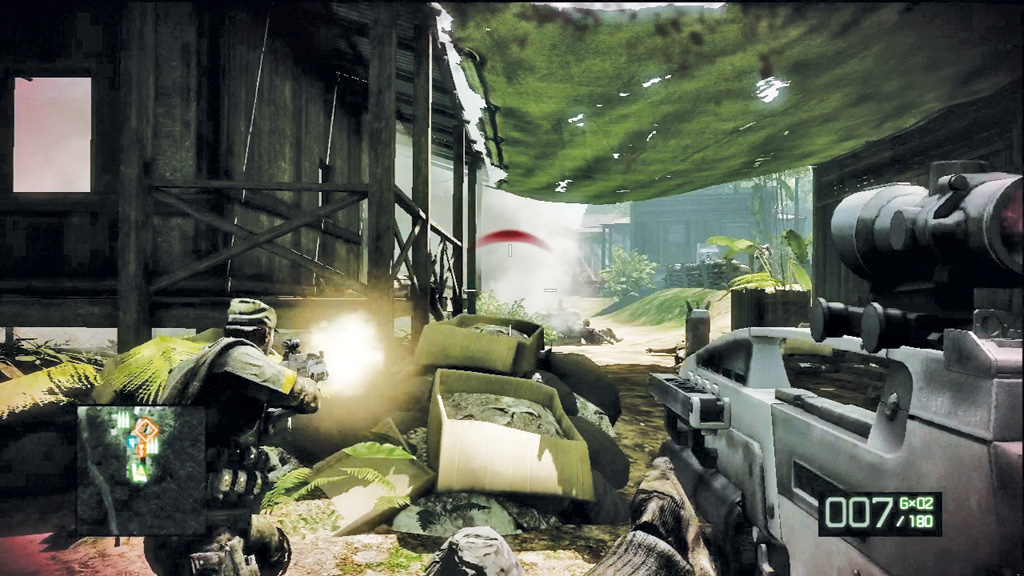
At the top of the steps, Sweetwater and Haggard are pinned by a machine gun located somewhere to the south. You can’t assault this machine gun directly, so follow Sarge to the right. He leads you to a flanking position, allowing you to hit the machine gun and several other surprised militia members. However, it won’t be long before they retaliate. Take out the machine gunner first. Then take cover as the other enemies counterattack. Bullets will pass through the wooden shacks, so choose your cover carefully. Once the fighting dies down, search nearby for a SCAR-L silenced submachine gun.
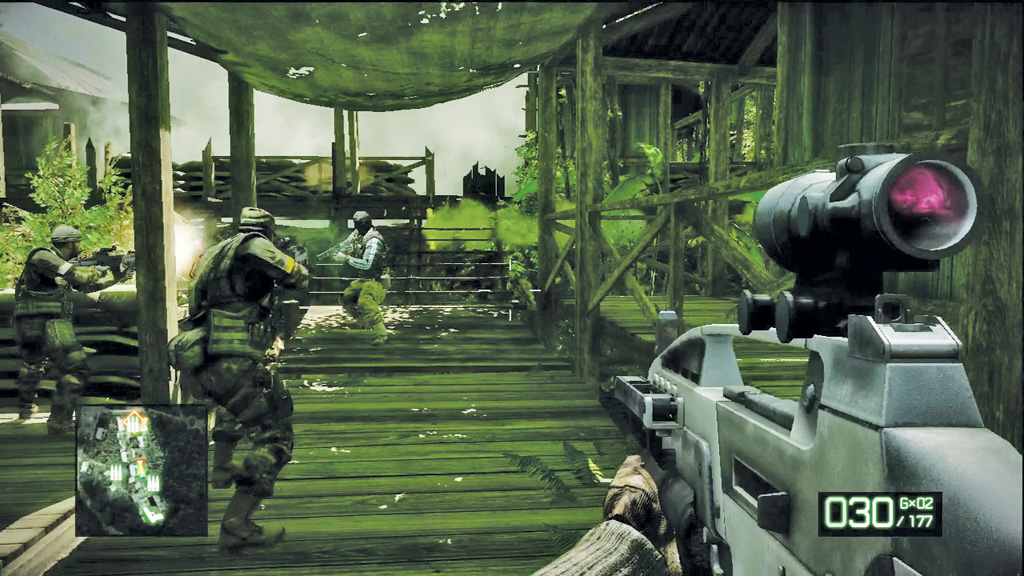
Proceed through the shacks to the east, watching for more enemies attempting to flank you. Let your teammates lead the way through this dangerous choke point and offer support from the rear. If you’re feeling courageous, sneak along the left or right flank while your team moves up the middle. This allows you to flank the enemies, but it also leaves you isolated, outside your team’s line of sight.
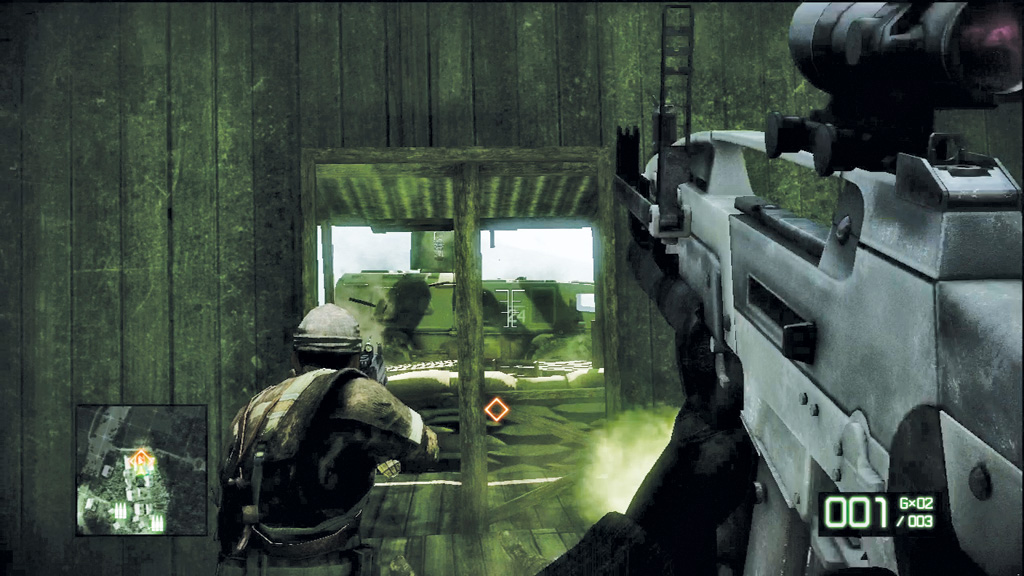
Let your team lead the way into the final shack at the back of the compound. As you enter, a VODN transport pulls up outside. Quickly equip your assault rifle’s grenade launcher and smack the vehicle with grenades by firing through the shack’s northern window and doorway. It takes at least a couple of solid hits before the vehicle is destroyed, so stay on the move while loading and firing grenades. Outside the shack is a DTN-4 and some explosives, but don’t try to sneak up on the VODN in an attempt to blow it up.
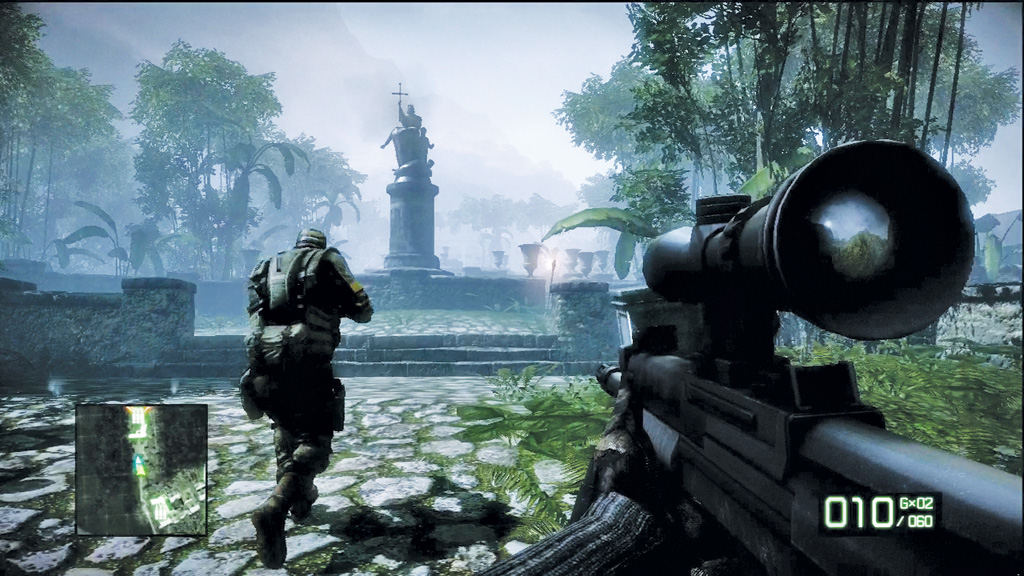
Beyond the shacks, follow the narrow road to a large stone plaza. Quickly find some cover and equip your sniper rifle. There are multiple enemies hiding out here, so get ready to pick off some targets at long range. Watch the far end of the courtyard for a couple of machine gun positions and quickly eliminate the gunners before they can pin you. Also, watch for enemies armed with shotguns attempting to flank you from the right and left. There are plenty of targets to choose from. Hold your position and keep shooting until the plaza is finally quiet.
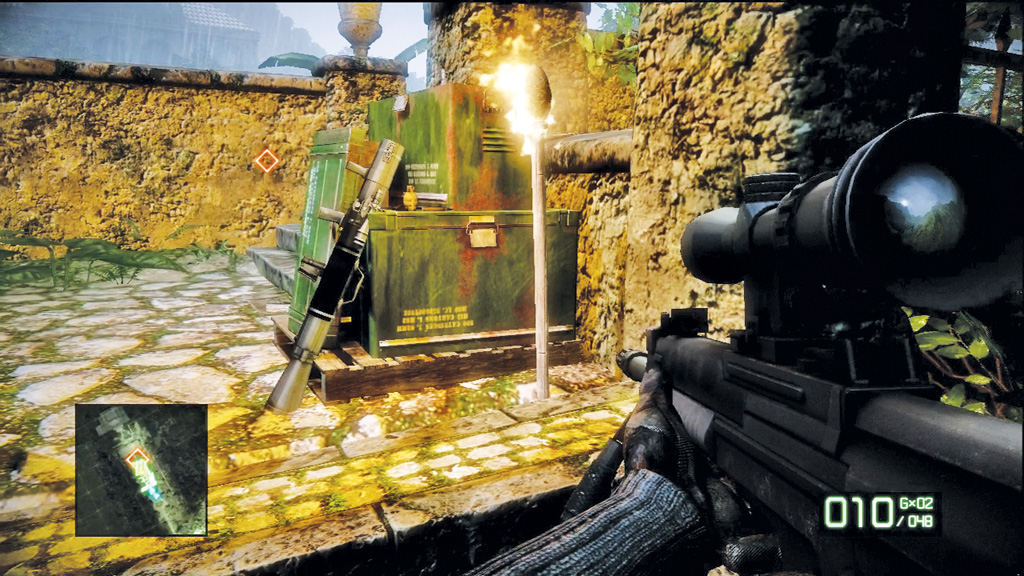
Cautiously advance through the plaza, watching for more enemies hiding behind the low stone walls. Toward the south side there’s another DTN-4 and some explosives, but the big prize is the M2CG resting against an ammo crate. Leave behind your sniper rifle and pick up this rocket launcher, keeping it equipped as you advance up the nearby steps.
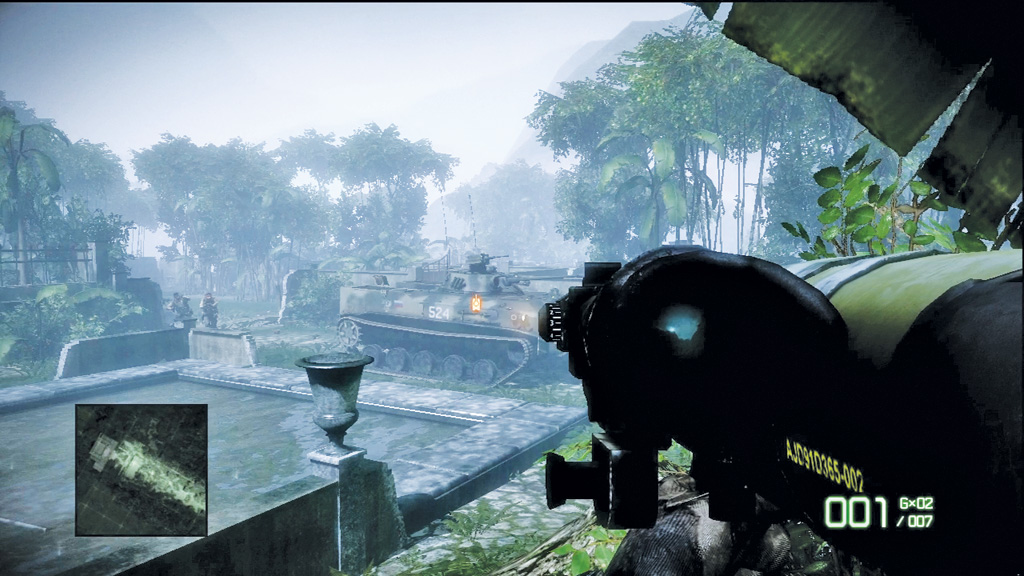
As you near the villa, you catch a glimpse of Aguire being pushed through a nearby gate. But you have bigger problems now. A BMD3 Infantry Fighting Vehicle (IFV) crashes through a nearby wall. Immediately fire a rocket at the IFV before its turret can turn in your direction. Unfortunately, it takes at least two hits to take out this vehicle, so as soon as you fire the rocket, retreat and seek cover anywhere you can. The IFV fires explosive rounds with a modest blast radius, so even if you don’t take a direct hit from its cannon, the exploding shells will do some damage. Creep around the perimeter of the courtyard until you can safely fire a second rocket at the IFV to take it out.
5. Liberate NSA Agent Aguire
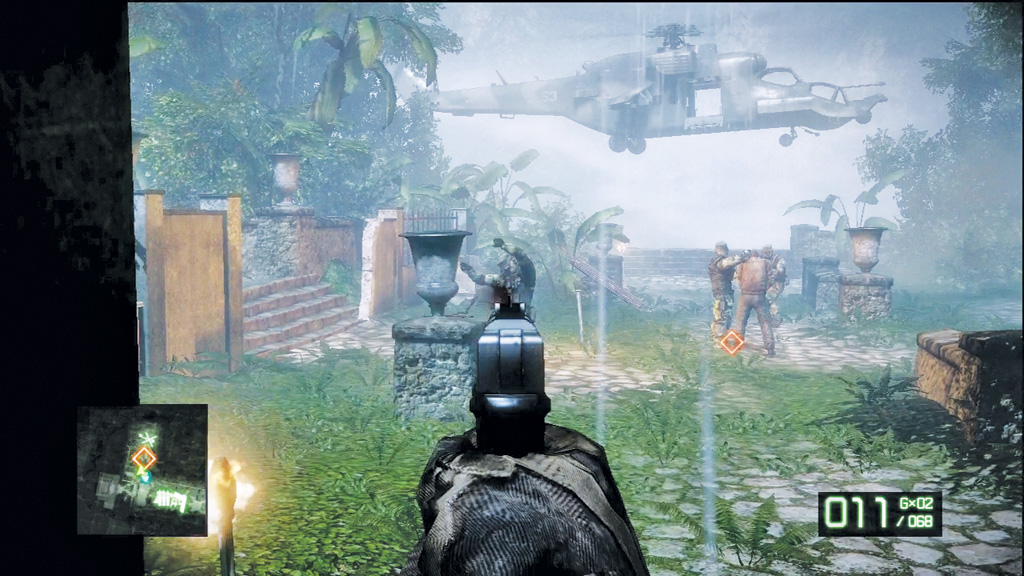
Once the IFV is destroyed, you can finally go after Aguire. Pass through the gate on the western edge of the courtyard. Sarge hands you a MP443 pistol as you near the hostage situation ahead. In total there are three Russian soldiers here, including the one holding Aguire at gunpoint. Quickly gun down the two soldiers on Aguire’s flanks. Then take careful aim at the guy holding Aguire hostage. Use the weapon’s iron sight and go for the headshot, being careful not to hit Aguire in the process.
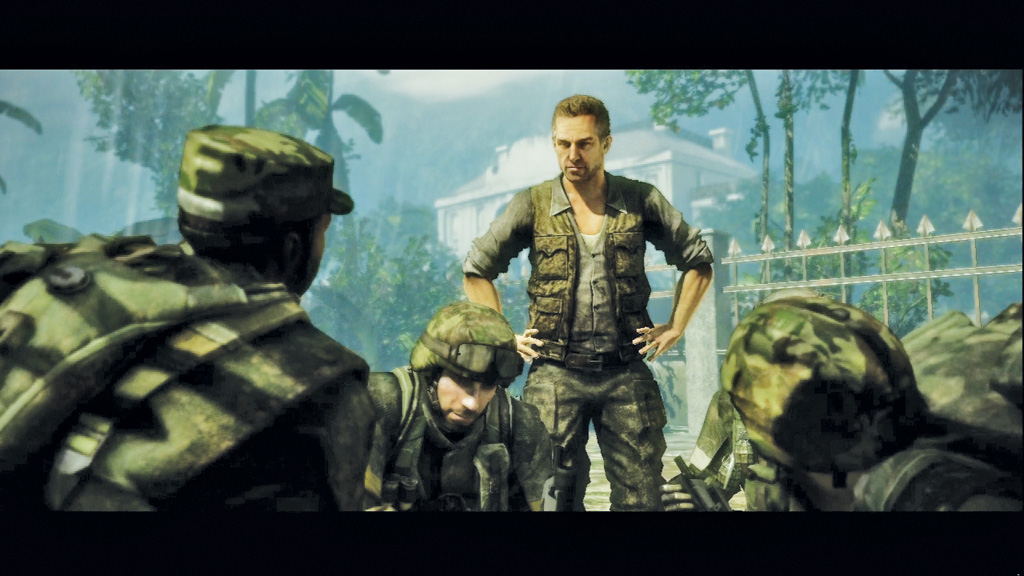
Now that Aguire is safe, Sarge shows him the specs on the fake device. Unfortunately, Aguire can’t help out much. The Russians have stolen all of his data retrieved from a Georgian military network regarding some secret weapon. However, there are backups of the data . . . orbiting in space on a French weather satellite.