
Battlefield Bad Company 2 Guide Walkthrough Campaign
Cold War
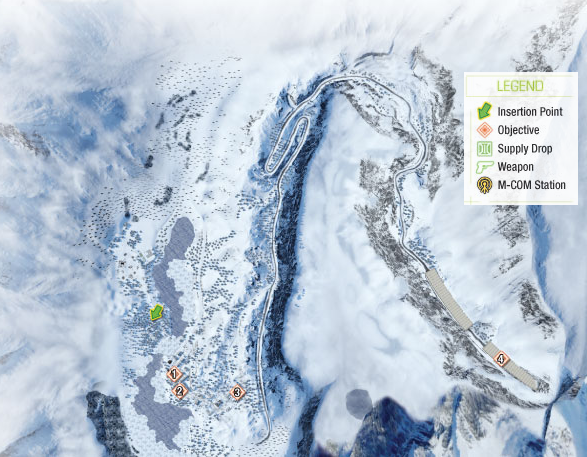
In the present day, the boys from Bad Company are back in action. Preston Marlowe, joined by Sarge, Sweetwater, and Haggard are backing up a U.S. counter-intelligence operation deep in Russian territory.
The remote frozen environment is wreaking havoc with GPS and communications equipment, so outside support is iffy at best. But that’s nothing new for this team. As Marlowe catches sight of a nearby Russian patrol, the team prepares to move into action.
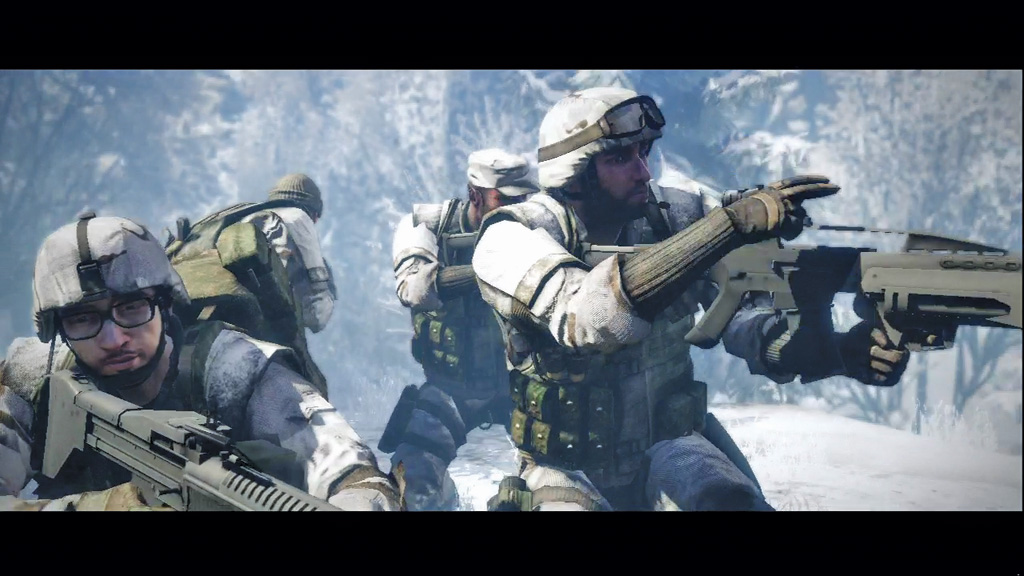
1. Follow Unit
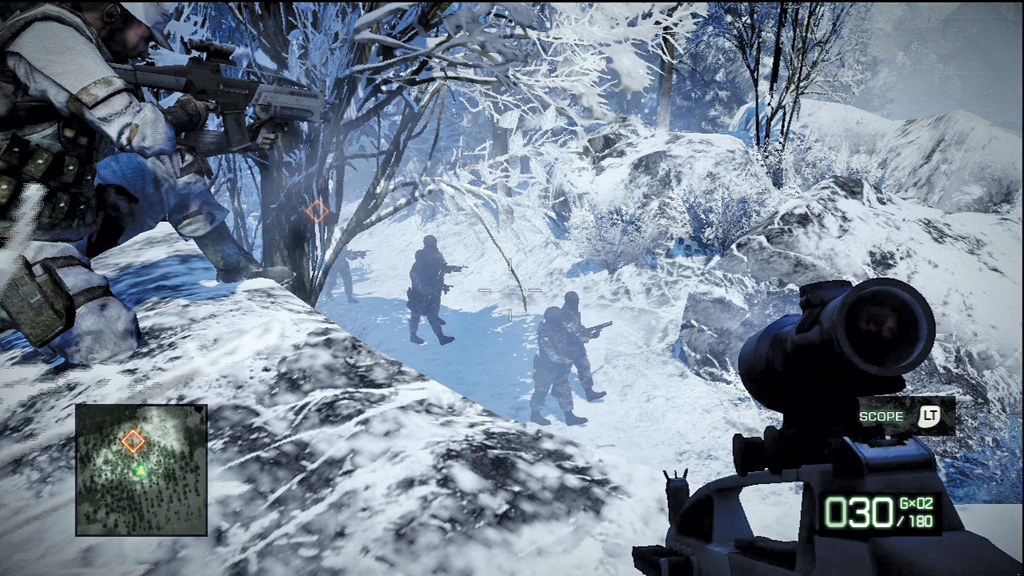
During the single-player campaign you play as Preston Marlowe, a now seasoned veteran of Bad Company. Follow your team to a ledge overlooking a snow-covered trail. Drop to a crouch at the ledge and wait for six Russian soldiers to appear on the path below, but don’t open fire just yet. Listen to Sarge and wait for him to count down from three before mowing down the opposition. For more precise aim, use the weapon’s zoom function to access your XM8’s scope. Keep firing until all six enemies are down for the count.
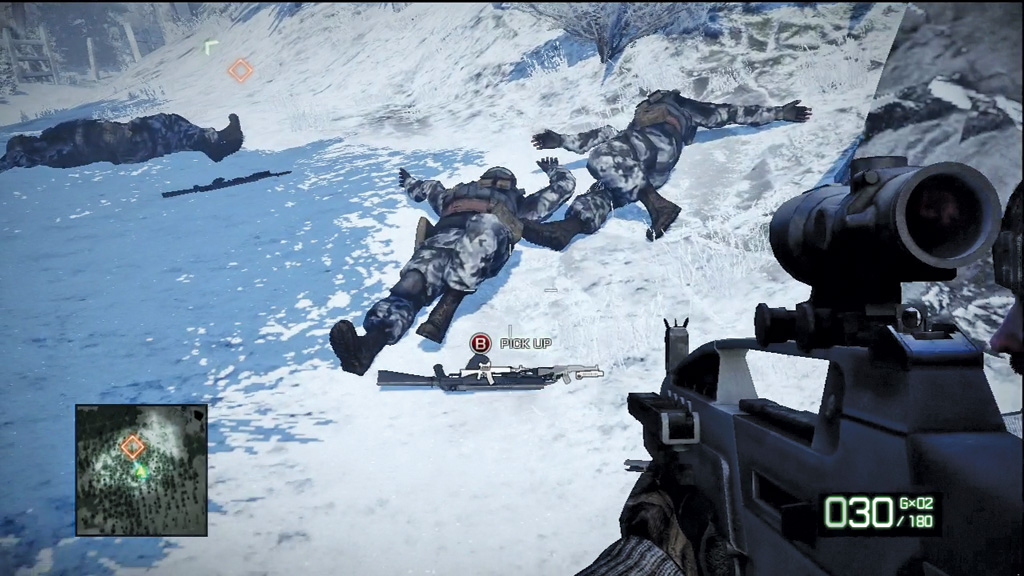
When the ambush is over, follow Sarge and the gang down onto the path. You can now grab a rifle off one of the dead Russians. These guys carry the AN-94-R assault rifle, a very competent weapon with a two-round burst fire mode. Since you only have one primary weapon to begin with, picking up this weapon does not replace your XM8. If you pick up another weapon in the future, the currently held weapon will be dropped in exchange for the new weapon. Pay close attention to your weapon inventory before picking up weapons, as you can only carry two primary weapons at a time.
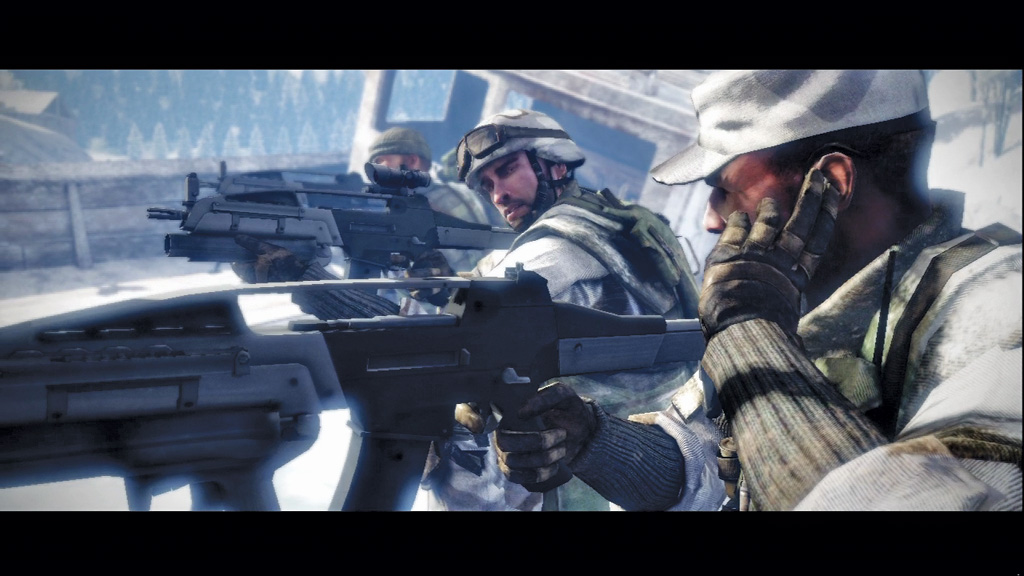
Regroup with your squad at a partially sunken boat in a frozen river. In the cutscene that follows, a mysterious Russian is seen executing a U.S. agent as Marlowe and the rest of the squad watch helplessly from a distance.
While the team awaits orders to engage, the Russian escapes in a helicopter. But HQ seems more concerned about a truck parked in the village across the river. Time to move out and secure that truck.
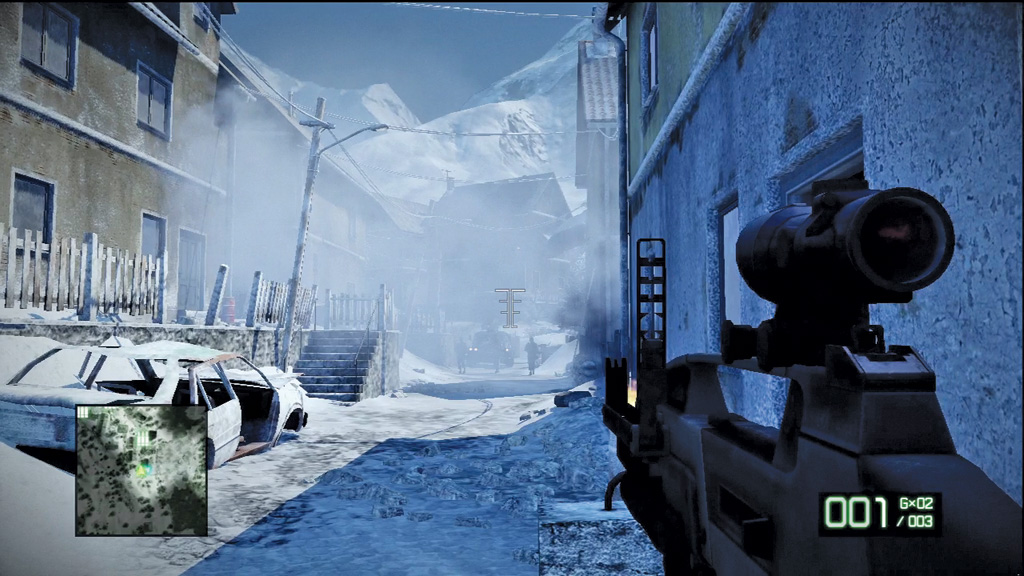
Follow Sarge and the gang across the river and into the village. It’s up to you to lead the assault. Start by equipping your assault rifle’s grenade launcher, then step around the corner of the building (where Sarge is standing) and fire a grenade at the VODN parked at the far end of the street. Ignore the troops patrolling the street for now. The VODN is a more threatening target and must be eliminated quickly. It takes two grenades to take out the vehicle, so step behind cover while loading the second round in the launcher. Once the VODN is destroyed, help your team eliminate the Russian infantry. Hold this position until your team moves out.
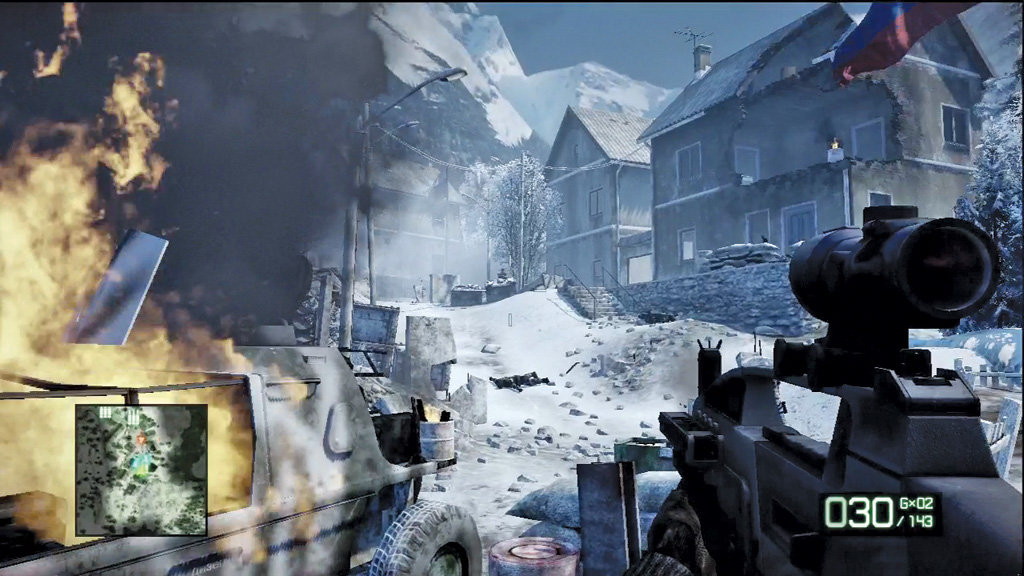
Press forward to the end of the street, taking cover near the burning VODN. Expect more resistance here. Take out the machine gun position behind the sandbags first, then watch out for enemy troops equipped with rocket launchers. Keep an eye on the minimap to locate new targets—they appear as red triangles. If you can’t get a clear shot at a particular enemy, try lobbing a grenade in his direction. Grenades can blast through walls, killing anyone hiding on the other side.
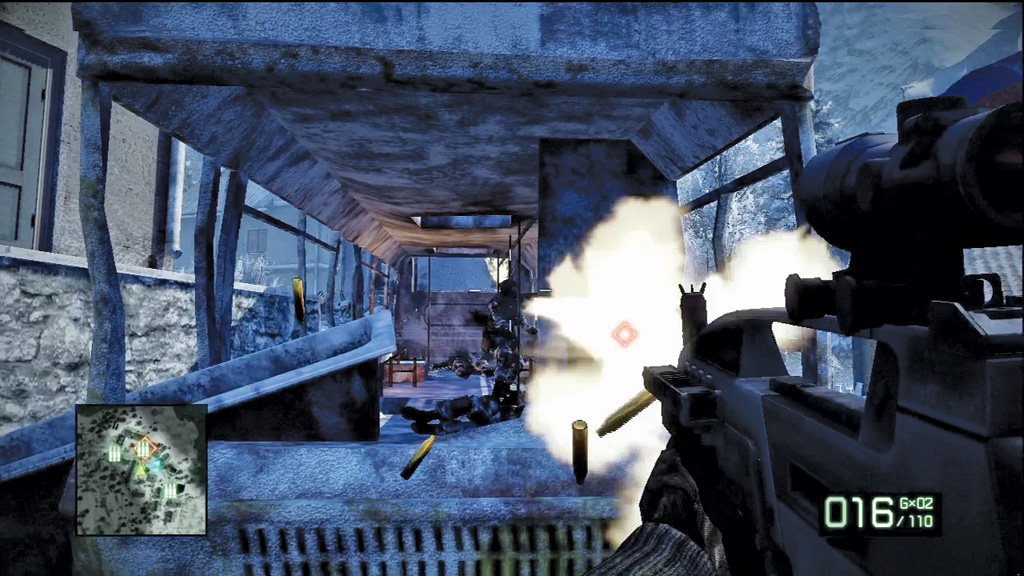
Further down the street your team is pinned by a group of enemies positioned in a bus. Instead of staging a frontal assault, flank the bus from the left while your team holds their attention. This allows you to sneak up on the enemy and mow them down. A grenade can also do some serious damage in this situation. Keep up the attack until all the enemies in this area are down. Your team moves into a large two-story house across the street when it’s safe.
2. Secure Courtyard
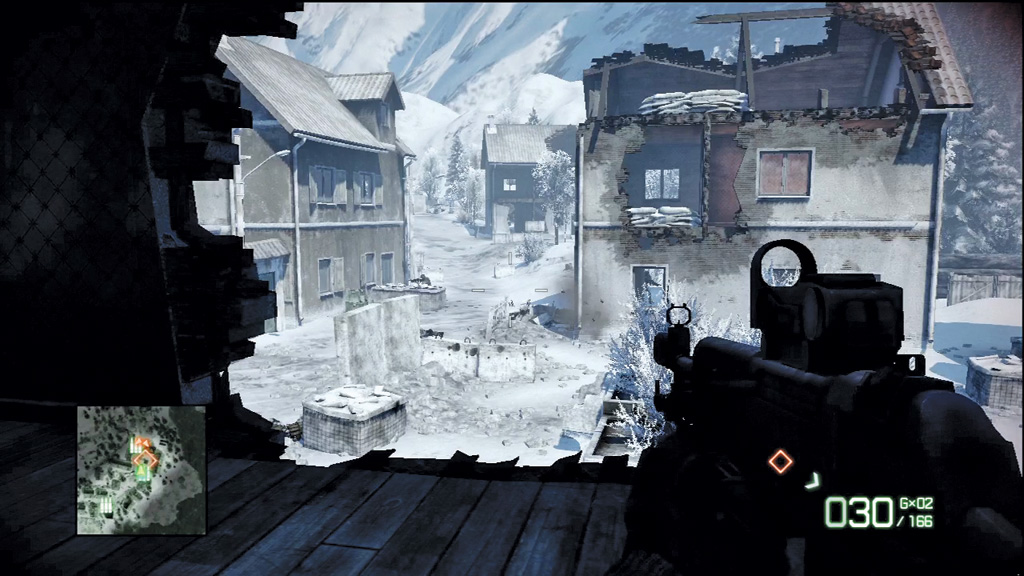
As you rejoin your team in the large house, a pair of gunships hover above the courtyard outside and enemy troops rappel to the ground. Stay clear of the windows until the helicopters have left—exposing yourself to the gunships at this range is extremely dangerous. Move to the house’s second floor and start picking off troops in the courtyard below. This gives you a good vantage point of the courtyard and adjacent street.
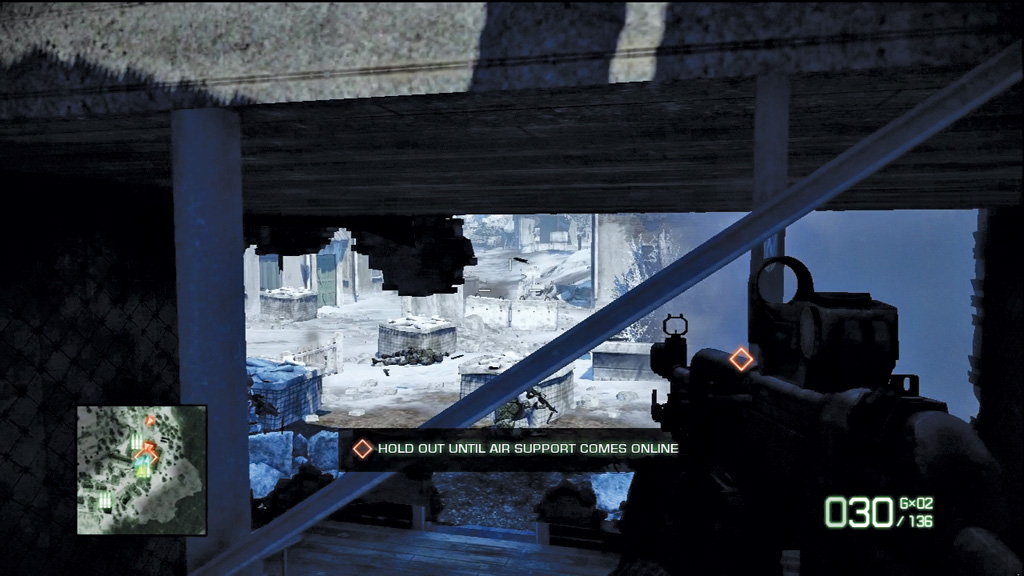
Once you’ve eliminated the first wave of enemy troops, a second wave attacks from the street outside. This time the enemy brought along a T90R main battle tank. You lack the firepower to take out the tank, so you’ll need to hold out until close air support is available. The house’s walls do little to protect you from the tank’s devastating main gun. Your best bet is to hold near the house’s stairwell or to retreat, hiding near the bus until help arrives.
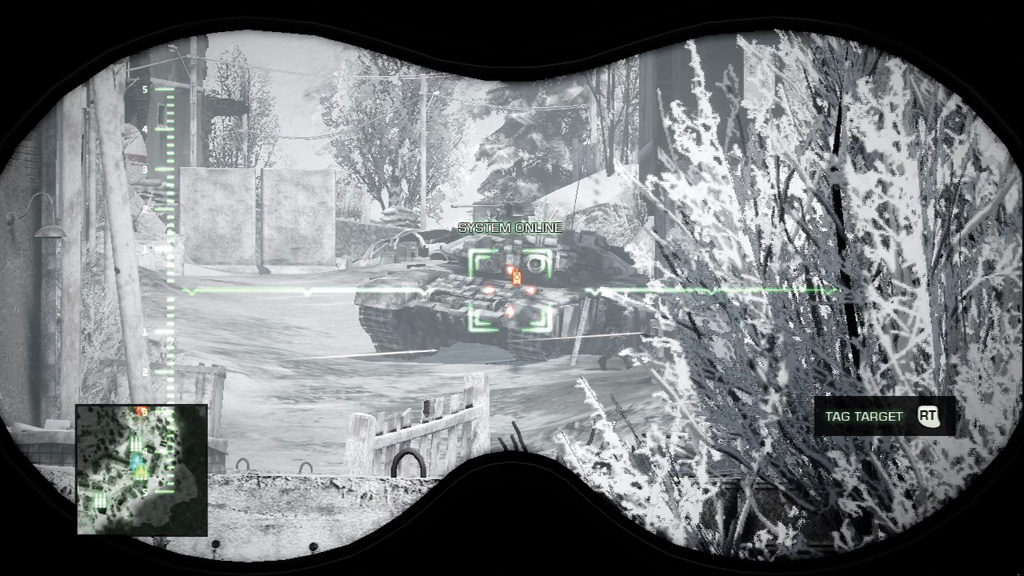
Listen to the radio chatter and wait for air support to come online. Now you must designate the target manually using your binoculars. Creep into position until you can spot the tank in the distance, then equip the binoculars.
Place the red crosshairs over the tank and pull the trigger to designate the target. Once the target is designated, you can stow the binoculars and watch the fireworks from a distance as two F-18 Hornets swoop in and knock out the tank with a thunderous bombing run.
3. Locate Russian High Value Vehicle
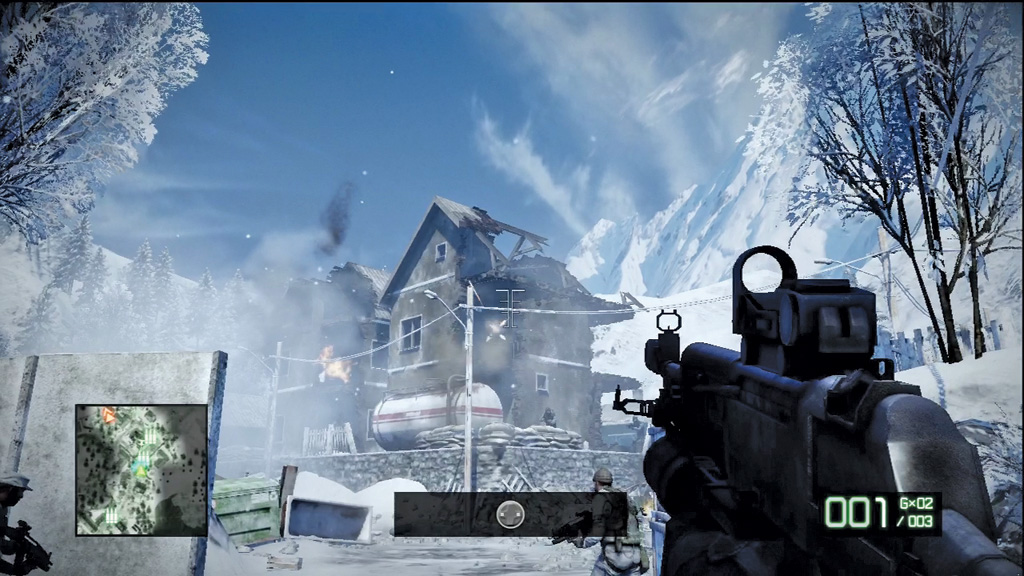
With the enemy tank out of the way, you can now proceed toward the truck, but expect heavy resistance along the way. Your team comes to a stop as they come under fire by a machine gun in the second story of this damaged house. Equip your grenade launcher and peek out of cover to fire a shot at the large fuel tank next to the house. The resulting explosion is powerful enough to topple the entire structure, silencing the machine gun in the process. Help your team wipe out the rest of the nearby infantry before proceeding through the village.
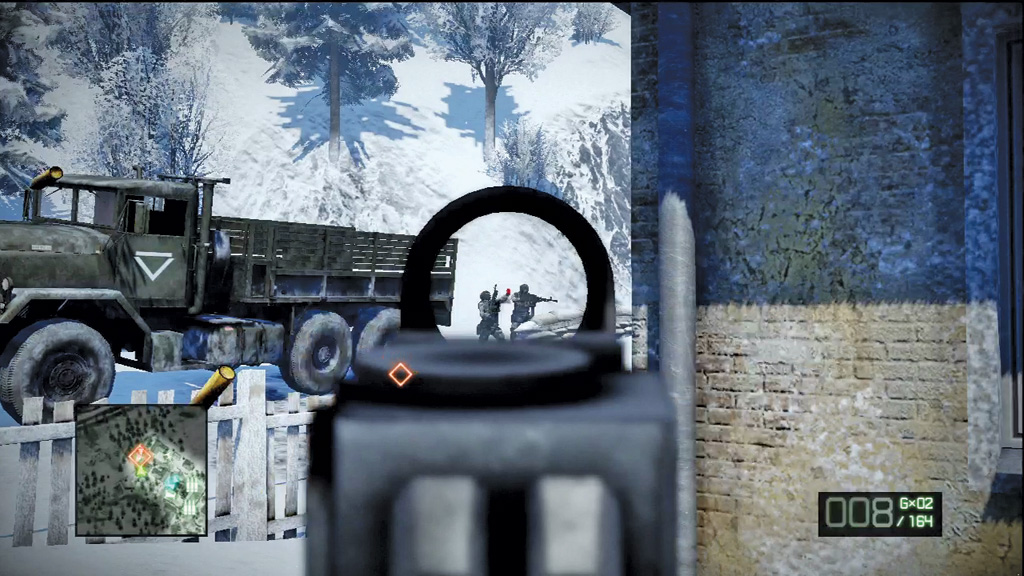
More machine gun emplacements block your path to the truck. Instead of taking on these defenders head-on, circle around to the left and flank them, using the small houses for cover. Once the two machine guns are neutralized, it’s much easier to mop up the remaining infantry. Clear out the resistance, then make a move for the truck. Hop in the back and prepare for a bumpy ride.
4. Reach Exfil Point
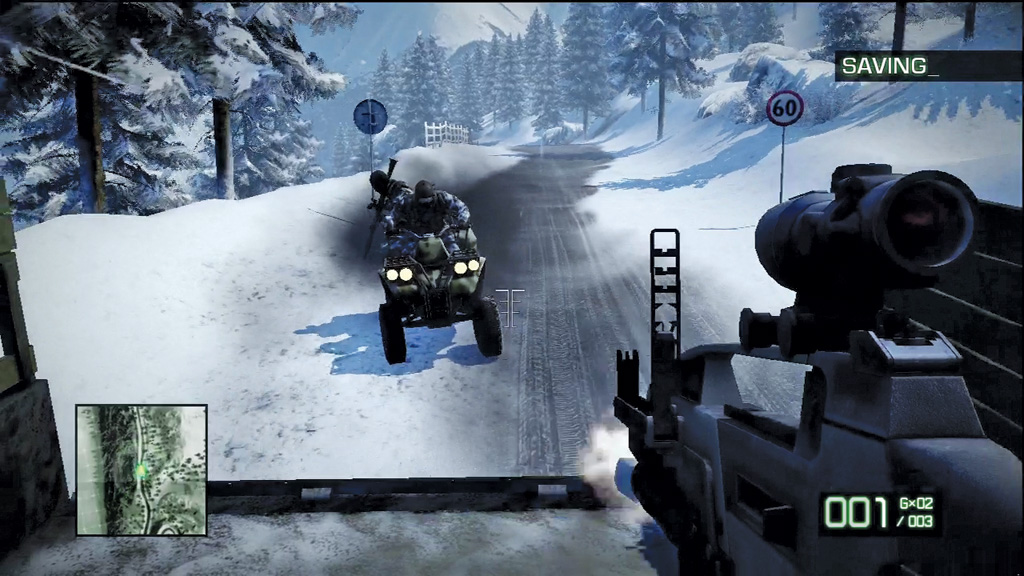
You’ve made it to the truck. Now it’s time to get out of here. It’s up to you to cover the vehicle’s rear during the escape. Equip your grenade launcher and take aim at the ATVs racing after the truck. Firing grenades out of a moving vehicle can be difficult, but at least you have unlimited ammo during this sequence. For best results, wait until an ATV is relatively close to the back of the truck, then target the ground directly in front of it. You have time to practice with the first two ATVs, as they don’t pose a huge threat. However, the rider on the back of the third ATV is armed with an RPG. Take this enemy vehicle out fast before the shooter can score a direct hit on the truck and bring your escape attempt to an abrupt, fiery end. Even if you don’t score a direct hit, killing the ATV’s driver is enough to take the enemy vehicle out of the race.
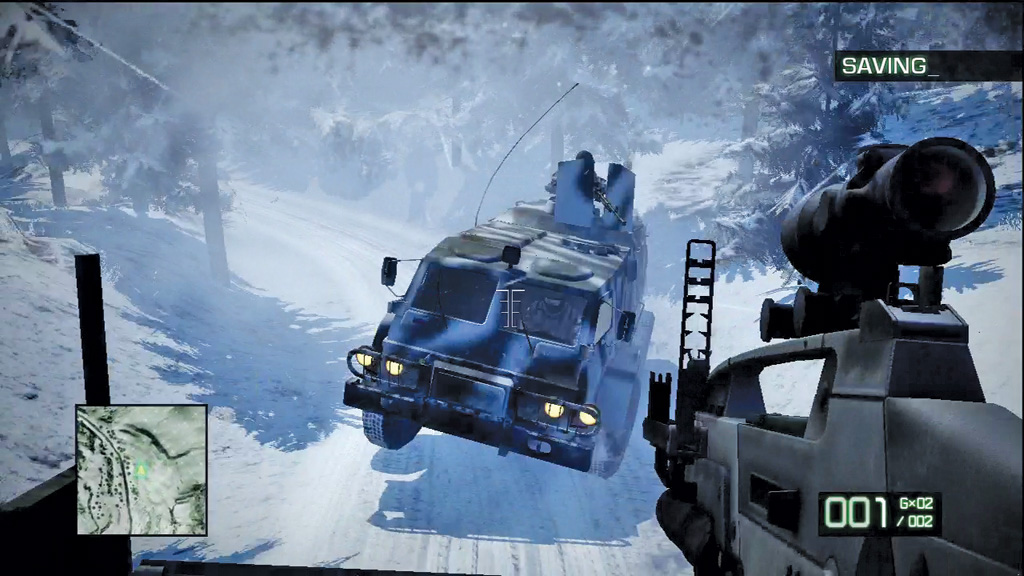
Following the ATV attacks, a series of VODN transports show up on your tail. Despite their larger size, these are much tougher targets due to their heavy armor. It takes at least two direct hits to knock out each of these vehicles.
Don’t bother targeting the gunner on top of the vehicle. Instead, focus your fire on the vehicle’s front cab. The cab is the most feasible target and also contains the driver. As with the ATVs, it’s possible to kill the driver, causing the vehicle to stop or crash. In any case, fire at the transports on long, straight stretches of road. Hold your fire during the sharp turns, as accuracy drops substantially during these maneuvers.
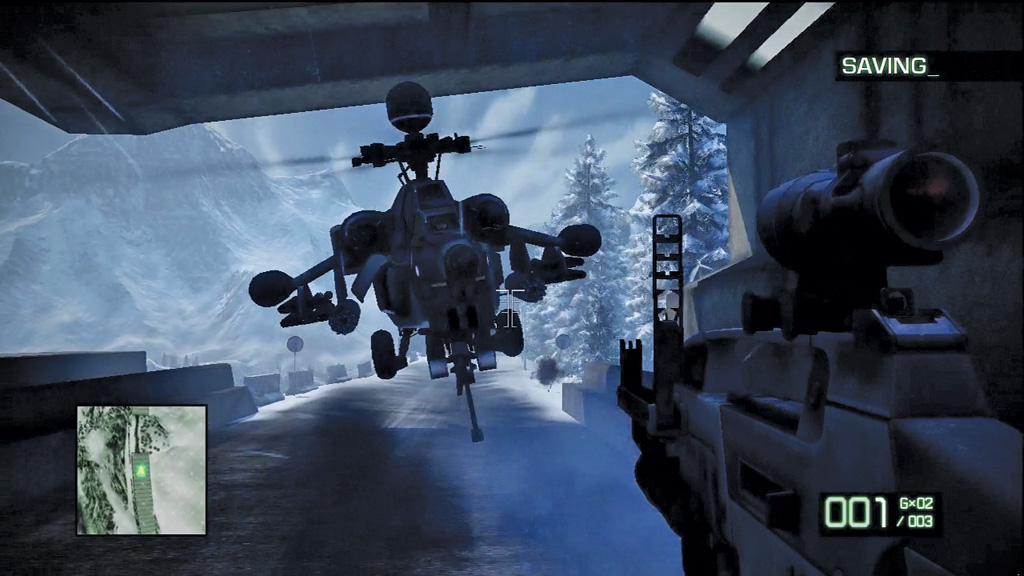
Following the frantic confrontation with the VODNs, a MI28 gunship joins the chase. The chopper’s erratic movements make it nearly impossible to hit while it’s swerving to the left and right.
Hold your fire until you reach the second span of the tunnel. At this point, the chopper enters the tunnel, flying directly behind the truck at low altitude. With little room to maneuver, the gunship is an easy target. Launch a grenade directly at the cockpit to make it crash.
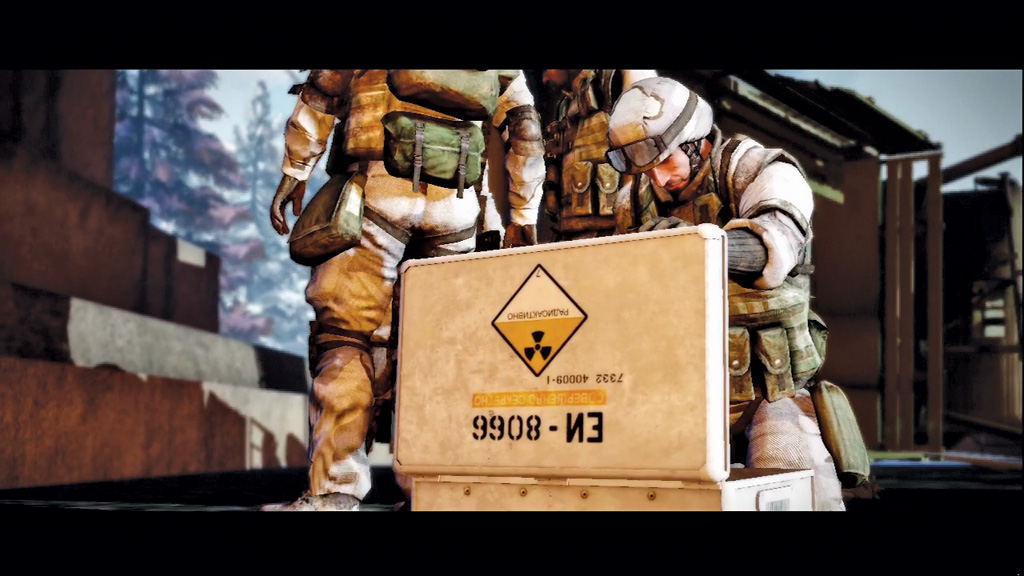
As the chopper’s wreckage bounces around the tunnel’s interior, the truck loses control, flipping onto its side. Fortunately, everyone survives the crash. While the squad reassembles, Marlowe finds a crate in the wreckage that seems to contain some sort of nuclear component. No wonder this truck was so important to the high command.
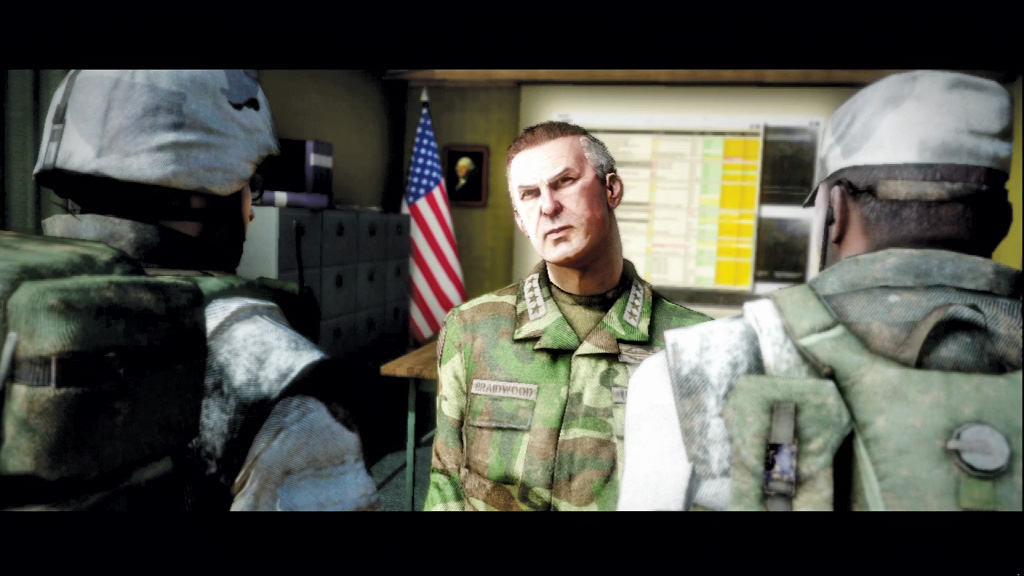
Back at HQ, General Braidwood informs the squad that the component is a fake. Apparently the Russians are developing a new weapon and this component is simply a decoy to throw off U.S. intelligence. Admitting that his regular units are preoccupied, Braidwood reluctantly enlists the squad for a new mission. He needs Sarge and his men to travel to Bolivia to meet with a man named Aguire. Apparently he’s some sort of expert and may be able to discern more intel from the object Marlowe discovered. Bad Company is now part of Braidwood’s Special Activities Division.