
Battlefield Bad Company 2 Guide Walkthrough Campaign
Sangre del Toro
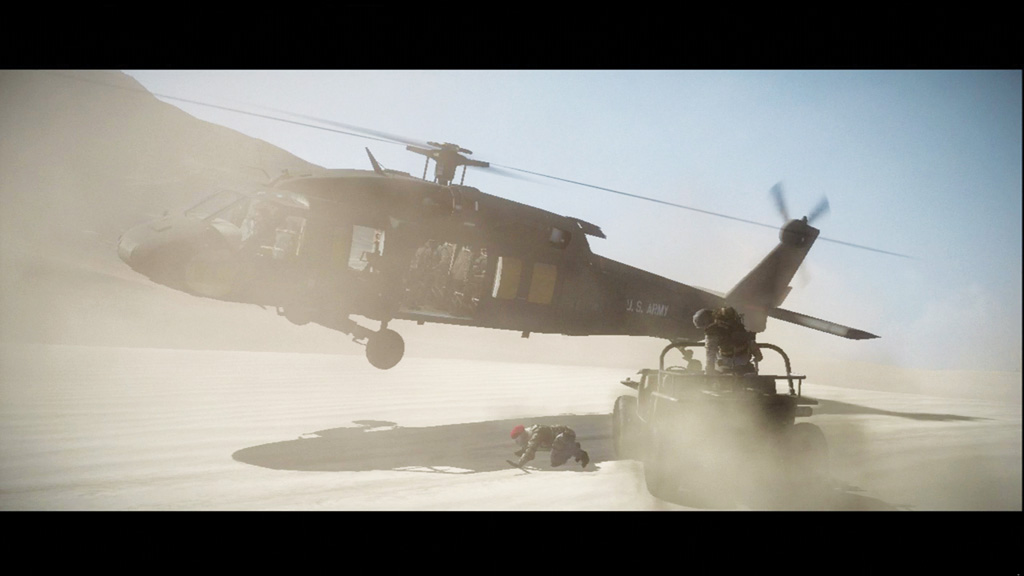
Kirilenko escaped, but he left behind a shipping manifest for a freighter called the Sangre del Toro. According to Aguire, the Sangre del Toro was a Panama-registered freighter that disappeared in 1949 off the coast of Peru. But Kirilenko’s interest in this lost ship remains a mystery. So the guys from Bad Company are out to find the ship before Kirilenko and his men do. Judging by the CAVJ racing through the desert, Kirilenko’s men are already on the scene. Flynn sets down near the vehicle after Haggard shoots the gunner. The Russian officer bails out and starts running away. The vehicle is now yours.
1. Investigate Surveillance Outpost
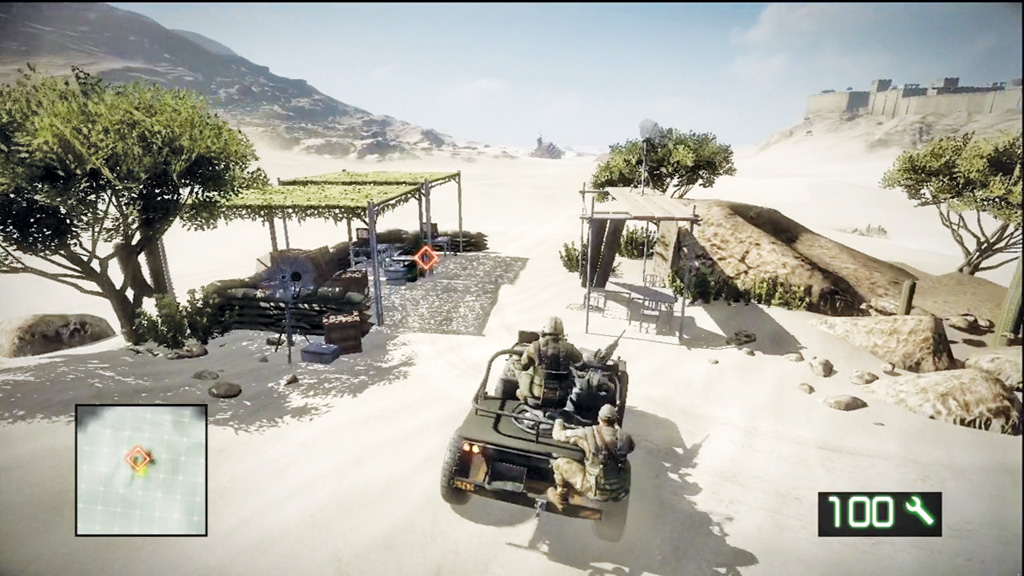
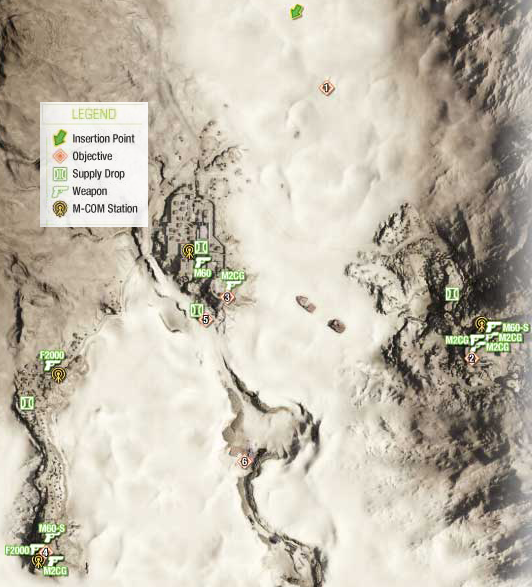
Once you’re on the ground, hop aboard the CAVJ and drive toward the objective marker. Don’t worry about shooting the Russian officer–you can run him over when you’re close enough. This surveillance outpost is being used by the Russians to locate the Sangre del Toro. Flynn has located three other signals out in the desert. It’s time to find out what the Russians are up to. At this point you can choose to proceed to any of the three base stations that appear on your minimap.
2. Locate Base Station Charlie
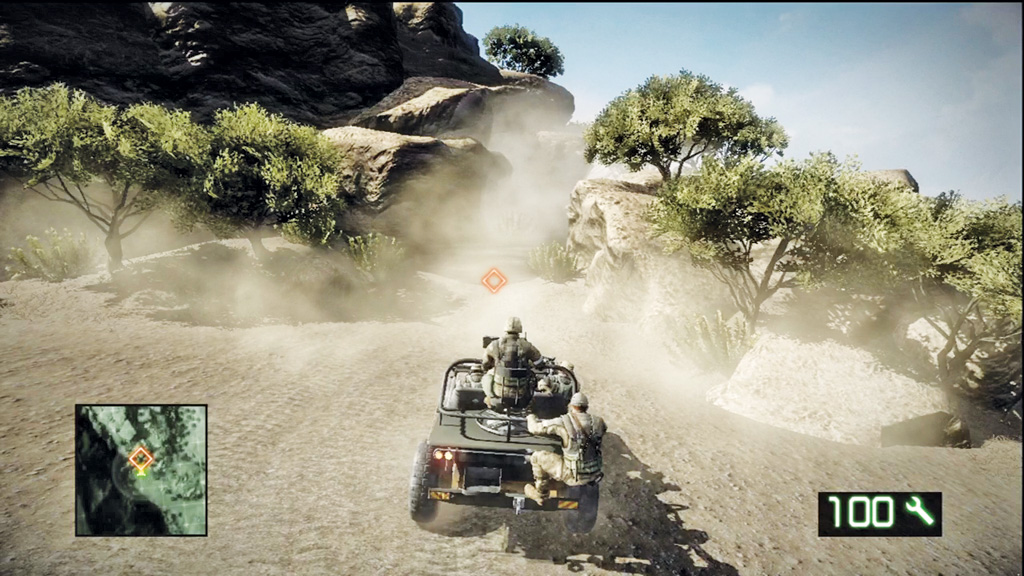
Start by driving toward the eastern station. The terrain of the hills is bumpy and rocky, so look for a dirt road that leads to the objective marker. The road dead ends near a cluster of rocks. You have to travel the rest of the way on foot.
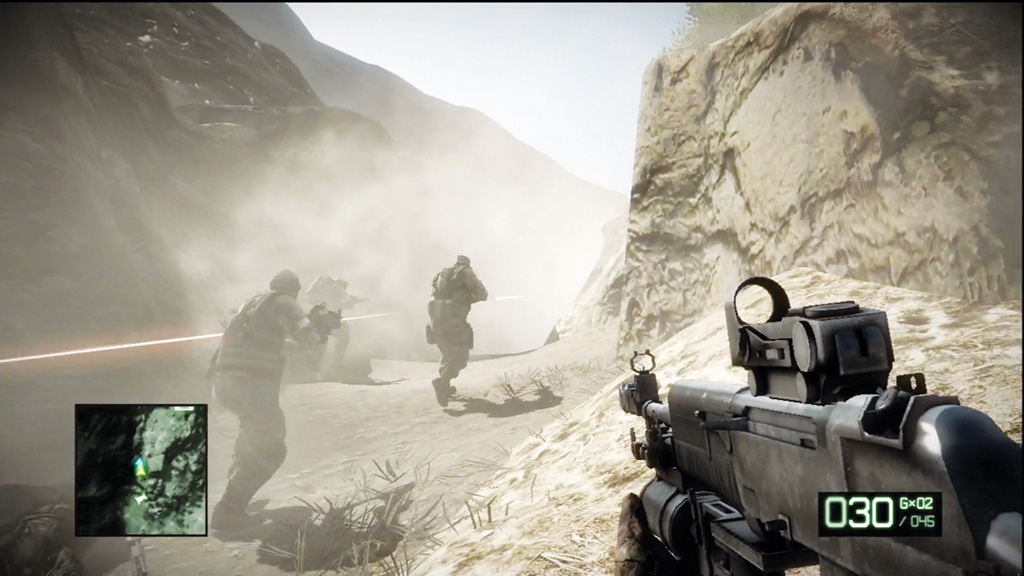
A dusty narrow path cuts through the steep rock walls. Follow your team up this path and help them eliminate the Russian troops along the way. The dust in the air makes for very poor visibility, so use your scope frequently to spot the silhouettes of enemies lurking in the distance. You eventually come to a supply drop crate. Use this opportunity to grab a sniper rifle of your choice—you’ll need it for the action ahead.
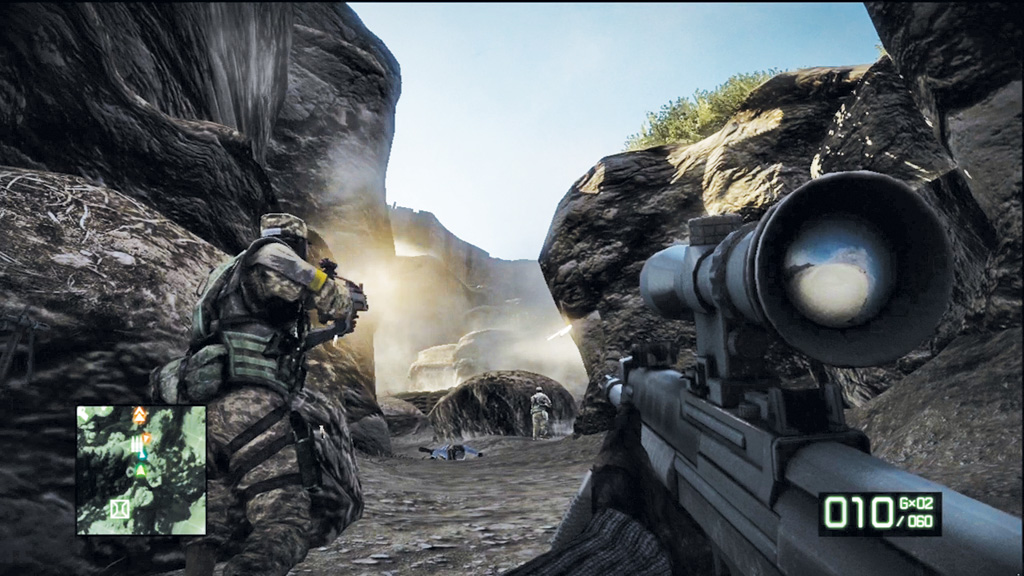
As you drop off a ledge into a narrow ravine, several enemies attack from the east, including a sniper. Watch for the contrails left behind by the sniper’s bullets to locate his position, then side step to the right while peering through your scope. Once you spot him, take him down fast before he can retaliate. After dealing with the sniper, help your team eliminate the rest of the Russian troops ahead, including one armed with a rocket launcher. When the path is clear, continue your advance, letting your teammates lead the way.
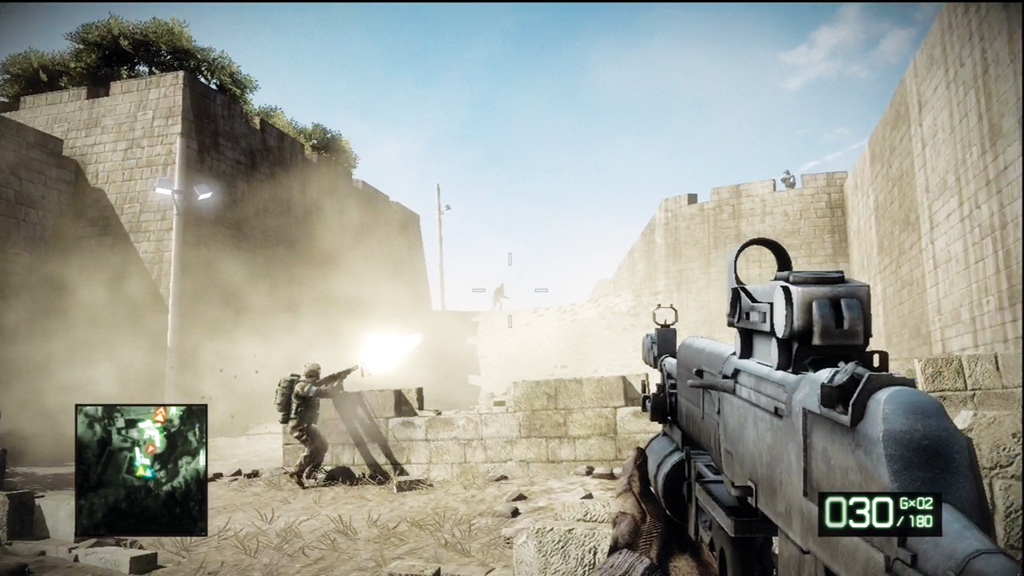
The path leads to the ruins of an old fortress occupied by more Russian troops. Seek cover among the low stone walls and open fire on the enemies above. There’s an M60-S light machine gun on the ground here. Pick it up to add it to your collection. When enemies stop appearing, push up the nearby hill.
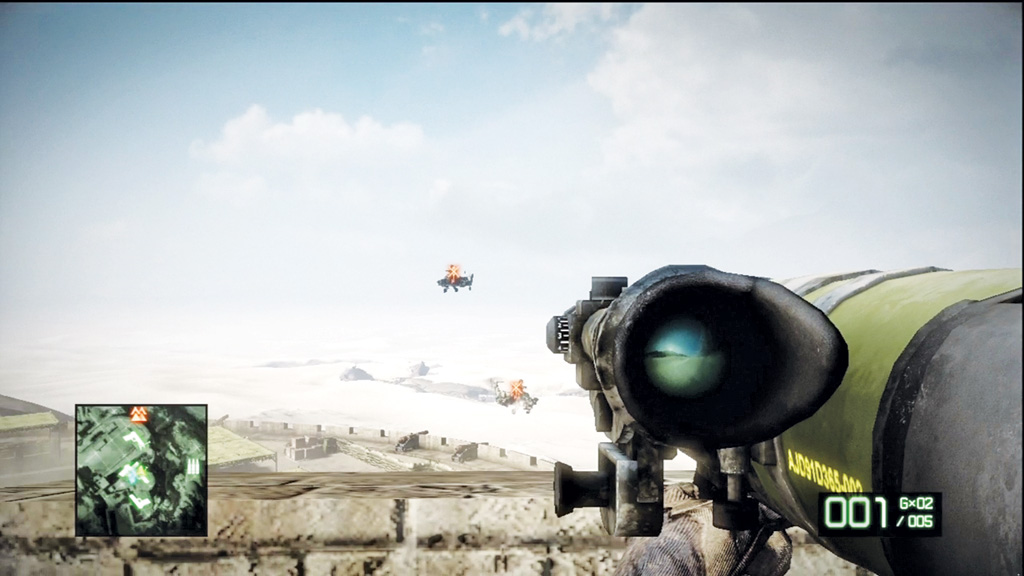
As you near the larger circular turret at the top of the fortress, your team comes under attack by two MI28 attack helicopters. Quickly grab one of the nearby M2CG rocket launchers and go to work. Take cover behind the ramparts while the choppers attack, then look for an opportunity to return fire. Wait until they pull to a hover before launching a rocket. For best results, wait until the choppers are relatively close, otherwise you’ll need to compensate for range by aiming slightly above your target. Keep up the attack until both choppers are destroyed. It takes two hits to destroy each.
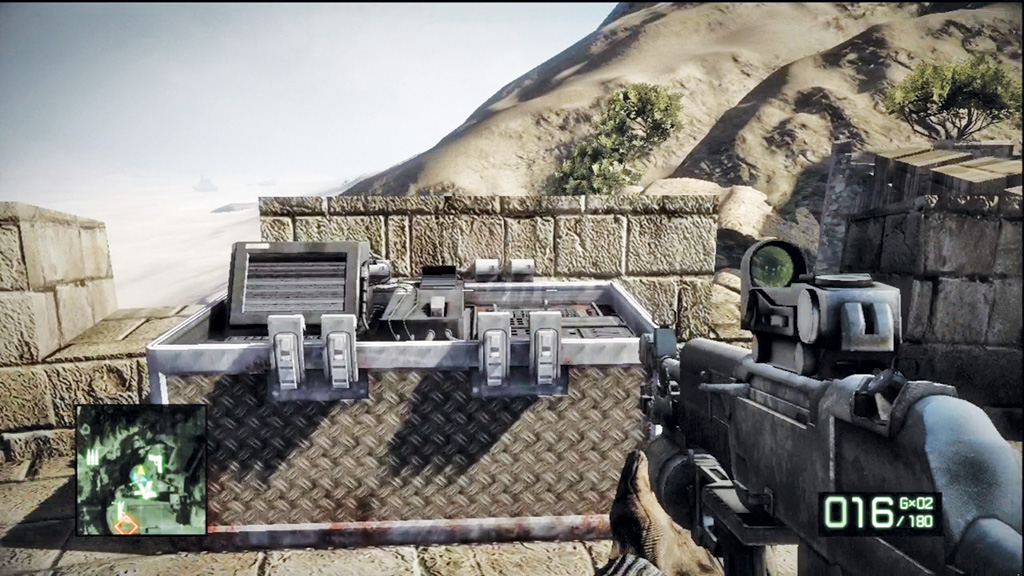
Once the choppers are down, turn to the north side of the turret to locate an M-COM station. Attach a charge to it, then proceed to the objective marker on the lower part of the fortress.
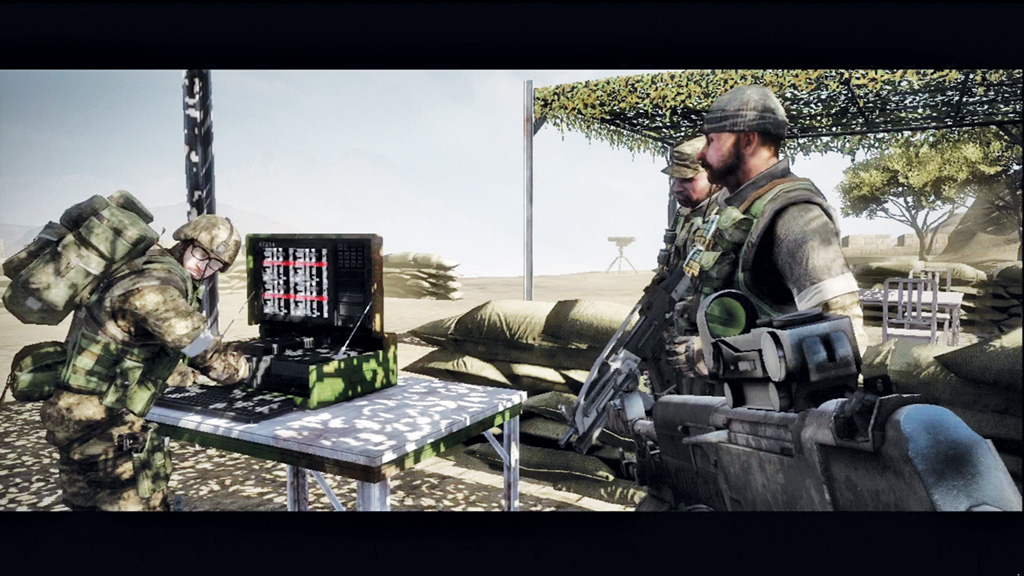
At the station, Sweetwater says he needs to stay here and prevent the signal from oscillating while you, Sarge, and Haggard proceed to the next station. Jump in the nearby CAVJ and proceed to Base Station Bravo.
3. Locate Base Station Bravo
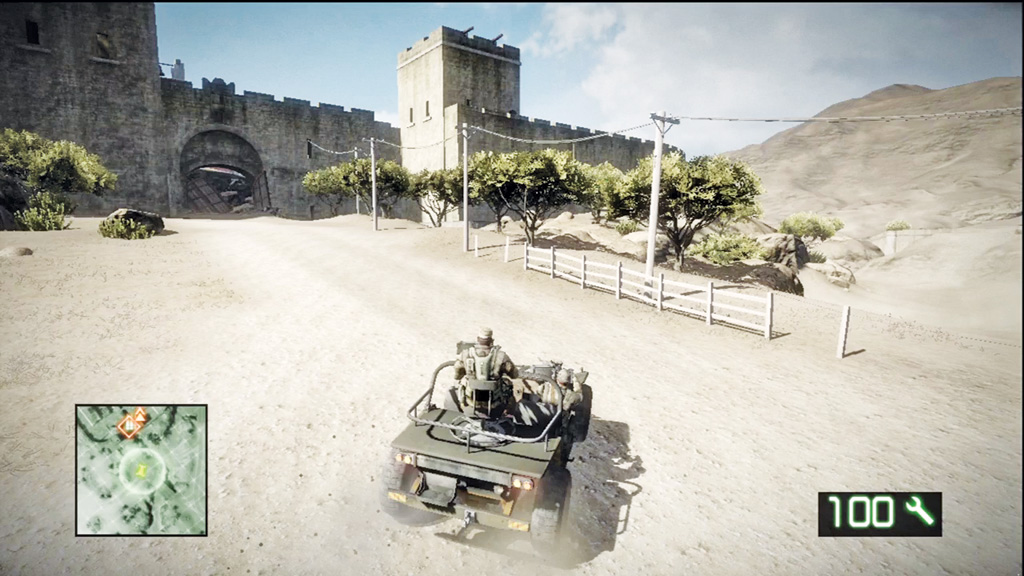
Bravo is located directly to the west. Follow the dirt road down the hill and then cross the desert, driving toward the old village surrounded by a tall stone wall. A dirt road leads toward its northern gate, which is barricaded. There’s a smaller entrance next to the gate that you can walk through.
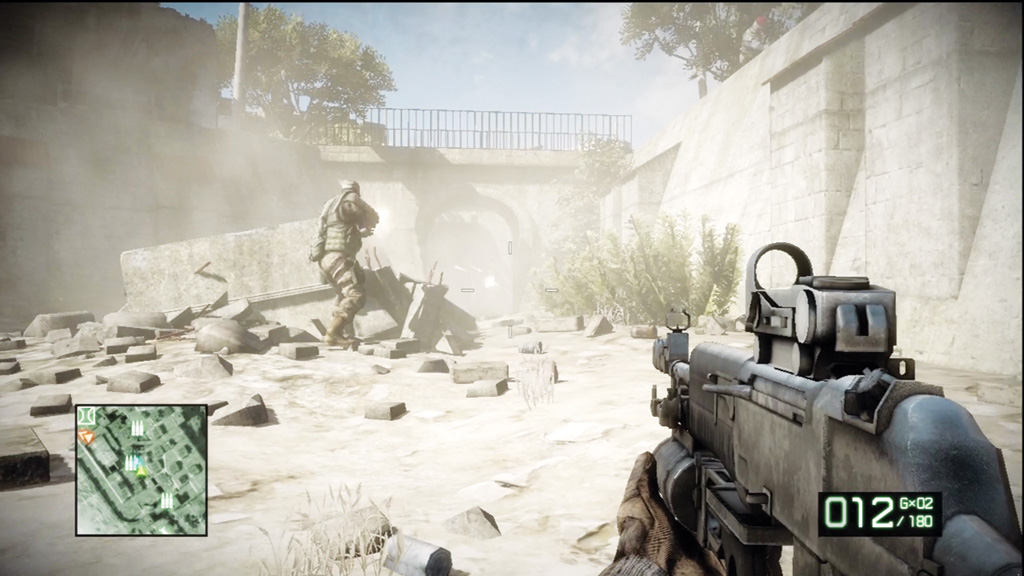
Enter the village and follow your team through the winding corridor until you reach this dusty courtyard. An MI28 flies overhead, but doesn’t attack, so hold your fire. Instead, watch for a group of Russian troops on the walkway ahead. Take cover behind the bathtub and engage these enemies. Afterward, let Haggard and Sarge lead the way through the next passage and be ready to engage more enemy troops at close range.
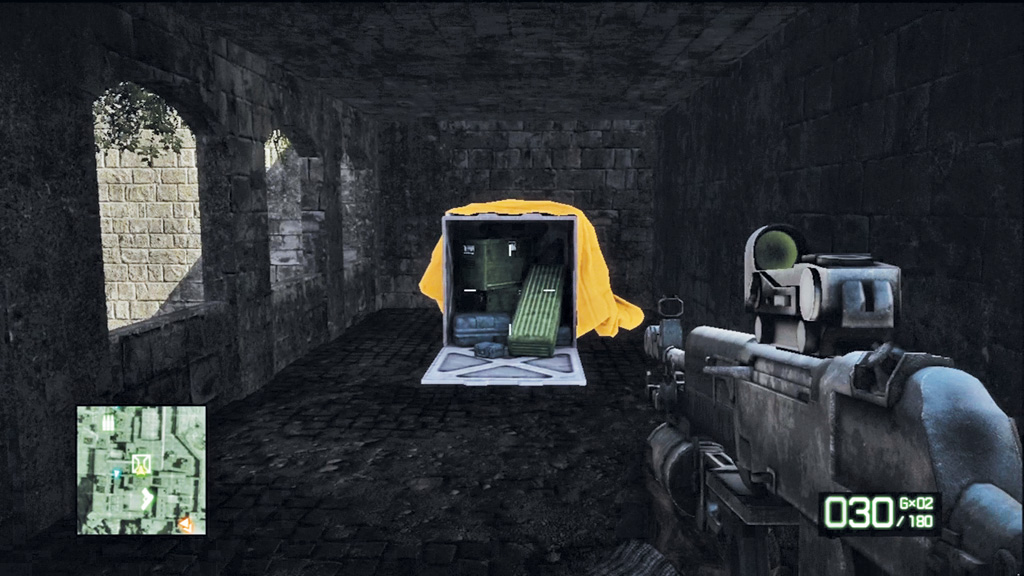
Clear out the enemies in your way and follow your team to the next area. As your team moves ahead, watch for a set of steps on the left. These lead to an upper-level enclosed balcony where a supply drop crate is located. Refresh your arsenal with an assault rifle and sniper rifle of your choice. Things are about to get crazy, so make sure you’re comfortable and competent with each weapon you select. Once you’re well-equipped, regroup with your team.
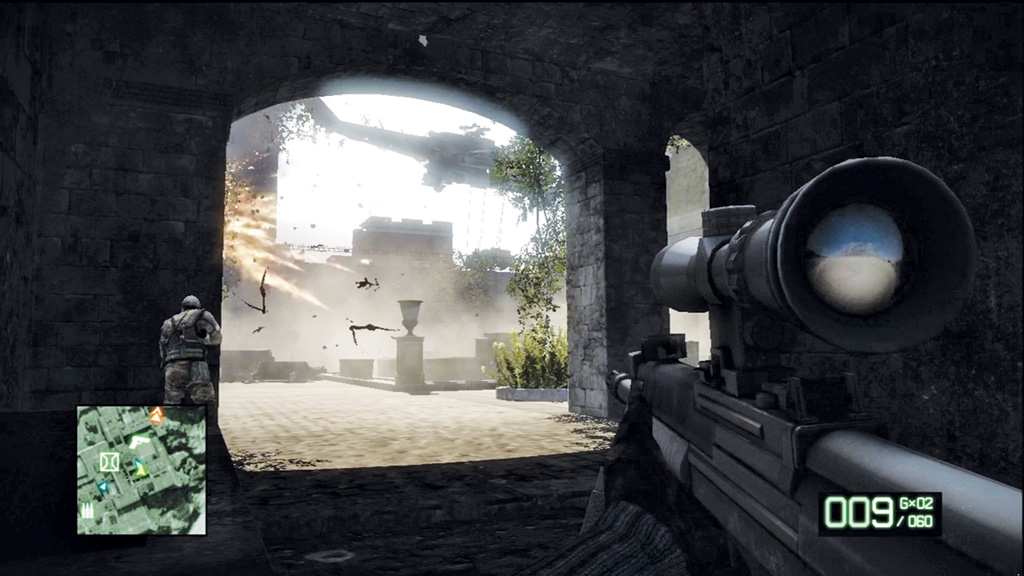
Sarge and Haggard are holding near the entrance to a large courtyard. Hold in this passage and snipe a couple of enemies on the opposite wall. Meanwhile, an MI24 hovers above the courtyard and drops off reinforcements. When the chopper shows up, retreat deeper into the passage to avoid being hit by the helicopter’s cannon. Plus, the chopper kicks up a lot of dust, making it tough to spot any targets. Once the chopper has left, resume sniping from this passage. The stone planter boxes offer decent protection while they last. Once the courtyard is clear, follow your team to the next area. Along the way, pick up an M60 in the dry fountain at the center of the courtyard.
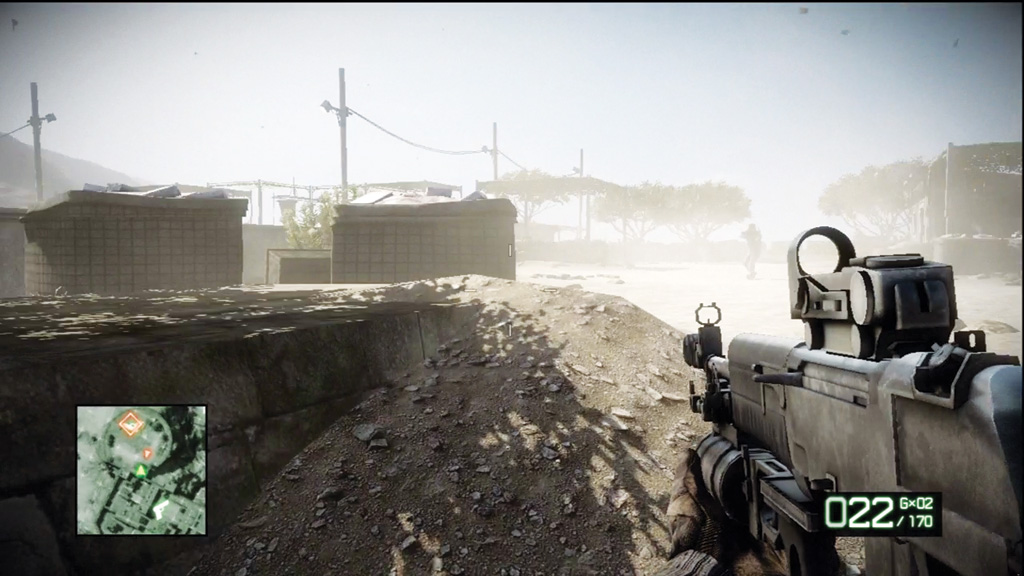
When you catch up with Sarge and Haggard, make sure both of your weapons are reloaded, then charge up the steps leading toward Base Station Bravo. This area is heavily defended by Russian troops, so don’t stand around trying to kill everyone. As soon as you reach the top of the steps, rush over to the cube-shaped barricades on the left and crouch to avoid getting hit by incoming fire. Once behind cover, peek over the barricade and engage one enemy at a time, ducking back down after every burst.
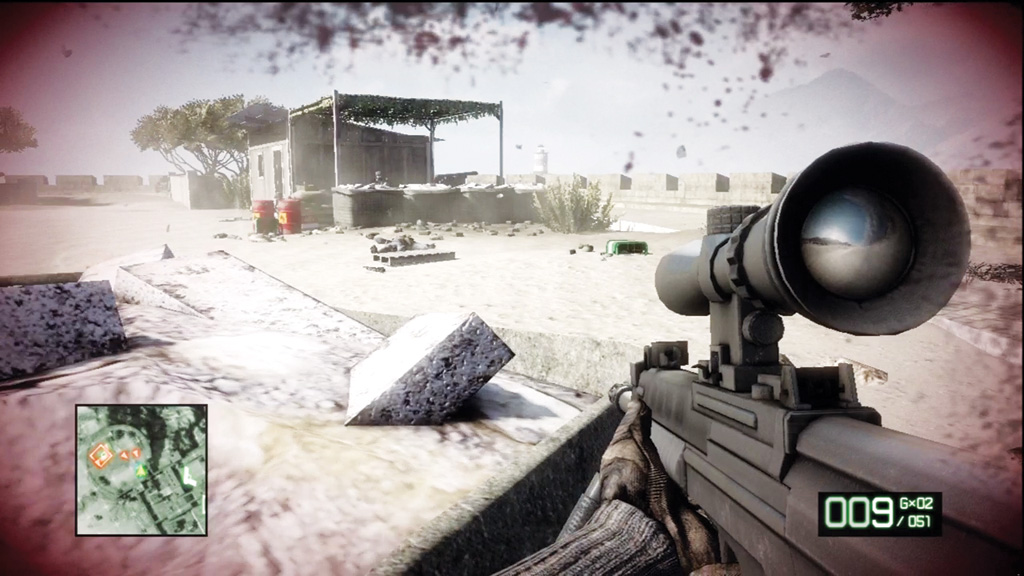
When Haggard warns that more troops are “coming over the wall,” turn to the right and watch for more enemies taking cover behind the barriers near a wooden shack. Target the red barrels on the left side of the barriers to take out most of the enemies hiding here. Afterward, help your team clear the area. Use the minimap to locate the last few stragglers and lob a few grenades in their direction.
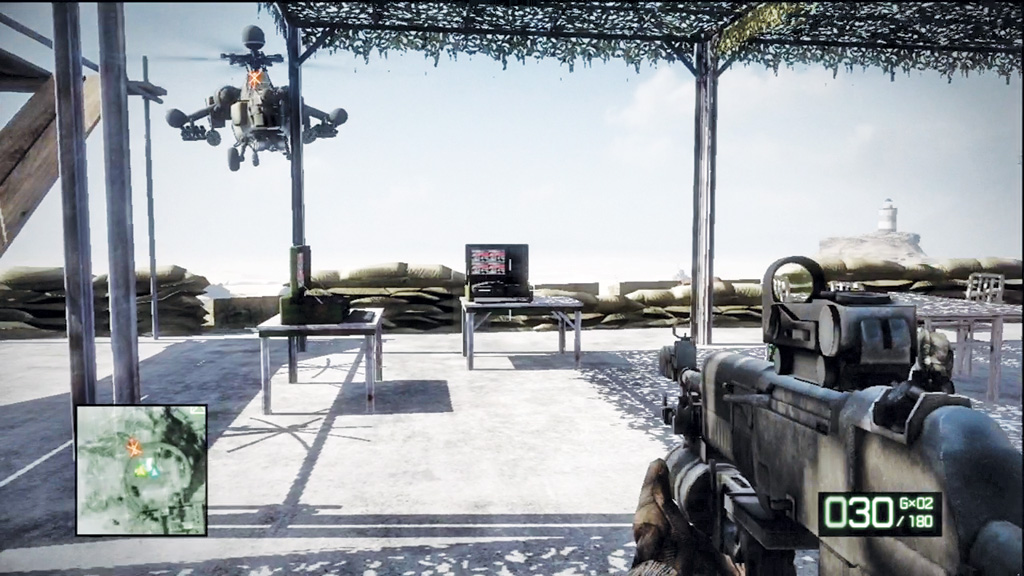
Before you can access Base Station Bravo, another MI28 attack helicopter arrives. Grab the nearby M2CG rocket launcher and try to score a quick hit on the chopper before it begins its evasive flight pattern. Scoring a hit at this range is easy, meaning you only have to hit the chopper one more time to destroy it.
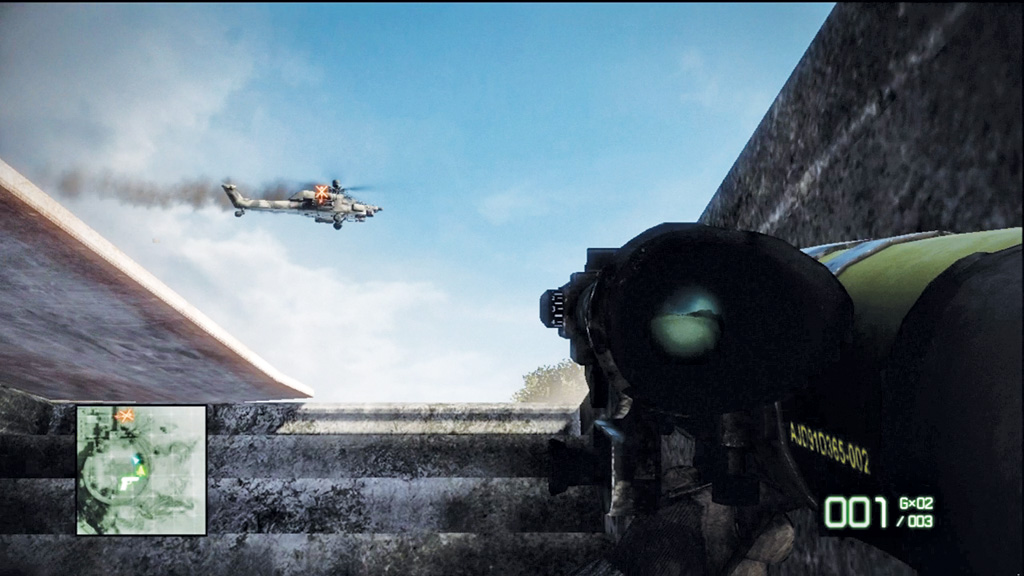
To avoid getting killed by the chopper’s constant cannon attacks, seek shelter in this cellar-like hatch near the station. Wait out the barrages and look for opportunities to counter attack when the chopper pulls to a hover. Aim a bit high to compensate for range, as the rocket will drop a little during flight. This chopper flies around more than the two back at Base Station Charlie, so monitor its patrol patterns to anticipate when it’s going to hover. Zoom in as the chopper’s nose tilts up, then fire just before it comes to a complete stop to score the lethal hit.
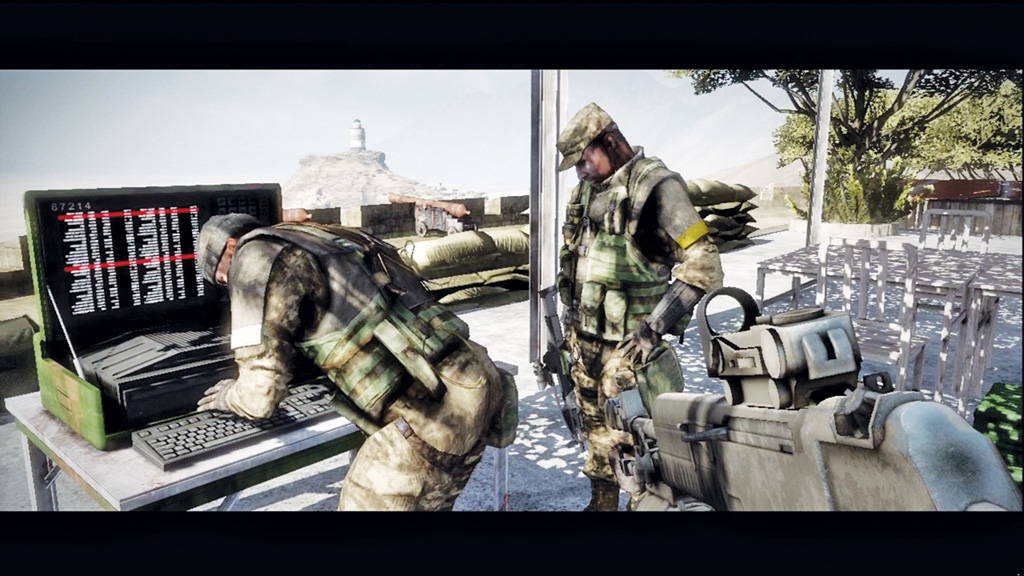
Immediately following the MI28’s destruction, Haggard moves to the station and adjusts the signal—two down, one to go. Haggard needs to stay here and stabilize the signal while you and Sarge proceed to the next station.
4. Locate Base Station Alpha
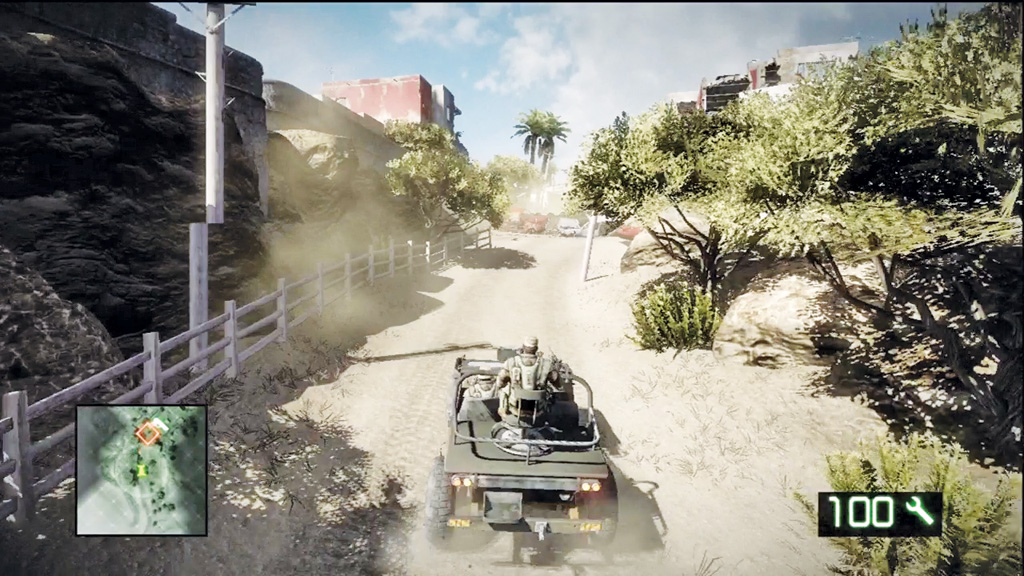
Hop in the CAVJ outside the village and head southwest to Base Station Alpha. To reach the station you must first pass through a Russian-occupied village—and they’re expecting you. A roadblock prevents you from racing through the village, so as you near the outskirts, ditch your ride and take cover. There are snipers and enemies with rocket launchers waiting to ambush you. Stay near the roadblock and engage as many enemies as possible before pushing into the village.
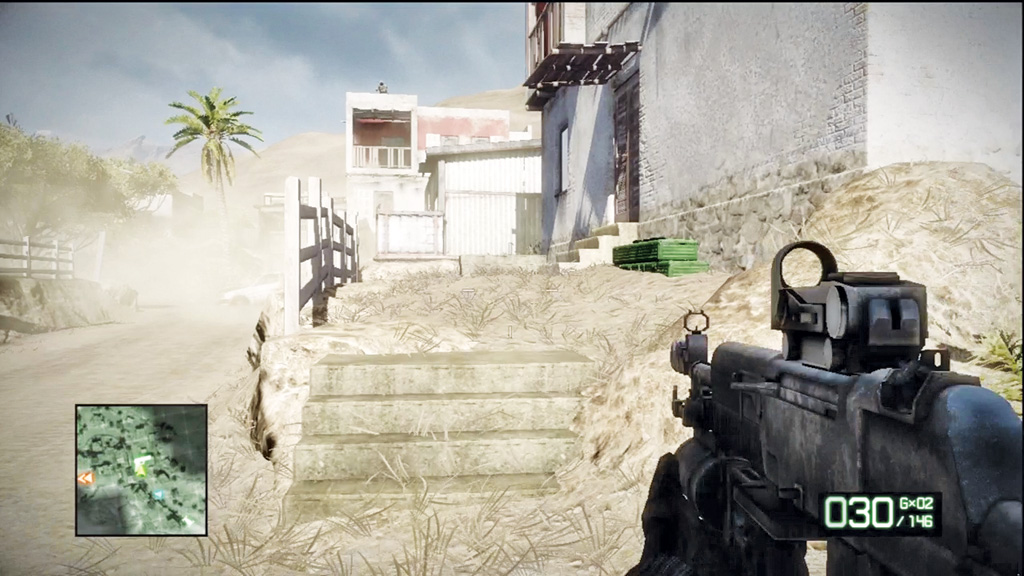
Climb over the roadblock and cautiously enter the village, sprinting from one piece of cover to the next. Listen for the distinct crack of sniper rounds whizzing through the air. This village is swarming with snipers, so proceed slowly and deal with one sniper at a time. Not far past the roadblock there’s an F2000 assault rifle on the right side of the road. Add it to your collection.
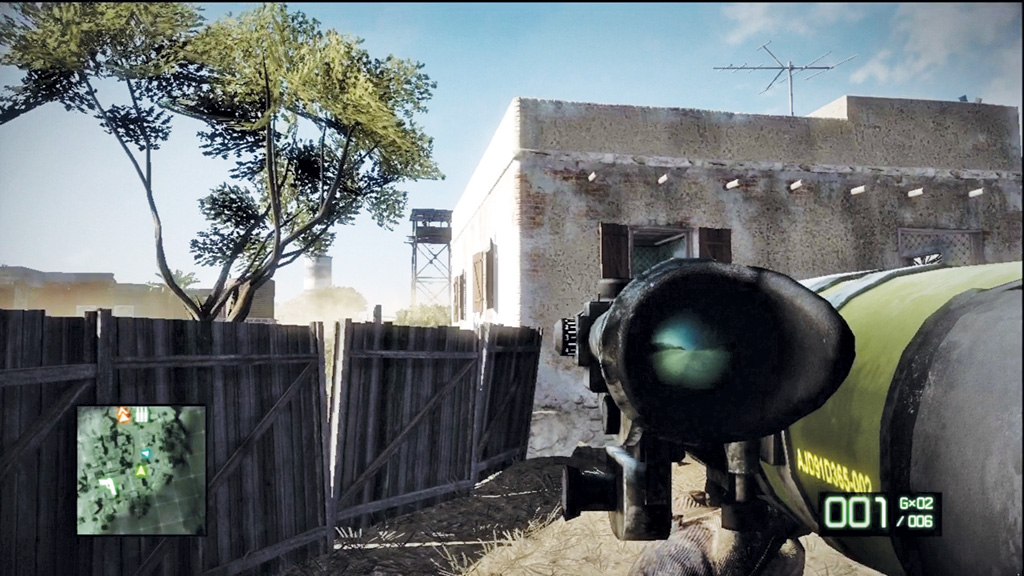
Instead of advancing along the road, stay to the west side, moving through the various buildings. These buildings provide great cover and concealment, denying the snipers easy targets. On the south side of the village is a tall guard tower where the most troublesome sniper is positioned. Either take him out with a sniper rifle of your own, or target the tower with a rocket launcher. Simply landing a rocket anywhere at the top of the guard tower is enough to kill the sniper. Beyond the guard tower is a supply drop crate. Consider refreshing your arsenal before resuming the advance to Base Station Alpha.
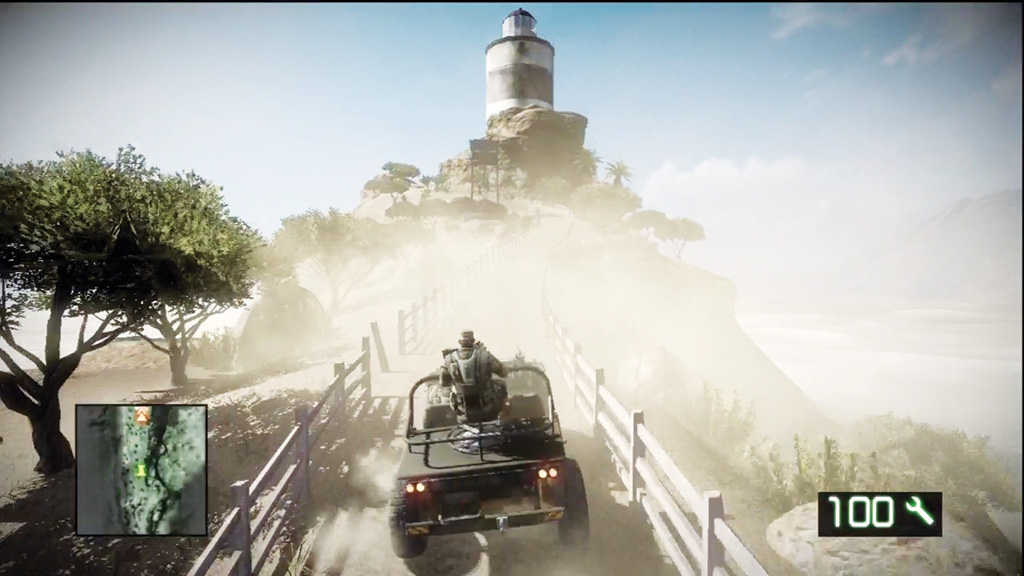
Climb aboard the CAVJ on the south side of the village and race along the narrow dirt road toward the lighthouse. As you near the top of the hill, use the vehicle’s grenade launcher to clear out a few of the Russian troops guarding the station. But don’t park the vehicle on the road, as you could take a direct hit from an incoming rocket.
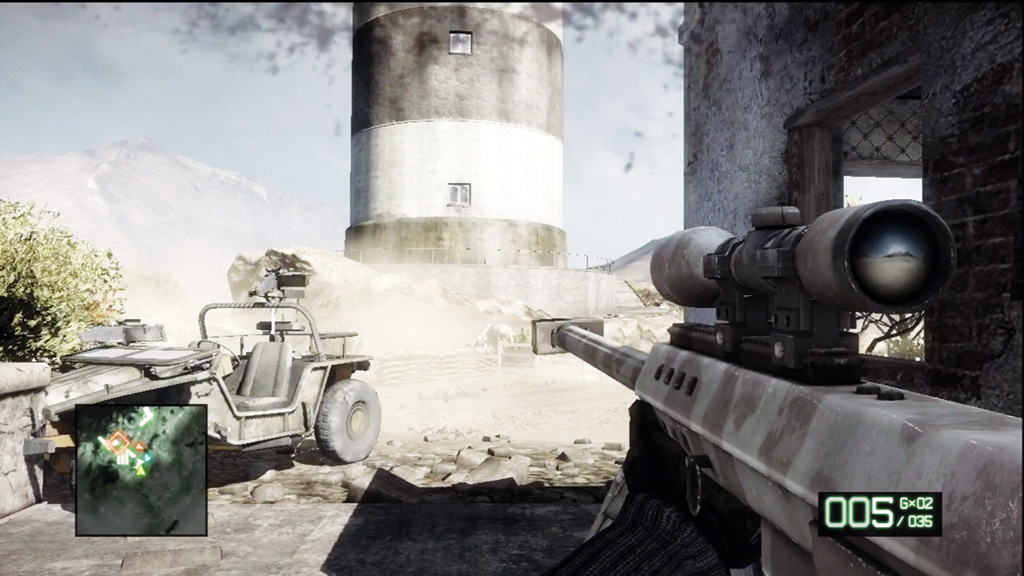
Race up the hill and hop out of the vehicle, taking cover in the building directly east of the lighthouse. From here you can help Sarge eliminate the rest of the defenders. Once it’s clear, search the surroundings for more weapons. There’s an M2CG and F2000 near the station and a M60-S by the lighthouse.
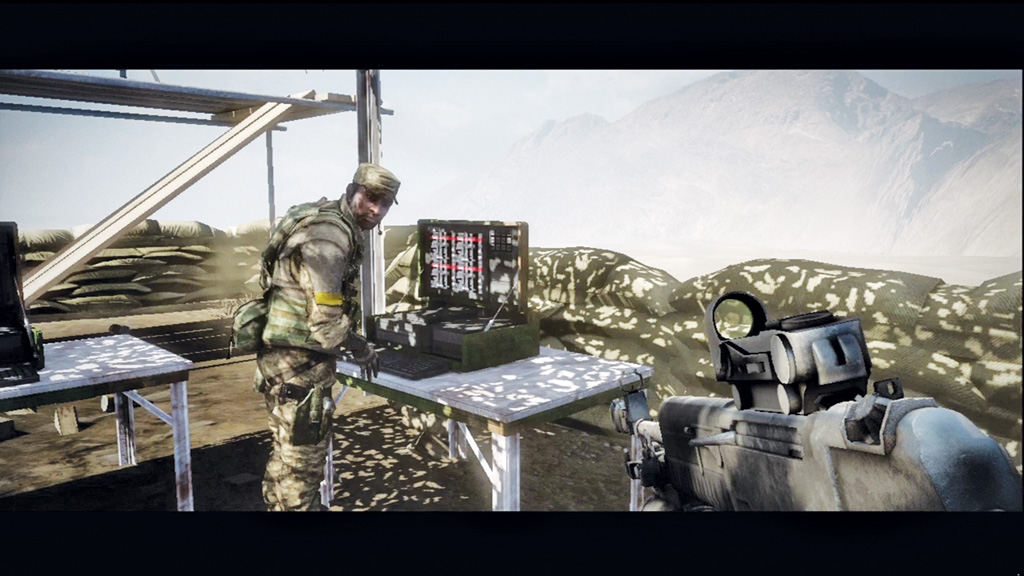
Move to the station so Sarge can stabilize the signal. Now that three signals are established, you need to move to another station to uncover the Sangre del Toro’s location. Sarge has to stay behind and maintain the signal, so you’re moving out on your own. Before heading out, destroy the M-COM station near Sarge’s terminal.
5. Move to Triangulation Point
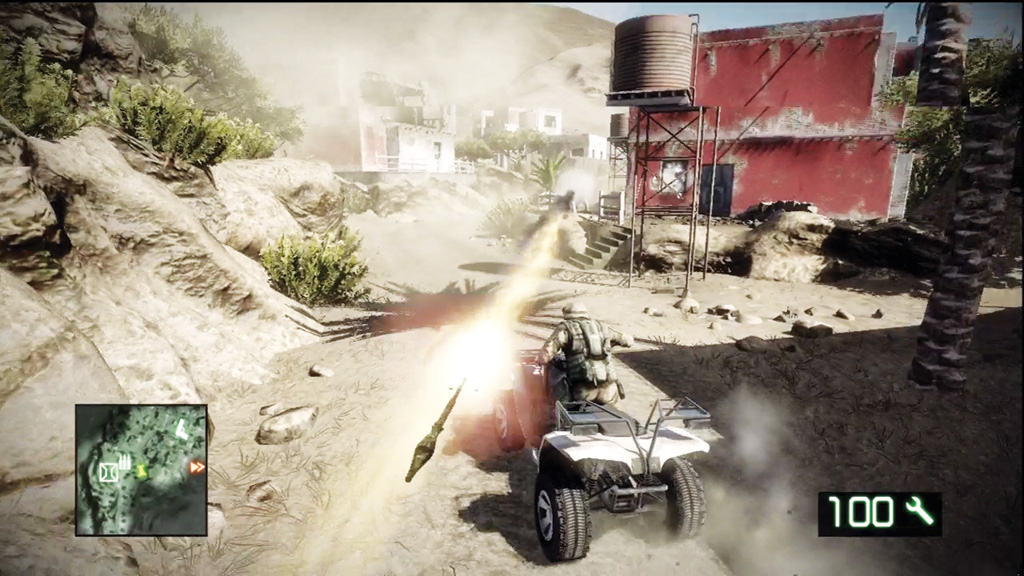
Hop onto the nearby ATV and race back toward the village. By now more Russian troops have reoccupied the village in an attempt to halt your escape. Speed is your best ally in this fight. Don’t slow down, even as rockets and bullets whizz past you. When you near the roadblock, accelerate up the red ramp to jump over the obstacle.
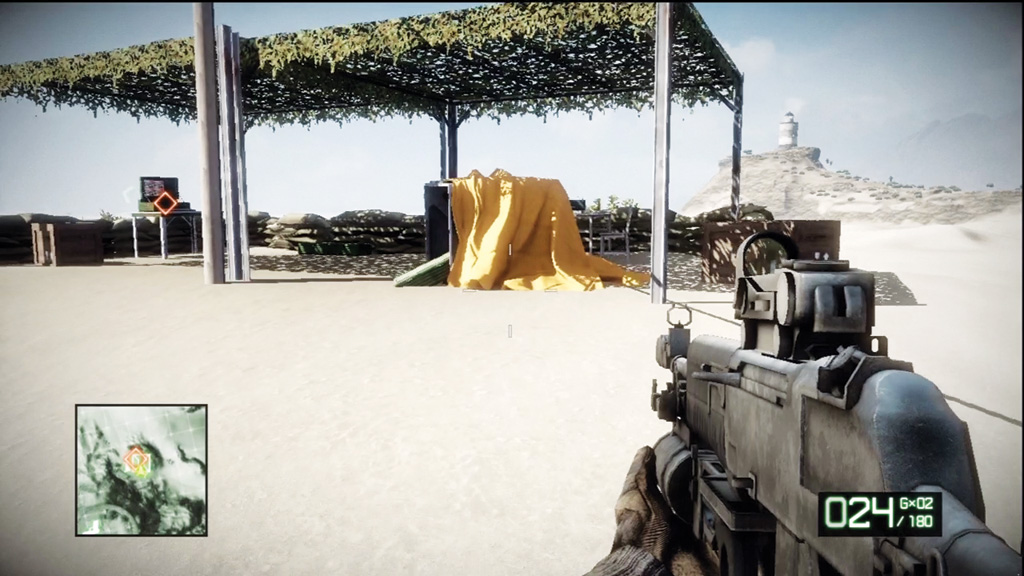
Beyond the village, proceed to the objective marker on your minimap, just south of Base Station Bravo. There’s a supply drop crate here as well as another terminal. Choose some new weapons if you want, then approach the terminal to synchronize the data. Sweetwater checks in with new instructions and the alleged location of the Sangre del Toro. You don’t have time to regroup, so it’s up to you to proceed to the freighter and find out what’s so special about this ship.
6. Find a Route to Sangre del Toro
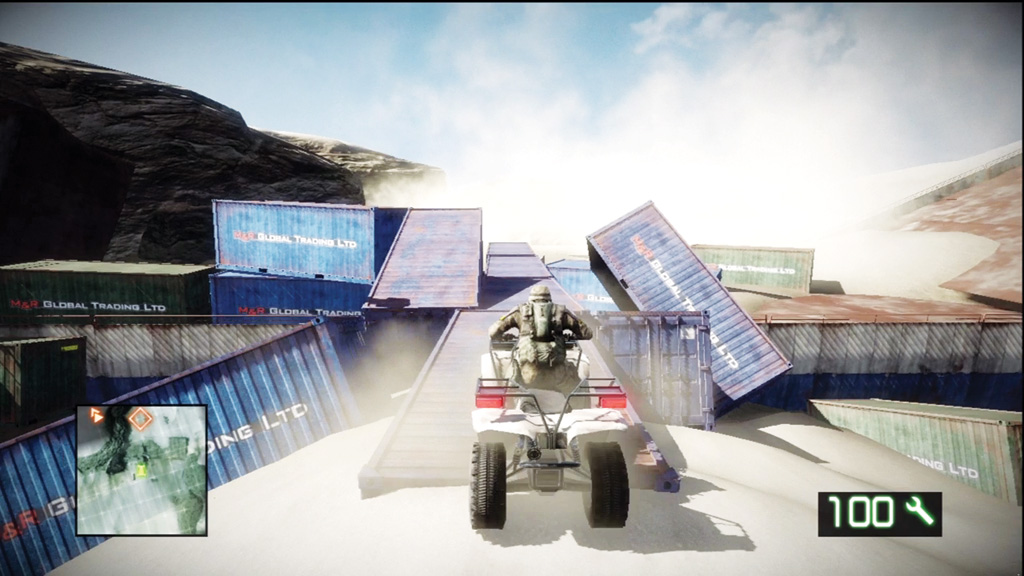
After the escape from the village, your old ATV might have taken some damage. Climb aboard the new one by the terminal and head toward the objective marker. This takes you to the far south, through a dusty canyon. The wreck of an old container ship blocks your path through the canyon, requiring you to solve a little puzzle. Hop off your ATV, look for a small cluster of red barrels on the ship’s deck, and shoot them. The explosion causes a few of the containers to shift, creating a makeshift bridge over the wreck. Climb back onto your ATV and race over the containers to reach the other side of the canyon.
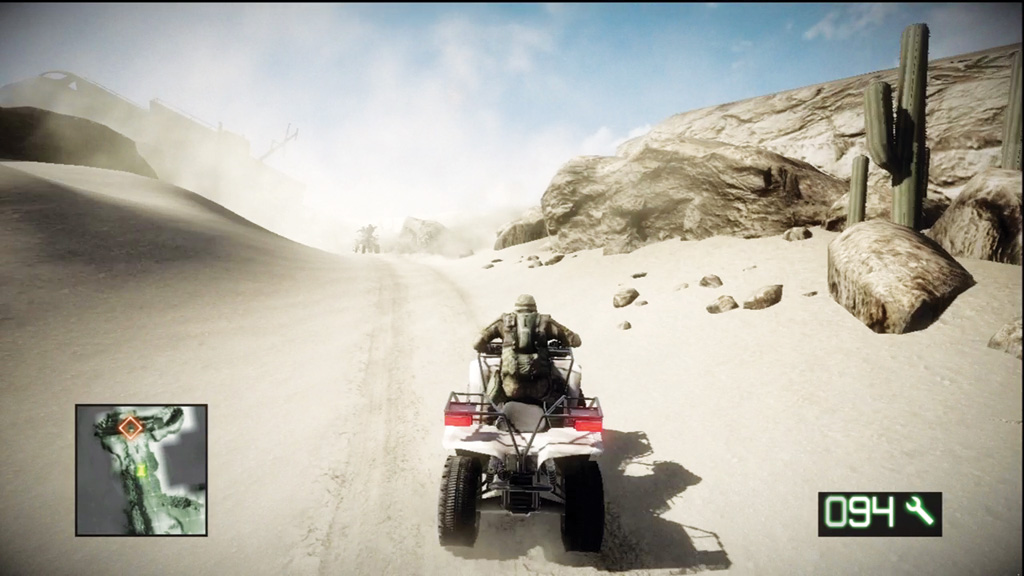
As you near the Sangre del Toro, a few Russian ATVs appear on the road ahead. There’s no way for you to retaliate, so keep racing ahead, swerving as necessary to avoid incoming rockets. This race automatically ends when you reach the ship, so just keep moving ahead at top speed to avoid these threats.
7. Investigate Ship Interior
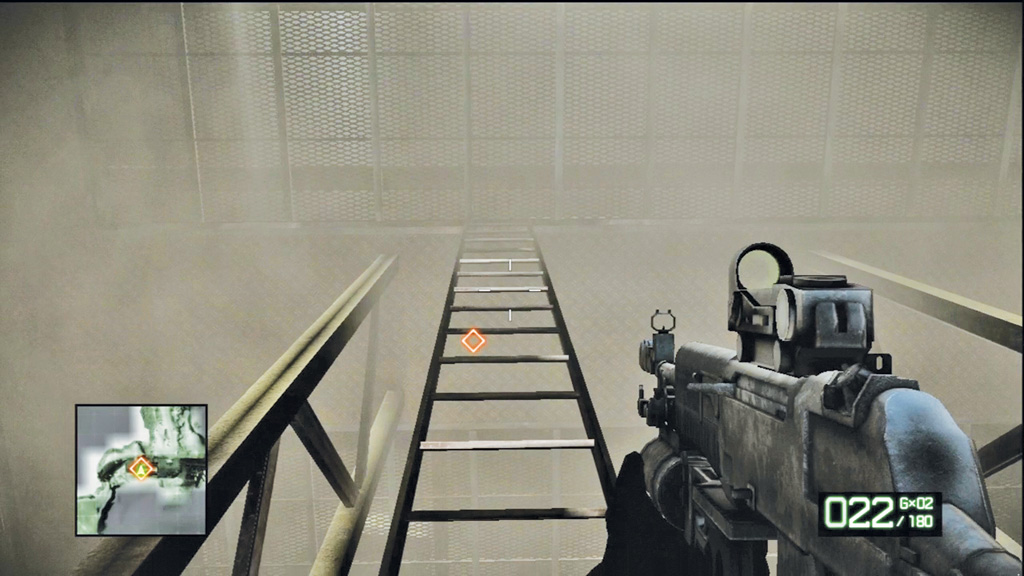
Marlowe is seen boarding the ship in a cutscene. Following the cinematic, navigate through the ship’s interior to find the prize Kirilenko has been looking for. The ship’s interior is little more than a brief obstacle course. Crouch and crawl through a hatch and proceed through the cargo hold. Finally, climb up a ladder, serving as a ramp to an upper level to reach the objective marker, triggering the mission’s final cutscene.
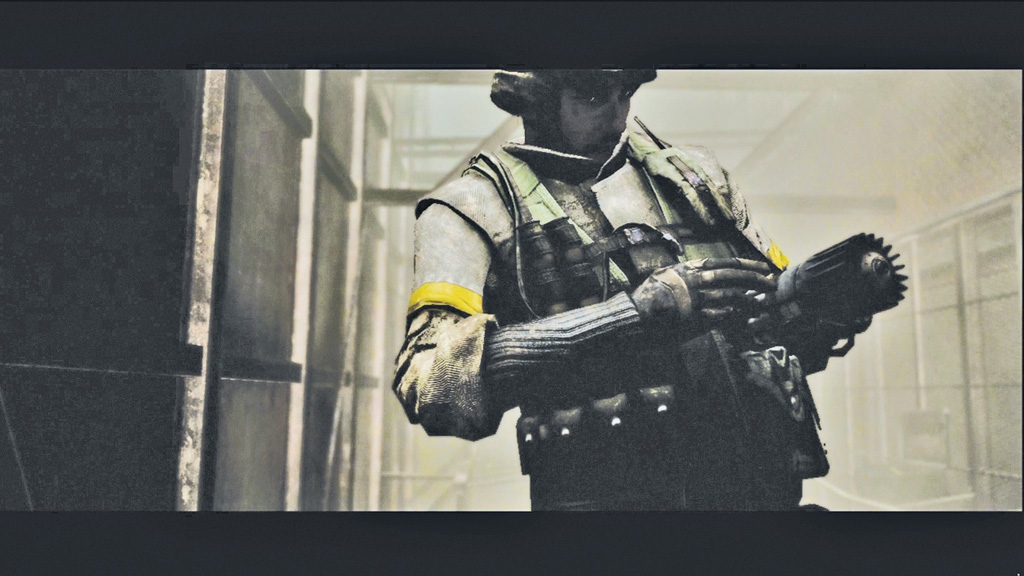
In a nondescript wooden box, Marlowe finds some old documents with details on Operation Aurora. Apparently the Japanese had scalar technology as early as 1943. The U.S. attack on the island was a suicide mission—and high command knew it. They just wanted to see what the scalar weapon could do. Marlowe also finds an odd-looking device with Japanese markings. Perhaps this is what Kirilenko is after? Aguire orders Marlowe to take the device and get out. They’ll have time to study the device and Kirilenko’s intentions later.