
Battlefield Bad Company 2 Guide Walkthrough Campaign
Heavy Metal
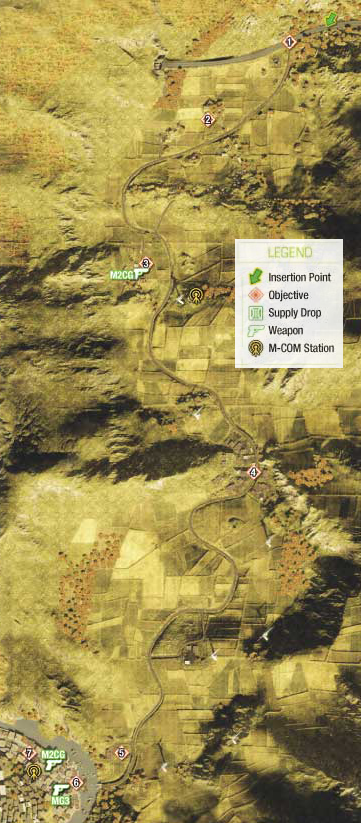
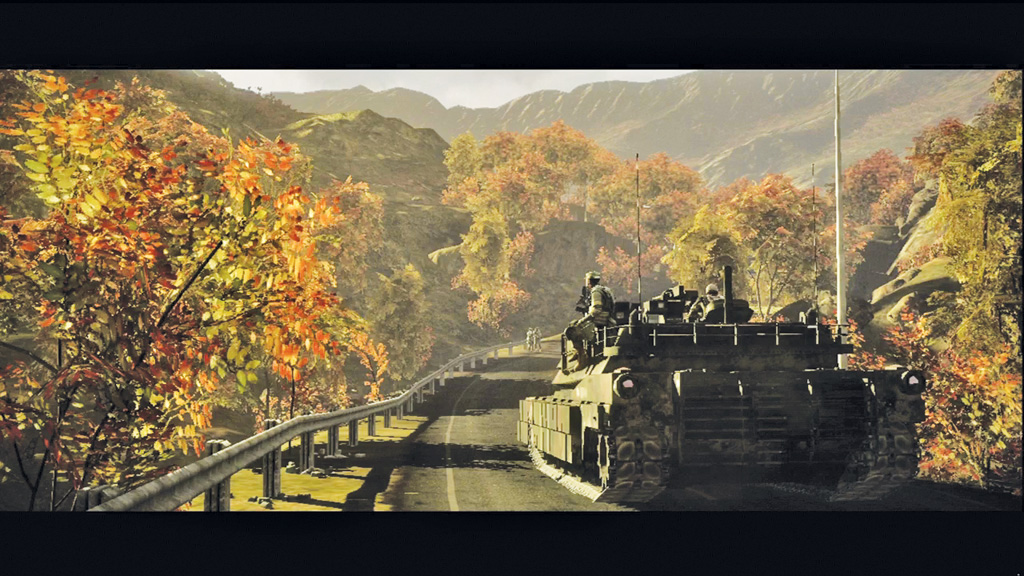
Capturing Kirilenko appears to be a high priority for the U.S. military. By the time the squad reaches the staging area near Chile, Aguire has a column of tanks ready to roll out. According to Aguire, Kirilenko is located in a town to the south, near a wind farm. Your orders are to take him alive. Unlike previous missions, this time you have the help of the U.S. Armored Cavalry division. Obviously, high command is taking this Kirilenko threat seriously.
1. Rendezvous with 1st Armored Cav
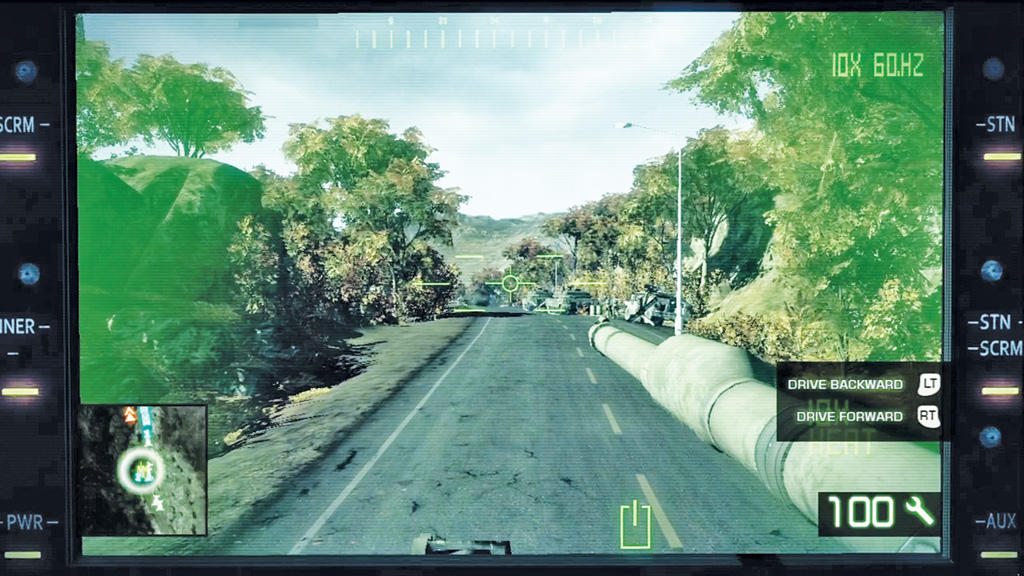
Instead of moving out on foot, this time your squad has an M1A2 tank to themselves. As the driver, you’re responsible for moving the tank from one objective to the next. You’re also in control of the tank’s massive 120mm cannon. There are no hostiles in the area, so hold your fire for now. Just get used to driving the tank. Use the controls shown on screen to move the tank forward and backward. You can also rotate the turret, but it’s easiest to keep the turret facing forward when moving, to avoid disorientation.
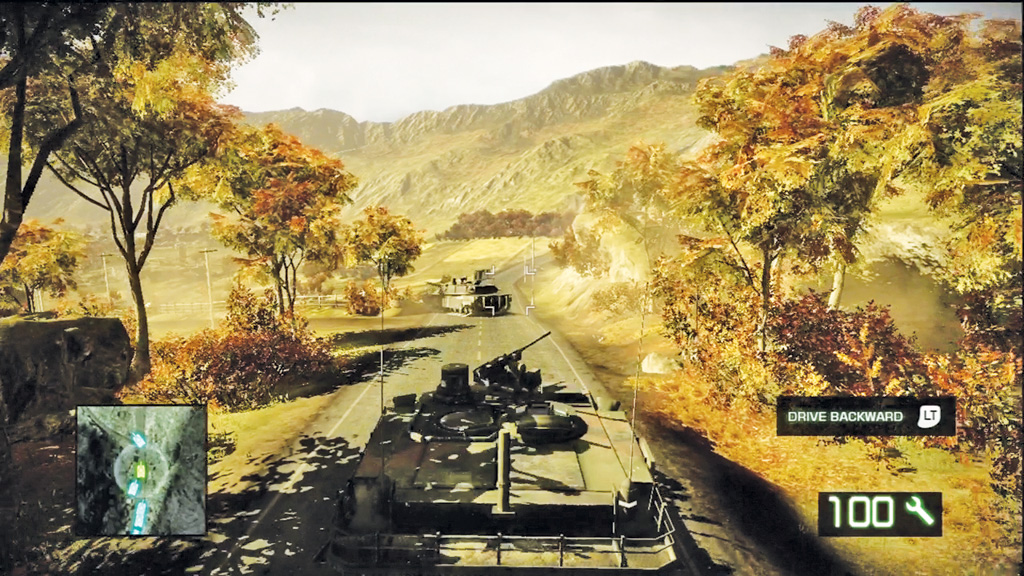
Your first objective is to reach the rendezvous point a few meters down the road. To get a better view of your surroundings, consider switching to the external view. While in the external camera view, you only have a simple aiming reticle on the screen, making it difficult to fire the main gun with accuracy. Avoid using this view during combat, but it’s fine for moving from one point to another. Continue down the road to the objective marker, where another tank is waiting.
2. Eliminate Both ECM Radar Arrays
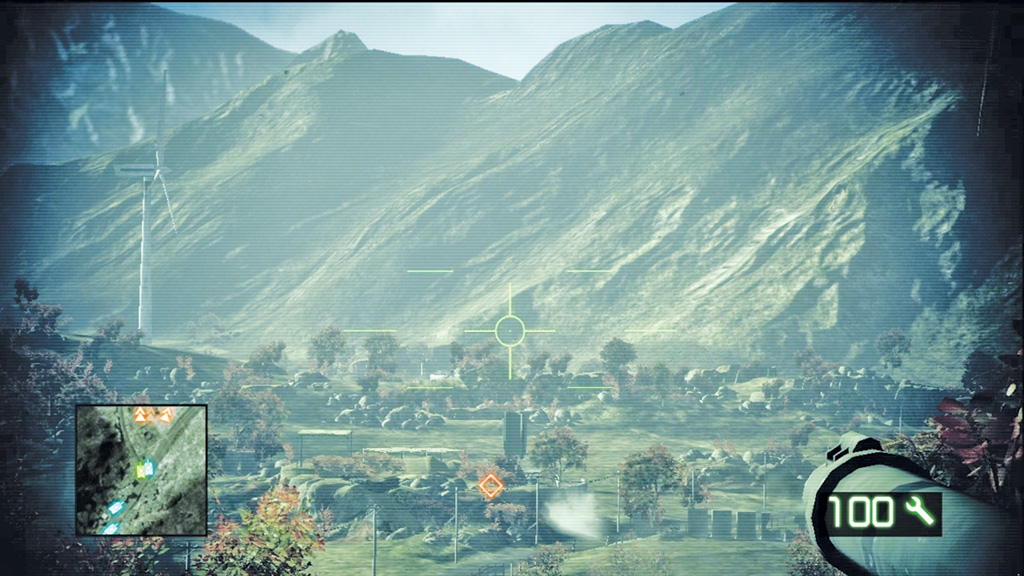
The Russians have deployed a pair of mobile ECM radars to the southwest, preventing friendly aircraft from operating in this valley. So clear a path for the Warthog pilots by knocking out those radar arrays. Instead of driving toward each radar and taking it out at close range, hold your position near the rendezvous point and attack from extreme long range with the main gun.
Switch to the vehicle’s internal view, then aim the turret toward one of the nearest red diamond icons. These mark the locations of the radars. Now, use the weapon’s zoom function to get a closer view of the radar. It looks like a tall rectangular box. Each radar is several hundred meters away, so you need to elevate the barrel to compensate for distance before you can score a direct hit.
Fire a round to gauge the distance. If it flies over the target, lower the barrel. If it impacts before reaching the radar, raise the barrel. Keep fine tuning your aim until the radar is down.
The second radar is located further to the west. The greater distance means you need to elevate the barrel even more. First, zoom out to find the red diamond icon, then zoom in to get a closer view of the radar. Scoring a direct hit at this range is difficult, but not impossible.
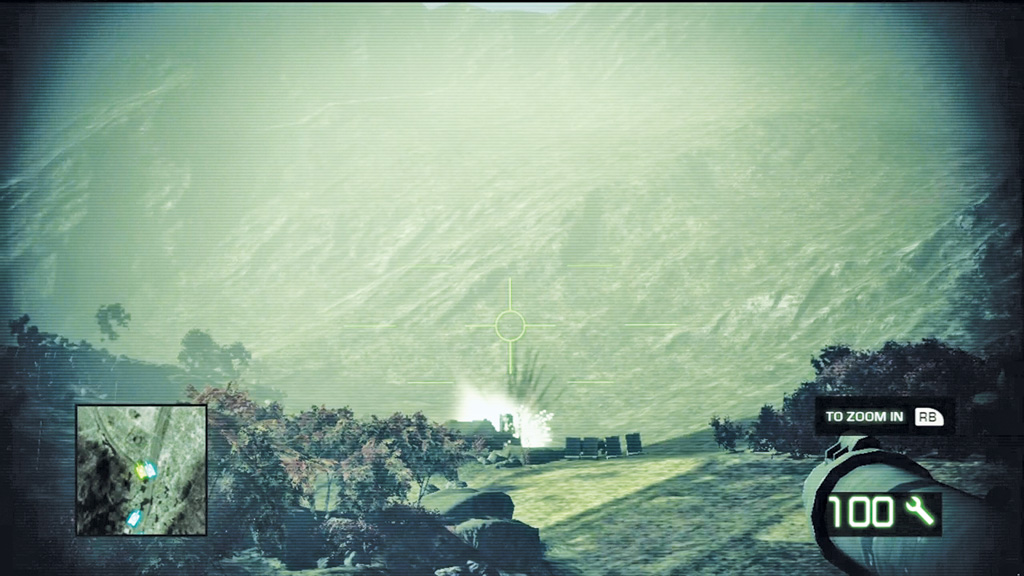
Fire a couple of rounds in the direction of the radar and then fine tune your aim until each shot gets closer and closer. Even if you don’t score a direct hit, landing a few rounds near the radar is enough to take it out. Once both radars are down, zoom out and orient the turret so it’s facing forward.
3. Kill Enemy TOW Launchers
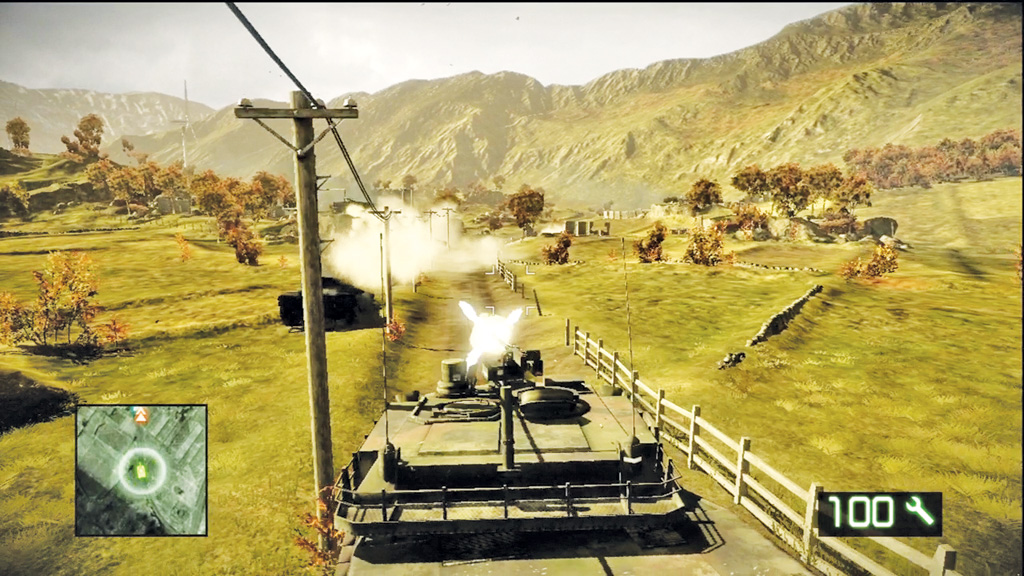
Follow the tank in front of you down the dirt road. There are no significant threats on this road, so switch to the external view. Don’t worry when the tank’s machine gun starts firing on it’s own. Haggard is simply firing at a few enemy infantry scattered near the destroyed radar arrays. These enemies are only armed with light weapons and pose no threat to your tank.
Still, slow down (or stop) so Haggard can accurately target the Russian troops. Although the tank is armored, it’s never wise to engage infantry at close range, as they may be armed with rockets or explosives.
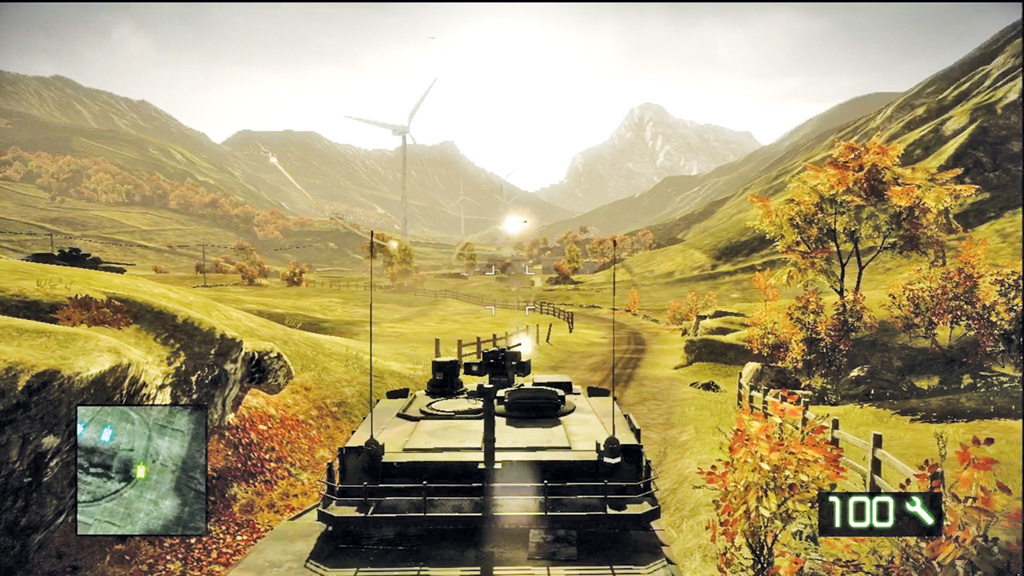
As the road turns to the left, a group of TOW anti-tank launchers open fire from a small cluster of buildings to the south. Unlike the infantry, these incoming missiles pose a huge threat. Stop near the turn in the road, partially hiding behind the hill on the left side.
If you see a missile heading your direction, quickly reverse to hide behind the hill. The tank can auto-detect incoming missiles, so if you hear a beeping sound, you know it’s time to move.
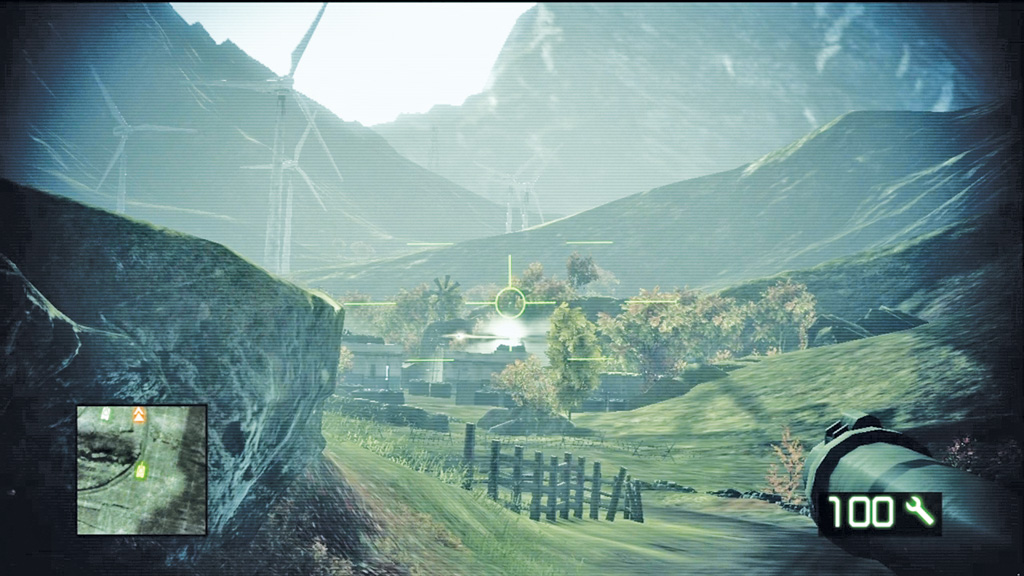
The launchers are located on the rooftops of the buildings. Follow the missile smoke trails back to the launchers to locate their exact positions.
Zoom in and open fire on these buildings. Instead of trying to hit the launcher or its operator, simply target the side of each building. The resulting impact is usually enough to kill the launcher’s operator. Once all the launchers are destroyed, drive toward the objective marker, located among the small group of buildings, to find a UAV station.
4. Eliminate all BMD3 AA Vehicles and TOW Launchers
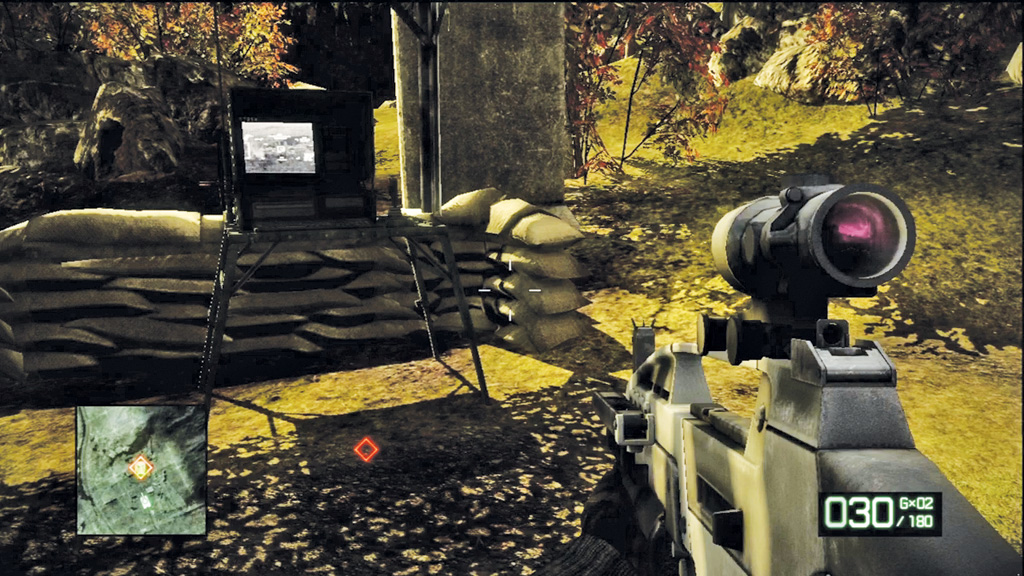
Marlowe automatically exits the tank as you drive toward the objective marker by the buildings. The area is safe, so don’t worry about gunning down any hostiles. Instead, search for the UAV station, marked by the red diamond icon.
Step up to the console and interact with it to take control of a UAV. More TOW launchers and a few BMD3s are located in the next village. Instead of taking them on with your tanks, use the UAV to eliminate these threats.
The UAV is little more than a radio-controlled helicopter equipped with a powerful camera and targeting system. Take a moment to get used to the controls, then turn toward the nearby village.
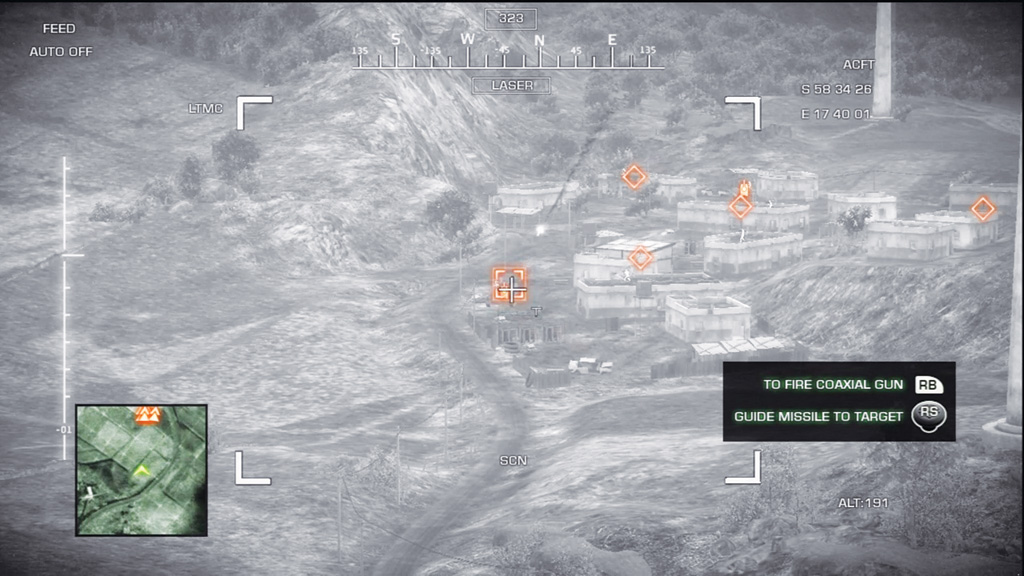
Instead of flying toward the hostile units, pull the UAV to a high-altitude hover and zoom in on the targets. Locate the BMD3 vehicles first. When you have one targeted, pull the trigger to initiate a Hellfire airstrike.
Keep the target centered while the Hellfire missile is inbound. Moving may cause the missile to fly off-target and miss. There are three BMD3 vehicles in the village, so hunt them down one by one. All it takes is one missile hit to take out each one.
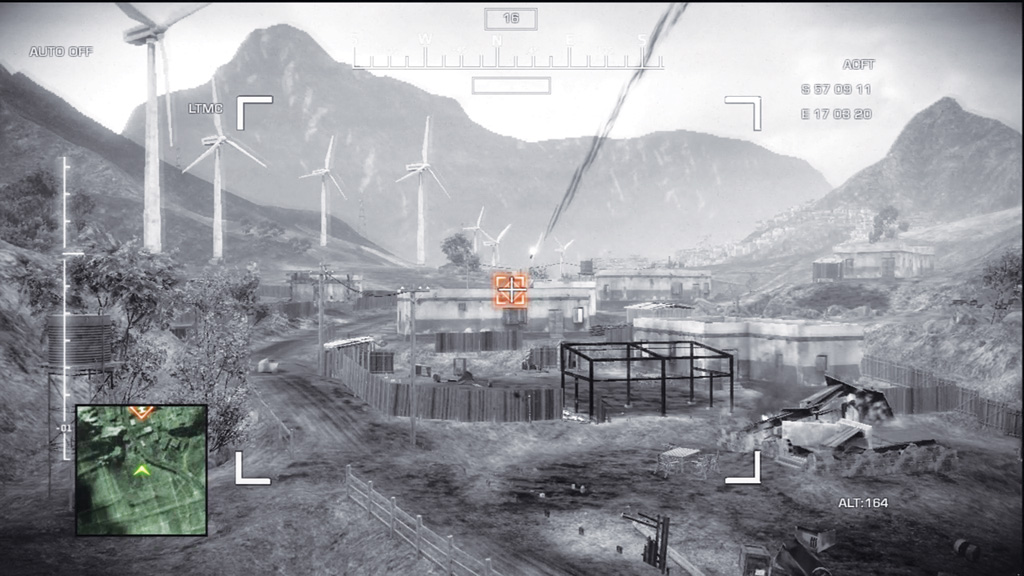
Next, focus on the TOW launchers, marked by red diamond icons. Instead of targeting the launchers directly, simply target the buildings where they reside. The Hellfire missiles are powerful enough to wipe out each structure.
Once all BMD3s and TOW launchers are destroyed, the objective is complete. Marlowe automatically returns to the tank. Time to move out.
Proceed with U.S. Forces
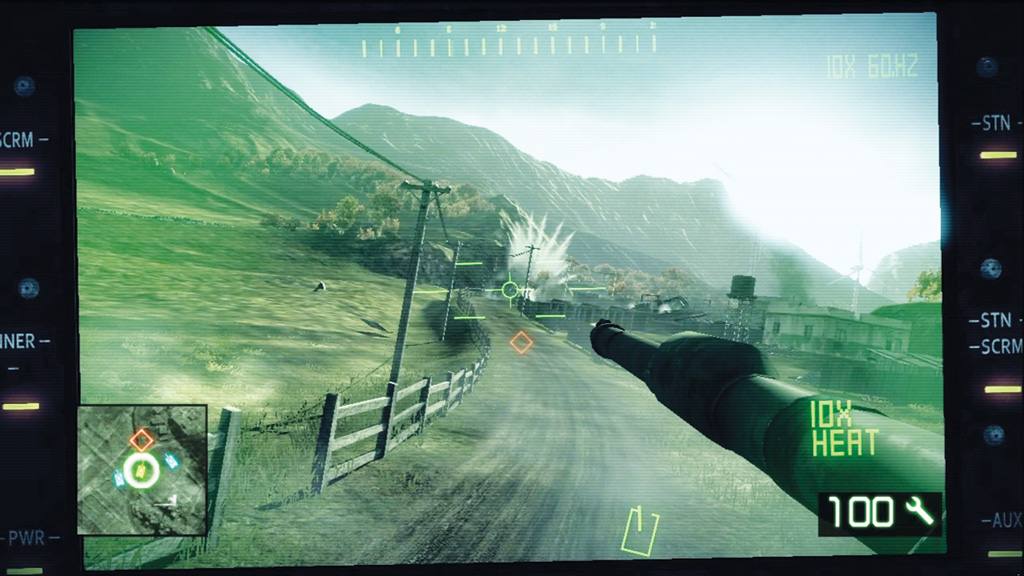
Continue along the dirt road. As you near the village cleared by the UAV, watch out for a BMD3 rumbling down the road ahead. Stop just outside the village and wait for the enemy vehicle to roll into view.
Quickly engage the target, hitting it with a couple of rounds to destroy it. The BMD3 may return fire, but its cannon does little damage. Still, keep your front armor facing the target at all times—the tank’s armor is thickest on the front.
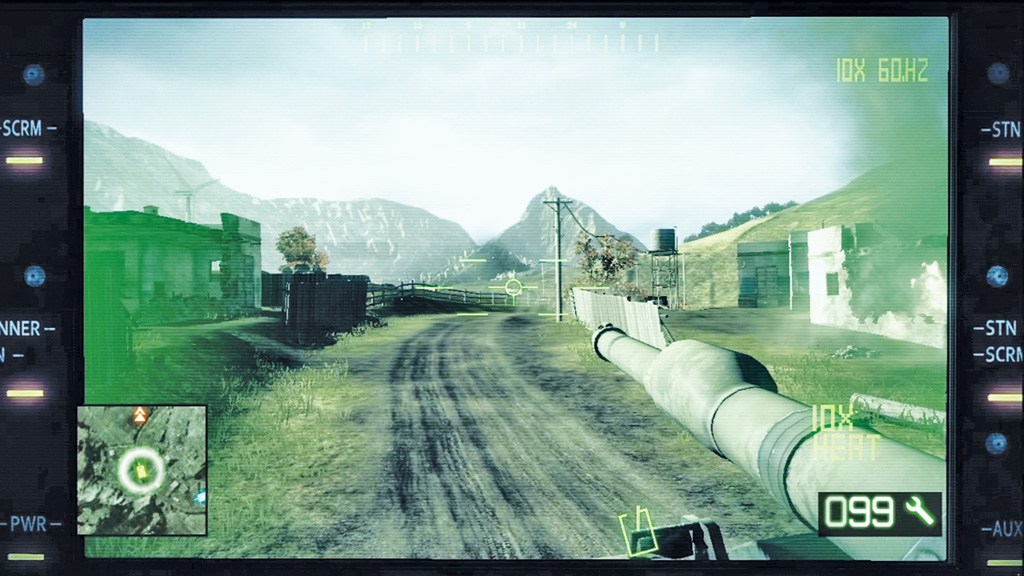
Cautiously advance through the village and watch for two more BMD3s positioned near the outskirts on the left side of the road. Once again, locate and engage both enemy vehicles quickly before they can inflict heavy damage.
Try to keep your distance, using the nearby structures for partial cover.
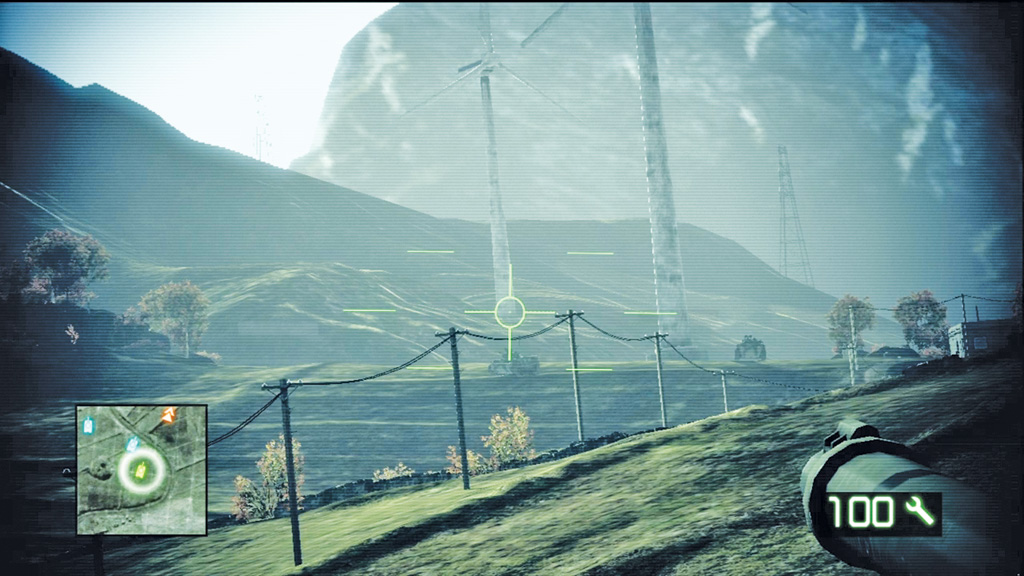
Beyond the village, watch for two more BMD3s on the hill in the distance, at the base of two massive wind turbines. You may need to zoom in to spot them. Stop the tank and elevate the barrel to engage these long-range targets.
Focus on the advancing BMD3 first. Hitting a moving target at long range isn’t easy, so fire a round and adjust your aim. You’ll need to lead the target a bit to compensate for its movement, so aim a few meters ahead of the vehicle.
Once it’s down, attack the stationary BMD3 on the hill. Prepare to take some return fire from this stationary vehicle, so keep your front armor facing the target at all times. Instead of focusing on the incoming rounds, focus on where your shells are landing and adjust your aim until you can score a couple of hits.
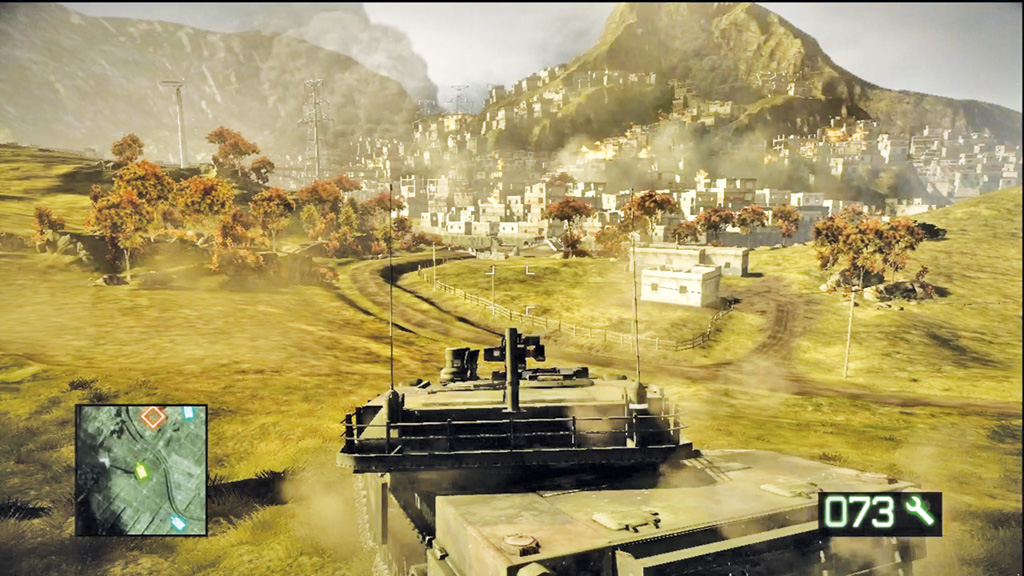
Watch out for at least one more BMD3 on your way to the town to the south. As you move within view of the town, radio chatter reveals that the town is defended by several TOW launchers.
Instead of exposing your tank to the incoming missiles, head toward the buildings on the right side of the road. Follow the red diamond objective marker. Your ride in the tank is over, but the real fireworks are just beginning.
5. Designate Targets for Airstrikes
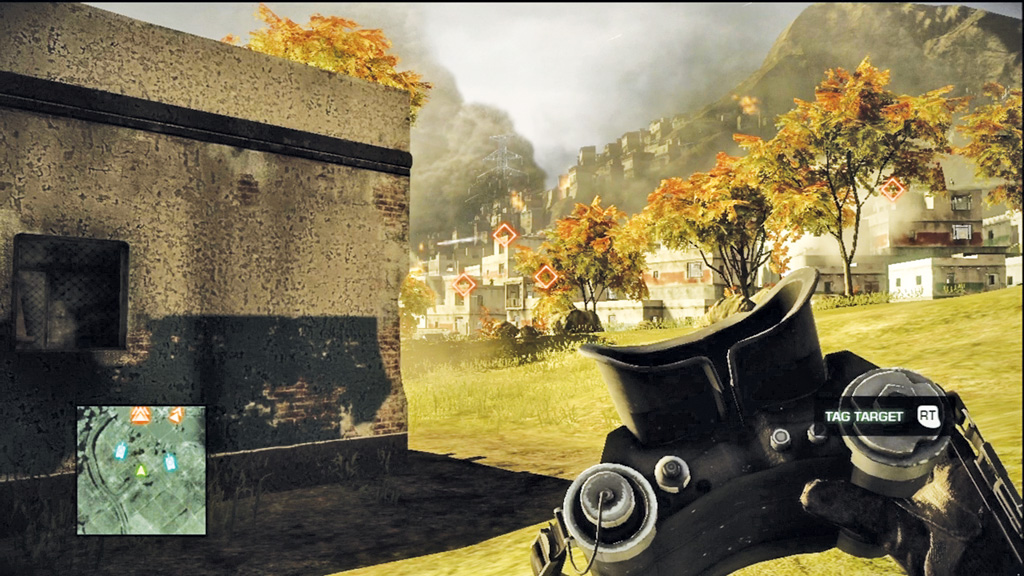
Before you can advance into the town, you need to take out the roof-mounted TOW launchers across the river. Back on your feet, maneuver around the nearby building until you can get a good view of the town.
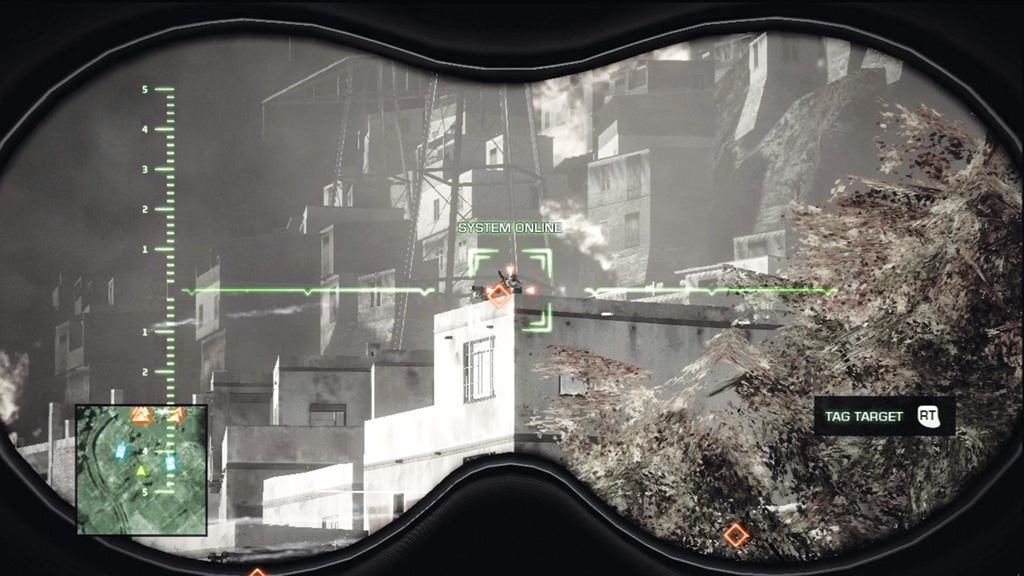
Each launcher is marked with a red diamond icon. Use the binoculars to laser designate each TOW launcher and watch as A-10 Warthogs wipe them out.
After each airstrike you need to wait a few seconds before designating a new target, so seek cover to avoid being hit by incoming fire or missiles. When a new airstrike is available, the red diamond icons reappear over the launchers. There are four launchers total slated for demolition, so stay low and keep tagging targets for the flyboys until the approach to the town is clear.
6. Investigate Targeted House
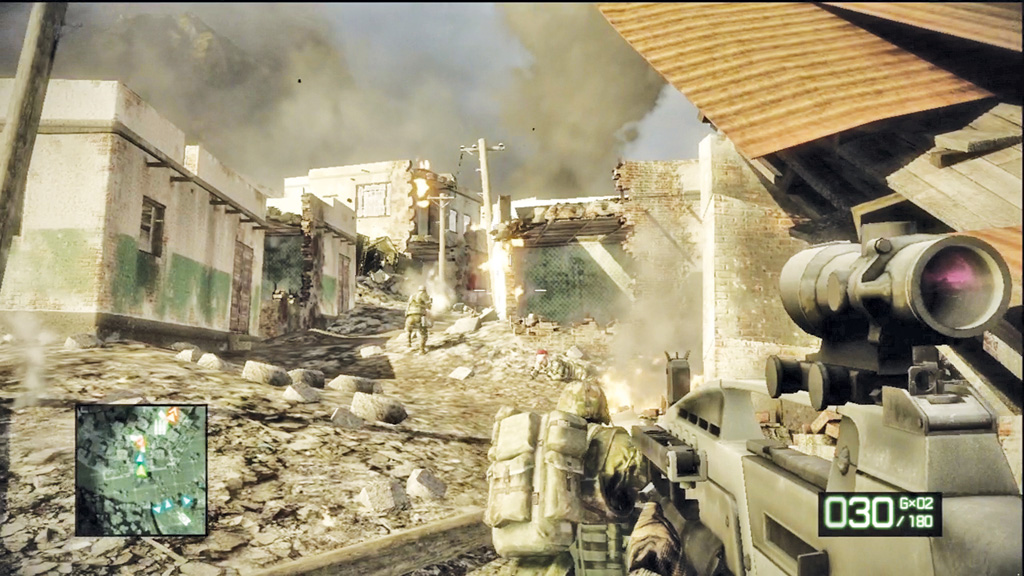
Now that the town’s outer defenses are destroyed, it’s time to move in on foot and begin the search for Kirilenko. Follow your squad across the river and enter the town.
There’s a few Russian soldiers hiding among the rubble, so be ready for a fight. If you want a bit more firepower, pick up the MG3 on the left side of the rubble-filled street.
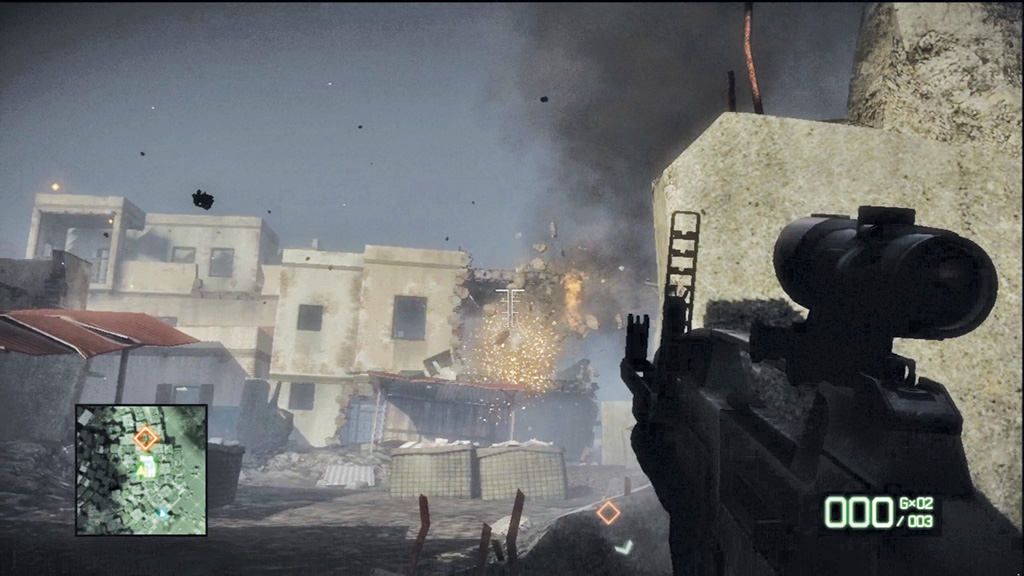
Expect heavier resistance further down the street as a roof-mounted machine gun opens fire. Take cover along the left side of the street and equip your assault rifle’s grenade launcher.
Peek out of cover and lob grenades at the machine gun position until it’s neutralized. Once the machine gun position is silent, help your team clear the rest of the buildings ahead. Your grenade launcher is well-suited for taking out the guys firing from windows.
Simply target the walls to ruin their day. If you need more grenades, visit the ammo crate in the building on the right, near Sweetwater’s position.
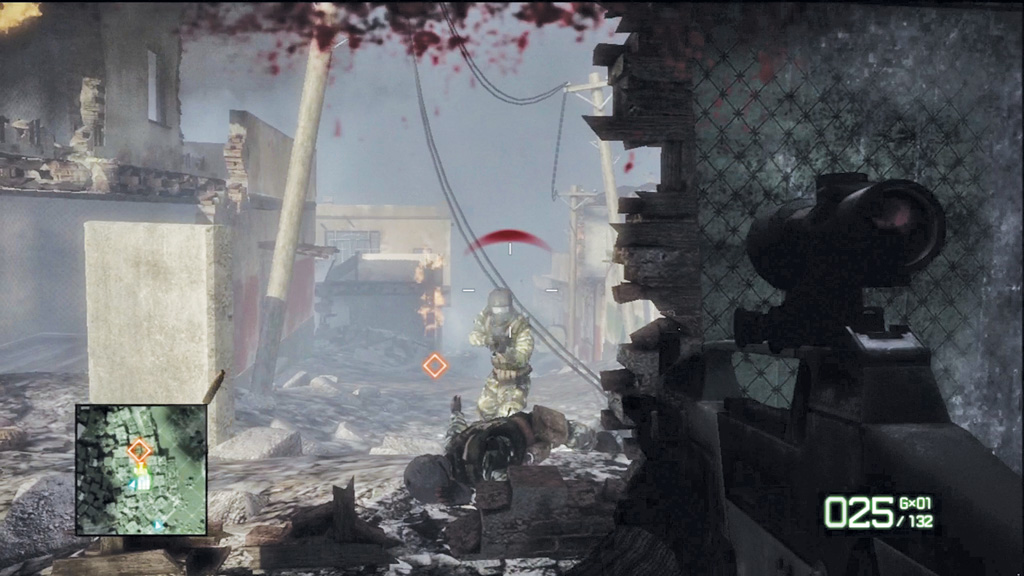
Cautiously push forward along the street, watching for more Russian troops along the way. If you hear voices, try to use grenades to flush them out. But be ready for more close encounters as you approach the objective marker by the target house. When it’s clear, move toward the objective marker to initiate a search of the target house.
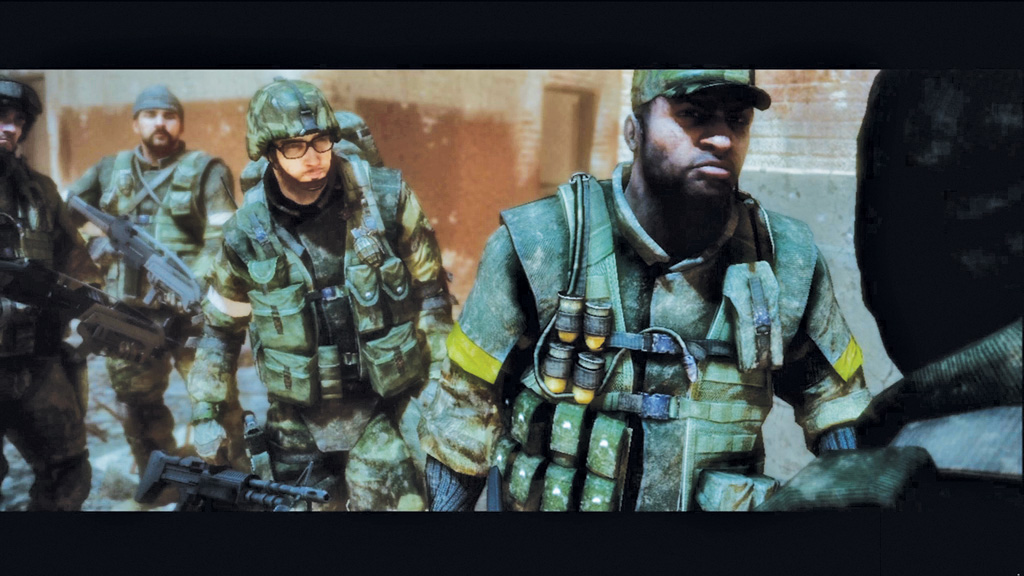
The target house is a bust. There’s a dead Russian officer inside, but no Kirilenko. However, a captured Russian soldier spills the beans, revealing Kirilenko’s position. Apparently he’s in a village not far from here. Time to mount up and roll out! The search for Kirilenko continues in High Value Target .