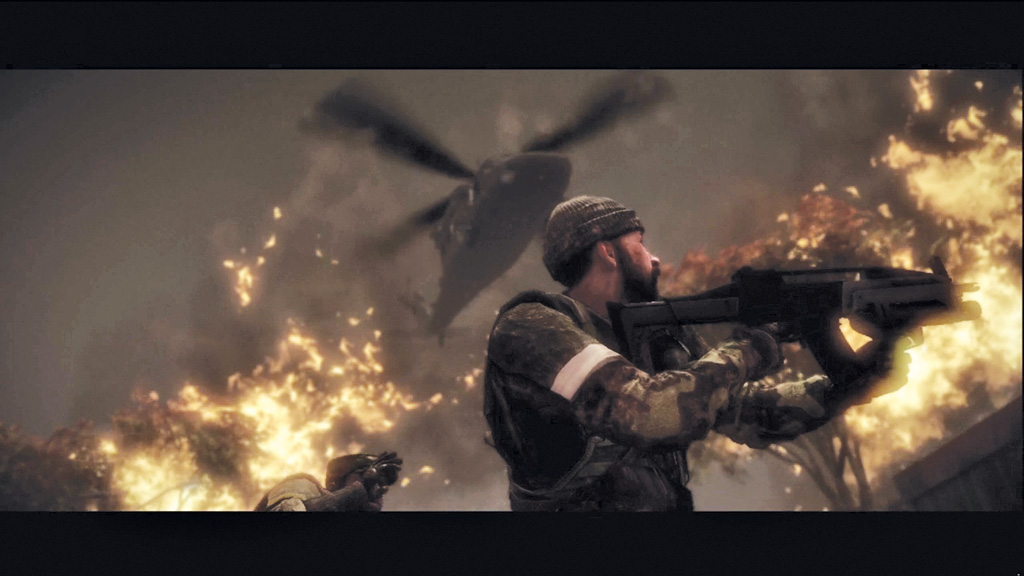
Battlefield Bad Company 2 Guide Walkthrough Campaign
High Value Target
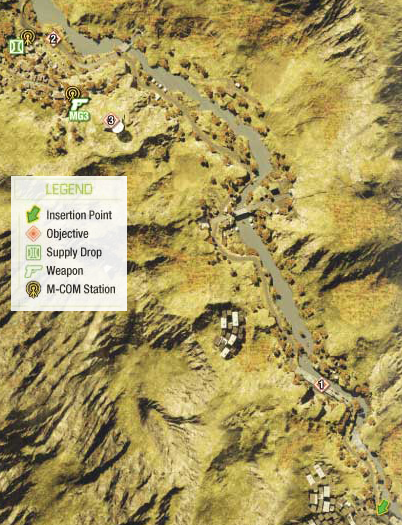
1. Proceed Toward Zulu November Bridge
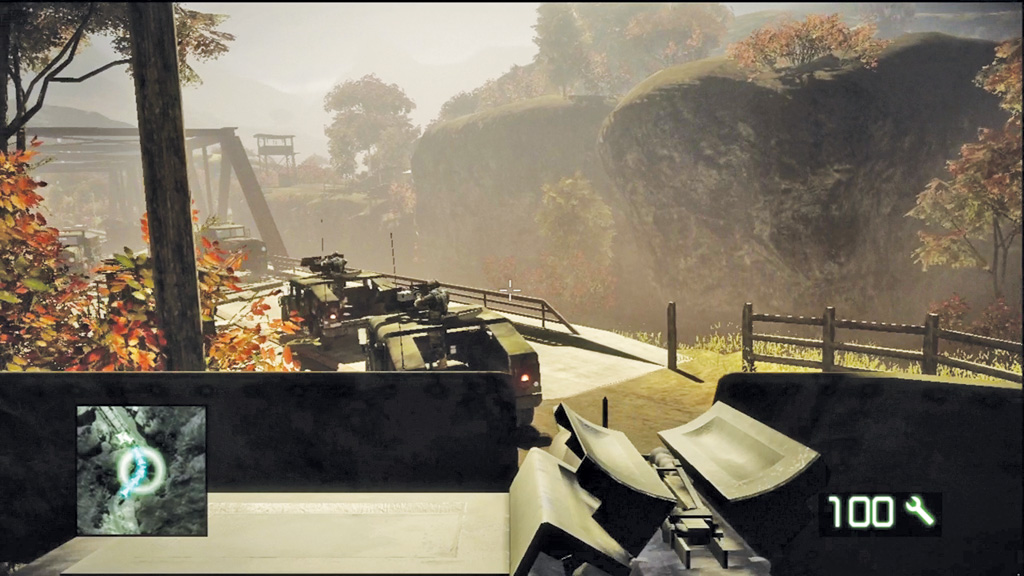
Kirilenko isn’t far away now, reportedly hiding out in a village to the northwest. This convoy of HUMVs will get you there fast, assuming you can survive the Russian ambushes along the way. As the gunner on top of the HUMV in the middle of the convoy, it’s your job to shoot anything that moves, especially if it’s carrying a rocket launcher. All it takes is one hit to destroy your ride.
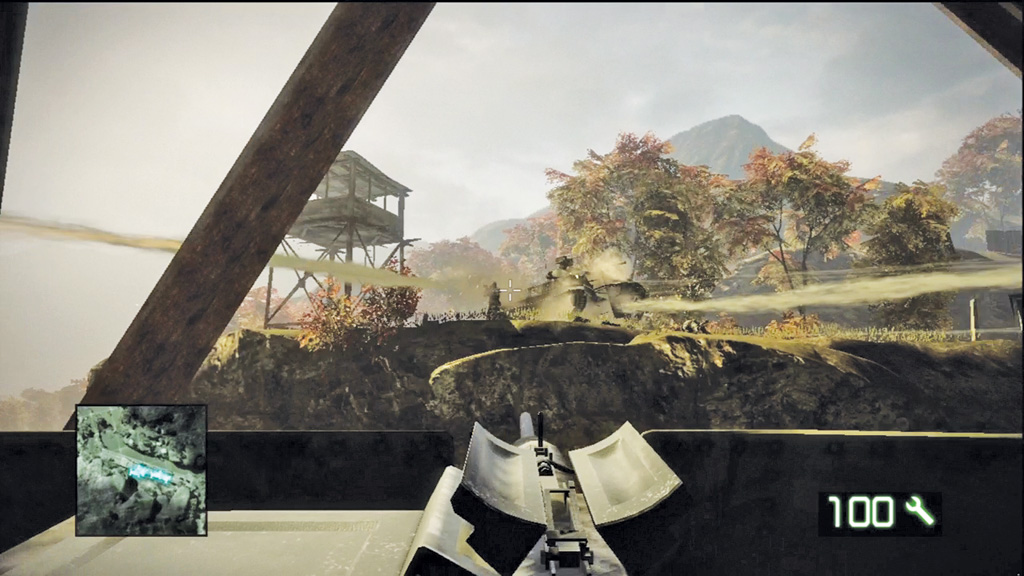
The first ambush occurs at the bridge just outside the town. As the rockets start flying, turn to the right side of the bridge and open fire on the enemy infantry. Target the red barrels on the hillside to trigger large explosions in an effort to wipe out several enemies at once. The convoy eventually comes to a dead stop in the center of the bridge, making your vehicle a sitting duck. Keep scanning the hill to the right for more enemies as they rush into view. A BMD3 even makes an appearance, but don’t bother shooting it. Your machine gun won’t do any damage. Instead, focus on the infantry, as they pose the biggest threat. The HUMVs equipped with the TOW launcher will deal with the BMD3.
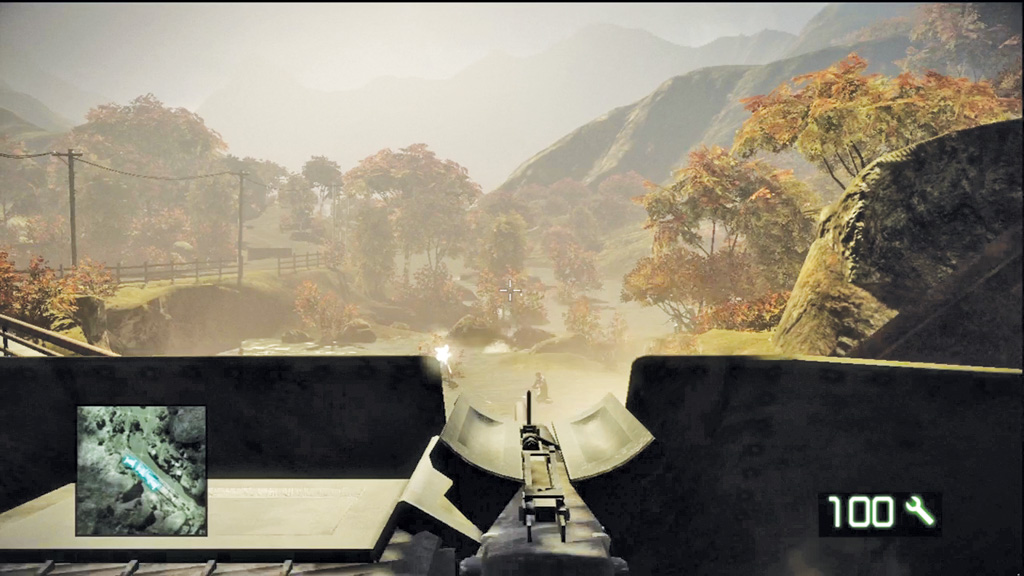
When the convoy begins moving again, turn your attention to the infantry in the river below. Ignore the guys with machine guns and target the enemies with rocket launchers—there’s one hiding behind the boulder in the middle of the river. Quickly mow down these threats before they can score a hit on your HUMV.
2. Proceed Toward HVT Kirilenko
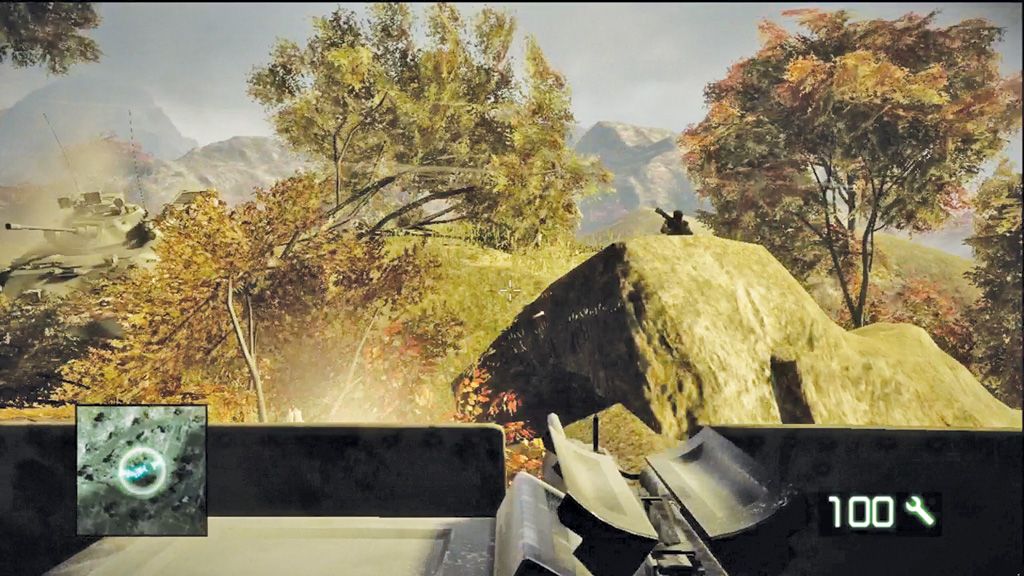
Further down the road, a roadblock defended by a BMD3 forces the convoy to take a detour through a stream. During this sequence, the BMD3 follows. Don’t worry about the enemy vehicle. Instead, watch out for the infantry hiding along the hillside to the left—they’re armed with rocket launchers. Lay down heavy fire on these guys as you escape the ambush, rotating the turret to cover your rear. Keep firing until there are no more enemies in your line of sight, then rotate the turret so it’s facing the front of the HUMV.
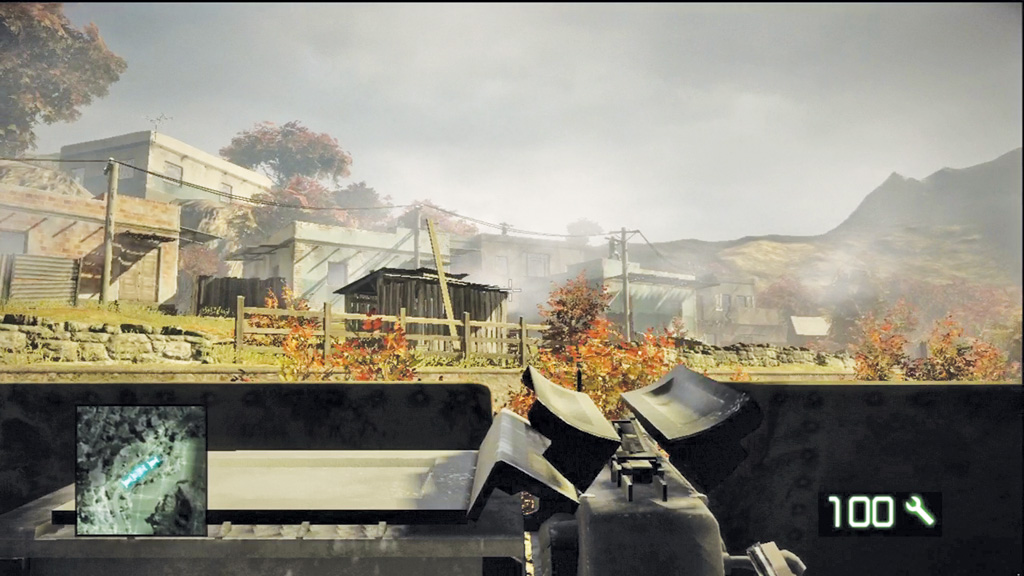
As you near the village, rotate the turret to the left side of the road and open fire on the enemies positioned on rooftops. No matter how quick you are, you can’t prevent the HUMV from getting hit by a rocket or the ZU-23 anti-aircraft gun. Before proceeding into the village, you need to take out that gun.
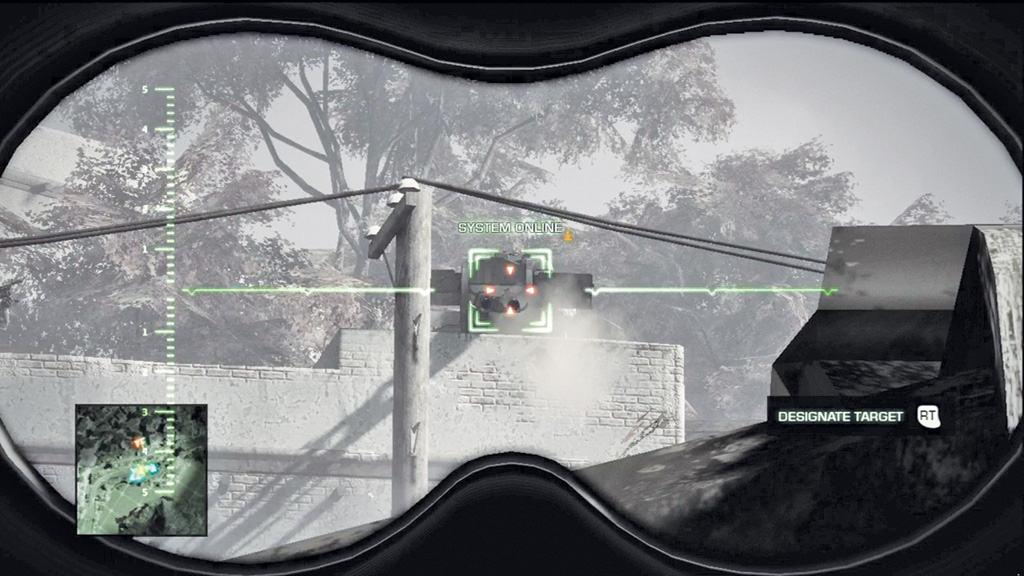
After getting hit, you find yourself outside the HUMV next to Sarge. The ZU-23 is wreaking havoc on the convoy, so use your binoculars to call in an airstrike. Carefully peek over the top of the HUMV and peer through your binoculars to spot the ZU-23. Designate the target, then quickly duck back down behind the HUMV for cover. It may be tempting to watch the incoming airstrike, but doing so leaves you exposed to incoming fire. Stay down and listen for the sound of a jet streaking overhead. Following the explosion, it’s okay to stand up—the ZU-23 is destroyed.
3. Capture HVT Kirilenko
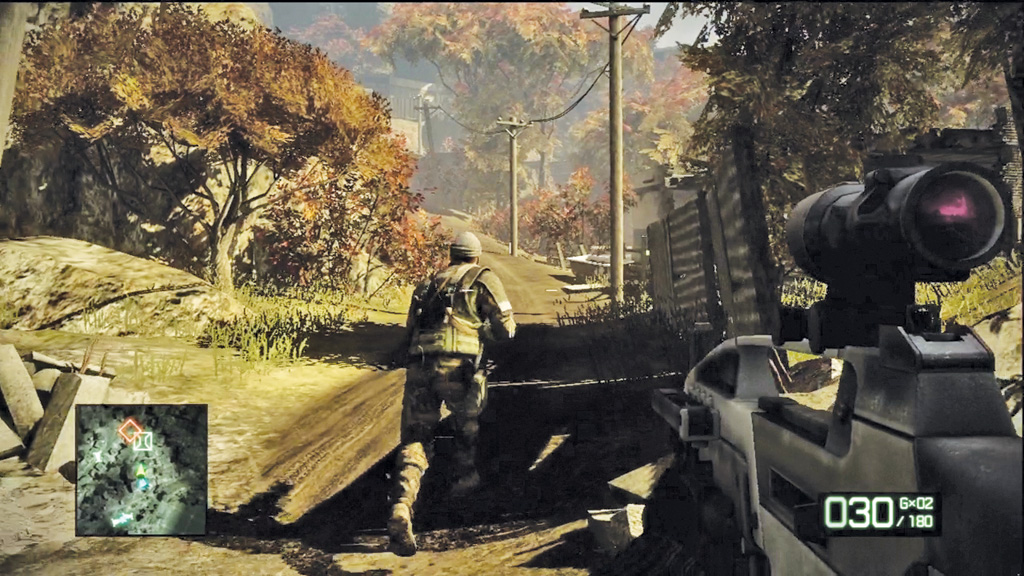
After the airstrike, Aguire warns that high command is planning an artillery strike on the village. You need to get in there and grab Kirilenko before he can escape. Haggard leads the way into the village. Make sure you stay right behind him. Despite Aguire’s efforts to delay the artillery strike, it looks like someone up the chain of command is itching to drop heavy ordnance on the village.
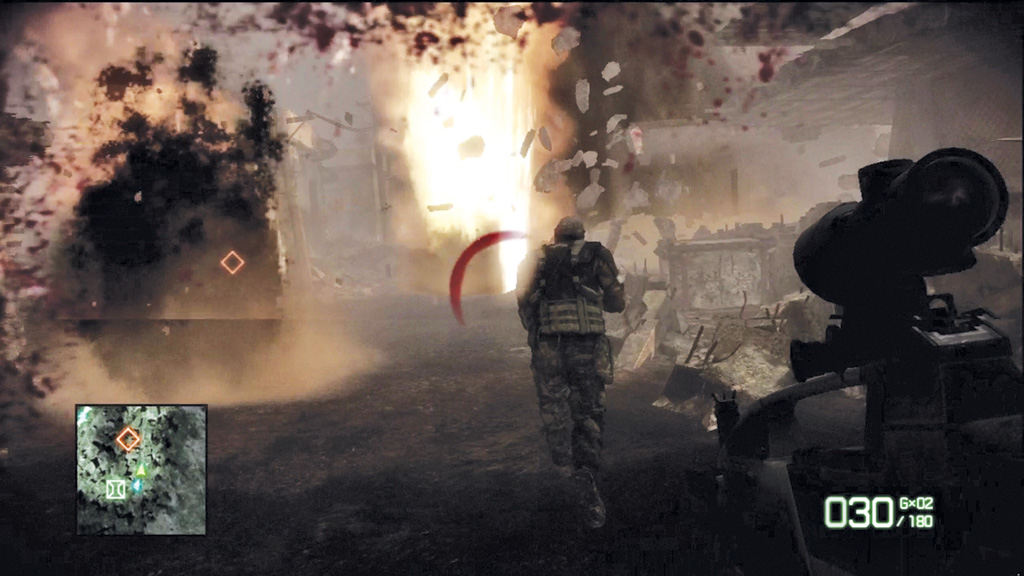
Stay as close to Haggard as possible, sprinting when necessary to keep up. As shells begin to fall, you may take some damage. But if you stay near Haggard, you can avoid being killed by the constant barrage of artillery shells falling around you. Whatever you do, don’t get lost. It can be tough to spot Haggard through the dust and debris, but as long as you stay close to him, you’ll be safe.
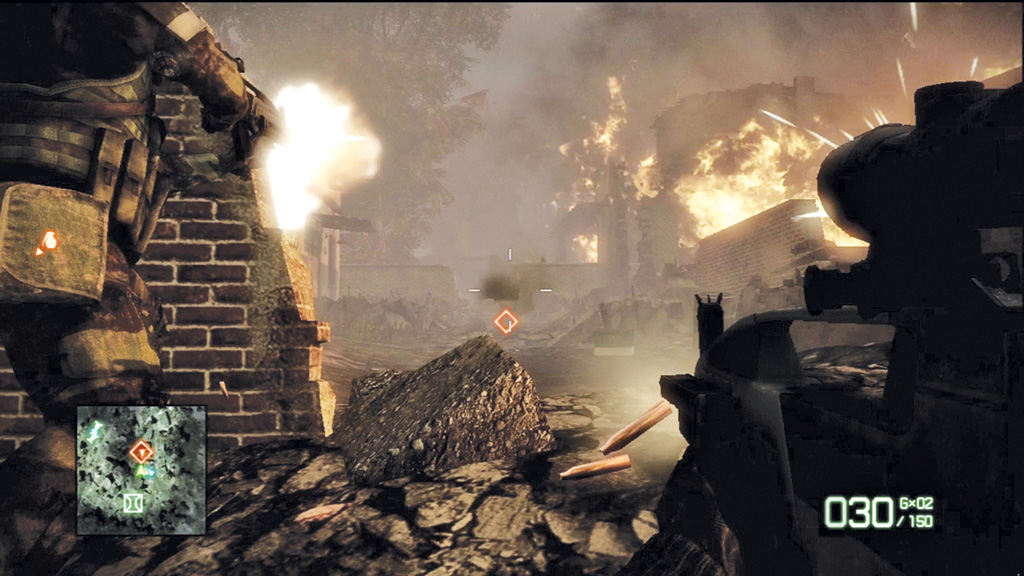
You’re out of the danger zone once you encounter a small group of Russian troops. Instead of rushing forward, seek cover and open fire. The enemies may take cover behind the brick wall at the far end of the street. If this occurs, fire a grenade at the wall to take them out. You’ll know it’s clear when the rest of your team moves out. Follow them.
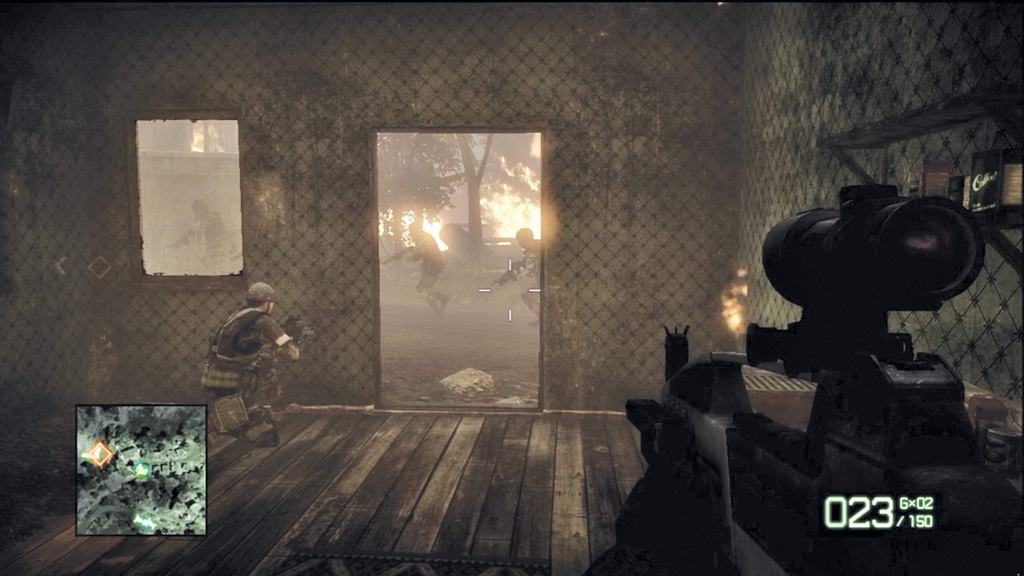
Haggard pauses inside a building as a squad of Russian troops rushes along the road outside. Hold your fire for now. Once the enemy squad passes your position, rush outside and open fire on them, shooting them in the back. Seek cover along the side of the road as more Russian troops retaliate.
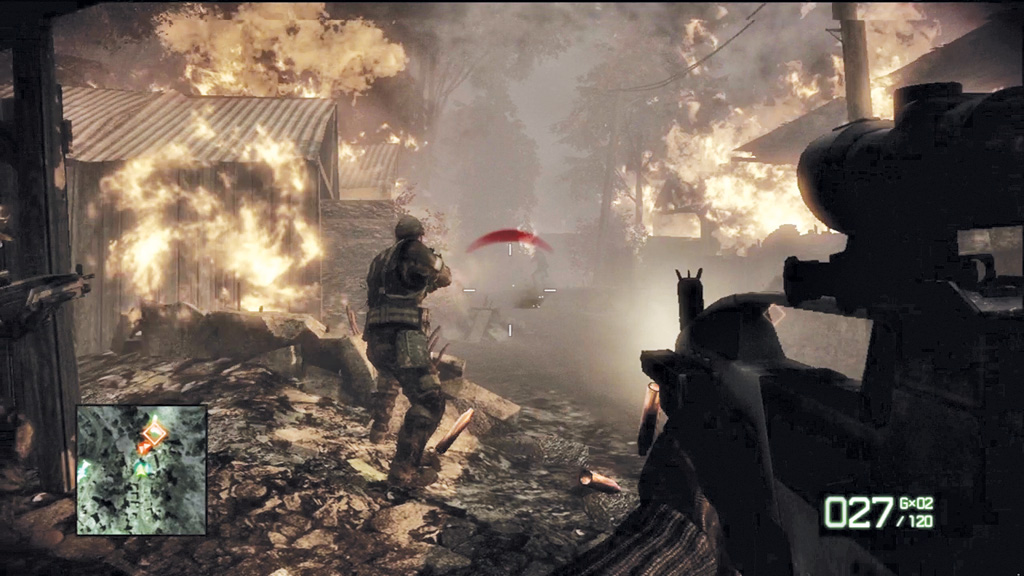
The smoke and dust makes visibility extremely poor, so look for muzzle flashes to pick out targets. The minimap is also helpful for locating enemies hiding behind cover. Look for the red triangle icons on the minimap to locate enemy positions and consider lobbing grenades in their general direction. Don’t advance any further until all the enemies are down.
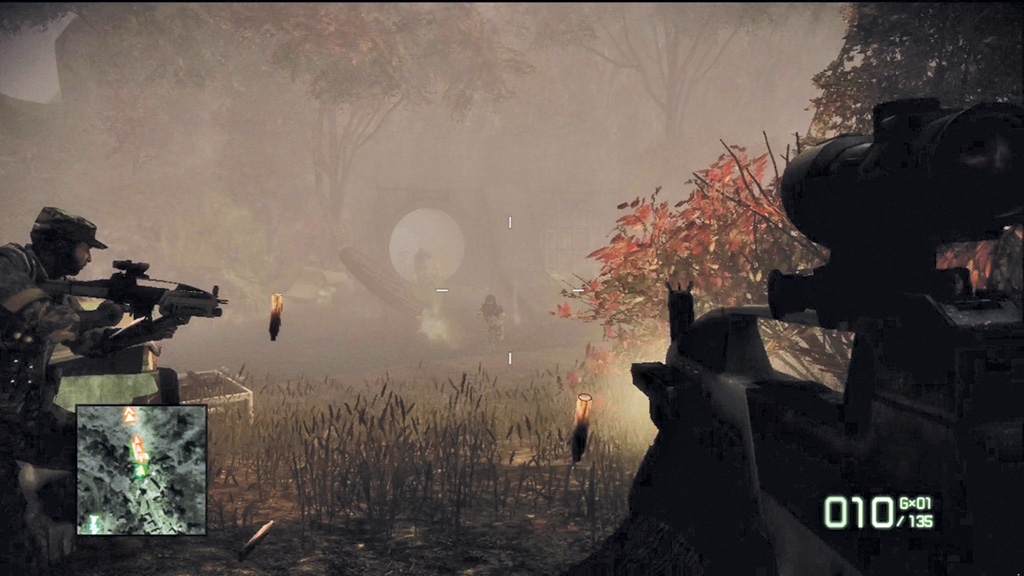
Continue to a stream and open fire on the fleeing Russians as they run into a drainage tunnel. Before crossing the stream, locate the nearby M-COM station and slap a charge on it. Once it’s destroyed, lead your team across the stream toward the tunnel entrance. Look for the MG3 on the ground here.
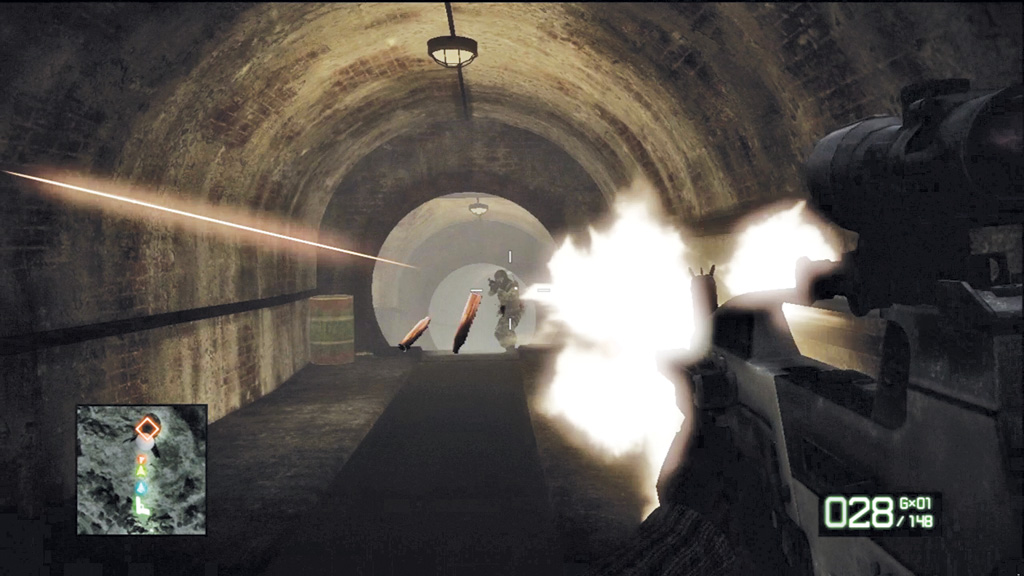
It’s up to you to lead the team through the drainage tunnel. Watch for a pair of Russians on your left waiting to ambush you. Mow them down with a quick automatic burst. If they take cover in the alcove on the right, toss a grenade in their direction to draw them out. These are the only hostiles in the tunnel. Once they’re down, proceed to the ladder at the far end of the tunnel to reach Kirilenko.
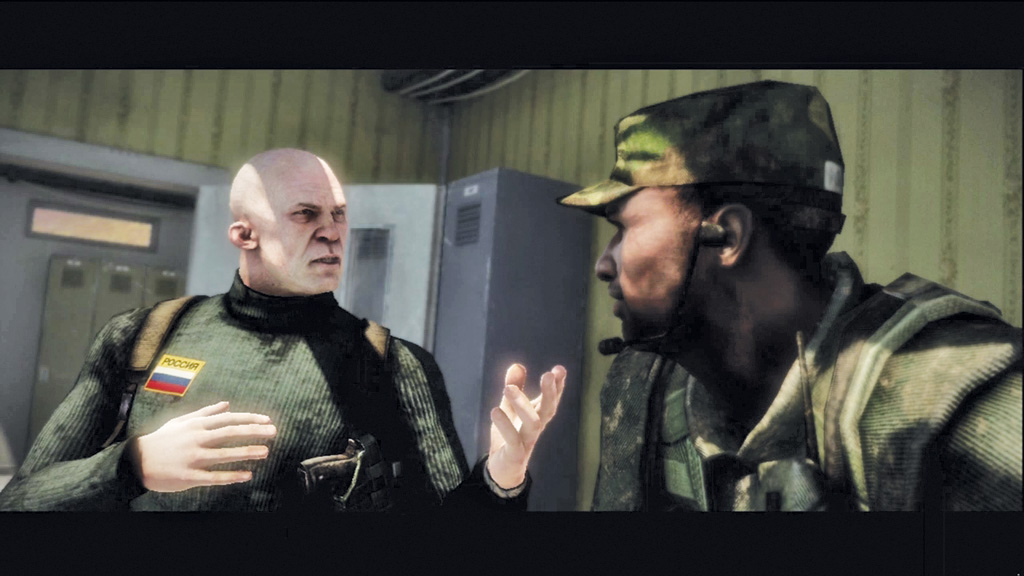
The team’s advance through the drainage system catches Kirilenko by surprise, prompting him to surrender in his makeshift HQ. He guesses correctly that you were sent by Aguire to bring him in alive. But a violent explosion gives Kirilenko the distraction he needs to escape. The guys rush outside in an attempt to track Kirilenko down, but he’s long gone. Flynn’s arrival overhead is a welcome sight, but with Kirilenko still on the run, Bad Company’s job is far from over.