Battlefield Bad Company 2 Guide Walkthrough Campaign
Operation Aurora
Prologue
Autumn 1944, Sea of Japan. Not long before the atomic bomb would bring an end to World War II, a small group of U.S. commandos is sent in to extract a Japanese scientist who has war-decisive information. On the 6th of October, at 0600 hours, Operation Aurora commenced.
Twenty minutes later it was over. The fate of Operation Aurora was kept from the public. All records were destroyed. It became a myth. This is what really happened that day.
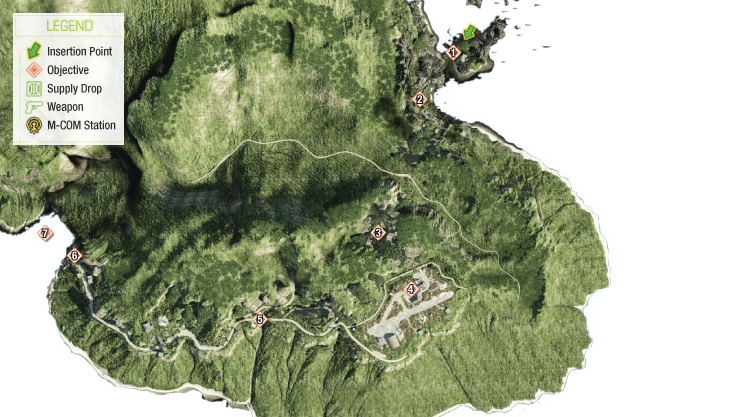
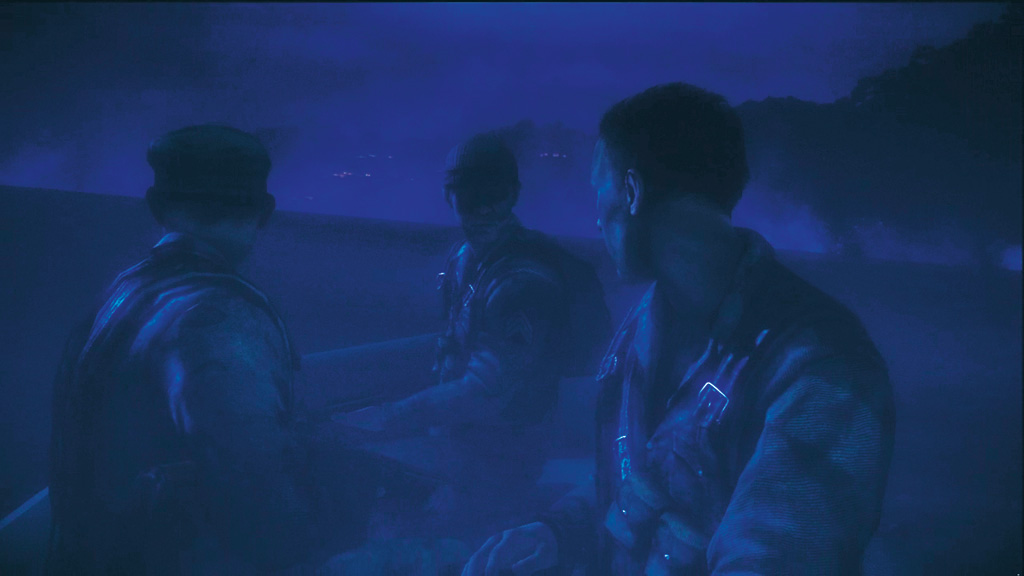
It’s mere minutes before dawn off the coast of an undisclosed island in the Sea of Japan. Bravo squad is in position, awaiting Able squad’s arrival in their rubber raft. You play as Wyatt, one of Bravo’s commandos. During this sequence all you can do is look around, so pan to the left and right to get a better view of your surroundings.
Wyatt is joined by squadmates Faraday, McKee, and their NCO, Sarge. Faraday has plenty of theories of what kind of secret weapons are being developed on the nearby island, but Sarge assures the squad that they’re only here to retrieve a defecting scientist.
As Able squad’s raft moves into position, both rafts begin the journey toward the shore. Things go smoothly until a spotlight catches Able’s raft. They don’t have a chance as a Japanese machine gun cuts into their raft, killing everyone. It’s not long before the same spotlight illuminates Bravo’s raft. Sarge immediately orders his men to jump out, saving his squad from meeting the same fate as Able squad.
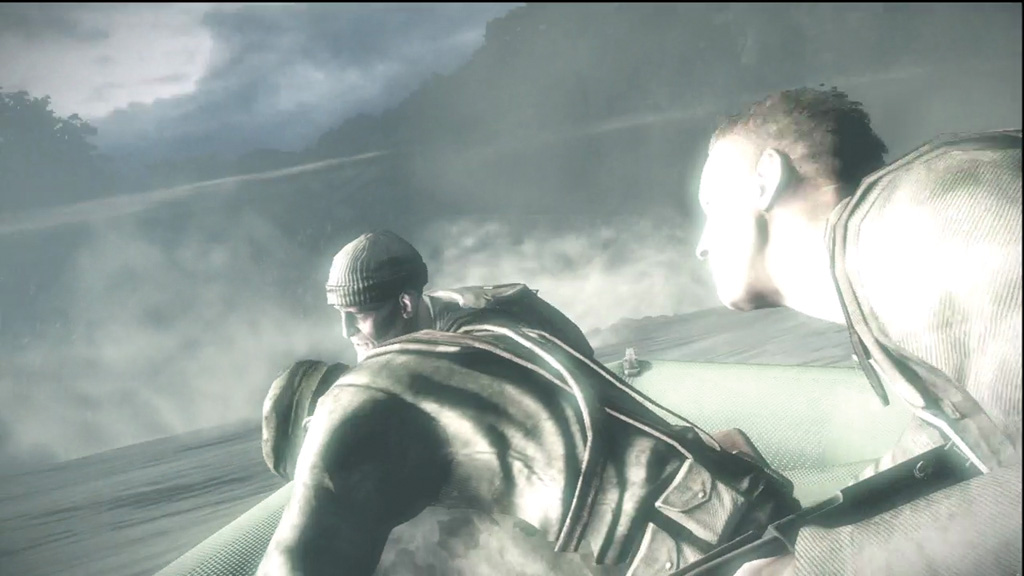
Bravo regroups somewhere on shore. Fortunately, everyone made it out alive. But there’s no sign of survivors from Able. It looks like Bravo has to continue with the mission on its own.
Operation Aurora is scheduled to begin at 0600. Hopefully the incoming aerial assault will distract the Japanese troops, allowing your squad to sneak in, grab the scientist, and get out before the enemy knows what hit them. Judging by the sound of the air raid sirens, it looks like the flyboys are on time.
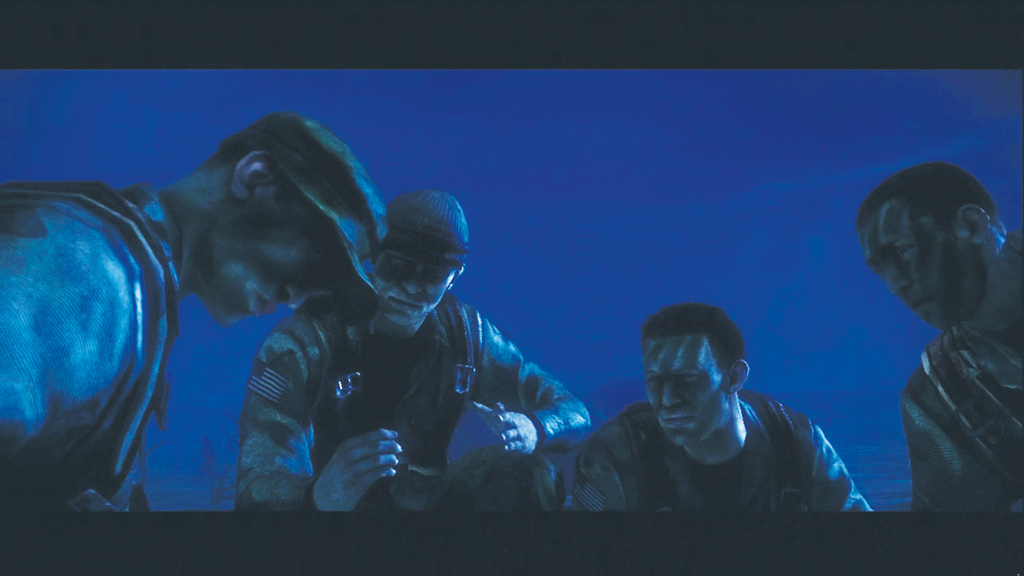
1. Reach the redevous point
During the commotion to abandon ship, Wyatt lost his M1A1 Tommy Gun leaving him (and you) with nothing more than a knife. But you won’t need a gun to score your first kill. Follow the on-screen instructions to duck under a branch, then proceed toward a pair of Japanese soldiers.
While still crouched, creep up behind the soldier on the left and sink your knife into his back. Faraday takes out the other guard. Once both enemy soldiers are down, turn right and follow the platform to the spot where Sarge is waiting. He tosses you a Japanese Type 100 submachine gun.
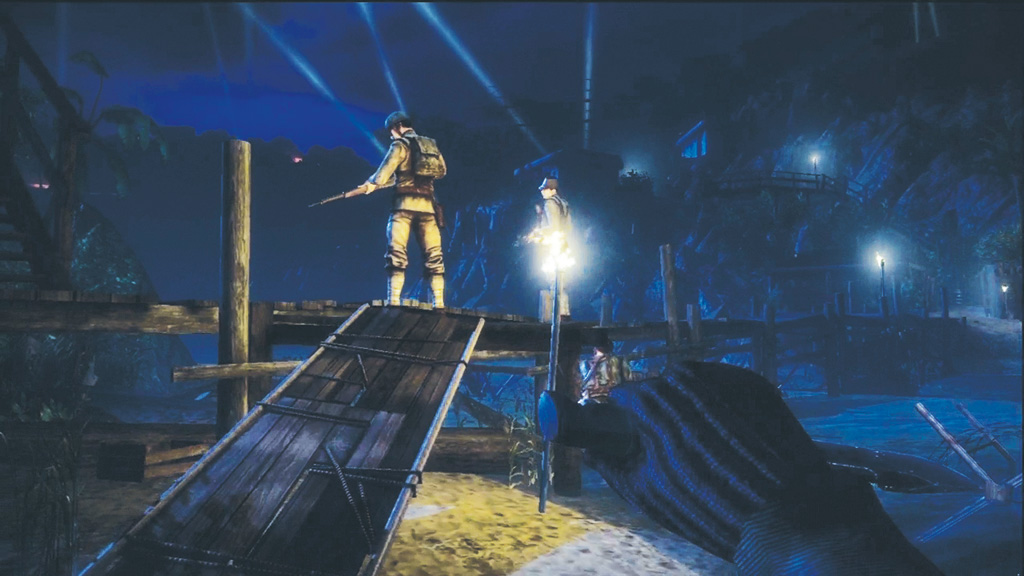
With your new weapon in hand, follow Sarge up the hill and across a bridge. There are no hostiles in this area, so keep your finger off the trigger.
If you’re still crouched, your squad will move out way ahead of you, so stand up to keep up the pace. By now the air raid has commenced with friendly fighters making bombing runs on the island’s defenses.
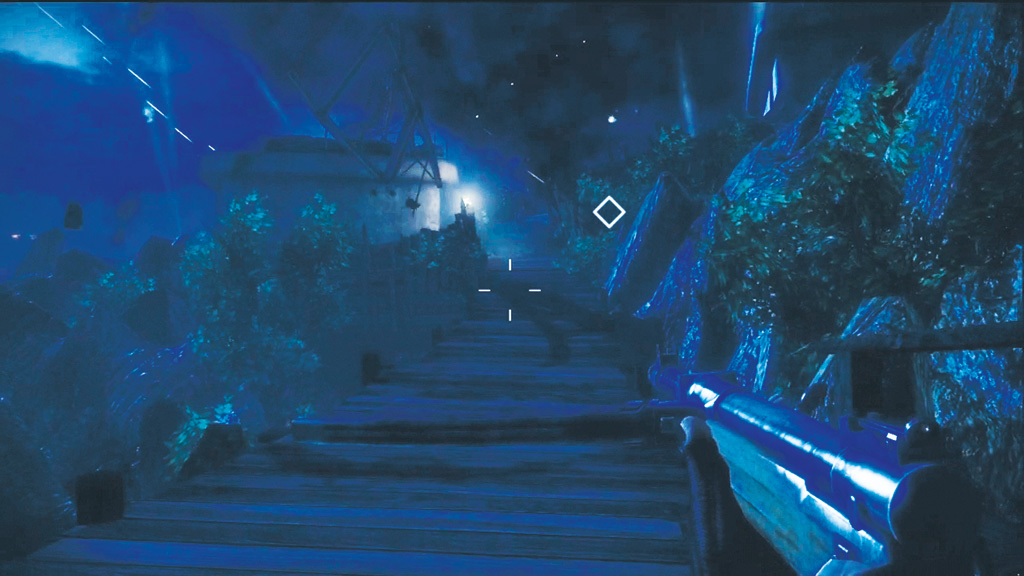
2. Follow Mckee
As you near a trench, Sarge orders you to follow McKee. Hop down in the trenches and cover McKee’s back as he advances. Watch for a Japanese soldier with a sword charging your squadmate. Try to gun the enemy down before he reaches McKee.
Even if you miss, McKee has no problem taking this guy out on his own. If you expended several rounds in this engagement, load a fresh magazine—you don’t want to run out of ammo at an inopportune time.
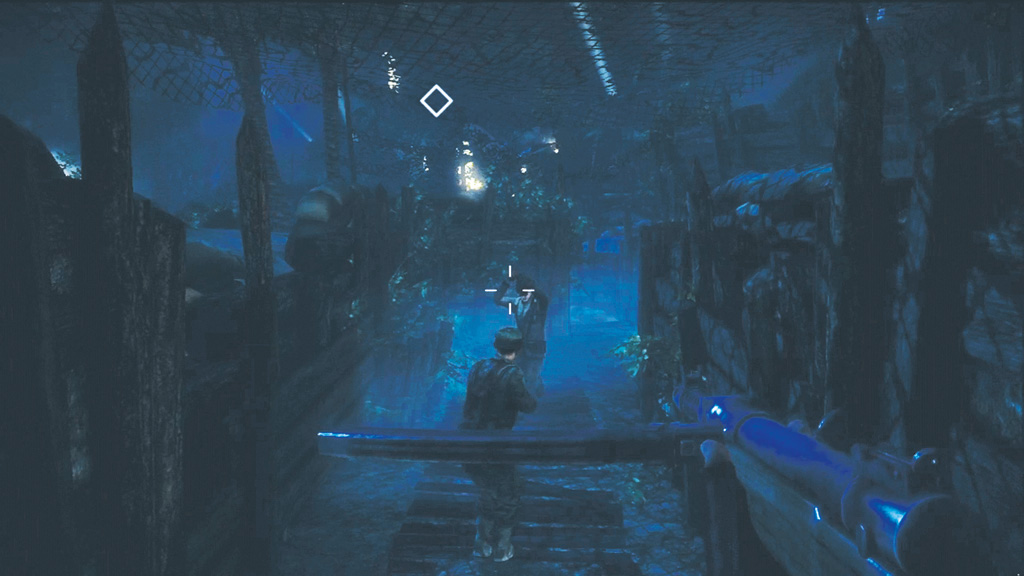
McKee stops at a clearing in the trench where several Japanese soldiers are gathered around an anti-aircraft gun. Take aim with your submachine gun and mow them all down before they have a chance to retaliate.
For best results, drop to a crouch before firing and use the weapon’s zoom function to accurately target the enemies using the weapon’s iron sight. This is much more effective than shooting from the hip.
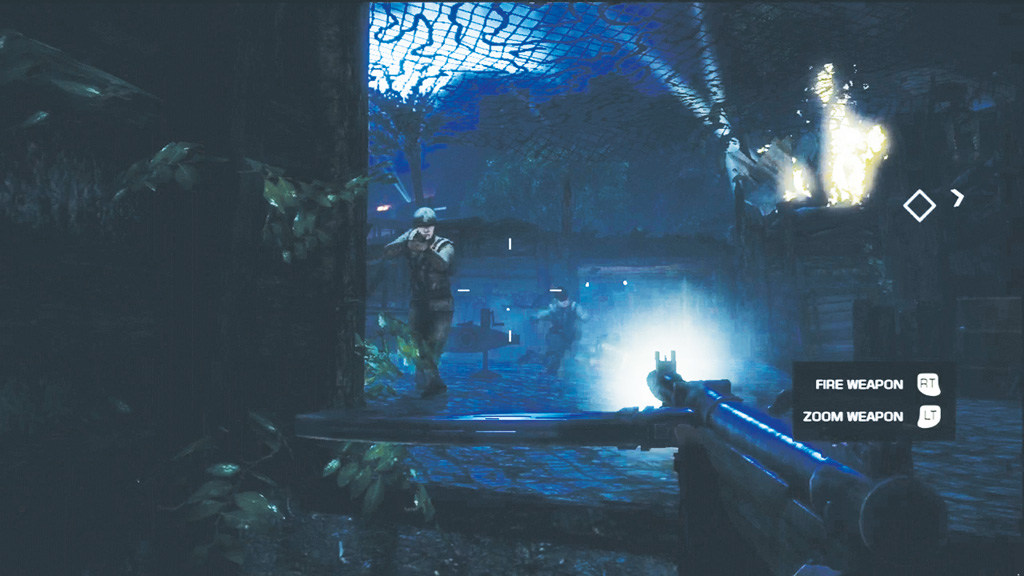
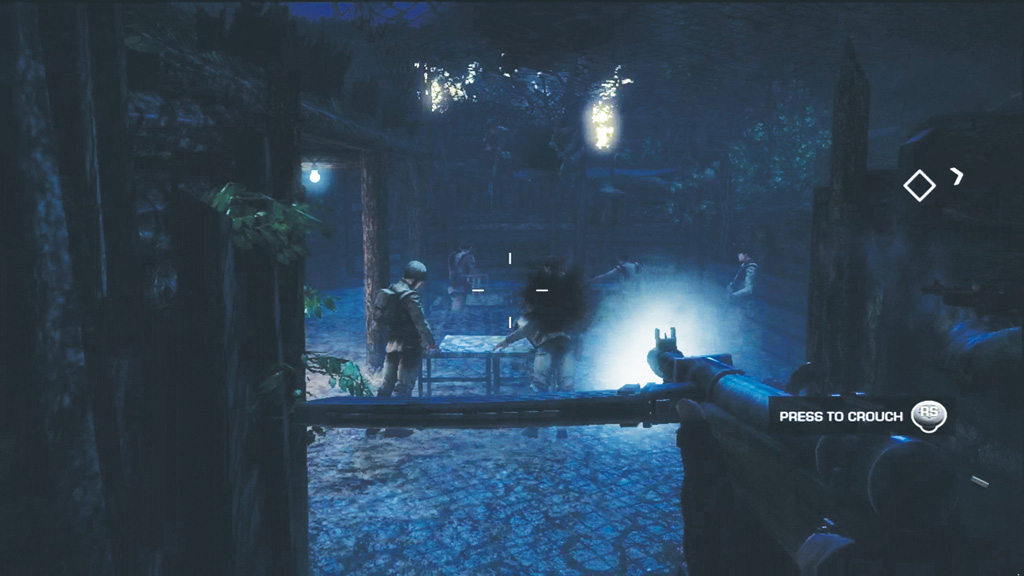
Continue following McKee through the trench, clearing out a second anti-aircraft position along the way. You eventually come to another clearing where several Japanese officers and soldiers are gathered around a map table.
This time you have support from Sarge and Faraday on the opposite side of the trench. Drop to a knee and spray the area with your submachine gun. Pan your aim left and right to rake the area with automatic fire.
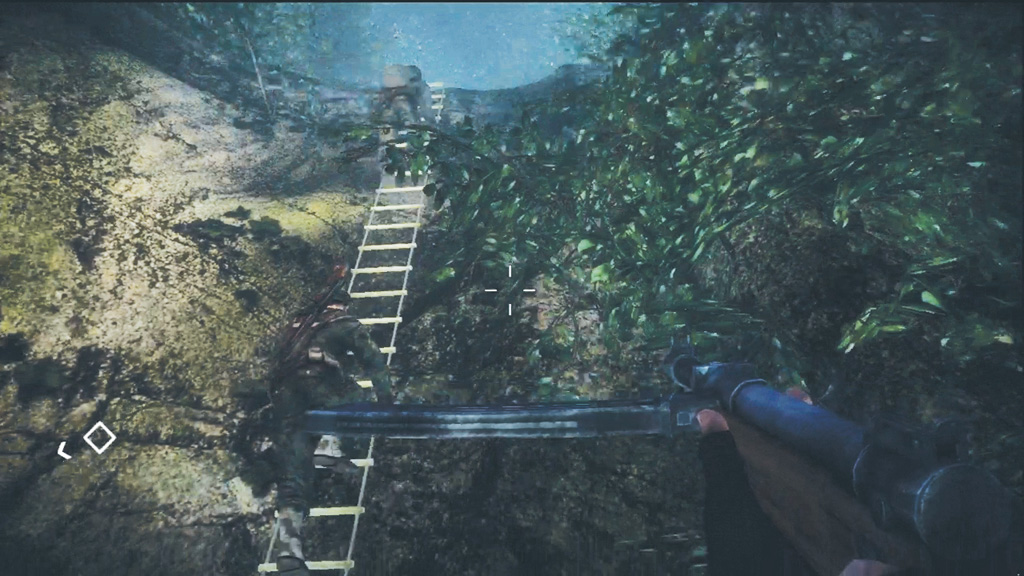
Follow McKee out of the trench toward a steep cliff where Sarge is waiting. Faraday drops a rope ladder down the cliff, allowing the rest of the squad to climb up. Wait for Sarge and McKee to lead the way, then step up to the ladder to automatically grab on.
Once you’re on the ladder, move forward to move up or backward to move down. In this case you need to rejoin your squad at the top of the cliff, so move up. Always look for ladders when attempting to traverse steep terrain, especially when looking for a way down. Dropping off of high ledges could lead to an embarrassing death.
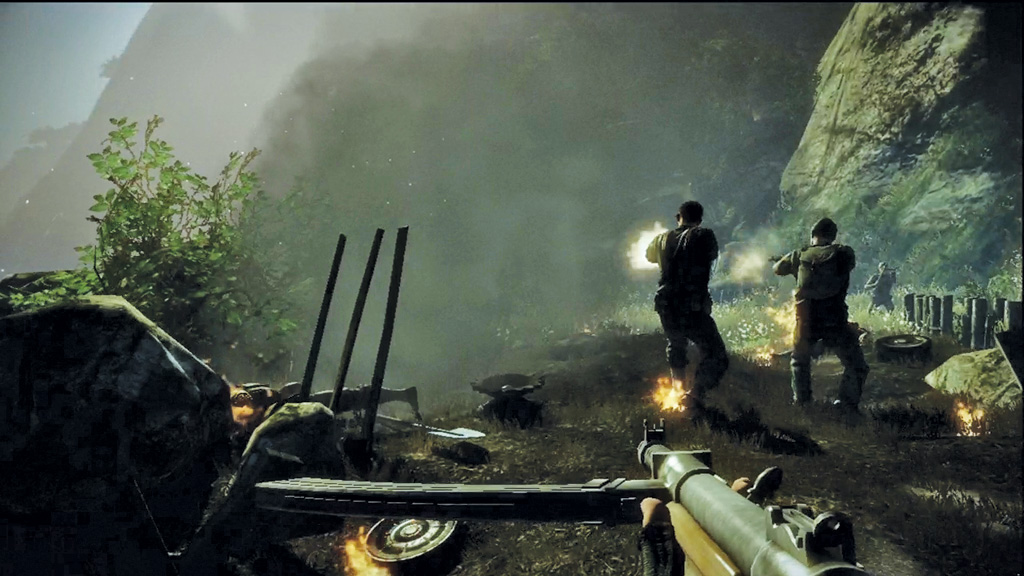
At the top of the cliff, the sun is just peeking over the horizon, improving visibility significantly. Follow the squad through a jungle and out into a grassy clearing. Duck down among the grass as a column of Japanese infantry and tanks pass along a nearby road.
A squadron of Navy Corsairs suddenly swoop down and strafe the procession with bombs and machine gun fire. The tanks are down for the count, but a few panicked infantry remain. Help your team wipe out the survivors.
3. Locate the Defector
After staging a successful ambush, follow the squad up a narrow trail leading back into the jungle. The sprint function is now available, allowing you to run to keep up with your team. While sprinting you cannot fire your weapon, so reserve this form of movement for when you’re not threatened or whenever you need to reach cover quickly.
During the journey, make note of the white diamond icon on the screen—a similar icon appears on the minimap. This diamond icon represents the location of the current objective. In this case, the area beyond the rope bridge is where you’re supposed to meet the scientist. Cross the bridge to trigger a cutscene.
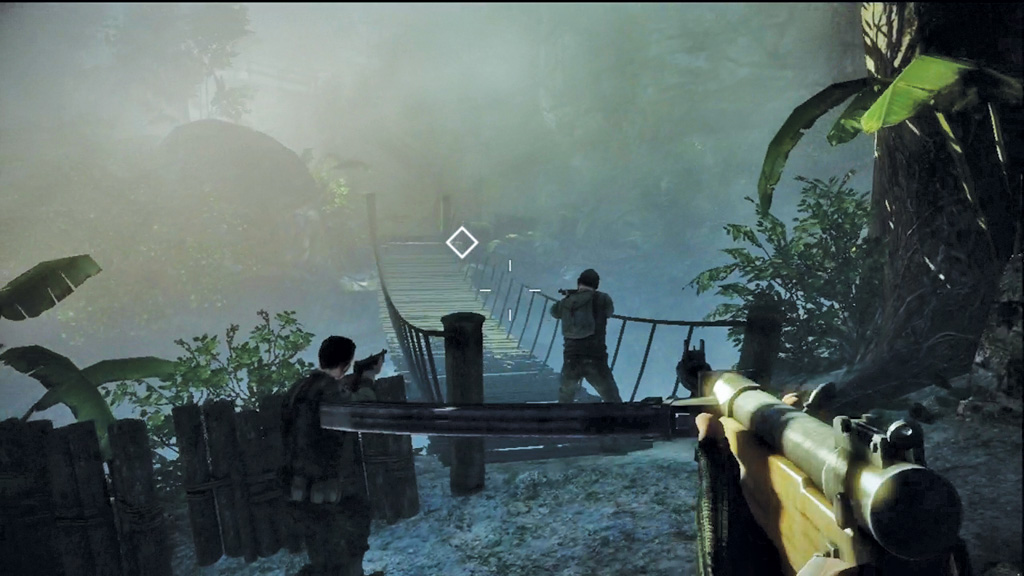
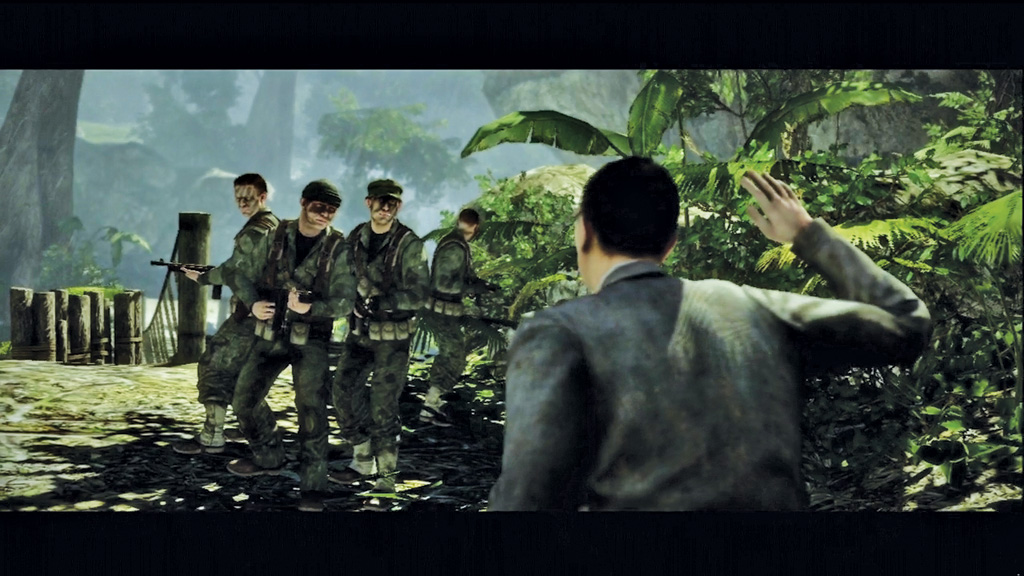
The Japanese scientist is right where he’s supposed to be. But something’s wrong as indicated by a low rumbling reverberating through the jungle. The scientist warns about “the black weapon.” While the scientist seems to have given up hope of escaping, Sarge and his men are determined to get off the island with the scientist. Their egress route has been cut off by approaching Japanese troops, so Sarge suggests hitching a ride on a submarine via the island’s sub pen.
4. Capture Enemy Vehicle
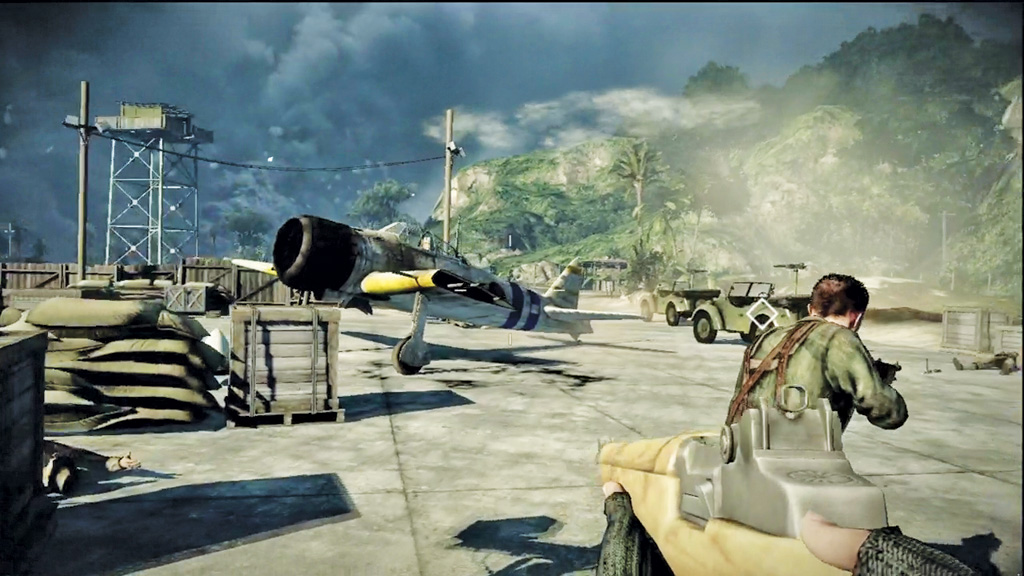
The sub pen isn’t close, so you need to commandeer transportation. Follow your squad to a nearby airfield where a Type 95 recon car pulls through the front gate. This is your ride, but you need to fight through a large contingent of enemy infantry to get to it. Equip the Type 5 semiautomatic rifle you picked up back in the trench and drop to a crouch to steady your aim.
This weapon gives you the range and damage output to effectively engage the airfield’s guards. As soon as you fire, your squadmates join in. Help them wipe out the Japanese soldiers at the airfield’s entrance.
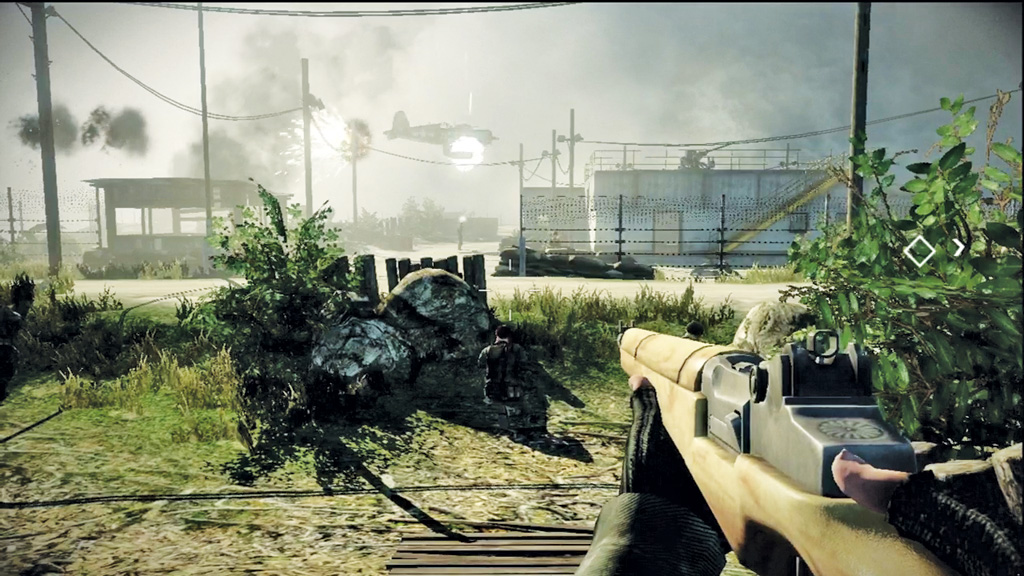
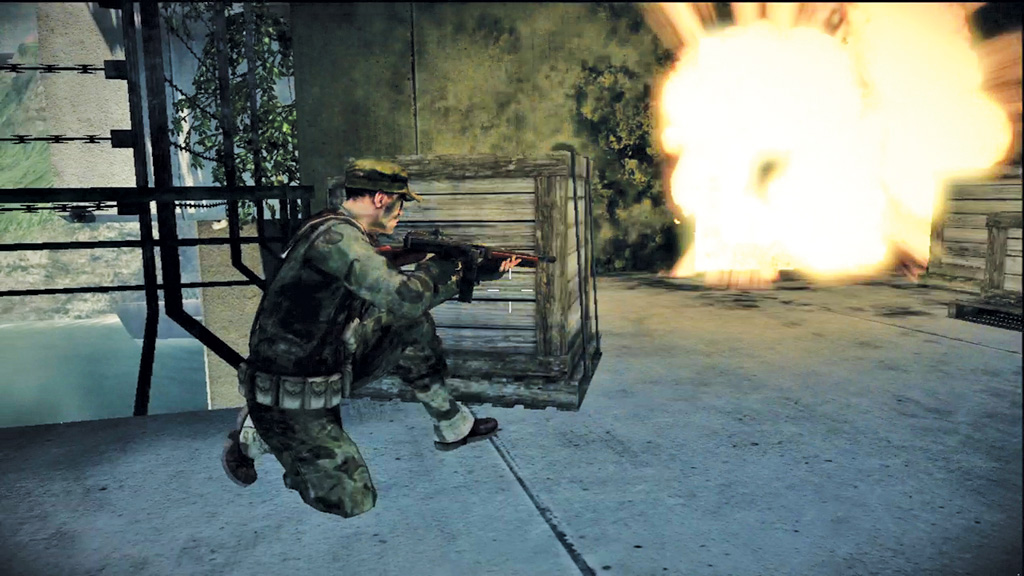
Stay behind your team as they advance onto the airfield and toward the vehicle. Yet another group of Japanese infantry stand between you and your objective. Instead of standing out in the open, seek cover to avoid getting mowed down.
Crouch behind a solid object, such as this large pile of wood. Either peek around cover or quickly stand up to take a shot. Just be sure you’re back behind cover while reloading.
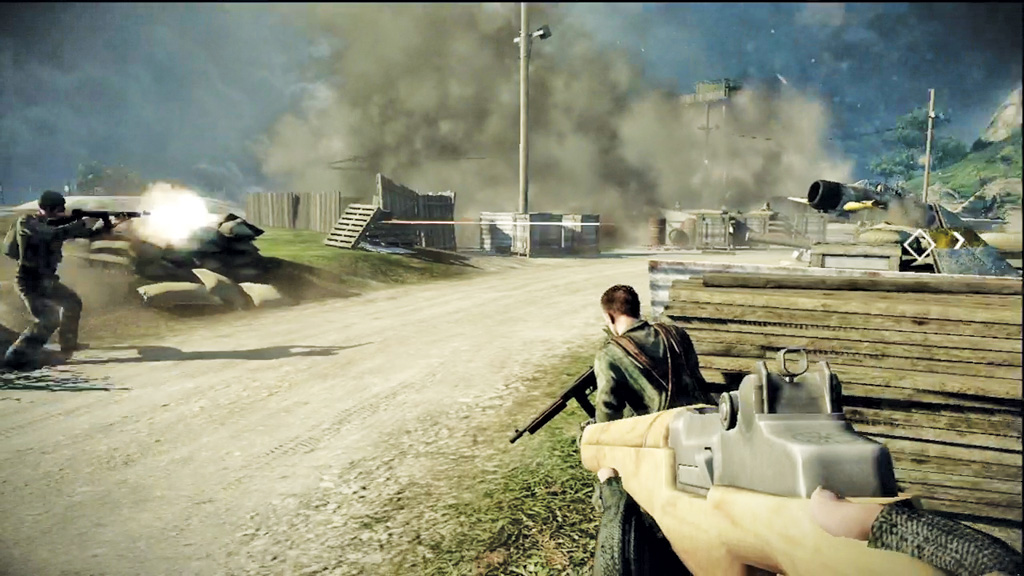
Your teammates won’t make a move for the recon car until the airfield is completely clear of threats. So stay behind cover and keep scouting for targets until your squad moves out. Move toward the car marked with a white diamond icon and press the button indicated on screen to hop inside and begin your journey to the sub pen.
5. Defend Vehicle
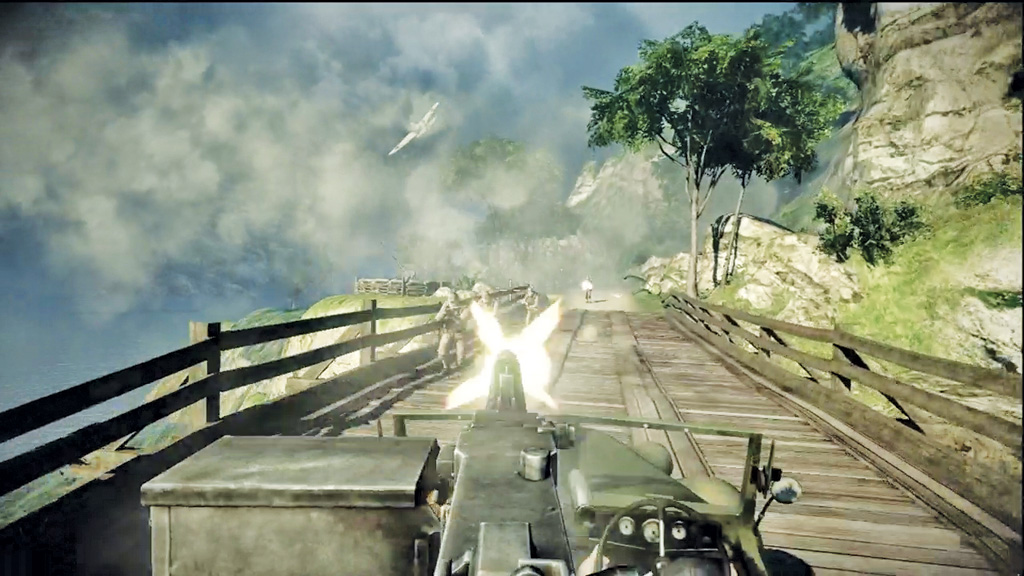
During the ride to the sub pen you’re in control of the vehicle’s .30 caliber machine gun. Simply aim the weapon using the white reticle in the center of the screen and pull the trigger to fire. The machine gun also has a zoom function for hitting distant targets, but at the speeds you’re traveling, this feature isn’t very useful. Instead, focus on mowing down the infantry you encounter on the sides of the road, keeping the gun facing forward as much as possible.
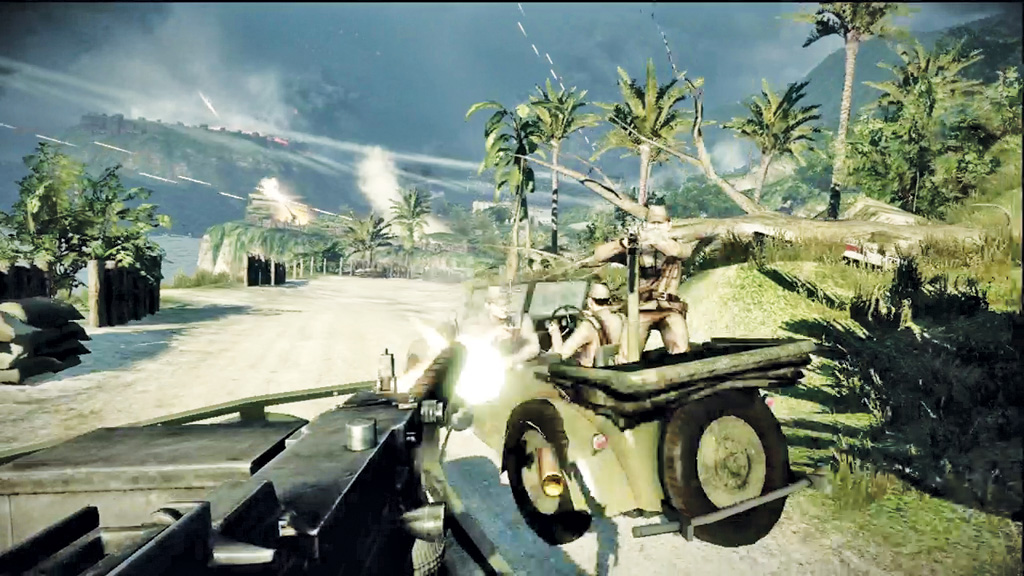
Watch out for a pair of enemy recon cars along the way. They pull in front of you and try to wipe you out with machine guns of their own. Quickly open fire on these cars before they can inflict any damage.
There are a couple of ways to eliminate these threats. Either mow down all three occupants of the car or target the car directly. All it takes is a quick burst to cause each car to explode. Your own vehicle plows through the flaming wreck without sustaining any damage.
6. Find Sub Pen Location
You’ve made it to the sub pen when the recon car comes to a halt. Hop out of the vehicle and prepare to fight your way inside the pen. This time switch back to the Type 100 submachine gun as it’s better suited to the close combat you encounter along the way.
Stay with your squad and help them mow down the few Japanese soldiers defending the sub pen’s exterior walkway. If you come under heavy fire, seek cover behind a wall or crate.
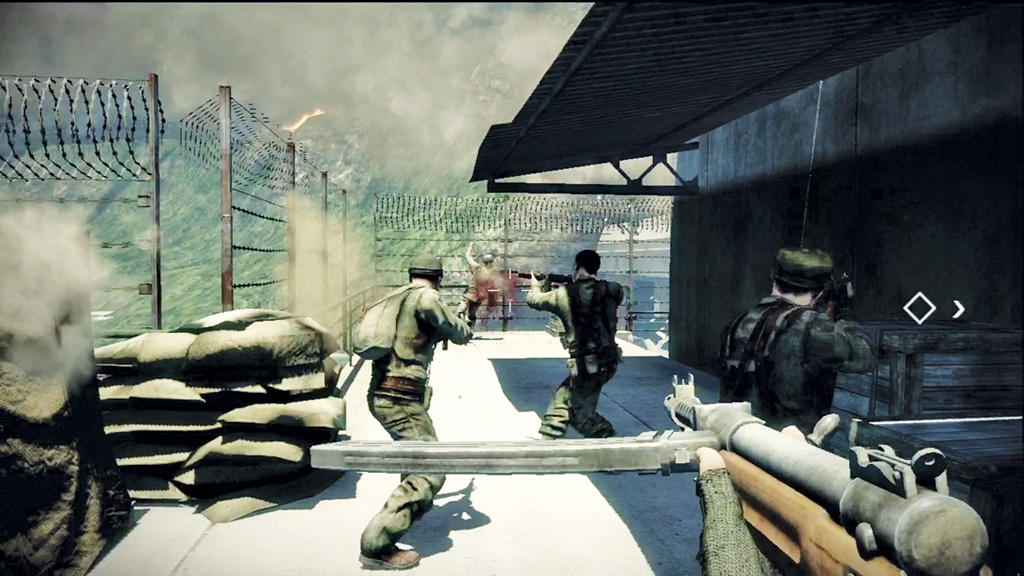
When you come to a locked metal door, Sarge hands you explosives and a detonator. It’s your job to breach the door. First, slap a charge in the middle of the door.
Next, step back a safe distance, preferably where McKee and the scientist are crouched. Once you’re in position, drop the plunger on the detonator to trigger the explosives, clearing a path to the sub pen’s interior.
7. Escape to Captured Enemy Sub
The sub pen is a massive facility, but fortunately it’s mostly abandoned. Still, there are a few Japanese soldiers wandering around, eager to halt your escape.
Switch back to the Type 5 semiautomatic rifle to deal with these long-range threats, using the zoom function to pick off targets through the weapon’s iron sight.
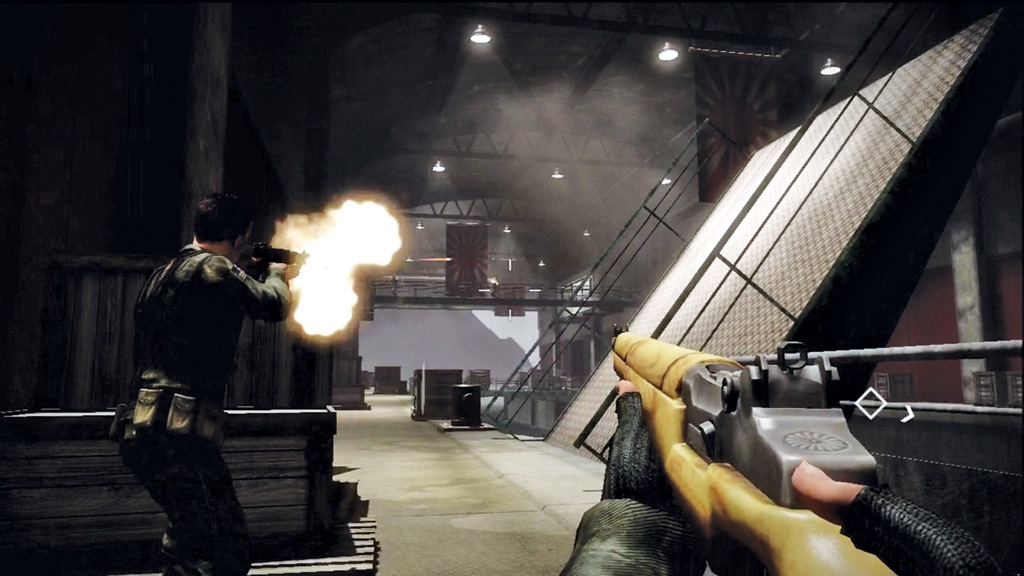
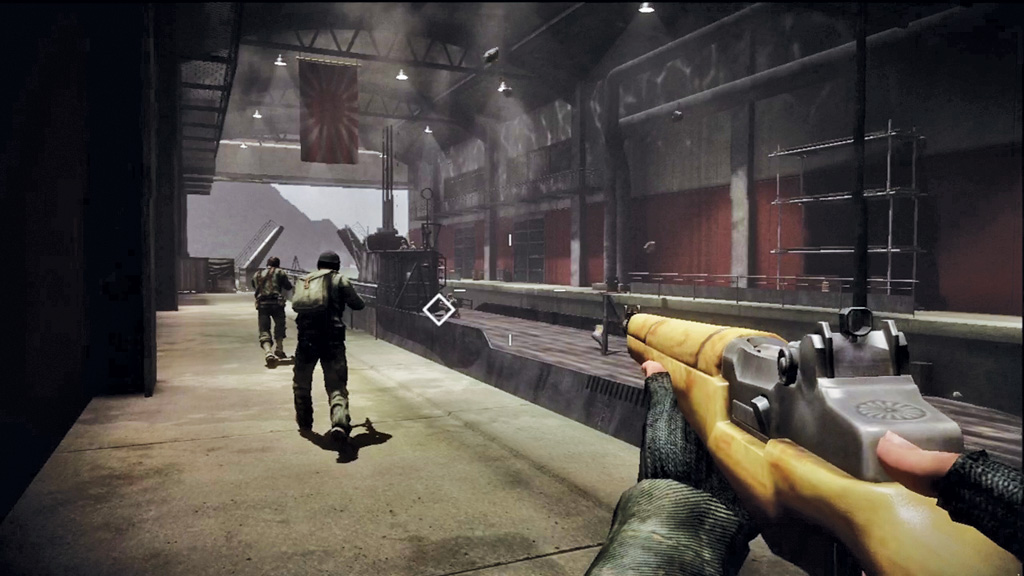
Weave around the sub pen’s walkways to reach the third pen. The submarine waiting in this pen is your ticket out of here. It has already been commandeered by friendly forces, so don’t shoot the guys standing on the conning tower.
Also, ignore the Japanese soldiers running along the catwalk to the right as they don’t pose a threat. Instead, sprint to keep up with your squad as they make a mad dash toward the submarine. Carefully rush across the gangplank and onto the sub to make your escape.
Things didn’t go exactly as scripted, but Wyatt and his squad made it off the island with the scientist—mission complete. But there’s little time for celebration. As the submarine pulls away from the sub pen a massive explosion envelops the island, accompanied by a powerful shockwave and a blinding white flash.
Was this the “black weapon” the scientist warned of? Whatever it was, Wyatt, Faraday, McKee, and Sarge don’t survive to give a first-hand account of the day’s events. The scientist was right all along. There was no hope of escape.