Battlefield Bad Company 2 Guide Walkthrough Campaign
Airborne
1. Neutralize Target and Take His Weapon
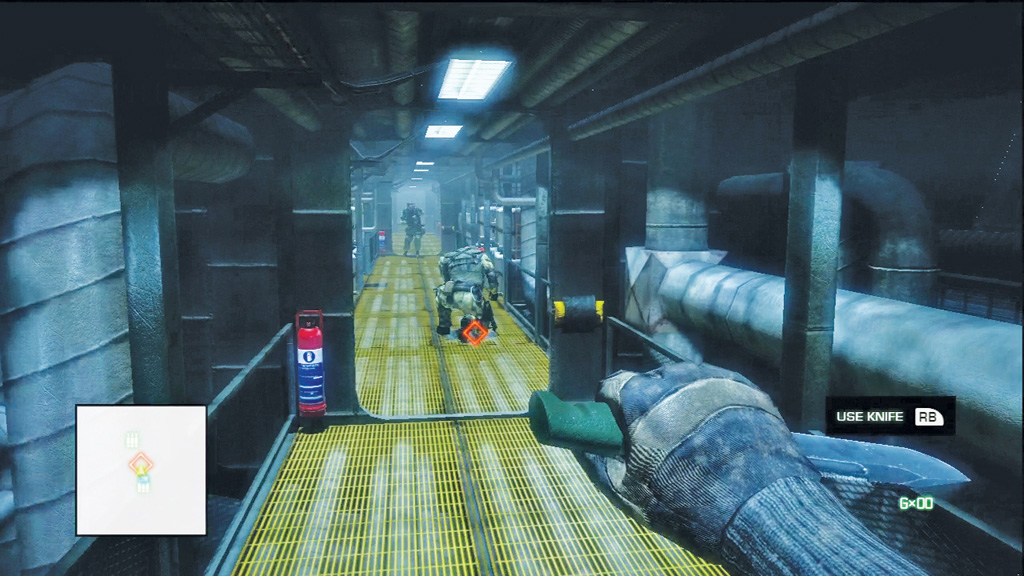
The team is finally aboard the cargo plane carrying Kirilenko’s scalar weapon. While dashing to the plane, the team members had to ditch all their guns, but you still have your knife. Sarge wants you to take out the distracted guard in the aisle ahead. The target is crouched and looking away, but as you approach, his buddy in the distance spots you and warns him. Sprint toward the soldier and stab him before he can spin around and open fire. Once he’s dead, you automatically grab his AKS-74U-R silenced submachine gun.
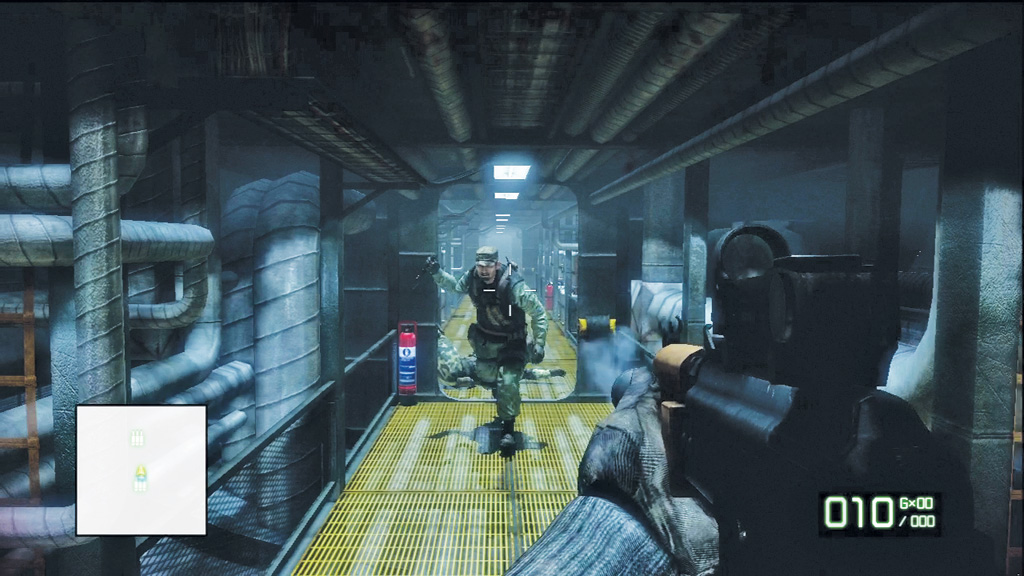
The second guard doesn’t have a firearm, but that doesn’t stop him from charging you with a knife of his own. Backpedal as you load a fresh magazine into your newly acquired weapon. While reloading you’re totally vulnerable, so keep your distance from this guy before he sinks his knife into your chest. Once the weapon is ready, fire a quick burst at the charging guard to drop him. You only have ten rounds, so make each bullet count.
2. Load Up on Ammo
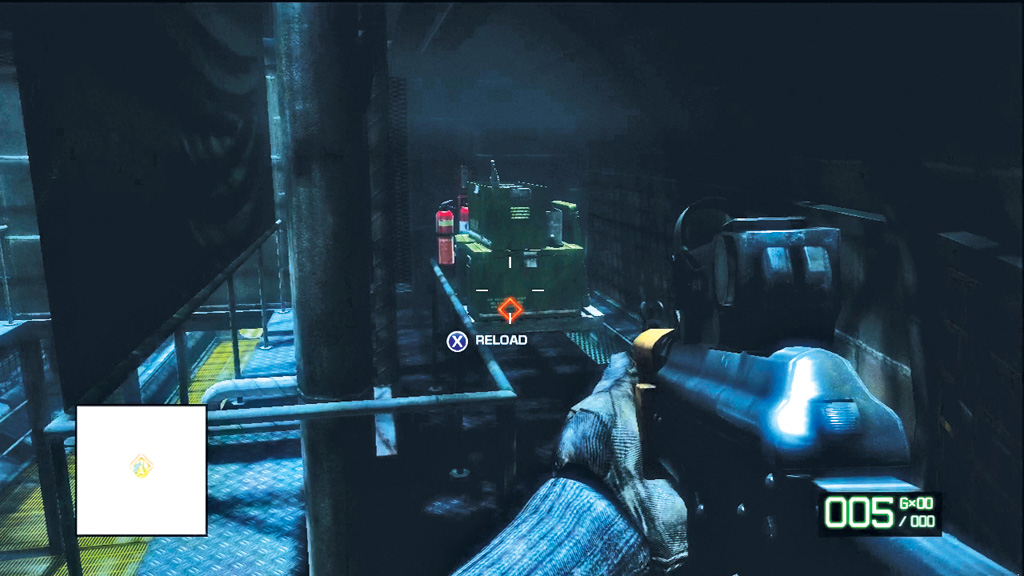
After eliminating the two guards, the rest of this level is clear. Proceed to the end of the aisle and climb the steps. At the top of the short stairs, turn left and look for an ammo crate tucked away into the corner. Stand next to the crate and load a new magazine into your submachine gun. Now you’re ready to move out and cause some damage.
3. Locate the Weapon Room
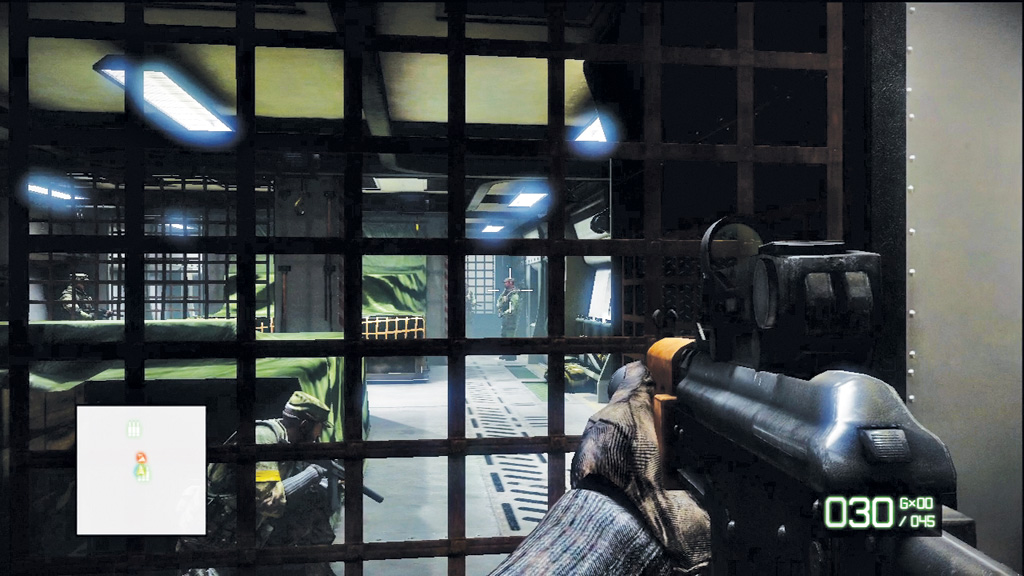
Given the heavy security detail onboard the cargo plane, there has to be an armory with more weapons. You need more than this submachine gun if you hope to assault the cockpit. The cargo compartment ahead is guarded by three Russian soldiers. After entering, step to the right, peering through the cargo net. Zoom in and shoot one of the guards in the head to start the attack. By now your squadmates have weapons too and will join in the attack once the first shot is fired. Still, help them eliminate the two remaining enemies before they can retaliate.
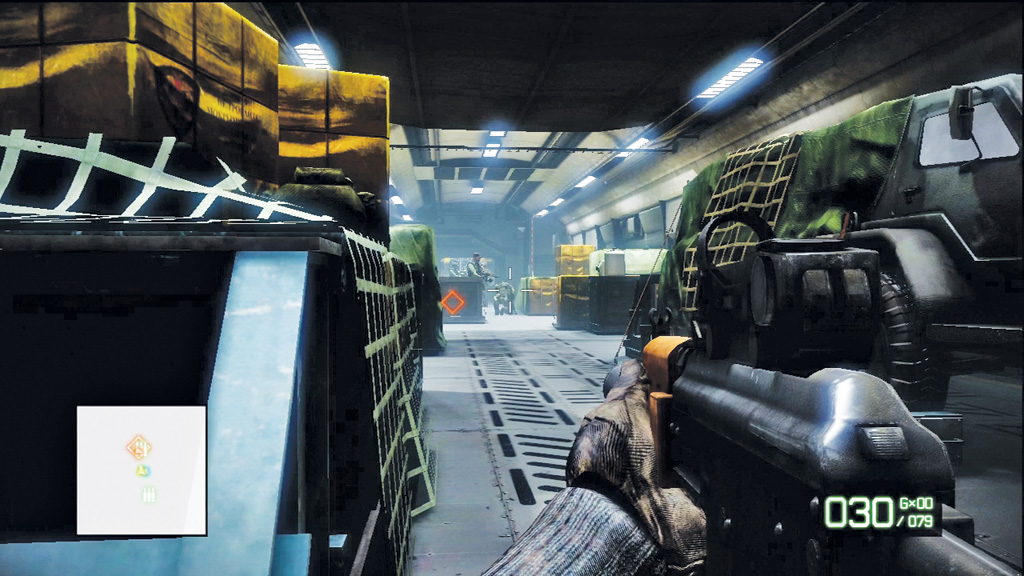
As you advance into the next cargo compartment, Sarge leads the way and knifes one of the patrolling guards. Seek cover along the left side of the compartment and take aim at the four guards ahead. Turbulence causes the plane to shudder, making it difficult to aim accurately. Zoom in and unload an entire magazine on the enemies ahead. Apply some downward pressure on the weapon to compensate for muzzle climb during this burst. Try to mow down all four guards before they can seek cover. You’ll know it’s clear when Sarge moves out.
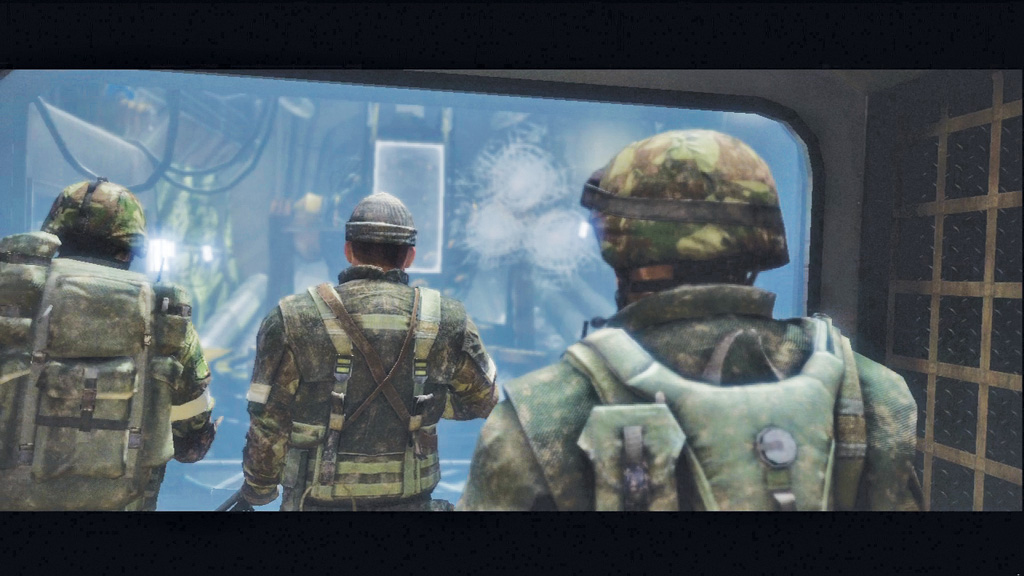
The scalar weapon is located in the compartment ahead, protected by an armored door and bulletproof glass. Haggard figures there’s no way they can get to the weapon without a heavy dose of C4. Even then, such an explosion is likely to tear the plane apart. Sarge suggests heading for the cockpit and taking control of the aircraft.
4. Storm Cockpit
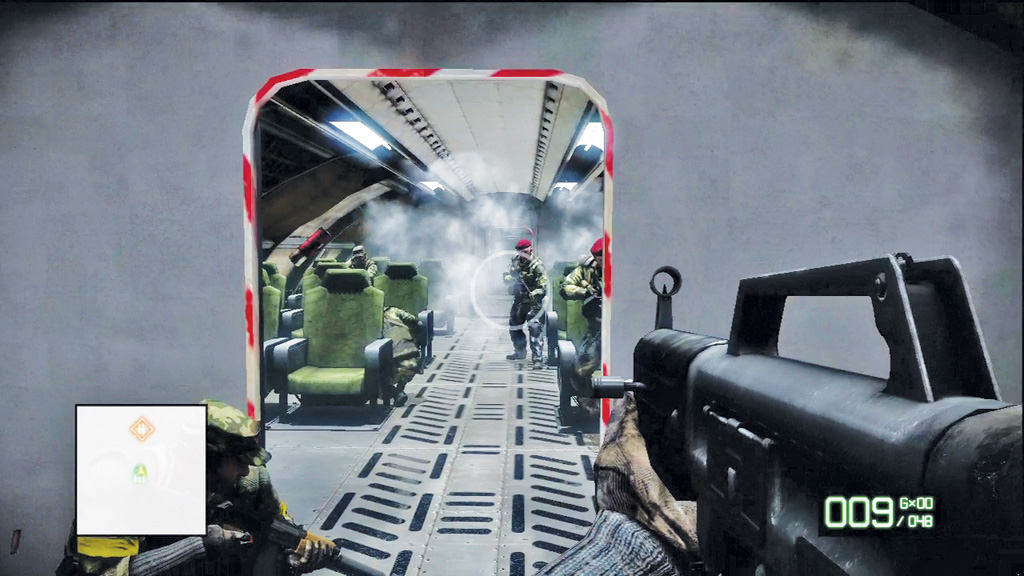
Following the cutscene, Haggard toss you a USAS-12 shotgun. Load a fresh magazine into the weapon and then top off your ammo count by standing next to the nearby ammo crate. Follow your team upstairs to the passenger compartment. Stand directly in front of the closed door and wait for Sarge to kick it open.
Immediately open fire on the startled enemies, taking out the guys in the aisle first. Next, focus on the soldiers in the seats. The shotgun has no problem tearing through the seats, so don’t hesitate, even if you can’t get a clear shot. Keep firing until you’re out of ammo, then step to the right and reload while your teammates continue the attack. Once you have a new magazine loaded, step back into the doorway and finish off the survivors.
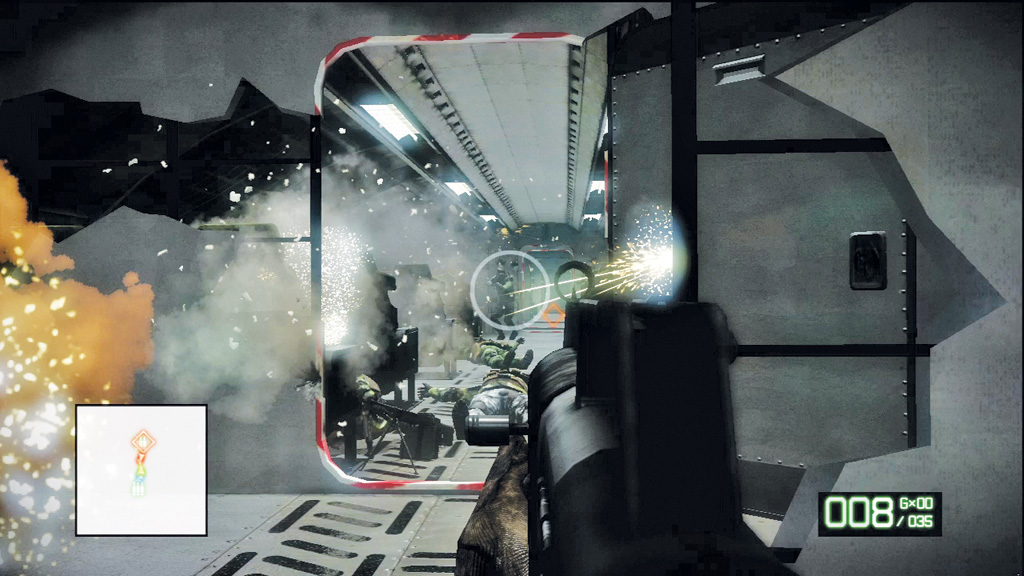
Wait for Sarge to move through the door, then follow him into the passenger compartment. By now, the element of surprise is gone. Keep your weapon trained on the closed door ahead. As soon as it opens, pull the trigger to engage the next group of enemies ahead. If you take heavy fire, step to the right for cover and crouch. The wall-like partitions crumble under heavy fire, so duck behind a seat for better concealment. If they can’t see you, they’re less likely to shoot at you.
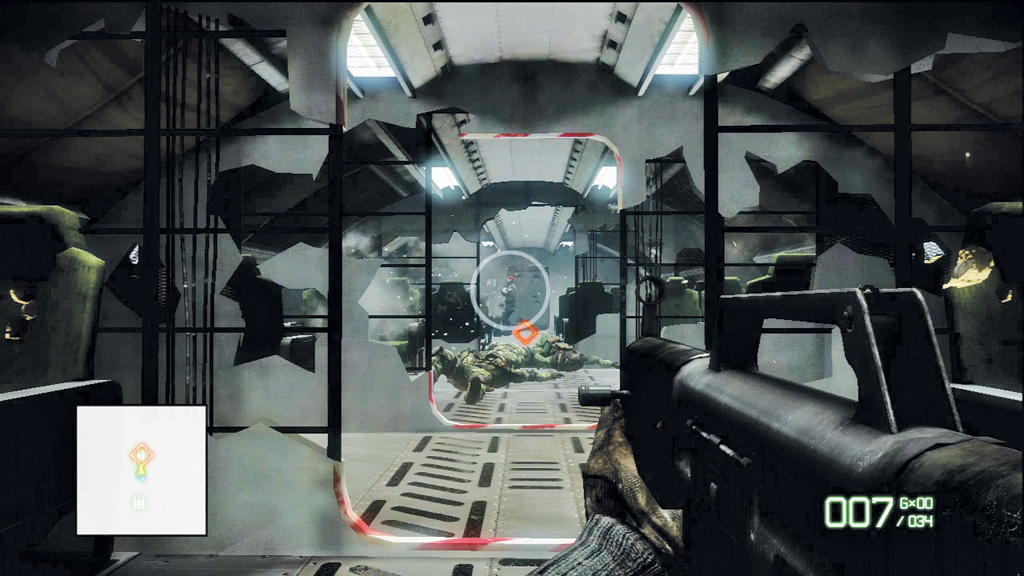
A handful of Russian troops defend the cockpit door ahead, but they’re no match for your shotgun. Stay low and keep firing shell after shell down the aisle. If they take cover behind the seats or partitions, simply shoot through their cover. But don’t get greedy. If you start taking heavy fire, quickly sidestep to the right or left, as most incoming fire is focused down the aisle. Once all the enemies are down, move to the cockpit door.
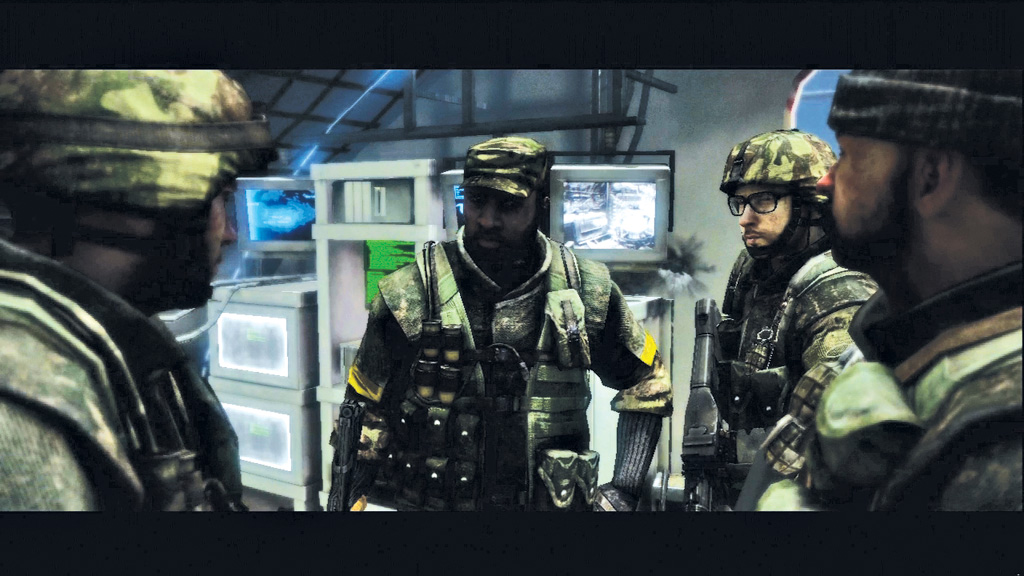
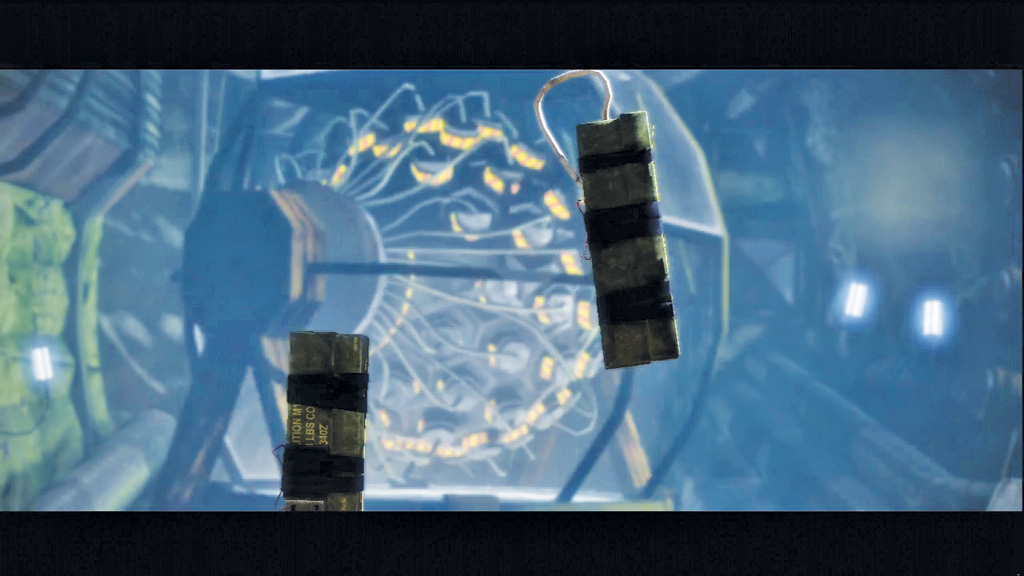
The cockpit is empty. No pilots. No Kirilenko. And the plane is quickly approaching Texas. Suddenly, Kirilenko appears on a video screen. He’s located in the shielded compartment containing the scalar weapon. The team is out of options. So they head back downstairs and commence an attack on the fortified scalar weapon. As Haggard plants C4 charges on the bulletproof glass, Kirilenko can be heard panicking inside. He knows the explosion will bring the whole plane down.
5. Destroy Weapon Compound
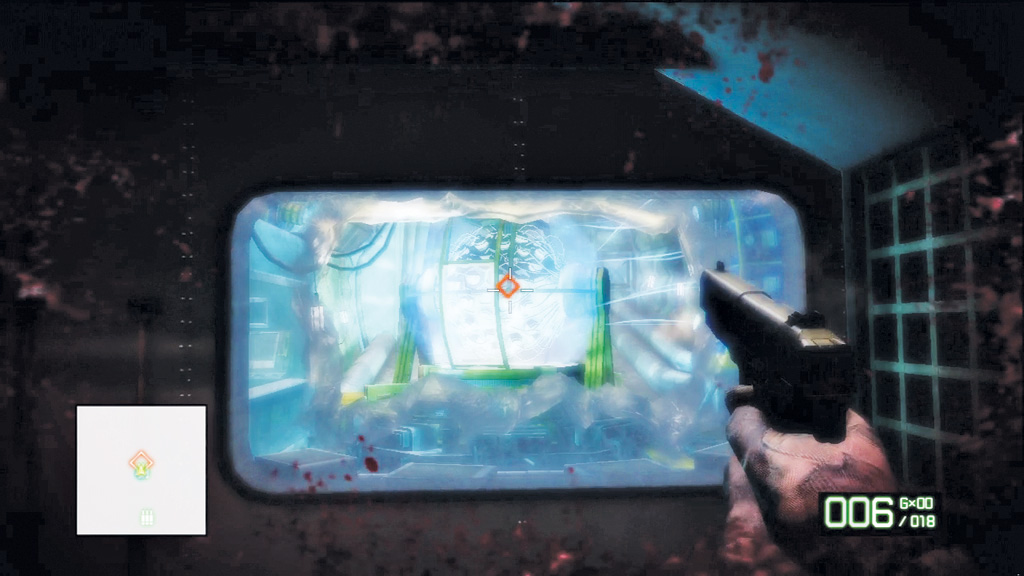
Given their close proximity, the exploding C4 charges nearly kill you. But don’t let that minor detail distract you from the task at hand. Now that the bulletproof glass is history, aim at the scalar weapon with your pistol and empty a full magazine into the rotating device. Keep firing until the weapon emits a bright white flash and stops rotating. You did it. Kirilenko’s weapon is dead . . . and the Texas power grid remains intact.
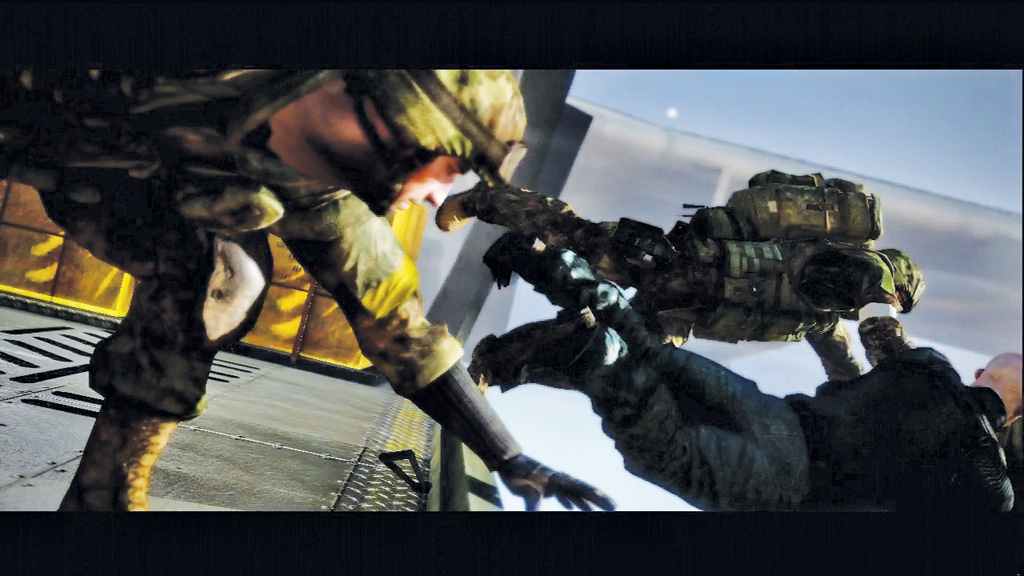
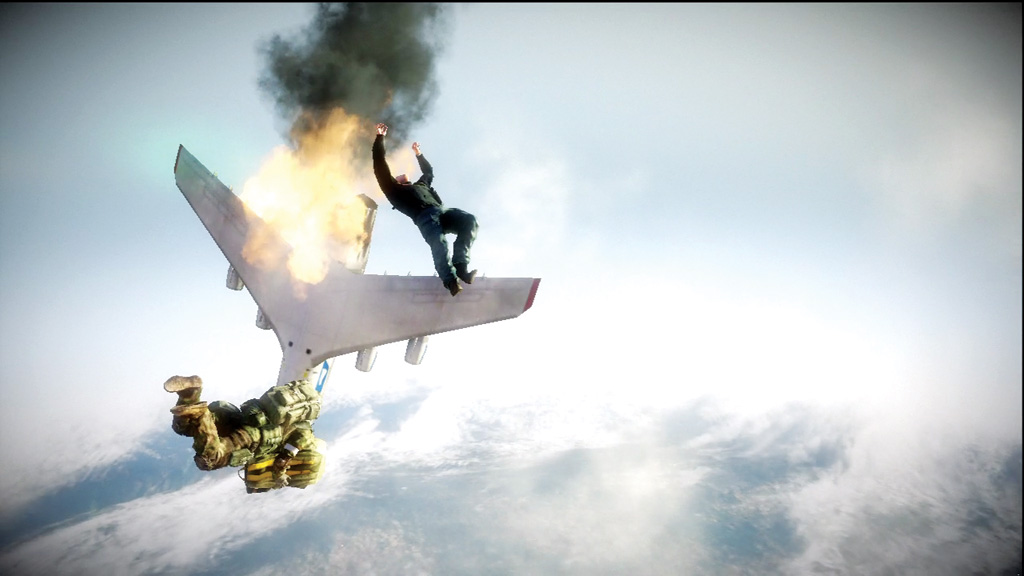
Following the destruction of the scalar weapon, Sarge and Haggard grab parachutes and leap out of the crippled aircraft. As Sweetwater is about to hand Marlowe a parachute, Kirilenko tackles him, causing them both to tumble out of the plane. With no parachutes left, Marlowe leaps out after Kirilenko.
6. Terminate Kirilenko
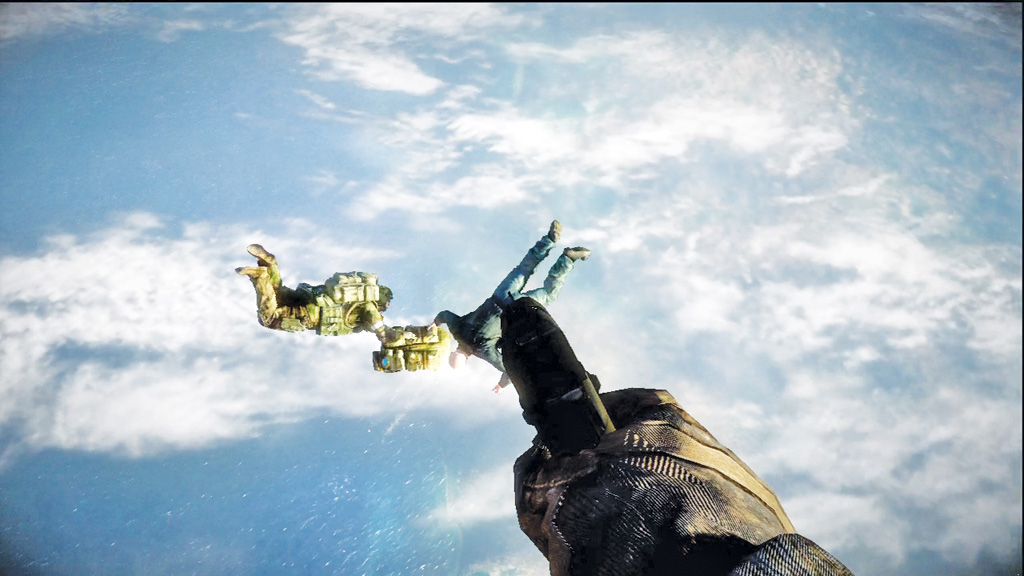
Sweetwater and Kirilenko are still fighting over the last parachute as they freefall. As you chase after them, carefully take aim at Kirilenko and open fire with your pistol. Don’t worry too much about accuracy or hitting Sweetwater. Just keep your weapon centered on Kirilenko and keep firing. You only have a few seconds to score the kill, so make each shot count. If you fail to kill Kirilenko in time, you’ll fall past Sweetwater and die, forcing you to retry this sequence. You’ll know you’re successful when Kirilenko lets go of the parachute and drifts away from Sweetwater. You can relax as Sweetwater turns toward you with the parachute.