
Battlefield Bad Company 2 Guide Walkthrough Campaign
Snowblind
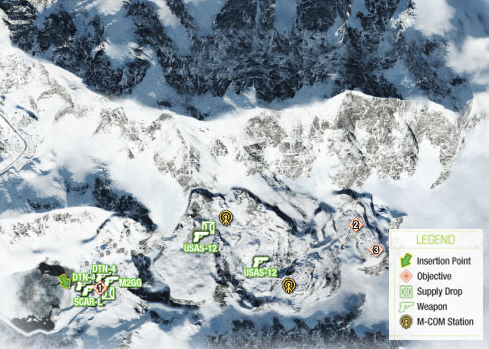
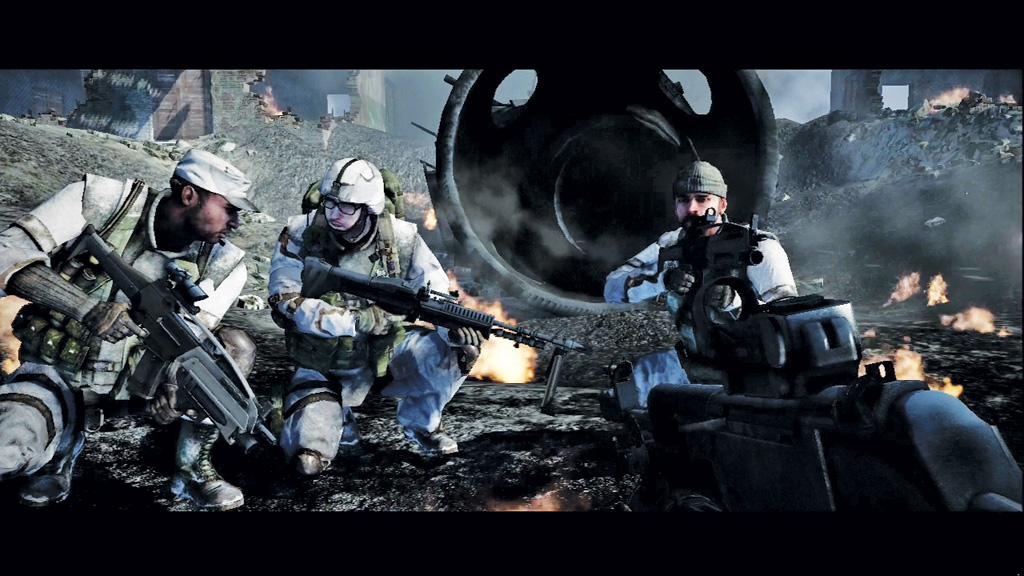
Follow your team into the village toward the satellite crash site. The satellite managed to survive reentry and the impact, but it’s too hot to touch.
Meanwhile, Russian troops are on the move in an attempt to destroy the satellite before you can retrieve the data server.
You need to form a defensive perimeter around the crash site and prevent the Russians from overrunning your position.
1. Protect Satellite Wreck
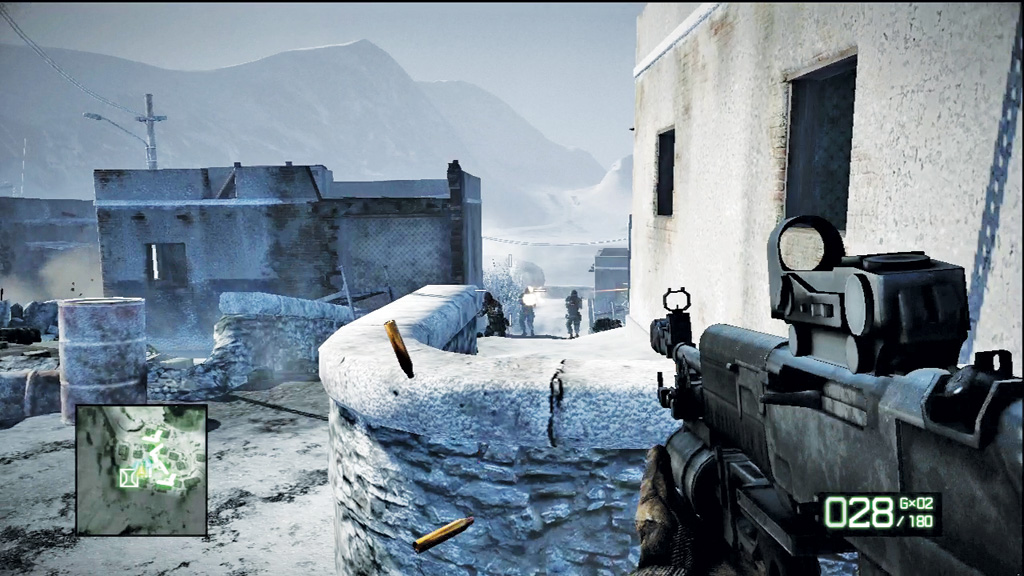
The first wave of attackers approaches from the west, racing up the nearby alleys and streets. Find some cover and greet them with a barrage of automatic fire and grenades.
The biggest threat here are the guys with rocket launchers that climb onto nearby rooftops. Instead of targeting you or your team, they have orders to destroy the satellite.
Take them out quickly before they can damage the satellite. The nearby ammo crate will keep you in business throughout this attack, so make frequent visits to stock up on more grenades.
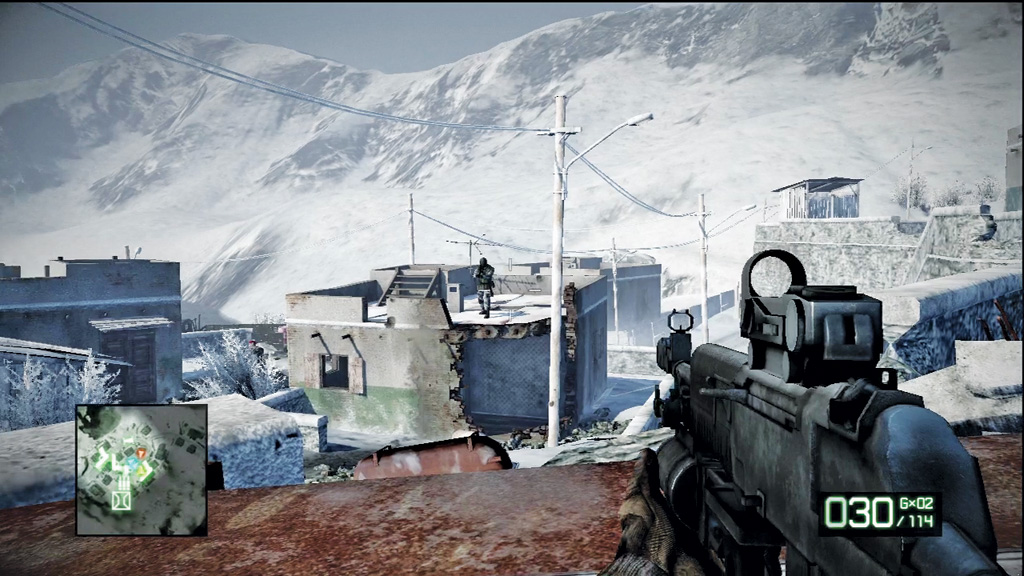
Once the first wave is eliminated, Sarge announces a new wave of enemies advancing from the north. Shift to the north side of the satellite and watch for more Russian troops running into view.
Once again, use a mix of grenades and automatic fire to hold them back. But most importantly, identify and eliminate the enemies on the rooftops with rocket launchers.
These guys have a clear shot at the satellite and can inflict heavy damage if you don’t take them out fast. If the satellite is destroyed, the objective is a failure, forcing you to start over from the last checkpoint.
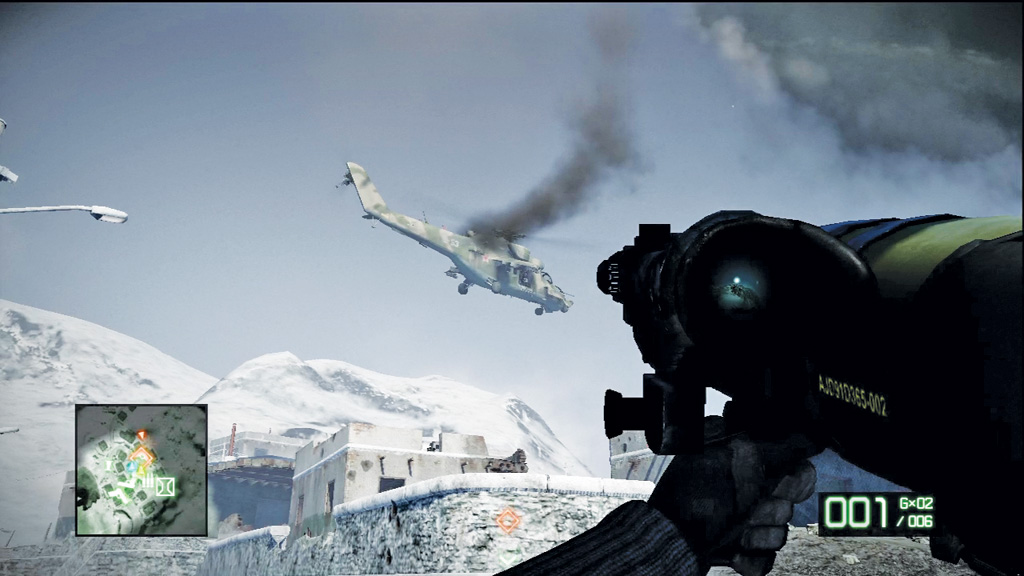
After defeating the second wave, a Russian MI24 gunship flies into view. Grab the nearby M2CG rocket launcher (by the overturned bathtub to the east) or acquire one from the supply drop crate—whichever is closest.
Immediately take aim at the hovering chopper and fire a rocket into its fuselage. It takes two hits with your rocket launcher to bring this chopper down.
For best results, don’t shoot when the chopper is moving—wait until it pulls to a hover.
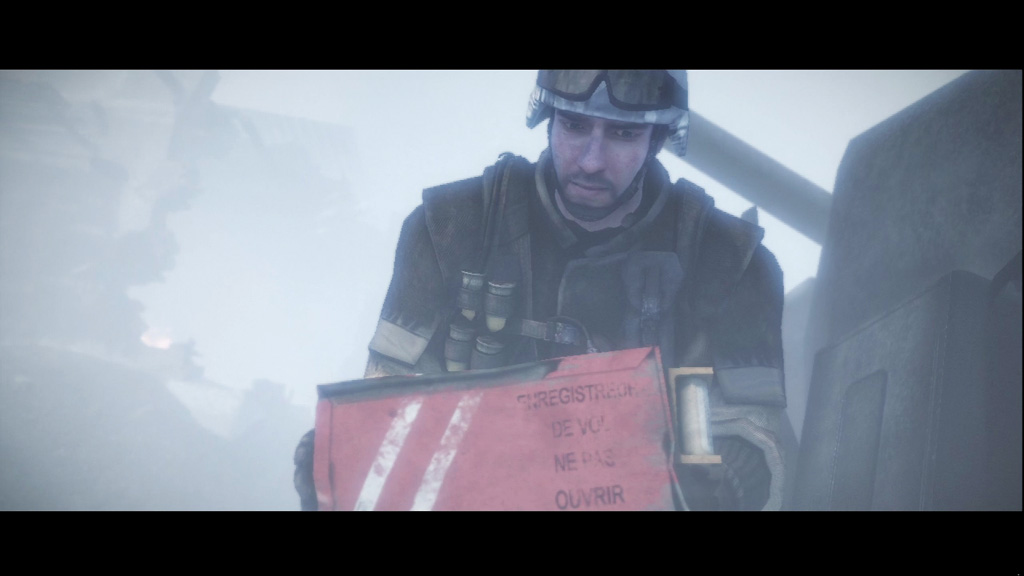
In a cutscene you see that, following the Russian attack, a blizzard moves into the area, severely limiting visibility. Sarge and Haggard move out in search of a vehicle, leaving Marlowe and Sweetwater to secure the satellite’s data server.
After pounding on the satellite for a few moments, Sweetwater moves out to find Sarge, leaving Marlowe all alone.
That’s when he finds what they’re looking for. The data server is a small red box located in a cramped compartment within the satellite’s main housing. But now Marlowe is all alone, and this storm isn’t helping.
2. Descend the Mountain
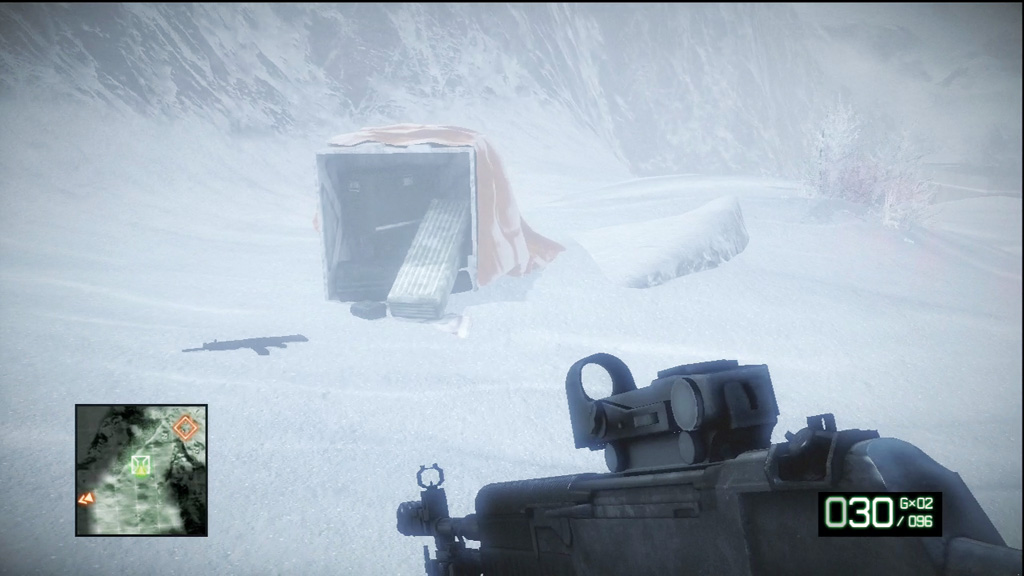
As you regain control of Marlowe, look for the red flares. Flynn has dropped these flares to help guide you through the snowstorm—they’ll help you keep on track.
Follow the flares to the nearby supply drop crate where you find a USAS-12 shotgun. Grab the shotgun and pick out a scoped assault rifle from the crate as your second weapon.
Meanwhile, Sarge checks in over the radio. He suggests finding shelter and warns that Russians are swarming the area ahead.
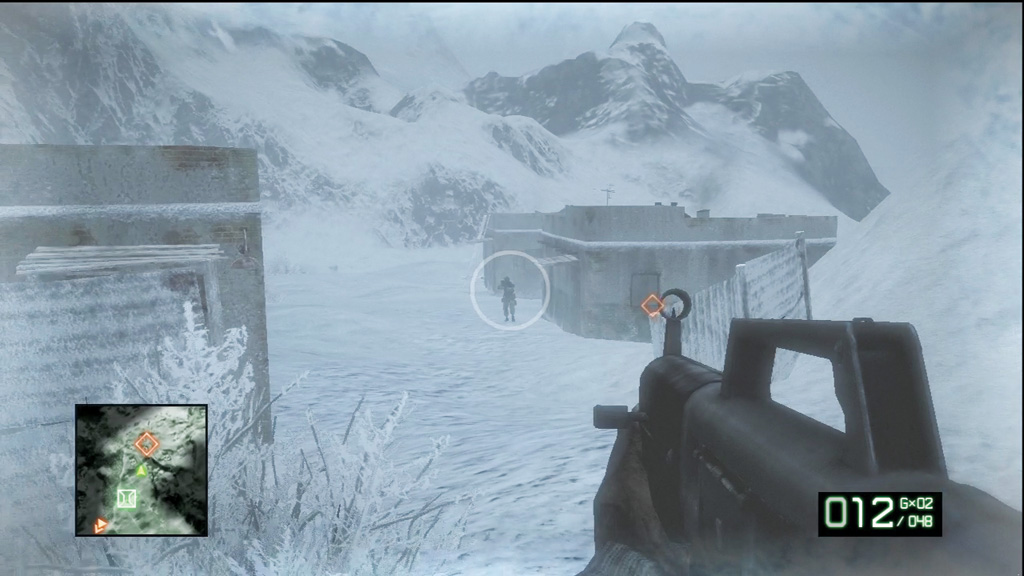
After hitting the supply drop, follow the flares to a group of buildings to the east. Eliminate the soldier patrolling outside, then rush inside one of the houses to warm up by the fire.
During this sequence you must leap-frog from one building to the next in order to stay warm. If you remain exposed to the elements too long, you’ll literally freeze to death. Break into the buildings by slashing the wooden doors with your knife.
Alternatively, you can shoot your way in. It only takes a couple of shotgun hits to break open a door.
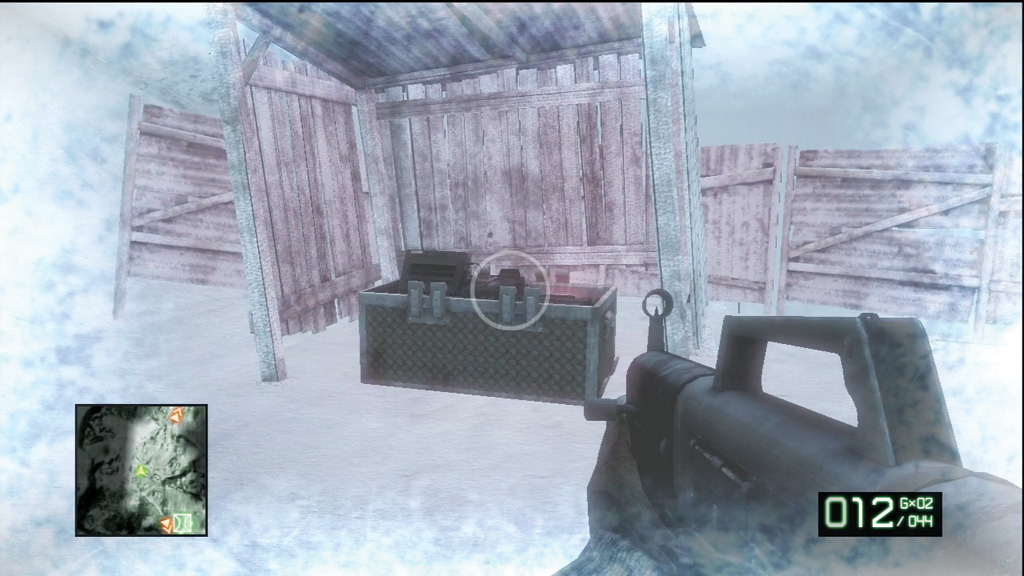
Warm up inside, then head north to find another M-COM station beneath this wooden shelter. Slap a charge on the box, then head back inside to warm up before moving further down the mountain.
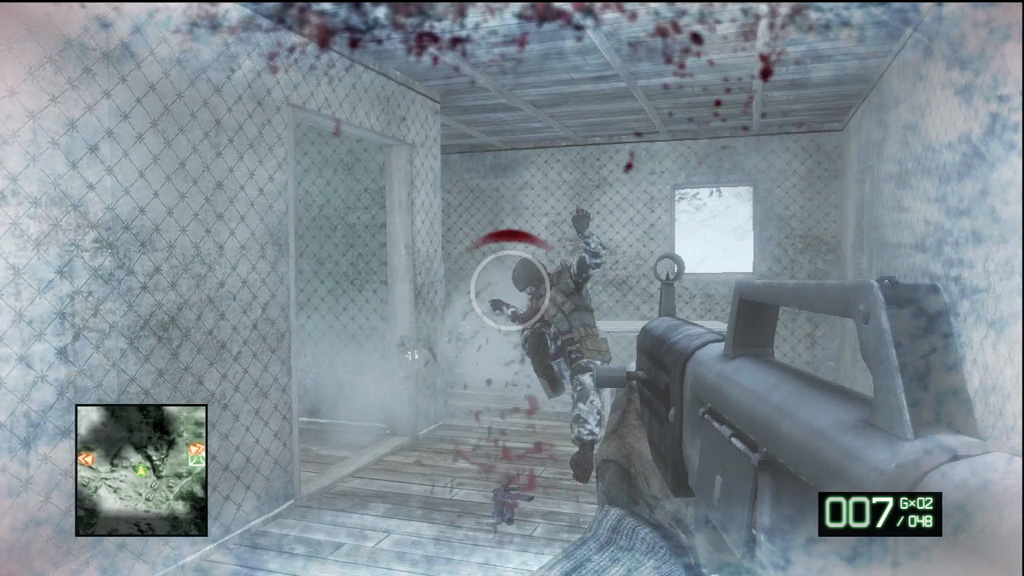
Follow the flares toward the next house, watching for enemies both inside and out. Rely on your assault rifle to engage enemies outside, as it’s most effective at intermediate ranges.
However, switch to the USAS-12 shotgun when entering houses. Not only is it great for busting down doors, but it can also kill enemies with one shot at close range.
Methodically work your way down the mountain, dashing from one house to the next to stay warm. At times you may need to sprint from house to house to avoid freezing.
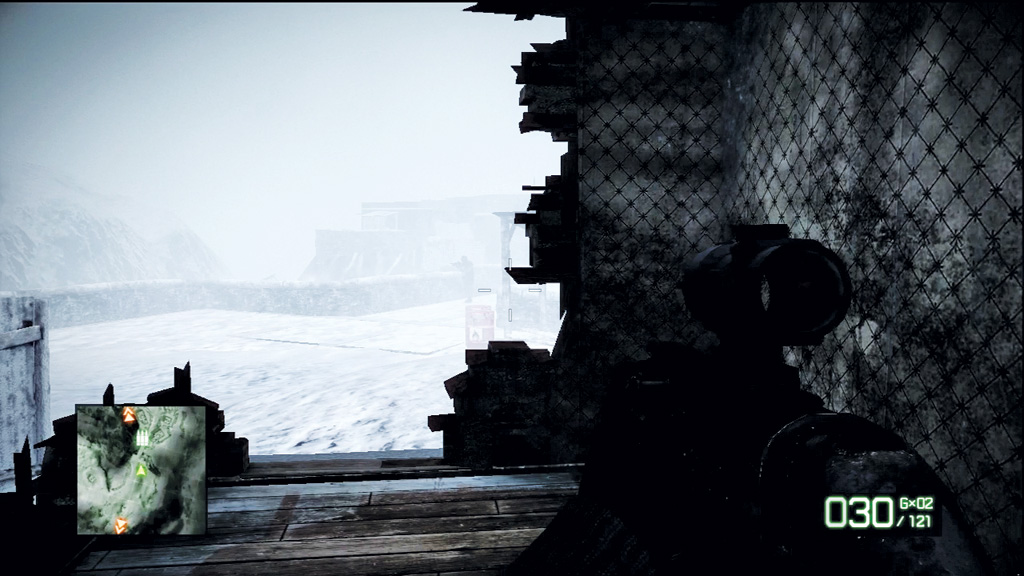
When you reach a house near a small bridge, watch out for a pair of soldiers patrolling outside.
As they near the red barrel, shoot it to take them both out. Beyond the bridge is a small village consisting of several houses in a tight cluster.
This makes it easier to move from house to house, but the area also has a higher concentration of enemy troops. Proceed with caution.
At the eastern edge of the village is a large two-story house with a soldier positioned behind a grenade launcher on the second floor balcony.
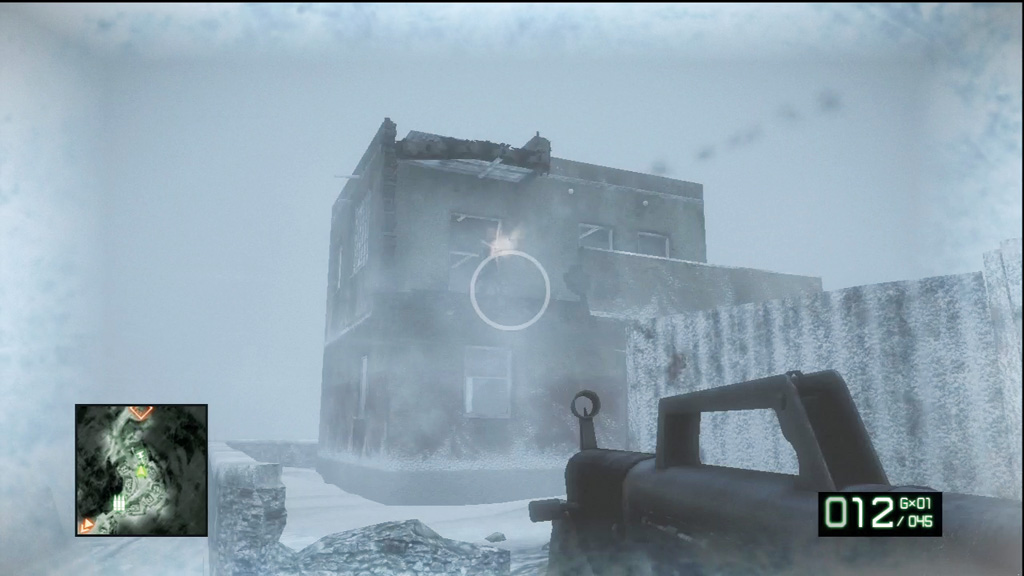
There’s no easy way to sneak past this guy, so move out aggressively, rushing from one house to the next to avoid incoming grenades.
When you’re within range, rush toward the house and mow down the gunner. If he hasn’t noticed you, sneak inside the house, rush up the stairs, and surprise him from behind.
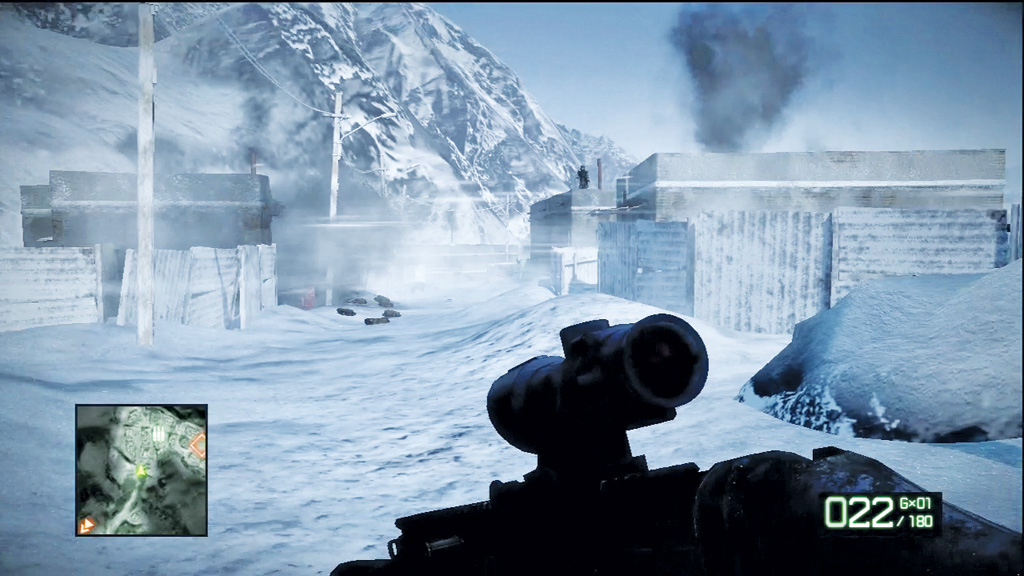
From the two-story house, continue east. Take shelter in the house on the slope to warm up, then resume your trek east into a larger village. As you move out, the storm clears, meaning you can stay outside without freezing.
However, there are plenty of enemies ahead, so get ready for a fight. On the way to the village, use your assault rifle to pick off a few of the enemy troops on the rooftops.
Some of these guys are armed with rocket launchers, so watch out for incoming rockets.
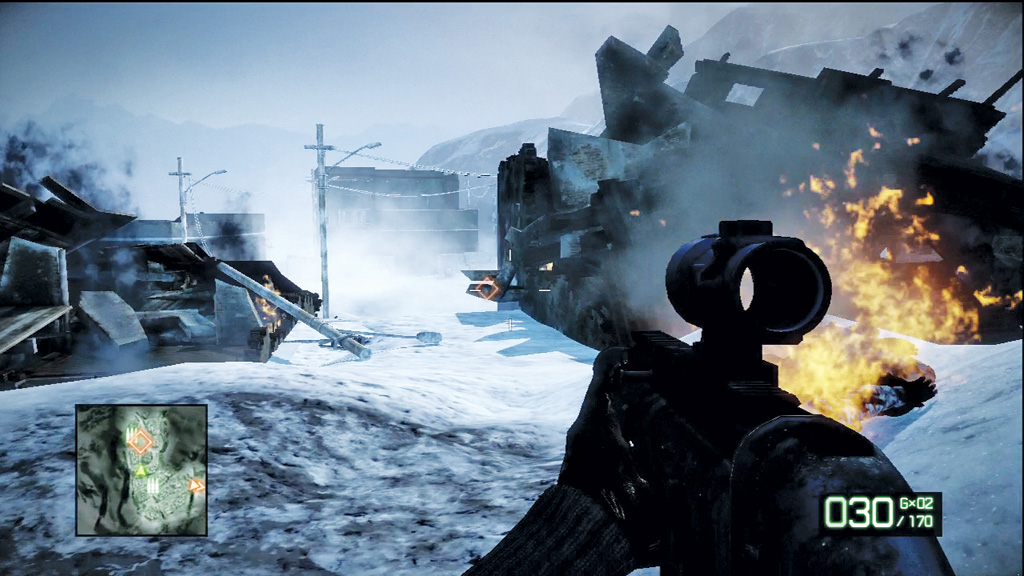
Slowly fight your way through the village, methodically clearing each house and rooftop along the way.
The improved visibility allows you to spot and engage targets at long range, so keep as much distance between you and the enemies as you can.
The troops with rocket launchers aren’t very accurate at long range, giving you a significant advantage.
Proceed deeper into the village until you see a large two-story building to the far east. You need to get to the rooftop of this structure so Flynn can pick you up.
3. Regroup with Unit
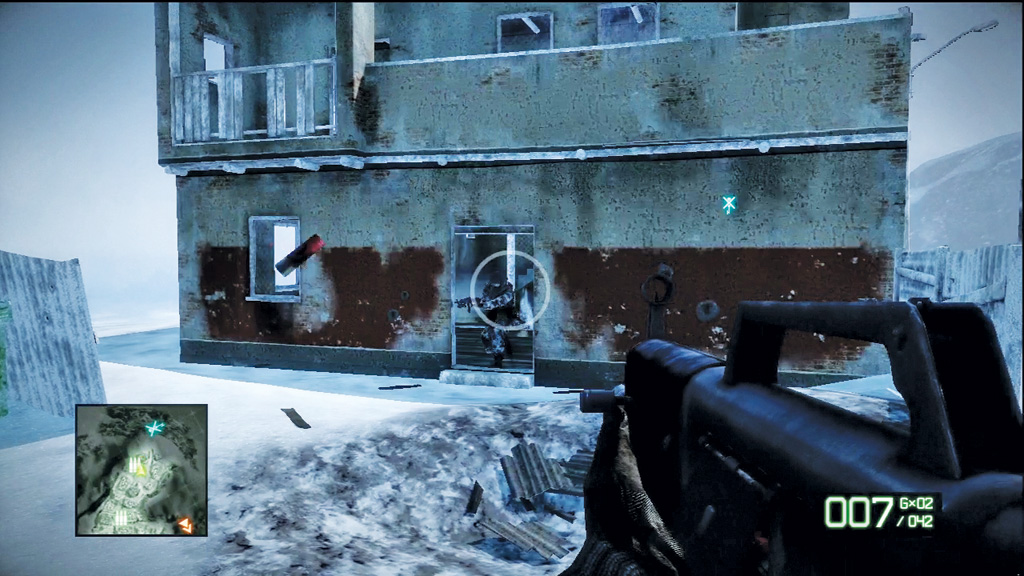
Approach the tall building while scanning the smaller structures around the courtyard’s perimeter.
Watch for more guys with rocket launchers trying to ruin your day and deal with them accordingly.
Expect more resistance inside the two-story building. Instead of rushing inside, blast open the door with your shotgun and shoot anyone you can see from the doorway.
For good measure, toss a frag grenade inside to eliminate anyone you can’t see from the exterior.
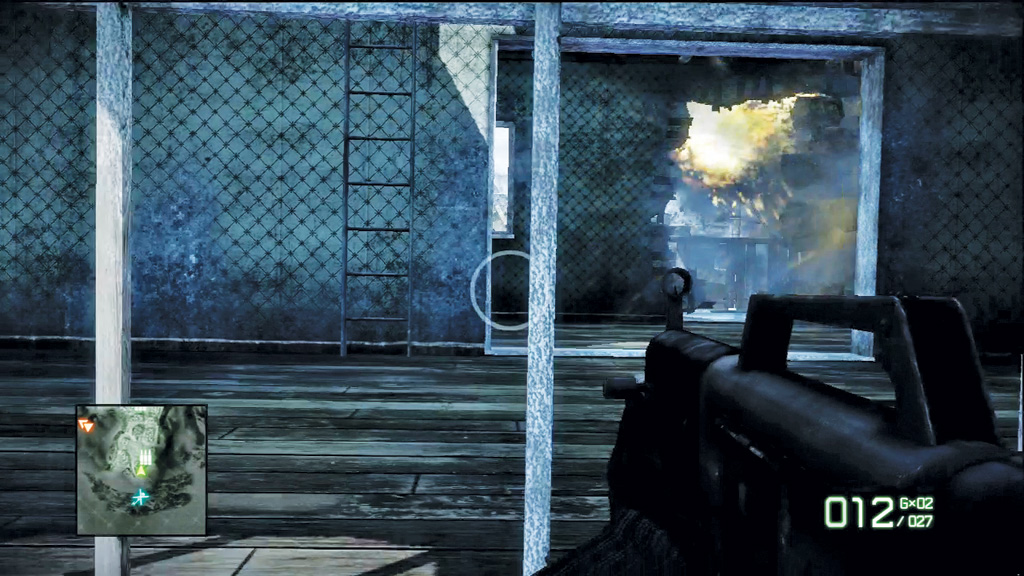
As you enter the building, more enemies appear outside and begin bombarding the outer walls with rockets. Don’t worry about taking these guys out. Climb the stairs and find the ladder on the second floor. This leads to the rooftop. As soon as you reach the rooftop, the mission is over.
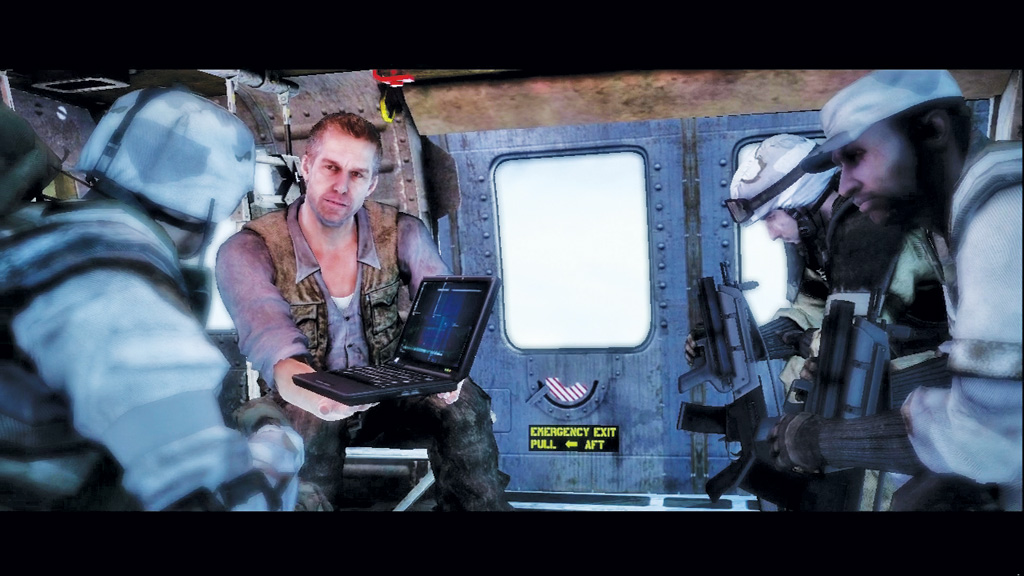
Onboard the chopper, Aguire analyzes the data from the satellite. Apparently the Russians are working on a scalar weapon, something that creates very powerful electromagnetic pulses.
If they’re successful, the Russians will be able to knock out any country’s power grid prior to an invasion. The man behind the project is Arkady Kirilenko, the same mysterious Russian encountered during the Cold War mission. Finding this guy won’t be easy, but Aguire has a plan.