
Battlefield Bad Company 2 Guide Walkthrough Campaign
No One Gets Left Behind
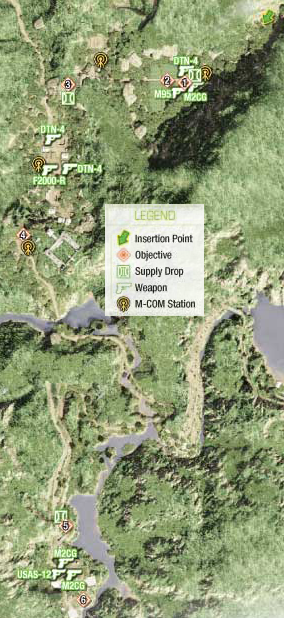
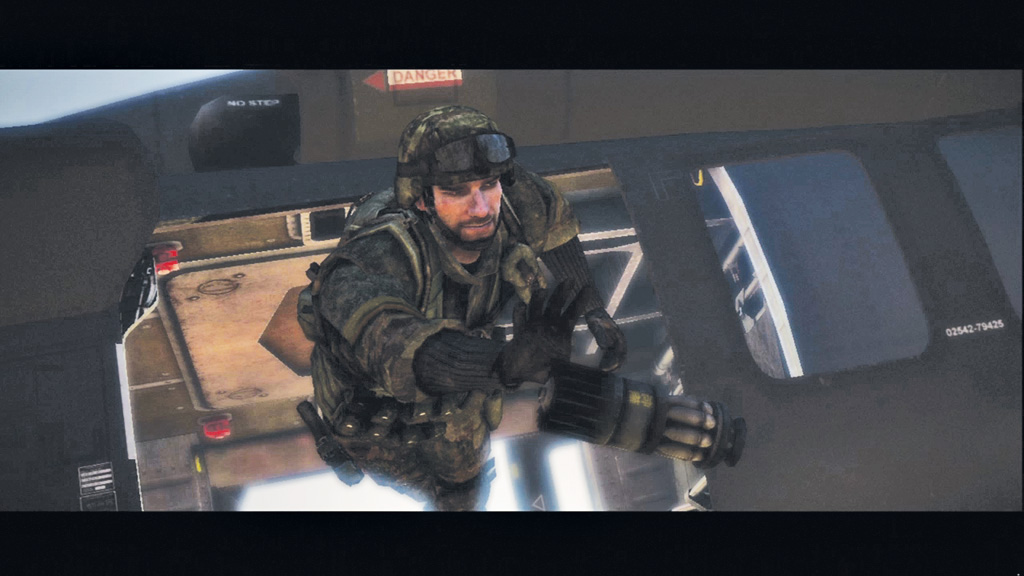
With the Japanese device in their possession, the guys from Bad Company head north to rendezvous with Aguire. It’s still unclear what the device is or what Kirilenko wants it for. Suddenly, Flynn’s chopper is rocked by an incoming missile. Flynn wants everyone to bail out while he attempts to land the damaged chopper. During the commotion, Marlowe notices the Japanese device rolling around the floor of the chopper. As it tumbles out the door, Marlowe leaps after it, grabbing the device in midair. Fortunately Marlowe is wearing a parachute. The chute opens automatically, but you can gradually steer it during the descent. Regardless of where you end up landing, you’re a long way from your team.
1. Find Missing Squad Members
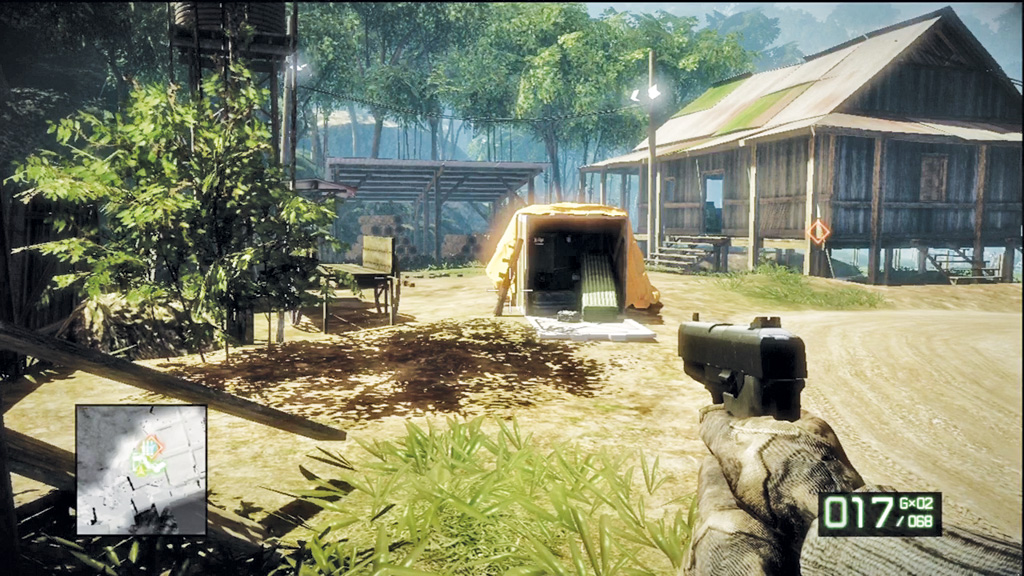
Armed with only a pistol, you need to travel south to begin the search for your squad. Center the objective marker on the HUD and begin walking through the jungle. There are no hostiles in this part of the jungle, so don’t worry about creeping around stealthily. Simply advance until you spot a few shacks in a clearing. Outside the shacks is a supply drop crate. Take this moment to grab an assault rifle and sniper rifle. There’s also a M2CG rocket launcher leaning against the crate, but don’t grab it yet. You’ll need it later.
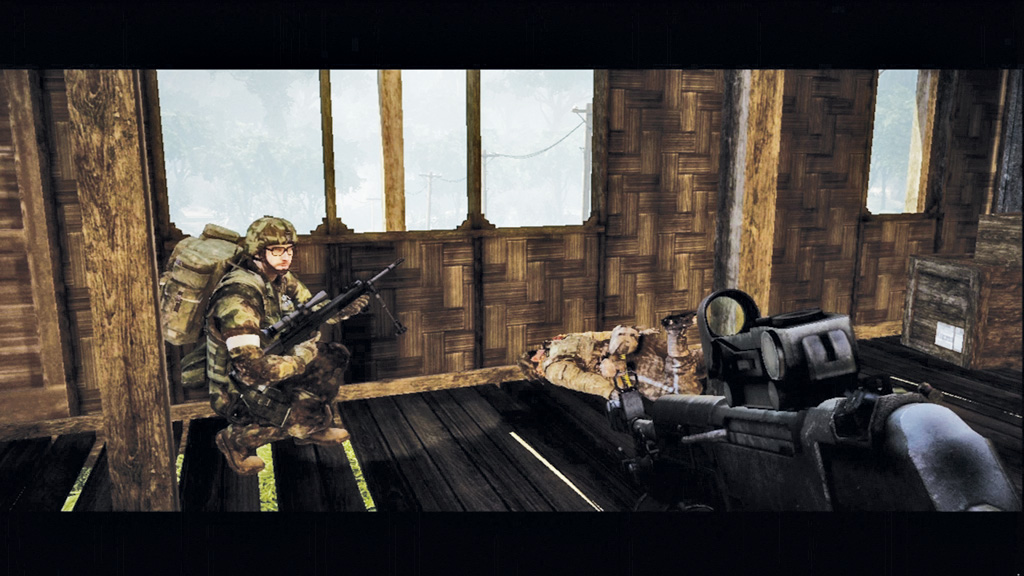
Once you’re well-stocked with weapons, proceed to the objective marker in the nearby shack. Sweetwater waits inside as approaching voices can be heard in the fields to the west. You need to defend this building from a militia attack. There’s an M95 sniper rifle inside the shack to assist. If you don’t already have one, consider grabbing it now.
2. Repel Enemy Counterattack
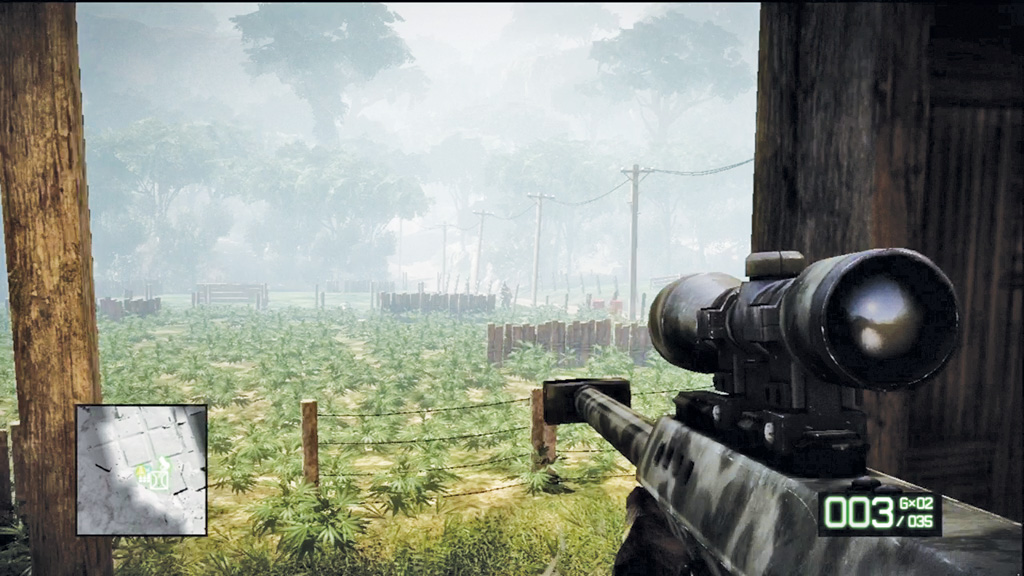
Equip the M95 and take up a position at the window on the left side of the door. Zoom in and watch as several militia members rush down the dirt road to the west. Pick off targets as soon as they come into view. The M95 is a bolt-action rifle, meaning it’s rather slow to operate, but it also is a one-shot kill weapon. Make each shot count. Explosive rounds can quickly reduce the shack to rubble, taking away your cover, so prioritize enemies carrying rocket launchers.
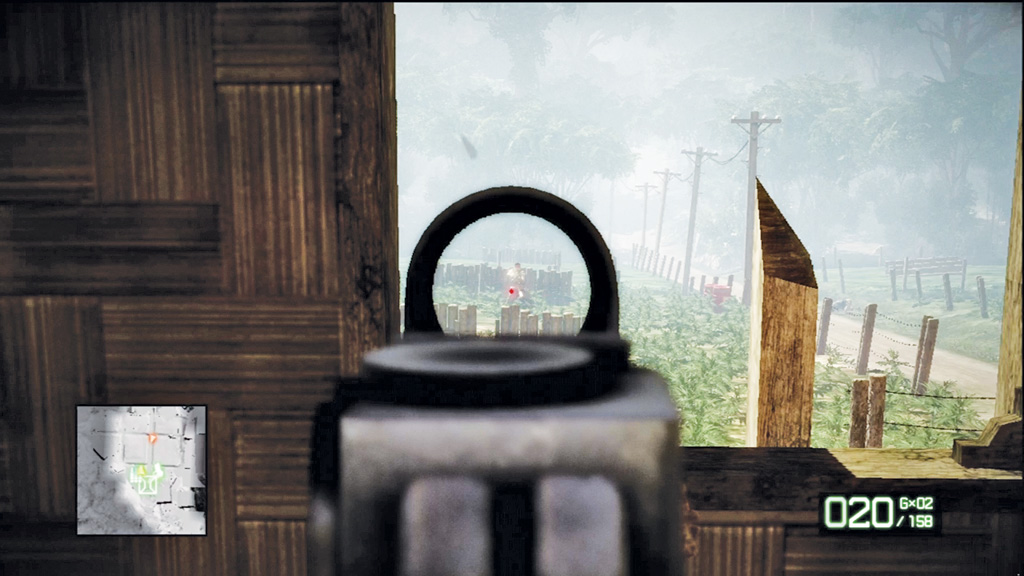
During the fight, keep an eye on the minimap to locate nearby targets. If they get too close, they may flank you. Instead of sniping these guys, equip your assault rifle and take them out before they can encircle the shack. At this range these guys can be very deadly, especially if they start lobbing grenades. Maintain a safe perimeter around the shack at all times.
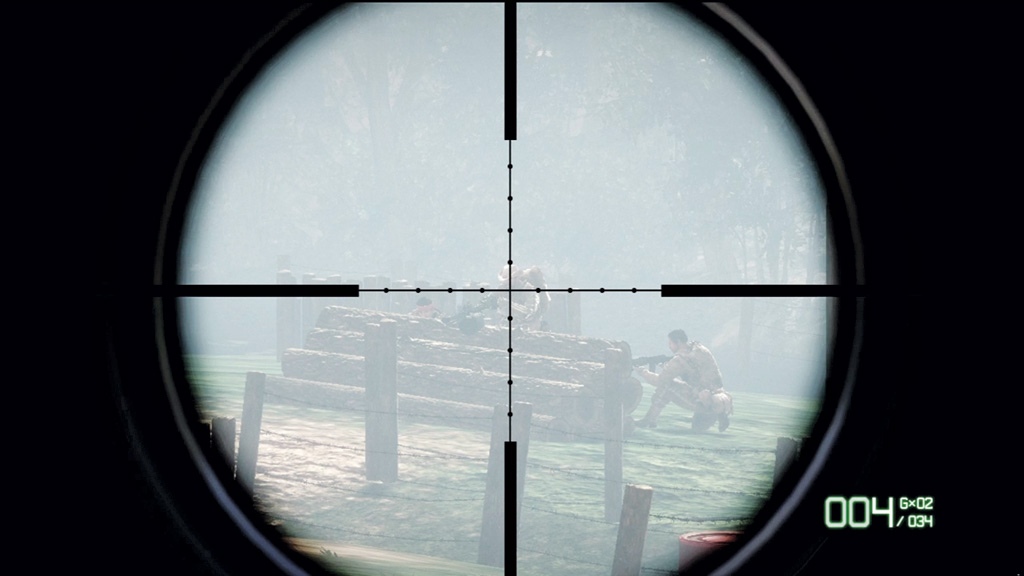
Halfway through the attack, Sweetwater relocates to the neighboring shack to the north. Follow him. During this wave, the enemies have mounted a couple of grenade launchers in the fields. Quickly locate these positions and take out the gunners. If they start rapidly lobbing grenades in your direction, it’s all over. Use the M95 to snipe these threats, and keep an eye on these positions to make sure no other enemies take control of the mounted grenade launchers. Once the gunners are down, pick off the rest of the militia in the field.
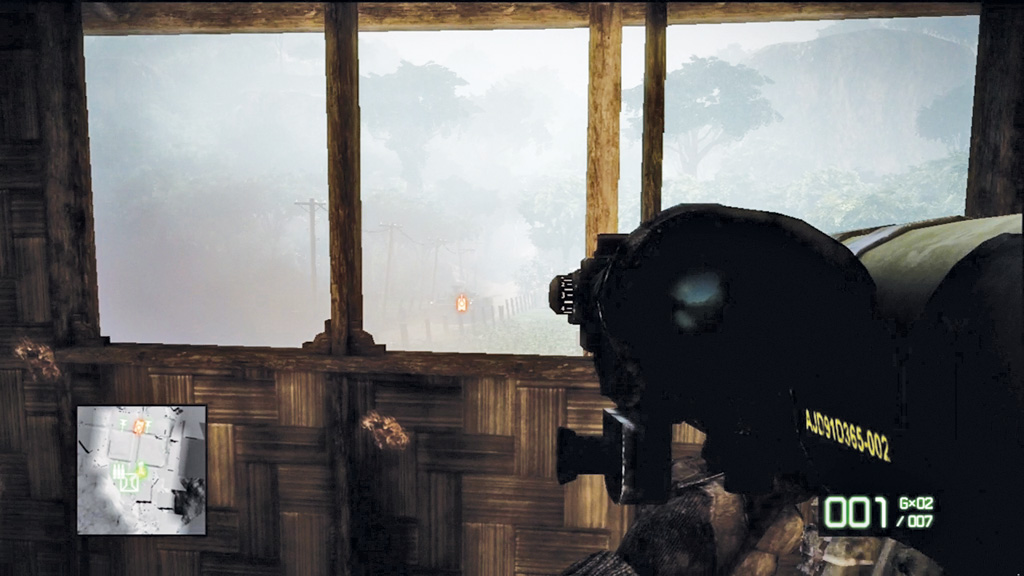
When you spot a BMD3 rumbling down the dirt road to the west, rush outside and grab the M2CG rocket launcher leaning against the supply drop crate. Return to the northern shack and attack the BMD3 with rockets. It takes two hits with the M2CG to take out the enemy vehicle. Don’t neglect the militia members rushing alongside the BMD3. Once the vehicle is destroyed, switch to your assault rifle and aggressively target the enemy troops rushing toward the shack. If they get too close, they’ll flank you, attacking from the east side. Don’t let them get that close.
3. Find Missing Squad Members (Continued)
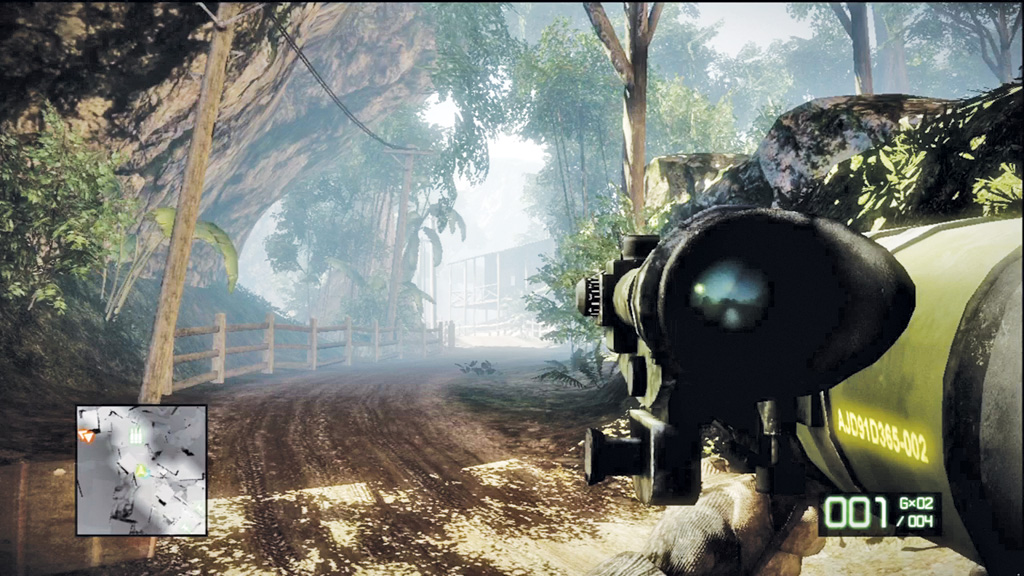
After repelling the attack, resume your search for Sarge and Haggard. Follow Sweetwater down the dirt road to the west. While moving out, Sarge checks in over the radio, but there’s something wrong with the comms. He can’t hear you. Keep pushing forward along the narrow jungle path until you spot a structure on the right. Use the M2CG to take out any militia hanging out on the porch, then cautiously approach with your assault rifle in hand.
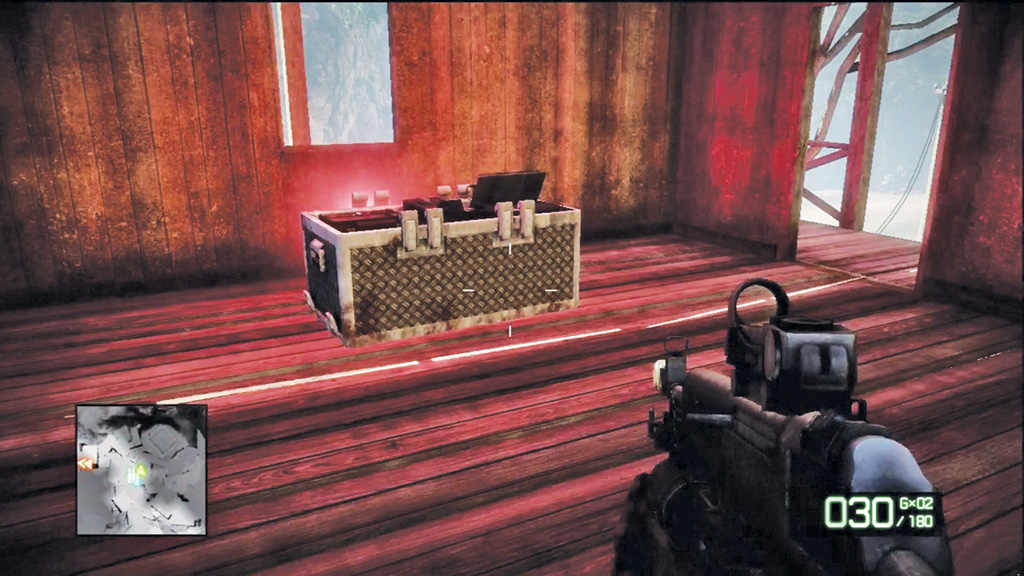
Leap over the fence on the side of the road and climb into the structure to locate an M-COM station. Slap a charge to the side of the box, then regroup with Sweetwater outside. Continue along the direct road—Sarge and Haggard are waiting for you.
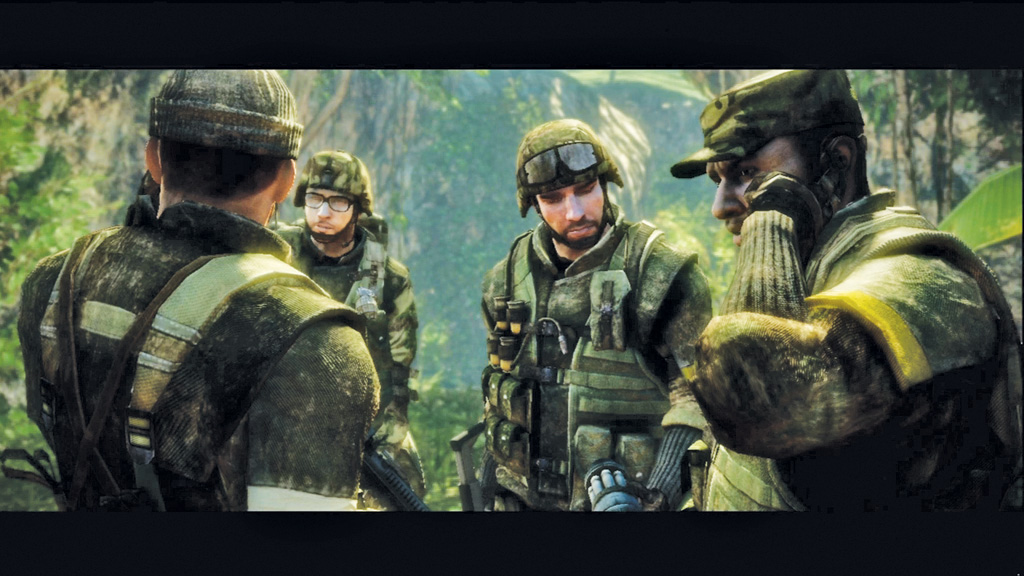
As you regroup with the squad, Sarge checks in with Aguire. He wants you to deliver the device to him at a nearby compound immediately. But Flynn has been captured by the militia, and Sarge wants to rescue him first. The rest of the squad agrees—Aguire can wait. Raiding the prison camp where Flynn is being held won’t be easy, however.
4. Find Detention Facility
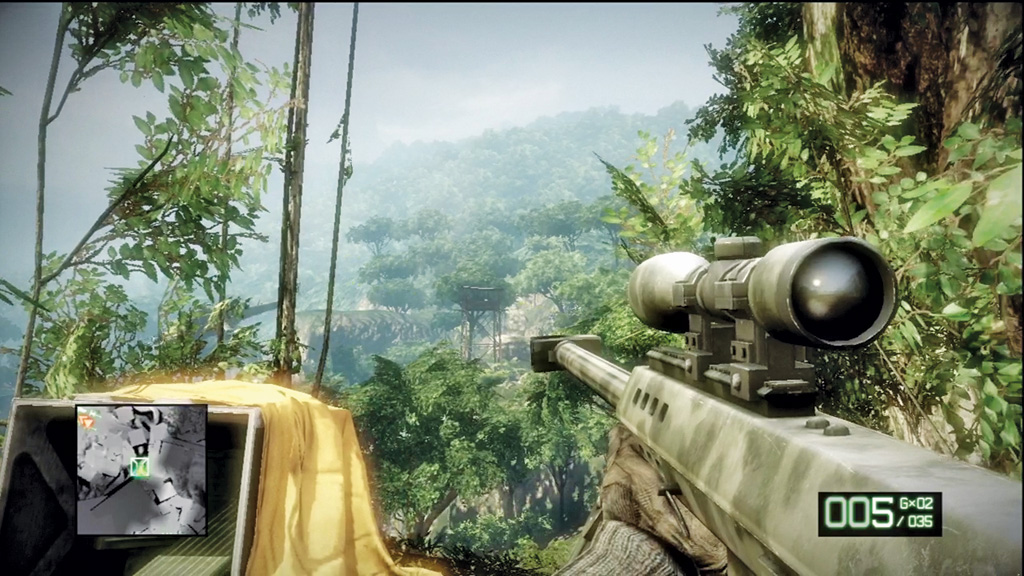
The entrance to the detention facility is located directly below your position and to the south. Before attacking, grab some weapons from the nearby supply drop crate. Pick up an M95 sniper rifle and a M2CG rocket launcher. It’s time for some long-range destruction. Before picking off targets in the facility, turn to the west to spot a guard tower. The militia member in this tower is your first target. Snipe him with the M95.
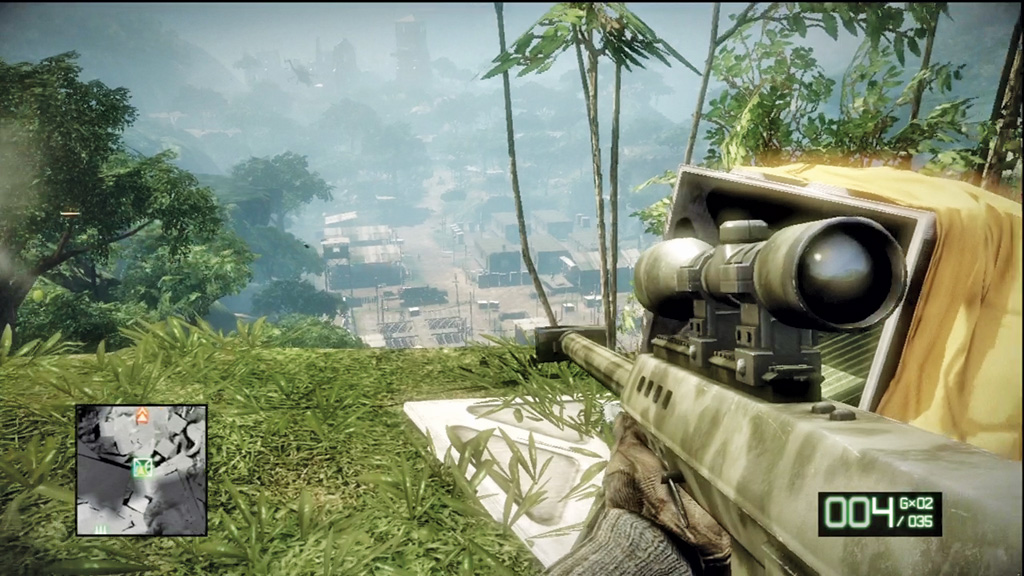
Simply firing the M95 is enough to put the guards in the detention facility on alert. Hold near the supply drop crate and begin sniping. Target the guys in the guard towers first, then look for other enemies manning machine guns or carrying rocket launchers. When you spot a VODN rushing toward the main gate, equip the M2CG rocket launcher and take it out. Hold this position and snipe as many targets as possible. As long as your squad is shooting, there’s still available targets to snipe. Watch where your teammates are shooting to spot enemies hiding behind cover.
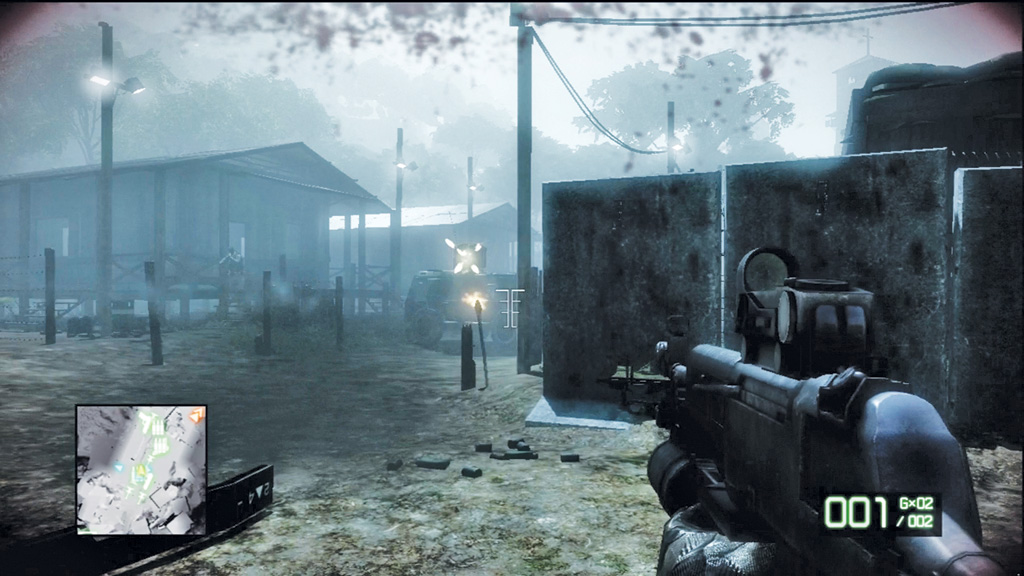
When the facility is quiet, access the supply drop crate once more and exchange your sniper rifle for an assault rifle. Cautiously descend the hill and advance into the facility. As you near the vertical concrete slabs ahead, a VODN rushes into view, along with a few militia members. Quickly take out the VODN with the M2CG rocket launcher or a couple of grenades fired from your assault rifle’s grenade launcher.
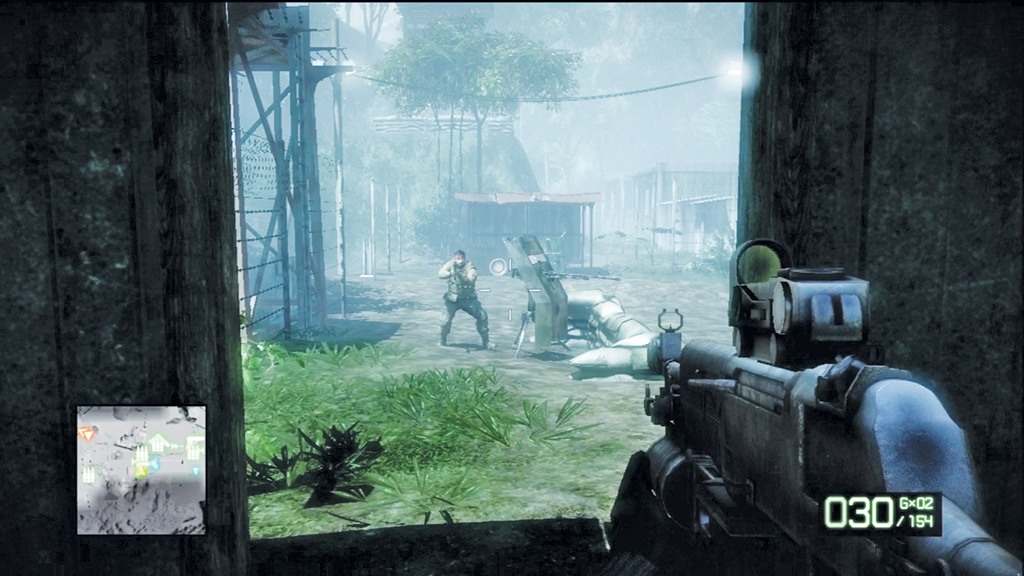
Further down the road to the south is a machine gun, fitted with an armor plate protecting the gunner. A second machine gun is positioned in the guard tower to the south. A frontal assault is too dangerous, so sneak around the buildings to the east and flank the gunners.
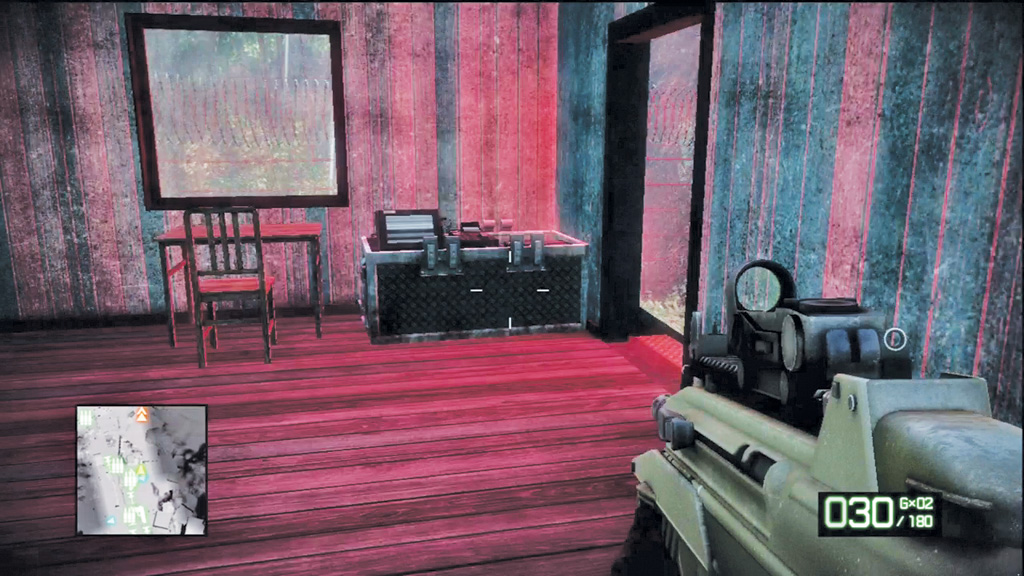
Before advancing further down the road, search this area for a few collectibles. There’s an F2000-R assault rifle outside the barracks to the west. There’s also an M-COM station in the barracks building in the southwest corner. Destroy it and then regroup with your squad.
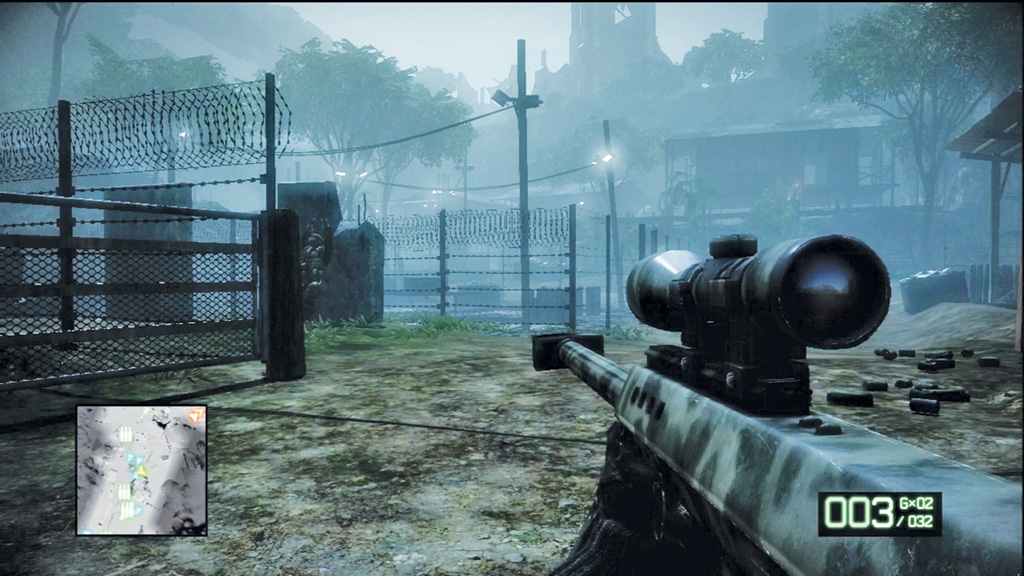
Continue down the dirt road leading south to reach another part of the detention facility. There are several more militia members posted in the buildings here, so advance with caution. Keep your distance and pick off as many enemies as possible from long range. If necessary, use your assault rifle’s grenade launcher to blow apart some of the shacks, denying the enemy cover. Speaking of cover, the piles of logs on the right side of the road offer great protection.
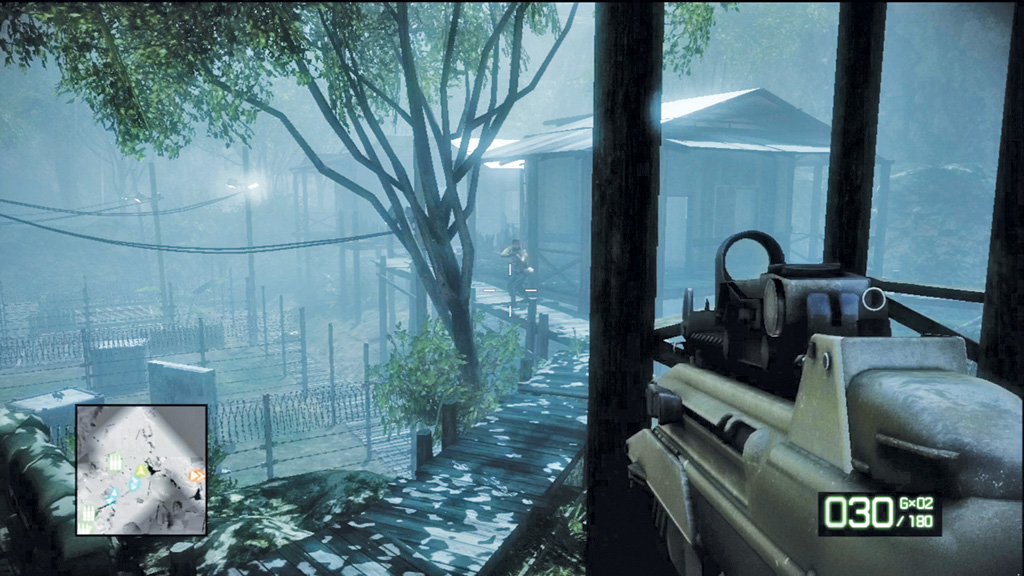
At the earliest opportunity, rush up the steps of the building directly to the south. From this elevated position you can flank the enemies near the other buildings to the east. Keep up the attack, pounding the nearby buildings with grenades while your squad advances along the road. There may also be a few enemies hiding within the fenced-in area, using the concrete walls and other barricades for cover. When the shooting stops, follow the nearby catwalk past the two shacks and onto the dirt trail to the south. Flynn isn’t far away.
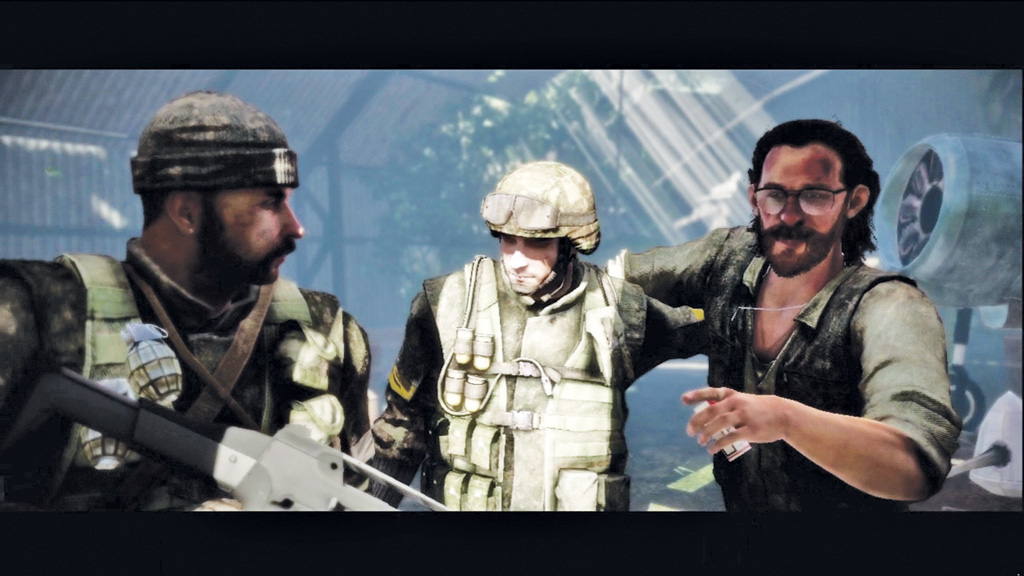
As you near the objective marker, a cutscene shows Marlowe rescuing Flynn from an old hangar. After an intense scuffle, Flynn informs the squad that there’s a chopper base nearby. Flynn isn’t in great shape, but he can still fly. If you can get him to that chopper base, you can get out of here.
5. Reach Helicopter Depot
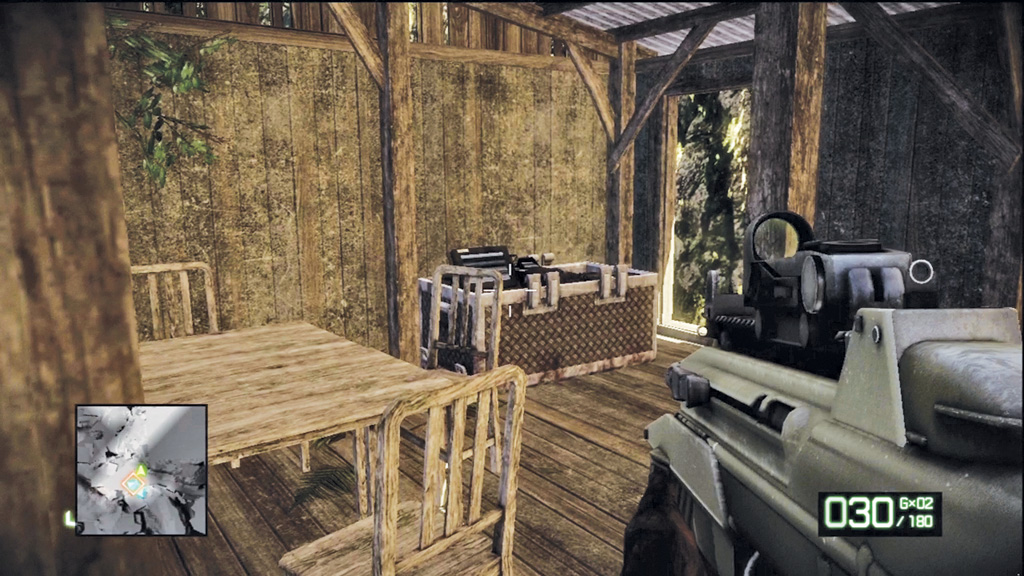
Outside the hangar are four ATVs. Before hopping onto one of the ATVs, inspect the wooden shack across from the hangar. Inside is another M-COM station. Attach a charge to the box, then head outside. Now it’s time to ride.
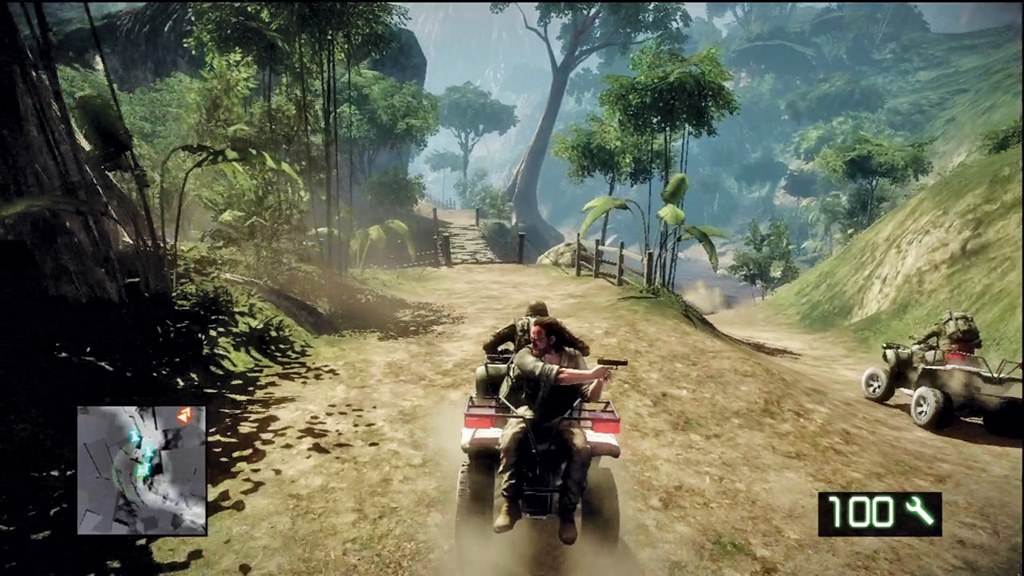
Flynn rides on the back of your ATV during this fun race to the chopper base. There are no hostiles along the way, so do your best to keep up with the rest of the squad. The road leading to the base is narrow, with a few sharp turns. Watch your speed and try to avoid running off the side of a cliff. Along the way you have to cross several narrow bridges, so don’t try to pass your teammates on these cramped stretches. Instead, look for wider spots in the road to race past your squad. There is no prize for winning, so stay safe. Prepare to brake when you see an overturned truck on the road ahead. The chopper base is just around the corner.
6. Find Serviceable Helicopter
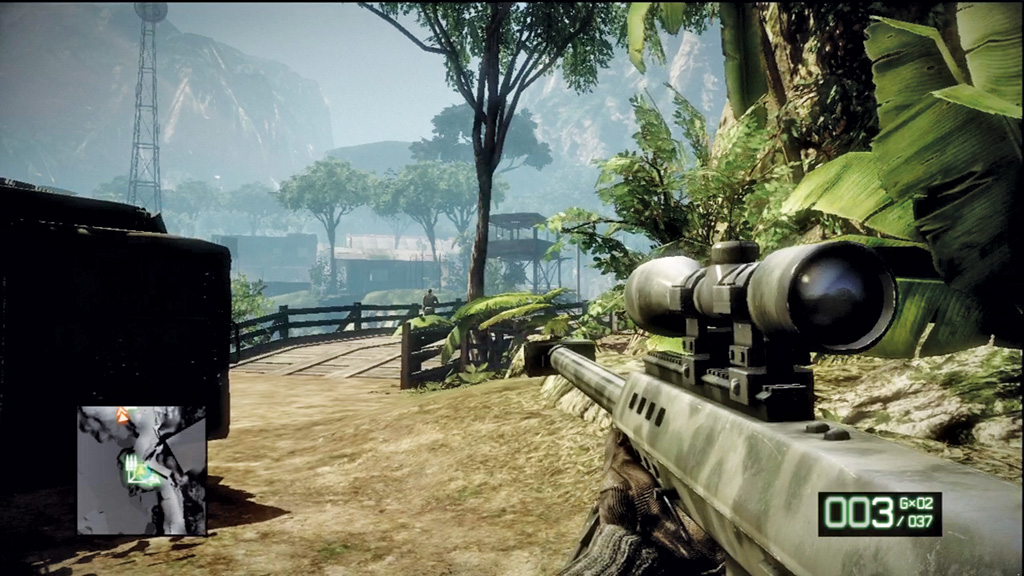
Grab a sniper rifle from the nearby supply crate and begin picking off the militia guards across the bridge to the south. Start with the rocket launcher guy in the guard tower first. The overturned truck offers decent cover, giving you the opportunity to eliminate several enemies. Don’t worry about the VODN rushing across the bridge—Haggard will take it out. This also destroys the bridge, however.
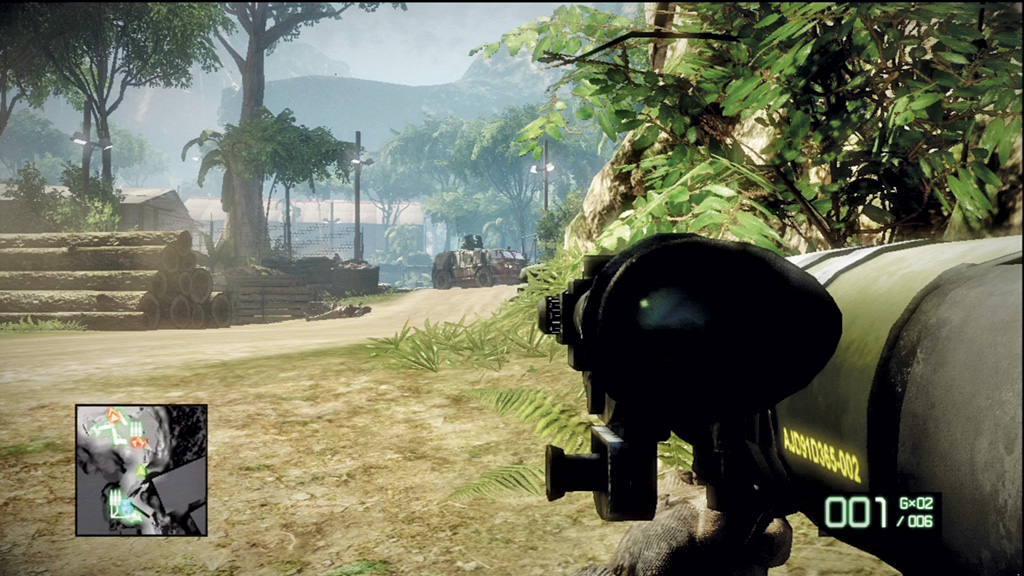
Before moving out, access the supply drop crate once more and exchange your sniper rifle for a M2CG rocket launcher. Take along an assault rifle too. The bridge is impassable, but there’s a narrow path to the right leading into the facility. Watch out for another VODN rushing into view just ahead. Take it out with your rocket launcher before the gunner can open fire. All it takes is one hit from the M2CG to eliminate this vehicle. Once it’s destroyed, switch to your assault rifle and take out any infantry ahead. Sprint toward the flaming VODN and use it for cover while eliminating more enemies hiding among the buildings to the east.
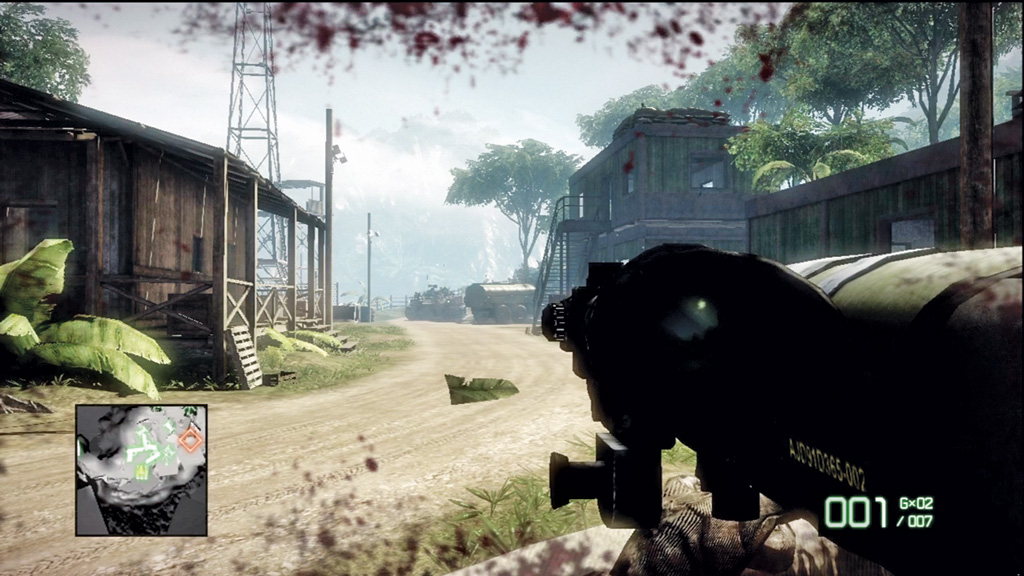
As a BMD3 rolls into position to the east, take cover behind the sandbags by the western ammo crate and equip your rocket launcher. Instead of targeting the BMD3, shoot the fuel truck on its right side. The massive explosion causes a tower to collapse on top of the BMD3, destroying it. Alternatively, you can target the BMD3 directly, but it takes two rockets to kill it instead of just one. Hold this position and use your assault rifle to gun down the infantry escaping the explosion.
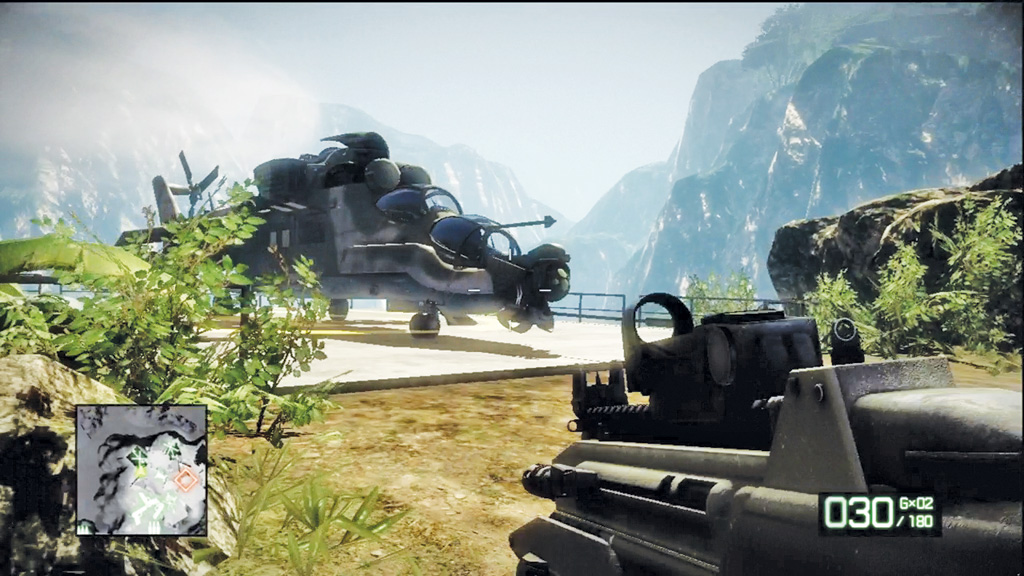
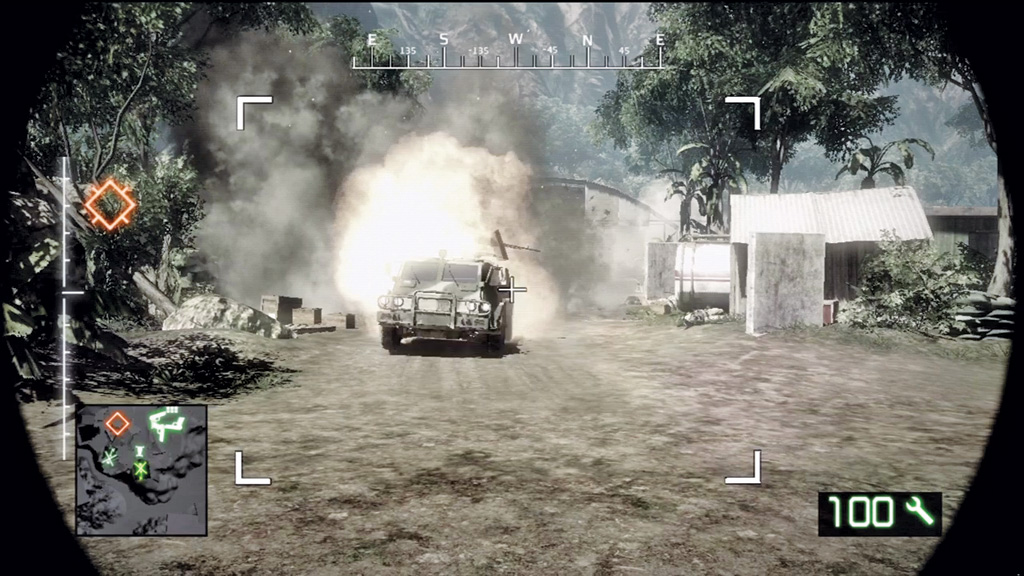
Advance past the collapsed tower and destroyed BMD3, then rush up the hill toward a rotorless MI24 attack helicopter parked on a landing pad. It may not be air worthy, but the chopper’s chin-mounted cannon is still operational. Hop inside the chopper and open fire on the enemies to the west. The cannon fires explosive rounds, so you don’t need to score direct hits on the infantry to kill them. Targeting the nearby explosive objects makes the job easier. But pay close attention to an incoming VODN—it’s on a collision course. Unload on the speeding vehicle and destroy it before it crashes into your chopper. Once the path ahead is clear, exit the chopper and continue pushing toward the objective marker.
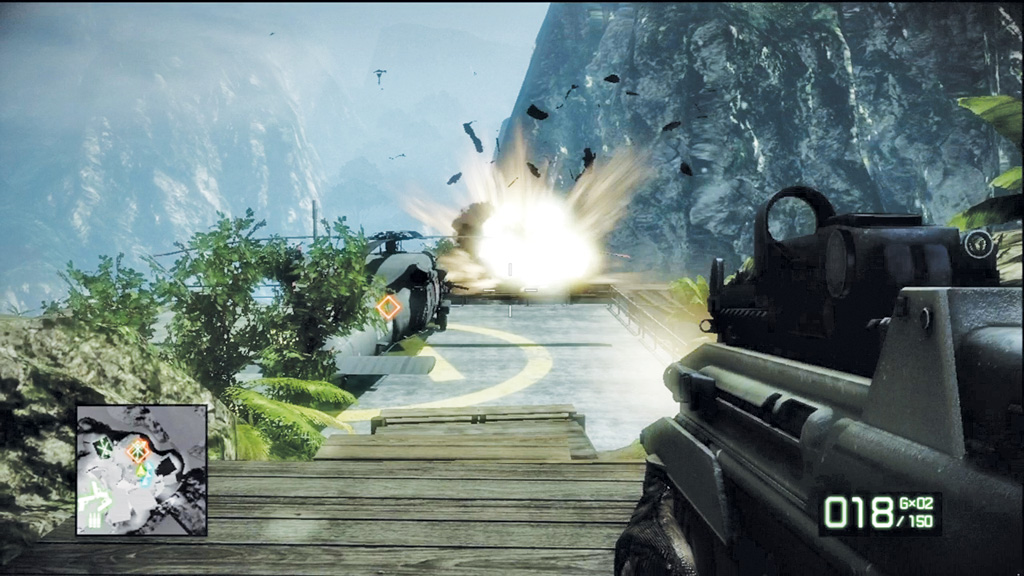
Ignore the enemy MI24 taking off overhead—it can’t hurt you. Instead, proceed to the objective marker to find a Blackhawk. The helicopter is guarded by a few militia members, but they’re easy to take out, especially if you target the explosive red barrels and crates on the landing pad’s perimeter. Once the area is secure, rush to the chopper and hop inside to begin your escape.
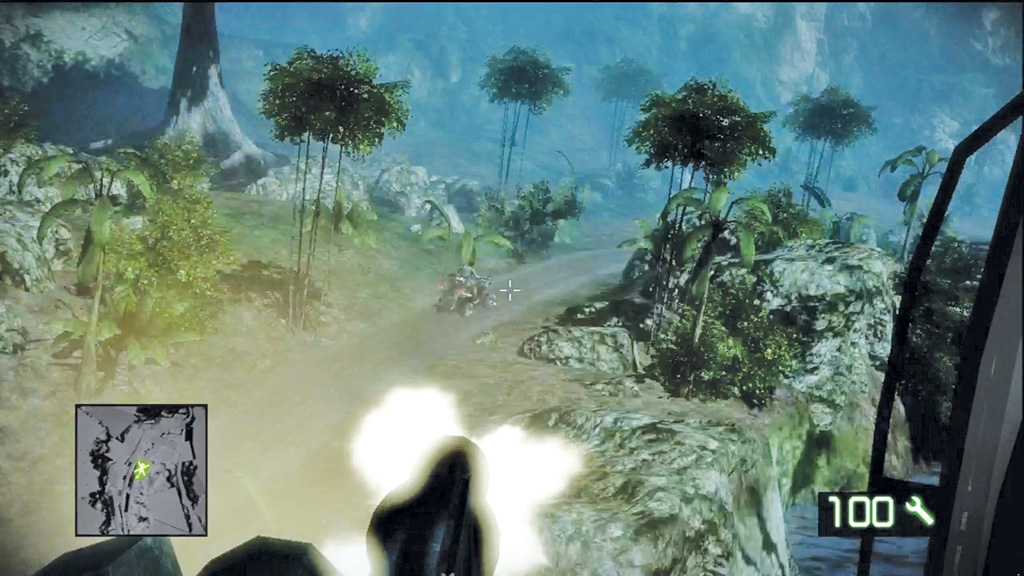
Now it’s time to find Aguire and hand over the Japanese device pulled from the Sangre del Toro. During this sequence you man the Blackhawk’s side-mounted miniguns. You start out on the left gun. Look for enemy ATVs on the ground. The guys on the backs of these vehicles are armed with rocket launchers, so take them out fast before they can target your ride.
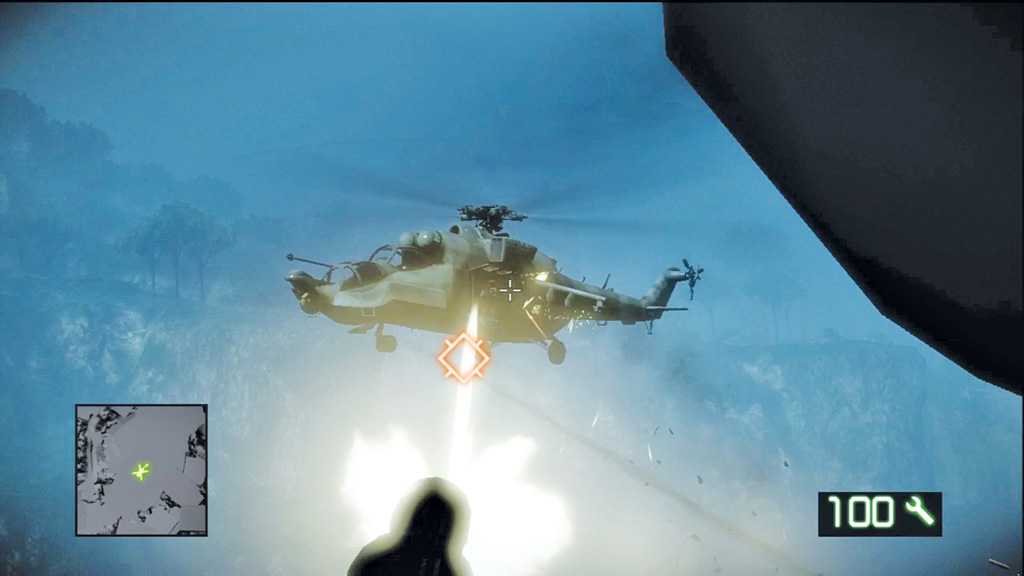
As you switch over to the gun on the right side, watch out for an MI24 flying alongside the Blackhawk. Open fire, focusing on the open cargo compartment and the enemy inside with a rocket launcher. Once that guy is down, watch for more rocket launcher-firing enemies on the ground. Some are in the backs of trucks, and others are positioned in guard towers. Before your ride is over, you need to deal with two more MI24 choppers. Target the guys with rocket launchers inside first, then continue puncturing the choppers with heavy fire until they explode.
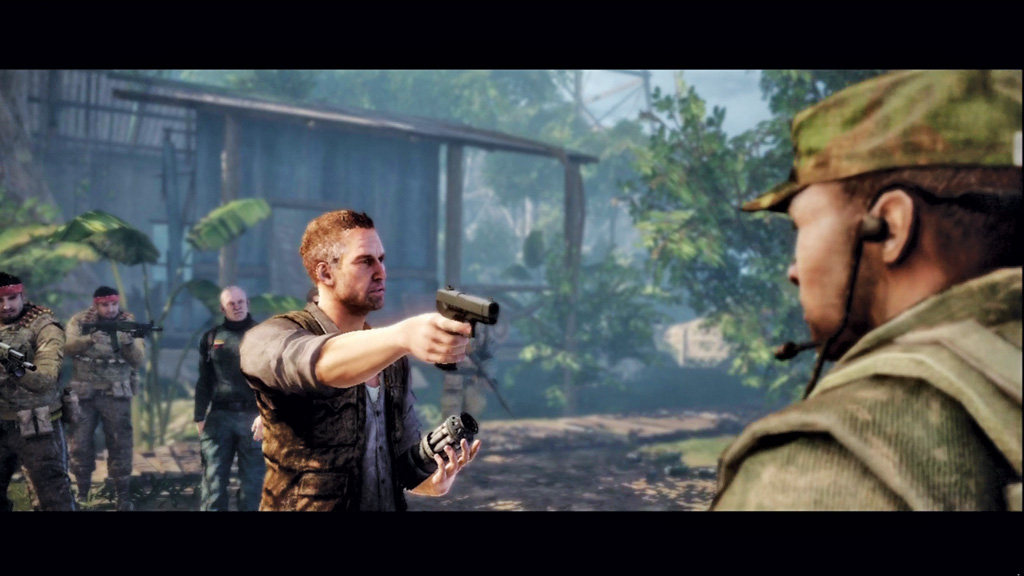
Soon after Flynn sets the chopper down in a clearing, the squad catches up with Aguire and hands over the device. But something’s wrong. Aguire pulls a gun on you as Kirilenko steps out of the shadows. Apparently Aguire had a change of heart when he heard to details of Operation Aurora. It turns out Wyatt was his father. Feeling betrayed by his country, he decided to hand over the device to Kirilenko.
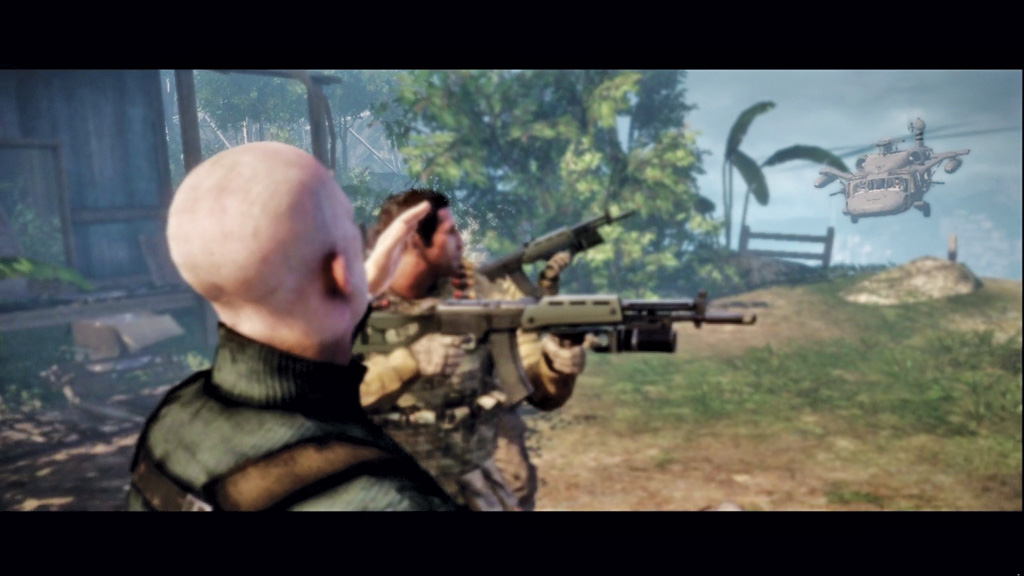
Once Kirilenko has the device, he shoots Aguire. And just as he’s about to have the guys from Bad Company gunned down, Flynn’s chopper appears over a ridge and opens fire on Kirilenko and his men. The distraction gives Marlowe and the rest of the gang a chance to escape. But Flynn’s chopper is soon shot down by one of Kirilenko’s men, leaving the guys stranded and demoralized. After all this work, Kirilenko has the device. To make matters worse, Aguire and Flynn are dead. What else could go wrong?