
Battlefield Bad Company 2 Guide Walkthrough Campaign
Crack the Sky
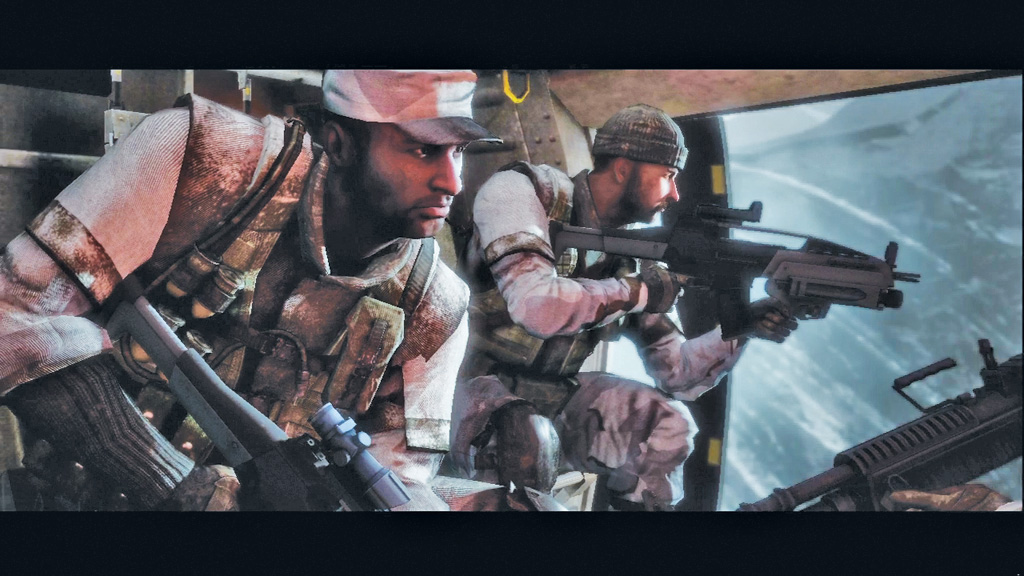
Back in Flynn’s chopper, the boys from Bad Company are heading high into the Andes, where the French satellite’s control station is located. The plan is to knock the satellite out of orbit, causing it to crash somewhere nearby. Afterward, you can retrieve the backup data Aguire was collecting regarding the Russian’s secret weapon program . . . at least in theory. But it’s a long shot, and by the looks of it, the Russians won’t make your job any easier. The landing zone is hot and Flynn needs you to neutralize the threats on the ground before he can drop you off.
1. Clear Hostile LZ
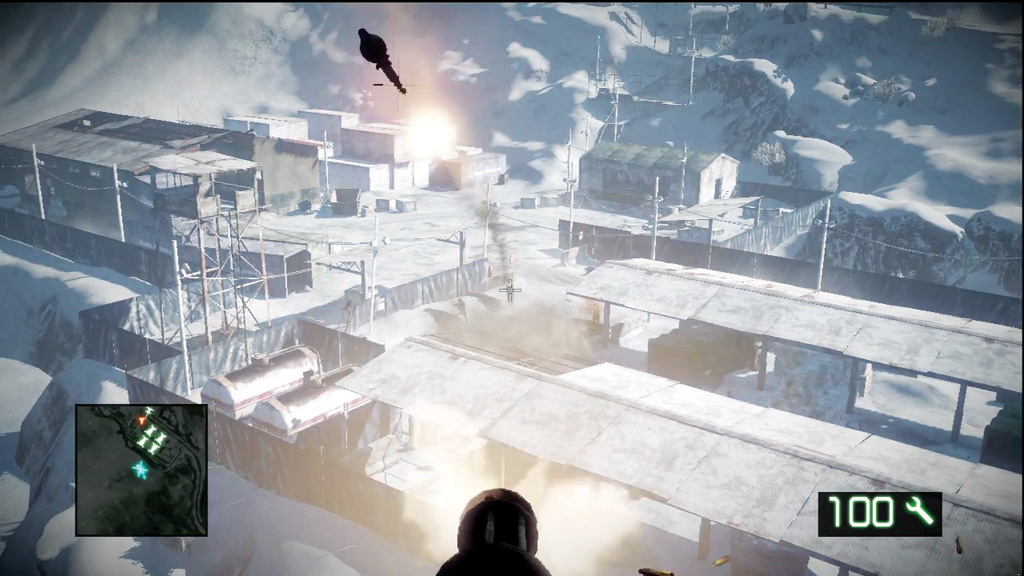
During this sequence you need to wipe out all the enemies on the ground using the Blackhawk’s side-mounted minigun. The biggest threats to the chopper are enemies armed with rocket launchers. Watch for incoming rockets and follow the smoke trail back to the shooter. In most cases, the first shot is a miss, but the second one won’t be. Quickly locate and eliminate the shooter before he can fire a second rocket. The chopper can sustain at least a couple of hits, but don’t test its limits.
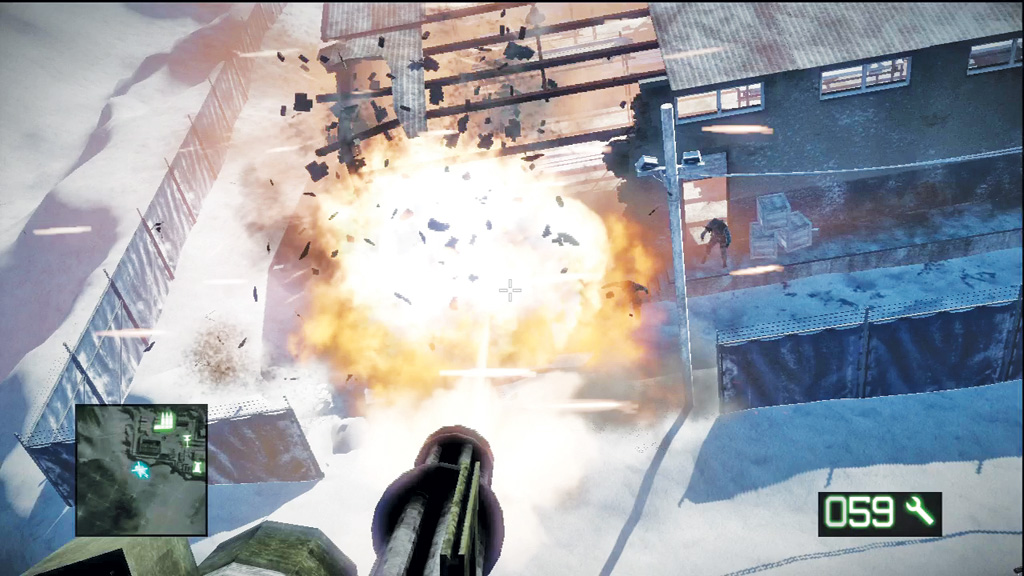
The minigun is absolutely devastating, capable of crumbling walls and rooftops with a few short bursts. So if you spot enemies hiding in buildings, tear down the walls with heavy fire to expose their hiding spots. There are several fuel tanks and barrels on the ground. Avoid targeting these explosive objects until there are at least a couple of enemies standing nearby. The large explosions are enough to take out several enemies as well as damage any nearby structures.
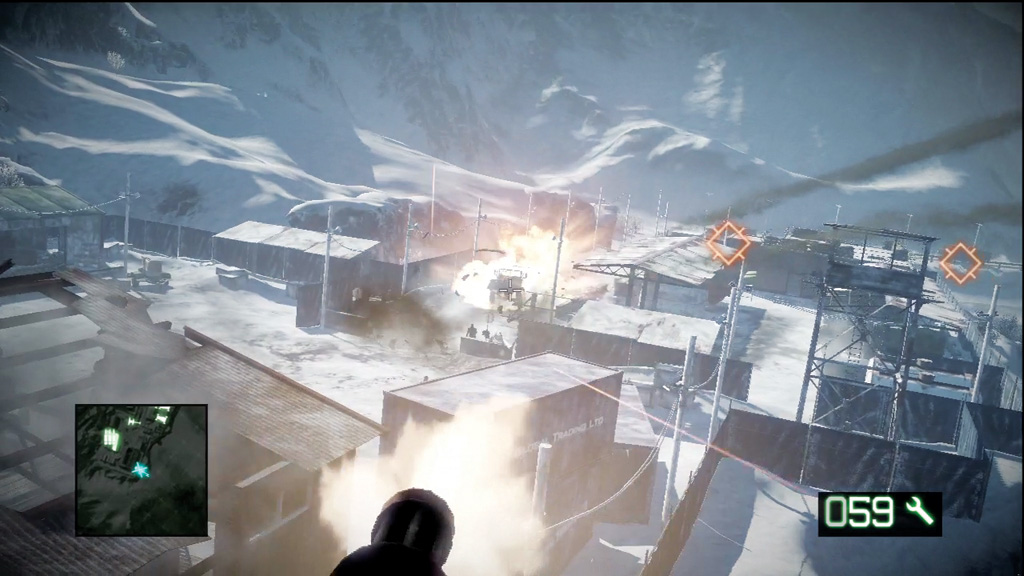
Watch for a small convoy of trucks arriving through the facility’s west gate. Reinforcements are on board these trucks, so target them before the troops can get out. Each truck is marked by a red diamond icon, making each target easy to see and hit, even at long range. Keep laying down fire until the objective is complete.
2. Locate Satellite Control Substation
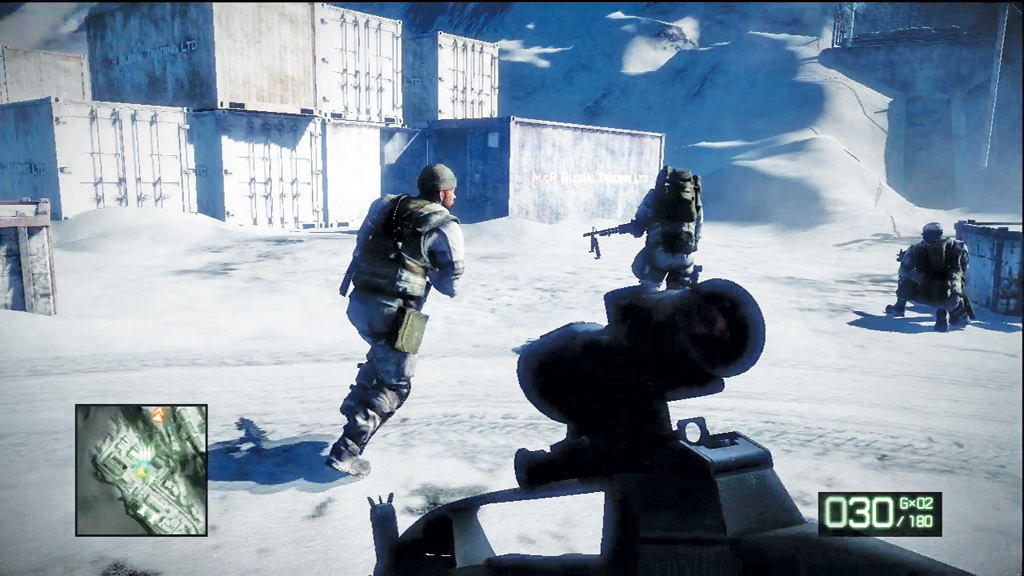
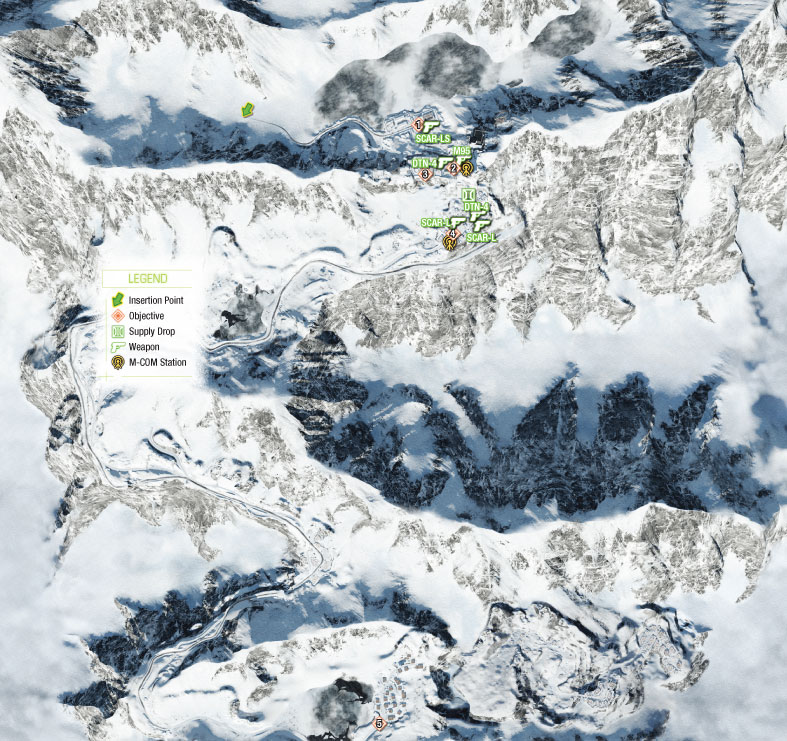
Flynn drops you off on top of a building. Drop through the hatch in the roof and advance toward the objective marker on the hill to the south. While moving through the facility, grab a M2CG rocket launcher off one of the dead soldiers. There’s also a SCAR-LS submachine gun inside the blue shipping container near the base of the hill. Keep it if you want, but make sure you hold onto the rocket launcher.
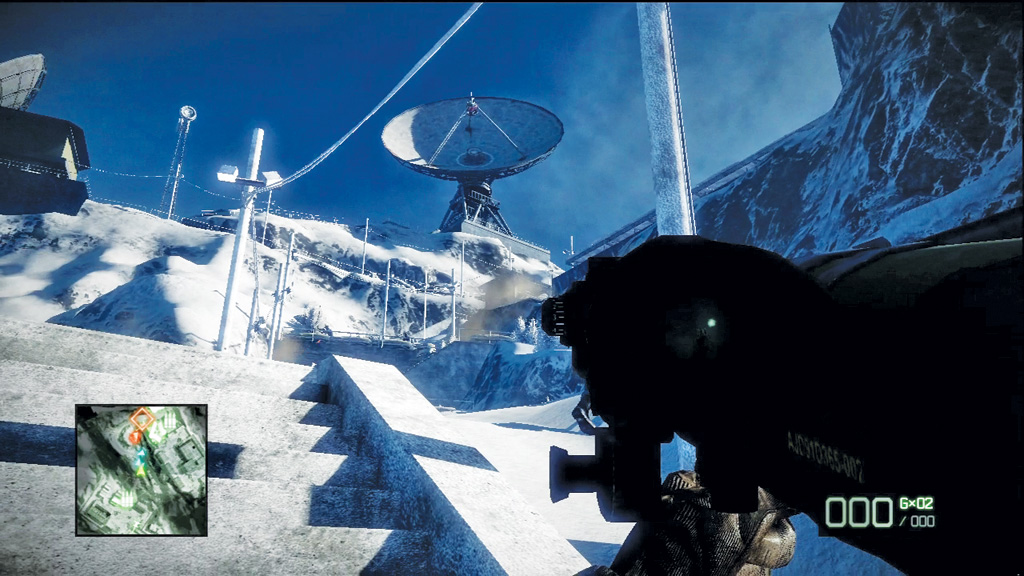
As you climb the steps leading up the side of the hill, a machine gun and several Russian troops open fire from above. The machine gun is located in a small guard tower directly beneath the massive satellite dish. Instead of lobbing grenades at it, equip the M2CG rocket launcher and blast the tower to bits. Once the machine gun is silent, help your team eliminate the rest of the enemies. The rocket launcher is very effective against these guys too.
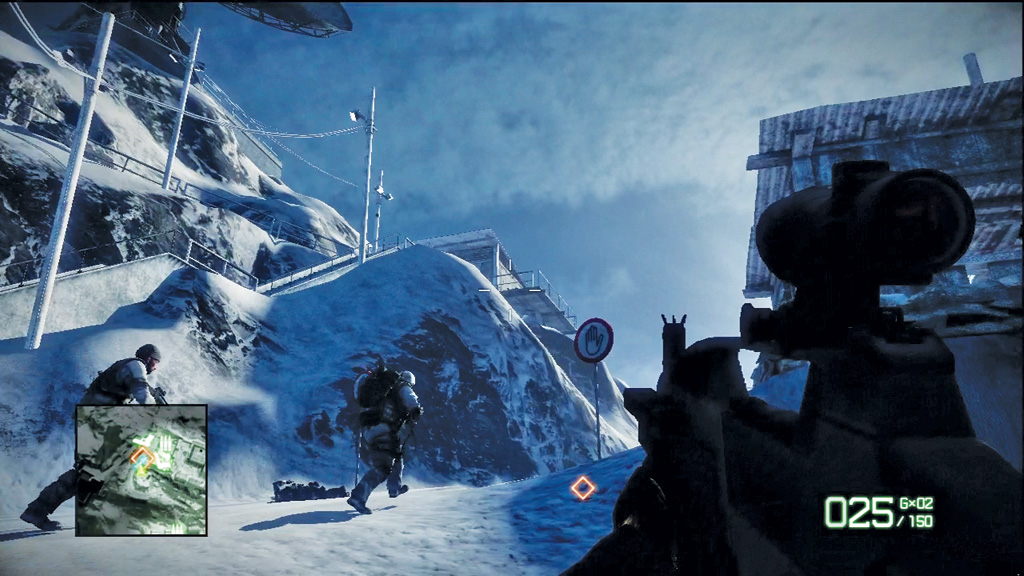
Advance up the nearby slope with your team, but watch for more enemies sliding down the hill on the left. Mow them down, then glance up at the platform on the left to locate a sniper. Take him out before he can target your team. As your team moves toward the substation, climb the steps up to the sniper’s perch and prepare to cover your team as they advance.
3. Reroute Satellite
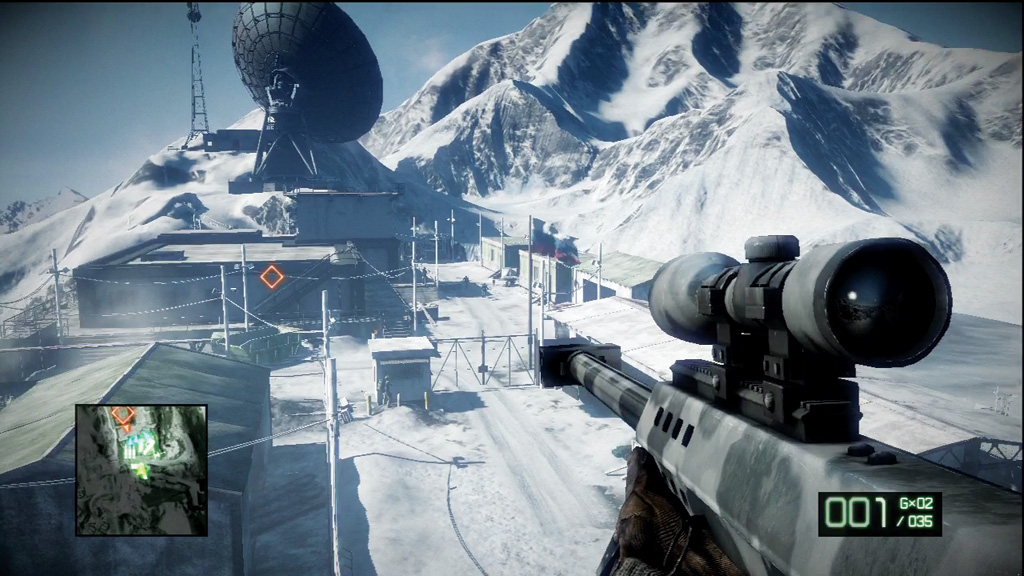
Next to the sniper is a M95 sniper rifle. Grab it and begin clearing out enemies in the facility below. This is a very powerful weapon, capable of killing with a single hit. It doesn’t matter where you hit them either. Its rounds can even pass through multiple targets, allowing you to kill several enemies with a single bullet. However, it’s a bolt-action rifle, so make sure you take cover in between each shot, as you’re likely to draw attention. Hold this position until all the enemies surrounding the substation are down. Your team will advance toward the building when it’s reasonably clear.
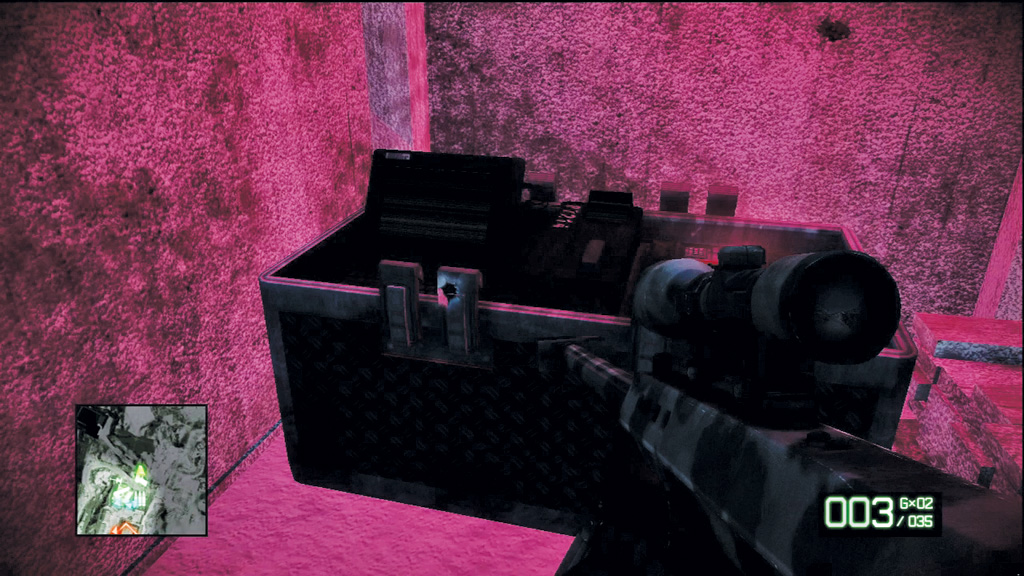
Before rejoining your team, search the wooden shack on the sniper perch to locate another M-COM station. Slap a charge on the box, then descend the steps to catch up with your team. On your way into the facility, feel free to pick up a DTN-4 and some explosives from one of the two weapon crates by the parked trucks.
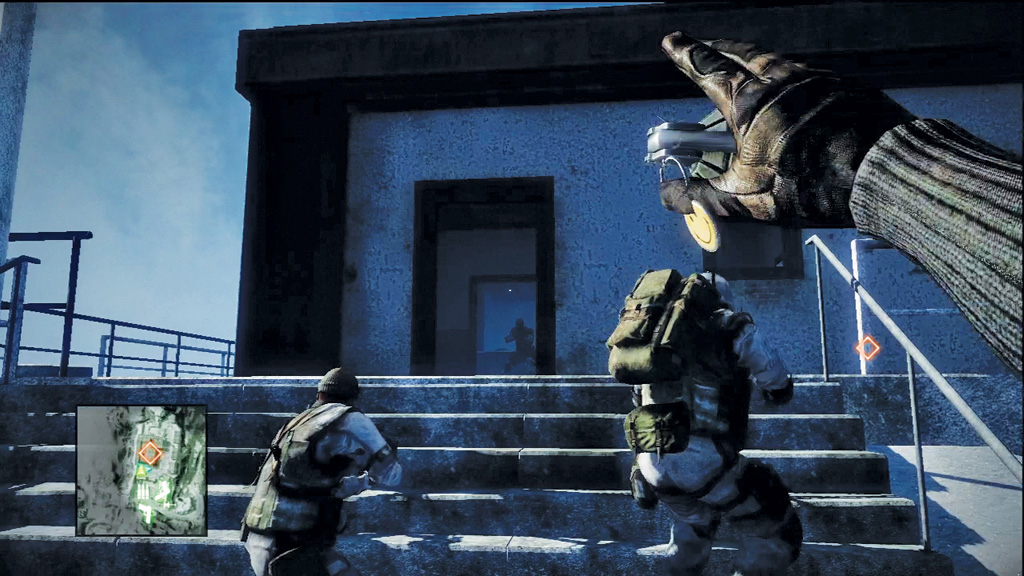
Your team is gathered outside the entrance to the satellite control building, waiting for you to lead the assault. Don’t walk in just yet. Instead, lob a few grenades inside to clear out the shotgun-toting enemies. You don’t want to face these guys at point blank range, so do your best to take them out before entering.
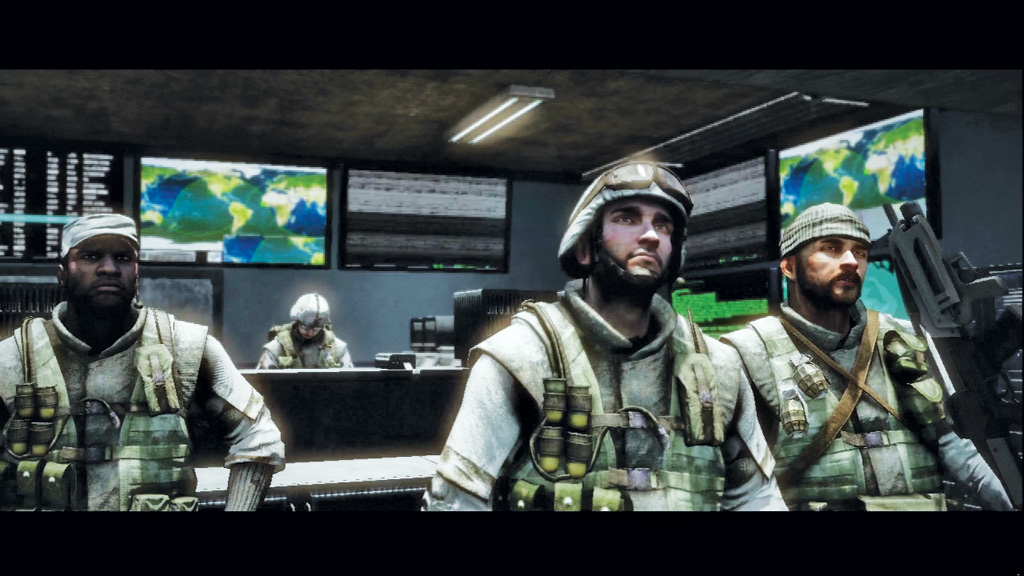
Toss a frag grenade through each doorway and sweep each room slowly, working your way to the control room. There are no enemies inside the control room, so hold your fire—you don’t want to damage any of this equipment. Move to the control panel and interact with it. Sweetwater has no problem hacking the satellite’s controls, causing it to fall out of orbit, but there’s no telling exactly where the satellite will crash. Judging by the hostile forces in the area, you’ll need to beat the Russians to the crash site and retrieve the data server.
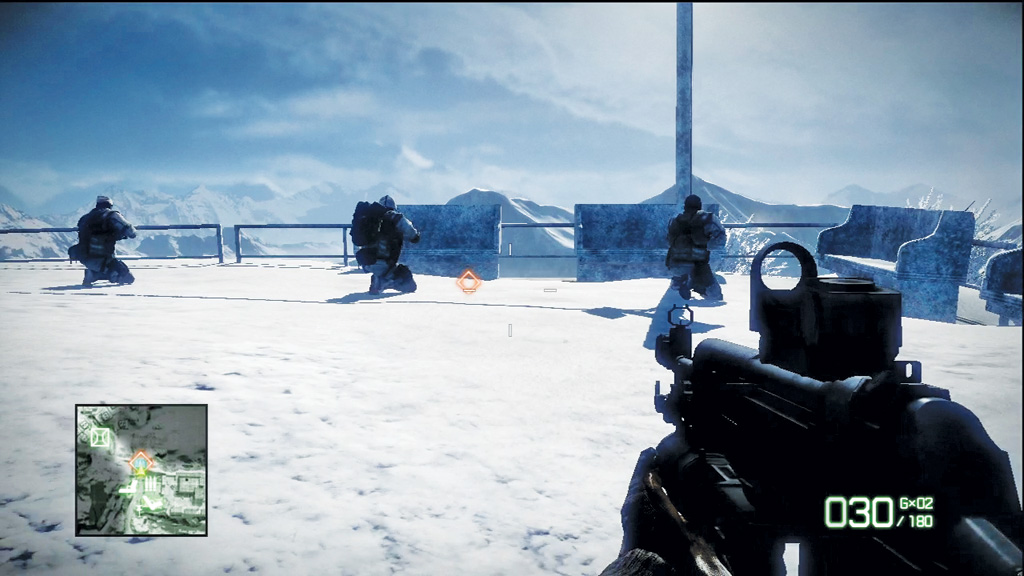
Follow your team outside to spot the incoming satellite streaking through the stratosphere. Flynn is unable to set down, so you need to find another means of transportation to reach the crash site. Sarge spots a CAVJ light transport in the village below. The place is crawling with Russians, so you need to hit the village hard and fast.
4. Find Transport
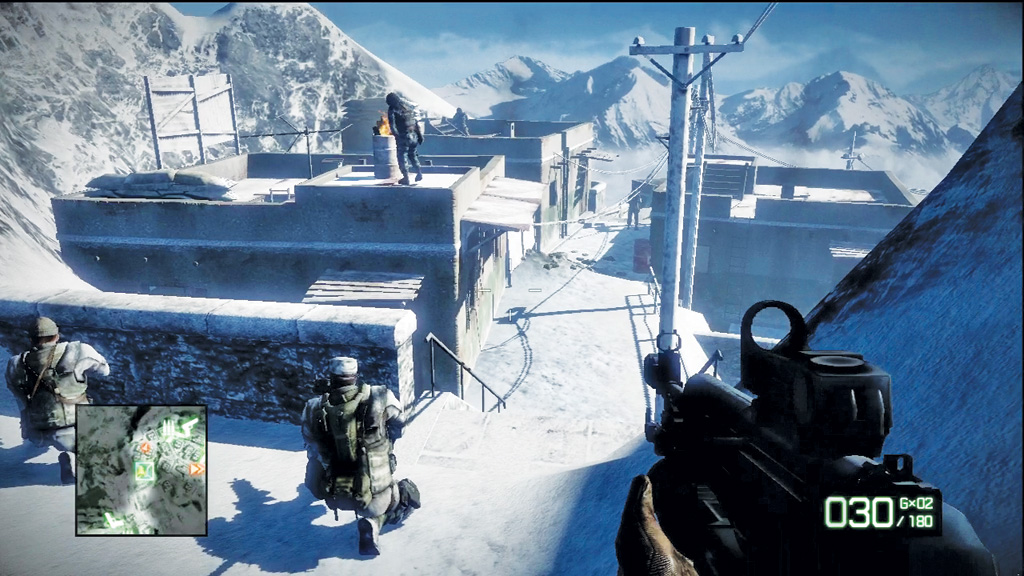
Visit the supply drop crate on the path leading to the village. Grab an assault rifle of your choice and the M2CG rocket launcher. The enemy is unaware of your presence, so hit the nearby soldiers fast, before they can retaliate. Pick off the guys on the nearby rooftops first, then focus on the soldiers in the cramped alley. Blast the red barrel to trigger a large explosion. A machine gun is positioned at the far end of this alley. Lob grenades in its direction to take it out without exposing yourself to incoming fire.
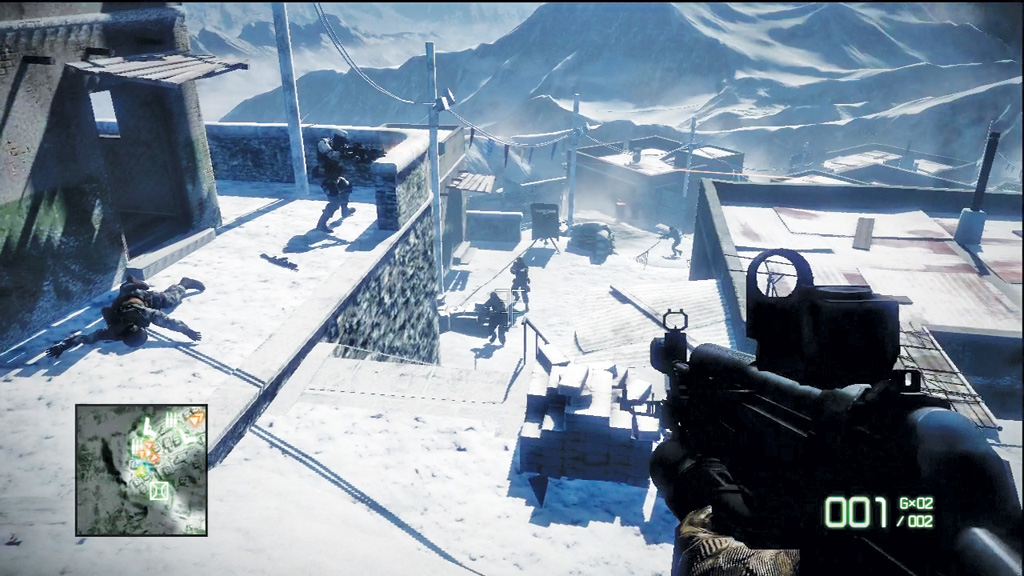
Keep pushing through the village, attacking aggressively with explosives and gunfire. Clear out the enemies around this armored machine gun using grenades. Fortunately, the weapon is pointed in the opposite direction and doesn’t pose a threat. Still, there are plenty of enemies to worry about here, including soldiers armed with rocket launchers positioned on the rooftops. Once the path is clear, rush toward the machine gun and take control of it to wipe out a few more enemies in the area below.
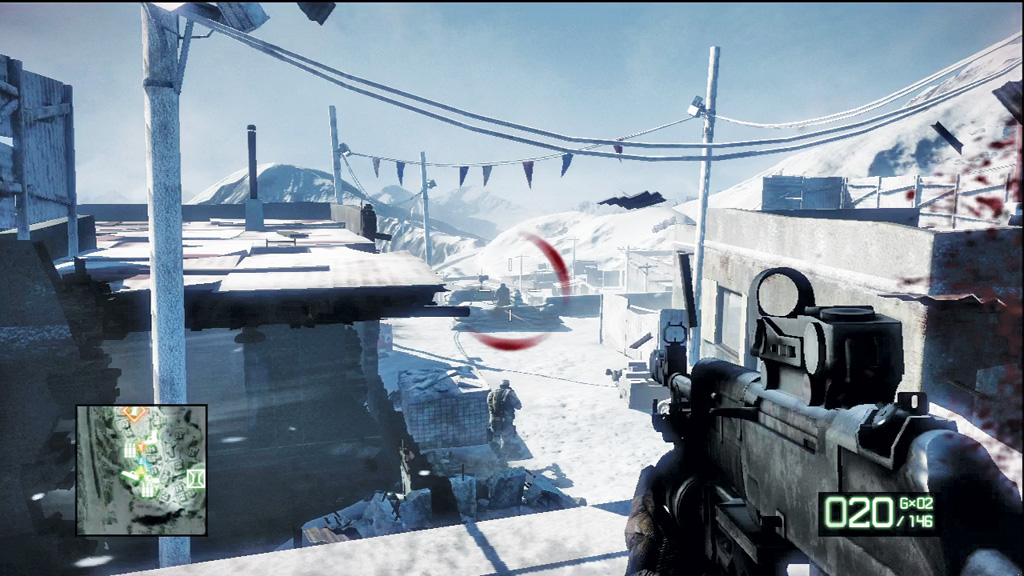
As you advance deeper into the village, watch out for a grenade launcher positioned behind sandbags. Either pick off the gunner as quickly as possible or flank the position from the right or left. Once the grenade launcher starts firing, attempting a frontal assault is deadly. It’s possible to score a quick hit with a grenade or rocket, but it’s much safer to flank. Just be quick about it while there’s still cover. Keep up the attack as more infantry rush up the slope behind the grenade launcher.
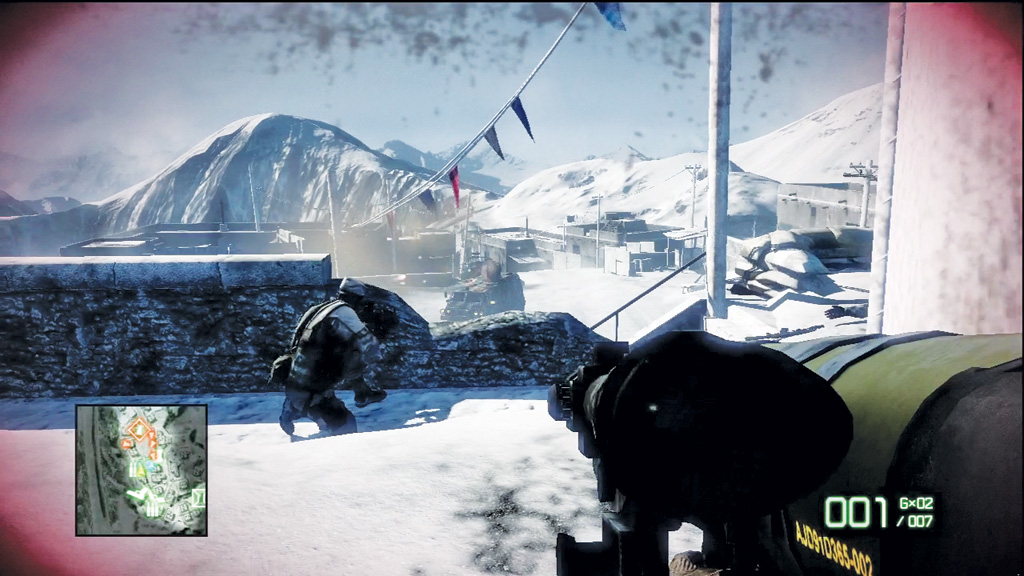
You’ve almost made it to your transportation, but there’s a few more enemies blocking your path, including a VODN. Take cover behind the low stone wall by the grenade launcher and equip your M2CG rocket launcher. Stand up, zoom in, and fire a rocket at the transport to take it out—all it takes is one hit. With the VODN destroyed, the rest of the enemies here are easy to finish off. Focus on the guys with RPGs first, then take out the rest.
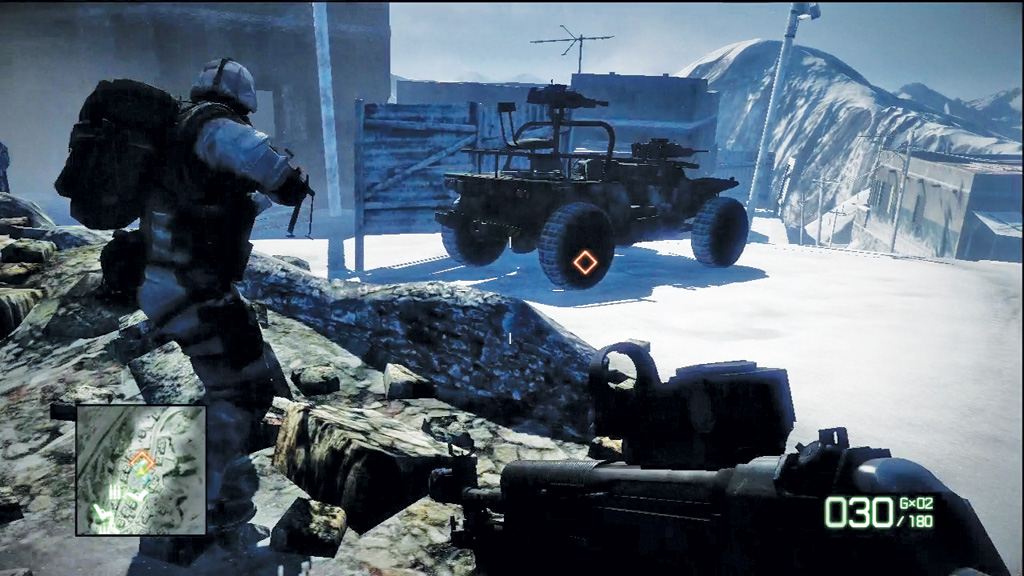
You only have a few minutes before the satellite crashes, so you better get a move on. Once the area is clear of hostiles, search the house to the southwest (marked on the map) to knock out another M-COM station. Once it’s destroyed, rush toward the CAVJ transport and climb aboard. This time you get to drive!
5. Locate and Secure Satellite Impact Zone
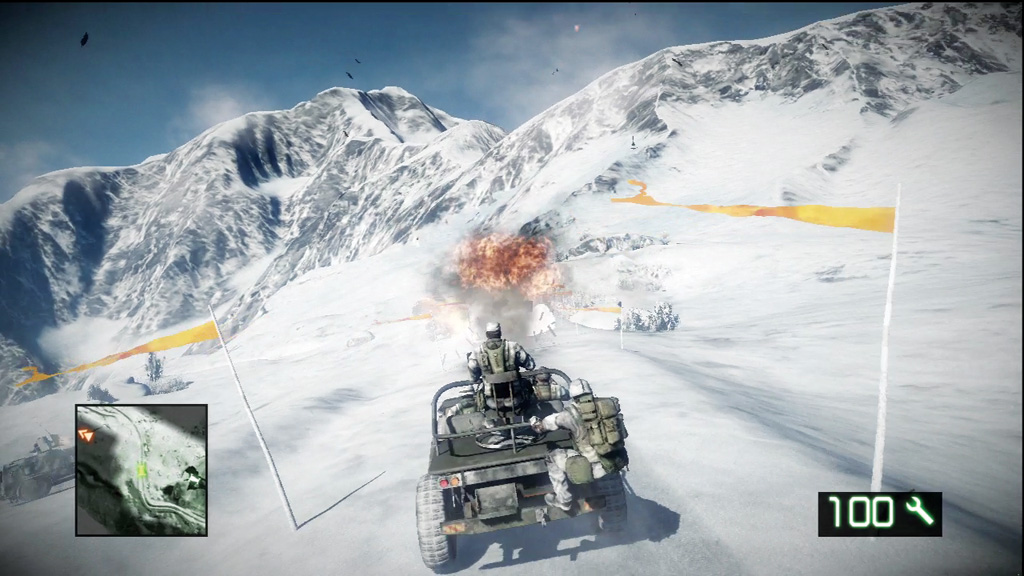
With the satellite streaking through the sky, it’s an all-out race to the crash site. The snowy road is packed with Russian vehicles eager to stop your advance. For a better view of the road, consider switching to the external view. This places the camera behind the vehicle, making it a little easier to see your surroundings, as well as upcoming turns. Do your best to avoid rockets fired from the backs of the trucks. Sarge is on the CAVJ’s machine gun and will return fire.
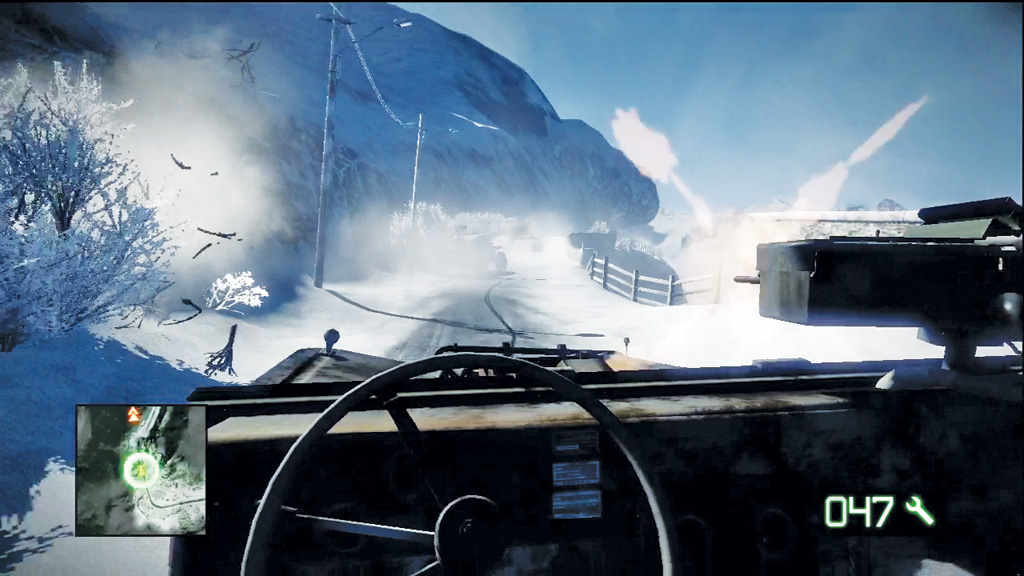
As the driver, you can also fire the vehicle’s front-mounted grenade launcher. However, it’s easiest to fire this weapon from the first-person perspective. This allows you to see the weapon’s aiming reticle, helping you gauge how high the weapon needs to be tilted to hit a target. The grenade launcher is ideal for taking out the VODNs and CAVJ transports on the road in front of you. Simply hold down the fire button and slowly elevate the weapon’s aim to walk the grenades into the vehicles in front of you.
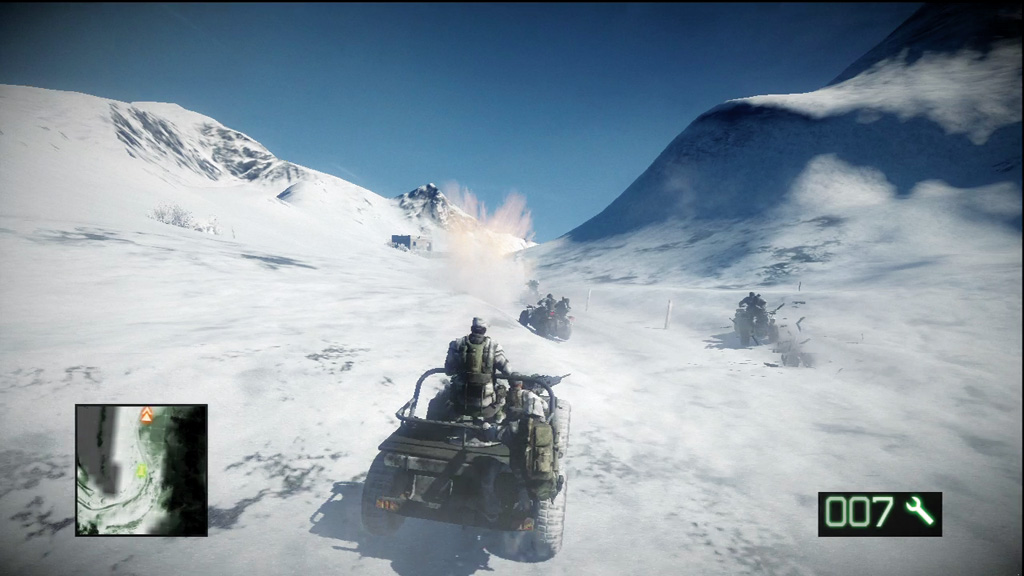
As you near the crash site, several ATVs swarm around you. Take these guys out fast, as each has a rocket-firing enemy riding on the back. Open fire with the grenade launcher and swerve to avoid incoming rockets. Rockets do heavy damage to your vehicle, so do your best to wipe these guys out fast. At the very least, keep your distance. This buys you bit more time to make evasive maneuvers.
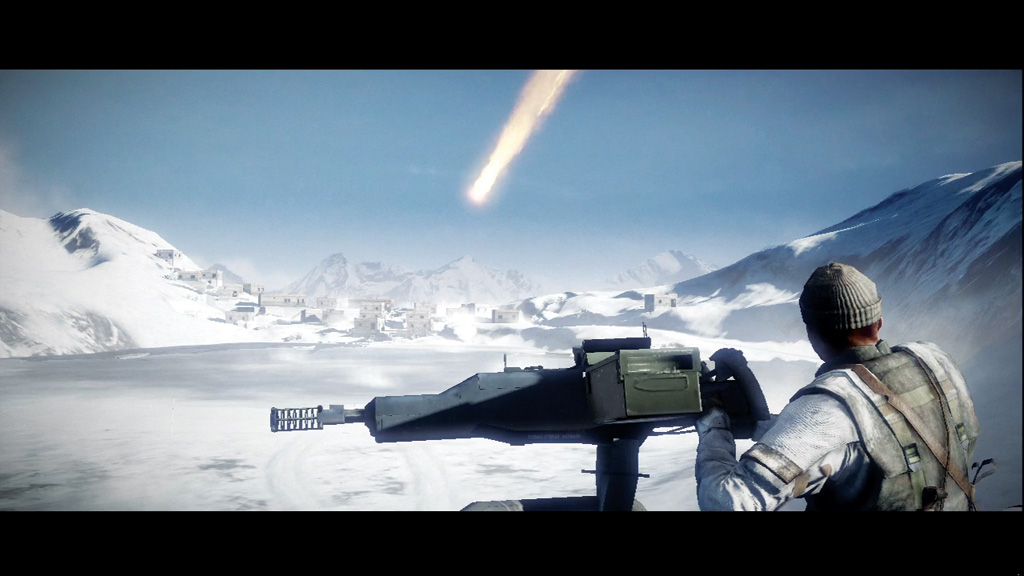
At the end of the race, the satellite is seen crashing into a nearby village. Hopefully Aguire’s data is still intact. The mission continues in Snowblind .