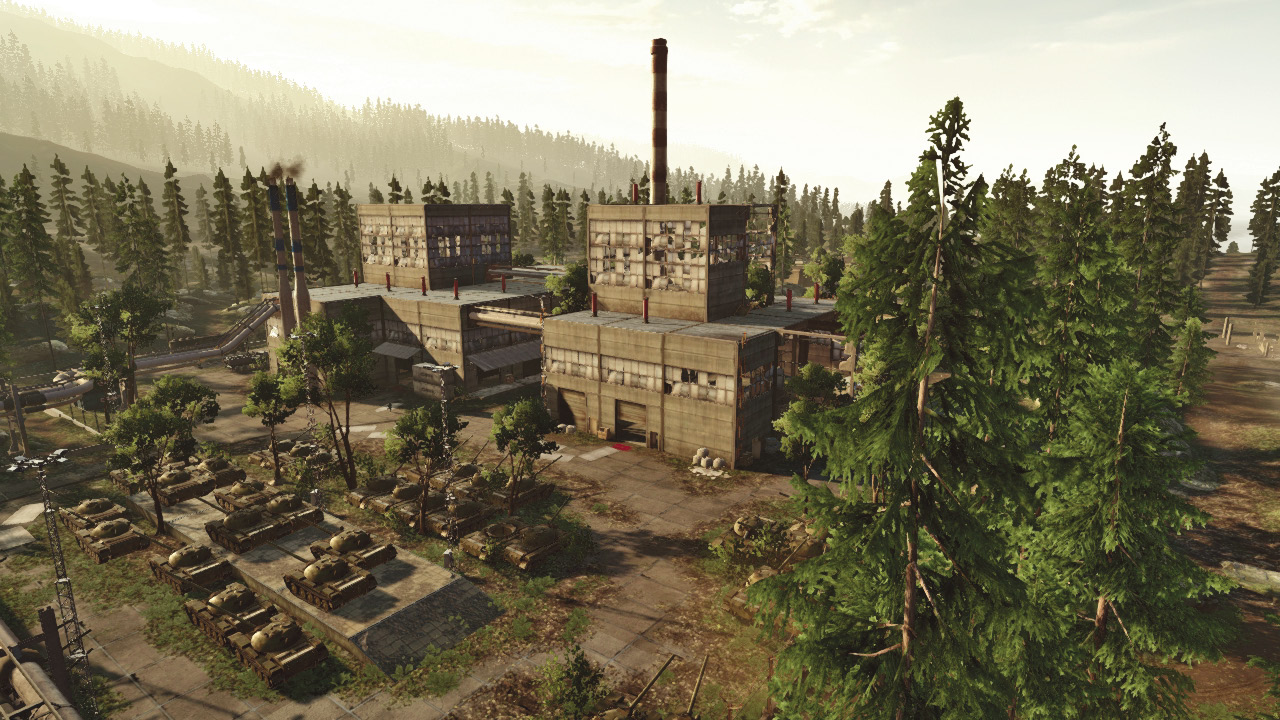
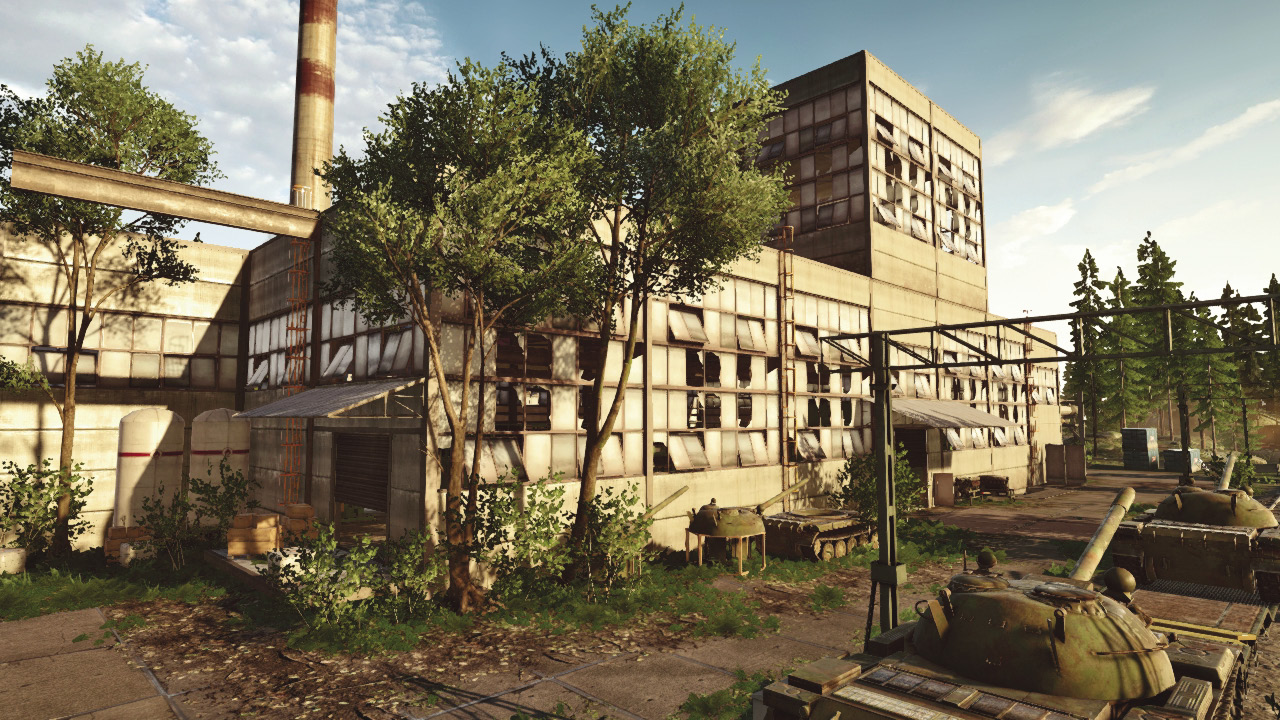
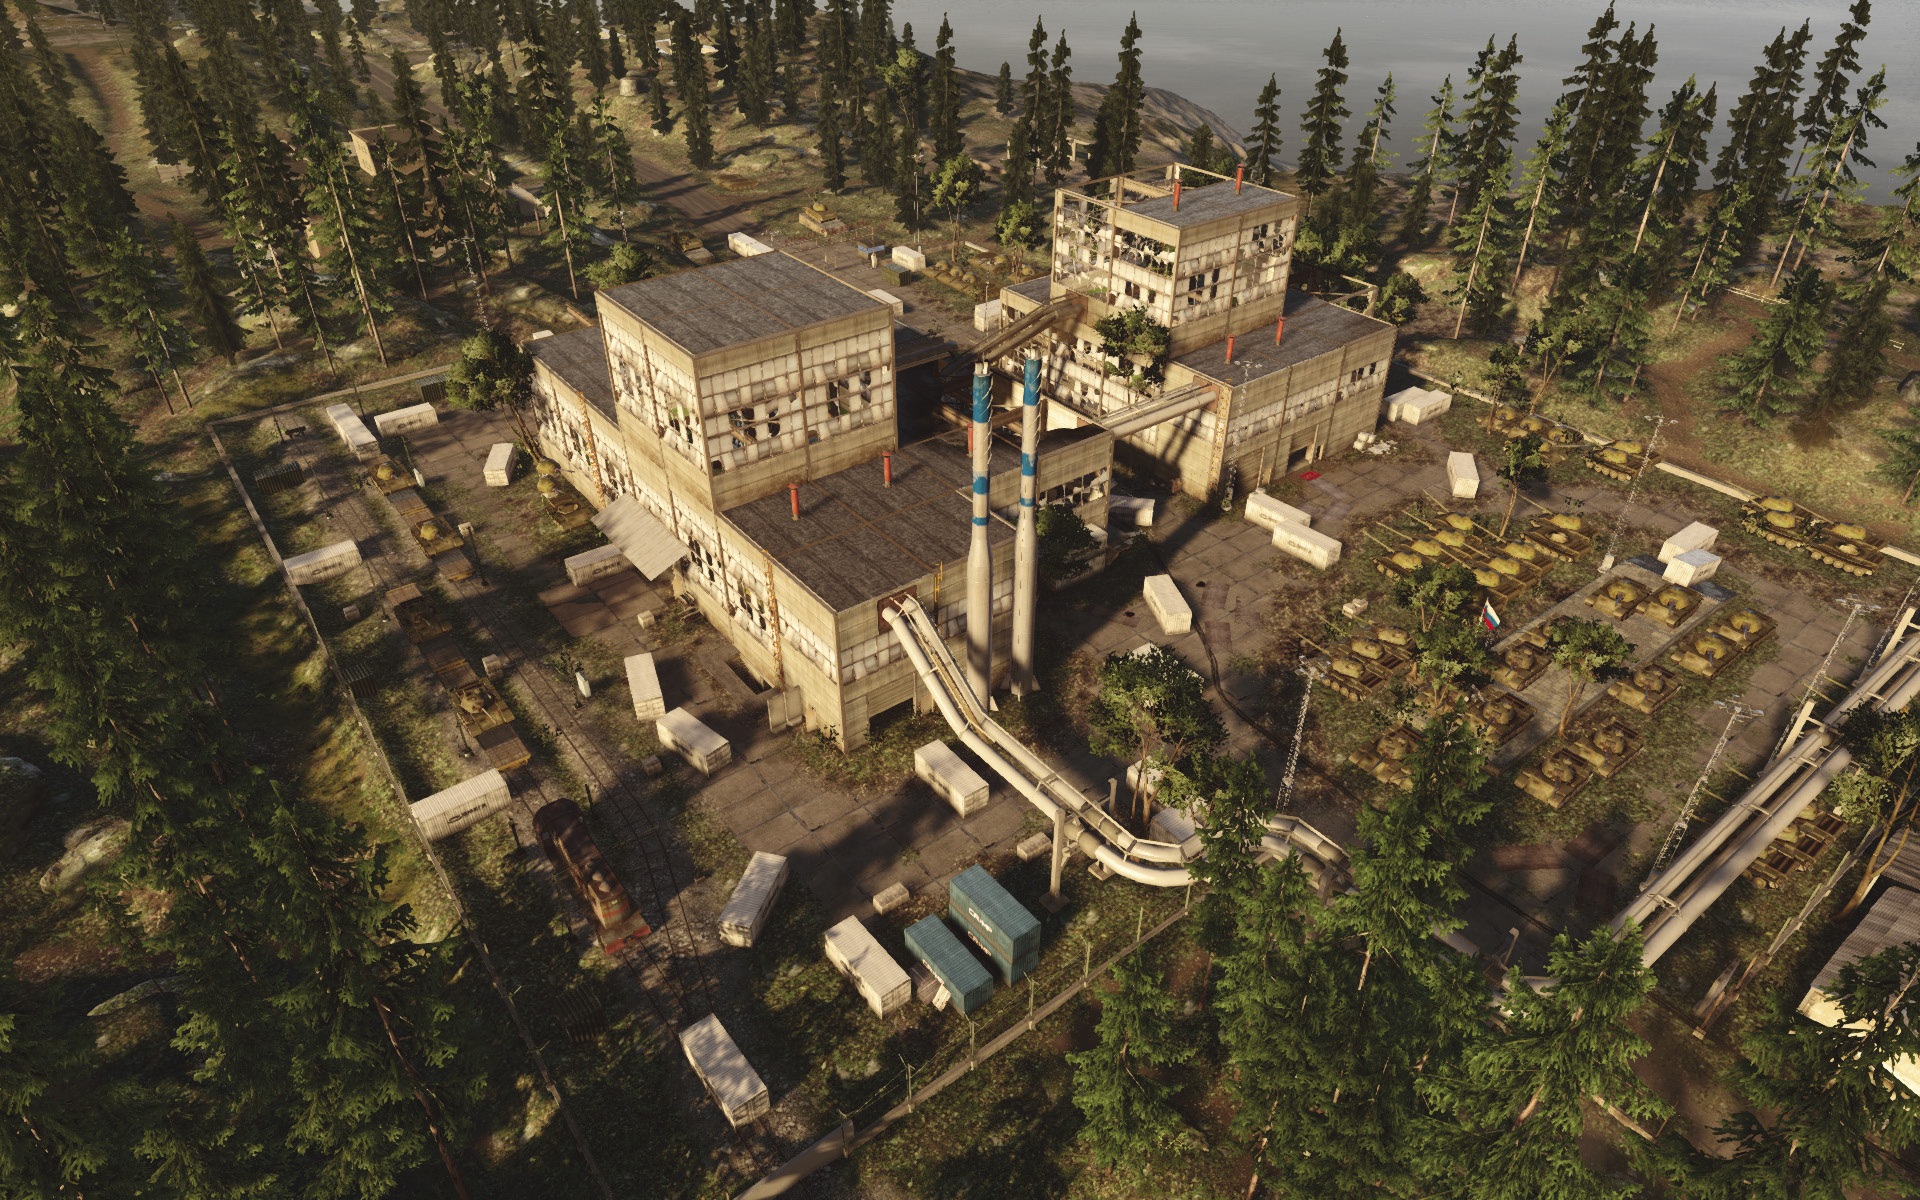
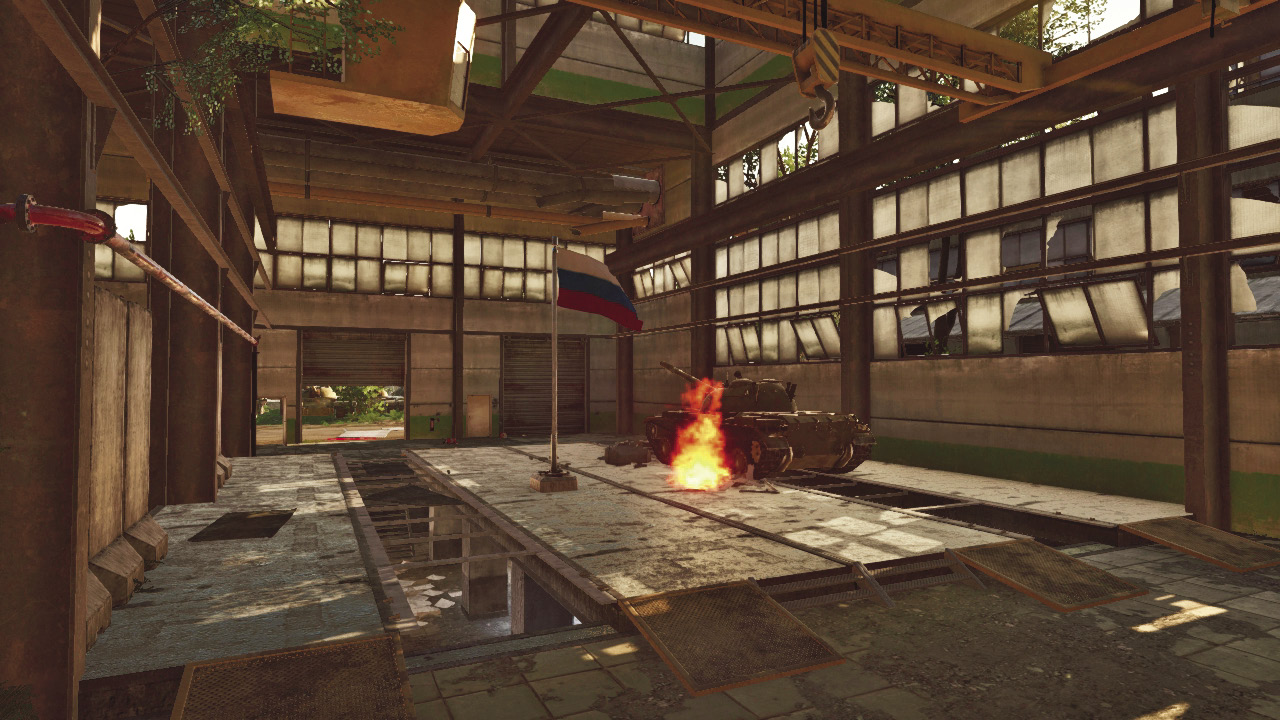
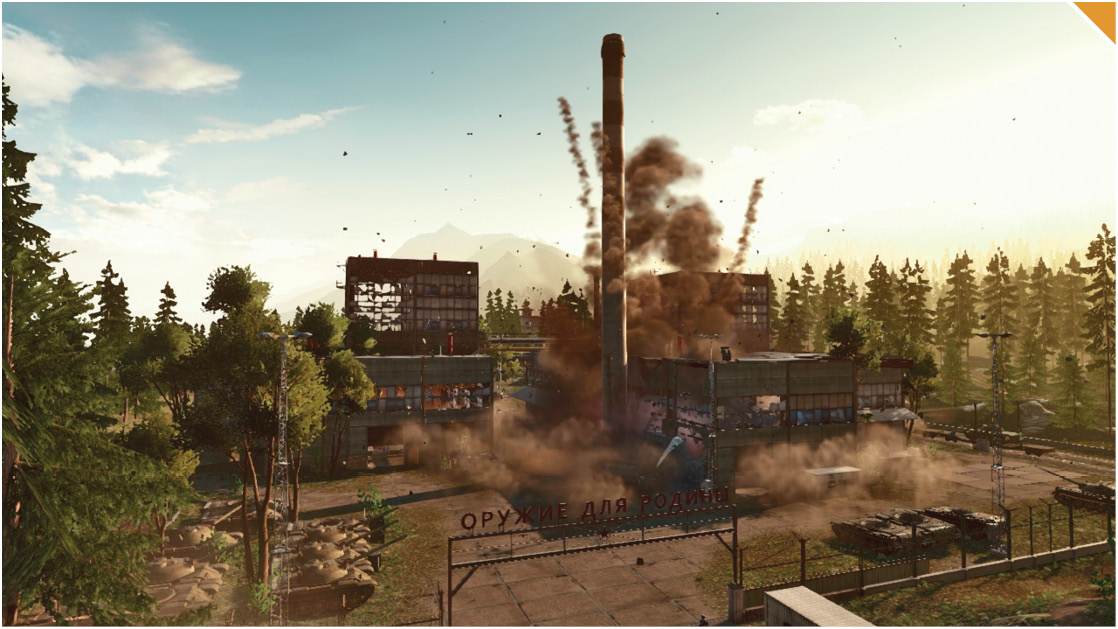
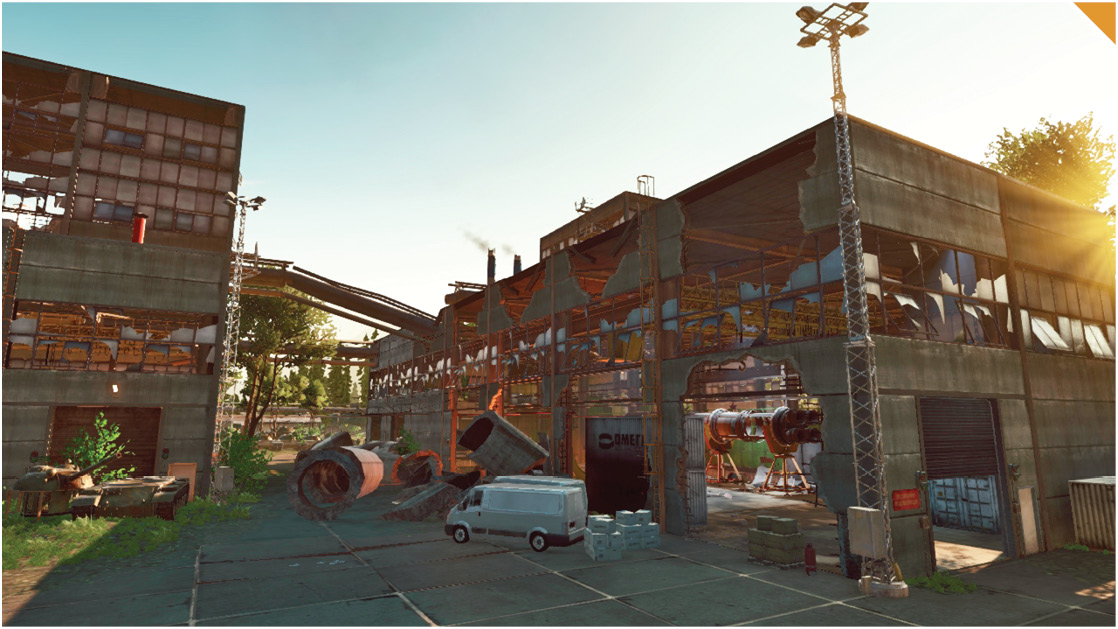
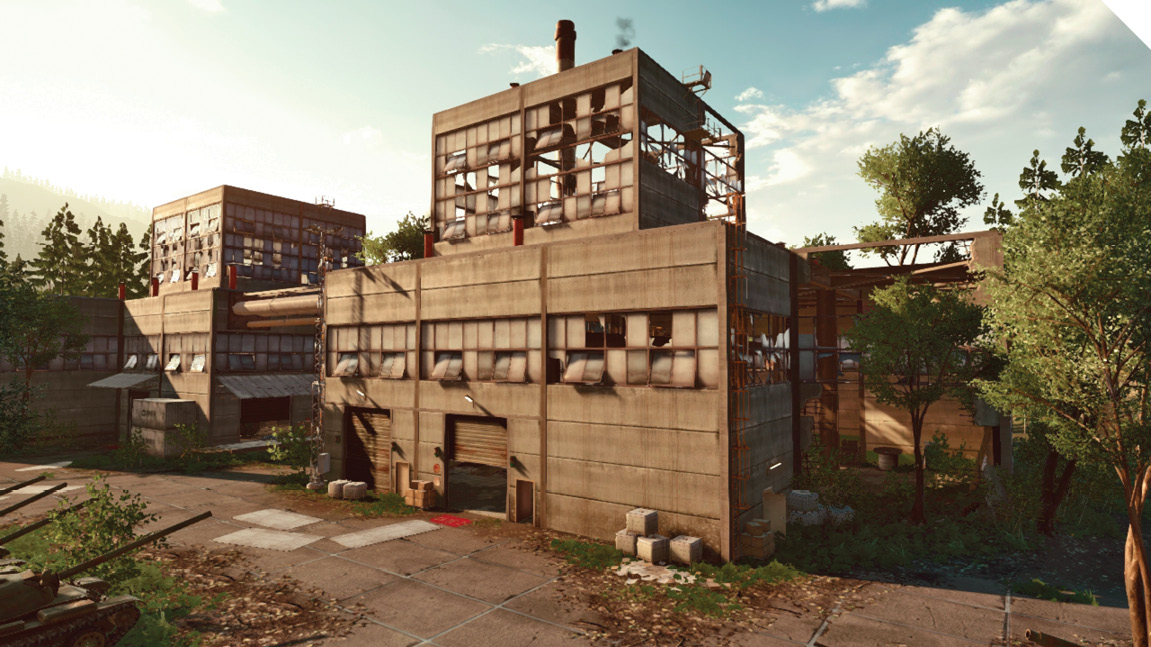
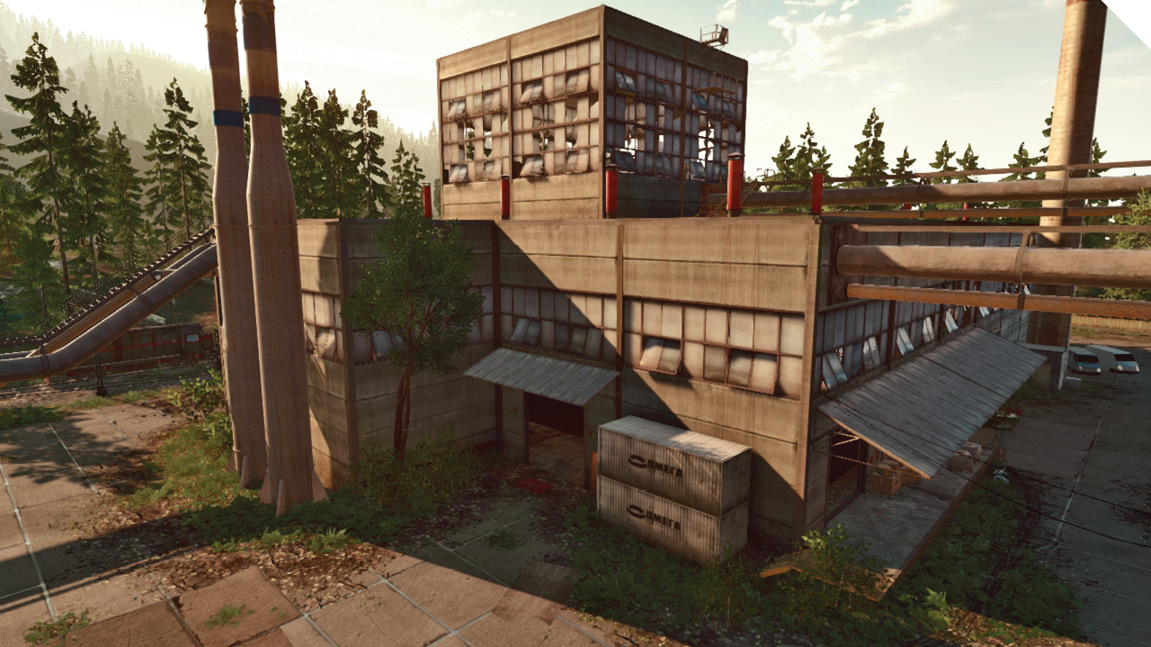
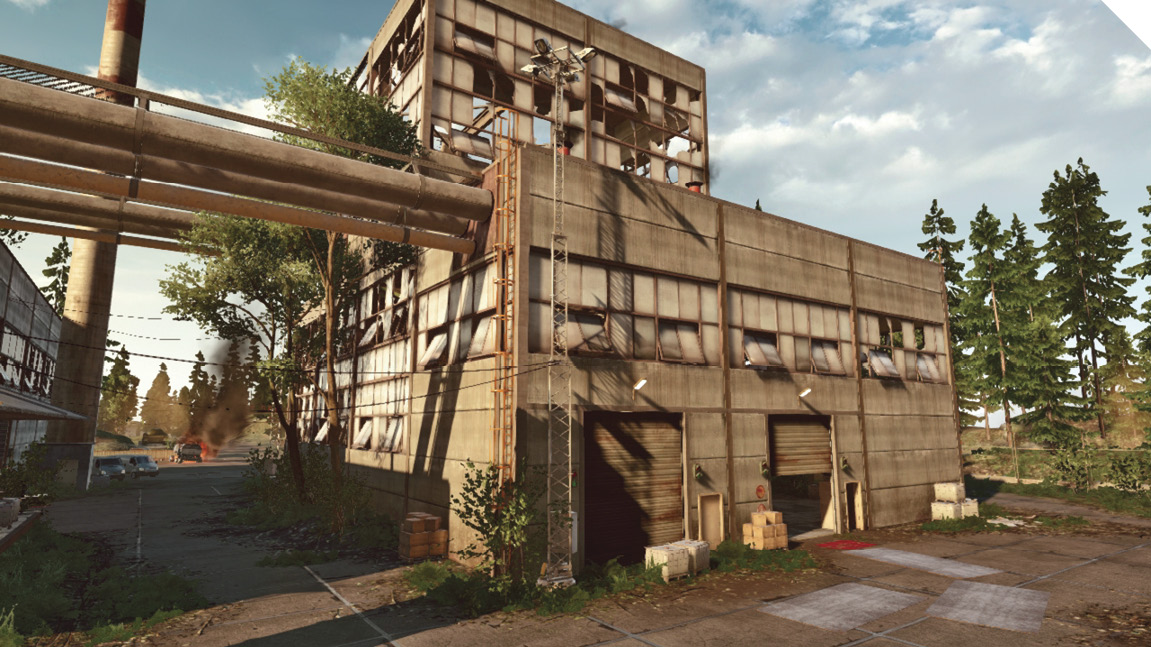
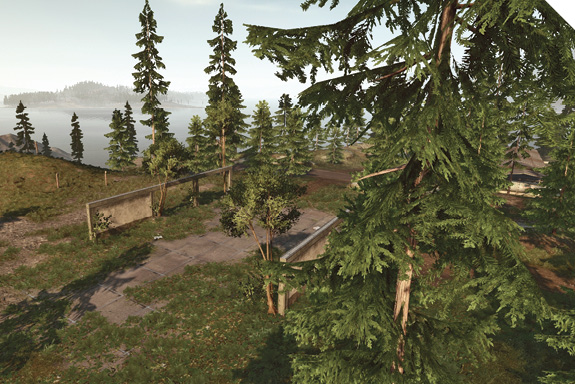
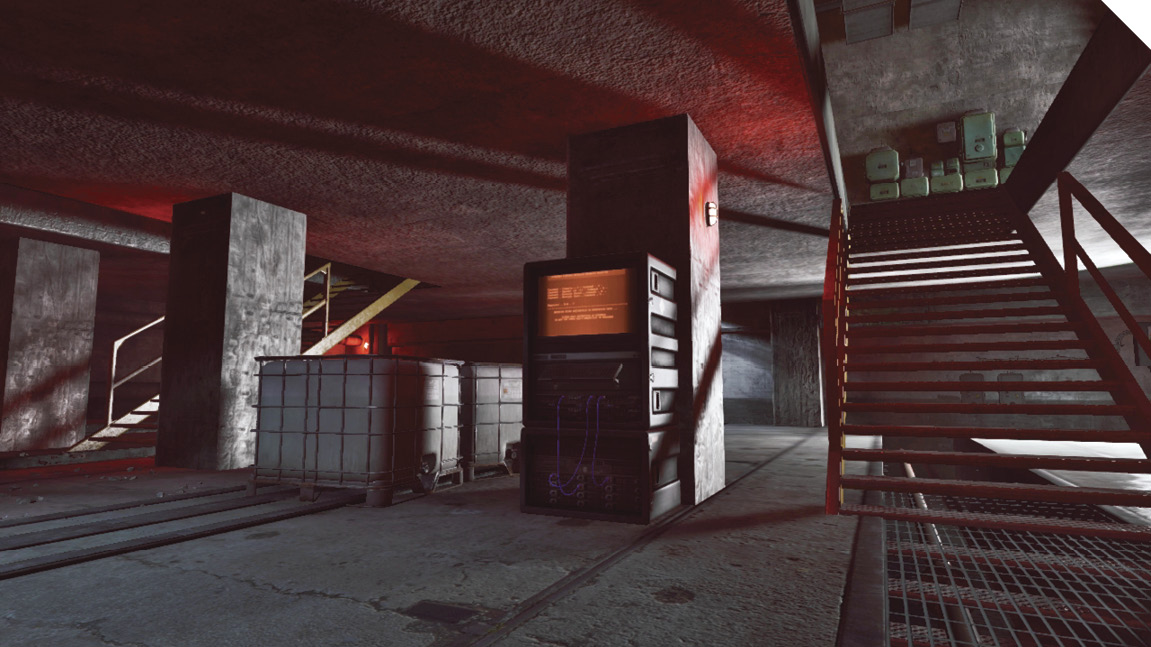
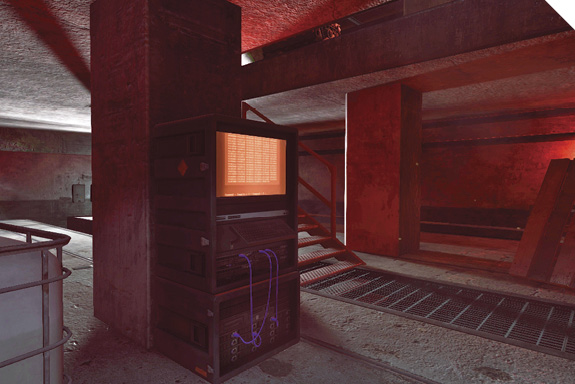
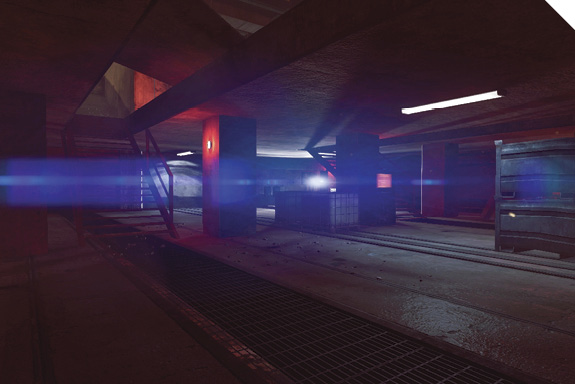
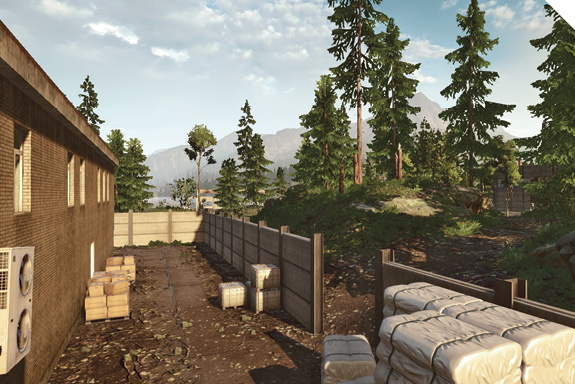
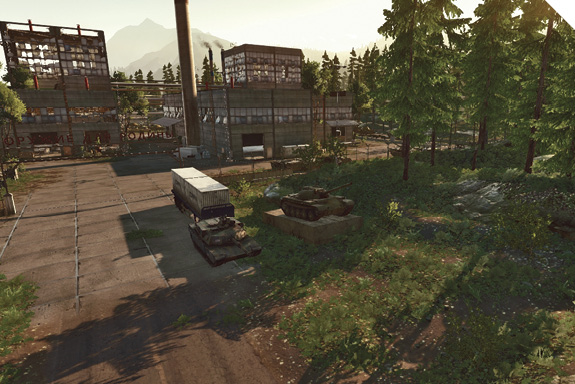
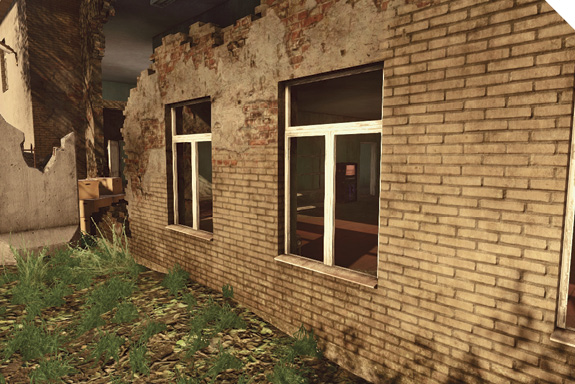
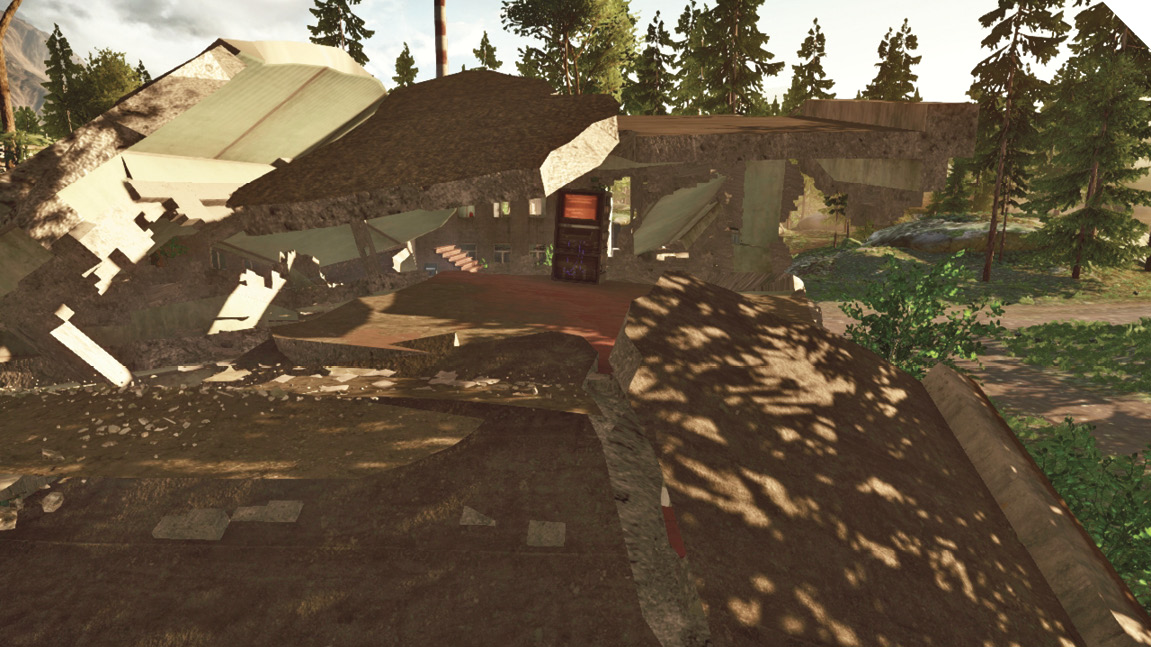
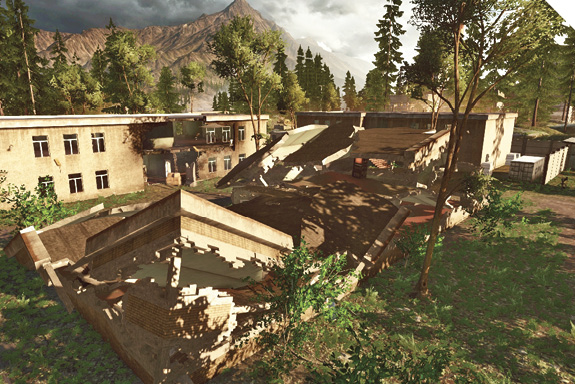
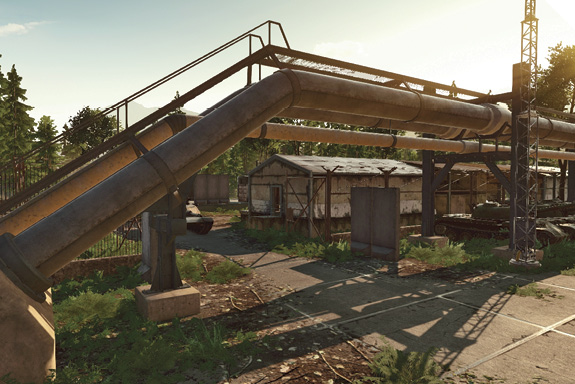
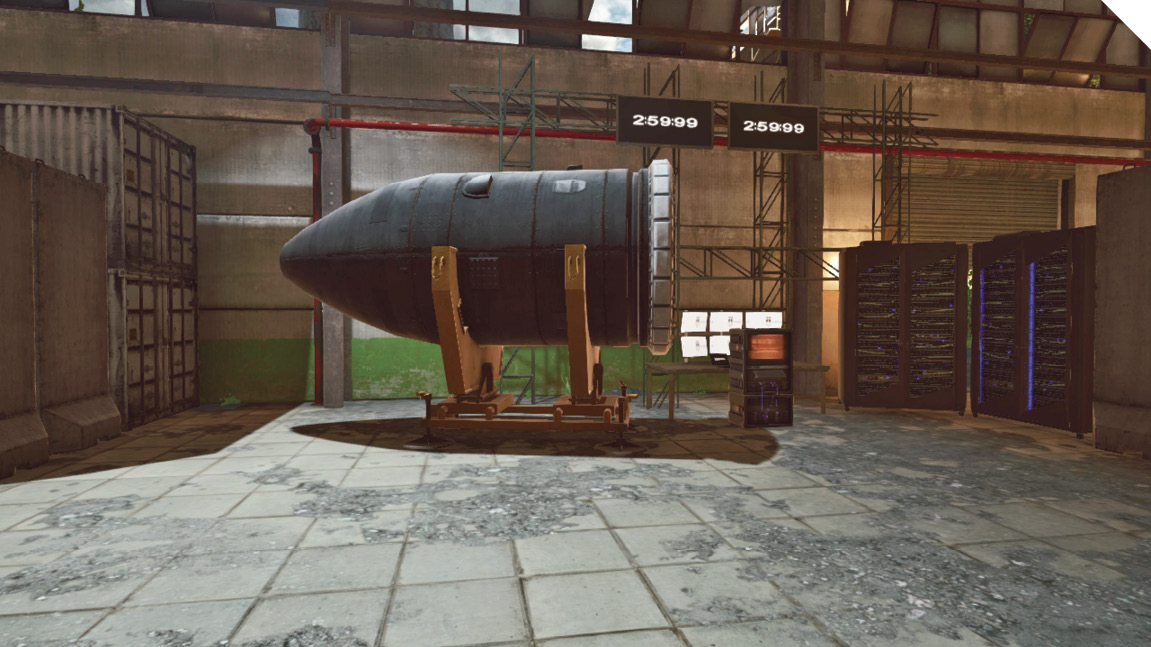
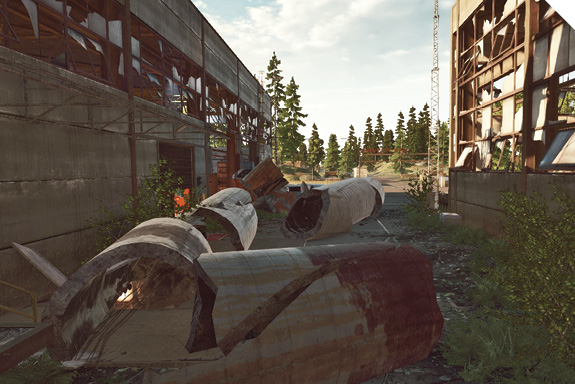
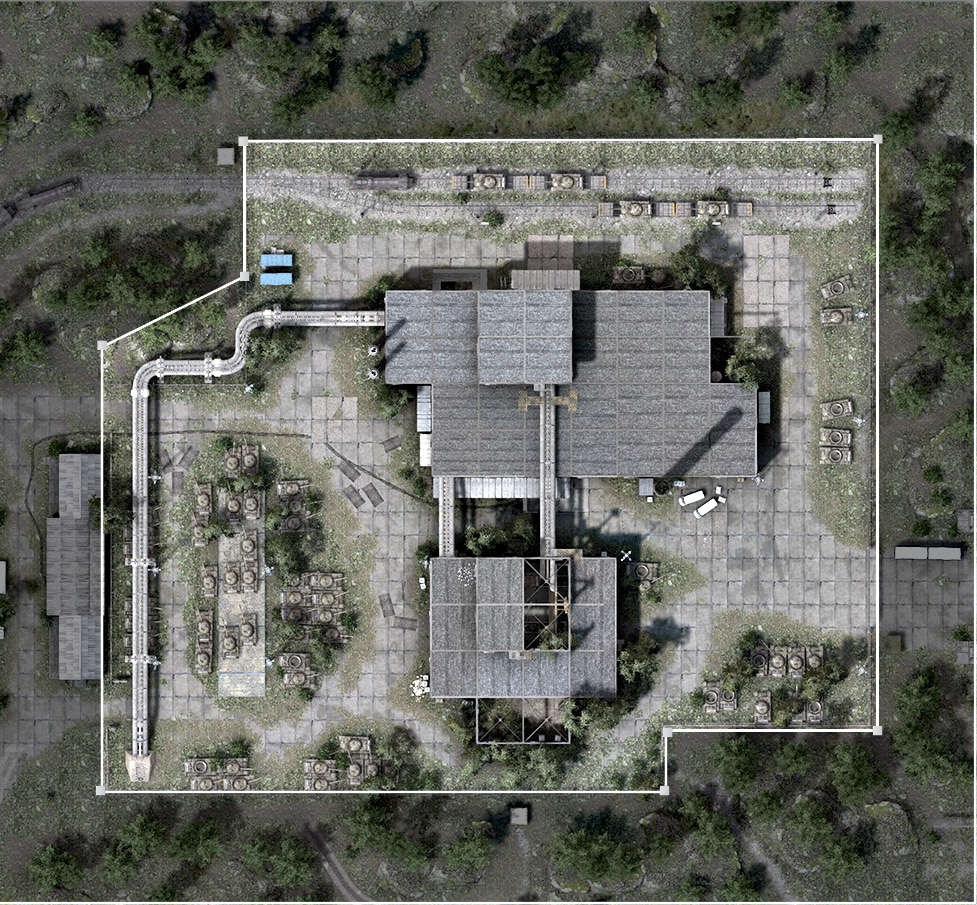
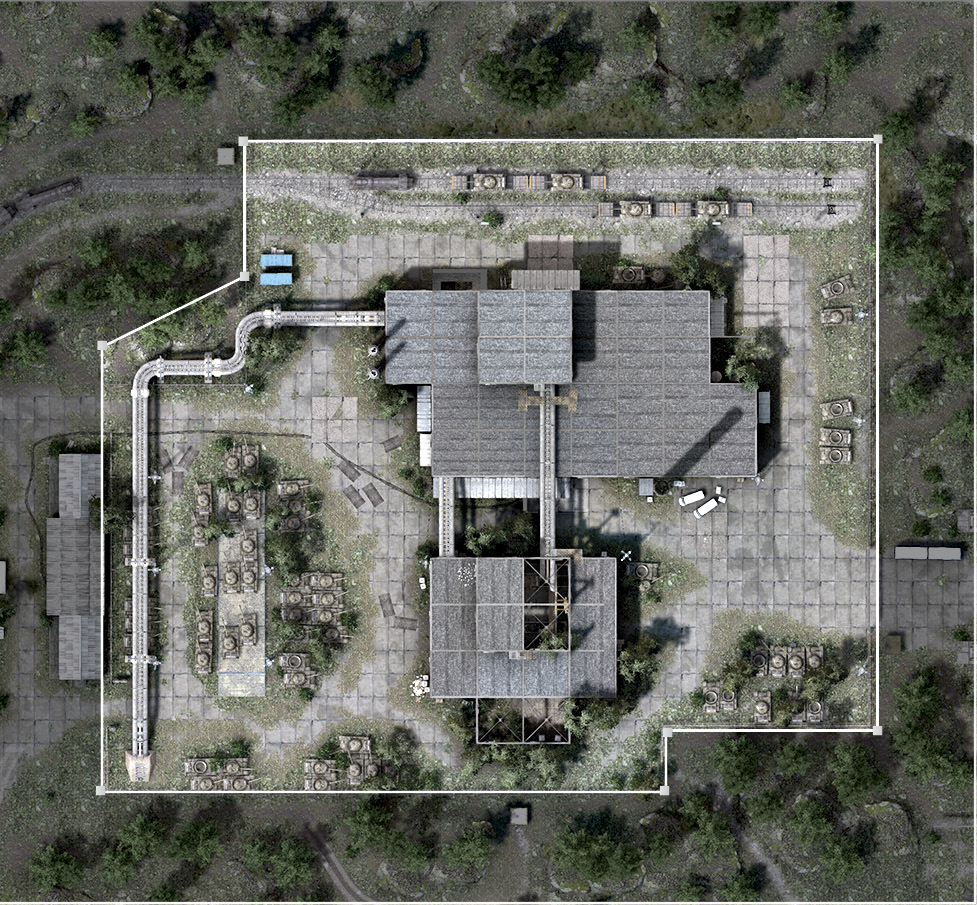
A big smoke stack falls down over the central area and opens up new paths.
How is it triggered?
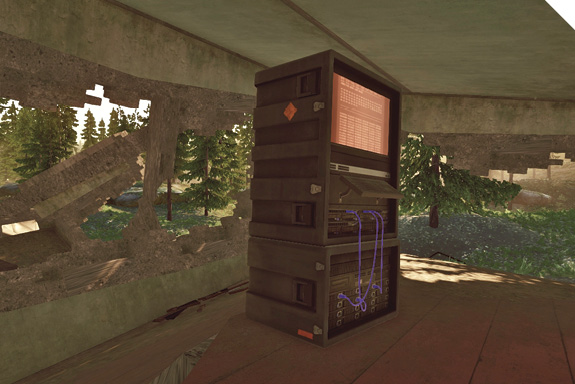
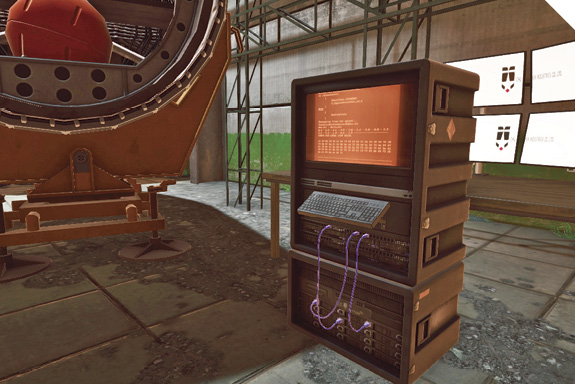
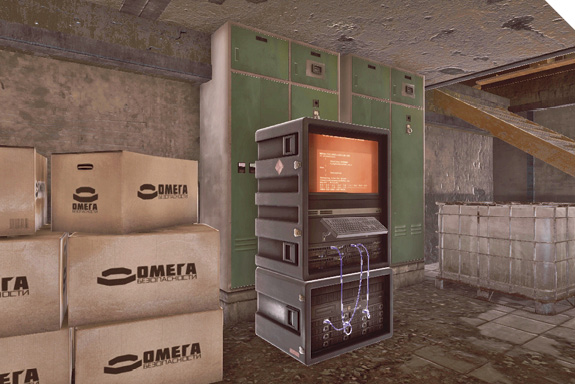
There is a countdown timer that can be toggled in the Manufacturing building. The warhead blows up when the timer reaches zero.
How is gameplay impacted?
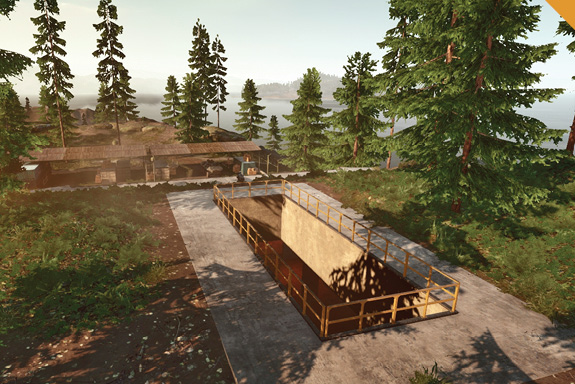
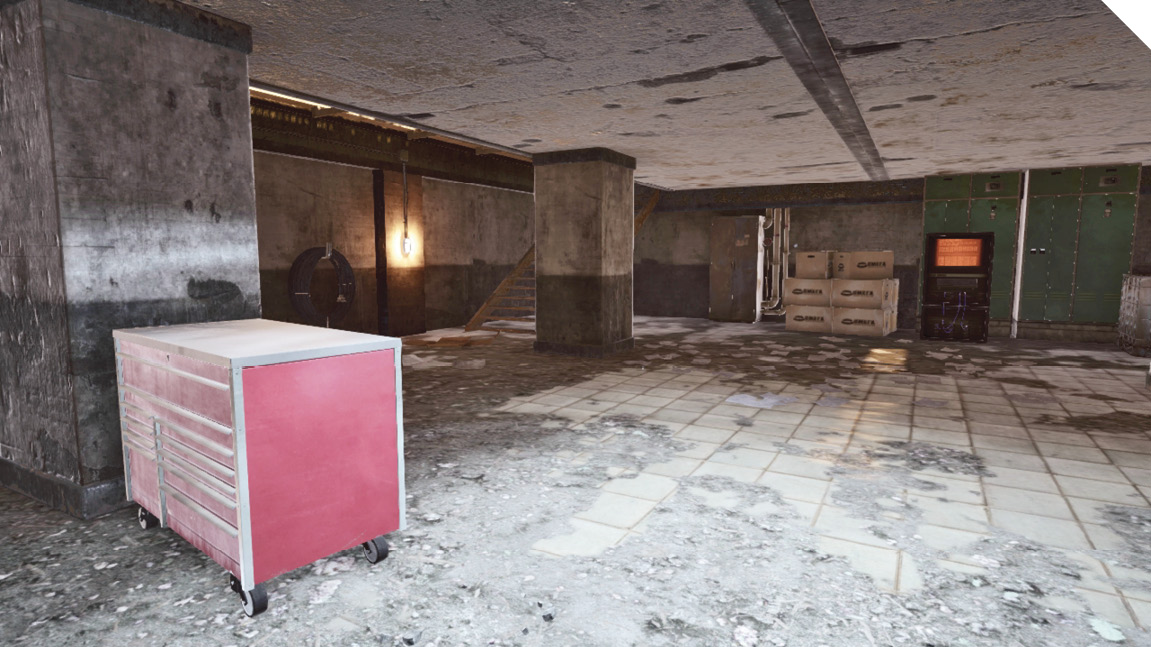
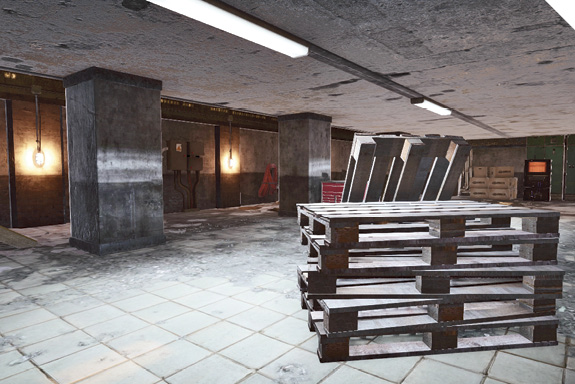
The area between Assembly and Manufacturing becomes almost impossible to traverse with vehicles. Geometry around the two areas changes by opening up routes and closing others. It is possible to access the tunnel below from up above. Tread carefully where the warhead has exploded because you can be injured by the radiation field now surrounding the area.
Alpha Squad: Impressions
Mabooza
Regardless of the game mode, much of the fighting centers around the factory facility in the center of the map. Be ready for some intense infantry combat between the Manufacturing and Assembly buildings, particularly within the underground tunnel connecting the two structures—shotguns and PDWs are deadly down here. But don’t neglect the surrounding areas either. My default class is the engineer, especially if enemy armor is on the prowl.
StrongSide
One of my favorite positions is on top of the Assembly and Manufacturing buildings. It’s a great place to utilize the recon class for sniping. This position has an incredible overview to pick off incoming enemies. Place a Radio Beacon on the roof, giving you and your squad a spawn point at the center of the action. Levolution creates an entirely new environment between these buildings, opening a new entrance to the tunnels beneath, ideal for staging surprise attacks or a sneaky getaway!
Walshy
I love the battles that take place at the factory in the middle of this map. This map seems to have the perfect balance of times when vehicles are necessary and when you need to go on foot to get the job done.
Flamesword
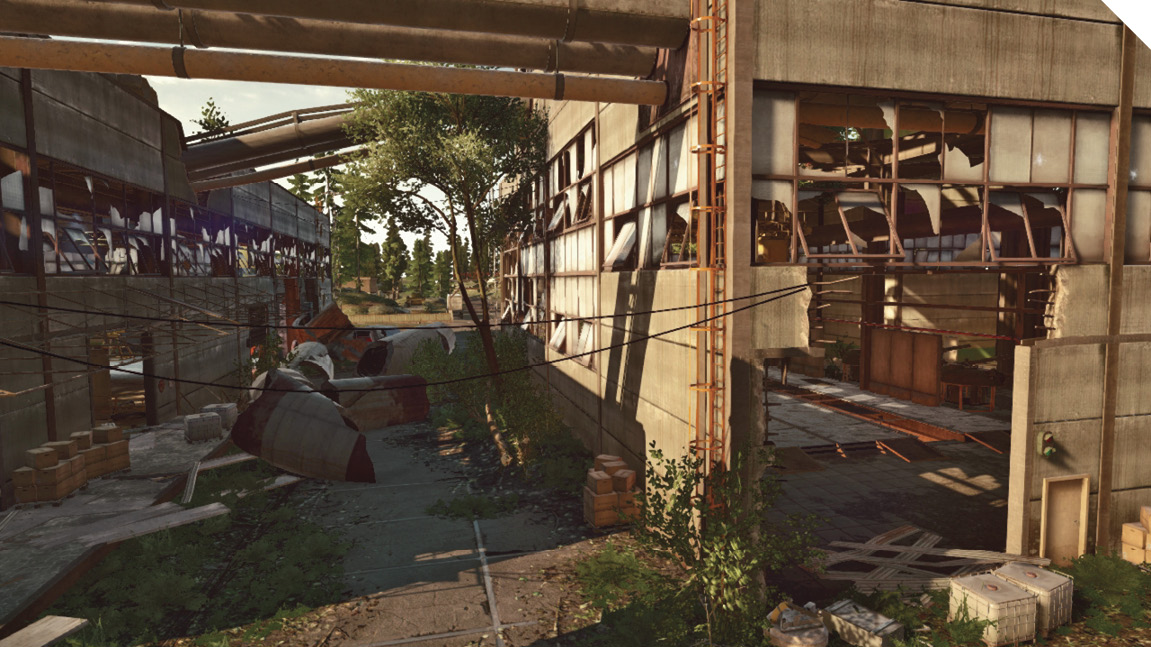
This is a beautiful map, featuring a factory facility surrounded by a vast forest. You’ll find me running around as the support class. The map has so many ways to flank enemies and drop C4 on them. The Train Yard is my favorite spot, but don’t be surprised if you see me parachuting towards the factory in the middle to join all the close-quarter combat with my LMG!
Elumnite
The assault and engineer classes are my choice for this map. Or if playing as support or recon, laying C4 and Claymores in the tunnels helps stop enemies from capturing objectives. The Bunker is my favorite place to hide when the generator has been shot to turn the lights off. This dark interior is where I like to pick off players who come looking for me—using the IRNV or FLIR optics gives me a distinct advantage.
Conquest Large
Recommended Squad Composition:
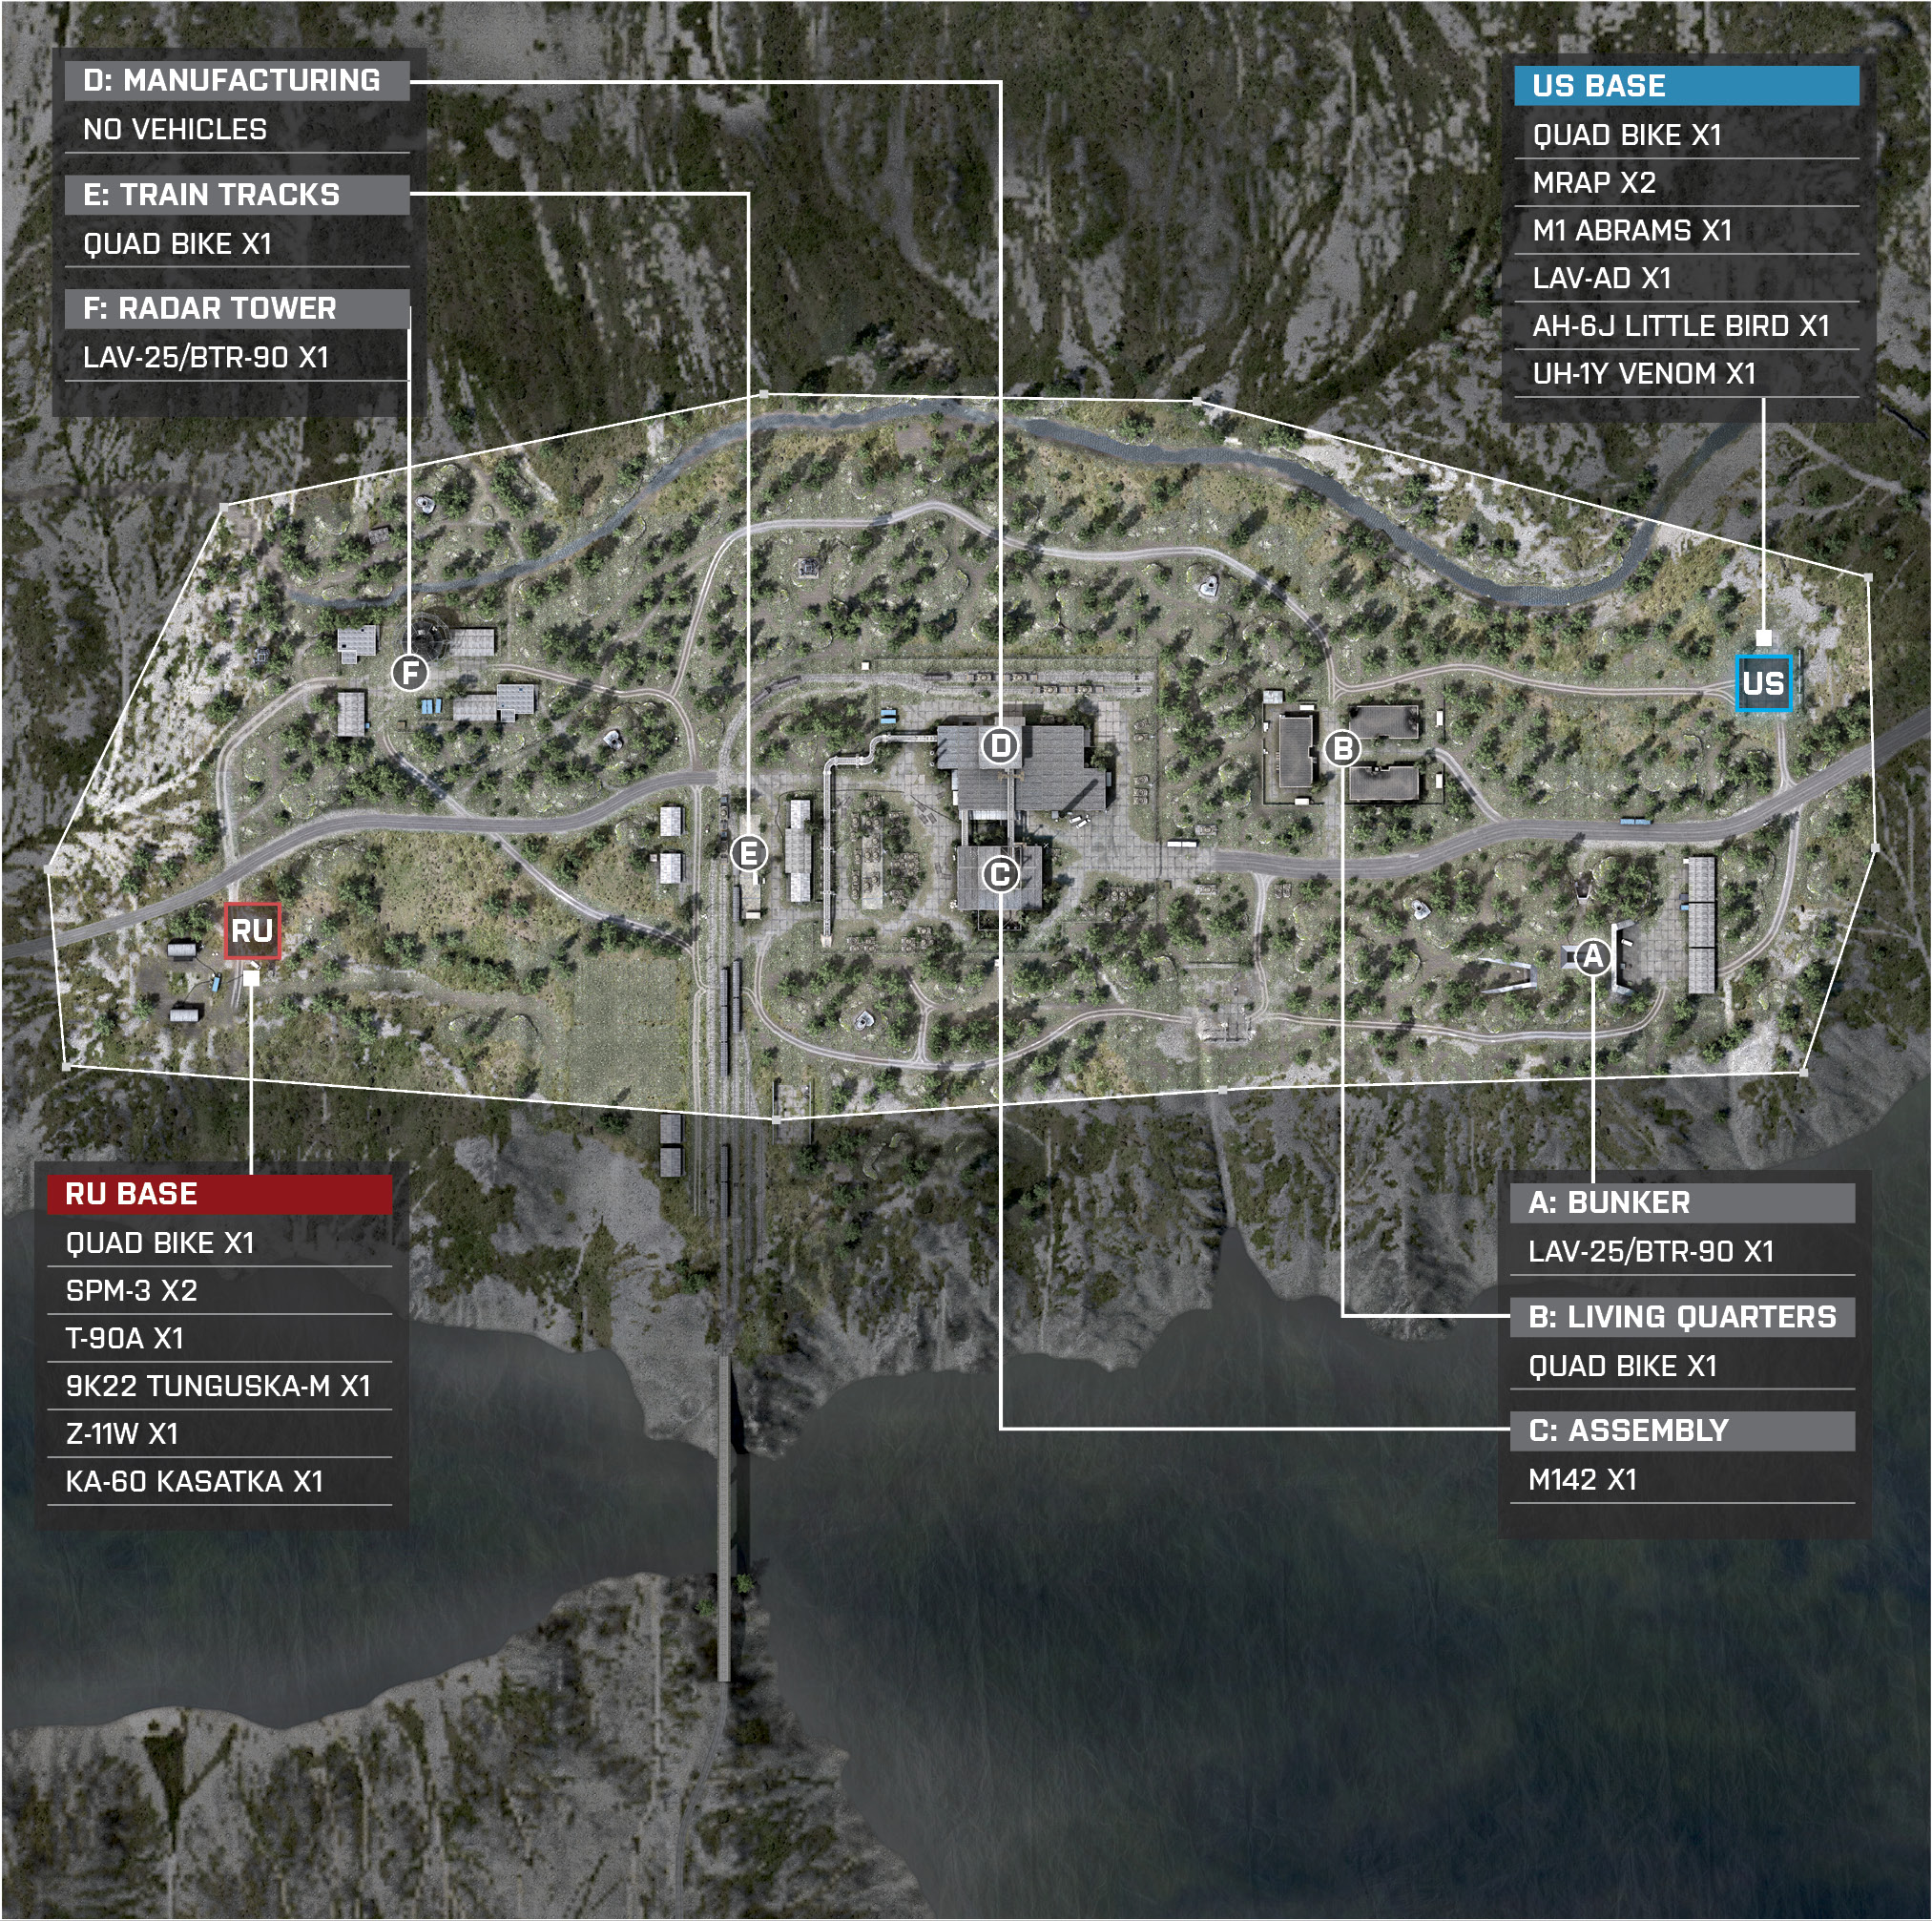
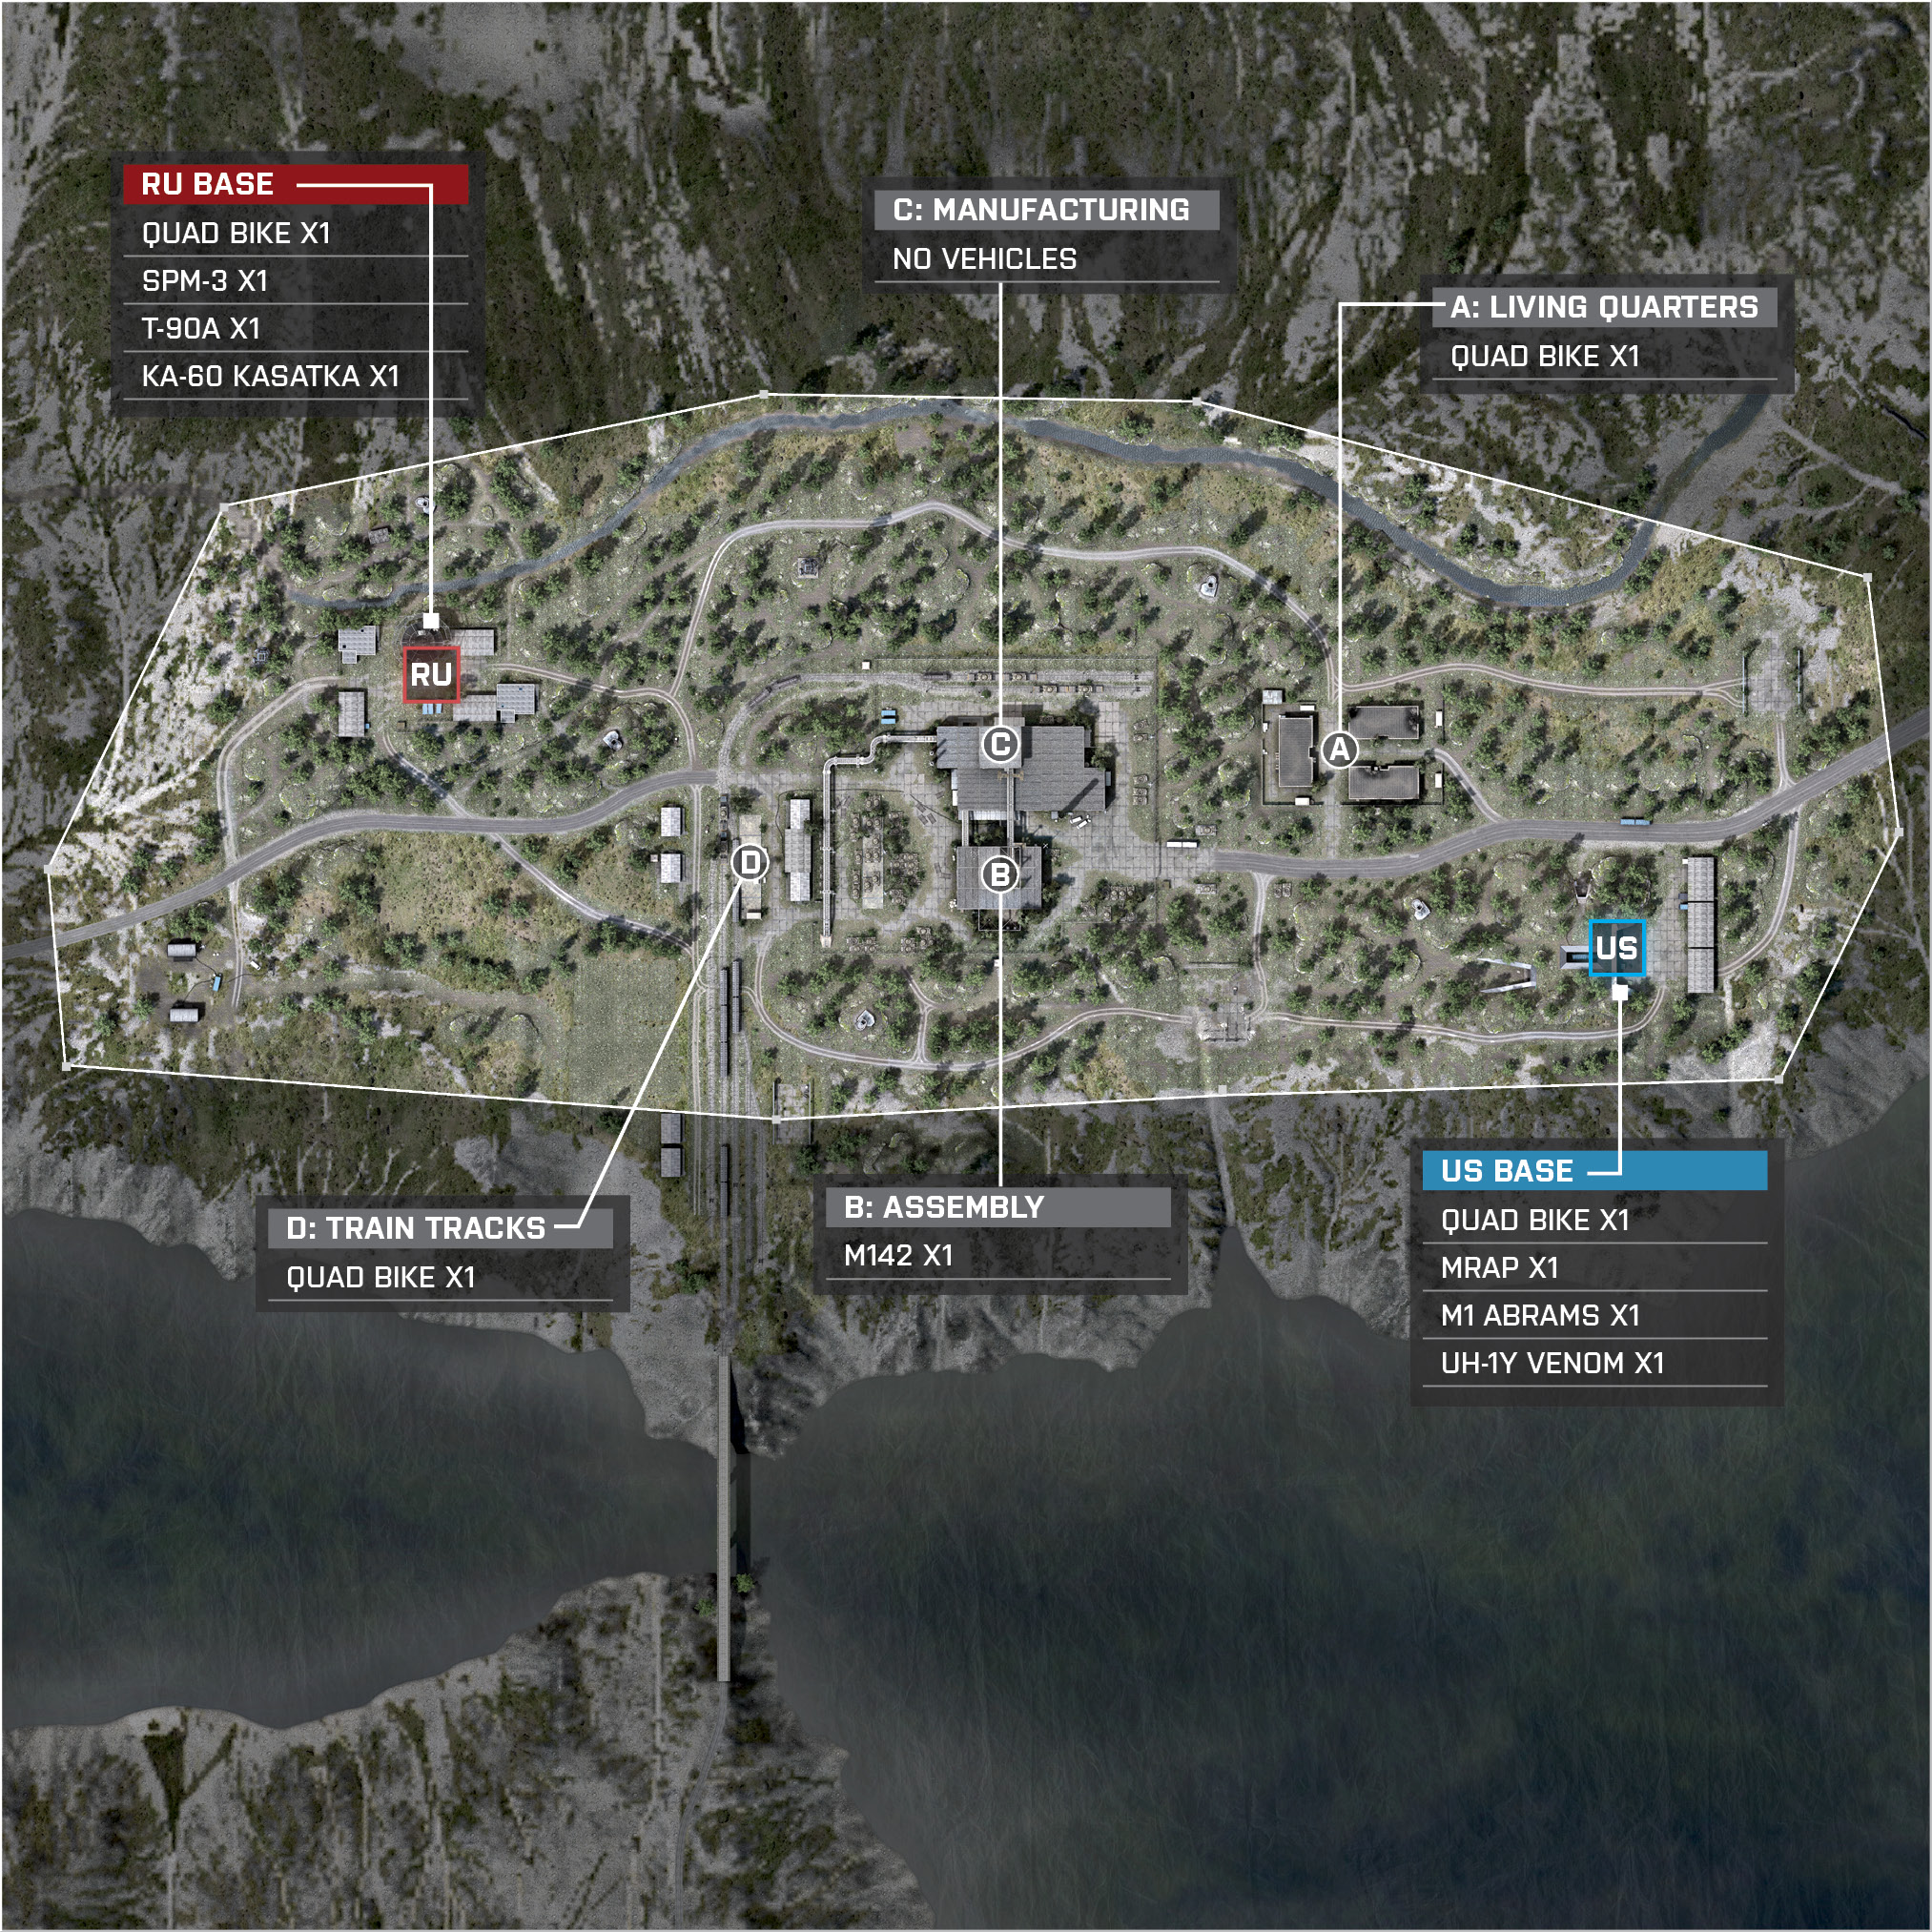
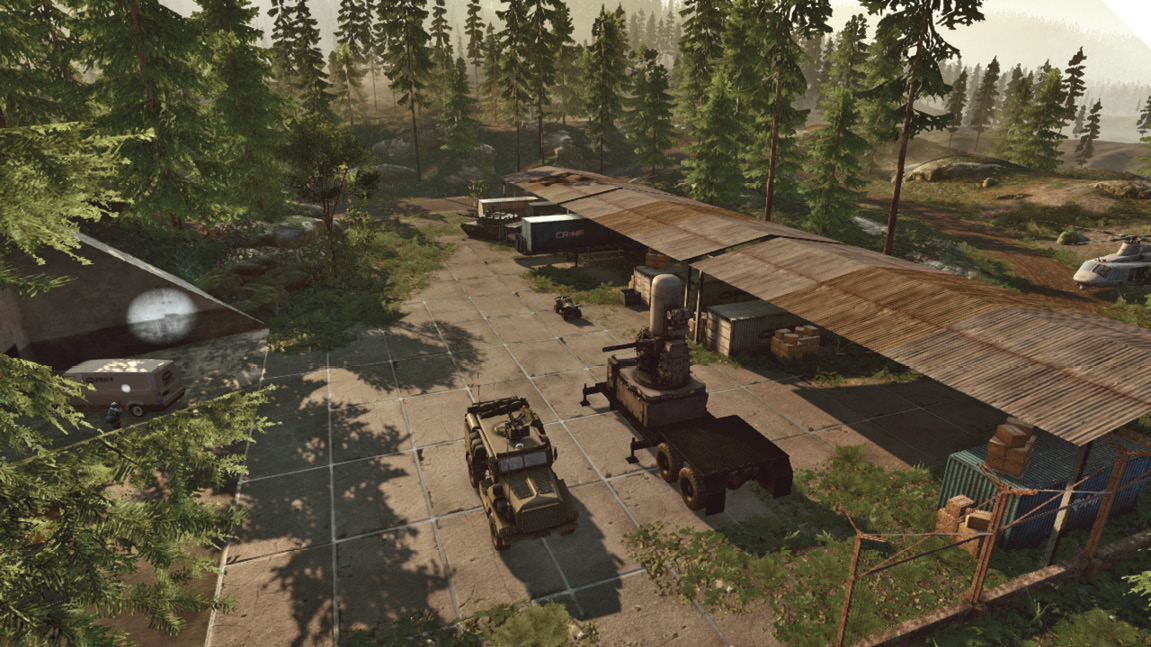
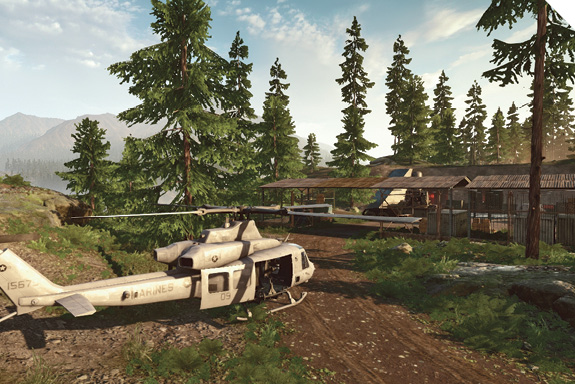
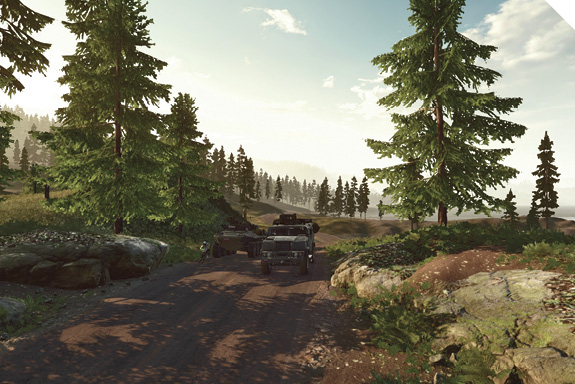
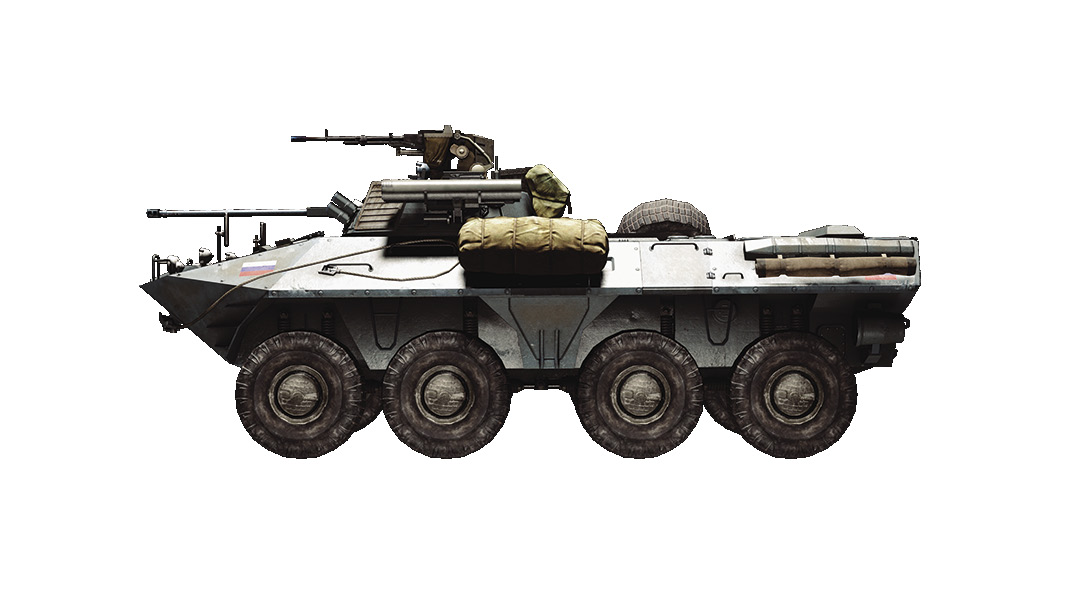
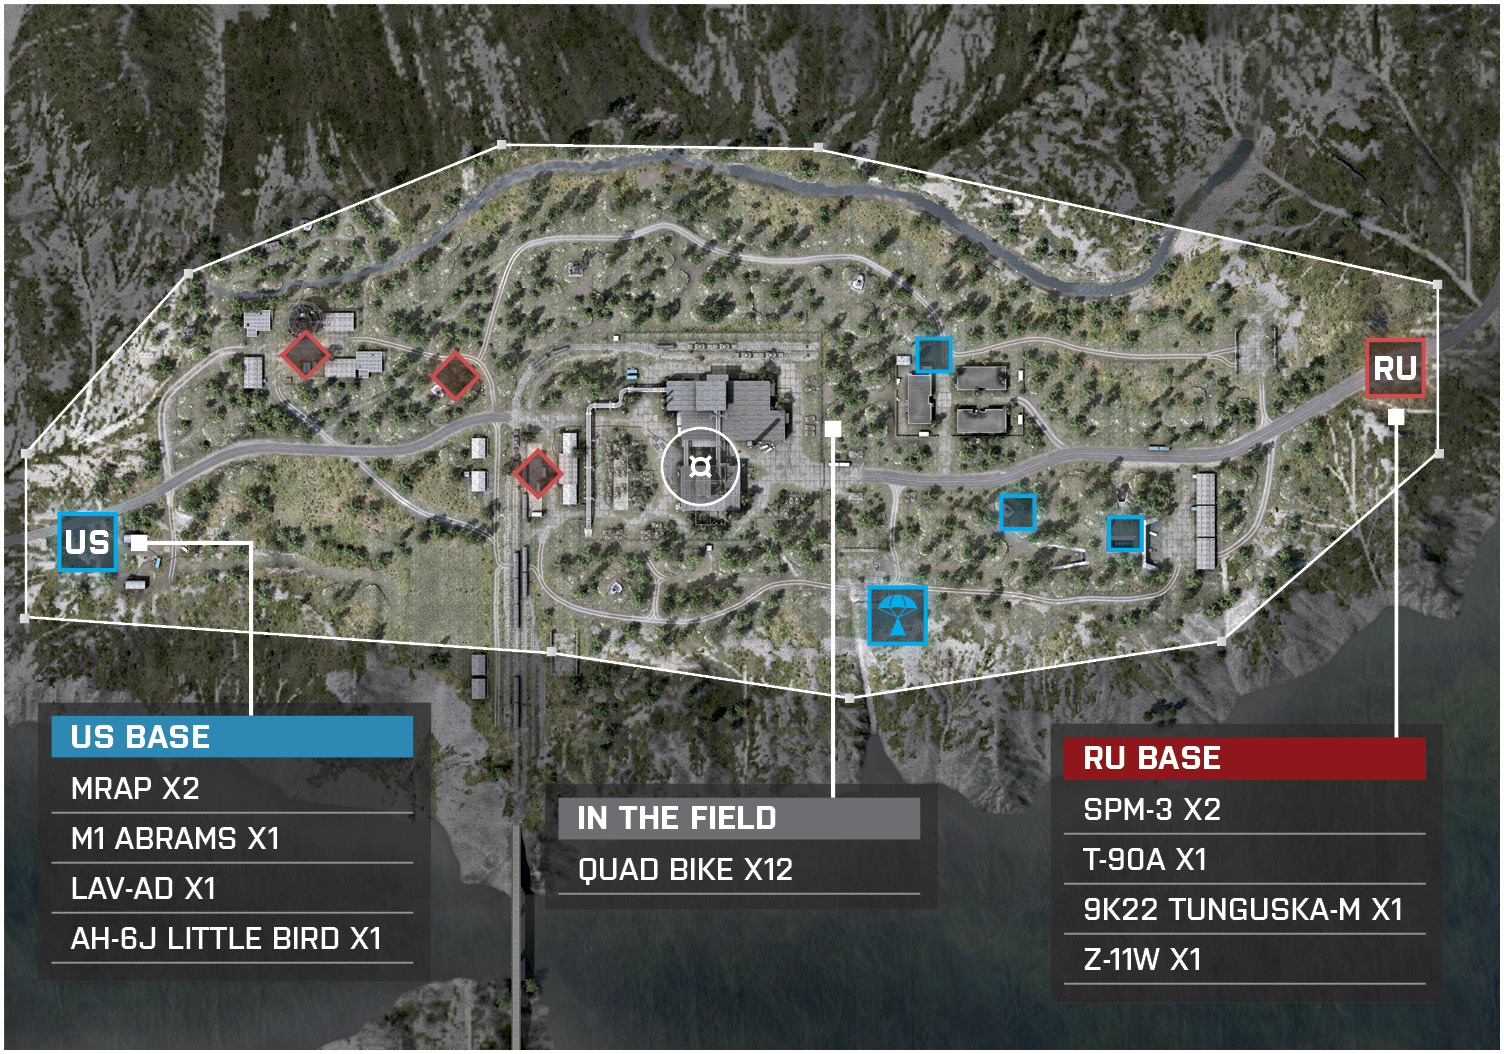
Compared to Conquest Small, the 64-player variant of the map adds two new control points: the Bunker (A) located near the RU base and the Radar Tower (F) located by the US base. The best strategy for the US team is to capture the Radar Tower (F), Train Tracks (E), Manufacturing (D), and Assembly (C). On the other side of the coin, the RU team wants to hold the Bunker (A), Living Quarters (B), Assembly (C), and Manufacturing (D). Both Assembly (C) and Manufacturing (D) have ladders that lead to the top of their buildings. These are great spots to fight the opposing team as you can spot them from afar and have the advantage due to the high ground. As the map size increases, so does the number of vehicles spawning at both bases, and additional vehicles spawn depending on what control points you capture. It is highly important for the team to continually bring the vehicles from the bases to the center. Usually, only one or two players are needed for capturing the closest control point to each base, but now the Bunker (A) spawns a BTR-90 for the RU team and Radar Tower (F) spawns a LAV-25 for the US team. These vehicles can turn the tide to the initial battle that goes down for control of Assembly (C) and Manufacturing (D). With an attack helicopter added in now, you can apply pressure to the opposing team’s spawn. Controlling the center is the overall gameplan once again, but if the US team can get control of the Living Quarters (B), they can drain a lot of RU tickets. This applies for the RU team as well if they take over the Train Tracks (E). Flank along the edge of the forest; if the center is being guarded heavily, be sure to jump on the Quad Bikes and flank around to take either the Bunker (A) if playing as the US team or Radar Tower (F) if playing as the RU team. Just neutralizing these locations helps your team make a push to gain control of the center.
US Base
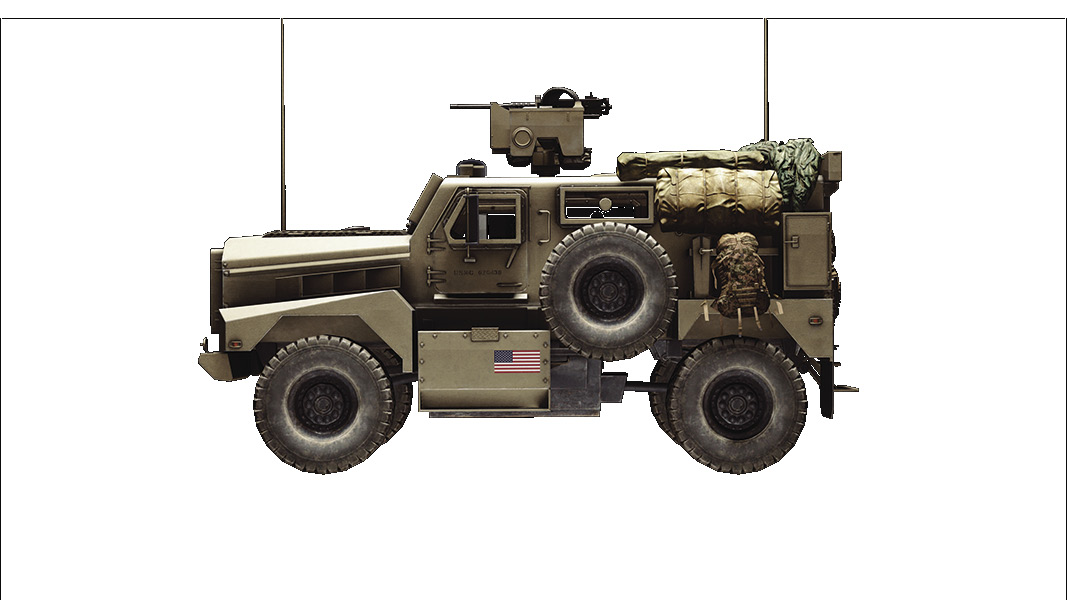
Stack the MRAPs with as many members as possible. Head towards Assembly (C) and Manufacturing (D) and work together to capture these flags early in the game.
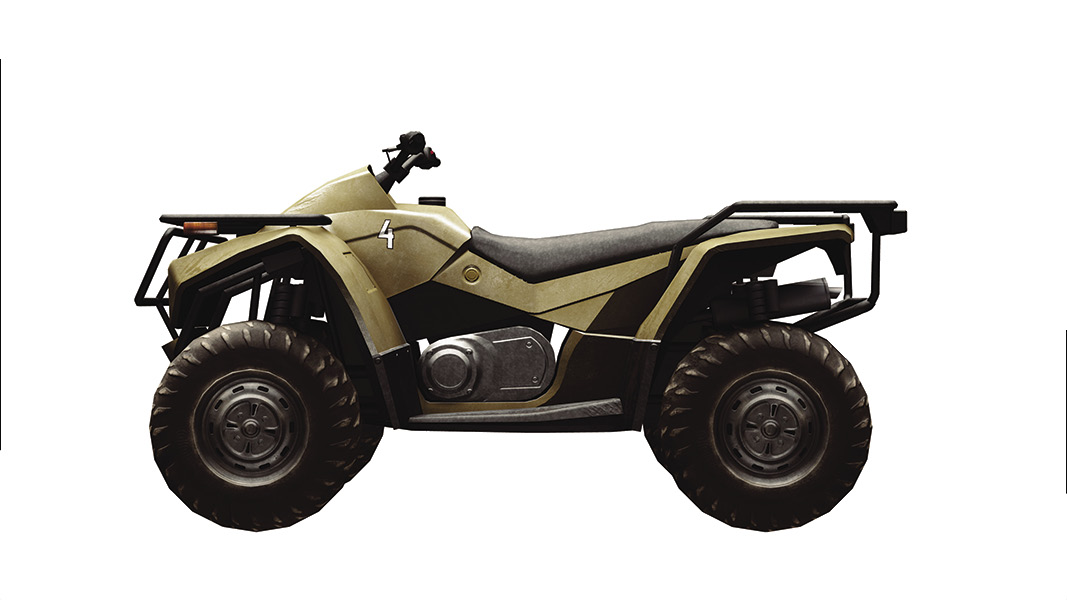
Have a few teammates ride the Quad Bikes all the way to the Bunker (A) in order to force the opposing team to come back and defend. The players who flank here should attempt to stay alive as long as possible. The fewer enemies the team has to fight at Assembly (C) and Manufacturing (D) makes it that much easier to capture them.
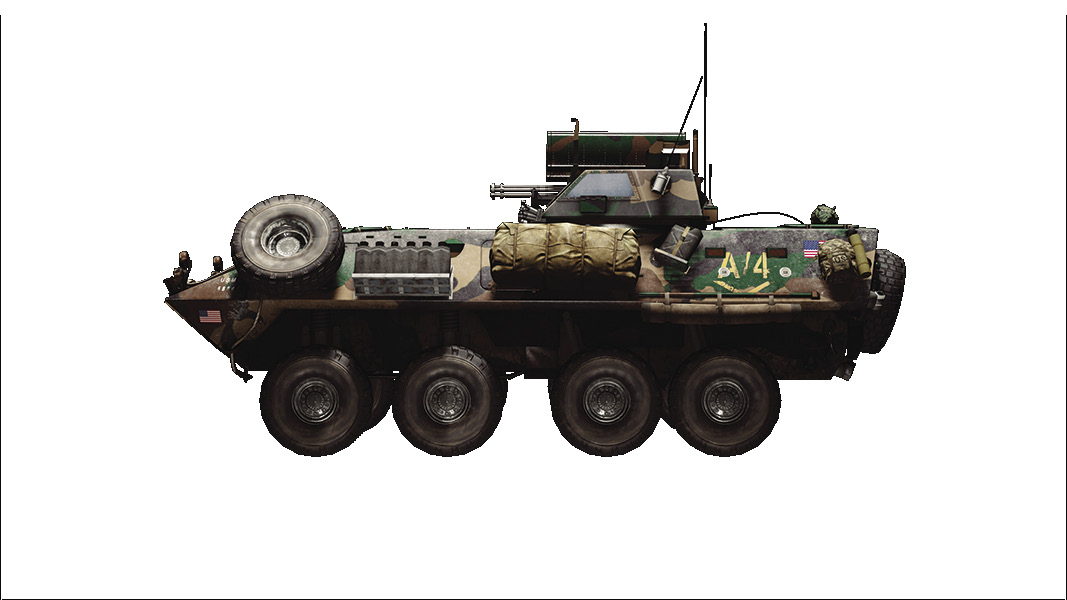
Any units on foot should head for the Radar Tower (F) and Train Tracks (E). Send less towards the Train Tracks (E) because once the Radar Tower (F) is captured, an LAV-25 spawns, allowing them to catch up. Once both are captured, head towards Assembly (C) and Manufacturing (D).
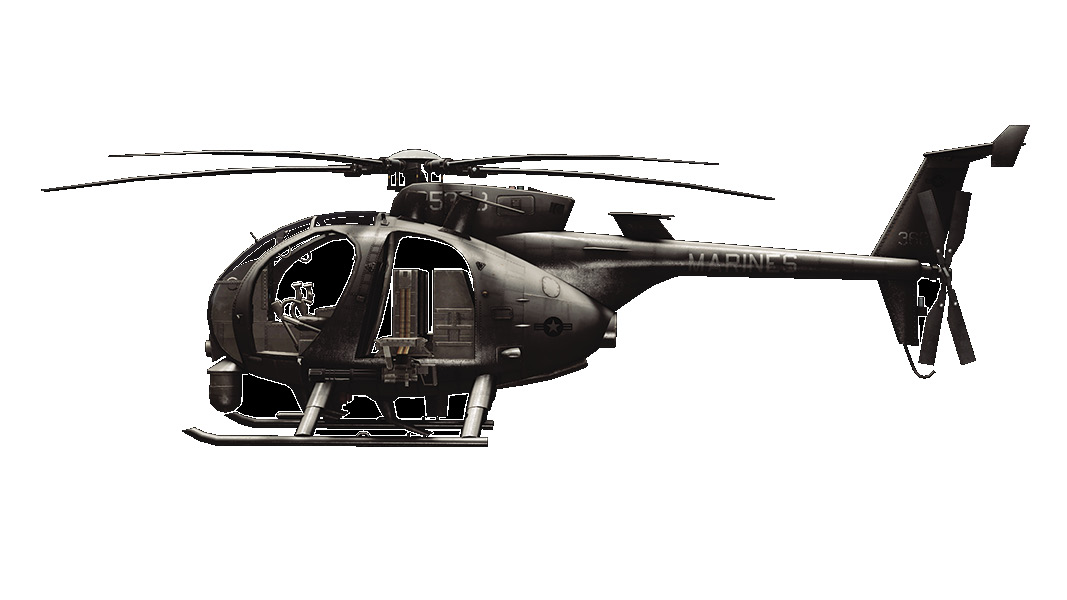
Air superiority is important. Keep the team’s birds alive and have a few engineers ready to take out RU team’s airvehicles. Use the team’s scout helicopter to put pressure on the opposing team’s spawn.
Team members on foot should be engineers for the initial push in order to take out enemy vehicles. A couple players should use the recon class and take advantage of sniping atop of the Radar Tower (F).
Base Assets
Name
M1 Abrams
MRAP
LAV-AD
Quad Bike
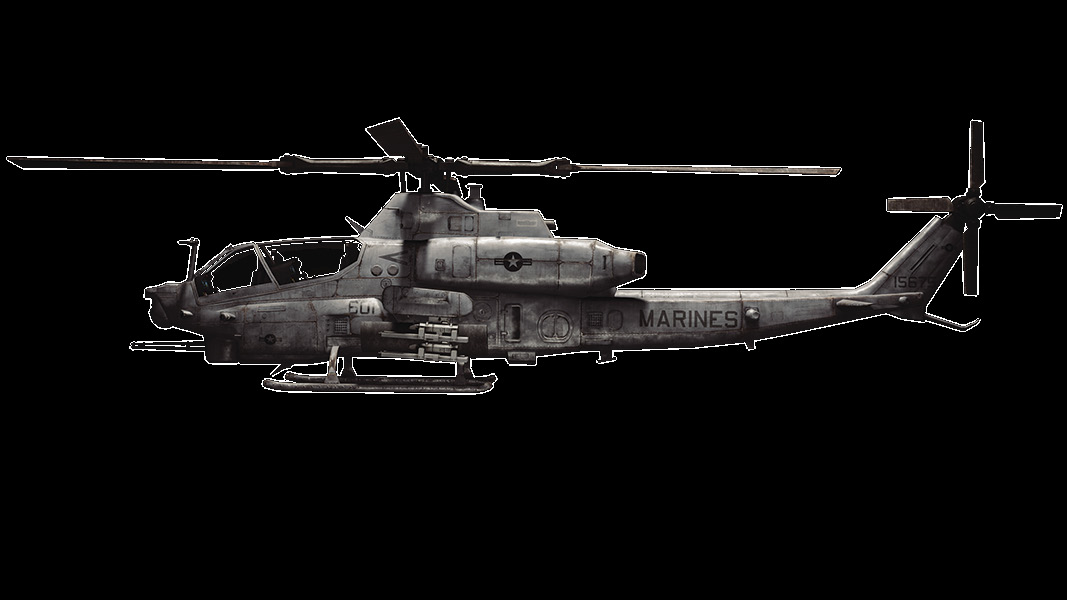
AH-6J Little Bird
UH1Y-Venom
Quantity
1
2
1
1
1
1
RU Base
Stack the SPM-3s with as many members as possible! Head towards Assembly (C) and Manufacturing (D) and work together to capture these points early in the game.
Have a few teammates ride the Quad Bikes all the way to the Radar Tower (F) in order to force the opposing team to come back and defend. The players who flank here should attempt to stay alive as long as possible. The fewer enemies the team has to fight at Assembly (C) and Manufacturing (D) makes it that much easier to capture them.
Any units on foot should head for the Bunker (A) and Living Quarters (B). Send less towards the Living Quarters (B) because once the Bunker (A) is captured, a BTR-90 spawns, allowing them to catch up. Once both are captured, head towards Assembly (C) and Manufacturing (D).
Air superiority is important. Keep the team’s birds alive and have a few engineers ready to take out US team’s airvehicles. Use the team’s attack helicopter to put pressure on the opposing team’s spawn.
Team members on foot should be engineers for the initial push in order to take out enemy vehicles.
Base Assets
Name
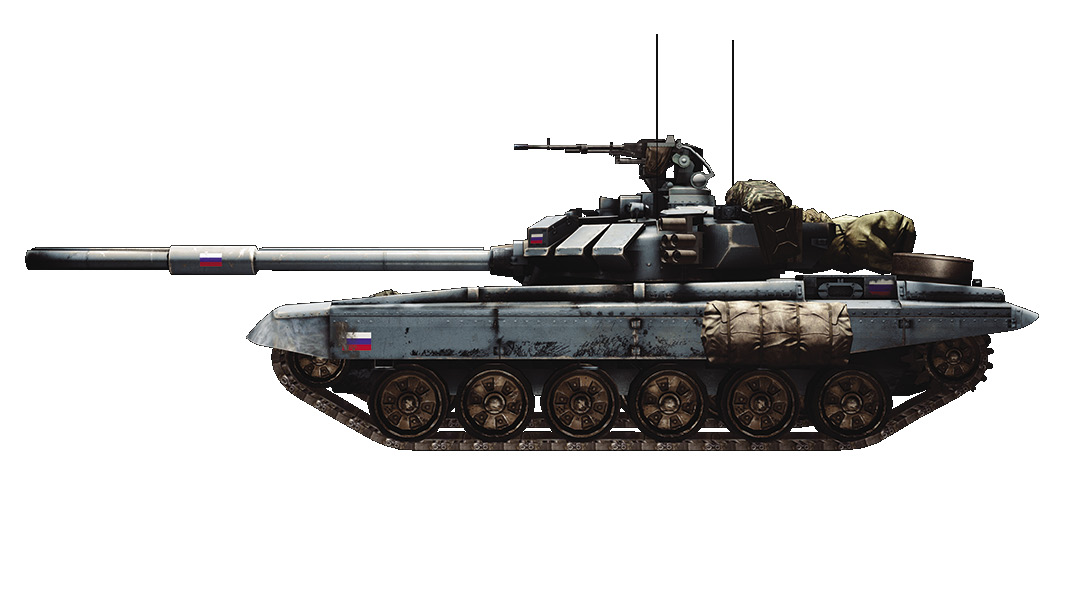
T-90A
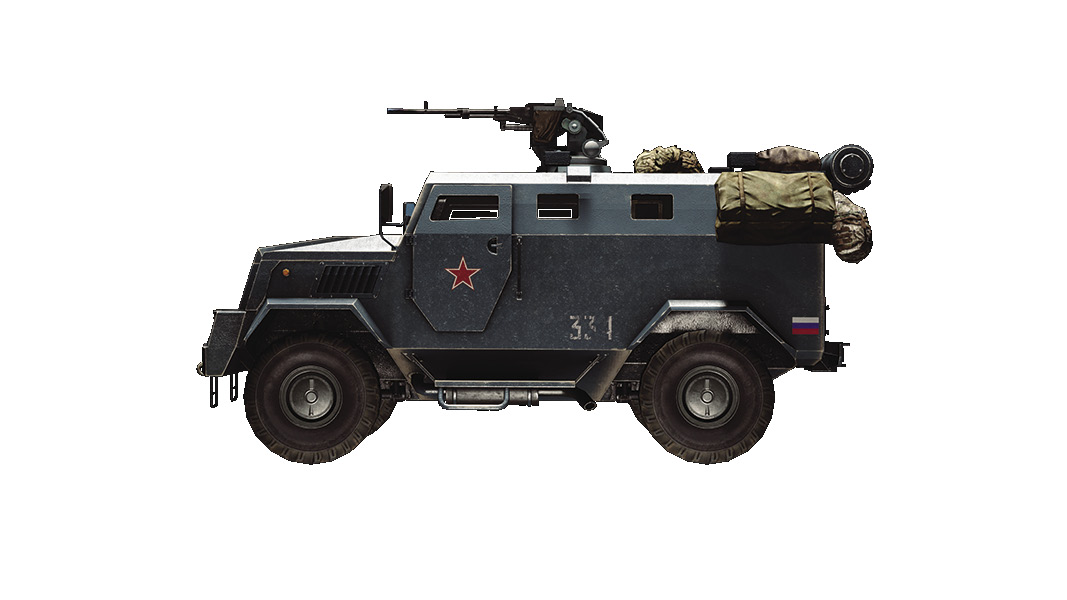
SPM-3
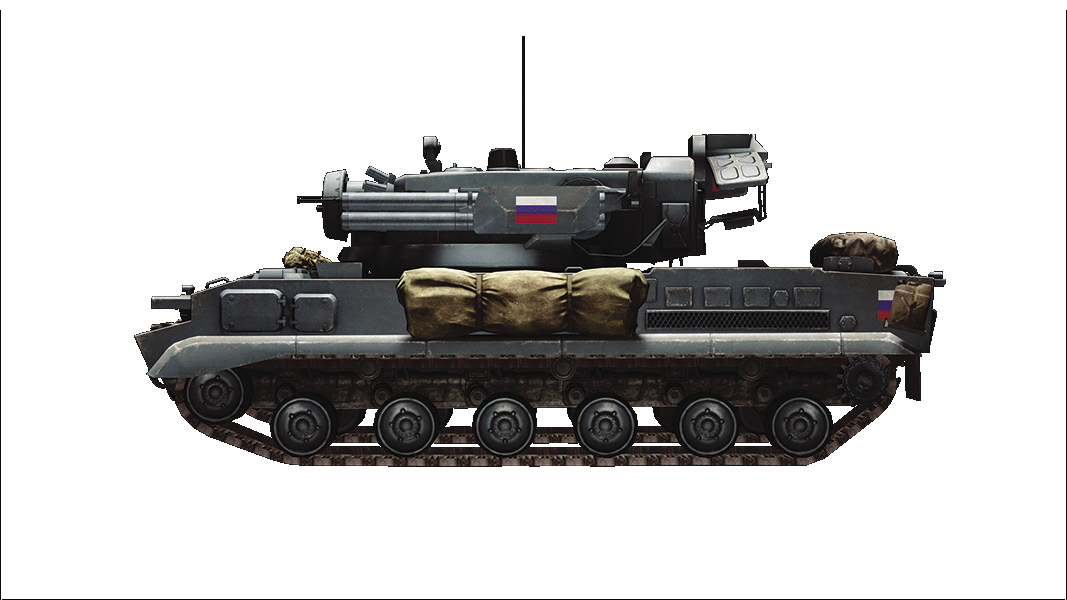
9K22 Tunguska-M
Quad Bike
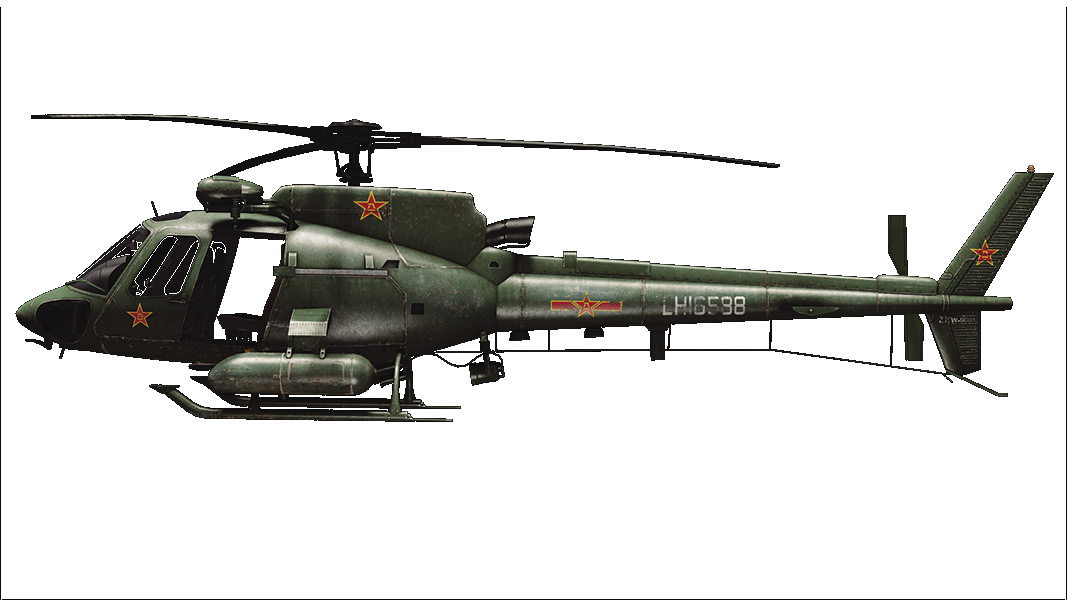
Z-11W
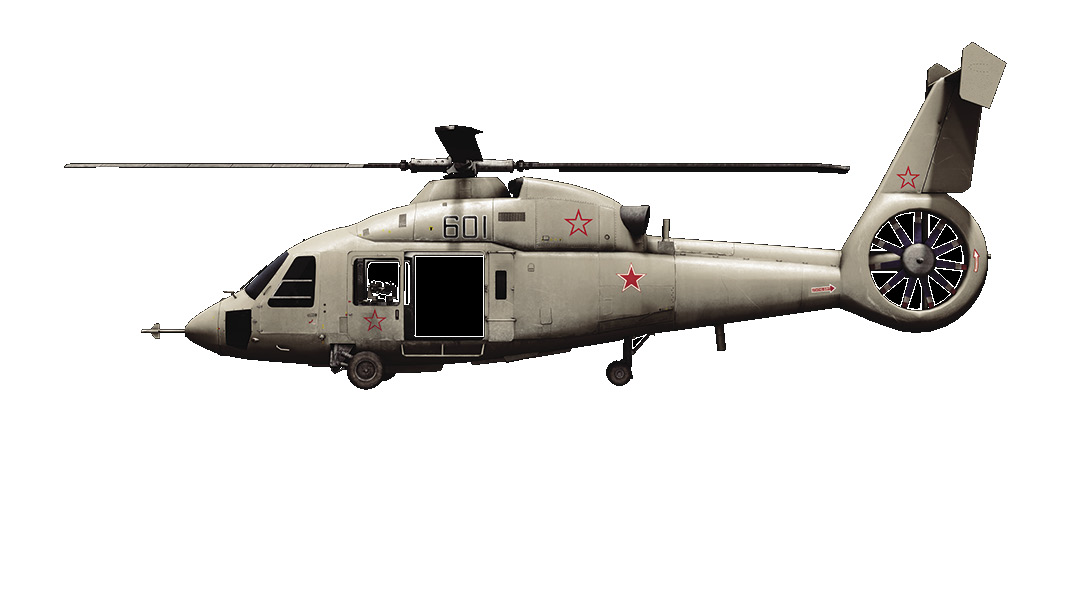
KA-60 Kasatka
Quantity
1
2
1
1
1
1
A: Bunker
Capturing this point as the US team is a handful since the RU team base borders it very closely. If you are able to sneak around, allowing the RU players to pass isn’t a bad idea. Capturing will force the RU team to decide if they want to come back and defend or continue their push towards the center.
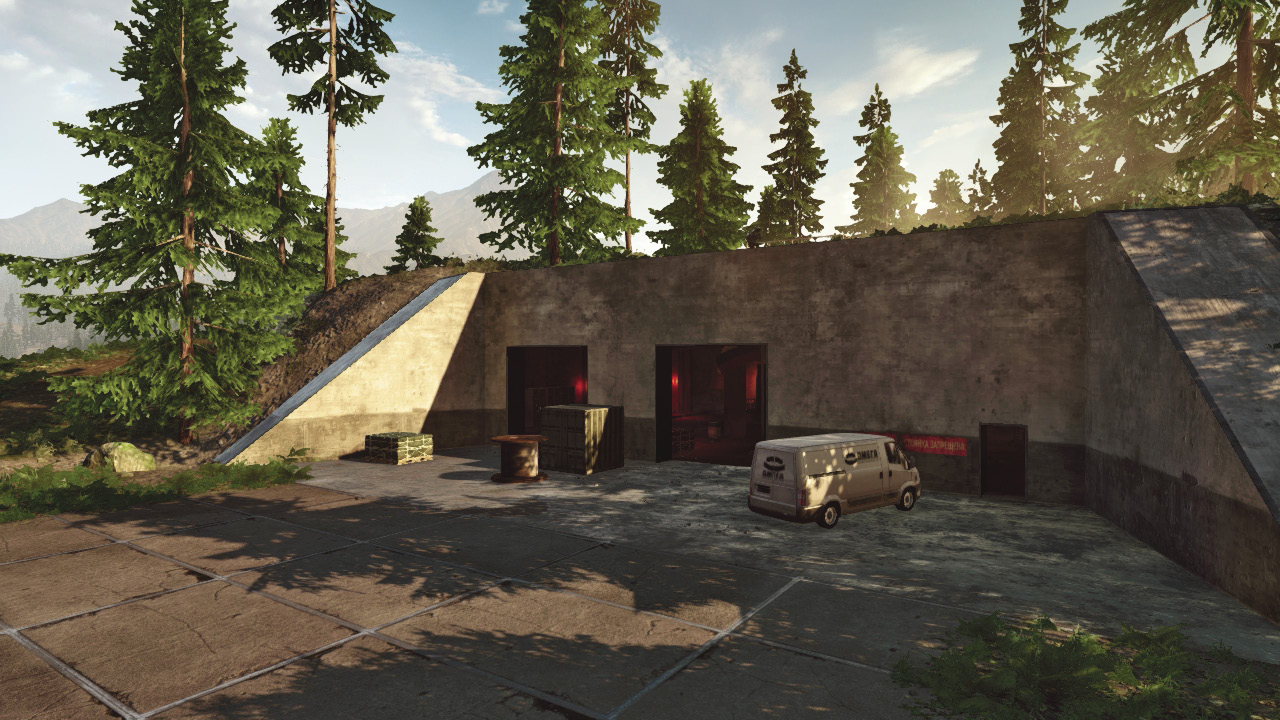
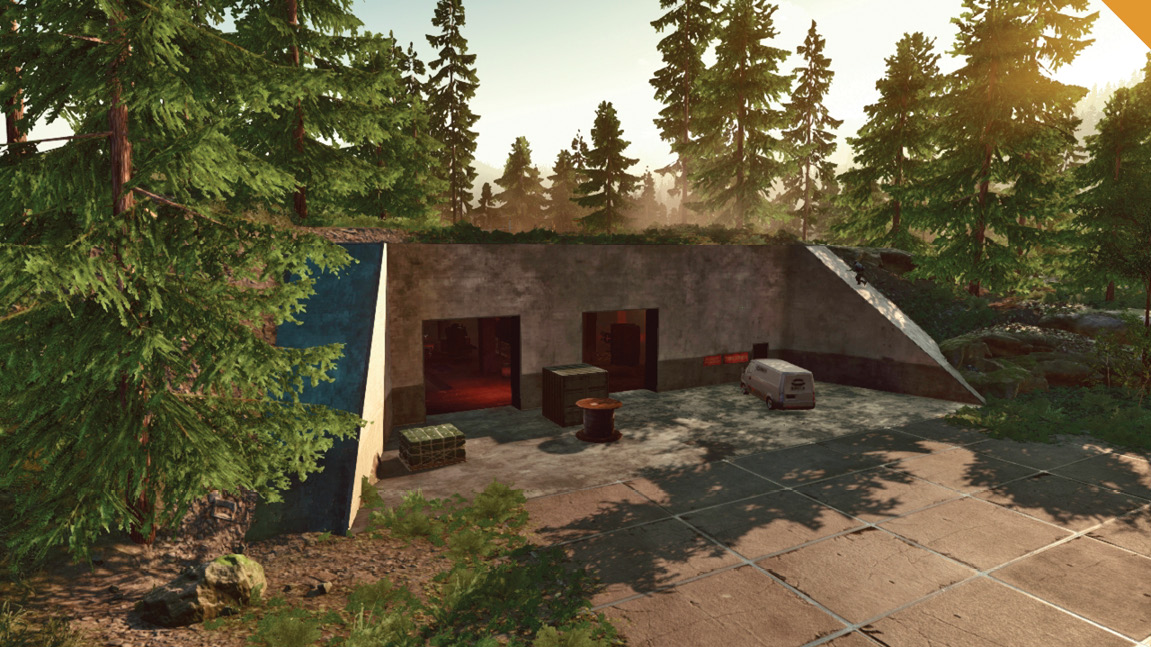
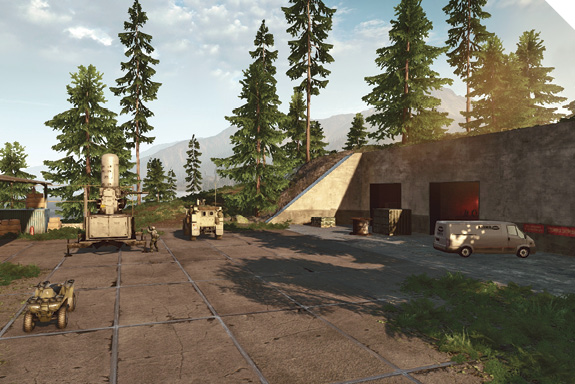
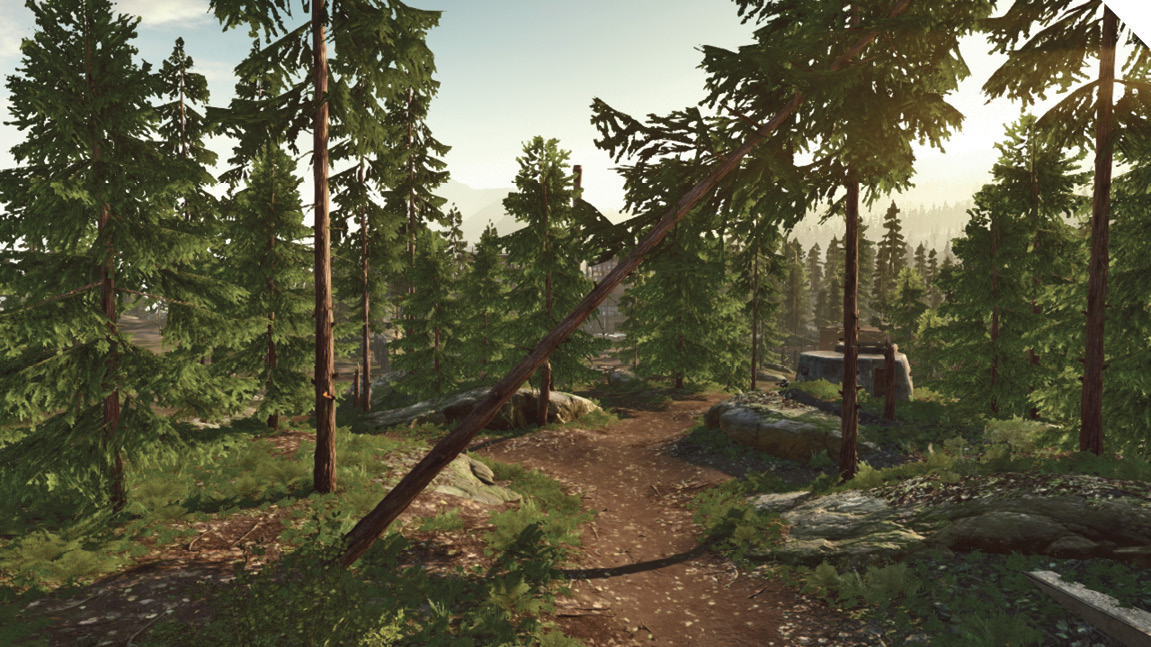
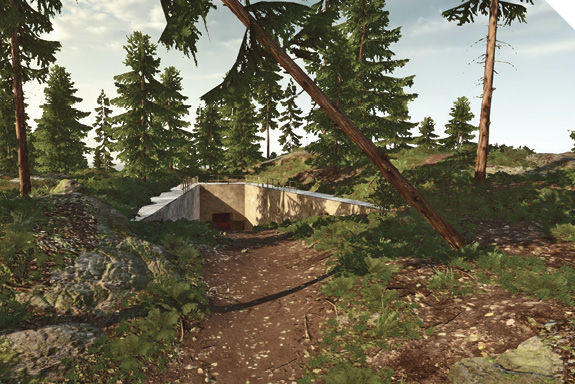
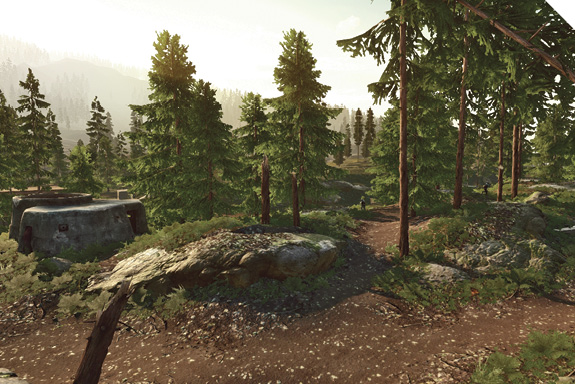
The name of the control point is no joke: it is a Bunker with a total of four entrances. Inside there is a generator that can be interacted with.
This interaction causes a laser motion detector at three of the four entrances. The alarm will sound regardless of whether friend or foe cross its path. To avoid this, use the drop-down entrance on the top of the Bunker because it does not have a laser motion detector. Once inside the Bunker, head for the bottom level and take out the generator by either shooting it or pressing the action button. Taking out the generator will turn off all the lights and lasers, which provides plenty of hiding spots to take out enemies in the Bunker. This is a great strategy when outnumbered and you need a place to hide in the shadows. Keep in mind, the generator can still be reactivated.
As most of the fighting is done in the Bunker, be sure the squad specializes in close-quarter combat. This requires a well-trained squad to get the job done.
A tank can lay heavy fire through the main entrance, so stay away from it if you are the US team when capturing this control point.
Control Point Assets
US Control
RU Control
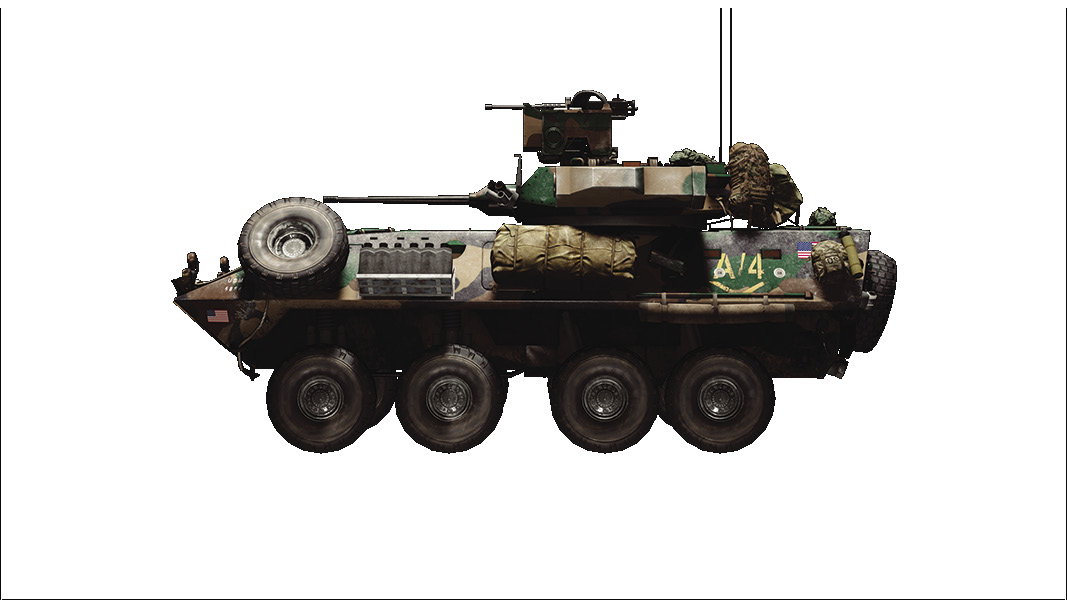
LAV-25 (1)
BTR-90 (1)
B: Living Quarters
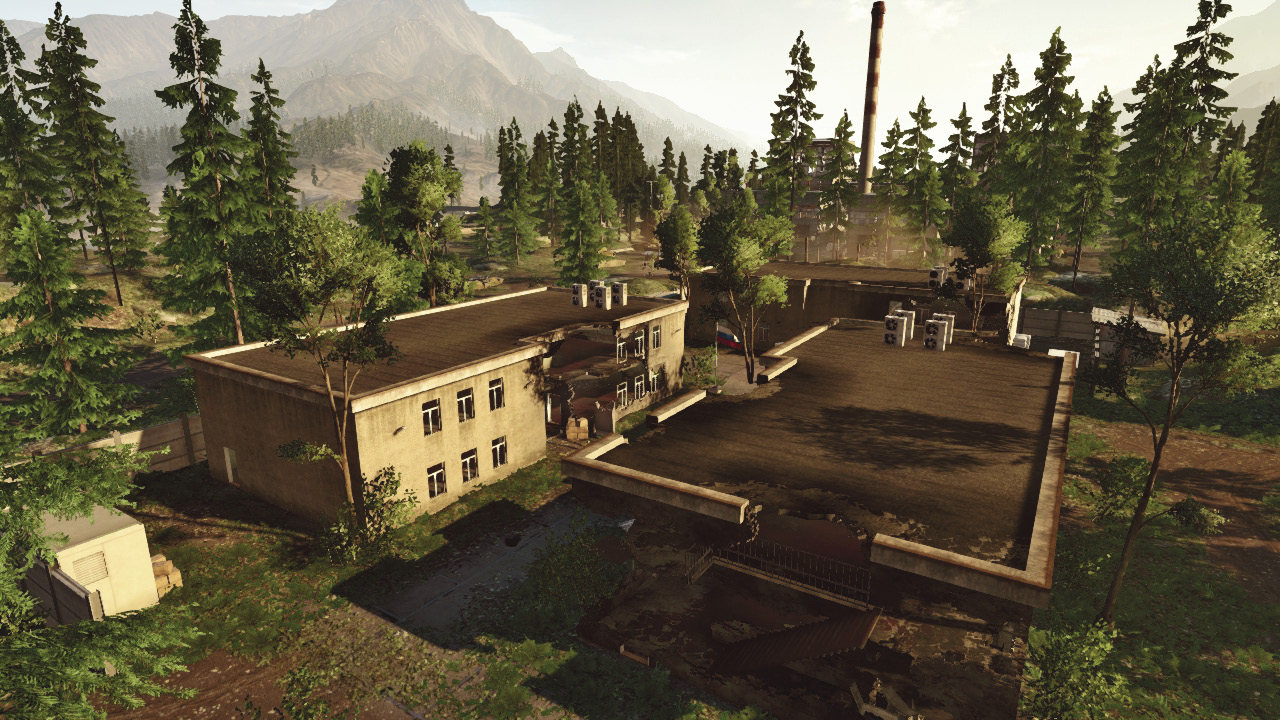
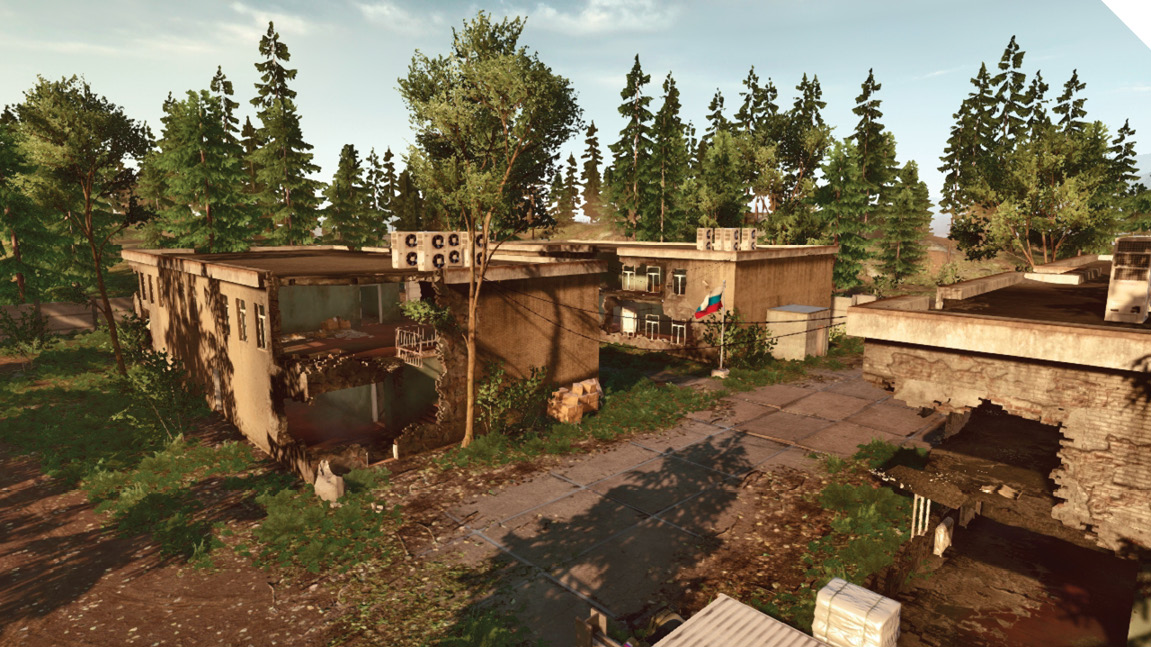
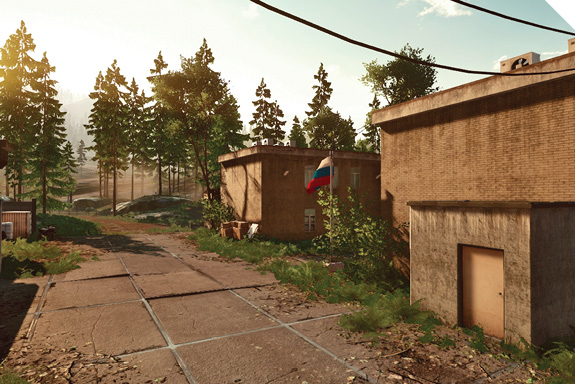
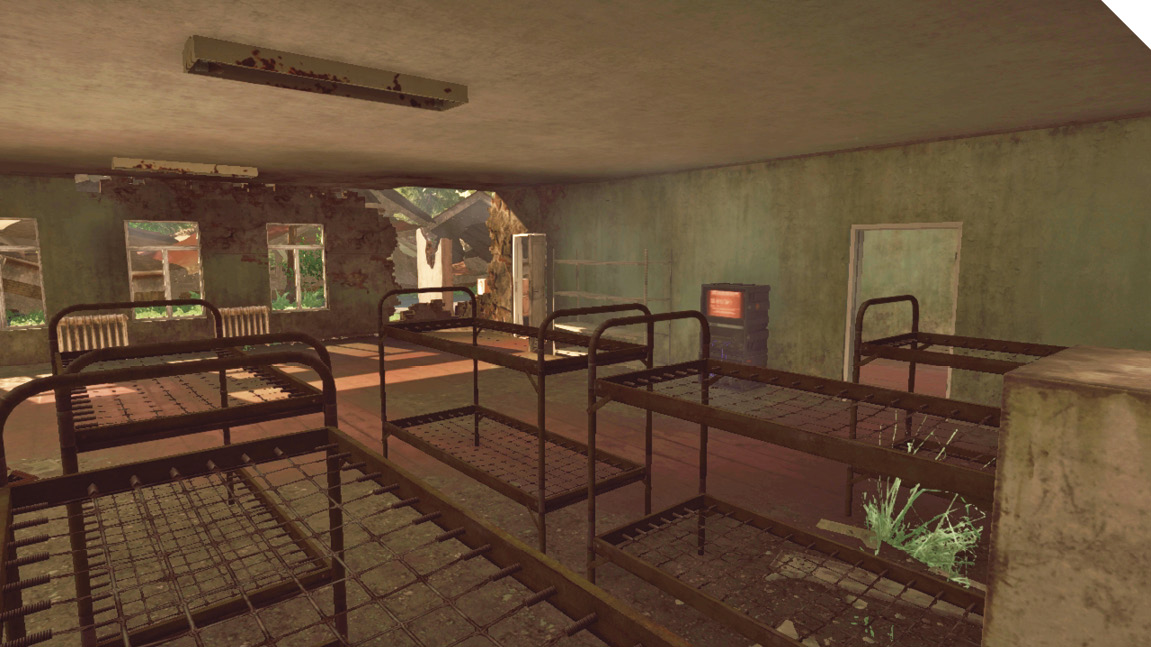
This control point is surrounded by three homes/buildings that promote close-quarter combat, both for the attackers and defenders.
These buildings are all destructible. If the team feels it would be easier to defend with them gone, then by all means let them fall!
When defending, move from building to building, never allowing the enemy to pinpoint your location. There are many windows and stairs to keep the opponent guessing where you’re at.
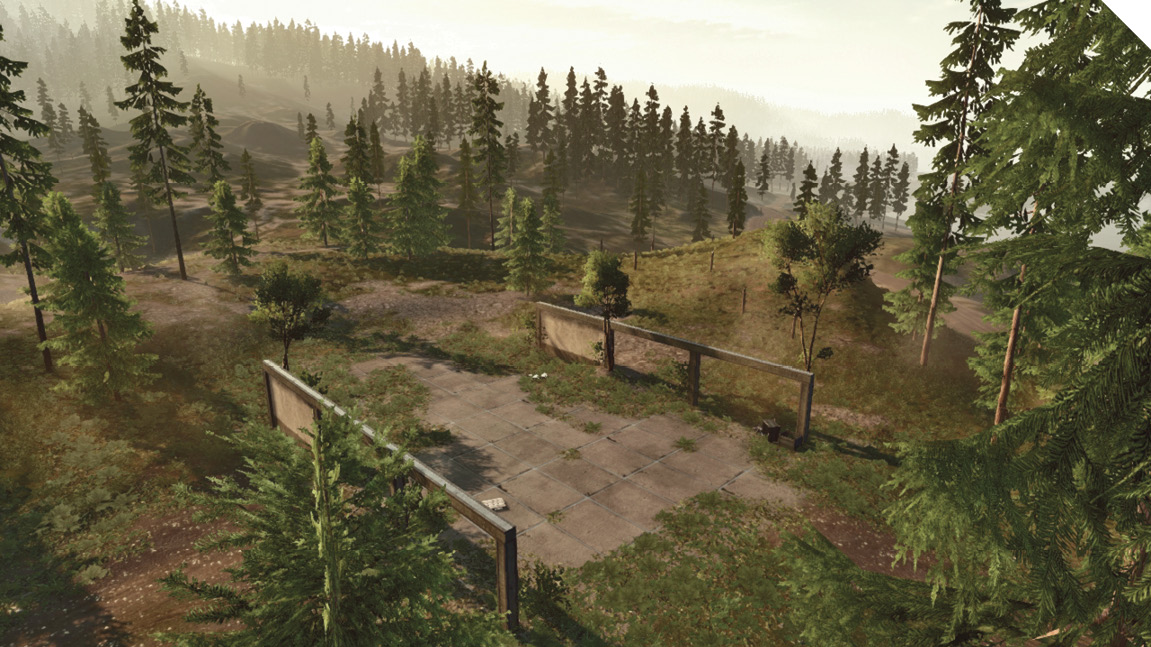
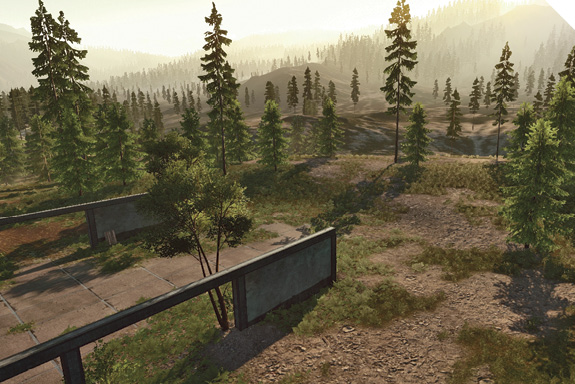
The area is a decent size, which is fenced in by four concrete walls forming a square around the three homes/buildings.
Vehicles can capture this control point, but be aware engineers could be hiding between the buildings and fire off easy rocket launcher strikes.
Control Point Assets
US Control
RU Control
Quad Bike (1)
Quad Bike (1)
C: Assembly
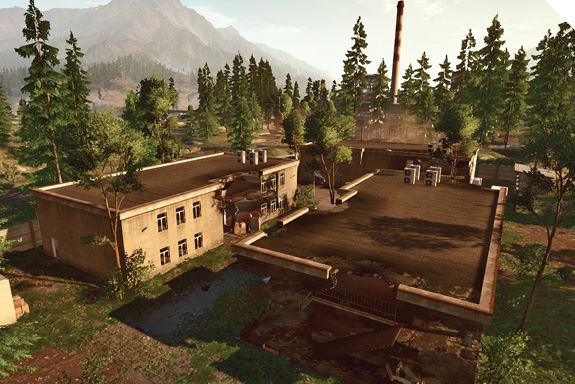
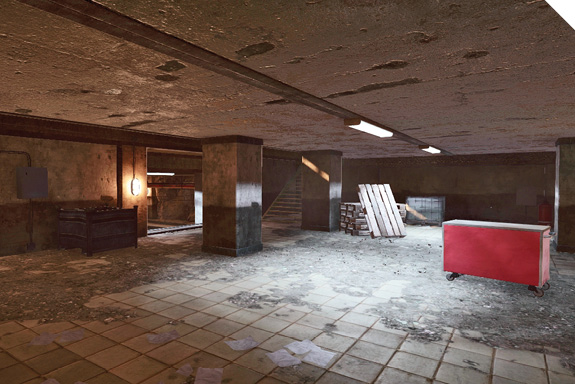
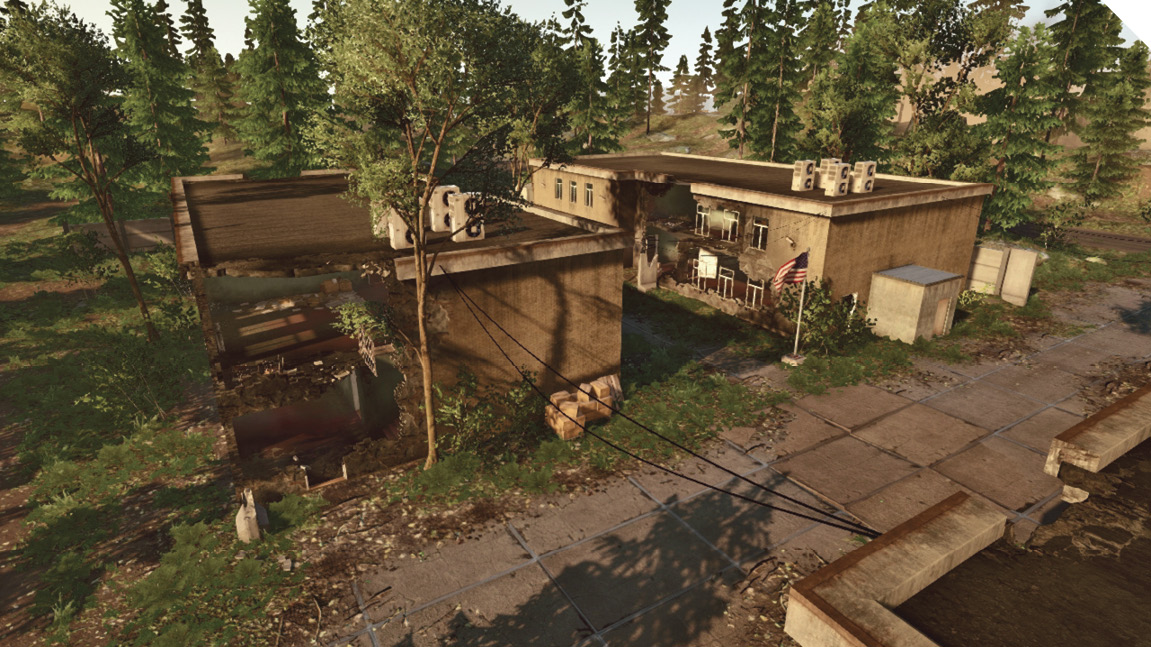
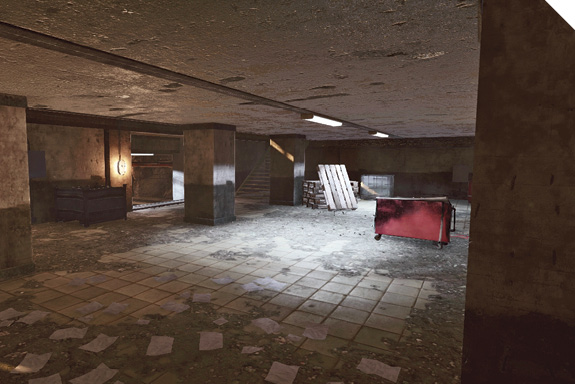
Beneath this point lies a tunnel that leads to Manufacturing (D). This tunnel can also be used to hide and wait for the enemy to come down for a surprise attack.
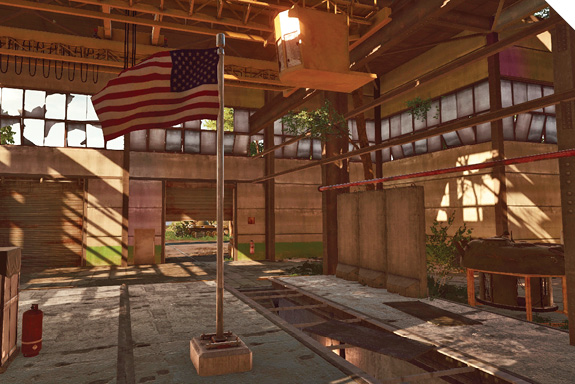
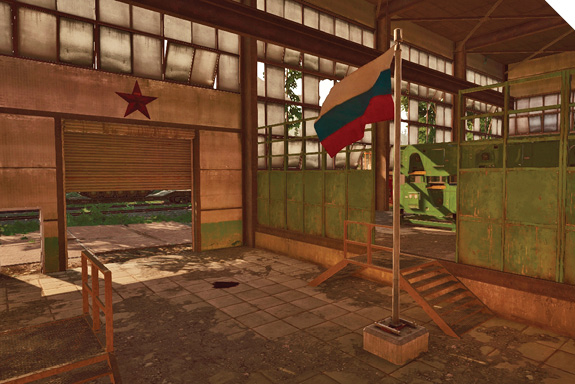
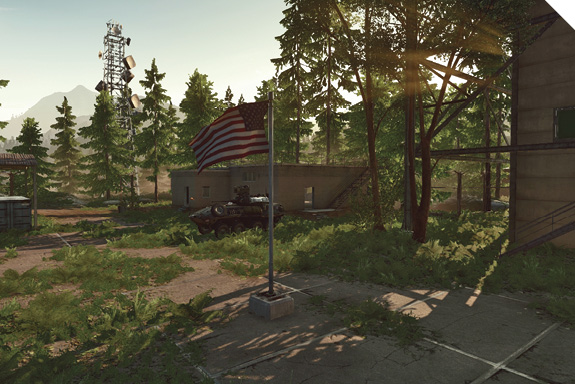
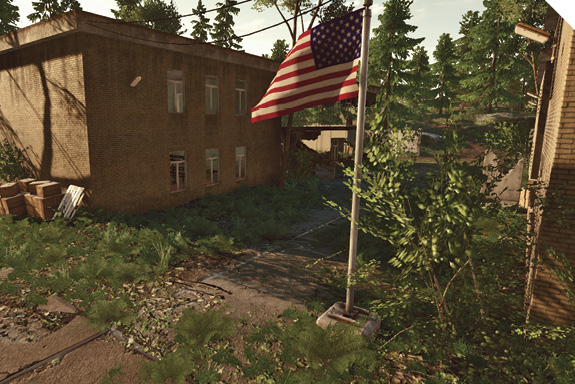
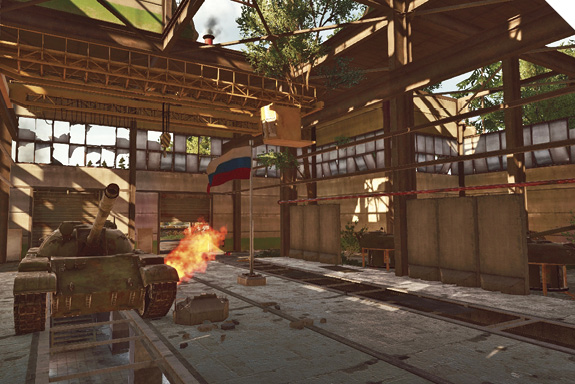
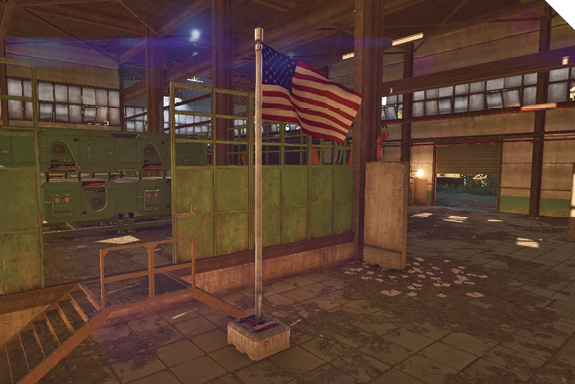
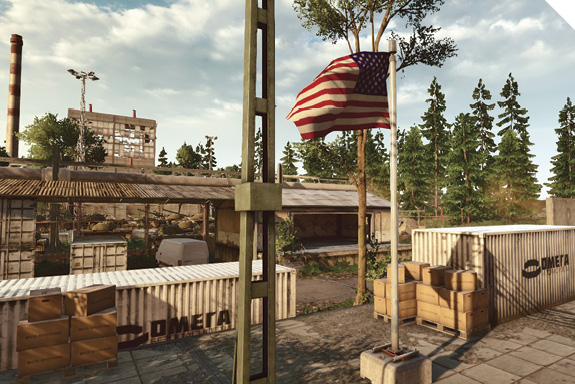
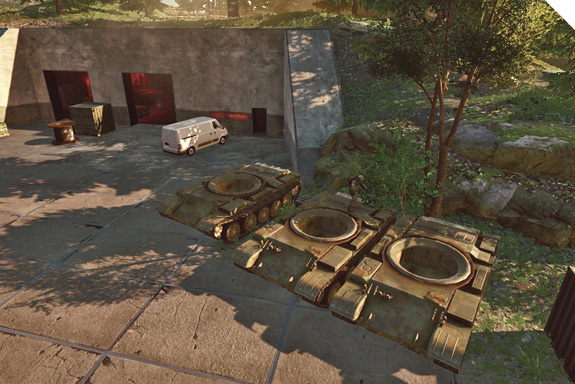
The flagpole has a half-built tank beside it, making it a great place for cover when capturing. Be wary—the wall to the tank’s side is destructible, so be ready to move if you hear explosions outside the building.
Under the flagpole there lies an underground room. Infantry units can also capture this point from underneath. There are four stairways giving access to the upper level.
On the opposite side of the tank, there are many bushes beginning to grow into the building. This a useful spot to surprise the enemy as most people will stick near the tank by the flagpole. Outside there is a M142. This vehicle contains six missiles that you can aim through a mini computer screen inside the vehicle.
Control Point Assets
US Control
RU Control
M142 (1)
M142 (1)
D: Manufacturing
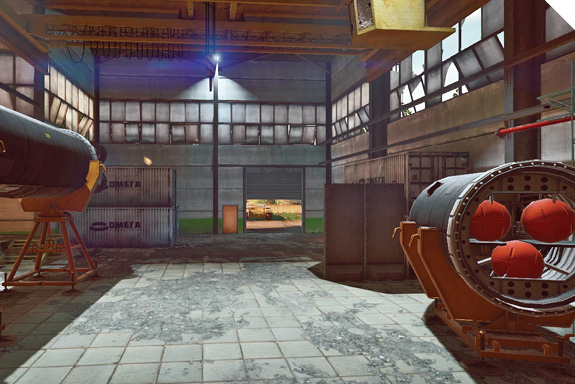
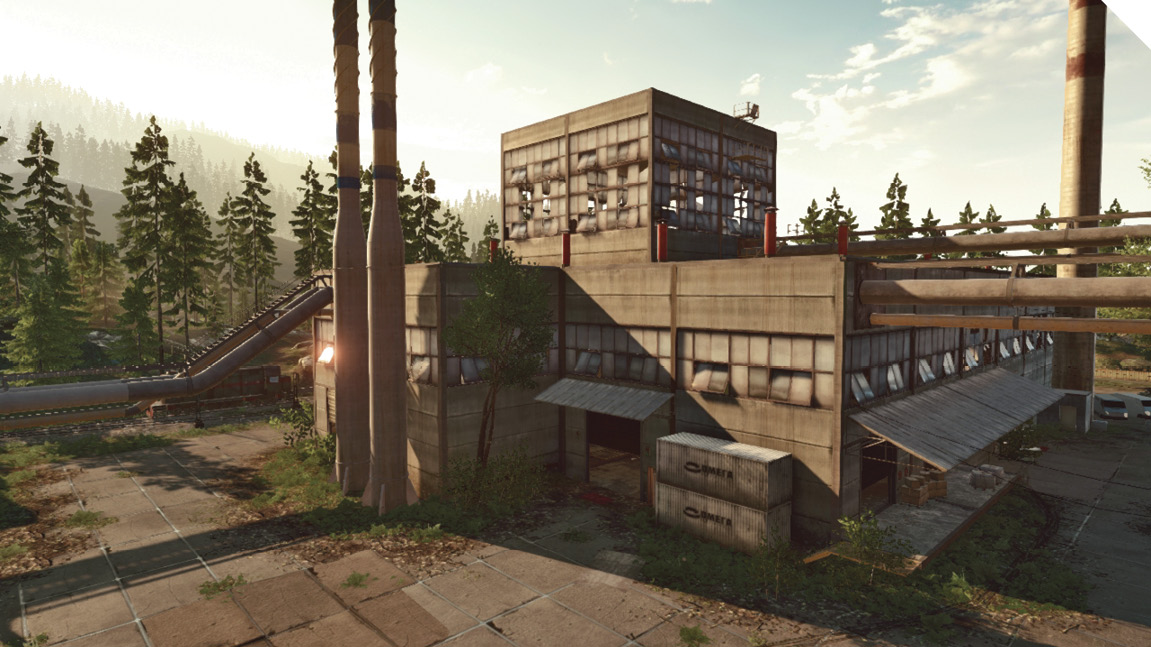
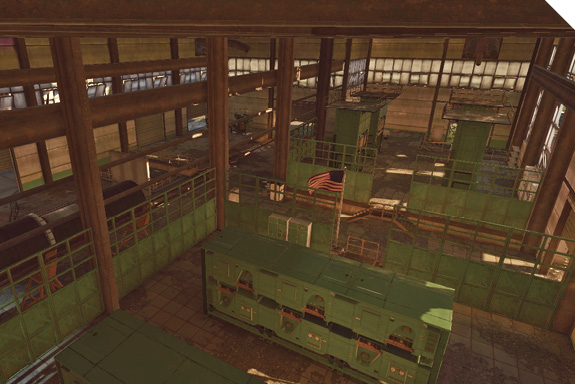
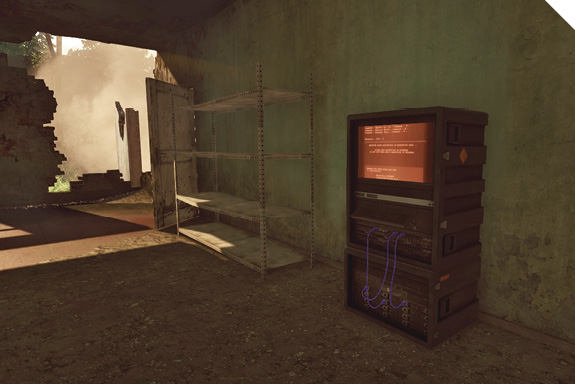
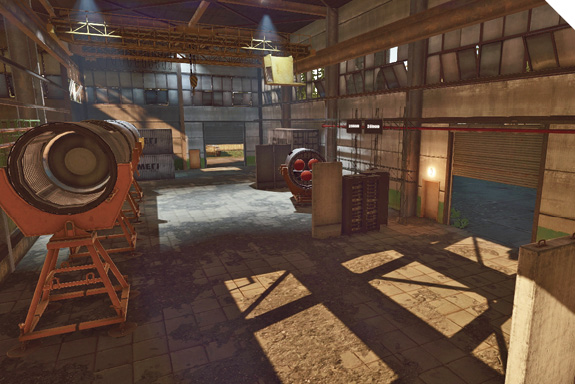
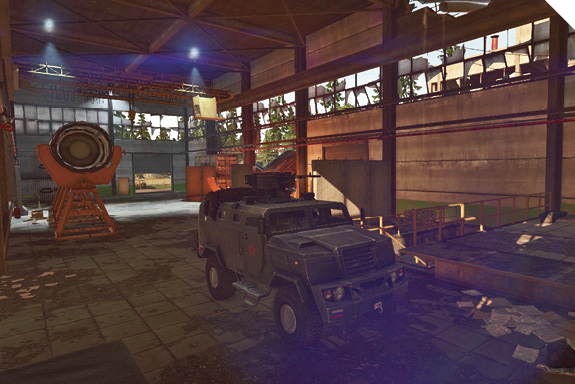
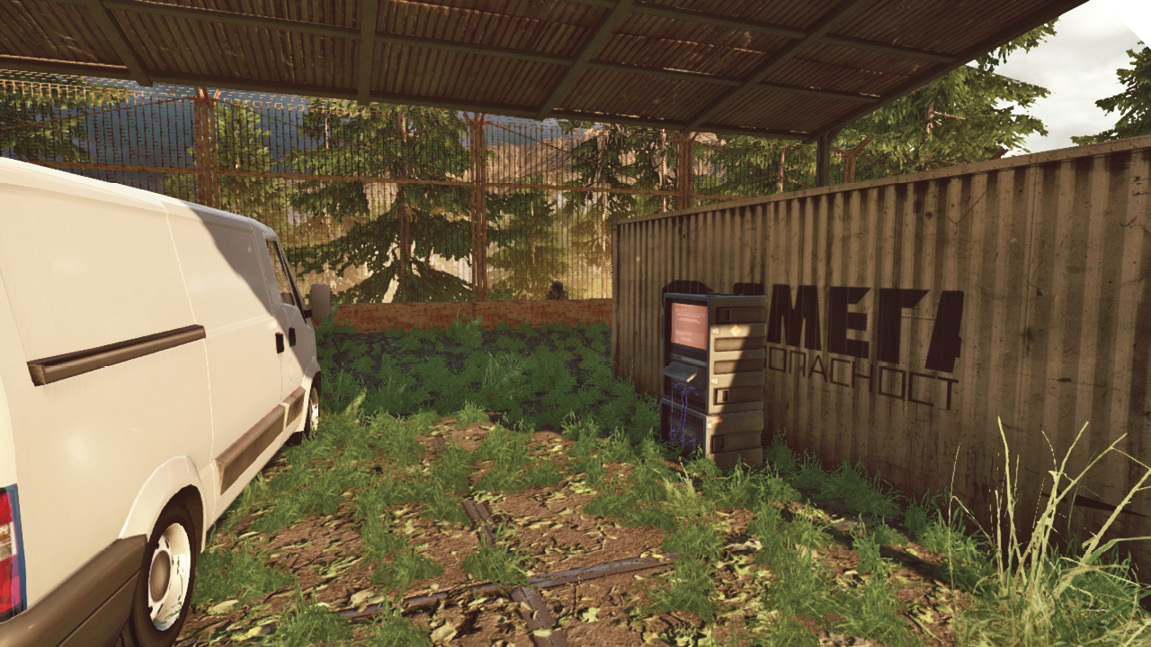
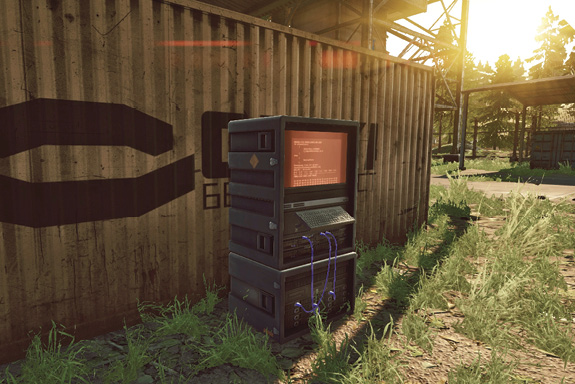
Inside there are two interactions. One is a generator that starts an array of compactor-like manufacturing machines. These machines will instantly kill a player who walks under it when it is coming down. The other interaction is a computer that causes Levolution.
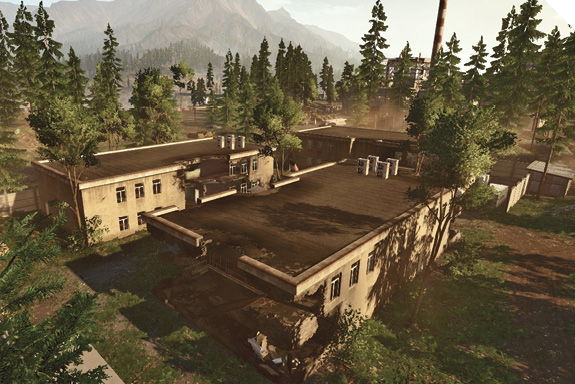
The tunnel from Assembly (C) connects these two buildings. There are two entrances to this tunnel: one from the inside of the building and the other outside. Entrances/exits allow for great escape routes.
The building also has a ladder that leads to the roof. The roof is a great sniping spot, but close the hatch atop the ladder to prevent enemy troops from sneaking upon you. Consider placing a Radio Beacon on the roof to give your squad a spawn point at the center of the action.
E: Train Tracks
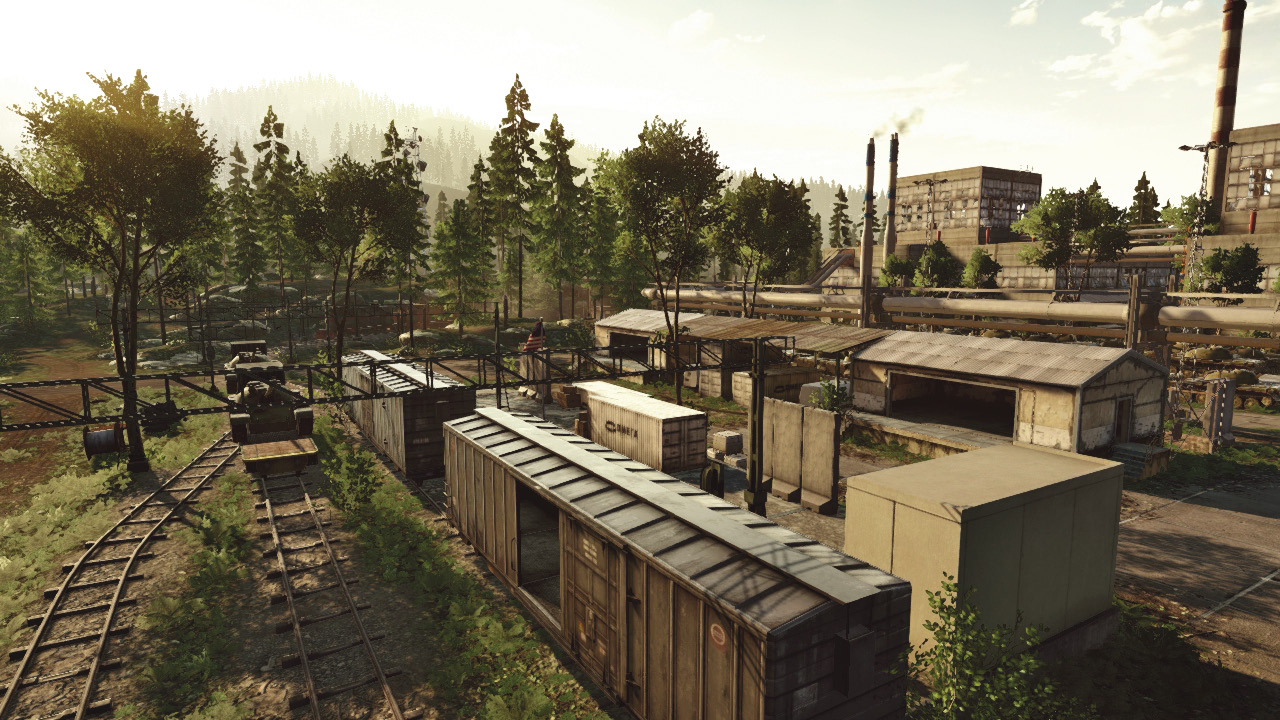
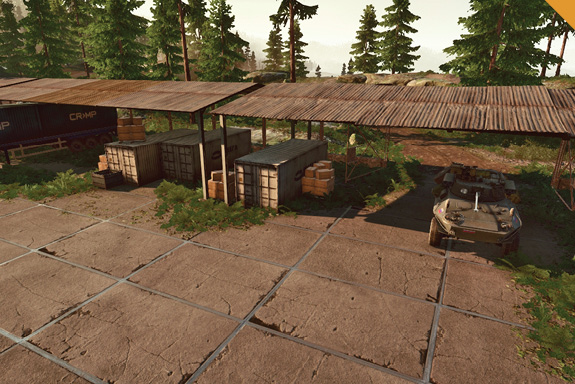
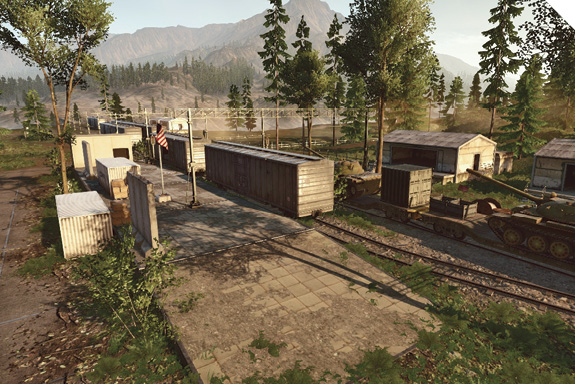
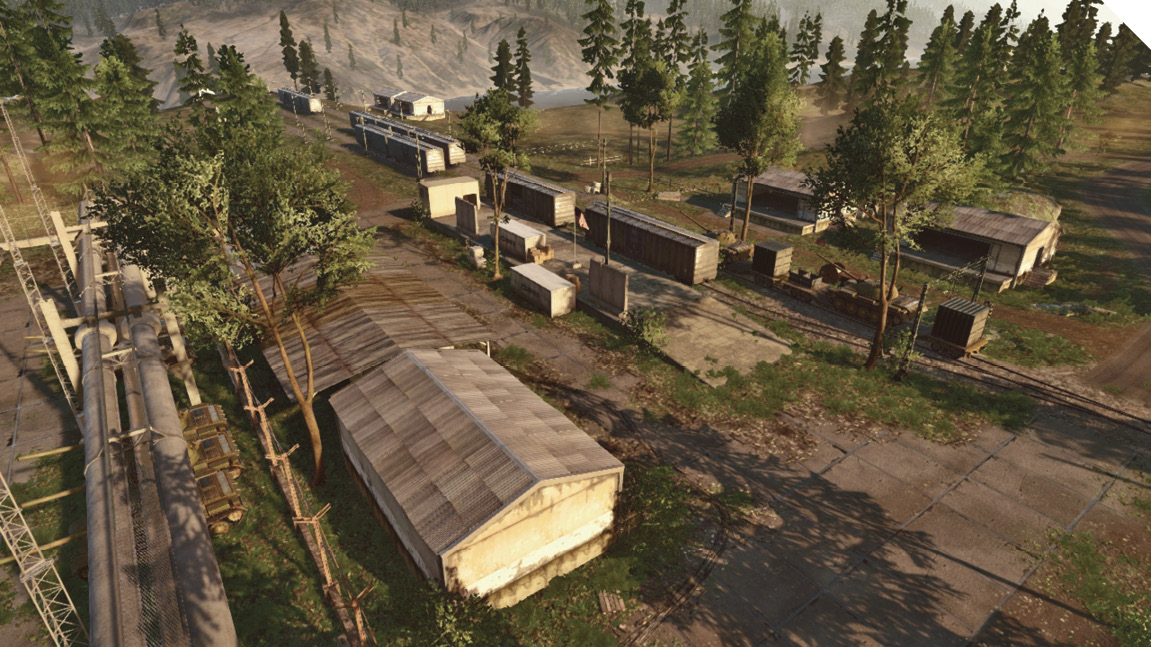
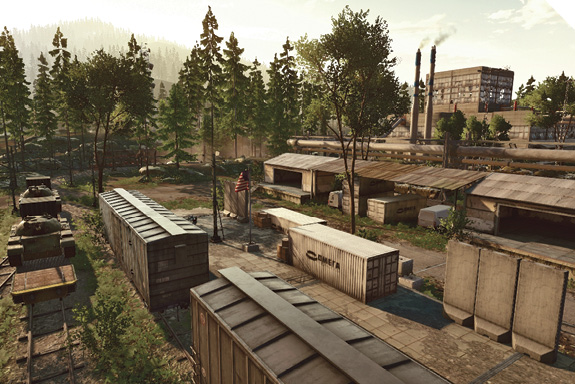
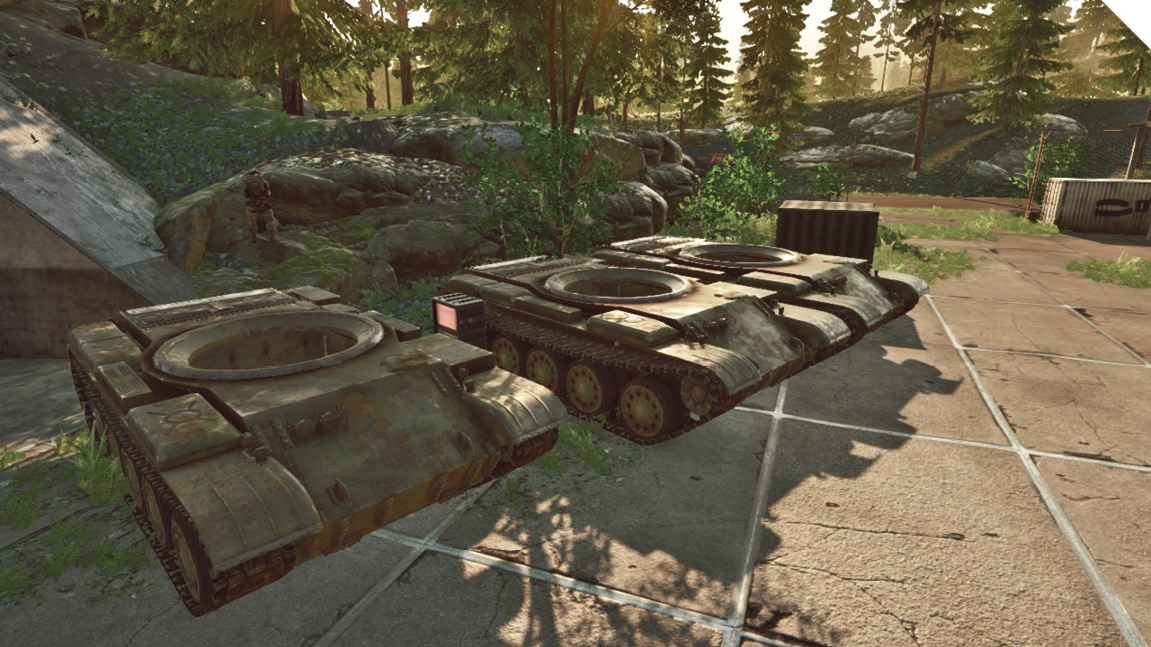
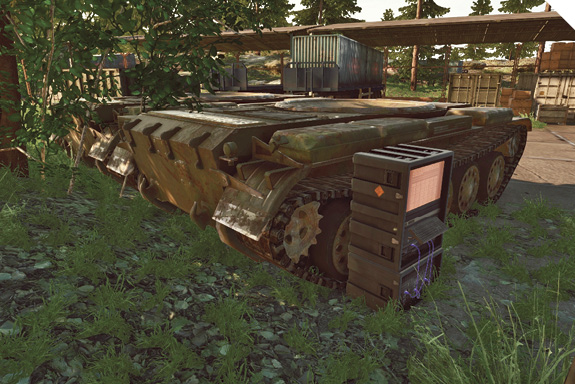
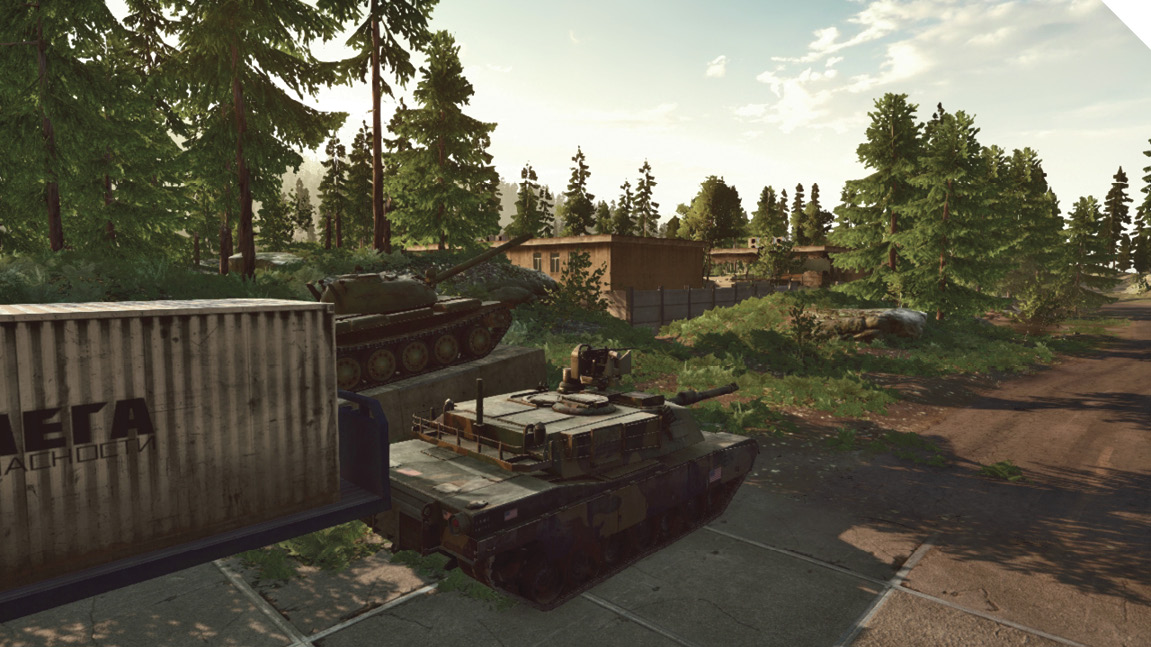
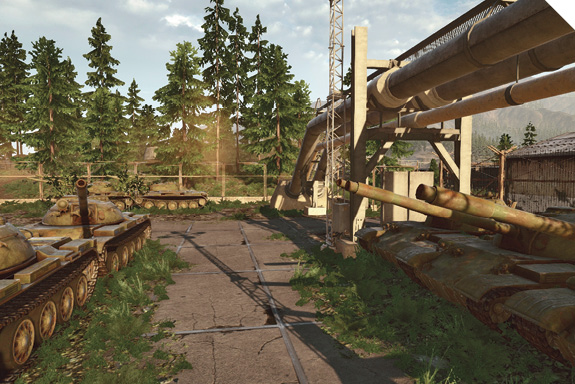
This is a very wide area with a lot of bushes and broken-down tanks for cover. These tanks provide cover for you to sneak and flank around the enemy.
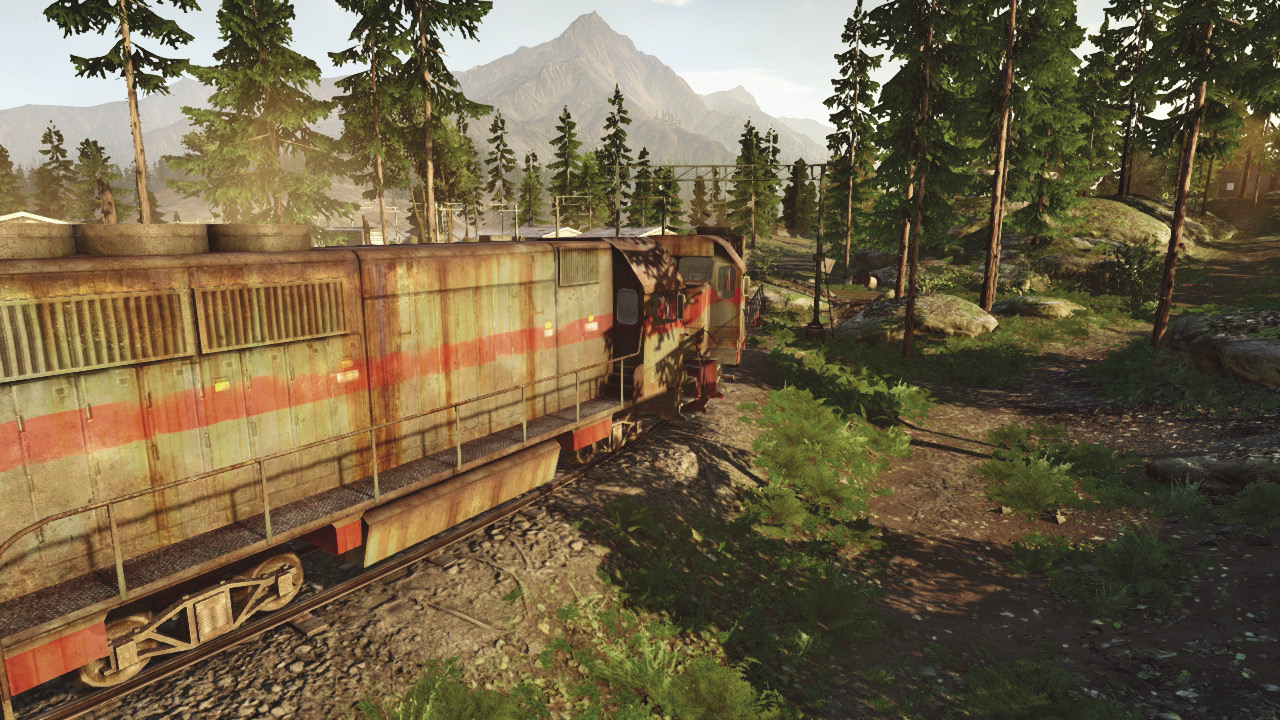
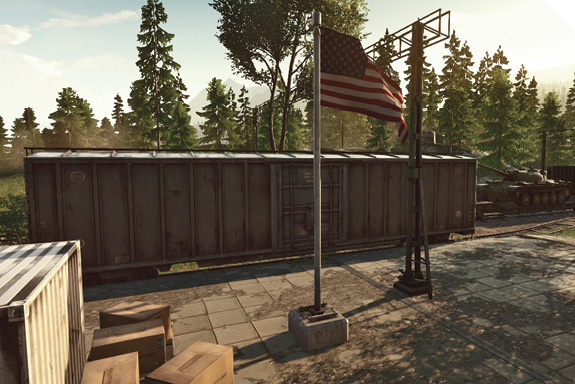
One of the boxcars has an interactive feature. You can open the doors to the boxcar and be concealed within. This boxcar is indestructible, so if there are nearby tanks, be sure to make it inside. Going up against the wall also allows you to capture or contest the control point.
Players specializing in close-quarter combat are suggested for this area, whether they are capturing or defending due to the large amount of surroundings.
Having an engineer for the US team at the start is very useful. It is an easy point to capture for one or two players. Although this control point is close to the US base, the US team should be prepared for early-round RU vehicle attacks. As few as two US engineers posted at this control point can capture the flag and deter RU attacks. Vehicles can capture this point, but they are extremely vulnerable due to all the bushes, surroundings, and interactive train. Make them pay for their mistake, with mines or C4.
Control Point Assets
US Control
RU Control
Quad Bike (1)
Quad Bike (1)
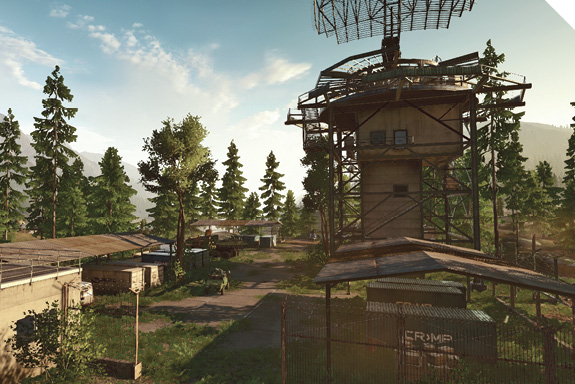
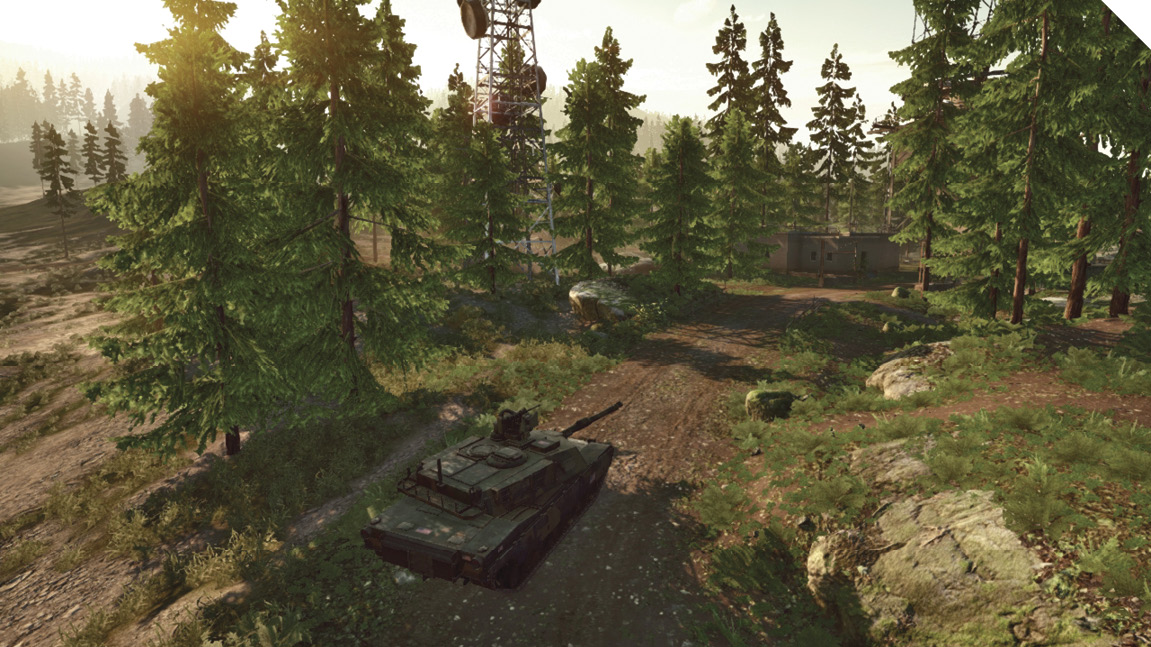
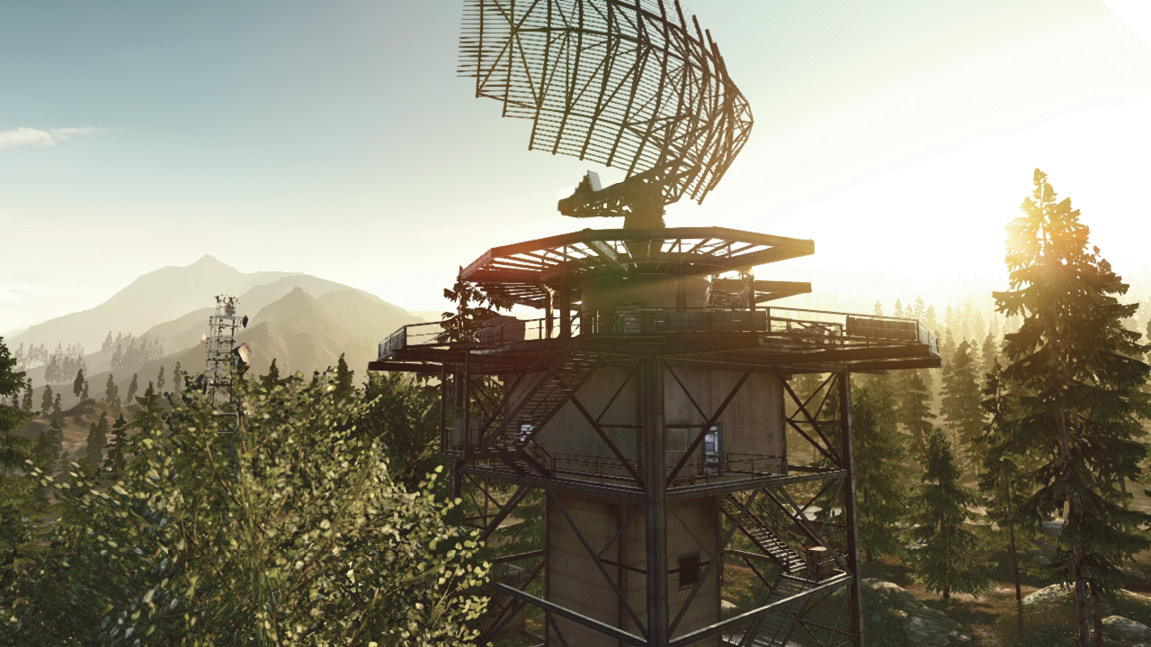
F: Radar Tower
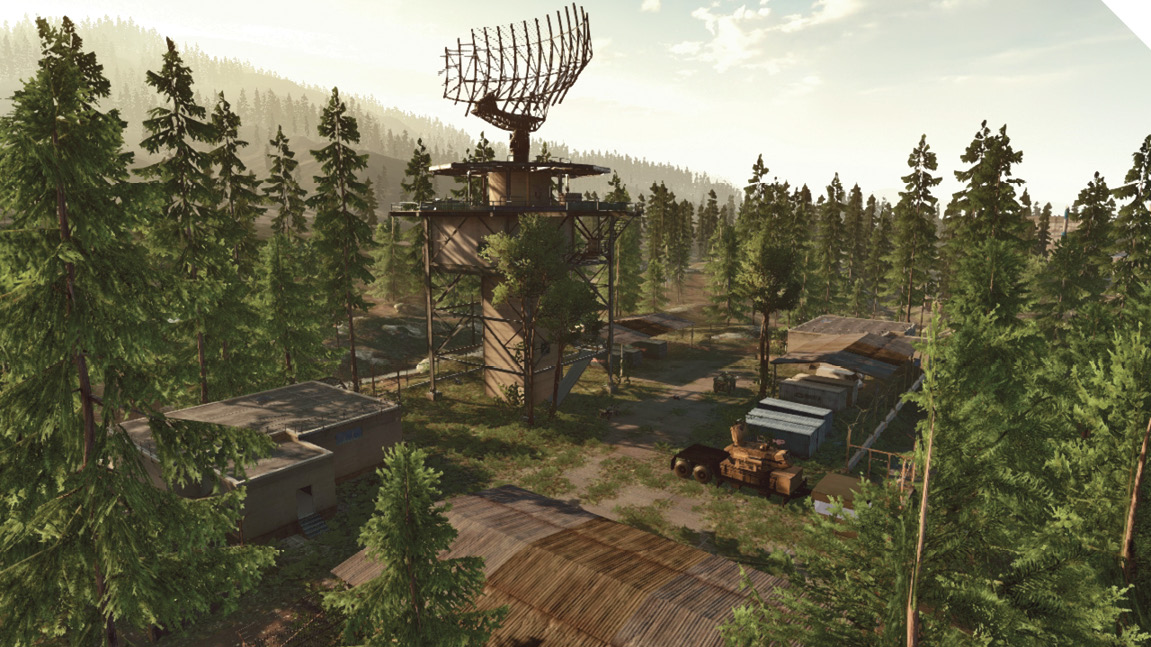
This control point is near the US base, which makes it difficult for the RU team to capture. If the RU team decides to flank off the beginning to get to this control point, wait for the US team to move a bit away from the control point before capturing. The RU team should force the US team to make a decision: continue going for Assembly (C) and Manufacturing (D) or come back and stop the RU team from capturing the Radar Tower (F).
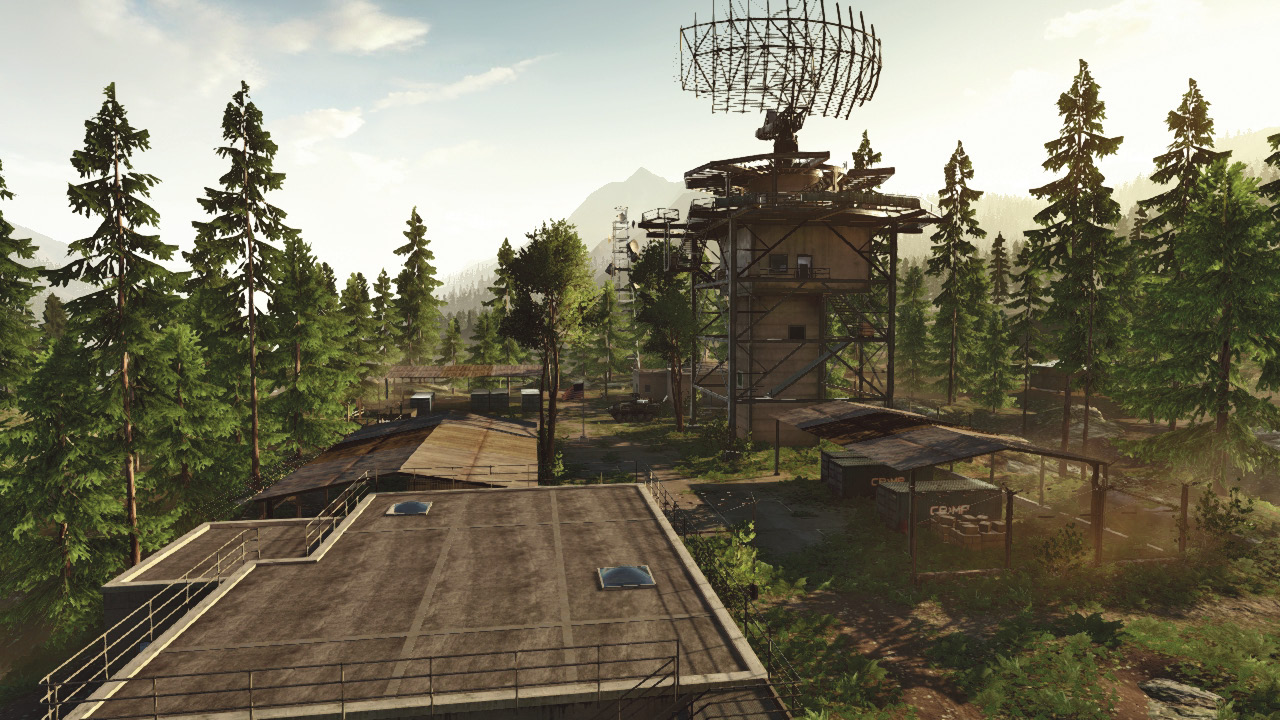
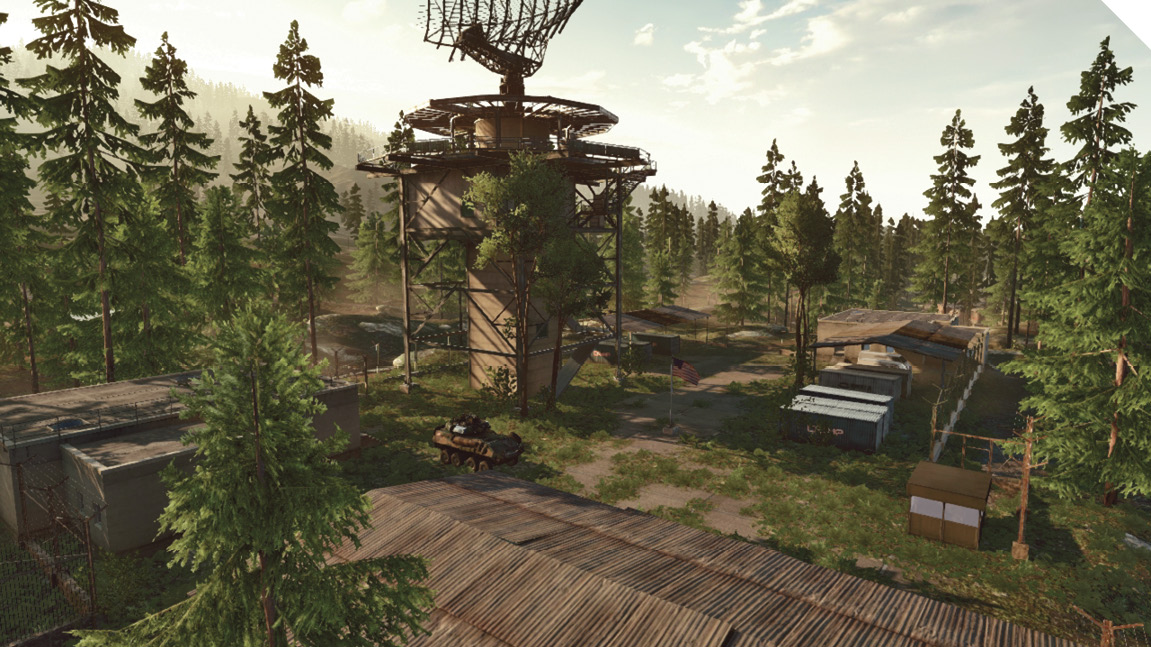
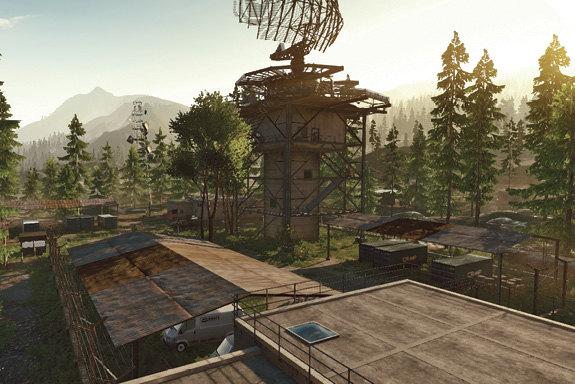
This tower is a great spot for a sniper. A single sniper can hold this point for a long time. If the sniper is on the US team, the sniper can look towards the center and spot or pick off the enemy one by one.
If the sniper is on the RU team, it means the team has control of the map, and now the sniper can target the US team.
If playing as the RU team, getting to the top of the tower is critical. Being able to plant a Radio Beacon at the top can be the reason the team is successful in capturing the Radar Tower (F).
An LAV-25 spawns here after the US team has captured the Radar Tower (F). This makes the point important to capture immediately because the US team wants as many vehicles as possible at the center near Assembly (C) and Manufacturing (D).
Control Point Assets
US Control
RU Control
LAV-25 (1)
BTR-90 (1)
Conquest Small
Recommended Squad Composition:
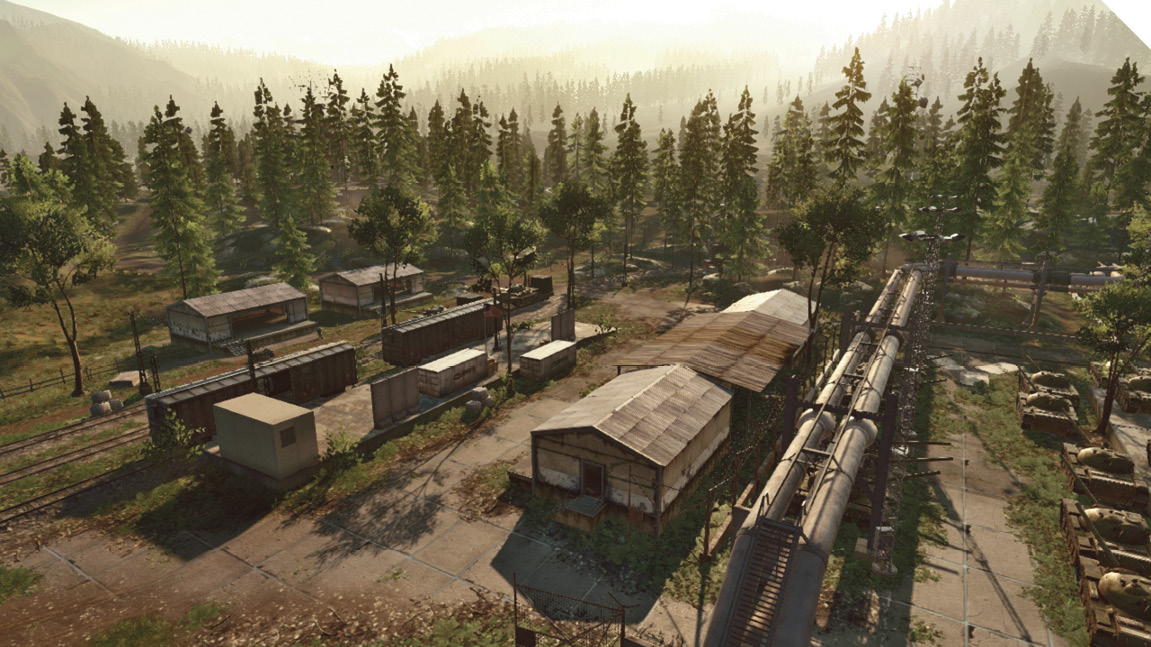
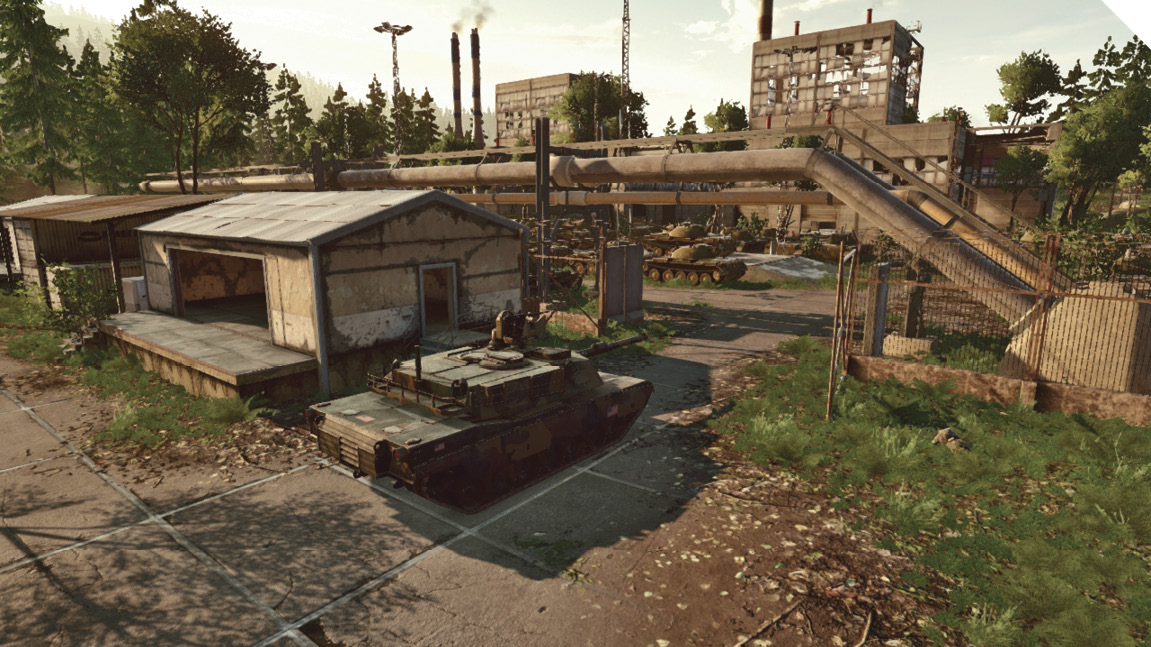
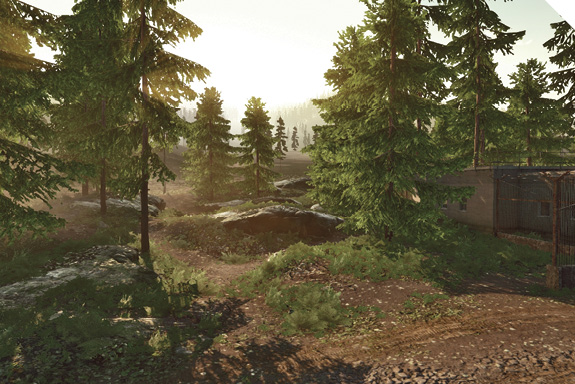
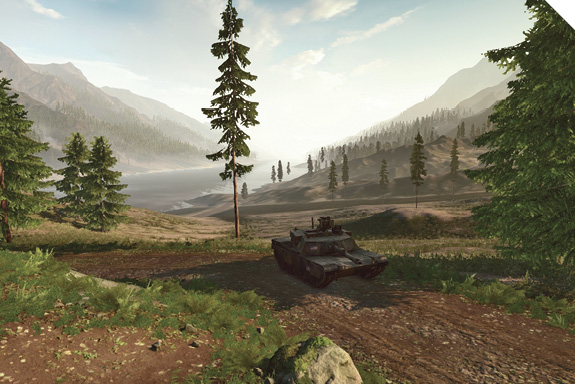
In this isolated forest, within which lies an old abandoned tank manufacturing facility, both the US and RU teams fight for control of the Assembly (B) and Manufacturing (C) warehouses in the center of the map. There are four controls points, meaning the best strategy is to hold three control points to begin draining the enemy’s tickets. For the US team, holding the Train Tracks (D), Manufacturing (C), and Assembly (B) is the team’s safest bet. On the other side, the RU team wants to control Living Quarters (A), Assembly (B), and Manufacturing (C). Once control is taken of the center bunker up around these points, both Assembly (B) and Manufacturing (C) have ladders that lead to the top of their buildings. These are great spots to fight the opposing team as you can spot them from afar and have the advantage due to the high ground. A set squad should wait on the floor as there is an underground tunnel that connects both points allowing your team to react to enemies at either point quickly. Also, be sure to have the team’s tank between Assembly (B) and Manufacturing (C); it will help tremendously against waves of enemies. Flank along the perimeter of the forest so if the center is being guarded heavily, be sure to jump on the Quad Bikes and flank around to take either the Living Quarters (A) if playing as the US team or Train Tracks (D) if playing as the RU team. On the flipside, if the center is controlled well and the team can make a push for the fourth and final control point, then by all means charge ahead! This is a fairly large map, so be sure to make use of the vehicles that spawn back at the team base.
US Base
Stack the MRAP with as many members as possible. Head towards Assembly (B) and Manufacturing (C) and work together to capture them early in the game.
Have a few teammates ride the Quad Bikes all the way to Living Quarters (A) in order to force the opposing team to come back and defend. The players who flank here should attempt to stay alive as long as possible. The fewer enemies the team has to fight at Assembly (B) and Manufacturing (C) makes it that much easier to capture.
Any units on foot should head for the Train Tracks (D). Have one or two stay until the point is captured and then continue towards Assembly (B) and Manufacturing (C).
Air superiority is important. Keep the team’s birds alive and have a few engineers ready to take out RU team’s airvehicles.
Team members on foot should be engineers for the initial push in order to take out enemy vehicles.
Base Assets
Name
M1 Abrams
MRAP
Quad Bike
UH1Y Venom
Quantity
1
1
1
1
RU Base
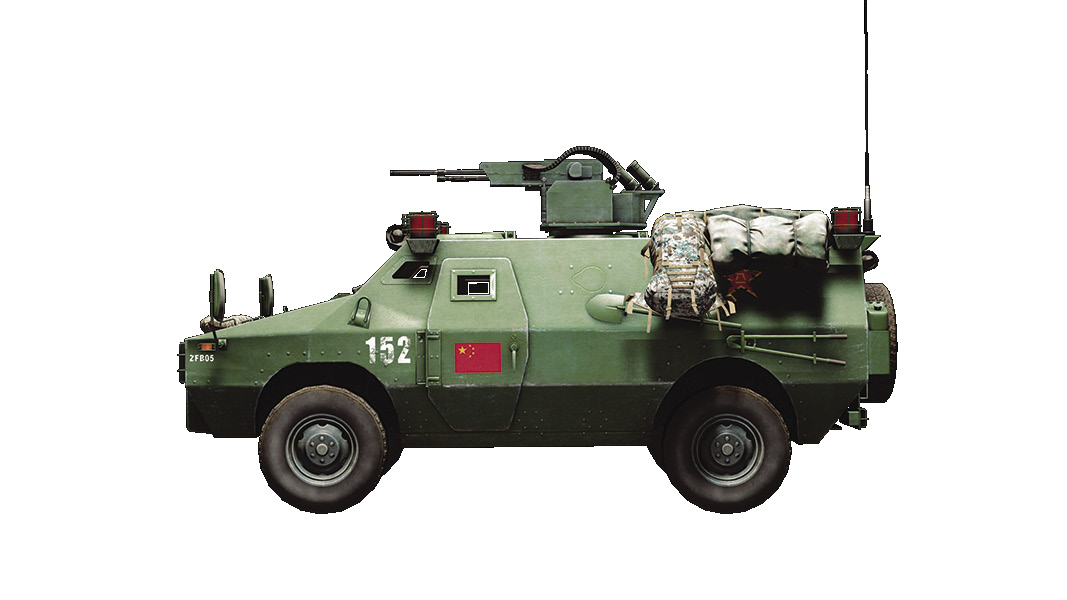
Stack the ZFB-05 with as many members as possible. Head towards Assembly (B) and Manufacturing (C) and work together to capture these points early in the game.
Have a few teammates ride the Quad Bikes all the way to the Train Tracks (D) in order to force the opposing team to come back and defend. The players who flank here should attempt to stay alive as long as possible. The fewer enemies the team has to fight at Assembly (B) and Manufacturing (C) makes it that much easier to capture.
Any units on foot should head for the Living Quarters (A). Have one or two stay until the point is captured and then continue towards Assembly (B) and Manufacturing (C).
Air superiority is important. Keep the team’s birds alive and have a few engineers ready to take out the US team’s airvehicles.
Team members on foot should be engineers for the initial push in order to take out enemy vehicles.
Base Assets
Name
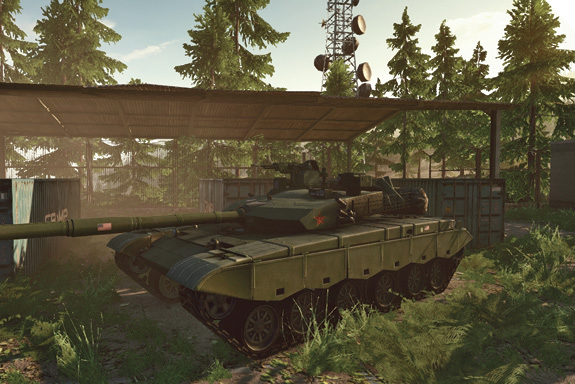
Type 99 MBT
ZFB-05
Quad Bike
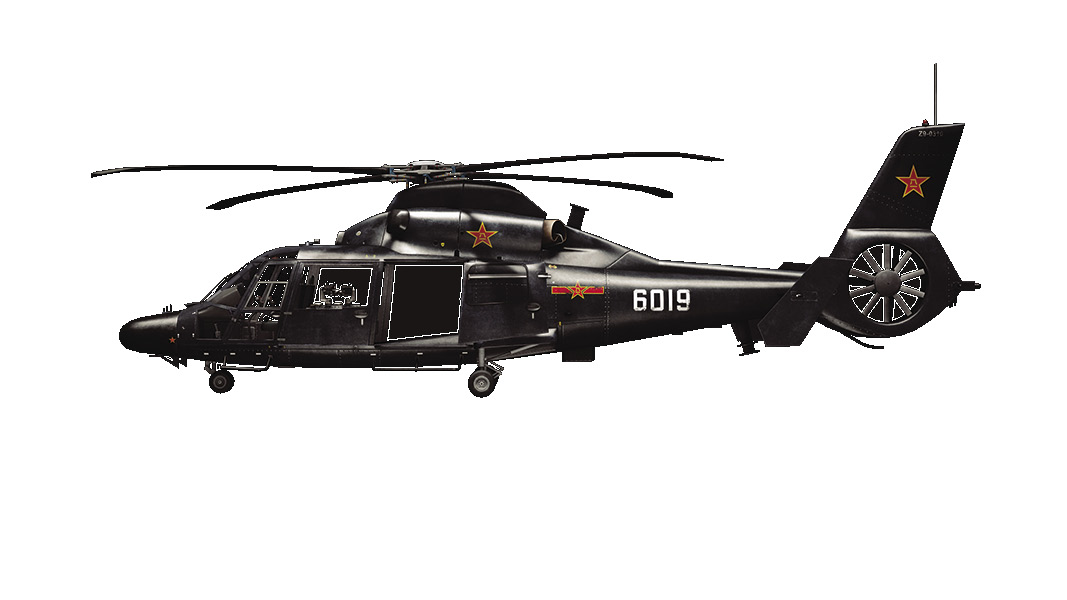
Z-9 Haitun
Quantity
1
1
1
1
A: Living Quarters
This point is surrounded by three homes/buildings that promote close-quarter combat, both for the attackers and defenders.
The area is a decent size, which is fenced in by four concrete walls forming a square around the three homes/buildings.
When defending, move from building to building, never allowing the enemy to pinpoint your location.
These buildings are all destroyable. If the team feels it would be easier to defend with them gone, then by all means let them fall!
Capturing this point as the US team is a handful since the RU base borders it very closely. If you are able to sneak around, allowing the RU players to pass isn’t a bad idea. Capturing will force the RU team to decide if they want to come back and defend or continue their push towards the center.
Control Point Assets
US Control
RU Control
Quad Bike (1)
Quad Bike (1)
B: Assembly
Beneath this point lies a tunnel that leads to the Train Tracks (D). This tunnel can also be used to hide and wait for the enemy to come down for a surprise attack.
The flagpole has a half-built tank beside it, making it a great place for cover when capturing. Be wary, the wall to the tank’s side is destroyable, so be ready to move if you hear explosions outside the building.
Under the flagpole there lies an underground room. Infantry units can also capture this point from underneath. There are four stairways giving access to the upper level.
Outside this building a ladder leads to the roof. At the highest point there is a hatch. You can close this hatch, stopping enemies from gaining access. Planting a Radio Beacon at the top with the recon class can prove very useful. It is a great sniping spot and area to spawn teammates.
On the opposite side of the tank, there are many bushes beginning to grow into the building. This a useful spot to surprise the enemy as most people will stick near the tank by the flagpole.
Control Point Assets
US Control
RU Control
M142 (1)
M142 (1)
C: Manufacturing
Inside there are two interactions. One is a generator that starts an array of compactor-like manufacturing machines. These machines will instantly kill a player who walks under it when it is coming down. The other interaction is a computer that causes Levolution.
You can capture or contest the control point from atop the machine closest to the flag. This gives you higher ground within the building, which makes spotting enemies inside easier.
The tunnel from Manufacturing (C) connects these two buildings. There are two entrances to this tunnel—one from the inside of the building and the other outside. Entrances/exits allow for great escape routes.
The building also has a ladder that leads to the roof. The roof is a great sniping spot, but close the hatch atop the ladder to prevent enemy troops from sneaking up on you. Consider placing a Radio Beacon on the roof to give your squad a spawn point at the center of the action.
Outside there is a M142. This vehicle contains six missiles that you can aim through a mini computer screen inside the vehicle.
D: Train Tracks
A very wide area with a lot of bushes and broken-down tanks for cover. These tanks provide cover for you to sneak and flank around the area.
This control point is near the US base, which makes it difficult for the RU team to capture. If the RU team decided to flank off the beginning of the game to get to this point, wait for the US to move a bit away from the location before capturing. The RU members should force the US team to make a decision: continue going for Assembly (B) and Manufacturing (C) or come back and stop the RU team from capturing the Train Tracks (D).
One of the boxcars has an interactive feature. You can open the doors to the boxcar and conceal yourself within. This boxcar is indestructible so if there are nearby tanks, be sure to make it inside. Going up against the wall also allows the player to capture or contest the control point.
Players specializing in close-quarter combat are suggested for this area, whether they are capturing or defending.
Having an engineer for the US team at the start is very useful. It is an easy point to capture for one or two players. Although this control point is close to the US base, the US team should be prepared for early-round RU vehicle attacks. As few as two US engineers posted at this control point can capture the flag and deter RU attacks.
Control Point Assets
US Control
RU Control
Quad Bike (1)
Quad Bike (1)
Rush
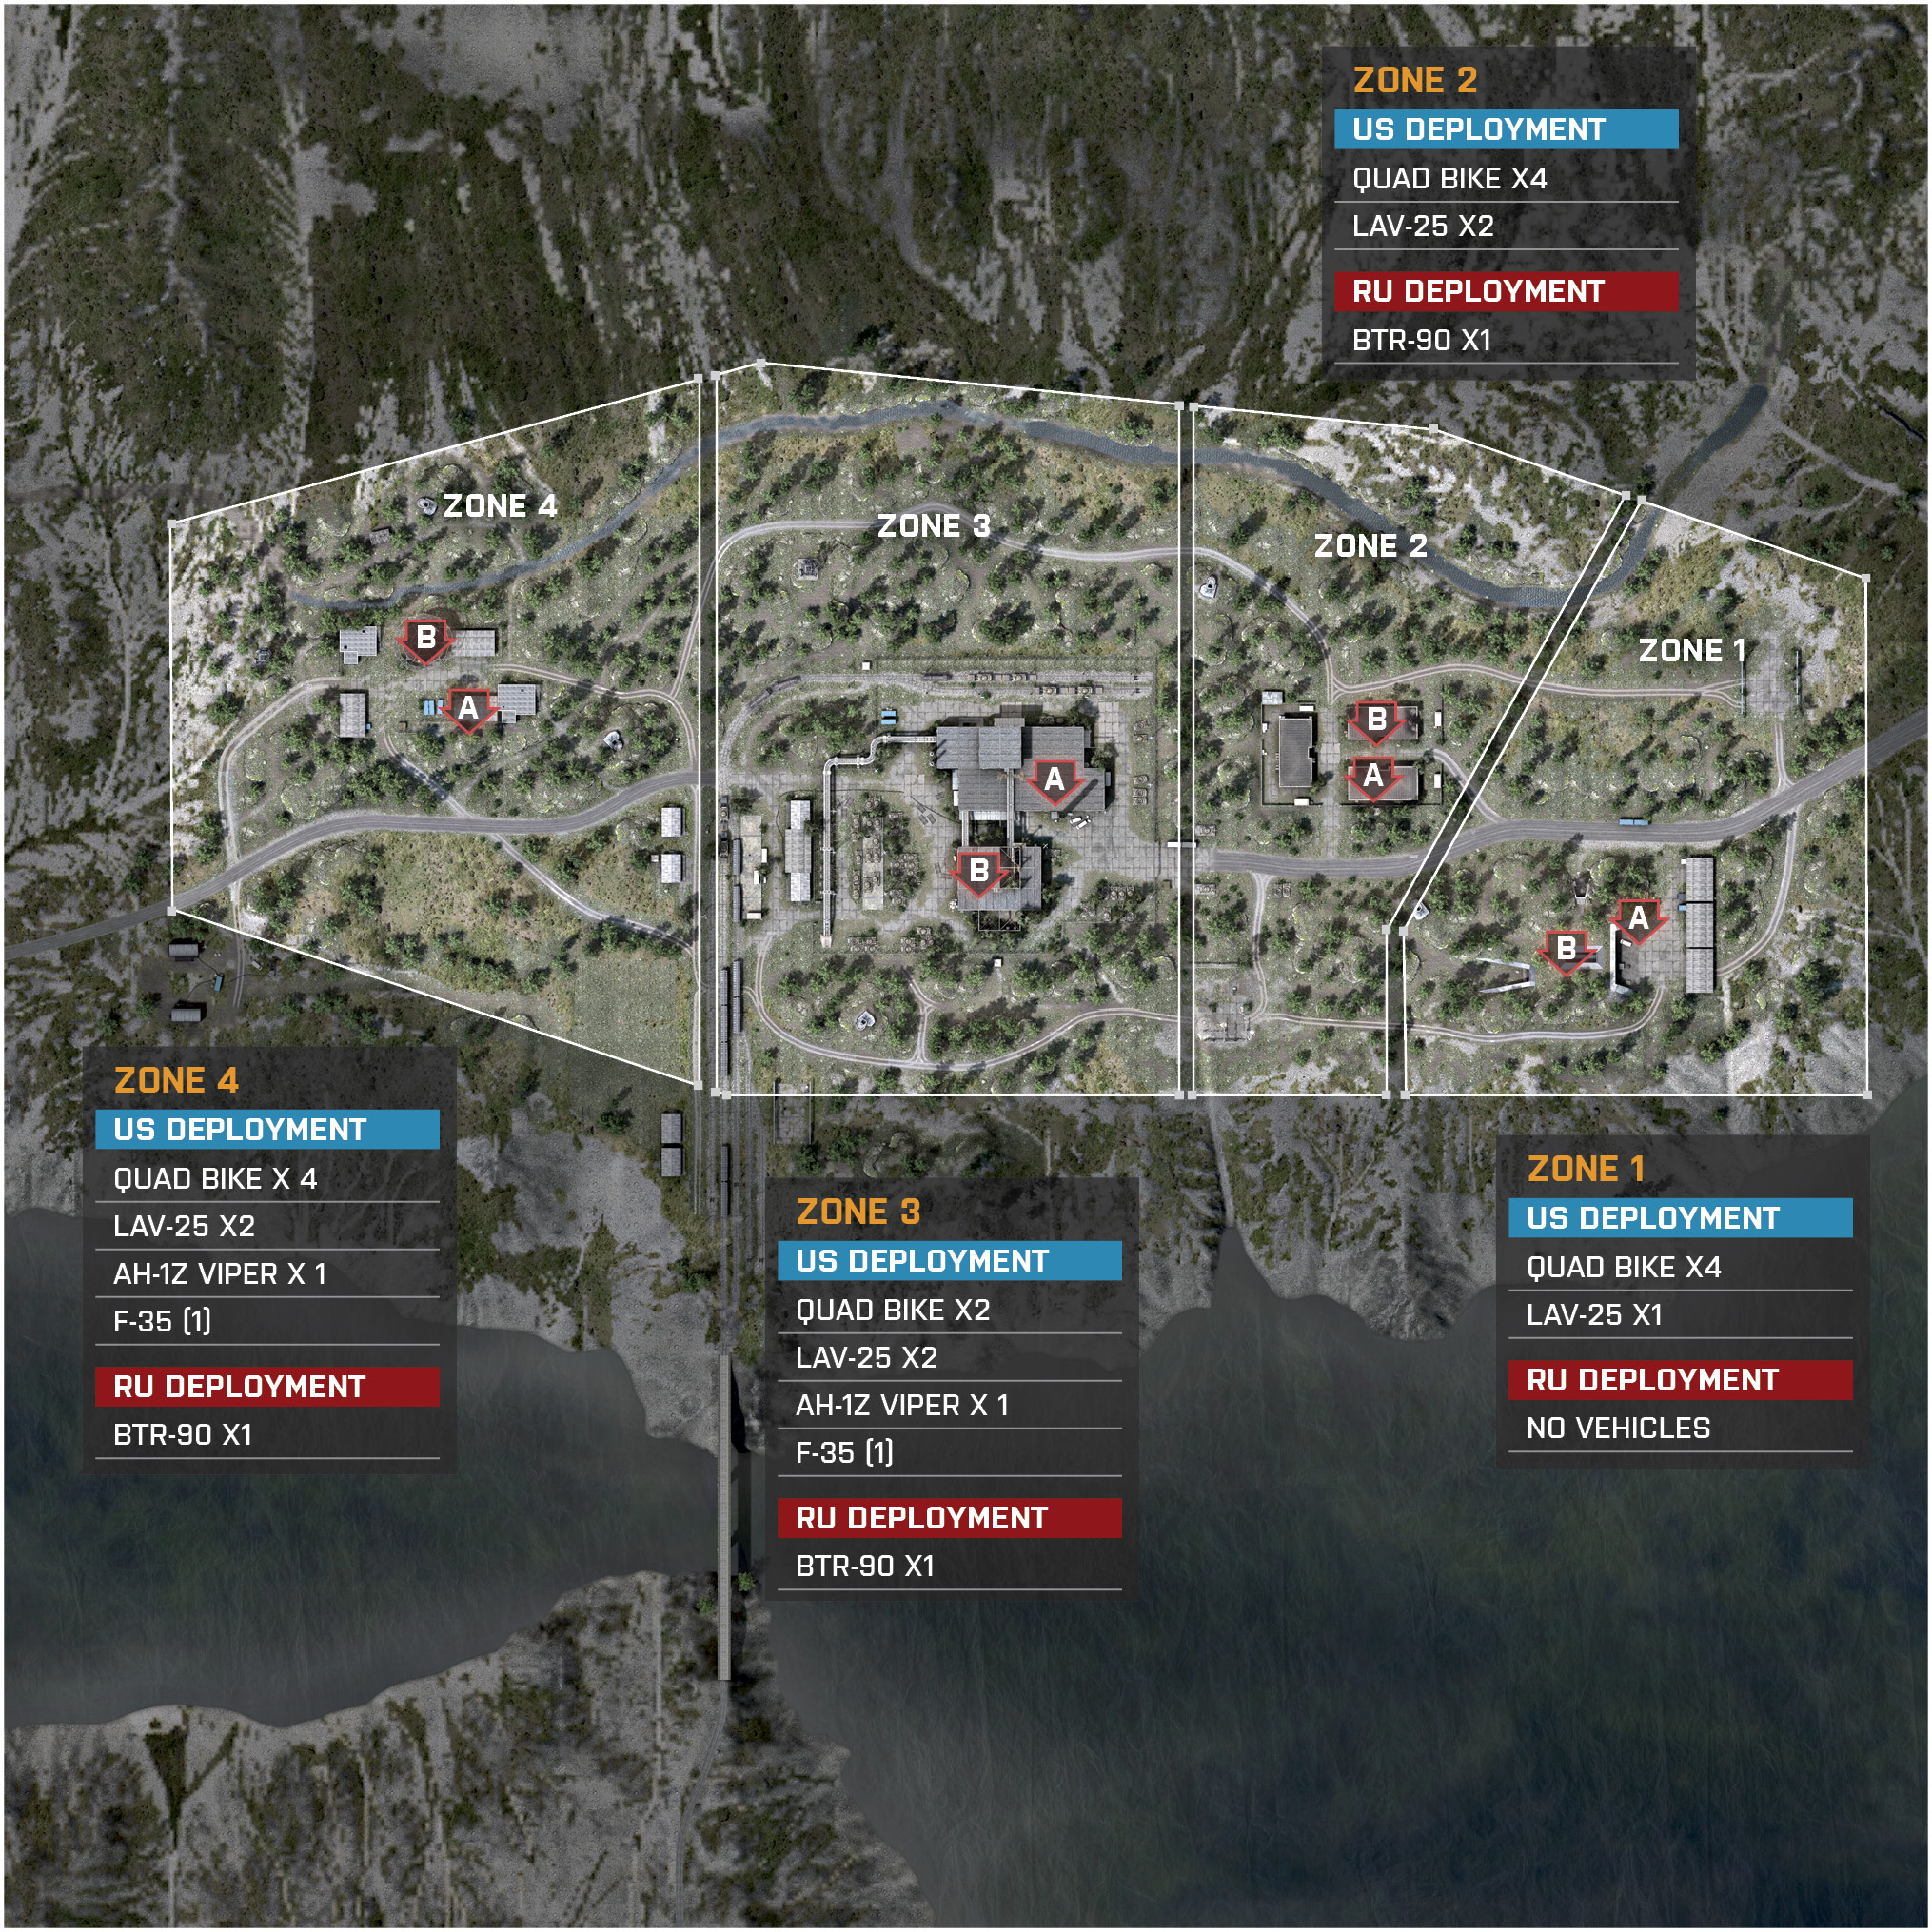
In Rush, the RU attackers attempt to arm two M-COM stations at each of the four diverse zones that the US defenders have to protect at all costs. This map offers few vehicles, especially for the US defenders, and is sure to be a favorite for those who prefer good old-fashioned infantry vs infantry combat. One recurring theme you will see throughout this map is how the RU attackers will have to traverse across open fields and roads, just to have the range of the fighting completely change to close-quarter combat. It is generally not safe for the few vehicles the RU team controls to be attacking in such a close-quarter area, so be sure to pack an engineer with your driver and watch out for C4. With four zones to hold off the attacking RU team, the US team’s key to victory will be finding the perfect balance of classes to take out the small amount of vehicles that RU team will most certainly push up with, all while having enough anti-infantry firepower to hold the majority of ground units that constantly will be making their way towards the M-COM stations.
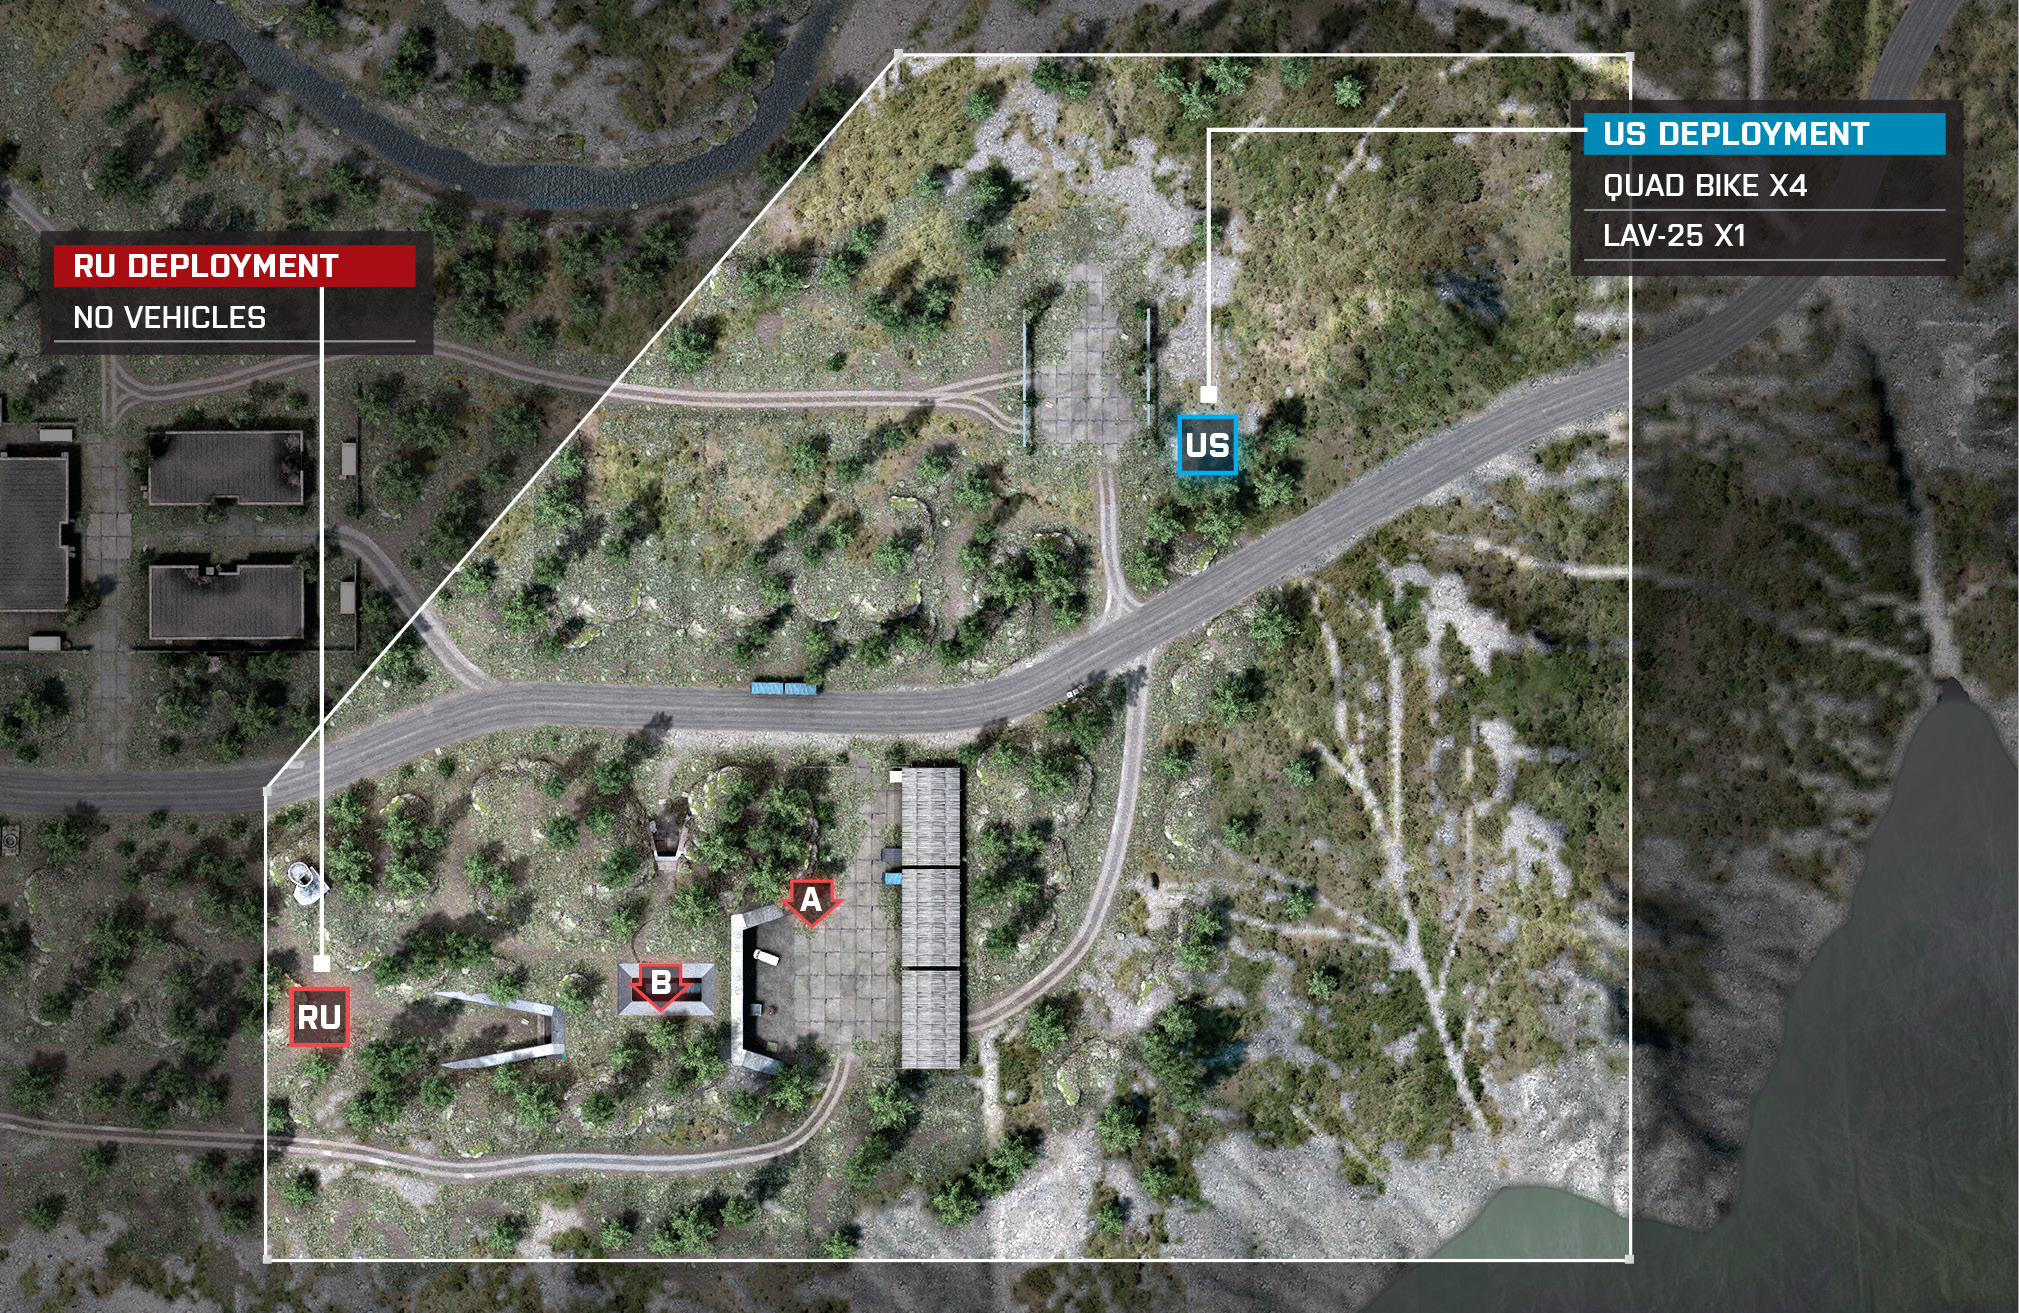
Zone 1: Bunker
US Deployment
Recommended Squad Composition:
With few vehicles in this zone and a long, open road from the RU deployment, you can comfortably use a long-range class such as recon to start off this game and hopefully take away some easy tickets before the enemy gets close to the M-COM stations.
It is fine to spread out near the M-COM stations and even further north of M-COM Station A, but as soon as the RU team gets in closer to the Bunker, you immediately have to react and also move back closer to the M-COM stations.
Getting above M-COM Station B is a very strong area because you have options on where you want to go. You can attack from above, drop in the building and move in from ground level, or (if you are feeling lucky) make a flank to the north or south to try and catch the RU attackers off guard.
Although there are few vehicles here, that does not mean that explosives are entirely useless! Feel free to set up some C4 and Claymores to get some easy kills on unsuspecting RU attackers who are moving up too fast for their own good.
Support class is a great compliment to any squad in this zone. It will give other US defenders the Ammo Boxes they need to lay down more mines and throw more grenades—not to mention the anti-infantry firepower you need for the attacking RU team that consists of 100% infantry units!
Deployment Area Assets
Name
Quad Bike
LAV-25
Quantity
4
1
RU Deployment
Recommended Squad Composition:
This deployment is located closer to M-COM Station A than the US deployment. Make a dash for M-COM Station A and push the US infantry back into the Bunker to quickly set the charge at M-COM Station A.
Vehicles do not spawn at either the RU or the US deployment. That makes this first zone a close-quarter to mid-range battle with little long-distance recon sniping.
Support and assault classes will be used mostly in this first deployment for an initial push from RU deployment since vehicles are obsolete on this zone. When pushing off the start, have squads split up and approach from two or three angles. Think of the flying V! Brute squads push down the center to gain attention of the enemy while the squads on the outside try to infiltrate swiftly.
M-COM Station A will be the easier station to arm, so try to force the defender back into the bunker so RU attackers can gain access to the roof of the bunker. This will be a power position from which you will be able to arm M-COM Station B.
Be sure to have one recon class per squad, and have them drop Radio Beacons in close proximity to the Bunker. This will allow squad members to spawn closer to the action as opposed to running the long distance from the deployment spawn.
M-COM Station A
On this first zone, using the assault class would be a likely choice when attacking M-COM Station A. There are no vehicles to worry about, so this point should be the easiest to get with an all-out push from the team. The only down side to this would be that the defenders have cover from the Bunker. Plan the team’s push carefully at the beginning to force the defenders out of the Bunker.
M-COM Station A is located right outside of the Bunker, which is near a non-usable van. Be sure to blow this van up immediately or save it until the team arms the station. This could lead to an easy kill when the US team goes for the disarm or an easy kill for the US team when the RU team goes for the plant.
Once this station is armed, be sure to spread around the area with a few players near just in case the defenders drop smoke grenades and try for a sneaky disarm. There are a few spots outside the Bunker’s main entrance that allows you to watch the station from afar. Apply assault and recon classes to pick off the disarmers. You could even take out the other team by laying some C4 around the front entrance of the Bunker to stop them from pushing out.
As the defending team, try to establish a defensive line between M-COM Station A and the RU deployment area. The recon class comes in handy to pick off the RU team as they make their run across the open land towards M-COM Station A. Try to take as many tickets as you can before they arrive near M-COM Station A. If the team gets pushed back, holding the top of the Bunker is the safest bet for a better line of sight.
Smoke grenades will be vital to arm this station if the defenders are on top of the Bunker laying heavy fire as the RU attackers approach. Smoke grenades can be the very reason why the plant is set. This goes for the defenders as well; it allows for the US team to fight near M-COM Station A.
M-COM Station B
When defending, be sure that some of your squad members are spread out around this area, that way you can always ensure a good close spawn in case you or some of your squadmates die.
If defending and your team is getting surrounded, don’t be afraid to push out back of the west side of the base and get control of the top and around M-COM Station B. The front eastern entrance will be a death trap if the RU team has already destroyed M-COM Station A. Try to go out of the northern or western exit if you want to spread out.
If you are the defending US team and want to pull a sneaky one-time play, you have to push over here early and sit in the garage to the east of M-COM Station B. Wait until you see at least two enemies before going for the kills to make this play worthwhile, otherwise you will only get one kill and the enemy will see where you are hiding.
When defending this position, you don’t always need to have the interactive generator on. Sometimes it can be better left off so you can hide in the shadows and catch the attackers off guard.
When attacking this station, make sure to get control of the top of the base. Not only can you push in from multiple angles, but you can also cut off US reinforcements from the west.
As the attacking RU team, when you eventually make it inside the base, secure the area first. There are very likely to be more US defenders inside, so make sure to clear them all out to ensure you get the arm and good spawns for your team.
Zone 2: Living Quarters
US Deployment
Recommended Squad Composition:
Now you have a M1 Abrams to work with. If you do get in vehicle-to-vehicle combat, make sure to take out the BTR-90 first. The SPM-3 is not as much of a threat to your thick armor. Ideally you want to hide the location of your tank until you know where the enemy BTR-90 is.
Secure the area around both M-COM stations, and expect troops to try and sneak closer directly to the east of the stations.
The easiest way to win this zone early on will be to spot and take out the enemy vehicles, that way your M1 Abrams can safely patrol the area.
The building will naturally be destroyed by all the attacks over time. Don’t be afraid to blow up walls in order to give you another line of sight on a M-COM station. You don’t always have to leave your own buildings intact.
The building to the west isn’t as crucial to hold as it is to keep away from the attacking RU team. If the enemy controls this building, they effectively cut off your reinforcements and can attack the M-COM stations from two different fronts.
Deployment Area Assets
Name
Quad Bike
LAV-25
Quantity
4
2
RU Deployment
Recommended Squad Composition:
Now with control of the Bunker, the RU team has more of a base to work with and a few vehicles at their disposal. This deployment has plenty of vantage points and places to attack from. Utilize the recon, engineer, and assault classes here on out for this next station.
Split up the attack from your new base by sending some infantry to attack from the north of M-COM Stations A and B. Send in your team’s vehicles through the east or south entrance, but have engineers ready for the US tank.
Be sure to stack the SPM-3 with as many people as it holds. Drop teammates off around the concrete fences that box the Living Quarters in. Destroying the walls will help arming stations from different angles.
Have a squad member play as the engineer and hop in the BTR-90 to jump out and repair when needed. The BTR-90 should be focusing on keeping the defenders busy so the RU team’s infantry can sneak in quietly.
Again, the recon class is important for Radio Beacons. Spawning closer to the M-COM stations is better than running by foot or waiting at the Bunker for a vehicle to spawn.
Deployment Area Assets
Name
BTR-90
Quantity
1
M-COM Station A
This station is located in the building across from M-COM Station B. This is a station for infantry units both on the defending and attacking team since a lot of the fighting will happen inside the building. Both sides can also take advantage of blowing up the building. This will make it a little harder to plant, but if the bomb is planted already, this makes it easier to watch the disarm. For the defenders, it gives more visibility of the station so it is easier to defend.
At this point the attackers should be using the engineer and recon class. It will make the job way easier by taking out the stationary launchers that will be looking to take out any vehicles coming towards them. Engineers on your team should be ready to take out an enemy tank that could cause heavy damage to your team if left alone.
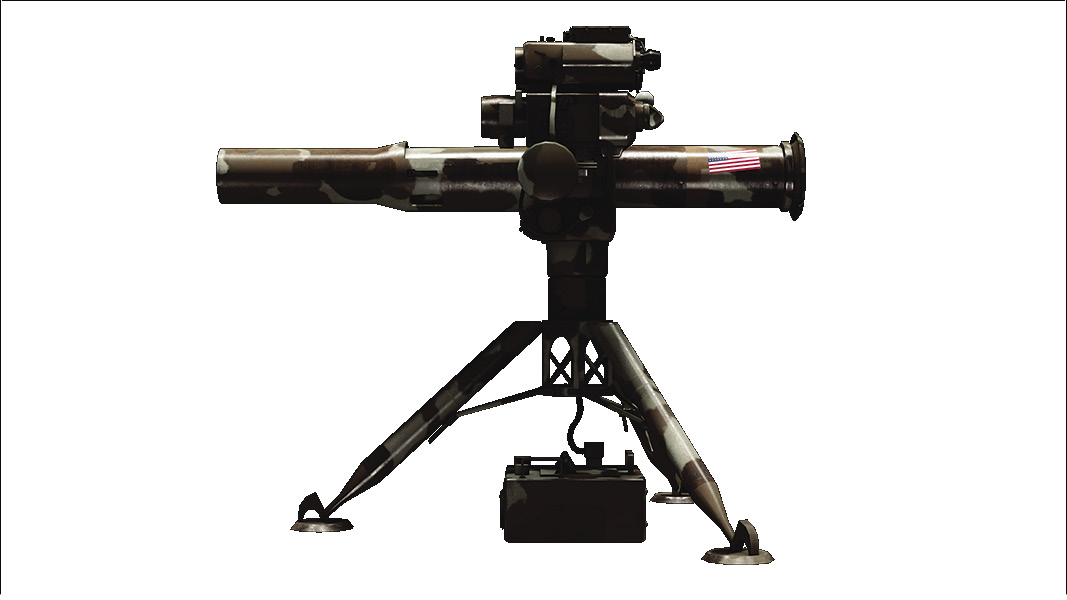
Defenders should man the M220 TOW Launchers in order to stop the attackers’ SPM-3 from dropping enemies close to the stations while also destroying their BTR-90 as, if left alone, it could do a lot of damage to the defenders.
The defending team now has access to an M1 Abrams. If used properly, it can be the very reason why the attackers are wiped out in Zone 2. A good strategy to apply is to move the tank forward and trap the attackers in their base. Play smart though—once it has taken damage retreat back to the Living Quarters and get repaired by a teammate. Repairing a damaged tank is a surefire way for a friendly engineer to score some easy points.
Attackers should take advantage of the SPM-3 that spawns to deliver teammates near the entrance of the Living Quarters. If the buildings are not blown up, try getting medium- to long-range fighters on top to shoot the defenders at their spawn once the team has pushed up from behind and taken control.
M-COM Station B
The important part about guarding this station is to watch the flank from the north, that way you can limit the angles the attacking RU team can push in the area from.
If the building is still standing attach a shotgun to your loadout. You’ll be able to sneak around inside the buildings and pick off the enemy in close-quarter combat. If the building is destroyed, swap to a mid-range weapon for longer-range combat around the demolished building.
When attacking this station, try and secure the building to the west. This will allow your team to attack the M-COM station from multiple angles and cut off the reinforcements for the defending US team. This also allows you to use the western M220 TOW Launcher if there is the M1 Abrams nearby.
As the defending team, at the start of this zone push out east, while leaving one member of your squad back at the M-COM station. This member of the squad will create a good spawn if you are killed. The goal is to try and catch RU members off guard in the field for easy ticket drain. At worst, you are picked off, but then you’re able to spawn on the squad member that safely stayed back.
As the attacking team, have a couple extra engineers to take out the defenders’ M1 Abrams. Afterwards you can freely move up your vehicles and secure the area around M-COM Station B.
Zone 3: Assembly/Manufacturing
US Deployment
Recommended Squad Composition:
This is a recon’s time to shine. Get way up on top of the building above M-COM Station A so you can snipe from above. Be quick though—this will only work early on while the attackers are further away. Once they get up close, you won’t have any good angles to snipe from up here.
Controlling the top of the map is most important. Once you start to lose control of the ground level, feel free to retreat down low to the tunnels so you can spawn your squad and safely move back and forth between the M-COM stations.
Once again you have a M1 Abrams at your disposal—use it very carefully. There aren’t any great spots to be fully safe and effective with this vehicle. Work with your squad and react to what the enemy is doing.
There aren’t many options for the attacking RU vehicles to drive up. Prepare by setting land mines on the main road to the east of M-COM Station B.
While the road is the main way for vehicles to push up, the fence to the east/northeast of M-COM Station A is where you can expect infantry to try and sneak up. Find them out here in the open before they can slip into the buildings and spawn their squadmates.
Deployment Area Assets
Name
Quad Bike
LAV-25
AH-1Z Viper
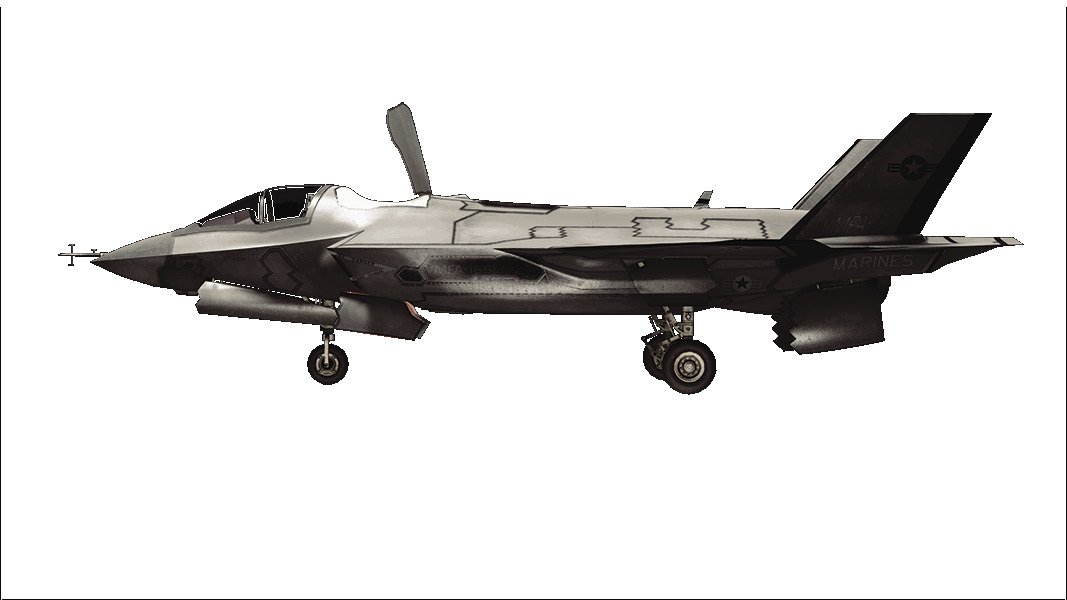
F-35
Quantity
2
2
1
1
RU Deployment
Recommended Squad Composition:
Same deployment as Zone 2, making the IFV as crucial as ever for countering the US team’s vehicles.
Rounding up a group of teammates in a few of the vehicles at this stage will be the best thing, but do this while a tank is in front for the extra cover. The tank will catch the enemy’s attention and allow the SPM-3 to drop off players around both M-COM stations. The BTR-90 should follow the SPM-3 to give it cover and allow the members to jump out safely to take the chosen M-COM station.
Given the ample distance between the deployment area and the M-COM stations, the RU team has several flanking opportunities. The ground units flanking should pick the opposite M-COM station that the players in the vehicles went to. This gives a wide amount of attack options to go on.
If the team finds itself not being able to push from the deployment zone, have squad members wait at the Living Quarters before pushing up. Attacking with the entire squad/team will be much easier on this zone.
Be sure to always spawn back at your base when the vehicles respawn.
Deployment Area Assets
Name
BTR-90
Quantity
1
M-COM Station A
As a defender it is important to gain control of the roof of the building. Keep a lookout on the back entrance to the tunnel. There may be an enemy attempting to sneak around. On top of the Manufacturing building there is a ladder that gives the defenders access to the roof where snipers will have a great vantage point to pick off any enemies on foot.
The M1 Abrams in this area will not be as effective because of all the big crates, but there are some good spots along the middle of the buildings and along the sides of them for some great angles. You will most likely be stationary with the M1 Abrams around this station because of low mobility. Cover the outside tunnel and access to the roof with the M1 Abrams.
As an attacker, gain control of the rooftop and place a Radio Beacon to spawn within the action. It is vital to spawn near M-COM Station A to help your team to set the charge. You can also drop in from the roof with your squad for a surprise attack to set the charge.
With this area now in your control, your team is going rely on tanks to lay down huge fire on both M-COM stations to help give the team room to push.
The long tunnel connecting both objectives is a likely hot spot for both teams. Be prepared to encounter C4, Claymores, and LMG-equipped support troops laying down fire from fixed positions.
Check corners in the manufacturing rooms before just rushing in to go for the arm. There is almost always going to be someone hiding around a wall in this area!
M-COM Station B
As an attacker, one of the longest unexpected flanks to this M-COM station can be made all the way from the northeast side of the M-COM Station A building where a set of stairs can take you down in a tunnel to go stealthily underneath the defenders. This will allow you to give your squad great spawns and catch the defending US team completely by surprise.
On defense, one of the best ways to use the M1 Abrams is to circle around M-COM Station B so that the enemy engineers will get frustrated by the tank not always being within striking distance. This will give your team time to spot enemies instead of sitting out in the open waiting to be hit.
When attacking, be careful of immediately pushing through the eastern garage entrance. US defenders will most certainly be watching this spot. Instead, push around to the south where you can flank and not be expected.
When attacking, carefully move up your vehicles but do not drive the vehicle inside the building. You will be extremely vulnerable to engineers and C4 explosives from every direction. You are better off staying outside the eastern garage door where you can lay down cover fire for your squad and back up if you see an incoming infantry unit.
When defending, feel free to poke out and fight out the front garage entrance as long as you have other squadmates safely hidden in the underground tunnel watching the flank. Your goal should be to make the enemy waste as many tickets as possible while they approach.
Zone 4: Radar Tower
US Deployment
Recommended Squad Composition:
Last chance to stop them here, and unfortunately one of the M-COM stations doesn’t have the greatest cover. It is absolutely crucial that you make a stand before your base so you can drain as many tickets as possible before the enemy reaches the M-COM stations.
Not only is M-COM Station A hard to defend, but this time the attackers have three vehicles! You are going to have to heavily rely on engineers to successfully keep the RU vehicles at bay. Right away take to the hills and set up an ambush with your squad to take down an unsuspecting enemy vehicle.
Work with your team, and once they have put some damage into an enemy vehicle push up with your M1 Abrams to try and take the enemy vehicle down. The enemy has two vehicles that pose a danger to you. Don’t move in to attack unless you have the advantage.
With the long road from the RU team spawn, be sure to set up more vehicle traps. Land mines on a narrow path are always a great way to rack up easy kills on some careless drivers.
Get a recon on top of the M-COM Station B building to snipe and spot enemy vehicles. You want to do this sooner rather than later because once the enemy gets too close, it is much more difficult to snipe at such an extremely close angle.
RU Deployment
Recommended Squad Composition:
With control of this deployment zone the RU team will have everything the team needs with space, cover, angles and vehicles to use for this last attack.
Usually you would want more teammates pushing toward the M-COM stations. However, it’s imperative to post a few snipers on these rooftops to cover the Radar Tower, where US defenders are likely to have their own snipers posted. Pick off the defending snipers while teammates rush upstairs to plant a charge on M-COM Station B.
The rusty, disabled tanks outside the deployment zone offer excellent cover while advancing toward the Radar Station. Alternatively, sneak through the forest on the perimeter in an attempt to reach the M-COM stations without being detected. There are a bunch of disabled tanks right outside of the base that assault classes can use as cover while making their push.
Once again, use the vehicles at the deployment zone. Always stack the SPM-3 with as many people as possible and continuously drop them off near the front of M-COM Station A.
With the M1 Abrams and BTR-90 you’ll have the upper hand against the US M1 Abrams. Apply heavy fire towards M-COM Station B to keep the enemy down. Suppression fire is the key to arm both M-COM Stations A and B.
Deployment Area Assets
Name
BTR-90
Quantity
1
M-COM Station A
The Radar Tower is a sniper haven because it is up so high. Snipers will be able to spot anything and should be able to do massive damage to incoming enemies. This makes it a tough station to capture. Tanks will have to draw most of the fire away from ground infantry.
Within this station there is a building with some cover from the tower where M-COM Station B is located, so your team is going to want to take out any snipers that you see before you go for the arm.
Be on the lookout for an enemy tank coming from the deployment base, because you will need to take it out very quickly before they damage the building where M-COM Station A is. When or if this happens, it will be very easy for snipers to protect this station with how exposed it will be.
Any vehicles (such as tanks) that you send should go on the main road around to the southern area to attract as much fire as possible away from the arming squad.
M-COM Station B
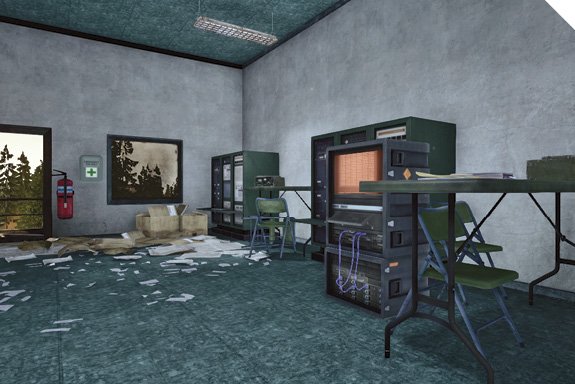
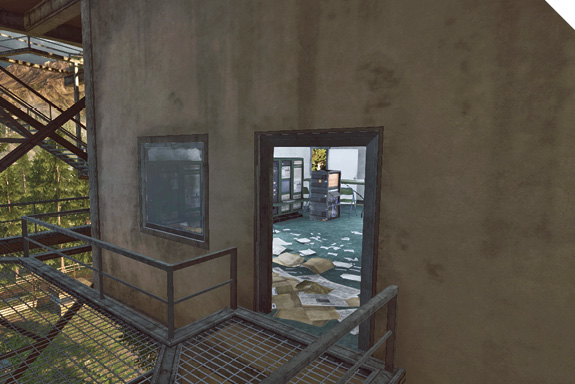
When defending this M-COM station, make sure to not let an enemy up the final stairwell. Prepare to spam the stairwell with grenades/Flashbangs to help clear it out. Also placing a Claymore is good to notify you when the enemy is making its way up the stairwell. The reason you want to hold the attackers off at the stairwell is because once they make it out of the stairwell and into the M-COM room, they can spread out and start spawning inside. You want to keep them spawning from afar or on the stairwell out of the tower.
When defending, support is a must-have class inside the building. The Ammo Boxes are crucial so your team can grenade and Flashbang before clearing out the stairwell.
When defending, if the enemy breaks through into the M-COM room, run up to the roof right away so you can buy time for your squad to spawn on you. If you lose all your spawn points in the building, it is going to be much more difficult to take back control.
When attacking, make your way up the stairwell and don’t stop pushing until you have control of the roof. Don’t allow the defenders to spawn up above you after taking control of the Radar Tower.
When attacking, taking control of the Radar Tower from the stairwell can be very difficult by yourself. Have squadmates throw grenades or lay cover fire from below into the M-COM room.
Obliteration
Recommended Squad Composition:
The US team guards the target around the Train Tracks and the other two targets near the Radar Tower.
The RU team should establish a perimeter to defend the targets around the Living Quarters and the Bunker.
The bomb spawns near the Manufacturing building.
Teams want to take advantage of the tanks that spawn at both bases. Move these near the center of the map and patrol the Manufacturing and Assembly buildings.
The perimeter of the map provides great cover for vehicles. The bomb carrier should board the IFV as the driver delivers the carrier from target to target. The tank leads the way to provide extra firepower.
Defuse
Recommended Squad Composition:
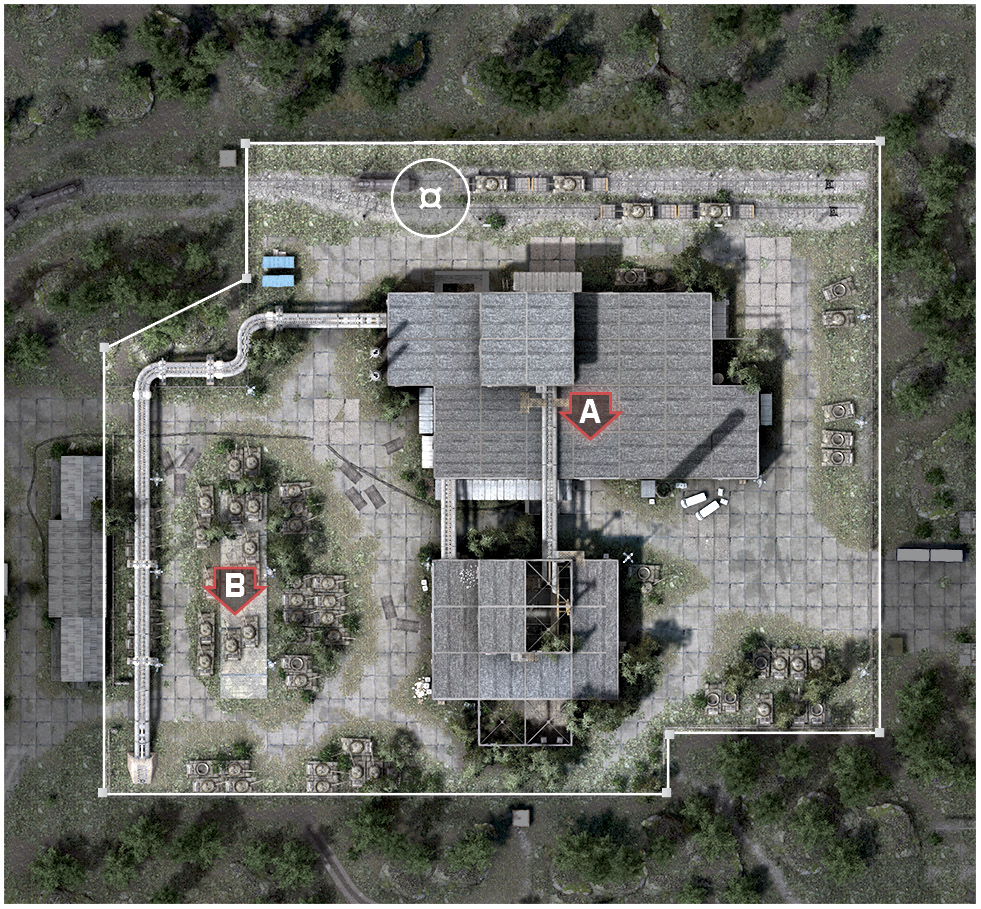
In this intense battle, the RU team find themselves spawning north of the Manufacturing building. South of the Assembly building is the spawn point for the US team.
Laptop A is located in the underground tunnel that connects the Manufacturing building with the Assembly building. This objective is easily reached by the attacking team.
Laptop B is found in between the many disabled tanks located west of the Assembly building. Defenders have many different disabled tanks to use for cover; if defending, be sure to use this to your advantage.
The RU team has a quicker route to Laptop A. Have two players rush to the bottom and chuck a Frag and Smoke Grenade across to hold the defenders back. The other three players can flank around the east side of the Assembly building to ambush the defenders.
At the start of the defenders’ spawn have at least one defender climb the ladder located directly towards the north of the spawn point. This gives your team a great vantage point of the tank graveyard where Laptop B lies.
Domination
Recommended Squad Composition:
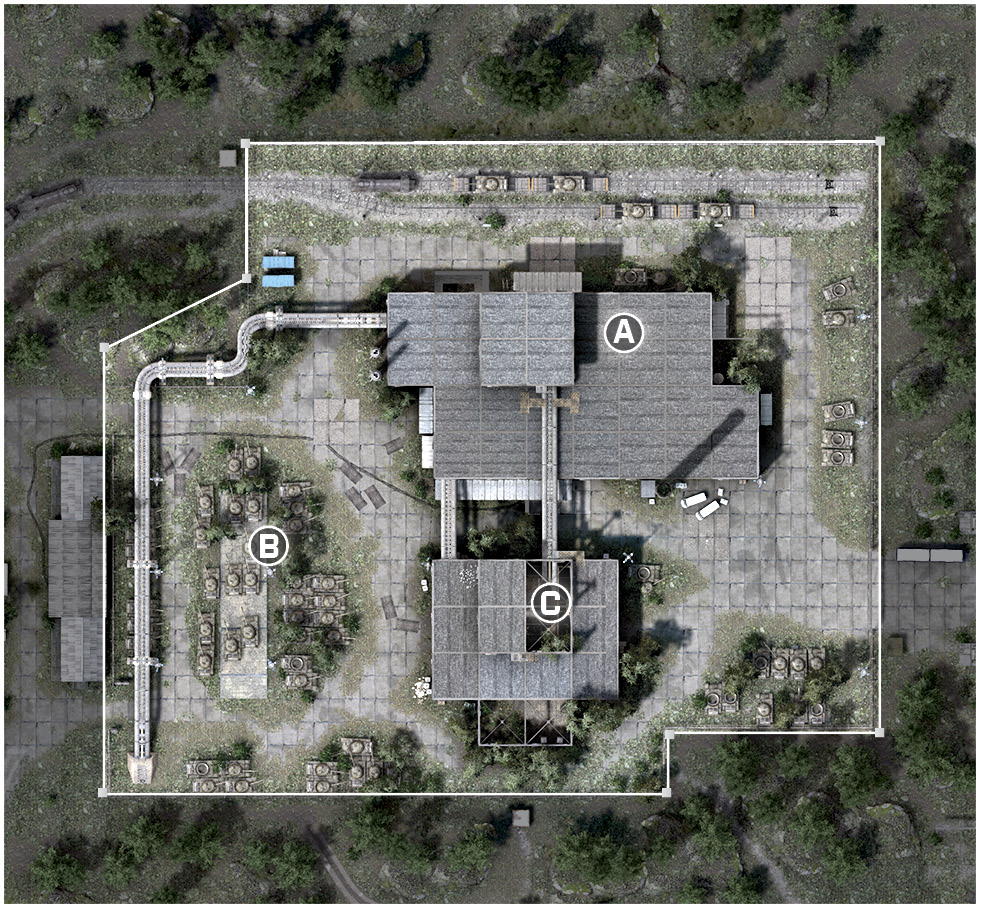
The three control points on this map are Assembly (A), Tanks (B), and Manufacturing (C).
Place C4 around your control point while you push for a new one. When you see the enemy team neutralizing your point, detonate and watch your kill feed!
With how fast paced this game is, Claymores are great to place around the map since enemies are moving from control point to control point often. Placing Claymores in narrow, high-traffic areas, such as a tunnel, doorway, hallway, or around a corner, is highly effective.
Play as the recon class and use the spawn beacon to spawn closer to a captured flag. Place the beacon in shrubs and away from high-traffic areas so the beacon is not destroyed easily.
A very good strategy is to capture Assembly (A) and Tanks (B). Both Assembly (A) and Manufacturing (C) have ladders that lead to the top of their buildings, but Assembly (A) is easier to defend since it has fewer entrances. Get a player to the top and then focus on the opposing team just running in the open as they try to exit the Manufacturing (C) building. The player on the roof is able to watch Tanks (B) the entire game, allowing the rest of the squad to defend Assembly (C) from below.
Squad Deathmatch
Recommended Squad Composition:
On this map, Squad Deathmatch is confined to the Manufacturing and Assembly buildings. Controlling the IFV greatly increases your squad’s chance of winning.
The Manufacturing and Assembly buildings both have ladders to give your squad superior firing angles. At the roof you are able to pick up easy kills on the players spawning around the perimeter of the map.
The pressing machines in the Manufacturing building have ladders to climb to the top of them. This is another good position to have an overview of the incoming enemies inside the Manufacturing building.
When spawning, immediately look to the rooftops to spot any enemies attempting to kill you when you spawn.
Use the tunnel connecting the Manufacturing and Assembly buildings to easily sneak from building to building to pick up easy kills.
Team Deathmatch
Recommended Squad Composition:
In this Team Deathmatch game variant, players are fighting around the Manufacturing and Assembly buildings.
Both buildings have ladders that lead to the roof. Be sure to make your way up for superior firing angles.
Near the southwest tip of the map is a walkway near the tank graveyard. If you walk towards the center of this walkway and go prone, you have great cover allowing recon players to snipe.
In the Manufacturing building, take the ladders connected to the interactive pressing machines. This is a great position to defend this building. Be sure to turn on the generator to make these pressing machines work, stopping the enemies from hiding underneath you.
Take advantage of the underground tunnel to quickly move from north to south and catch your opponents off guard. There is a battle pick up in this passageway—be sure to grab it.