
Battlefield 4 Guide Infantry Classes
Recon
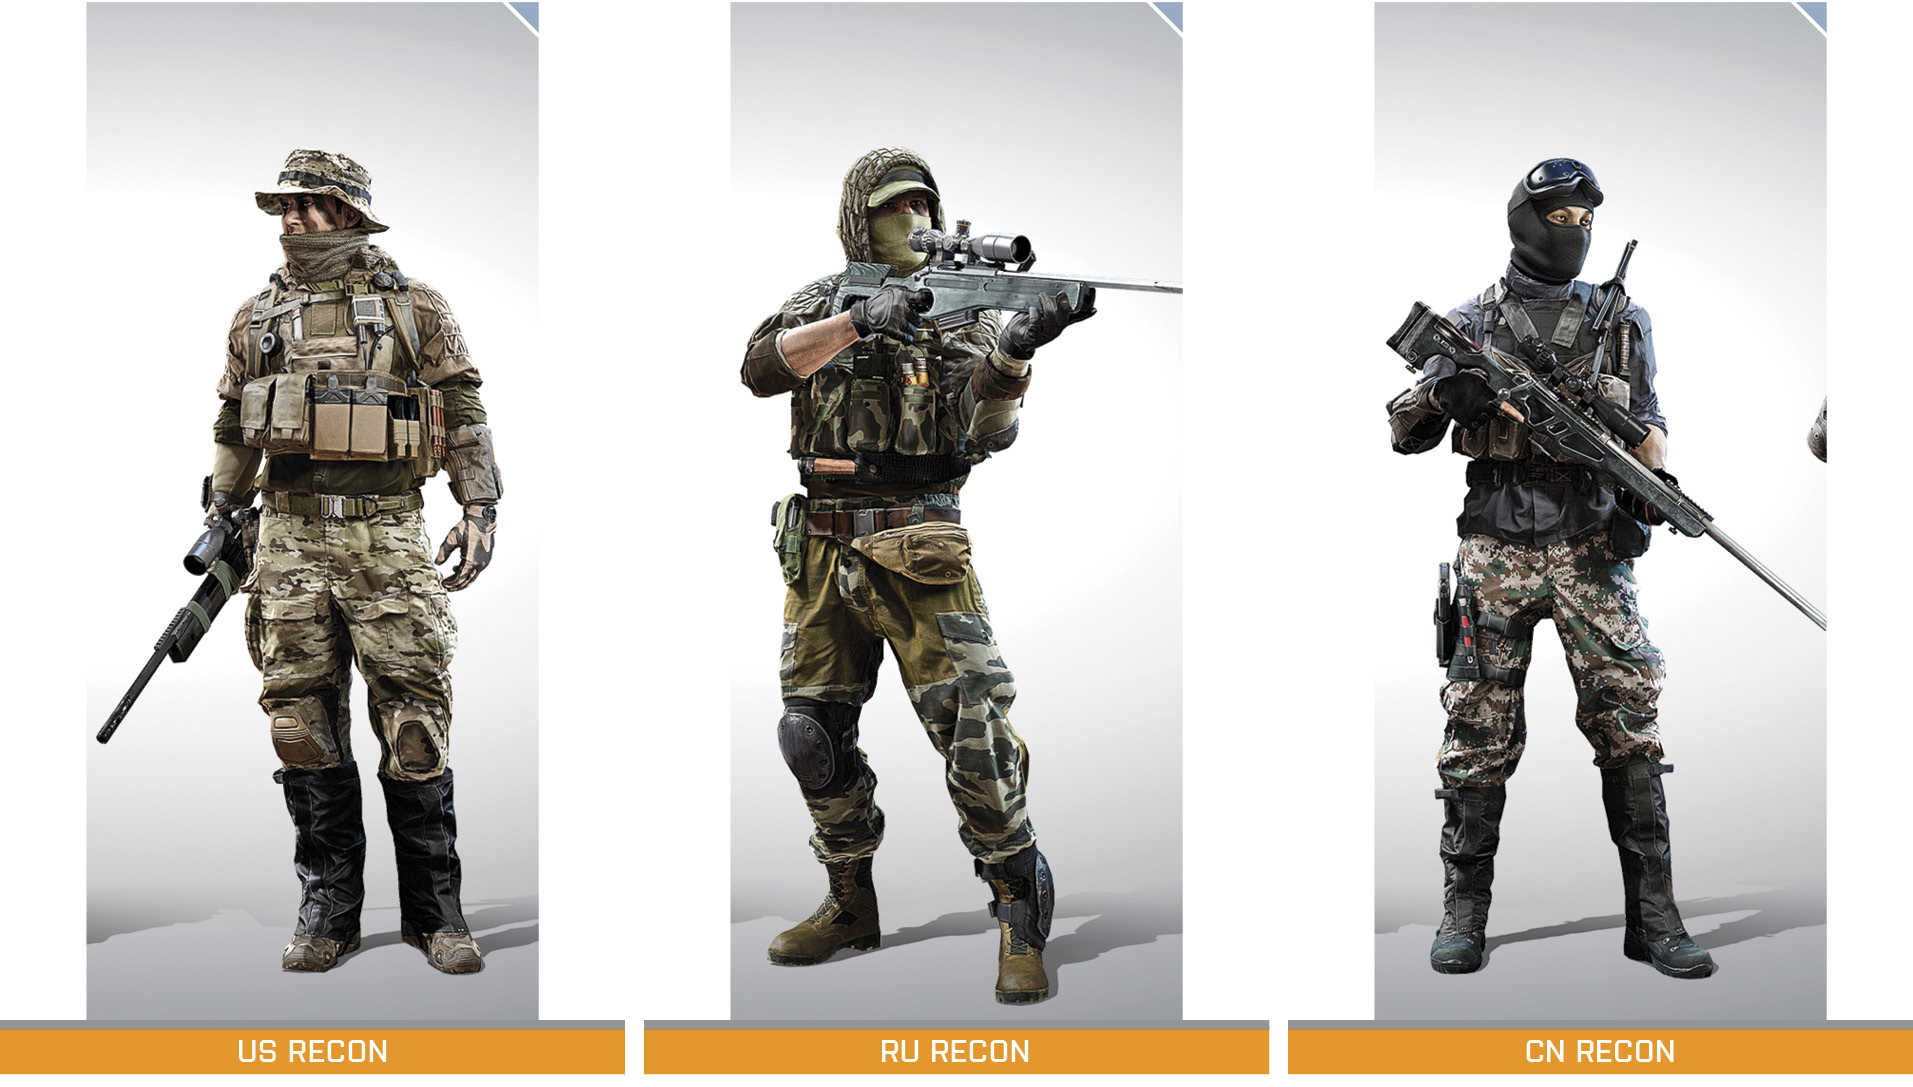
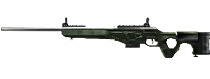
Starting Loadout
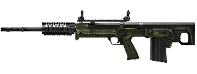
| Primary Weapon |
CS-LR4 |
|
|---|---|---|
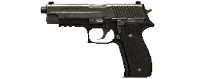
| Sidearm |
P226 |
|
| Grenade |
M67 Frag |
|
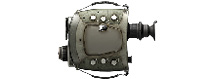
| Gadget 1 |
PLD |
|
| Gadget 2 |
C4 Explosive |
|
| Knife |
Bayonette |
|

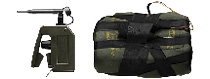
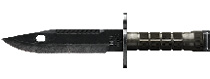
Strengths: Long-range/spotting specialist
Weaknesses: Slow-firing; limited anti-vehicle capability
The recon class is much more than just a sniper. New equipment like C4 and Claymores give the class more offensive tools than ever before, allowing the recon player to fill more than just a supporting role. But traditionalists need not worry, as the recon class still maintains sniper files and a whole host of reconnaissance-based equipment including the new PLD and the beloved Motion Sensors from Battlefield: Bad Company 2. Using these and other gadgets, it’s up to the recon class to spot targets for infantry and vehicles, informing teammates of enemy movement and designating targets for laser-guided munitions. But this doesn’t mean recon troops still can’t crack skulls at long range. The sniper rifles offered by this kit require the greatest amount of skill and patience of any weapon type, best reserved for players willing to put in the practice to master them. Unless you score headshots every time, it will take at least two hits to down an opponent with these powerful weapons. But with the ability to attach a Range Finder and zero scopes, expect greater accuracy and lethality out of the recon class.
Unlock Progression
| Unlock | Name | Image | Score |
|---|---|---|---|
|
1 |
Motion Sensor |
|
5,000 |
|
2 |
RFB |
|
13,000 |
|
3 |
Offensive Field Upgrade |
|
22,000 |
|
4 |
Radio Beacon |
|
32,000 |
|
5 |
Spec Ops Field Upgrade |
|
42,000 |
|
6 |
T-UGS |
|
54,000 |
|
7 |
SOFLAM |
|
66,000 |
|
8 |
Sniper Field Upgrade |
|
78,000 |
|
9 |
MAV |
|
91,000 |
|
10 |
M18 Claymore |
|
104,000 |





Gadgets
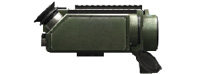
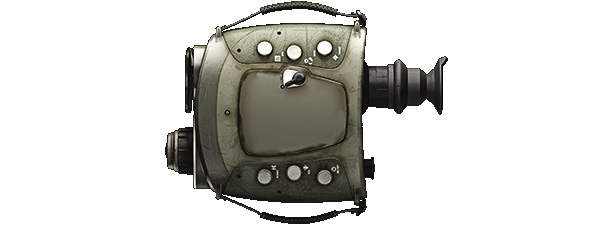
PLD
- Unlock: Recon Kit Start
- Description: Portable Laser Designator that laser paints targets while lock is maintained. The designator enables friendlies with missile systems to lock on to the targeted vehicles.
Field Notes
The handheld PLD makes laser-designating targets easier than ever. Simply aim through the device’s infrared optic and place the red reticle over an enemy vehicle or stationary weapon. As a lock is acquiring, a flashing white diamond icon appears over the target, surrounded by white brackets. A lock is achieved when the diamond icon stops flashing and turns red, accompanied by the word “SHOOT.” At this point the target is designated, allowing friendly units to shoot it with laser-guided munitions. However, the target only remains painted while the PLD is actively aimed and maintains a line of sight—this makes the operator vulnerable to retaliatory attacks. If the PLD is put away or if the target moves behind cover, the lock is lost. So it’s important to find a concealed, elevated position from which to designate targets. Now that the engineer’s anti-vehicle weapons all have laser-guidance capability, there’s a greater emphasis on laser designation. Work together with the engineers in your squad to score critical hits on enemy vehicles.
C4 Explosive
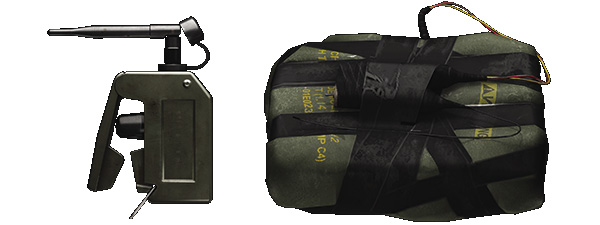
- Unlock: Recon Kit Start
- Description: Plastic explosives that stick to most surfaces. Capable of a Mobility Kill on vehicles, and the remote detonator allows for traps and ambushes.
Field Notes
Once the domain solely of the support class, the recon class gets C4 too—and the recon kit gets it from the very start. The addition of C4 allows the recon class to deal with vehicles more directly as well as set up devastating booby traps. Initially, up to three explosive charges can be placed at a time and detonated simultaneously with a remote detonator. Explosives are great for taking out vehicles. Simply stick a couple of charges on the back of a tank and step back a safe distance to watch the fireworks. When attacking vehicles, no matter the size, always plant at least two charges. One C4 charge will only disable a vehicle temporarily—it takes at least two to instantly destroy it. Charges can also be used as booby traps, placed around critical high-traffic areas like control points or objectives—but it’s up to you to detonate them when there’s enemies nearby. When defending in Rush, Obliteration, or Defuse matches, use the alarm sound of an armed objective to alert you to nearby enemies—detonate your charges before they can move away from the kill zone.
Motion Sensor
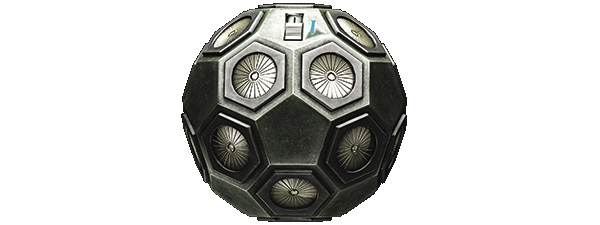
- Unlock: 16,000 Recon Score
- Description: Thrown Motion Sensor, which detects enemy movement in a 25-meter radius and reports it to your team’s minimap for up to 24 seconds after deployment.
Field Notes
The Motion Sensor is back! A favorite recon gadget from Battlefield: Bad Company 2, the Motion Sensor functions similar to the T-UGS, but is far less cumbersome and quicker to deploy while on the move. These grenade-sized devices mark all enemy units within their detection radius, showing up as red icons on the minimaps of all your teammates. Knowing exactly where enemies are hiding gives your team a huge advantage when clearing buildings and other confined spaces. Simply toss a Motion Sensor in the direction of your enemies to monitor their movements and use this intel to get the jump on them. And the Motion Sensor does not distinguish contacts on different elevations—toss a Motion Sensor onto the first floor of a building to see all enemies on the second floor or in the basement. Motion Sensors only operate for 24 seconds, so it may be necessary to deploy more during prolonged firefights. Fortunately, Motion Sensors can be replenished from a support soldier’s Ammo Box or the commander’s Supply Crate.
Radio Beacon
- Unlock: 80,000 Recon Score
- Description: Portable Spawn Beacon that creates an additional spawn position for a squad. Only functional as a member of a squad. When deployed with a clear view of the sky in open environments it will function as a Paradrop Beacon.

Field Notes
The Radio Beacon from Battlefield 3 makes its return, and it functions the same way. Use this device as a forward spawn point, ideal for getting your squad back into the action. This is particularly helpful for attackers during Rush matches, allowing squads to spawn close to the objectives. The Radio Beacon can be placed on any flat surface. However, pay close attention to where you’re placing it. You don’t want to place it anywhere enemy troops can easily spot, otherwise your spawning squadmates may be killed before they get a chance to defend themselves. For best results, place it within a structure or within an area without a clear view of the sky. If not, your squadmates will come soaring down to the battlefield in parachutes, making them vulnerable to incoming fire. The Radio Beacon emits a constant beeping sound. Enemies can use this distinct sound to home in on the device and either destroy it or camp it. If your Radio Beacon is being camped, immediately notify your squad, warning them not to spawn on it. You can retrieve the Radio Beacon by interacting with it. Alternatively, it can be destroyed with explosives or disabled with the MAV’s jamming feature.
T-UGS

- Unlock: 112,000 Recon Score
- Description: Tactical Unattended Ground Sensor (T-UGS), which detects enemy movement in 25-meter radius and reports it to your team’s minimap.
Field Notes
Like the hand-tossed Motion Sensors, the T-UGS offer an alternative way to keep tabs on enemy movements. This is particularly effective when defending fixed positions, such as around flags in Conquest or near M-COM stations in Rush matches. To deploy this device, you must find a piece of even terrain—it cannot be deployed on rocks or steep slopes. Since the device is visible, try to place it in high grass or vegetation to better conceal it from enemy troops. Once deployed, enemy units that move within the 25-meter detection radius of the T-UGS show up on each teammate’s minimap, ideal for guiding units toward hostile intruders. However, enemies can avoid detection by crawling. Like the Radio Beacon, the T-UGS makes a beeping sound, potentially warning enemies of its presence. If you find an enemy T-UGS, you can destroy it with explosives or jam it with a MAV, rendering it inoperable. Unlike the smaller Motion Sensors, a T-UGS can be deployed indefinitely, remaining in the same spot until it’s destroyed or until its operator dies.
SOFLAM
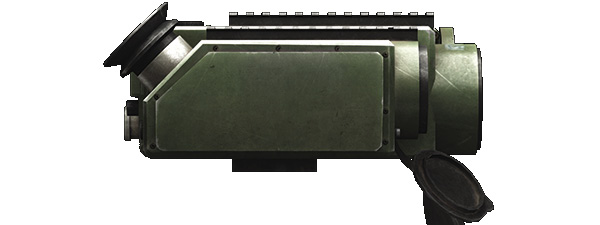
- Unlock: 128,000 Recon Score
- Description: Special Operations Forces Laser Marker (SOFLAM) that automatically laser paints enemy vehicles when deployed in a stationary position. Capable of remote operation, the SOFLAM enables friendlies with missile systems to lock on to the targeted vehicles.
Field Notes
The SOFLAM is a laser target designator, much like the PLD. This tripod-mounted device is used to target vehicles for laser-guided munitions fired by engineers IFVs, tanks, helicopters, and jets. Once a target is painted with a laser, teammates equipped with laser-guided weapons get a red diamond indicator on their HUD. At that point, all they have to do is fire and the shell or missile automatically zeroes in on the target and scores a hit. While operating the device, you can pan and zoom in on targets at will. If you leave the SOFLAM behind, it can still acquire targets on its own, but only within a limited viewing arc. So if you leave the SOFLAM behind, point it down a street or other narrow passage that is frequented by enemy vehicles. Unlike the PLD, the SOFLAM doesn’t need constant monitoring. Instead, you can place it, move out, and check up on it from the handheld tablet. While accessing the SOFLAM’s camera system, you can also spot targets. Like all equipment, SOFLAMs can be destroyed with explosives or fried by an enemy MAV’s EMP attack.
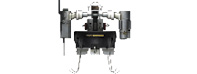
MAV
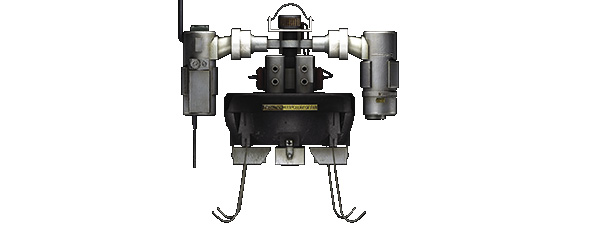
- Unlock: 160,000 Recon Score
- Description: Micro Air Vehicle (MAV) used to remotely fly behind enemy lines to spot incoming threats or destroy deployed enemy gadgets. Includes a Motion Sensor with a 35-meter radius; active only when the vehicle is remotely controlled.
Field Notes
The MAV is a small, unmanned reconnaissance drone deployed by the recon class. While operating the MAV you’re vulnerable to attack, so only deploy this device when you’re in a relatively secure area. You must also find a relatively flat piece of terrain from which the MAV can take off. Once activated, the view switches to the MAV’s camera, allowing you to control the small vehicle remotely from a handheld tablet. Equipped with an infrared camera, the MAV makes it easy to spot enemy troops and vehicles by highlighting their heat signatures, appearing as bright white on the black-and-white screen. Using the spotting function, call out the positions of enemies for your teammates. The MAV also has the ability to disable enemy Radio Beacons, T-UGS, SOFLAMs, and EOD Bots with its electronic jamming function. But the MAV is very fragile and susceptible to small arms fire. So either keep it high above the battlefield or use trees and hills to mask its location. If you’re good, you can even score a Road Kill with a MAV by flying low and crashing into enemy infantry at high speed.
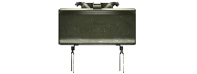
M18 Claymore
- Unlock: 180,000 Recon Score
- Description: Anti-personnel mine that launches three trip wires shortly after being deployed. Breaking a wire will detonate the mine. A mine with no trip wires is unable to detonate and should be redeployed.
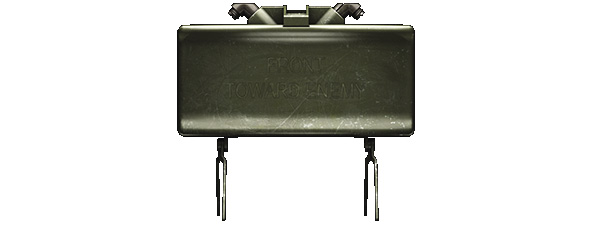
Field Notes
Finally, the recon class gets the Claymore back, ideal for establishing a defensive perimeter while sniping. This gives recon players piece of mind while sniping, allowing them to focus on zeroing their scope instead of worrying about an enemy sneaking up behind them with a knife. Unlike traditional land mines, the Claymore is a directional mine, spraying shrapnel in the direction it’s facing upon detonation. So think carefully before dropping one of these. What direction is your enemy likely to approach from? Once you figured out where you want to place this mine, orient yourself in the proper direction before dropping the Claymore. Claymores are triggered by enemies running into one of the three trip wires. You can avoid triggering a Claymore by simply avoiding these trip wires, but it’s much safer to take a Claymore out from a distance by tossing a grenade at it or shooting it with an explosive weapon such as a rocket or grenade launcher. The recon class can carry two Claymores at a time, but more can be retrieved from the support kit’s Ammo Box. Like C4, Claymores are great for defending flags in Conquest and M-COM stations in Rush. Unlike C4, these weapons trigger on their own, so you don’t have to constantly babysit them, waiting for an enemy to enter the kill zone.
Recon: Scoring Opportunities
| Action | Points | Description |
|---|---|---|
| Marksman Bonus |
50+ |
Score a headshot with a sniper rifle at a distance greater than 50 meters. Score is distance to the target. |
| Motion Sensor Assist |
10 |
An enemy was killed while in your MAV/T-UGS/Motion Sensor’s range. |
| Radio Beacon Spawn |
25 |
Squad member spawns on your Radio Beacon. |
| Target Vehicle Marked |
25 |
Lock on to an enemy vehicle with the PLD or SOFLAM. |
| Target Vehicle Hit |
50 |
Target painted with the PLD or SOFLAM is hit by laser-guided weapon. |
| Target Vehicle Destroyed |
100 |
Target painted with the PLD or SOFLAM is destroyed by laser-guided weapon. |
Unique Field Upgrades
| Level | Icon | Name | Description |
|---|---|---|---|
| Spec Ops | |||
|
1 |
|
Stealth | Undetected by Motion Sensors except when sprinting. |
|
2 |
|
C4 Explosives | Increases maximum inventory of C4 Explosives to 6. |
|
3 |
|
Motion Sensors | Increases maximum inventory of Motion Sensors to 5. Increases range of T-UGS and MAV by 40%. |
|
4 |
|
Quick Unspot | Reduces time you are spotted by two seconds. |
| Sniper | |||
|
1 |
|
Hold Breath | Increases time you can steady your scope by 100%. |
|
2 |
|
Cover | Decreases amount of incoming suppression by 50%. |
|
3 |
|
Quick Unspot | Reduces time you are spotted by two seconds. |
|
4 |
|
Advanced Spot | Increases time your targets are spotted by 45%. |


Recon Tactics
- The introduction of scope zeroing and the Range Finder marks a new era for the sniper rifles. Use the Range Finder to determine the range to target, then adjust your scope to compensate for range. Once properly zeroed, you can aim directly at your target instead of aiming high. As long as the scope is properly zeroed, the round will go exactly where the scope’s crosshairs are placed.
- High-powered scopes (6X or higher) can be zeroed for 0, 200, 300, 400, 500, and 1,000 meters. But these scopes still exhibit noticeable scope glint, potentially giving away your position when aiming through the scope. So avoid scanning for targets through the scope until you’re ready to engage.
- Equip the Bipod as soon as you unlock it for your selected sniper rifle. Like holding your breath, the Bipod stabilizes the rifle, eliminating all lateral and horizontal scope drift. This makes it much easier to engage targets, especially at long range. The Straight Pull auxiliary attachment allows you to view through scope while loading a new round, allowing you to keep the target centered while operating the rifle’s bolt. Both the Bipod and Straight Pull bolt are great additions, but they can’t be used together; choose one.
- Gravity greatly affects the trajectory of your bullets when sniping, causing each round to drop over distance. If you’re not using a high-powered scope (4X or lower), which can’t be zeroed, be ready to compensate for range by aiming high, just above the target’s head. Use your scope’s vertical crosshair line to gauge proper barrel elevation before gently squeezing the trigger. Sometimes low-powered scopes are easier to use. Plus, they don’t produce scope glint, allowing you to remain concealed. Still, after scoring a kill or two, move to a new location—the kill cam gives away your sniping spot, so don’t wait around for reprisals.
- Choose your sniping location carefully, paying close attention to how you appear to enemy snipers. To avoid presenting your enemies with a clearly defined silhouette, avoid sniping from rooftops and the crests of hills. Instead, snipe from lower elevations, using bushes and other objects behind you to break up your visible outline. If you must snipe from a high elevation, make sure you have adequate cover and concealment, as you’re likely to draw plenty of attention in such a predictable spot. And always drop prone. This not only reduces your chances of being spotted, but it also increases accuracy and stability.
- If sniping is your thing, choose the Sniper Field Upgrade Path. The upgrades in this path greatly increase your efficiency and prowess as a top-notch marksman. The Hold Breath upgrade allows you to steady your aim longer, while the Quick Unspot upgrade reduces the amount of time you’re spotted by enemy troops.
- You’ll never capture a flag or destroy an objective by sniping. The powerful sniper rifles make the recon class extremely popular, but a well-rounded squad should never have more than one sniper. While the recon class is great for long-range combat, the other classes are better suited for taking and holding ground.
- The recon kit isn’t restricted to using just sniper rifles. Consider equipping a shotgun or carbine for better close-quarter performance. This is a great way to boost your recon score if your sniping skills are lacking. The semi-automatic DMRs are also open to the recon class, combining stopping power with a faster rate of fire. The RFB DMR is the recon kit’s second unlock, making the weapon available to all classes. If you prefer keeping a sniper rifle, always switch to your pistol before moving around for quicker close-range target acquisition and rate of fire.
- If playing in a match with friendly jets and helicopters, take it upon yourself to serve as the team’s spotter. Using the high-powered scopes attached to the sniper rifles, it’s easy to zoom in on distant enemy troops and vehicles and spot them for your teammates. The MAV and SOFLAM are equally effective for spotting and designating targets for destruction. Due to their high speeds, aircraft have a tough time identifying ground targets. Spotting enemies greatly enhances their ability to identify and target enemy units.
- Now that the recon class has the ability to equip C4 and a carbine, consider recreating the spec ops class from Battlefield 2. Add Motion Sensors for a highly mobile and offensive-minded loadout, perfect for slipping behind enemy lines and conducting surprise attacks. The Spec Ops Field Upgrade path is highly recommended when choosing this loadout.
 Pro Tip: StrongSide
When playing as recon I find elevated positions overlooking the area my team is trying to infiltrate. I’ll snipe as many players as I can and spot every enemy I see to aid my team. On a close-quarter map, I’ll carry a shotgun and place T-UGS around the objective or high-traffic areas to alert my team and myself exactly where the enemy is, giving my team a huge advantage.
 Pro Tip: Flamesword
The recon class in Battlefield 4 has been buffed and now allows players to either snipe or get into small- to medium-range battles due to the different weapons you can equip. I love equipping Radio Beacons; they play a huge role in any gametype. I like to set these in areas the enemy can’t see and then run away from them. I make a distraction so my downed teammates can spawn on the beacon and flank the enemy.
 Pro Tip: Elumnite
When playing as the recon class, I like to find a safe place to set up and use a MAV to scout around and locate enemy vehicles. I can fly deep behind enemy lines and relay to my team where the enemy is and what vehicles they’re using. I also like frying their deployed gadgets using the MAV’s jamming feature. When that’s done I go back to some sniping goodness.
 Pro Tip: Walshy
Equipped with a sniper rifle, a good recon player can only dominate the long-range battles. But a great recon player is able to spot enemies and even do damage in close quarters. I love throwing Motion Sensors toward control points before my team advances in, revealing exactly where the enemy is hiding.