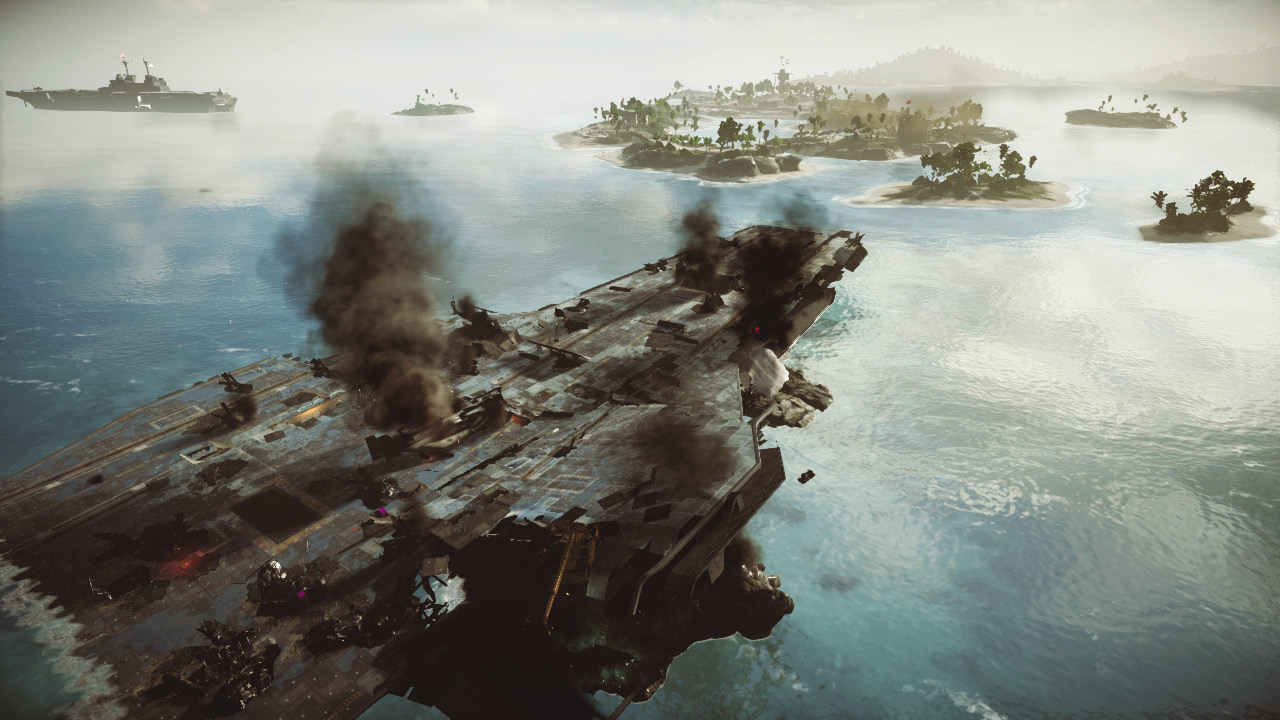
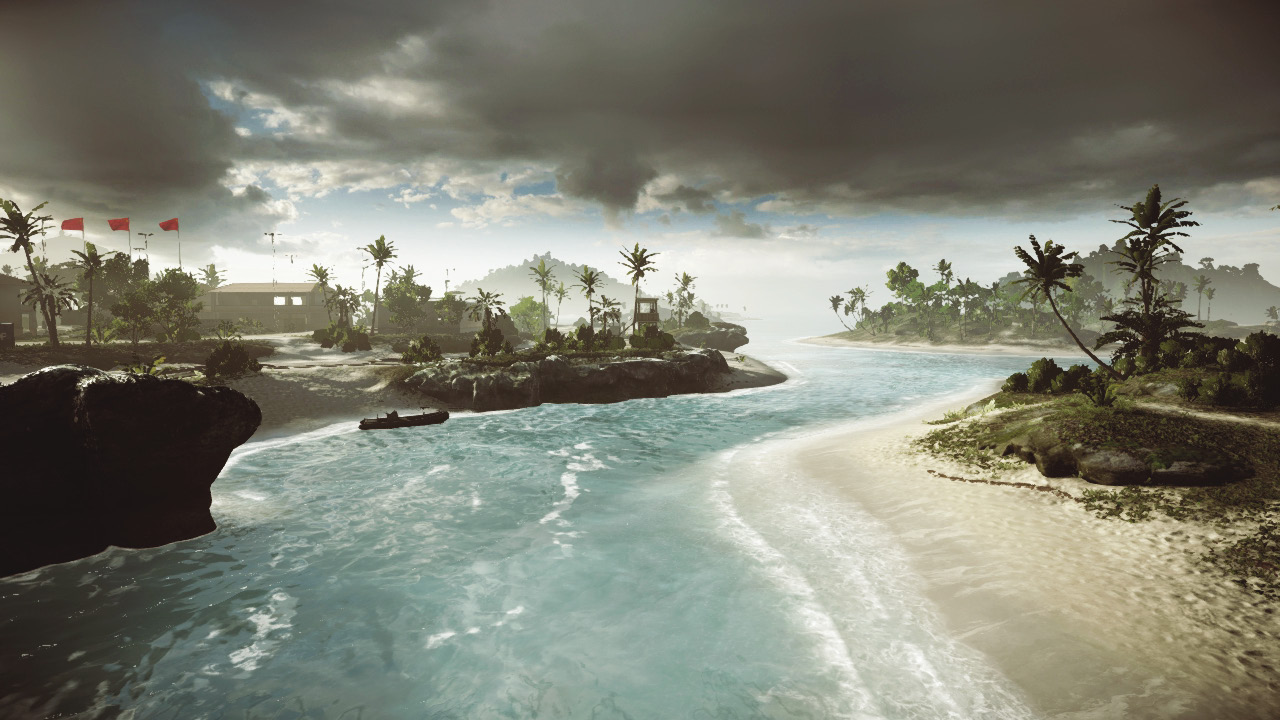
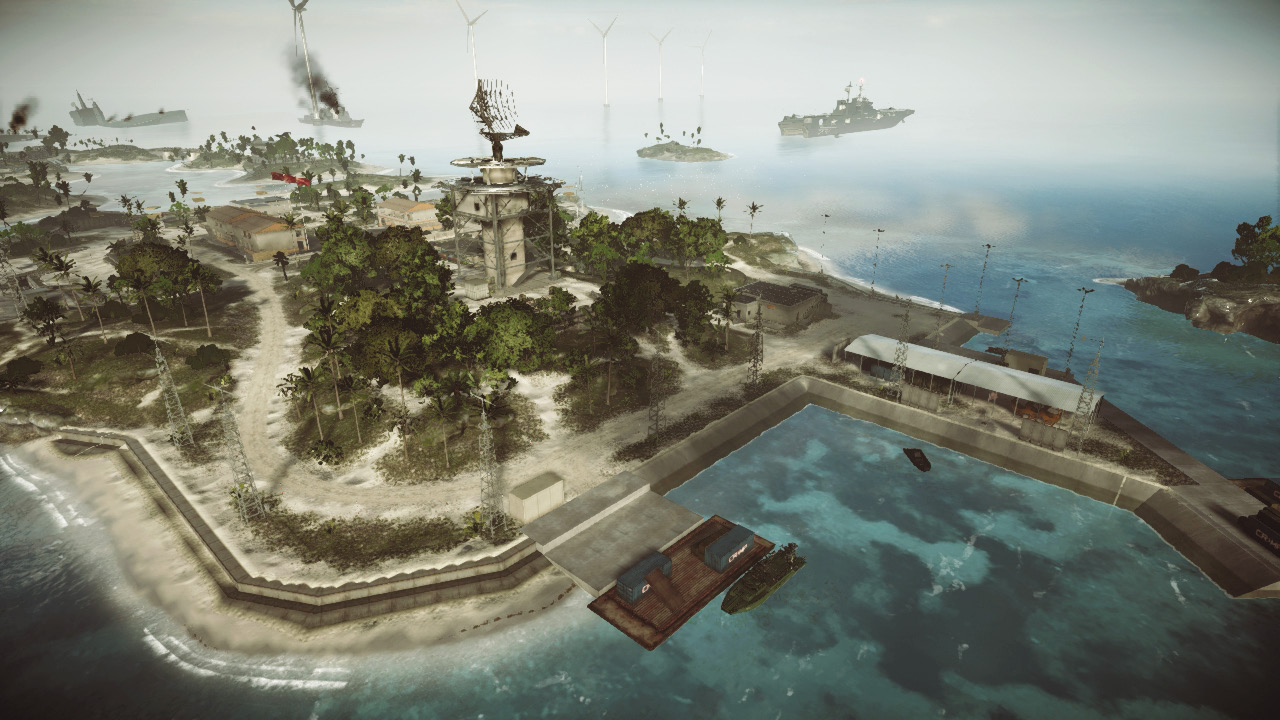
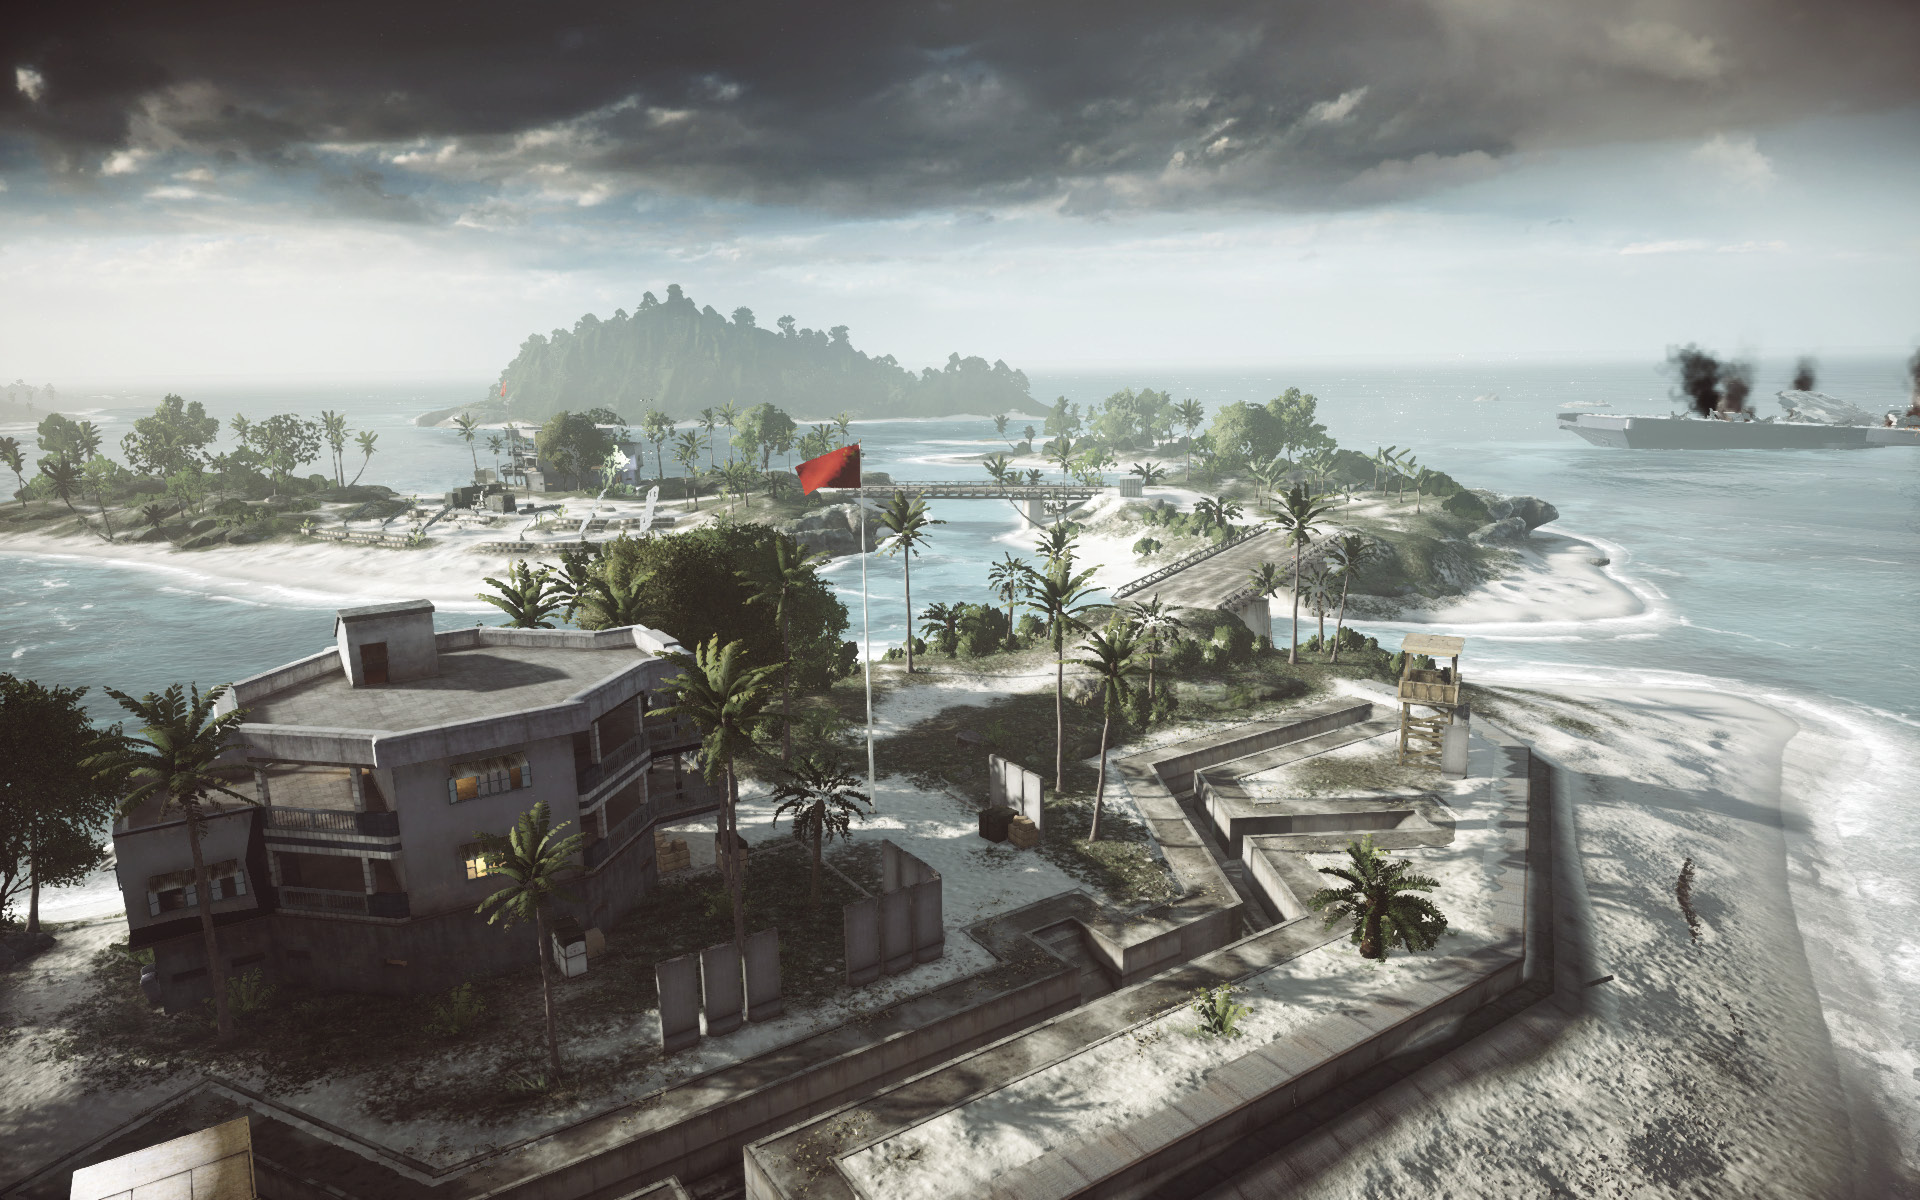
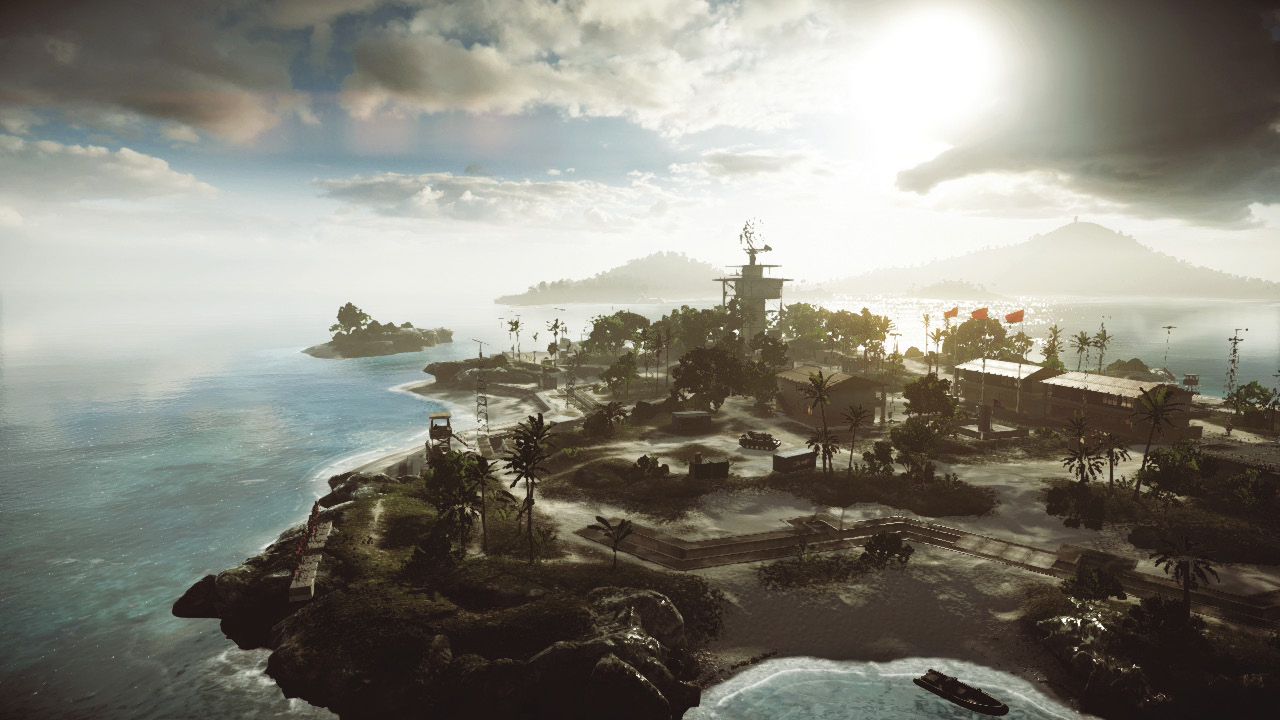
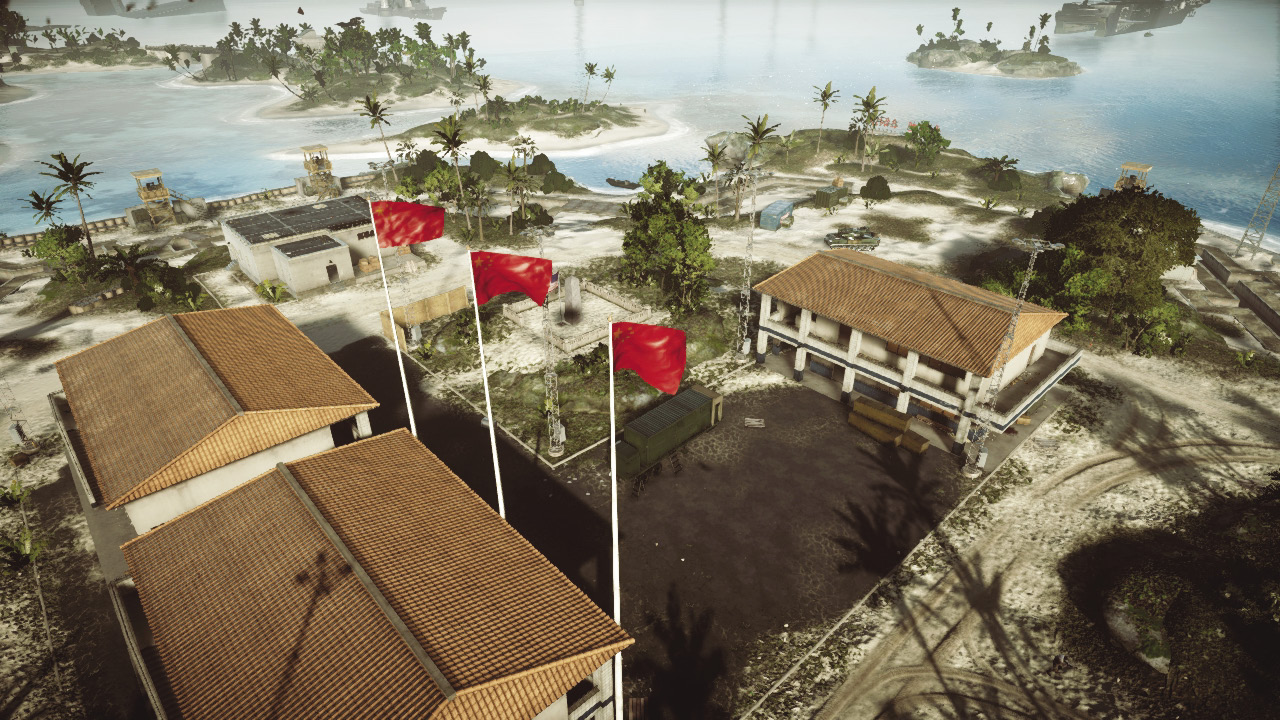
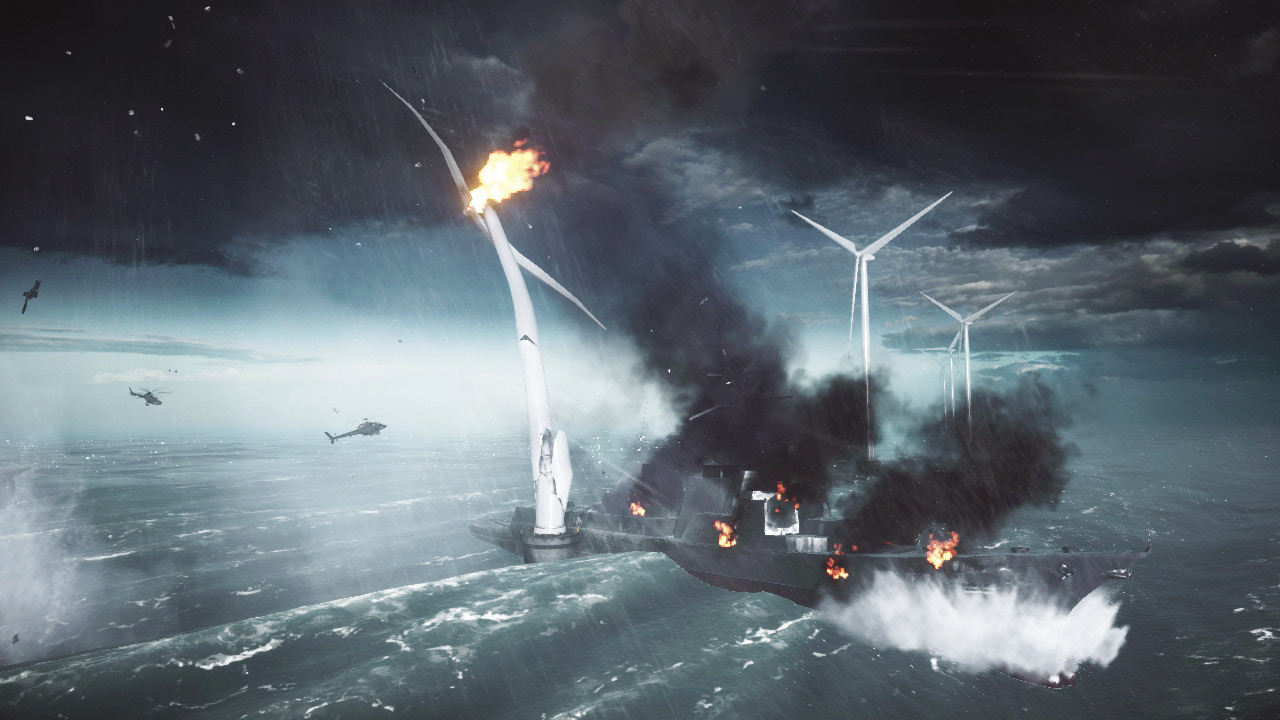
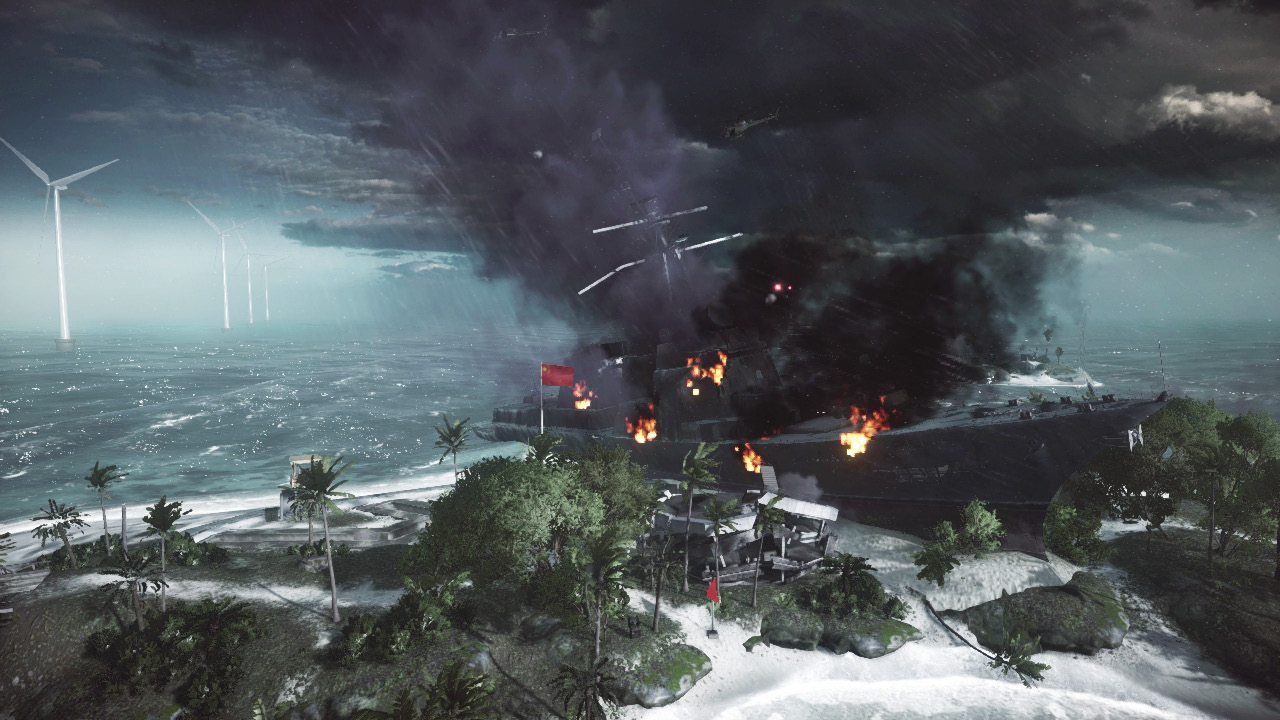
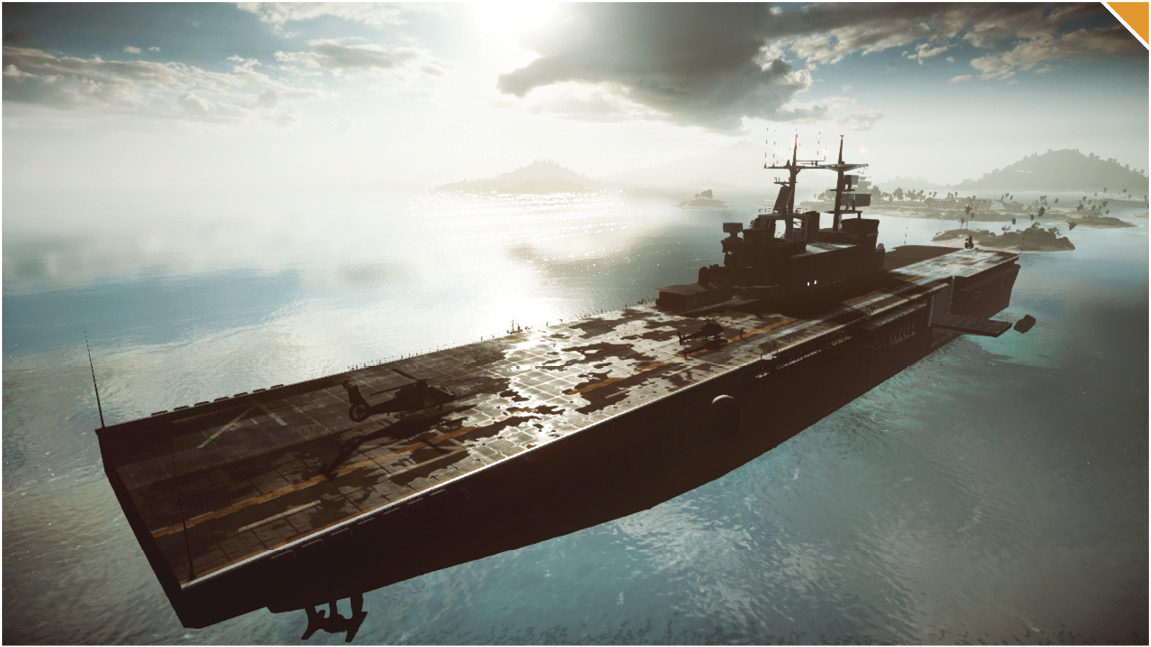
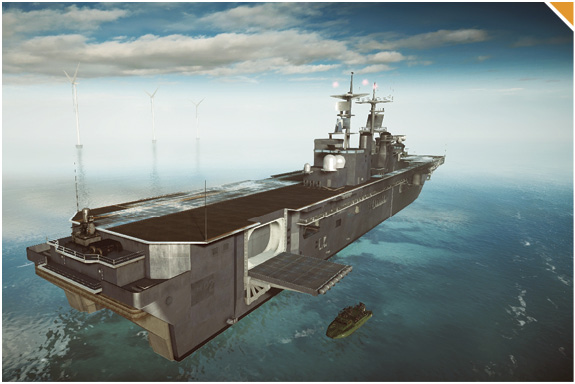
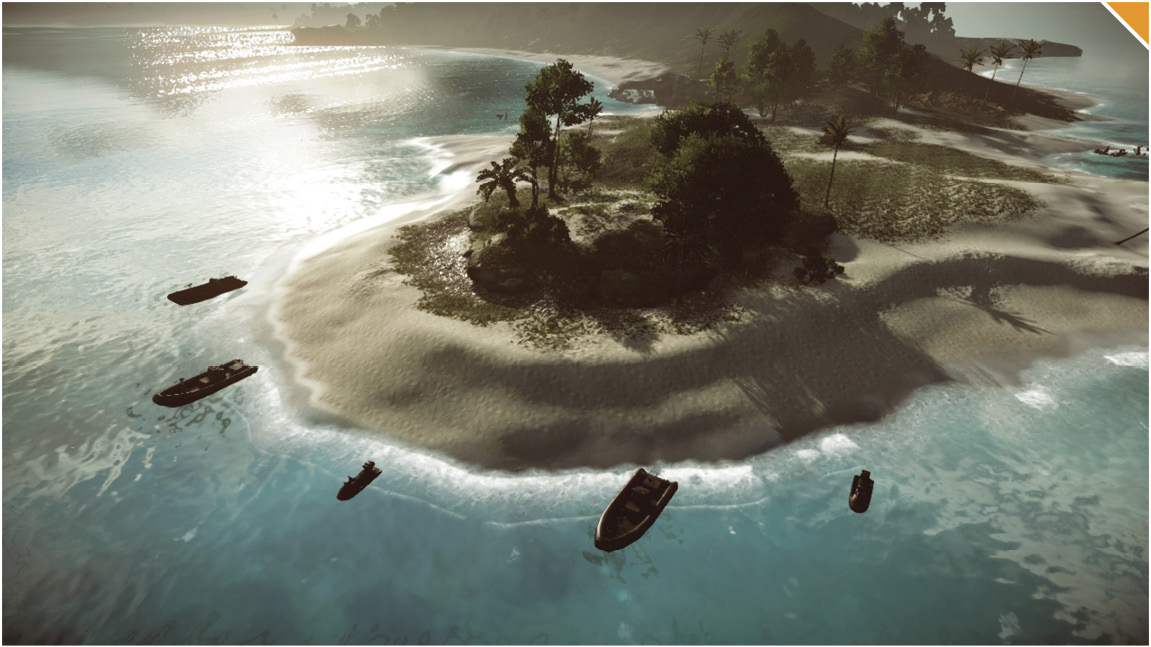
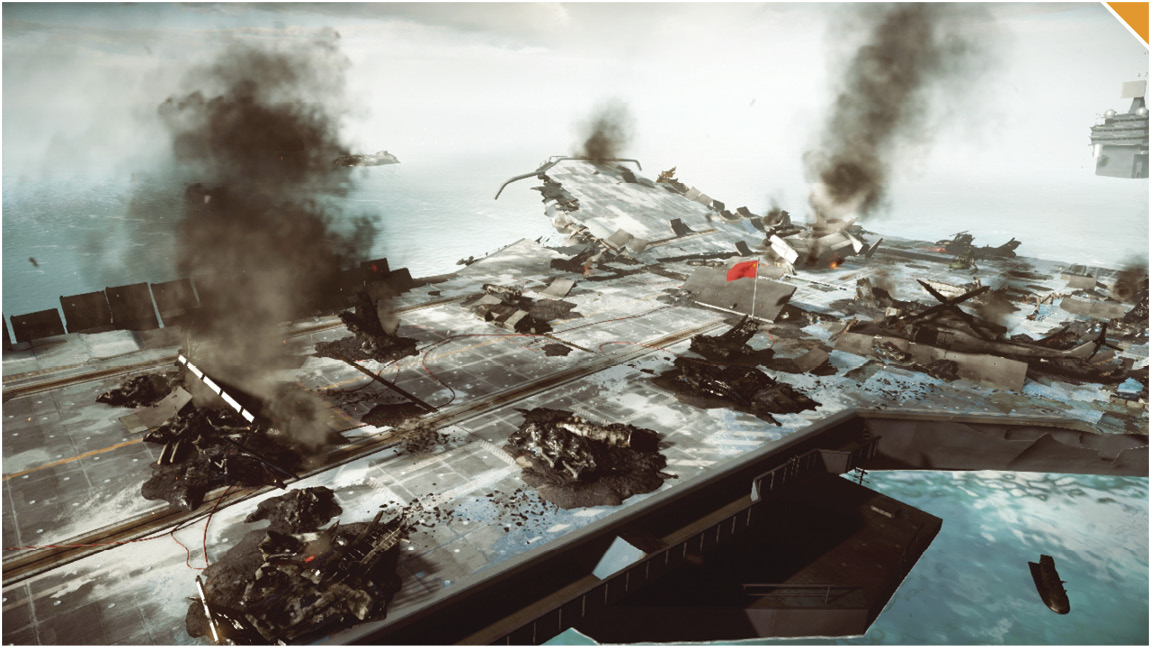
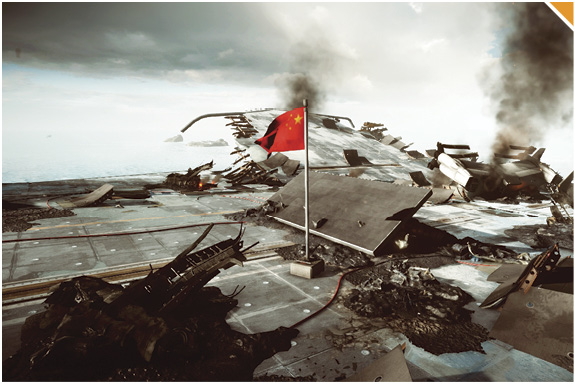
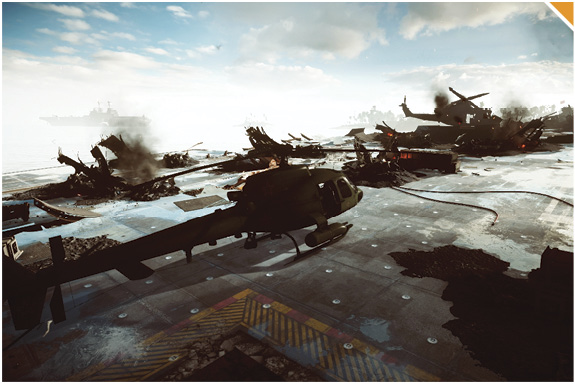
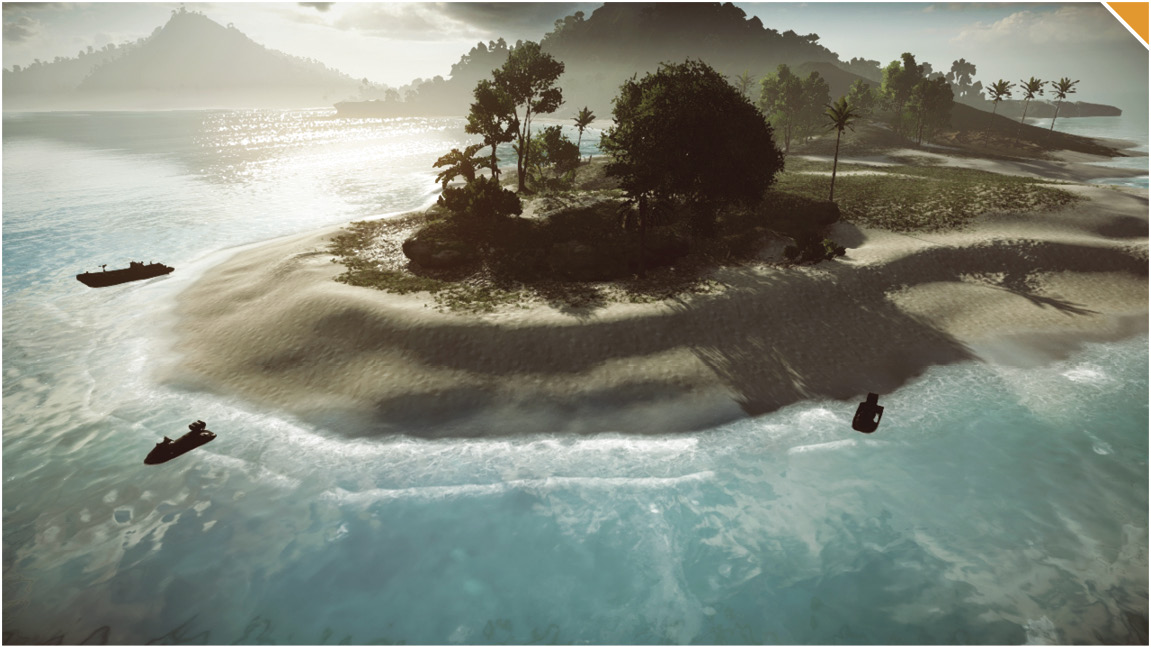
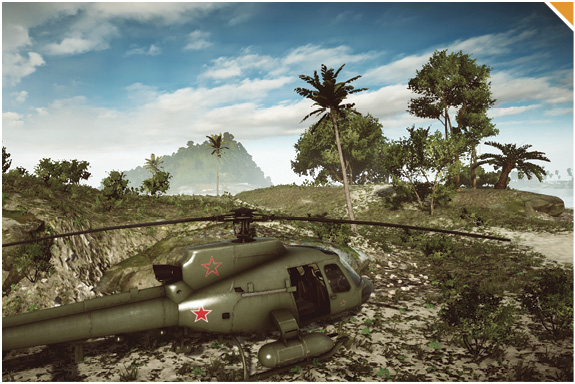
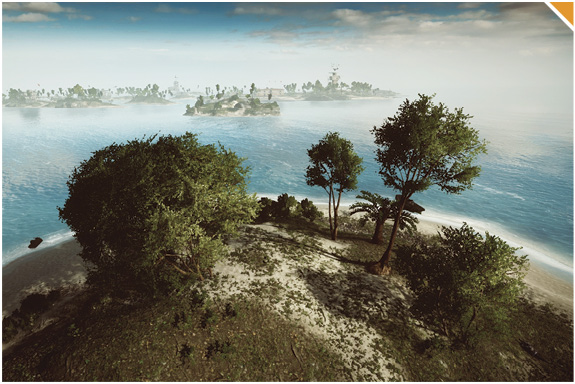
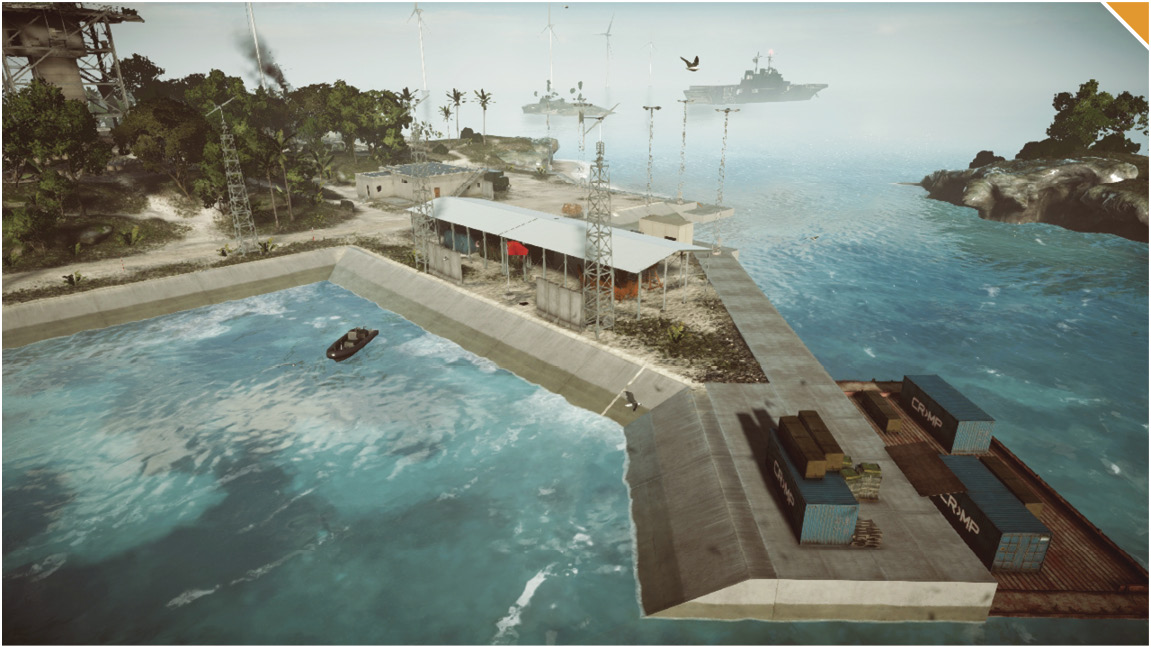
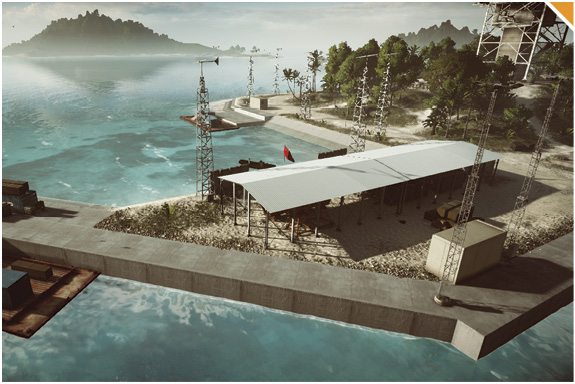
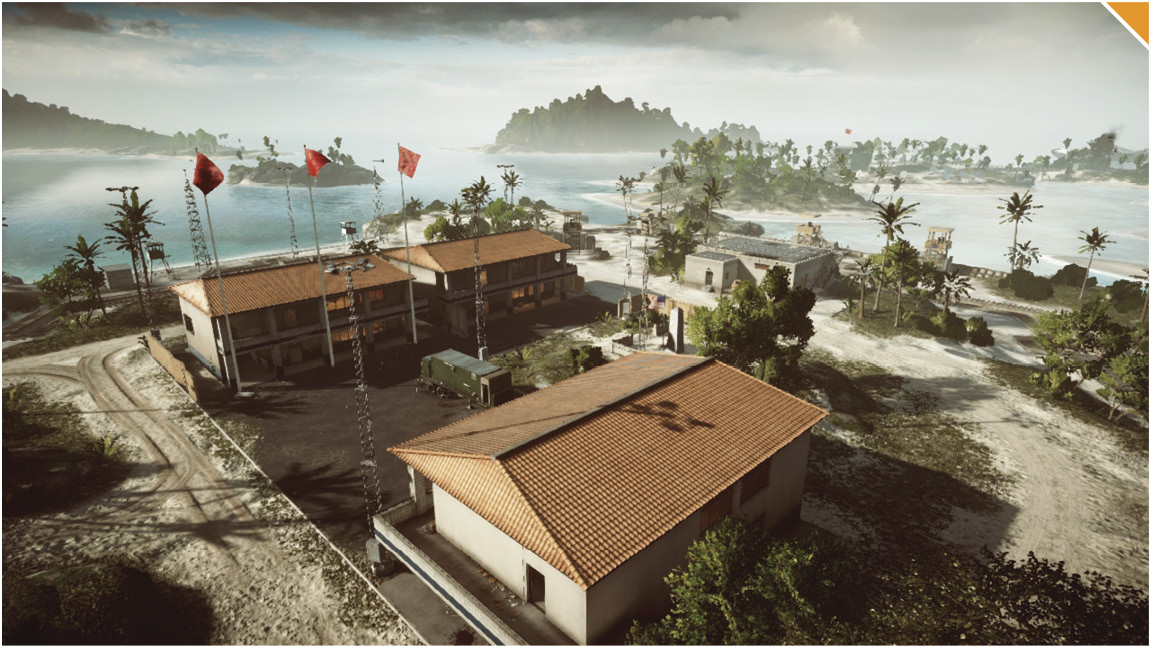
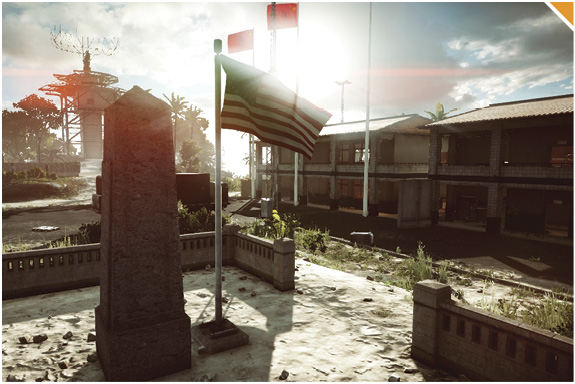
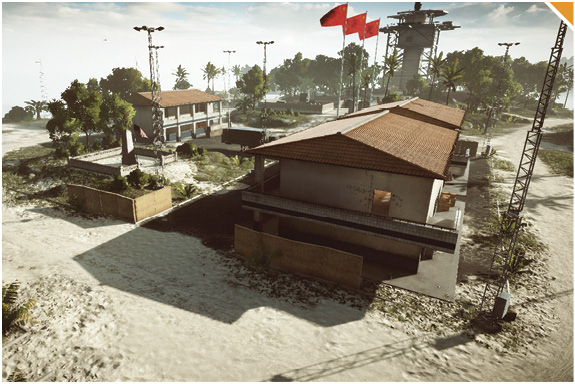
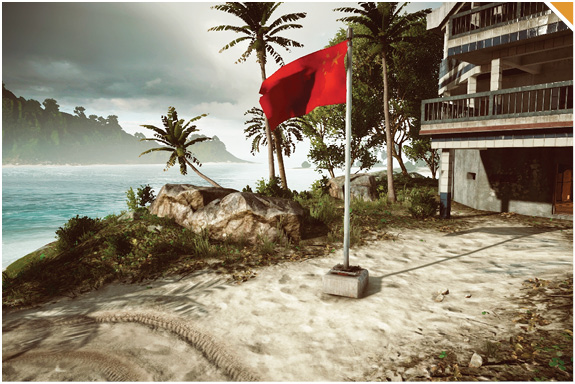
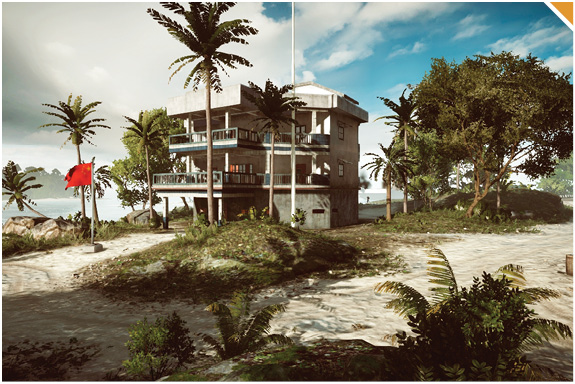
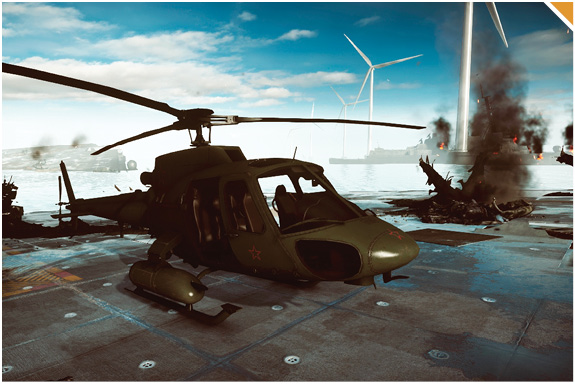
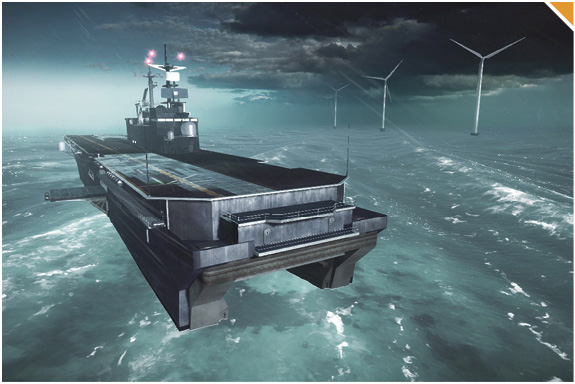
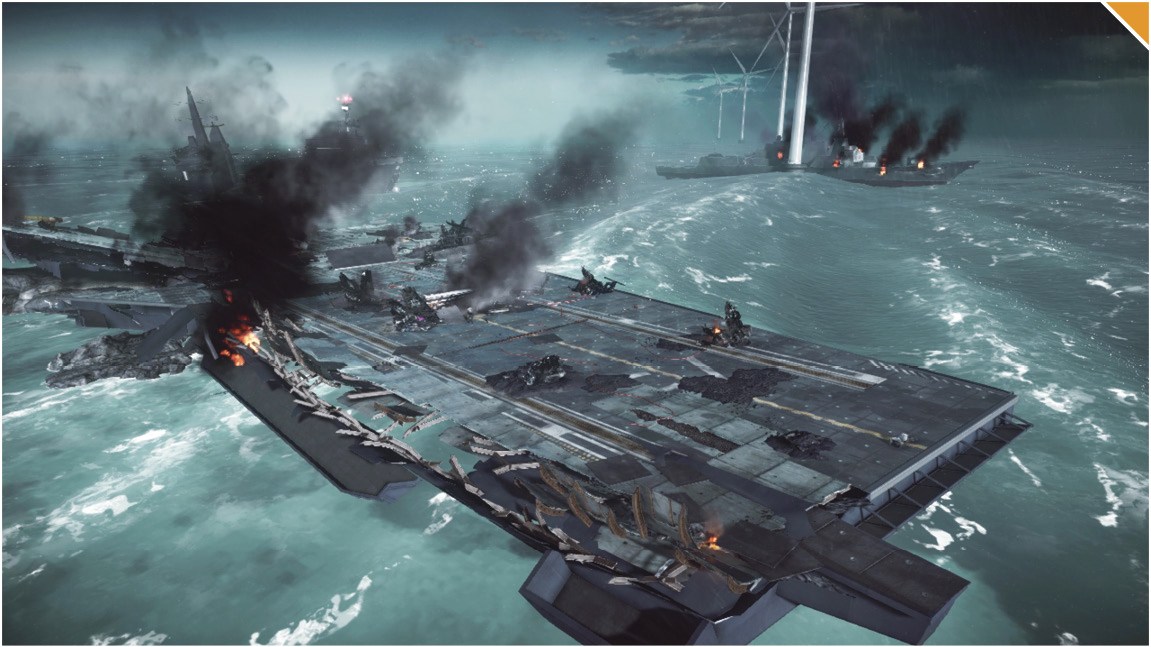
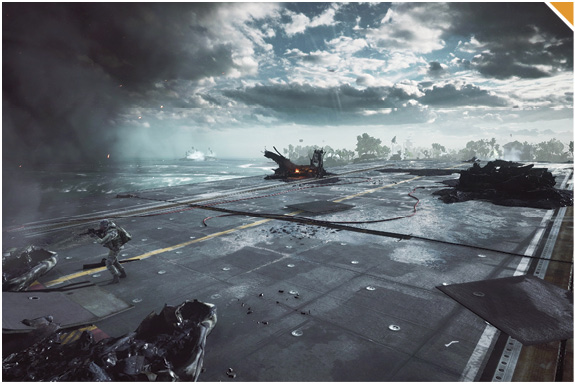
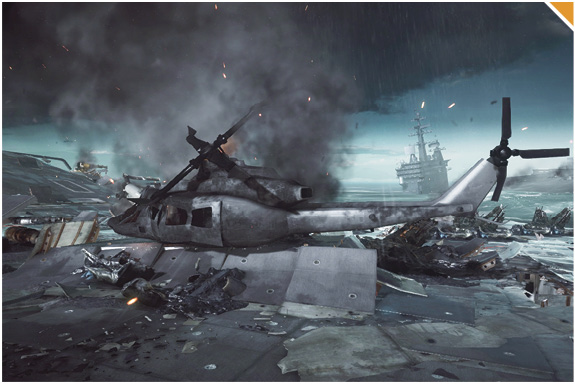
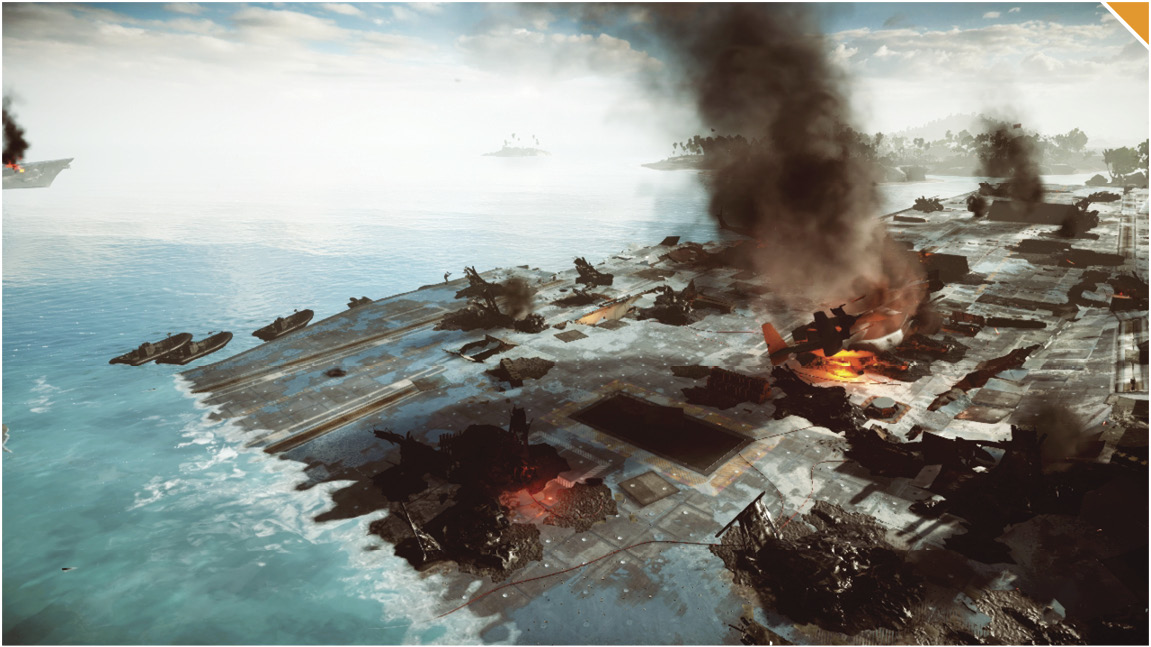
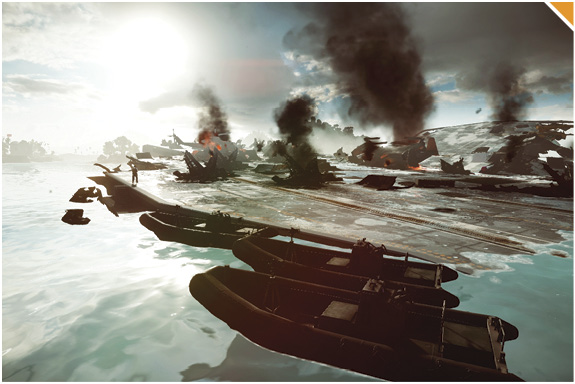
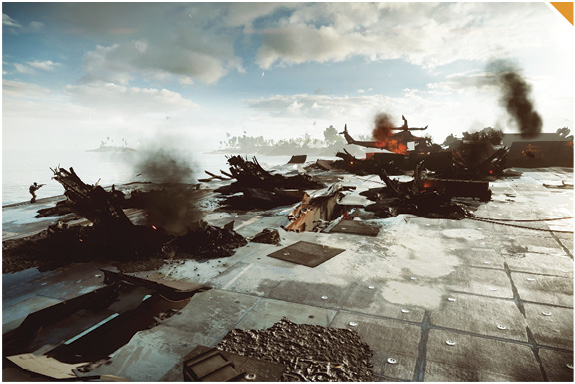
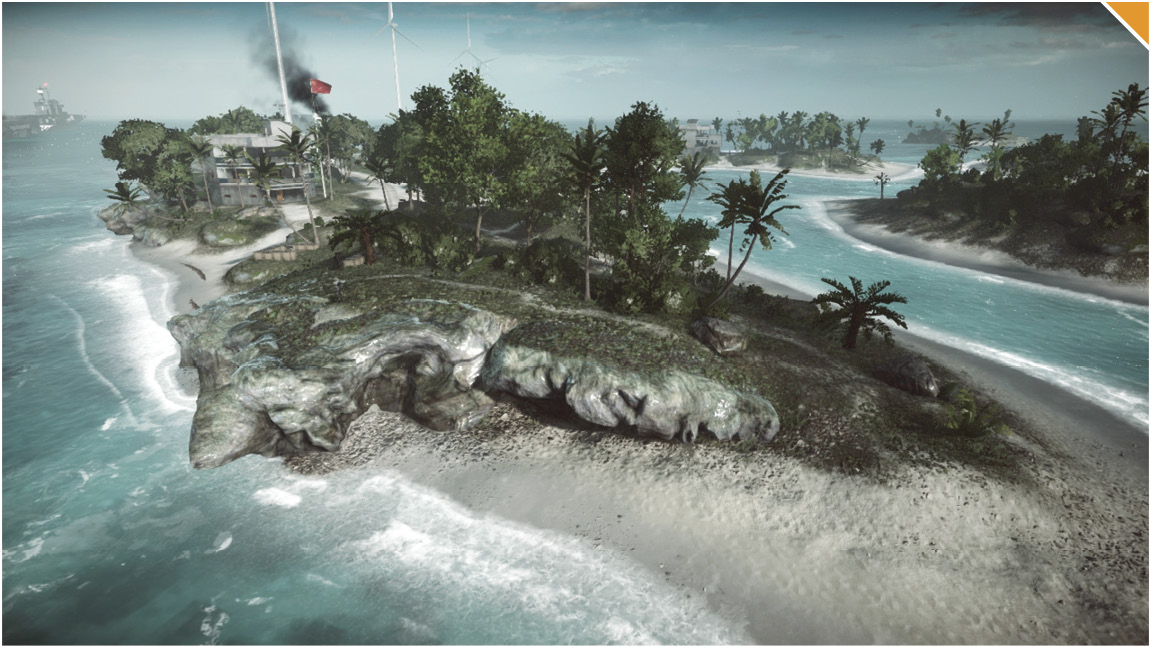
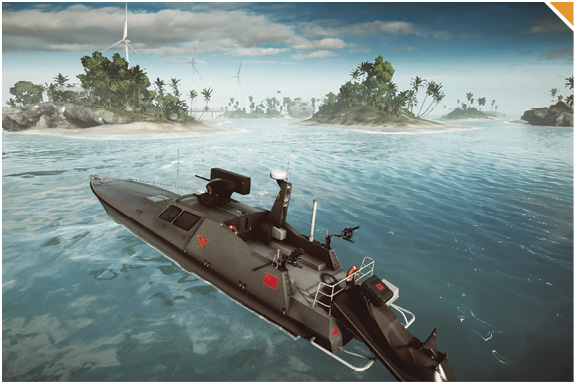
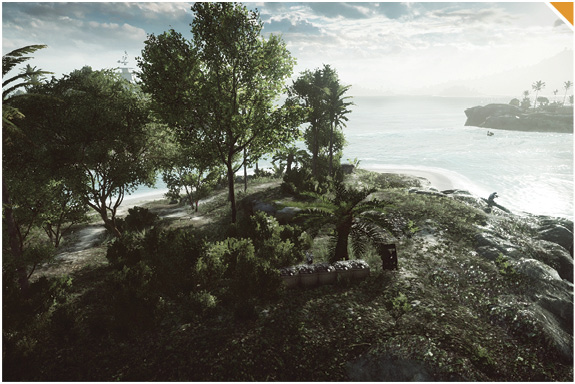
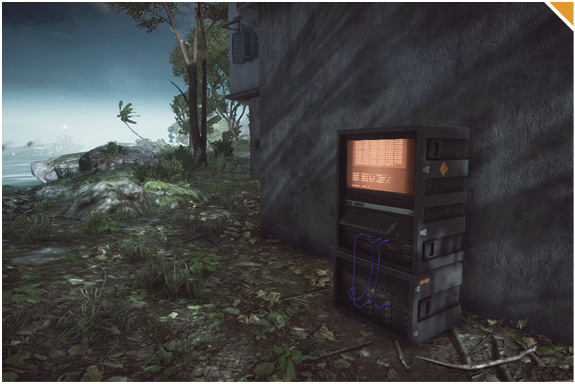
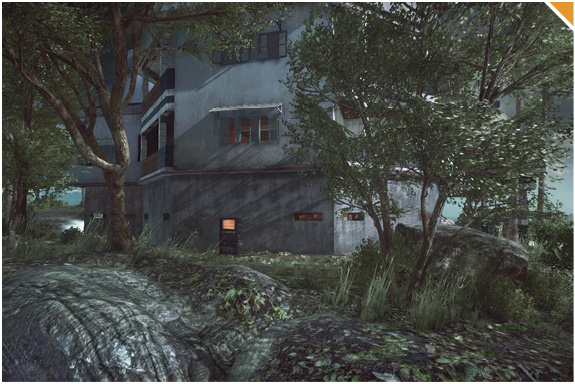
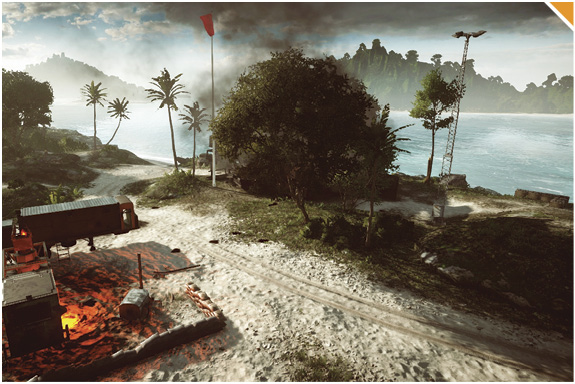
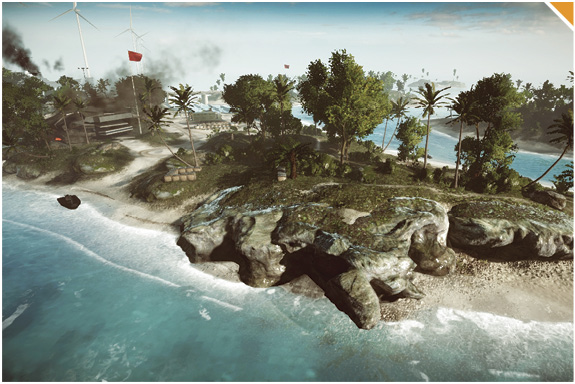
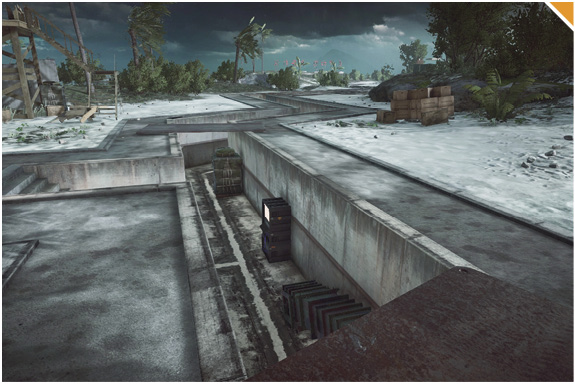
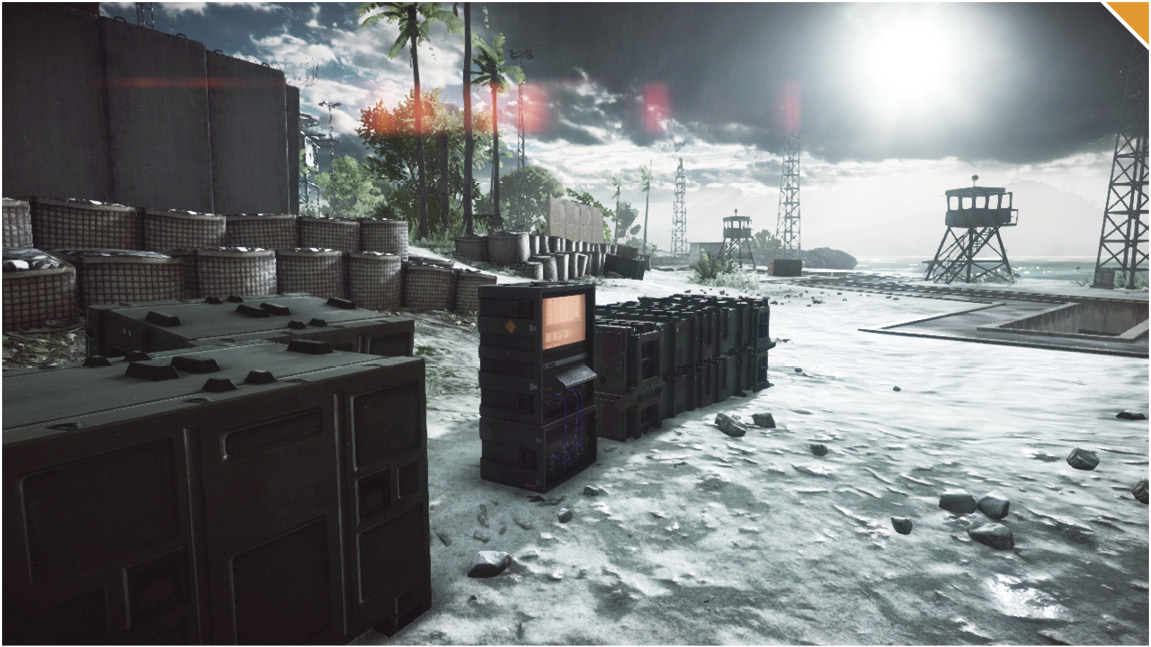
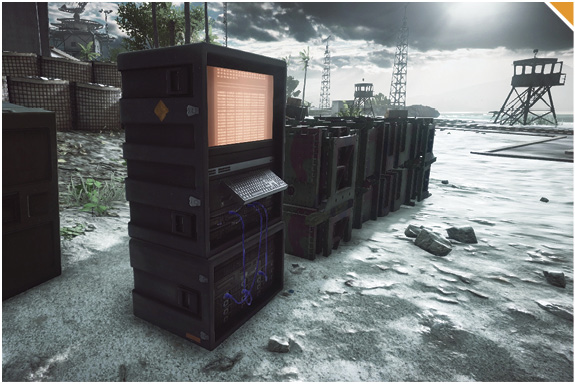
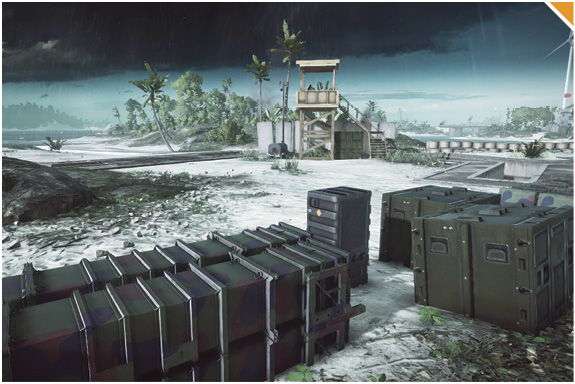
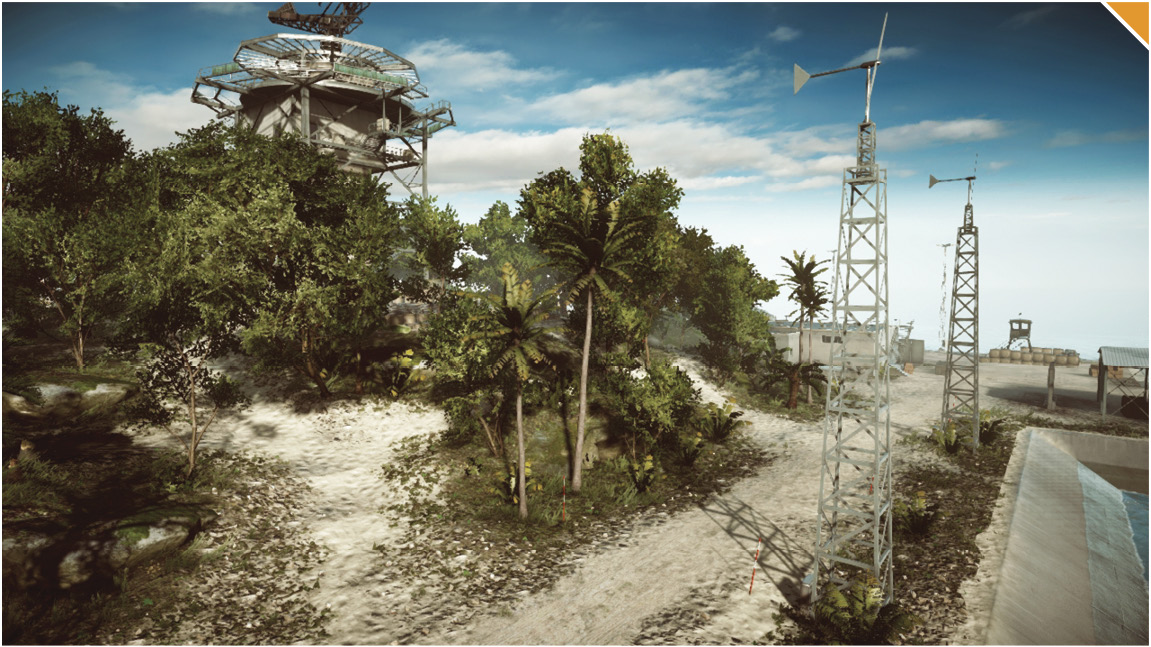
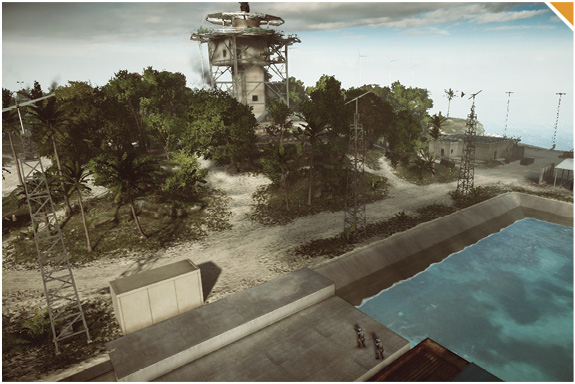
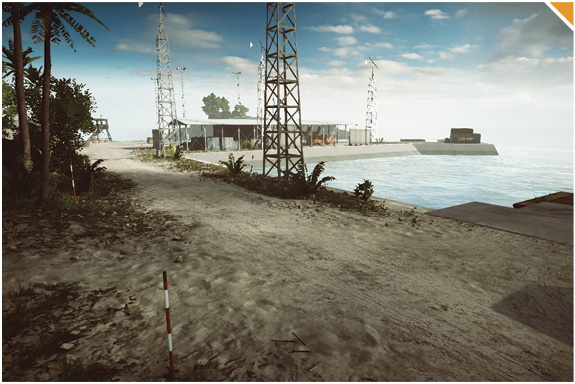
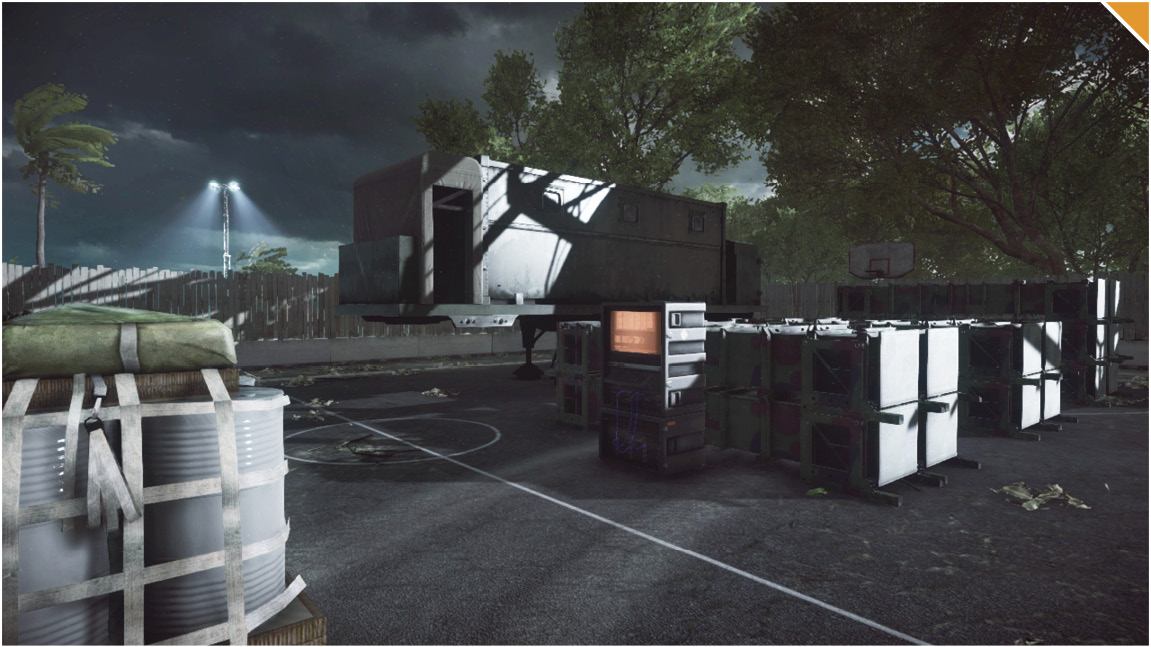
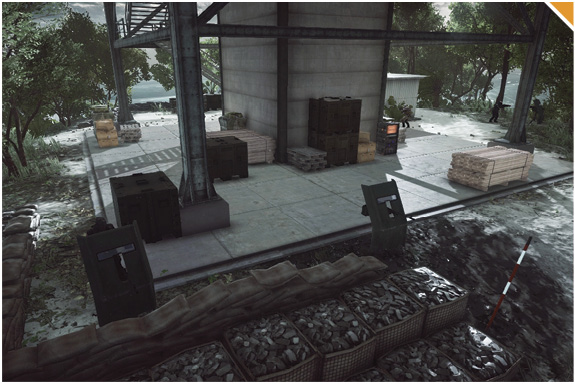
A large storm arises and a US destroyer ship crashes on shore, changing the playing environment.
How is it triggered?
The storm is automatically triggered based on round progression and the turbine holding the destroyer in place can be destroyed following a lightning strike. Aim for the broken/cracked area on the turbine.
How is gameplay impacted?
The storm increases the size of the waves, which makes boat combat more interesting and skill based. The destroyer that crashes onto shore moves the flag on Firebase Island. This also gives control over the destroyer’s AA cannon to the team owning the flag as well as offers new battle pickups that spill out onto the ground.
Alpha Squad: Impressions
Mabooza
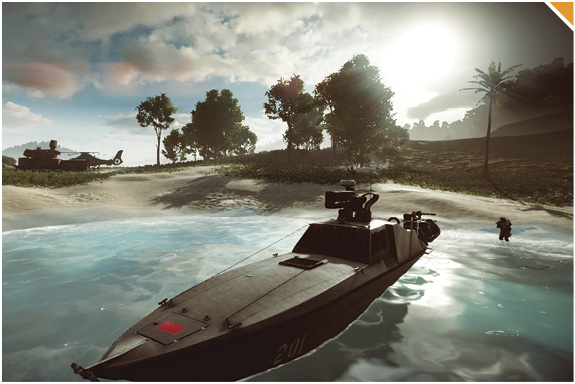
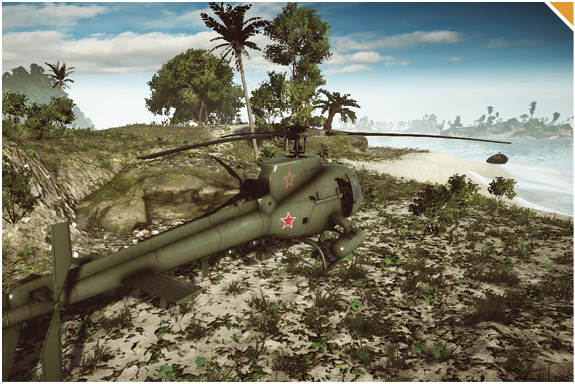
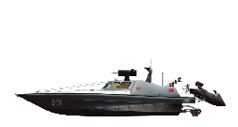
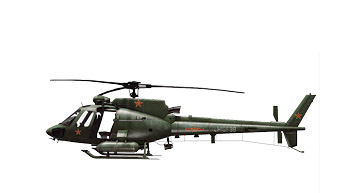
In Paracel Storm, naval and air units rule supreme, offering a nice change-up over other maps where land-based vehicles are so dominant. If you want to try out the new attack boats, this is the map to do it on. However, get ready for rough seas once the storm rolls in. When I’m not cruising around in an attack boat, I like to strafe opponents with the agile scout helicopters.
StrongSide
Experiencing Levolution on this map is incredible—the ocean environment changes immensely, making travel and battling in the water much more difficult but so much fun. You’ll find me holding the island with the Dockyard (A) and the Barracks (B) flags most of the game.
Walshy
The very first time I played this map early on in the game, my team and I were destroyed mainly because we were running around trying to explore the islands by ourselves. However, later in the same game, I got into a DV-15 with my squad and we just controlled the center of the map. In the end, we pulled out a victory. If you enjoy water combat, you will absolutely love Paracel Storm.
Flamesword
This is a large map with multiple islands in the center of an ocean. Being a large map, I enjoyed the air space that allowed me to freely travel the map with the jets that spawned back at base. Pilots will love this map as they take out infantry and vehicles from above.
Elumnite
Paracel Storm is absolute water warfare at its best! When I first played on this map it was like, “What island do I go to first!” Grab a few teammates and go raid one of the many little islands and do what I like to call a water drive-by.
Conquest Large
Recommended Squad Composition:
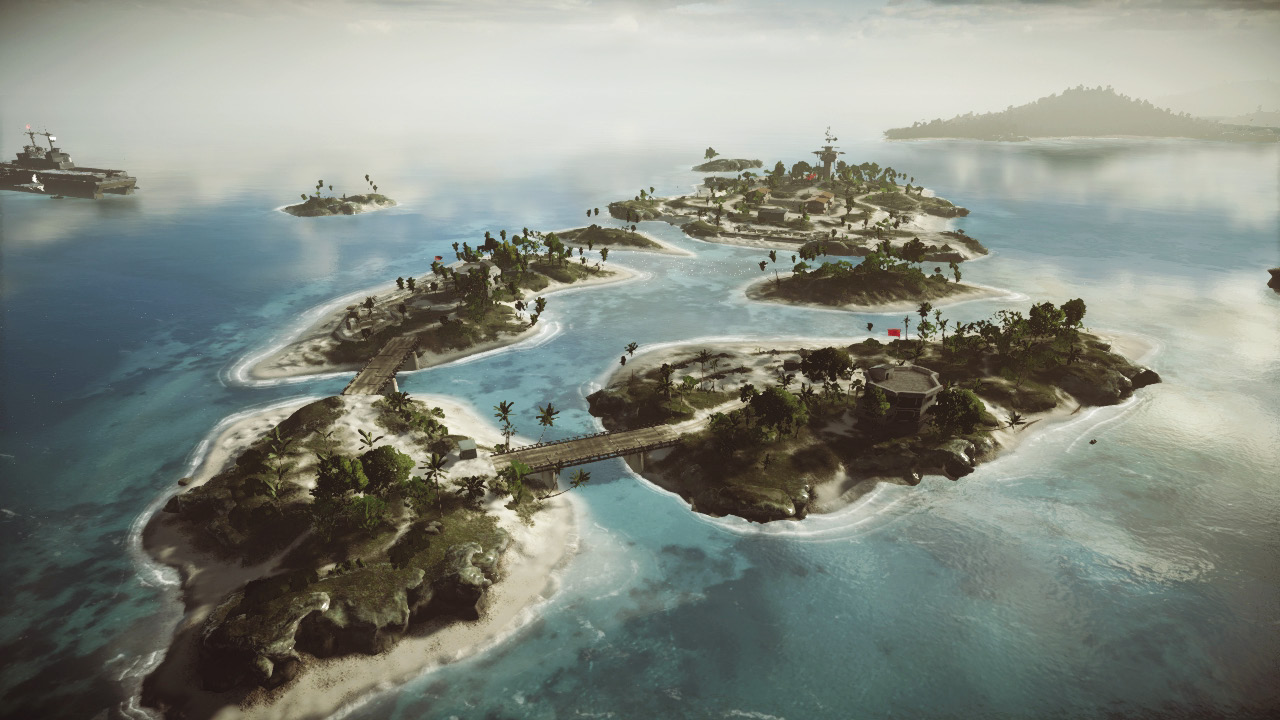
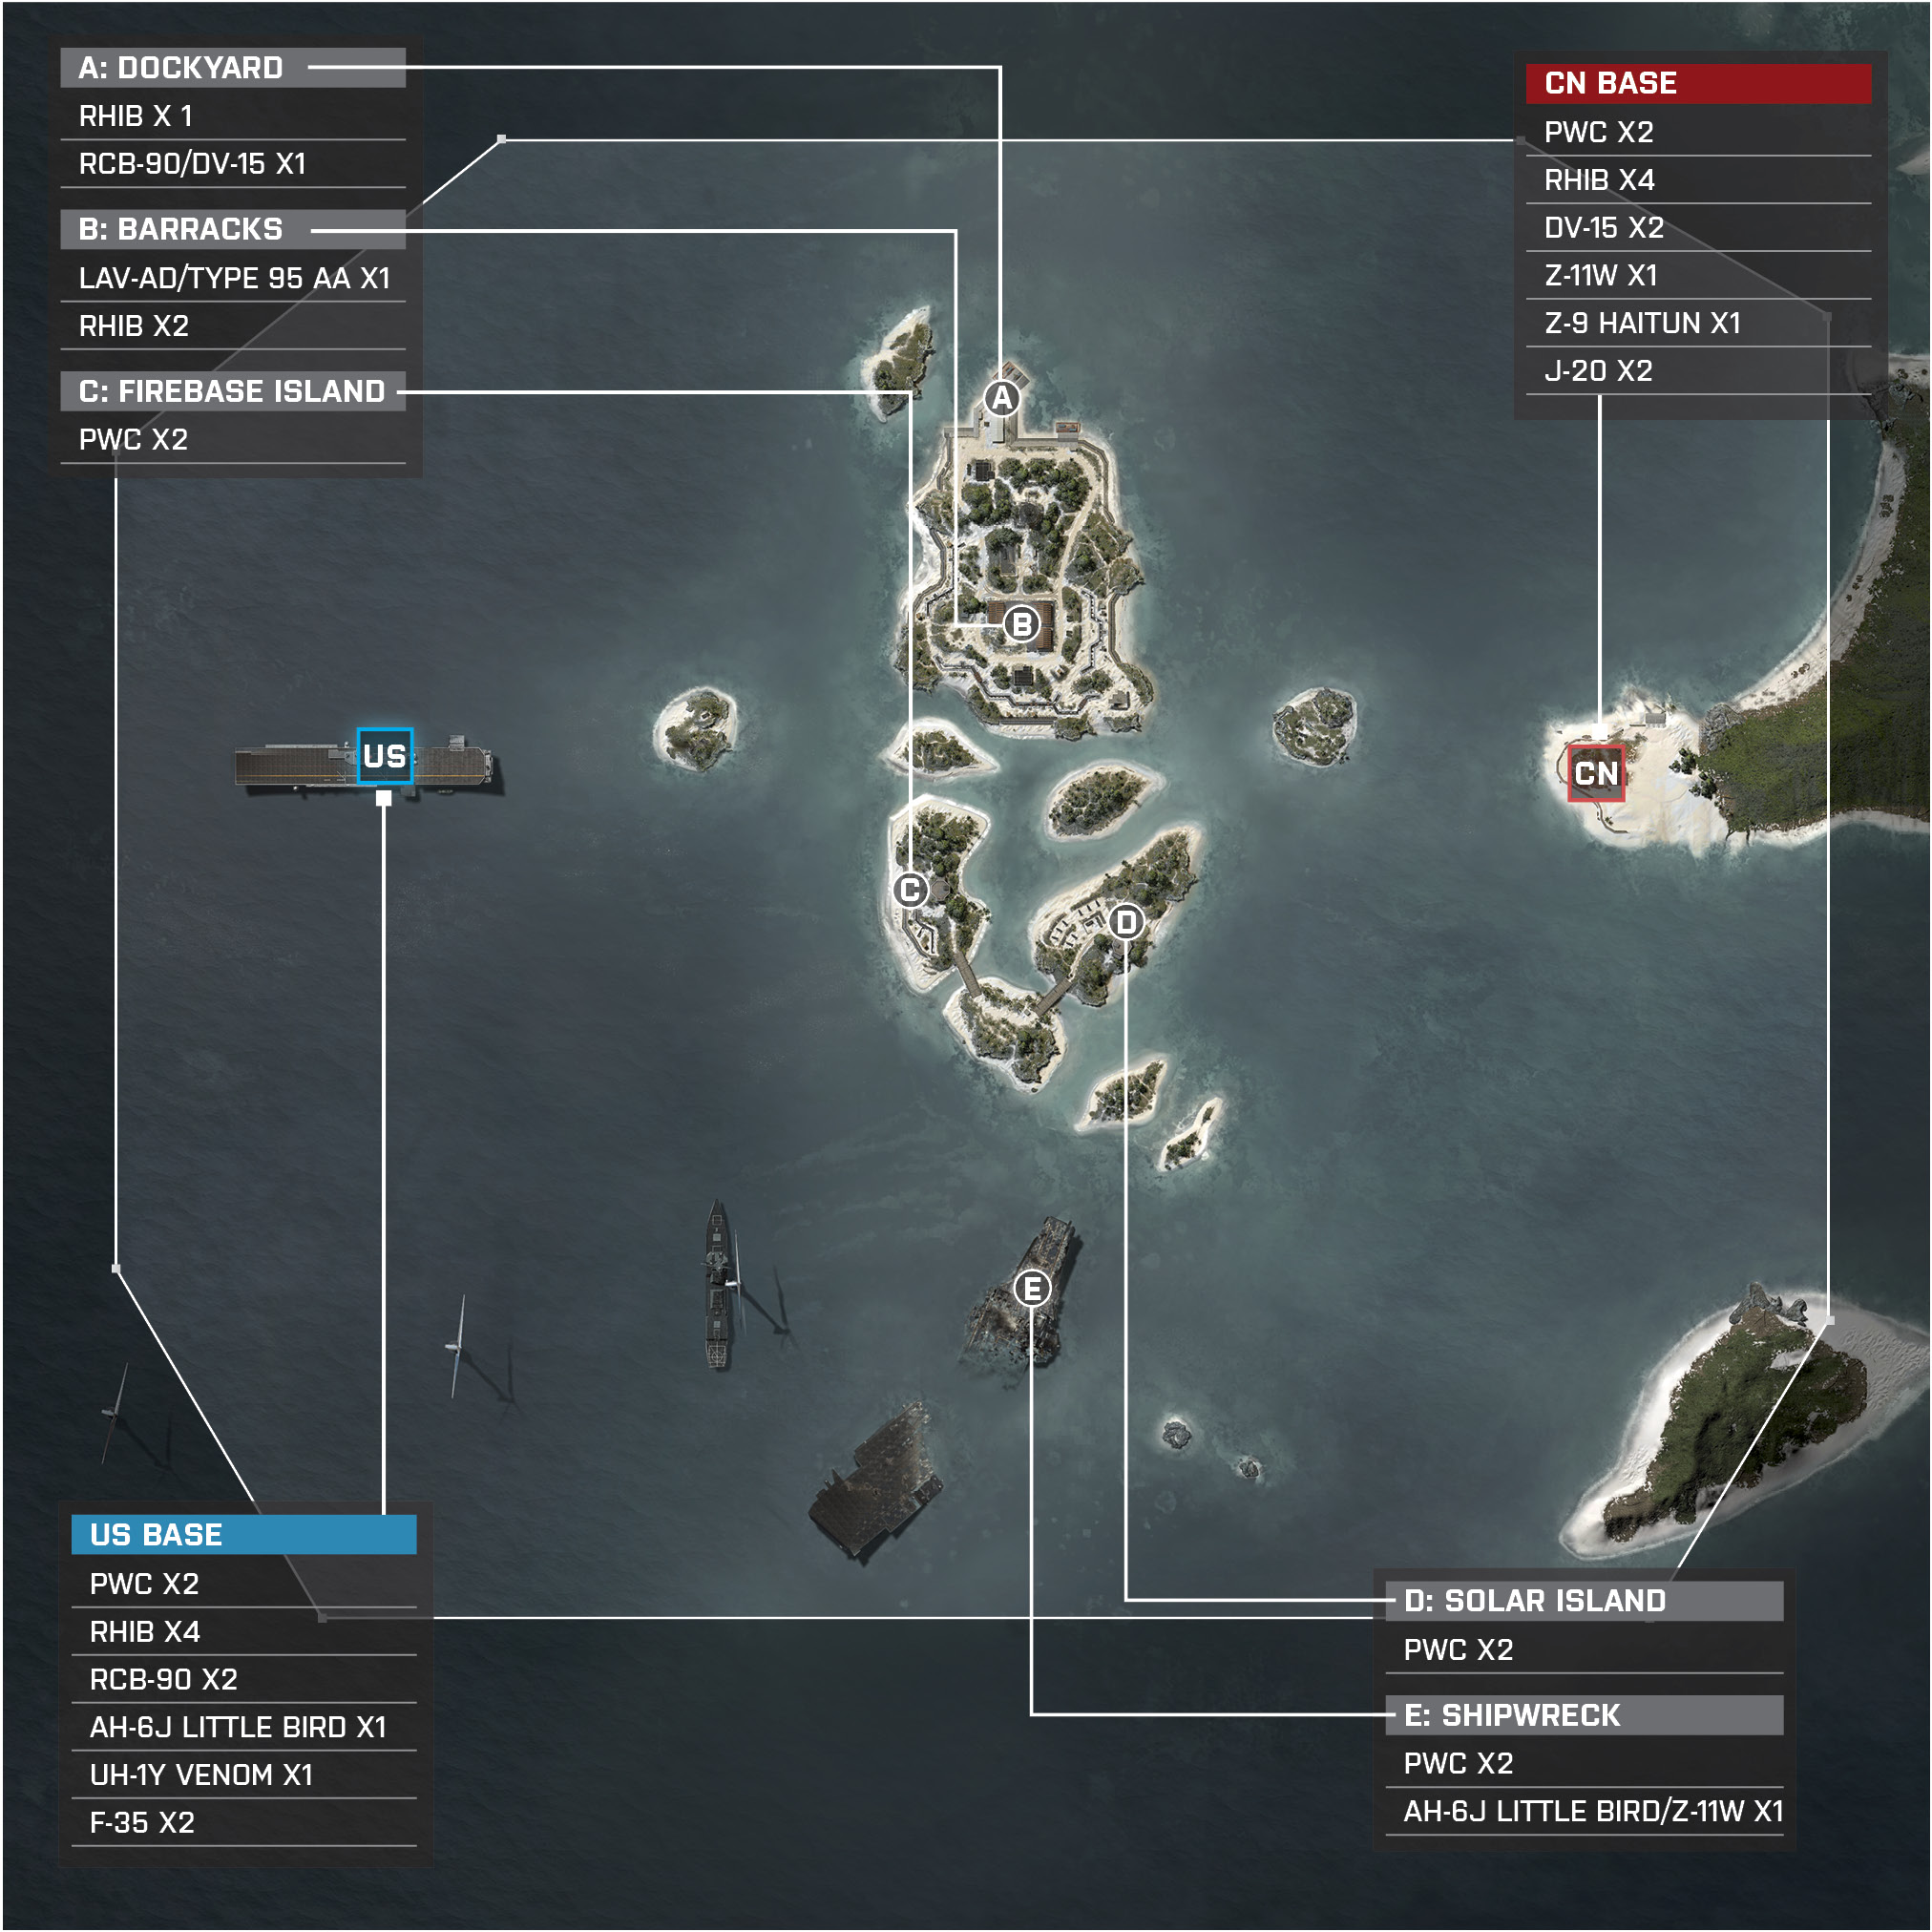
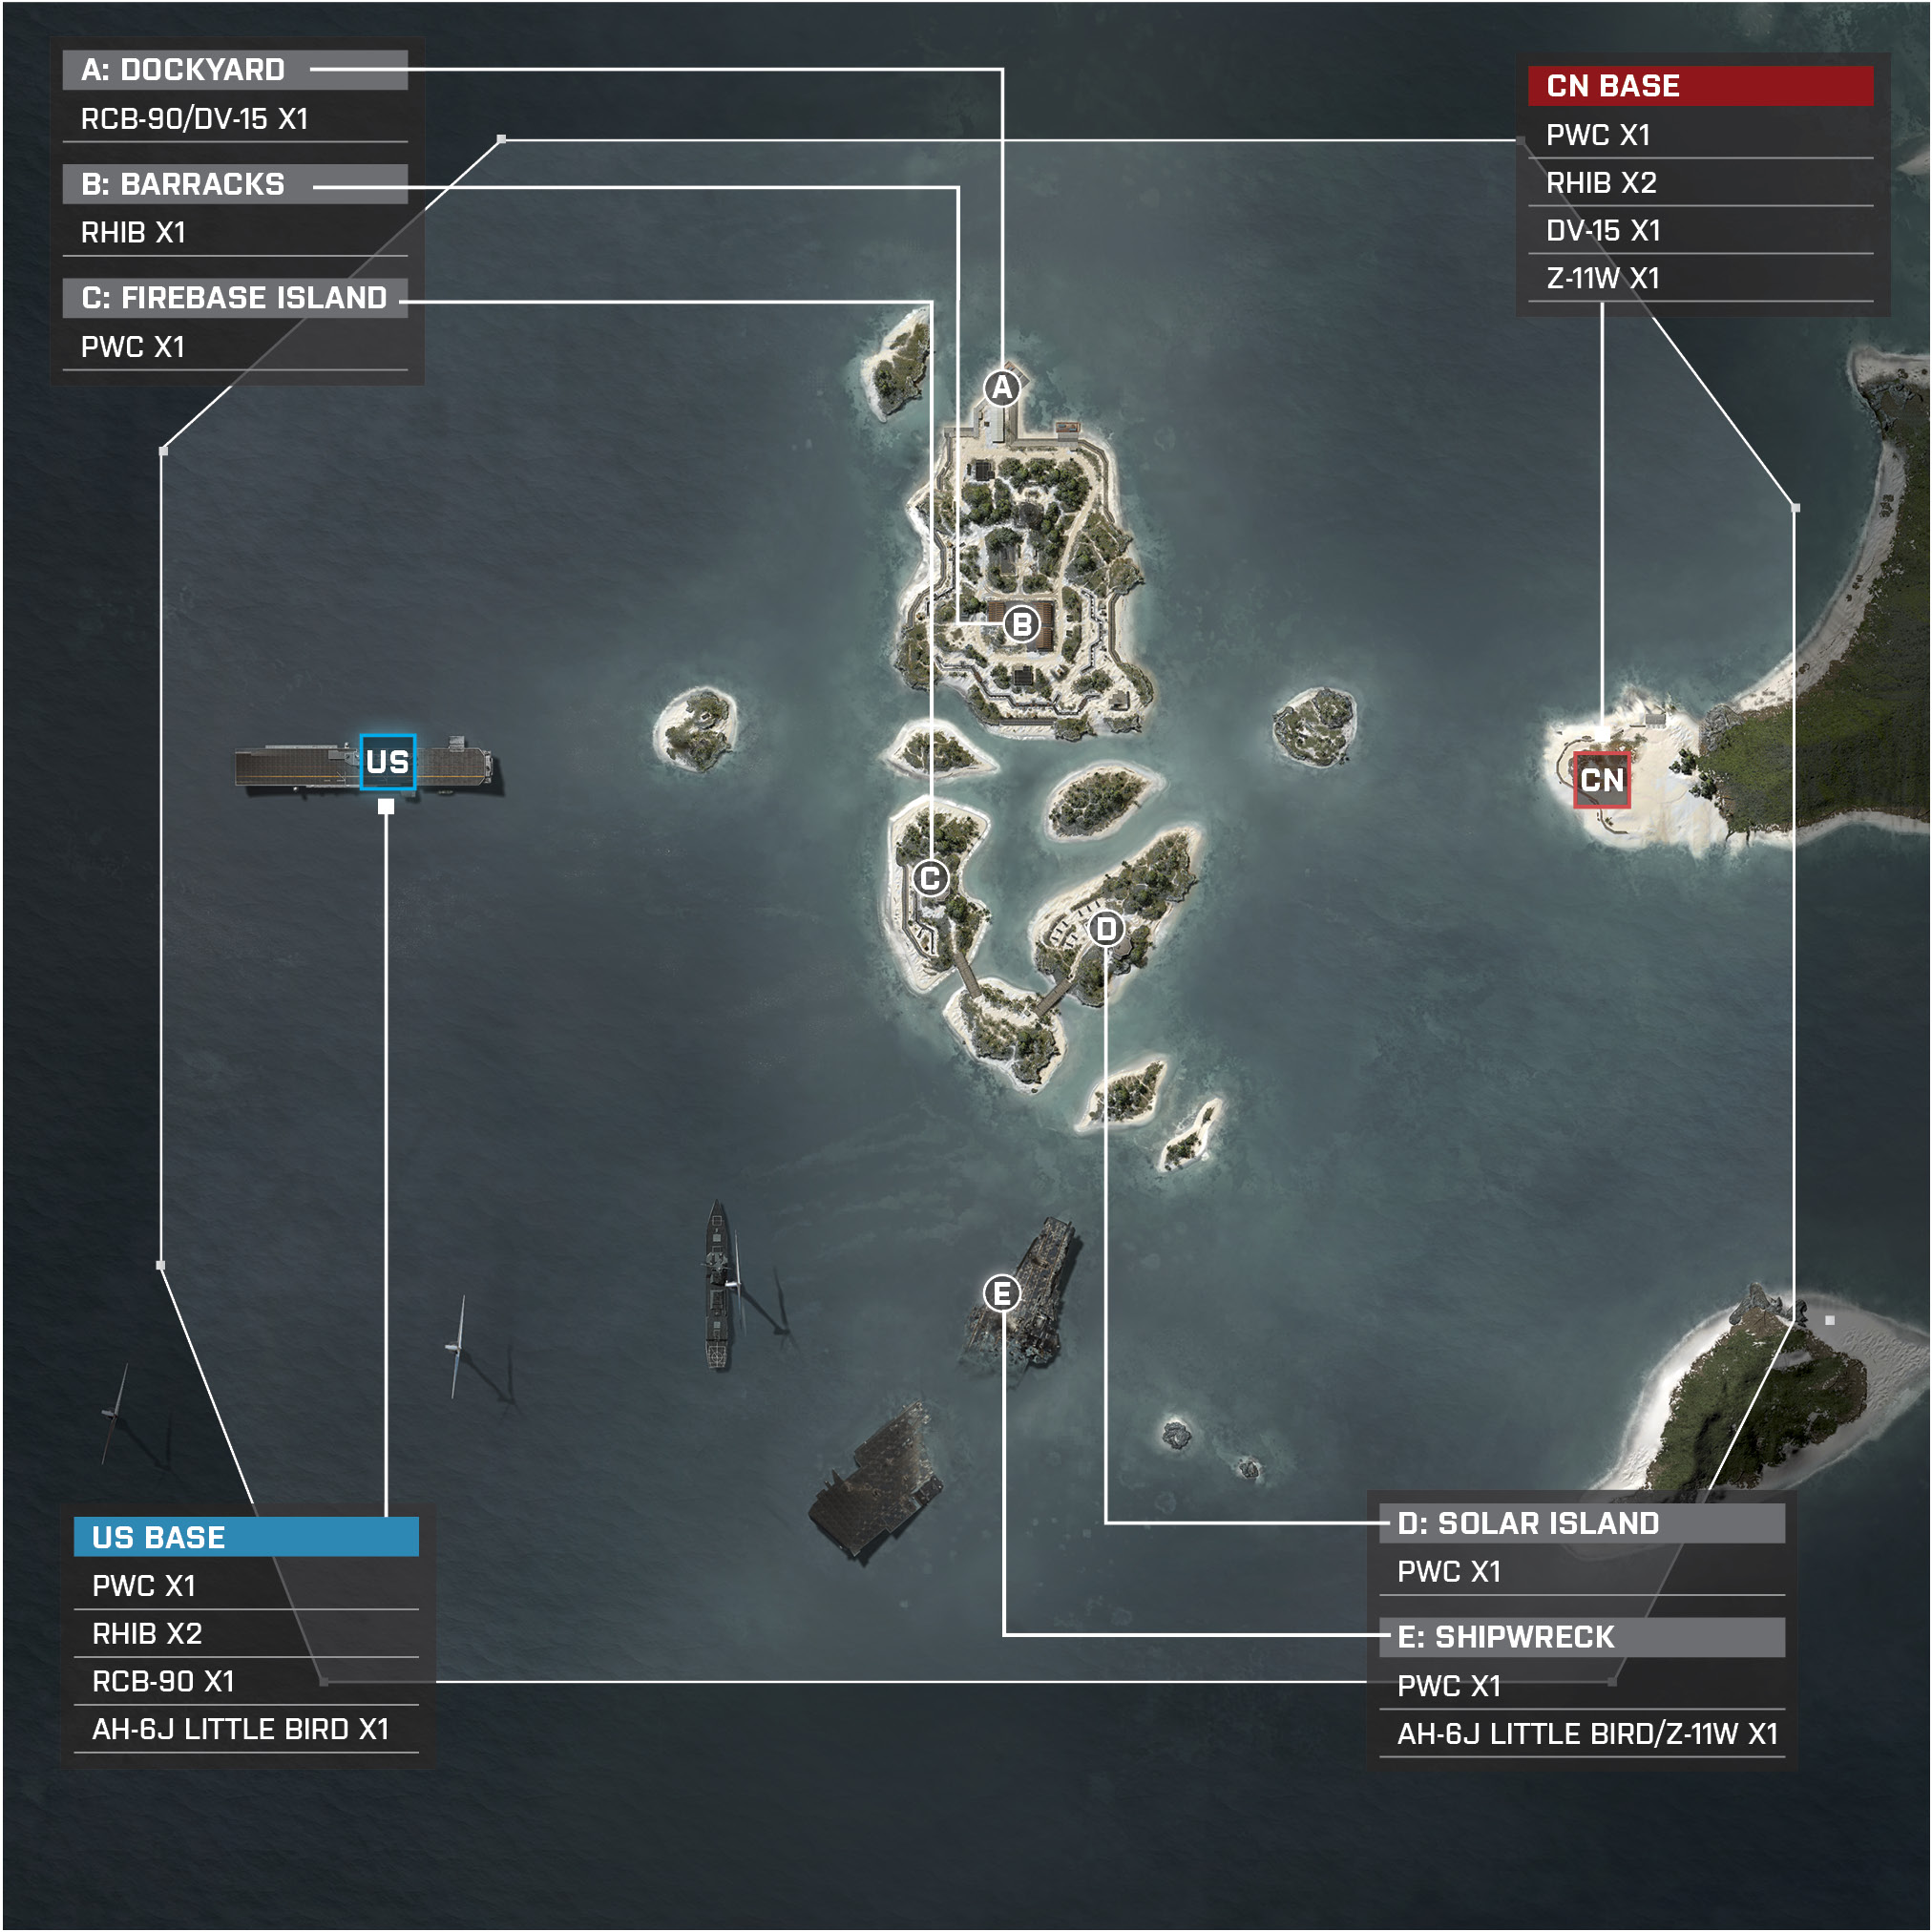
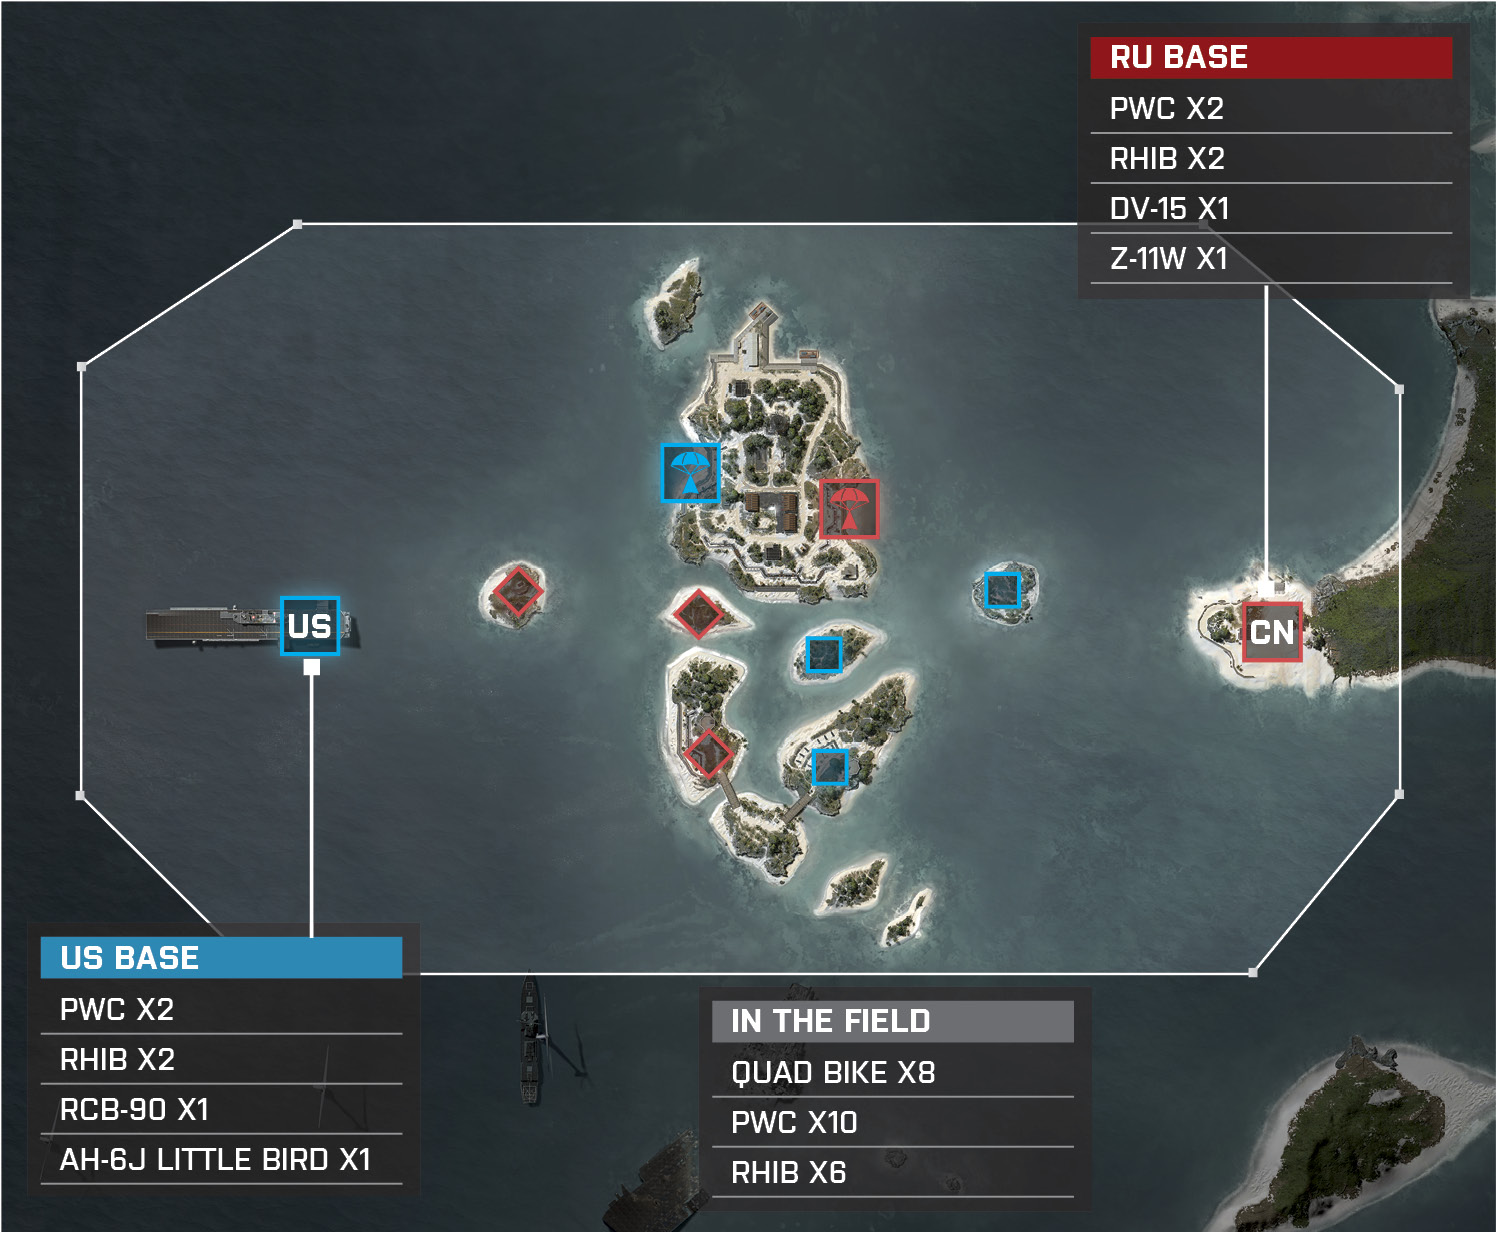
This is a battle of water and air superiority, with five control points lined up from north to south. The five control points the US team and CN team will be battling over are Dockyard (A), Barracks (B), Firebase Island (C), Solar Island (D), and Shipwreck (E). With five flags up for grabs, your team will need to capture three control points in order to drain the opposing team’s tickets. The best strategy for the US team will be to hold the Dockyard (A), the Barracks (B), and Firebase Island (C). By building a perimeter around the Barracks (B), the US team can send players either north or south to support teammates in the Dockyard (A) and Firebase Island (C).The CN teams should try to hold the Dockyard (A), the Barracks (B), and Solar Island (D), plus the Shipwreck (E) if the US team isn’t putting up much of a fight. The Shipwreck (E) is positioned on the south end of the map, but closer to the CN base. The CN team will need their attack boat to patrol the south side, warding off the US attackers as they try to flank the Solar Island (D) and push towards the Shipwreck (E). The US team can extend their defensive perimeter to capture the Shipwreck (E) as well, but defending four flags on this large map can be difficult, so be warned. Regardless of what team you are on, prepare for a mix of defending against constant vehicle attacks and close-quarter combat on one of the many islands on the map. With so many vehicles, it is suggested to have a few extra engineers to use target-locked launchers and support members to replenish the engineer’s ammo.
US Base
Base Assets
Name
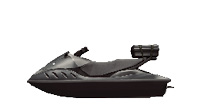
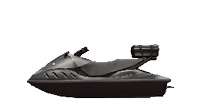
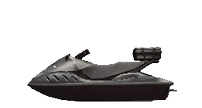
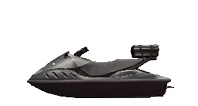
PWC
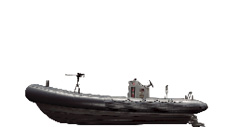
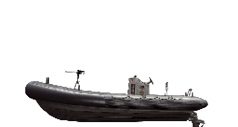
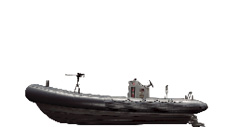
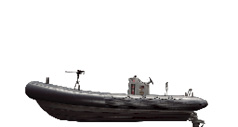
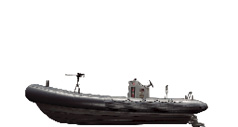
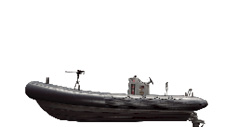
RHIB
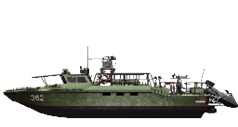
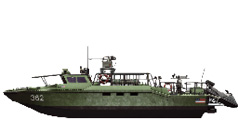
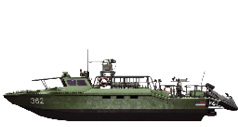
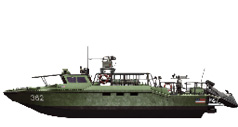
RCB-90
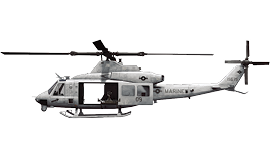
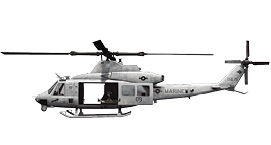
UH1Y-Venom
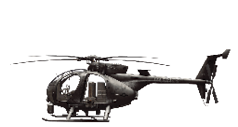
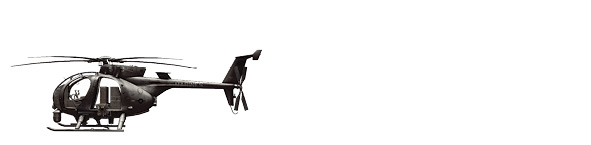
AH-6J Little Bird
F-35
Quantity
2
4
2
1
1
2
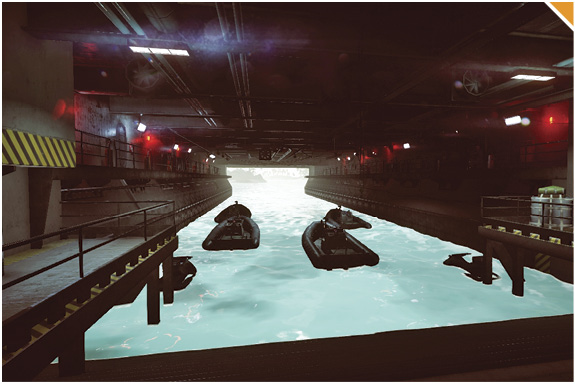
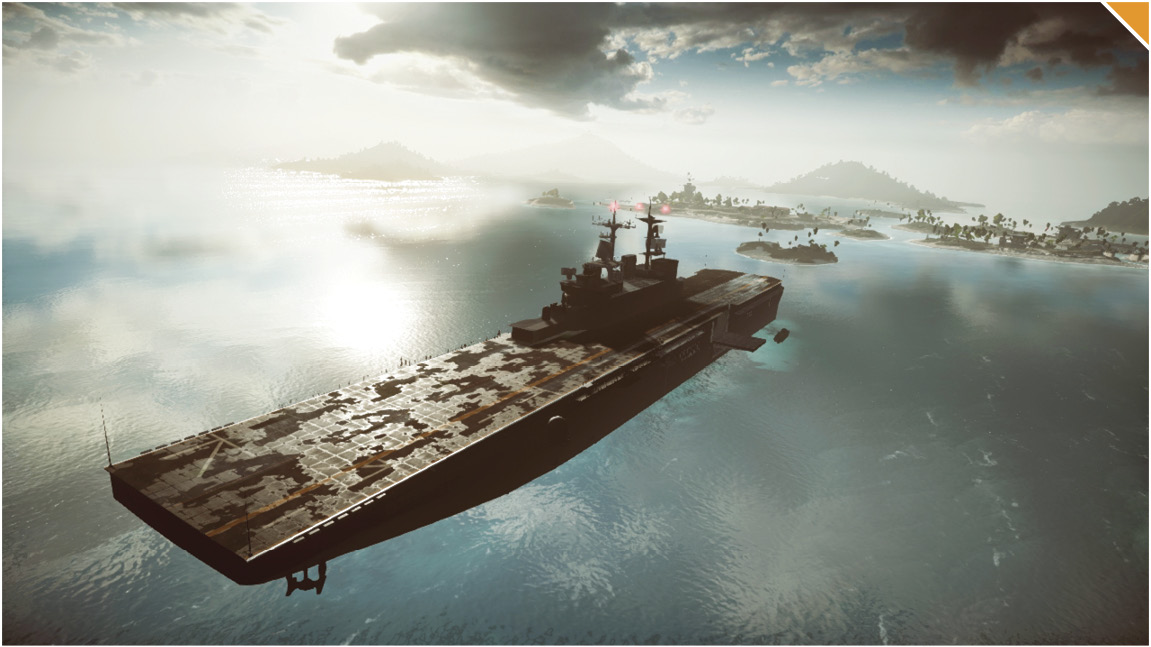
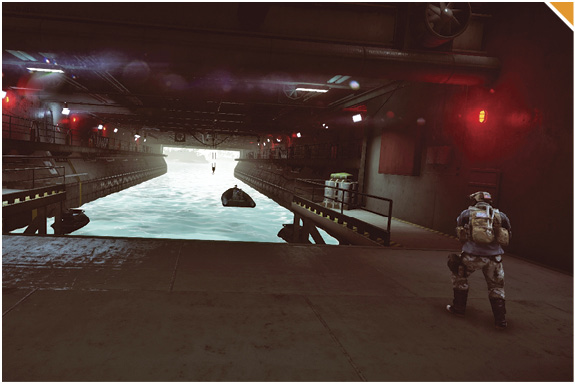
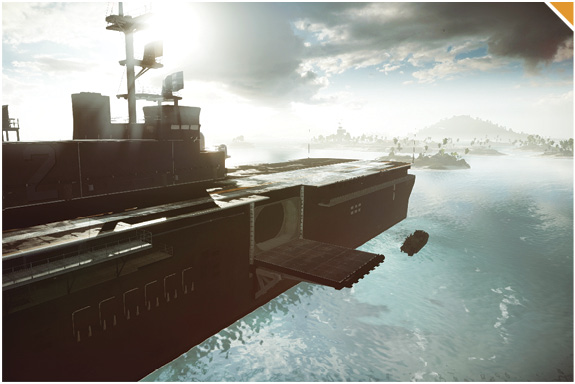
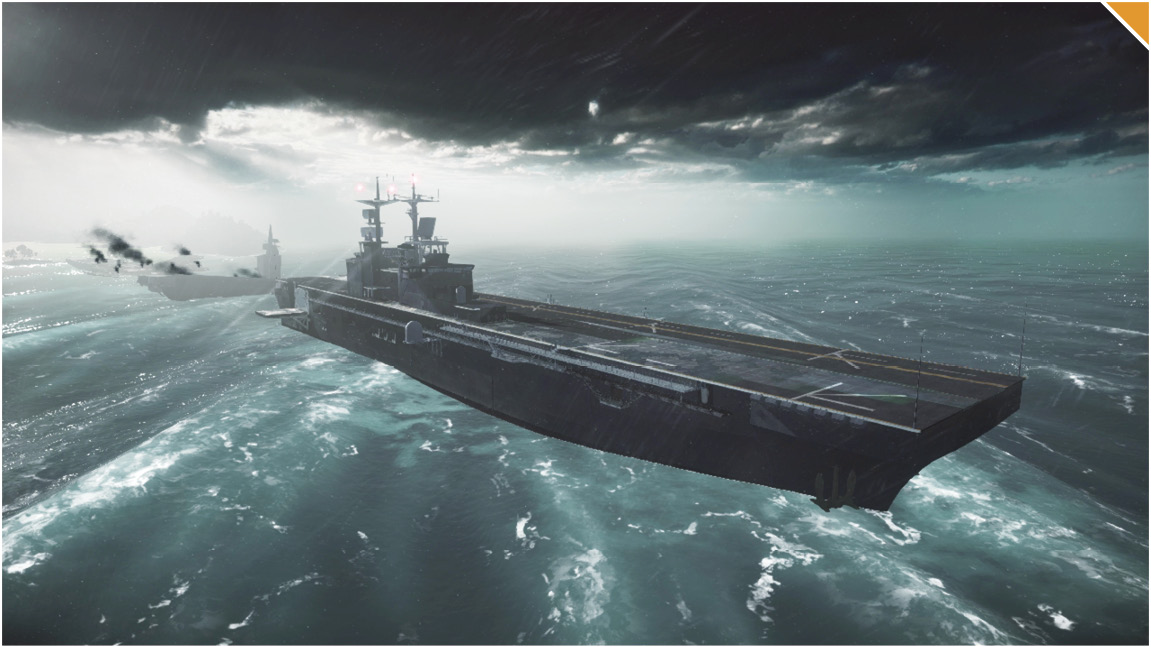
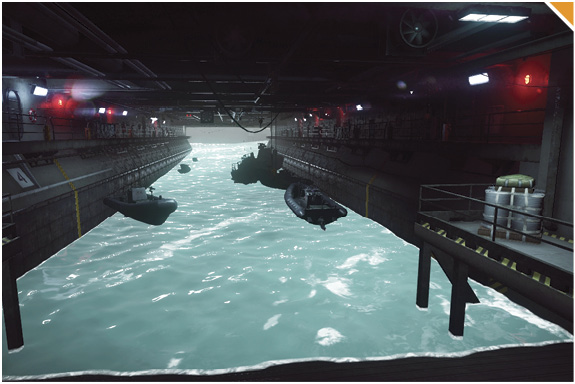
The US base is on the western edge of the map, stationed atop a US aircraft carrier.
It’s a few hundred meters to shore and the US base provides plenty of vehicles—both air and water—to escort friendlies to land.
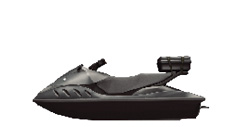
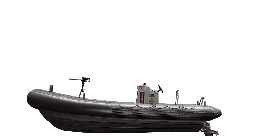
A squad should control a RCB-90 to cover the team’s light water vehicles as they head north to capture the Dockyard (A) and the Barracks (B). The light water vehicles are fast-moving watercraft that will allow you to reach these control points quickly.
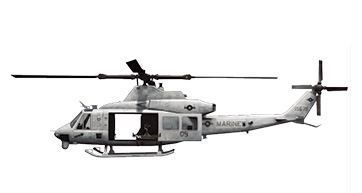
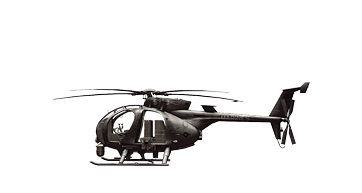
Fill every seat of the transport helicopter and head east towards Firebase Island (C) where two passengers should jump down to score an easy control point. Once the passengers are dropped, immediately head south towards the Shipwreck (E) to provide airsupport for the remaining squads who rushed this objective at the start.
The CN team has a handful of vehicles as well, so stock up on engineers to aid your team in destroying the enemy’s vehicles. Having engineers near squad vehicles will score you easy points as you can repair them when they take damage. Keep your squad vehicles in tip top shape as they will lead you to victory.
CN Base
Base Assets
Name
PWC
RHIB
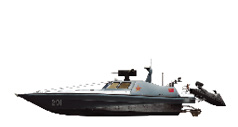
DV-15
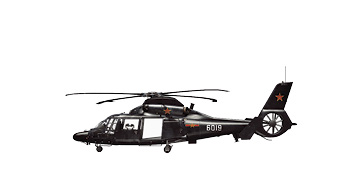
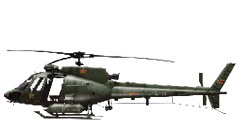
Z-9 Haitun
Z-11W
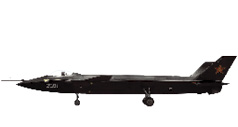
J-20
Quantity
2
4
2
1
1
2
Positioned on an island to the east, the CN base is too far from every control point by foot. It is crucial to jump in as many vehicles as you have at hand.
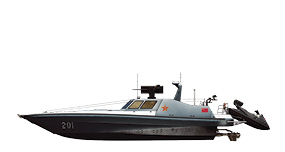
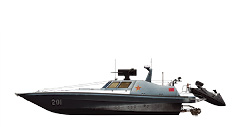
Take an attack boat to any point except for the Barracks (B), where this powerful boat will be ineffective. Take your transport helicopter to drop off your squad at the Barracks (B), Firebase Island (C), or Solar Island (D) where they can effectively move around from objective to objective.
You will encounter many vehicles throughout this map. Have three engineers in your squad the entire game to be able to deal with these threats and repair your own vehicles.
Whatever team can utilize their stealth jets the best will be able to control the air. When flying around with a stealth jet, make sure to harass objectives all across the map. Making your presence felt in the air may urge opposing engineers to switch to Stingers or IGLAs, which are useless against your team’s water vehicles. Bait them with your jet, then kill them with your boats.
As a squad, try not to have everyone in the same vehicle. This way the enemy can’t win a fight, wipe out your whole squad, and decrease your Field Upgrade progress. Being slightly split up can also guarantee that at least one of your squadmates will be able to give you a good spawn if you die.
A: Dockyard
Control Point Assets
US Control
CN Control
RHIB (1)
RHIB (1)
RCB-90 (1)
DV-15 (1)
This control point positioned north of the cluster of islands is a loading dock that can be challenged from land or the surrounding water.
Upon capture of this control point you have your choice of pushing by land over to the Barracks (B) or taking one of the light water vehicles that spawn and flanking around to another objective.
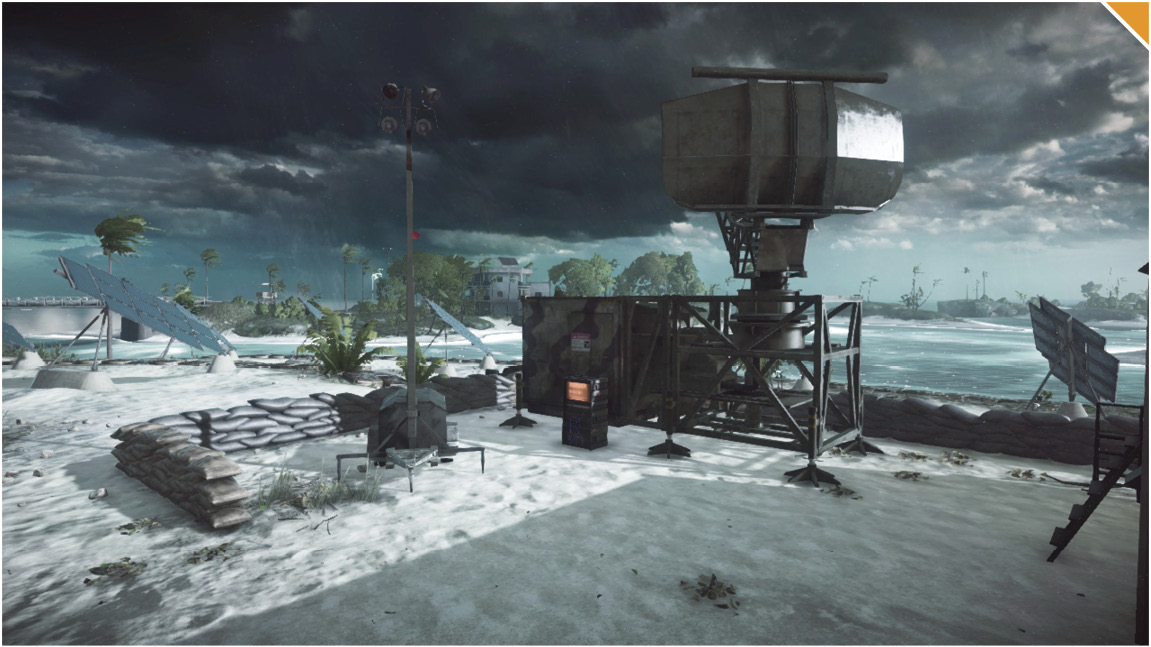
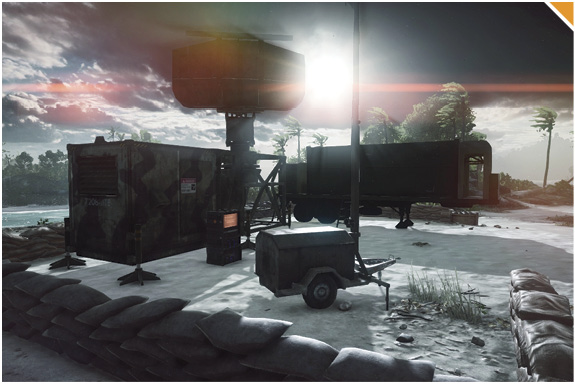
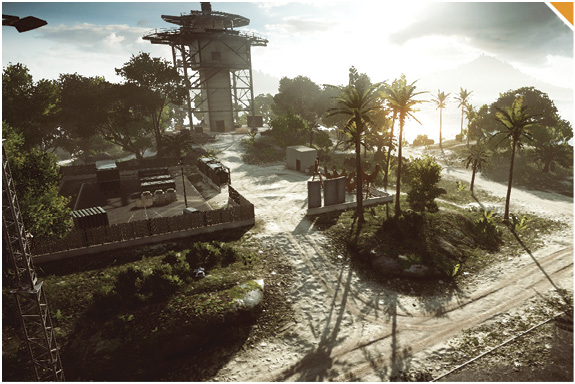
On the very top of the radar tower to the south of this objective, there is a M82A3 MID sniper battle pickup. You are in a prime position to either hold back enemies running across the open area from the Barracks (B) or pick off a couple enemies before pushing over and taking the objective.
When defending this capture point on land, be very careful because you have less cover than you think. Most of your small buildings and boxes will be nonexistent after a few rounds are fired from the enemy team.
Beware of the mobile AA that spawns at the Barracks (B). Even though it is designed to take out airvehicles, it can make quick work of your squad that is on the ground if you don’t eliminate it immediately.
B: Barracks
Control Point Assets
US Control
CN Control
RHIB (1)
RHIB (1)
LAV-AD (1)
Type 95 AA (1)
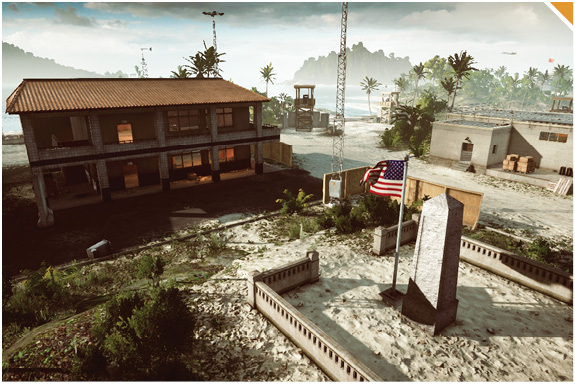
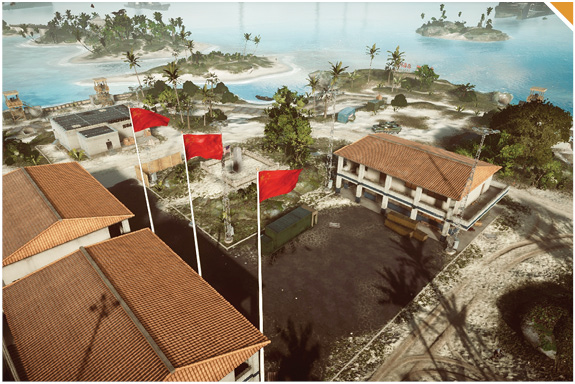
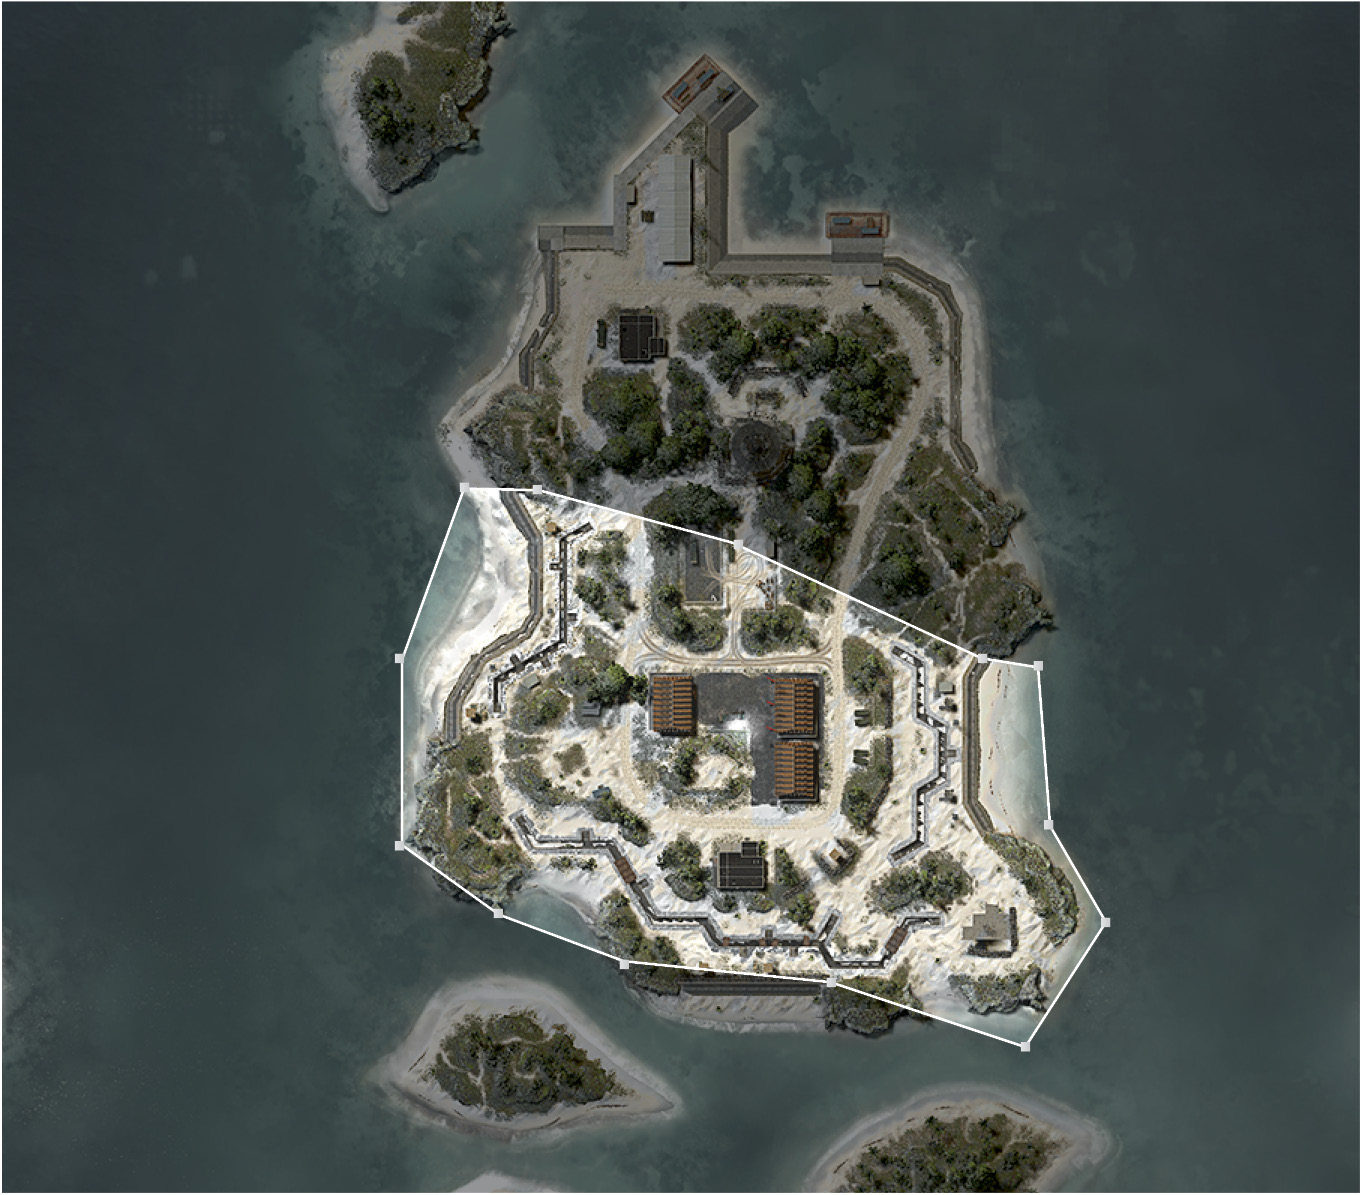
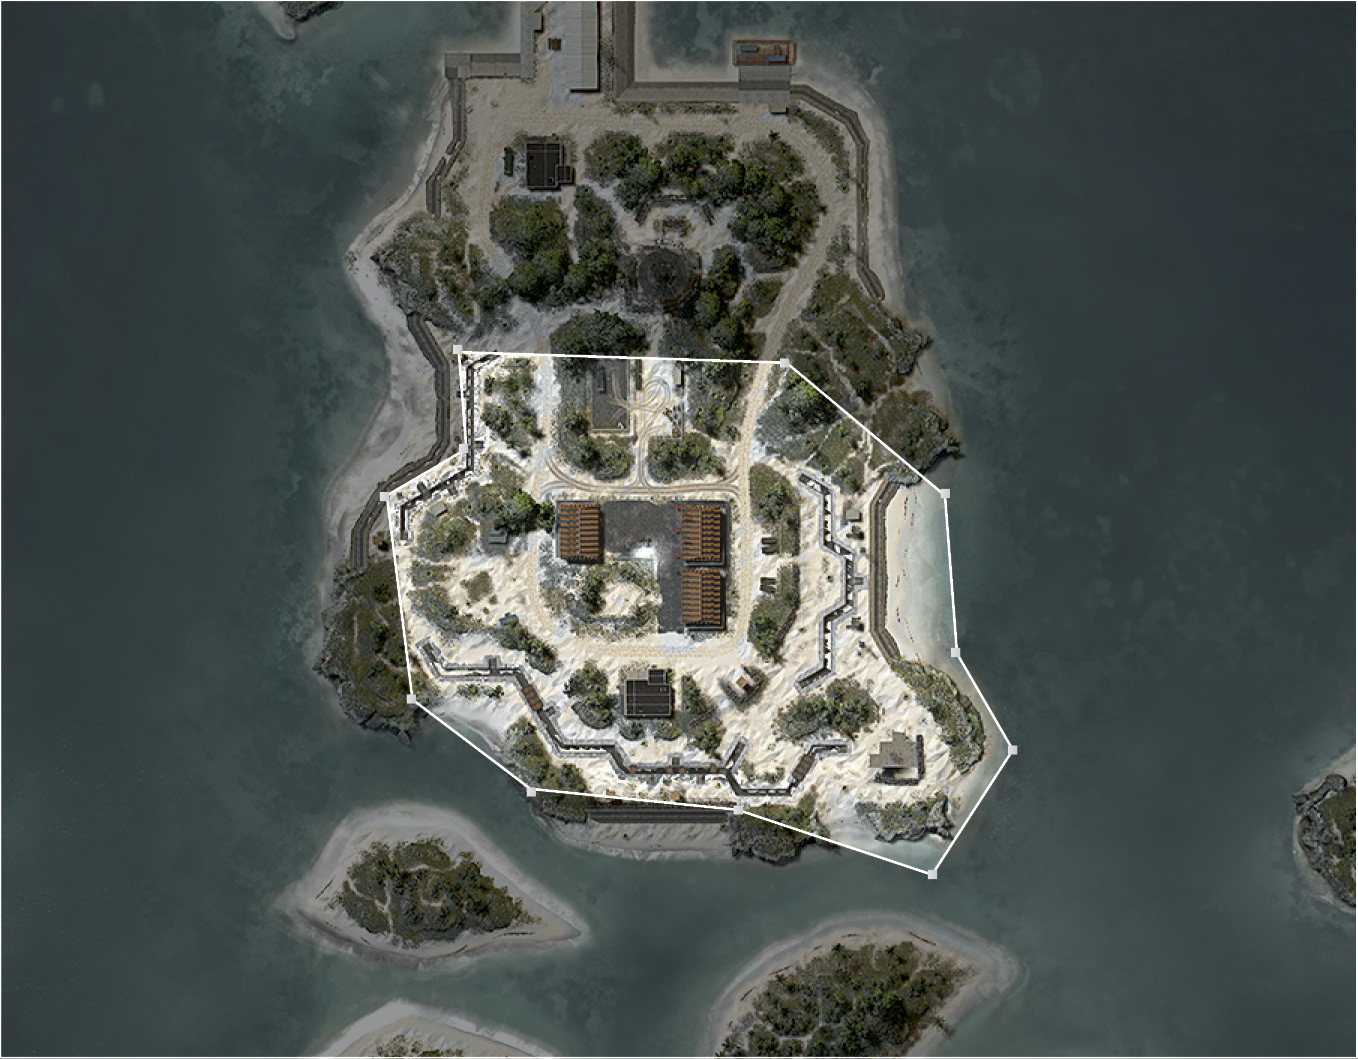
This flag is located north towards the middle of the map. The Barracks (B) is covered by a small gate with a shrine next to the flag. There are also four different buildings surrounding this control point, so cover shouldn’t be hard to find.
A mobile AA unit will spawn here for your team, which will be very useful given that the enemy team’s most effective way to reach this control point will be by air.
After securing the Barracks (B) look to move towards the next closest objective which will be the Dockyard (A). This will help you keep control or regain control as you can move from objective to objective as they are both on the same island.
When attacking this control point, have one squad make their approach by air and drop near the northern part of the Barracks (B). While doing this, have a second squad make their way towards the southern part by using some light water vehicles and attack boats.
When defending this control point, make full use of the buildings by having a recon and engineer classes inside any of these buildings. This will assist in taking out transport helicopters and infantry units that reach this objective.
C: Firebase Island
Control Point Assets
US Control
CN Control
PWC (2)
PWC (2)
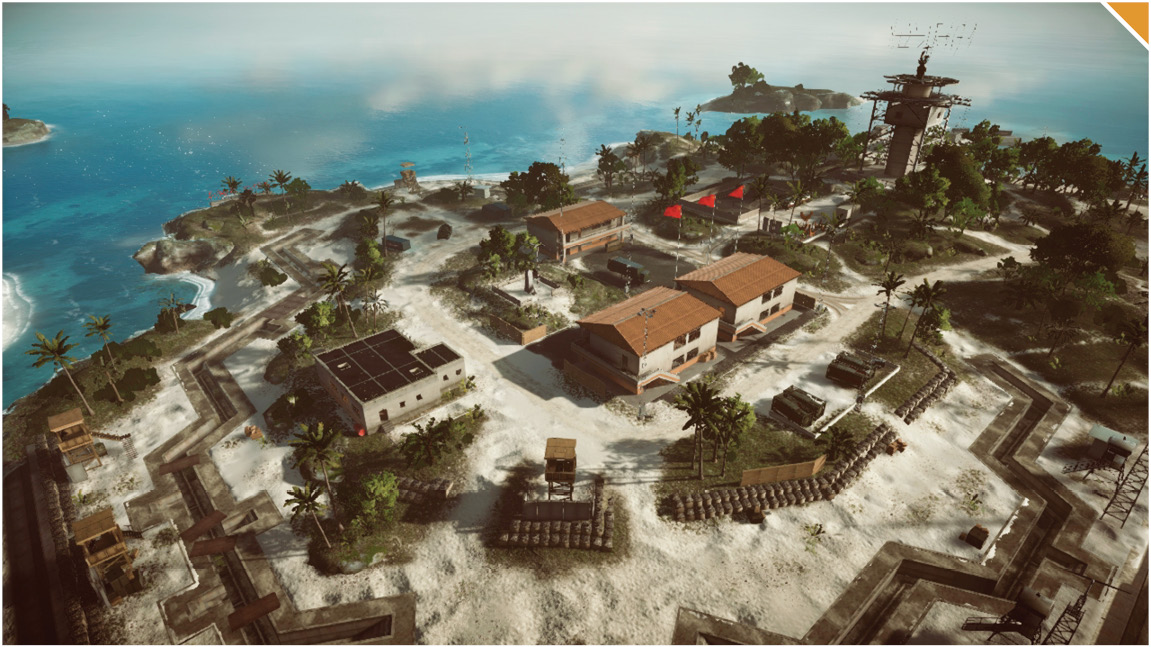
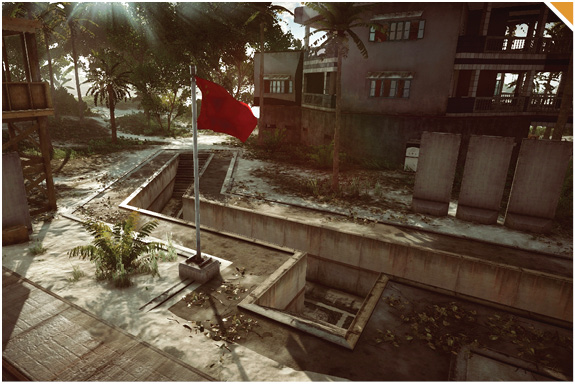
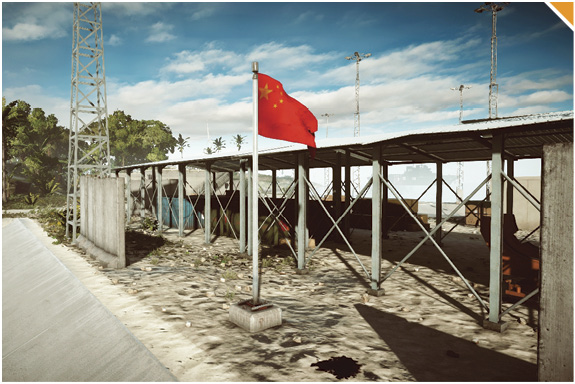
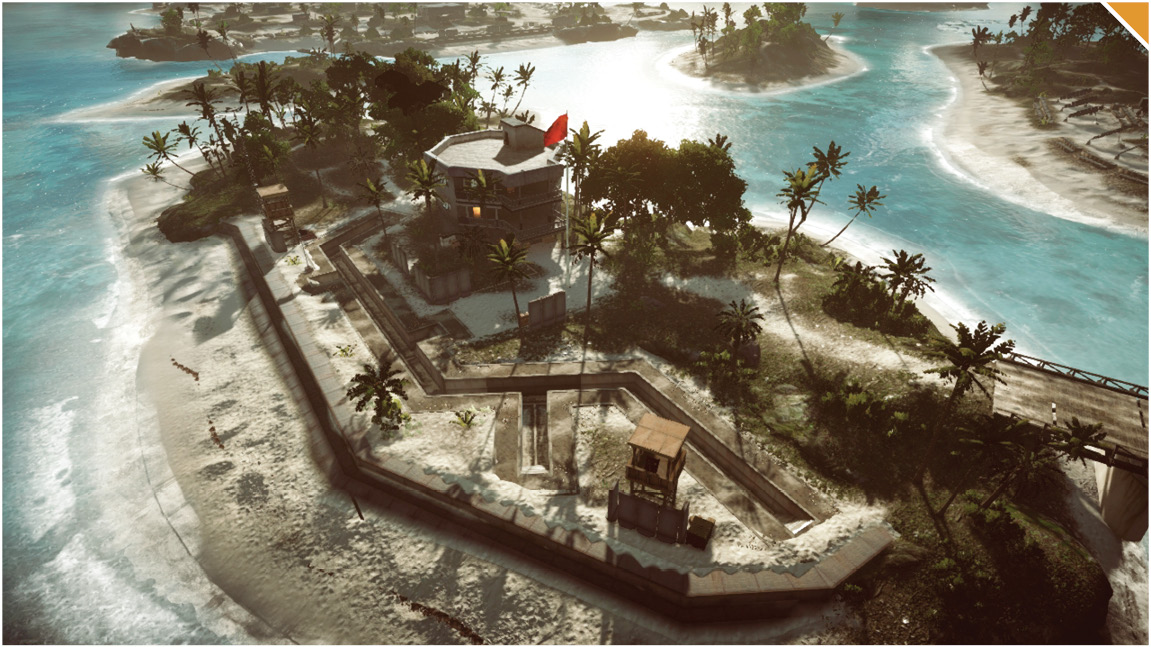
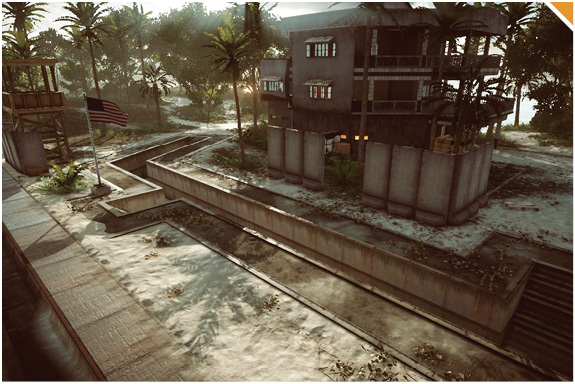
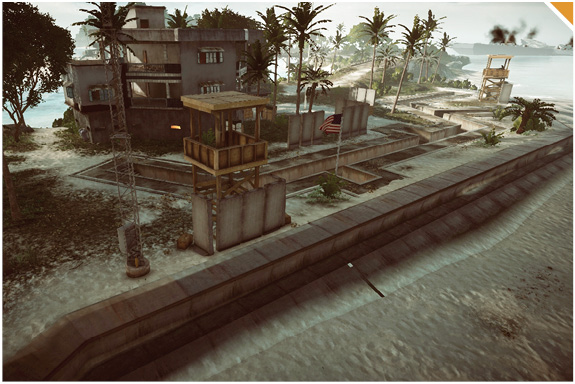
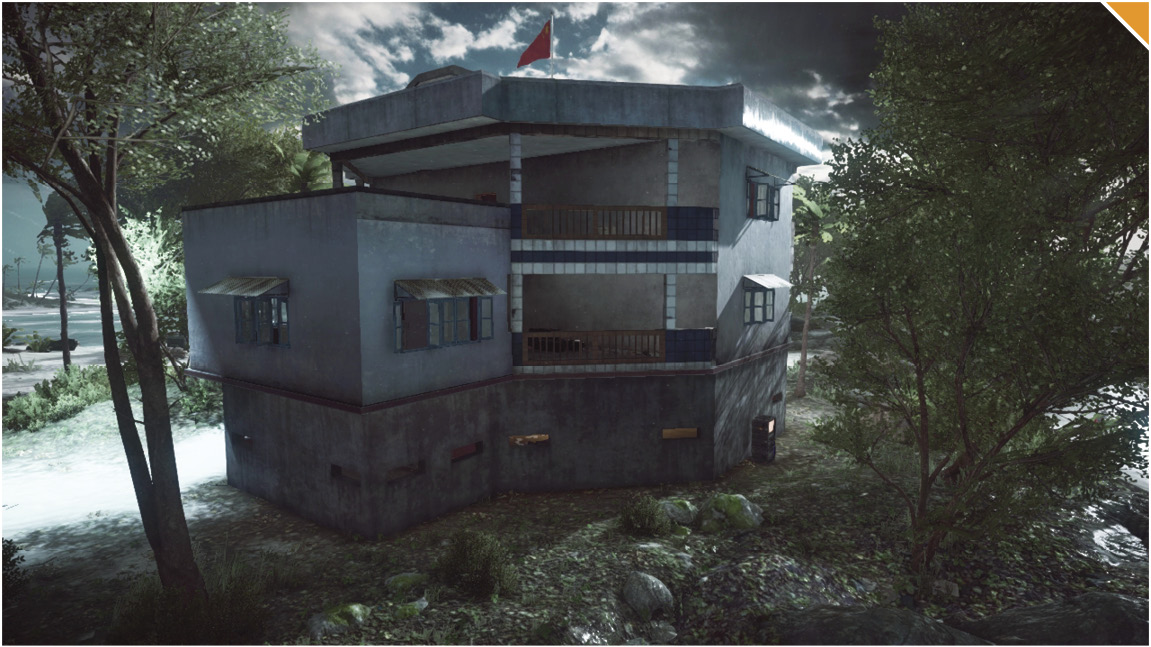
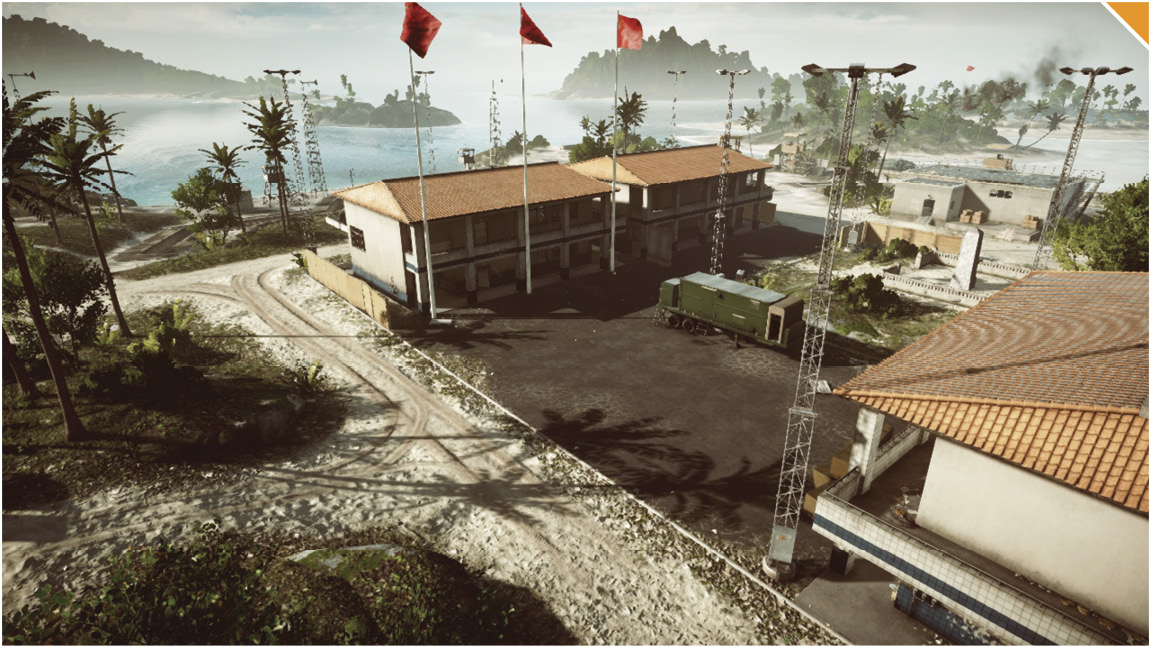
This flag is located closest to the US base and further west of the CN base. Firebase Island’s (C) biggest feature is the massive four-story building, which has a clear view of the whole island. There also is a long trench right by the flagpole that can be used for hiding from the enemy and contesting the control point.
Levolution takes place at this control point and splits the island in half. This will completely destroy the building located here and kill any players inside and around it. Once the destroyer has run ashore, the ship’s autonomous AA cannon opens fire on enemy aircraft. Keep control of this flag to maintain control of the destroyer’s AA cannon.
The PWCs spawned here will come in handy for quick travel to the nearest islands. The .50Cals on the island will help defend against incoming enemies approaching from the water.
When attacking this control point use a stealth jet to lay down some heavy fire on the main building and do as much damage as possible. This should kill or force any recon units posted on the roof of the building to take cover, making them useless.
When defending this control point, have engineers equipped with IGLAs or Stingers to take out any stealth jets, scout helicopters, and transport helicopters. This will limit enemies, forcing them to approach by water.
D: Solar Island
Control Point Assets
US Control
CN Control
PWC (2)
PWC (2)
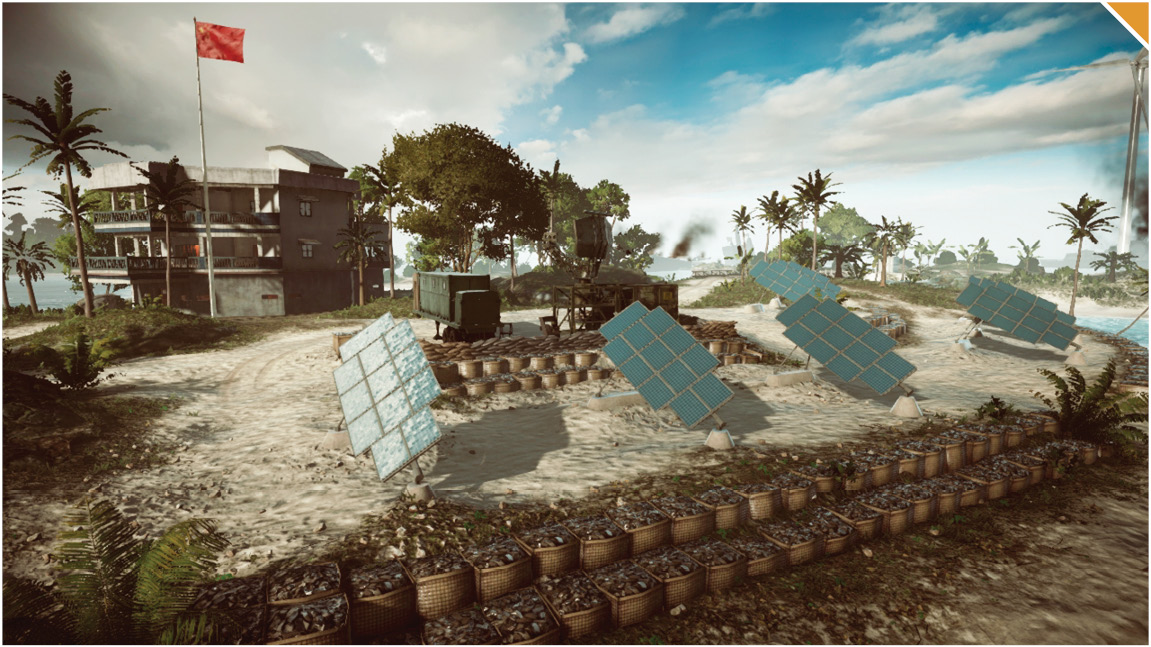
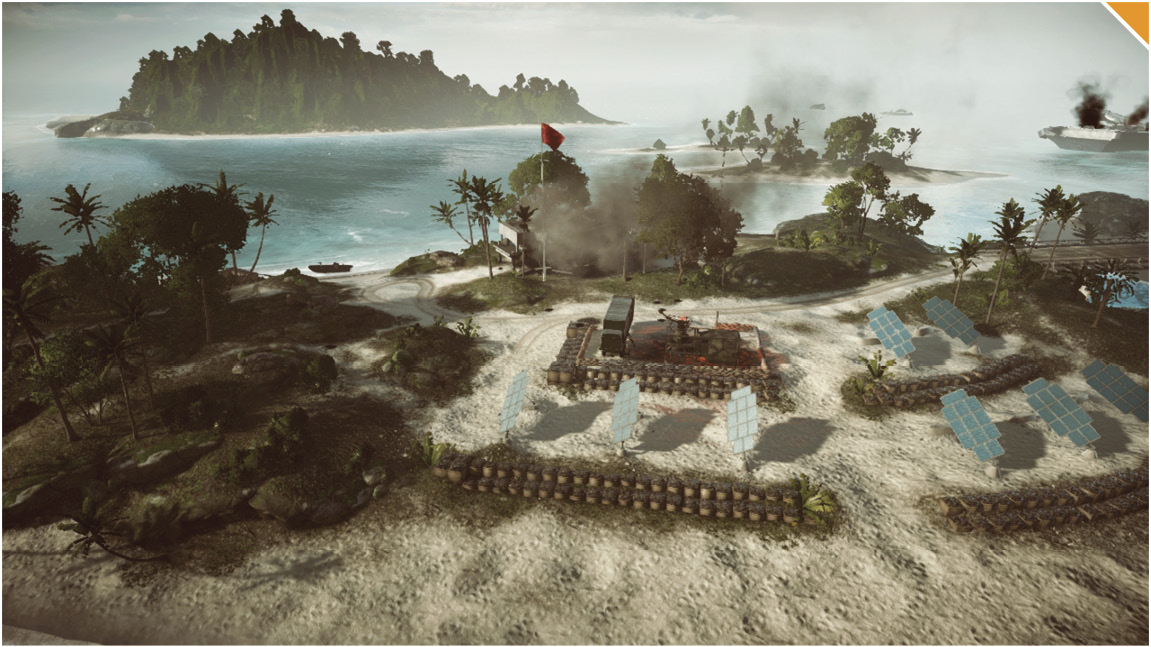
This control point lies west of the CN base with a building surrounded by solar panels and sandbags that are used for cover.
Upon capturing, PWCs spawn here. Use the PWCs to reach enemy control points quickly and annoy them by constantly contesting their control points.
The island has three stationary weapons: a .50Cal and two HJ-8 Launchers. These will help teams defend against both air and water vehicles.
This map allows you to capture and contest many of the flags from a distance in the water. When going for the capture, take advantage of this and dive underwater near the shore to confuse the enemy and buy time for your team.
The roof of the building on the island provides a great view for recon classes to snipe from and watch the flag. This building provides great cover when attack boats or helicopters come to attack, but be careful—the building can be destroyed.
E: Shipwreck
Control Point Assets
US Control
CN Control
PWC (2)
PWC (2)
AH-6J Little Bird (1)
Z-11W (1)
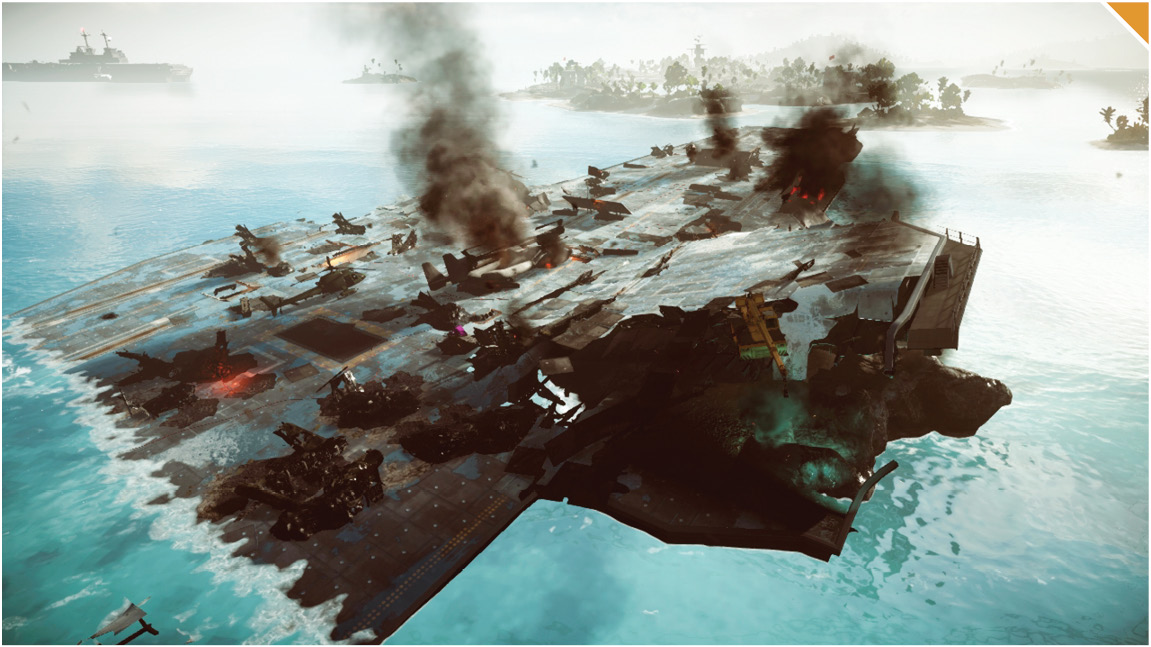
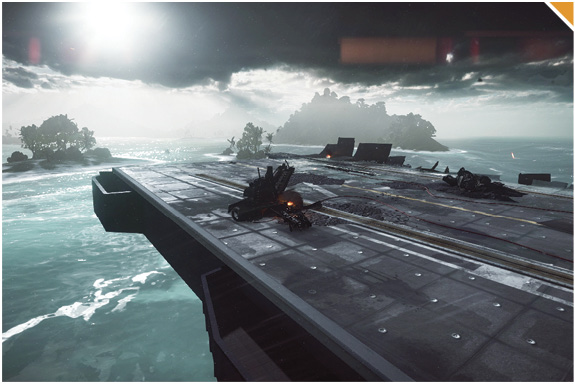
Shipwreck (E) is a destroyed aircraft carrier found at the south tip of the map.
The team who captures this control point will gain access to another scout helicopter. This will assist the team greatly so you can move around the map faster, as players will want to avoid swimming on this larger map.
The team who captures the Shipwreck (E) should focus on controlling both Firebase Island (C) and Solar Island (D). These are the nearest control points to the Shipwreck (E), which allows players to react to what the enemy is doing.
Upon capturing, PWCs appear. Infantry units should use these to head back to land to assist fellow squads in capturing and defending Firebase Island (C) and Solar Island (D).
The destroyed aircraft carrier has an opening that leads inside of it. This is a great place for defenders to hide and take cover from attack boats and helicopters. This forces the opposing team to take the fight to the ground where you will be waiting for them.
Conquest Small
Recommended Squad Composition:
This is a battle of water and air superiority, with five control points lined up from north to south. The five control points the US team and CN team will be battling over are Dockyard (A), Barracks (B), Firebase Island (C), Solar Island (D), and Shipwreck (E). With five flags up for grabs, your team will need to capture three control points in order to drain the opposing team’s tickets. The best strategy for the US team will be to hold the Dockyard (A), the Barracks (B), and Firebase Island (C). By building a perimeter around the Barracks (B), the US team can send players either north or south to support teammates in the Dockyard (A) and Firebase Island (C).The CN teams should try to hold the Dockyard (A), the Barracks (B), and Solar Island (D), as well as the Shipwreck (E) if the US team isn’t putting up much of a fight. The Shipwreck (E) is positioned on the south end of the map, but closer to the CN base. The CN team will need their attack boat to patrol the south side, warding off the US attackers as they try to flank Solar Island (D) and push towards the Shipwreck (E). The US team can extend their defensive perimeter to capture the Shipwreck (E) as well, but defending four flags on this large map can be difficult, so be warned. Regardless of what team you are on, prepare for a mix of defending against constant vehicle attacks and close-quarter combat fighting on one of the many islands on the map. With so many vehicles, it is suggested to have a few extra engineers to use target-locked launchers and support members to replenish the engineer’s ammo.
US Base
Base Assets
Name
PWC
RHIB
RCB-90
AH-6J Little Bird
Quantity
1
2
1
1
The US base is on the western edge of the map stationed atop a US aircraft carrier.
It’s a few hundred meters to shore and the US base provides plenty of vehicles—both air and water—to escort friendlies to land.
A squad should control a RCB-90 to cover the team’s light water vehicles as they head north to capture the Dockyard (A) and the Barracks (B). The light water vehicles are fast-moving vehicles that will allow you to reach these control points quickly.
Fill every seat of the transport helicopter and head east towards Firebase Island (C) where two passengers should jump down to score an easy control point. Once the passengers are dropped, immediately head south towards the Shipwreck (E) to provide airsupport for the remaining squads who rushed this objective at the start.
The CN team has a handful of vehicles as well, so stock up on engineers to aid your team in destroying the enemy’s vehicles. Having engineers near squad vehicles will score you easy points as you can repair them when they take damage. Keep your squad vehicles in tip top shape as they will lead you to victory.
CN Base
Base Assets
Name
PWC
RHIB
DV-15
Z-11W
Quantity
1
2
1
1
Positioned on an island to the east, the CN base is too far from every point by foot. It is crucial to jump in as many of the vehicles at your disposal as you can.
Take an attack boat to any point except for the Barracks (B), where this powerful boat will be ineffective. Take your transport helicopter to drop off your squad at the Barracks (B), Firebase Island (C), or Solar Island (D) where they can effectively move around from objective to objective.
You will encounter many vehicles throughout this map. Have three engineers in your squad the entire game to be able to deal with these threats and repair your own vehicles.
Air combat is not as big of a threat on this map. Have your engineers equipped with surface-to-surface missiles to deal with all the light water vehicles you will encounter.
As a squad, try to all not be in the same vehicle. This way the enemy can’t win a fight, wipe out your whole squad, and decrease Field Upgrade progress. Being slightly split up can also guarantee that at least one of your squadmates will be able to give you a good spawn if you die.
A: Dockyard
Control Point Assets
US Control
CN Control
RCB-90 (1)
DV-15 (1)
This control point positioned north of the cluster of islands is a loading dock that can be challenged from land or the surrounding water.
Upon capture of this control point, you have your choice of pushing by land over to the Barracks (B) or taking one of the light water vehicles that spawn and flanking around to another objective.
On the very top of the radar building to the south of this objective, there is a M82A3 MID sniper battle pickup. You are in prime position to either hold back enemies running across the open area near the Barracks (B) or pick off a few enemies before pushing over and taking the objective.
When defending this control point on land be very careful, because you have less cover than you think. Most of your small buildings and boxes will be nonexistent after a few rounds fired from the enemy team.
B: Barracks
Control Point Assets
US Control
CN Control
RHIB (1)
RHIB (1)
This flag is located north towards the middle of the map. The Barracks (B) is covered by a small gate with a shrine next to the flag. There are also four different buildings surrounding this control point, so cover shouldn’t be hard to find.
After securing the Barracks (B), look to move towards the next closest objective, which will be the Dockyard (A). This will help you keep control or regain control as you can move from objective to objective because they are both on the same island.
When attacking this control point, have one squad make their approach by air and drop near the northern part of the Barracks (B). While doing this, have a second squad make their way towards the southern part by using some light water vehicles and attack boats.
When defending this control point, make full use of the buildings by having a recon and engineer classes inside any of these buildings. This will assist in taking out transport helicopters and infantry units that reach this objective.
C: Firebase Island
Control Point Assets
US Control
CN Control
PWC (1)
PWC (1)
This flag is located closest to the US base and farther west of the CN base. Firebase Island’s (C) biggest feature is the massive four-story building, which has a clear view of the whole island. There also is a long trench right by the flagpole that can be used for hiding from the enemy and contesting the control point.
Levolution takes place at this control point and splits the island in half. This will completely destroy the building located here and kill any players inside and around it. Once the destroyer has run ashore, the ship’s autonomous AA cannon opens fire on enemy aircraft. Keep control of this flag to maintain control of the destroyer’s AA cannon.
The PWCs come in handy for quick travel to the nearest islands. The .50Cals on the island will help defend against incoming enemies approaching from the water.
When attacking this control point, use a stealth jet to lay down some heavy fire on the main building and do as much damage as possible. This should kill or force any recon units posted on the roof of the building to take cover, making them useless.
When defending this control point, have engineers equipped with IGLAs or Stingers to take out any scout helicopters. This will limit enemies, forcing them to approach by water.
D: Solar Island
Control Point Assets
US Control
CN Control
PWC (1)
PWC (1)
This control point lies west of the CN base with a building surrounded by solar panels and sandbags that are used for cover.
Upon capturing, a PWC spawns. Use the PWC to reach enemy control points quickly and annoy them by constantly contesting their control points.
The island has three stationary weapons: a .50Cal and two HJ-8 Launchers. These will help teams defend against both air and water vehicles.
This map allows you to capture and contest many of the flags from a distance in the water. When going for the capture, take advantage of this and dive underwater near the shore to confuse the enemy and buy time for your team.
The roof of the building on the island provides a great view for recon classes to snipe from and watch the flag. This building provides great cover when attack boats or helicopters come to attack, but be careful—the building can be destroyed.
E: Shipwreck
Control Point Assets
US Control
CN Control
PWC (1)
PWC (1)
AH-6J Little Bird (1)
Z-11W (1)
Shipwreck (E) is a destroyed aircraft carrier found at the south tip of the map.
The team who captures this control point will gain access to another scout helicopter. This will assist the team greatly so you can move around the map faster, as players will want to avoid swimming on this larger map.
The team who captures the Shipwreck (E) should focus on controlling both Firebase Island (C) and Solar Island (D). These are the nearest control points to the Shipwreck (E), which allows players to react to what the enemy is doing.
A PWC spawns here for both teams. Infantry units should use the PWC to head back to land to assist fellow squads in capturing and defending Firebase Island (C) and Solar Island (D).
The destroyed aircraft carrier has an opening that leads inside of it. This is a great place for defenders to hide and take cover from attack boats and helicopters. This forces the opposing team to take the fight to the ground where you will be waiting for them.
Rush
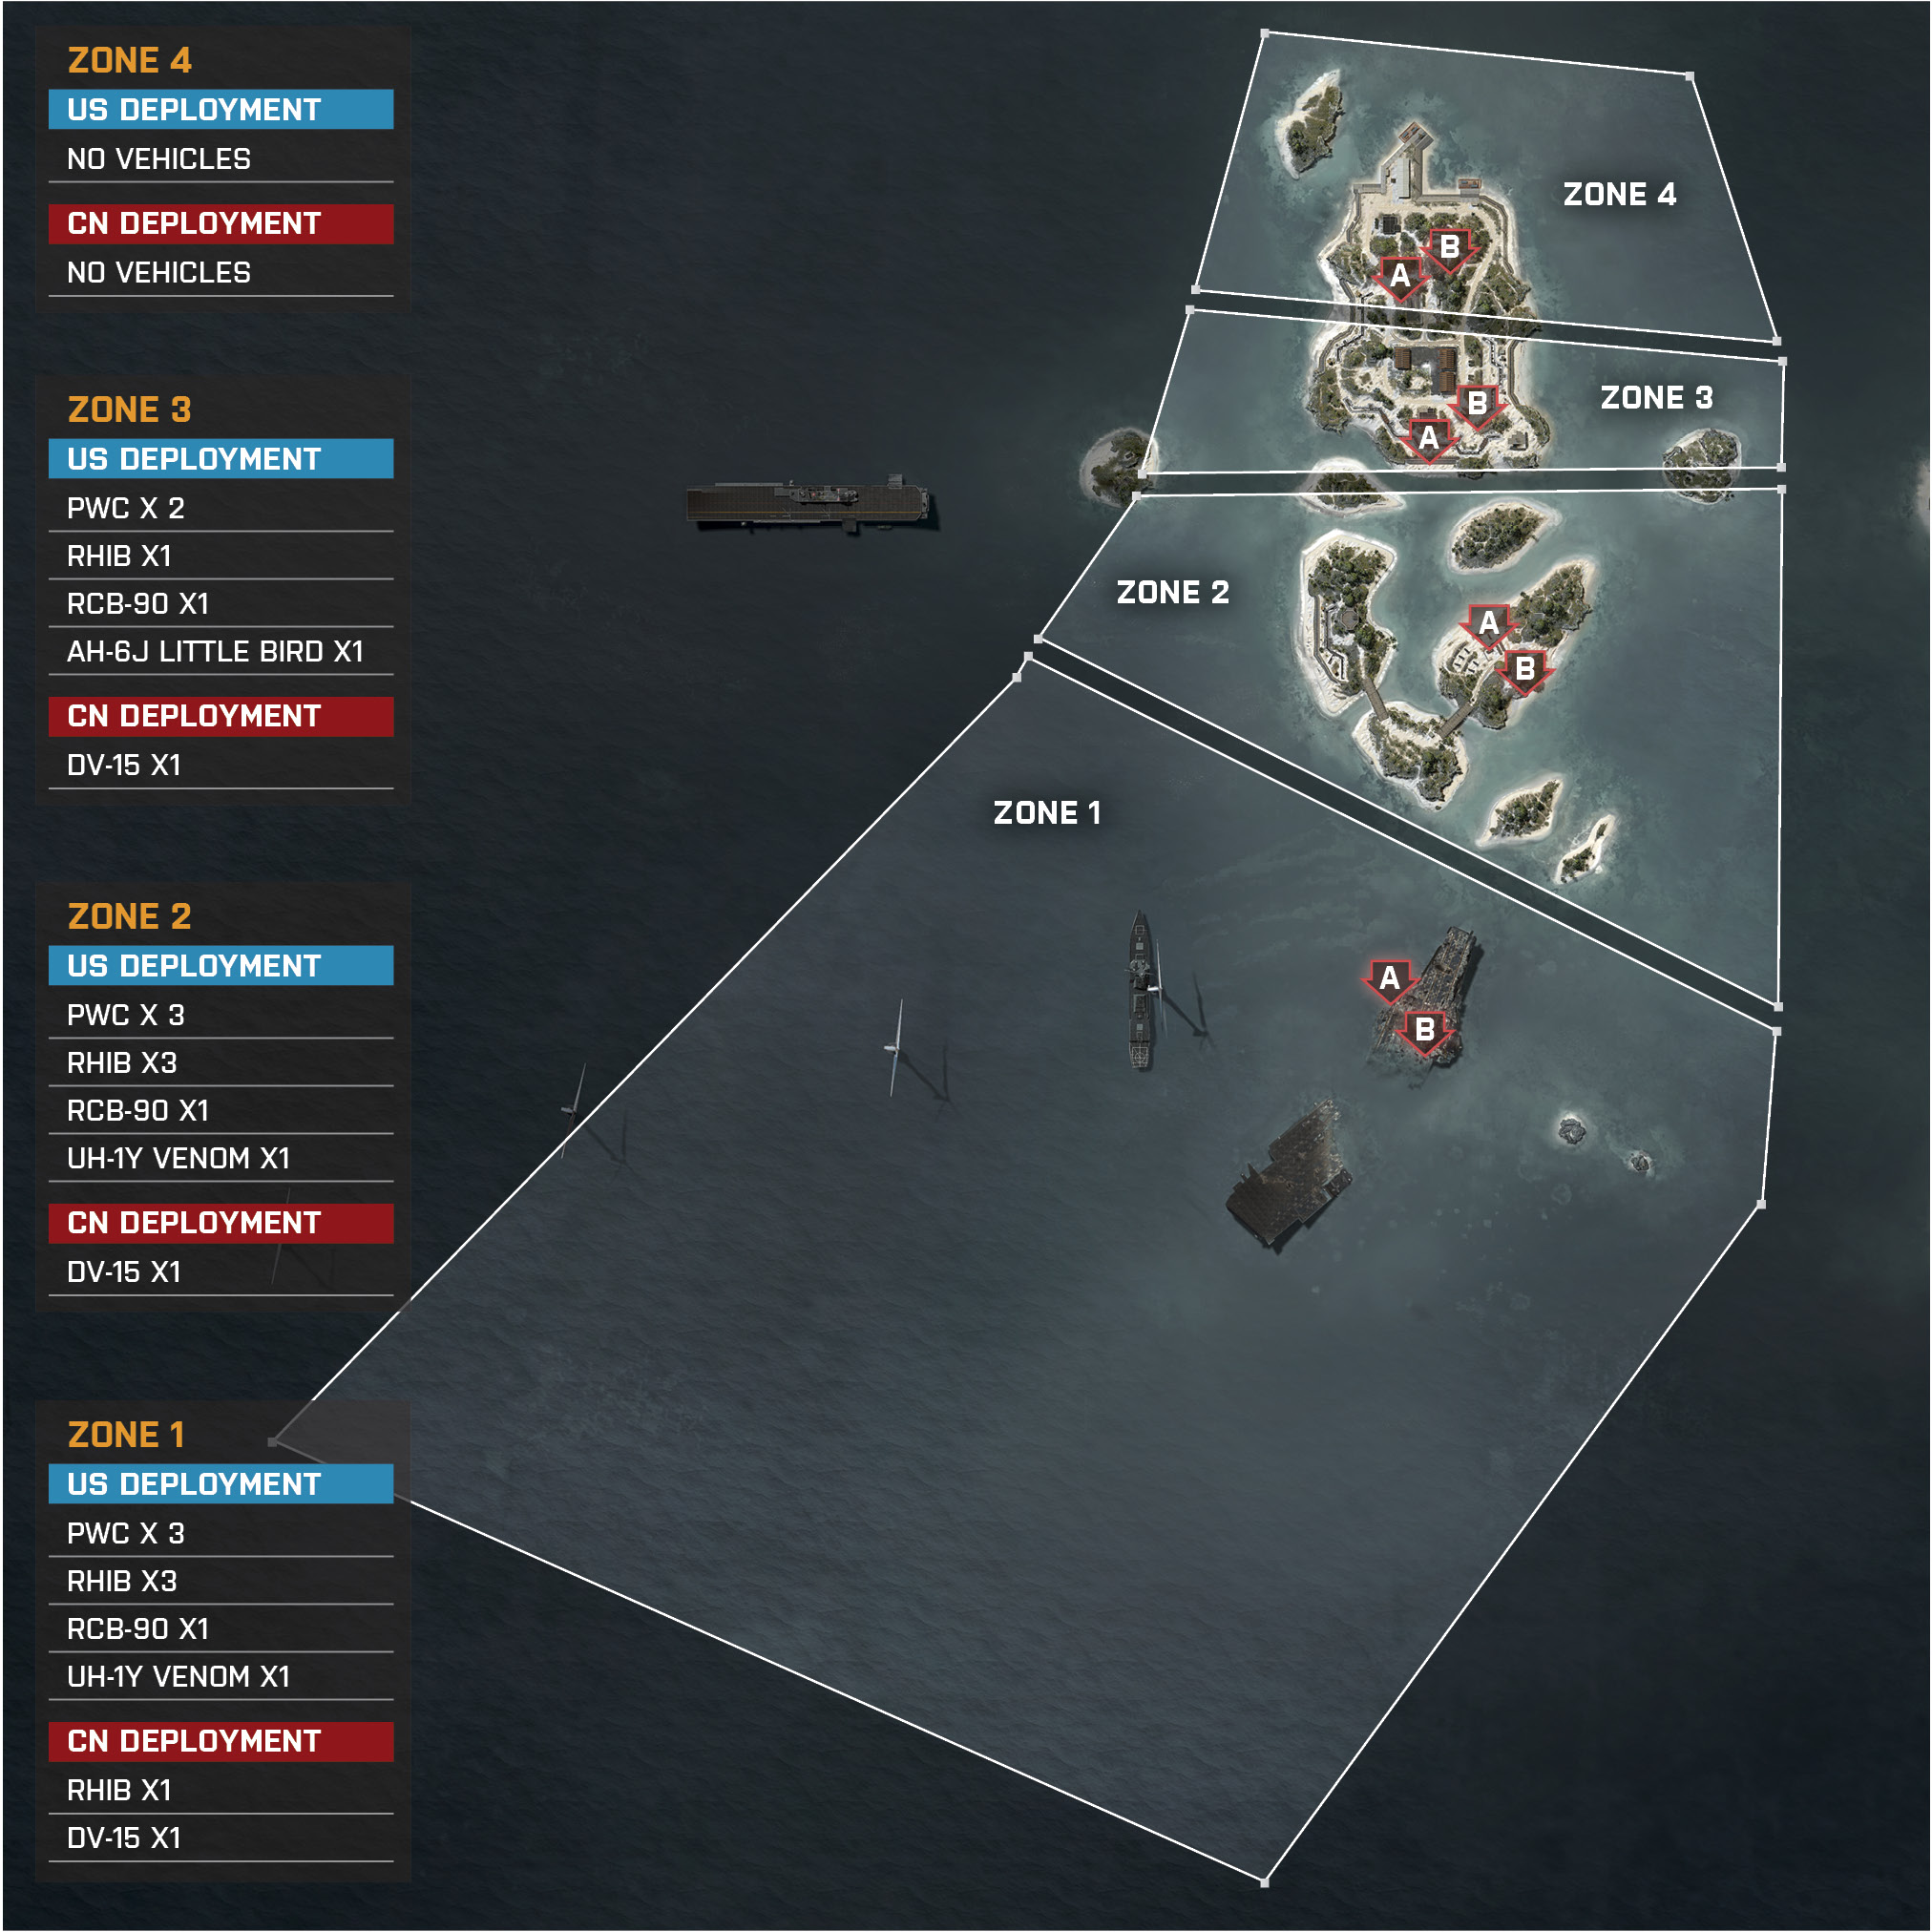
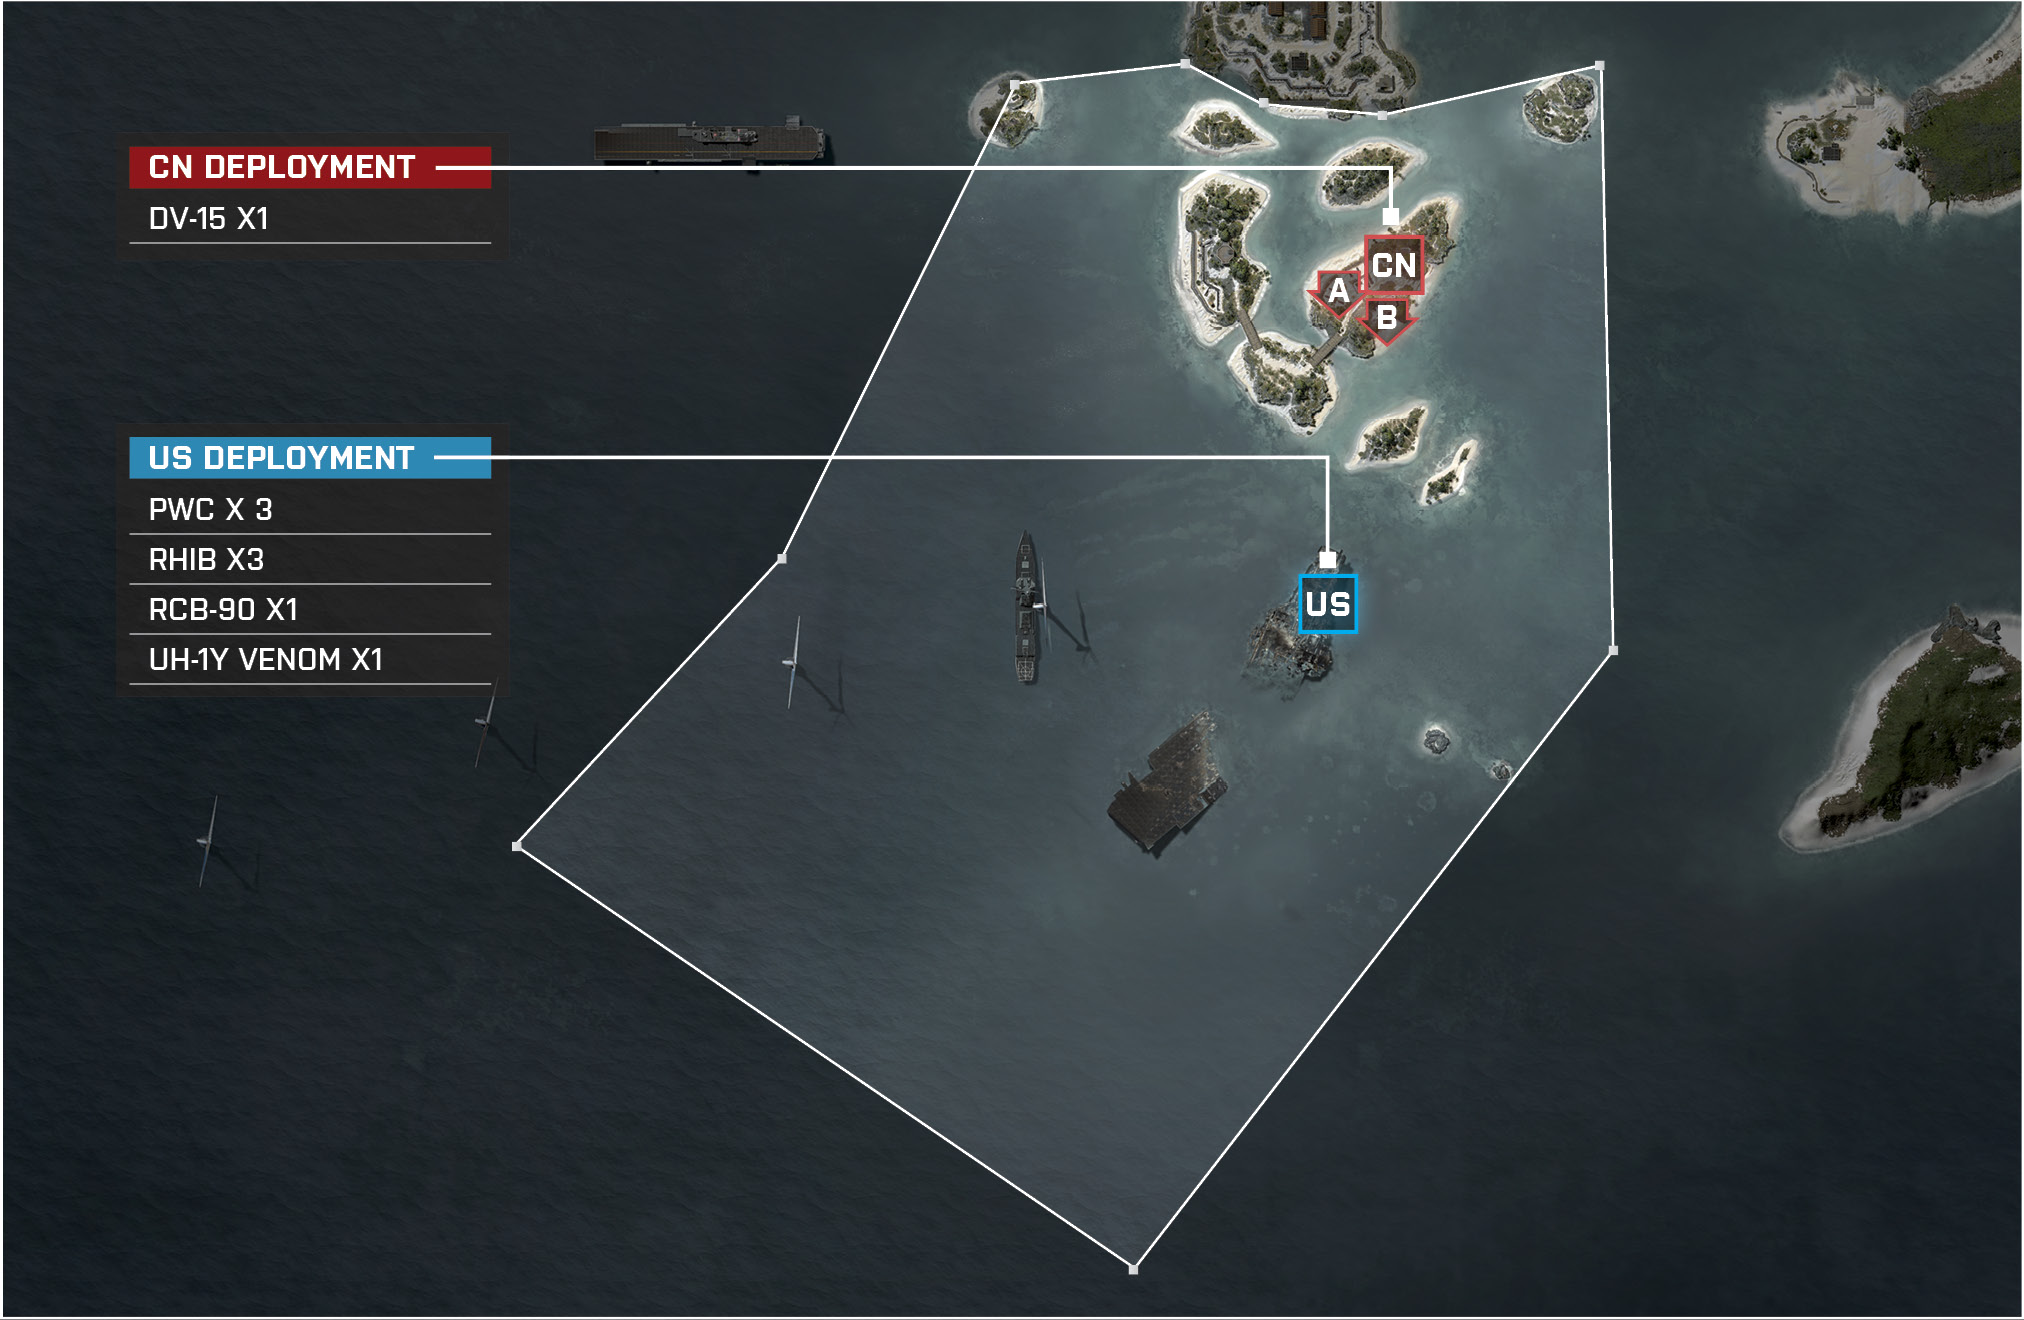
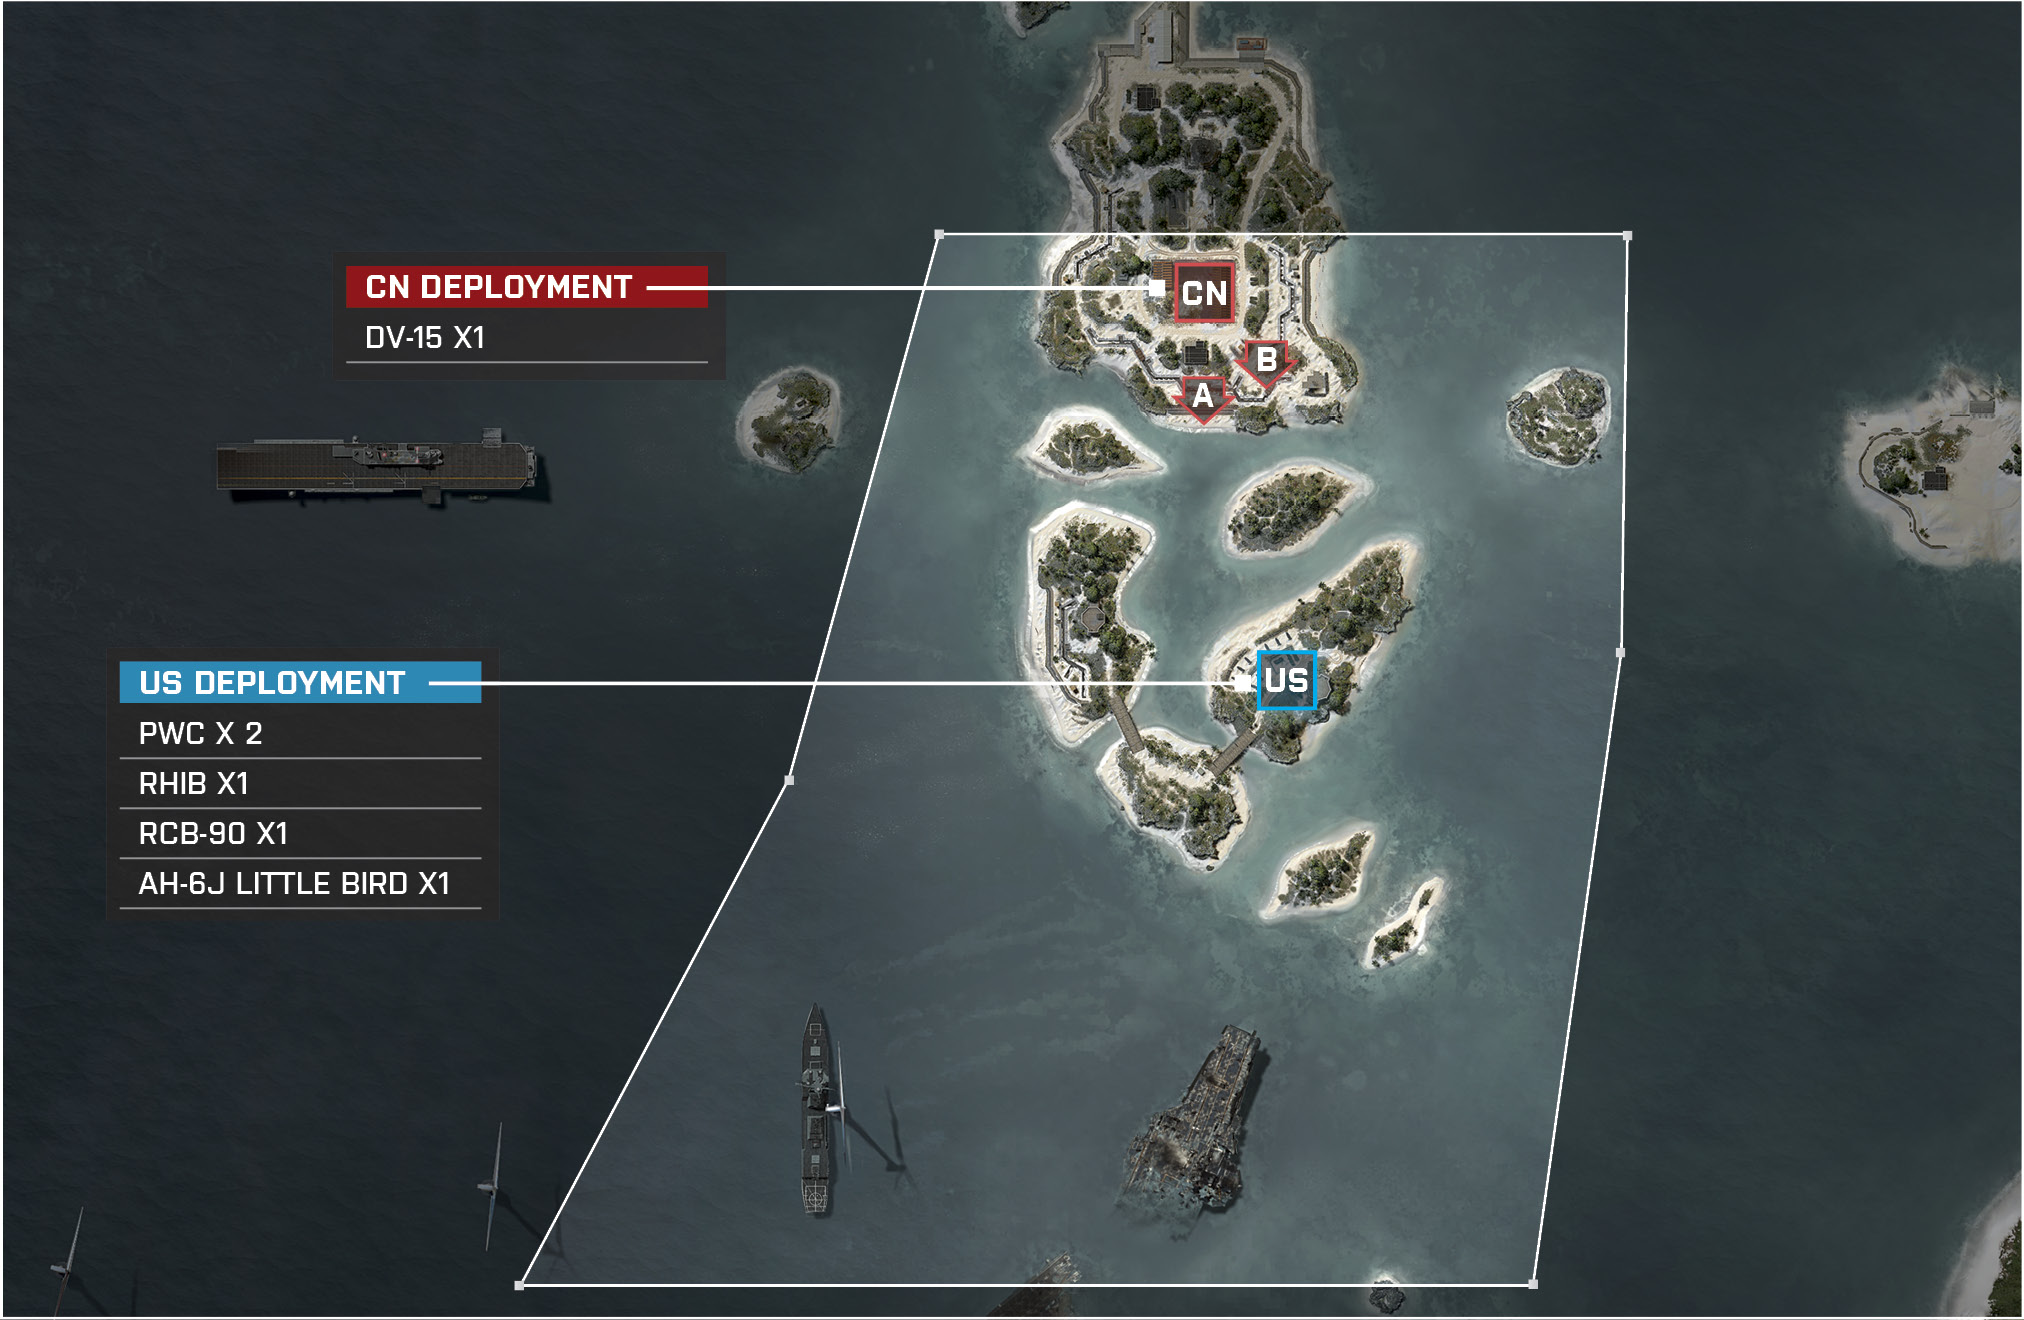
In this epic naval brawl, the US team must arm eight M-COM stations across four different zones. Both teams will be offered a variety of action, including intense attack boats duels, aerial assaults, and close-quarter infantry engagements. The US team will start on an aircraft carrier, make their way towards the Shipwreck, and proceed to Zone 4 in the Dockyard. With four zones to defend, the CN team has their work cut out for them. The CN team will have a tough time defending the objectives spread throughout the Shipwreck. Have recon players sit on the south tip of the destroyed carrier and snipe the attackers as they try to take off from their carrier. Don’t get nervous if you are on the defending team and get pushed backed to Zone 3 or even Zone 4. Zone 4 is in the Dockyard with a radar tower that allows the CN team to set up a strong defensive perimeter. Attackers will have various vehicles to help complete the objective throughout the first three zones until Zone 4 in the Dockyard. Take advantage of these vehicles and then switch to close-quarter classes to successfully complete the mission.
Zone 1: Shipwreck
US Deployment
Recommended Squad Composition:
Deployment Area Assets
Name
PWC
RHIB
RCB-90
UH-1Y Venom
Quantity
3
3
1
1
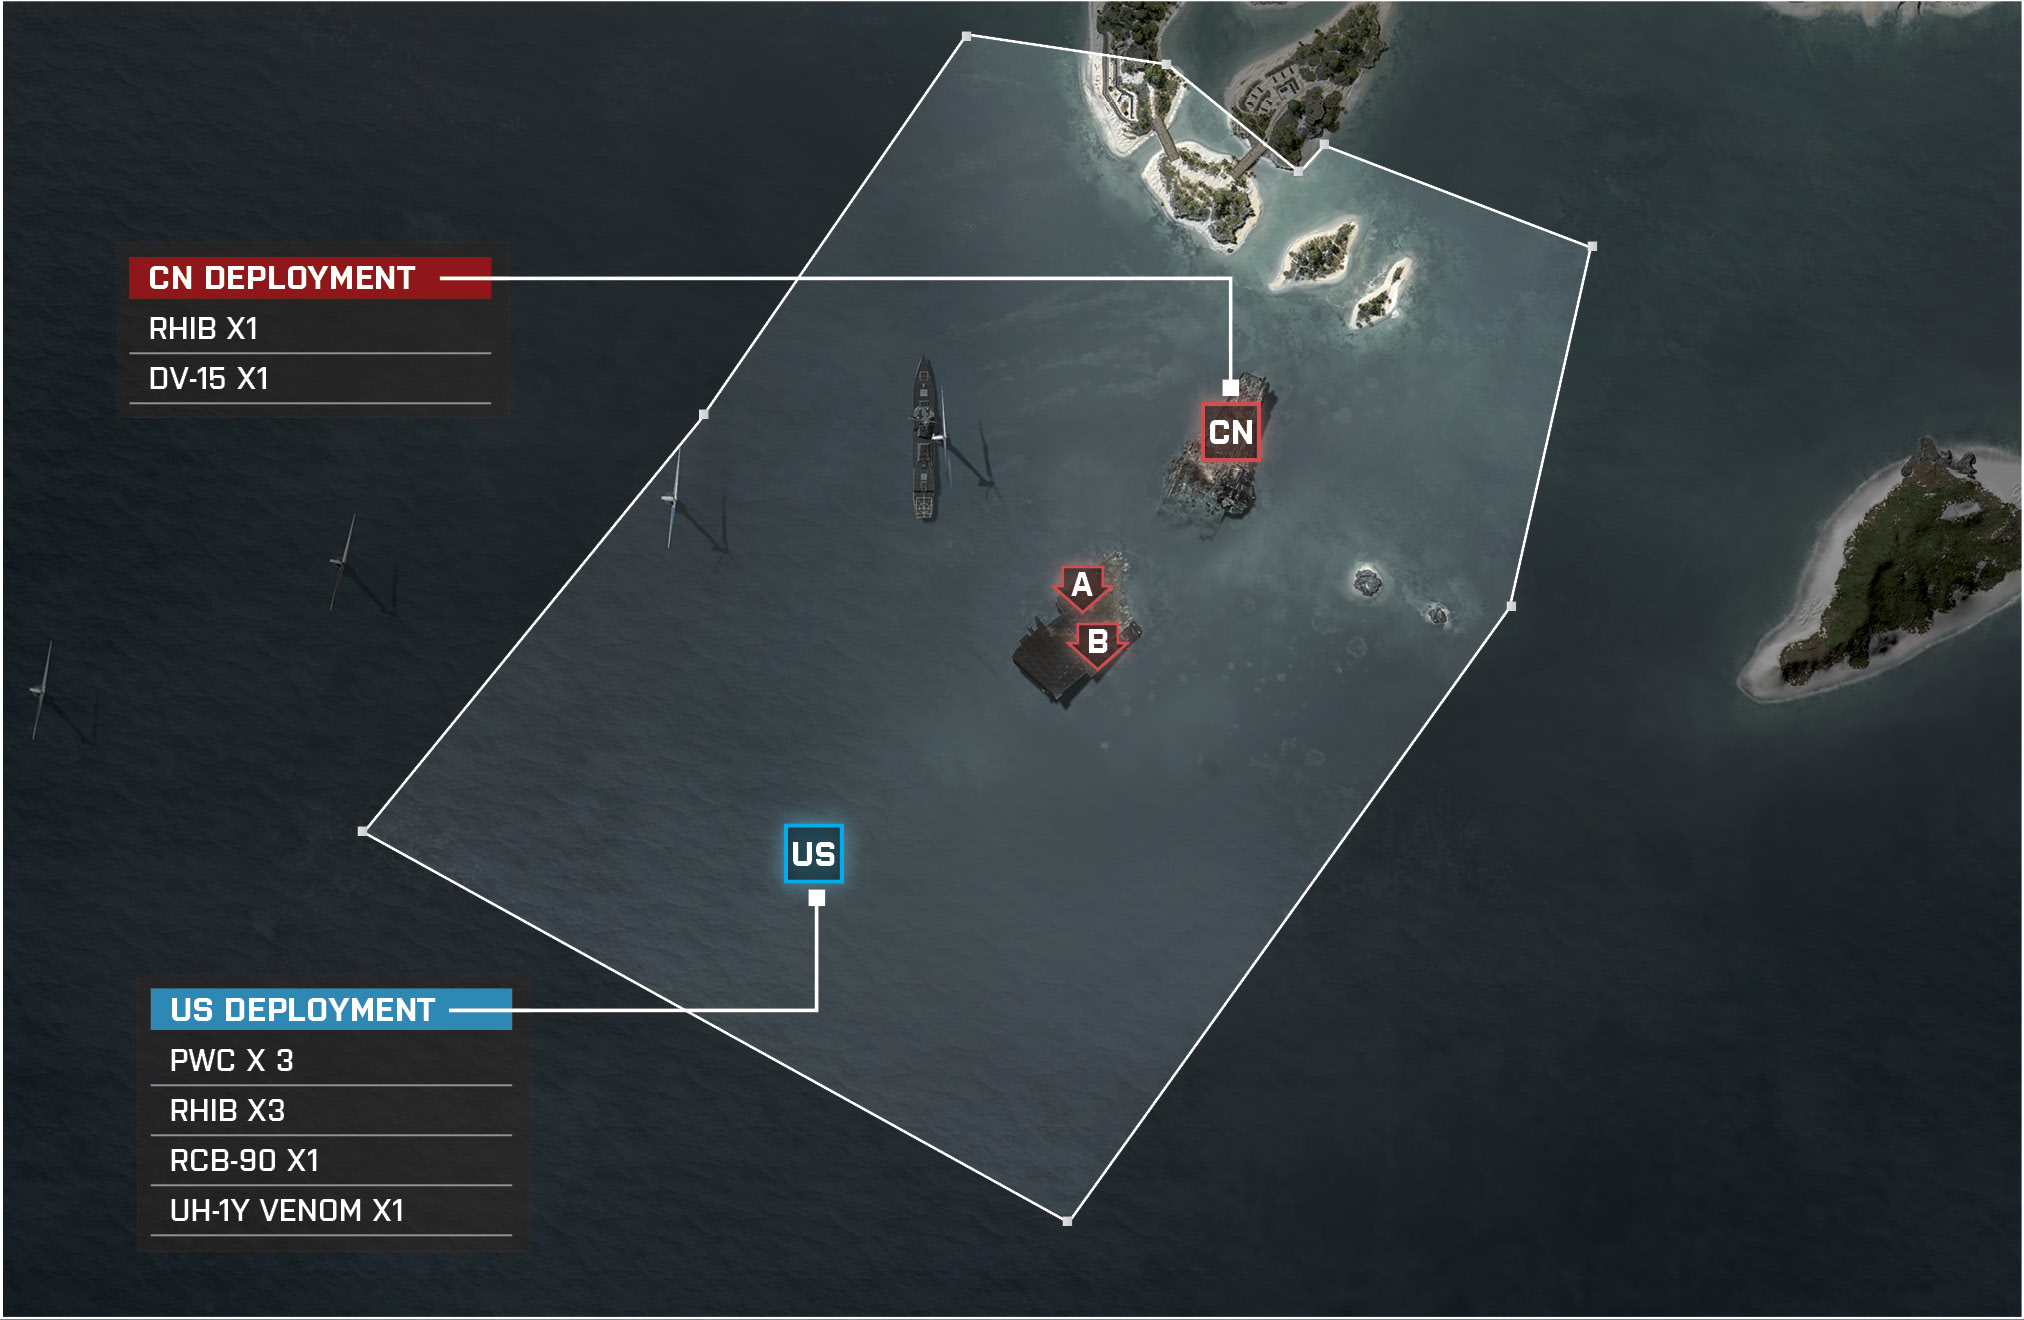
The US deployment is to the southwest of the half-sunk aircraft carrier where both M-COM stations are located. Wait for your entire team and make a push together. Don’t leave anyone behind to swim.
The RCB-90 is your most valuable vehicle, so send out your scout helicopter and light water vehicle ahead to spot the enemy’s attack helicopter and attack boat. Eliminating these threats and keeping your RCB-90 will be one of the biggest keys to victory on this zone with all the cover fire it can provide.
Send one of your light water vehicles to the southwestern half of the broken battleship with a recon member. This way you can have a Radio Beacon and a sniper for backup, which will allow you to spawn near the action if you die. More importantly, use your sniper and get some easy kills by picking off all the enemies near the M-COM stations that will only have mid- to close-range weapons.
Your squad initially needs to be composed of multiple engineers to deal with all the vehicles of the defending CN team. After you make it to the battleship, switch to your best mid-range support or assault class.
With all the early threat of vehicles, you must also be careful to not get sniped by enemy recon players on the southwest edge of the broken battleship. Take all the enemies out on this half of this ship first so they can’t shoot you from behind as you try to arm the M-COM stations.
CN Deployment
Recommended Squad Composition:
Deployment Area Assets
Name
DV-15
RHIB
Quantity
1
1
The CN deployment is positioned on the north side of the Shipwreck that holds both M-COM stations.
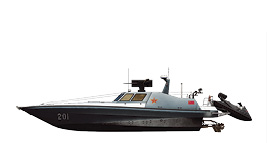
The CN team has an attack boat. This will play a huge role when stopping the attacking vehicles, which outnumber the defenders. The attack boat should stay near the destroyed aircraft carrier, allowing fellow engineers to support against nearby threats.
Being outnumbered in vehicles, add a few extra engineers to your squad. Your team’s vehicles will need all the assistance they can get when fighting the enemy.
Send infantry units to the destroyed aircraft carrier. There is a level inside the carrier near M-COM Station B that you will use to catch the enemy by surprise if they board the destroyed aircraft carrier.
On the south side, the tail of the carrier is tilted, providing great cover for snipers. Send a squad with a recon class or two and pick off as many attackers as you can before the enemy reaches the destroyed aircraft carrier.
M-COM Station A
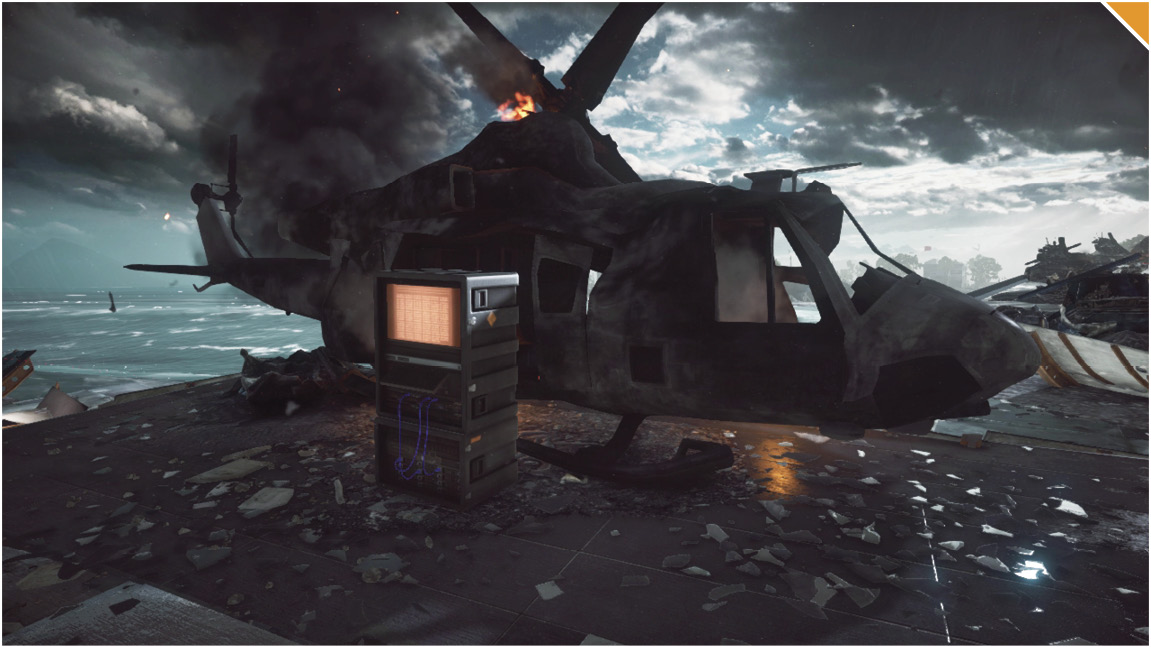
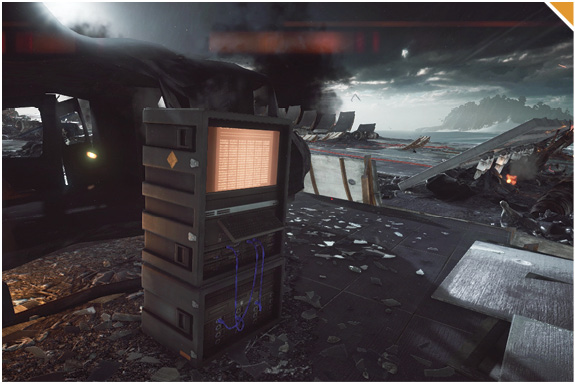
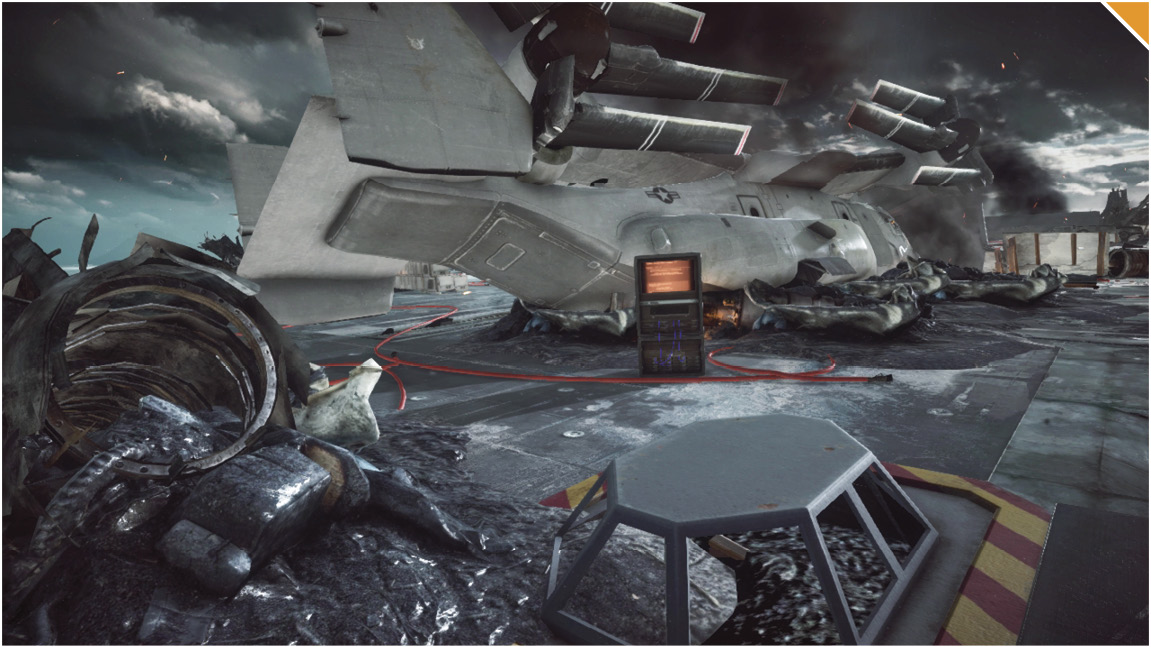
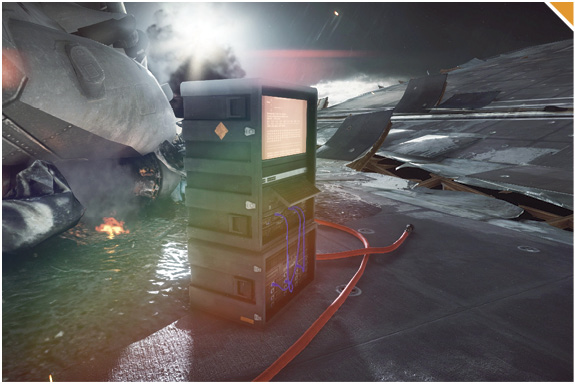
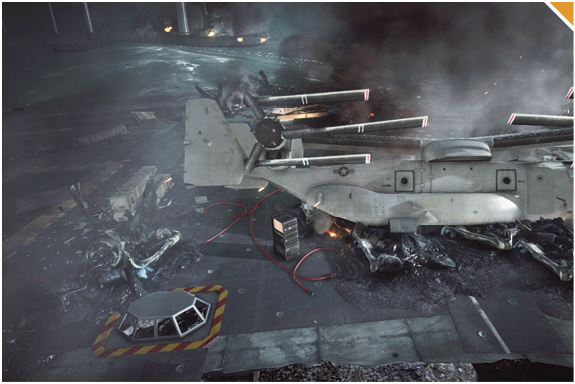
M-COM Station A is located towards the middle of the destroyed ship, and is behind a downed transport helicopter.
Defending for the CN team will be very hard, given that the only cover you can use is the debris scattered around the area.
When attacking, have the scout helicopter relay information on the enemy location and numbers. This will help direct the attack boats and light water vehicles on where the weakest points of defense are and show where to make their approach.
Since there is little to no cover for the defenders, attacking the other objective will make M-COM Station A very easy to capture by taking out remaining enemies with the scout helicopter.
Defend M-COM Station A with a few engineers equipped with the FIM-92 Stinger to take out helicopters and the FGM-148 Javelin for attack boats.
M-COM Station B
This M-COM station is positioned on the south end of the shipwrecked aircraft carrier. There is much rubble and wreckage around this objective for defending this control point. This cover with prove to be very useful for the defending team.
When defending, use this area for cover and prepare for incoming enemies unloading on the south end of the Shipwreck.
When the attacking team takes over this area, they can use the cover to stay alive and spawn more squad members here.
When attacking, push to get infantry onto the shipwrecked aircraft carrier. Spawning teammates here will prove to be immensely helpful. Get as many infantry units near this area as you can to gain control and capture the objective.
When defending, take advantage of the wreckage by laying down Claymores. These Claymores will blend in with the wreckage, making them nearly impossible to detect.
To the west and north of this M-COM station lies a underwater ramp that leads inside the carrier. This will provide incredible cover from enemy attacking helicopters. This underwater hallway also allows you to surprise the enemies arming this station.
Zone 2: Solar Island
US Deployment
Recommended Squad Composition:
Deployment Area Assets
Name
PWC
RHIB
RCB-90
UH-1Y Venom
Quantity
3
3
1
1
You start at the same deployment location, but this time you are much farther away from the new M-COM stations that are located on the largest island to the northeast. Like last time, leave no man behind—it is too far of a swim.
The enemy only has one attack boat. Send your RHIBs, PWCs, or scout helicopter to spot where this is located so you can take it out. Be careful when circling the islands in your watercraft. There are a few threatening HJ-8 Launchers and .50Cals that will do massive damage if they are not taken care of.
Be sure to leave a squad member behind on the southwestern island to give cover fire and good spawns until it is safe to push up. You do not want to have your squad wiped out and force you to start all the way back at the US deployment.
Make it a priority to first clear out the M-COM Station B building before trying to go for M-COM Station A. The enemy can easily pick you off from this building and cost you precious tickets if you don’t go for this objective first.
If the M-COM Station B building is proving difficult to take over, make sure to target the enemy’s cover by destroying the walls. This will expose them and allow you to take control by getting easier kills.
CN Deployment
Recommended Squad Composition:
Deployment Area Assets
Name
DV-15
Quantity
1
If the battle is lost on the Shipwreck, the CN deployment will be pushed back to Solar Island.
The defender’s only vehicle is an attack boat, but don’t worry—Solar Island has many stationary weapons to use when warding off attacking vehicles.
Having an engineer with the Repair Tool will allow your attack boat to put a dent in the attacking team’s tickets. The engineer will also score some easy points for repairing the vehicle.
The roof of the building located on Solar Island can be reached by taking the stairs inside. A squad composed of engineers and recon players will benefit from the multiple vantage points provided.
The building provides cover inside. When defending, it will be easier to watch M-COM Station B from the first floor of the building. There are open windows that allow you to spot attackers who go for the arm.
M-COM Station A
This station is located behind a large satellite and right next to a truck. It is completely covered by sandbags with a building to the west of M-COM Station A.
For the CN team, vehicles will not be of much use since the only one that spawns is the DV-15. The building near M-COM Station A will be used primarily as a point of defense, giving your team plenty of angles to work with.
When attacking M-COM Station A, have a scout helicopter to transport a few teammates to the island just south of the objective. Have another squad make their way via attack boats and light water vehicles to the west side of M-COM Station A. This will ensure that one of the two routes will be successful.
Focus on gaining control of the building next to M-COM Station A when playing as the attacking team. Have a few assault classes infiltrate the building and clear out any remaining defenders.
When defending M-COM Station A, use recon and engineer classes and make your way inside the building near this station. The recon class should lay down a Radio Beacon to keep teammates spawning nearby and to retain control. The engineer’s main focus should be to take out any vehicles that may approach from the air or water.
M-COM Station B
Located on Solar Island, this objective is placed outside the east part of a building.
When defending this objective, use the windows to have both great cover and a great view over incoming enemy boats dropping off infantry.
When defending, beware that the building adjacent to M-COM Station B can be destroyed. Take out the incoming enemy with engineers before the attackers can accomplish this.
The roof of the building will prove useful as it is a great vantage point to take out incoming enemies.
When attacking this objective, take over the building adjacent to M-COM Station B. Spawn your squad here to have easy cover and control of this area.
You can take down the building adjacent to M-COM Station B with explosives and attack boats by destroying the walls on each floor of the building. This will eliminate all cover the defenders have for this objective.
Zone 3: Barracks
US Deployment
Recommended Squad Composition:
Deployment Area Assets
Name
PWC
RHIB
RCB-90
AH-6J Little Bird
Quantity
2
1
1
1
The US team spawns to the south of both M-COM stations. You are much closer now that you spawn in the cluster of islands, but taking one of your watercraft will still be the faster way to travel.
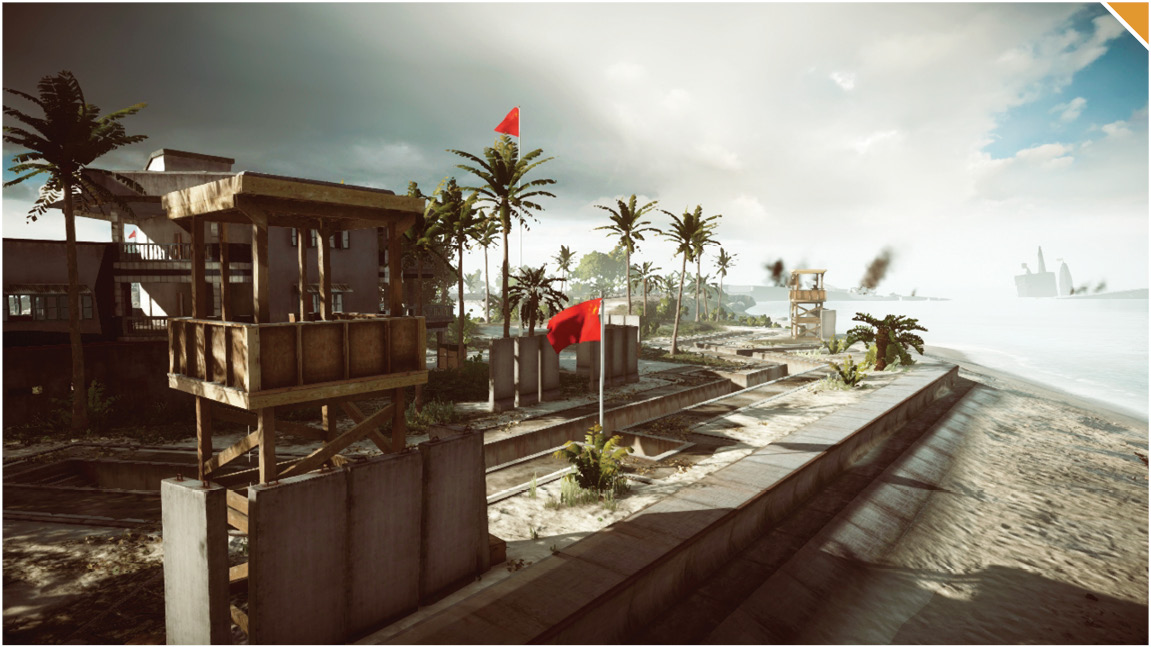
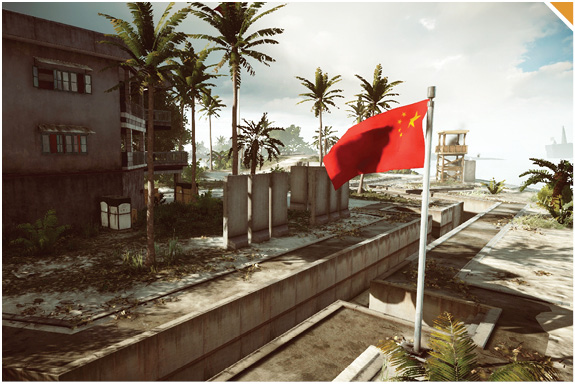
The shoreline on the island with both M-COM stations is heavily armed. Take out the watchtowers and concrete blocks before landing on the beach to reduce the defender’s cover.
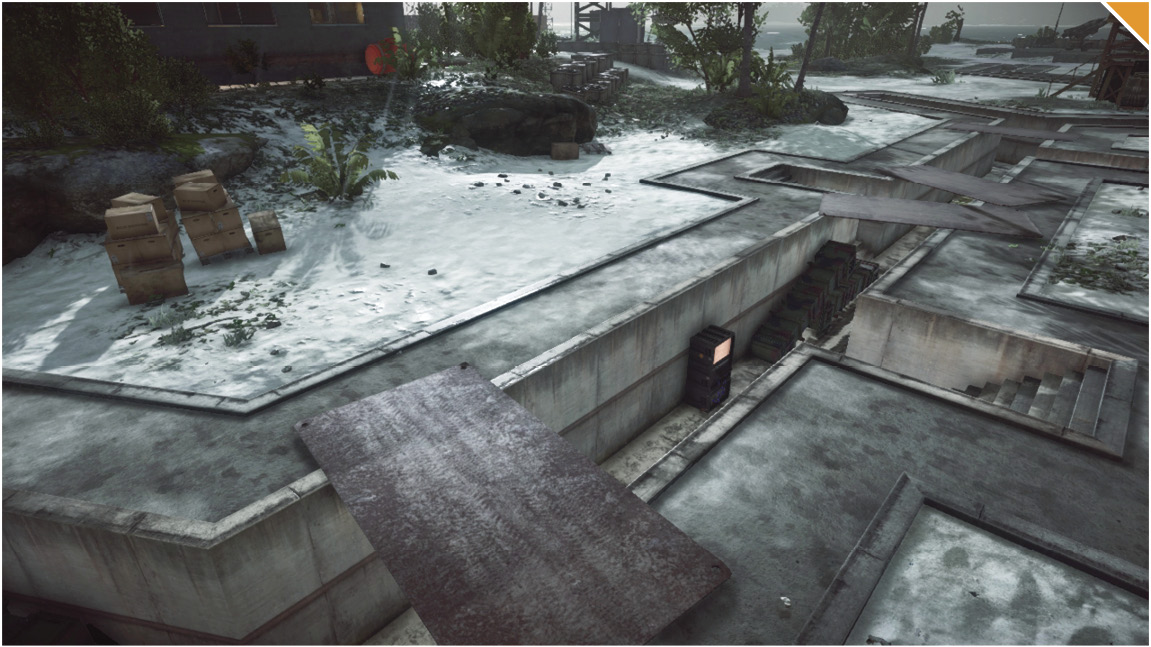
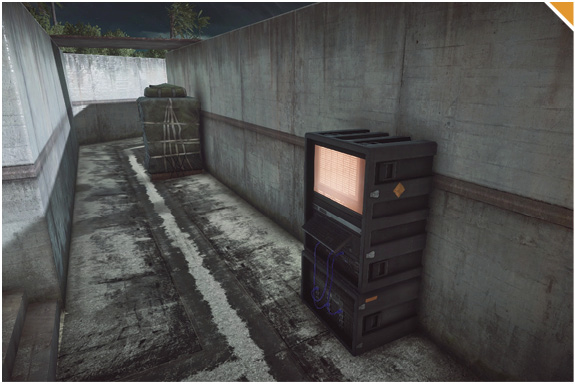
Be careful when running through the trenches on the beach here. The enemy team will likely place M18 Claymores in these dark, narrow areas.
Get control of the building to the north of M-COM Station A. This will allow you to cut off enemy reinforcements, and the roof will give you a bird’s eye view of the entire surrounding area.
The enemy only has one DV-15, which is very powerful, but the majority of this zone will be fought with infantry against infantry combat. Be sure to have a couple members of your squad as the assault class so you can save some tickets by reviving each other.
CN Deployment
Recommended Squad Composition:
Deployment Area Assets
Name
DV-15
Quantity
1
The US team succeeded in arming the objectives in the previous zone. The CN deployment is now pushed to the Barracks located north of Solar Island.
Both M-COM stations lie south of the CN deployment and are close to the shoreline.
The Barracks are surrounded by .50Cals and HJ-8 Launchers. These stationary weapons will aid when defending against attacking vehicles.
The building north of M-COM Station A is a great sniping spot. While one player snipes, the rest of the squad should push up to the trenches around the objective. This will provide great cover and the element of surprise once attackers reach the shoreline.
Classes with C4 and Claymores can set up traps along the trenches near both objectives. East of M-COM Station B is a trench that gives a great line of sight of the objective. Use this to kill any attackers that go for quick arms.
M-COM Station A
M-COM Station A is located just south of the Barracks inside a trench. You can find this area riddled with .50Cals and stationary launchers.
The CN team is going to rely heavily on these turrets and launchers to protect M-COM Station A, since the team will only have one attack boat at their disposal.
When attacking M-COM Station A, you are going to want to split the defender’s forces and focus on drawing their attention elsewhere. Have a scout helicopter make its way towards the west and have watercraft come from the south.
Place Claymores in these trenches to pick up easy kills and alert you when the enemy is getting close to the objective. Try to clear the enemies out of these trenches before they can spawn their teammates.
M-COM Station B
This M-COM station is located northeast of M-COM Station A on the Barracks. This objective has crates placed around it for minimal cover.
Surrounding this objective you’ll find destructible guard towers equipped with .50Cals. By taking out these towers, you’ll take out the .50Cals as well.
When defending, use the trenches east, west, and south of the objective for great cover to drop in when taking fire.
When attacking, to take control of the building north of M-COM Station A make a flank around the east side of M-COM Station B near the beach. Once here, you can head west following the dead zone marker where the enemy will not expect you to be.
When defending, use the roof of building west of the objective to take advantage of the higher position with the recon class to snipe any incoming infantry. This overview will provide for great position to spot incoming enemies as well.
Zone 4: Dockyard
US Deployment
Recommended Squad Composition:
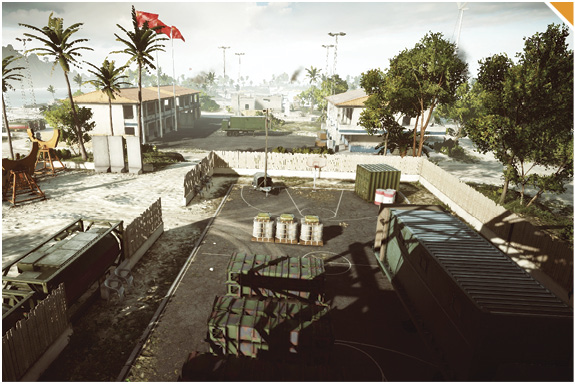
For this last zone, the US deployment is directly south of both M-COM stations, which are located in a basketball court and at the base of a radar tower. M-COM Station B is the most difficult to arm.
With no vehicles on this zone for either team, make sure to have to your squad comprised mainly of assault, recon, and support classes to eliminate the 100% infantry army that you will encounter.
Although M-COM Station B is located at the base of the radar tower, push up the stairs and take over the tower so you can control the surrounding area. The last thing you want is to be killed over and over again from above.
Before your team tries to push up and take the radar tower, have a recon member sit back and snipe some of the enemies that are sure to be sitting on top of the radar tower out in the open. Take your time lining up these shots; you may only get one chance before the enemy starts to be more careful.
Flanking from the east and west sides of the island will allow your team to get behind the enemy and cut off reinforcements. Make sure a recon member of your squad places a Radio Beacon occasionally so your squad never has to spawn back at the US deployment.
CN Deployment
Recommended Squad Composition:
The attacking team has made it to the last zone and now have pushed you back to the Dockyard. This is your last chance to win the game, so bring your best skills.
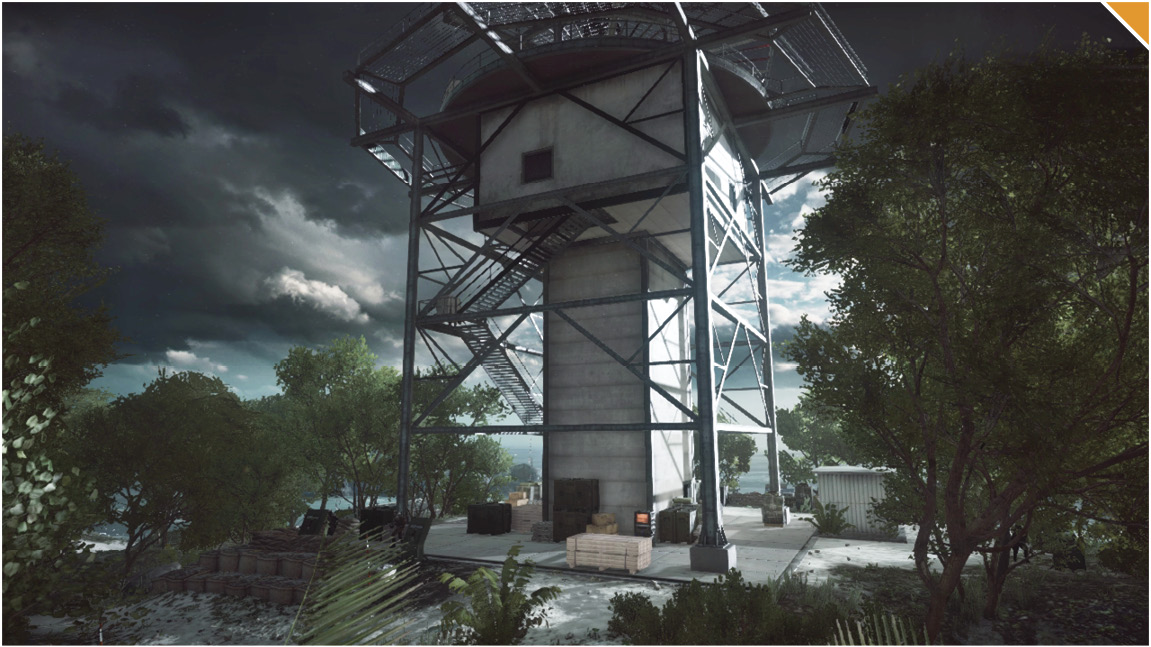
South of the base stands a radar tower. This tower provides a great overview of the map.
There are no vehicles for the team, but a handful of stationary weapons. Use these to lay down steel and keep the attackers back.
A squad will head up the flight of stairs to the top of the radar tower. Have two recon players providing cover from above. Players can easily watch over M-COM Station A, which sits in a basketball court just below.
The US team has no vehicles for this last zone. Be sure to have a squad composed of short- to medium-range players. Classes with Claymores and C4 will prove useful in planting the areas around the objective. This will lead to some easy kills and less tickets for the attacking team.
M-COM Station A
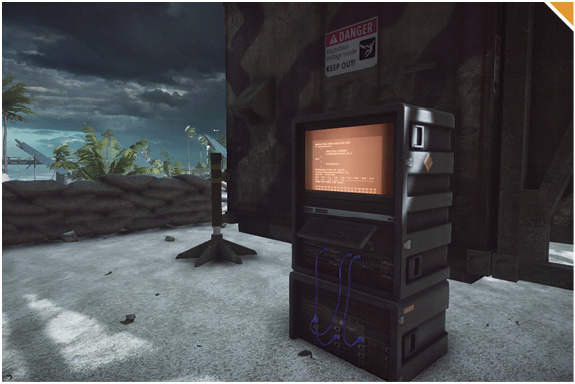
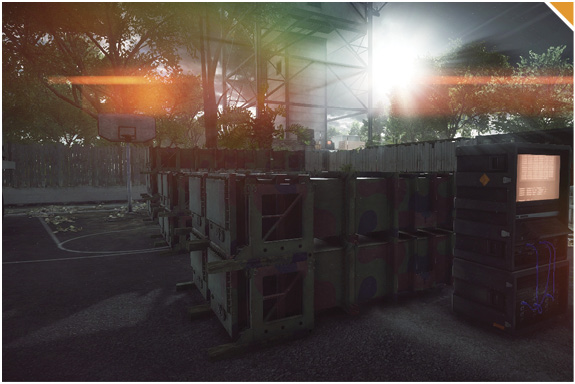
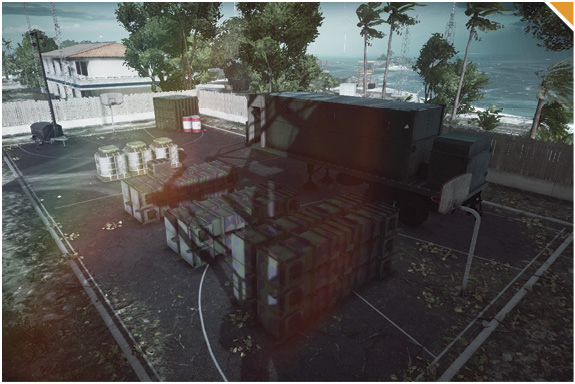
M-COM Station A is located just north of the Barracks in a small basketball court with a few crates around it and an explosive fuel tank right outside.
With no vehicles, once again the CN team will have to position recon classes on top of the large radar tower to spot any infantry making their way towards M-COM Station A.
The close area around the basketball court allows the defending team to set up C4 and Claymores in close proximity of the objective.
When attacking, destroy the fuel tanks outside of the basketball court to take out any defender prone near the objective.
The attackers will have an easier time arming M-COM Station A by knocking down the wooden fence around the court. Combining this with Smoke Grenades will force the defenders to leave their post on the radar tower, allowing your team to move to the next objective once M-COM Station A is destroyed.
M-COM Station B
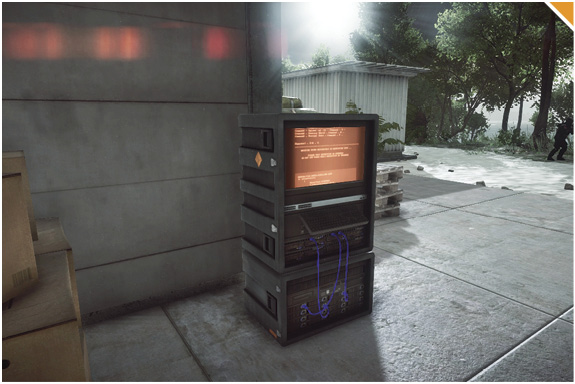
This objective is located on the south side at the base of the radar tower with very little cover surrounding it.
When defending, make your way up the radar tower to utilize the recon class. Sniping from the highest point on the radar tower will give you and your squad the advantage by spotting players and picking enemies off as they move forward towards the objectives.
When defending, place T-UGS within the radar tower to be alerted of the enemy attempting to make an arm or trying to sneak up the stairwell behind you.
South of the objective are two .50Cals. This will prove useful to take out the enemy ground infantry traveling on the south trail leading to M-COM Station B. After getting a couple kills, relocate so you aren’t a sitting target.
When attacking, a safer route to travel would be to the east and west of M-COM Station B, following the shoreline for a long flank. This route will be lengthy but well worth it when you get behind the enemy team.
Obliteration
Recommended Squad Composition:
The CN team looks to arm the three targets scattered around Firebase Island.
The US team aims to arm the three targets around Solar Island.
The bomb is located near the Barracks. There is a radar tower to the north. Sending recon players to the tower allows your team to control the Barracks.
Both teams should utilize their scout helicopters to move around squad members and the bomb carrier. The helicopter also provides great defense as it can quickly move around the map.
The attack boat is very effective when going for the arm. Bring this powerful boat near the targets and fire rounds to scatter the defenders.
Defuse
Recommended Squad Composition:
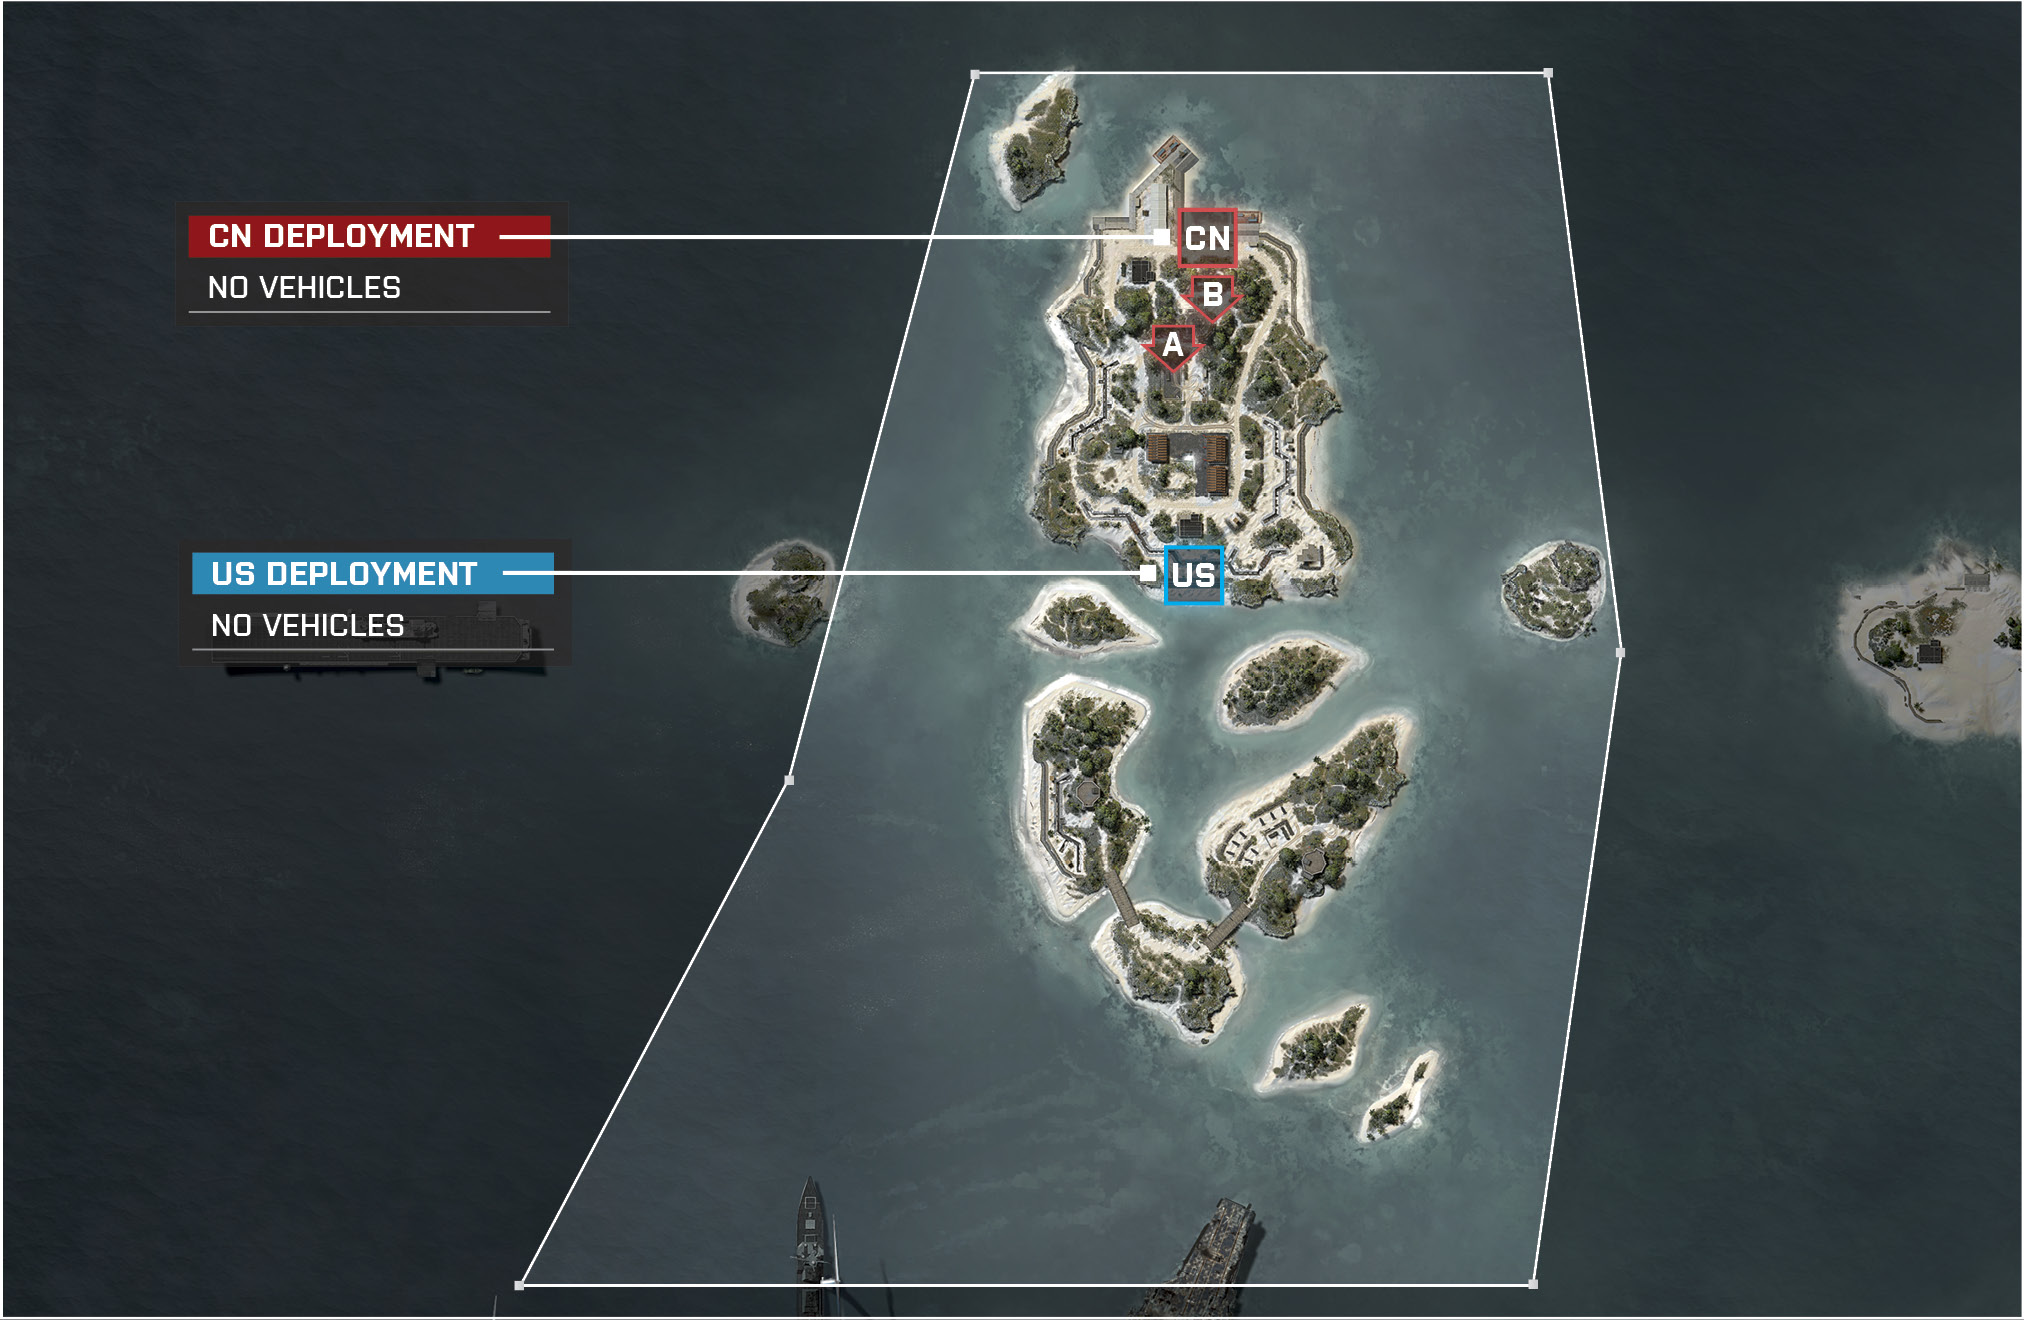
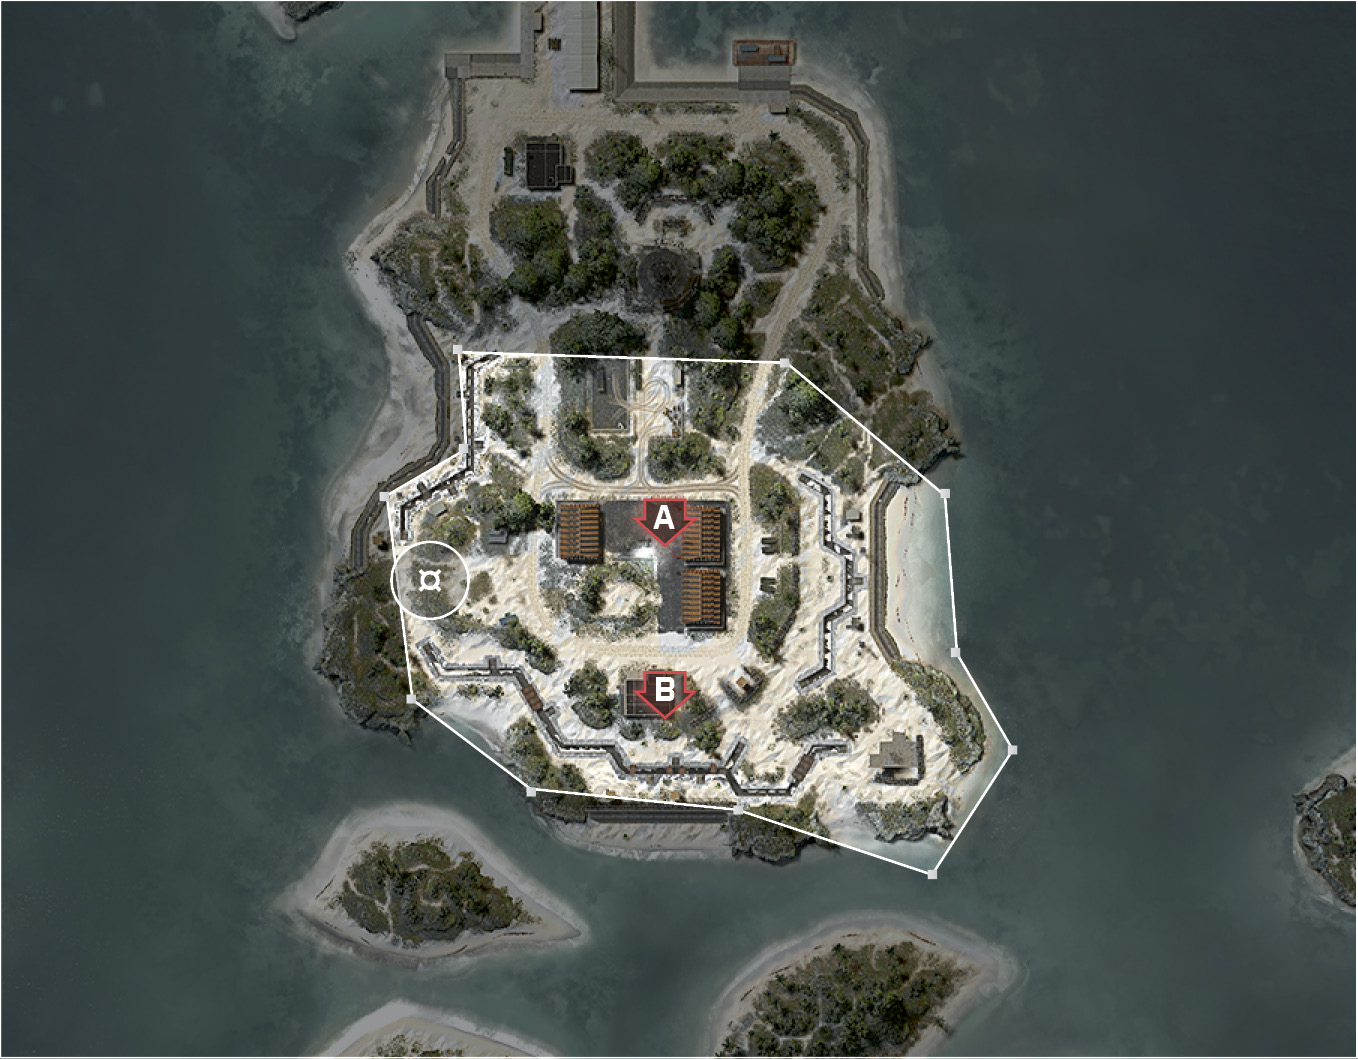
In this Defuse match, both teams are confined to the Barracks of Paracel Storm. The US team spawns to the west of the Barracks while the CN team spawns to the east.
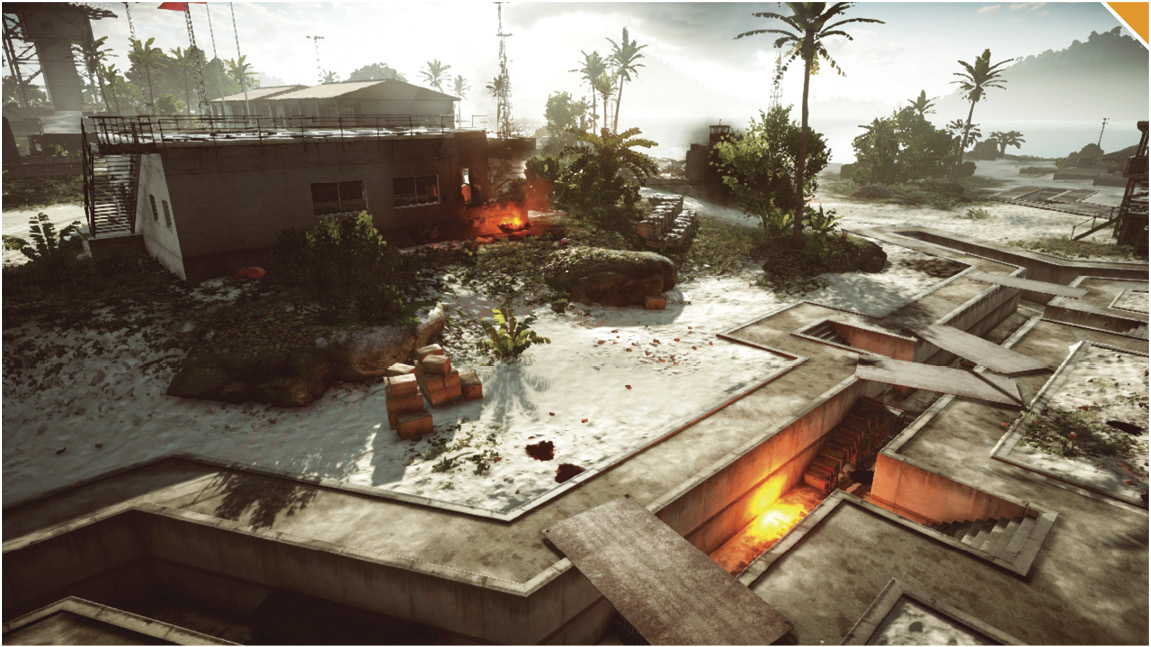
Laptop A is located between the two main buildings of the Barracks. The objective has many items around for cover and an explosive tank nearby.
Laptop B is positioned in the building to the south of the Barracks. The building has a staircase that leads to the roof, providing great firing angles and cover.
When defending, the CN team should head into the two buildings west of their spawn point. Have your squad spread throughout both buildings; this allows you to watch both objectives. Prepare for gunfights with the attackers from the building directly west of Laptop A.
When playing as the US team, attackers want to stick together as they go for the objectives. The best route is to take the Trenches to the south to get behind the building that holds Laptop B. The building walls are very fragile, so blow the back wall and go in for the arm.
Domination
Recommended Squad Composition:
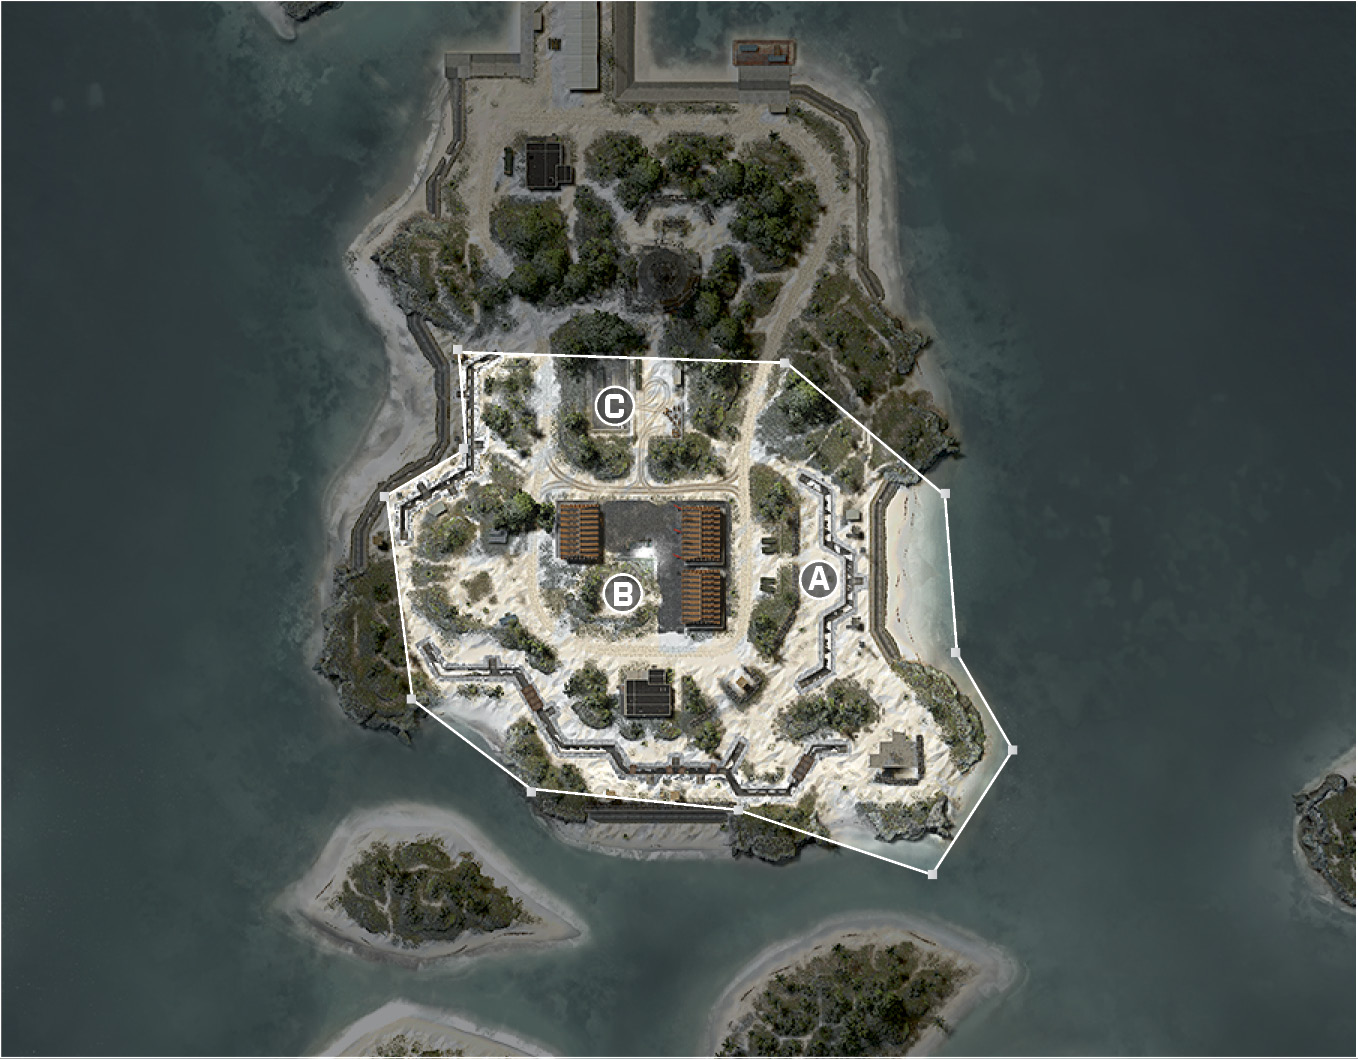
The three control points on this map are the Trenches (A), Monument (B), and Court (C).
There is a USAS-12 battle pickup north of the Monument (B). After you grab this, stick near the buildings as this is a perfect short- to medium-range shotgun.
With the capture radius being so short, lob grenades towards an objective that is being captured. You will either kill the enemy or injure them before you rush in.
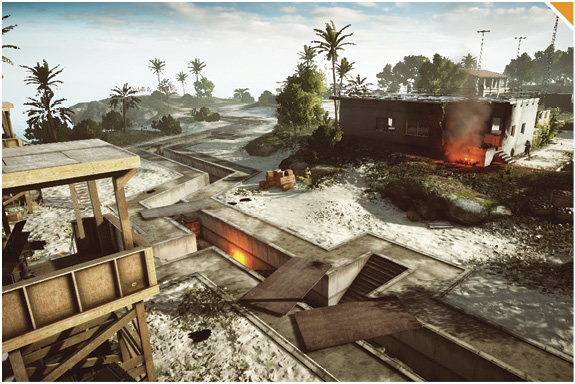
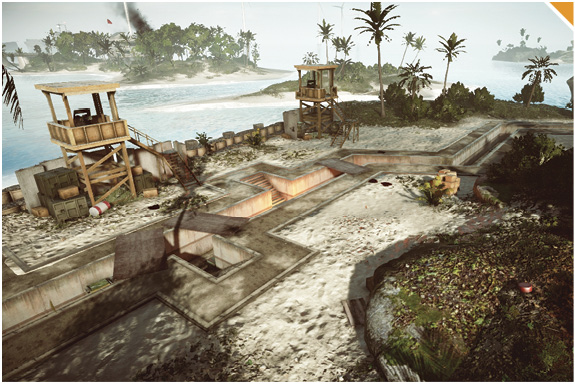
Use the trenches to move around the map—it is a much safer route than running out in the open. Do this when the other team has superior positioning.
The best strategy is to capture the Monument (B) and Court (C). Defend these objectives by using the building to the west to view both flags.
Squad Deathmatch
Recommended Squad Composition:
This battle is set around the Barracks, which is experiencing a vicious storm.
Squads will want to take shelter in one of the buildings. The building provides cover and allows you to look towards any direction of the map. Take cover and engage squads that are fighting other squads.
There are a ton of explosive tanks scattered throughout the map. Shoot these when enemies are near to easily take the enemy down.
Have an engineer in the squad to assist in taking out the IFV when it is under enemy control or repair it when your squad controls it. Use the Trenches for cover if the other squads are in control of the IFV.
The M32 MGL battle pickup is in the center of the map. This weapon packs some heavy heat, so be sure to grab it every chance you get.
Team Deathmatch
Recommended Squad Composition:
In this Team Deathmatch variant, controlling the one of the three buildings in the Barracks area is a good strategy.
There are a handful of explosive tanks around the map. Shoot these when enemies are near for an easy kill.
Utilize the Trenches around the map for quick getaways and possible flanks.
Scattered around the map are shipping containers that provide great cover. Some are interactive and you can hide inside. Place a T-UGS inside to detect nearby enemies and jump out at the appropriate time.
There are two battle pickups on the map: the USAS-12 and the M32 MGL. These weapons pack some heavy firepower, so pick them up any chance you get.