
Battlefield 4 Guide Infantry Classes
Support
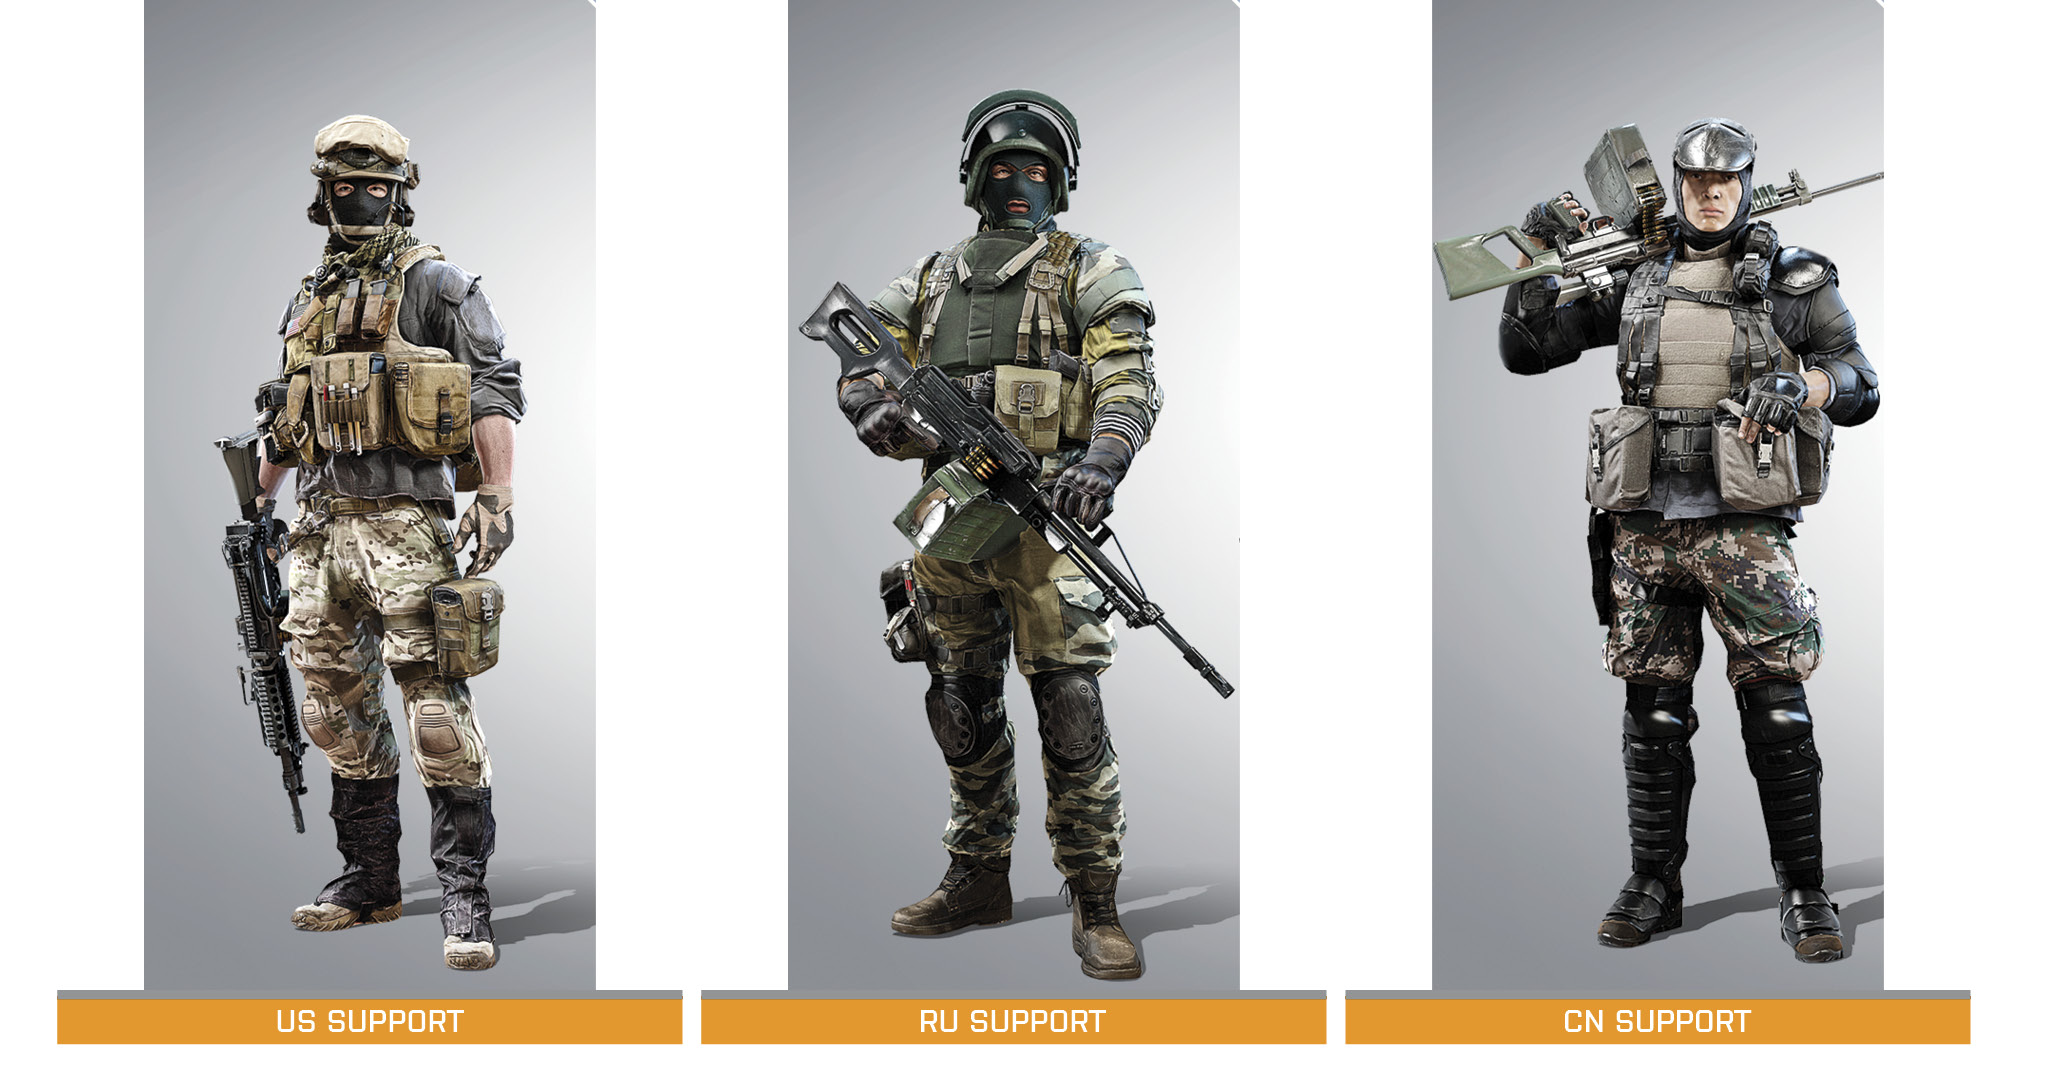
Starting Loadout
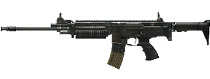
| Primary Weapon |
U-100 MK5 |
|
|---|---|---|
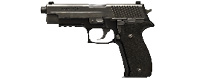
| Sidearm |
P226 |
|
| Grenade |
M67 Frag |
|
| Gadget 1 |
Ammo Pack |
|
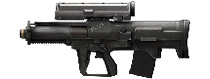
| Gadget 2 |
XM25 Airburst |
|
| Knife |
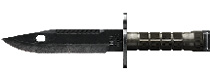
Bayonette |
|


Strengths: Solid anti-infantry kit; ammo resupply
Weaknesses: Limited anti-armor capability
The support class is responsible for handing out ammo and laying down suppressive fire. These guys carry the massive light machine guns, capable of laying down high volumes of sustained fire, great for suppressing enemy infantry. The support class also has access to some of the most devastating weapons in the game including C4, Claymores, the M224 Mortar, and the new XM25 grenade launcher. When they’re not busy scoring kills, support troops should supply teammates using the Ammo Pack or Ammo Box. The new Ammo Pack gives soldiers the ability to resupply while on the move—but these packs only contain bullets. The Ammo Box dispenses ammunition, grenades, and other munitions to all within a small radius. You earn a Resupply bonus whenever a teammate retrieves ammo from an Ammo Pack or Ammo Box, so don’t be stingy with these things. Scatter them around your teammates to boost your score. Support players are also effective at taking out enemy vehicles with C4, either through direct application or through the creation of car bombs. So if you’re not satisfied laying down suppressive fire from a distance, take the fight to close range and do some damage with your explosives. But such attacks are extremely dangerous, so you better have an assault buddy nearby to revive you.
Unlock Progression
| Unlock | Name | Image | Score |
|---|---|---|---|
|
1 |
M18 Claymore |
|
7,000 |
|
2 |
QBS-09 |
|
16,000 |
|
3 |
Offensive Field Upgrade |
|
27,000 |
|
4 |
Ammo Box |
|
38,000 |
|
5 |
Indirect Fire Field Upgrade |
|
50,000 |
|
6 |
XM25 Smoke |
|
63,000 |
|
7 |
M224 Mortar |
|
76,000 |
|
8 |
MP-APS |
|
90,000 |
|
9 |
Perimeter Defense Field Upgrade |
|
104,000 |
|
10 |
XM25 DART |
|
119,000 |
|
11 |
C4 Explosive |
|
134,000 |




Gadgets
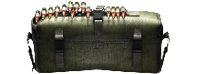
Ammo Pack

- Unlock: Support Kit Start
- Description: Single-use Ammo Pack that resupplies a small amount of bullets to a single soldier on the move.
Field Notes
The new Ammo Pack is available to the support class from the very beginning, offering a rudimentary method of resupplying friendly troops. This gadget functions much like the First Aid Pack carried by the assault class. When an Ammo Pack is tossed on the ground, any friendly soldier can pick it up by simply running over it. Once retrieved, the Ammo Pack automatically replenishes some of the soldier’s rounds. But it’s important to note that Ammo Packs only contain bullets. Grenades, rockets, missiles, mines, and other munitions must be retrieved from an Ammo Box or a Supply Crate dropped by the commander. In this sense, the Ammo Pack is rather limited. But until you unlock the Ammo Box, this is the only way to go. And unlike the Ammo Box, the Ammo Pack allows soldiers to resupply while on the move—they don’t need to gather around an Ammo Box or Supply Crate while resupplying.
XM25
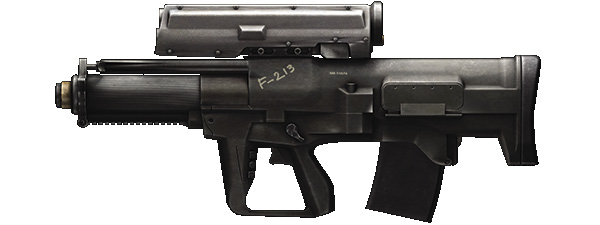
- Unlock: Support Kit Start
- Description: A 25mm semi-automatic grenade launcher fed by a five-round box magazine. Aiming down the sights at cover will lock in that distance, allowing the grenade to explode in the air three meters past the cover.
XM25 Ammo
| Name | Image | Description | Unlock |
|---|---|---|---|
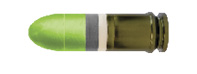
| XM25 Airburst |
|
Fires 25mm grenades that can explode mid-flight, creating an airburst effect to eliminate targets behind cover. | Support Kit Start |
| XM25 Smoke |
|
Fires 25mm grenades that can explode mid-flight, creating an airburst smoke effect to block sight and spotting. | 122,000 Support Score |
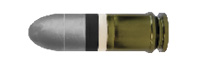
| XM25 DART |
|
Fires a 25mm cartridge packed with penetrating flechettes that effectively transform the launcher into a semiautomatic shotgun. | 190,000 Support Score |
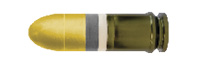
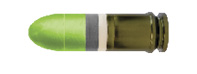
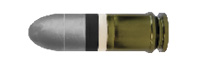
Field Notes
Compared to the assault class’ M320 40mm grenade launcher, the XM25 benefits from a number of improvements, including greater accuracy and range. The weapon is equipped with an infrared optic utilizing an integrated Range Finder. When peering through this optic, the range to target is shown on the right while the detonation range of the loaded ammo is shown on the left. All rounds are triggered to detonate three meters beyond the target, so keep this in mind when aiming with Airburst rounds. The idea is to detonate the round just above a piece of cover where enemy troops are hiding, raining down shrapnel from above. After setting the range, aim just a bit over the cover and fire to hit enemies on the other side. The Airburst round is most effective against infantry and does virtually no damage to vehicles. Even then, the Airburst round has a fairly limited blast radius—you’re more likely to injure and suppress enemies than you are to kill them outright with a single round. So rapidly fire multiple rounds to produce lethal results. In addition to the standard Airburst round, the XM25 can also be loaded with Smoke and DART ammunition. Smoke ammo give the weapon the ability to accurately and rapidly dispense smokescreens, ideal for concealing the movements of your squad—this is far more effective than the slow-firing M320. Or load the XM25 with DART ammo to turn the weapon into a devastating close-range shotgun. When firing DART rounds, it’s recommended to fire from the hip, using the ring-shaped reticle on the HUD to aim.
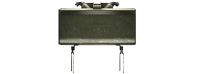
M18 Claymore
- Unlock: 17,000 Support Score
- Description: Anti-personnel mine that launches three trip wires shortly after being deployed. Breaking a wire will detonate the mine. A mine with no trip wires is unable to detonate and should be redeployed.
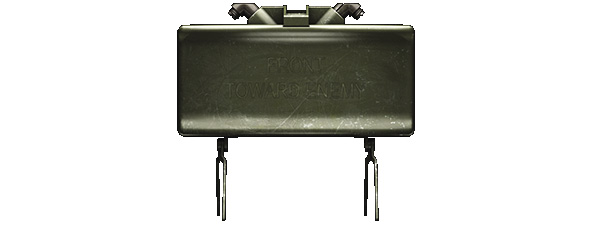
Field Notes
Adding to the support kit’s deadly arsenal is the M18 Claymore anti-personnel mine. Unlike traditional land mines, the Claymore is a directional mine, spraying shrapnel in the direction it’s facing upon detonation. So think carefully before dropping one of these. What direction is your enemy likely to approach from? Once you figured out where you want to place this mine, orient yourself in the proper direction before dropping the Claymore. Claymores are triggered by enemies running into one of the three trip wires. You can avoid triggering a Claymore by simply avoiding these trip wires. But it’s much safer to take a Claymore out from a distance by tossing a grenade at it or shooting it with an explosive weapon such as a rocket or grenade launcher. The support class can carry two Claymores at a time, but more can be retrieved from the support kit’s own Ammo Box. Like C4, Claymores are great for defending flags in Conquest and M-COM stations in Rush. Unlike C4, these weapons trigger on their own, so you don’t have to constantly babysit them, waiting for an enemy to enter the kill zone.
Ammo Box
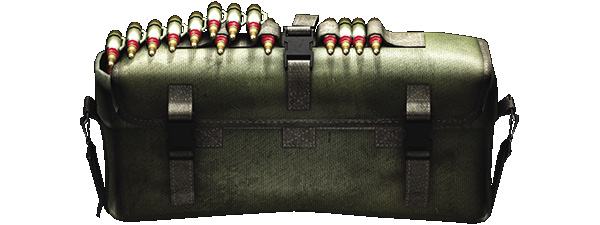
- Unlock: 87,000 Support Score
- Description: A crate filled with ammunition. All comrades nearby will start having their ammo cache restored for all their weapons and gadgets.
Field Notes
The Ammo Box is a significant improvement over the standard-issue Ammo Pack. For one, the Ammo Box contains ammo for all weapon types. Simply stand next to one of these boxes for a few seconds to replenish the ammo for all of your weapons, including grenades and rockets. When playing as support, drop these boxes around clusters of teammates—each time someone retrieves ammo from a pack you earn a Resupply bonus. This is a great way to supplement your score while supporting your teammates and squadmates. If a teammate or squadmate is low on ammo, an icon depicting three bullets appears above their head. Get them some ammo fast! By default you can only drop one Ammo Box at a time, but with the Ammo Bag Upgrade (from the Indirect Fire Field Upgrade path) you can deploy up to two Ammo Boxes at a time, greatly increasing your resupply score. For best results, drop these boxes in areas where multiple teammates are pinned or defending chokepoints.
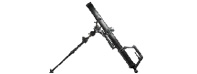
M224 Mortar
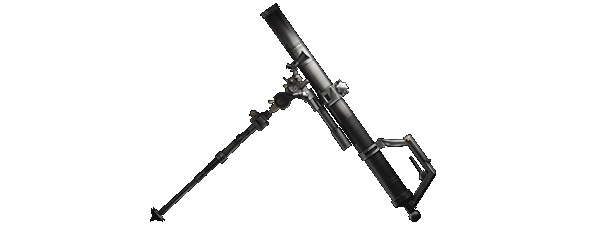
- Unlock: 139,000 Support Score
- Description: Remote-controlled 60mm mortar that fires high explosive rounds using a terrain grid targeting system. Shells travel a ballistic path and may hit objects between the launcher and the intended target. Rapid fire is very inaccurate; single shells have great precision.
Field Notes
One of the most unique weapons introduced in Battlefield 3 was the support kit’s M224 Mortar. The M224 has undergone some changes in Battlefield 4. For one, it can be deployed and operated remotely from a safe distance, protecting the operator from counter-mortar fire and knife attacks. The mortar is also equipped with a TV-like monitor offering a top-down view of the map, allowing for more precise targeting. When you first select the weapon, you must find a flat piece of terrain to deploy it. Once deployed, the weapon can rotate 360 degrees; consider placing it between two objectives for optimal coverage. Once you’ve found a good spot set it down and walk away, finding a good hiding spot before operating the weapon remotely. You can then access the mortar from any point on battlefield via a handheld tablet. At this point the map view appears on the tablet’s screen, allowing you to see friendly (blue) and enemy (red) units spotted by your teammates. The white crosshair icon placed over the minimap shows you where you’re aiming the mortar. Simply place the crosshair over an enemy target and fire—the white ring-shaped icons show the blast radius of each impacting shell. Don’t expect to score tons of kills with this weapon, but it’s great for softening up enemy positions prior to or during an assault on a fixed position. When you’re finished firing, don’t forget to retrieve the mortar before moving on.
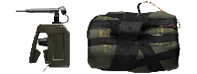
MP-APS

- Unlock: 157,000 Support Score
- Description: Man-Portable Active Protection System that detonates incoming explosive rockets and shells from both infantry and vehicles before they can hit their targets. Will not stop normal bullets or hand-thrown grenades. Can destroy multiple incoming threats in a 180-degree arc, but must recharge between uses.
Field Notes
The tripod-mounted MP-APS is an interesting addition to support class gadgets, offering protection against incoming missiles and rockets. Before deploying this device, take into account where incoming rockets and missiles are likely to come from. Once you have a location selected, place the gadget on the ground while facing in the direction of the likely threat. Soon after it’s placed, the MP-APS must warm-up before scanning for incoming missiles in a 180-degree arc. The green-lit area on the ground, around the base of the MP-APS, represents the safe zone—stand here to avoid getting injured by incoming rockets and missiles. When a rocket or missile passes within a few meters of the MP-APS, the projectile is automatically detonated. The MP-APS must recharge periodically, leaving the shielded area vulnerable for a few seconds. But once recharged, the MP-APS resumes intercepting incoming rockets and missiles. The MP-APS is equipped with a camera that can be accessed remotely via a handheld tablet. The camera can be rotated and used to spot enemy units. Using the MP-APS as a security camera may not sound too fun, but it can be very useful in high-traffic areas. Given its limited defensive arc, the MP-APS is best deployed directly in front of stationary tanks or IFVs, serving as a protective shield. It can also be effective in hallways or other cramped interiors where incoming rockets are a constant threat. But if an MP-APS becomes too troublesome, it can be taken out with grenades or small-arms fire.
C4 Explosive
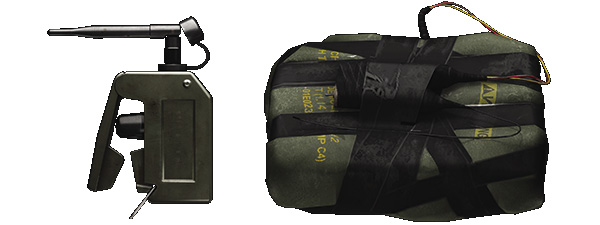
- Unlock: 210,000 Support Score
- Description: Plastic explosives that stick to most surfaces. Capable of a Mobility Kill on vehicles, and the remote detonator allows for traps and ambushes.
Field Notes
As the last unlock available in the support class progression, you’ll need to work hard to get C4. Initially, up to three explosive charges can be placed at a time and detonated simultaneously with a remote detonator. However, the support class can replenish their C4 using an Ammo Box, allowing them to set elaborate C4 deathtraps involving more than three simultaneously detonated charges. Explosives are great for taking out vehicles. Simply stick a couple of charges on the back of a tank and step back a safe distance to watch the fireworks. When attacking vehicles, no matter the size, always plant at least two charges. One C4 charge will only disable a vehicle temporarily—it takes at least two to instantly destroy it. Charges can also be used as booby traps, placed around critical high-traffic areas like control points or M-COM stations—but it’s up to you to detonate them when there’s enemies nearby. When defending in Rush, Obliteration, or Defuse matches, use the alarm sound of an armed objective to alert you to nearby enemies—detonate your charges before they can move away from the kill zone.
Support: Scoring Opportunities
| Action | Points | Description |
|---|---|---|
| Resupply |
10 |
Resupply a teammate. |
| Squad Resupply |
15 |
Resupply a squadmate. |
Unique Field Upgrades
| Level | Icon | Name | Description |
|---|---|---|---|
| Indirect Fire | |||
|
1 |
|
Ammo Bag Upgrade | Increases maximum deployed Ammo Boxes and Ammo Packs by 1. |
|
2 |
|
Ammo | Increases maximum inventory of bullets by 50%. |
|
3 |
|
Indirect Fire | Increases maximum M224 and XM25 ammo. |
|
4 |
|
Resupply Unit | Occupied vehicles will slowly resupply nearby soldiers. |
| Perimeter Defense | |||
|
1 |
|
Ammo | Increases maximum inventory of bullets by 50%. |
|
2 |
|
Suppression | Increases amount of outgoing suppression by 50%. |
|
3 |
|
Claymores | Increases maximum inventory of Claymores to 3. |
|
4 |
|
MP-APS Upgrade | Increases time MP-APS can detect incoming explosives. |


Support Tactics
- The support class plays a pivotal role in any squad. When playing as support, lay down covering fire while the rest of your squad advances. Even if you can’t see the enemy, fire rounds in the area around them to keep their heads down. The support kit’s light machine guns have a greater suppressive effect than most firearms, causing your suppressed opponents to suffer from blurred vision and poor accuracy. If your teammates kill an enemy you suppressed, you get a Suppression Assist bonus.
- The LMGs are notorious for harsh recoil, decreasing accuracy. When possible, deploy the LMG’s Bipod—all LMGs are equipped with a Bipod by default. The Bipod is automatically deployed when aiming down sights while prone or next to a supportive piece of cover. Once deployed, the Bipod reduces recoil, making the LMG extremely accurate, even when firing prolonged automatic bursts. This is how suppressive weapons are meant to function!
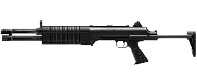
- Sometimes you need something a little smaller than a bulky LMG. Consider equipping your support soldier with a carbine, DMR, or shotgun. The carbines and shotguns are good options when your squad is always on the move or operating in close quarters. The QBS-09 shotgun is the second unlock for the support class, making the weapon available to all classes.
- The belt-fed light machine guns take a long time to reload, so make sure a teammate has your back while you load fresh rounds into your weapon. At the very least, find an isolated piece of cover before initiating a reload. The magazine-fed weapons have much faster reload times.
- The Indirect Fire Field Upgrade path is recommended for support players seeking to score big Resupply points. The fourth and final upgrade in this path is Resupply Unit. When this upgrade is achieved, a support soldier riding in a vehicle emits a resupply radius, effectively turning the vehicle into a giant Ammo Box, capable of resupplying all friendly soldiers nearby.
- Use the light machine guns to target light vehicles like the Quad Bikes, PWCs, and VDV Buggies. The occupants of these vehicles are completely exposed, making it easy to score a few kills with a prolonged burst. You may even disable the vehicle. These rapid-firing weapons are also great for shooting down MAVs that are deployed by enemy recon troops.
- The support kit should never run out of ammo, so don’t forget to toss an Ammo Box at your feet if you’re running low on ammo, grenades, C4, or Claymores. Also, make sure the recon and engineer players on your team have plenty of ammo. Sniper rifles and rocket launchers run dry quickly, so supplying these players with their own Ammo Box can become quite lucrative in terms of scoring Resupply points.
- When attacking an objective in Rush, Obliteration, or Defuse, plant three C4 charges around the objective before arming the objective itself. Then seek cover at a distance and set off the charges as your opponents rush in to disarm the objective. Not only does this prevent the objective from being disarmed, it also nets you some easy kills.
- The M224 Mortar is only effective if your team spots targets, otherwise you’ll be firing blind, with no enemy icons appearing on the weapon’s minimap. The recon kit’s T-UGS Motion Sensor can automatically place targets on the minimap as well. But even when you have enemy icons to shoot at, don’t expect to score tons of kills. Like the light machine guns, the mortar is a great suppressive weapon. You’re more likely to suppress and injure enemies with this weapon than kill them.
- When defending a fixed position, select the Perimeter Defense Field Upgrade path. The Suppression upgrade greatly increases the amount of outgoing suppression you inflict, made even more effective when firing LMGs. As you progress through this path, you can carry more Claymores and increase the effectiveness of the MP-APS gadget.
 Pro Tip: StrongSide
With this class, I lay down steel for my team with the massive amounts of bullets in my LMG’s magazine. I’m also always using the Ammo Box to keep my team packed with ammunition. Placing Claymores strategically in high-traffic areas or near objectives is also a favorite activity—I try to place the Claymore in a darker spot if possible, making it less visible for the enemy to see its trip wires.
 Pro Tip: Flamesword
This is my favorite class to use in the game because of its versatility. The various amounts of LMGs to choose from allow you to provide long-distance suppressive fire and excel in close range when hip firing due to its large magazine. And who could forget the C4? I love running around like a ninja, sneaking behind vehicles and snipers, planting C4, and watching them go BOOM.
 Pro Tip: Elumnite
This class is one of my top picks for the sole reason of their Ammo Boxes. I never worry about running out of ammo. I just lay fire down on any enemies in my path, while refilling my teammates’ weapons as well. I’ll stick close to my engineer teammates to keep them stocked up on rocket ammo too.
 Pro Tip: Walshy
Staying true to its class name, a great support player is always there to back up a squad and can be one of the most dangerous mid/close range classes in the game if equipped with the right tools. Since the support class has C4 to effectively deal with vehicles and high-capacity LMGs for laying down suppressive fire, I argue that support is the most versatile mid/close range class in the game.