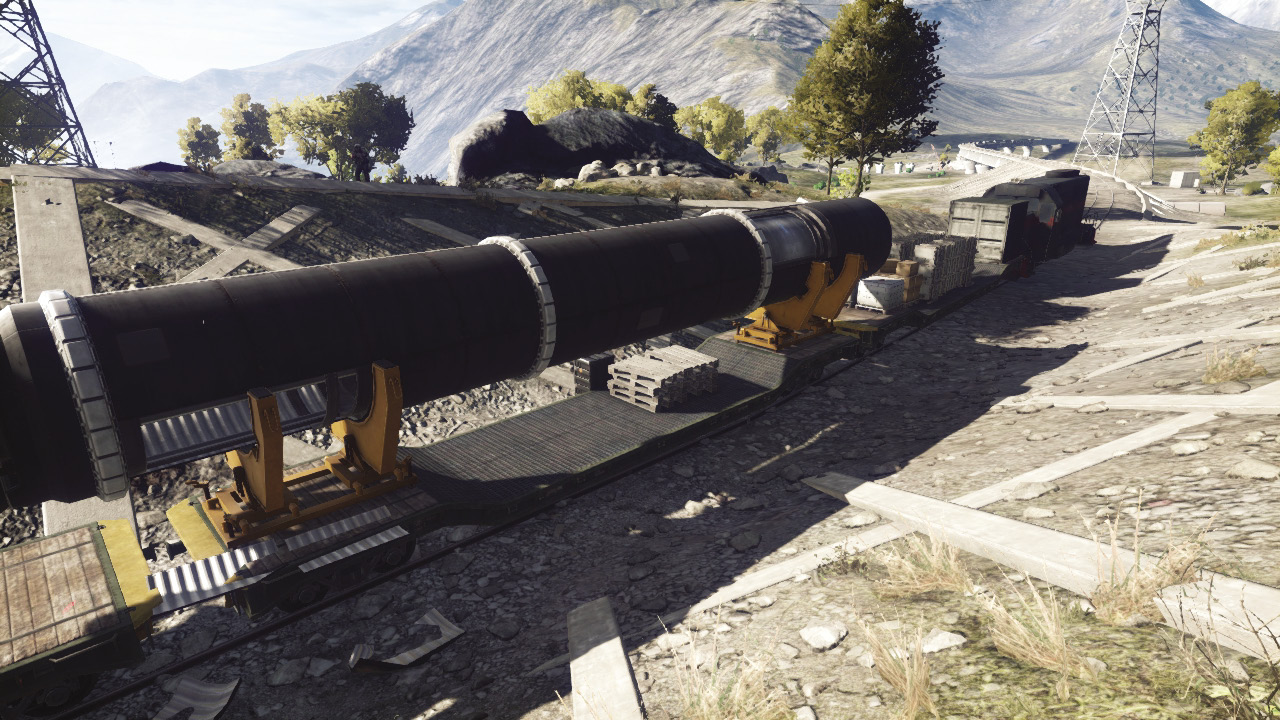
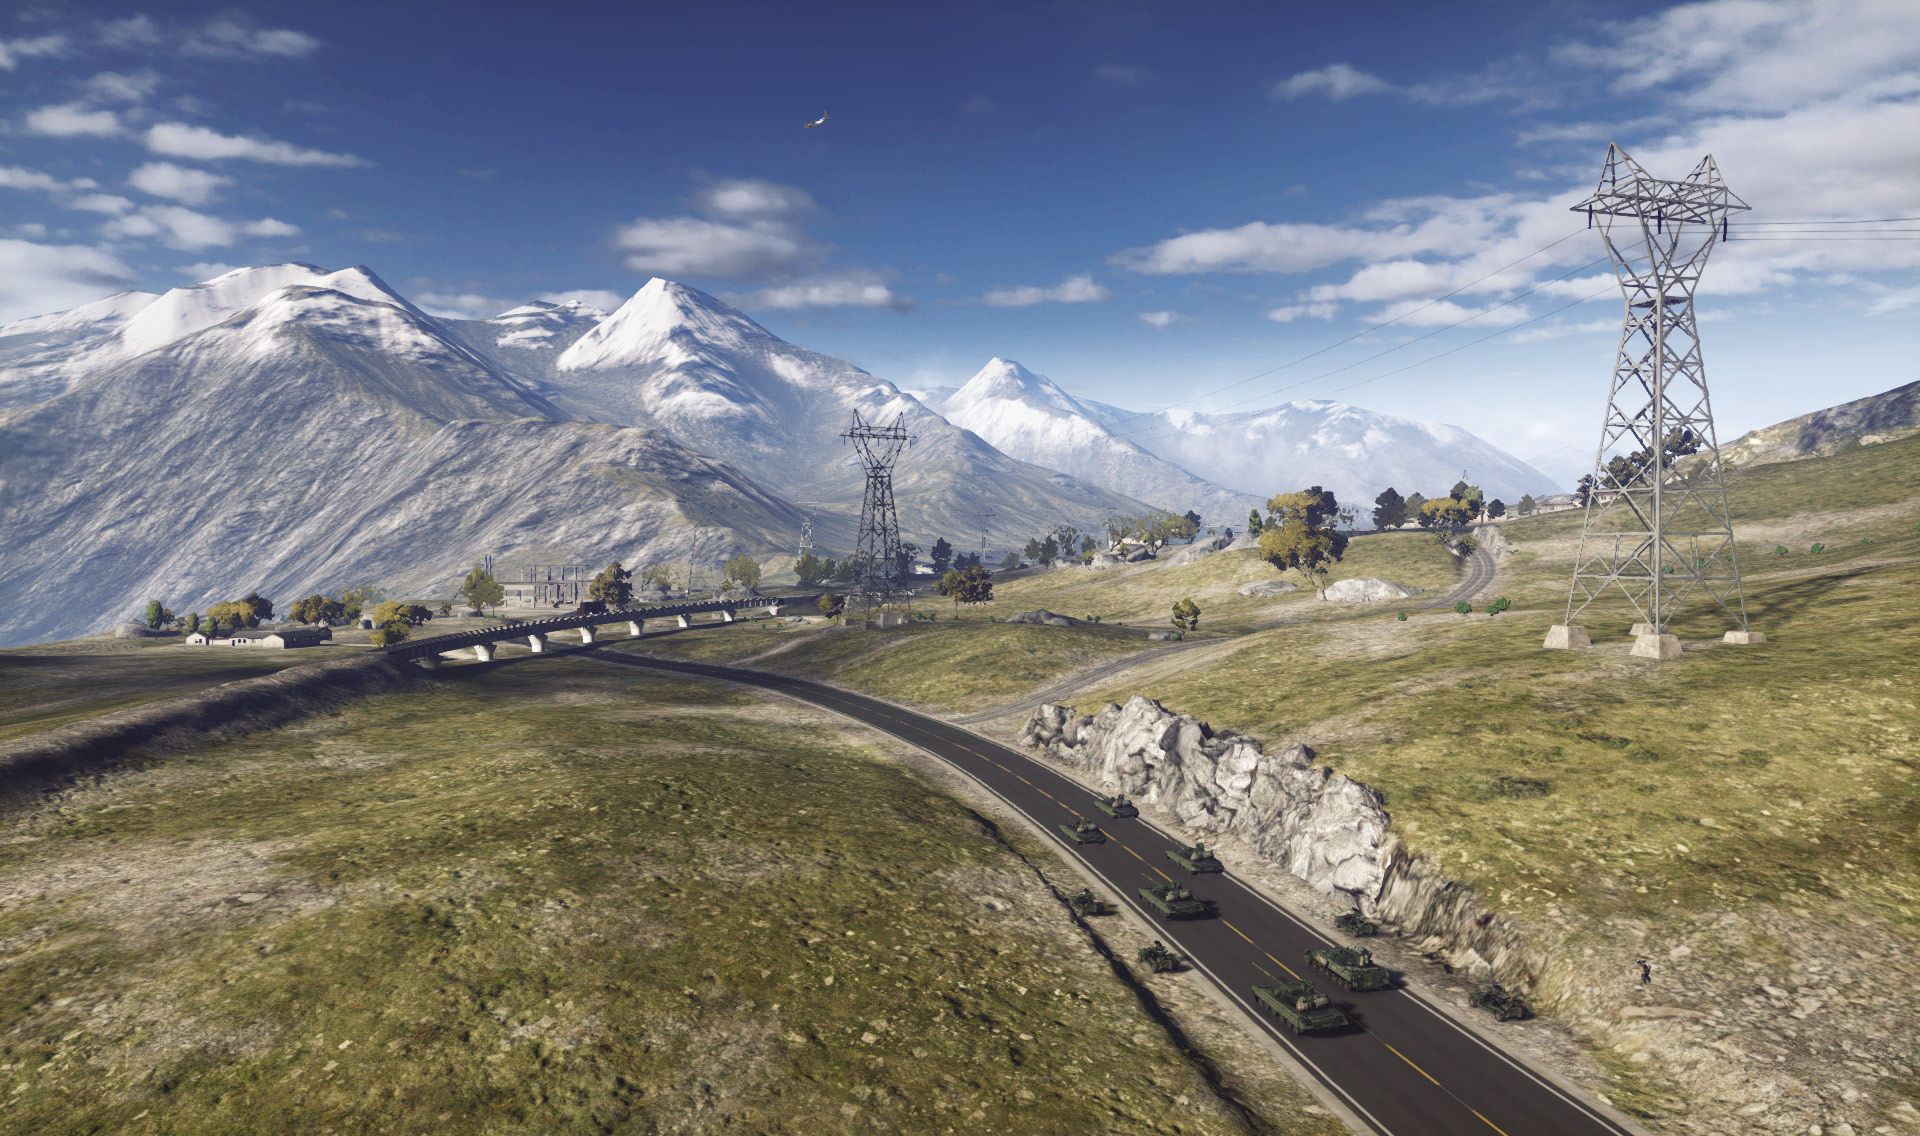
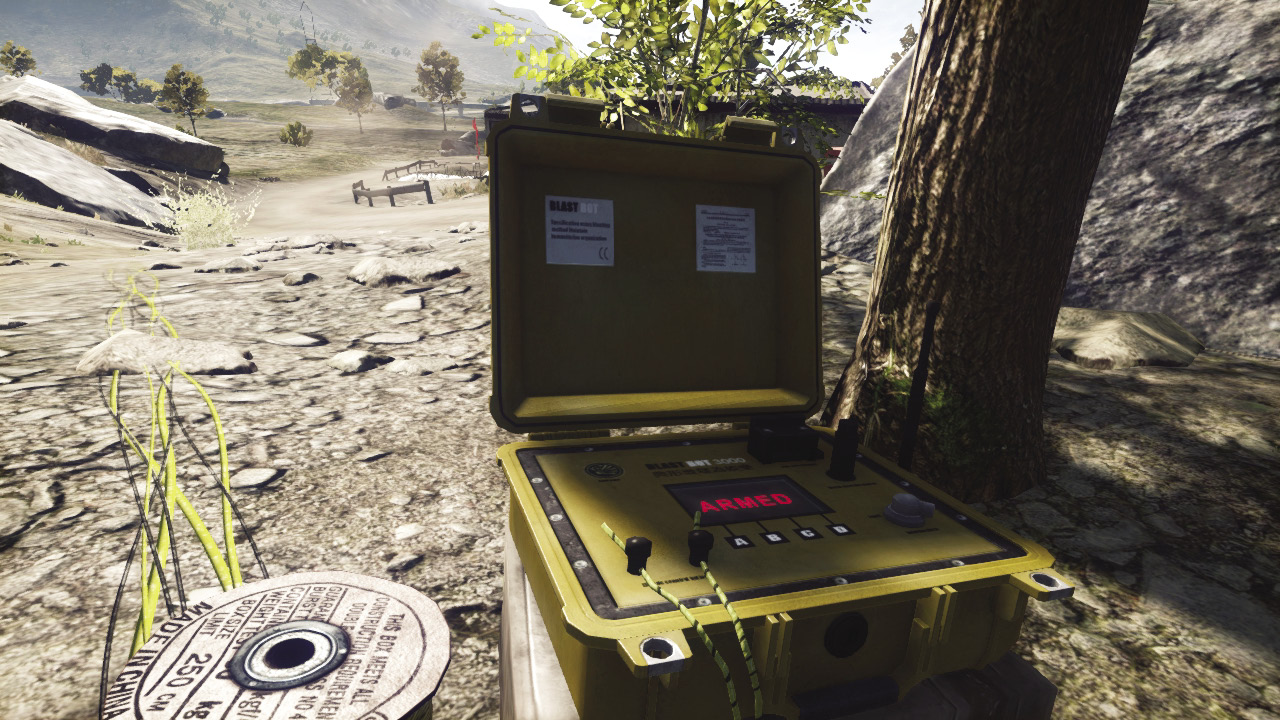
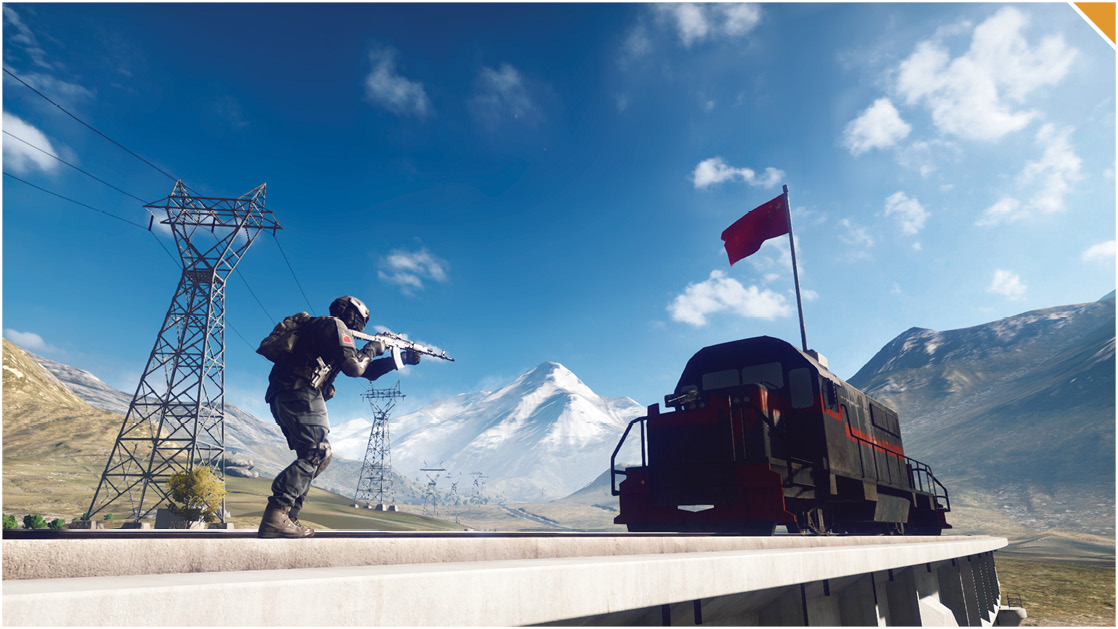
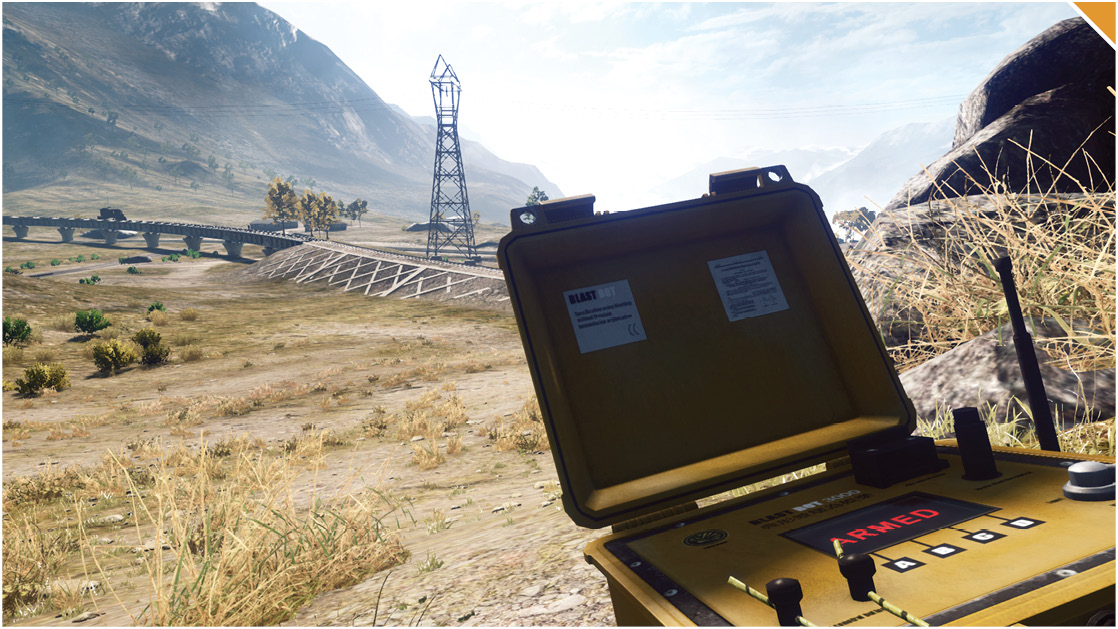
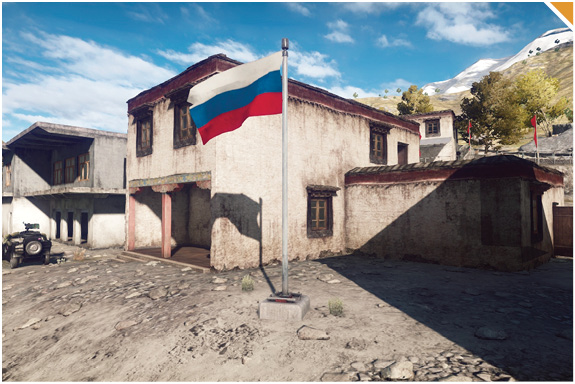
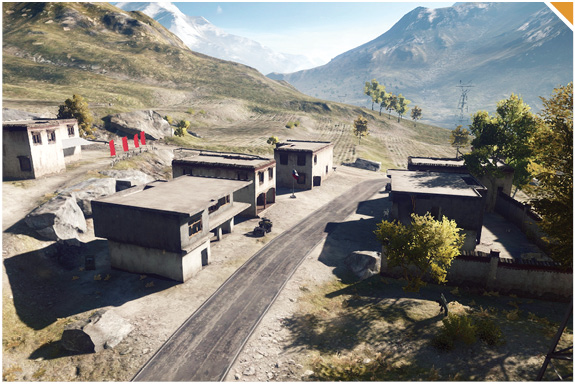
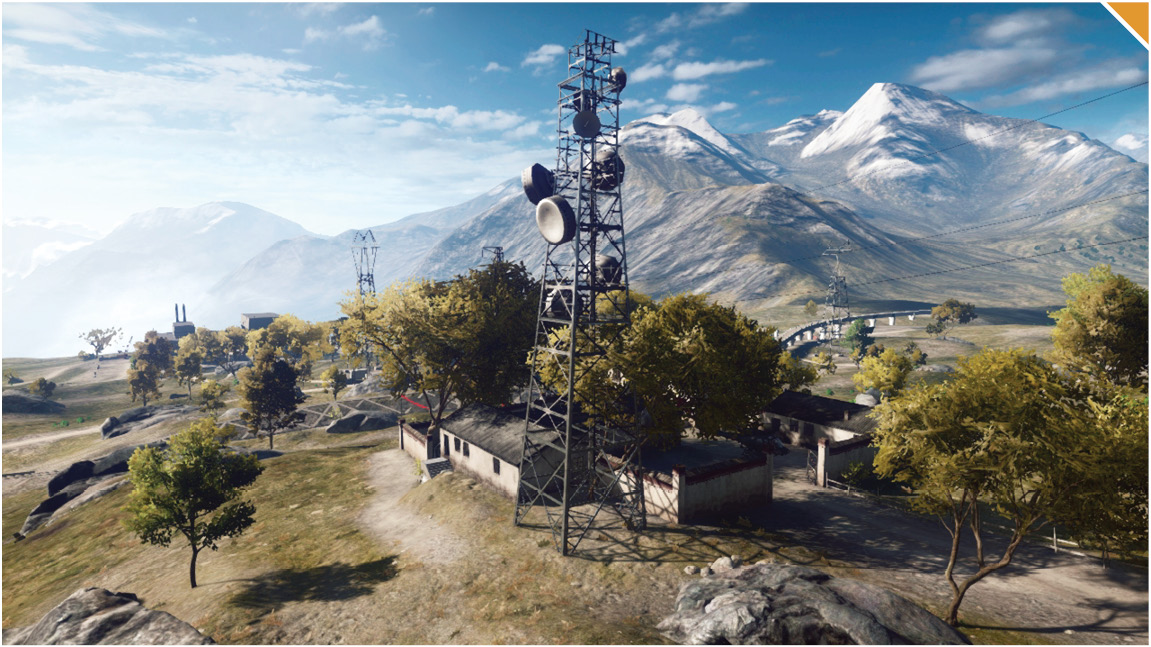
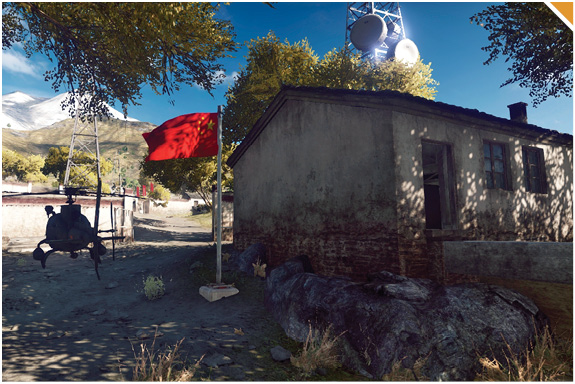
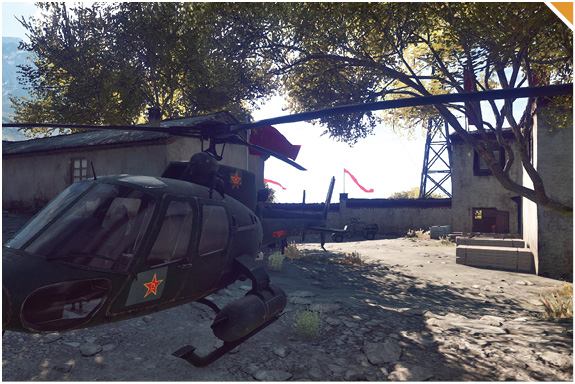
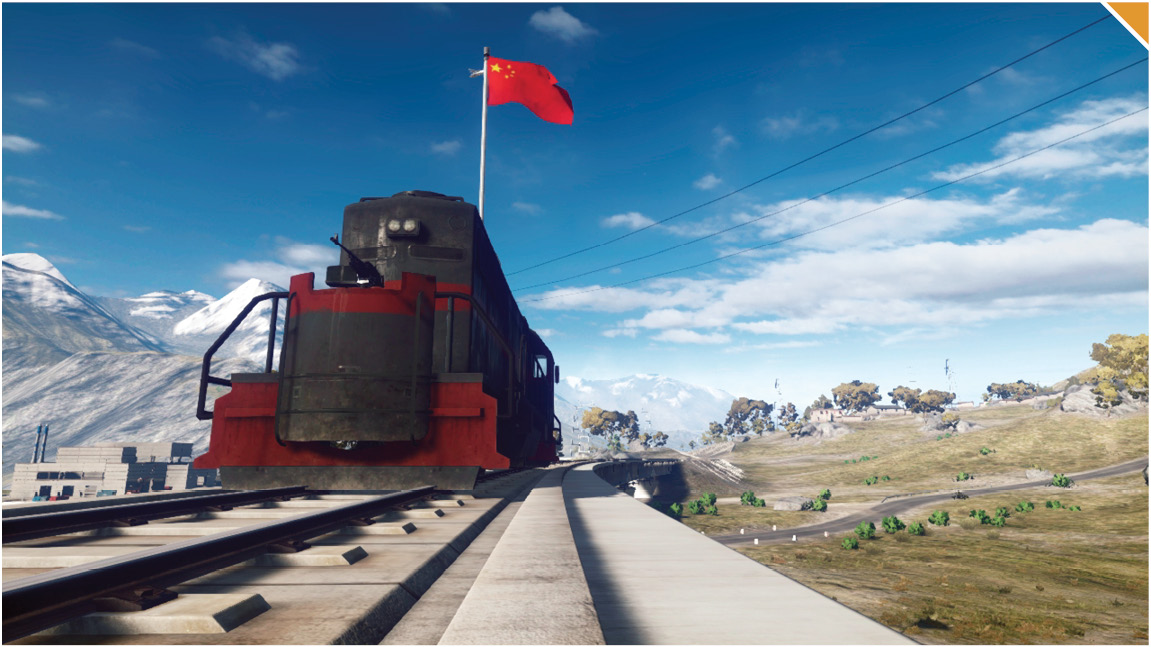
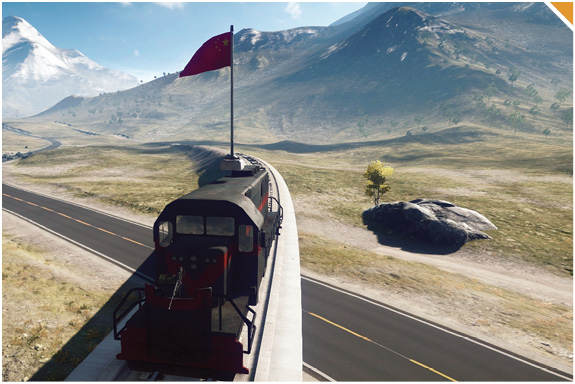
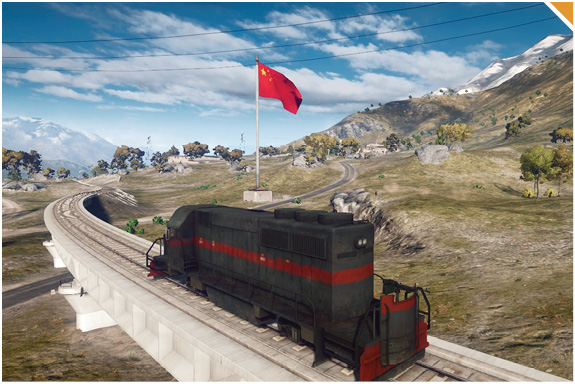
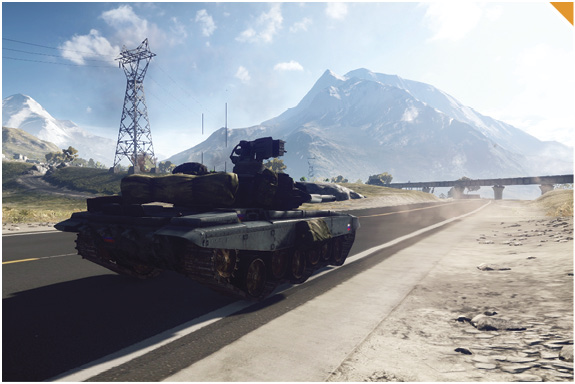
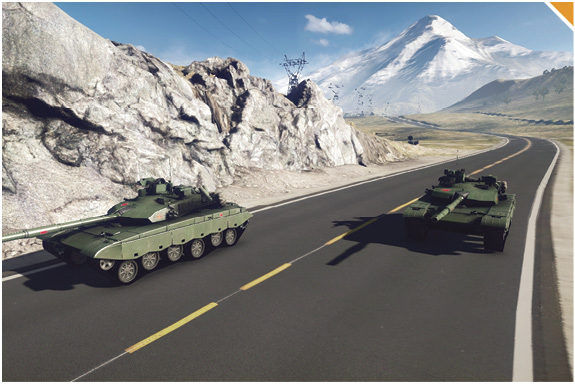
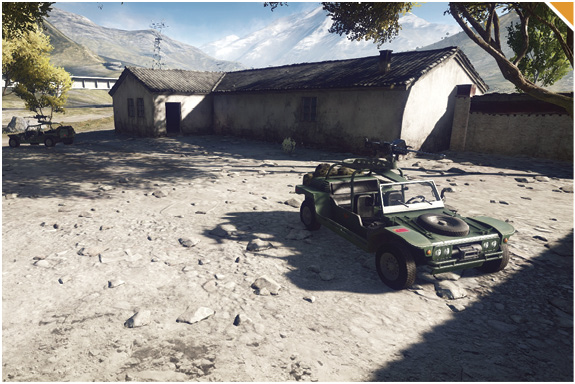
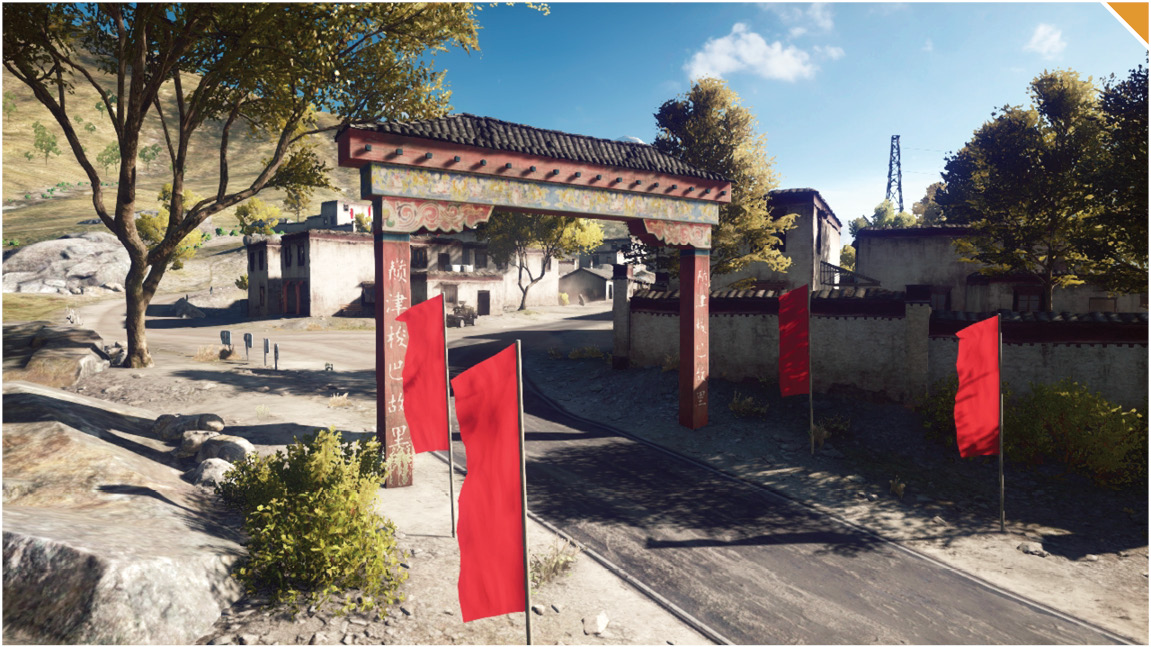
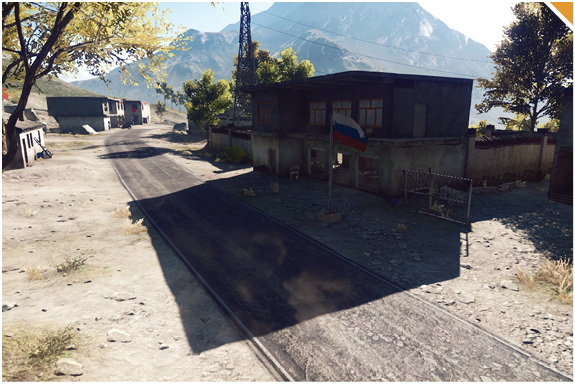
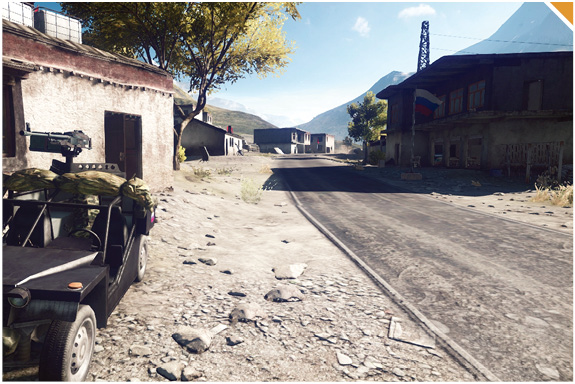
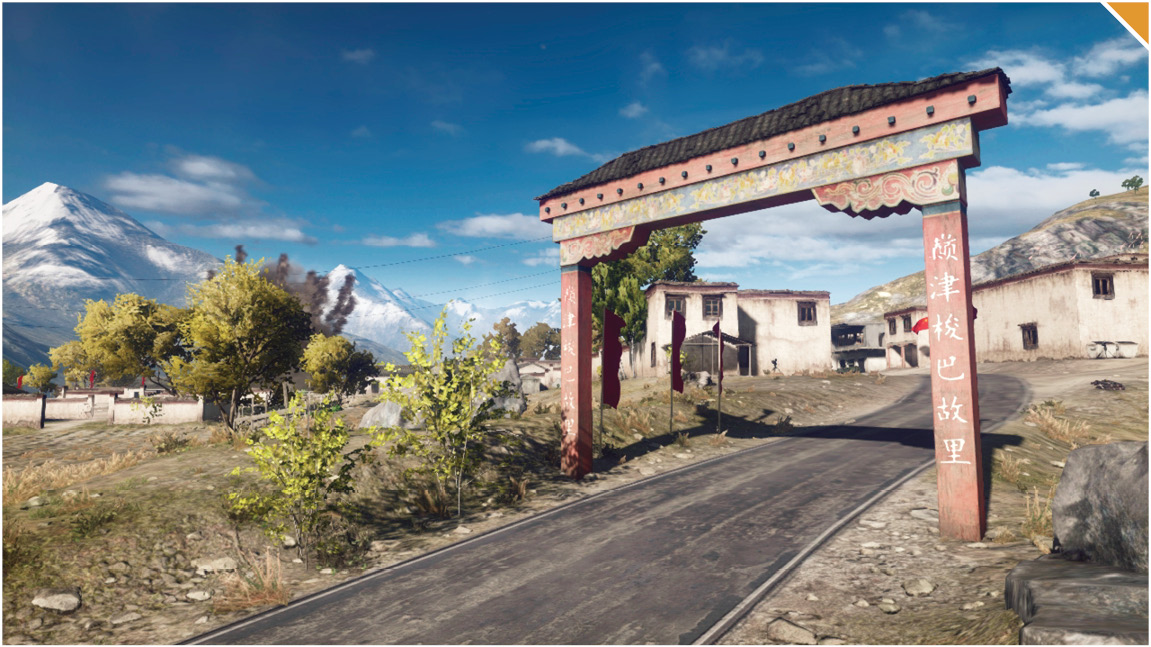
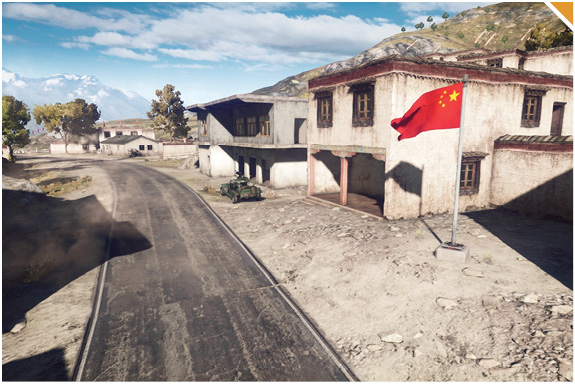
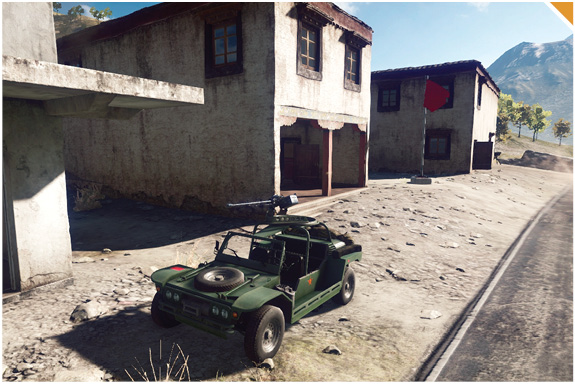
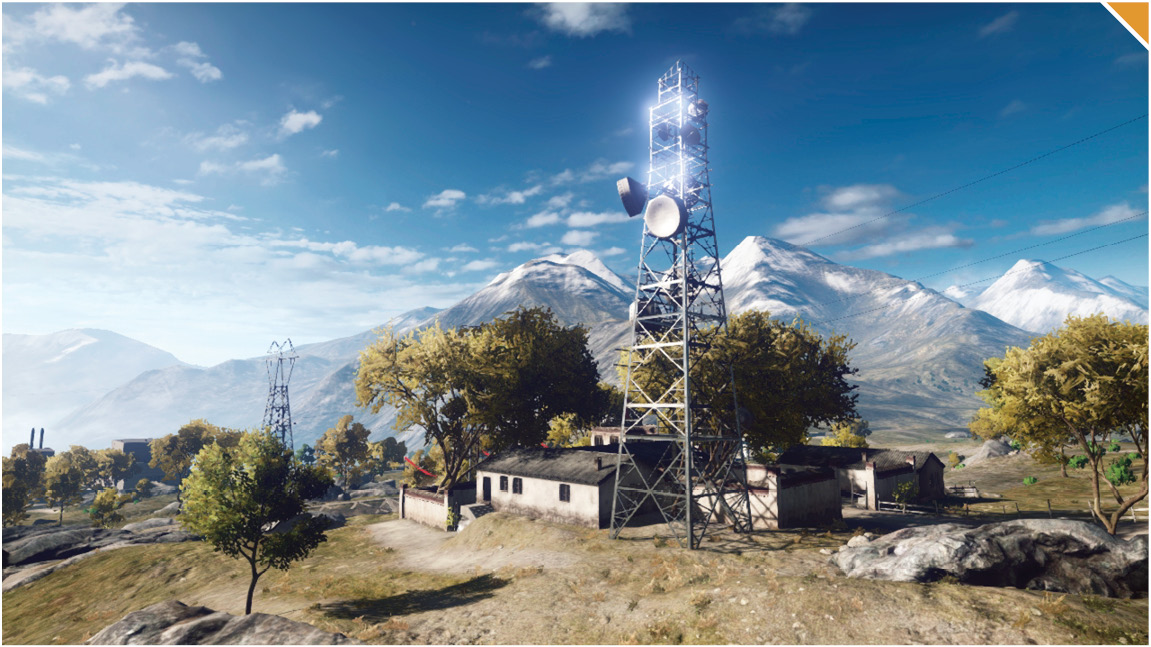
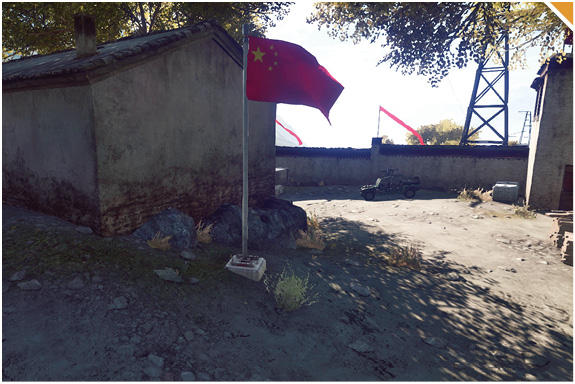
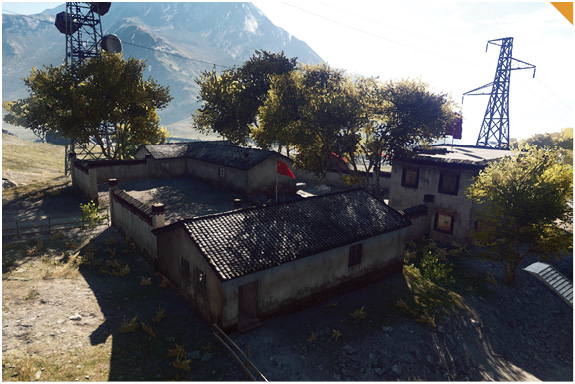
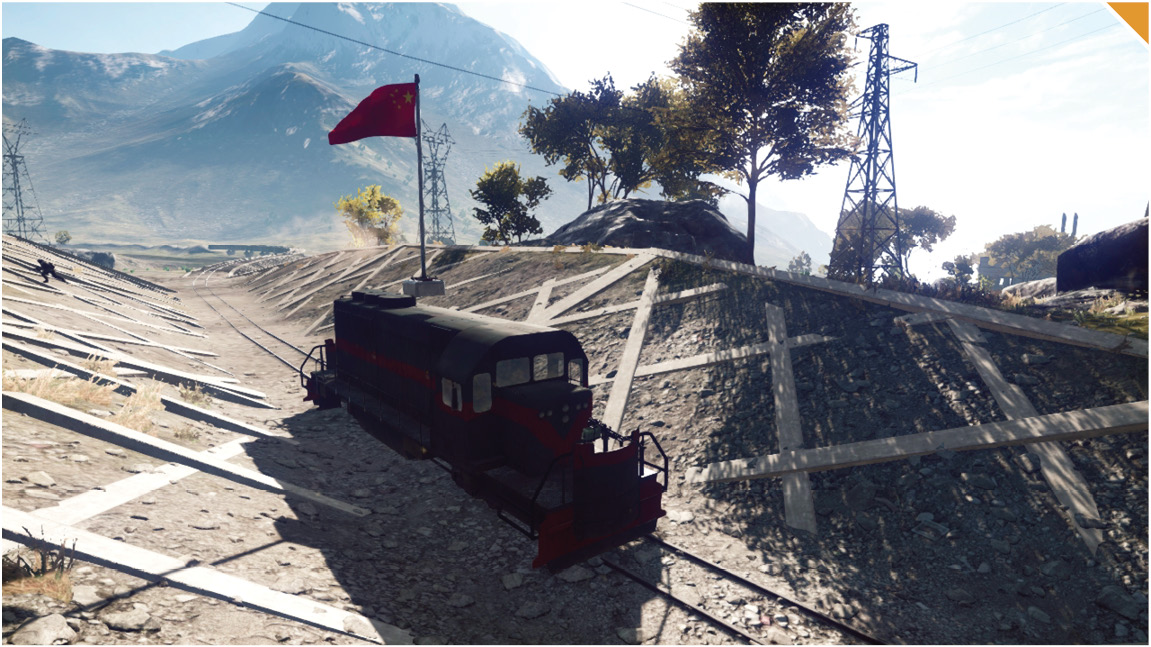
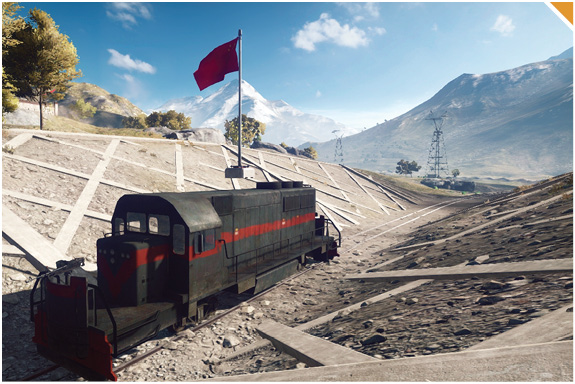
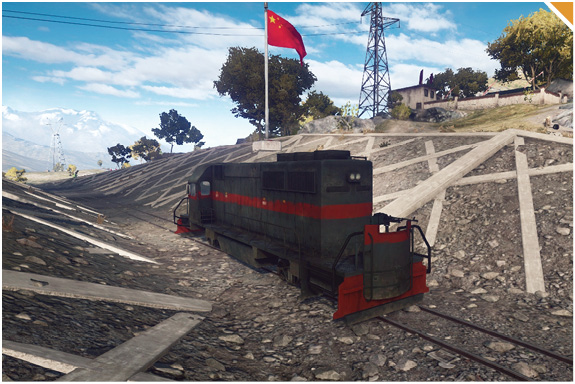
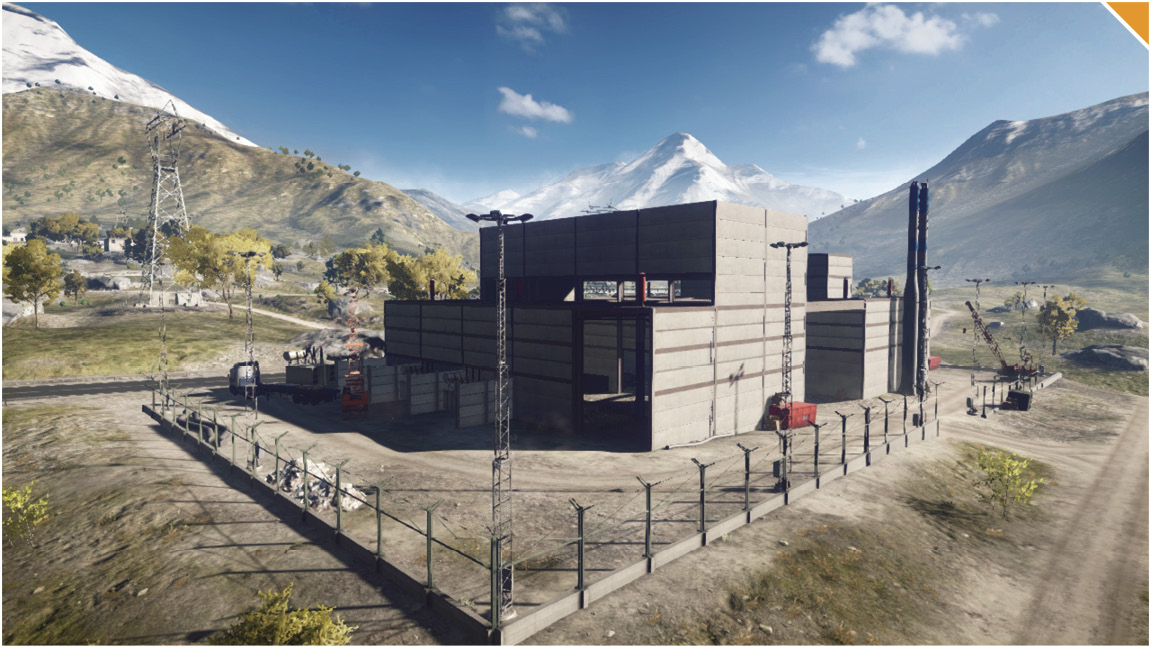
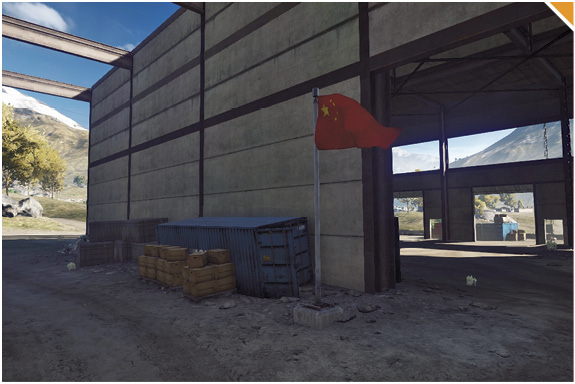
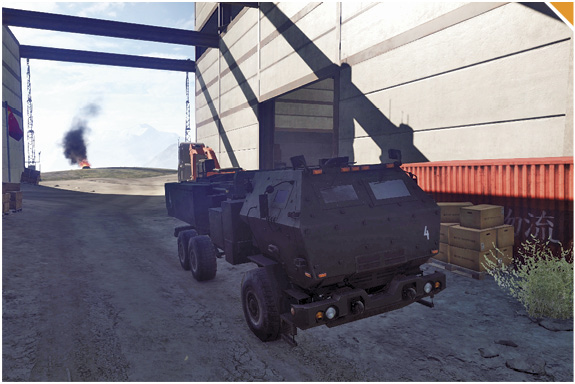
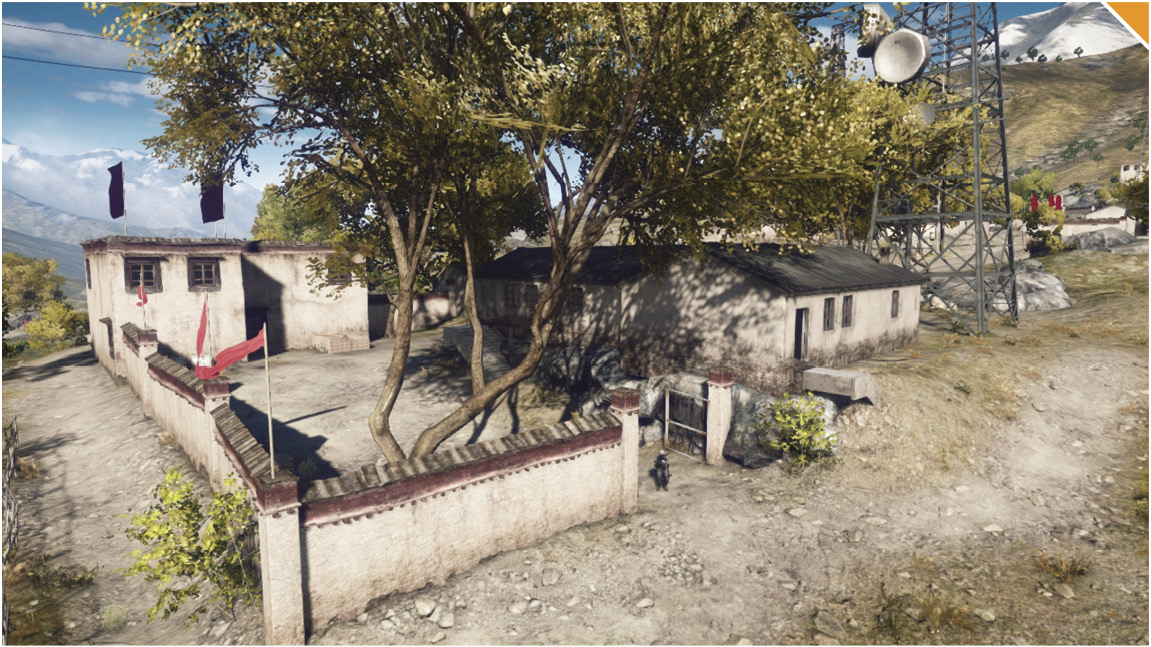
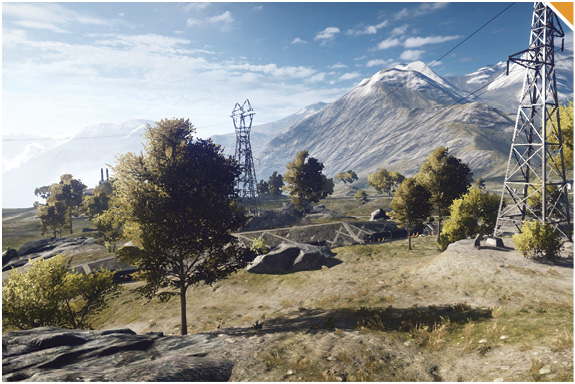
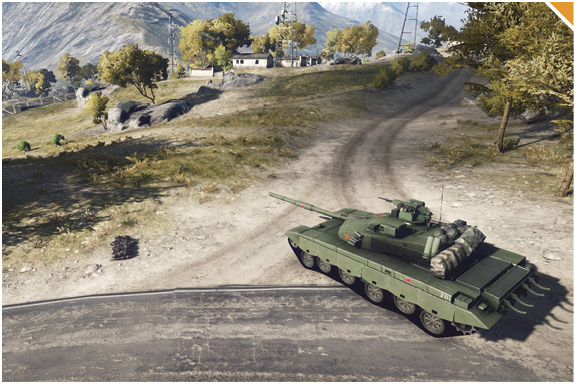
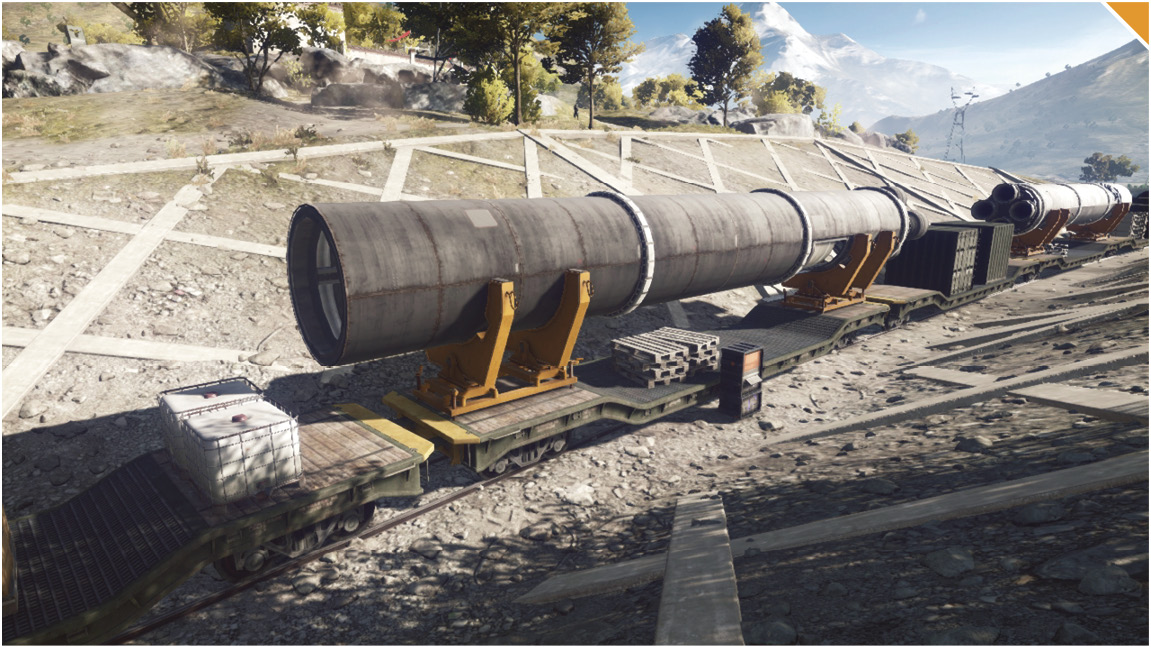
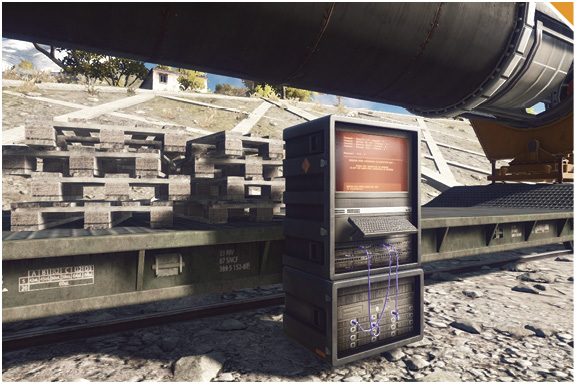
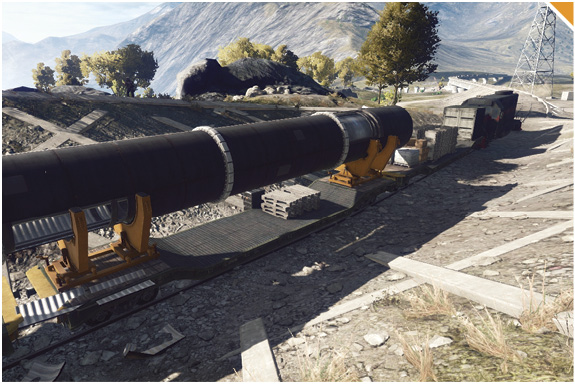
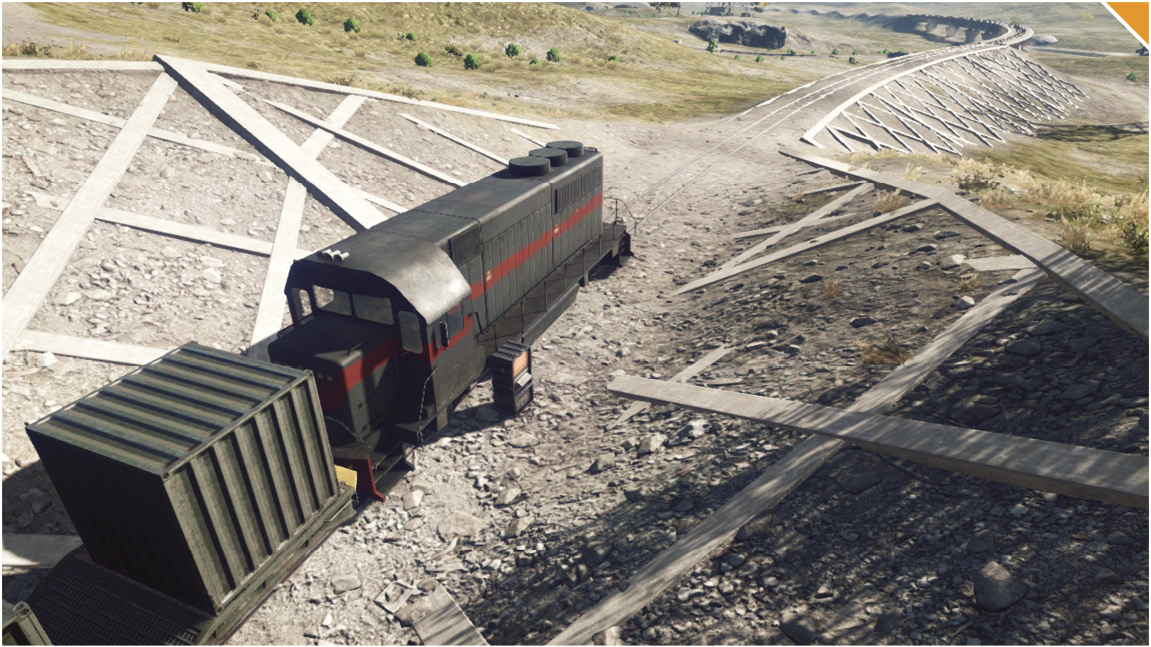
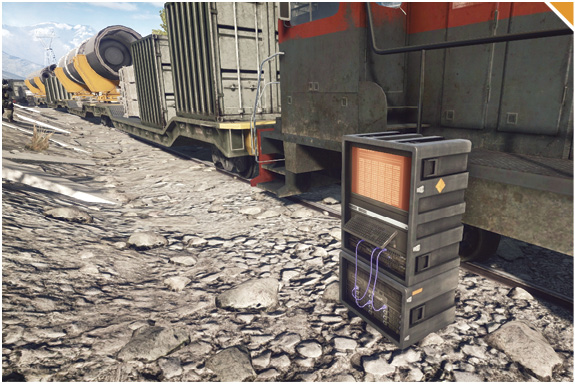
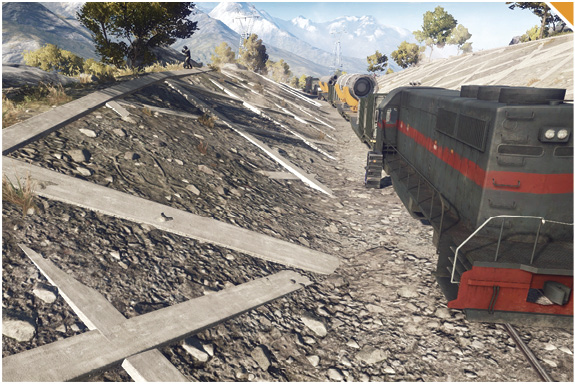
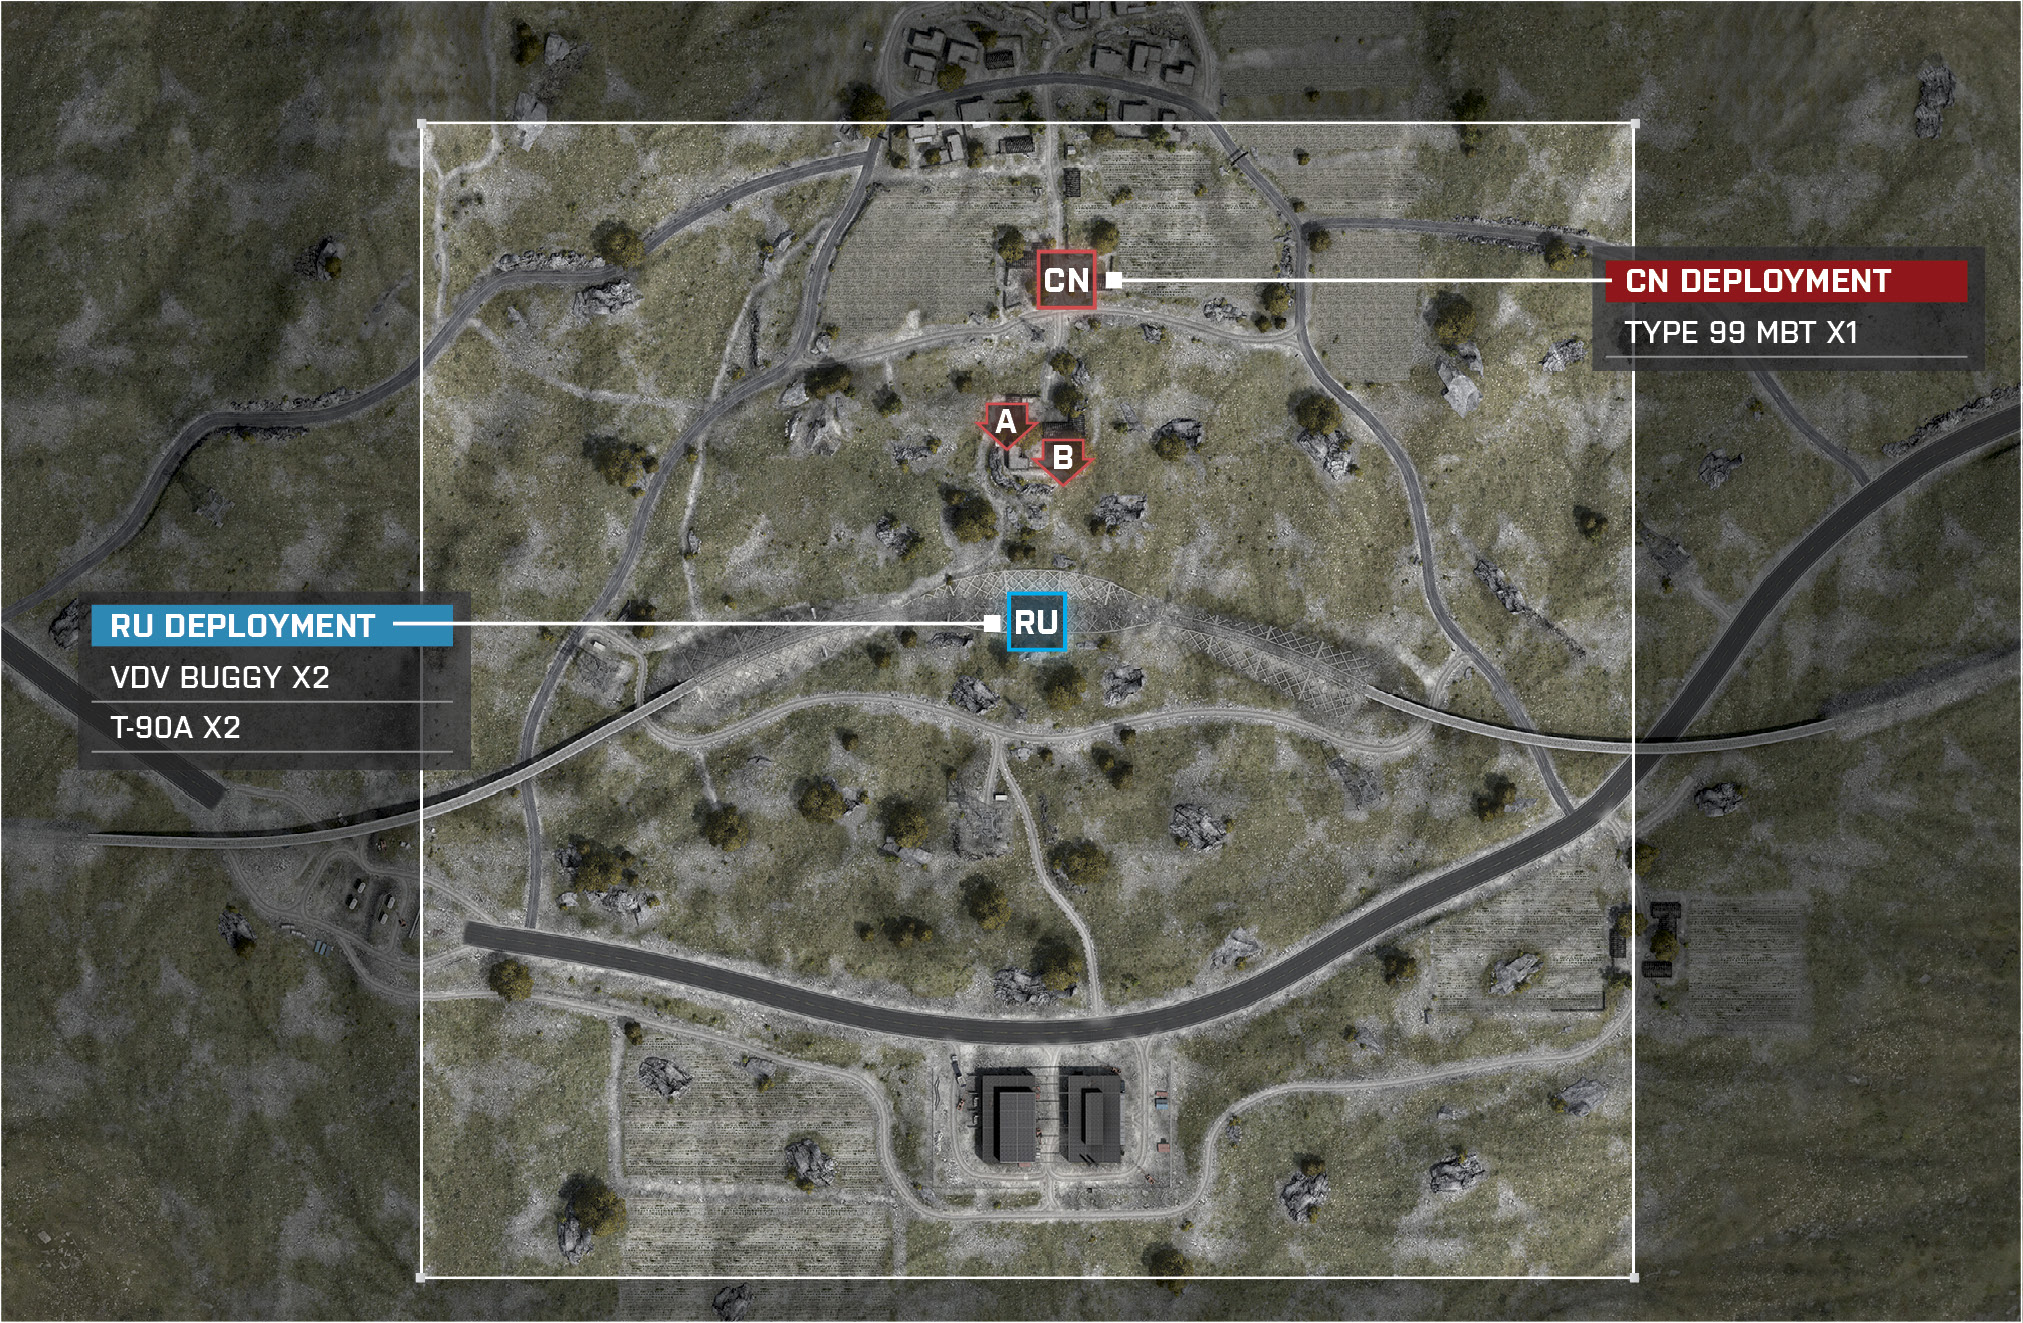
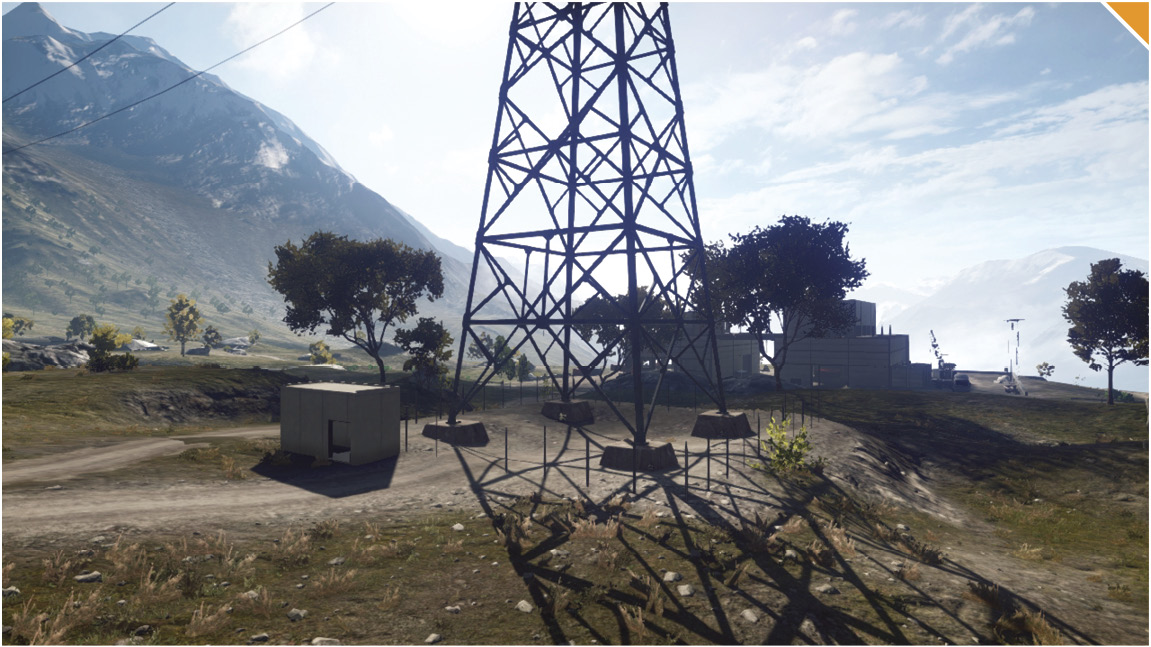
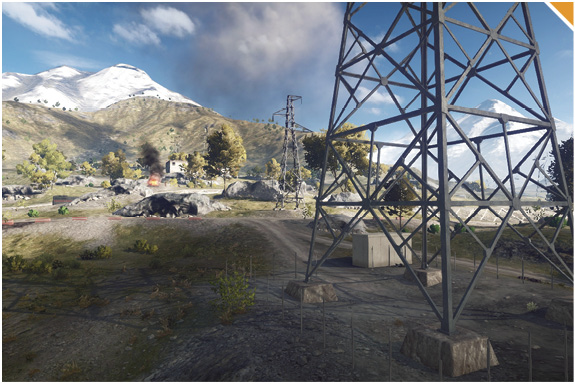
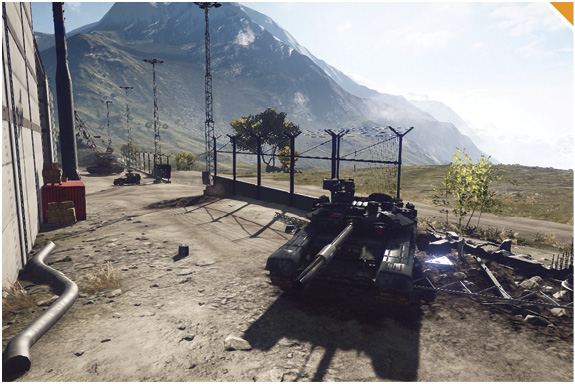
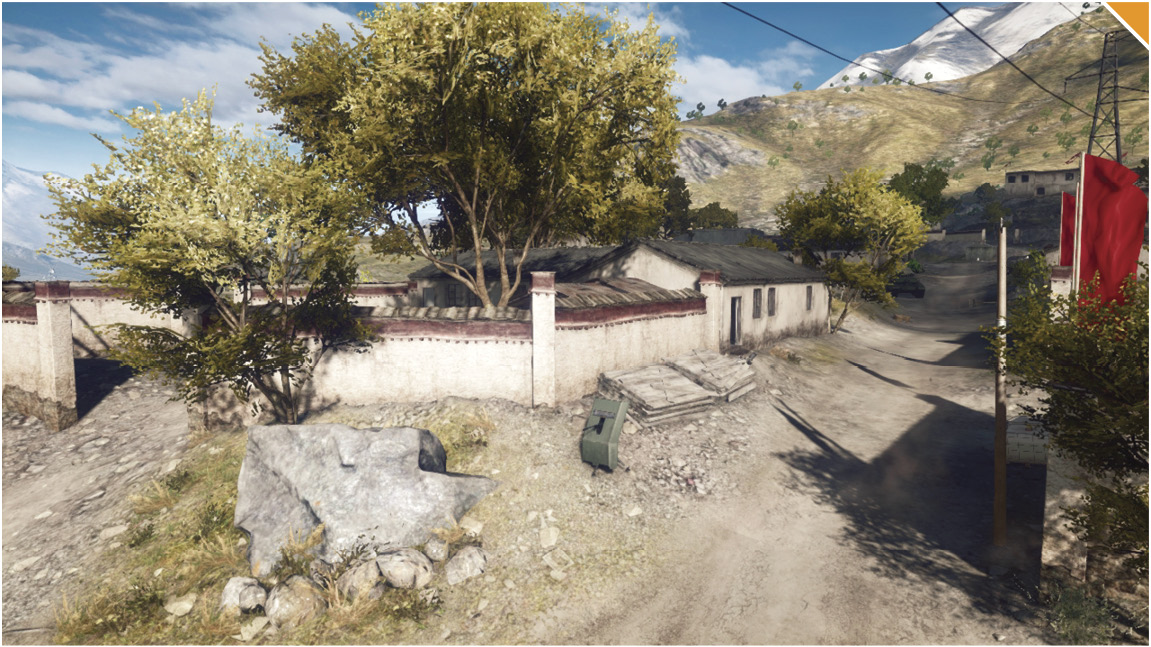
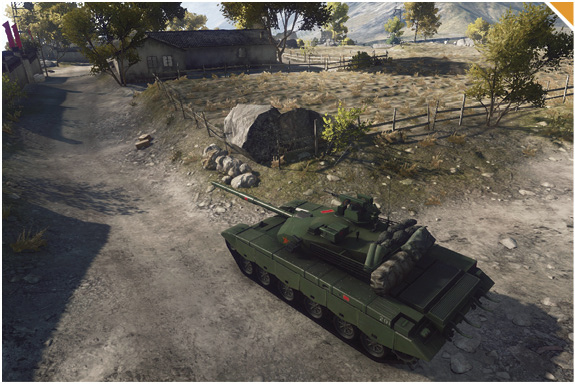
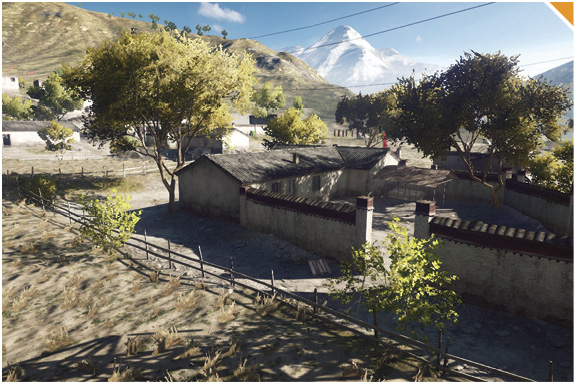
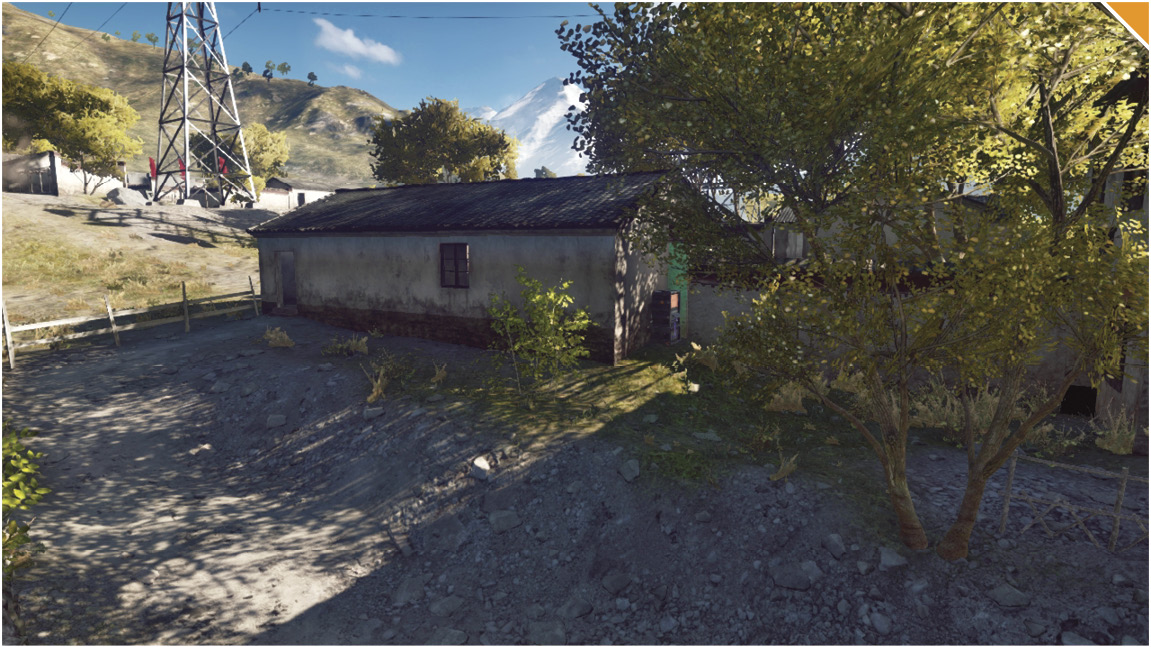
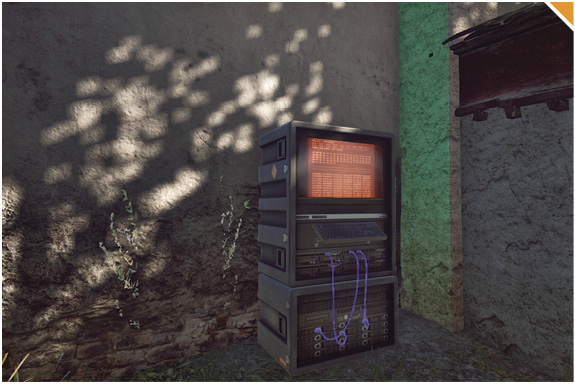
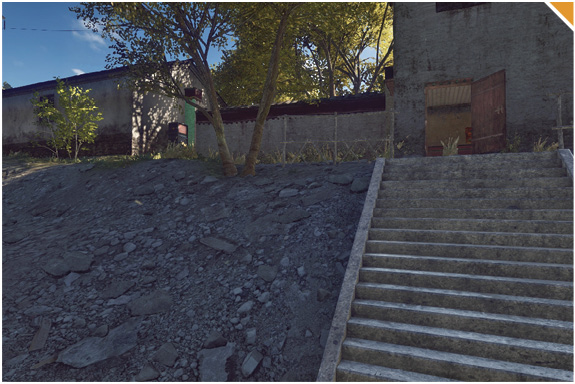
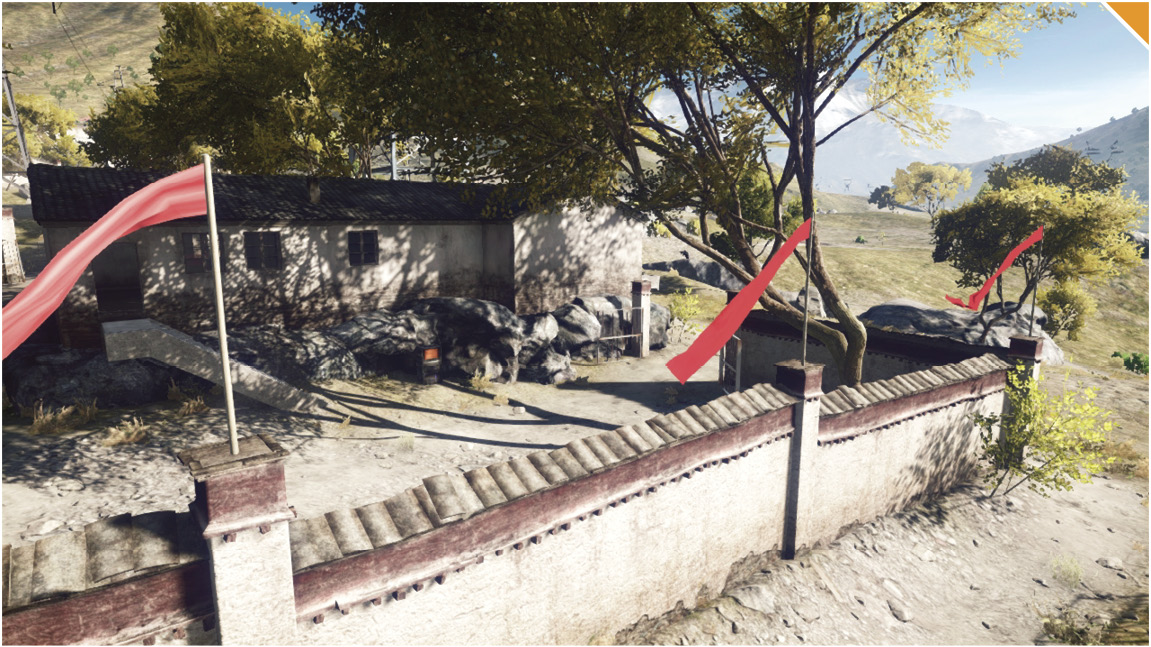
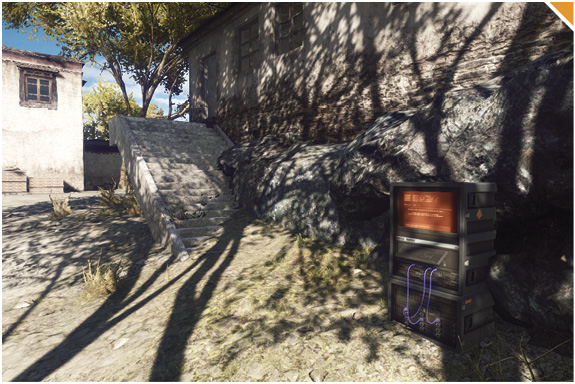
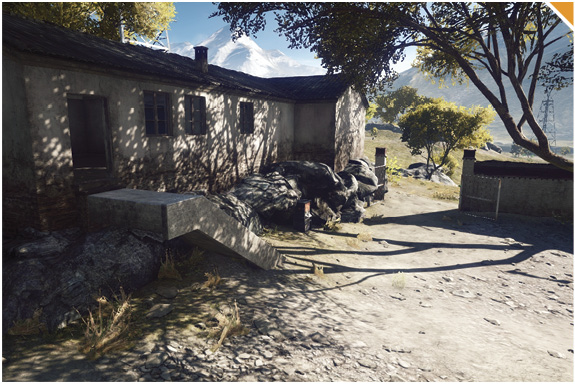
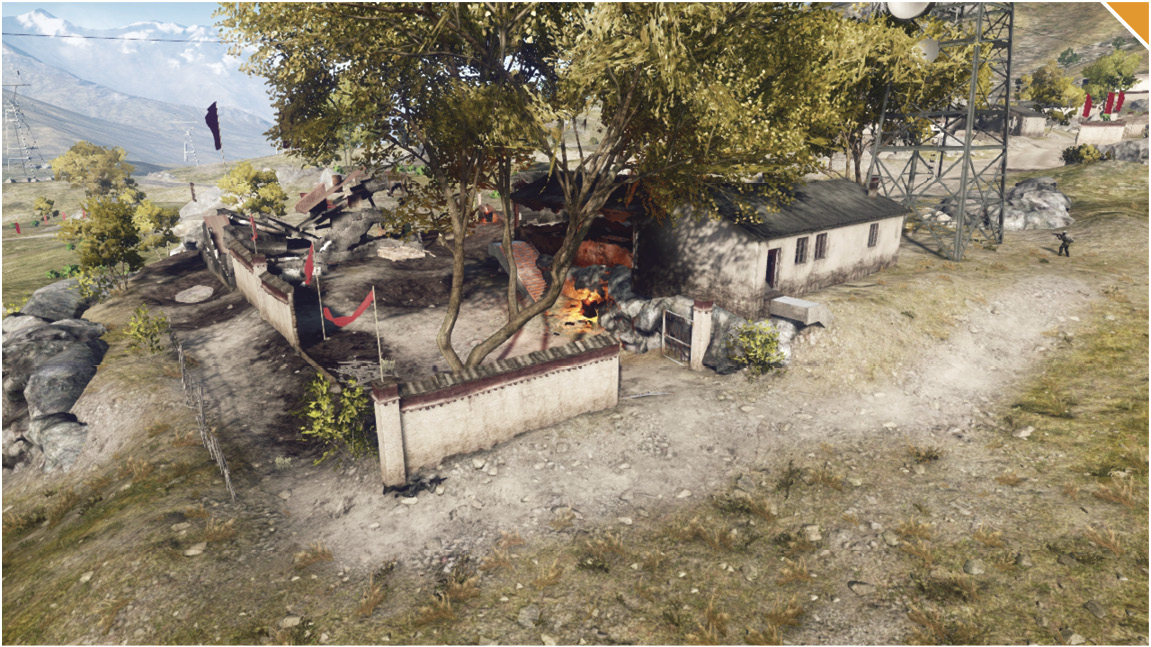
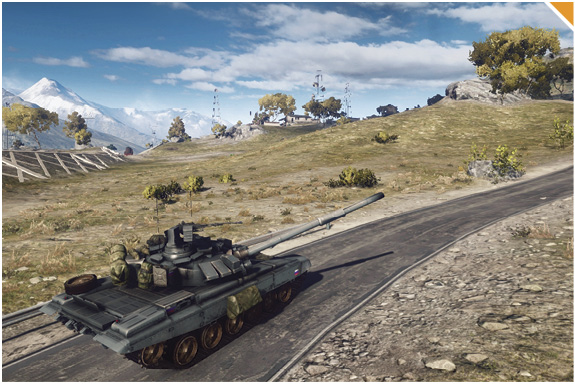
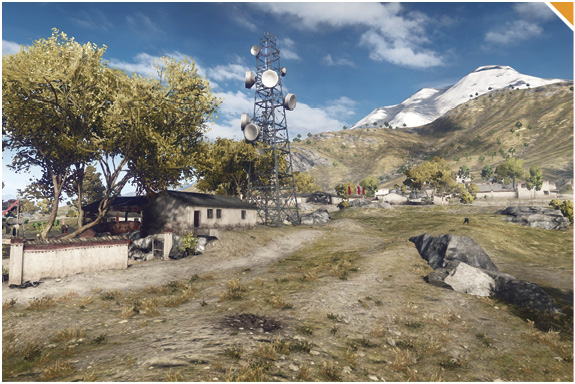
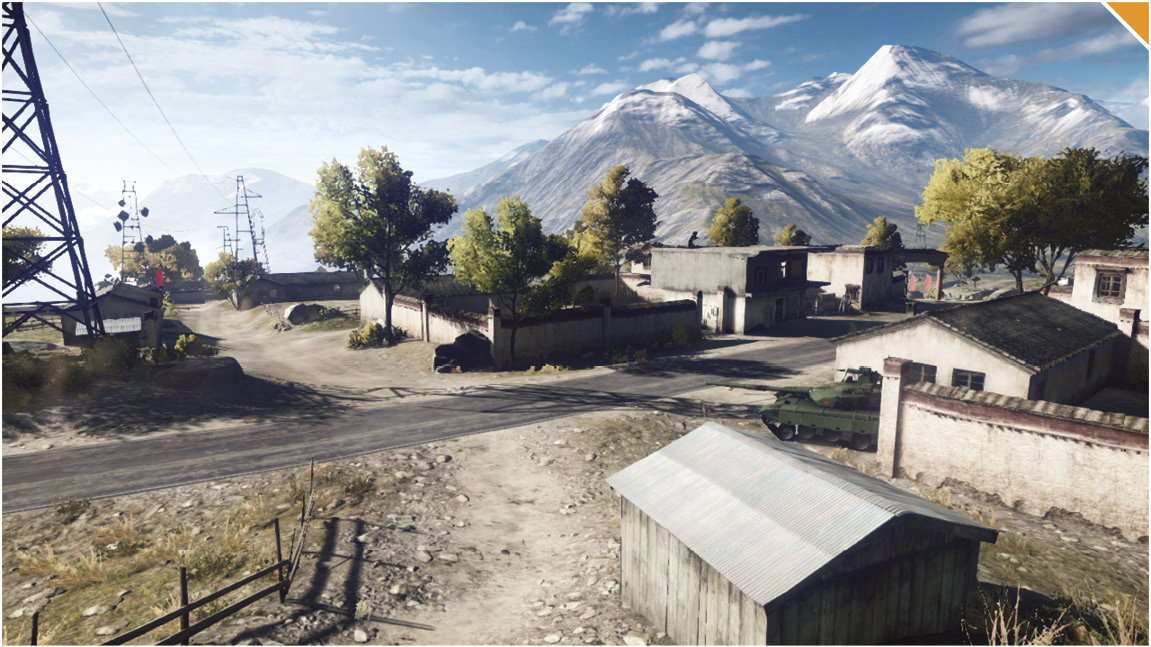
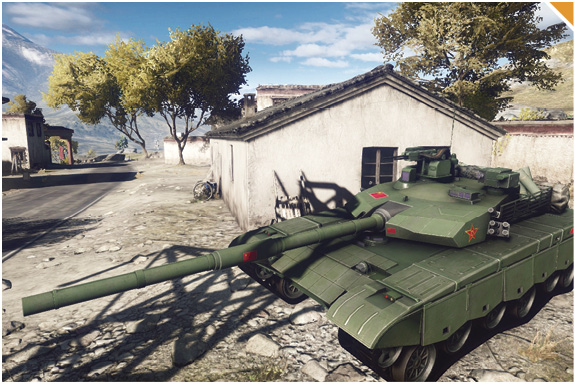
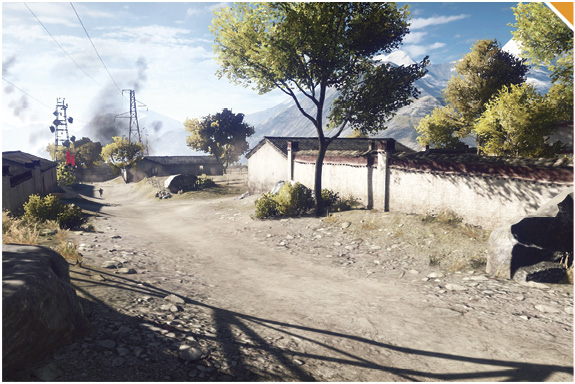
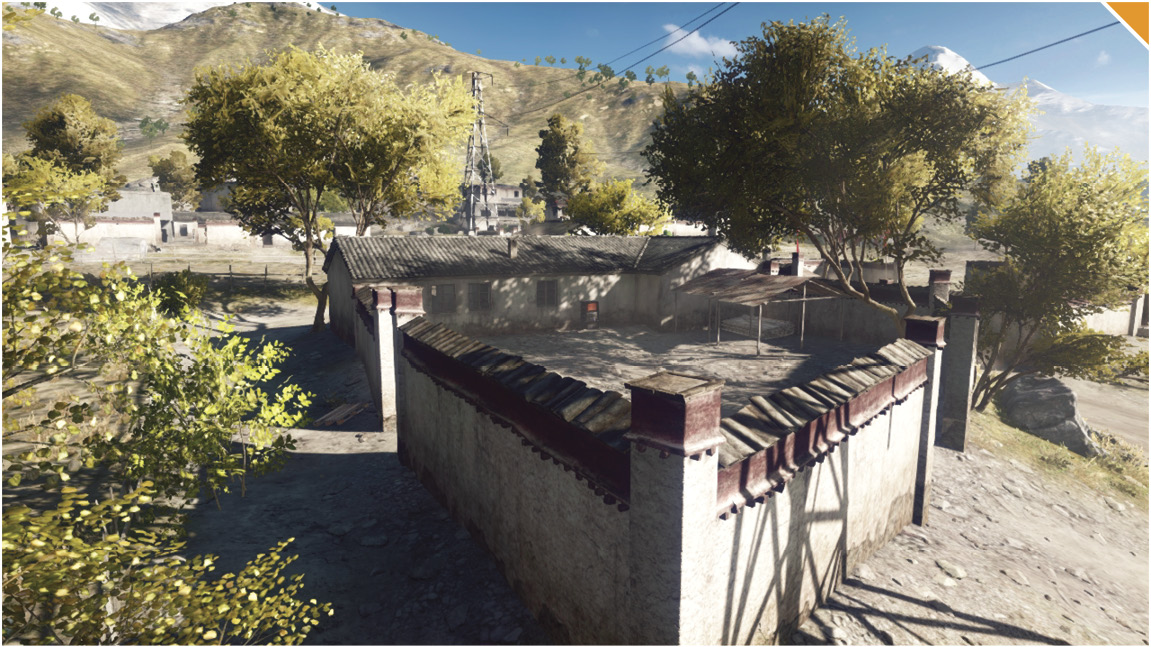
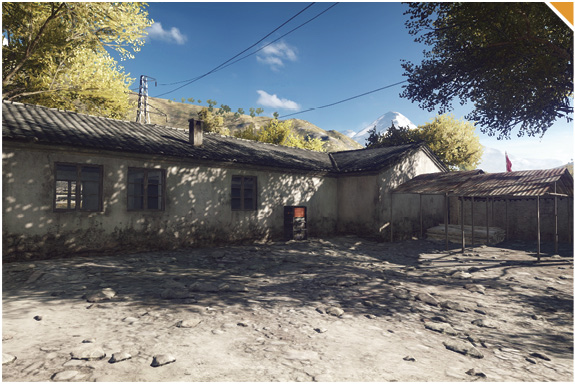
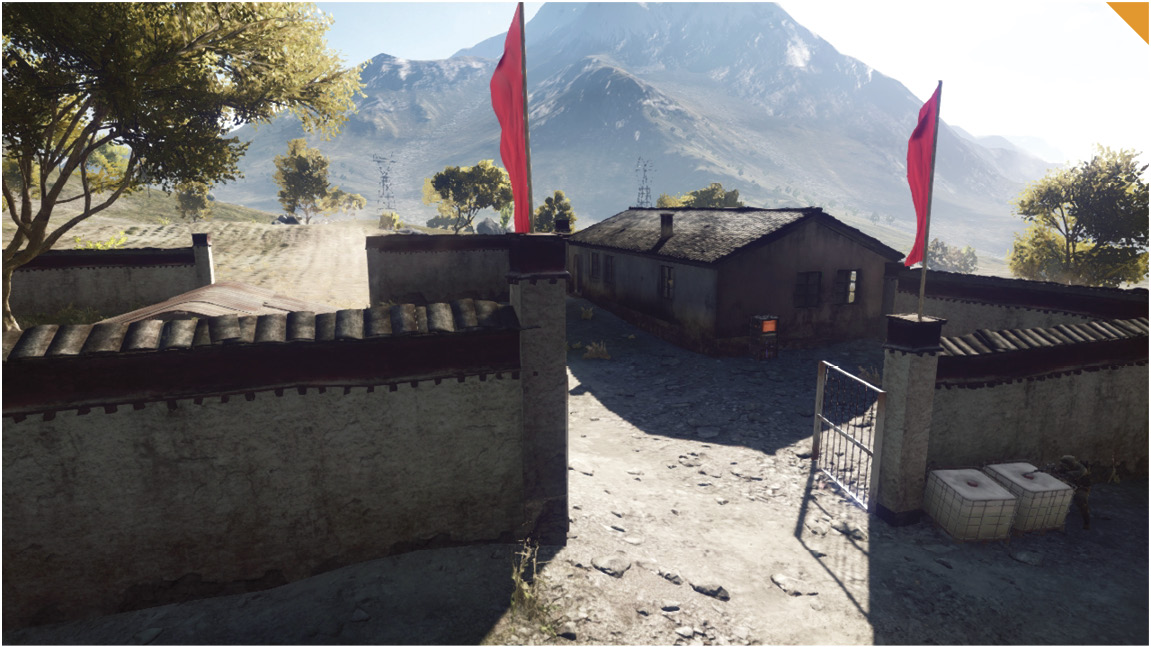
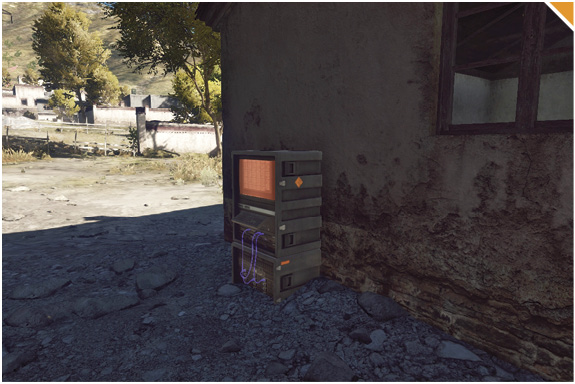
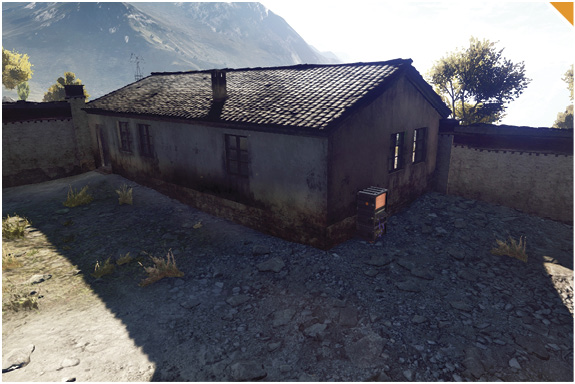
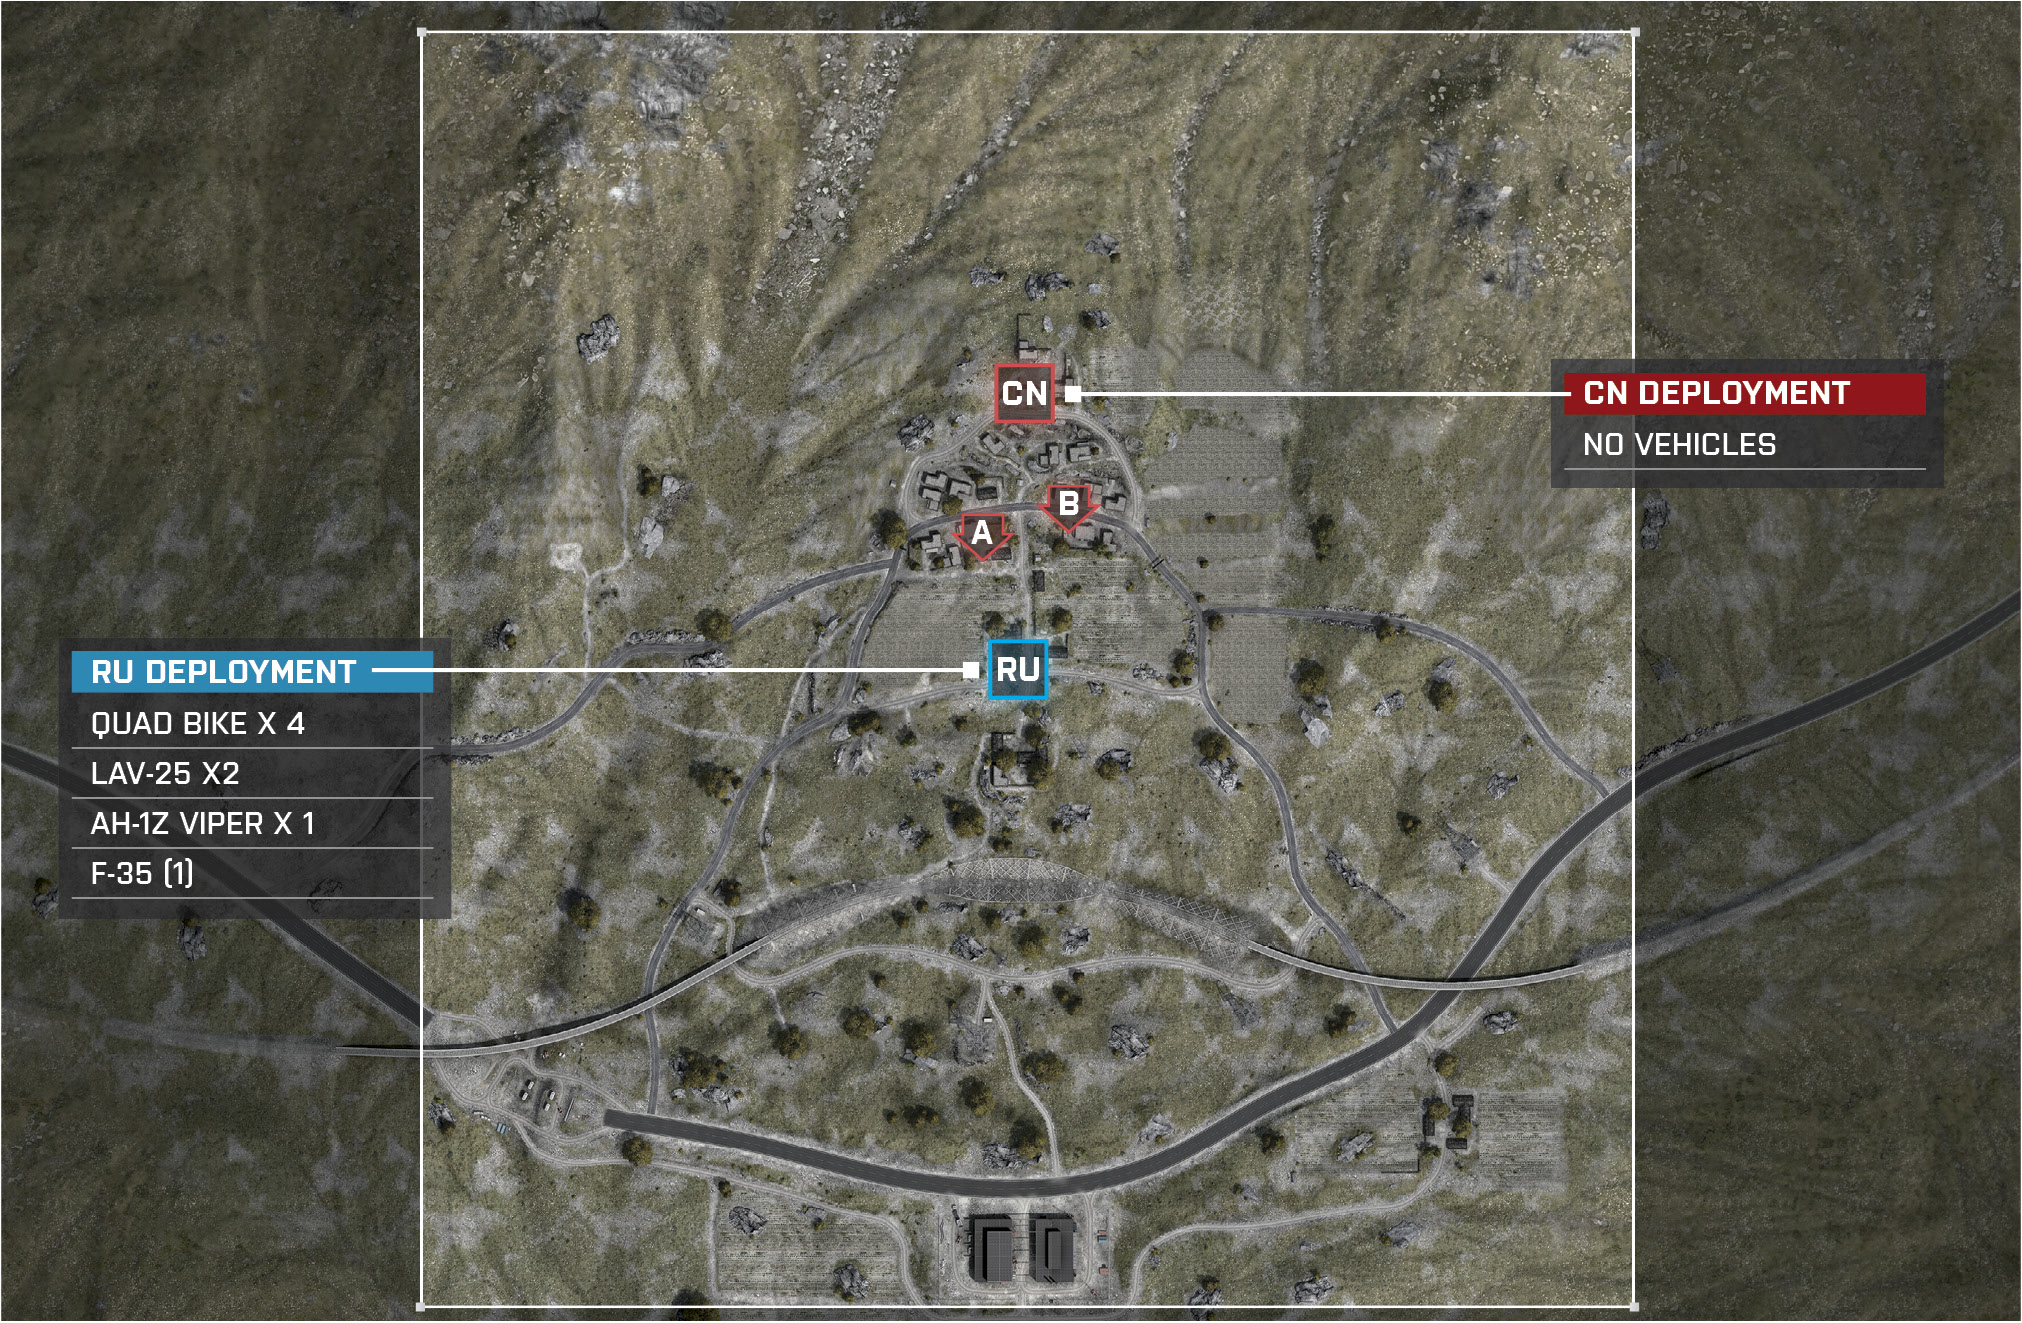
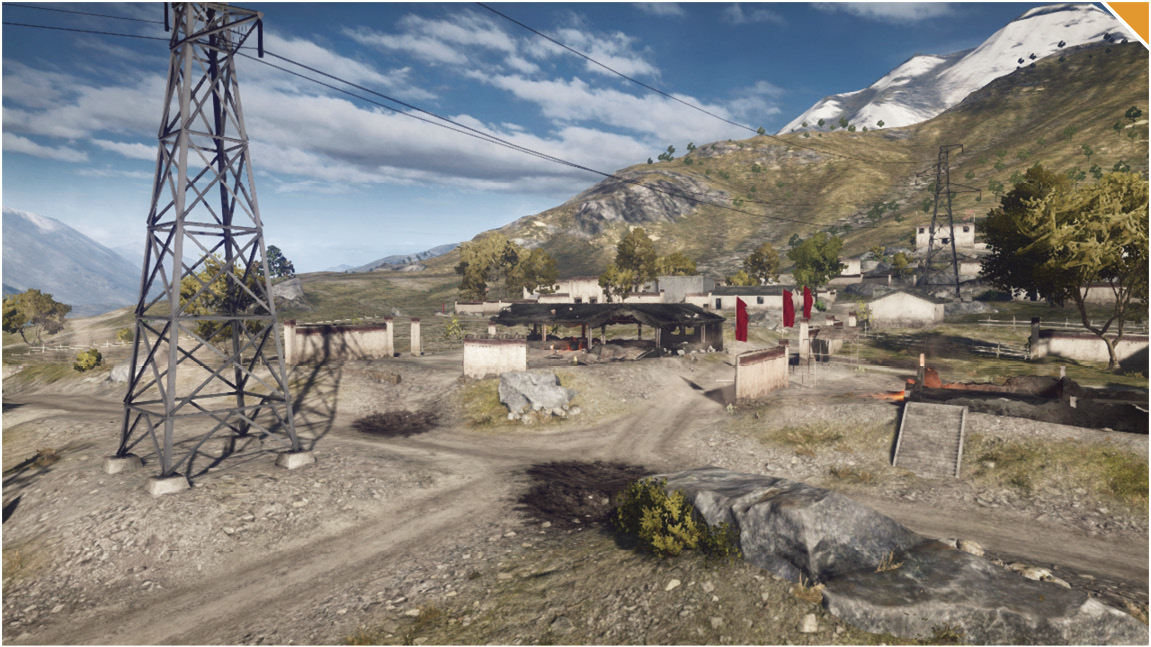
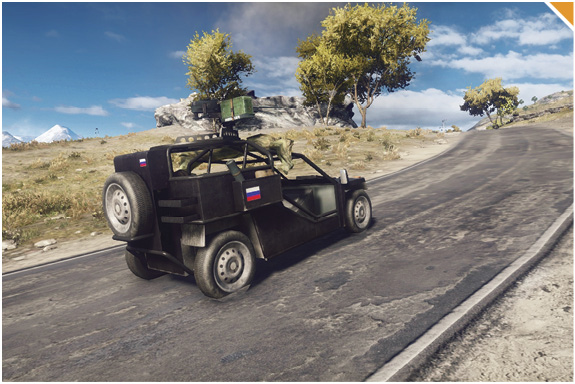
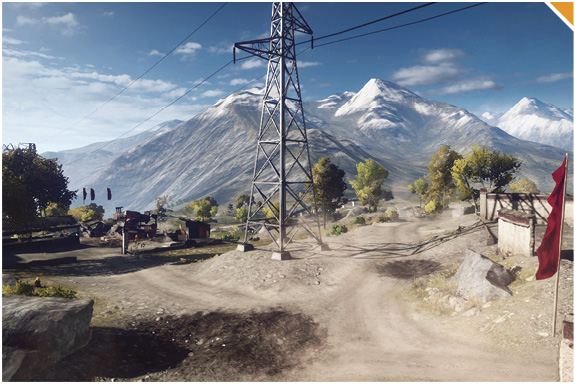
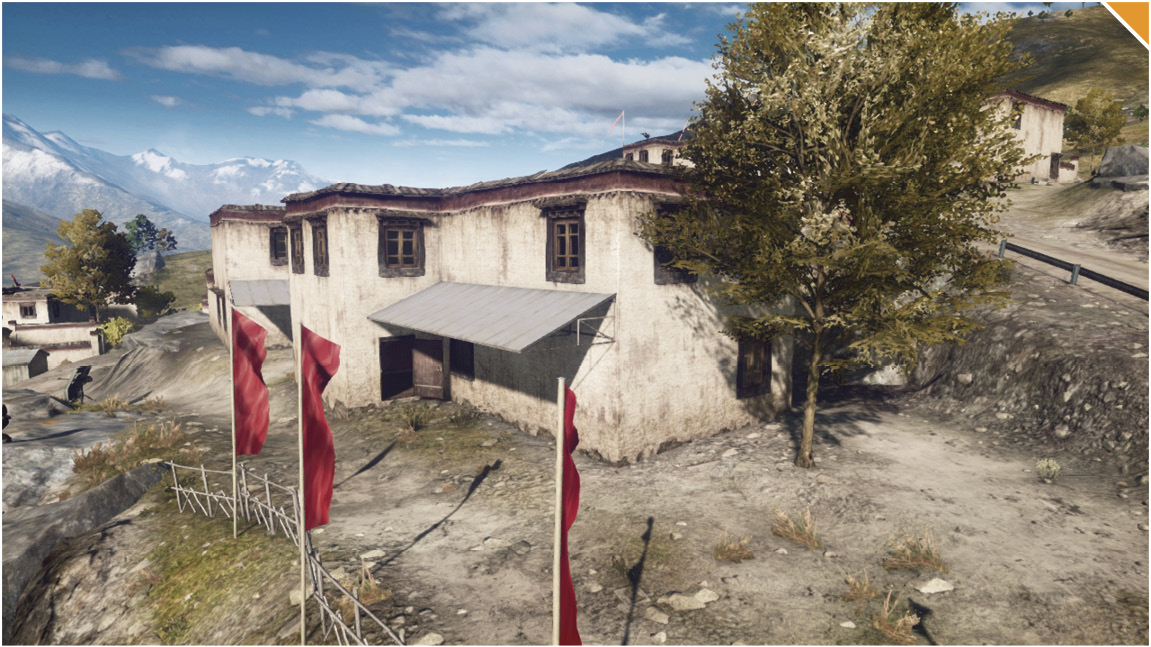
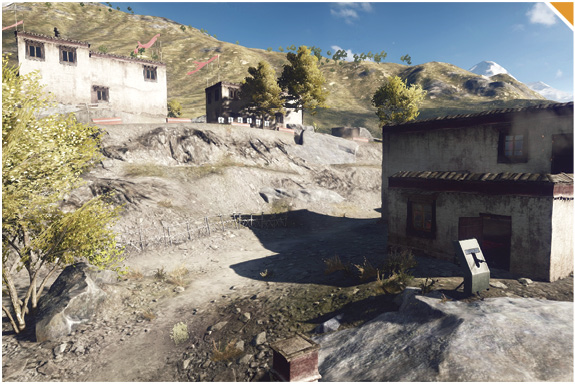
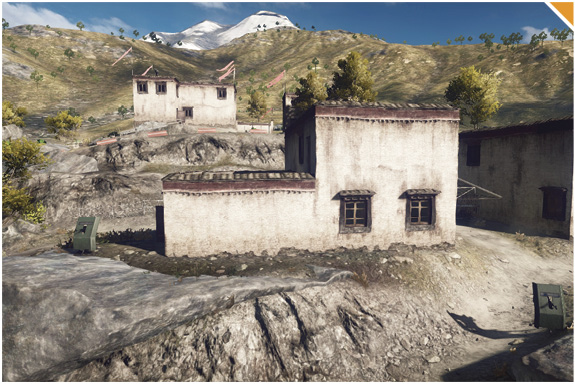
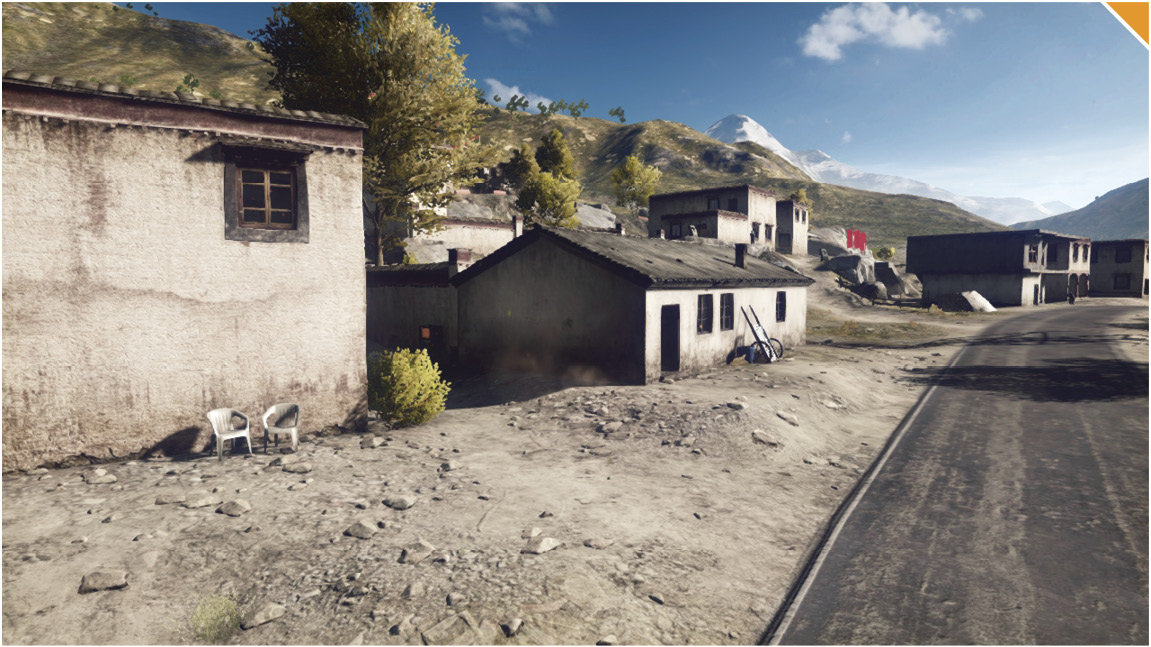
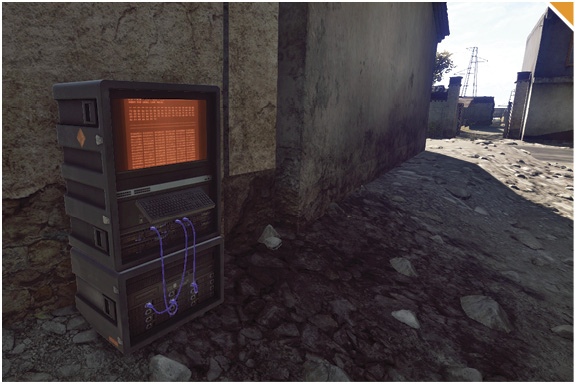
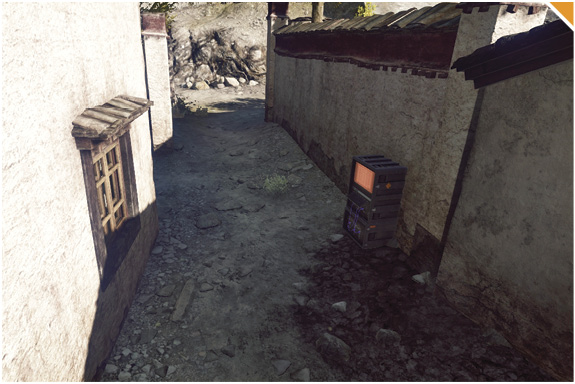
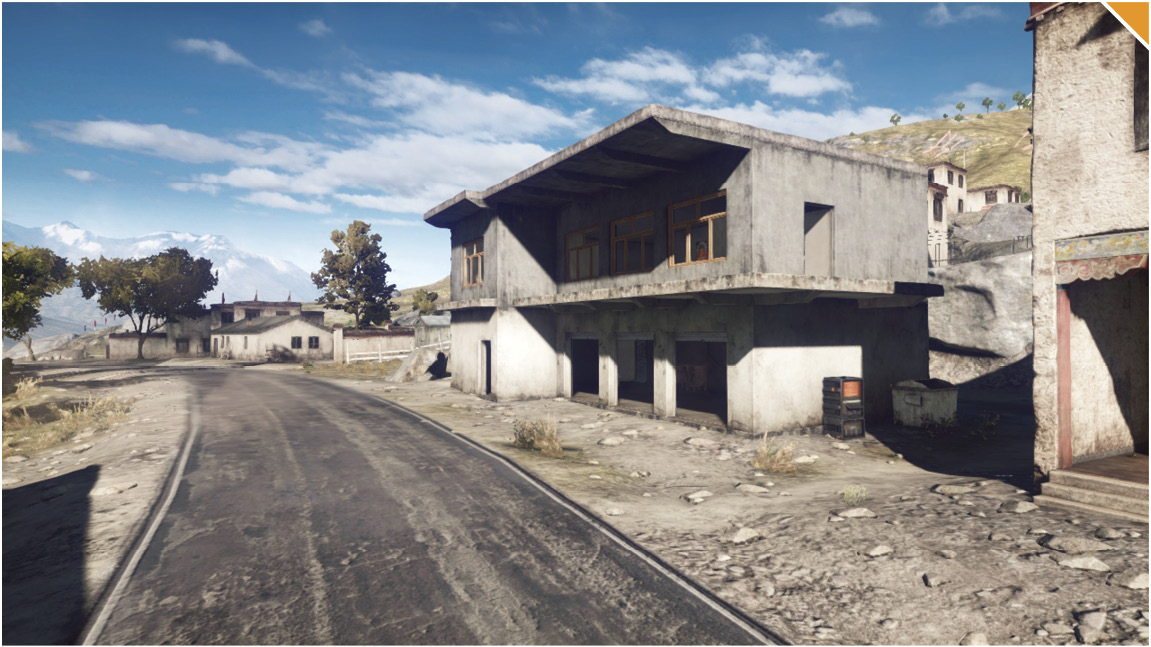
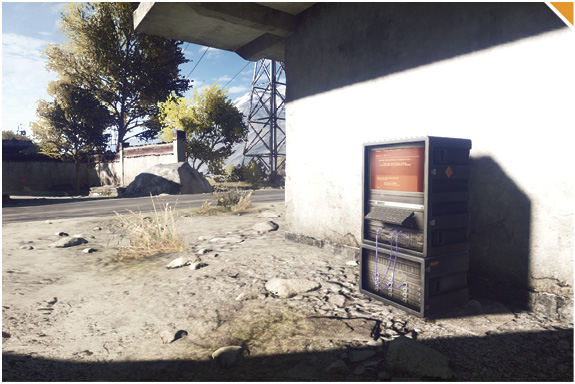
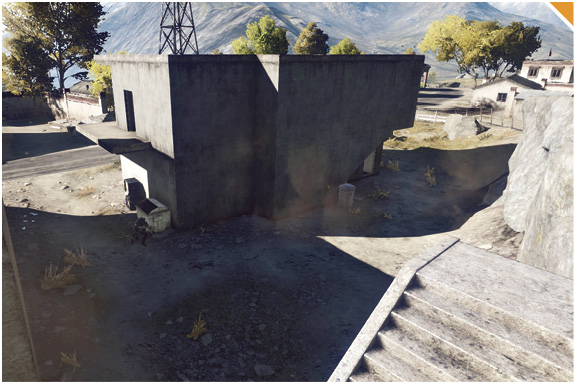
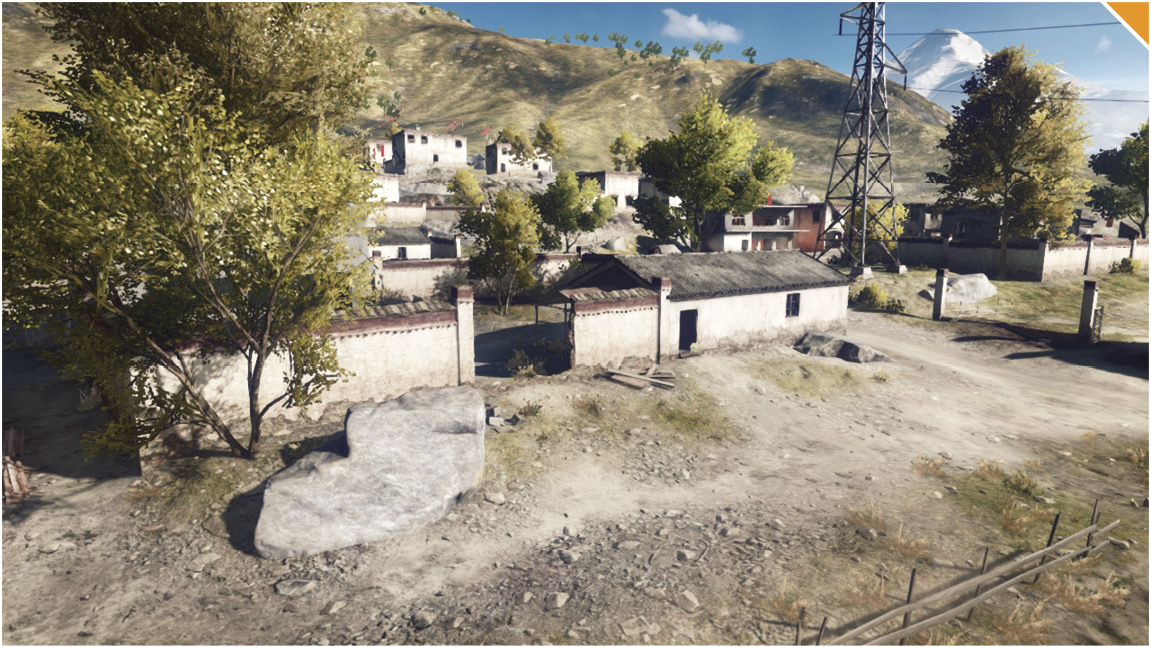
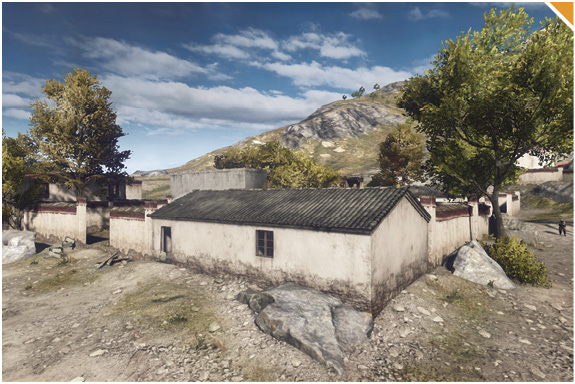
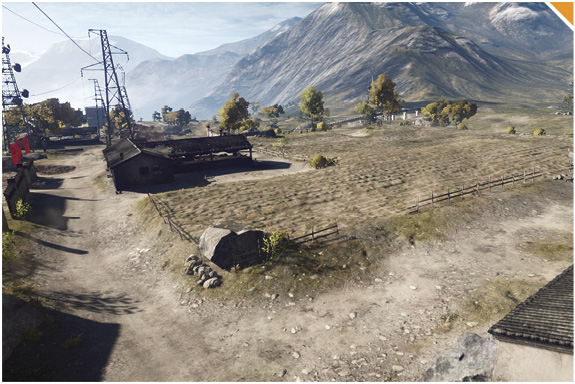
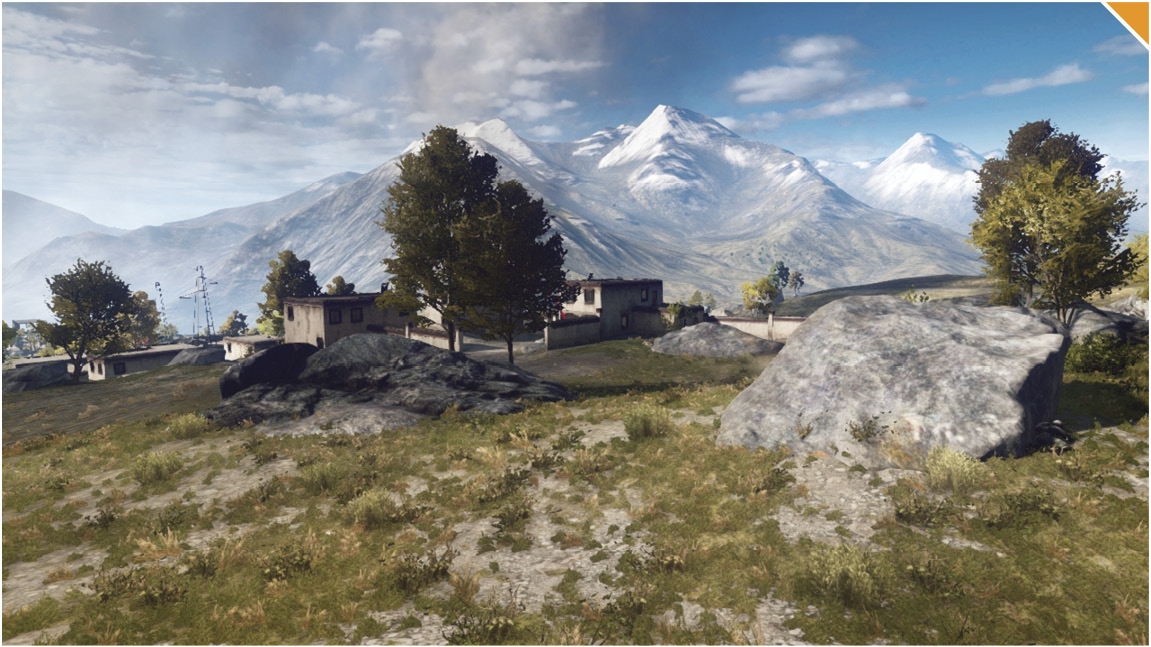
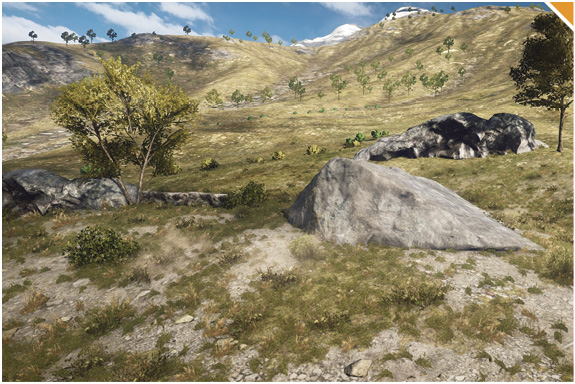
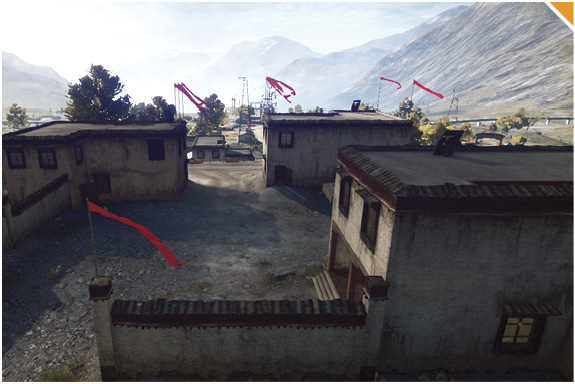
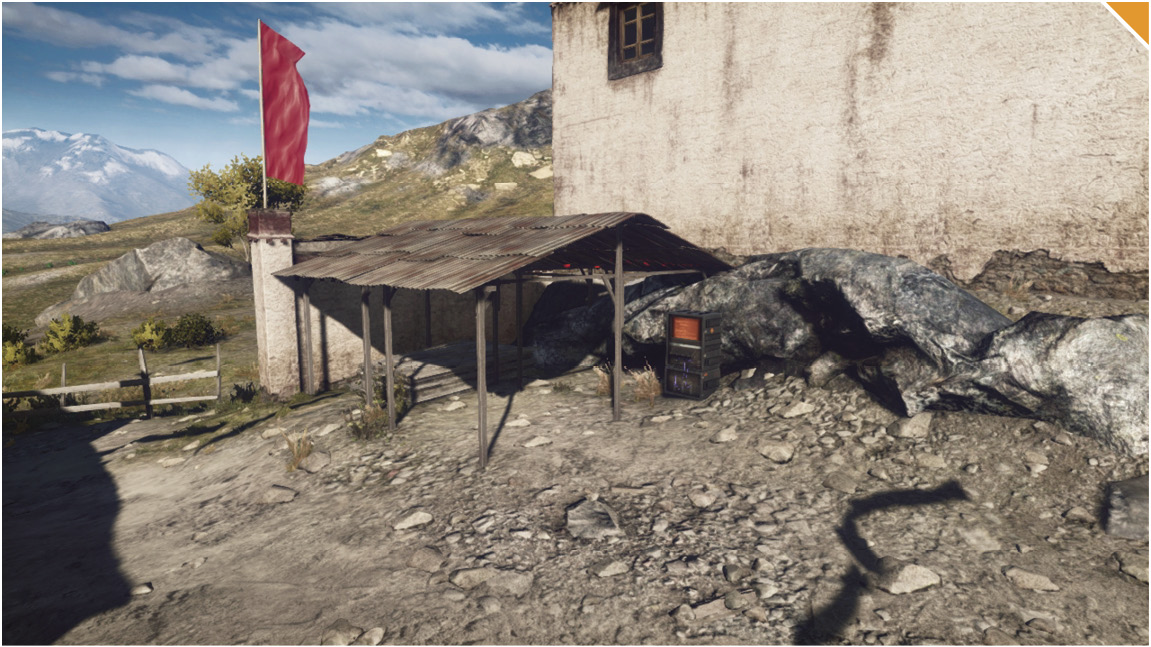
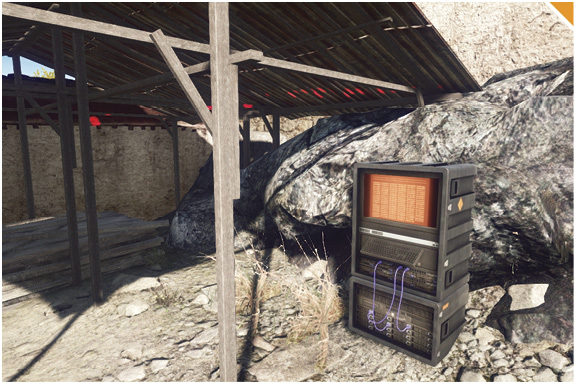
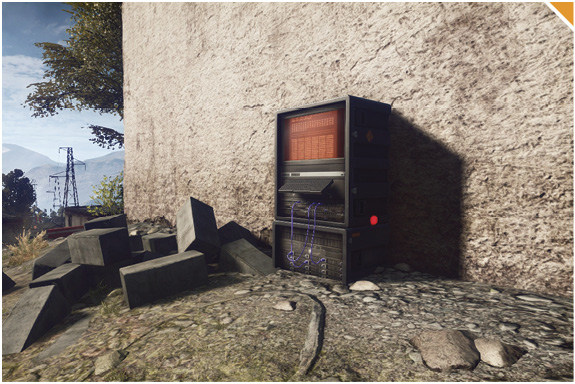
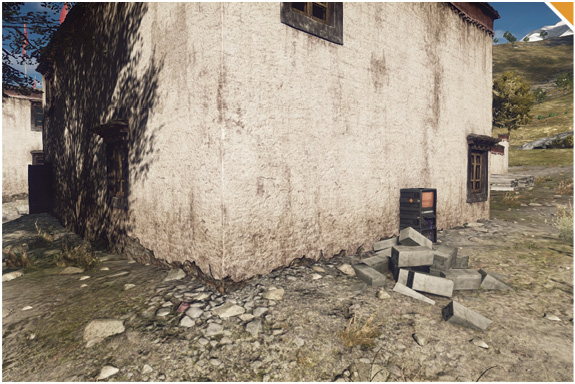
A control point, atop a Train, moves towards the controlling team’s base along the railroad tracks. In addition, IEDs are placed in strategic areas throughout the map, creating massive explosions capable of taking out anything within its blast radius.
How is it triggered?
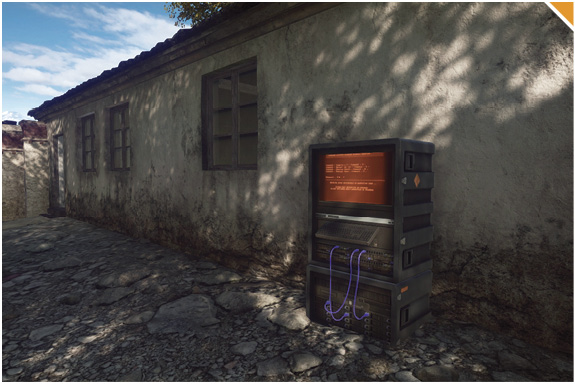
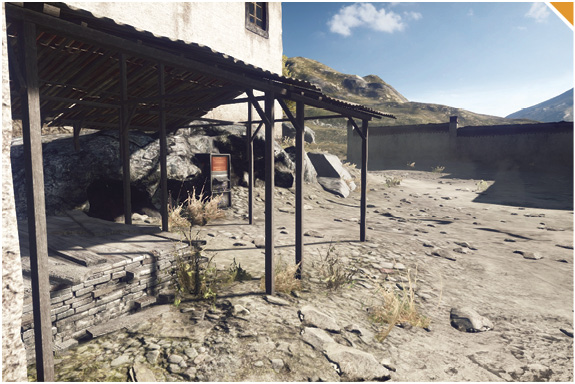
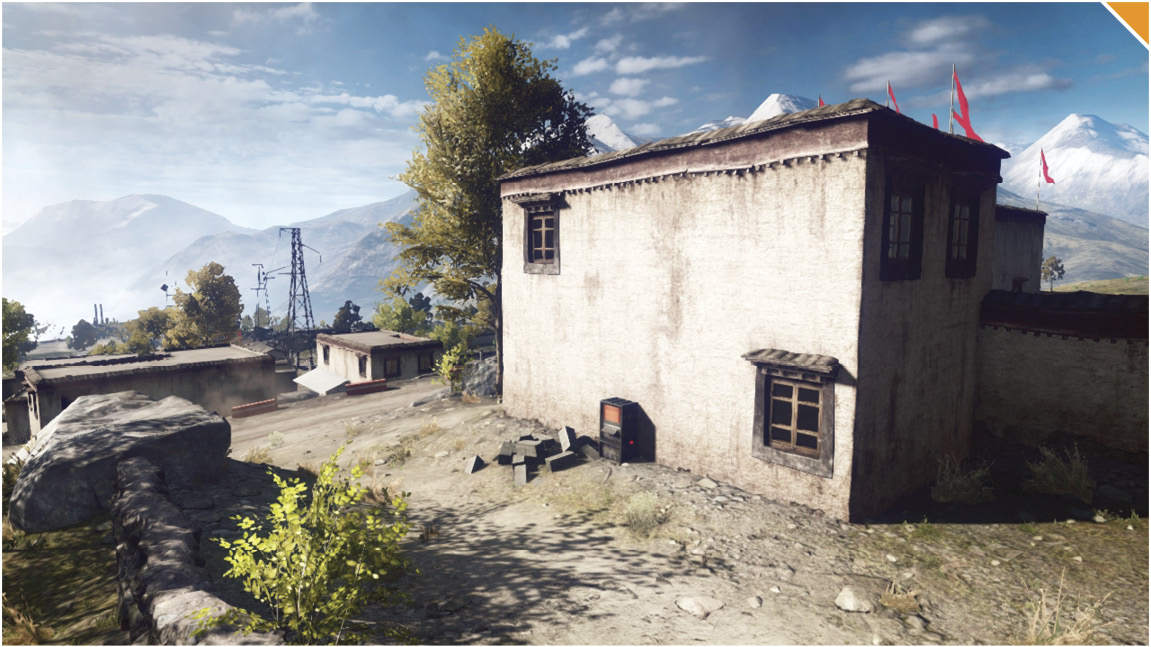
The Train moves towards the home base of the team in control of its flag. IED explosions are triggered by shooting them with an explosive weapon or detonating them individually from control consoles placed around the map—follow the wires leading from the IEDs to the corresponding control consoles.
How is gameplay impacted?
The Train control point moves towards the team controlling its flag, making it easier to control throughout the game when it is placed near your home base. This makes it extremely hard for the opposing team to recapture it. The Train also has mounted weapons to use against enemies. The IEDs have a large blast radius and cause craters in the environment, to be used as cover for both infantry and vehicles. These explosions can take out any ground vehicle as well as damage nearby structures.
Alpha Squad: Impressions
Mabooza
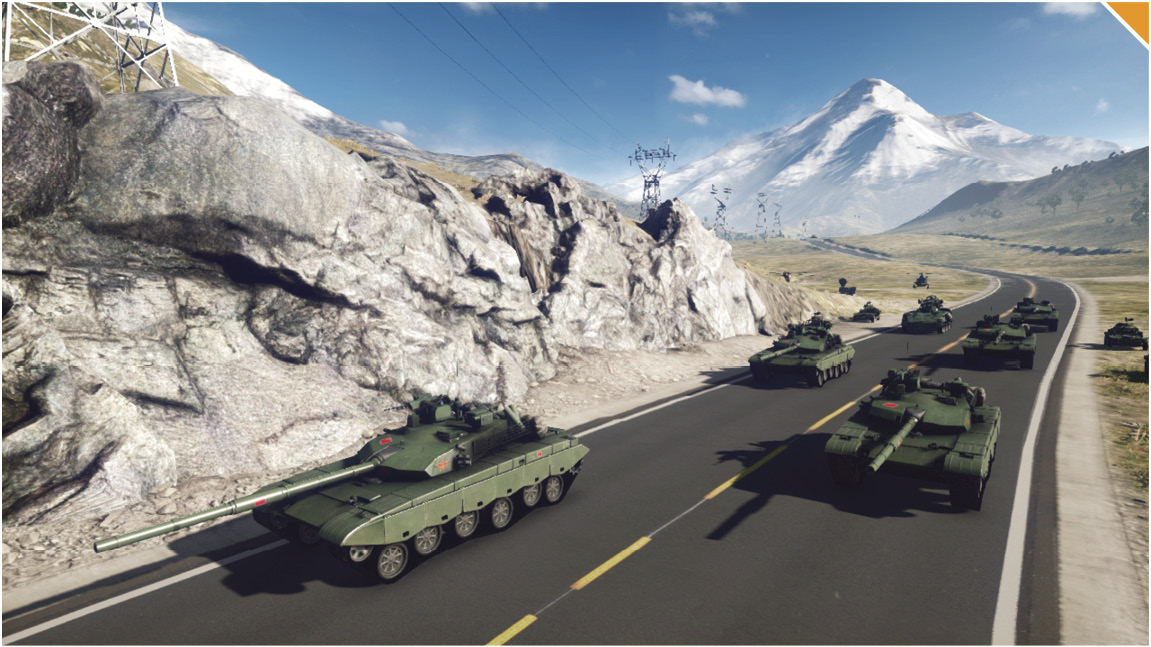
Golmud Railway reminds me of the massive landscapes in Armored Kill from Battlefield 3. This is a map clearly designed for massive tank battles. Transportation is key as you don’t want to be stuck on foot, sprinting from one location to the next. Wait for a vehicle to spawn or request a ride from a teammate before hoofing it.
StrongSide
I really like the addition of the moving Train control point in Conquest, which makes this control point one of the most valuable to obtain. This is an awesome new concept in Conquest Large and Small. I’ll rush towards the Train at the beginning of the match to secure this flag and escort it back towards our base. I hope to see more mobile control points in the future for Battlefield.
Walshy
When I first played on this map I immediately noticed how massive it was and the high amount of vehicle presence it had. The vehicle combat on this map is amazing. You’ll find me fighting in a tank, jet, or helicopter when I have the chance to get the victory.
Flamesword
When I first played this map, I enjoyed taking advantage of the speedy light vehicles. These fast vehicles allowed me to harass the opposing team as I moved from each objective, either neutralizing or capturing them. I would just do laps around the map, annoying them the entire game.
Elumnite
When I first played on this map I had to jump into an attack jet and fly across the vast amount of territory. I love the features on this map with the IEDs, where you can remotely control bombs lying on the map and explode any vehicles that ride near them.
Conquest Large
Recommended Squad Composition:
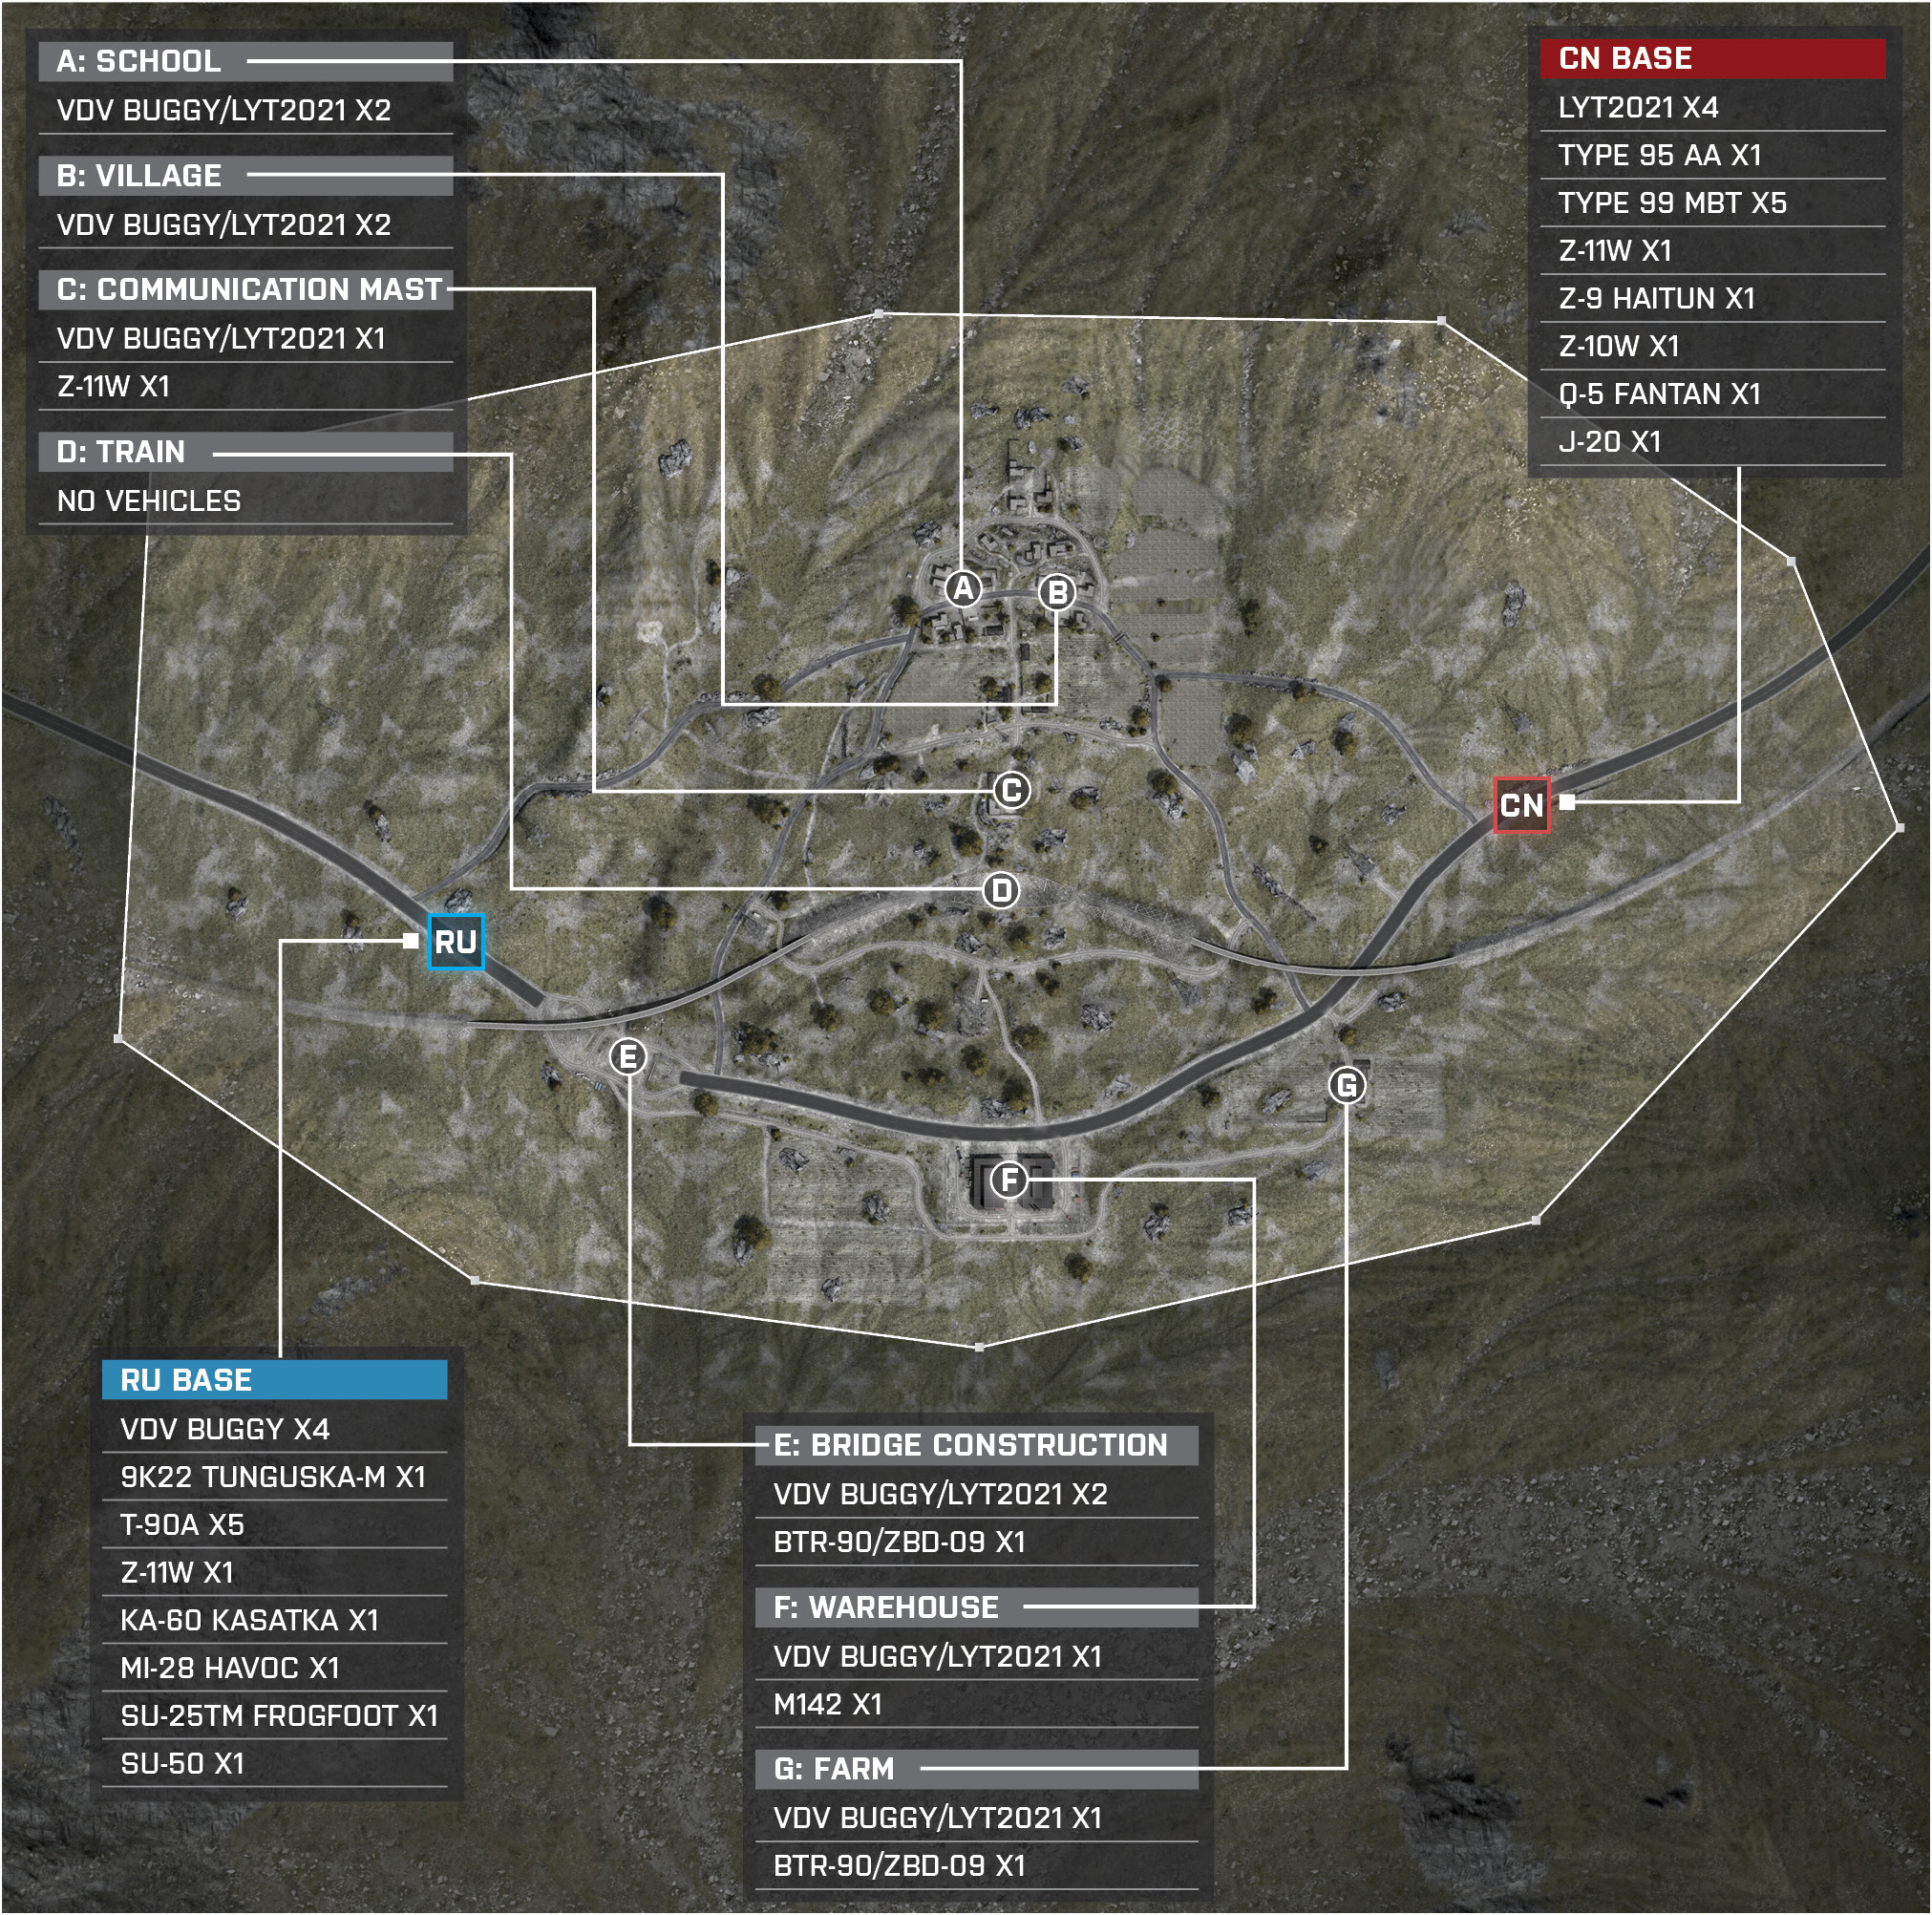
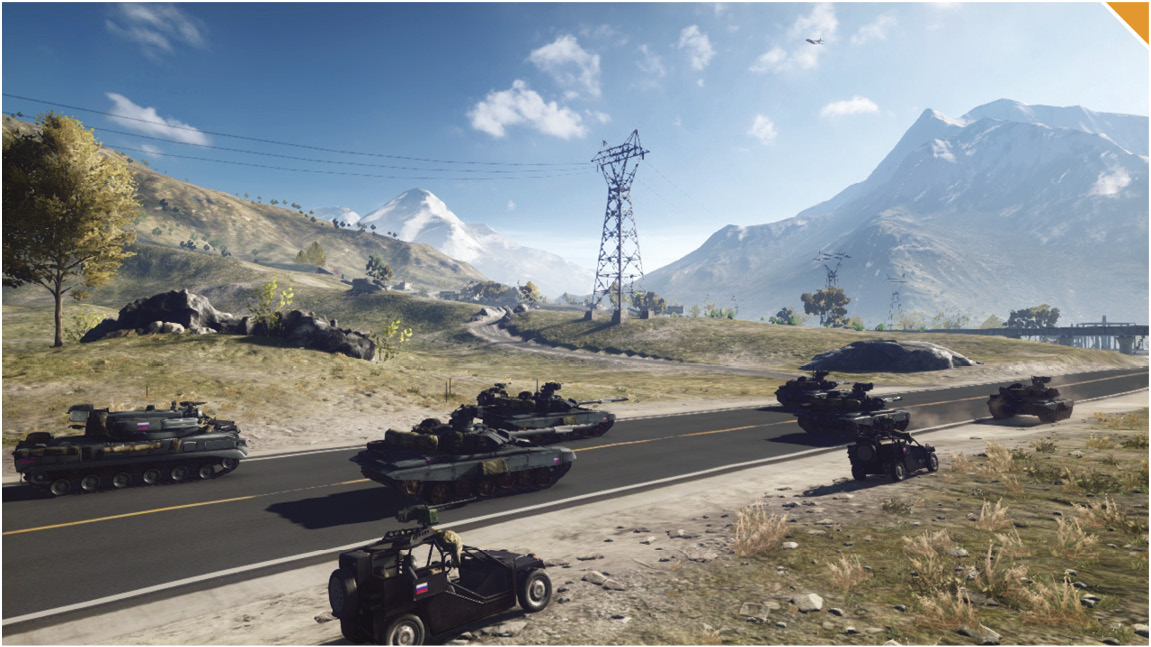
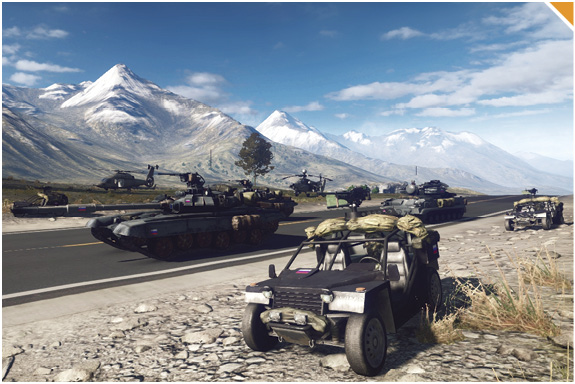
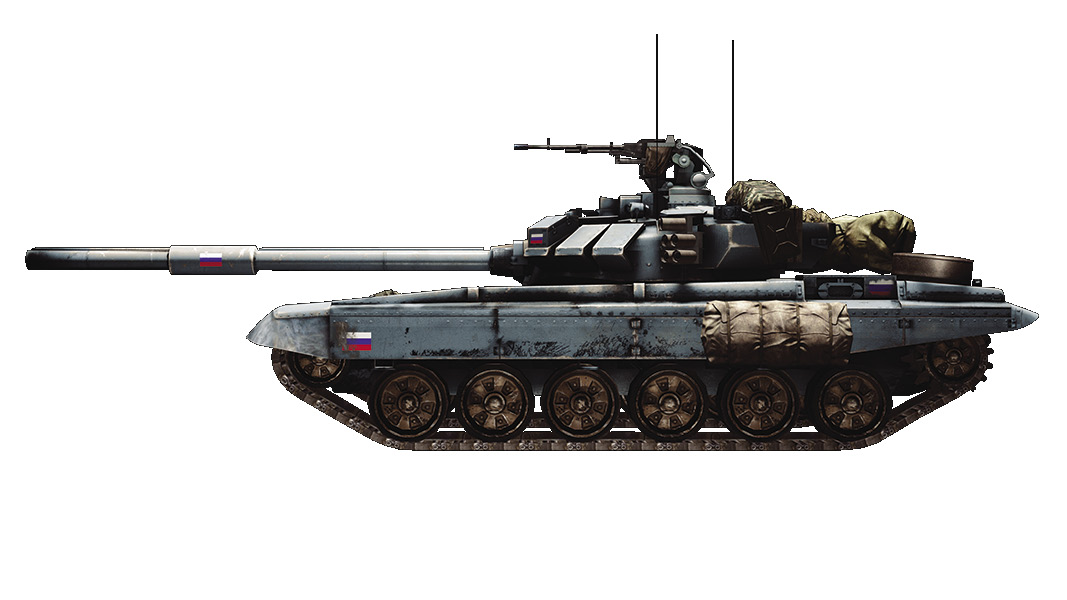
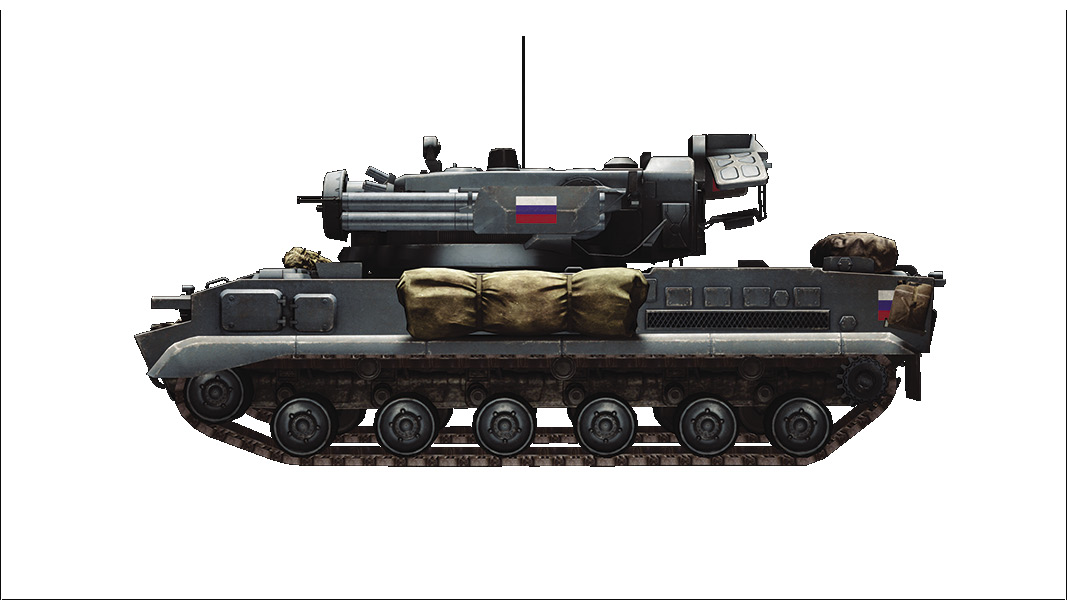
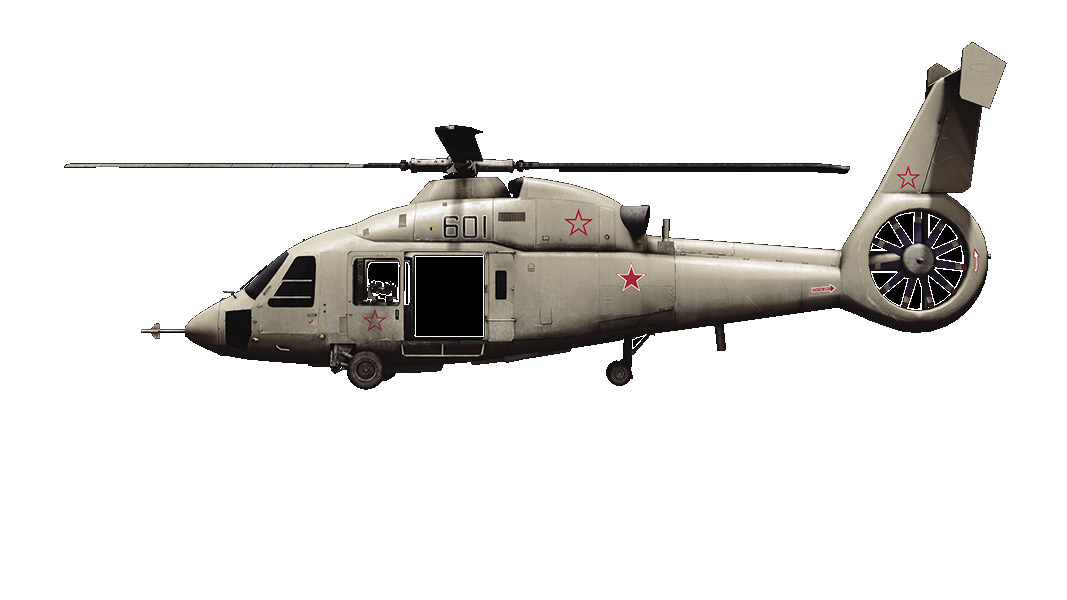
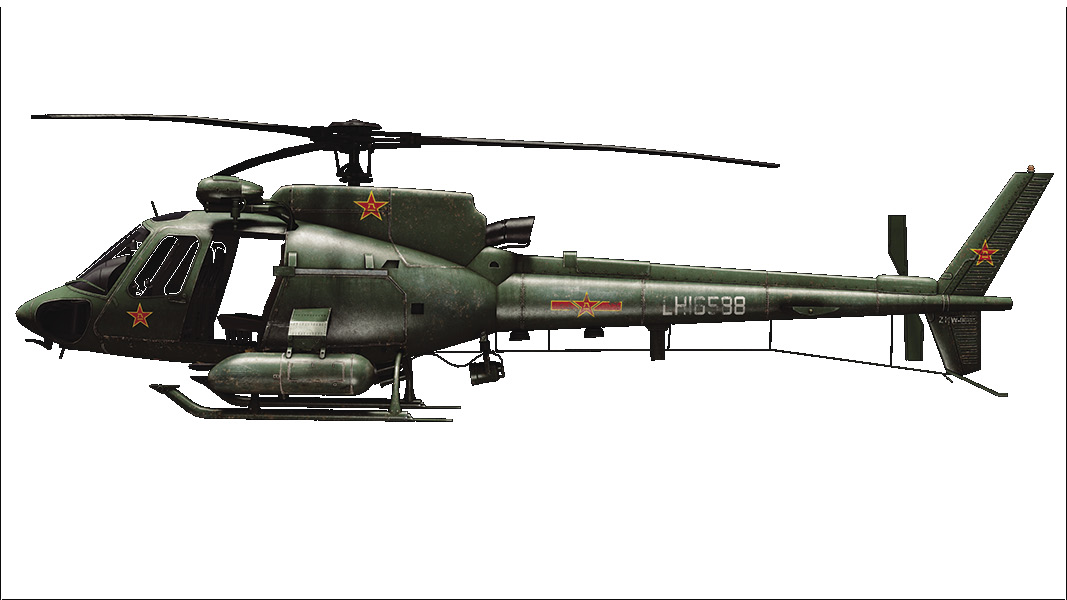
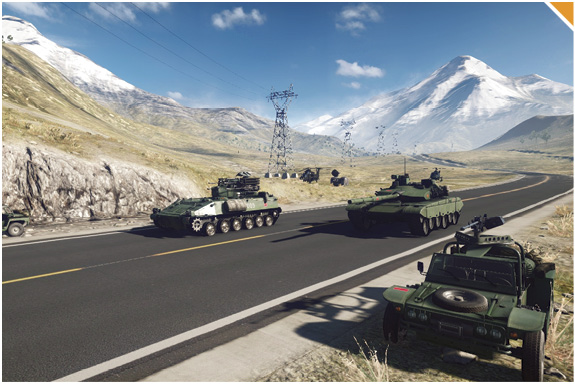
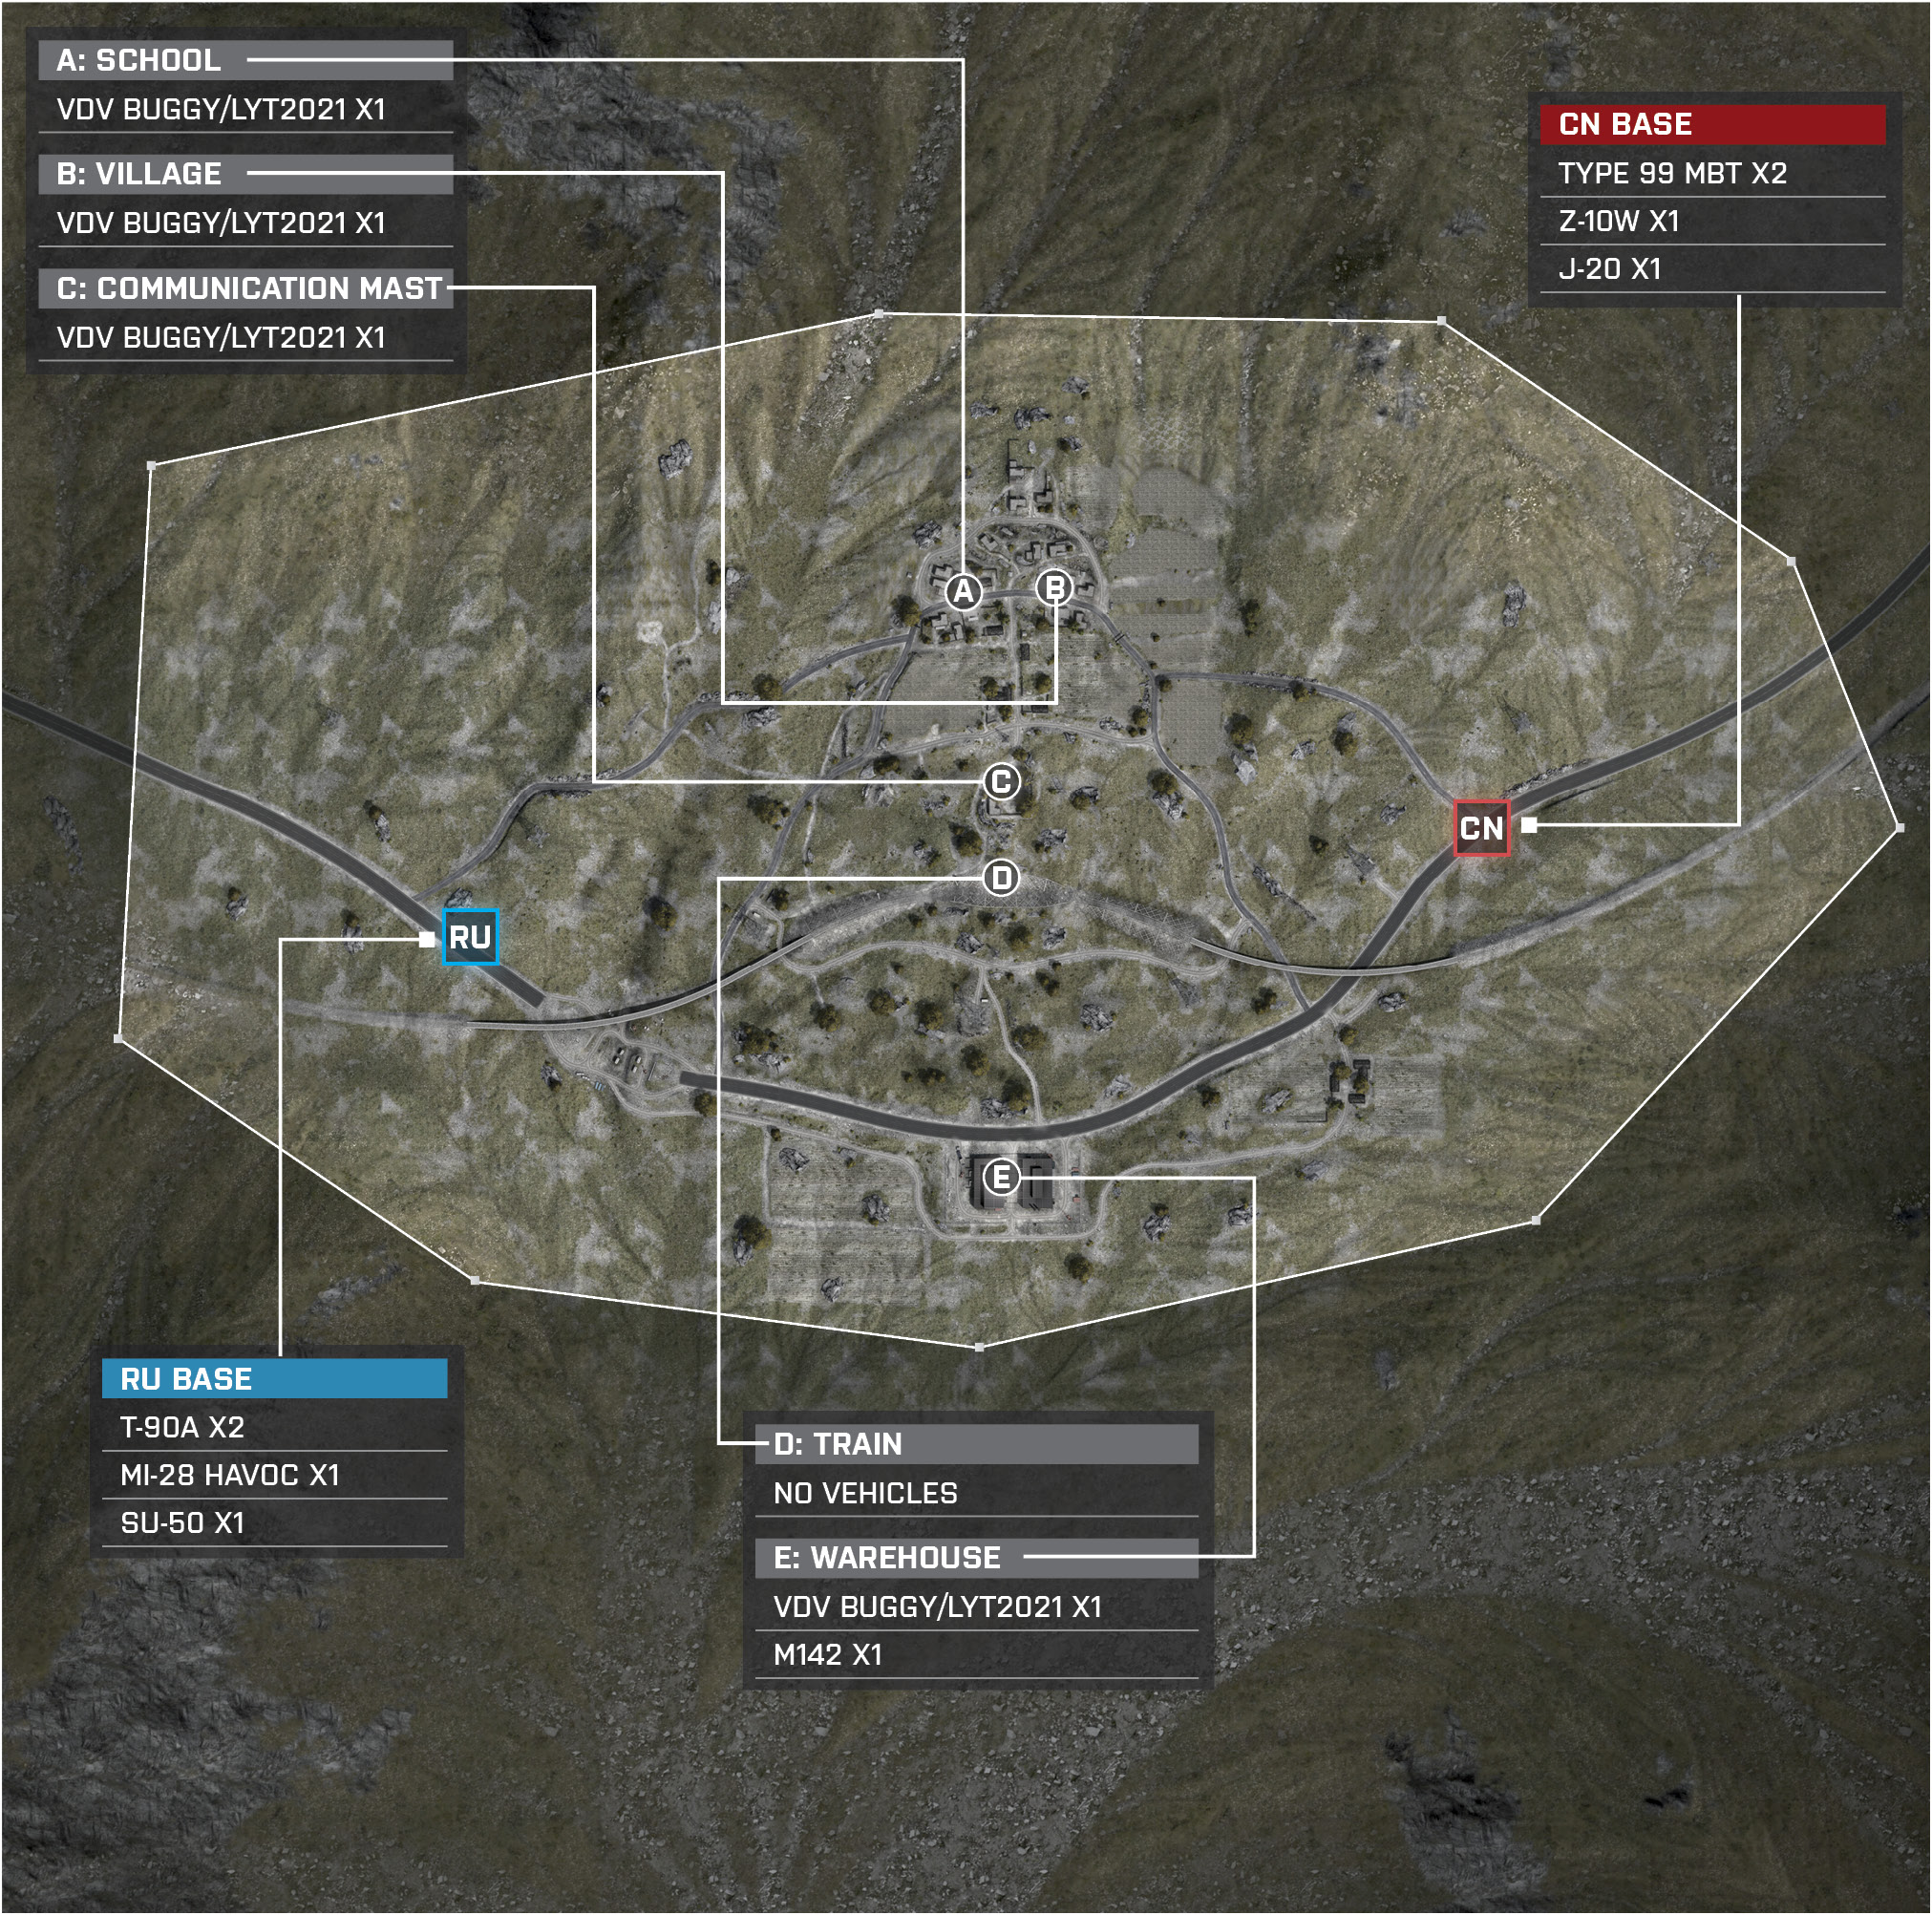
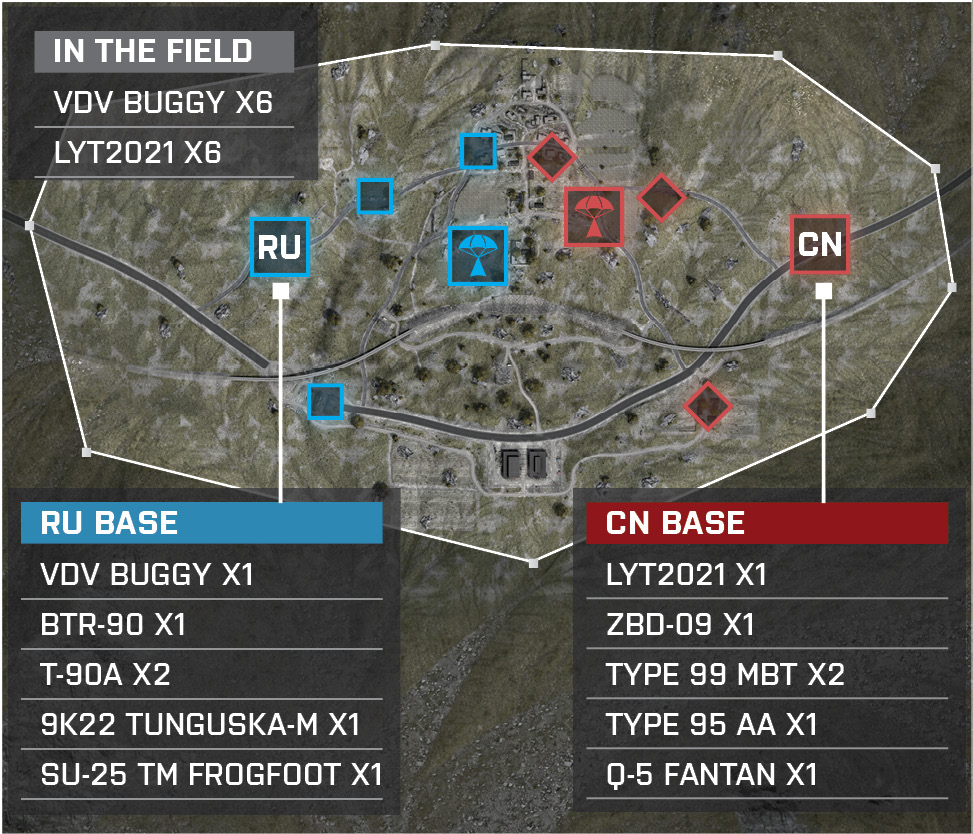
Prepare yourself to play on the largest map throughout the entire game! In this remote desert land, both the RU and CN team are stocked with an assortment of vehicles back at base—tanks, anti-air, jets, and more! Be prepared for non-stop explosions as squads will need to consist largely of engineers to tackle the constant waves of vehicles. This Conquest Large adds two more control points compared to the standard Conquest mode: Bridge Construction (E) and Farm (G). With the two new control points, there are now seven in all! The RU team will want to capture Bridge Construction (E) while the CN team captures the Farm (G); these two objectives are near each team’s respective base. After that, both teams can implement two different strategies. One strategy will be capturing the School (A), Village (B), Communication Mast (C), and Train (D). This strategy works really well because the Train (D) has stationary turrets, which will assist in defending the Bridge Construction (E) if playing as the RU team or the Farm (G) if playing on the CN team as the Train (D) moves near the controlling team’s base. Due to the close proximity of the School (A), Village (B), and Communication Mast (C), squads can quickly aid one another. Each team has five tanks back at base, so have three around the School (A), Village (B), and Communication Mast while the other two are near the Train (D) and Bridge Construction (E) to ensure the success of this strategy. The other strategy would be to control the Train (D), Bridge Construction (E), Warehouse (F), and Farm (G). This strategy grants the commander of the team a Gunship for capturing the Warehouse (F) and allows the team’s tanks to set a perimeter around the Bridge Construction (E) if playing as the CN team or around the Farm (G) when on the RU team. This forces the opposing team to only approach from their base or the north. This will be a test of your endurance, so prepare yourself.
RU Base
Base Assets
Name
VDV Buggy
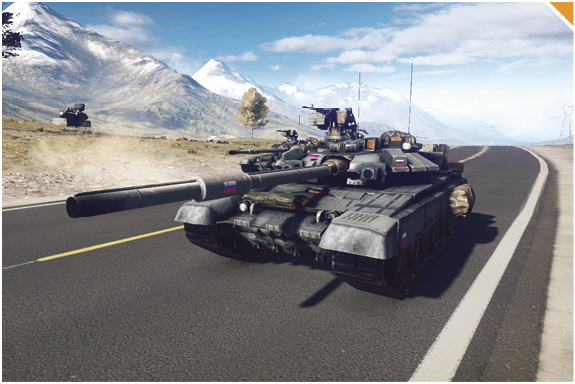
T-90A
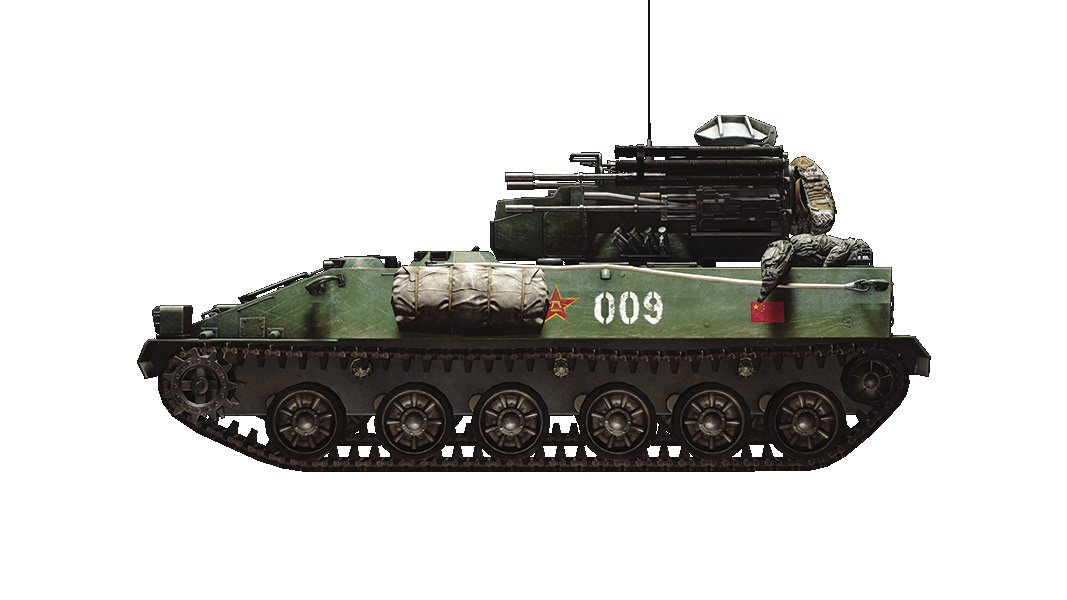
9K22 Tunguska-M
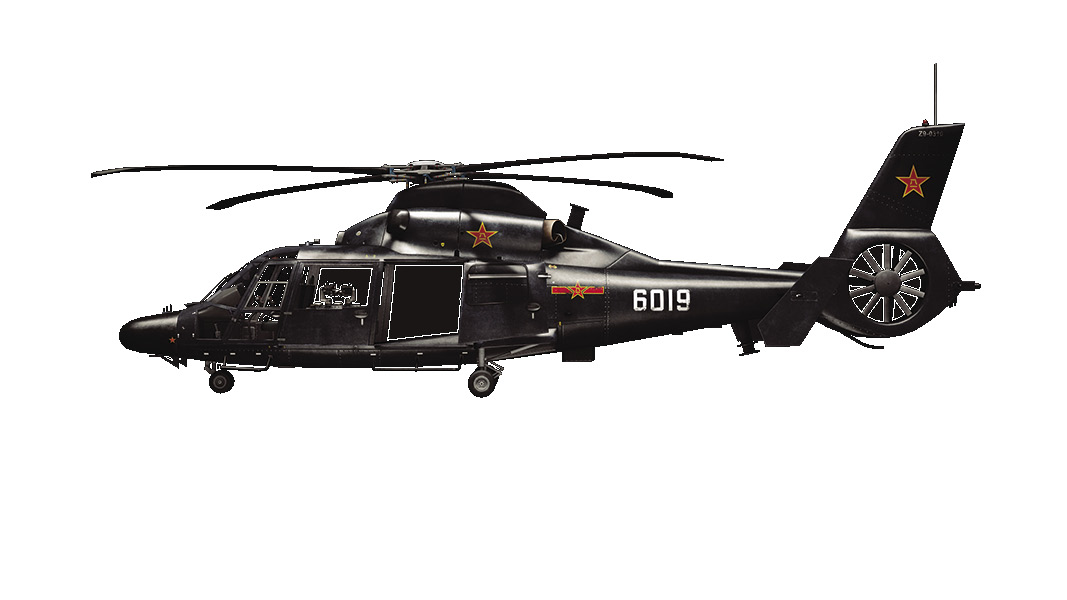
KA-60 Kasatka
Z-11W
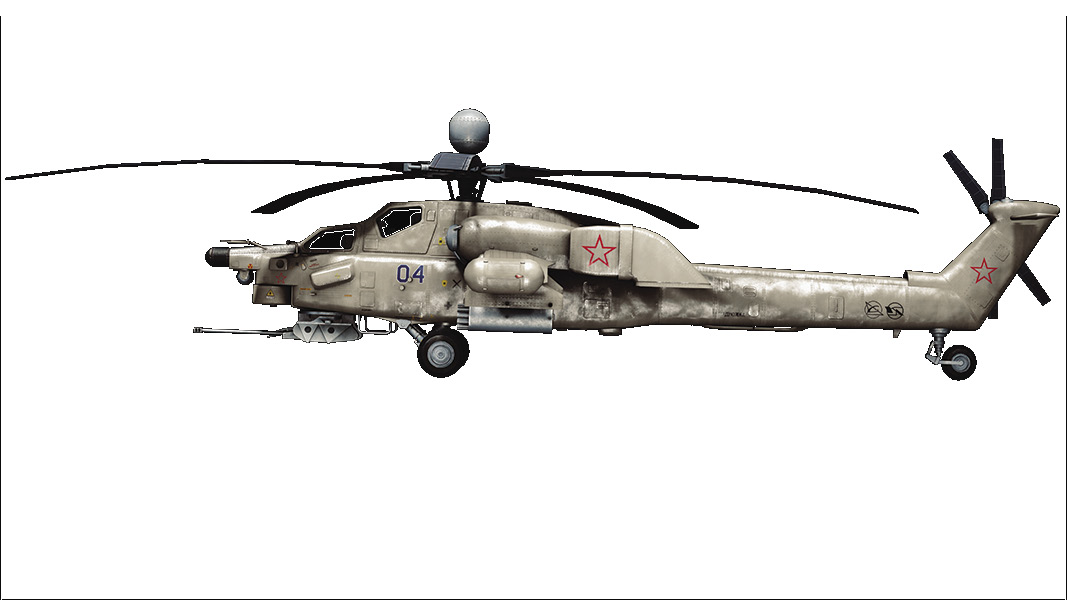
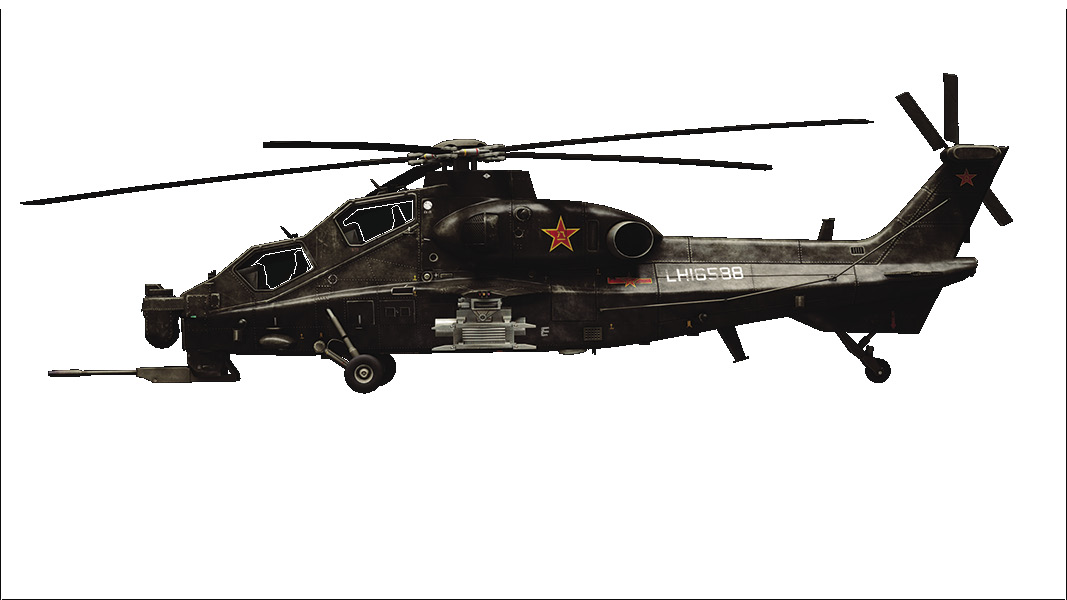
Mi-28 Havoc
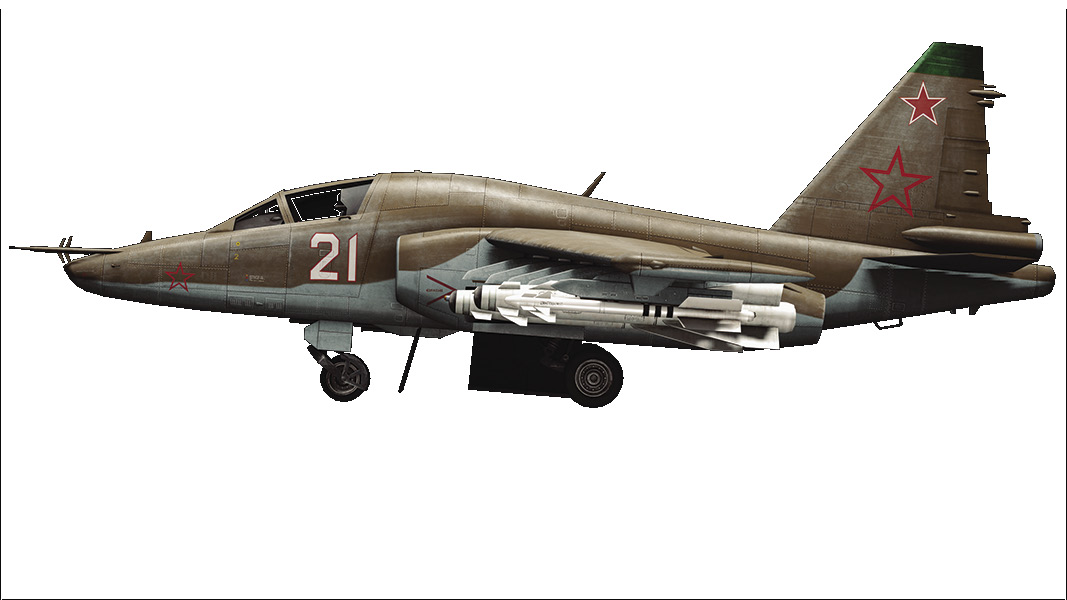
SU-25TM Frogfoot
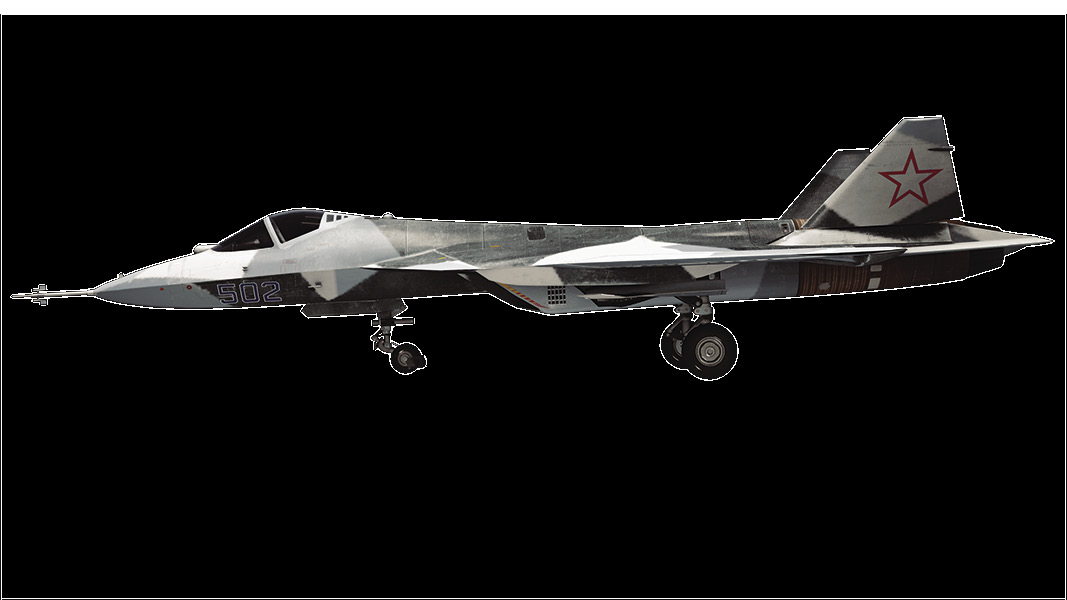
SU-50
Quantity
4
5
1
1
1
1
1
1
The RU base is located on the road farthest west on the map.
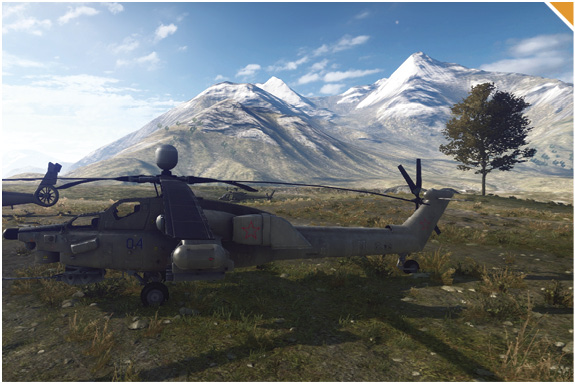
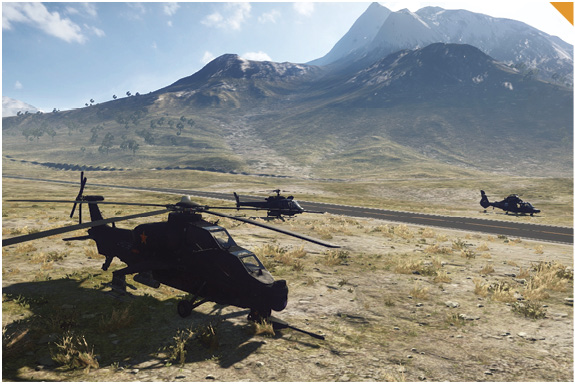
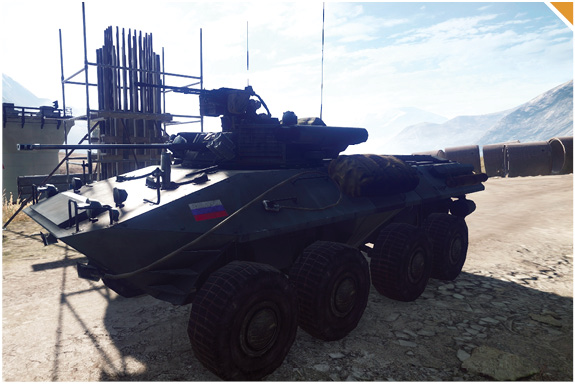
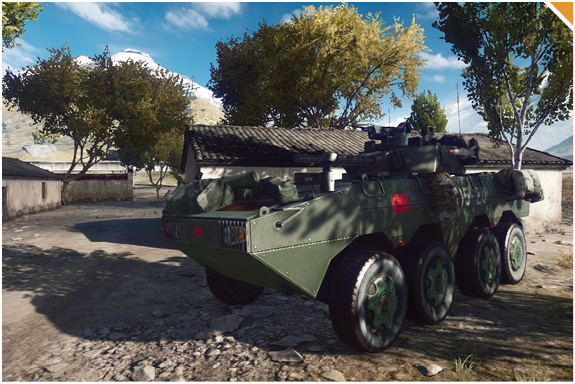
This is a large map that is accommodated with many vehicles, including attack helicopters, transport helicopters, tanks, FAVs, and an IFV.
This is an engineer-friendly map. Have a few extra on the team to repair friendlies and assist in destroying enemy vehicles.
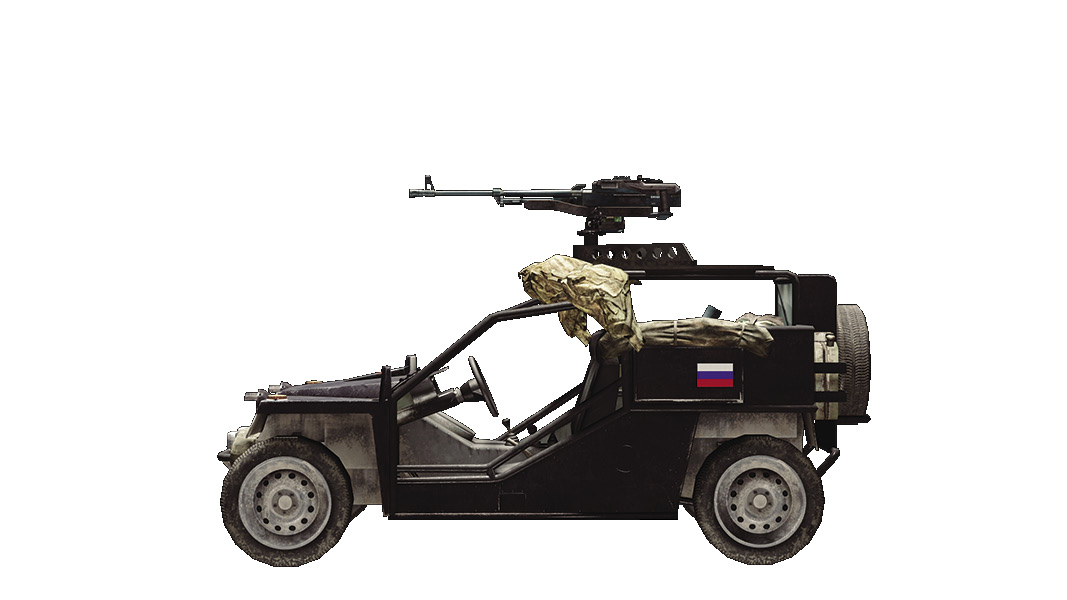
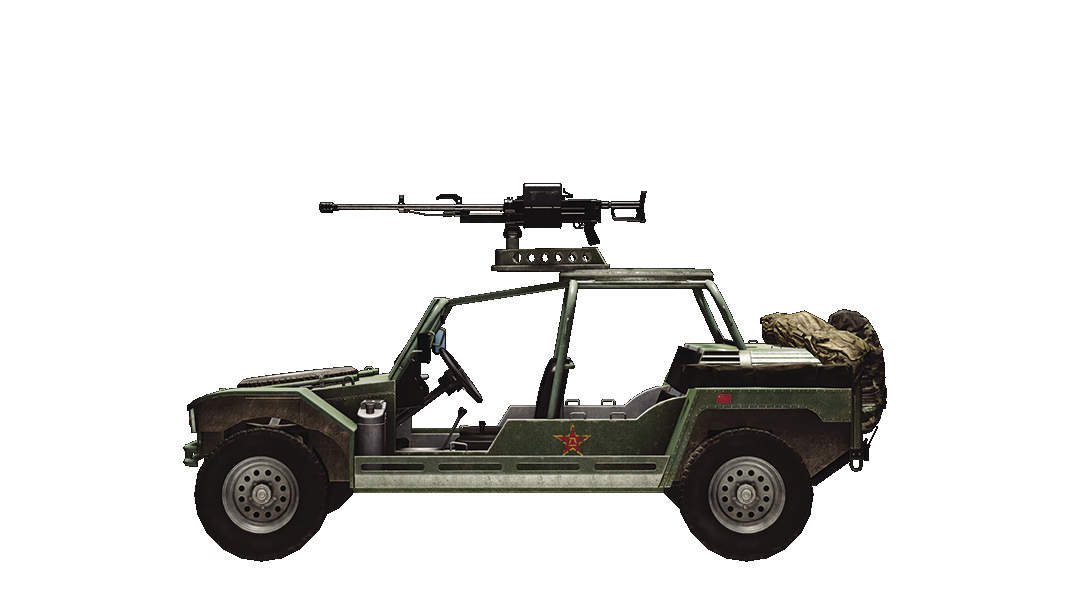
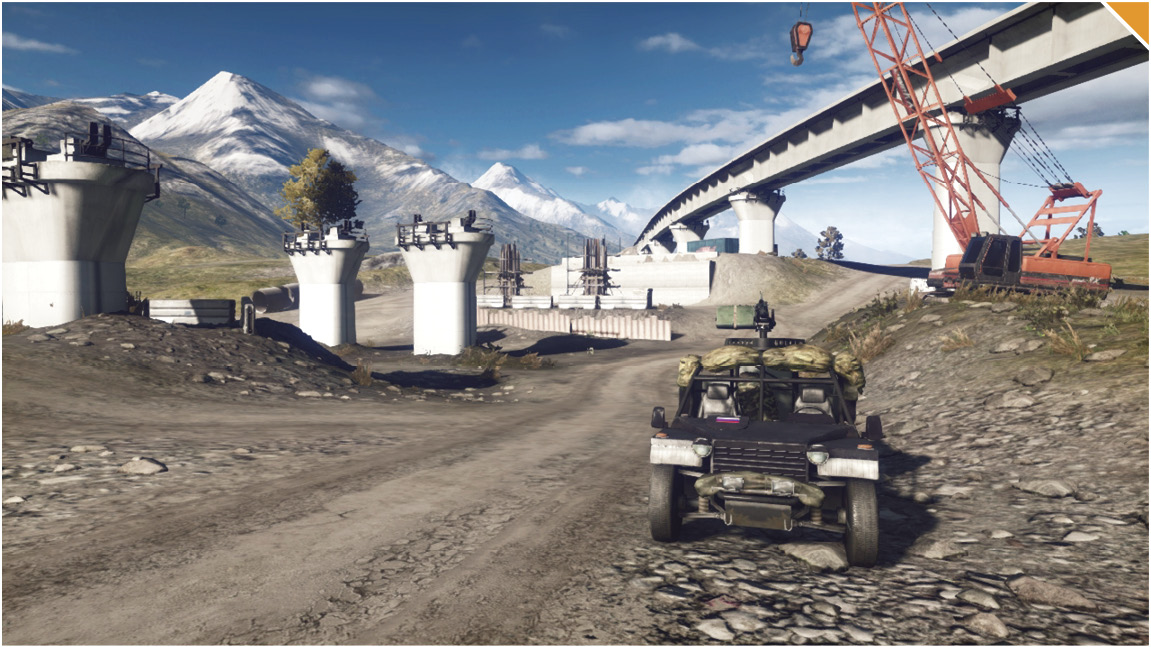
A squad will need to split up into two of the four VDV Buggies that deploy off the start. The light vehicle with three passengers will drop one player off at the Construction Site (E) for an easy capture while continuing their way with the other light vehicles towards the Warehouse (F). The Warehouse (F) unlocks a Gunship for your team commander, so send a few tanks towards this control point to solidify the capture.
The other team will most likely meet you head-on at the Warehouse (F), allowing for some easy captures at the other control points. Take full use of the transport and scout helicopters and drop squadmates around the School (A), Village (B), and Communication Mast (C). Have the attack helicopter escort these helicopters and provide airsupport as the pilot then heads towards the Warehouse (F) to assist in destroying the CN team’s tanks.
CN Base
Base Assets
Name
LYT2021
Type 99 MBT
Type 95 AA
Z-9 Haitun
Z-11W
Z-10W
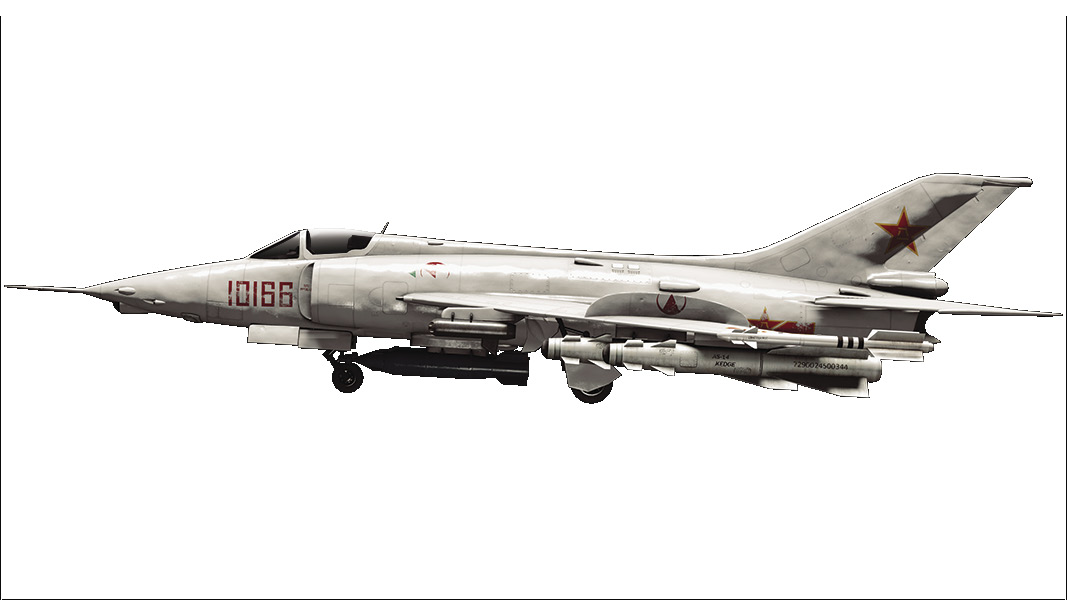
Q-5 Fantan
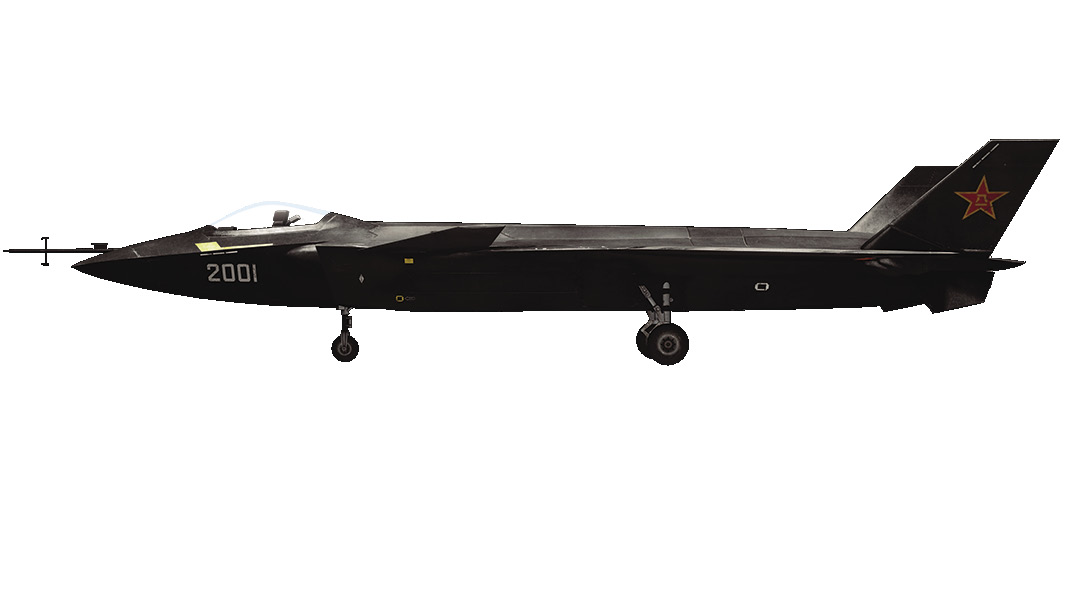
J-20
Quantity
4
5
1
1
1
1
1
1
Located on the far eastern side of the map, this base is littered with almost every choice of vehicle available to the CN army.
Even though this map is massive, do not neglect your slower tanks as these are a force to be reckoned with once you arrive at the northern control points of School (A) and Village (B).
Send your fastest vehicles to the Train (D) so that you can send this movable objective on the tracks back towards your base, which will be easier to defend. Early control of this objective usually means you keep it the rest of the game.
Be sure to have squads equipped with many engineers and recon classes early on for this map. Until you start nearing the north and south sides of the map, the wide open areas and vehicles will be the main forms of combat that you will want to focus on.
Always spot every vehicle and enemy you can. With this map being so large, you never know what angle another one of your teammates might have. This is a great way to rack up points and help out your helicopters and jets in the air.
A: School
Control Point Assets
RU Control
CN Control
VDV Buggy (2)
LYT2021 (2)
This objective is located on the north side of the map, west of the Village (B).
If on foot, use the many buildings for cover to capture this control point. Beware, these buildings can all be destroyed by explosives, so keep on the move and never stay inside one building.
The buildings surrounding this control point can all be destroyed fairly easily.
Light vehicles spawn at this control point. Use these to quickly rush over towards nearby control points.
The Village (B) is extremely close to the School (A). Use tanks to take charge of these two control points, shifting between the two on the path connecting the two objectives.
If the surrounding buildings are taken down, the tanks will rule this area as there is minimal cover for ground infantry.
B: Village
Control Point Assets
RU Control
CN Control
VDV Buggy (2)
LYT2021 (2)
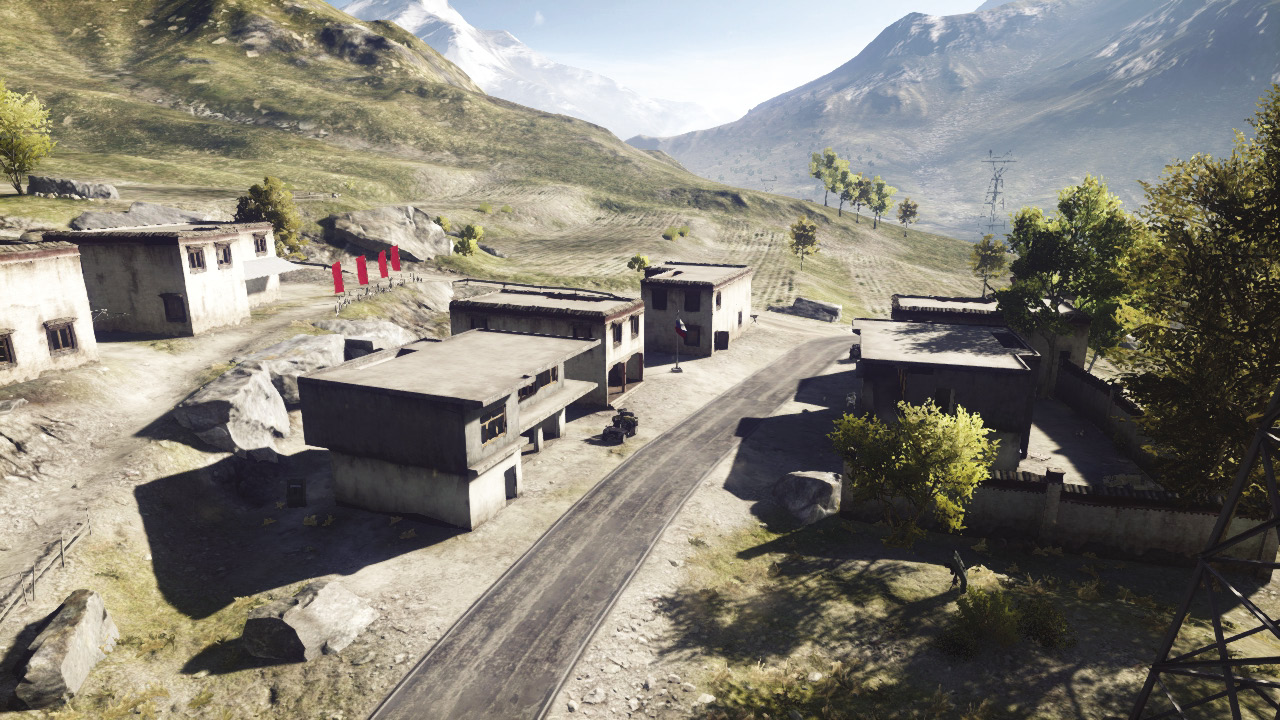
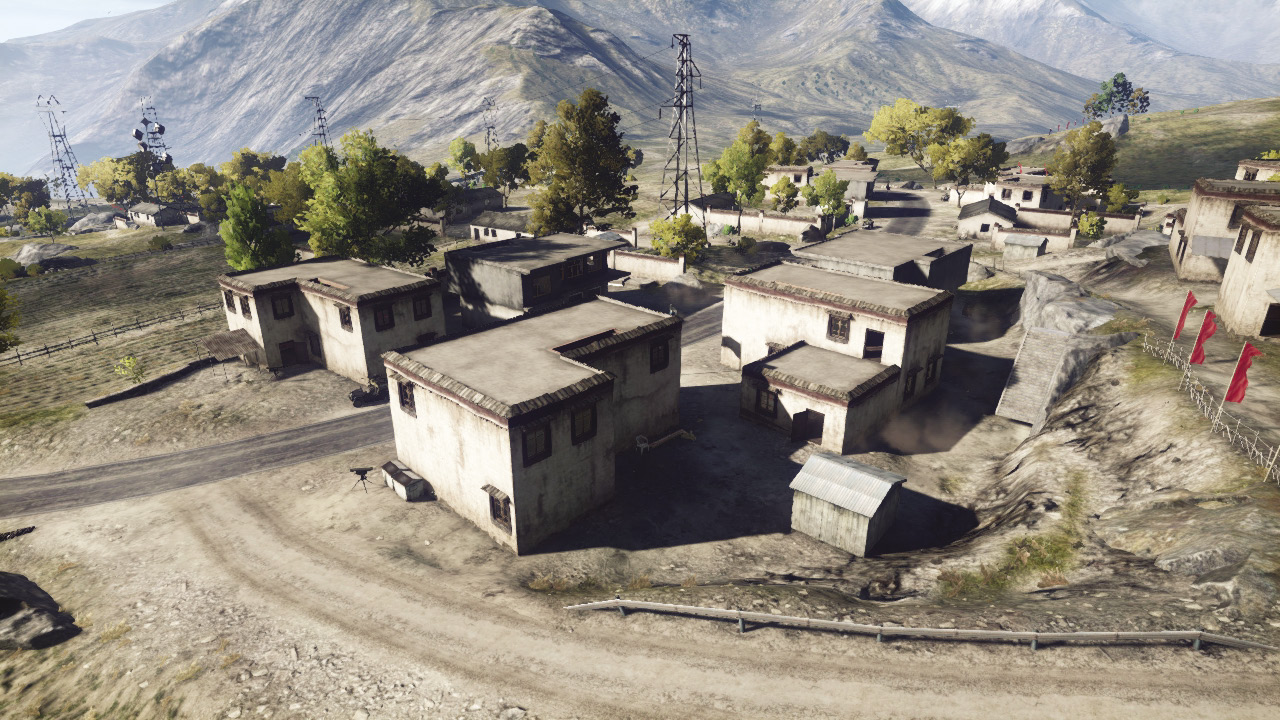
The Village (B) is east of the School (A) and is enclosed by destructible buildings.
Capturing this flag will add light vehicles for the controlling team. These vehicles will assist in traveling to other control points at a quicker rate.
The Village (B) is stationed with a handful of stationary turrets and launchers. These will assist when defending against vehicles.
The houses in the Village (B) allow players to contest and capture this objective. Use this to your advantage and move from house to house to confuse your opponent.
Recon players will play a huge role when capturing this control point. Throw Motion Sensors to pick up any defenders hiding in the area.
C: Communication Mast
Control Point Assets
RU Control
CN Control
VDV Buggy (1)
LYT2021 (1)
Z-11W (1)
Z-11W (1)
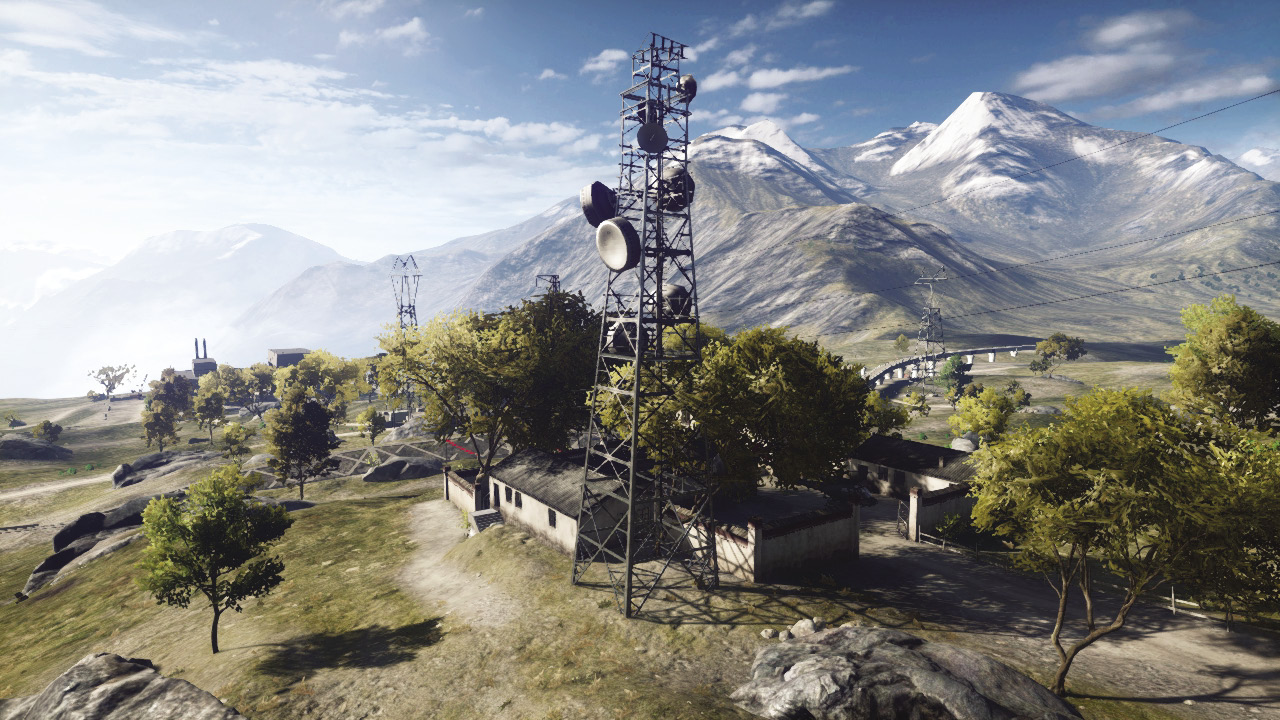
This control point is located in the center of the map, where most of the main battle will take place.
A light vehicle and a transport helicopter are the two vehicles that will spawn for your team when this point is first controlled. These two vehicles are super helpful to travel to the next control points.
This flag will be the hardest control point to hold mainly because of its location on this map. Both teams will look to hold this flag as it is very close to the Village (B) and the School (A).
While defending this control point, your team will have many options on how to go about keeping the other team from capturing it. There are small buildings everywhere, which will be very good for recon and engineer class. They can hide inside any of the buildings and, with clear vision in every direction, they can spot incoming enemies and act accordingly.
When attacking this control point, your team is going to want to synchronize an attack with a mix of tanks and transport helicopters to overwhelm the area and quickly capture the flag.
D: Train
This control point is located just south of the Communication Mast (C) towards the middle of the map, but this can vary based on the fact that it moves while players are aboard it.
The Train (D) itself is a vehicle with two machine gun turrets in the front and back that can be used to defend it.
The unique feature of this control point for this game type is that the Train (D) will move towards either team’s base depending on which team gains control of it first. This will most likely be one of the first points that teams go for based on that sole fact, and having it move near your deployment base is an added advantage.
Attacking the control point will be very risky. There is relatively no cover and it is very close to the enemy base, so it is imperative that your team makes getting this flag a priority. Tons of units will need to hold off whatever forces the defending team throws at you.
When defending, have a few vehicles posted around the area close by so your team will be able to watch this point whenever there is a threat of attack. Recon classes can very easily take out any enemies trying to take this control point.
E: Bridge Construction
Control Point Assets
RU Control
CN Control
BTR-90 (1)
ZBD-09 (1)
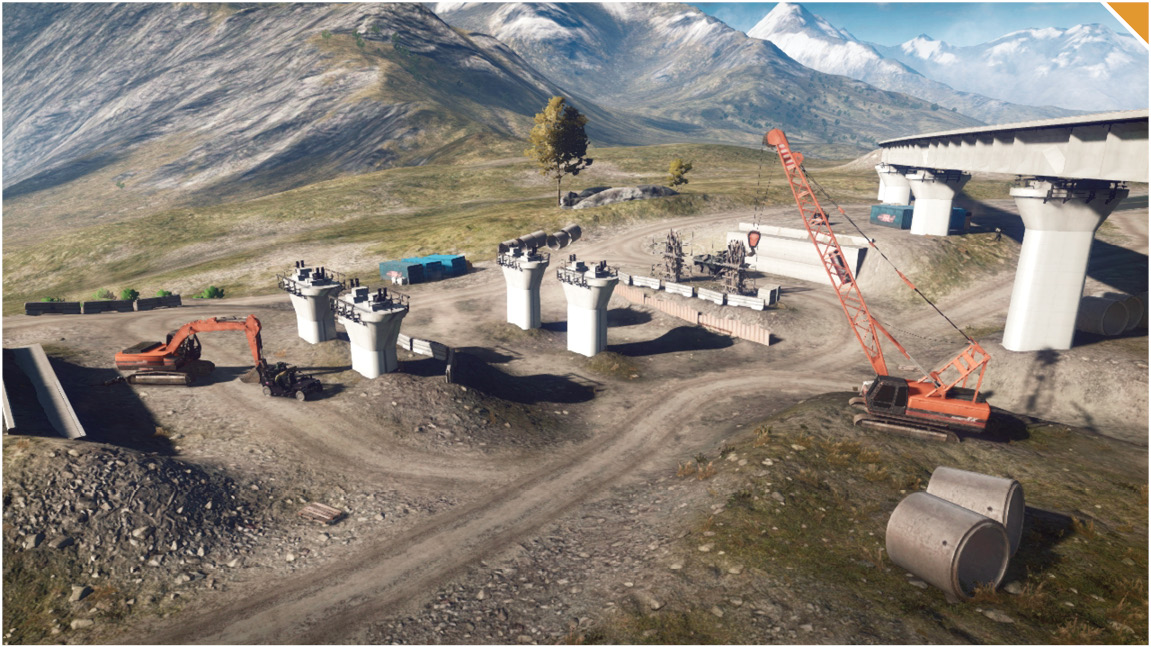
The Bridge Construction (E) is just southeast of the RU base. The area holds an unfinished trail rail attachment.
Whichever team captures this objective will add an IFV and a light vehicle to their arsenal of vehicles.
This control point is near the RU base, making it an easy capture for them. The CN team will want to approach this later in the game when the RU team lets down their defense.
Teams will look to utilize their light vehicles and harass the team in control of this objective. The dirt roads along the side will allow you to neutralize and capture this control point. When the opposing team retreats to defend the flag, take advantage of the light vehicle’s speed and move towards another objective.
A squad with engineers can set up a defense perimeter with mines to destroy enemy vehicles when near.
F: Warehouse
Control Point Assets
RU Control
CN Control
VDV Buggy (1)
LYT2021 (1)
M142 (1)
M142 (1)
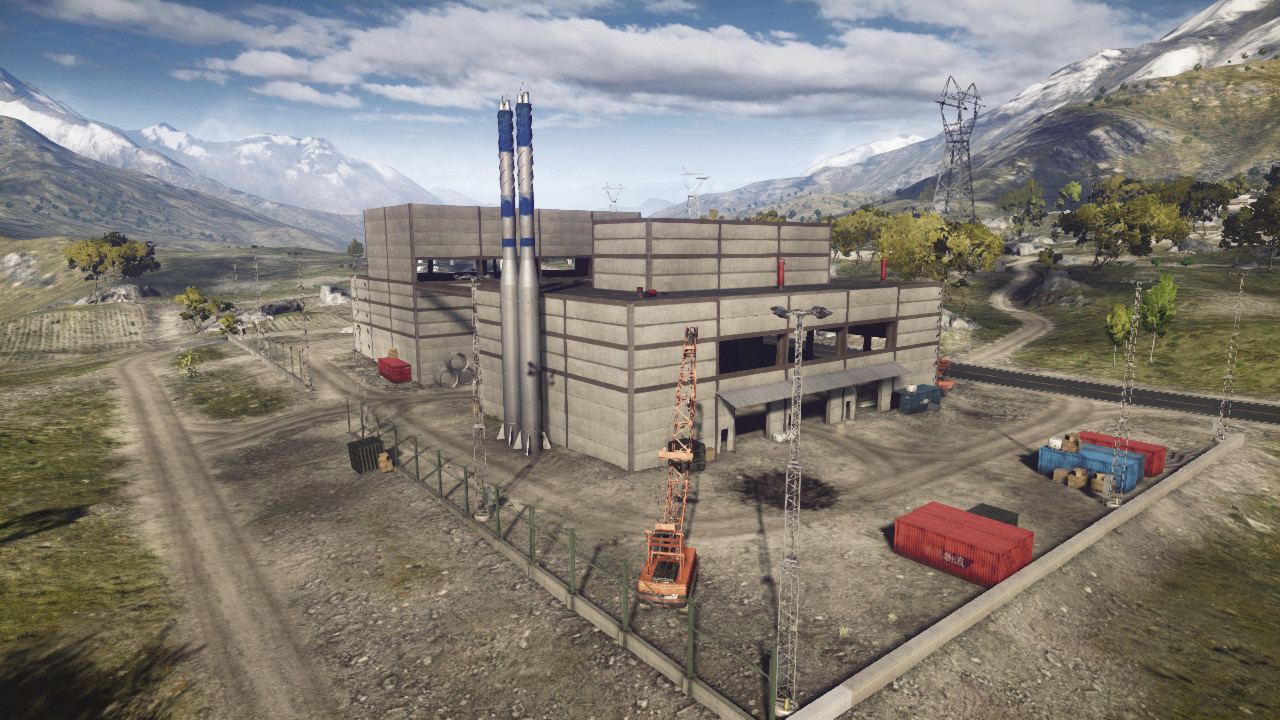
This control point is located on the far south end of the map. This objective is placed equal distance from both the RU base and CN base.
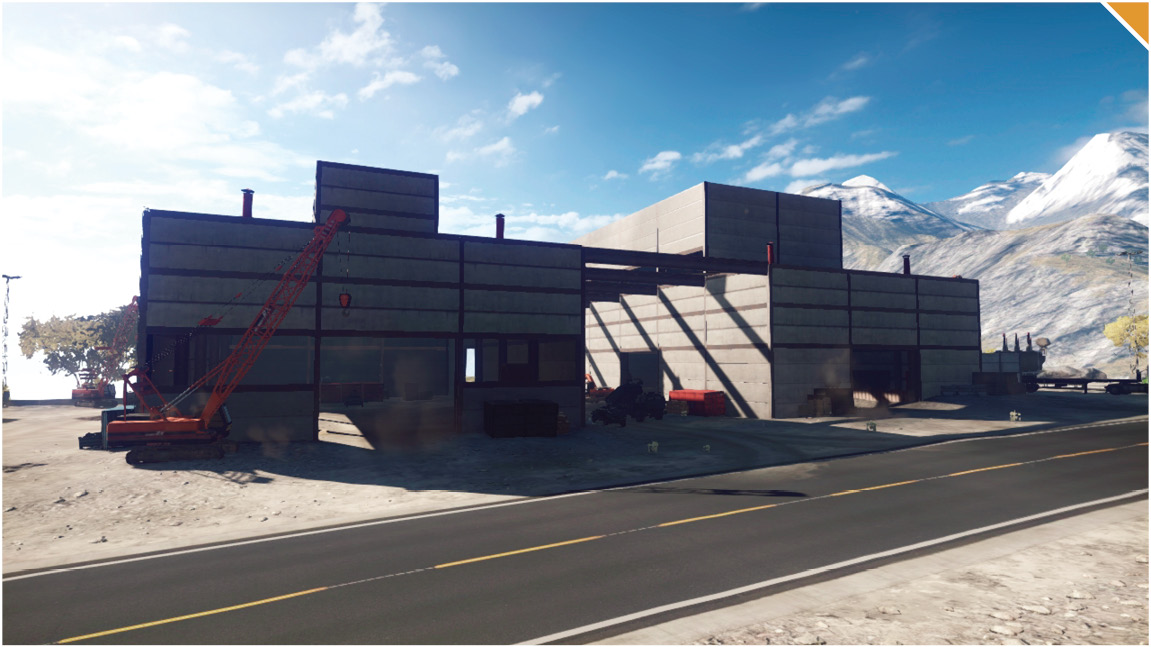
This objective is surrounded by two buildings. Use the ladders on the south side of these buildings to reach the rooftops. These rooftops will provide a great distant overview to spot incoming enemy vehicles. The engineer class will be most useful to stop vehicles in their tracks before reaching this control point.
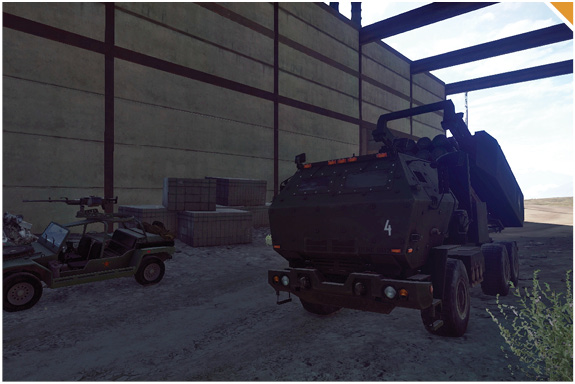
An M142 spawns at this objective. Use the gunner seat to provide cover fire for teammates farther across the map.
Controlling this flag will be extremely important since your commander acquires the Gunship. With this massive map and the immense amount of vehicle presence on this map, you’ll want this Gunship to unload on enemy vehicles and ground infantry.
Use your team’s helicopters to quickly gain control of the control point from the rooftops of the buildings.
G: Farm
Control Point Assets
RU Control
CN Control
VDV Buggy (1)
LYT2021 (1)
BTR-90 (1)
ZBD-09 (1)
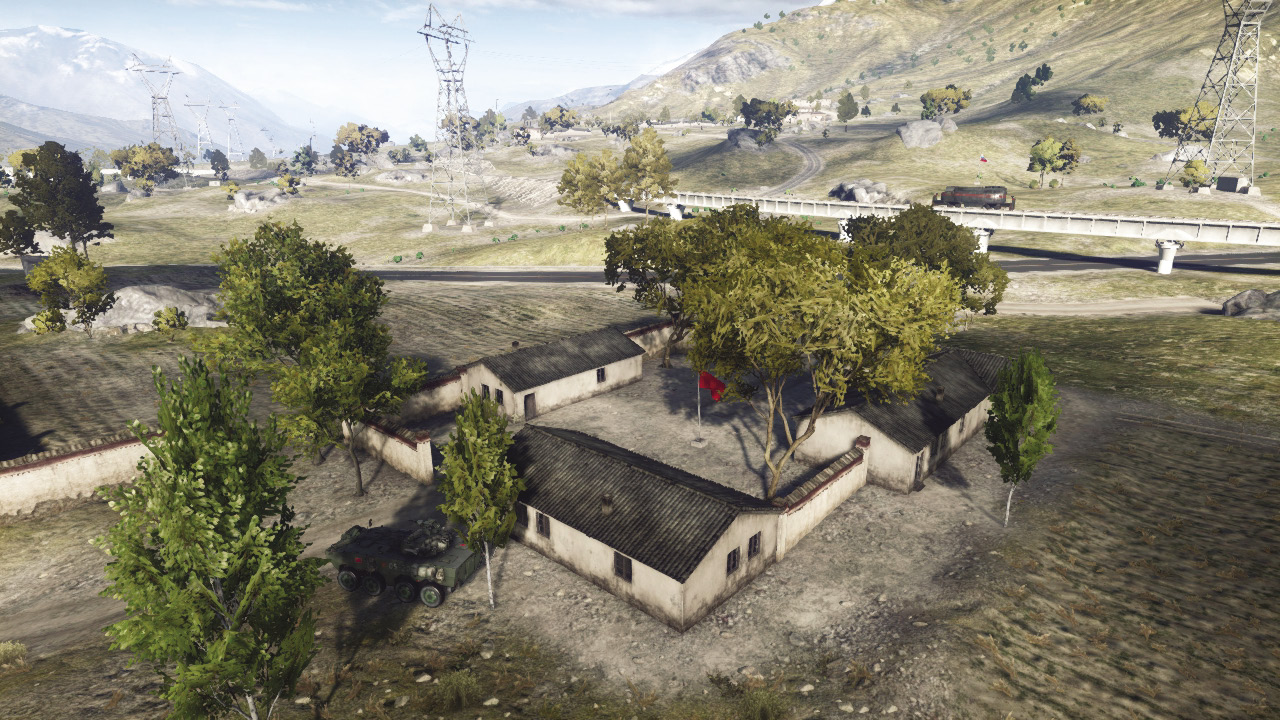
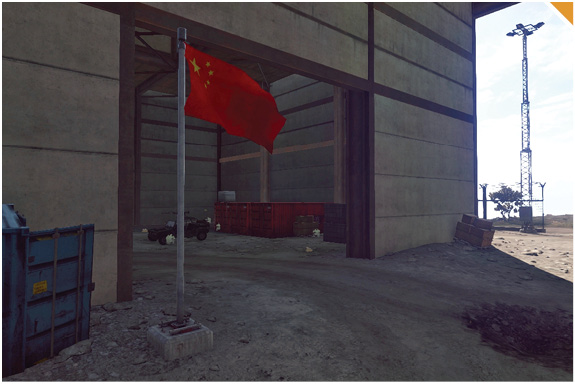
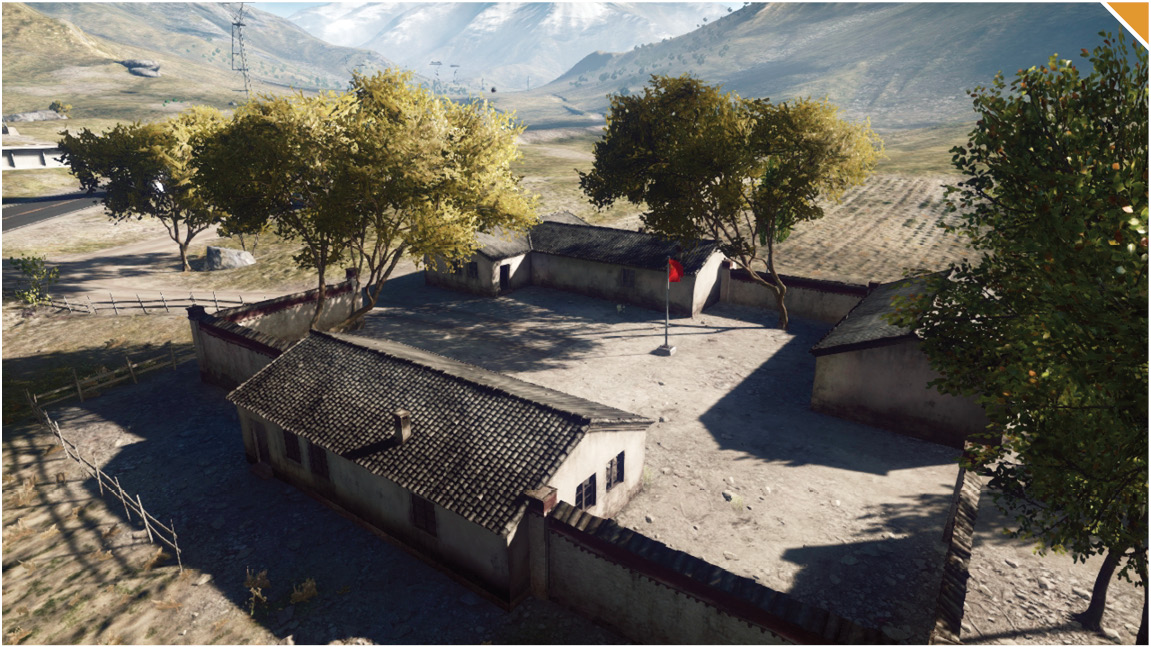
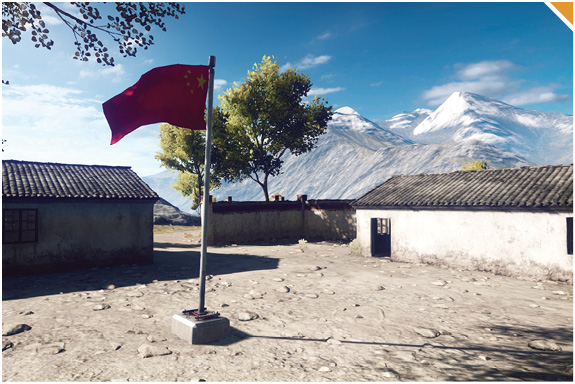
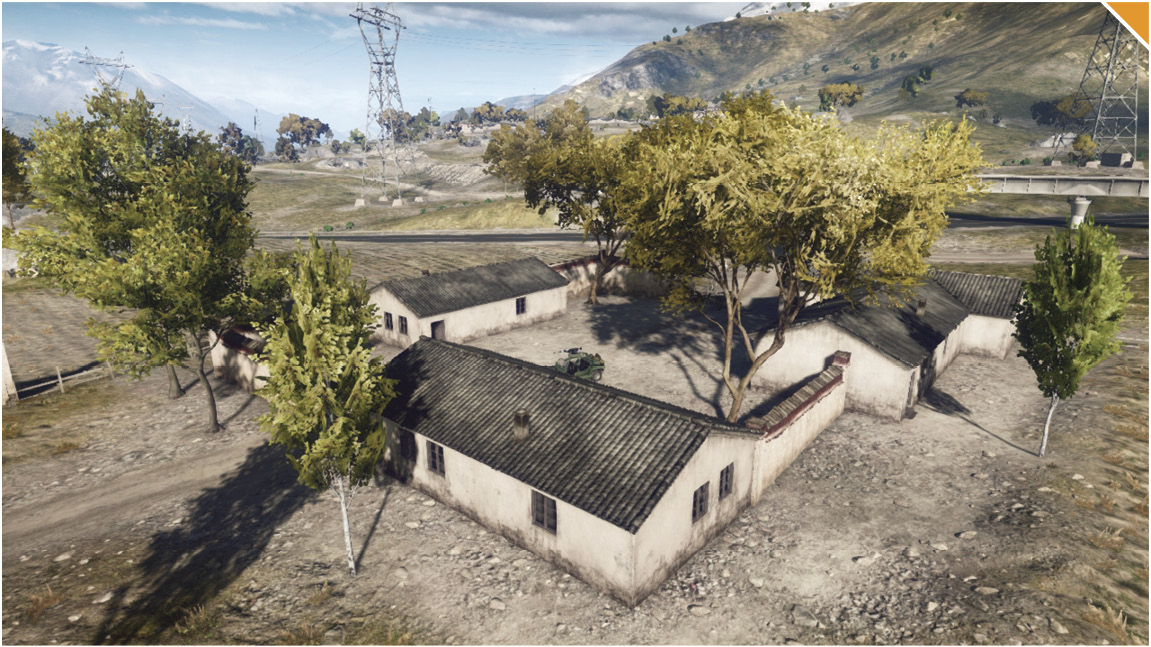
This control point is located on the southeast side of the map secluded by wide open plains and fields in every direction. The flag itself is positioned in the center of a three farmhouse complex that has only two narrow entrances for vehicles.
Upon capture, an IFV spawns here. Take this vehicle to push over and capture the Warehouse (F), which will allow your commander to deploy the Gunship for your team.
When defending this control point, have a squad comprised of recon and engineer classes. You need your recon members to pick off enemy infantry running in the open fields and your engineer players to effectively be able to deal with incoming vehicles.
When attacking this objective with any vehicle, do not push it inside the complex. You will be surrounded and extremely vulnerable to enemy engineers and C4.
There are two interactive consoles nearby that explode two sets of IEDs. When you are the RU team, use the detonation kit 70 meters away, because it will explode any CN vehicles on the dirt road to the north of the Farm (G). When you are the CN team, use the detonation kit further west, which will dispose of any unsuspecting RU vehicles on the paved road to the west.
Conquest Small
Recommended Squad Composition:
In this remote desert area, players will be faced with five control points. The five control points scattered around the map are the School (A), Village (B), Communication Mast (C), Train (D), and Warehouse (E). This standard mode of Conquest will test your endurance as each team will need three control points in order to bleed the opposing team’s tickets. The way these control points are laid out allows for two different strategies for both teams. One strategy will be to capture the School (A), Village (B), and Communication Mast (C), as they are all in close proximity of each other. The benefit of this strategy is that players can respond quickly to teammates when needed and can establish a defense perimeter with the tank placed in the center of the three control points. These three control points also provide light vehicles for the controlling team, giving much more maneuverability. The controlling team can use the speed of these light vehicles to swiftly move around the map while picking off enemies caught on foot. The second strategy would be for teams to capture the Communication Mast (C), Train (D), and Warehouse (E). The pros of this strategy are that the Train (D) will move near the controlling team’s base, making it hard for the opponent to recapture, and the Warehouse (E) allows the commander of the controlling team to call in a Gunship. This Gunship is very powerful and will aid when defending the Communication Mast (C). Both strategies offer their pros and cons, but will surely lead your team to victory.
RU Base
Base Assets
Name
VDV Buggy
T-90A
SU-25TM Frogfoot
SU-50
Quantity
2
2
1
1
The RU base is located on the road farthest west on the map.
This is a large map with a solid mix of attack helicopters, tanks, and light vehicles.
The Warehouse (E) unlocks a Gunship for your team commander, so send a few tanks towards this control point to solidify the capture.
The other team will most likely meet you head-on at the Warehouse (E), allowing for some easy captures at the other control points. Send your light vehicle towards the School (A) or Village (B). If the opposing team is only focusing on the Warehouse (E), your team will easily capture these objectives.
Have the attack helicopter provide airsupport over the three control points in the center. Once captured, the pilot can head towards the Warehouse (F) to assist in destroying the CN team’s tanks.
CN Base
Base Assets
Name
LYT2021
Type 99 MBT
Q-5 Fantan
J-20
Quantity
2
2
1
1
Located on the far eastern side of the map, you can either spawn in one of the tanks or an aircraft, or you can forward spawn at the Farm on the southeast side of the map.
Even though this map is massive, do not neglect your slower tanks as these are a force to be reckoned with once you arrive at the northern flags, School (A) and Village (B).
Send your light vehicles to the Train (D) so that you can send this movable objective on the tracks back towards your base where it is easier to defend. Early control of this objective usually keeps it under your control the rest of the game.
Be sure to have squads with engineers and recon early on for this map. Until you start nearing the north and south sides of the map, the wide open areas and vehicles will be the main forms of combat that you will want to focus on.
Always spot every vehicle and enemy you can. With this map being so large, you never know what angle another one of your teammates might have. This is a great way to rack up points and help out your helicopters and jets in the air.
Hide a Radio Beacon in one of the many houses to the north of the School (A) and Village (B). If you ever lose control of these objectives, instead of driving or running across the open areas, you can use this Radio Beacon for a perfect flank spawn that the enemy will never expect.
A: School
Control Point Assets
RU Control
CN Control
VDV Buggy (1)
LYT2021 (1)
This objective is located on the north side of the map, west of the Village (B).
If on foot, use the many buildings for cover to capture this point. Beware, these building can all be destroyed by explosives, so keep on the move and never stay inside one building.
The buildings surrounding this control point can all be destroyed fairly easily.
Light vehicles spawn at this control point. Use these to quickly rush over towards nearby control points.
The Village (B) is extremely close to the School (A). Use tanks to take charge of these two control points, shifting between the two on the path connecting the two objectives.
If the surrounding buildings are taken down, the tanks will rule this area as there is minimal cover for ground infantry.
B: Village
Control Point Assets
RU Control
CN Control
VDV Buggy (1)
LYT2021 (1)
The Village (B) is east of the School (A) and is enclosed by destructible buildings.
Capturing this flag will add light vehicles for the controlling team. These light vehicles will assist in traveling to other control points at a quicker rate.
The Village (B) is stationed with a handful of stationary turrets and launchers. These will assist when defending against vehicles.
The houses in the Village (B) allow players to contest and capture this objective. Use this to your advantage and move from house to house to confuse your opponent.
Recon players will play a huge role when capturing this control point. Throw Motion Sensors to pick up any defenders hiding in the area.
C: Communication Mast
Control Point Assets
RU Control
CN Control
VDV Buggy (1)
LYT2021 (1)
This control point is located in the center of the map, where most of the main battle will take place.
A light vehicle spawns here when the control point is captured by either team. These vehicles are super helpful to travel to the surrounding control points.
This flag will be the hardest control point to hold mainly because of its location on this map. Both teams will look to hold this point as it is very close to the Village (B) and the School (A).
While defending this control point, your team will have many options on how to keep the other team from capturing it. There are small buildings everywhere that are very good for recon and engineer class. They can hide inside any of the buildings and, with clear vision in every direction, they can spot incoming enemies and act accordingly.
When attacking this control point, your team is going to want to synchronize an attack with a mix of infantry and tanks to overwhelm the area and quickly capture the flag.
D: Train
This control point is located just south of Communication Mast (C) towards the middle of the map, but this can vary based on the fact that it moves while players are aboard it.
The Train (D) itself is a vehicle with two machine gun turrets in the front and back that can be used to defend it.
The unique feature of this control point for this game type is that the Train (D) will move towards either team’s base depending on which team gains control of it first. This will most likely be one of the first points that teams go for based on that sole fact, and having it move near your deployment base is an added advantage.
Attacking the control point will be very risky. There is relatively no cover and you will be very close to the enemy base, so it is imperative that your team makes getting this control point a priority. Tons of units will need to hold off whatever forces the defending team throws at you.
When defending, have a few vehicles posted around the area close by so your team is able to watch this point whenever there is a threat of attack. Recon classes can very easily take out any enemies trying to take this control point.
E: Warehouse
Control Point Assets
RU Control
CN Control
VDV Buggy (1)
LYT2021 (1)
M142 (1)
M142 (1)
This control point is located on the far south end of the map. This objective is placed equal distance from both the RU base and CN base.
This objective is surrounded by two buildings. Use the ladders on the south side of these buildings to reach the rooftops. These rooftops will provide a great distant overview for incoming enemy vehicles. The engineer class is most useful to stop vehicles in their tracks before they reach this control point.
A light vehicle and M142 spawns here for each team. Use the M142 to hammer distant control points, supporting your team from long range.
Controlling this flag is extremely important since your commander will acquire the Gunship. With this massive map and the immense amount of vehicle presence on this map, you’ll want this Gunship to unload on enemy vehicles and ground infantry.
Maintain possession of the control point by posting recon troops on the rooftops. From here they’ll have a clear view of the rest of the map.
Rush
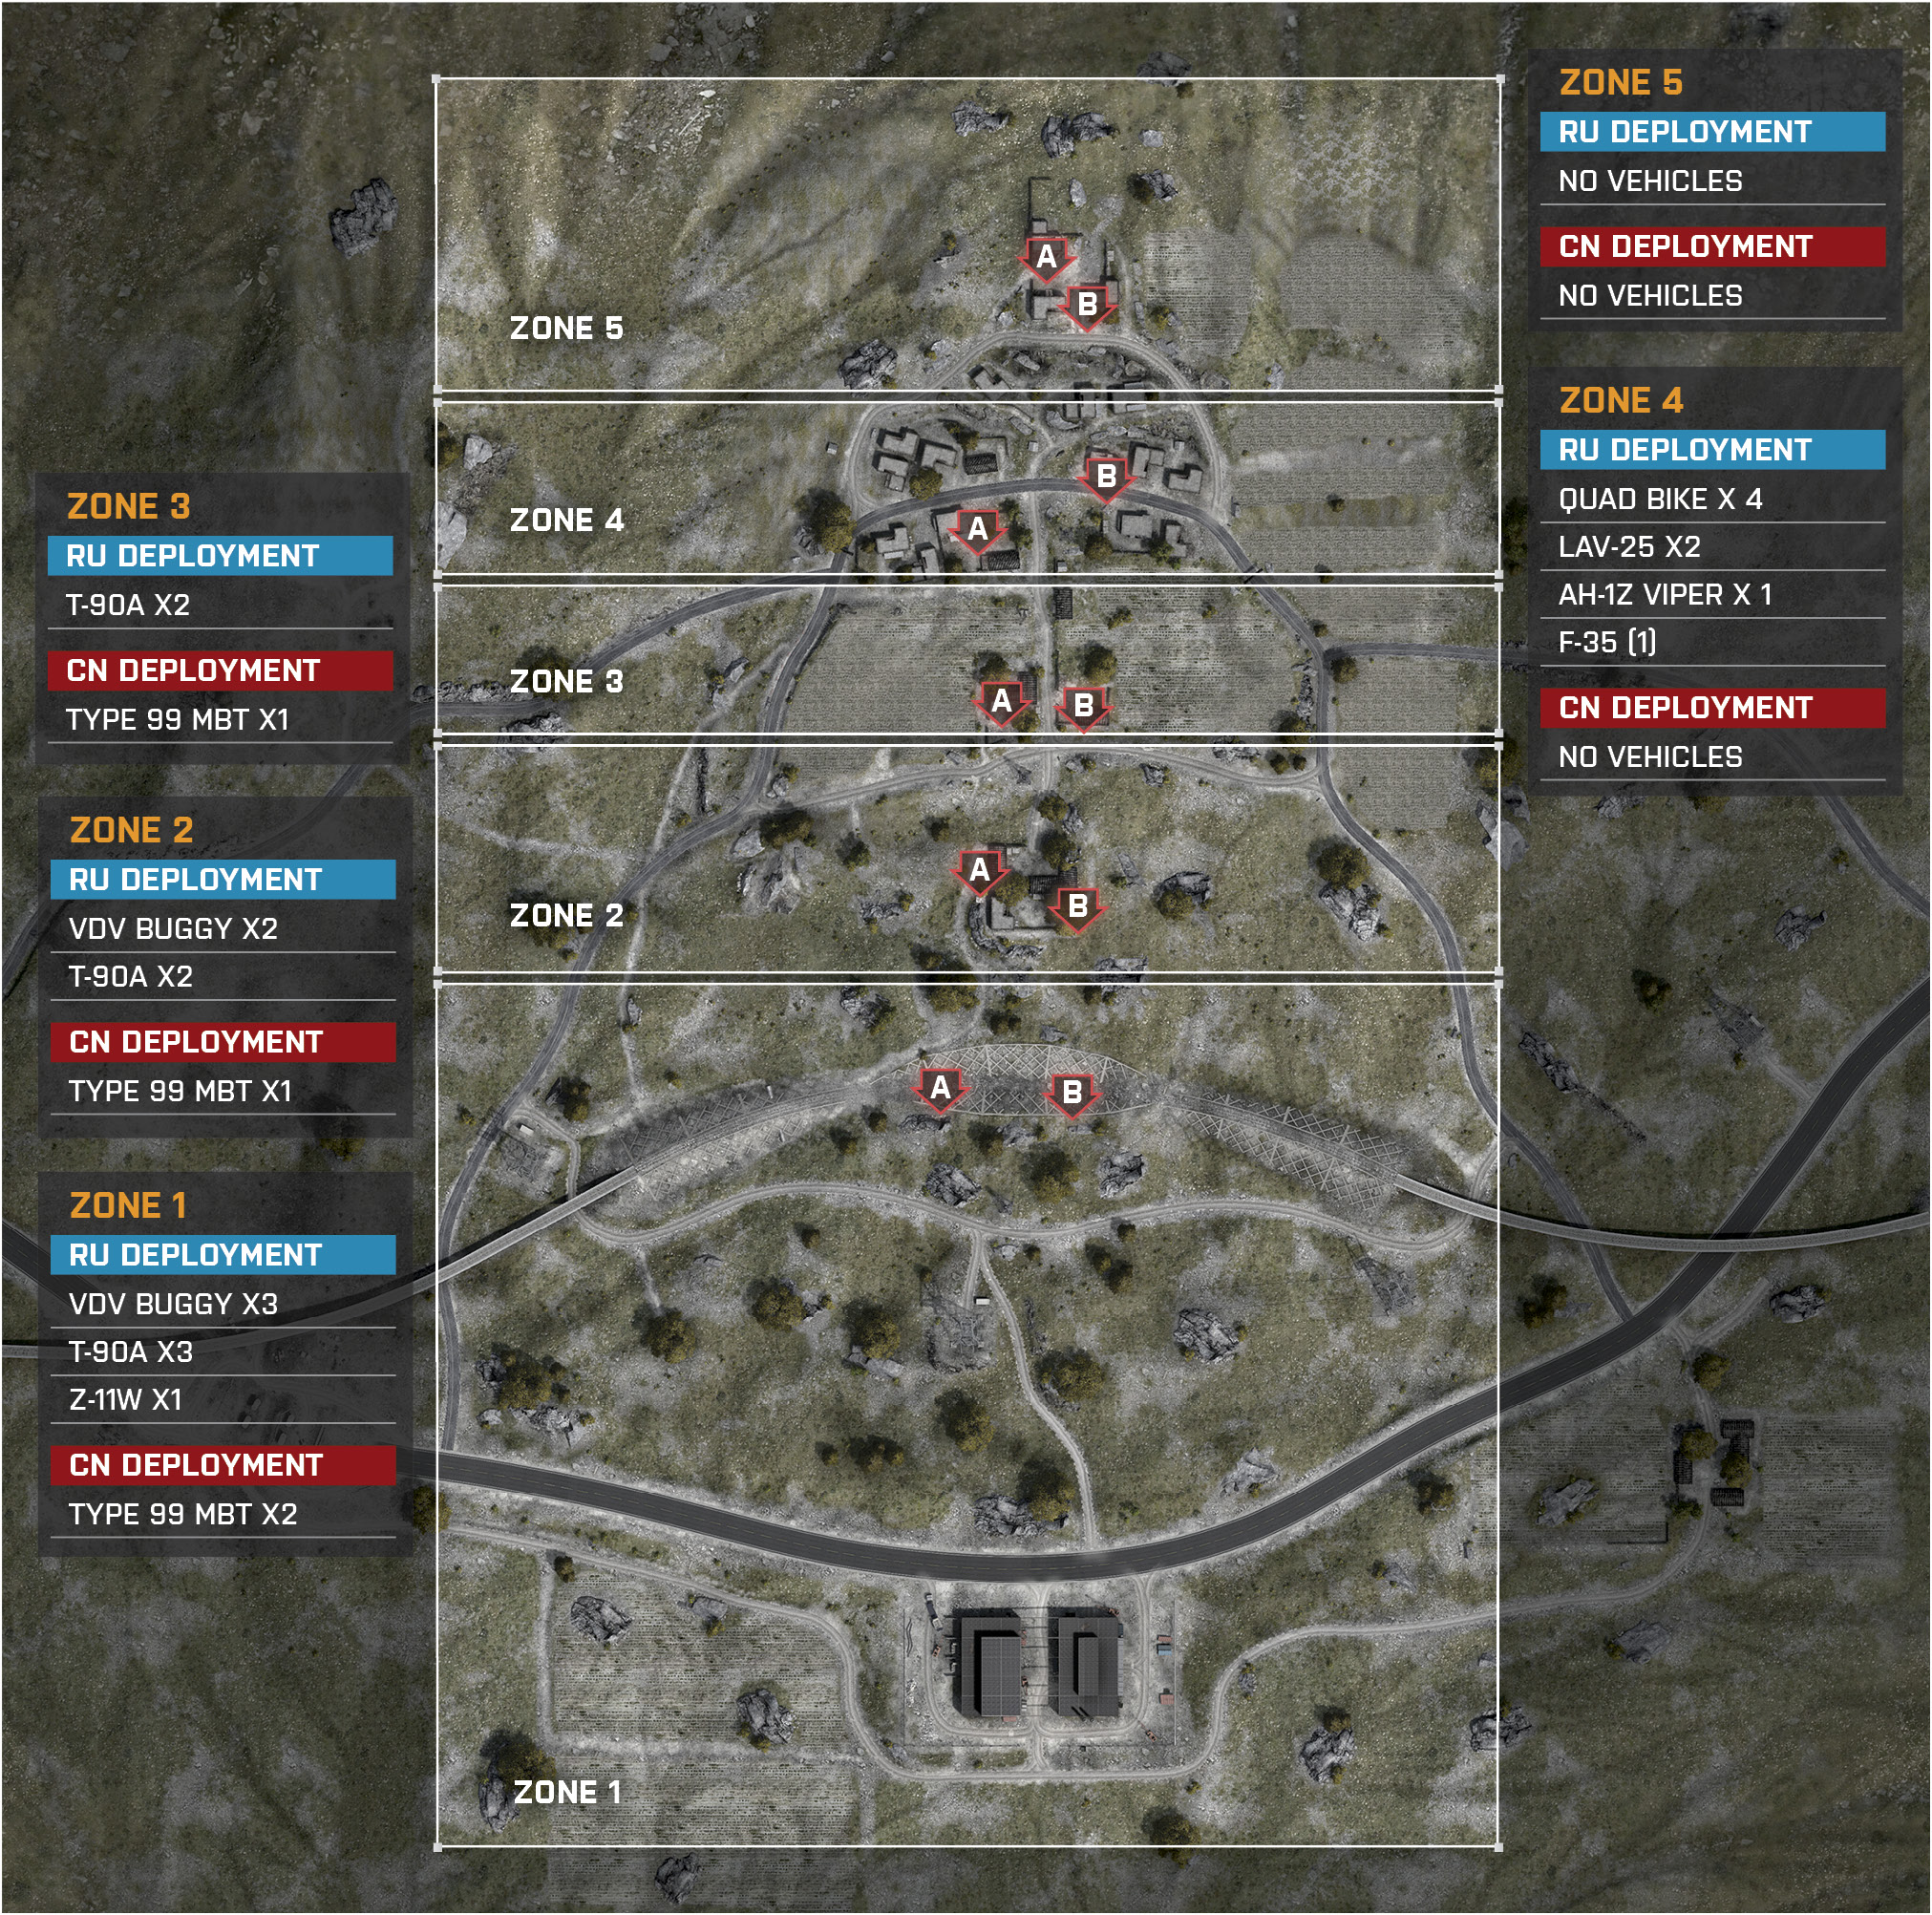
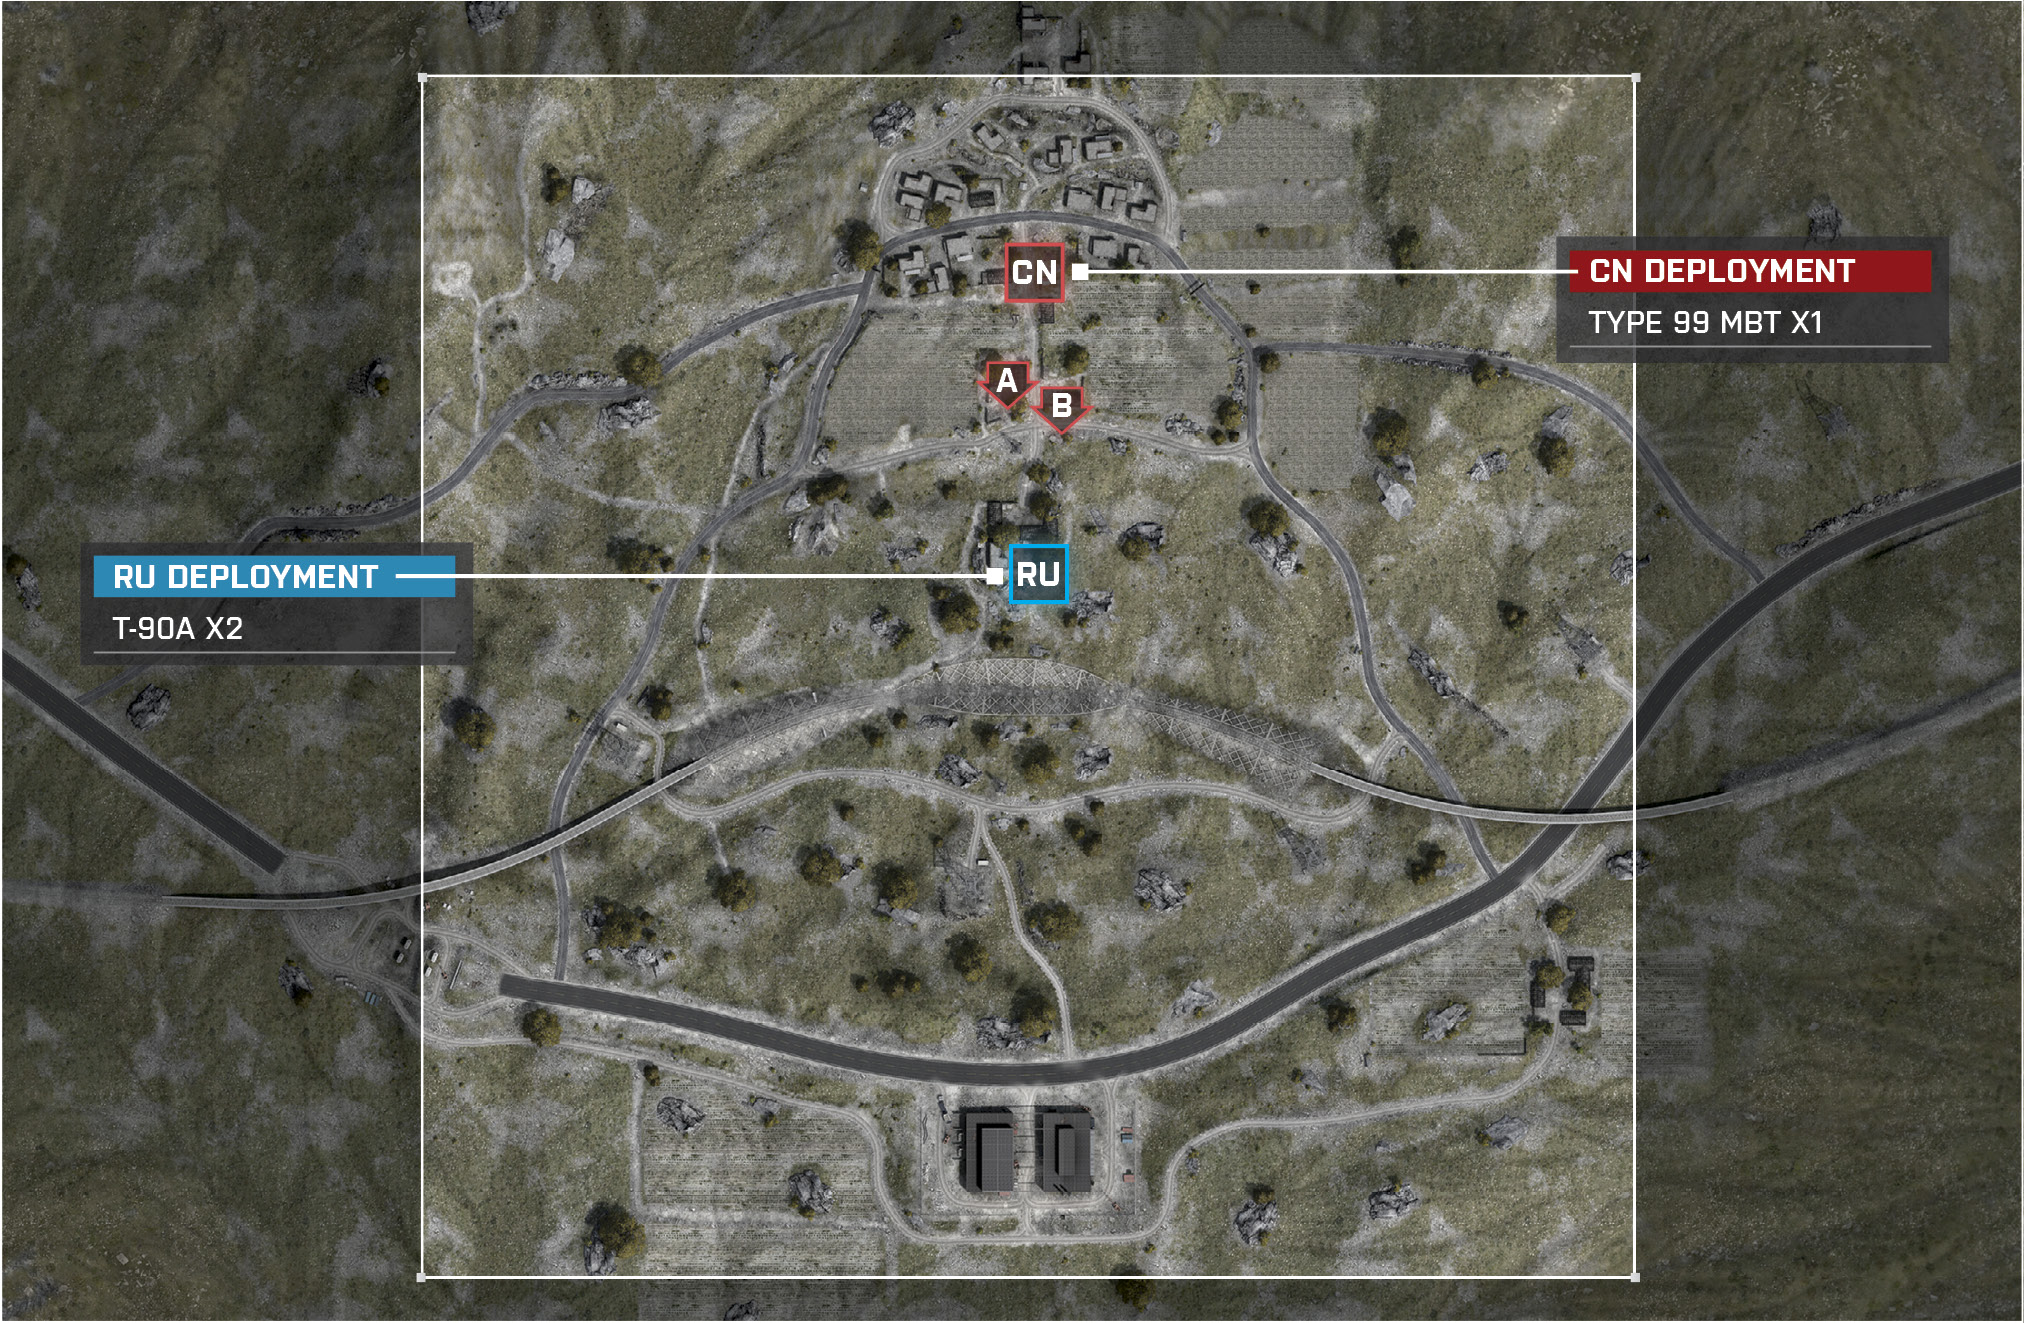
In this uphill battle, the RU team must advance past the train tracks through five different zones. Both the RU and CN team are close to equal footing when it comes to vehicles. As the RU team advances the vehicle count decreases until both teams have none to use in the last zone. The RU deployment zone is located in the Warehouse at the start of the game, and they must make their way to the train tracks to arm the objectives in the first zone. As the RU team succeeds in their advance, they will pass the Communication Mast, School, and Village, and find themselves in the last zone north of the Village. Engineers will be needed for the RU team to stay at an advantage with their vehicle count by constantly repairing the damaged tanks. The CN team has stationary weapons to aid in defending the five different zones with a tank or two as well. Defenders should take advantage of the M15 AT mines and plant them around the area to catch the attacking vehicles by surprise. The last zone provides neither team vehicles. This puts the defending team at an advantage. If you are playing as the CN team and are pushed back to this zone, take advantage of the building’s roofs and send recon players to the top to snipe the attackers approaching from the south.
Zone 1: Train
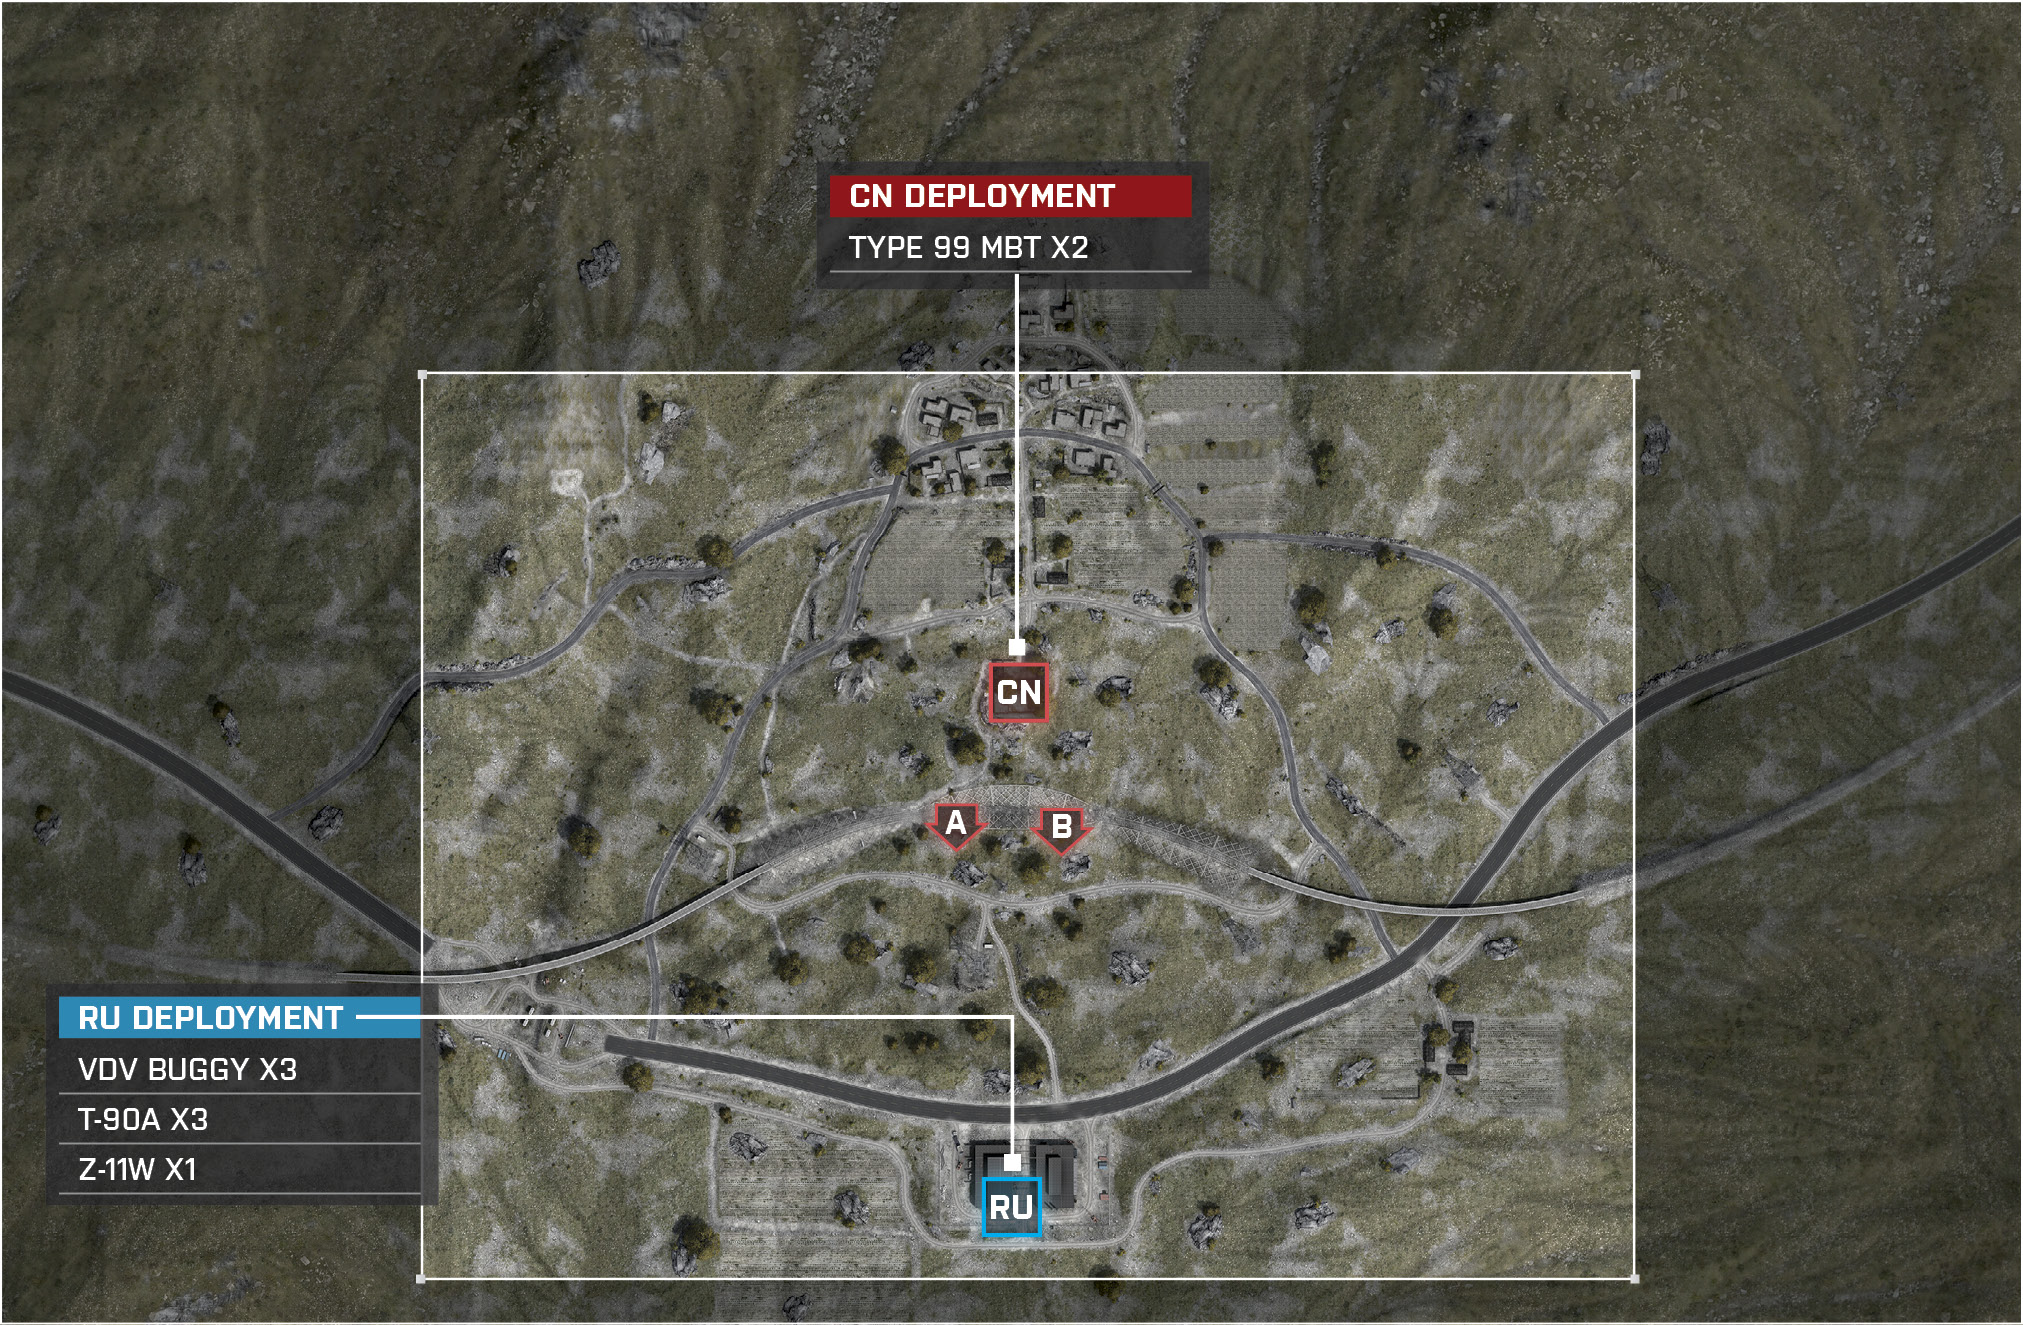
RU Deployment
Recommended Squad Composition:
Deployment Area Assets
Name
VDV Buggy
T-90A
Z-11W
Quantity
3
3
1
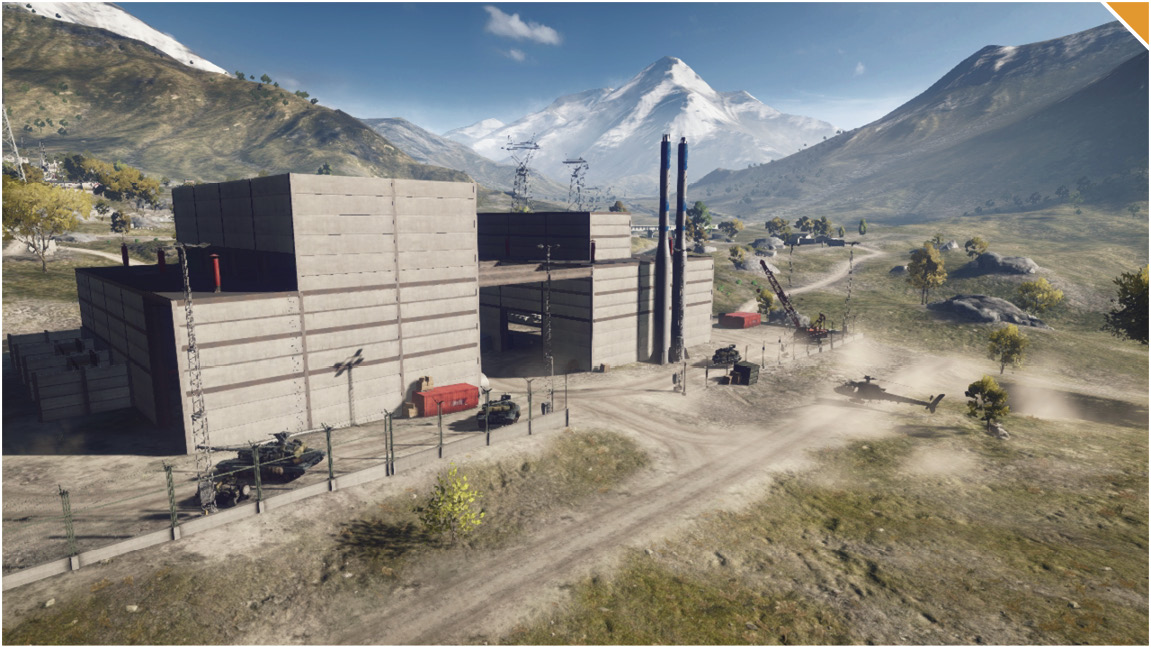
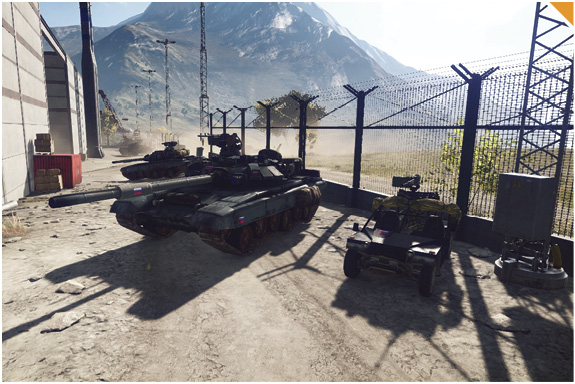
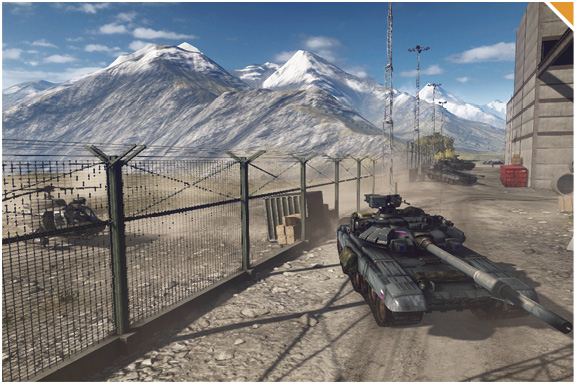
This deployment area is located directly south of the M-COM stations. The RU deployment area has a hilly plain with scattered rock structures that the enemies will surely be using as cover to ambush you.
The dirt road that leads north to the M-COM stations is the most dangerous path for your T-90As. Push your tanks in the fields to the east and west of this dirt road to avoid being surrounded and destroyed.
You will need a well-balanced squad with a member of every single class for this initial push. Be prepared to encounter close-range fights, tanks, and enemies sniping in the distance.
Clear out both sides of the train tracks before attempting to arm the M-COM stations. Enemies posted on the east and west sides of the tracks have a clear view of the objectives, so be sure not to walk into a crossfire.
One hundred meters west of M-COM Station A is a drainage pipe on the south side of the train tracks that is ideal for hiding a Radio Beacon. This will allow your squad to spawn close to the action in a flanking position.
CN Deployment
Recommended Squad Composition:
Deployment Area Assets
Name
Type 99 MBT
Quantity
2
This deployment area is north of both M-COM stations and spawns with two tanks.
Take the tanks either southwest or southeast toward the objectives to have a better view of what you need to defend.
The enemy spawns with three T-90As, one scout helicopter, and three light vehicles. Your team will be outnumbered by vehicles. Have your squad play as engineers to even the playing field.
The M-COM stations are placed behind the train. You’ll need to set up your defense to the south in front of the M-COM stations to stop the attackers from getting near the objectives.
Place recon class players sniping from near the deployment to watch the south hill leading over to the objectives. Enemy infantry will be traveling here towards the objectives.
M-COM Station A
M-COM Station A is located on the southern part of the map next to the Train.
Two Type 99 MBTs spawn for the CN team at deployment, which can be used to patrol the area around M-COM Station A.
When attacking, it’s best to clear the area out as much as possible before going in for the arm. Coming in to this battle, your team should have a good mix of tanks and helicopters push in at the same time.
Attackers should look for a safe area to place a Radio Beacon to keep teammates spawning close to the battle to keep up the pressure.
When defending, have a recon and a support class make their way to a location with a great angle of M-COM Station A, so they can easily stop any enemies attempting to arm.
M-COM Station B
M-COM Station B is attached to a train holding a nuclear missile casing, south of the CN deployment area and north of the RU deployment area.
The train is in the middle of the ditch, requiring players to hike up before rushing down.
When attacking, the RU team must be cautious of the stationary turrets south of the CN deployment that lay heavy fire down the hill.
The RU team will want to send their tanks north of the objective, providing cover for the arm and stopping the defenders from succeeding in disarming the objective.
Defenders should mount the multiple stationary turrets. This will distract the RU team, allowing the CN tanks to flank the attackers from the east and west, pinching them in the ditch and leading to some easy points.
Zone 2: Communication Mast
RU Deployment
Recommended Squad Composition:
Deployment Area Assets
Name
VDV Buggy
T-90A
Quantity
2
2
The RU deployment area is now located just south of the recently destroyed M-COM stations. However, your vehicles still spawn in the back of your Zone 1 deployment area.
The two M-COM stations are located in the Communication Mast where you will have non-stop close-range combat. Equip your favorite shotgun or M26 assault gadget to take control of this area.
Push your tanks up the east side of the hill. This way you can avoid the HJ-8 Launcher on the west edge and will be able to safely flank around to the north entrance of the Communication Mast without being ambushed.
The large boulders 40 meters south of the M-COM stations is a safe location to regroup with your entire team and make your organized push into the Communication Mast.
With only one enemy tank to worry about, you do not need many engineers for this zone, since it will mostly consist of infantry vs. infantry combat.
CN Deployment
Recommended Squad Composition:
Deployment Area Assets
Name
Type 99 MBT
Quantity
1
The deployment area is now moved further north and the M-COM stations are now placed where the CN team deployed for Zone 1.
There are many buildings surrounding the objectives. Use the rooftop of the building south of M-COM Station A for a vantage point to take out infantry coming from the south.
The deployment area only spawns with one tank, so you’ll be outnumbered with vehicles once again. Have a few players play as the engineer class to assist the CN team’s tank.
Place a T-UGS inside the buildings nearest the objectives to alert you and your squad when the enemy is near the objective and attempting to arm.
M-COM Station A
M-COM Station A is located to the north of the train tracks and up a hill. There are a few buildings covering the area that the defenders can take refuge inside to protect the station.
One Type 99 MBT is available for the CN team. This tank should circle the small town to take out any infiltrators that are roaming around the area.
There are a few stationary launchers and .50Cal turrets located up the hill before M-COM Station A. These need to be used to take out any vehicles making their way towards this station.
When attacking, the first main focus should be to regroup and take out the launchers and .50Cal turrets. This will make climbing up the hill much easier when the defending team isn’t raining down so much fire.
Defenders are posted everywhere inside the buildings near M-COM Station A, so have the tanks fire at the walls of these buildings. All of the buildings are very weak to begin with, so they can be destroyed, thus exposing any enemy snipers.
M-COM Station B
The objective sits at the bottom of the stairs of a building within the Communication Mast area.
The M-COM station is enclosed by a cement wall. When defending, stay clear of the cement wall since attackers can easily destroy the wall and inflict damage on you if you are near the wall.
The building to the west of the objective has a staircase that leads to the roof. Defending snipers can take advantage of this spot and pick off attacking infantry players.
When attacking, try to clear out the building to the west of the M-COM station. On the second floor of this building is a window that lets you watch the objective. This is a great spot to stop defenders from disarming the objective.
The RU team has a couple of tanks back at their deployment area. Move these near the M-COM station and provide constant fire to the buildings, forcing the defenders to relocate.
Zone 3: Hillside
RU Deployment
Recommended Squad Composition:
Deployment Area Assets
Name
T-90A
Quantity
2
Once again, the RU deployment area is located downhill to the south of the new M-COM stations.
Now the only vehicles you have at your disposal are two tanks placed at the southwest and southeast corners of the map. They are quite a distance away but, as always, a great asset once you bring them to the front lines.
Try to group up your T-90As so they can back each other up and double-team the enemy tank. Don’t get caught in a one-on-one duel when another friendly tank is available to join the fight.
The buildings that house the M-COM stations can easily be destroyed. If you have your tank near, take down the walls so you can cover your squad while they arm the charge.
Since the buildings near the M-COM stations crumble so fast, have your best mid-range support or assault class ready in this area. You don’t want to be caught out in the open with a shotgun when there is no cover for you to get next to your enemy.
CN Deployment
Recommended Squad Composition:
Deployment Area Assets
Name
Type 99 MBT
Quantity
1
The location of the deployment area is pushed north and the M-COM stations are located to the south. This deployment area only spawns one tank.
The enemy team has two tanks, so again be sure to have multiple engineers in your squad to assist the CN team’s tank.
Send players out to the east and west to flank around the incoming enemies. Also send players south through the center of the map. This will trap the enemies in the center of your team, taking out many tickets.
Lay mines on the roads east and west because enemy tanks are sure to pass through the roads.
M-COM Station A
M-COM Station A is located right outside of a small one-level building that looks like it could crumble at any time and has little to no cover.
Again with few vehicles, the CN team will have to manage with the tank that they do have in the most efficient way. Have an engineer board with a teammate so they can make necessary repairs on the tank.
When attacking, there are two T-90As your team can use in the fight now. Have the tanks distract the defender’s main force and send a different squad to the far west of M-COM Station A. Once this is done, have a few support and assault classes make their way towards the station. This should make gaining some control a bit easier with the defenders.
Defenders should take advantage of the IEDs in the cornfield to the west of the M-COM station. With perfect timing you can take out enemies sneaking around for a flank and blow them up.
When defending, your squad will need to equip a few engineers and a support class to make up for the lack of vehicle presence on your team.
M-COM Station B
M-COM Station B in Zone 3 is located north of the Communication Mast.
The area has little cover with one building surrounded by a cement fence.
The attacking team will send a tank along the road to the east. Have defending engineers rig the road with mines to easily stop the tank in its tracks. Be sure to fire rockets at the attacking tank, distracting it from noticing the mines.
If the cement walls are destroyed, the defending team can plant C4 around the objective and observe it from a distance. Once they see attackers are close, detonate the C4 and then move in to wipe out the remaining players.
The RU team can get the full use of the T-90A and fire rounds from a distance, destroying all buildings and walls from afar. This will allow attacking infantry players to easily move in and go for an arm.
Zone 4: School/Village
RU Deployment
Recommended Squad Composition:
Deployment Area Assets
Name
VDV Buggy
Quantity
2
After successfully arming both objectives in the last zone, the RU deployment area is now pushed farther into the heart of the map and is located north of the Communication Mast.
The attackers lose the advantage of their tanks and now only have two light vehicles to use. Take advantage of these vehicles’ speed to quickly reach the objectives.
The opposing team will set a defense perimeter on top of the buildings located in the Village area. Use engineers to take these buildings down, allowing your team to breach the area.
Flank the Village from the east and west, utilizing the perimeter roads. This is the best way to catch the defenders in a demoralizing crossfire.
A recon player can take advantage of obstacles in between the RU deployment and M-COM stations. These provide great cover that allows you to snipe defenders.
CN Deployment
Recommended Squad Composition:
The deployment area is located even farther north again. No vehicles spawn at this deployment area. The enemies spawn with only a light vehicle.
With the lack of vehicle presence, don’t think the engineer won’t be put to good use. The rockets in the engineer class will prove useful for blowing holes through buildings.
On the roof of the building north of M-COM Station A take the recon class. You’ll have a great overview and vantage point of all incoming enemy infantry towards both M-COM stations. This area also provides great cover. The sniper rifles will prove to be very useful at this location.
The buildings around the M-COM stations have access to the rooftop buildings; take advantage of these for vantage points and overviews.
Place T-UGS in the buildings around the M-COM stations to be alerted when enemies are approaching. With the high amount of buildings, you’re sure to pick off a few enemies.
M-COM Station A
This M-COM station is located in between a cluster of buildings at the middle of an alleyway just northwest on the map.
There are no vehicles on this map, so prepare for an all-out battle as just infantry units. There are so many buildings to hide in and for great angles to protect M-COM Station A.
Attackers are going to want to focus a few squads on checking buildings and clearing them out before arming M-COM Station A. Have some assault and support classes work together to do this.
As a defender picking the recon class, there is a building just south of M-COM Station A with a great line of sight where you can then take out any enemies wandering around the area.
To the far northwest behind a large rock there is an IED detonator. This can take out a whole group of enemies, including the adjacent building. A recon unit should be stationed here to watch this whole location and protect it.
M-COM Station B
This objective is located in the Village outside of one of the buildings near a steel dumpster.
The attacking team now only has a light vehicle, allowing defenders to form squads specialized in close-quarter combat.
Defenders have multiple rooftops to choose from. Spread each squad out to different rooftops and work with each other to stop the attackers approaching from the south.
Attackers are at a disadvantage because of the line of sights that are provided from the buildings for the defending team. Take advantage at how frail these buildings are and have engineers rocket them from a distance.
The RU team is able to move in freely once they destroy most of the buildings and walls in the area. The attackers can take full use of their light vehicle and harass players due to the vehicle’s speed. While this is happening, a squad can easily flank the area and arm the M-COM station.
Zone 5: North Village
RU Deployment
Recommended Squad Composition:
Located to the south of both M-COM stations, the RU deployment once again is without vehicles. Load up your best anti-infantry classes for this final push.
When making your move, do not run up the dirt road in the center. Weave your way in and out of the buildings along the east and west sides to avoid giving the enemy an easy kill.
With no vehicles and so many fragile buildings, instead of having too many engineers, load up as an assault class and equip your M320 HE. This will allow you to blow holes in the buildings with a single shot to take away enemy cover and make new paths for your squad.
With so many buildings to clear out on your way to the M-COM stations, make sure to have at least two members of your squad as the assault class. These brief short-range encounters are the best time to get revives with the Defibrillator and save your team some precious tickets.
Beware of the stationary .50Cals located near the M-COM stations. The two best ways to deal with these massive threats are flanking them from the side since they can’t turn very far or killing the enemy by using splash damage from explosives such as the engineer’s rocket launchers.
CN Deployment
Recommended Squad Composition:
This is the last zone and the CN deployment area is pushed to the farthest north spot of the map. You and your squad will have a few seconds to begin setting up your defenses since the RU team deploys farther away than the CN deployment.
Absolutely no vehicles spawn for either the CN team or RU team. This will make for much close-quarter combat in this north Village.
Watch for enemies approaching for a flank from the east and west. Use this higher position of the hill to your advantage by looking across the open areas south of these objectives.
The building west of M-COM Station B has access to the roof. This position overlooks M-COM Station A. Use this position to stop enemies from arming and pick off players attacking from the south. Drop in the stairway if taking enemy fire to stay alive and keep a good squad spawn.
With the recon class, make your way to the farthest northeast position on the map near the dead zone. Equip the sniper rifle and go prone to hide your location. This position is useful to watch M-COM Station B. You’ll be able to snipe any enemies that try to arm.
M-COM Station A
M-COM Station A is located to the farthest point to the north, right outside and surrounded by three buildings.
No vehicles are in this zone, so defenders need to make full use of all the remaining buildings and use the rooftops with .50Cals for a defensive position.
Defenders are going to want to stay alive within the buildings to keep a good squad spawn and use the rooftops to keep a good watch over the objectives. Many of the buildings oversee both objectives. Stay alive on the rooftops to stop the enemy while they arm the objective.
Attackers will need to destroy the buildings to uncover the defender’s position. Have teammates play as an engineer class and have them equip the RPG to blow through walls of buildings. A grenade launcher and C4 work extremely well too.
M-COM Station B
M-COM Station B is located in the north Village. This area consists of three buildings and the objective is outside the eastern building.
All three buildings provide a .50Cal to mount. These provide a shield to make the gunner a hard target to take out. Unload your ammunition and suppress the enemy as long as you can.
These buildings provide a great view of the map. Take full use of this when defending; send one or two support classes equipped with LMGs to the top and let the bullets fly.
When attacking, have engineers rocket the building from afar to startle the defenders inside. Destroying this building will leave defenders with less cover and let your team arm the M-COM station with ease.
The RU team must be aware of snipers hiding north of the objectives. When prone, these defending snipers blend in so well that you will not be able to react until it is too late. Throw smokes on the M-COM station to reduce visibility.
Obliteration
Recommended Squad Composition:
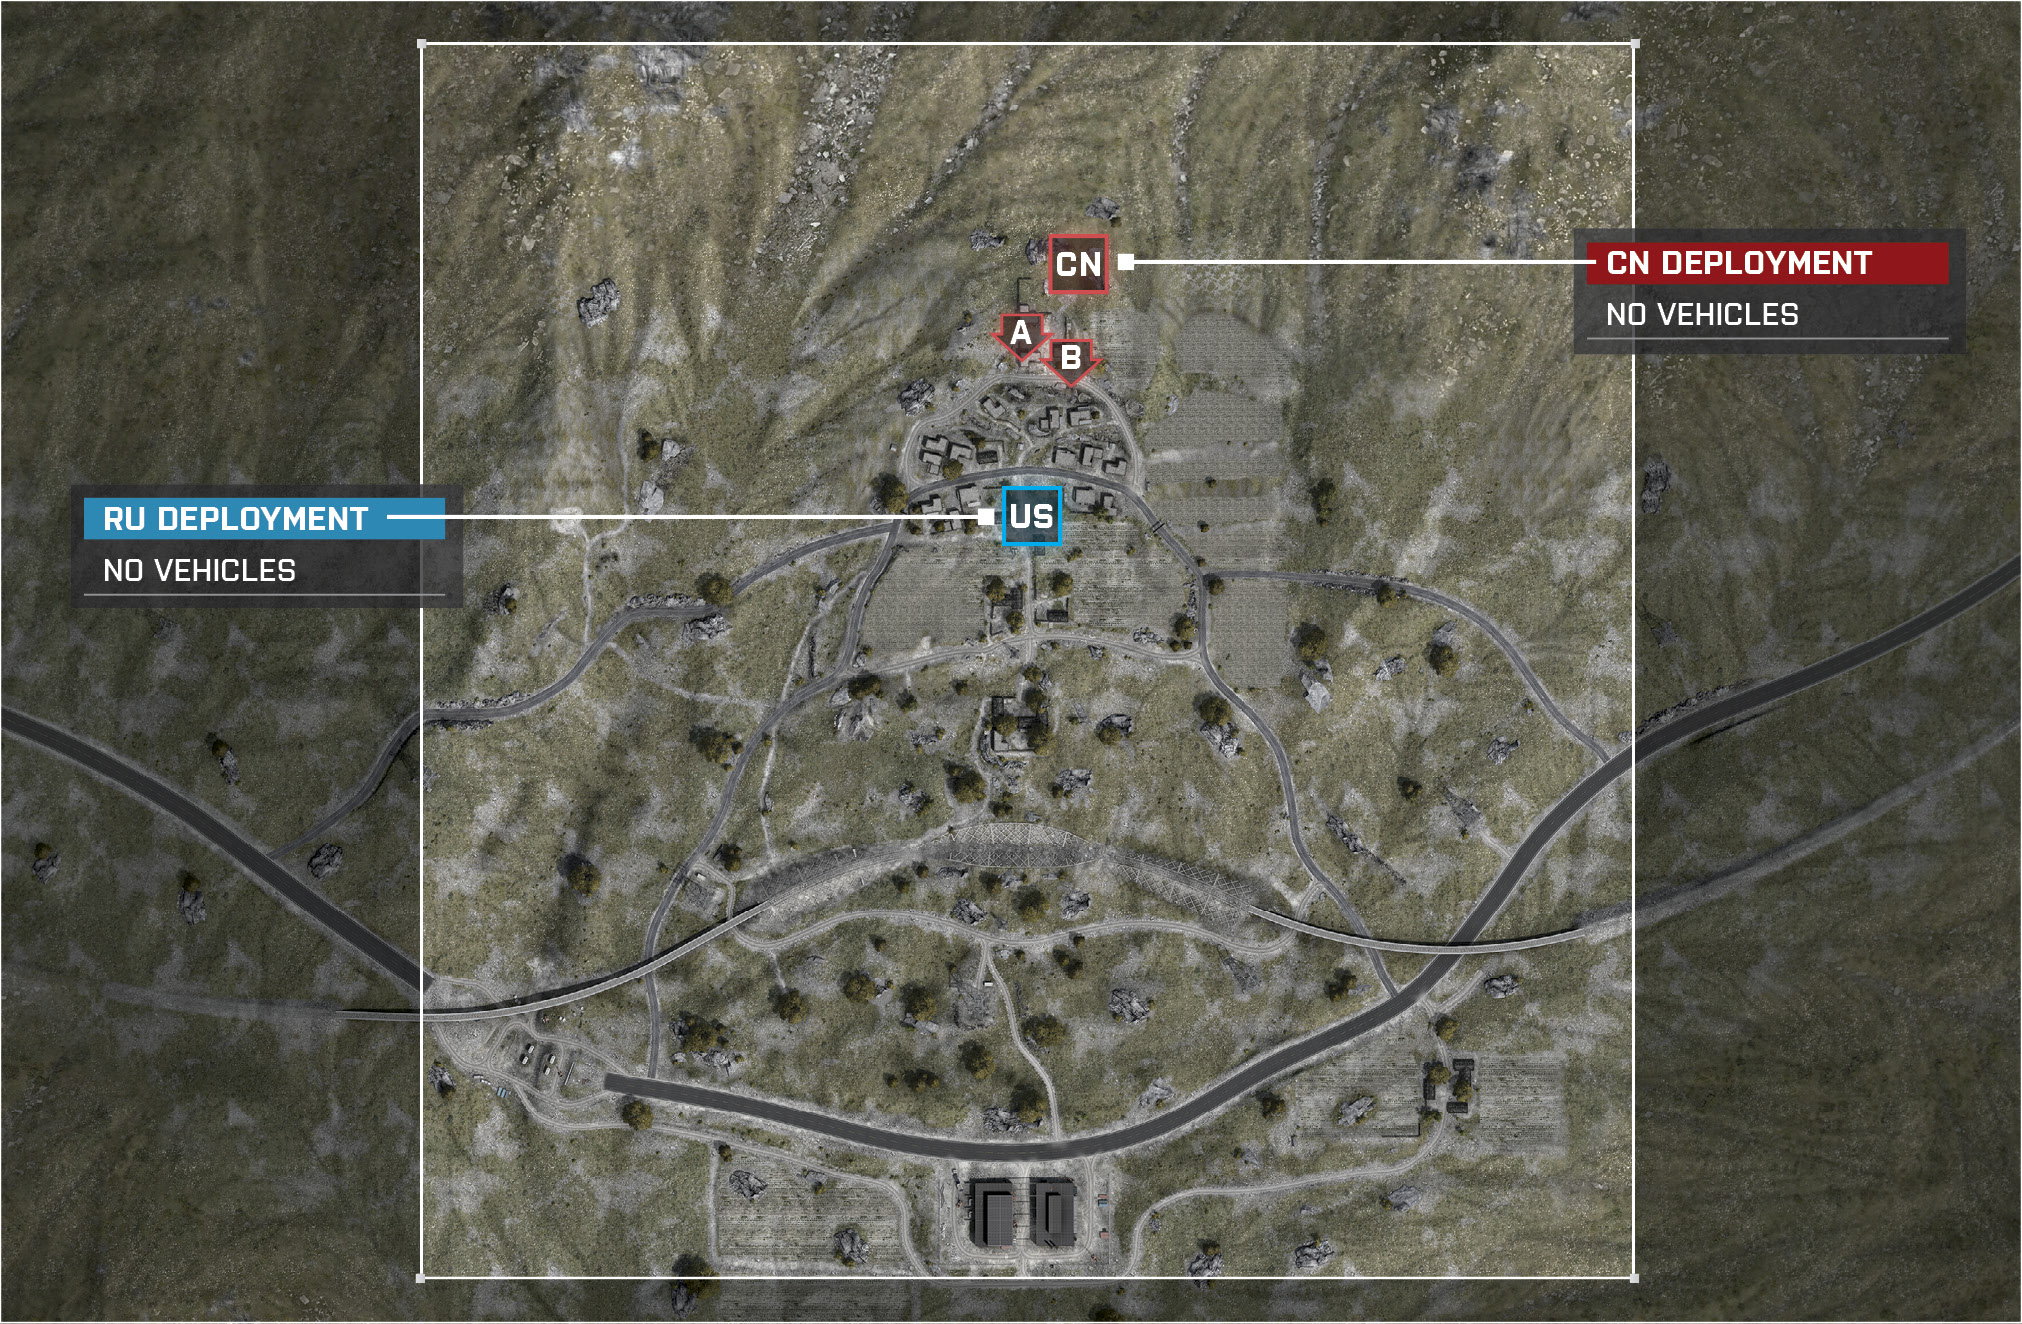
Two of the CN targets are found east of the Village on the north side of the map and the third is found near the Farm.
One of the RU targets is found in the Bridge Construction area and the other two are located around the west side of the Village.
Players will find the bomb spawning near the Communication Mast. Establish a defense perimeter close by, allowing your team to easily pick up the bomb.
This is a really large map, so be sure to utilize the vehicles at your base and scattered around the map to travel to each objective. The light vehicles are perfect for moving around the bomb carrier.
Engineers are your best friend on this map for both destroying and repairing vehicles. Plant M15 AT mines throughout the map to destroy roaming vehicles.
Defuse
Recommended Squad Composition:
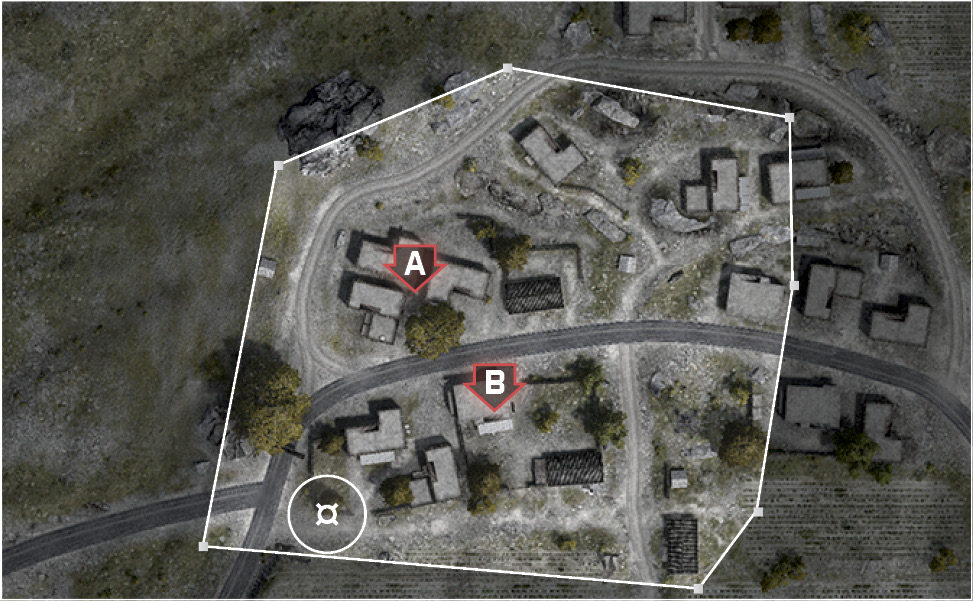
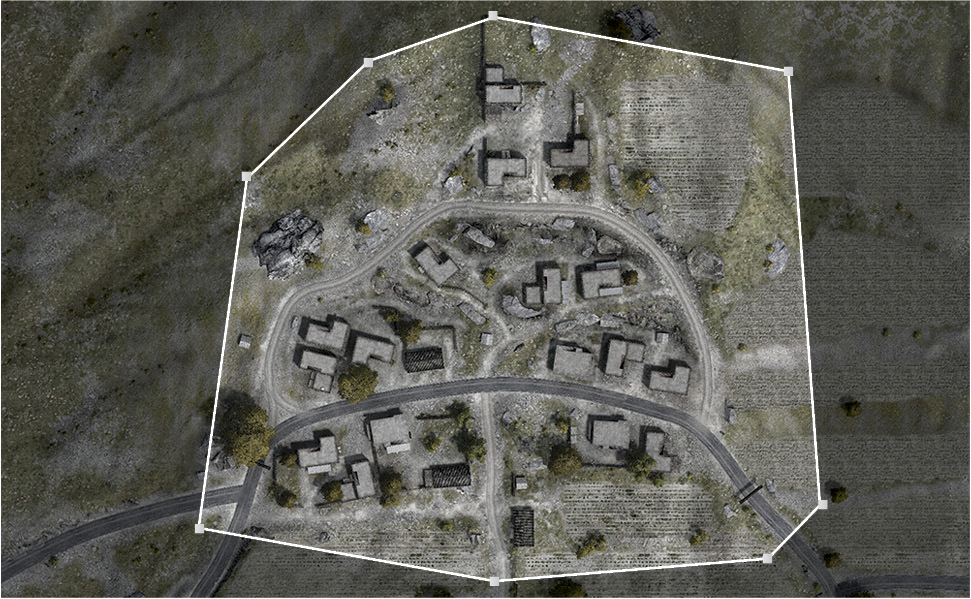
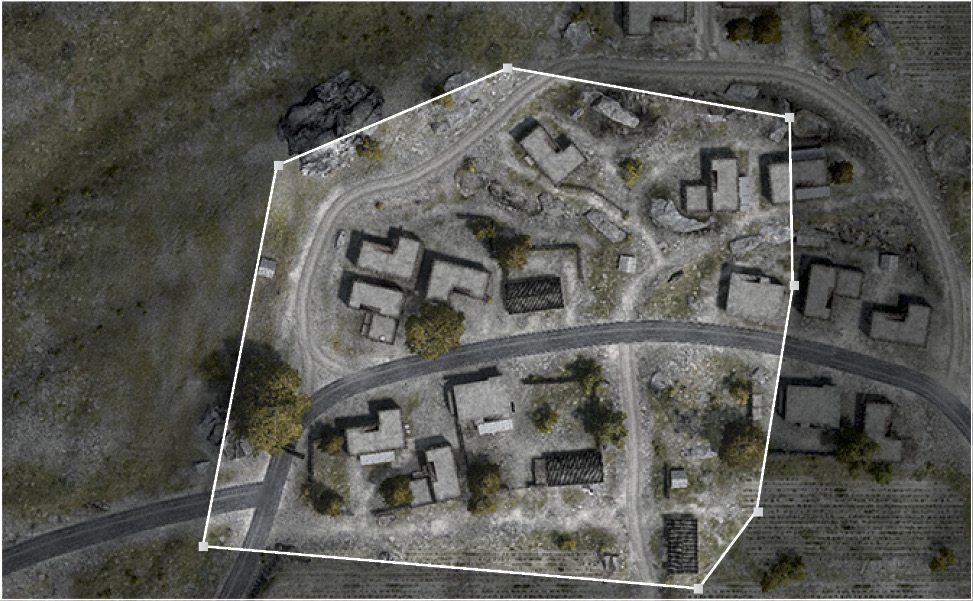
This battle takes place within the Village and School area. The RU team spawns near the western entrance while the CN team spawns between two buildings in the east side of the Village.
Laptop A is found between the two buildings in the eastern part of the Village. Defenders can hide in buildings and easily ambush their opponent.
Laptop B is found in the classroom in the western part of the School area. Defenders will plant C4 and Claymores around, so when playing as the RU team, tread carefully.
The CN team should make their way to the various rooftops of the buildings. These provide the best angles to watch the objectives.
The RU team should have Smoke Grenades equipped. This makes the defenders on the roof useless and forces them to drop down, leading to an easy arm. Have a few squad members stay back and pick off these defenders who drop. Buildings are destroyable, so use them to your advantage.
Domination
Recommended Squad Composition:
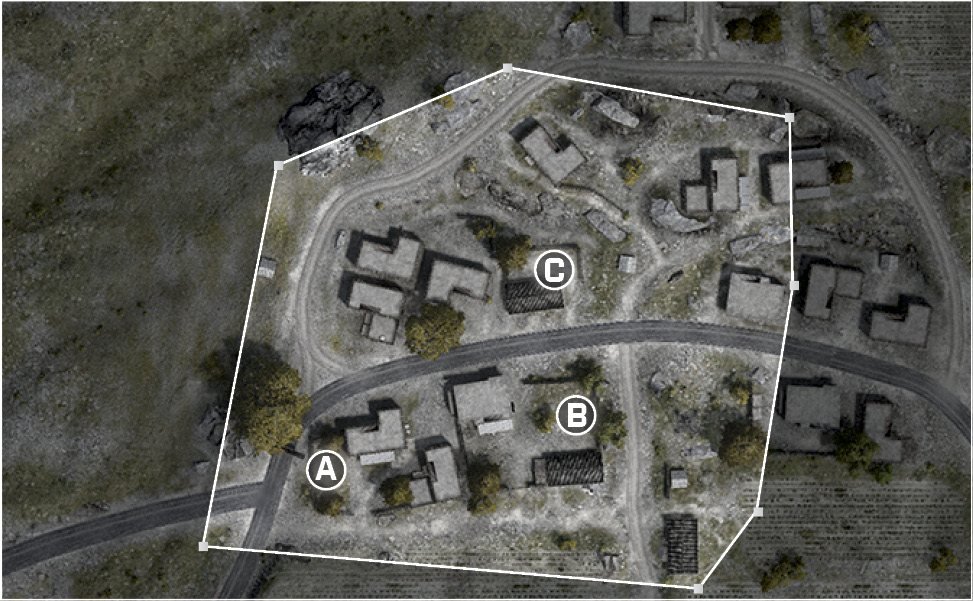
The three control points on this map are the Backyard (A), School (B), and Hillside (C).
Equip the M320 for the assault class. This allows you to destroy walls and quickly storm through them towards your opponent.
Take advantage of roofs. They present the best angles to fire upon your enemies.
Each objective has a small capture radius; plant C4 to take out an enemy attempting to capture an objective. If you see a control point being captured by the enemy, let them feel the pain.
Your best strategy is to capture both the Backyard (A) and the School (B). These objectives are both on the south side of the map. This forces the opposing team to only attack from the north.
Squad Deathmatch
Recommended Squad Composition:
This Squad Deathmatch is restricted to the village north of the original map.
Squads will want to control the rooftops of the various village buildings. These provide the greatest lines of sights.
The IFV on this map plays a huge role. All the buildings are destructible, so the IFV can shoot or ram through them with enough speed.
Have extra engineers on your team to aid in destroying the IFV if the opposing squad controls it or to repair it if your squad gains control.
Place T-UGS around various corners of the map to detect enemies. This will alert your team to the location of all the firefights occurring.
Team Deathmatch
Recommended Squad Composition:
In this Team Deathmatch, prepare for a Wild, Wild West shootout. Have your trigger finger ready in this remote village.
Take advantage of the rooftops. These provide great fire angles and cover when fighting enemies on the ground.
Buildings are destructible, so if you trap the enemy in a building, bring the walls down with grenades and launchers.
The buildings provide a lot of mobility with exceptional cover. Learn how to move from building to building when being chased to leave your enemy in the dust.
Defend a corner of the map, forcing the enemies to come from fewer directions. The northeast corner is a preferred spot to hold.