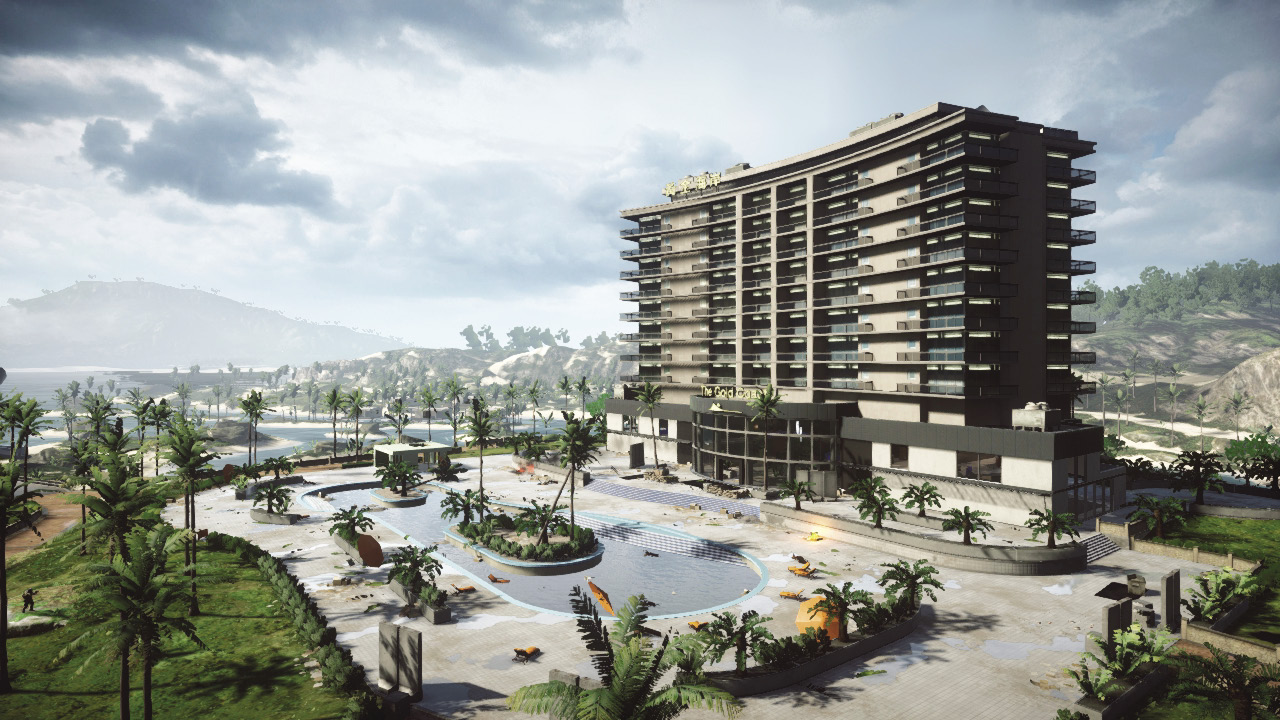
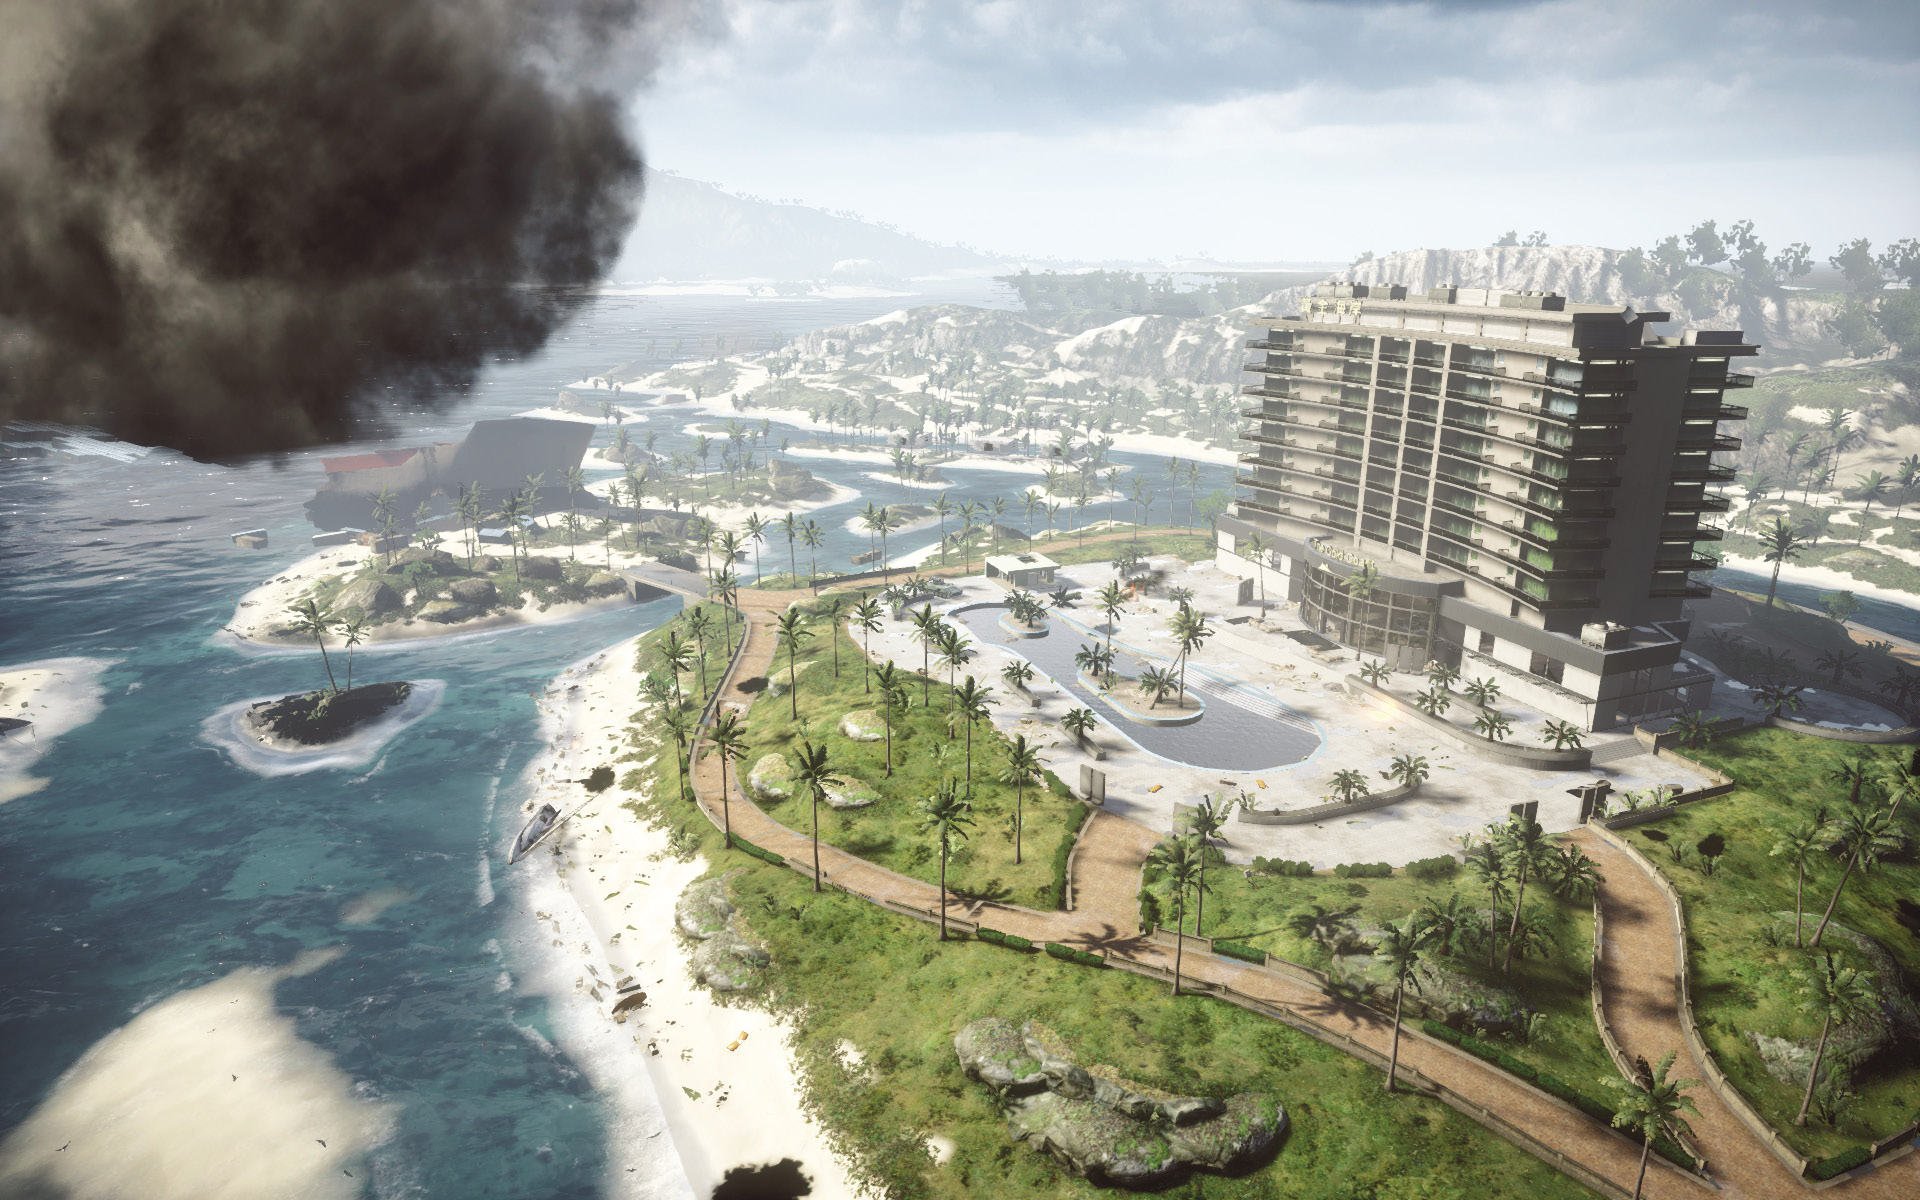
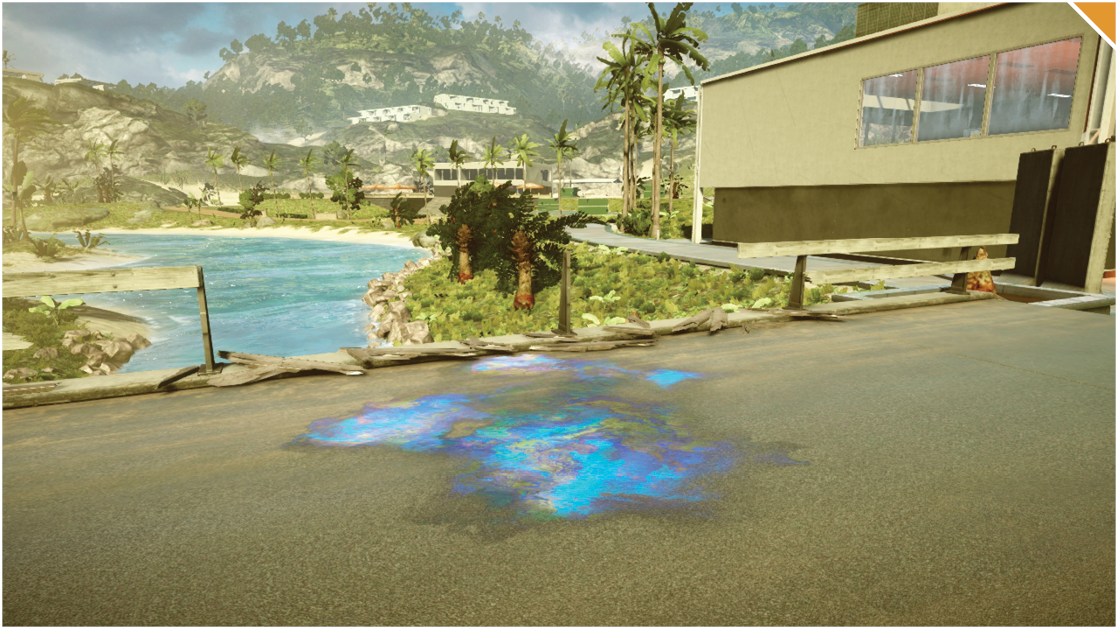
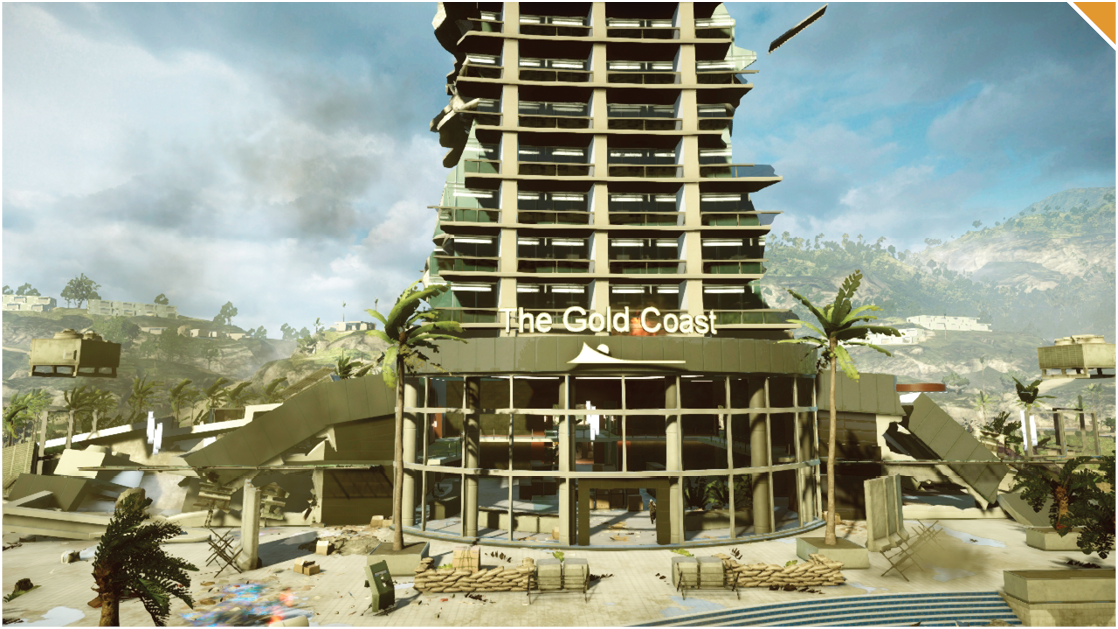
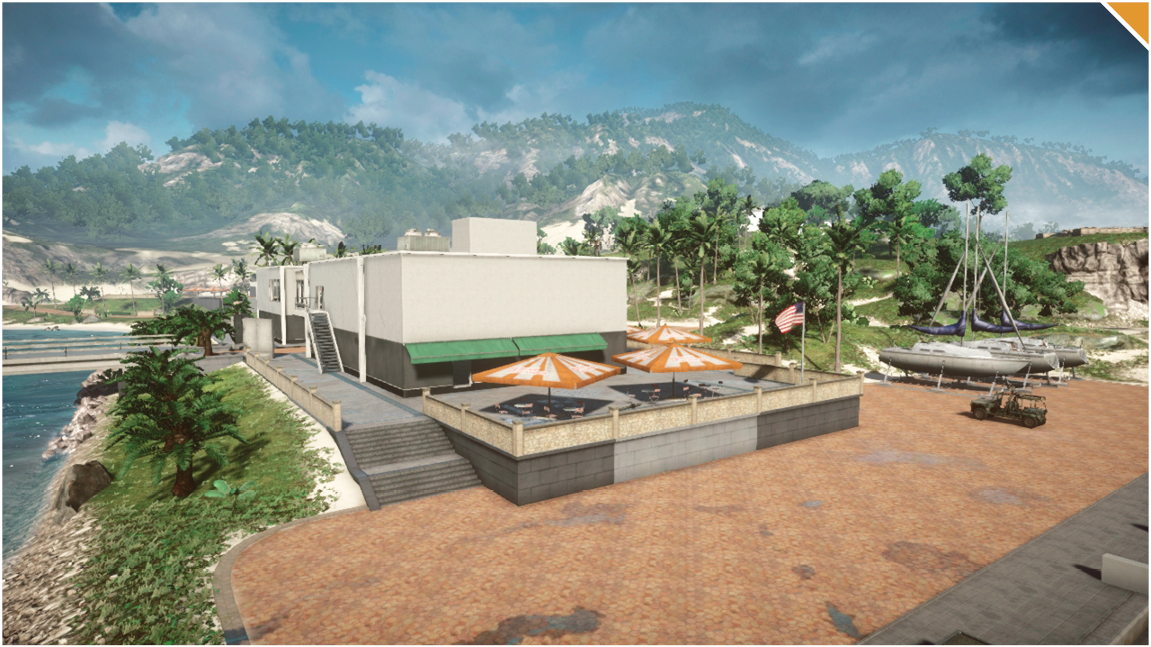
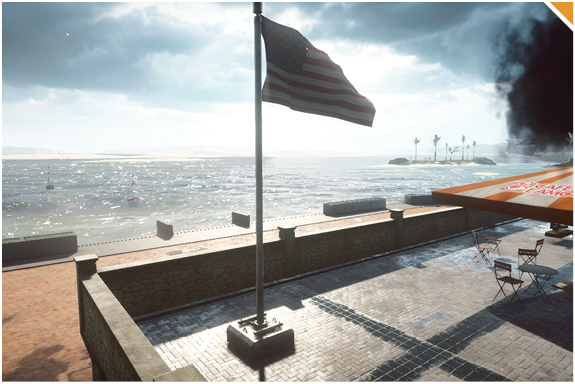
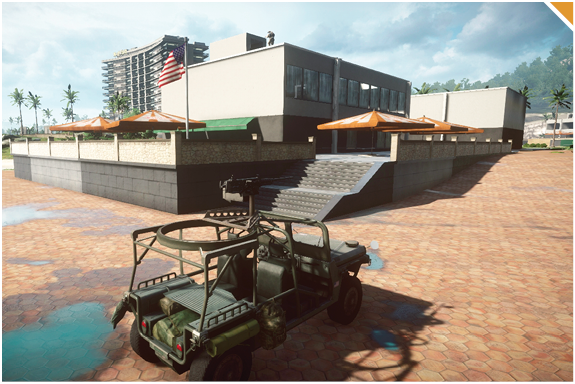
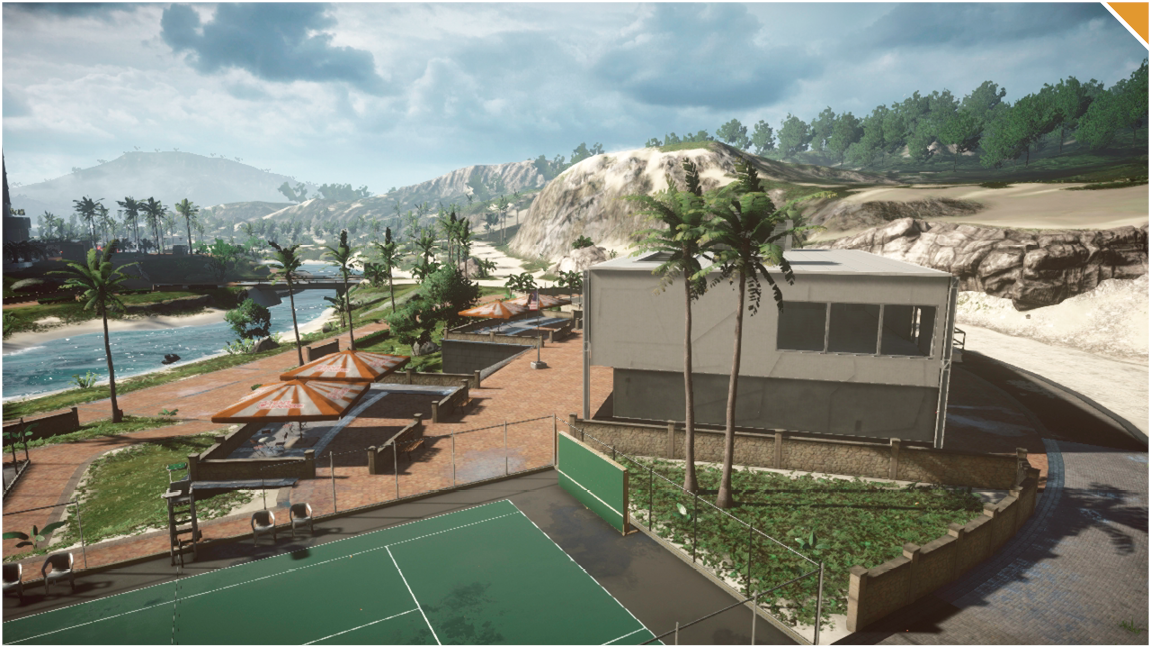
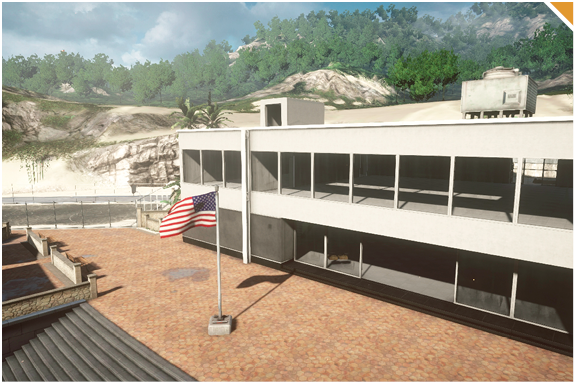
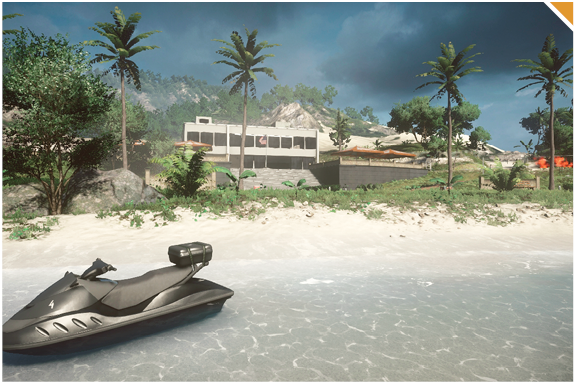
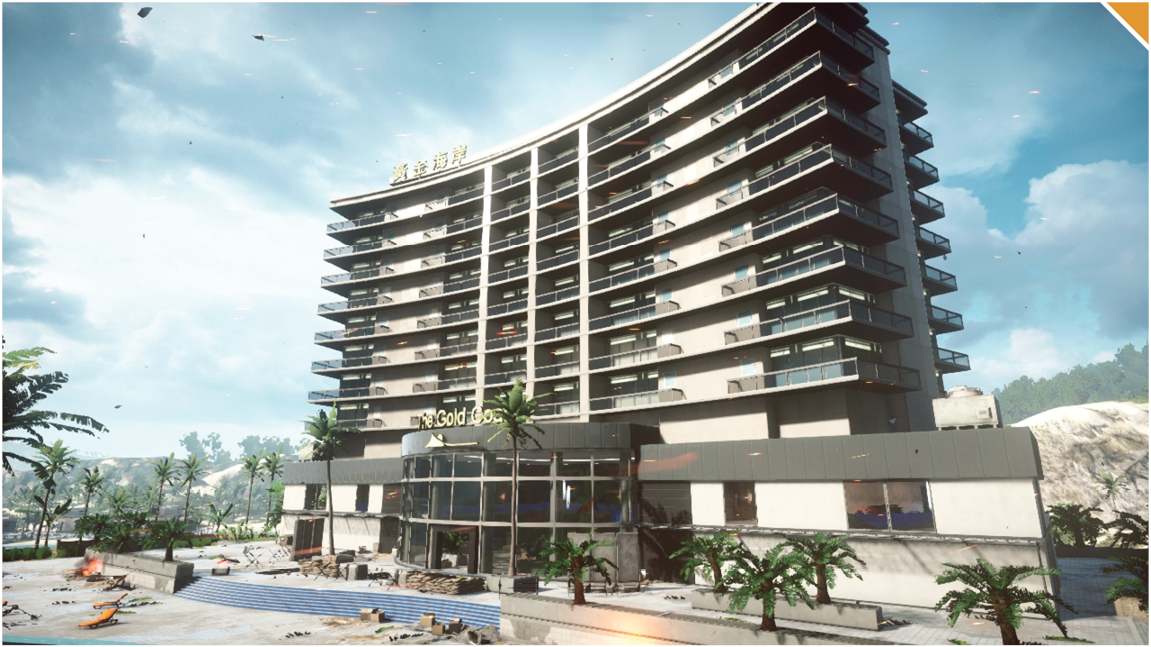
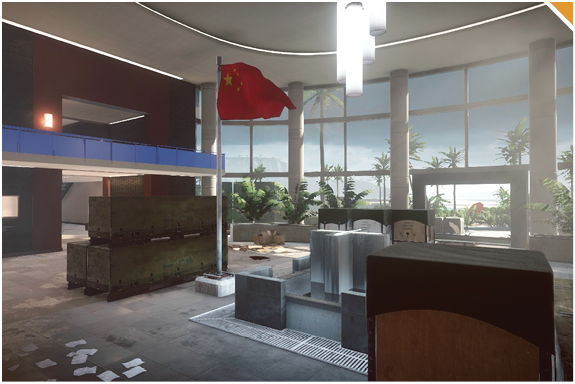
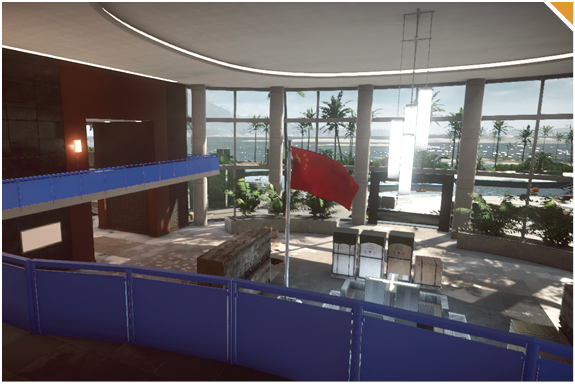
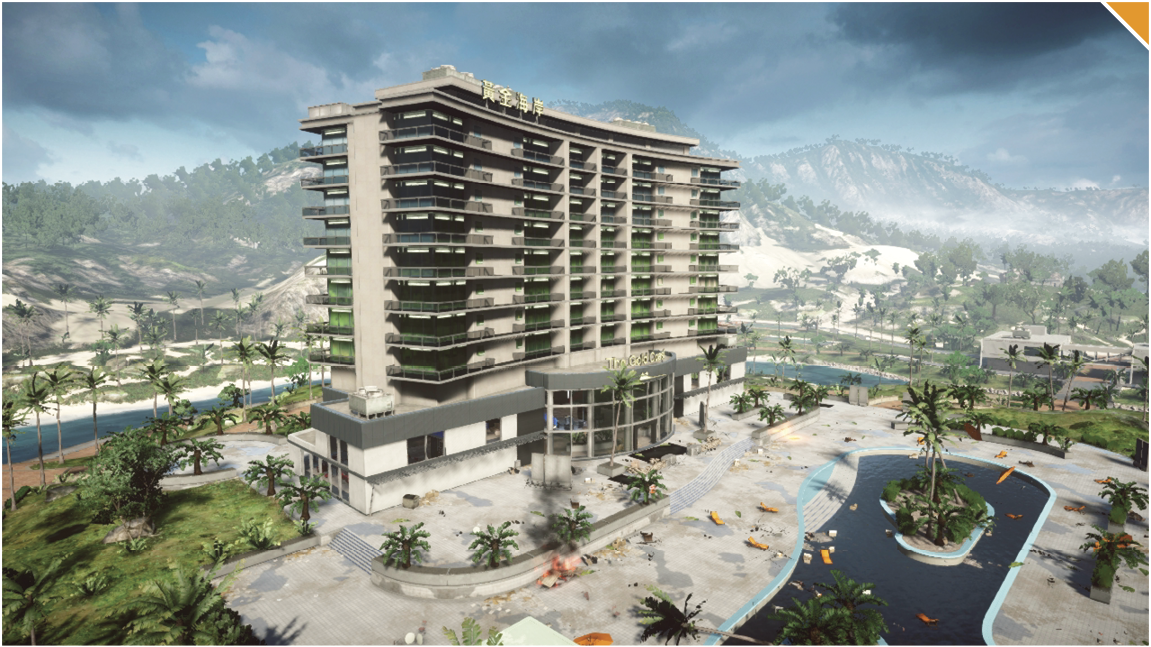
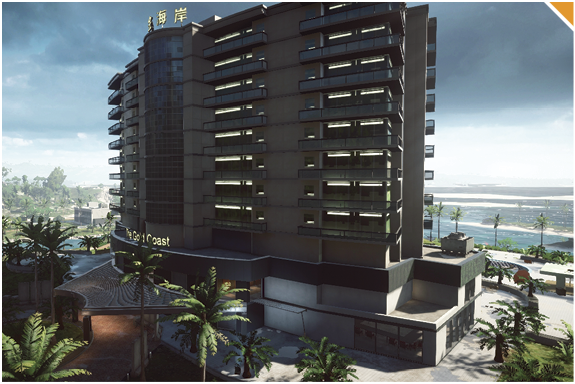
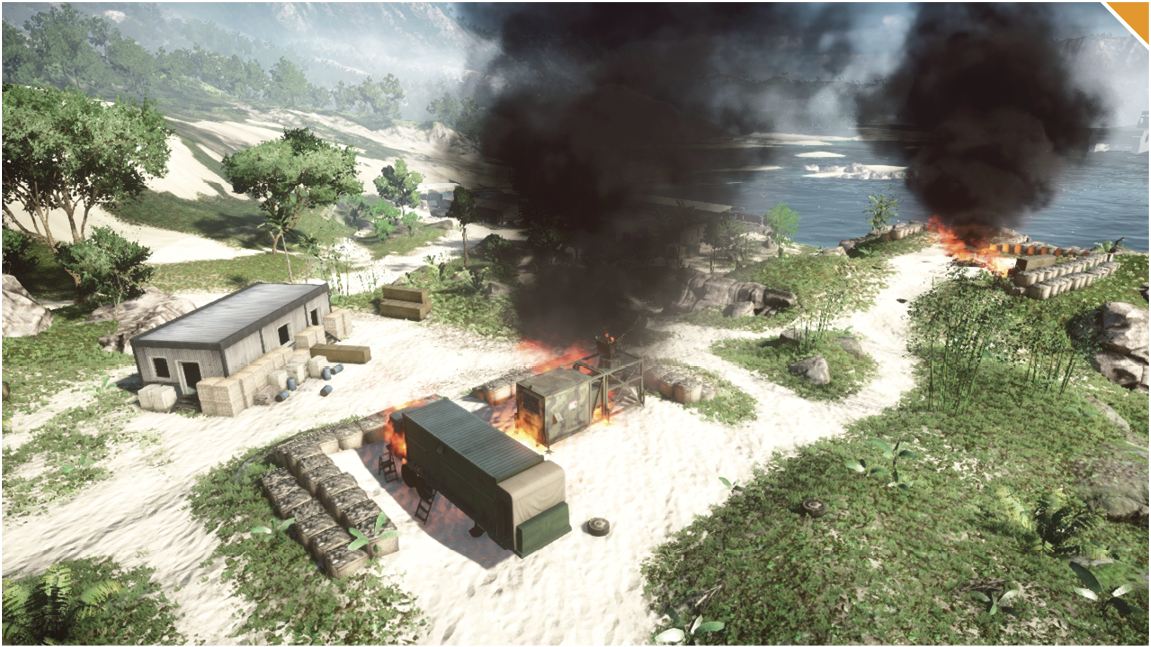
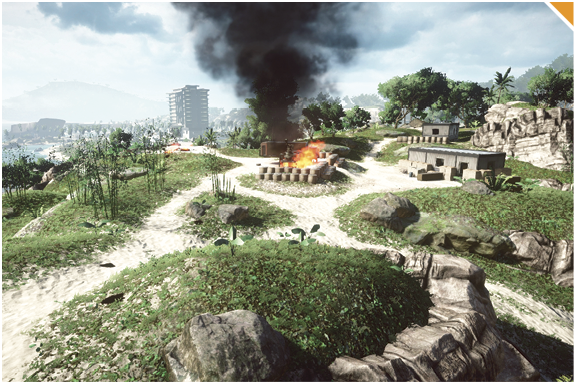
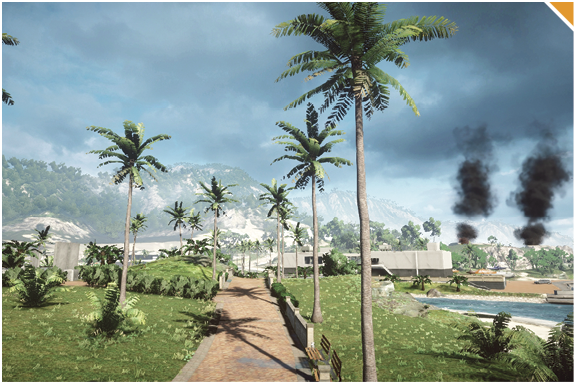
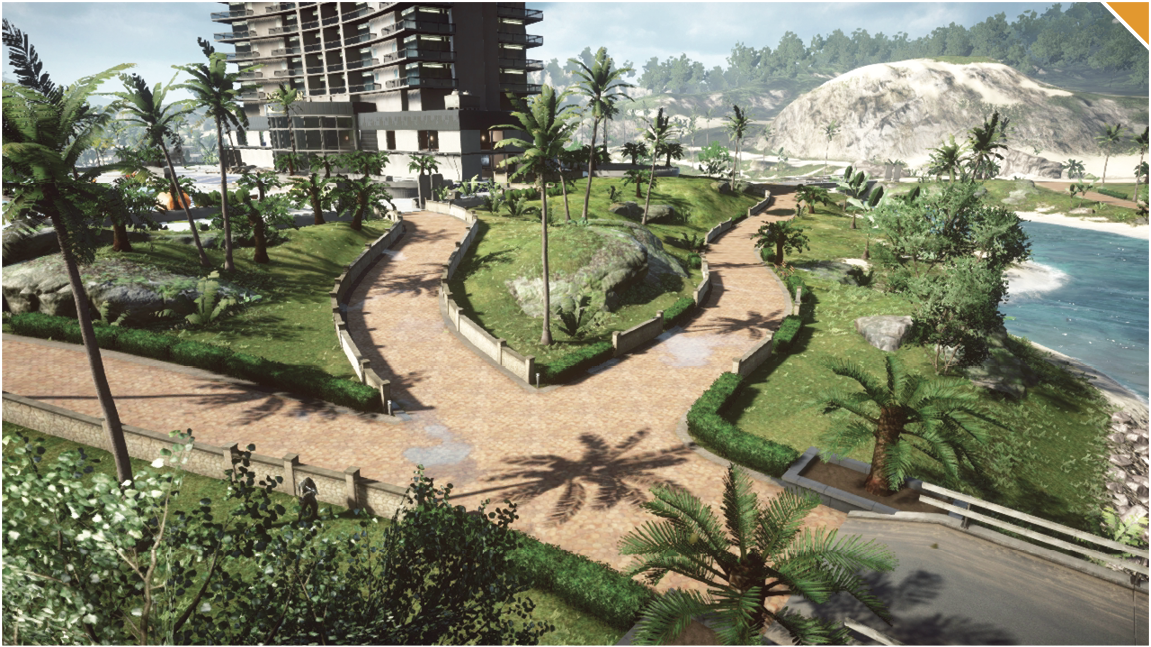
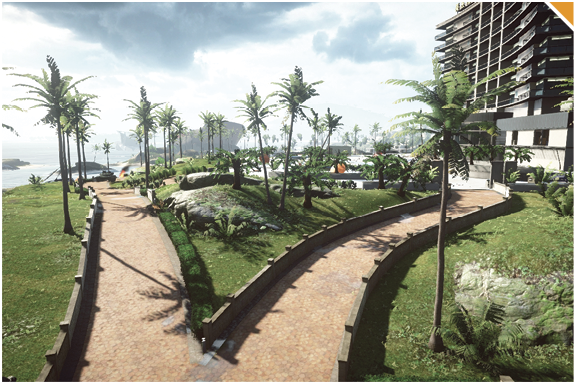
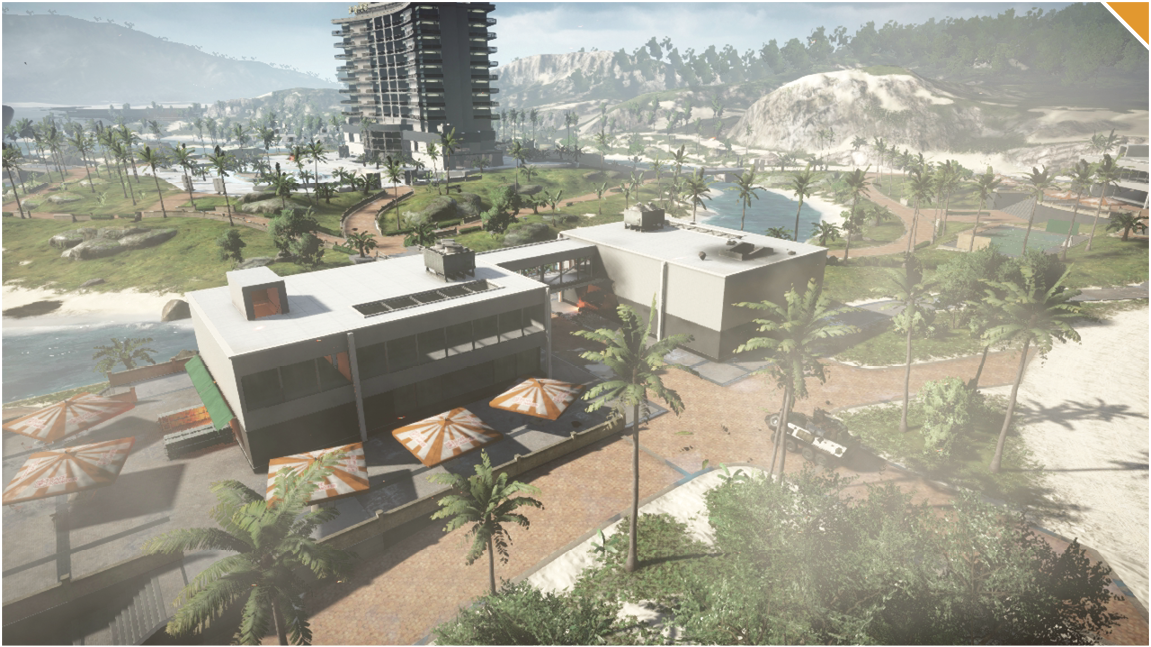
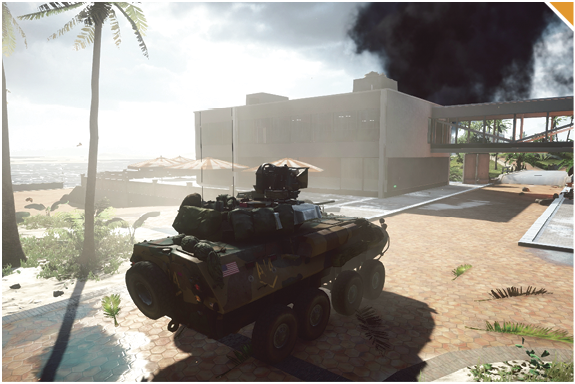
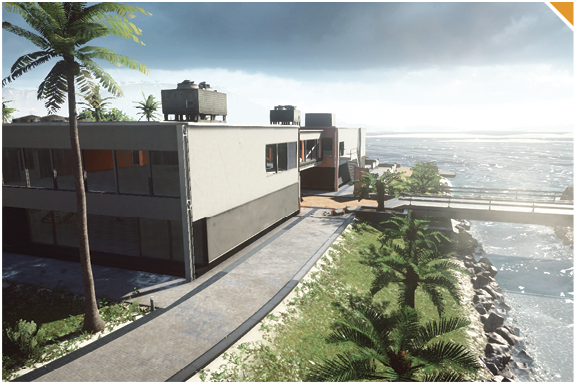
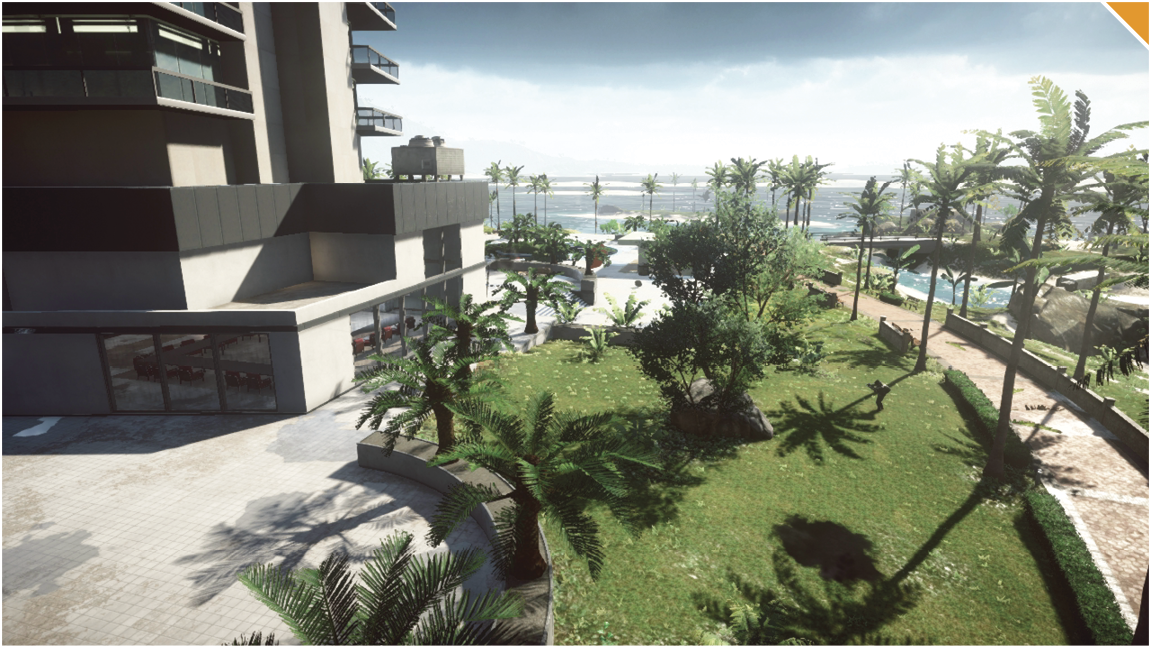
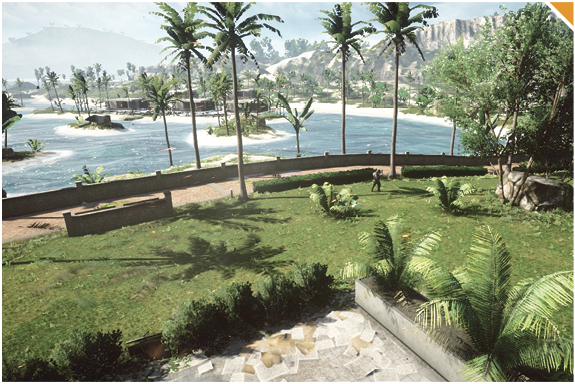
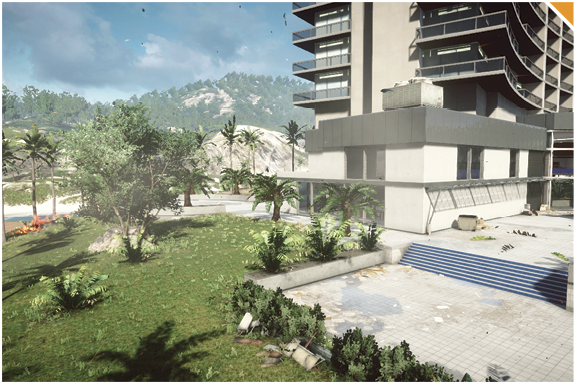
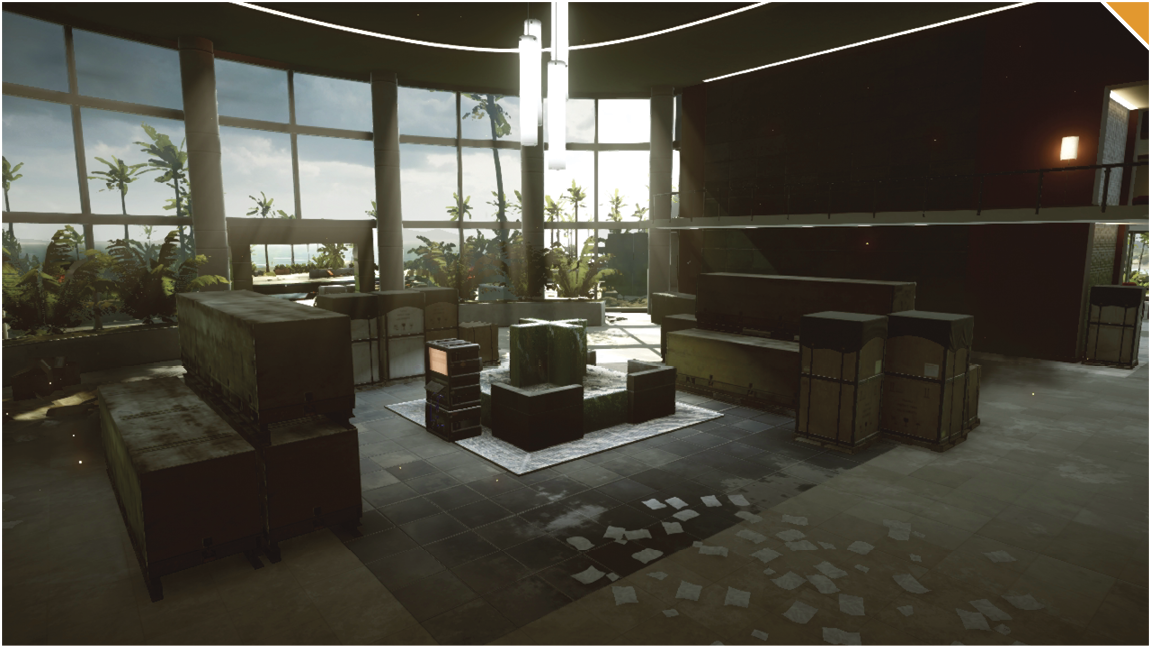
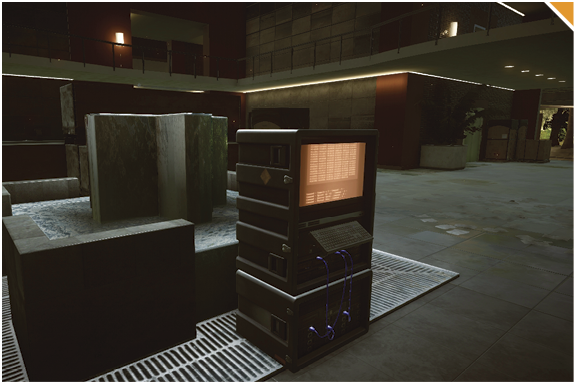
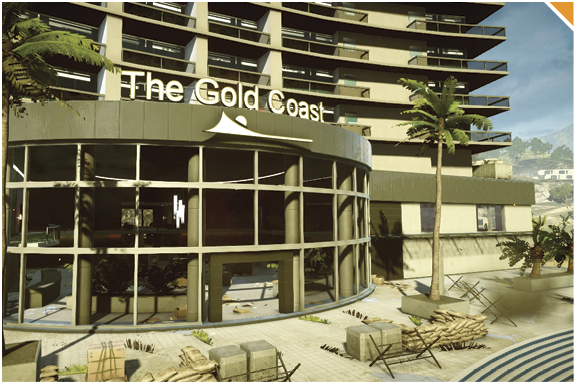
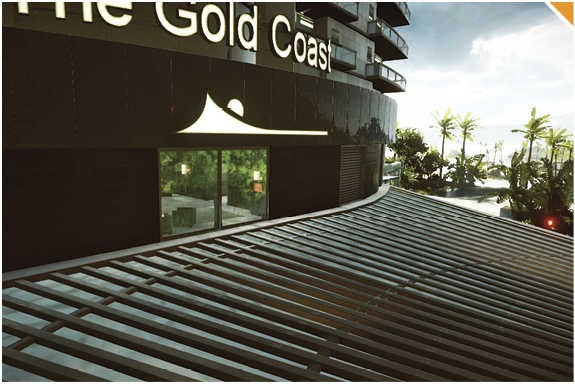
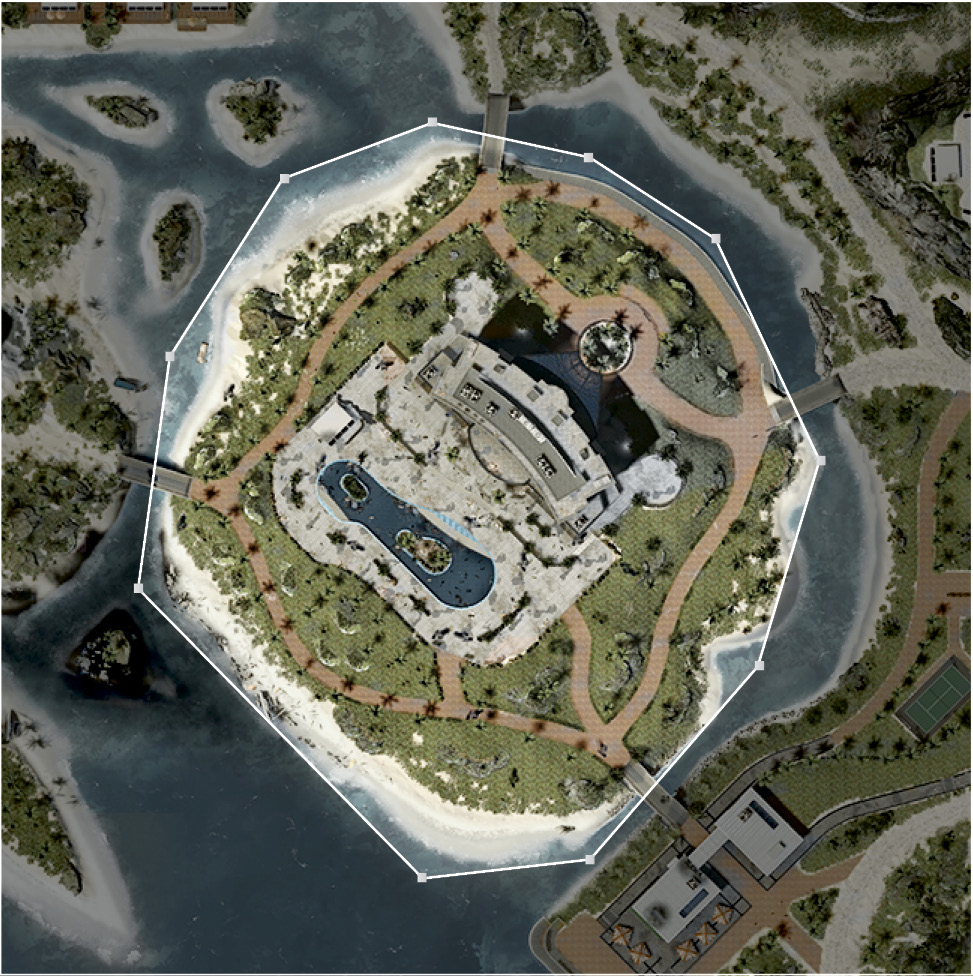
Create your own inferno by setting fire to the oil spills scattered across the map. The left and right wings of the Hotel can be destroyed and collapse independently.
How is it triggered?
Use explosives (like grenades) to ignite the oil spills. Target the walls on the first floor of the Hotel with explosive weapons to collapse the separate wings.
How is gameplay impacted?
Collapsed portions of the Hotel are inaccessible and the fires from the oil pools create hazards for infantry while spewing out black smoke, temporarily reducing visibility.
Alpha Squad: Impressions
Mabooza
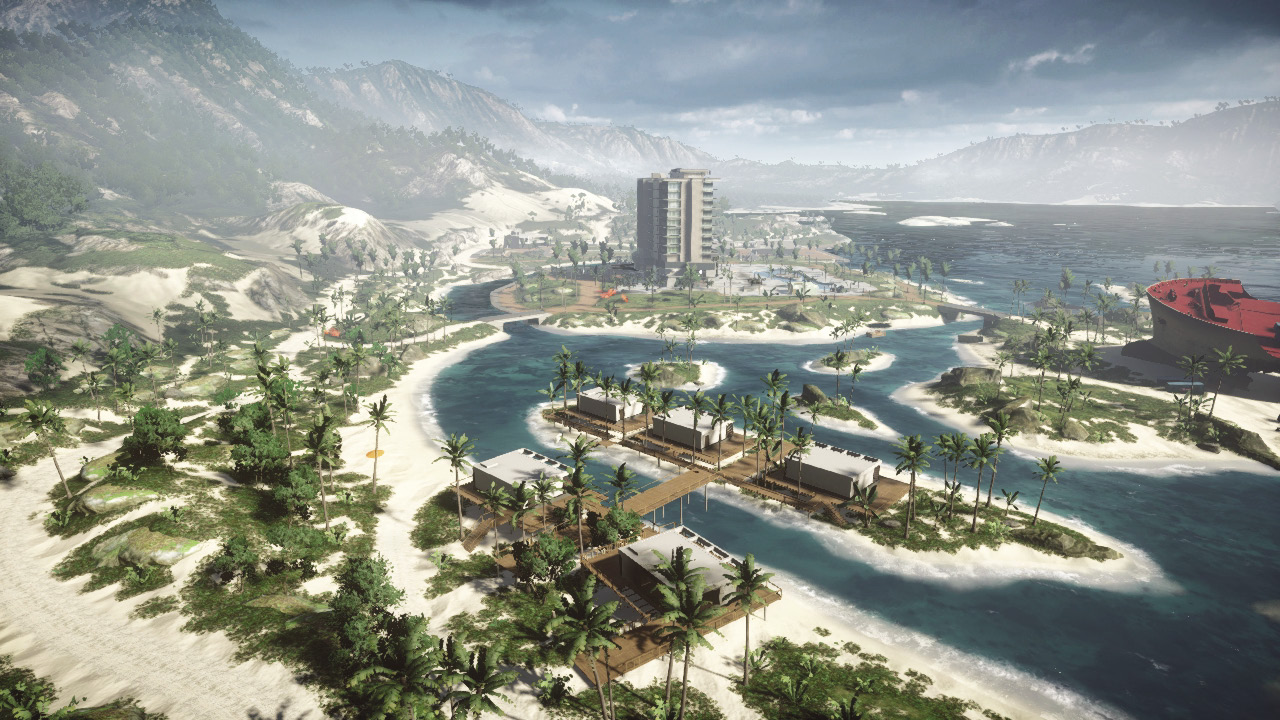
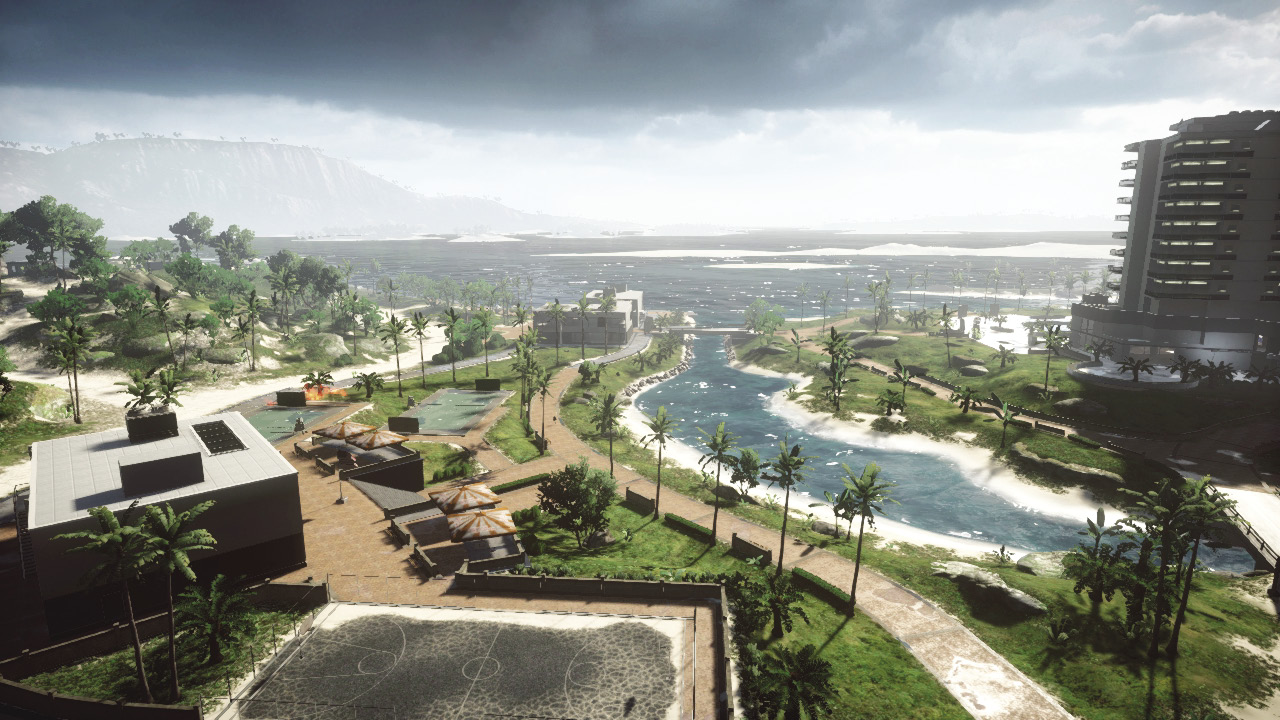
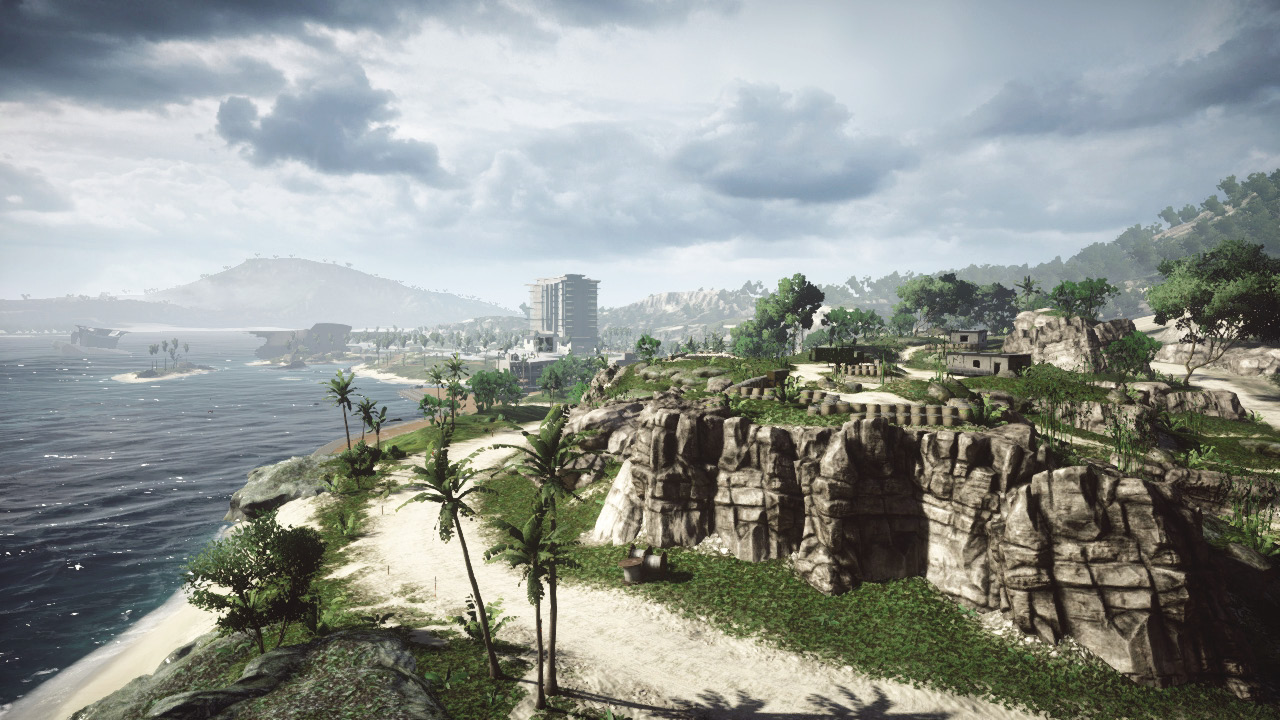
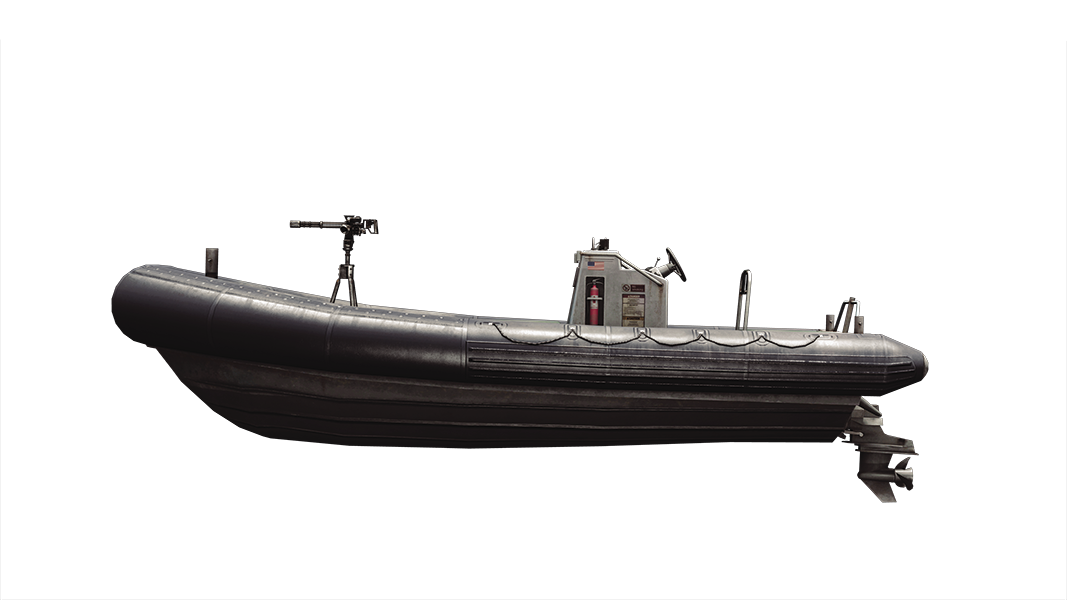
Hainan Resort consists of several islands separated by narrow waterways. This has made me rethink the effectiveness of amphibious craft for moving my squad around the map. Whether using a speedy RHIB or well-armed IFV, these narrow channels are just as effective as roads and offer sneaky routes ideal for flanking enemy positions.
StrongSide
On this map I really enjoyed playing as the commander in Conquest Large. Many of the control points are in an open area so I was able to utilize the Cruise Missile and take out many enemies while my team moved in to take over a control point. This led us to an easy and quick victory.
Walshy
The first time I played this map I spent 99% of my time at the Hotel. I loved the choice of sitting on top of the Hotel roof sniping people across the map, or sitting up there with one of the assault class and parachuting down to kill the enemies that were trying to capture the objective.
Flamesword
The first time I played this map I was blown away how phenomenal it looked. I have never played a game where the water looked so clear. I enjoyed maneuvering around the map with the PWC, as it allowed me to catch enemies by surprise. Overall it is an amazing balanced map that leads to a good time.
Elumnite
This is a beautiful map with a very realistic feel of an ideal place for relaxation. Only this Hotel isn’t for a vacation, but gives you the feeling of what else can I destroy? Since I like explosives catch me blowing up the Hotel…with you inside it!
Conquest Large
Recommended Squad Composition:
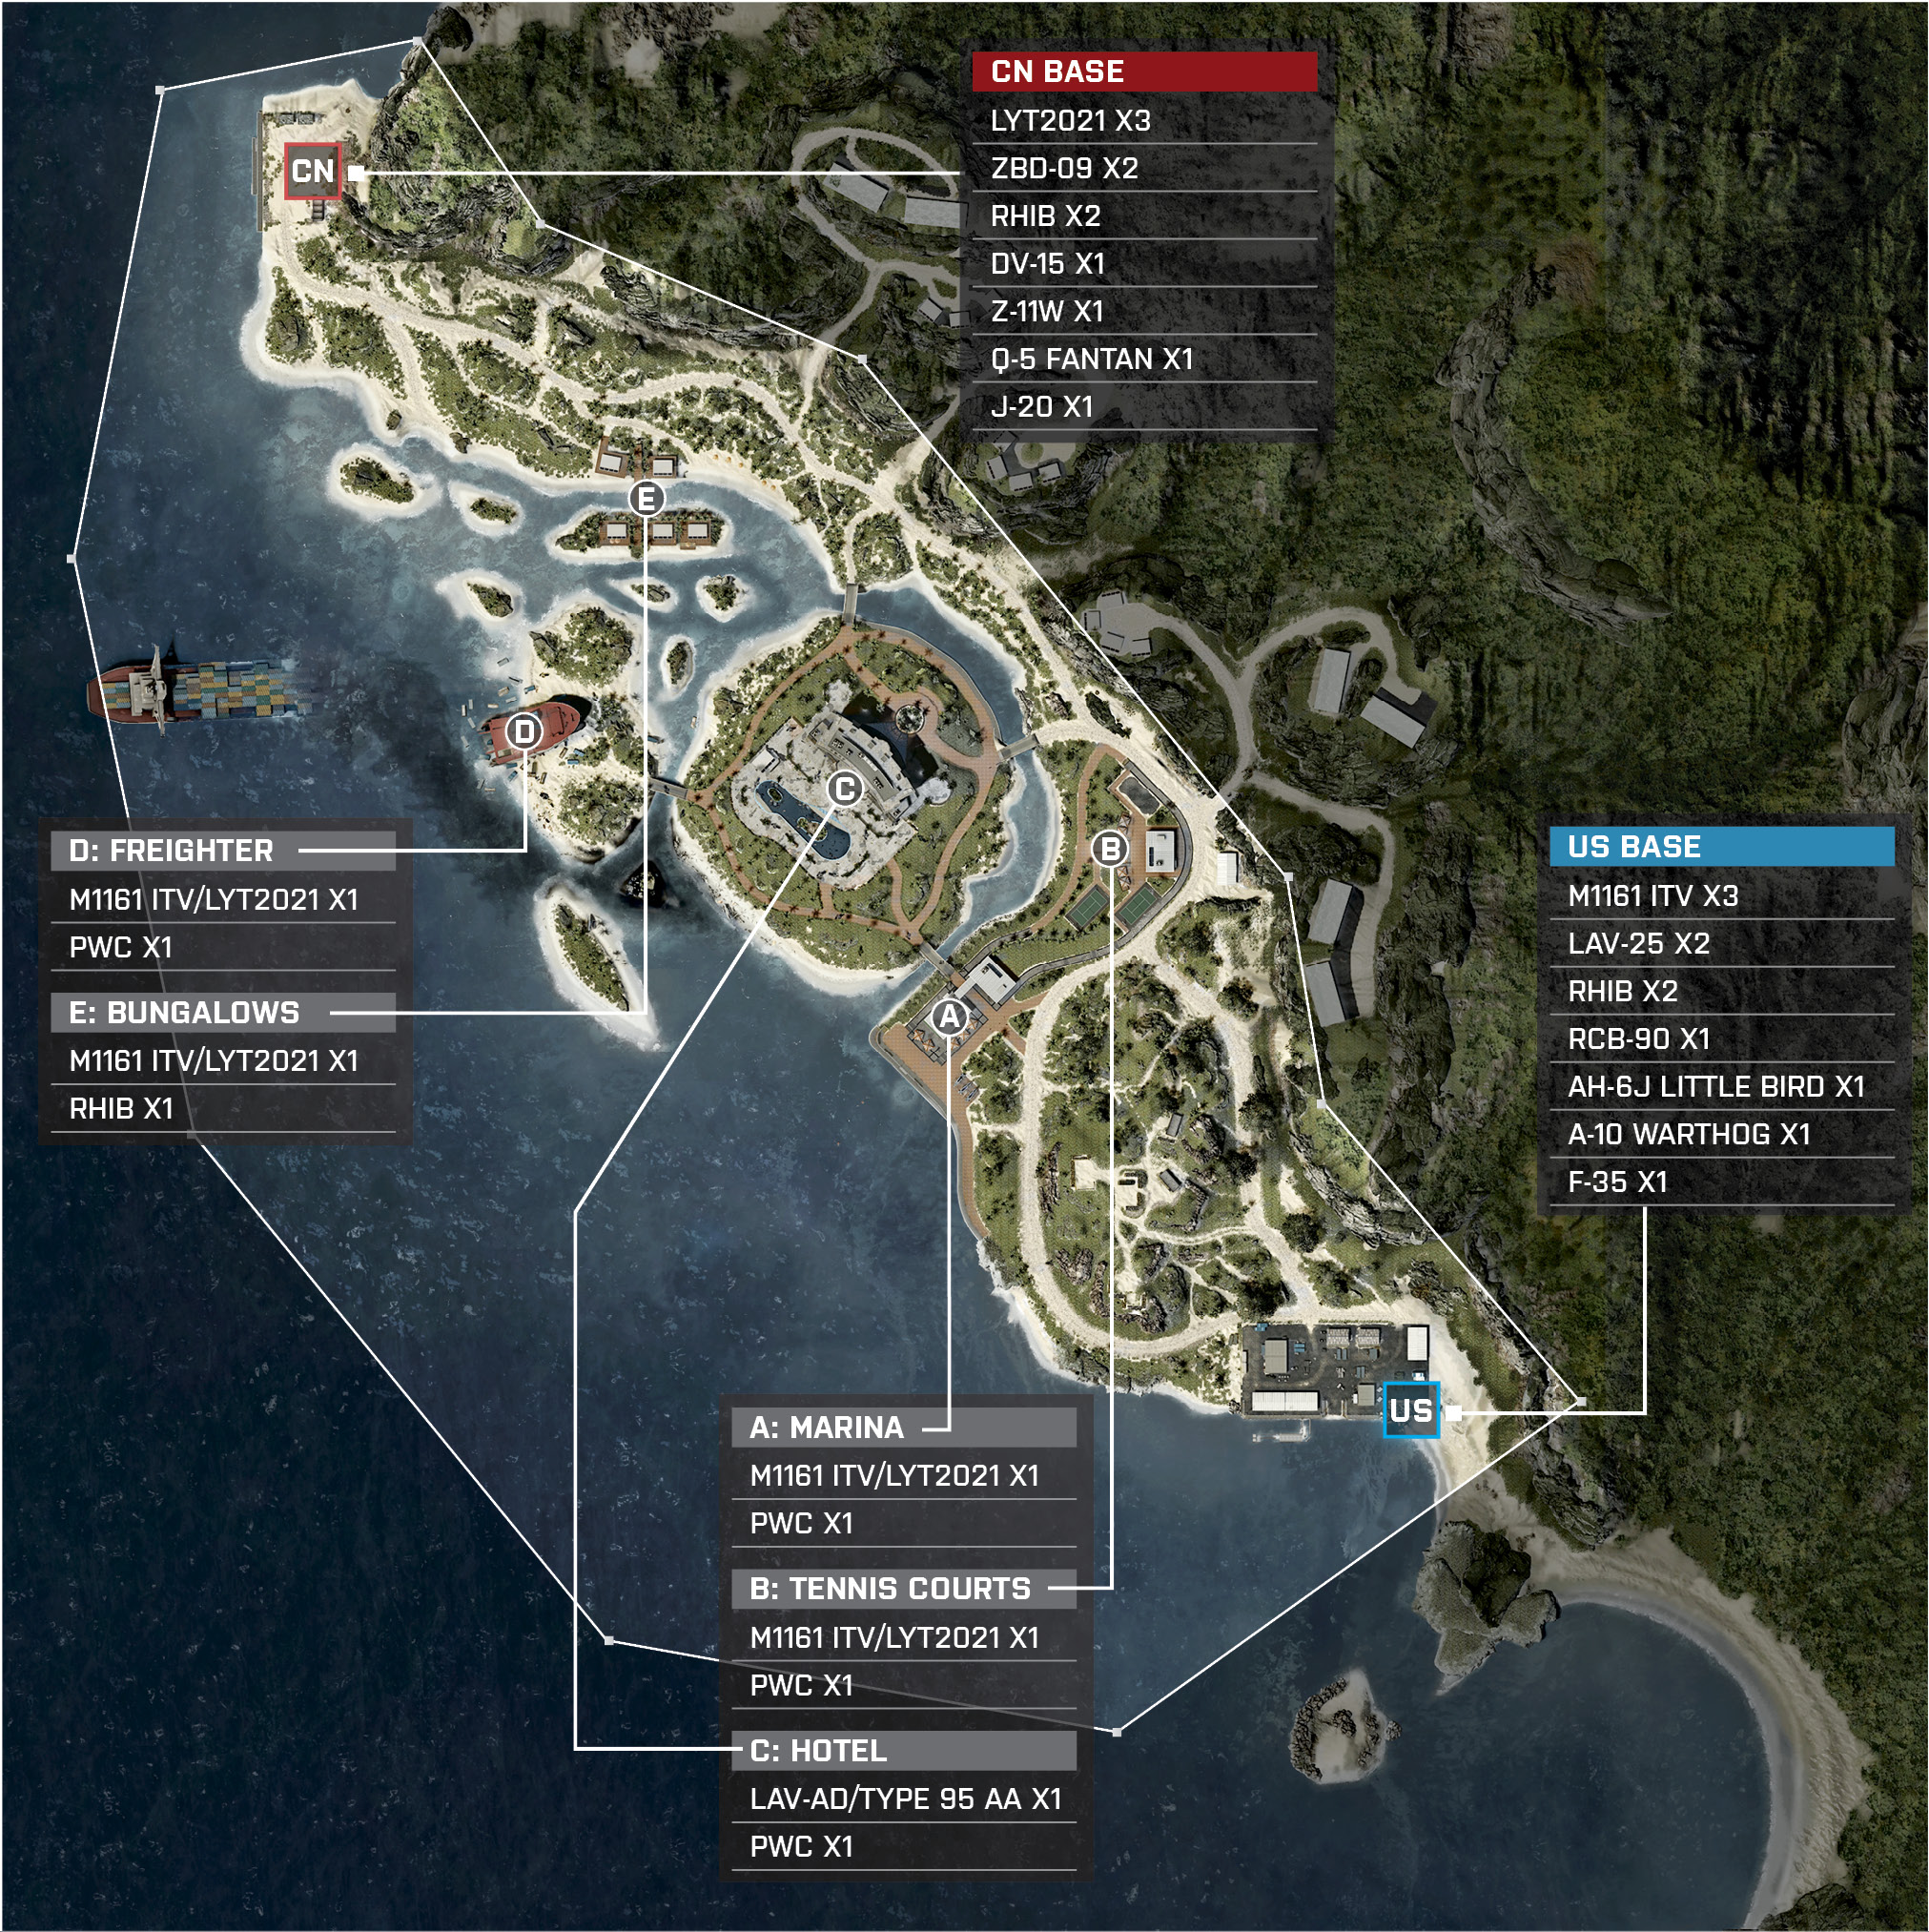
The Conquest Large variant of Hainan Resort is fairly larger sized than the standard Conquest version. Players will notice that two new control points are added to the map: Tennis Courts (B) and Bungalows (E). With five flags up for grabs, each team must try to hold at least three to begin bleeding the opposing team’s tickets. The US team’s best strategy will be to capture the Marina (A), the Tennis Courts (B), and the Hotel (C). The US team will want to establish a perimeter around the Hotel (B); recon players can snipe from the roof of the Hotel (B), giving them a view of the entire map while friendly vehicles maintain pressure on the enemy towards the west. The CN team, on the other hand, will want to capture the Bungalows (E), the Freighter (D), and the Hotel (C). Much like the US team, the CN team should have a couple of recon players sniping at the top of the Hotel (B) roof. The CN team will want their airvehicles to put pressure around the Marina (A) and the Tennis Courts (B) while the friendly IFVs wait for US team members to get near the Hotel (C). The Hotel (C) will be a critical flag to control throughout the game as it gives the controlling team’s commander a Cruise Missile; this baby packs some serious heat. As both teams will be focusing on capturing the Hotel (B), if the fighting in the center of the map becomes too heated, consider flanking through the roads to the north with light vehicles or by water on the south side with light water vehicles. These control points will be near the opposing team’s base, but that doesn’t mean they are impossible to capture as their defense lines will be weaker. Either team will only need three control points to win, but if the opportunity presents a fourth control point, then by all means capture it.
US Base
Base Assets
Name
M1161 ITV
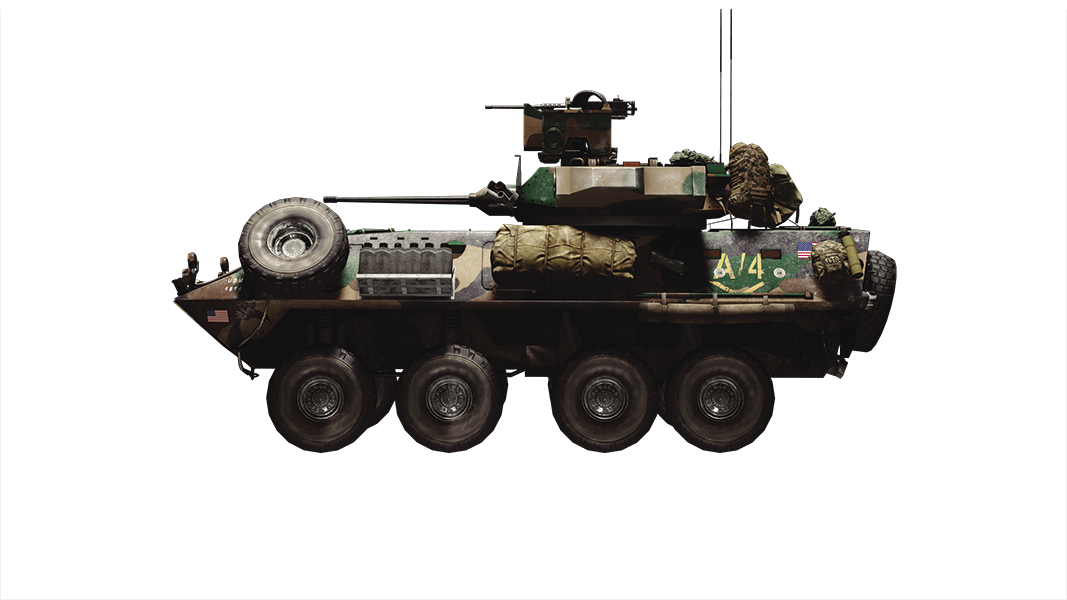
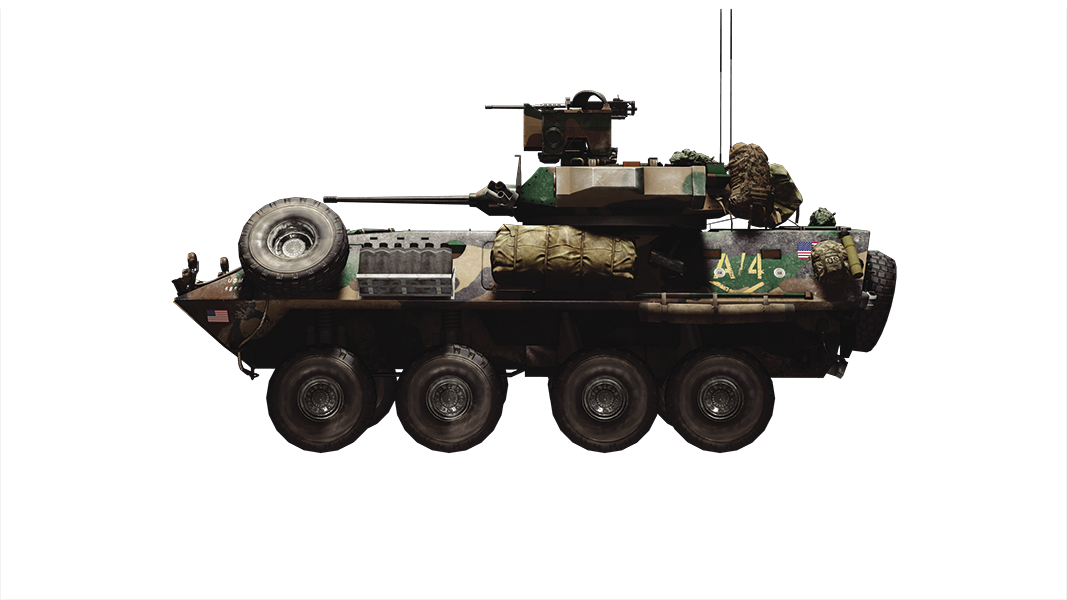
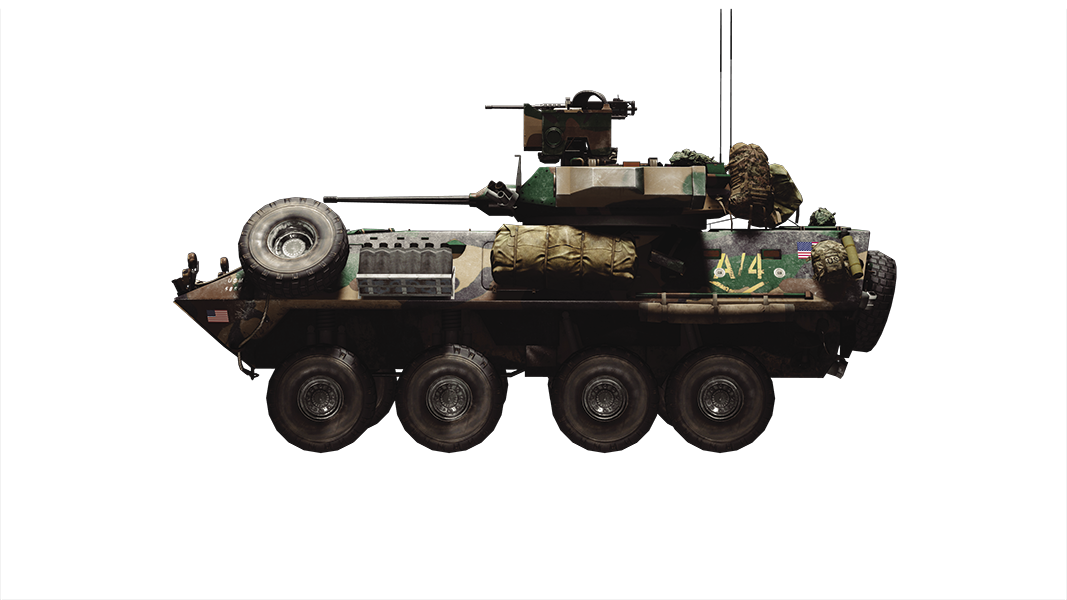
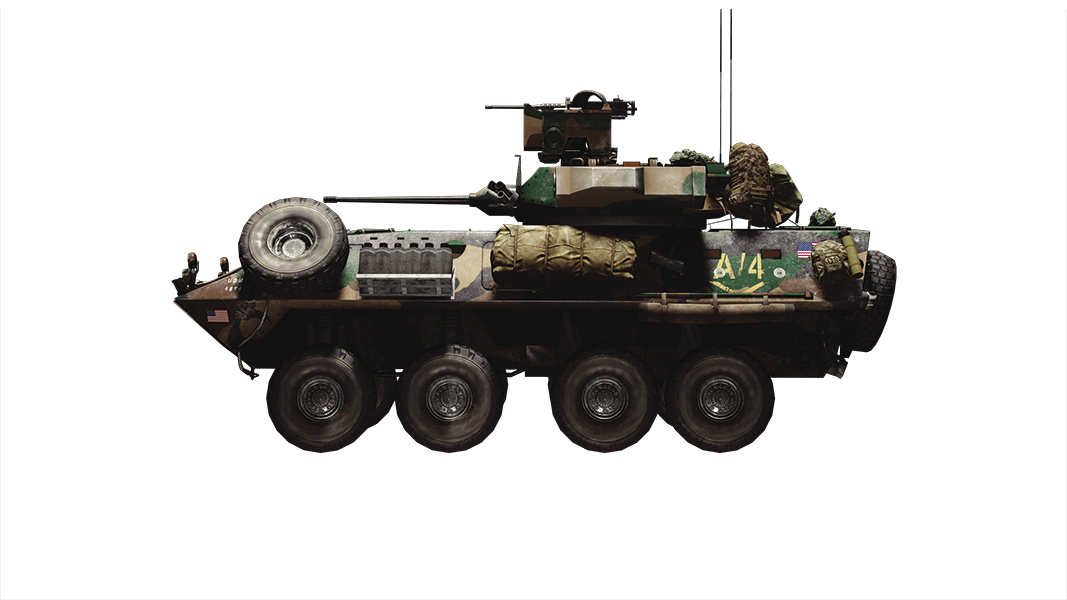
LAV-25
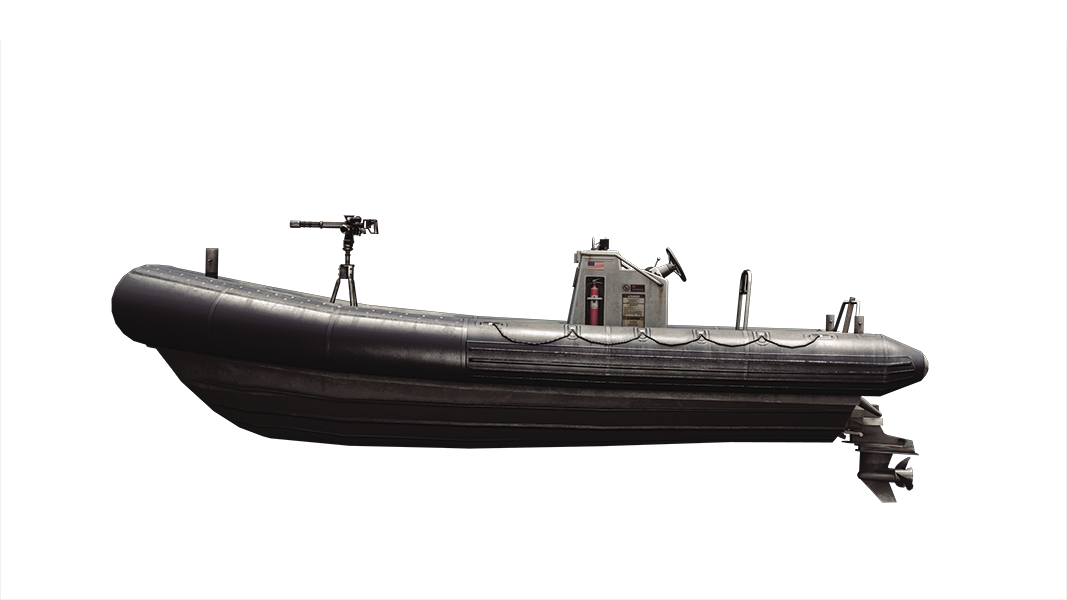
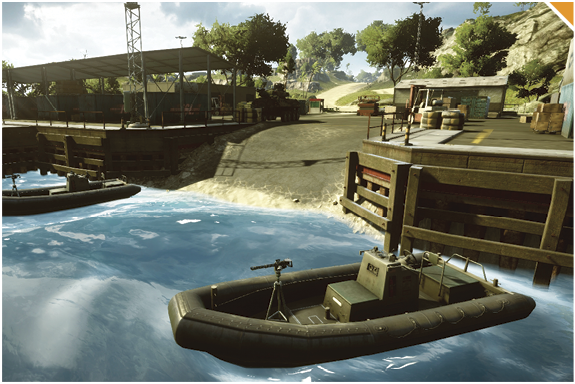
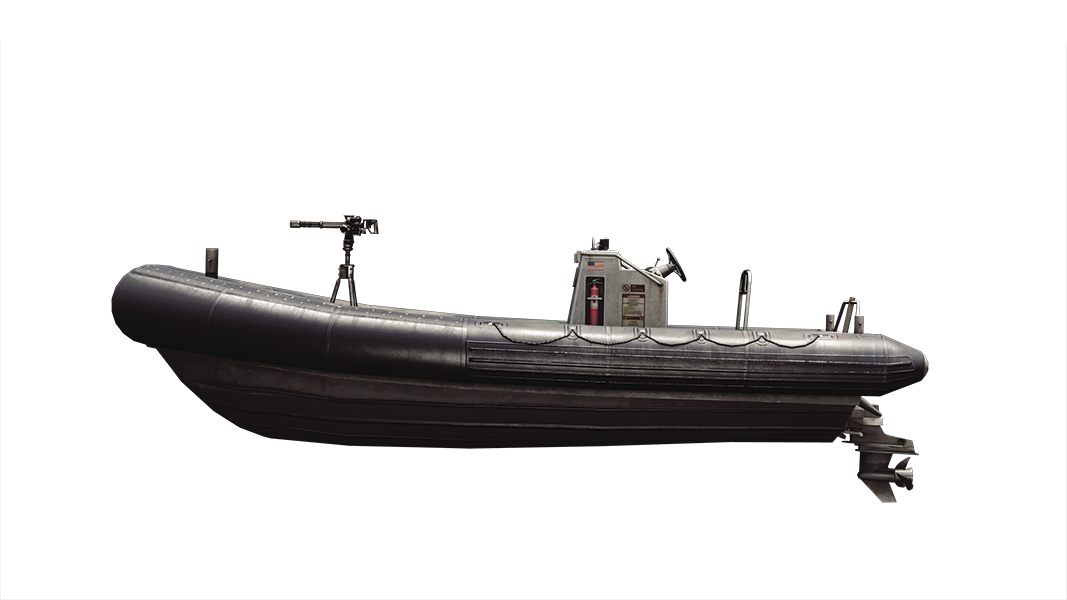
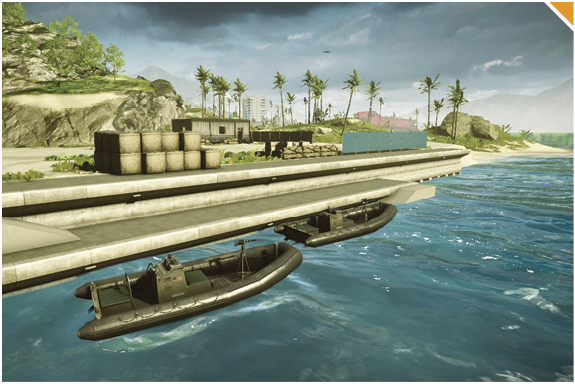
RHIB
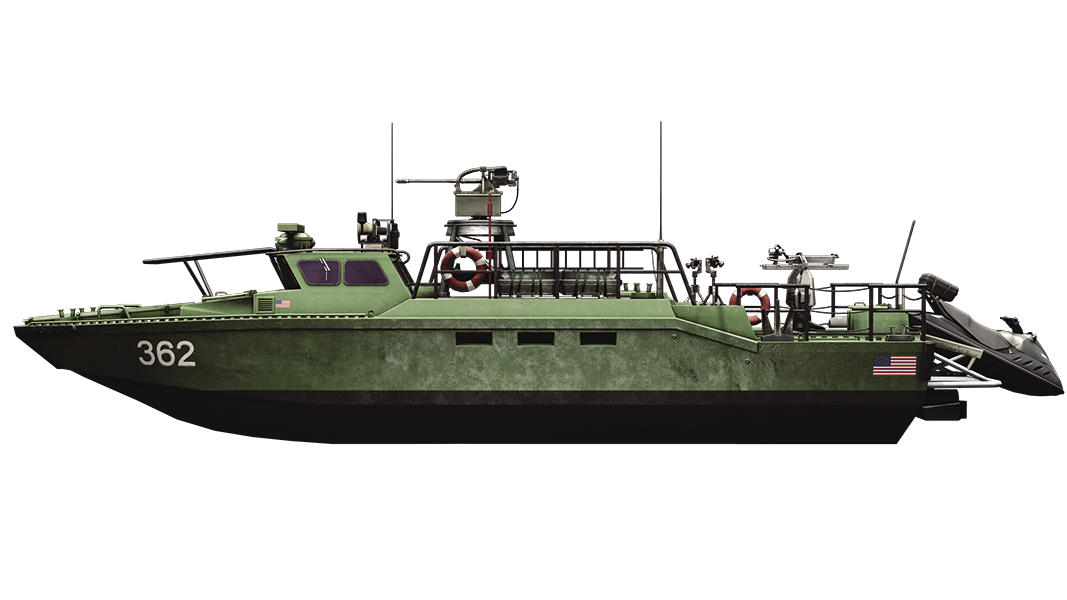
RCB-90
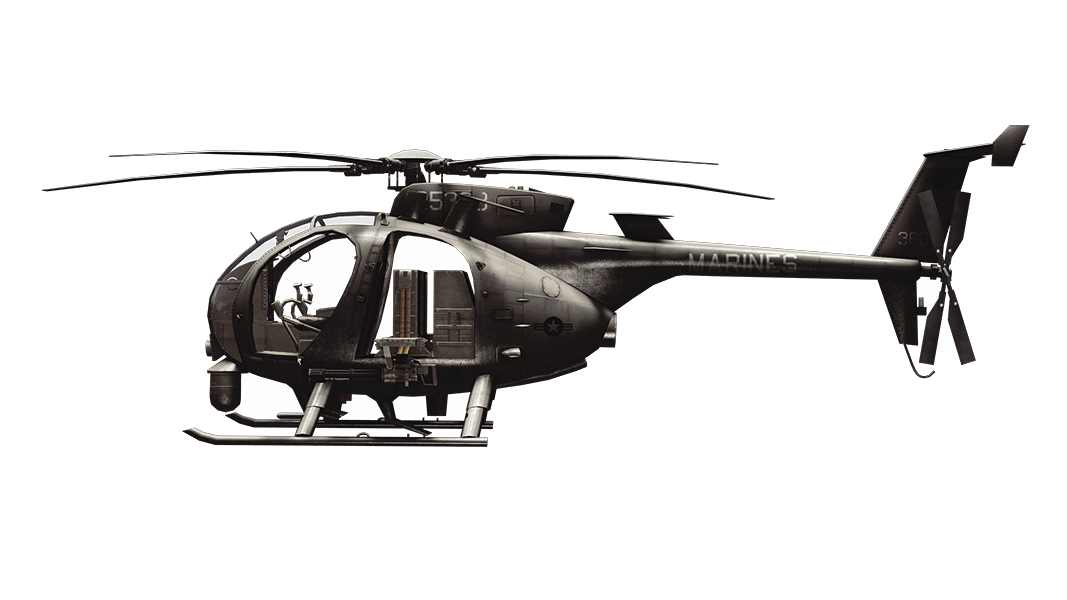
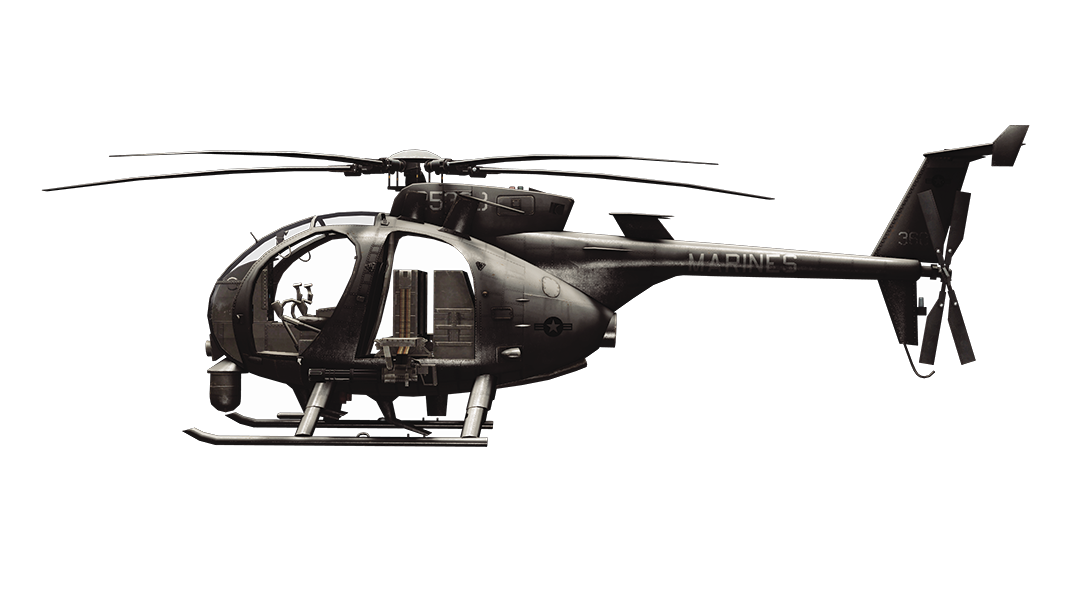
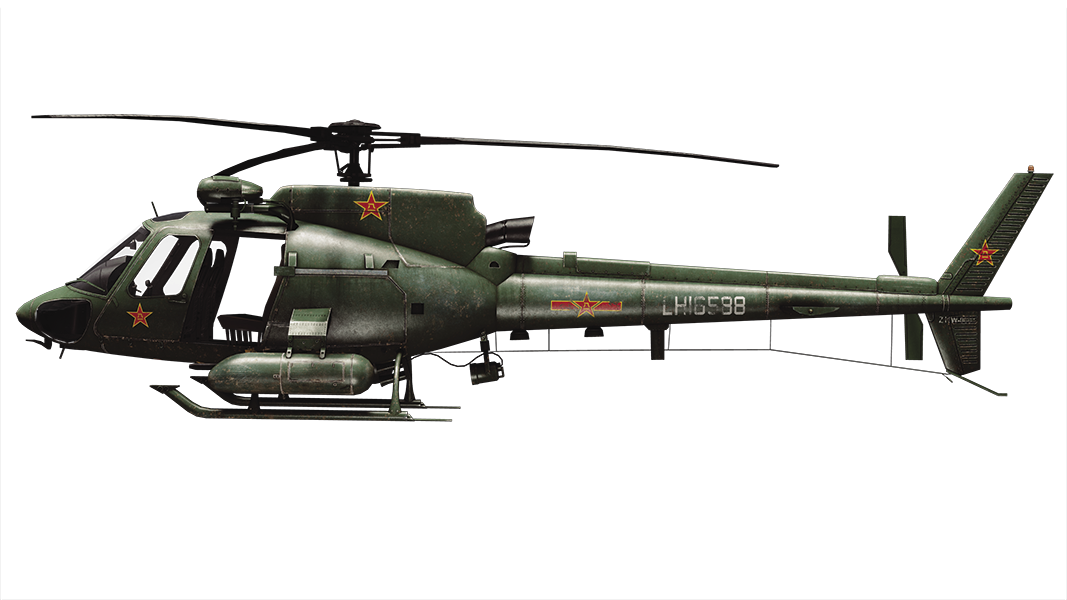
AH-6J Little Bird
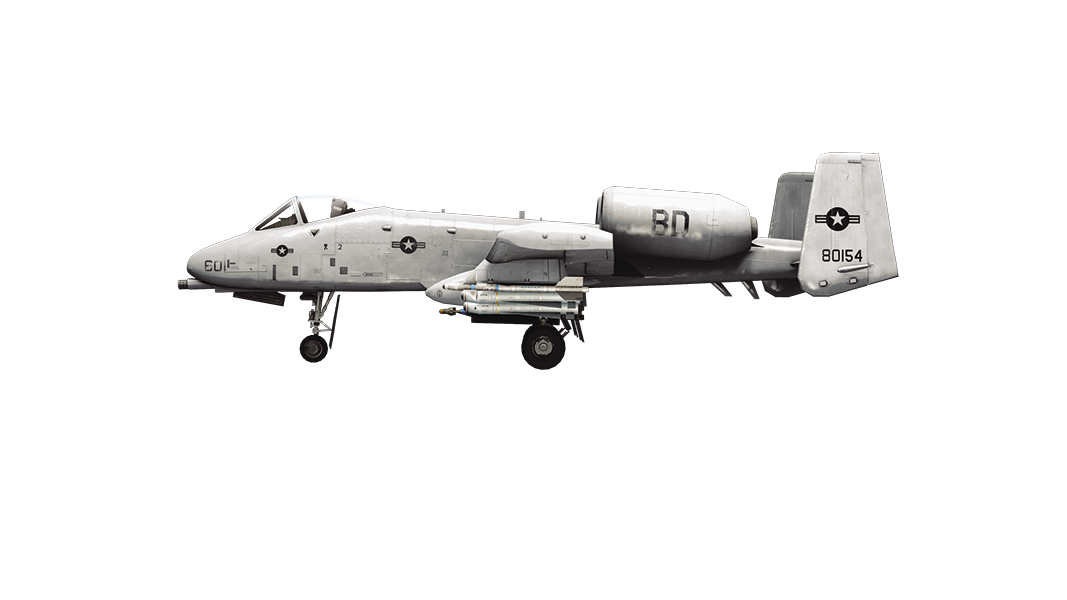
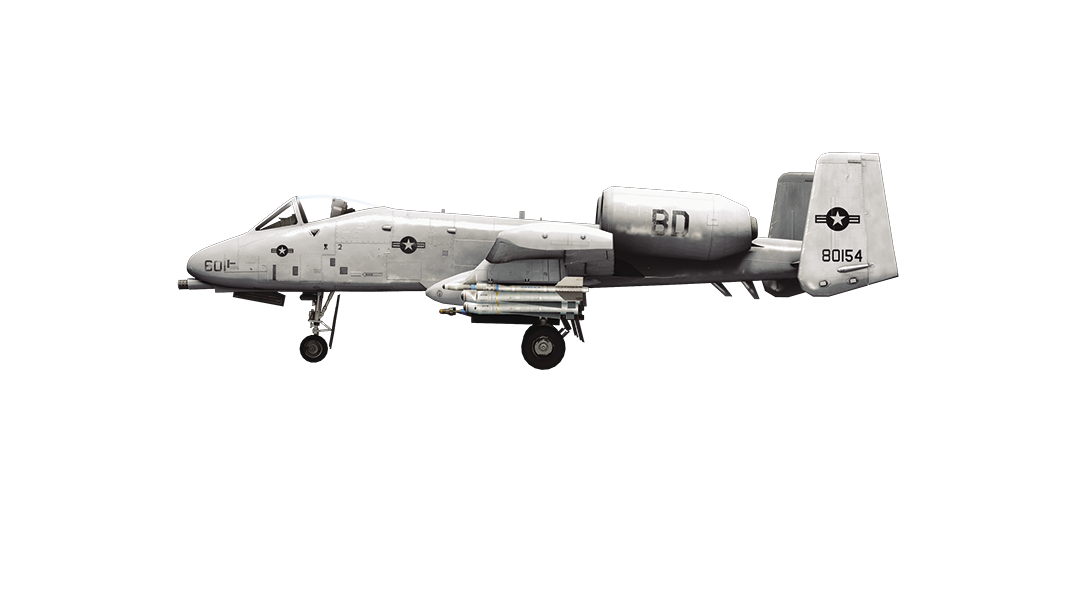
A-10 Warthog
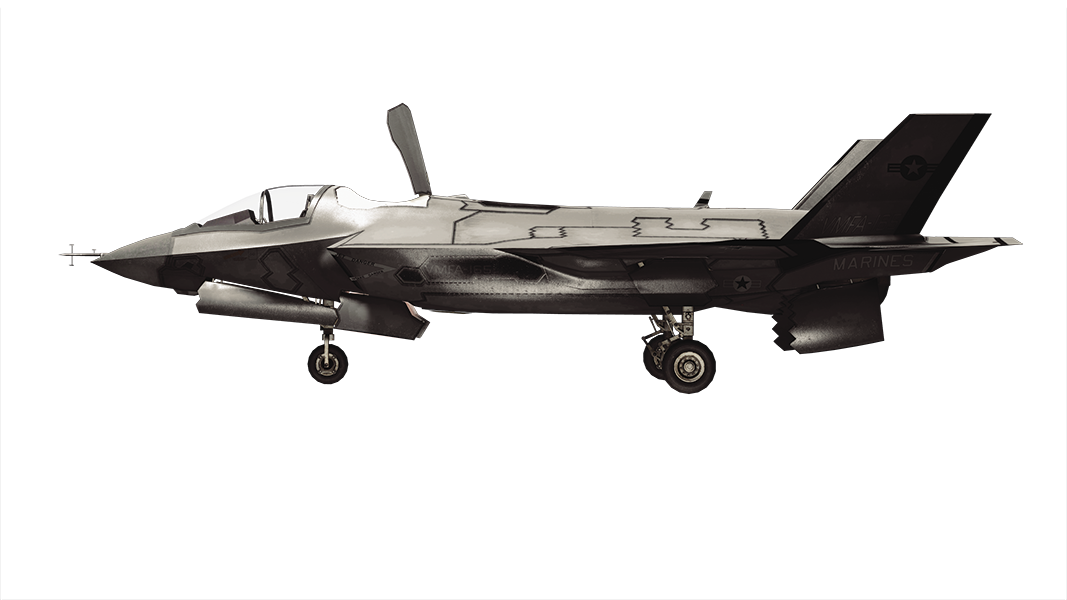
F-35
Quantity
3
2
2
1
1
1
1
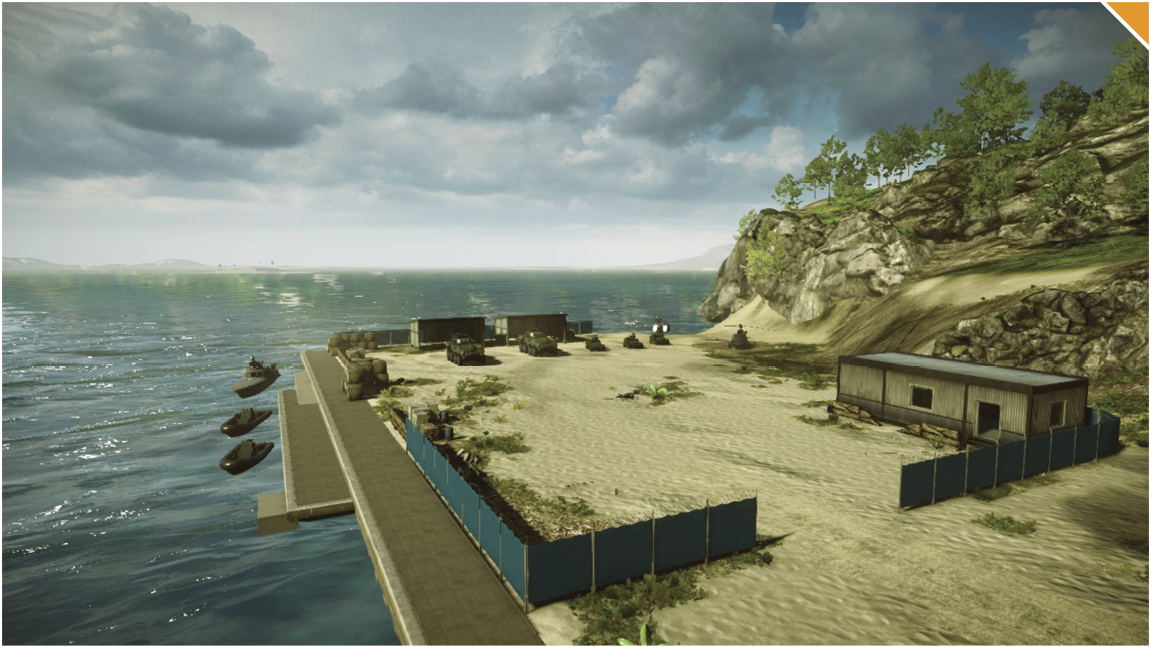
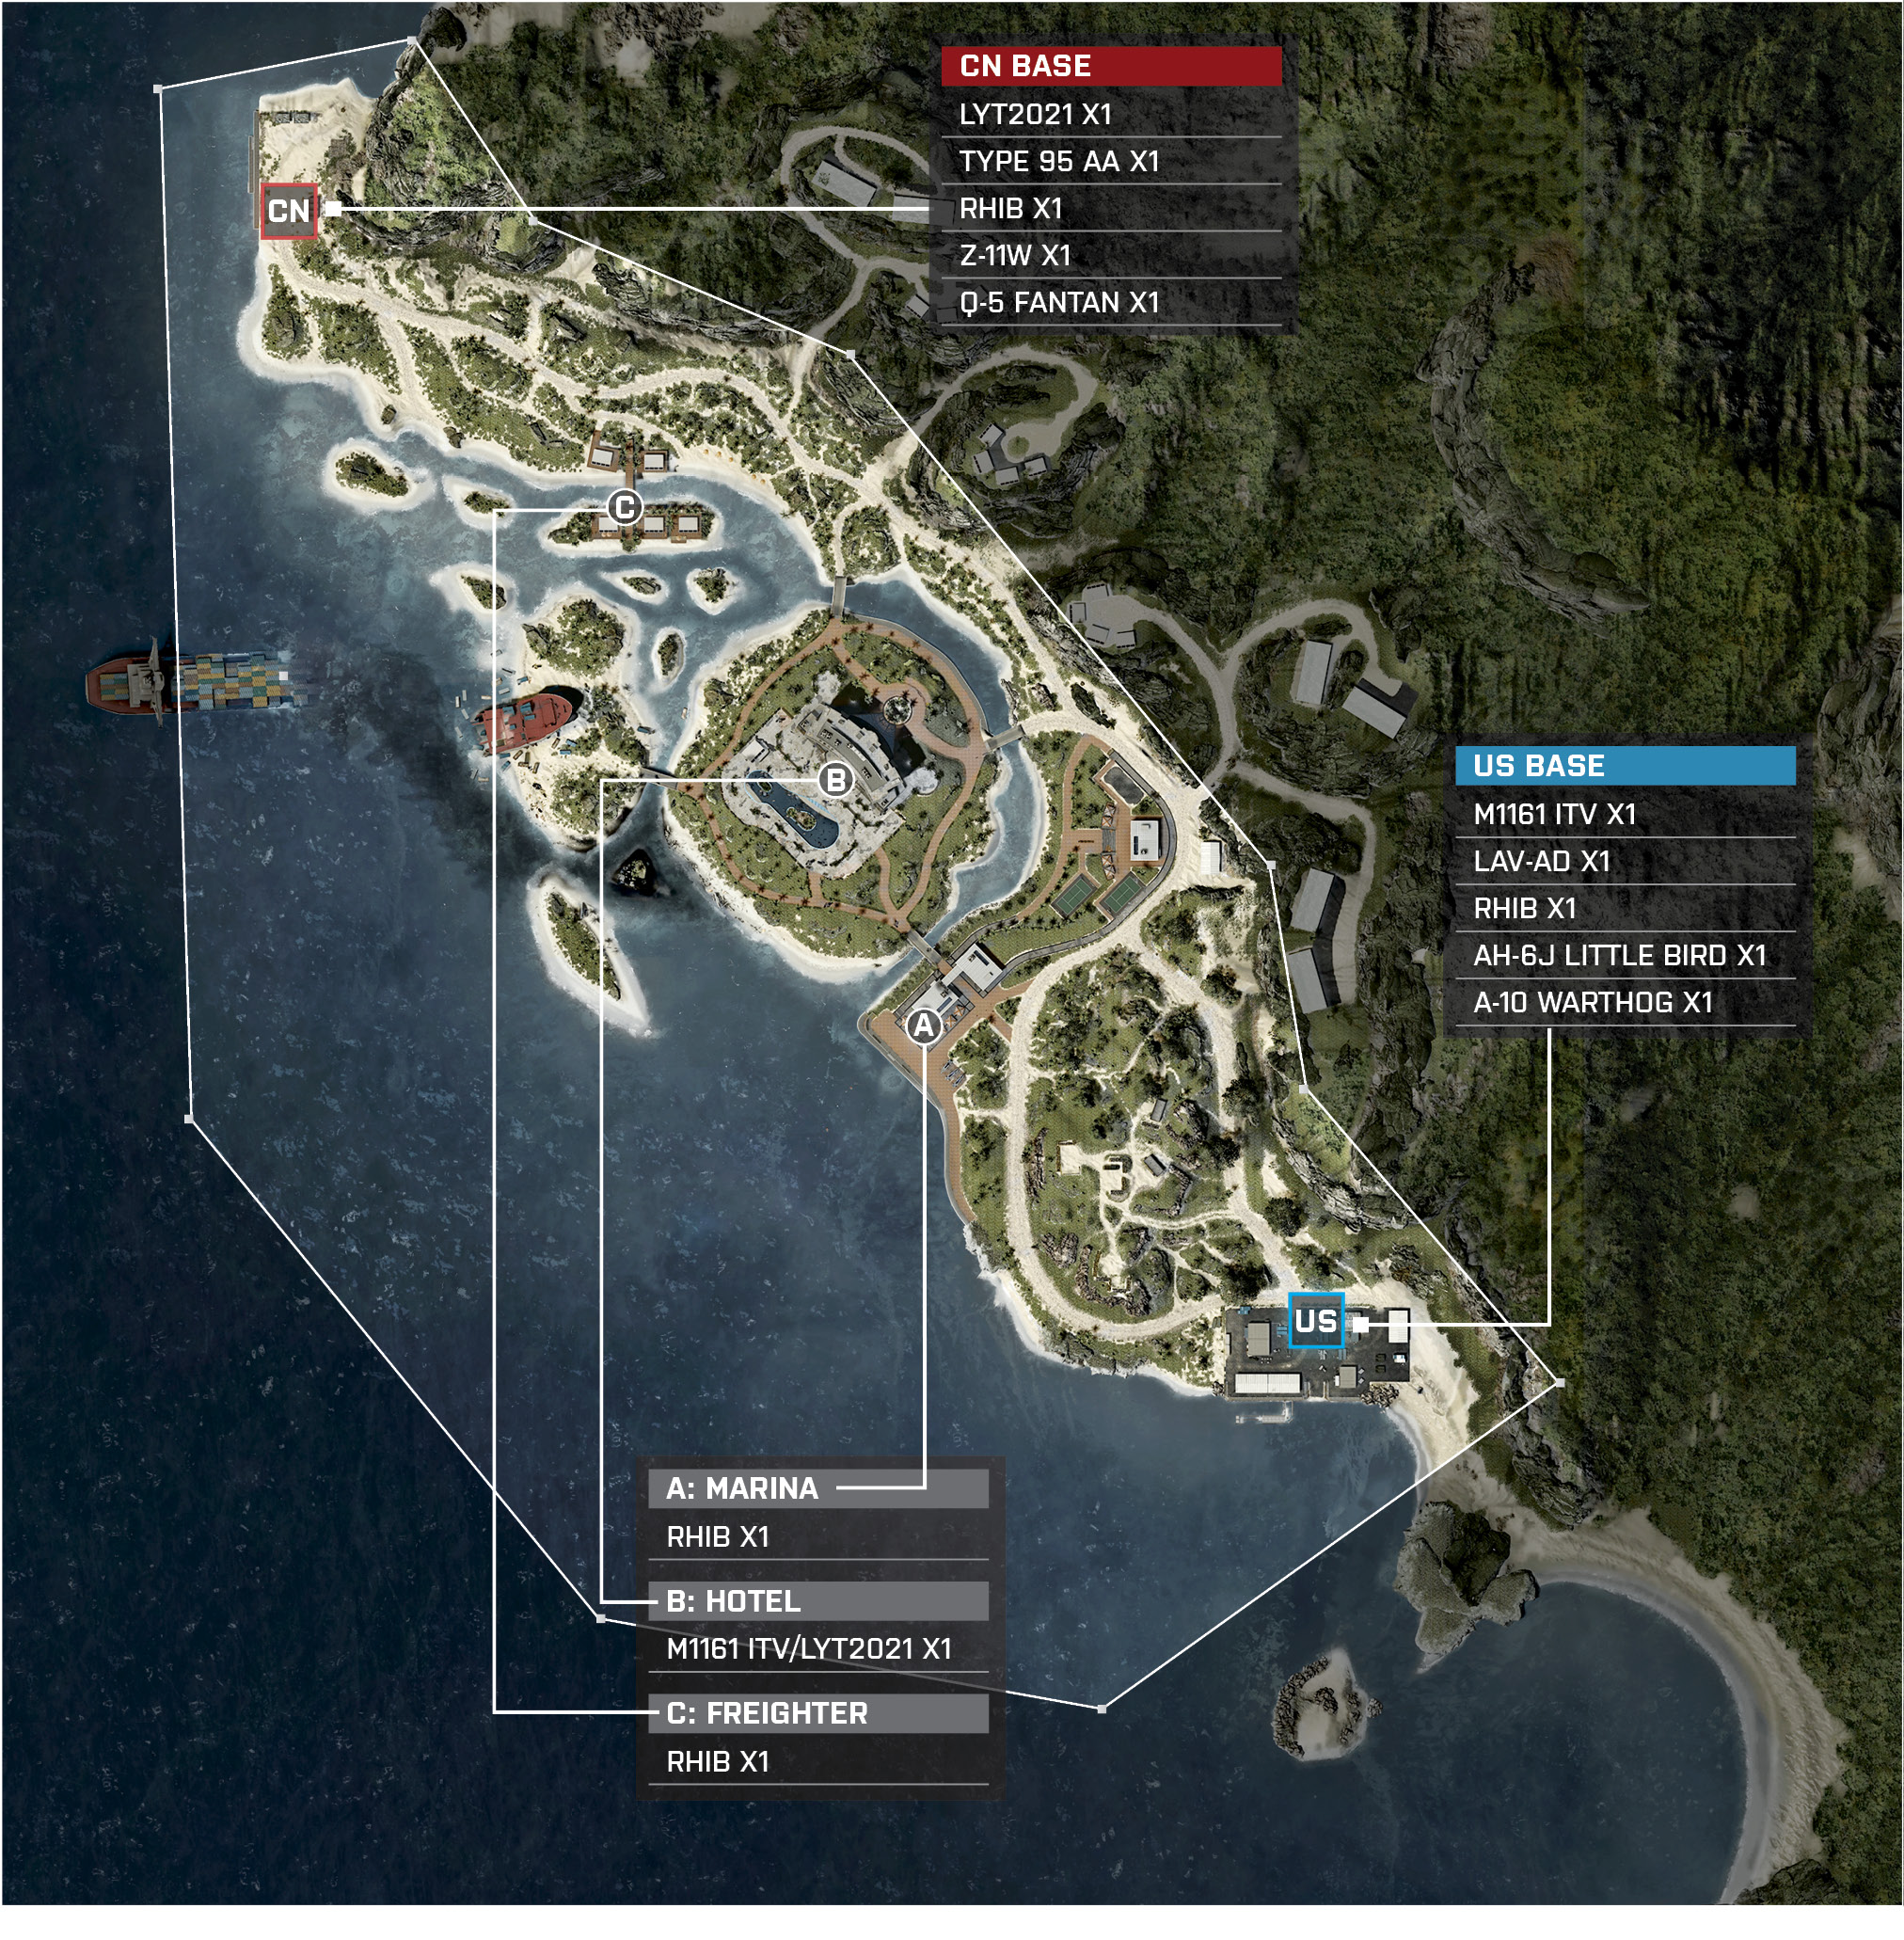
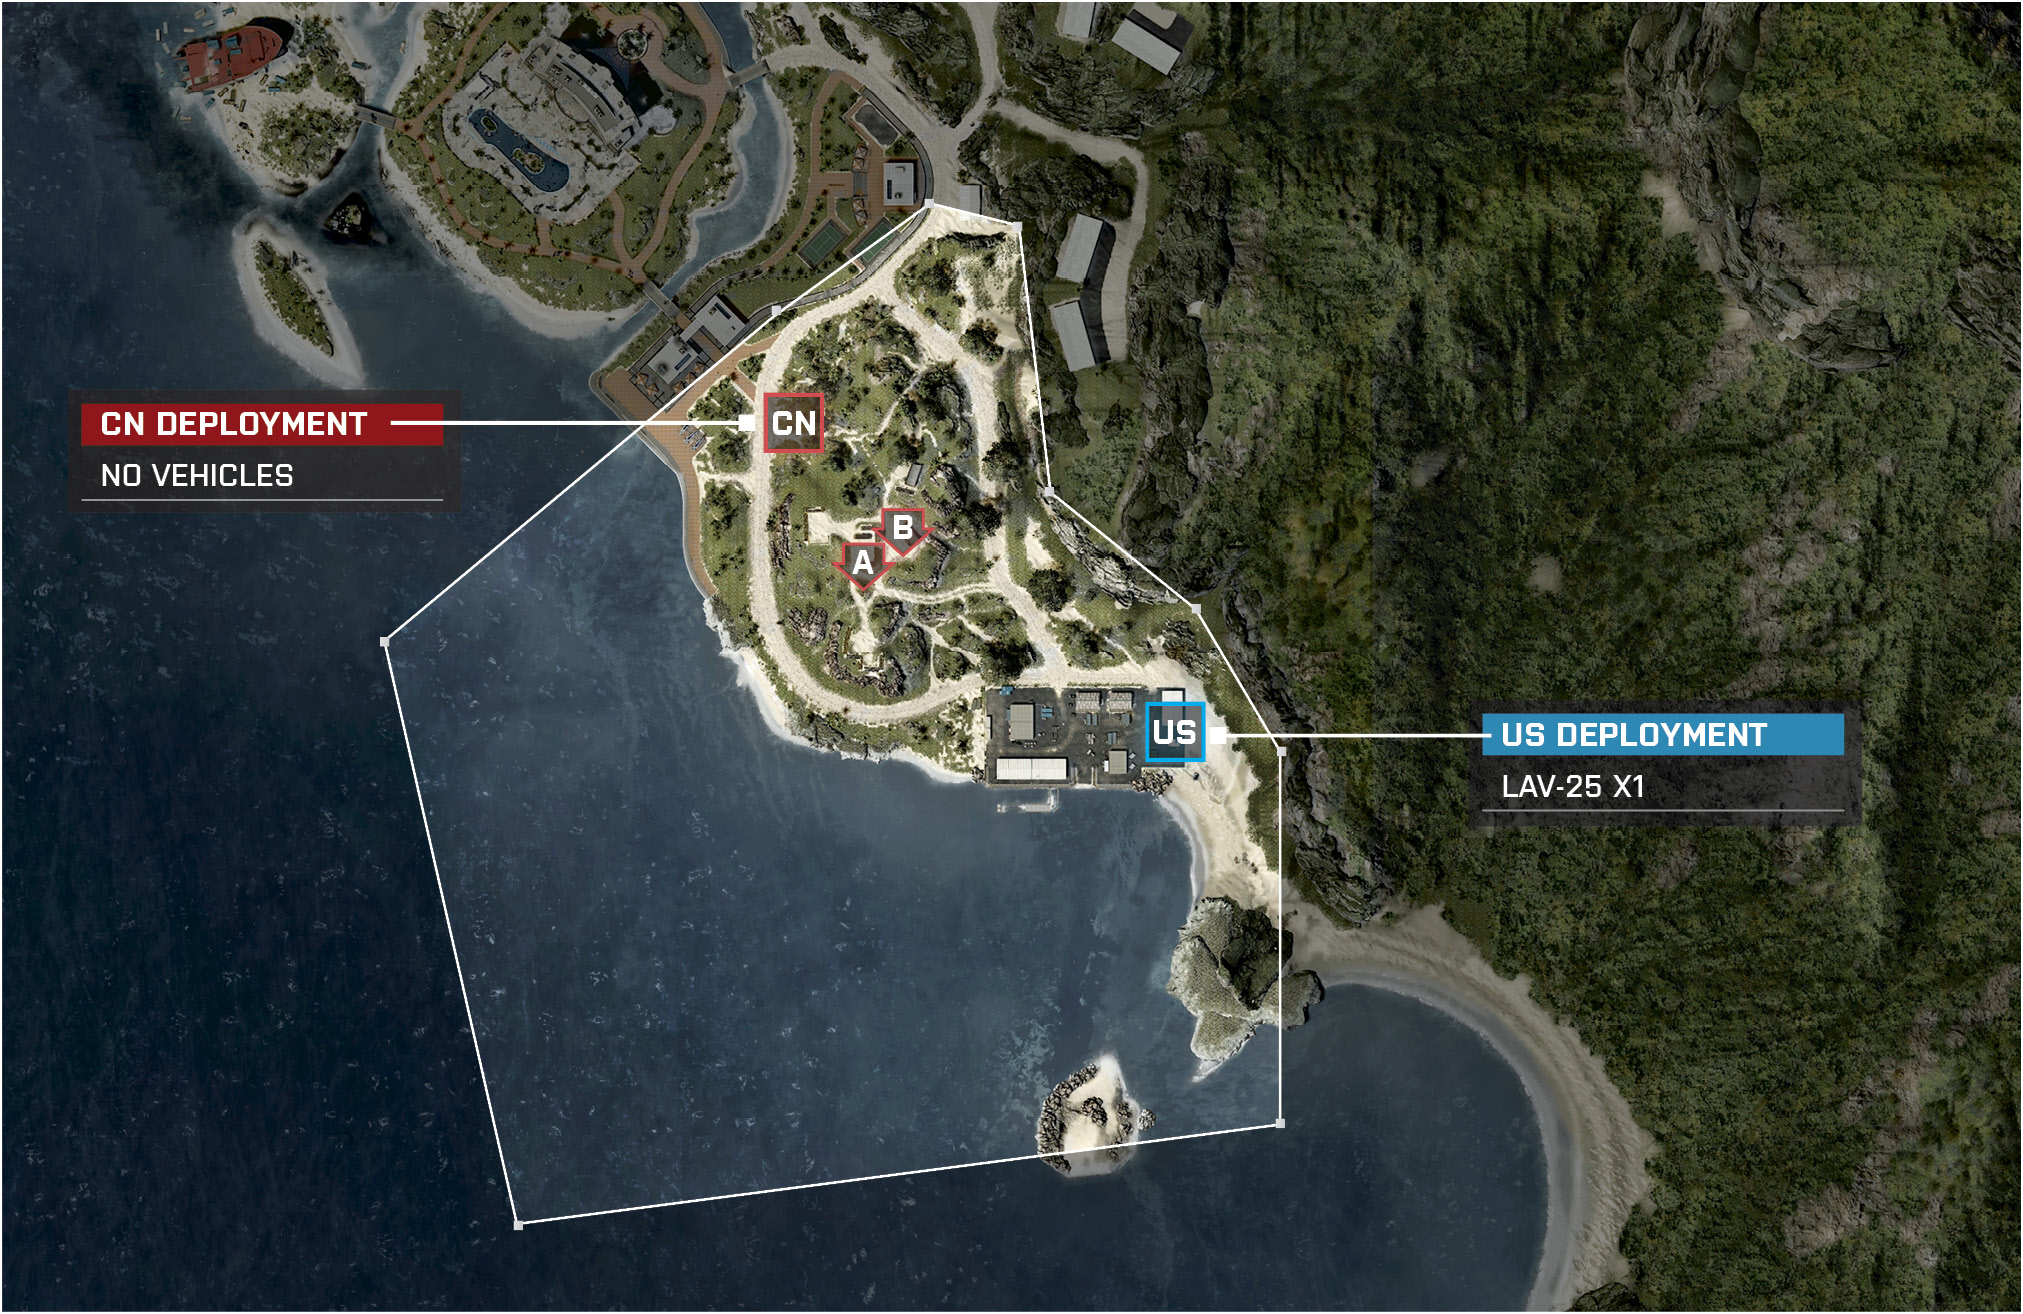
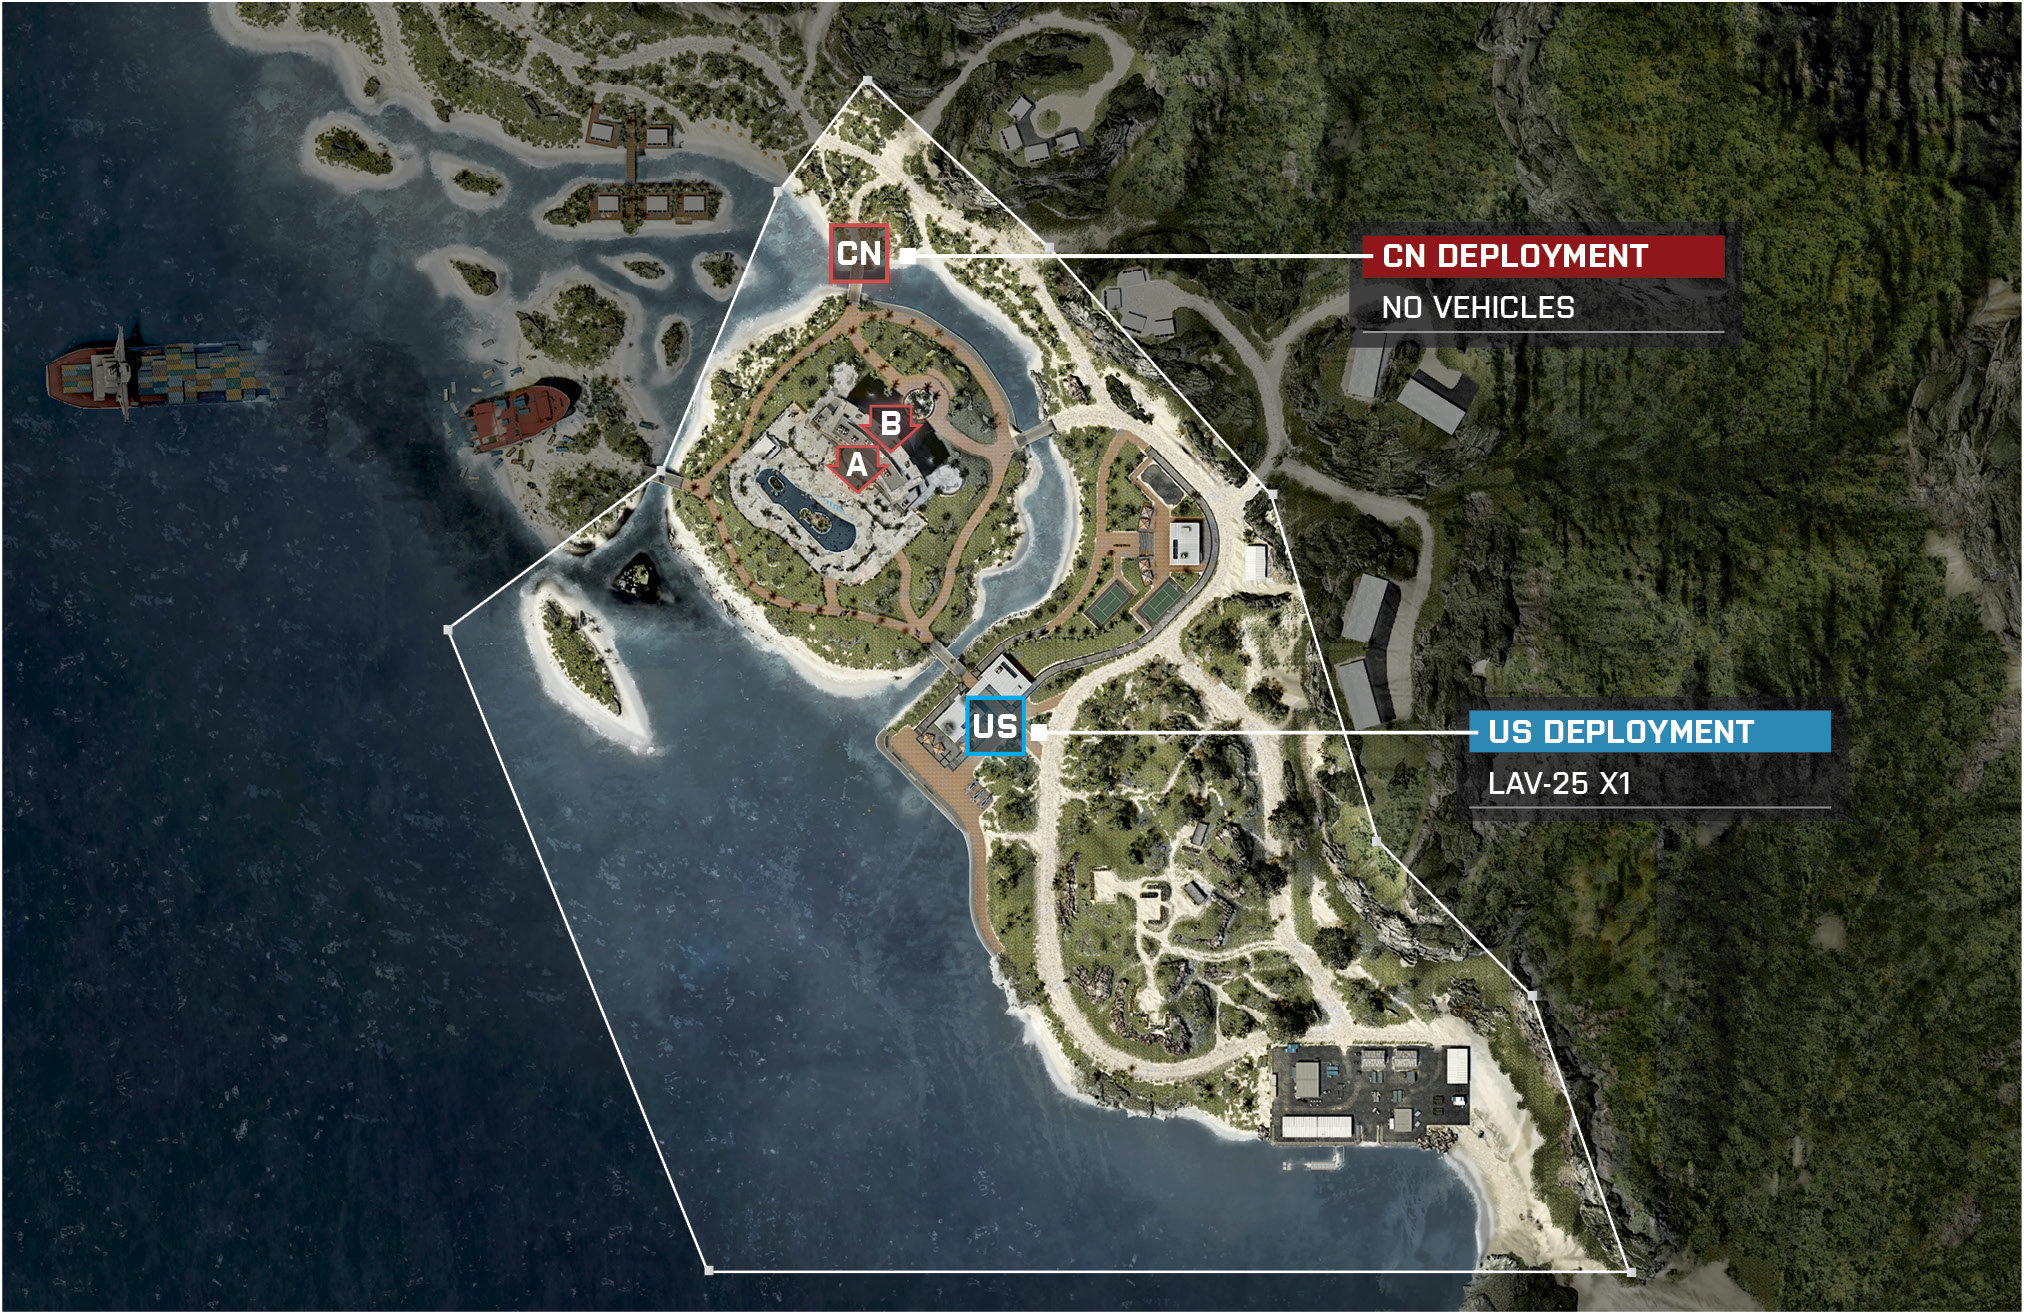
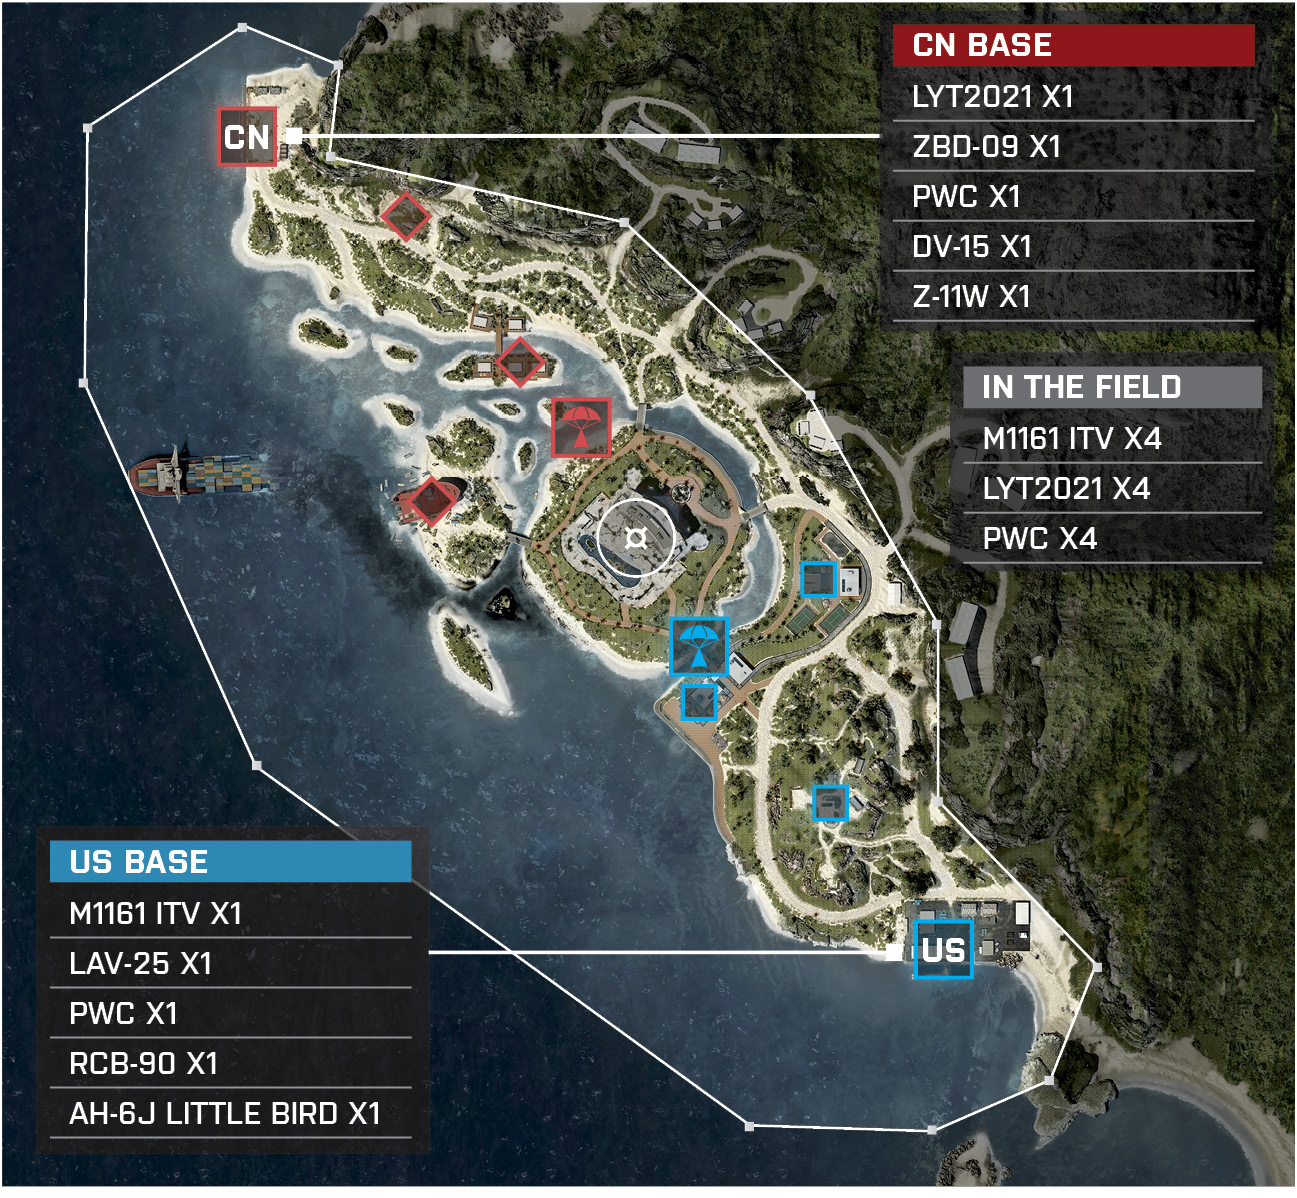
The US base is located along the shoreline in the southeastern part of the map.
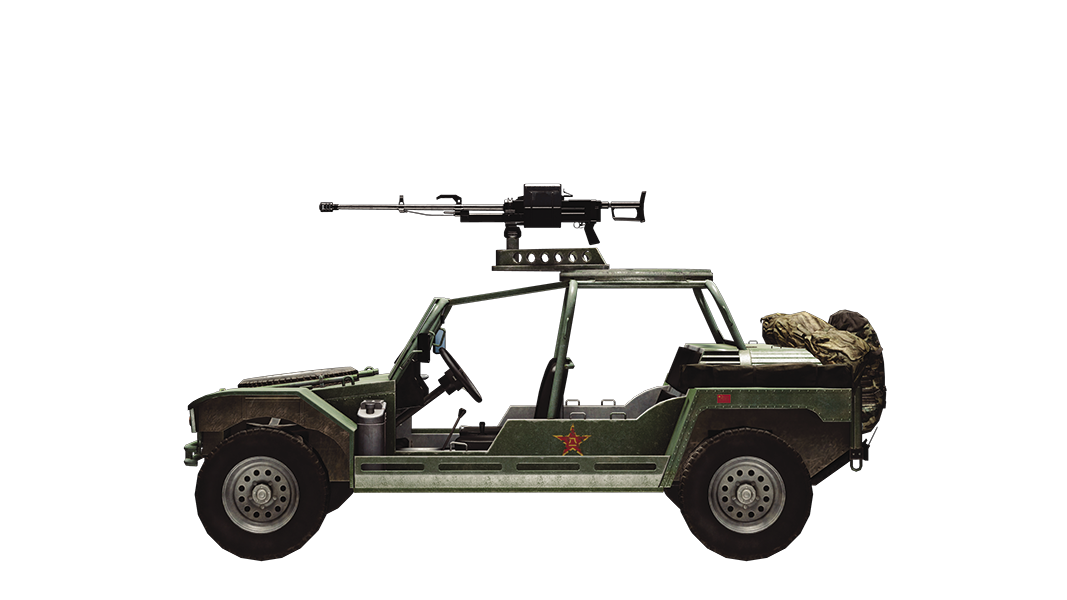
A long journey awaits you to the nearest control point if you choose to go by foot. Take advantage of the multiple FAVs at base and head north towards the Tennis Courts (B).
The team can deploy in an attack and stealth jet back at base. These will provide great airsupport and aid when destroying the opponent’s ground, air, and water vehicles.
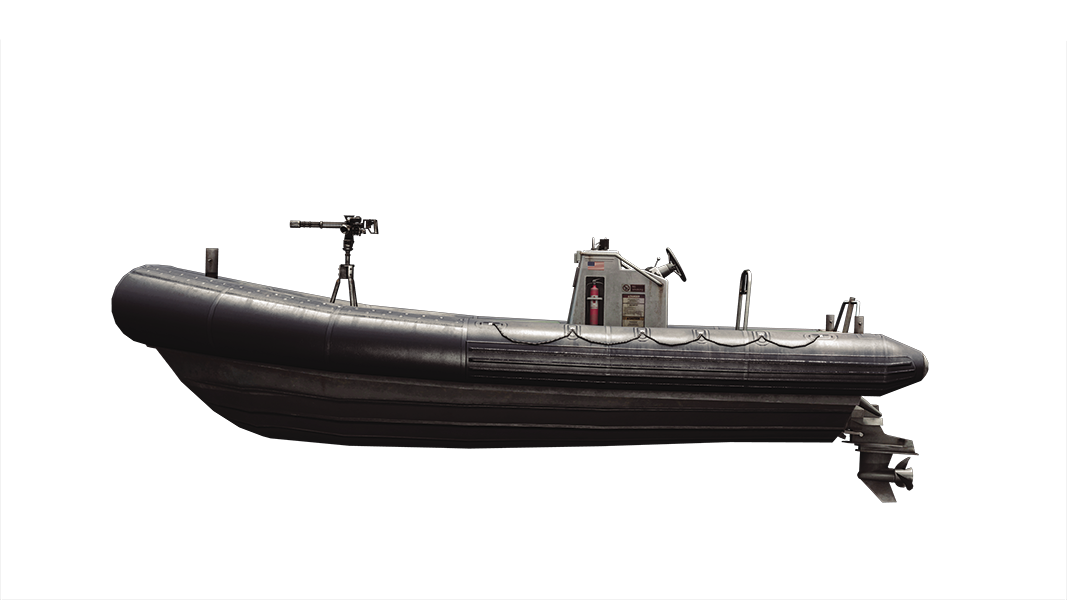
There are few light water vehicles and a powerful RCB-90 that spawns in the water. Be unpredictable and head northwest to initiate a fight with the opposing team at the Freighter (D). Have the passengers of the light water vehicles disembark on the island to provide infantry support as well.
Have a squad fill up the seats of the AH-6J Little Bird and immediately head to the Hotel (C). Drop the passengers onto the roof and set up a perimeter, allowing your team to move in for the capture.
CN Base
Base Assets
Name
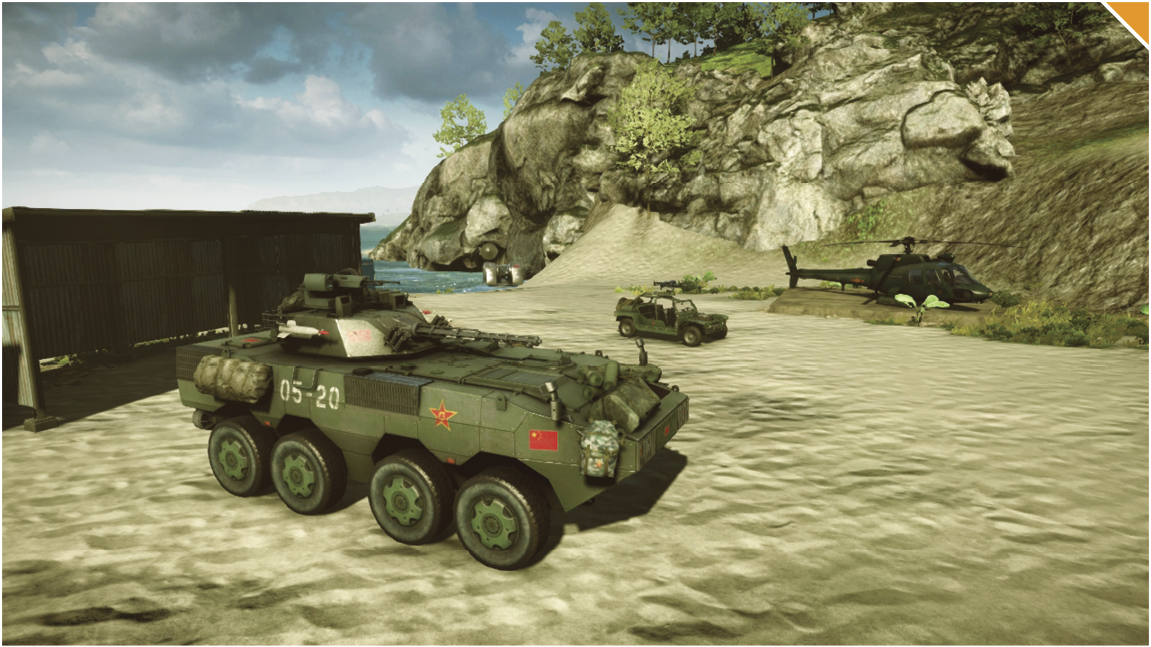
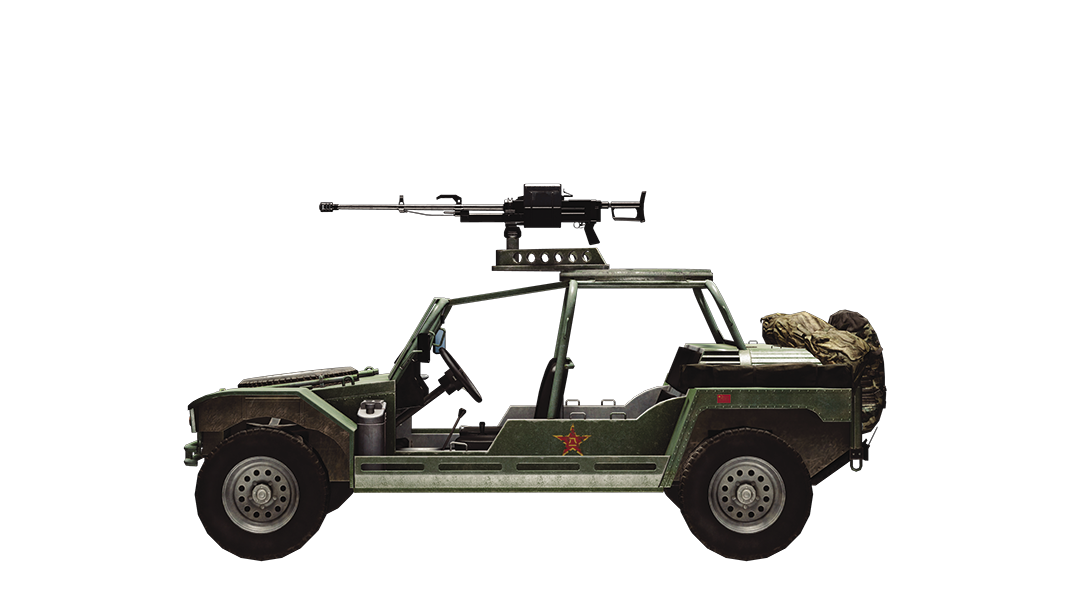
LYT2021
ZBD-09
RHIB
DV-15
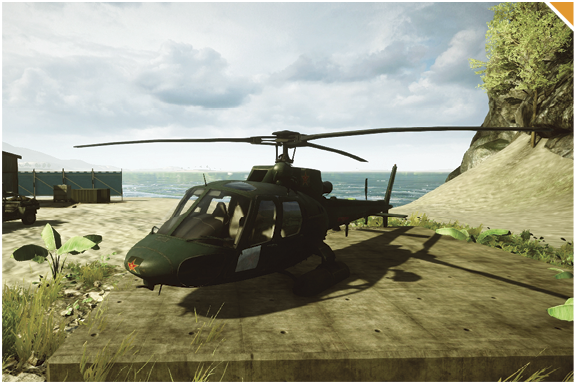
Z-11W
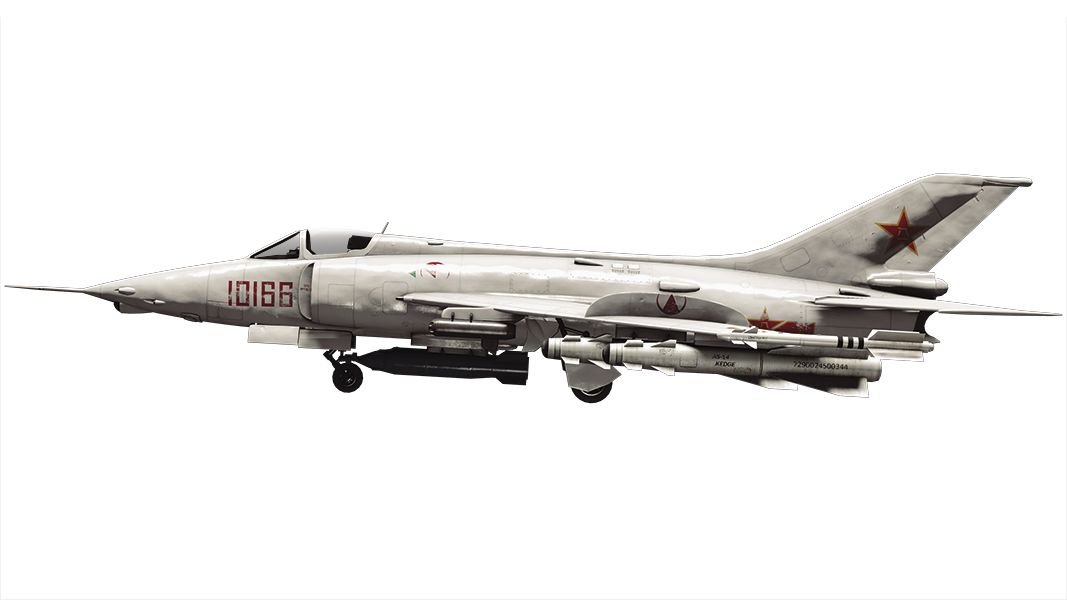
Q-5 Fantan
J-20
Quantity
3
2
2
1
1
1
1
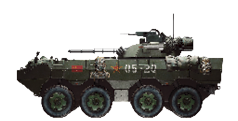
The CN base is located at the northeast edge of the map. With this base being such a great distance away from every control point, be sure to take one of the many vehicles at the CN deployment.
Make your way across this map via land, water, or air. Hiking on foot will take too much time and be very inefficient.
You want to send all your landvehicles towards the Hotel (C) so you can secure the Cruise Missile for your commander. This will be the most valuable control point to obtain throughout the match.
The best way to control the center of this map is to hold the roof above the Hotel (C). Be sure to keep your domination on this roof by eliminating any aircraft or troops trying to sneak up via the two elevator doors.
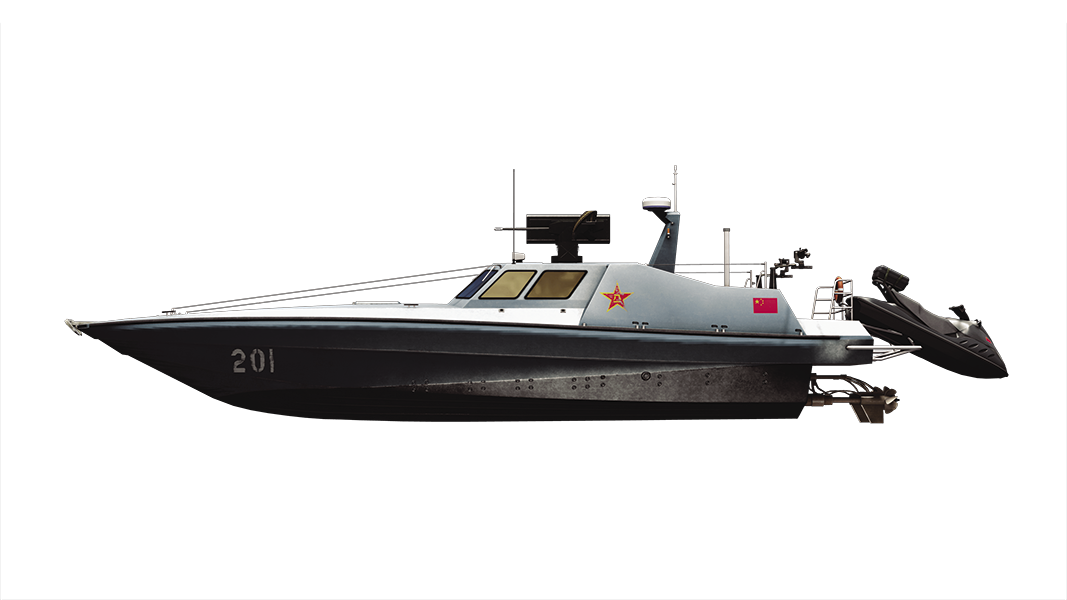
Patrol your DV-15 outside of the Marina (A) and the Freighter (D). Avoid going in the narrow waterways around the Tennis Courts (B) and the Bungalows (E) where this strong boat can easily get taken down by enemy engineers.
A: Marina
Control Point Assets
US Control
CN Control
M1161 ITV (1)
LYT2021 (1)
PWC (1)
PWC (1)
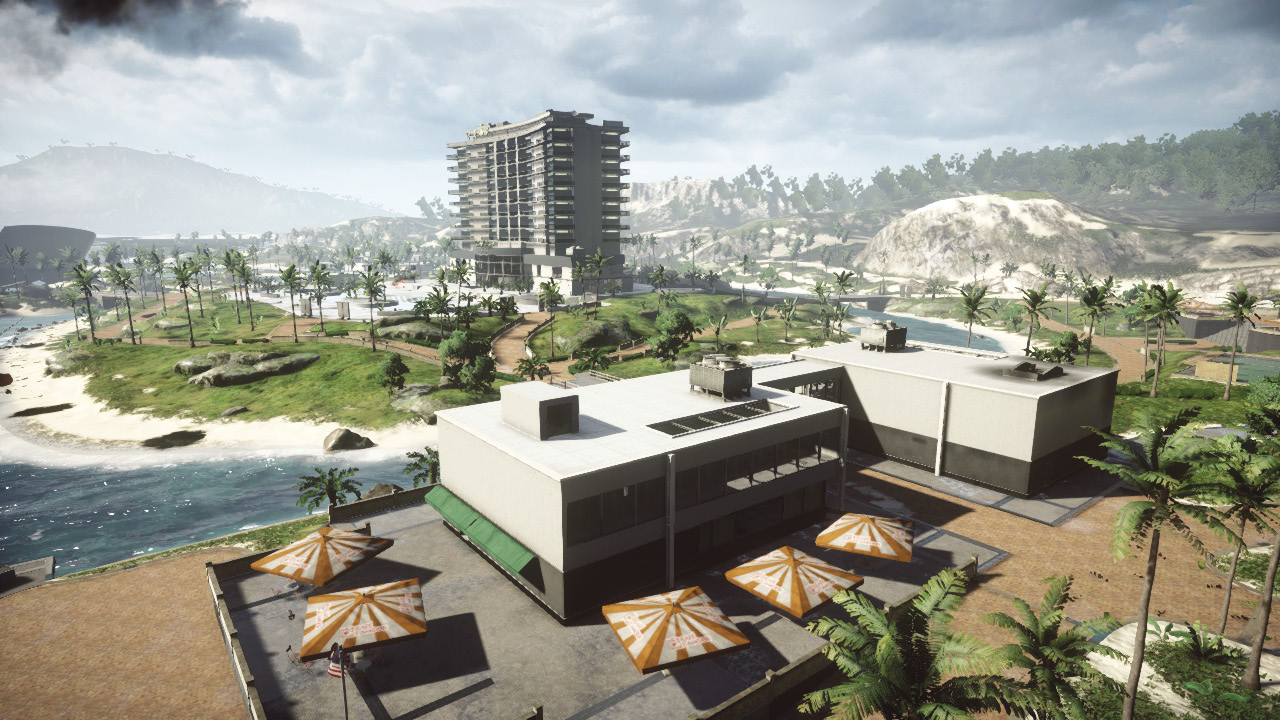
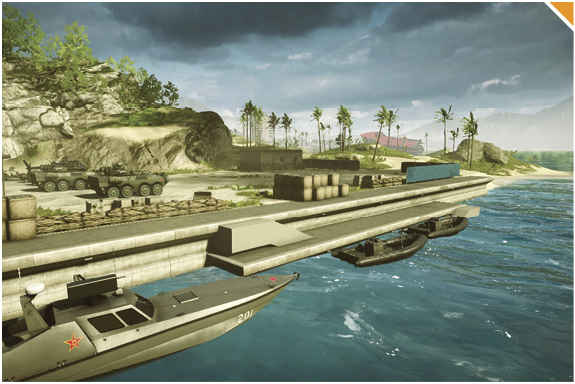
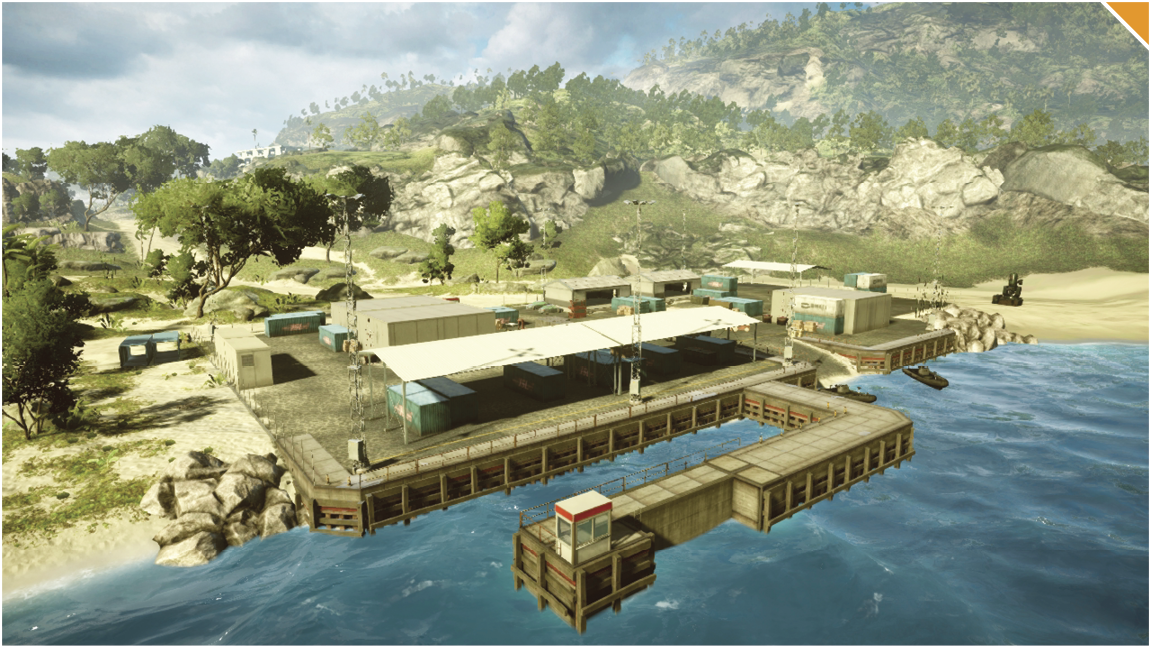
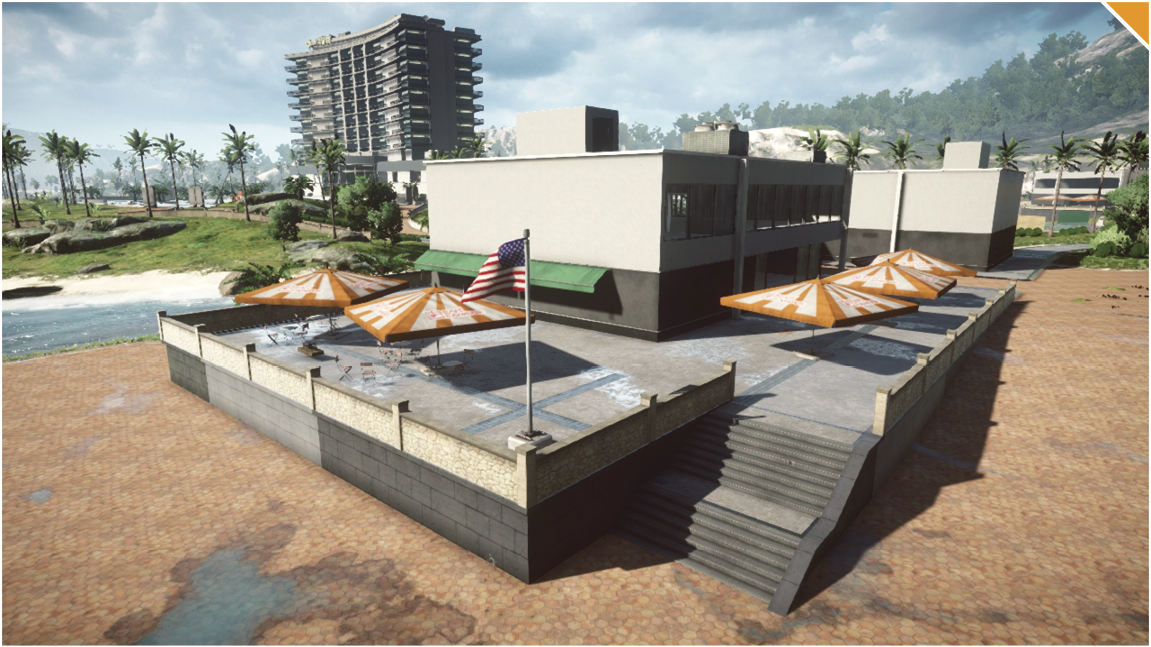
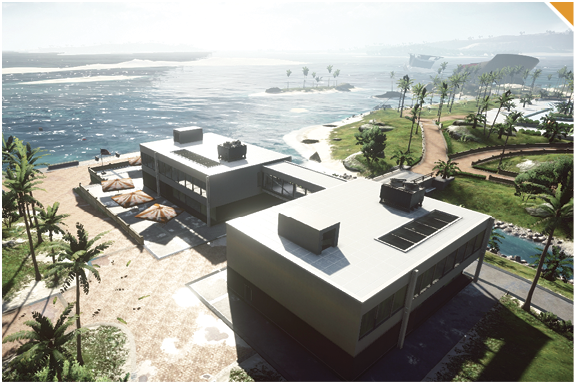
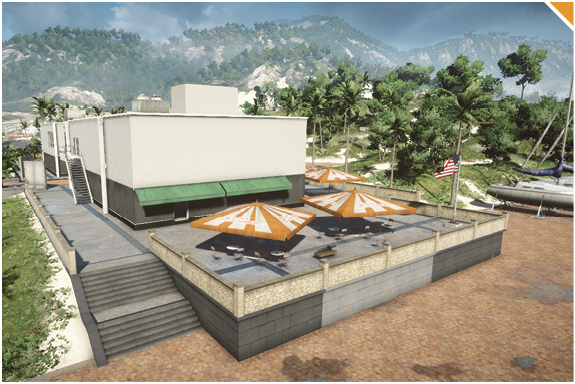
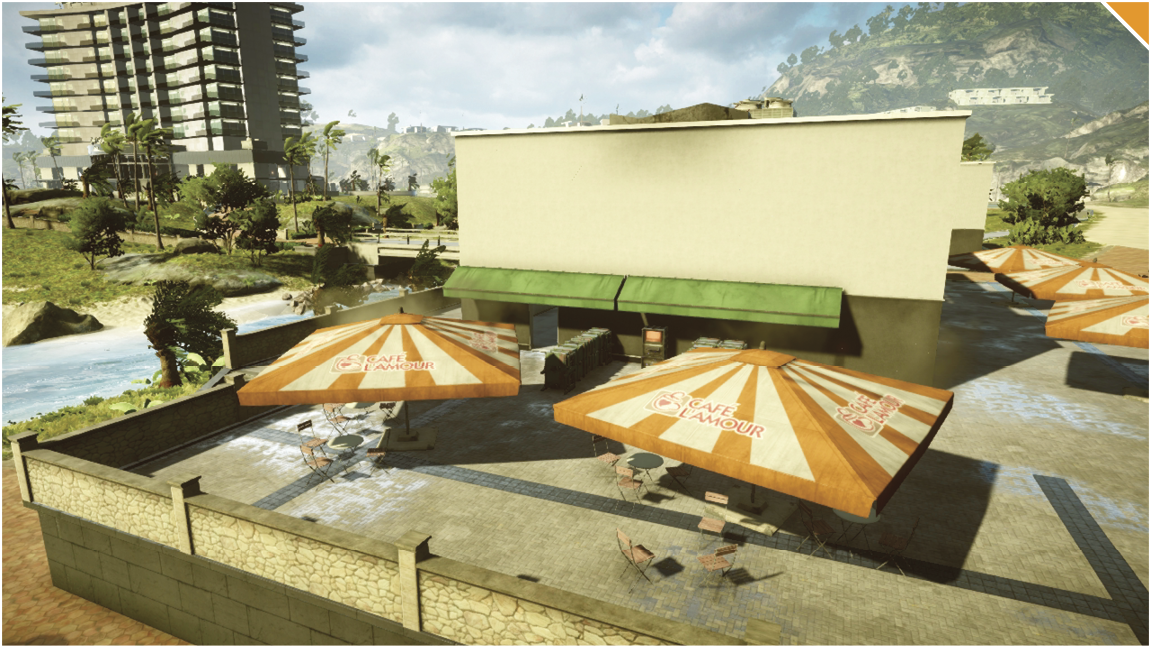
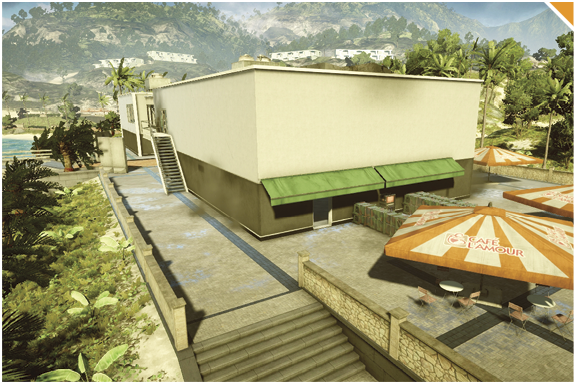
The Marina (A) control point is positioned northwest of the US base. On the west side is a cafe that views the ocean to the west.
Once captured, the controlling team acquires a PWC and a light vehicle.
Along the north side of the Marina (A) stands a .50Cal that will assist against attacking watercraft.
Recon players can get to the roof and snipe enemies heading south of the Freighter (D). This will delay the opponent from reaching the Hotel (C).
The best routes to capture this control point are by water. Take advantage of the water vehicles that spawn at each base when going for the capture.
B: Tennis Courts
Control Point Assets
US Control
CN Control
M1161 ITV (1)
LYT2021 (1)
PWC (1)
PWC (1)
This control point is located towards the eastern part of the map. This flag has relatively no cover by the flag except the large building east of the control point.
A light vehicle and PWC spawn on this control point. The PWC should be used to transport to the next control point quickly.
When defending, have a recon class player go to the second floor of the building behind the Tennis Courts (B) and snipe enemy infantry as they approach. You will even want to have some engineers here to help take out any aircraft that make their way here.
When attacking, look to take out the main building east of the control point and take out any defenders positioned inside it.
When defending, use the building east of the control point to set up your defenses. Also send squad members west of this control point to have an unexpected point of attack.
C: Hotel
Control Point Assets
US Control
CN Control
M1161 ITV (1)
LYT2021 (1)
LAV-AD (1)
Type 95 AA (1)
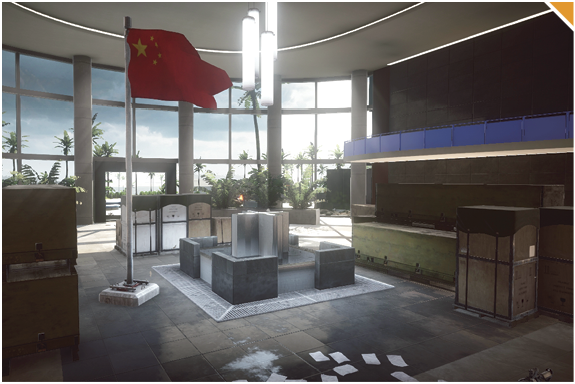
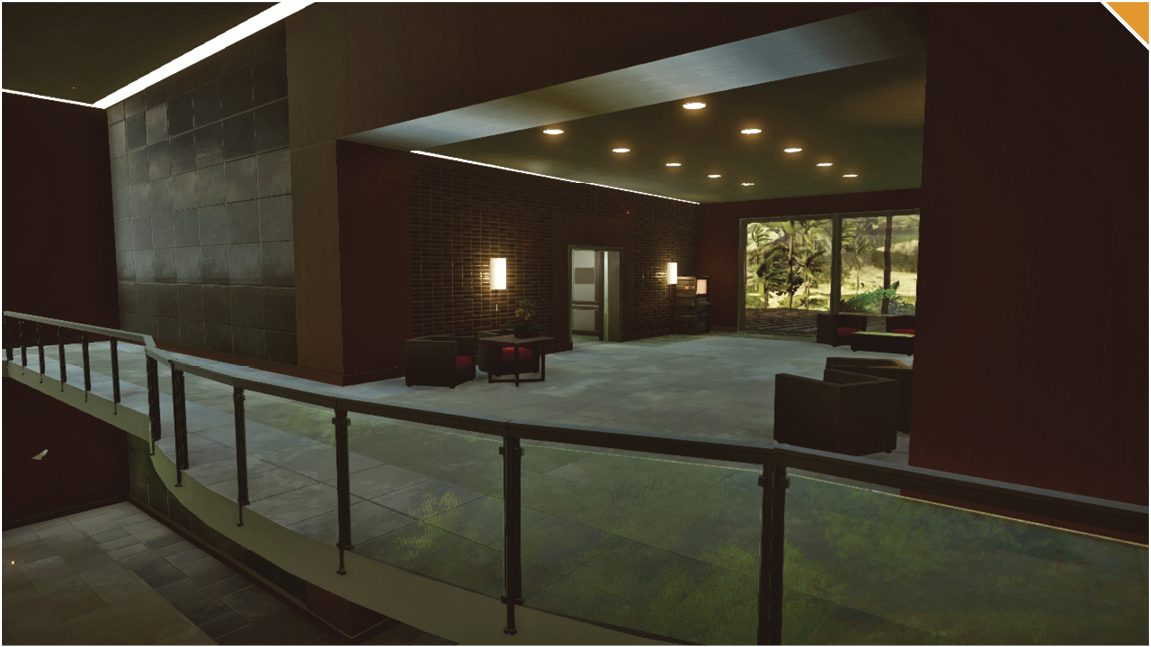
This control point is located in the middle of map inside the lobby of the Hotel (C). This tall building has three floors, with the third one only accessible by using the elevator to reach the rooftop.
In addition to the light vehicles, both teams get a mobile AA unit here, ideal for controlling air traffic in the center of the map.
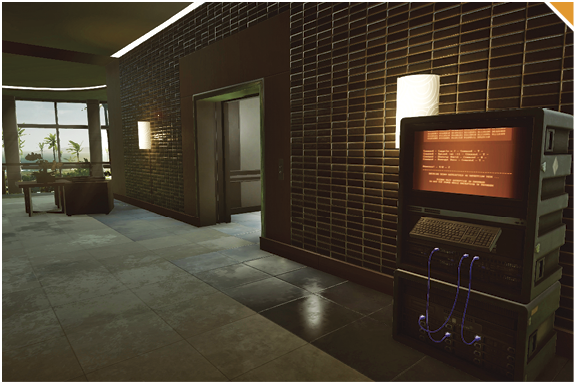
When attacking, drop off teammates on the roof. These teammates should make their way down the elevator for an attack as other teammates parachute down to attack from multiple directions.
Utilize the elevator to the rooftop of the Hotel (C). This position is a great vantage point to have over your enemies. Spot enemies from afar with the recon class to aid your teammates by letting them know where enemies are attacking from.
Take control of the second floor to have the advantage over enemies coming into the building. Keep moving while controlling this level and check the many stairways and ramps leading up to the second level. T-UGS will come in handy in this close-quarter area.
D: Freighter
Control Point Assets
US Control
CN Control
M1161 ITV (1)
LYT2021 (1)
PWC (1)
PWC (1)
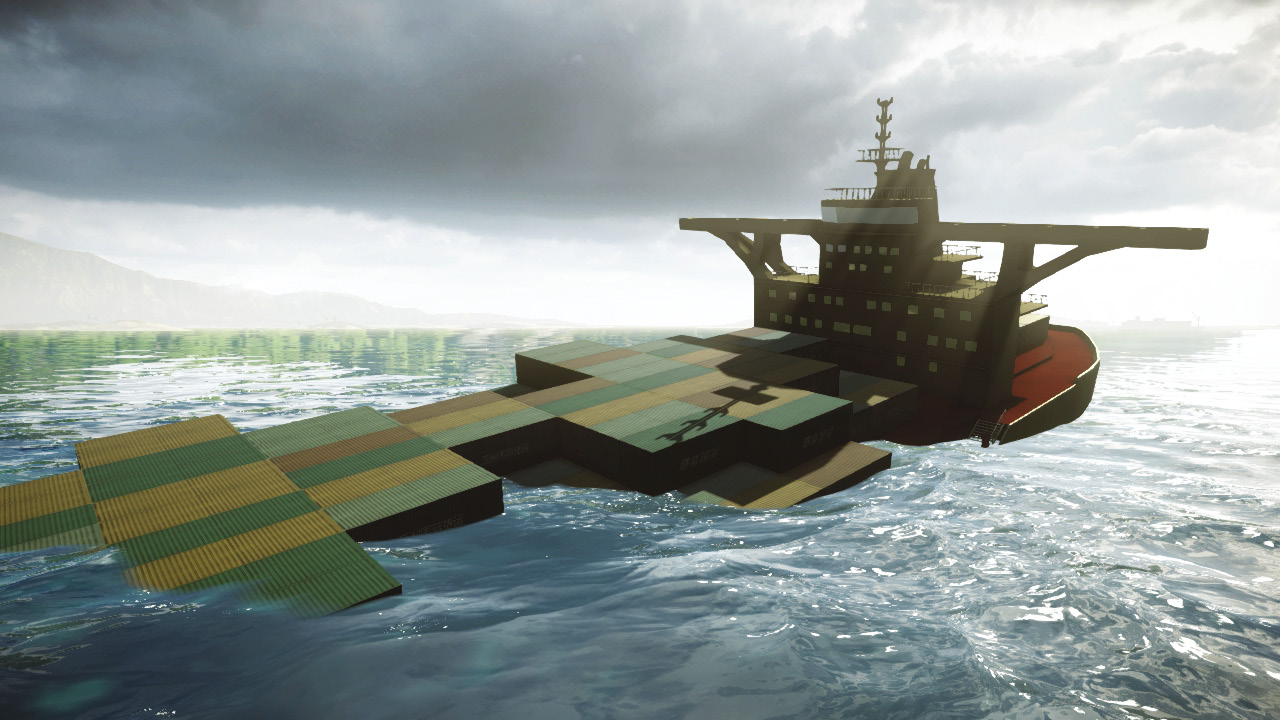
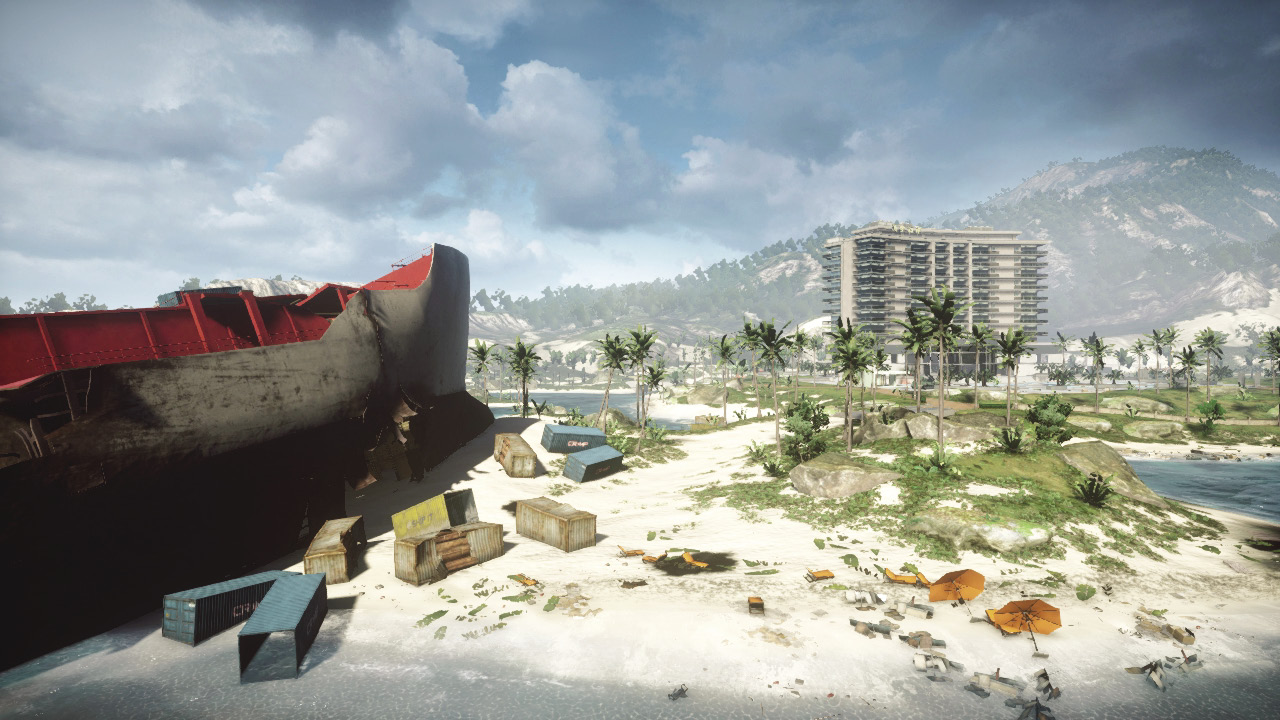
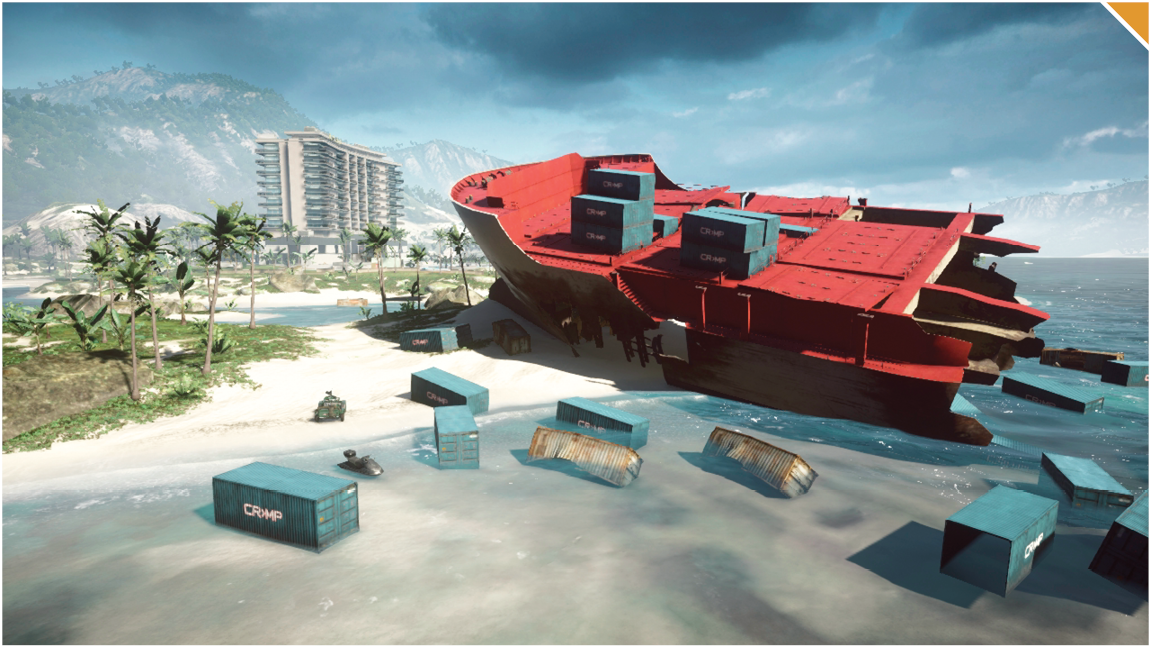
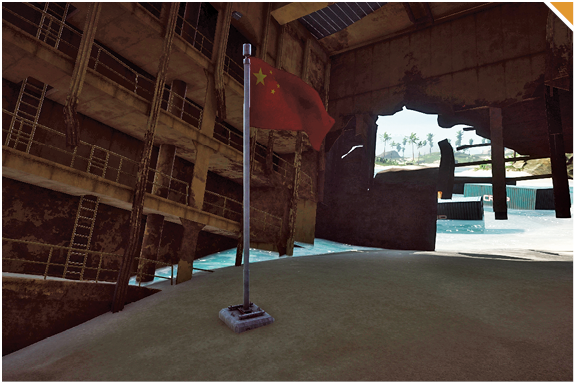
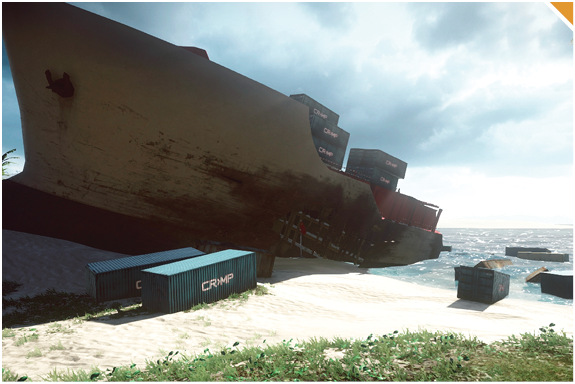
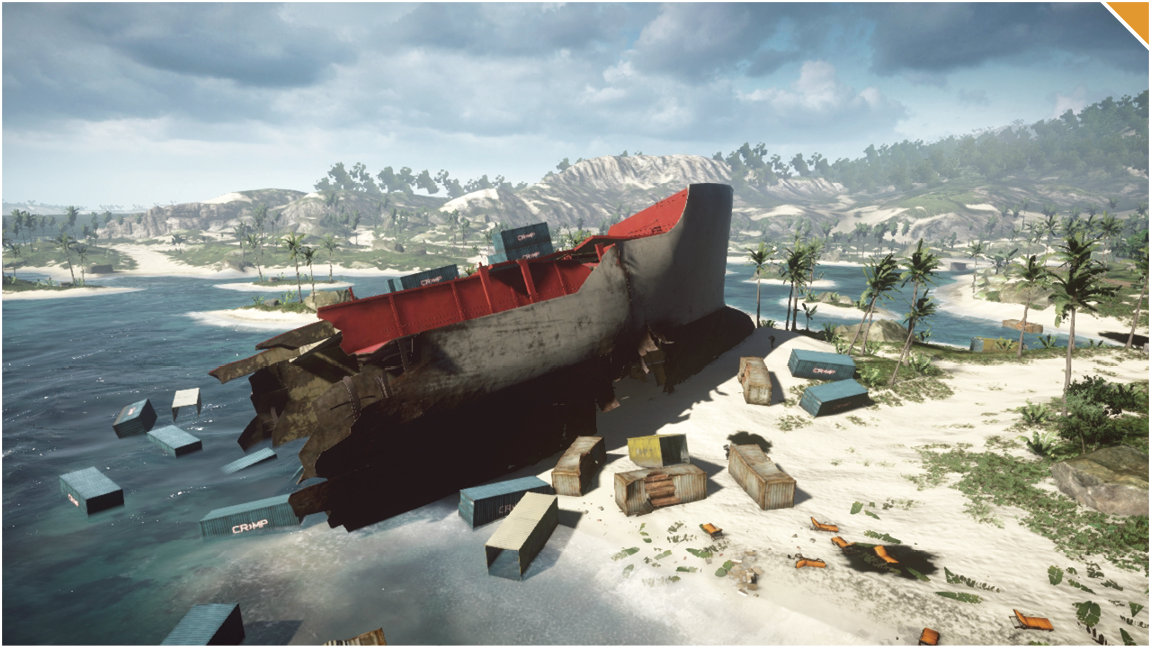
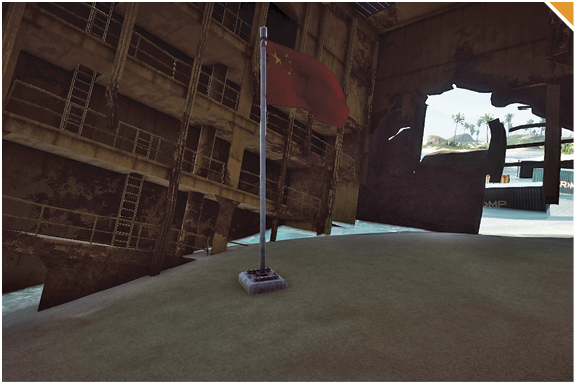
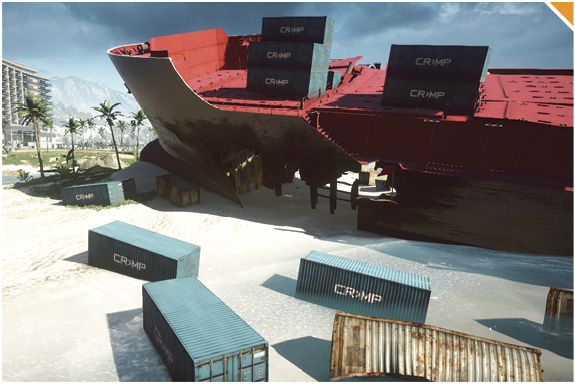
This flag is located on the east island of the map inside a crashed ship.
When controlling the flag, you gain control of a light vehicle and a PWC.
Use a helicopter to drop players off on the top of the crashed ship. Play as the recon class and equip a sniper rifle. You’ll have an overview of incoming enemies from the Hotel (C) and the Bungalows (E). You can also capture the control point from on top of this ship.
Utilize water vehicles when capturing this flag from the water and defending the flag from other incoming enemy vehicles.
When defending, use the crates around the crashed ship as cover from incoming enemies.
E: Bungalows
Control Point Assets
US Control
CN Control
M1161 ITV (1)
LYT2021 (1)
RHIB (1)
RHIB (1)
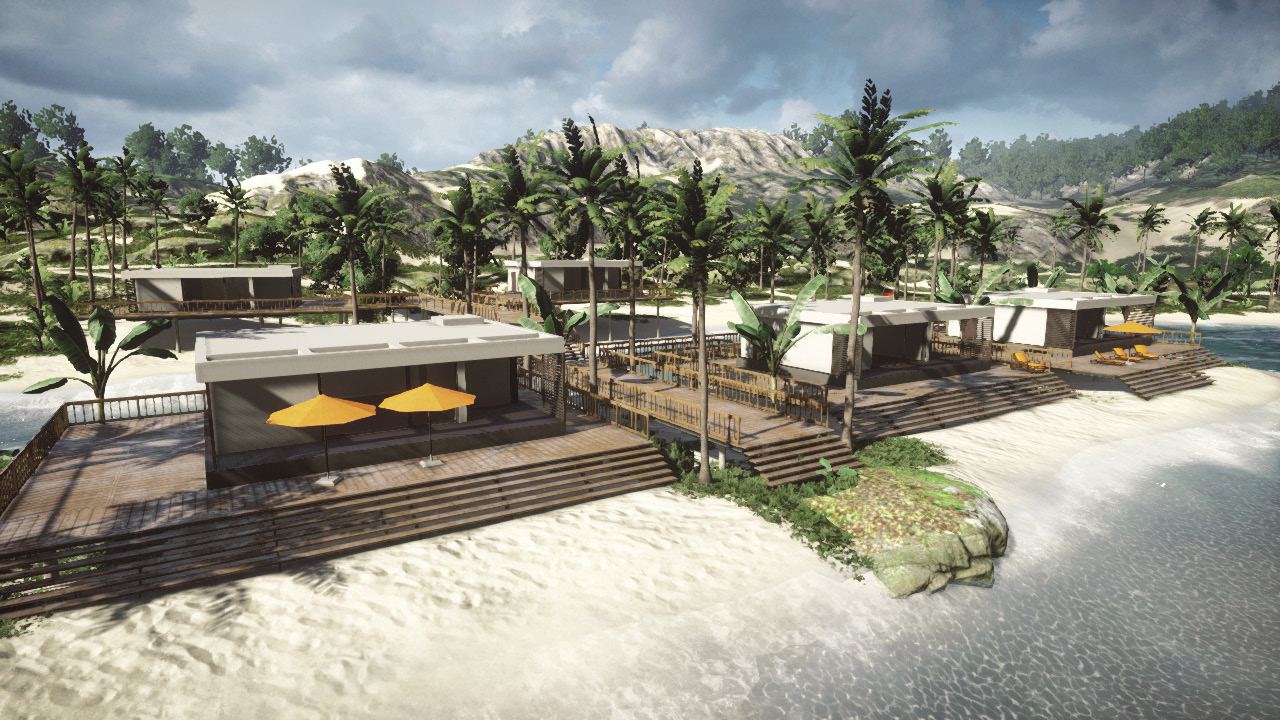
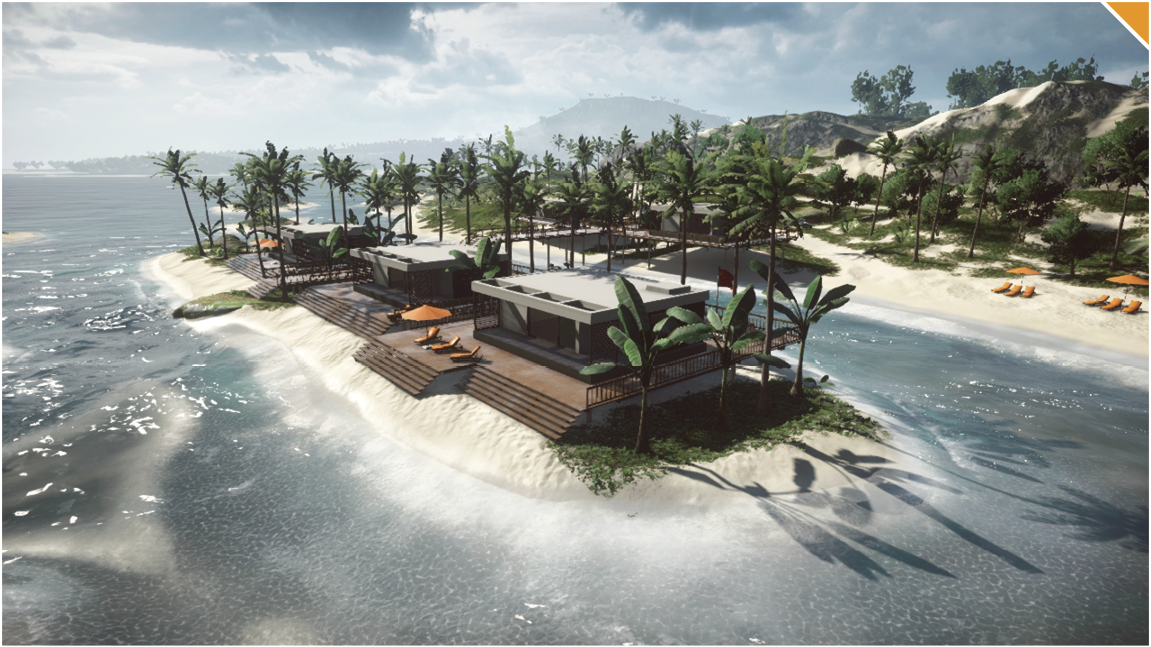
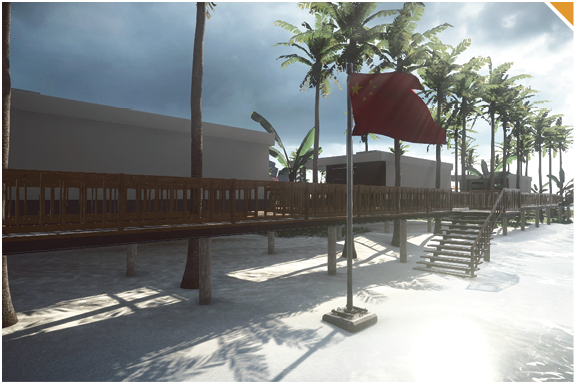
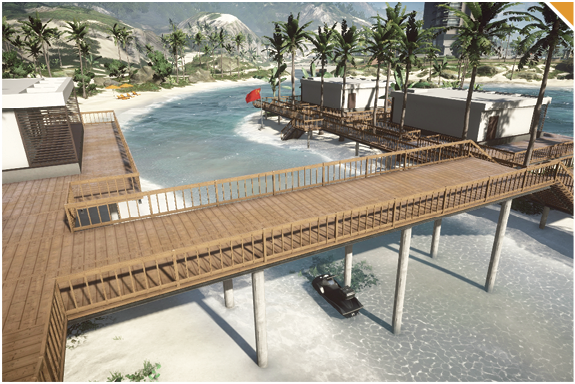
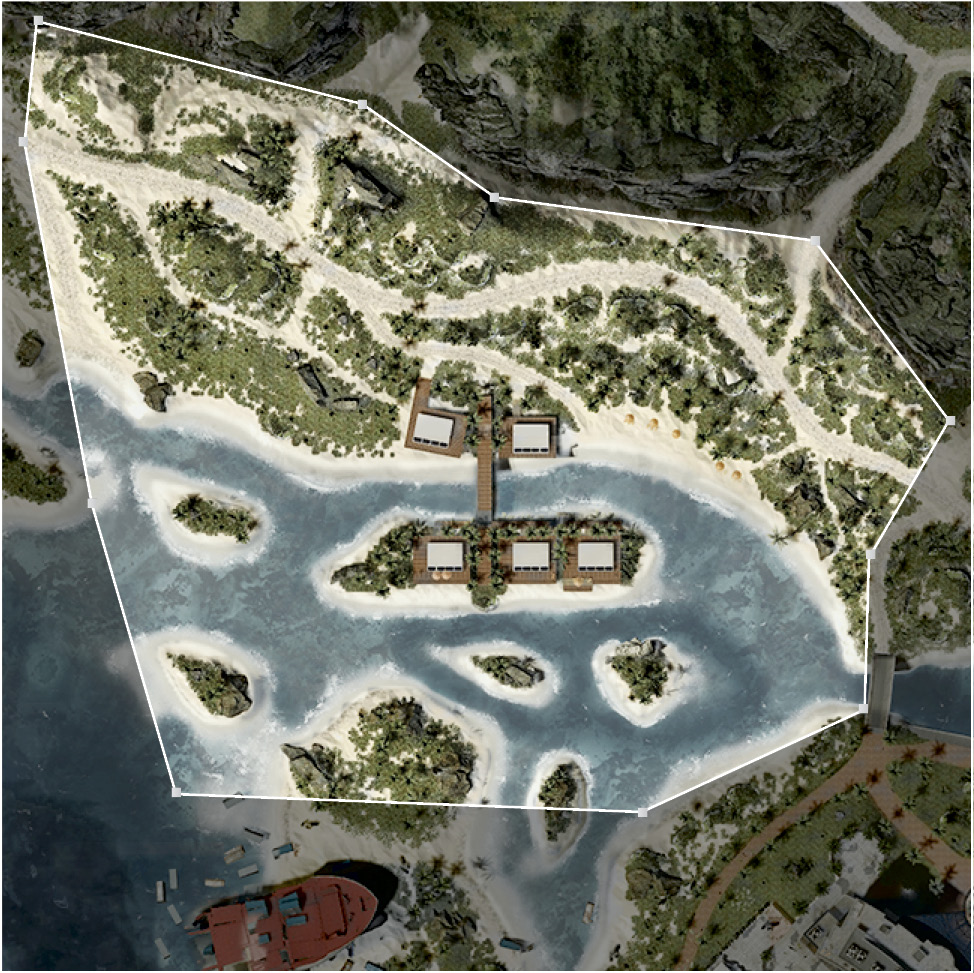
This objective is located towards the northern boundary and consists of five identical cabanas connected by wooden docks.
Like most maps, the important battles take place in the center. Be sure to immediately get back in the action with one of the light vehicles that spawns at this location.
This is a multi-faceted battle when fighting for this control point due to the four different directions of attack. Vehicles can attack from the road to the north, watercraft can attack from the surrounding water, and ground troops can attack from the cabanas or below the docks that hold these buildings up.
When attacking this area with vehicles, the buildings only provide temporary cover fire—an explosive round can easily reveal the enemies trying to hide inside.
When defending this objective, be sure to have a squad heavily composed of engineers or use the HJ-8 Launcher. You will most likely encounter vehicles driving all the way to this location; rarely will infantry make the long run or swim to this area. Be sure to eliminate loaded light water vehicles before the enemy can disperse around the objective.
Conquest Small
Recommended Squad Composition:
In this Conquest game variant, players will be looking at a total of three control points: the Marina (A), the Hotel (B), and the Freighter (C). These control points are spread out evenly, so players will find a mix of naval warfare around the Marina (A) and the Freighter (C). Meanwhile the Hotel (B) will display a ton of infantry members infiltrating there while encountering incoming fire from an IFV and enemy helicopters. The US team’s best strategy will be to capture the Marina (A) and the Hotel (B). Once these two control points are captured, the CN team’s tickets will slowly begin counting down. The US team will want to establish a perimeter around the Hotel (B). Recon players can snipe on the roof of the Hotel (B), giving them a view of the entire map while friendly vehicles maintain pressure on the enemy towards the west. The CN team, on the other hand, will want to capture the Freighter (C) and the Hotel (B). Much like the US team, the CN team should have a couple of recon players sniping at the top of the Hotel (B) roof. The CN team will want their airvehicles to put pressure around the Marina (A) while the friendly IFV waits for US team members to get near the Hotel (B). The Hotel (B) will be a critical flag to control throughout the game as it gives the controlling team’s commander a Cruise Missile; this baby packs a punch.
US Base
Base Assets
Name
M1161 ITV
LAV-AD
RHIB
AH-6J Little Bird
A-10 Warthog
Quantity
1
1
2
1
1
The US base is located along the shoreline in the southeastern part of the map.
Take advantage of the multiple light vehicles at base and head north towards the Hotel (B). This will be the most important objective to control throughout the game since it lies equal distance from both bases.
The team can deploy in an attack jet back at the base. This will provide great airsupport and aid when destroying the opponent’s ground, air, and water vehicles.
There are a few RHIBs that spawn in the water. Be unpredictable and head northwest to initiate a fight with the opposing team at the Hotel (B). Have the passengers of the RHIBs disembark on the island to provide infantry support as well.
Send a squad in the LAV-25 towards the Hotel (B) to punish the incoming enemy infantry. Delay them as long as possible to allow your teammates to come in from behind to capture the Hotel (B).
CN Base
Base Assets
Name
LYT2021
Type 95 AA
RHIB
Z-11W
Q-5 Fantan
Quantity
1
1
2
1
1
The CN base is located at the northeast edge of the map. With the base being a great distance away from every control point, make sure to travel with one of the many vehicles at the CN deployment.
Make your way across this map via land, water, or air.
You want to send all your landvehicles towards the Hotel (B) so you can secure the Cruise Missile for your commander. As always, be sure to spot enemy vehicles so your attack jet can help you take them out.
The best way to control the center of this map is to hold the roof above the Hotel (B). Hold control here on this roof by eliminating any aircraft or troops trying to sneak up via the two elevator doors. T-UGS work extremely well near the elevators.
With no attack boats on this map, flanks from the water are going to be extremely powerful and unexpected. Load up your squad in a light water vehicle and flank all the way over to the Marina (A) when the enemy is focused on the center of the map.
A: Marina
Control Point Assets
US Control
CN Control
RHIB (1)
RHIB (1)
The Marina (A) control point is positioned northwest of the US base. On the west side is a cafe that views the ocean to the west.
Once captured, the controlling team acquires a RHIB.
Along the north side of the Marina (A) stands a .50Cal that will assist against attacking watercraft.
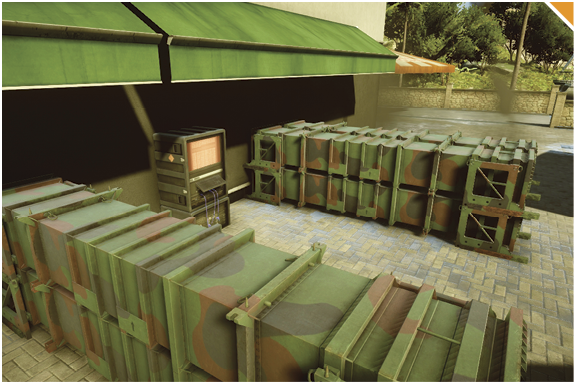
Recon players can get to the top of the roof and snipe enemies heading south of the Freighter (C). This will delay the opponent from reaching the Hotel (B). The rooftops of these two buildings north of the Marina (A) will be very useful in controlling this objective. The roofs give you an overview of enemies approaching from the Hotel (B), making it easy to pick off the enemy infantry. Also, Radio Beacons inside these buildings will keep you spawning in this area if you or your squad are taken down.
The best routes to capture this control point are by water. Take advantage of the water vehicles when going for the capture.
B: Hotel
Control Point Assets
US Control
CN Control
M1161 ITV (1)
LYT2021 (1)
This control point is located in the middle of map within the lobby of the Hotel (C). This tall building has three floors with the third one only accessible by using the elevator to reach the rooftop.
No vehicles spawn here, so most of the fighting will be done inside and in close proximity of the Hotel (C).
When attacking, drop off teammates on the roof. These teammates should make their way down the elevator for an attack as other teammates parachute down to attack from multiple directions.
Utilize the elevator get to the rooftop of the Hotel (C). This position is a great vantage point to have over your enemies. Spot enemies from afar with the recon class to aid your teammates and let them know where enemies are attacking from.
Take control of the second floor to have the advantage over enemies coming into the building. Keep moving while controlling this level and check the many stairways and ramps leading up to the second level. T-UGS will come in handy in this close-quarter area.
C: Freighter
Control Point Assets
US Control
CN Control
RHIB (1)
RHIB (1)
This flag is located on the east island of the map inside a crashed ship.
When controlling the flag you gain control of a RHIB.
Use a helicopter to drop players off on the top of the crashed ship. Play as the recon class and equip the sniper; you’ll have an overview of enemies coming from the Hotel (B). You can also capture the control point from on top of this ship.
Utilize water vehicles when capturing this flag from the water and defending the flag from other incoming enemy vehicles.
When defending, use the crates around the crashed ship as cover from incoming enemies.
Rush
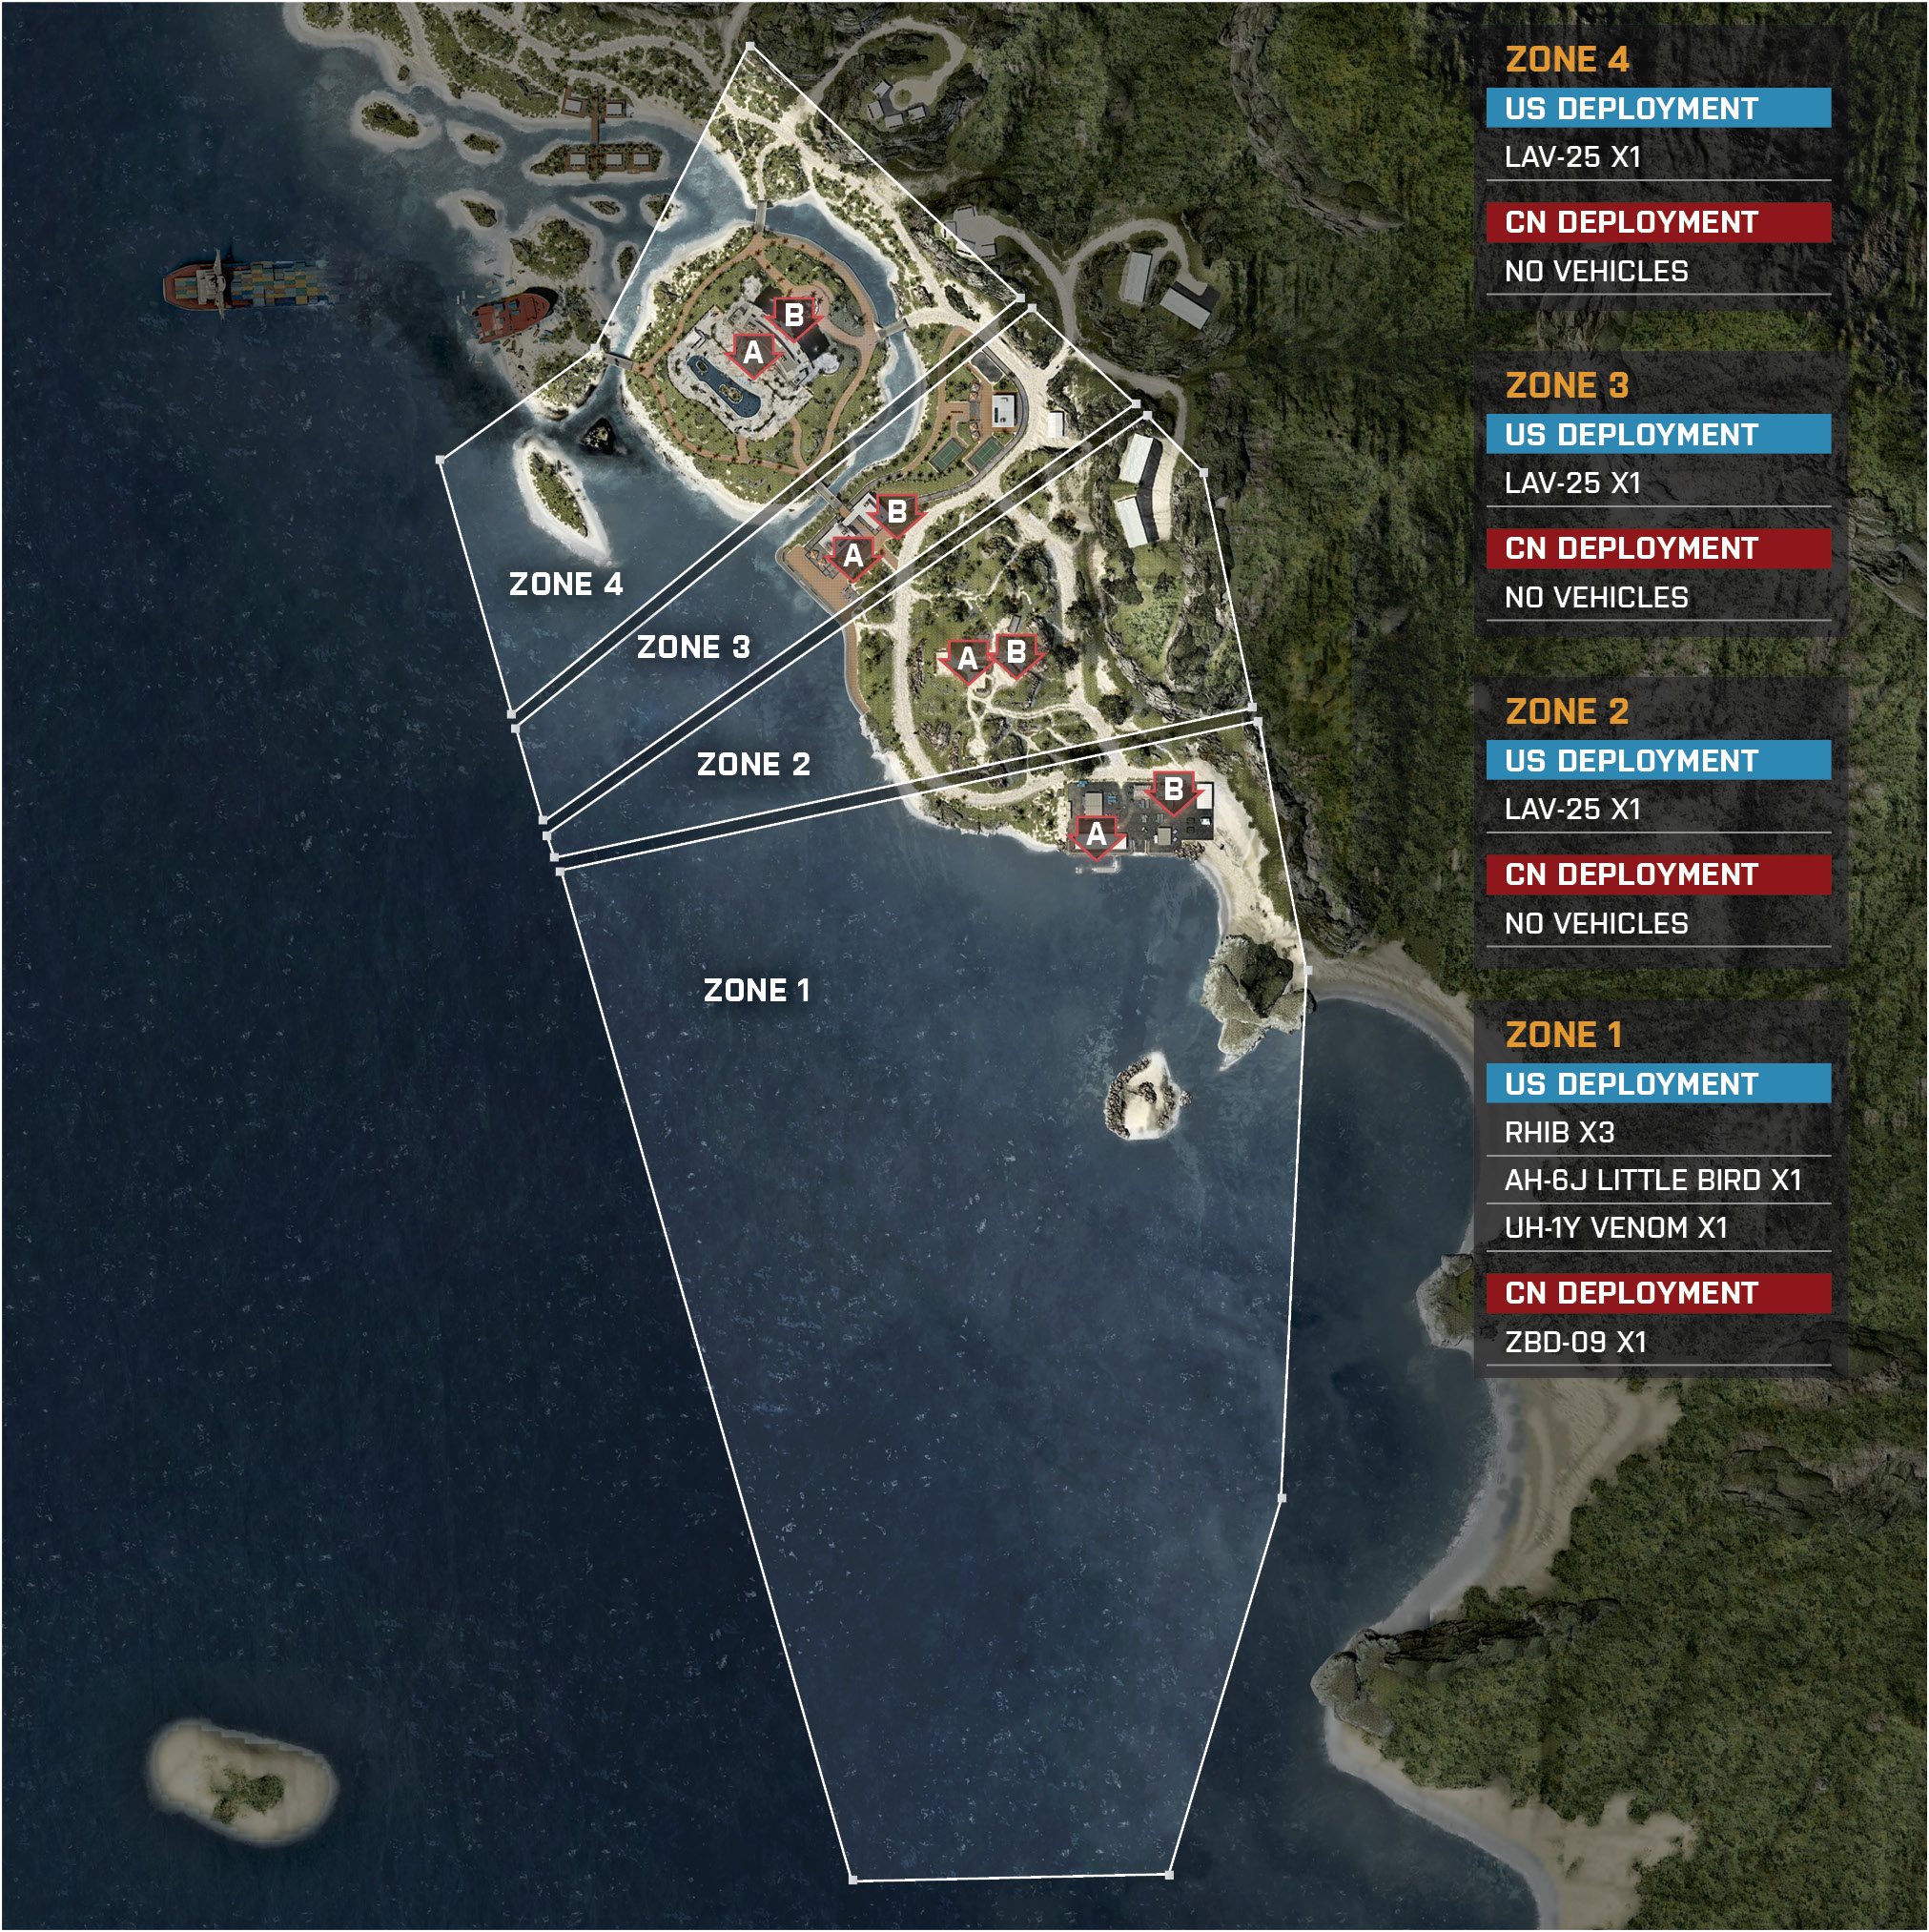
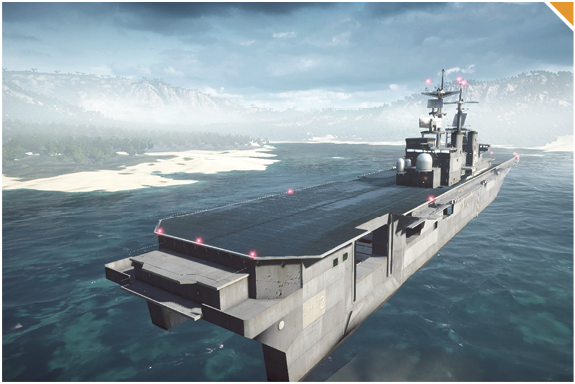
In this Rush variant, the US will start on an aircraft carrier and they are required to push through four guarded zones during their assault. The fight starts at the south end of the map on the Dockyard before the US team can make their way past the Hilltop, across the Marina, and into the Hotel. The US team is at an advantage as they have the majority of the vehicles in each zone, while the CN team only has an IFV in Zones 1 and 2. The US team must strategically plan out the routes of these vehicles or else they can fall prey to the CN team’s traps and engineers. The US vehicles will play a huge role when advancing from zone to zone, so be sure to have squads consisting largely of engineers to constantly repair these vehicles. Despite the CN team being outnumbered in the vehicle count, they do have stationary weapons throughout each zone to deal with the US vehicles. Combine these stationary weapons and squads mainly consisting of engineers. The CN team will force the US team to fight by land, giving them the best chance to stop the US team’s advance.
Zone 1: Dockyard
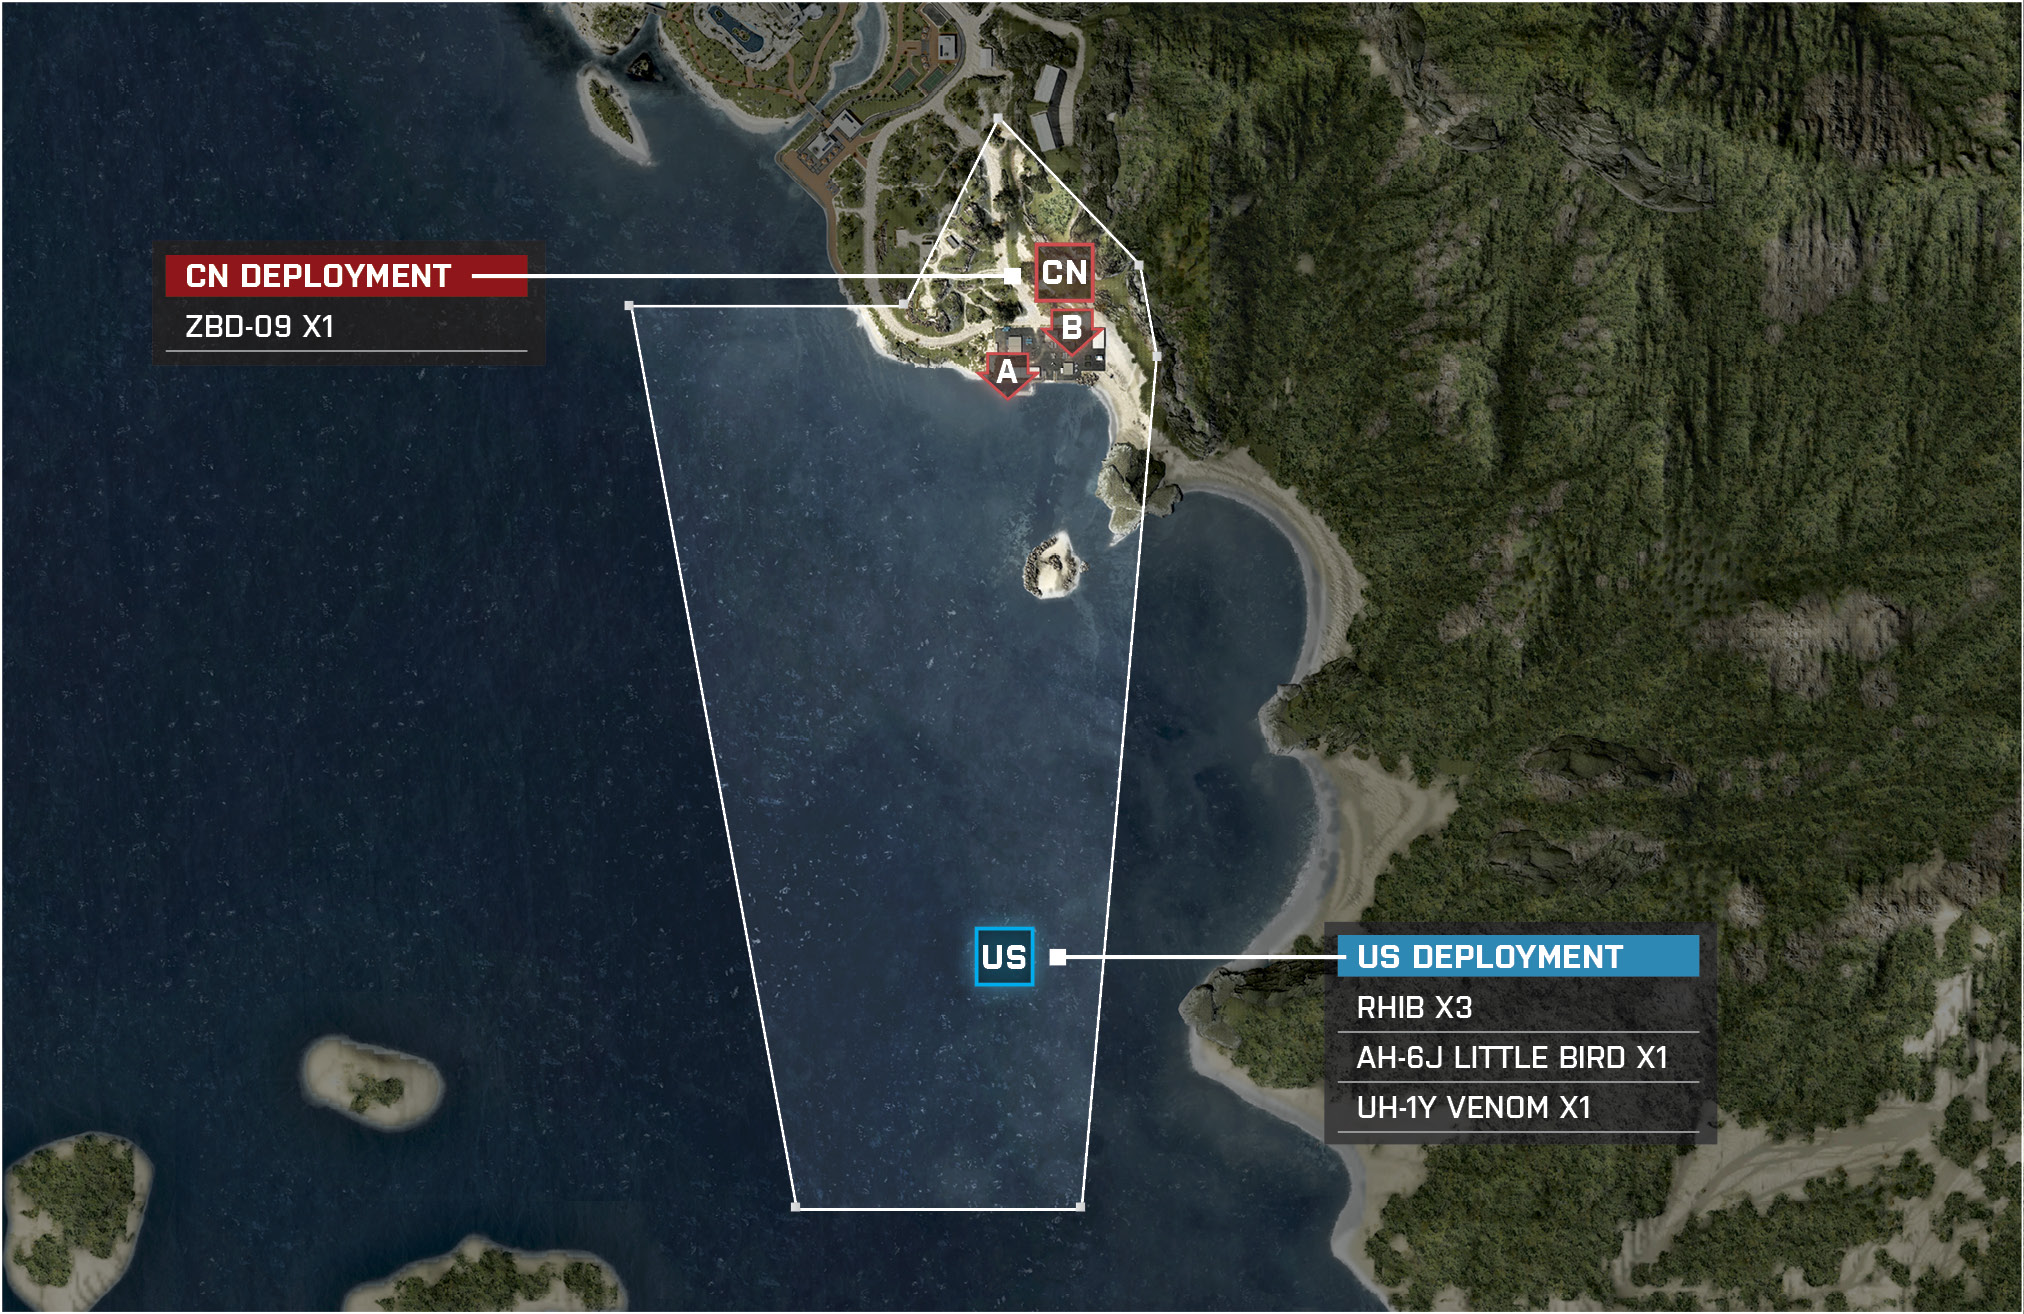
US Deployment
Recommended Squad Composition:
Deployment Area Assets
Name
RHIB
UH-1Y Venom
AH-6J Little Bird
Quantity
3
1
1
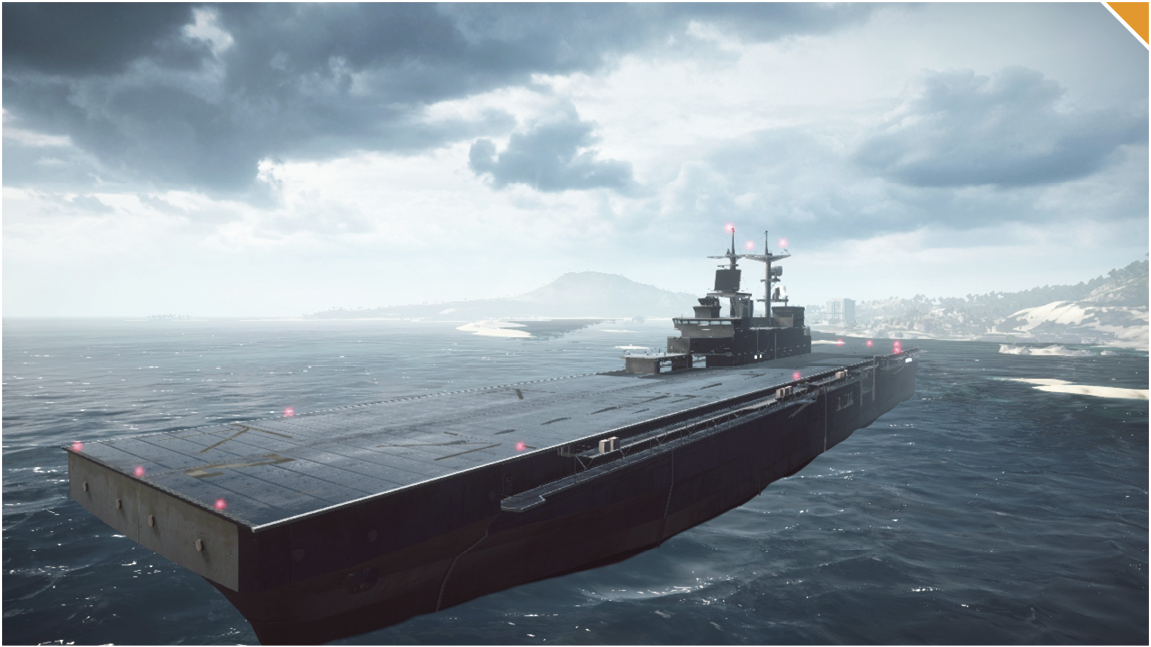
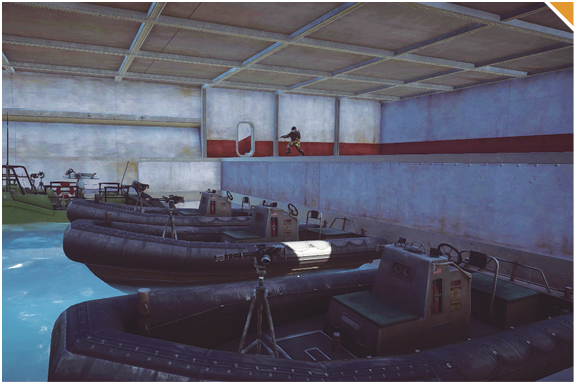
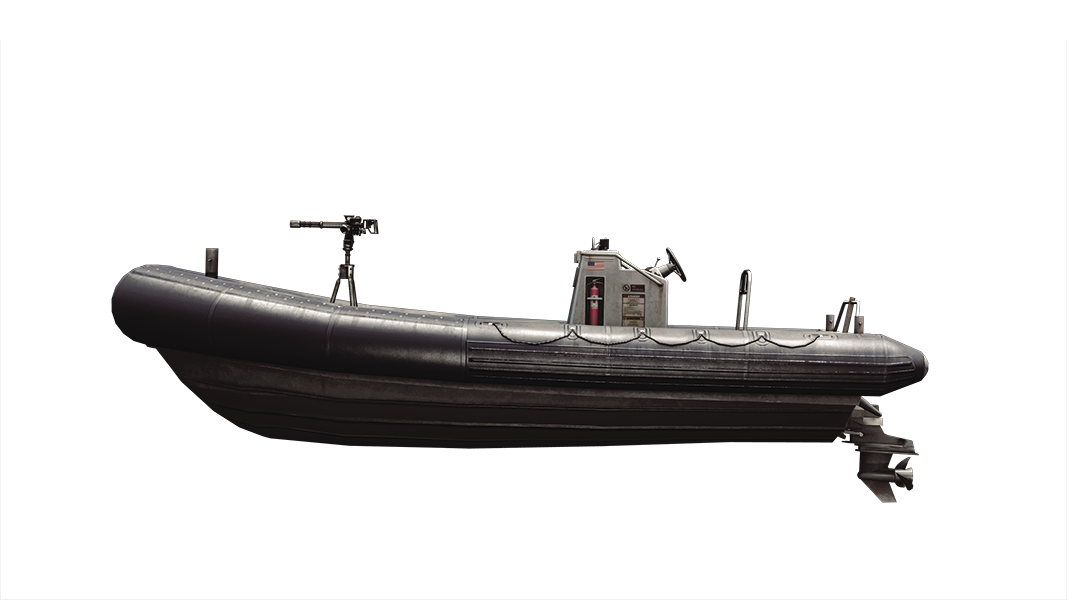
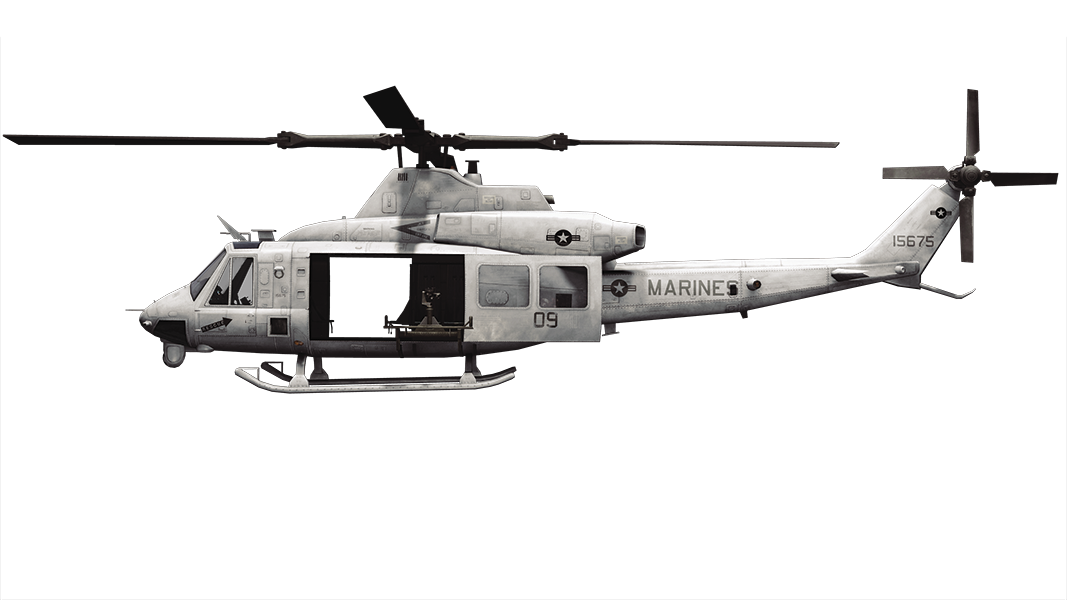
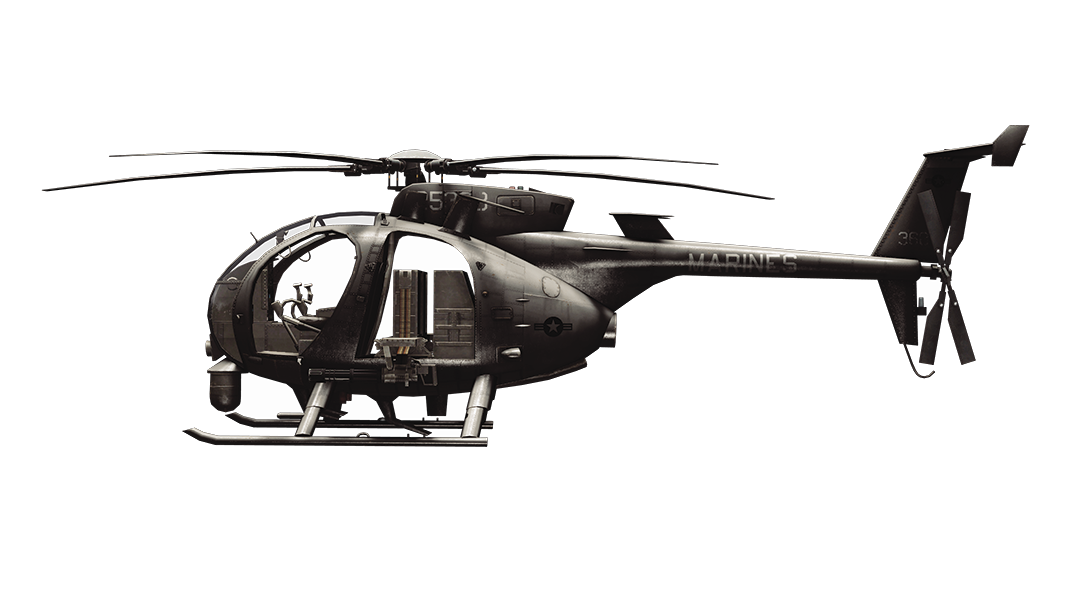
The US deployment area is located on an aircraft carrier found in the middle of the ocean south of the mainland. The carrier provides a scout and transport helicopter along with three light water vehicles.
Players will want to board these vehicles to make it towards the M-COM stations. If not, you will be looking at a long swim to shore.
The scout helicopter will need to put constant pressure on the defenders, allowing your transport helicopter and RHIBs to deliver infantry units to shore.
North of the carrier is a small island that will be a great spot for recon players to snipe from. There is a line of stationary weapons posted on the dock of the mainland—the recon player will be a huge asset in taking these defenders out. Once on the island, throw down a Radio Beacon. You don’t want your teammates to take that same dreadful swim, so spawn them as close to the action as you can.
Having a recon class in each squad will be beneficial as it is suggested to throw Radio Beacons down every chance you get to avoid swimming or waiting for a vehicle to respawn in the deployment zone.
CN Deployment
Recommended Squad Composition:
Deployment Area Assets
Name
ZBD-09
Quantity
1
The CN deployment area is only a few meters north of M-COM Station A, giving the defenders a chance to establish a defensive perimeter before the US attackers arrive.
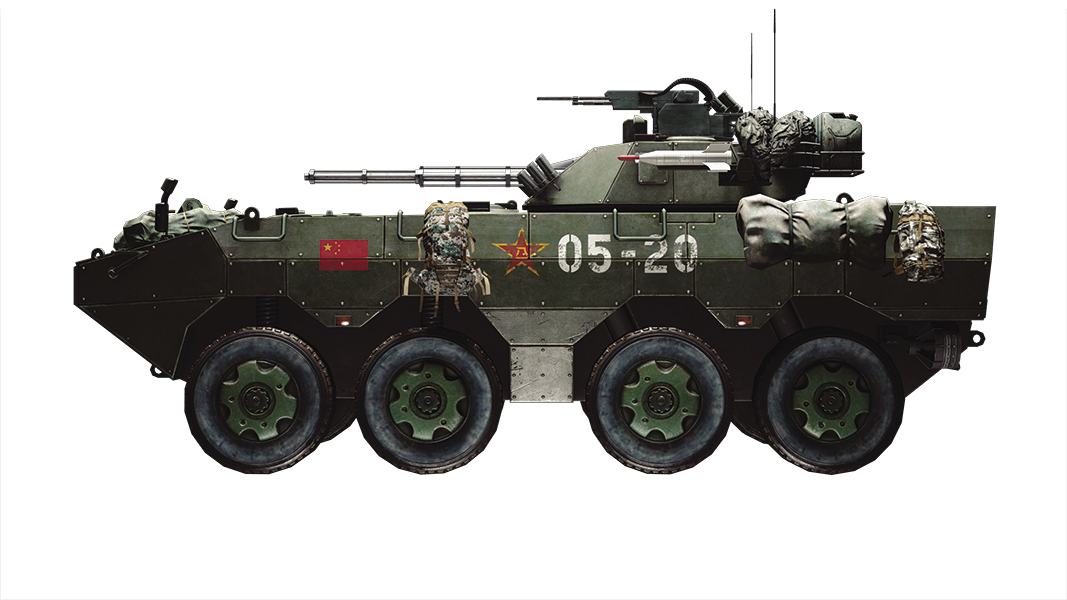
One vehicle spawns at this deployment—a ZBD-09. Use this vehicle wisely as it will serve your team by providing greater cover when capturing the objectives.
Rush the turrets and launchers at the start of your spawn. You may be able to take out the transport helicopters dropping near the docks, and cut down the enemy pressure.
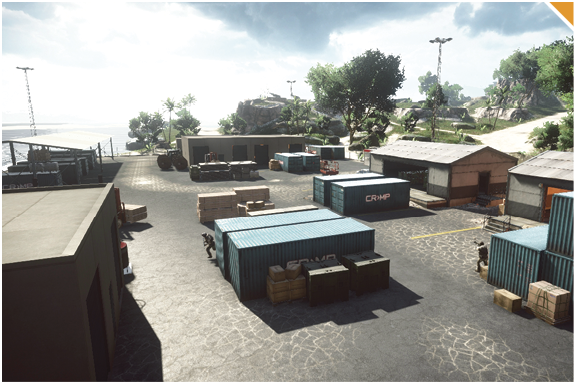
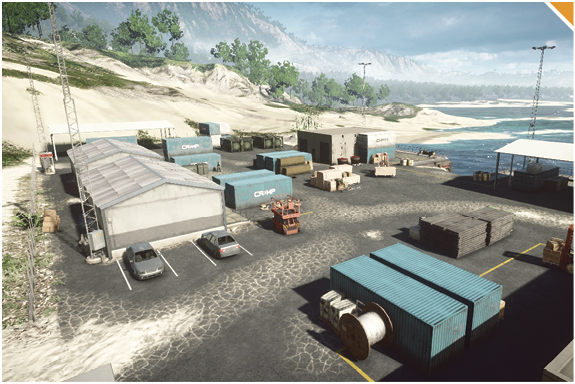
The small storage buildings provide excellent hiding spots, ideal for ambushing attacking troops who have reached the store.
Have a few engineers take out any of the attacker’s vehicles, forcing them to come by land. Use the ZBD-09 to clean up these attackers easily around the whole area.
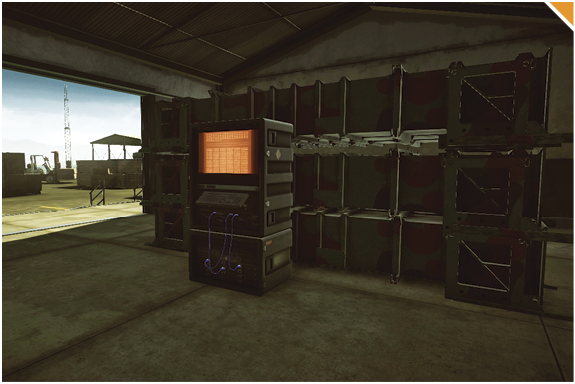
M-COM Station A
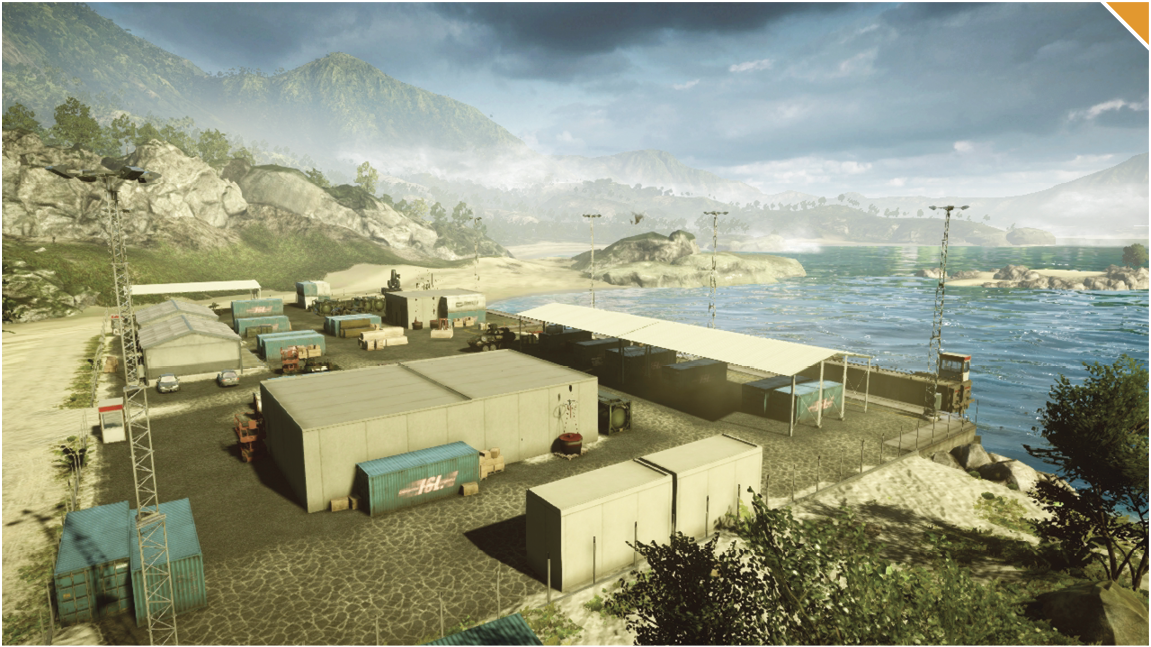
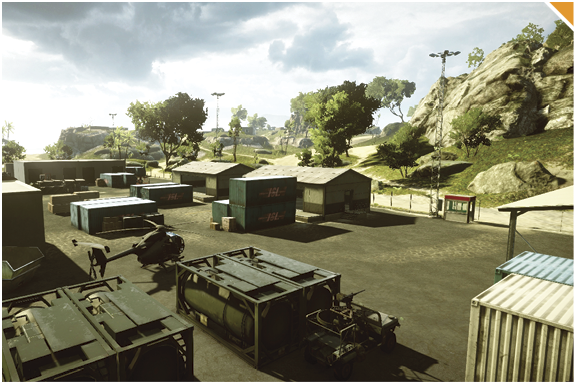
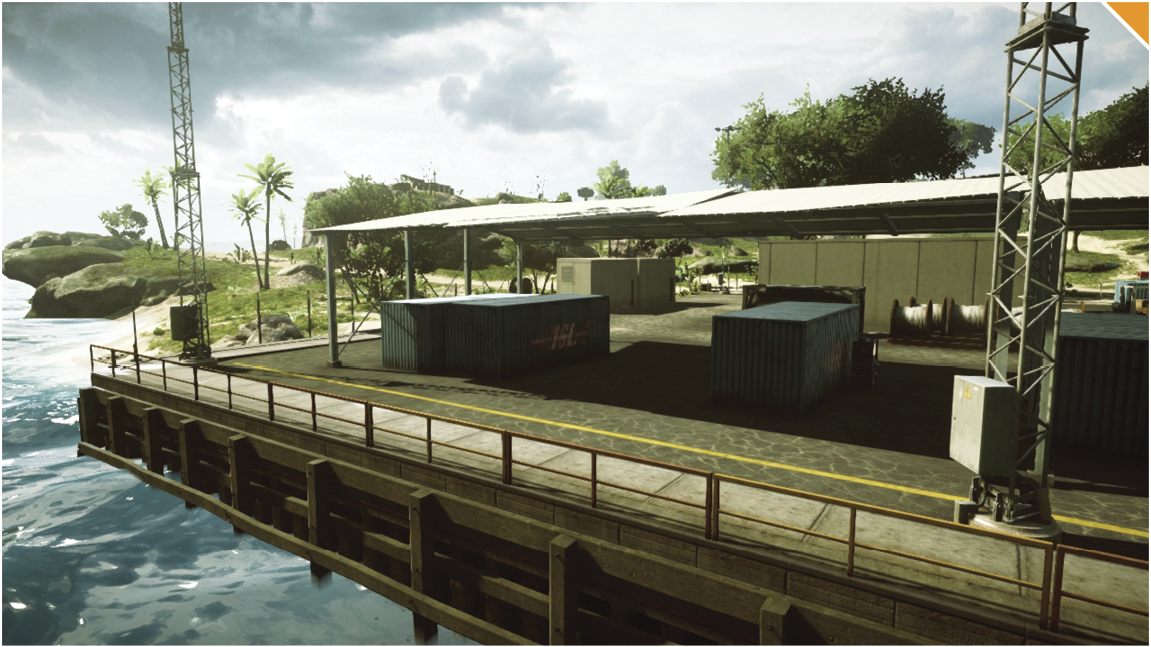
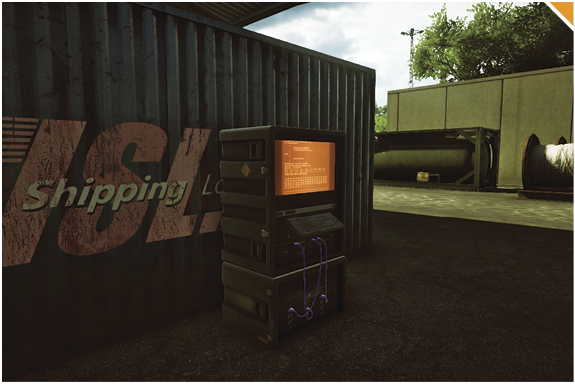
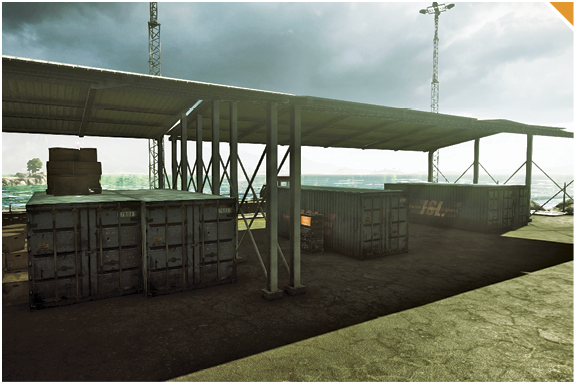
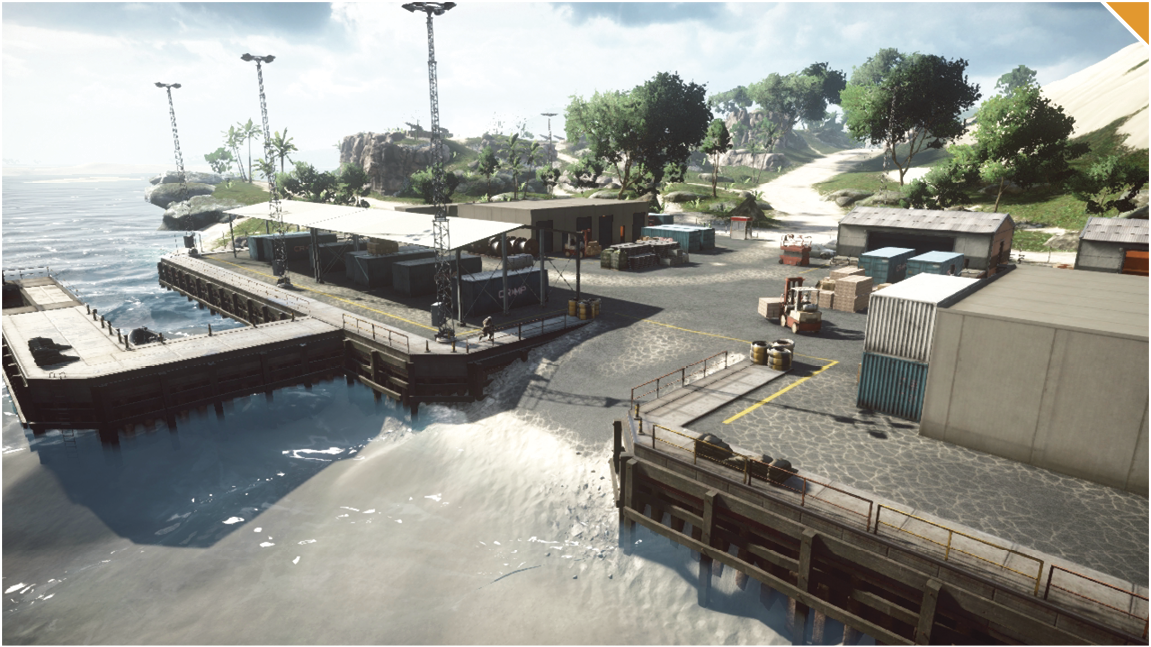
M-COM Station A is located on the Dockyard in the southern part of map. The station is covered by two shipping crates under a shed.
Defending the M-COM station with the very few vehicles will be tough. With only a ZBD-09, your team is going to want some engineer classes to equip Stingers or IGLAs. This first engagement will be very important and determine the flow of the battle for this zone.
When attacking M-COM Station A, it is imperative that your team makes a solid first attack. Losing vehicles will force the team to swim, so place a Radio Beacon southeast of this objective.
When successful in making it to land, attackers are going to want to use the assault class to revive any fallen teammates. If you have a made this far, M-COM Station A will be yours for the taking.
Defenders should take full advantage of the .50Cals and HJ-8 Launchers to stop the first wave of attackers.
M-COM Station B
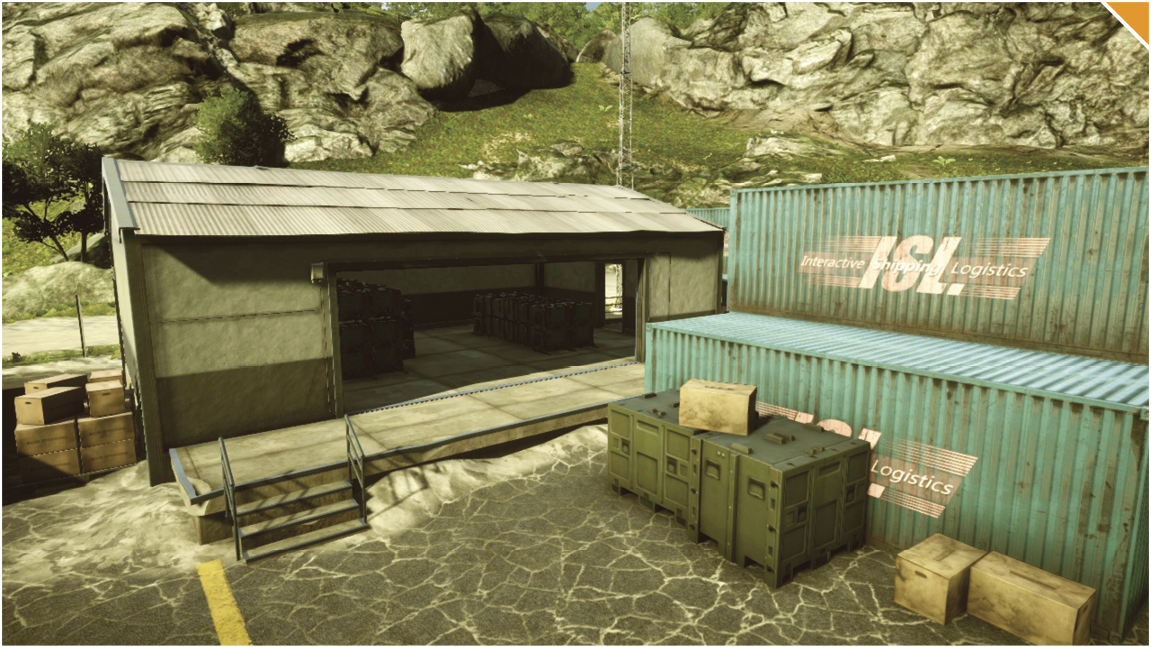
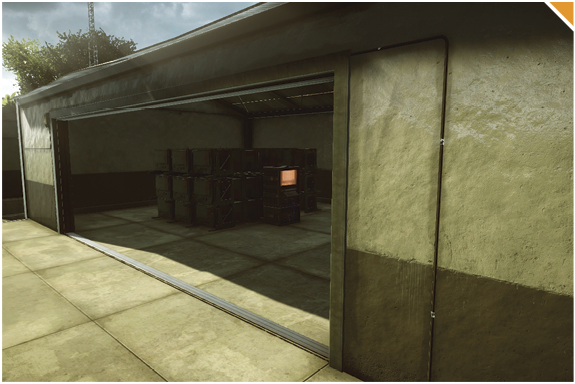
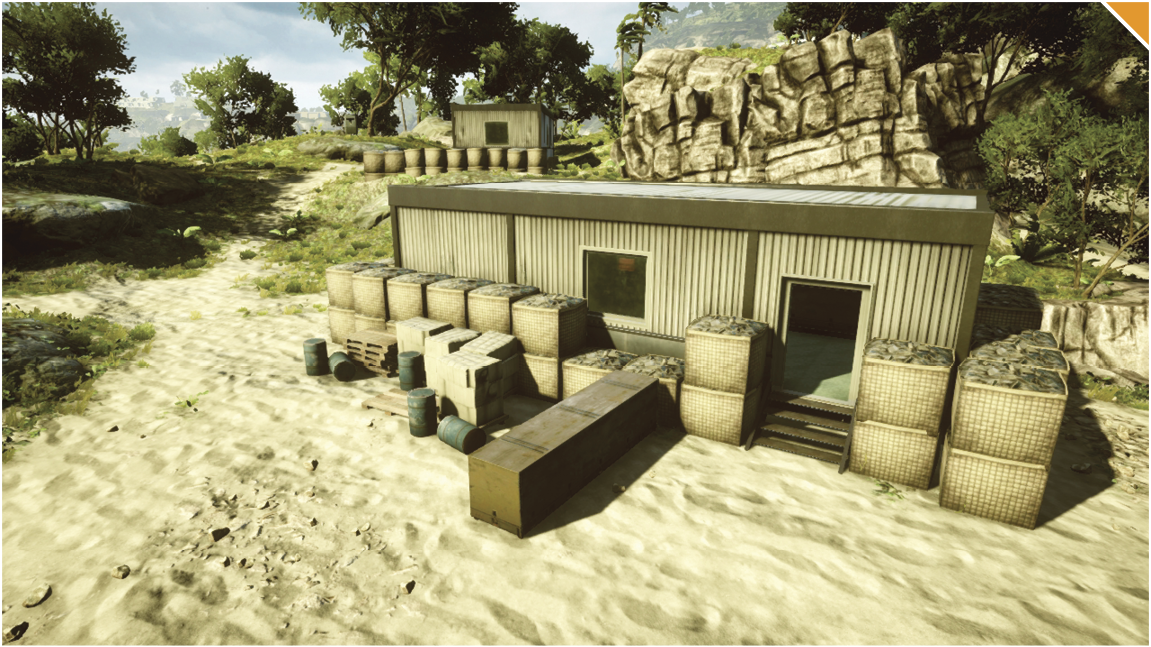
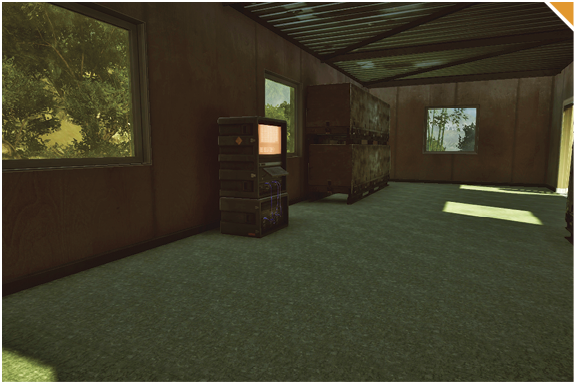
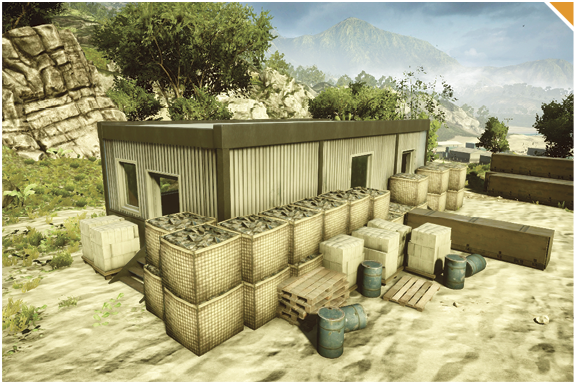
M-COM Station B is located in the northeastern corner of the Dockyard. The objective is in an open warehouse with many items inside and out that will provide great cover.
The warehouse walls are all destroyable. Both attackers and defenders can use this to their advantage. Defenders can destroy walls, making it easier to watch, and the attackers can destroy the walls to reveal defenders inside.
Just south of the open warehouse are four explosive tanks. Defenders can draw in the attacking team and, once they are near, set them off with an explosive, easily wiping out the attacking squad.
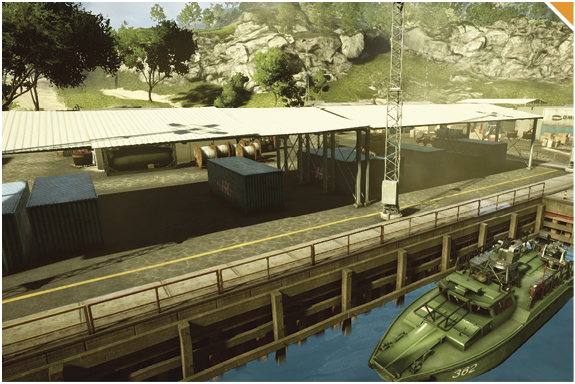
The pier south of the M-COM station has a stationary launcher that defenders will use to assist in destroying incoming vehicles. Make the attackers’ vehicles useless, forcing them to engage by land.
The attacking team will want at least one recon class per squad. It is a long swim from the US deployment zone, so place Radio Beacons in concealed areas, allowing you to spawn teammates near the action.
Zone 2: Hilltop
US Deployment
Recommended Squad Composition:
Deployment Area Assets
Name
LAV-25
Quantity
1
After succeeding in arming both M-COM stations in Zone 1, the US deployment zone is now moved to the Dockyard.
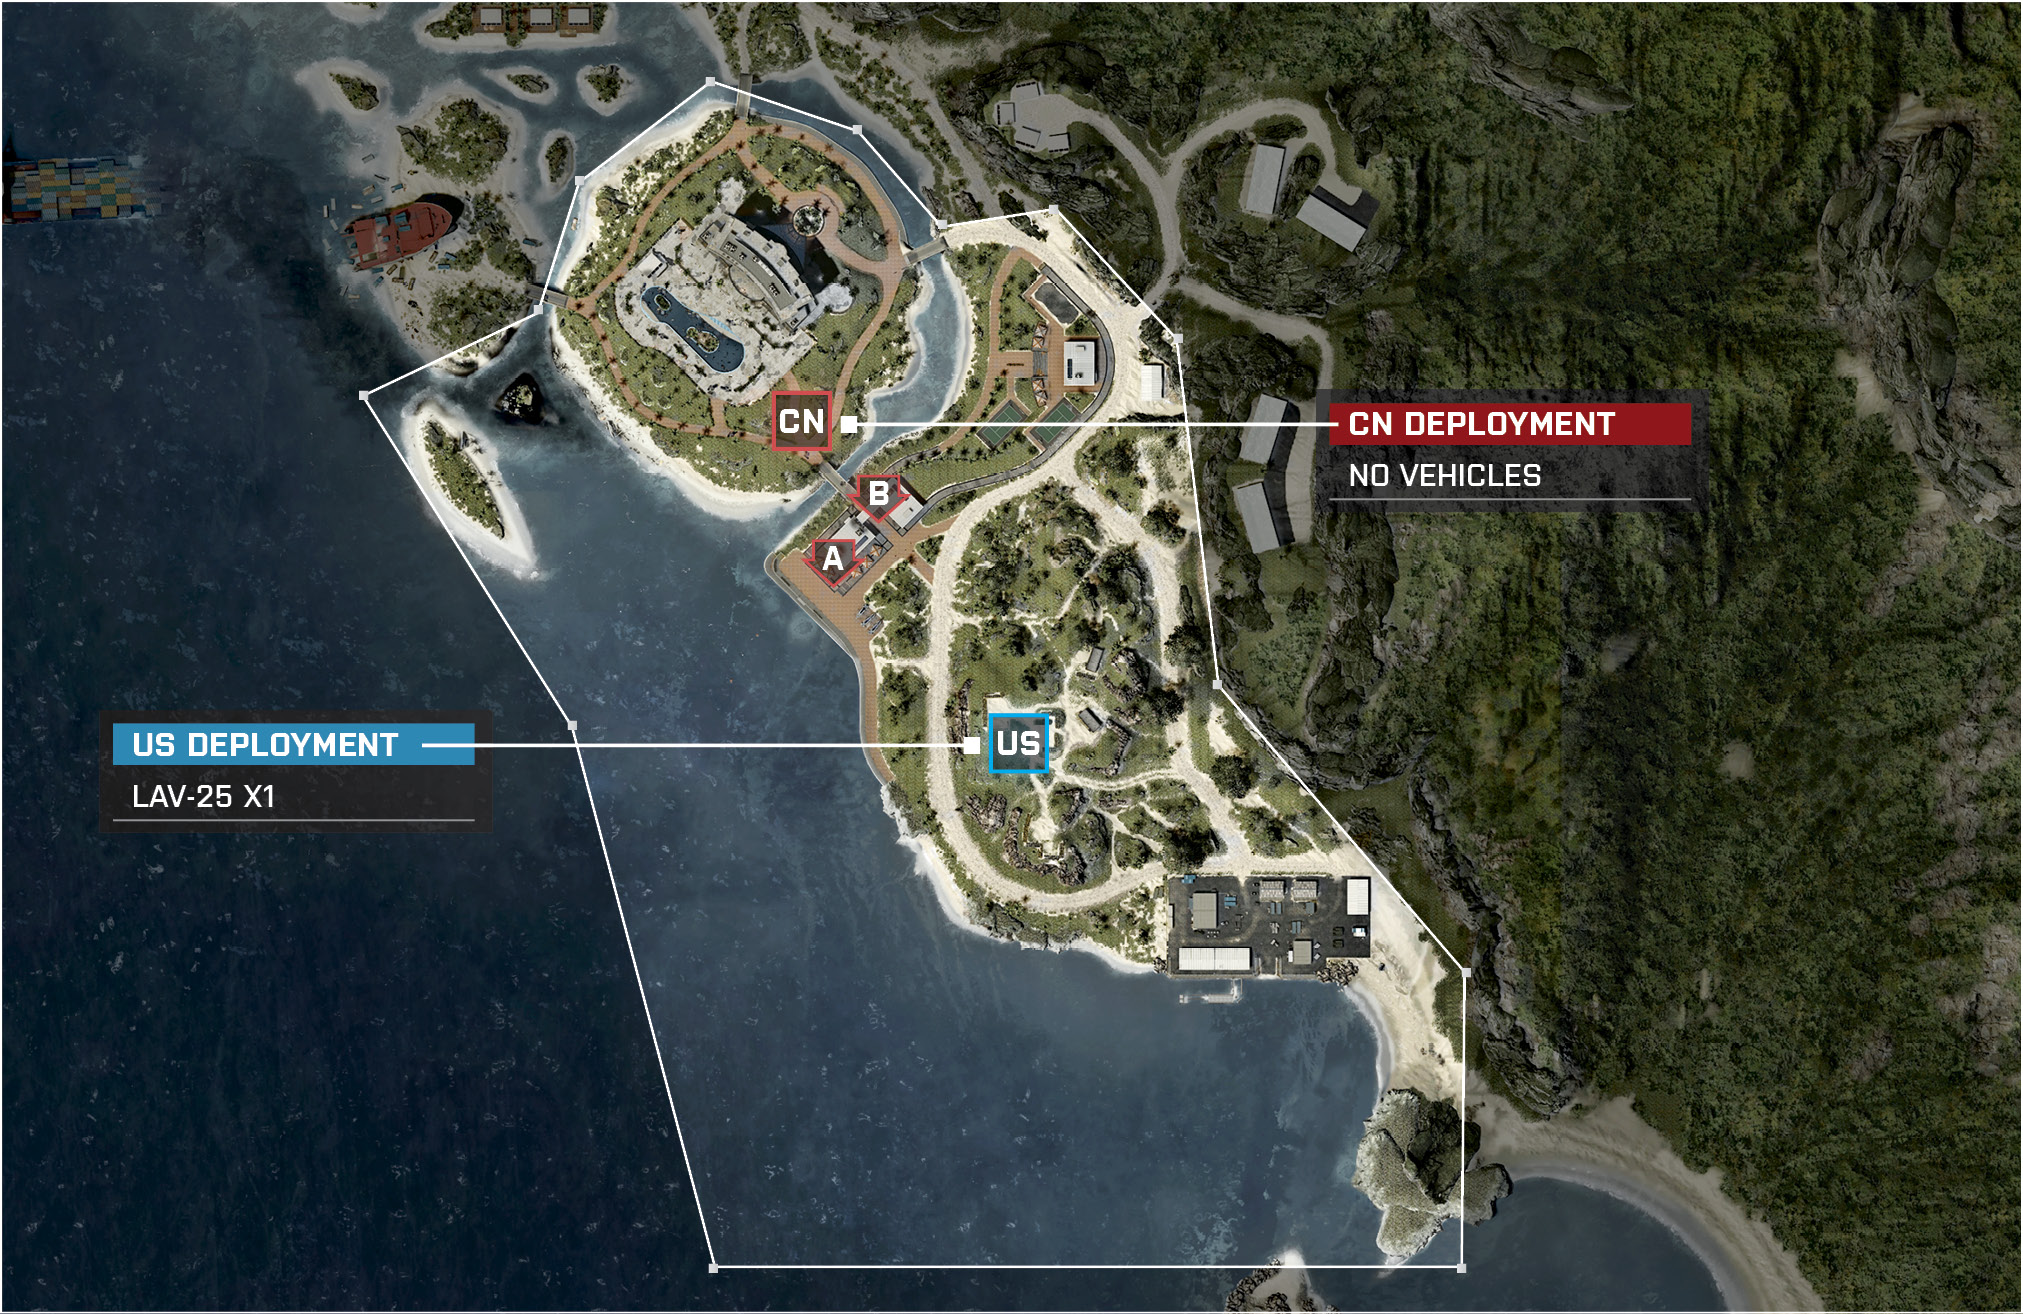
The vehicle count is downgraded in this zone. The US team will only have an LAV-25 at their disposal, but it comes in handy for hammering the Hilltop while the infantry advance.
A squad can perform a successful flank by driving the light water vehicle west of the Hilltop right before the dead zone. This will make you unpredictable, as the CN team will not expect you to take such a risky play.
The enemy has a line of stationary turrets waiting for you at the top of the hill. Be sure to have smoke grenades equipped and blind the stationary turrets’ vision, making them useless. Players equipped with IRNV scopes will excel in this guerilla warfare.
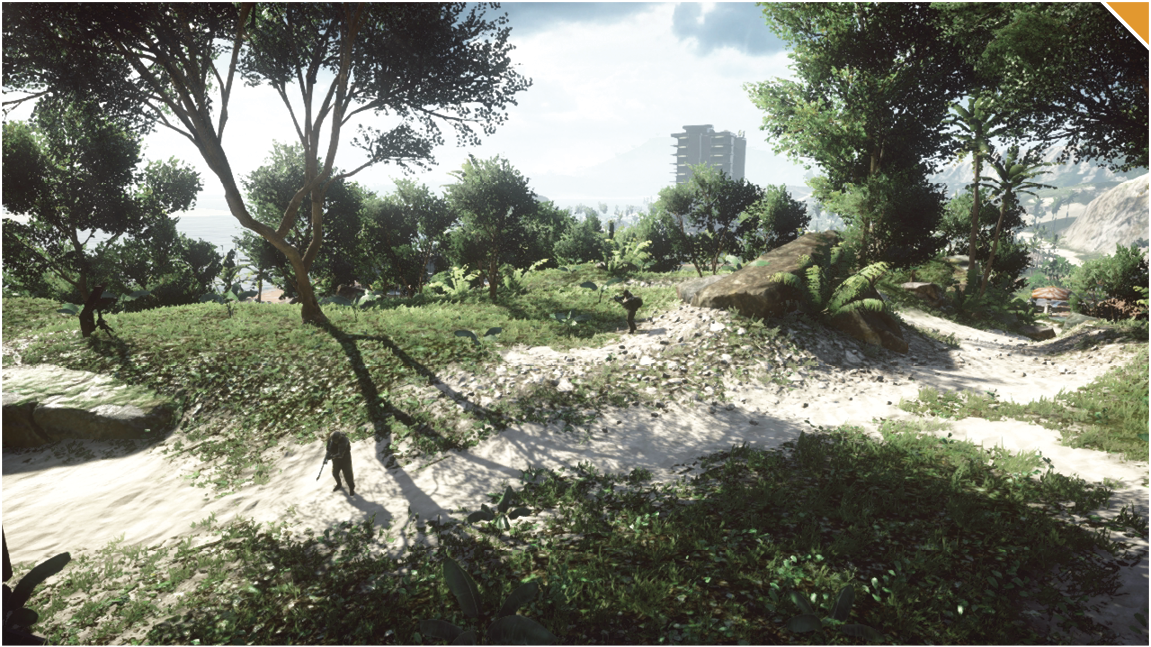
The safest path to the top of the hill will be following the main road and heading north at the fork. The defenders’ stationary turrets will be unable to a get a clear sight on you. Let two squads take this path. Have one branch out along the grassy hill, gaining cover from the rocky and grassy area. Meanwhile, have other squad follow the road the whole way up and control the hill north of M-COM Station B, providing suppressive fire.
CN Deployment
Recommended Squad Composition:
This deployment is located north of the M-COM stations within the forest area.
Your team does not spawn with any vehicles, and the US team spawns with only one LAV-25, but don’t underestimate it. The LAV-25 poses a serious threat, so be ready to have your engineers knock it out with rockets and mines.
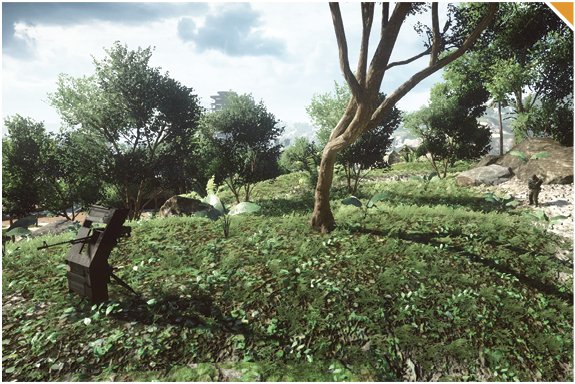
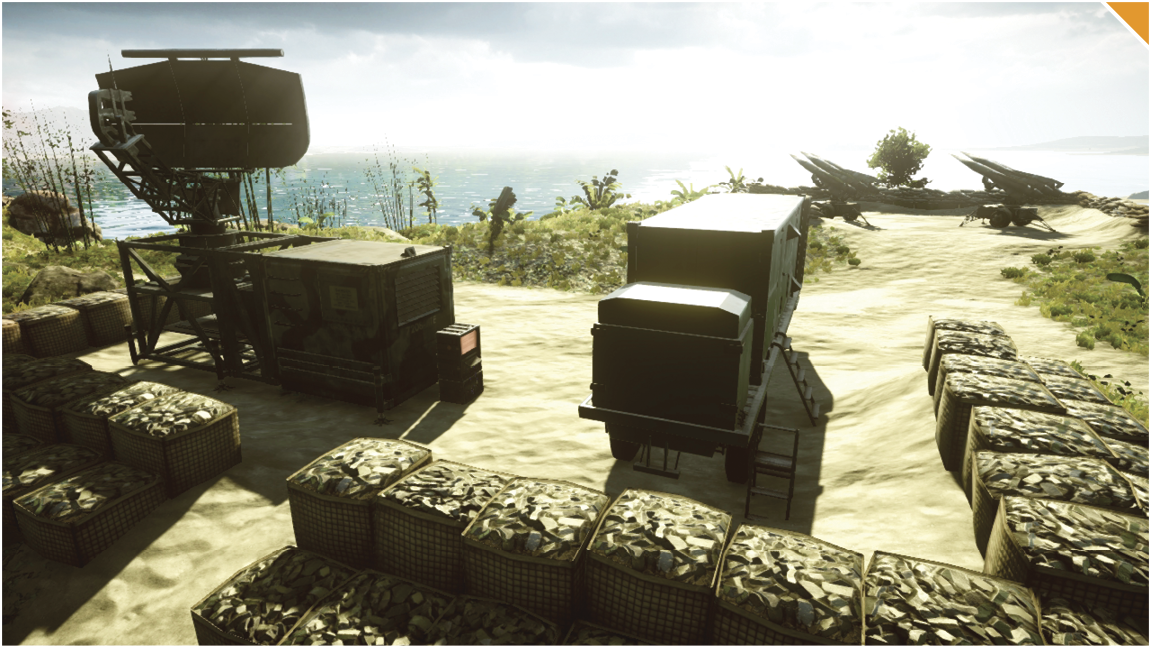
Send a squad west of M-COM Station A. You’ll want to place yourself behind the missile launchers behind the sandbags. This position will be extremely important to protect M-COM Station A.
Send another squad south of M-COM Station A to the top of the hill with boxes surrounding the area. The boxes can be used for great cover. This area overlooks the US deployment and where the US team has to travel to make their way to the objectives. Having the vantage point here will prove useful in holding back the enemy. Also, watch for enemy flankers from the southwest trail leading north of your location.
Northeast of M-COM Station B is another Hilltop overlooking the US deployment and the routes they need to travel to attack the objectives. When at the Hilltop you’ll also be able to cover your teammates on the Hilltop south of M-COM Station A.
M-COM Station A
M-COM Station A is located just south of the CN deployment, in between a truck and a satellite dish with boxes covering the area.
Use the turrets posted in this area to defend the objective.
Defenders strategically have the high ground and have to use it by placing recon units on the hills and sniping the attackers on foot.
When attacking, use the area to the far west to send a squad to flank and create additional pressure to the objective.
When flanking as the attacker, drop a Radio Beacon down to keep the attack coming from multiple directions. This will keep the enemy flustered with nowhere to run and hide.
M-COM Station B
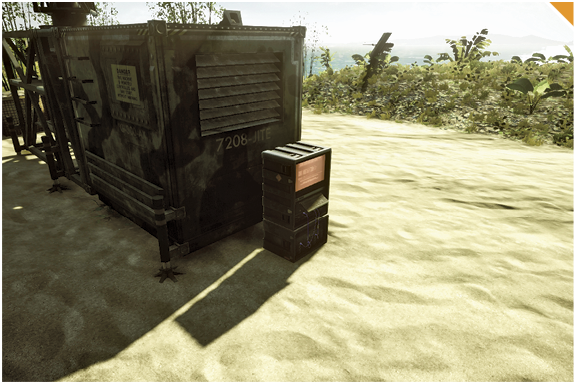
This objective is inside a trailer east of M-COM Station A. The entire trailer is destructible, so beware.
Defenders can plant Claymores at the two entrances of the trailer to stop any attackers who successfully snuck through your perimeter.
East of the M-COM station is a hill that grants players a bird’s eye view of both objectives. Recon players can plant T-UGS in the grassy area while sniping attackers who approach from the east road.
Attackers will have to strategically work with their squad to reach the top of the hill. Throw smoke grenades around the hill to evade the defenders’ sights. Follow the east road while a sniper covers you from a distance.
If following the eastern road proves to be difficult, attackers should fight from the west in a sweep attempt to arm both M-COM stations. The XM25 Airburst will prove effective as the defenders will be taking cover at the various cement blocks and sandbags at the top of the hill.
Zone 3: Marina
US Deployment
Recommended Squad Composition:
Deployment Area Assets
Name
LAV-25
Quantity
1
In Zone 3, the Marina, the US deployment is moved forward to the Hilltop.
The Hilltop provides you line of sights to the roof of the buildings near the objectives. Be sure to punish the CN team if they make their way up here to snipe by picking them off first with your recon players.
When approaching the Marina, the US team will have an LAV-25, which can approach from the land or by water. The LAV-25 should be focused on taking out the CN team’s ZBD-09.
Fill the seats of the LAV-25 to the max and head north along the shoreline. You will be able to supportland units by forcing the defenders away from the shore. Being an engineer as a passenger will keep the LAV-25 alive and score you some easy points.
The LAV-25 will greatly assist in arming the M-COM stations. Players can choose to either drive it through land or attack by water. Coordinate with your team which objective you want to arm first to decide which direction to come from. The LAV-25 can also just run rampant and distract the defenders, allowing you or a teammate to flank past enemy lines.
CN Deployment
Recommended Squad Composition:
Deployment Area Assets
Name
ZBD-09
Quantity
1
This deployment is now pushed back northwest of the objectives. A ZBD-09 spawns here, ideal for countering the US team’s LAV-25. Pack a few engineers in your squad to take out the LAV-25.
The M-COM stations are placed in the Marina, but players are able to travel on the far east side of the map to flank around. Keep a close watch for these enemy flankers, because they could aid in arming the objective.
Send a squad east of M-COM Station A. You’ll find a cement fence surrounding the area. Use the cement fence for cover and to peek and shoot over to take down the enemies approaching from the south and southeast.
Send a squad into the second floor of the building northeast of M-COM Station A to have a better overview of enemies approaching from the south and southeast. This area will be good for the recon class to snipe the enemies from afar.
Send a few players to the roof of the building east of M-COM Station B. You’ll have an incredible overview of incoming enemies to the east and south. Stay near the staircase as you’ll need to drop down for cover if the enemy spots you.
M-COM Station A
M-COM Station A is located on the south side of the large Marina building, just around the corner from the other objective.
There are no vehicles that spawn in for the defenders, making this a very hard zone as far as firepower. By peering out the building’s windows, engineers can target approaching enemy vehicles.
When attacking this station, shoot the building with any explosives to expose enemies inside.
When defending, it will also be smart to move to the roof of the Marina building by using the recon class. Have teammates spot the enemies for you to make it easier to pick them off.
The assault class will need to equip a M320 HE to blow away walls and get rid of any leftover cover the enemies could use.
M-COM Station B
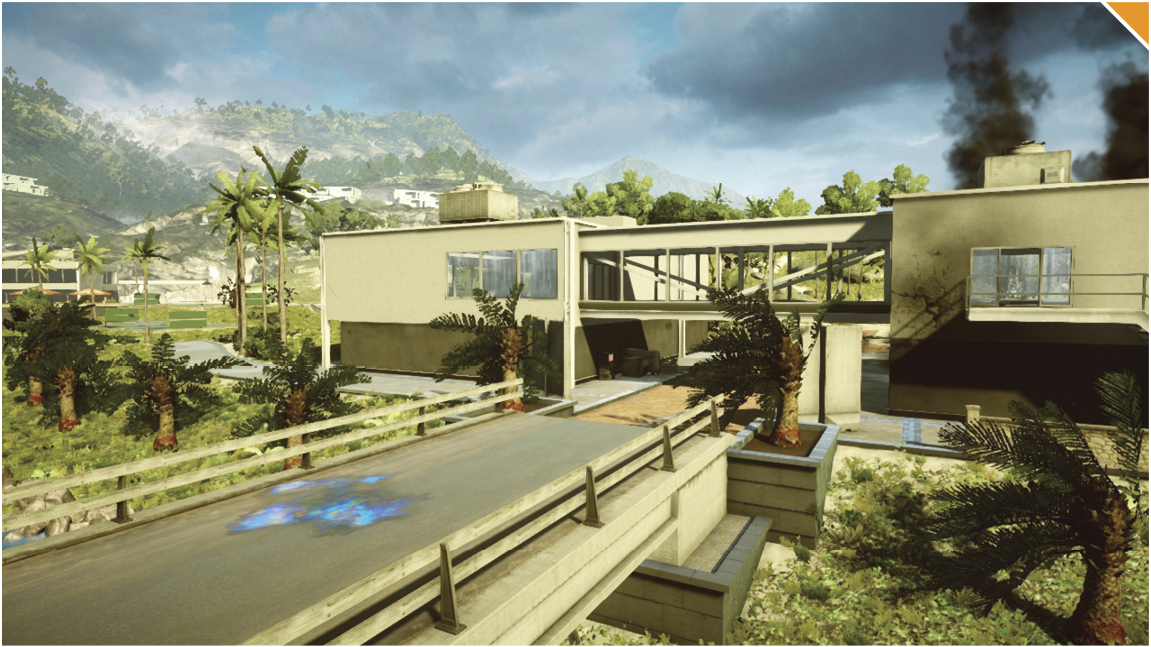
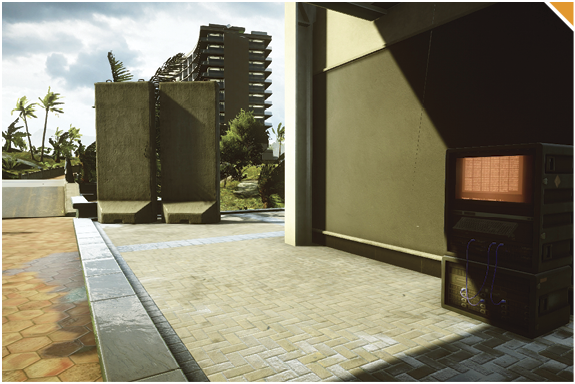
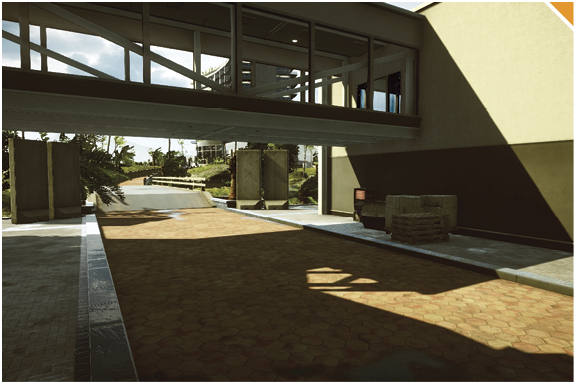
This objective is located in the building east of M-COM Station A underneath the sky bridge connecting both buildings.
When arming the objective, the US team will need to watch the bridge to the north as the CN team will deploy there and try to stop you.
Just east, in front of the building, lies a stationary launcher. This will aid defenders when the US team’s LAV-25 approaches.
Defenders have access to the rooftops, and snipers can pick off attackers running down the hill. Watch out for attacking snipers from the Hilltop.
The building is completely destructible; both teams can use this to their advantage. Defenders will have an easier time watching the objective, but less cover to hide from the US team’s LAV-25.
Zone 4: Hotel
US Deployment
Recommended Squad Composition:
Deployment Area Assets
Name
LAV-25
Quantity
1
In this final zone, the US deployment is moved into the Marina. The team will head north as they try to arm the M-COM stations in the Hotel.
The team once again has a LAV-25, perfect for making the push toward the Hotel.
The CN team has a perimeter of stationary weapons guarding all angles from the sea. Have a recon player ready to use headshots against the defenders mounting these stationary weapons. This will allow your vehicles to take minimal damage when approaching the hotel.
Have squads spread out around the Hotel, giving your team more angles of attack and a better percentage when going in for the arm.
A squad should fill up the LAV-25 and drop squad members east of the Hotel entrance. Have one squad member be a recon player to drop a Radio Beacon, providing a spawn point that will catch the defenders off guard and allow you to flank. During this all, the LAV-25 driver and gunner will be creating mayhem for the CN team, allowing the flanking squad to swiftly enter the Hotel.
CN Deployment
Recommended Squad Composition:
This is the last deployment and it is located northwest of the objectives. Again the CN team isn’t given a vehicle while the US team has a LAV-25, so have a squad with a few engineers to take it out.
Immediately send squads towards the Hotel to set up your defenses before the US team is able to push forward. Defending the Hotel is the key to winning in this last zone.
Place a squad on the second level of the Hotel to have the vantage point over M-COM Station A. Also place Radio Beacons hidden throughout the second-floor rooms to keep your squad spawning in the Hotel.
Place players around the elevators on the second floor near M-COM Station B. This position will allow you to defend both objectives.
You’ll also want a squad roaming around inside and outside level one of the Hotel. The enemies will be sneaking around, trying to make their way up to the second floor. These players will mostly likely die at some point, but have the Radio Beacon inside the Hotel to keep the defenses up.
M-COM Station A
M-COM Station A is located in the main lobby of the Hotel. This station has a few boxes and crates protecting it.
Defenders have no vehicles at this zone, so look to just defend from the Hotel area. There are plenty of angles to shoot from, with four different ways to enter into this building.
Attackers will use this opportunity to gain control over the surrounding perimeter with the light water vehicles and the LAV-25 and will keep the enemy pinned down towards the back of the Hotel.
Attackers going in from the air will need to drop a smoke grenade using the M320 SMK. In this area at M-COM Station A, have support class lay down suppressive fire down while the assault class goes prone within the smoke.
Defenders should position support troops on the second floor, overlooking the lobby. From here they can quickly respond to incursions on any part of the hotel.
M-COM Station B
This M-COM station is located on the second floor of the Hotel above the main entrance.
There are only two ways to initially get to the second floor—staircases located in both wings of the Hotel. Defenders should position themselves on the second floor, watching over these two staircases.
Outside of the Hotel are four destructible poles. Once destroyed, the glass overhangs will drop, creating new routes to the second floor of the Hotel. Attackers will use this to breach the Hotel, so defenders will need to keep a close eye on these areas.
Attackers may want to delay before pushing into the Hotel. Both wings of the Hotel are destructible. This will force the defenders to only defend from one area of the second floor, making them an easier target.
Defenders should have a squad outside of the Hotel, mounting the stationary weapons spread around the Hotel. These will aid in suppressing the attackers and help when destroying the enemy LAV-25.
Obliteration
Recommended Squad Composition:
The US team needs to guard the targets around the Bungalows and Freighter area.
The CN team needs to set up a perimeter to guard the objectives around the Marina area.
The Hotel is the location of the bomb. A well-organized squad can establish a defense line, allowing teammates to move in and grab the bomb.
Both teams should utilize their IFV to transport the bomb carrier. The IFV can also push into enemy territory and clear out enemies before the bomb carrier moves in.
Have an extra recon player on your squad. Players can snipe on top of the Hotel, picking off the opposing team’s squads. Place Radio Beacons here to spawn teammates into the action.
Defuse
Recommended Squad Composition:
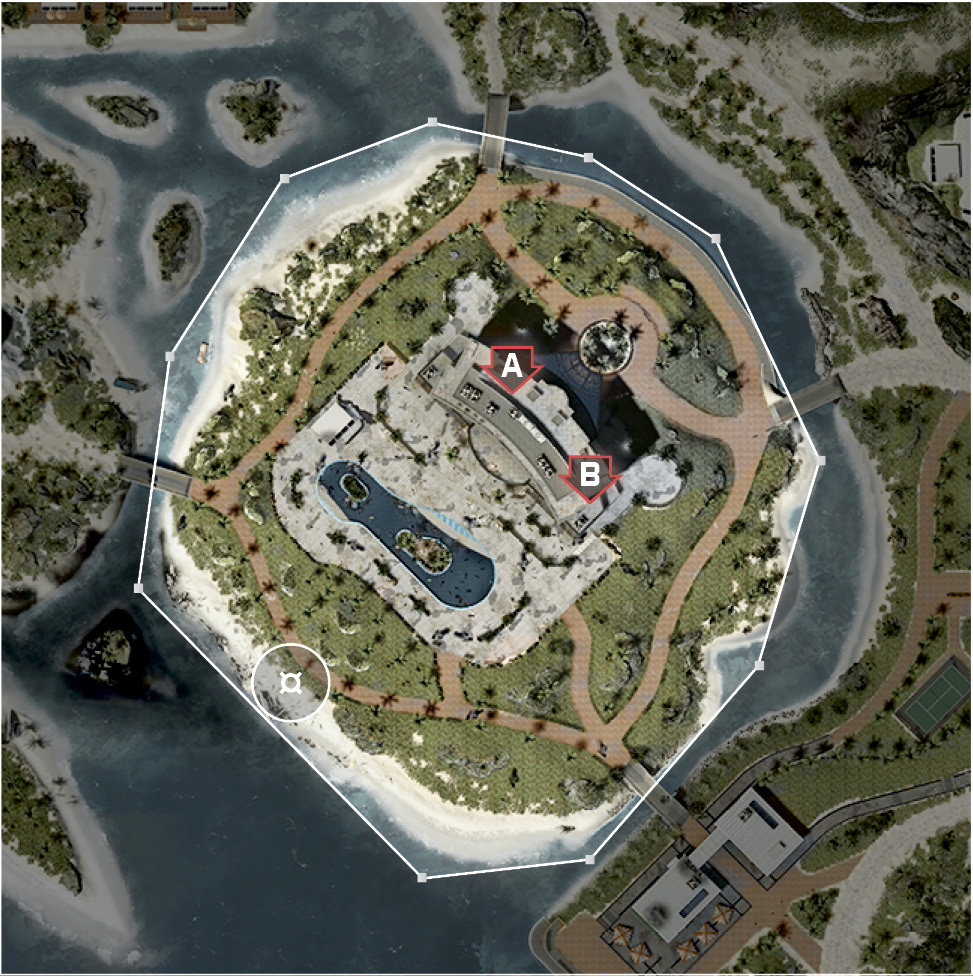
This confrontation between the US and CN teams takes place at the Hotel. The US team spawns on the shore to the south and the CN team deploys in front of the main entrance of the Hotel.
Laptop A is located in the corner of the Conference room located in the west wing. This open space makes it easier for the attacking team to arm.
Laptop B is positioned on the second floor of the Bar located in the east wing. Defenders can crouch behind the counter in the Bar.
The CN team should set up a perimeter on the second floor of the Hotel. This second floor provides all the defensive line of sights you will need to stop the attacking team.
The attacking US team should destroy the pillars holding the glass overhangs around the Hotel. The defenders are on the second floor, and this allows you to breach the Hotel from the outside instead of just running in and being shot from above.
Domination
Recommended Squad Composition:
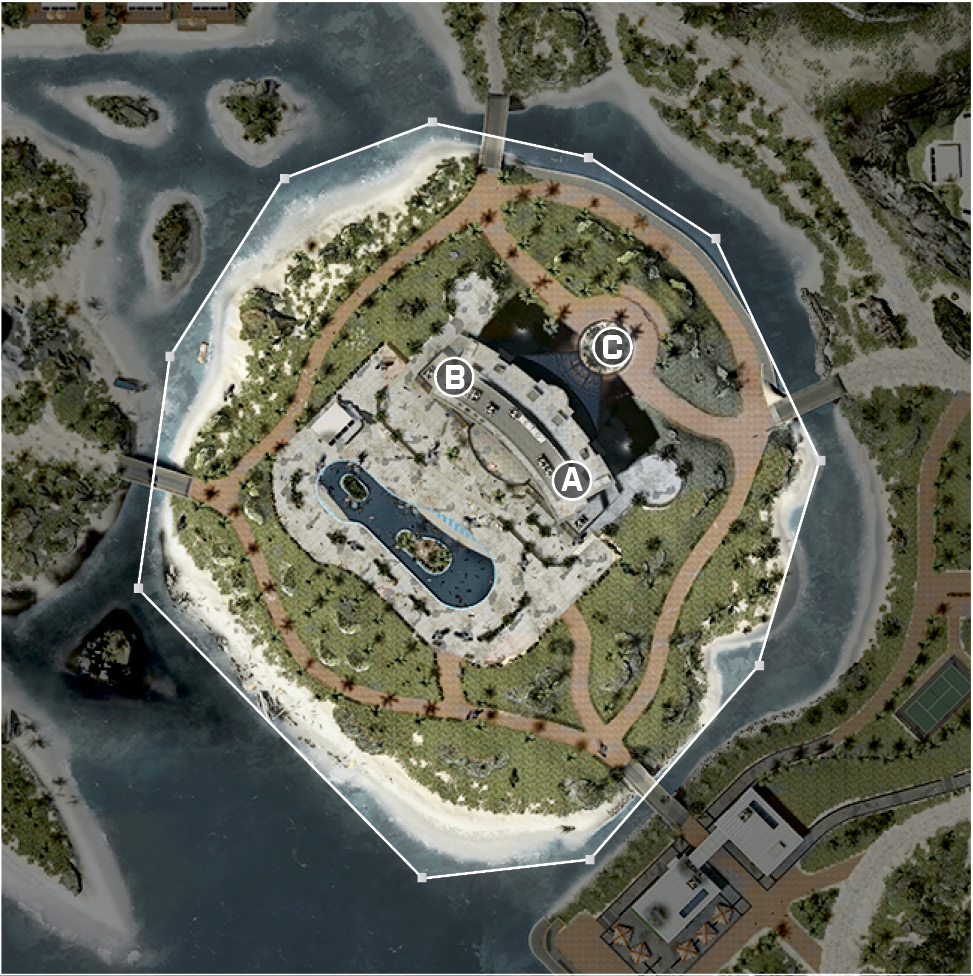
The three control points on this map are the Bar (A), Conference (B), and Parking Lot (C).
A M32 MGL is north of the Bar (A) between the second floor elevators. This battle pickup helps control the Parking Lot (C) as you watch from second level.
Always watch objectives from above once captured. This puts you in a better position than fighting from the ground.
There are destructible pillars around the Hotel that create new entrances into the Bar (A) and Conference (B).
Use Smoke Grenades near the Parking Lot (C) since this is the most vulnerable position when capturing.
Squad Deathmatch
Recommended Squad Composition:
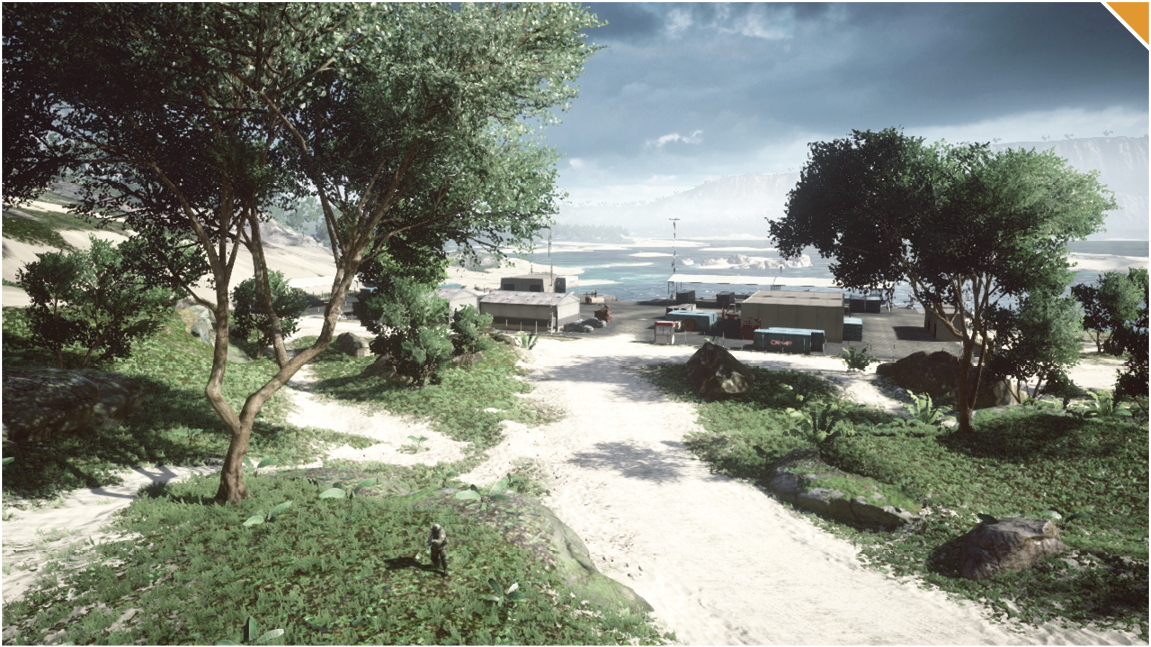
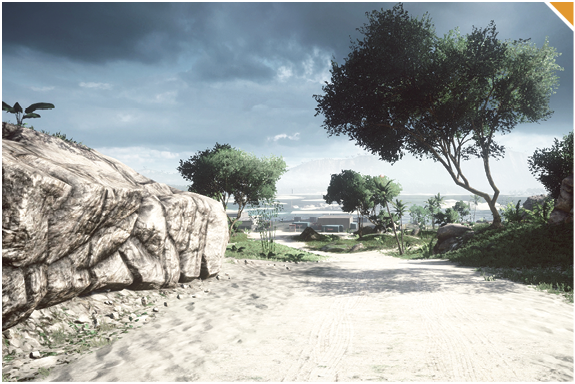
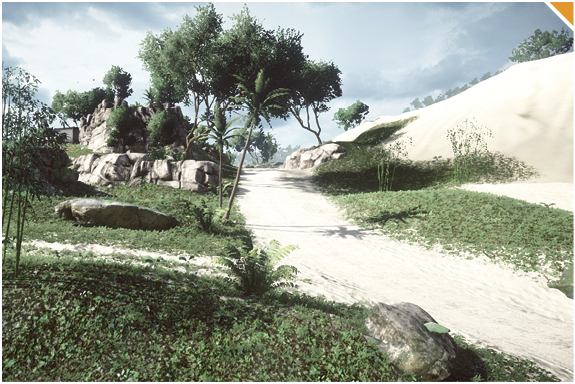
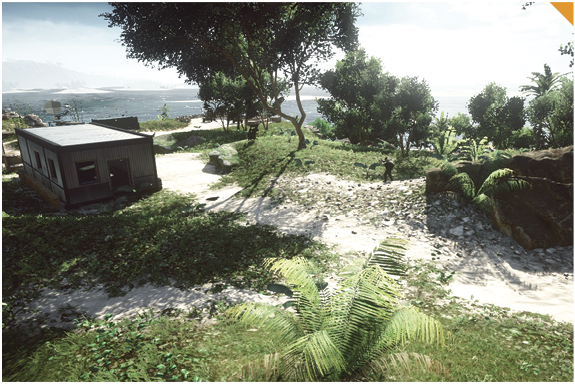
Prepare for constant guerilla warfare the entire match as squads battle in the desert jungle area near the Bungalows.
Snipers enjoy getting to the top of the few hills as they are camouflaged from enemies, giving them all the time they need to snipe.
Recon players can also snipe from the Bungalows and take cover in the various rooms in the area.
The tall brush allows engineers to drop M15 AT mines that appear hidden to incoming enemy IFVs.
Move with your squad throughout the entire game as you can catch a few opposing players by themselves, giving you easy points.
Team Deathmatch
Recommended Squad Composition:
Prepare yourself for an explosive Team Deathmatch game mode. Players are fighting outside near the pool, inside the Hotel, and even on some rooftops.
Defending the pool area with a recon player sniping near the southwest shore allows total control of this area. Be sure to use the cement fence for cover.
The second floor of the Hotel is a safer location as it does not force your team to expose themselves. There are a few battle pickups in the Hotel—utilize these correctly and the enemy will never make it through the front or pool doors.
Throw down Radio Beacons inside of the Hotel to allow your team to constantly spawn within.
The front of the Hotel has a lot of tall brush and a cement barricade near the dead zone of the map. If your team has the lead, this area is great to hold as it forces the enemy to approach from one direction.