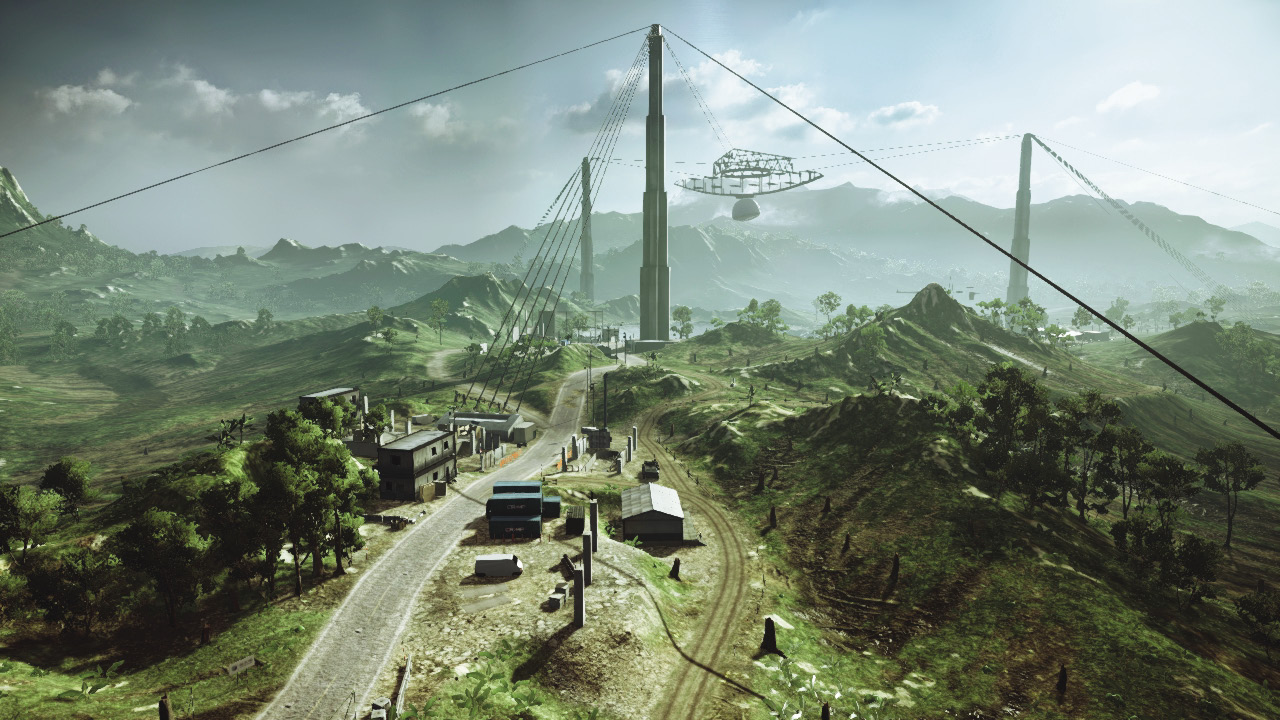
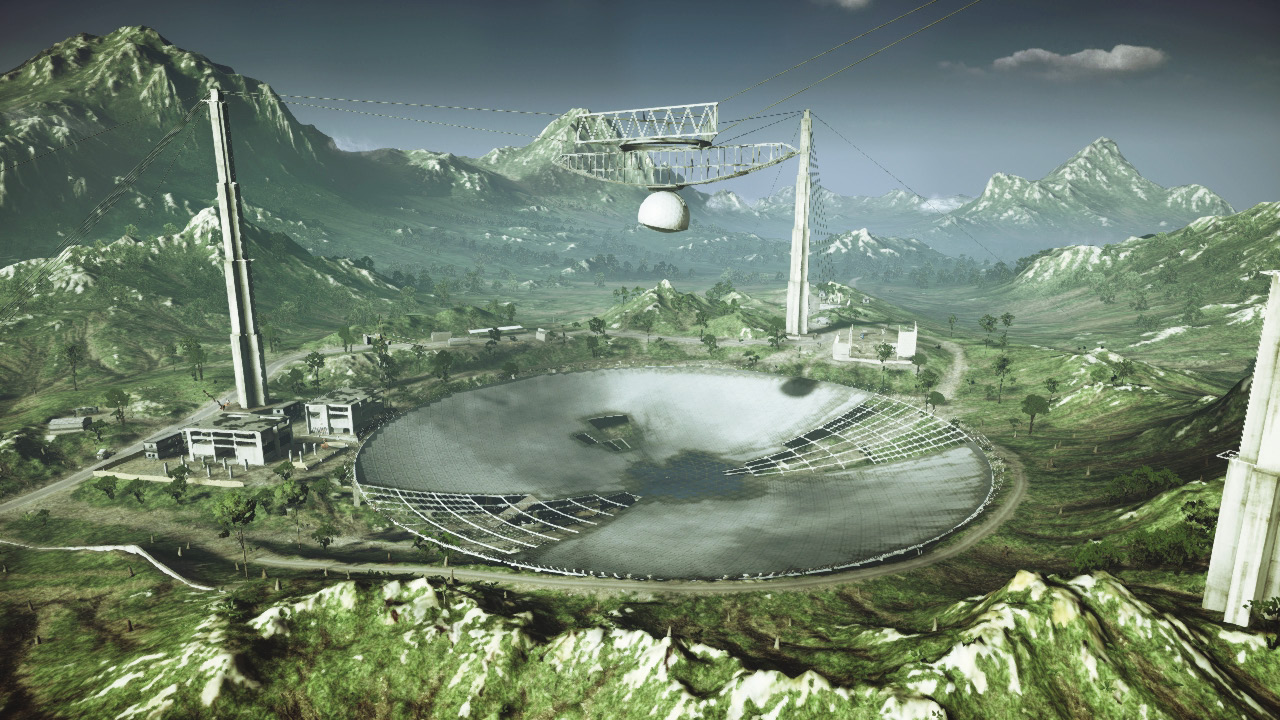
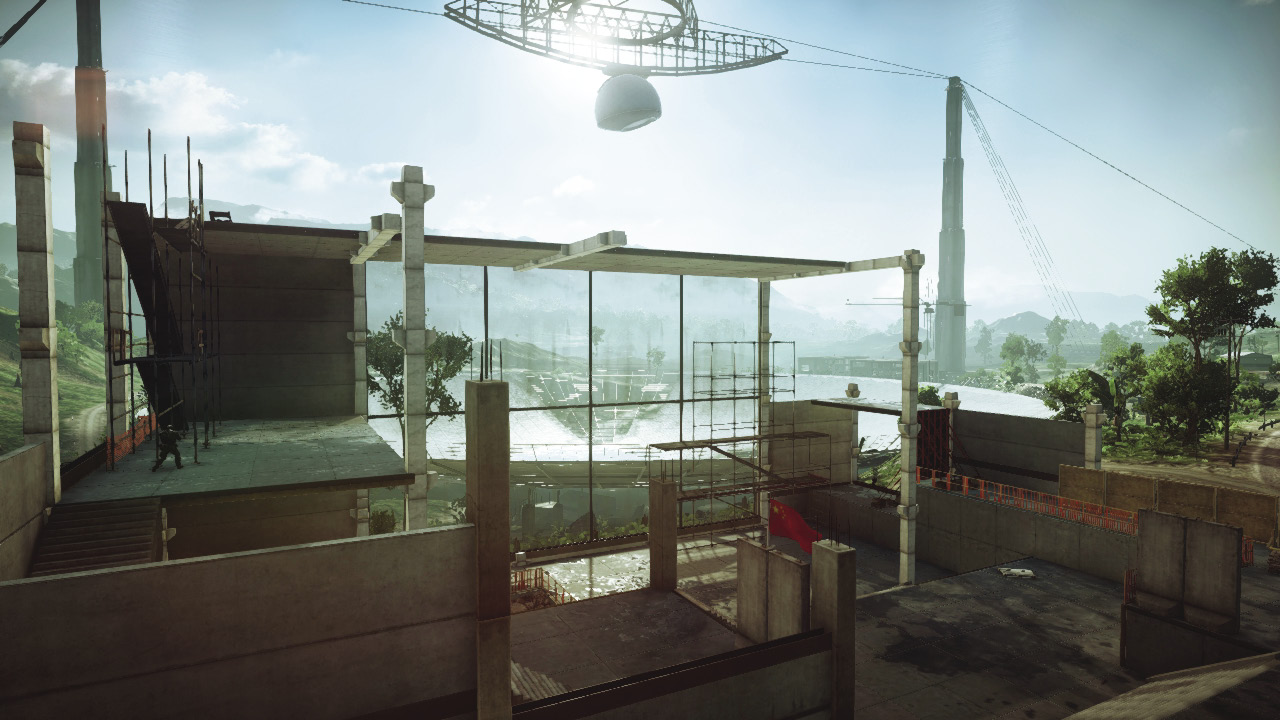
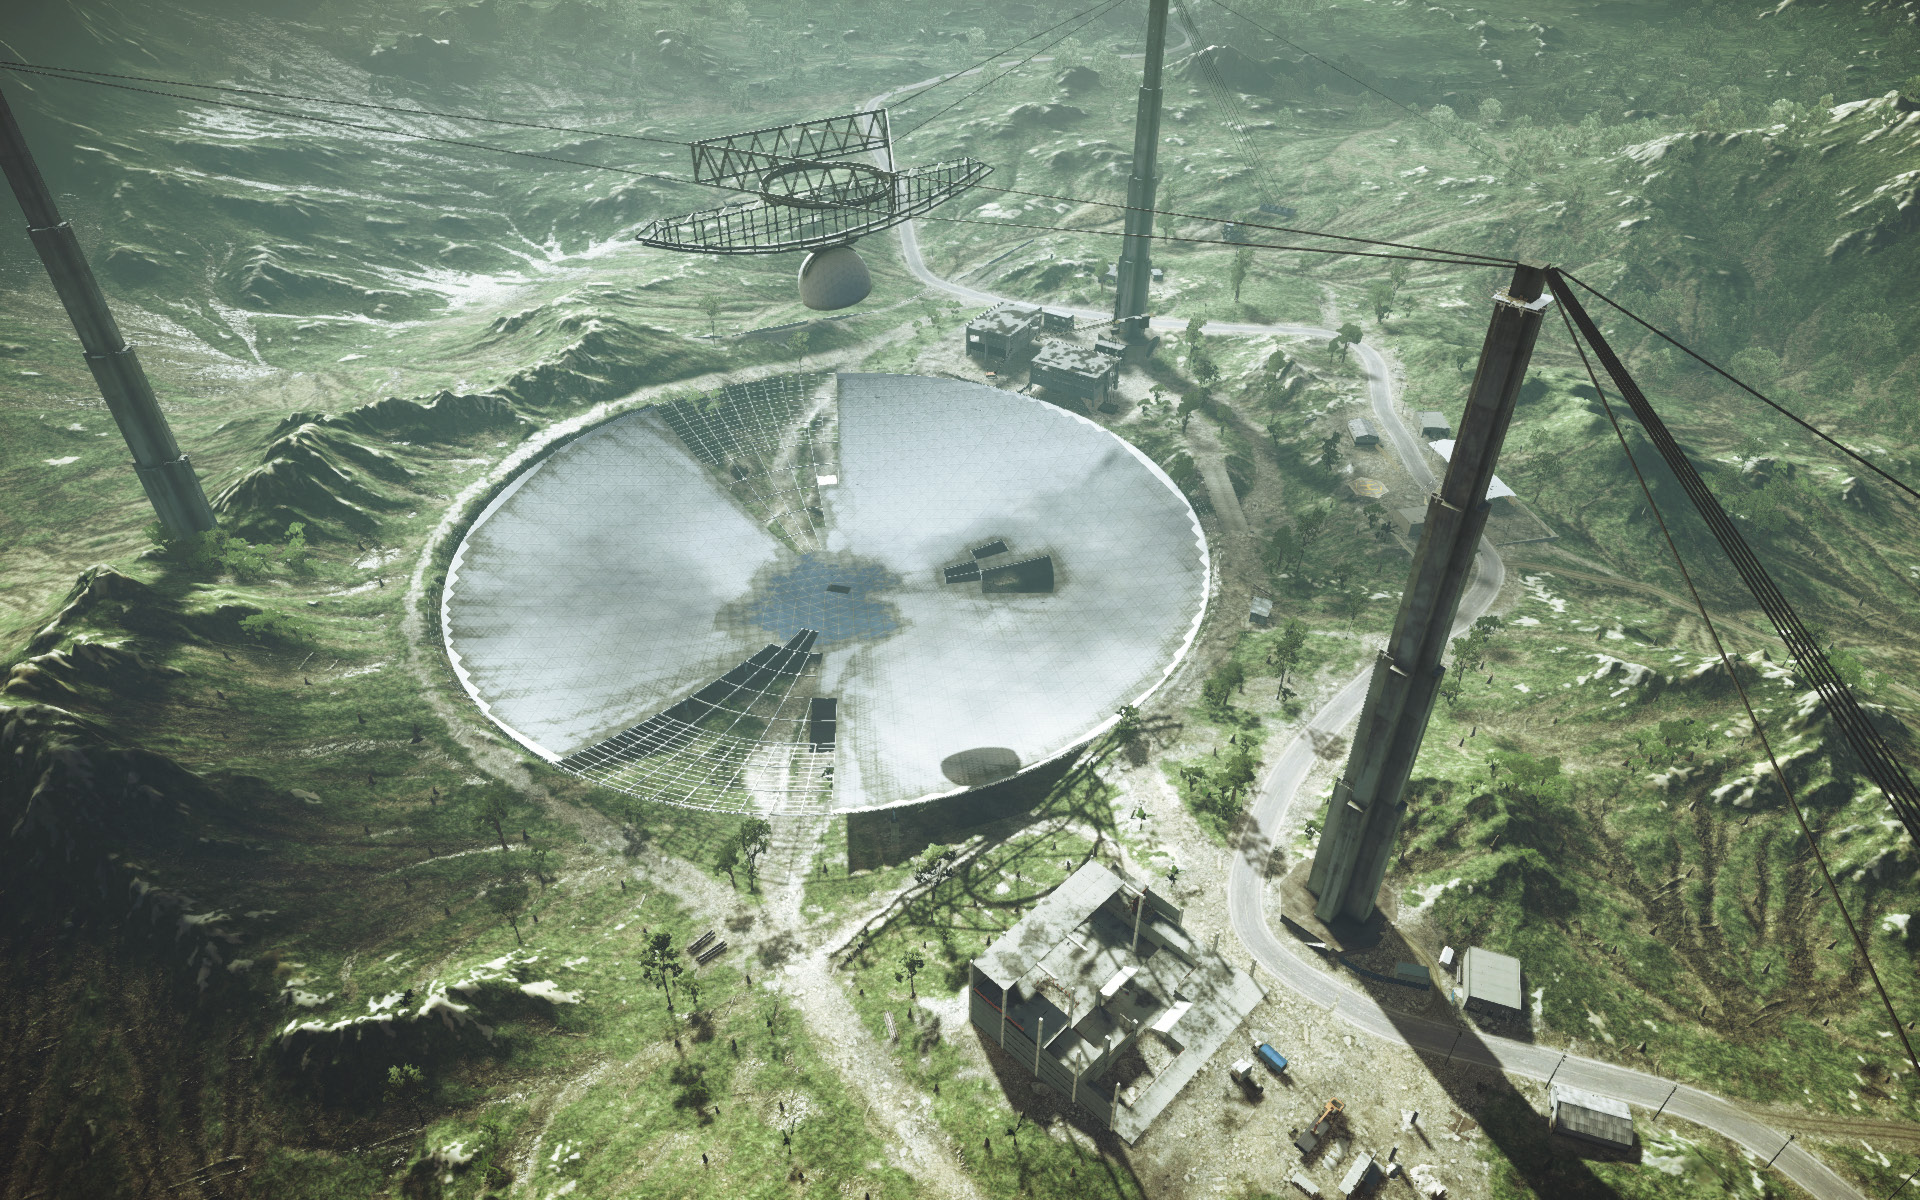
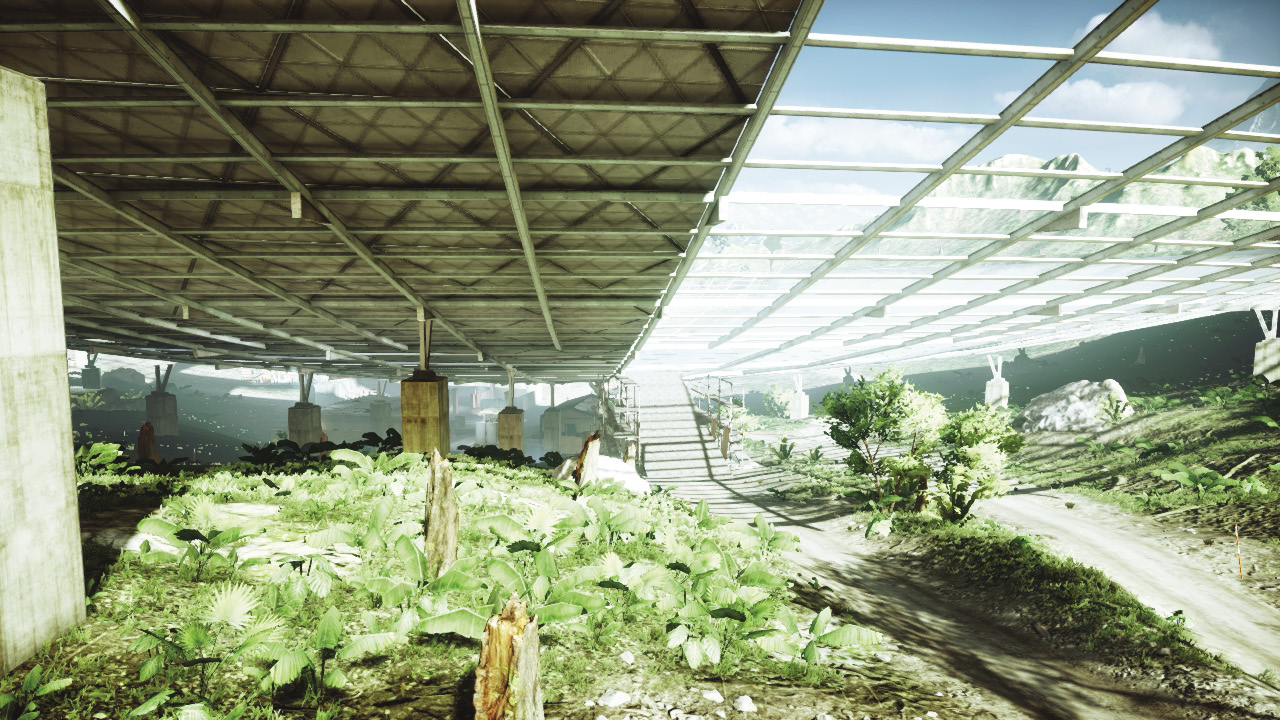
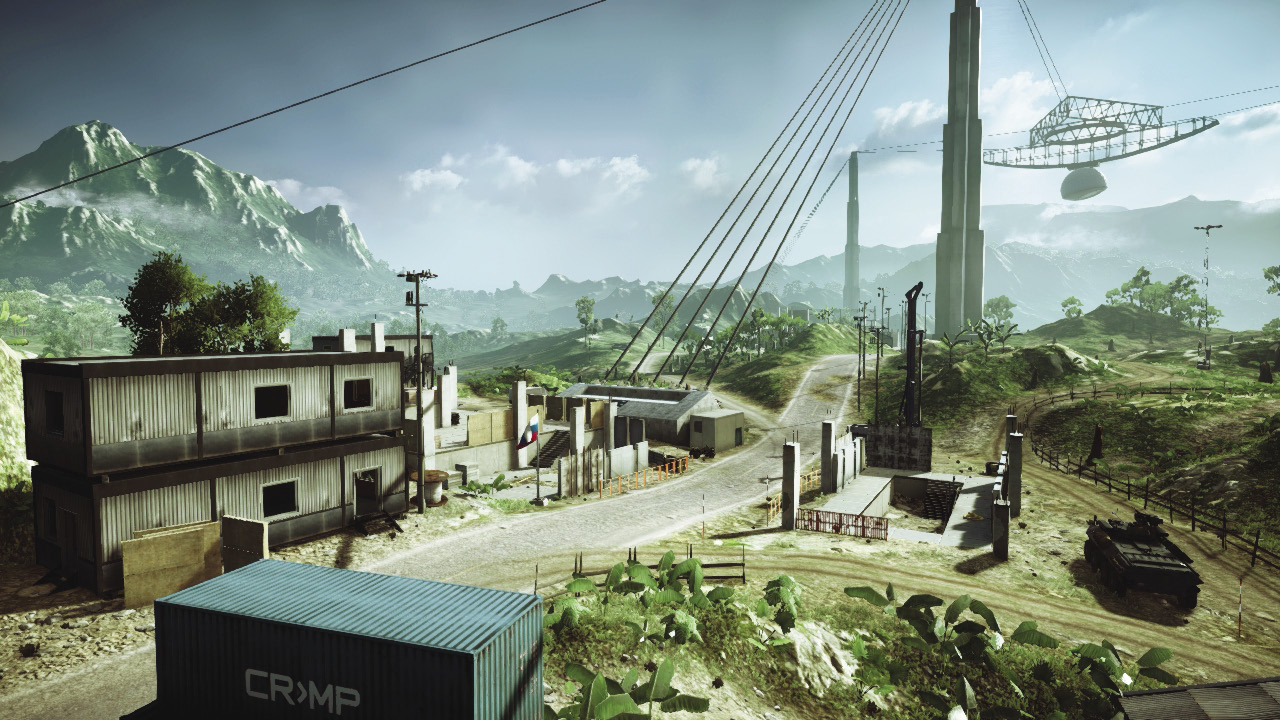
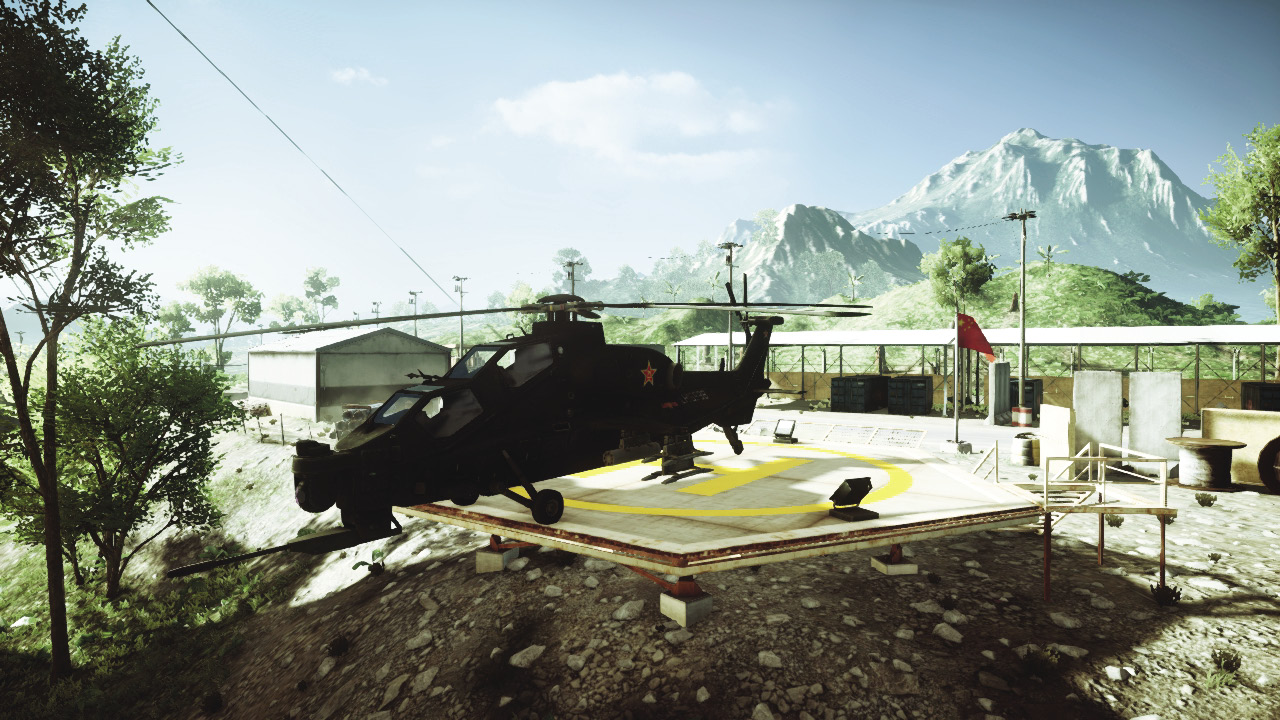
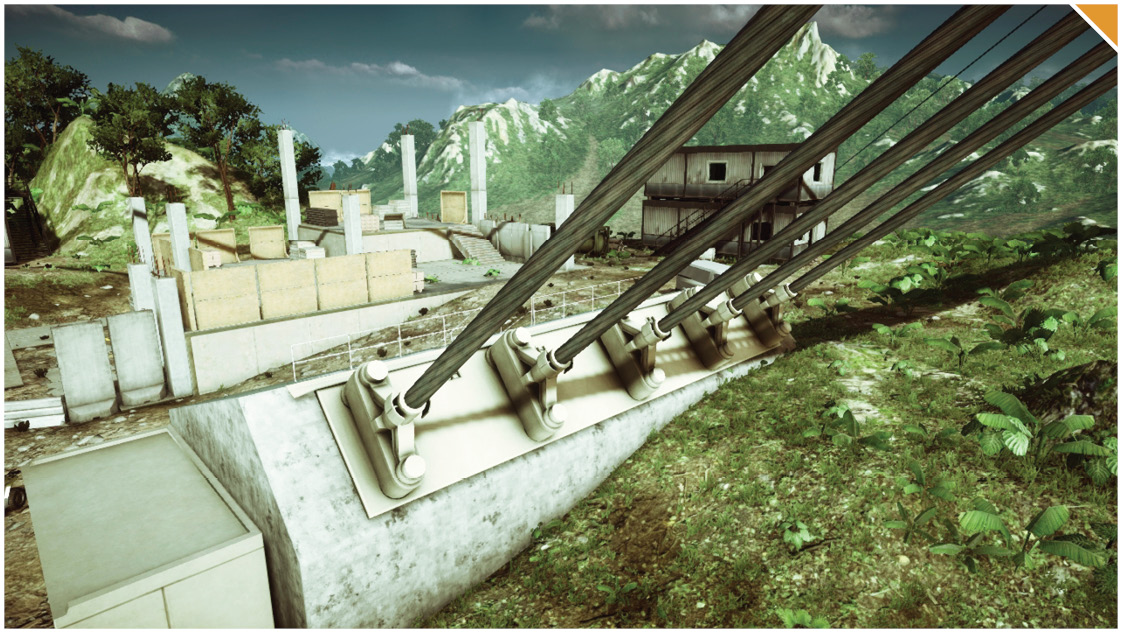
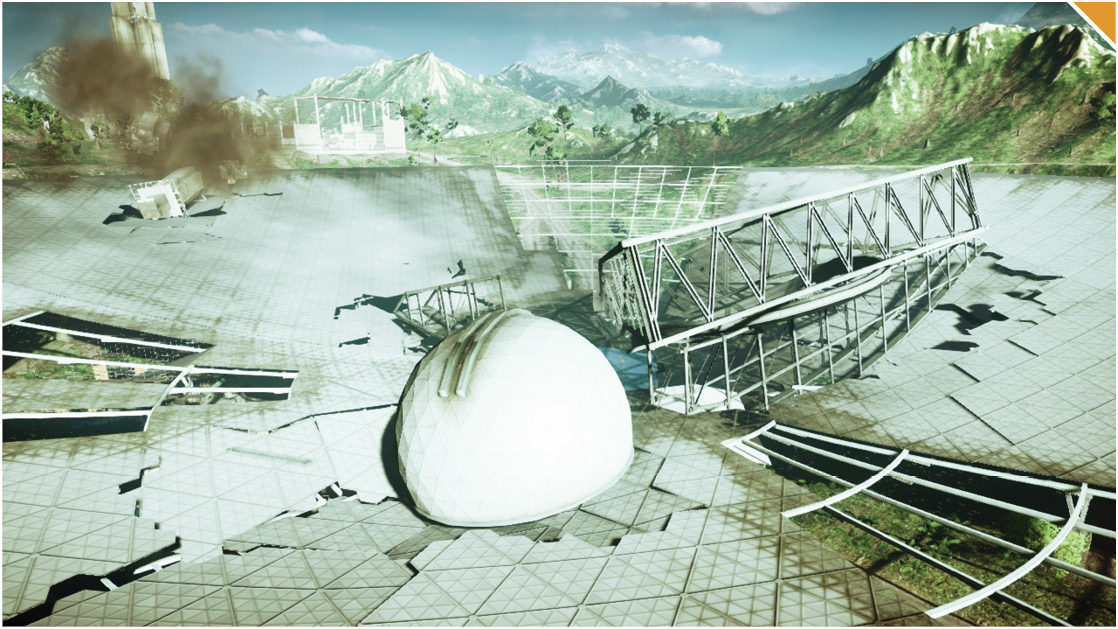
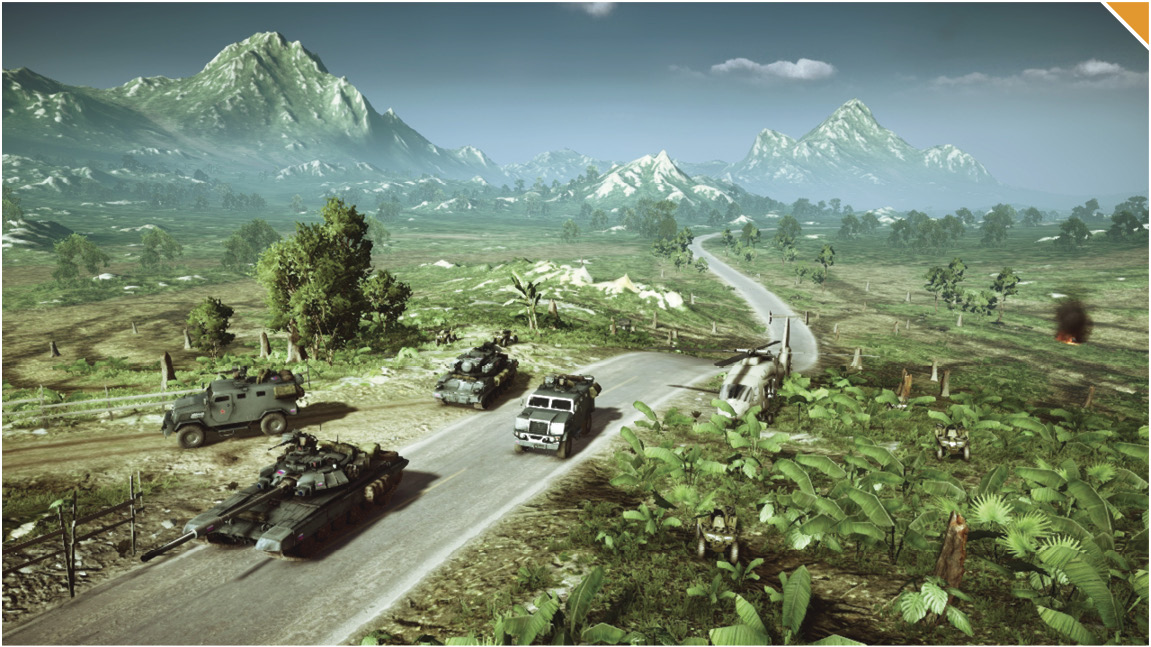
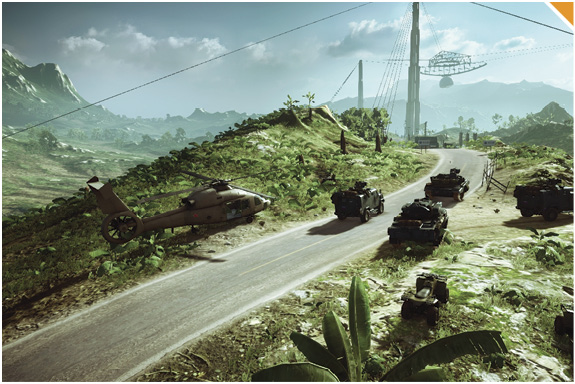
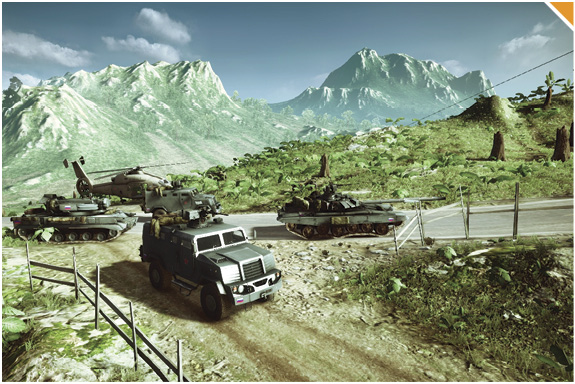
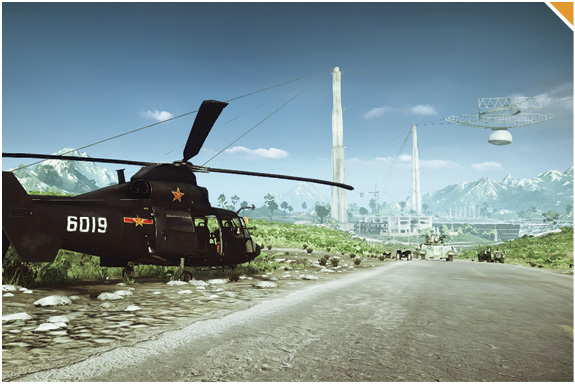
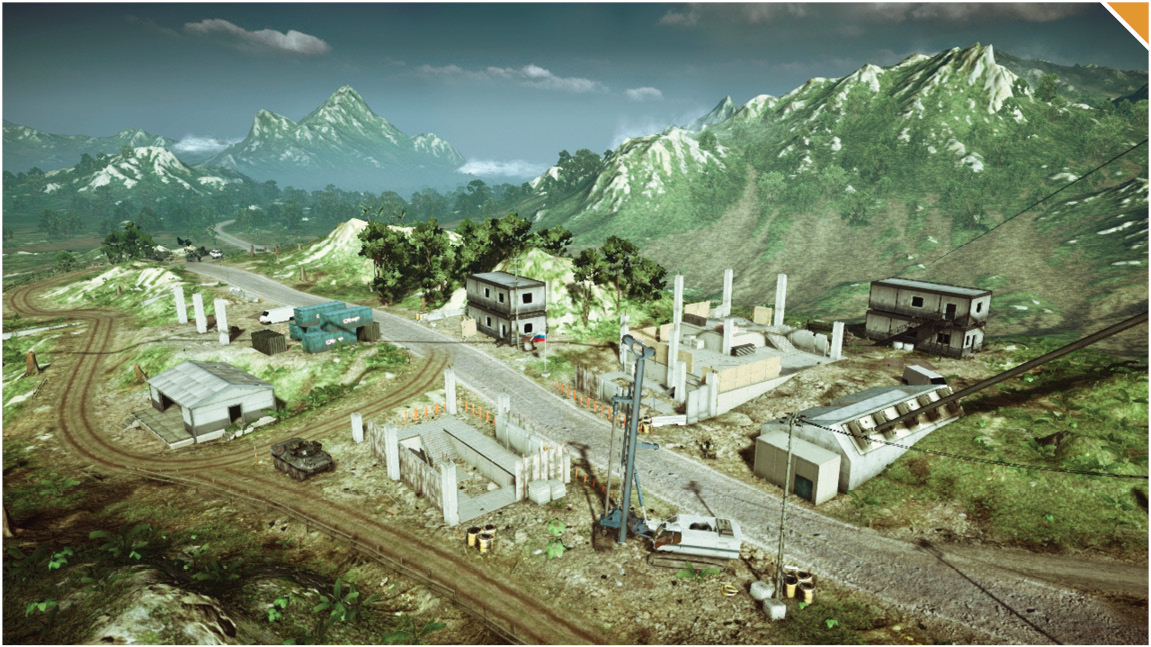
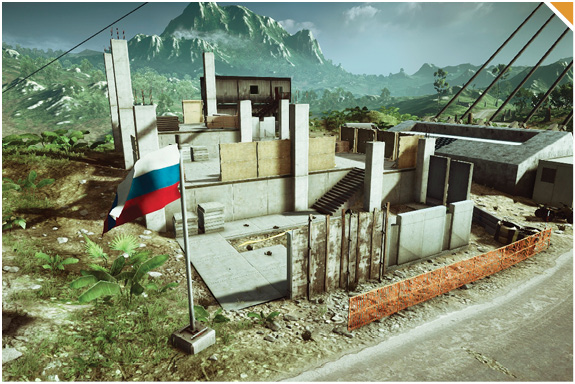
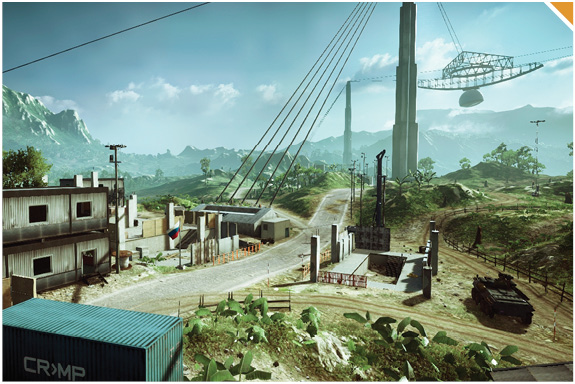
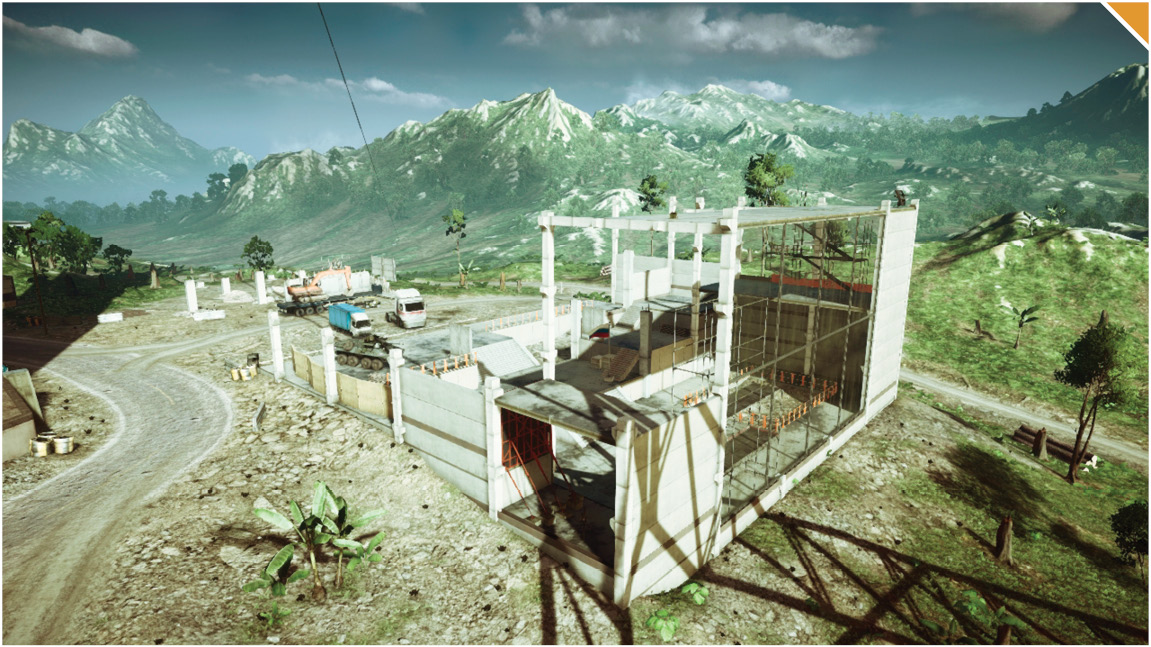
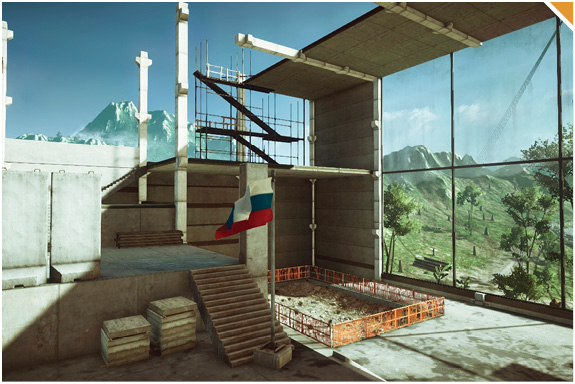
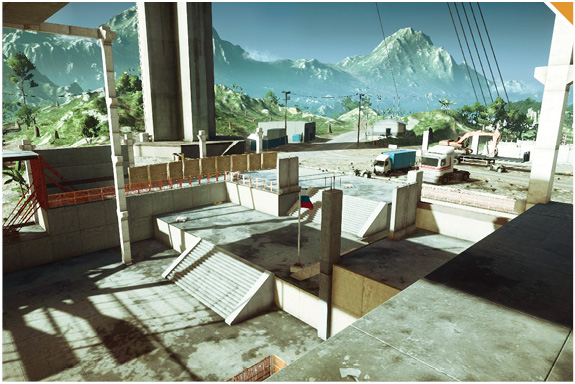
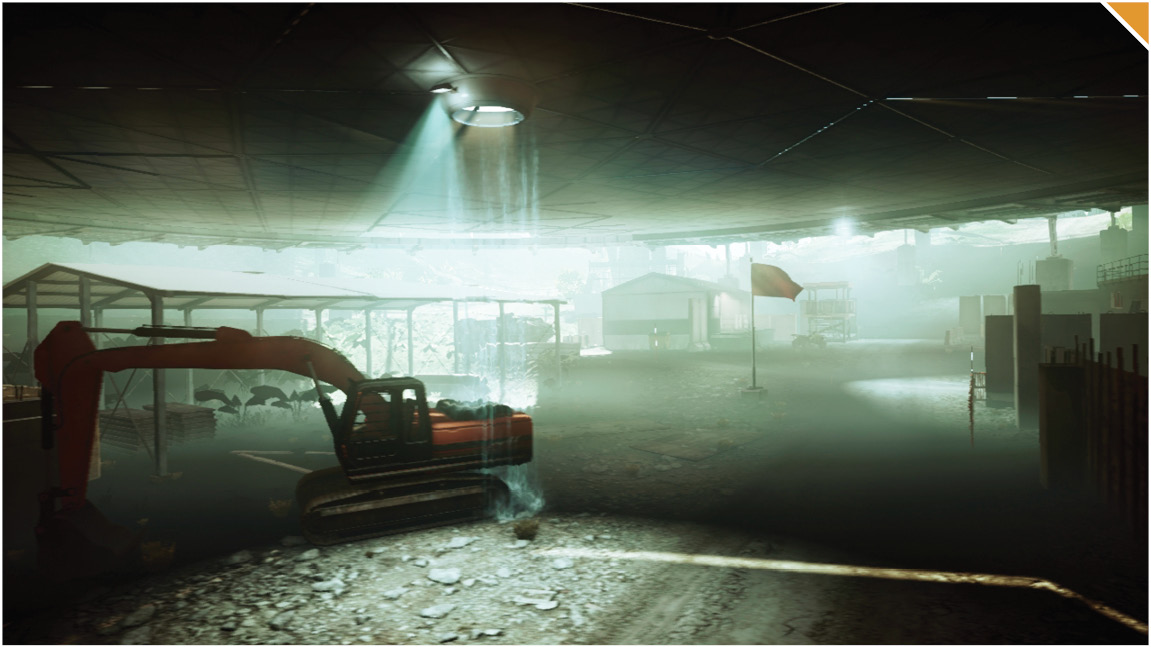
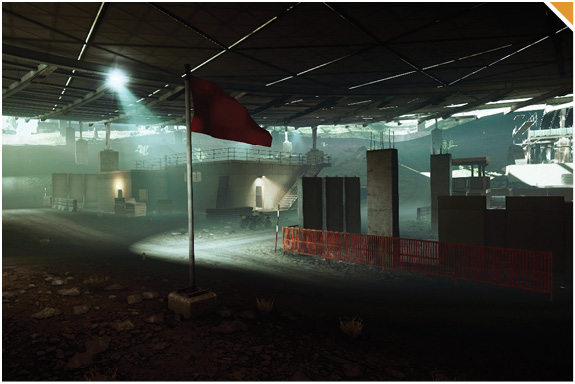
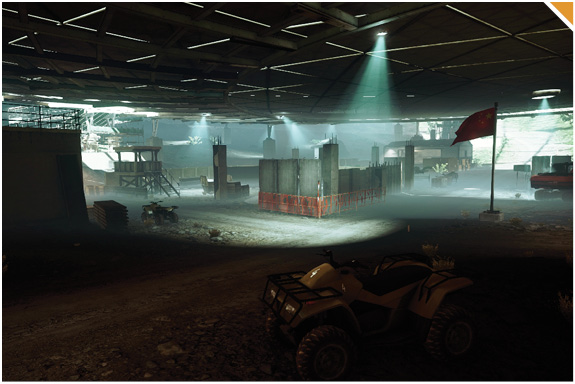
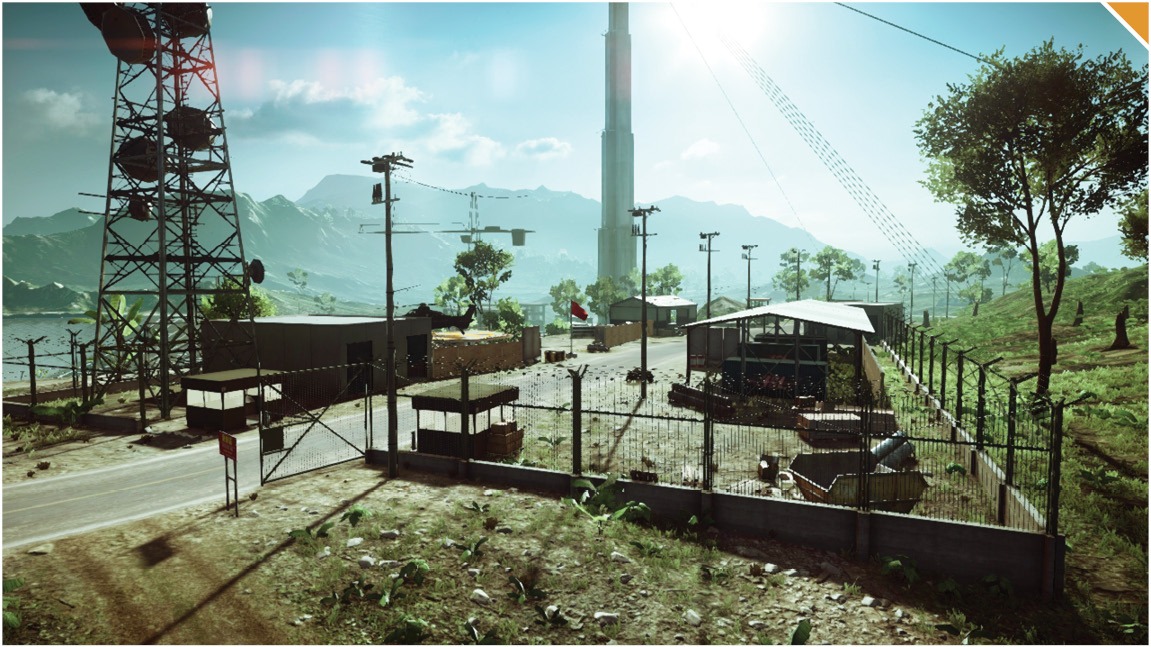
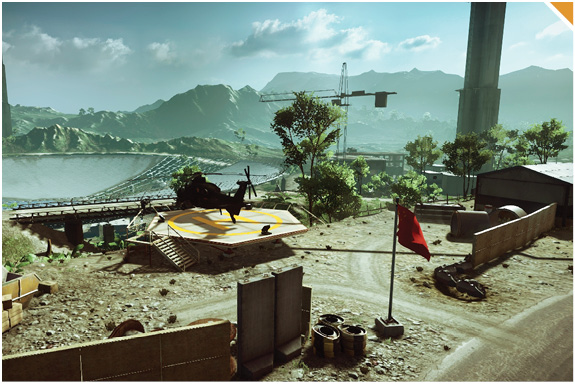
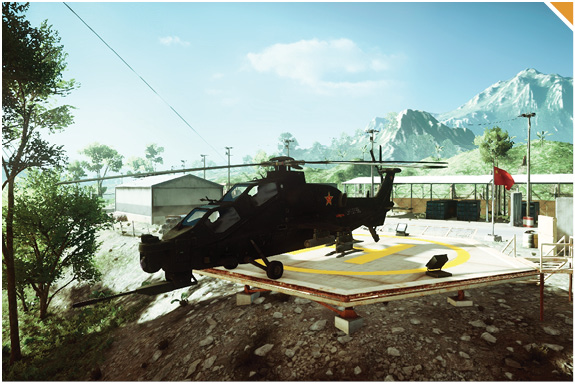
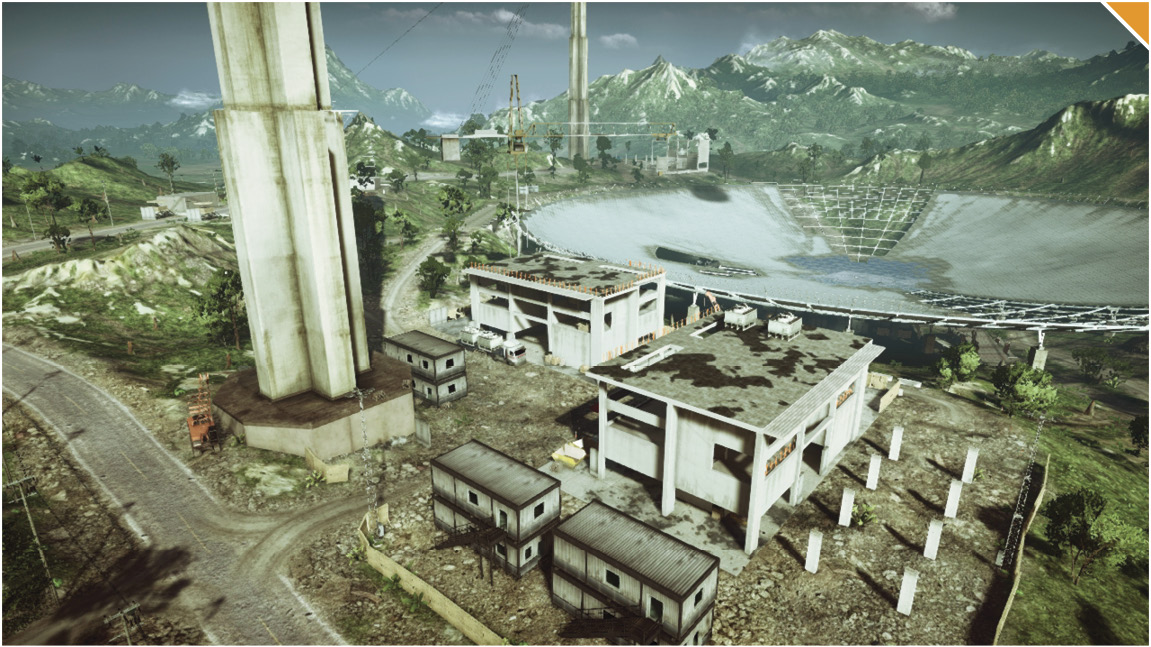
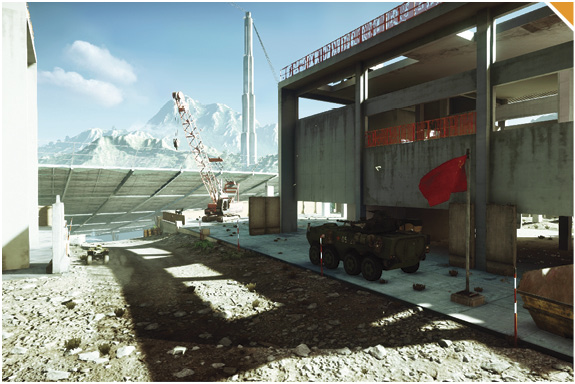
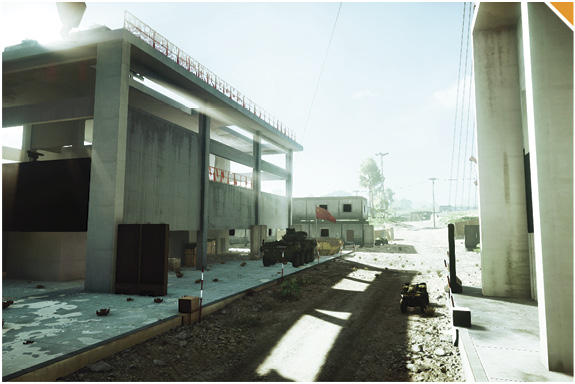
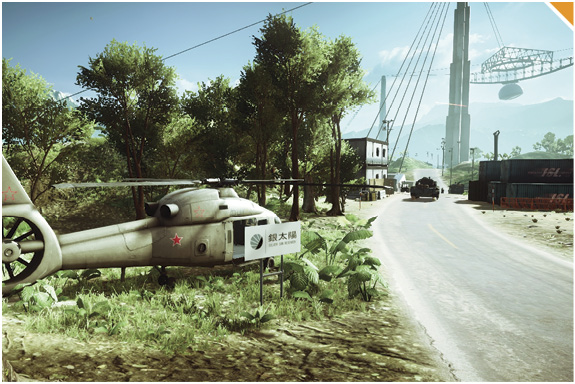
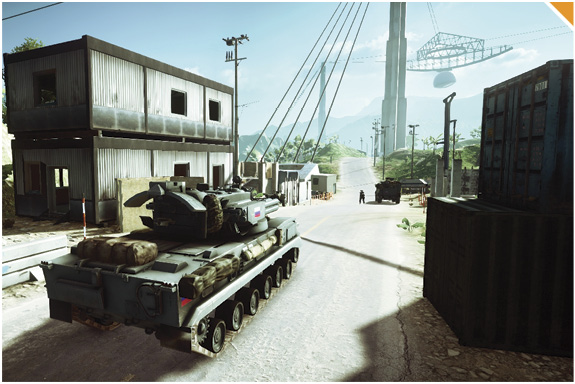
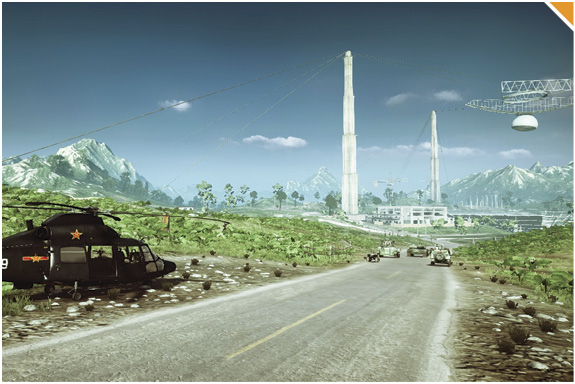
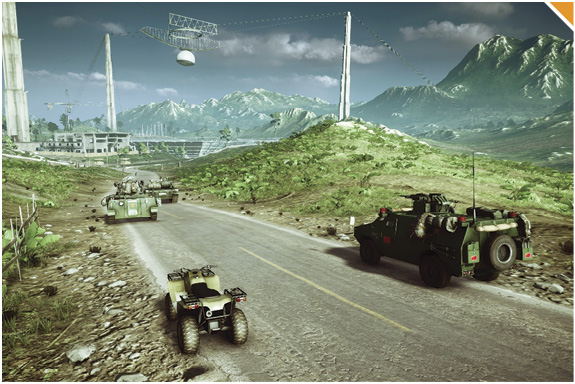
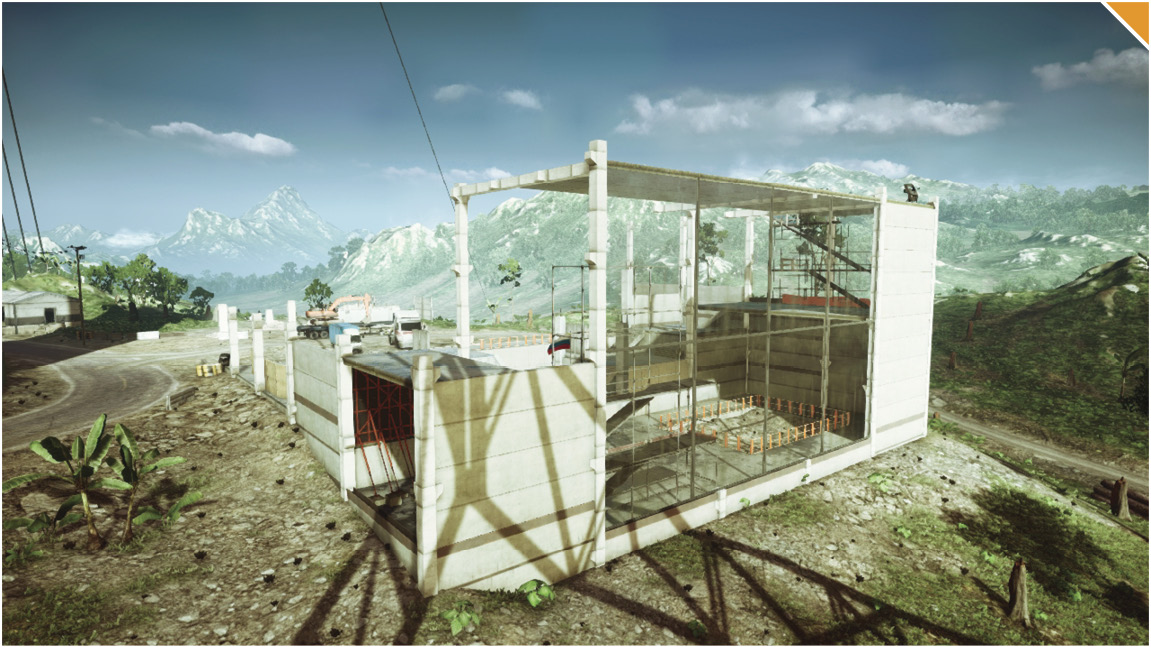
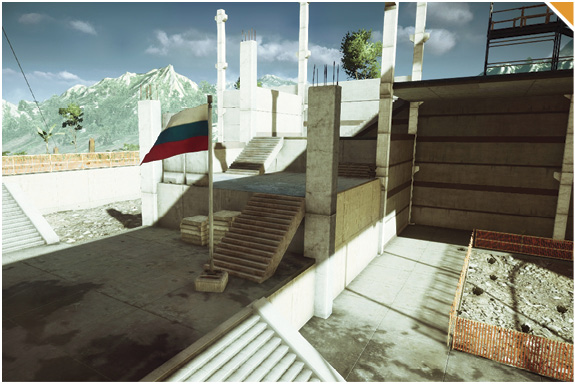
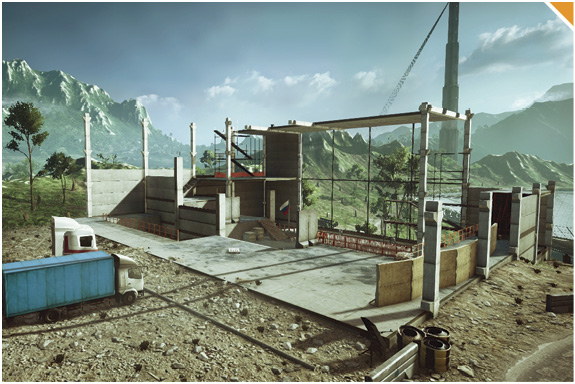
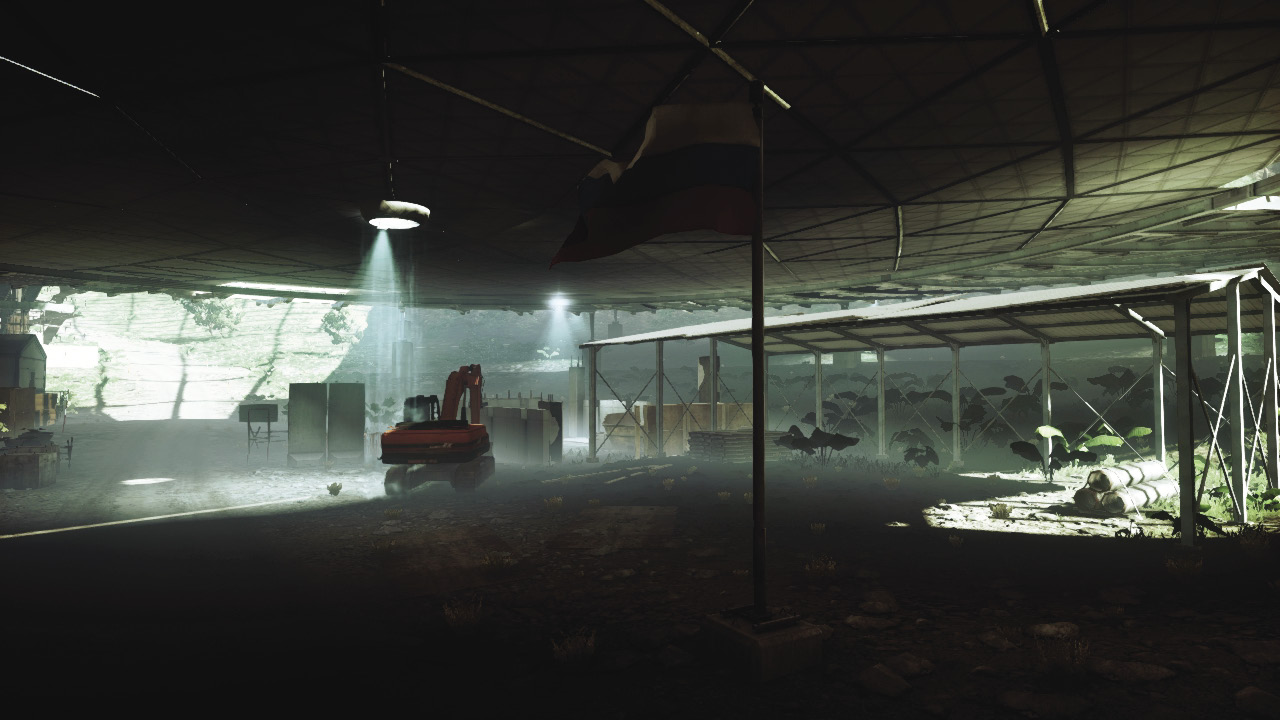
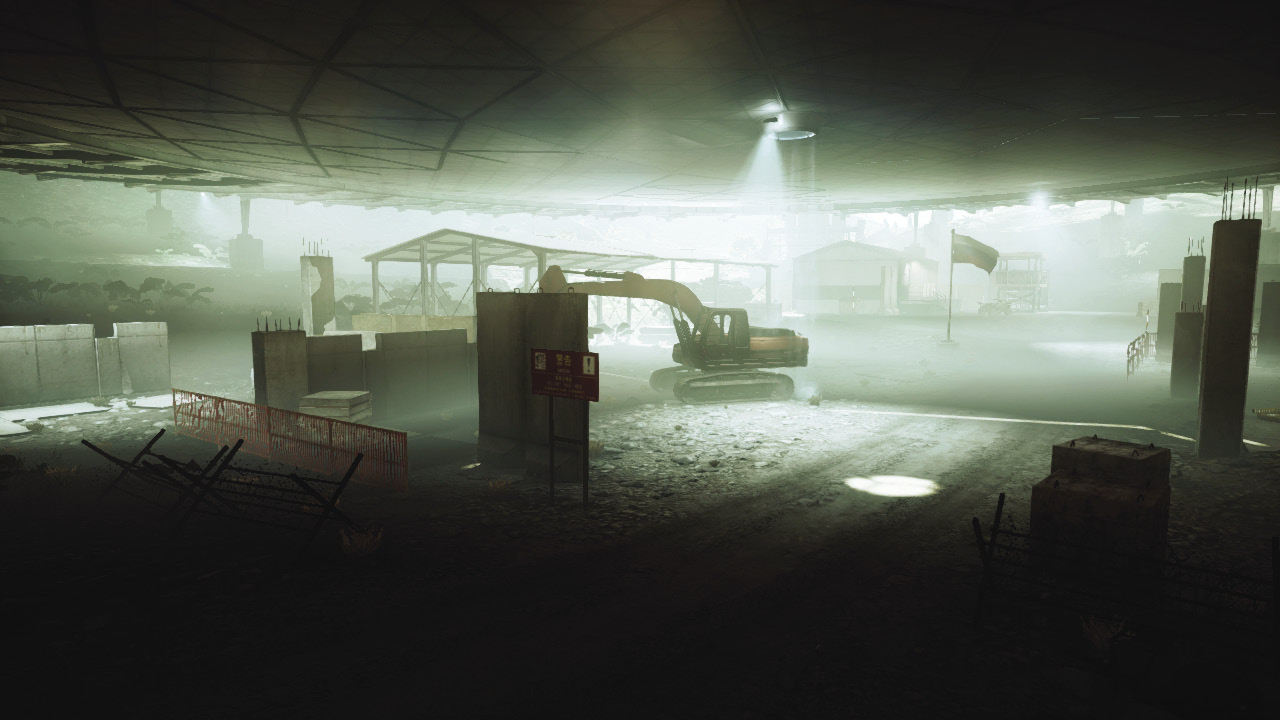
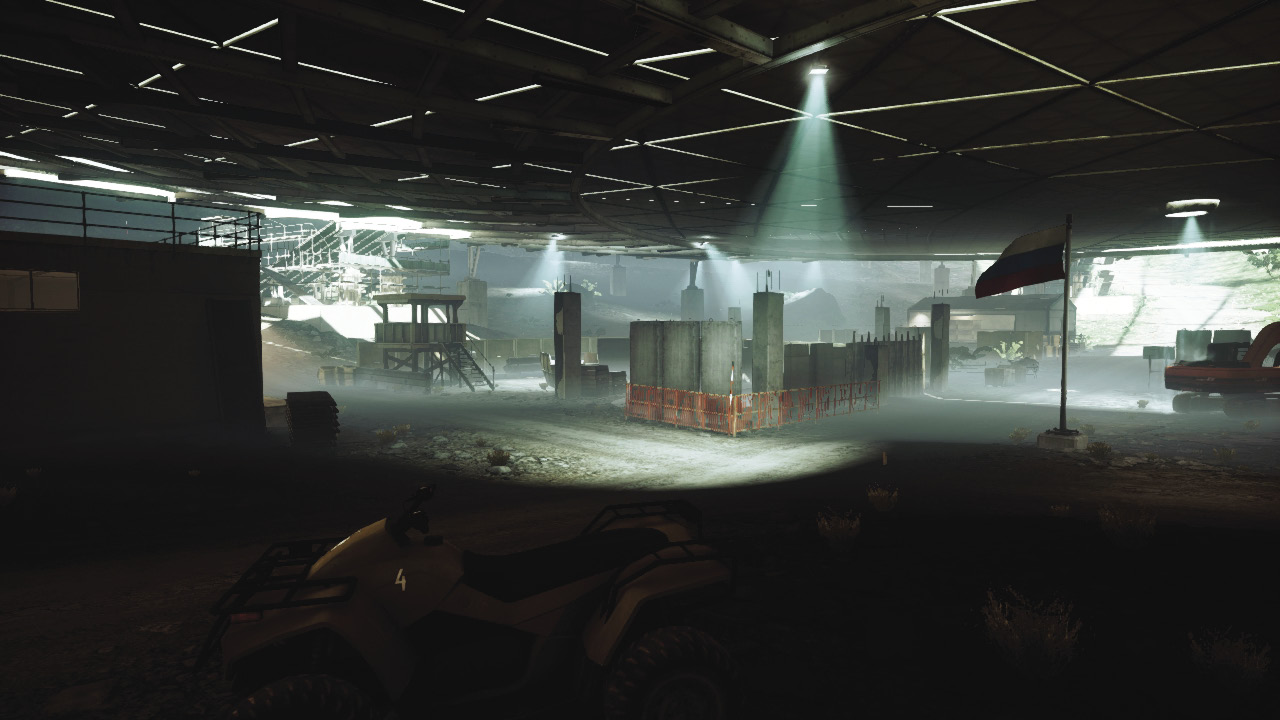
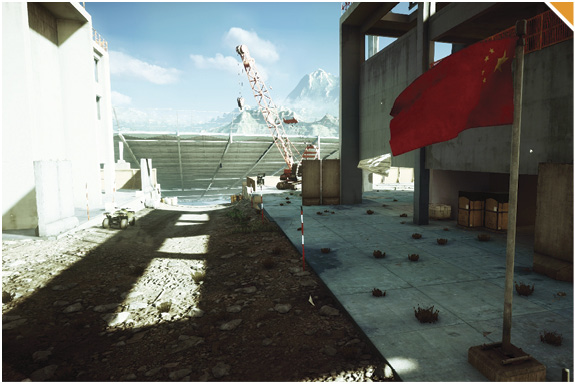
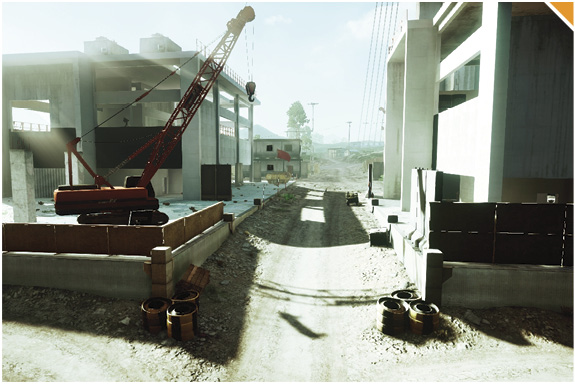
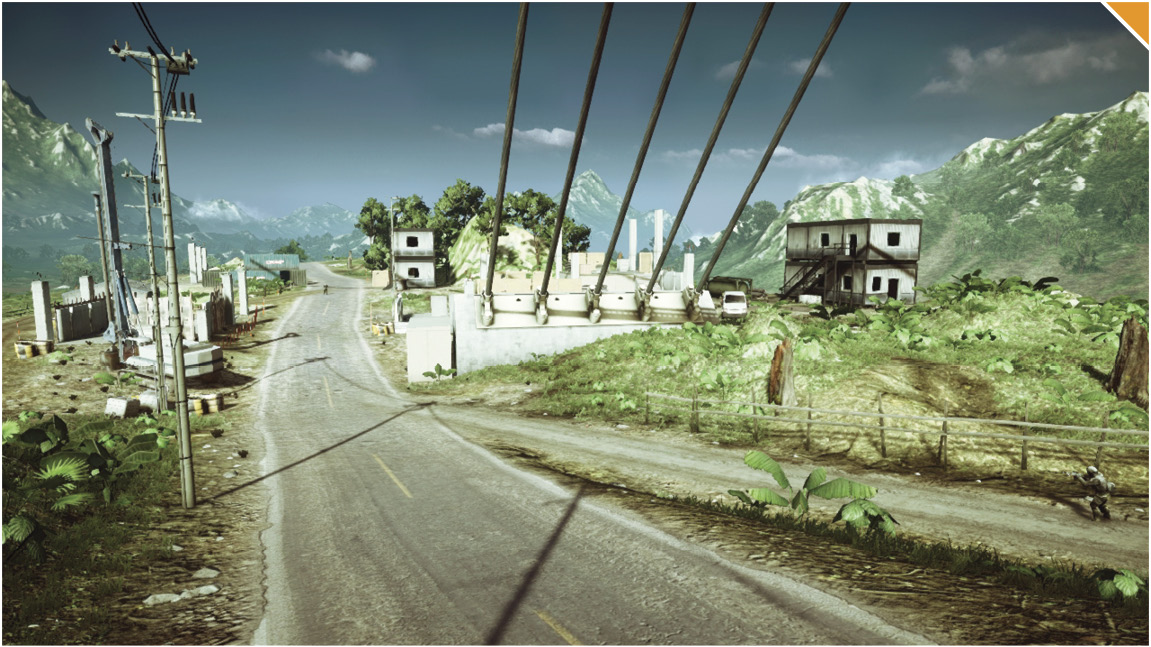
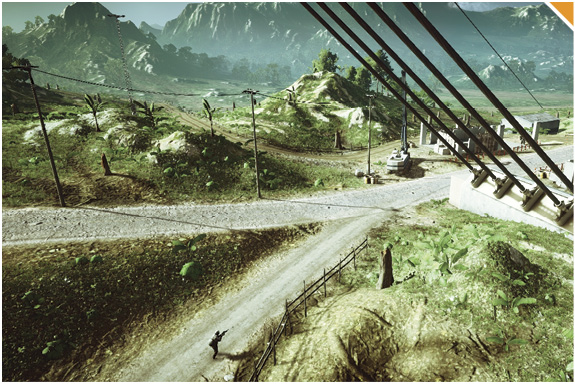
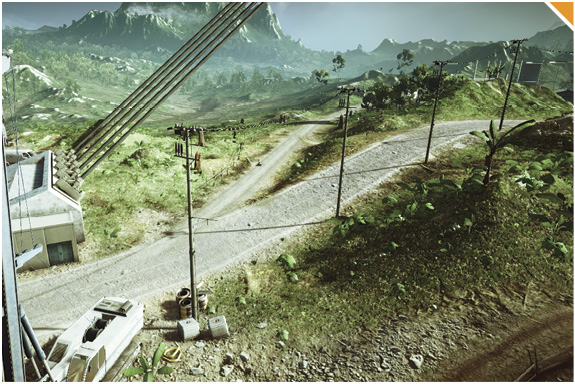
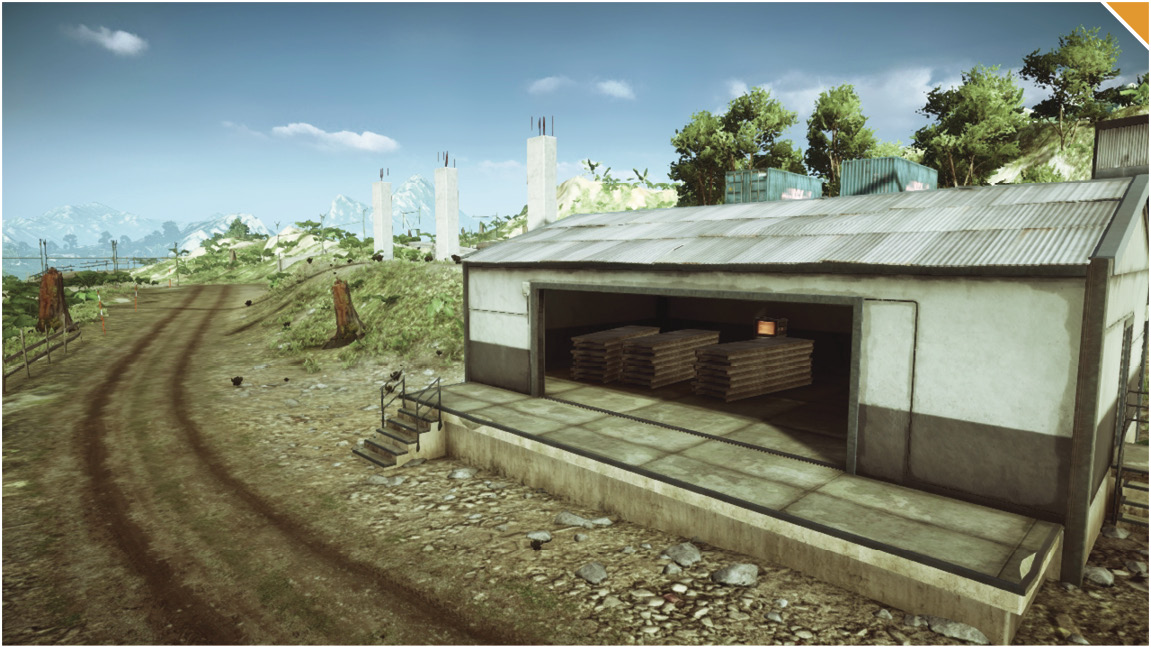
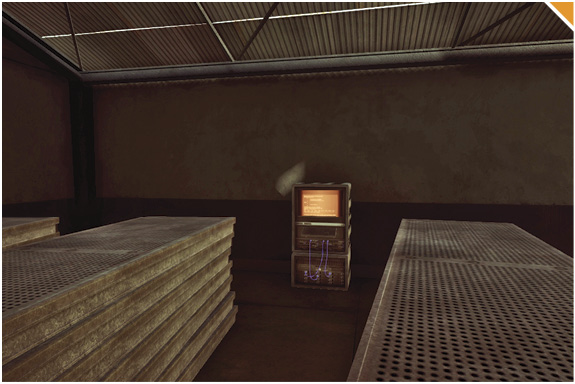
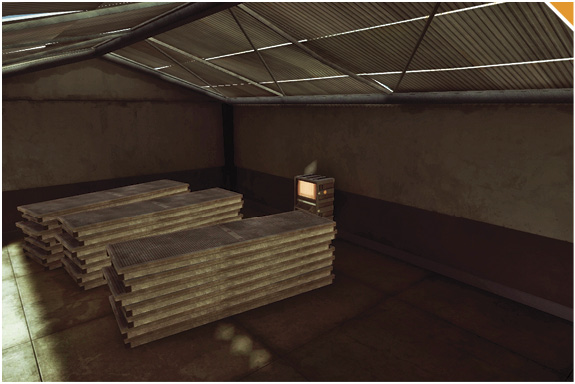
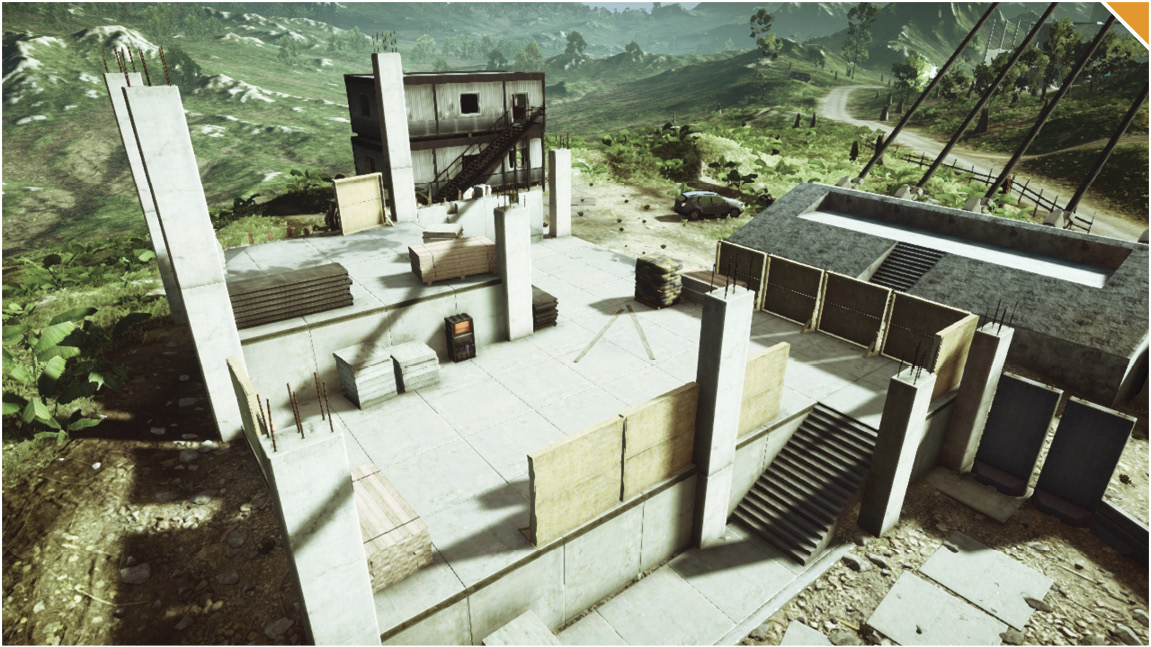
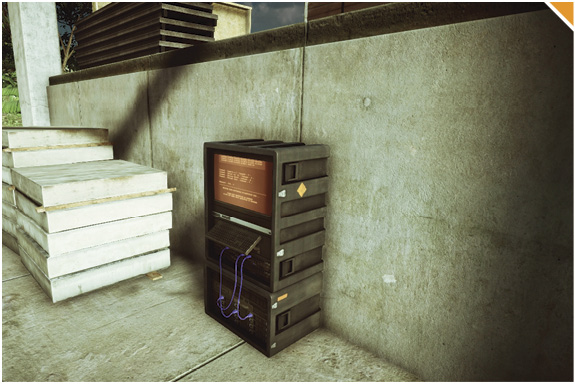
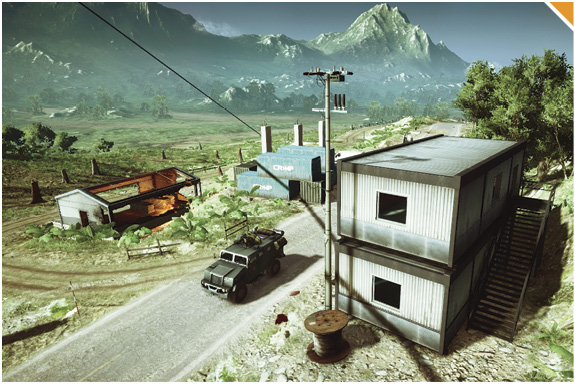
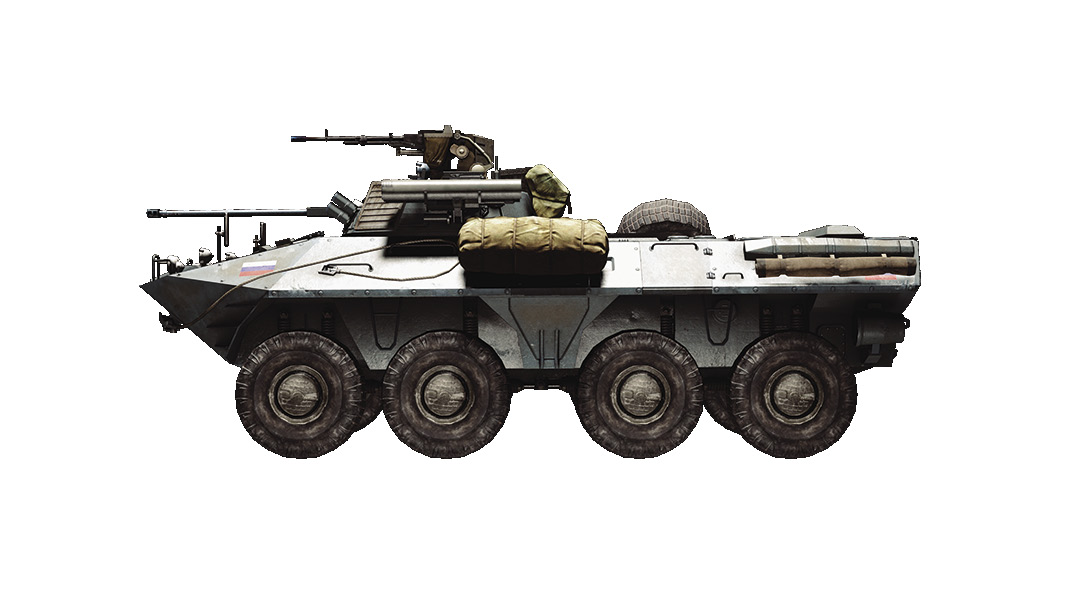
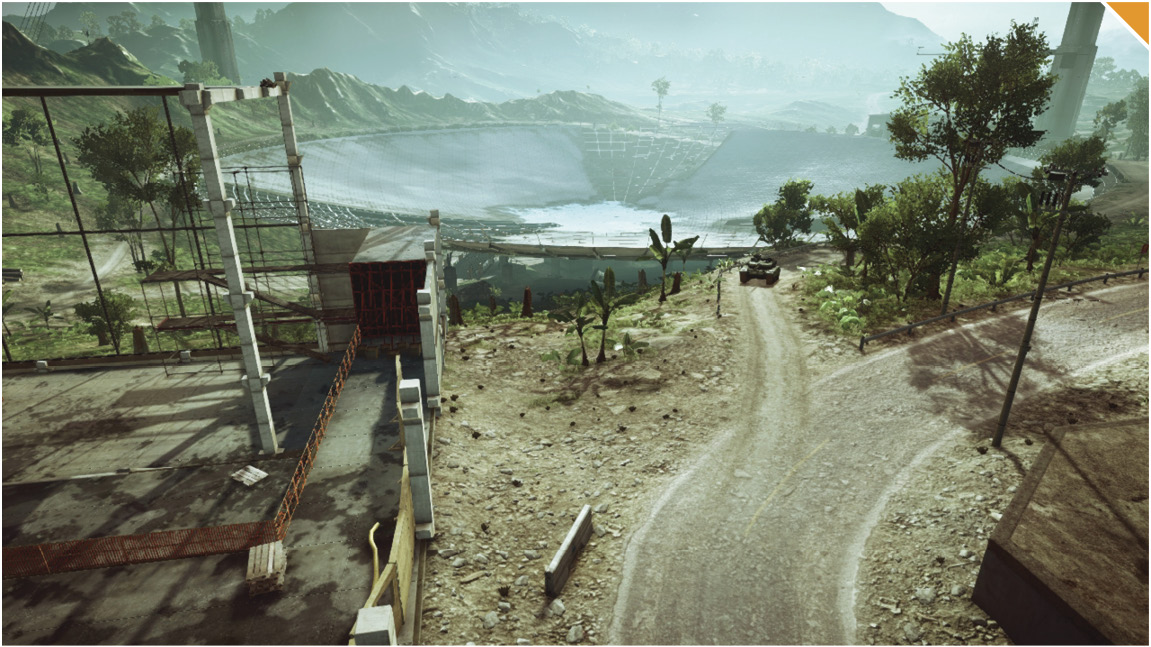
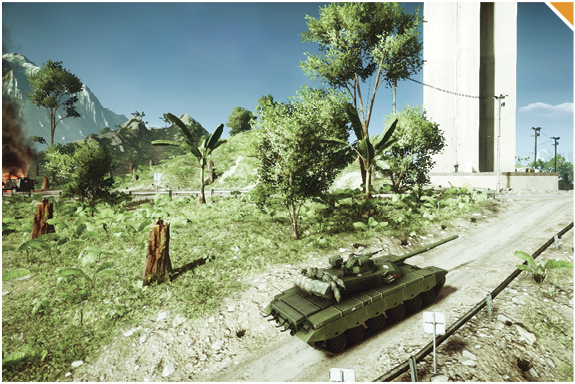
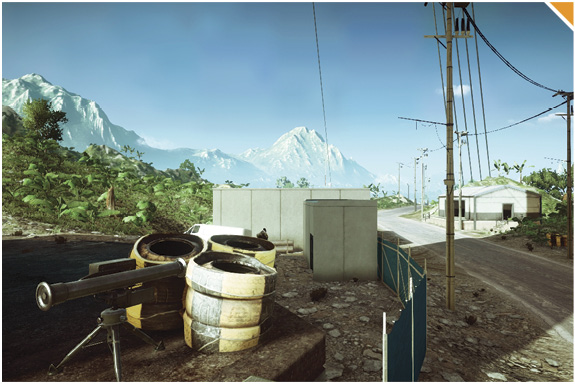
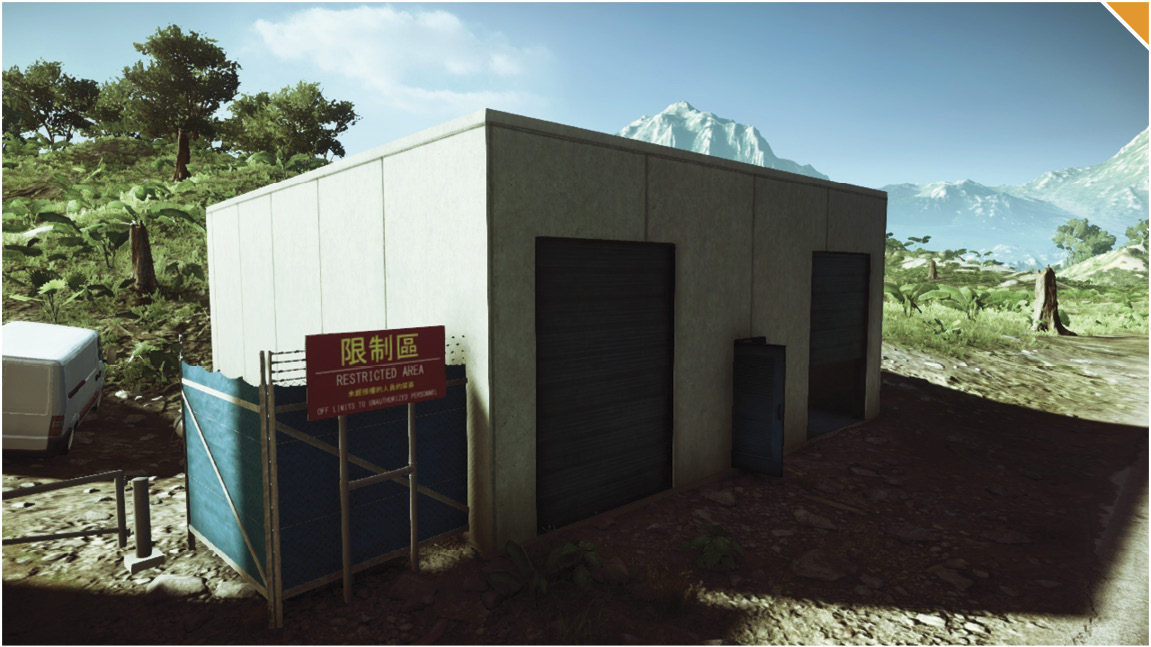
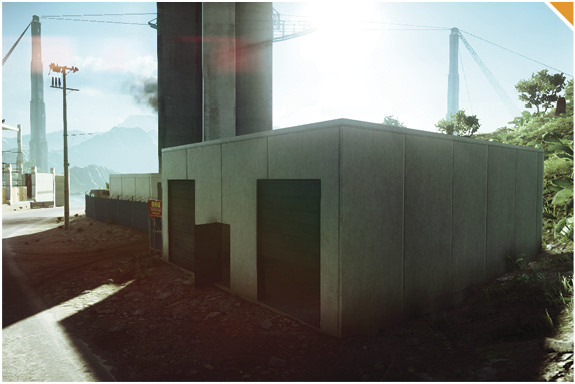
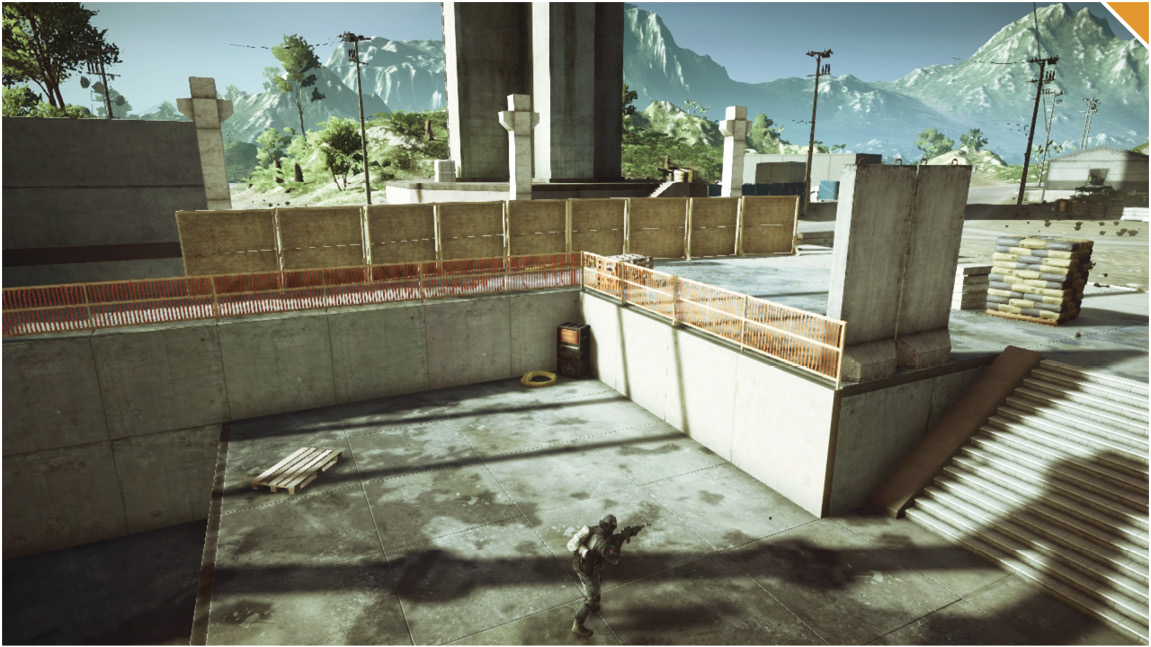
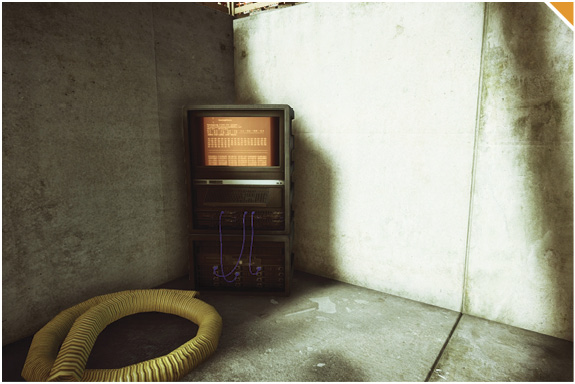
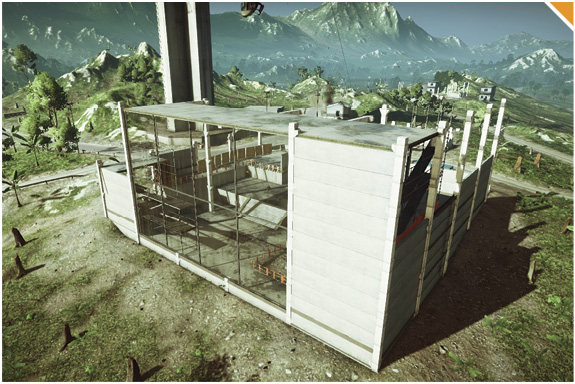
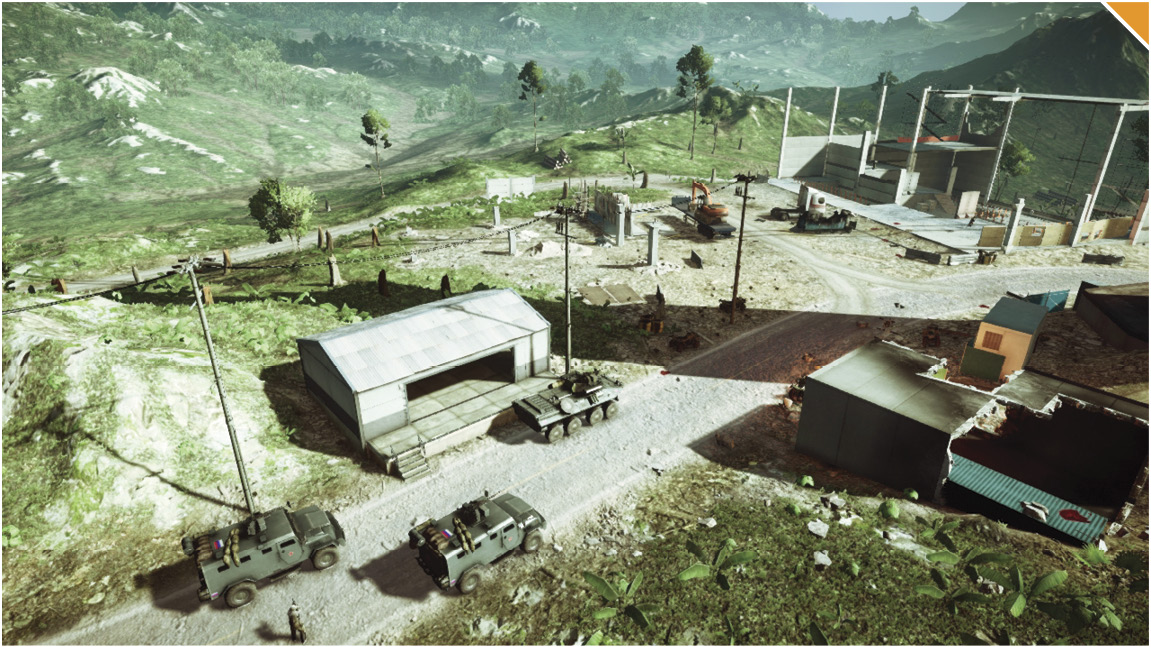
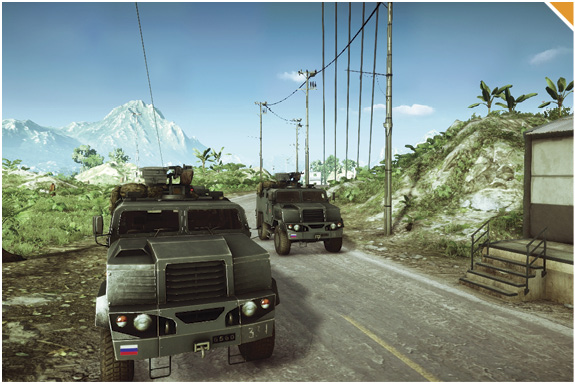
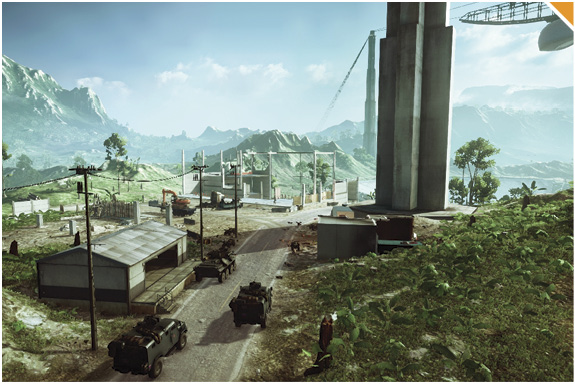
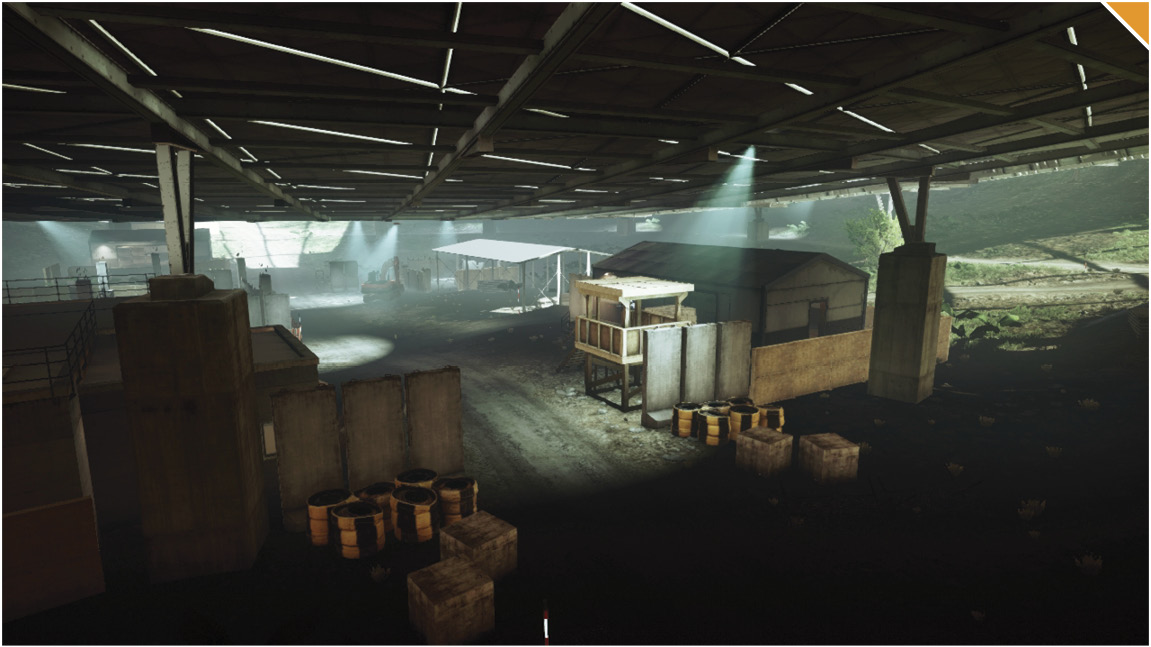
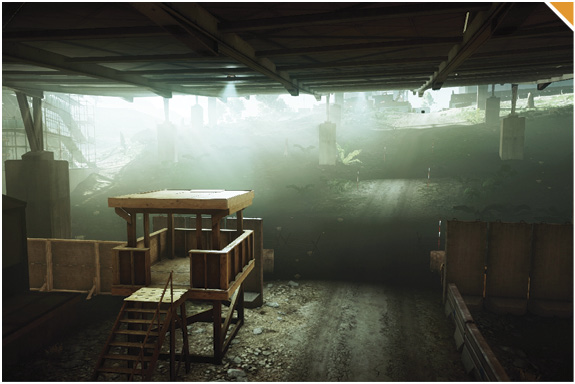
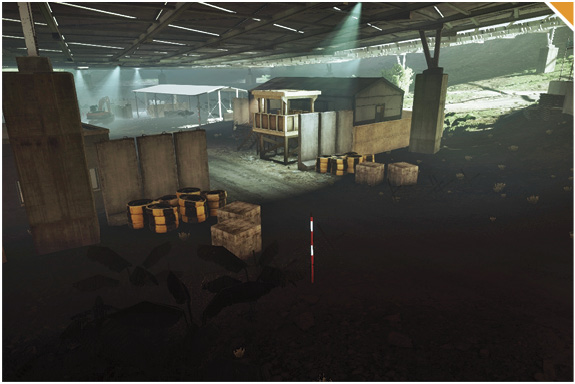
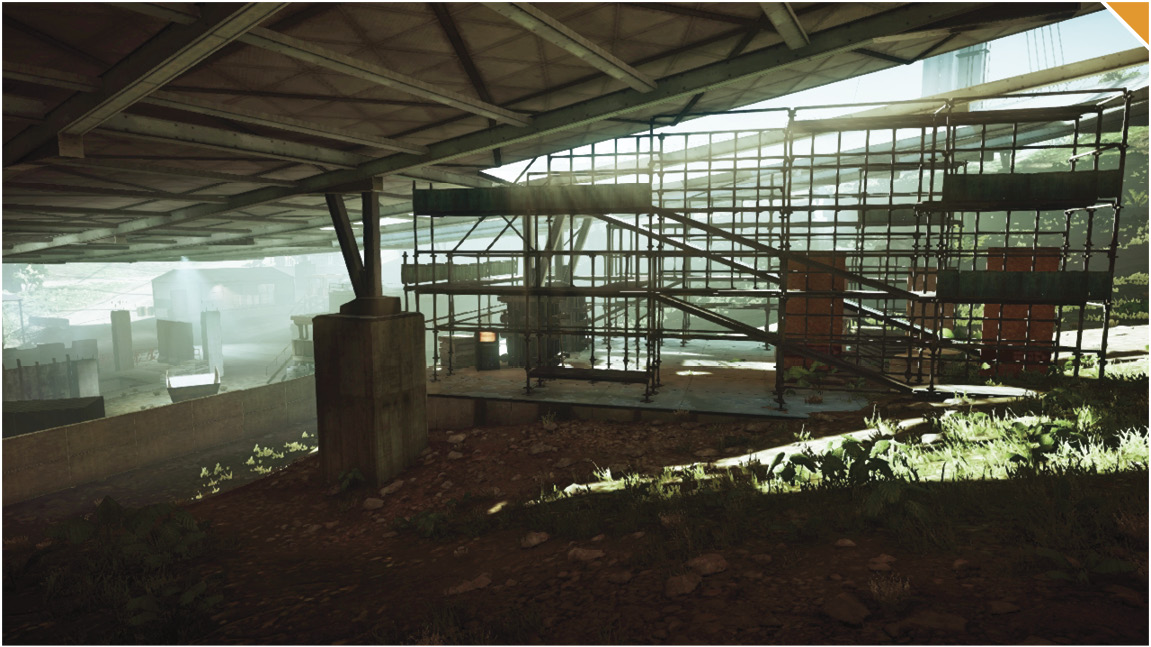
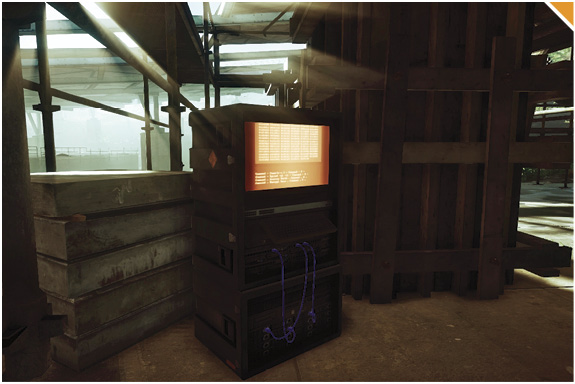
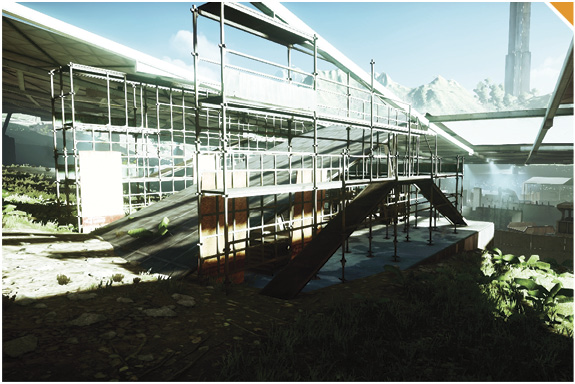
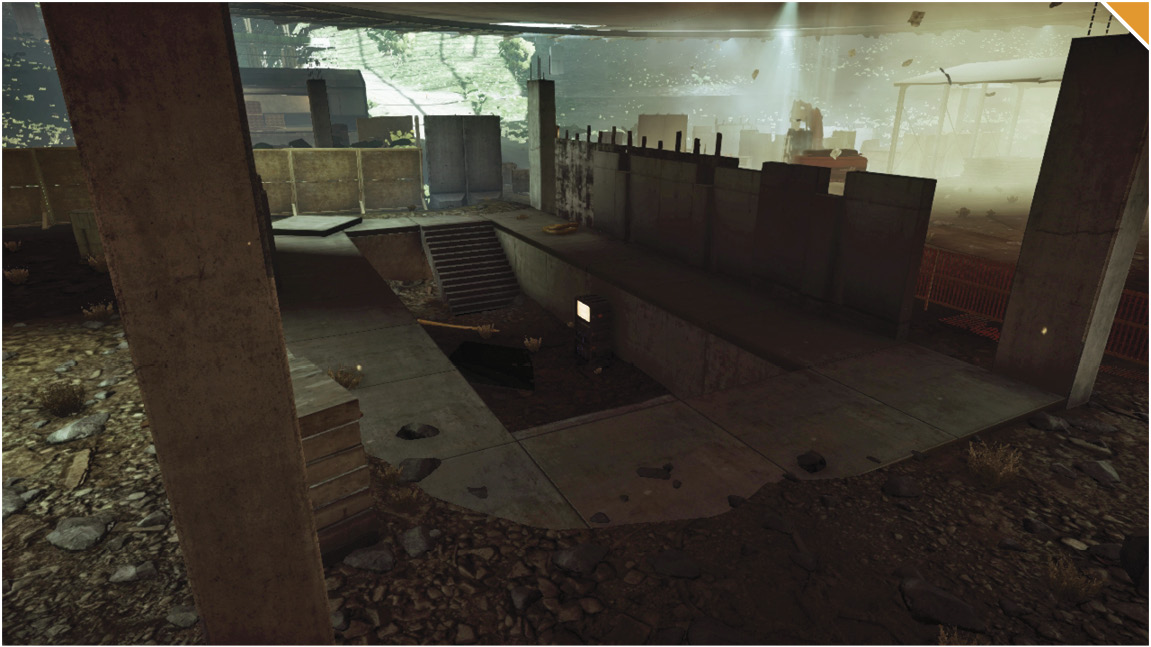
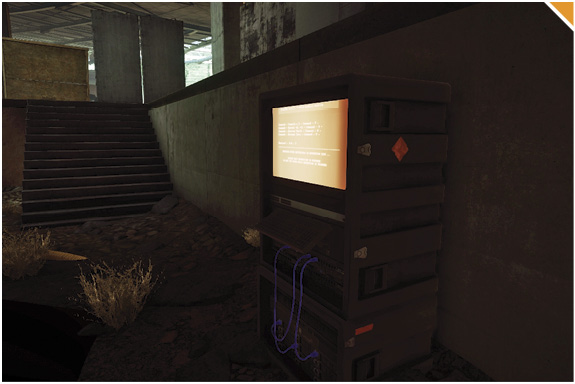
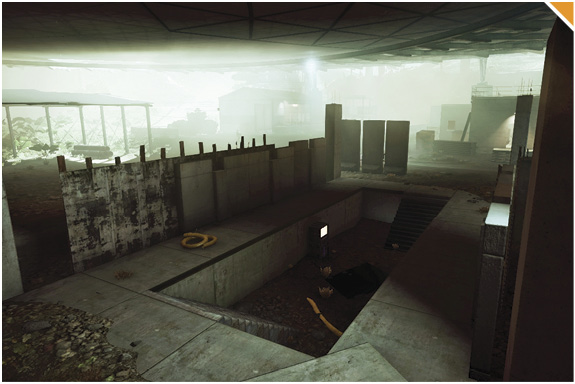
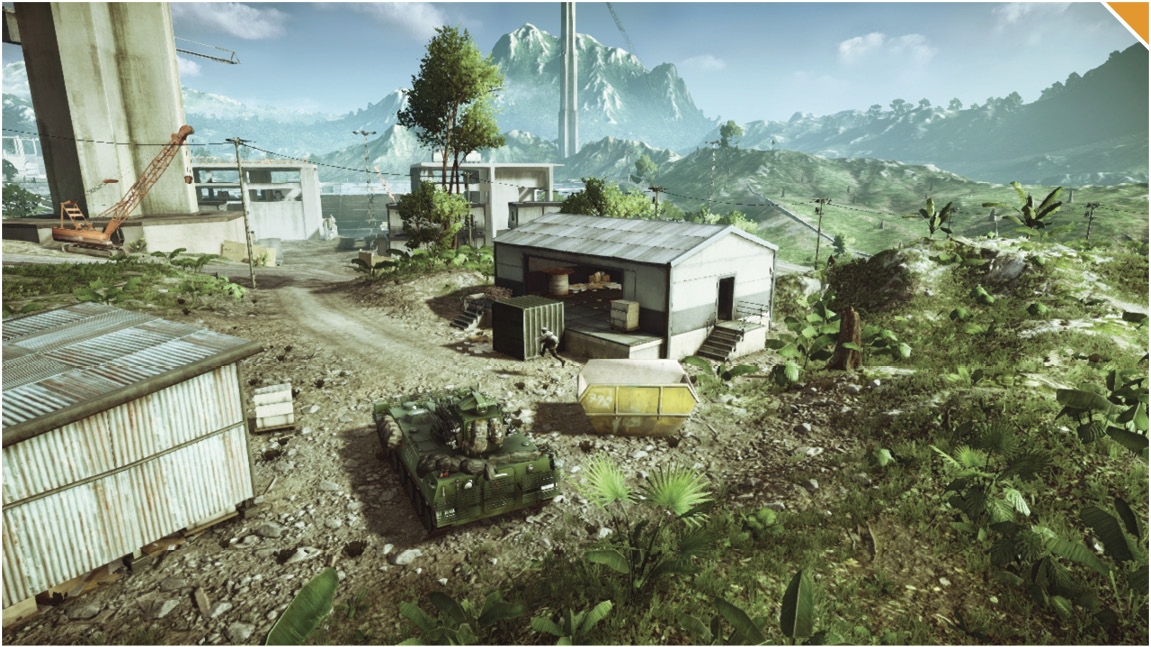
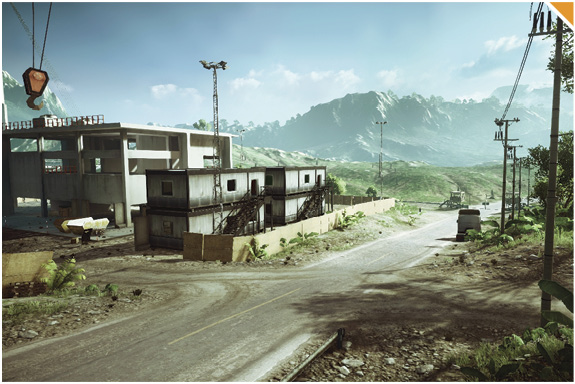
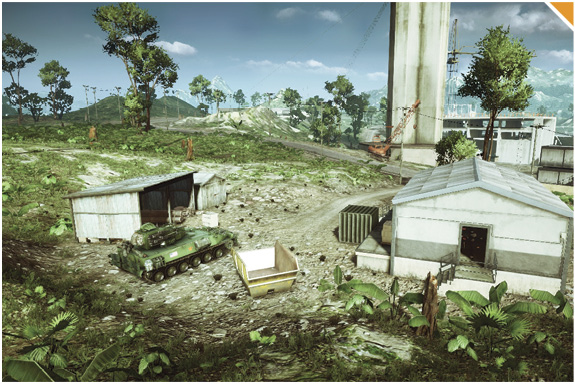
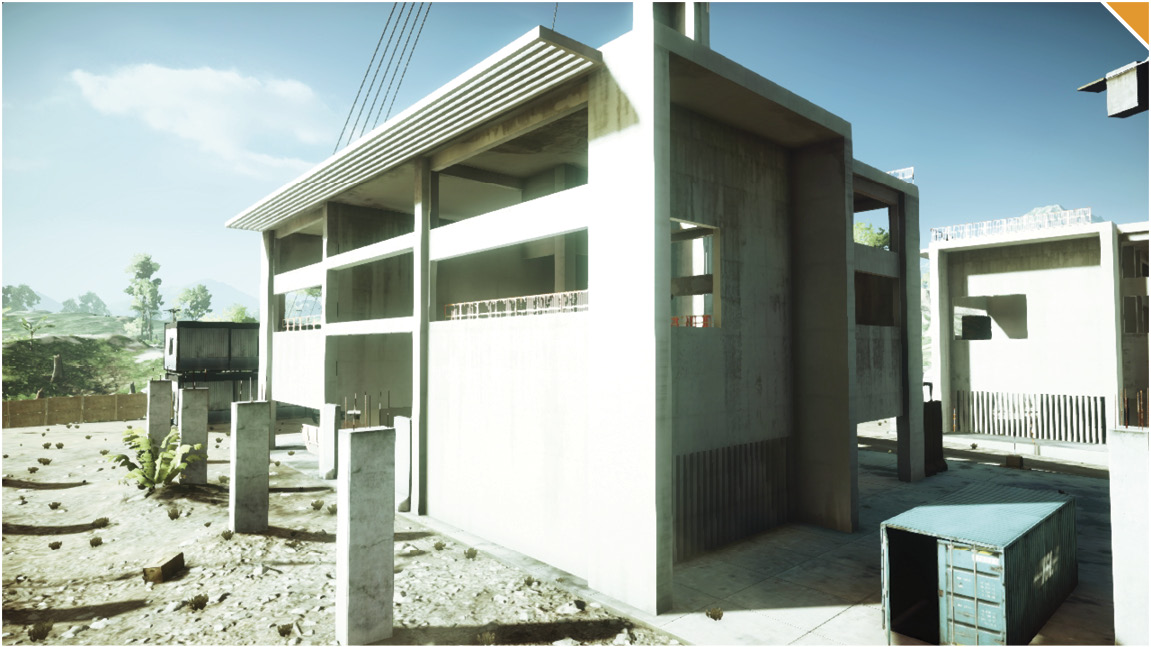
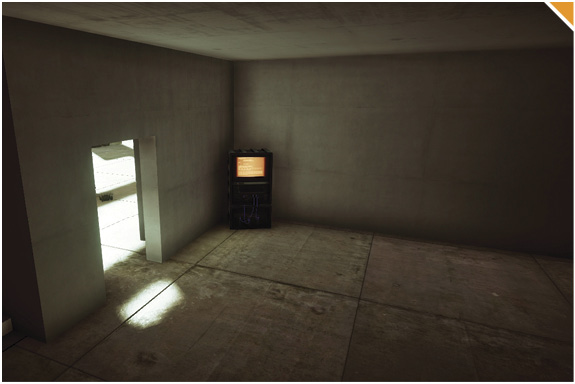
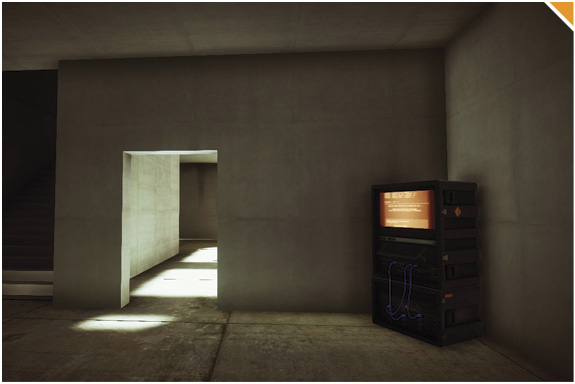
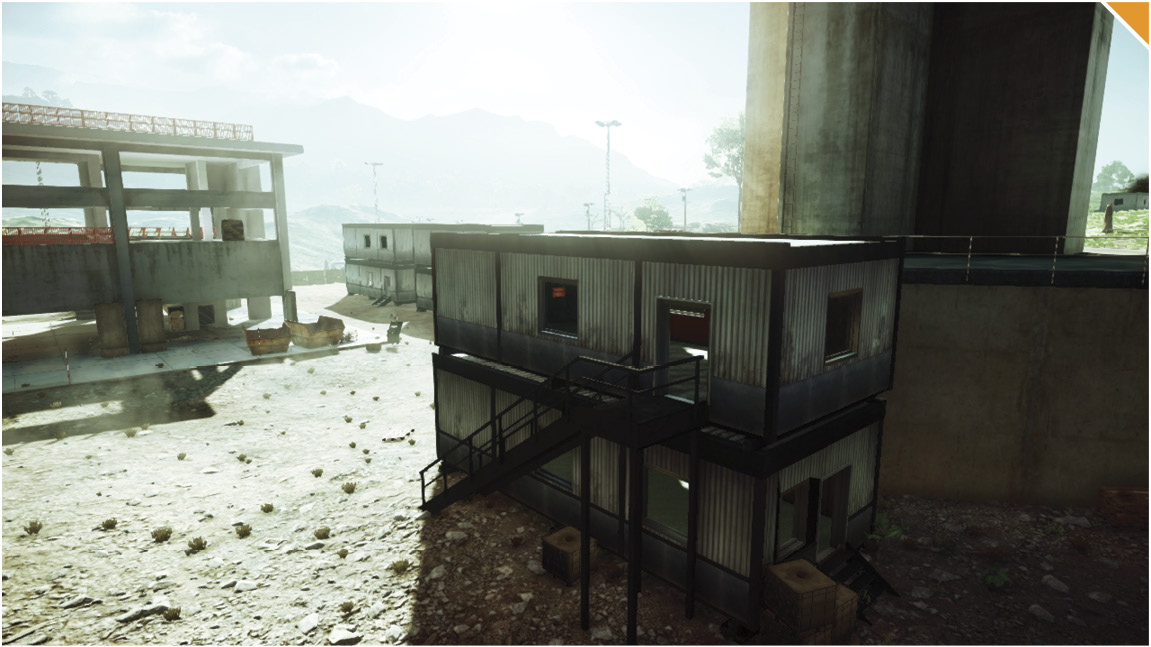
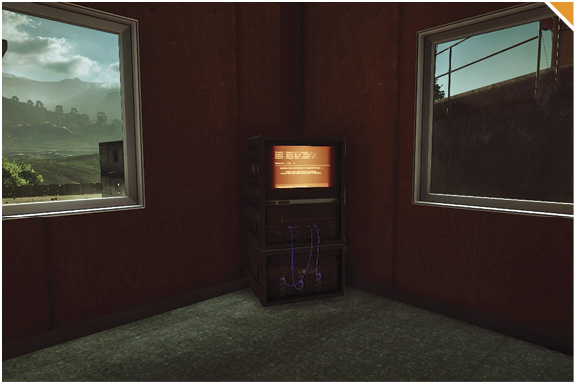
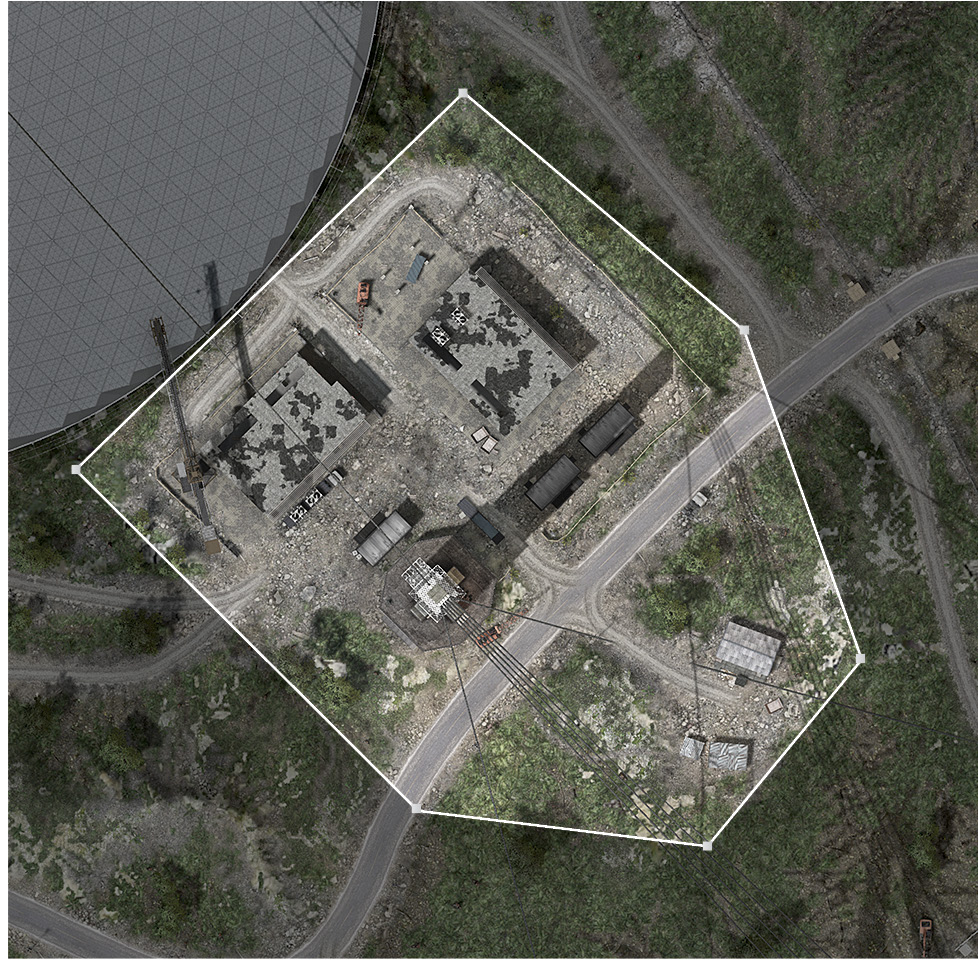
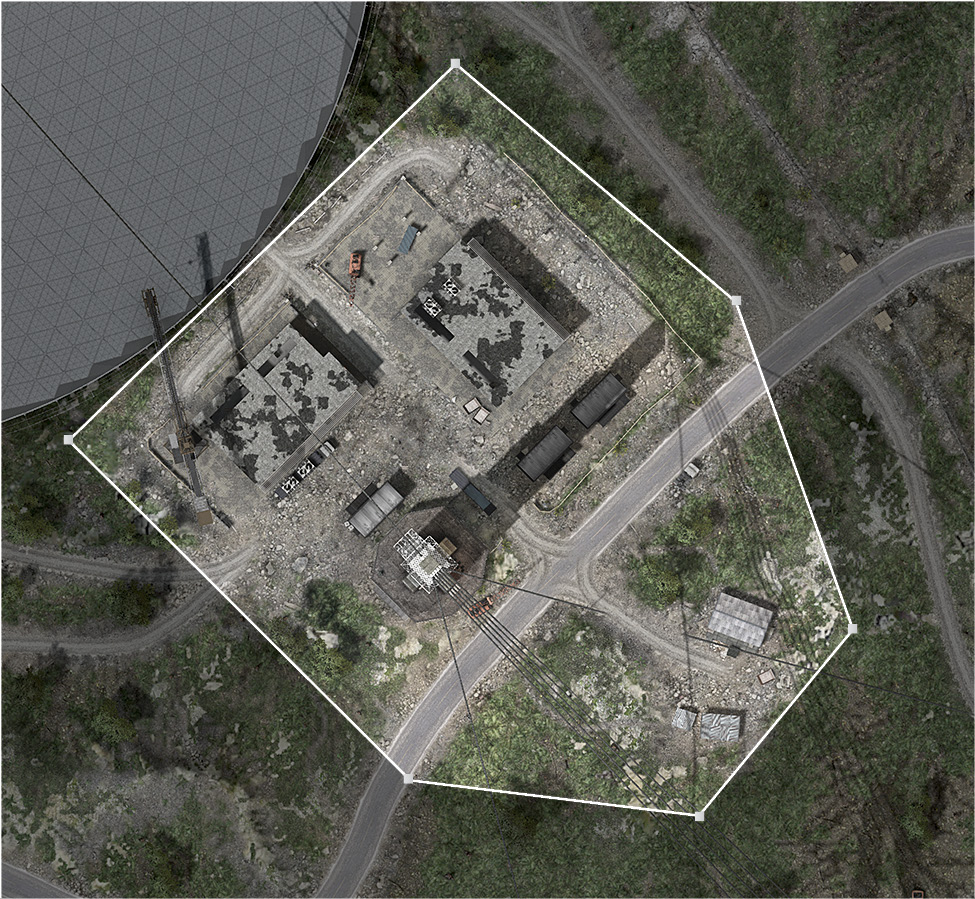
The receiver of a massive radio telescope crashes down on the Dish.
How is it triggered?
Destroy the ten cables connected to the two concrete slabs using explosive weapons. These concrete slabs are located next to each team’s base.
How is gameplay impacted?
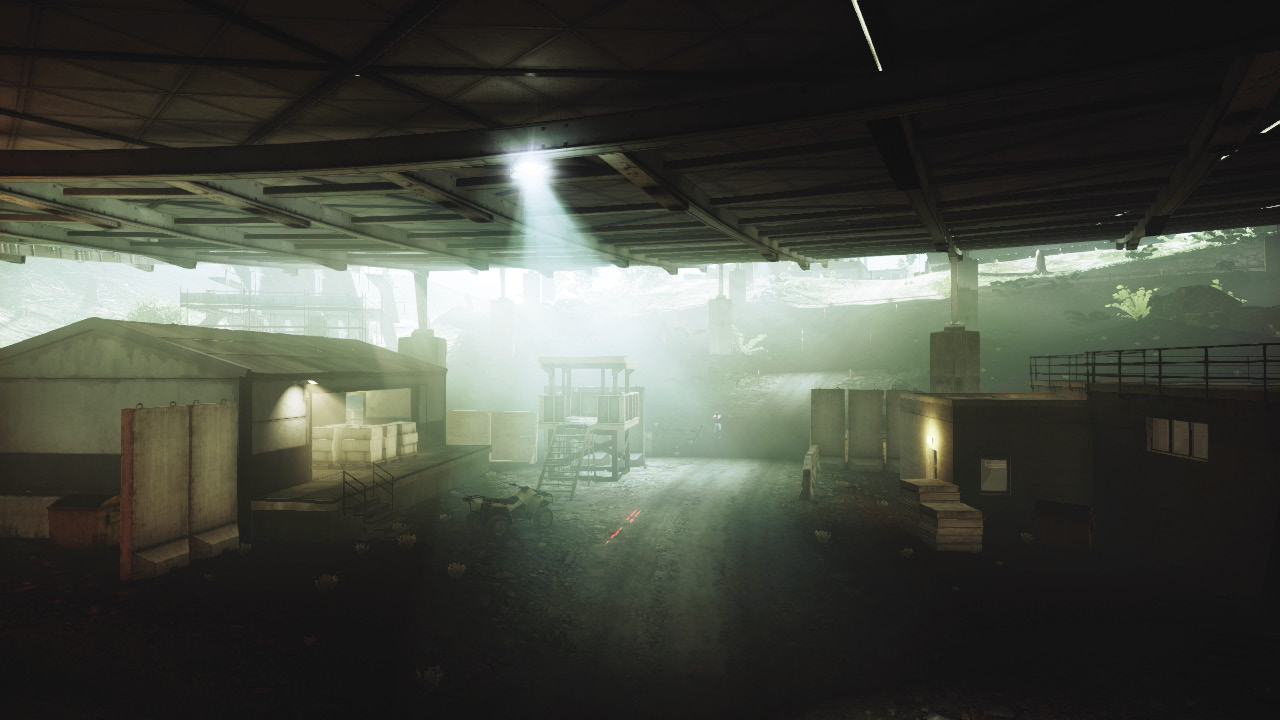
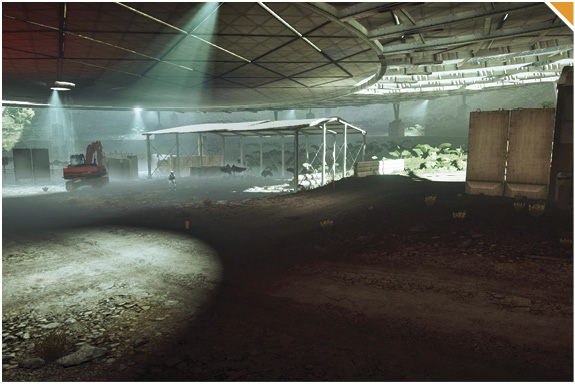
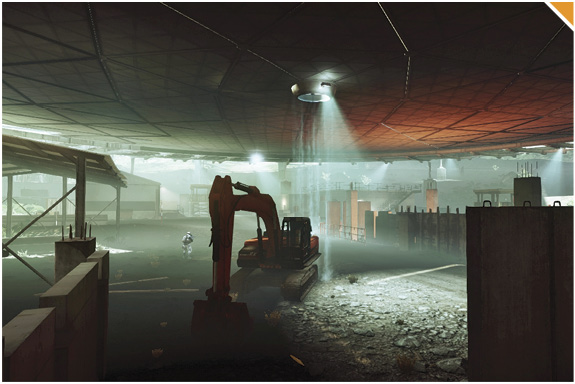
The area beneath the Dish is reconfigured by the receiver crashing down through the Dish; a vehicle no longer spawns in this location.
Alpha Squad: Impressions
Mabooza
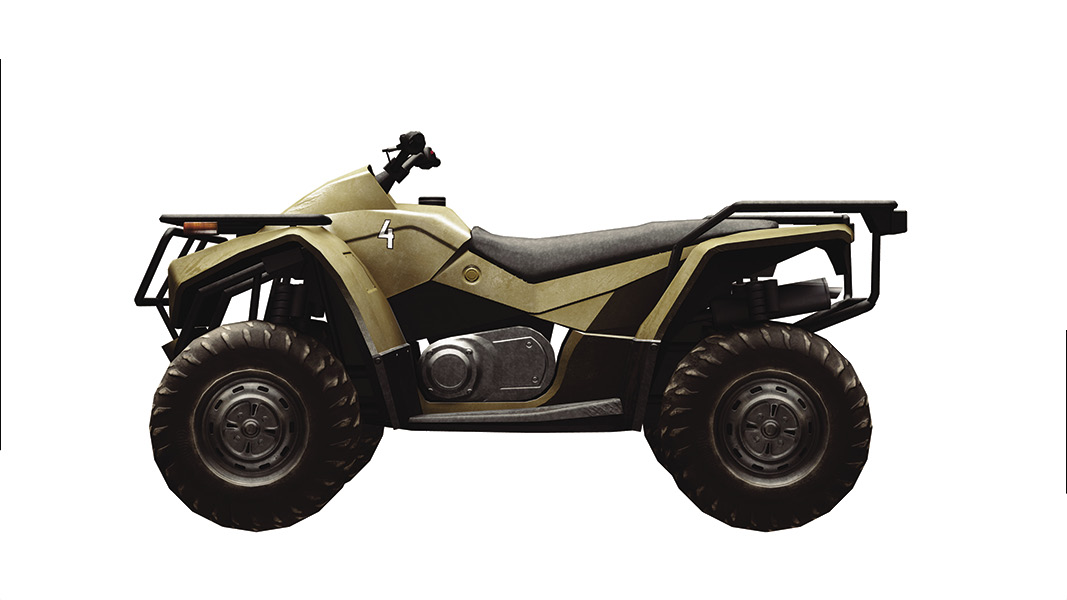
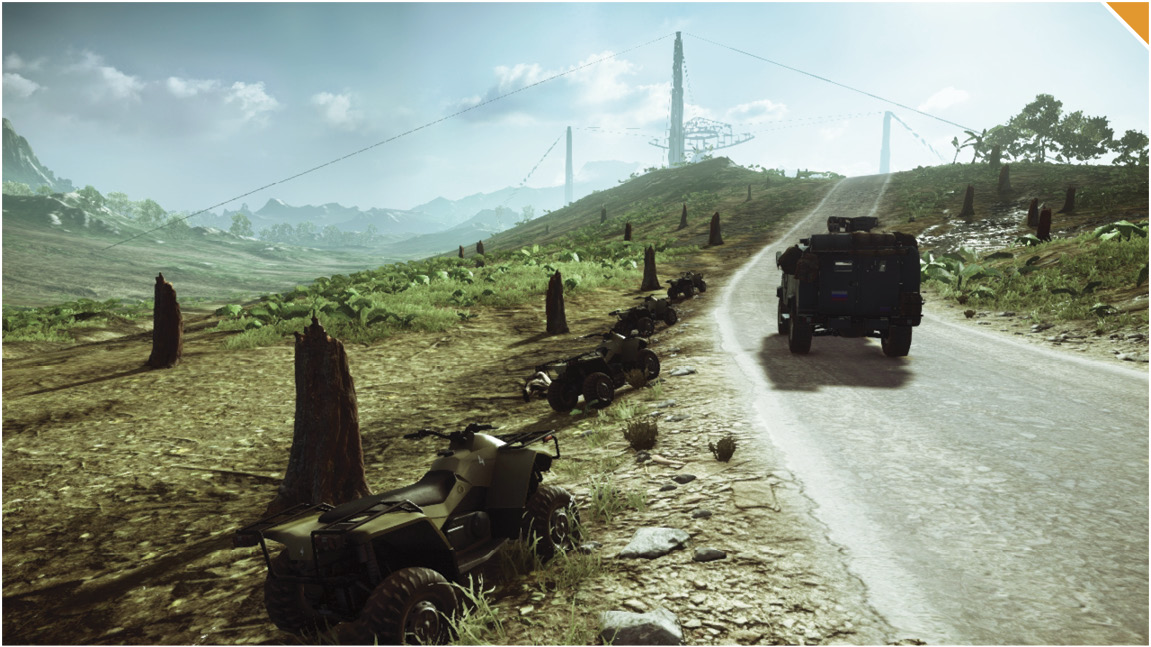
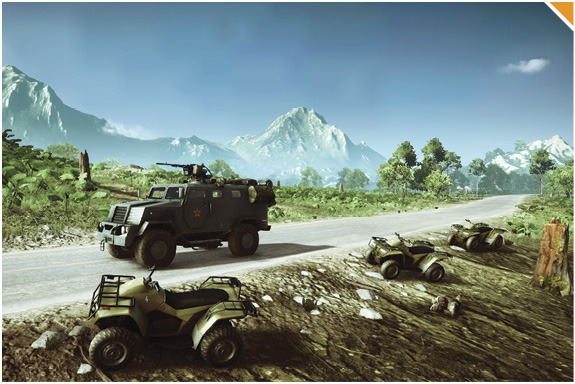
Don’t underestimate the size of the Dish at the center of the map. This becomes apparent when playing Obliteration mode. Sometimes the bomb spawns atop the Dish, making for some intense retrieval attempts. When possible, use Quad Bikes and other vehicles to traverse the surface of the Dish—running across the Dish is inadvisable due to the complete lack of cover.
StrongSide
My favorite position on this map is the Research Facility. I’ll control the area by staying on the second level of the buildings and using a T-UGS to watch for enemy flankers beneath me. I’m able pick off enemies approaching this area and use the cover around me to stay alive for my squad.
Walshy
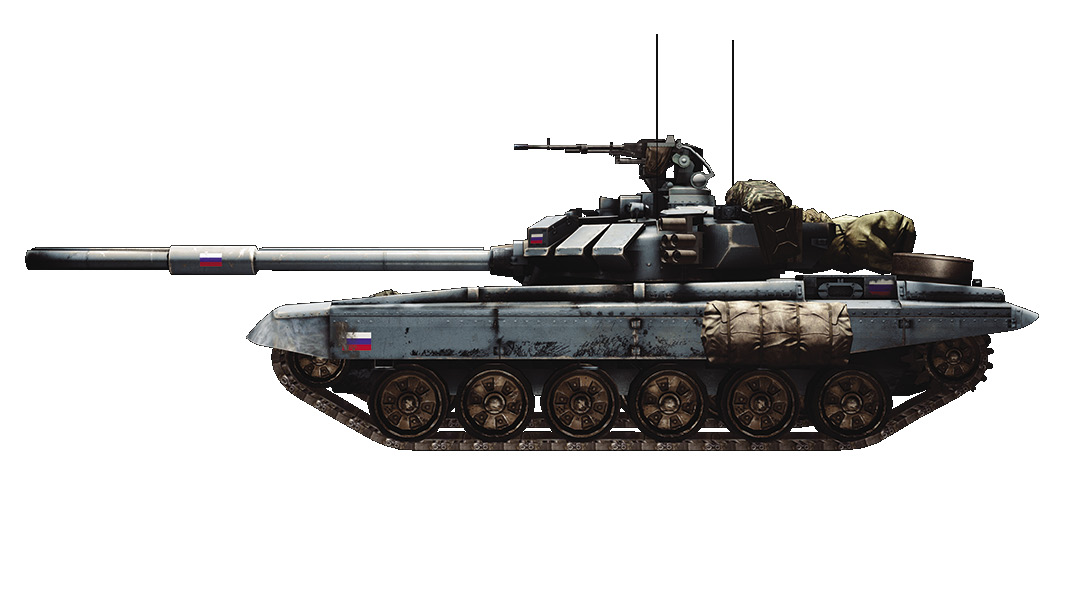
The first time I played this map, I dominated with the T-90A under the Dish. Usually aircraft make quick work of me any time I’m using an MBT, but on Rogue Transmission I was able to be safe under cover and fight the battles that I wanted to.
Flamesword
The first time I played this map, I knew I had to make my way to the top of one of the vertical supports. It was a long climb up, but totally worth it as it gave me incredible sniping angles.
Elumnite
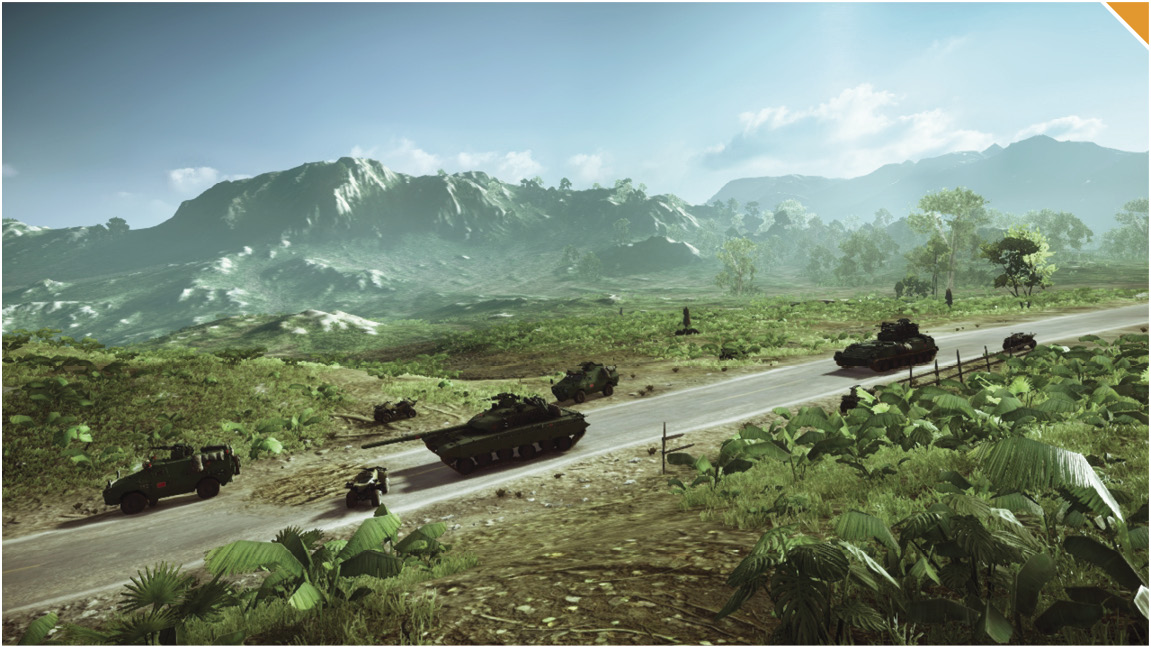
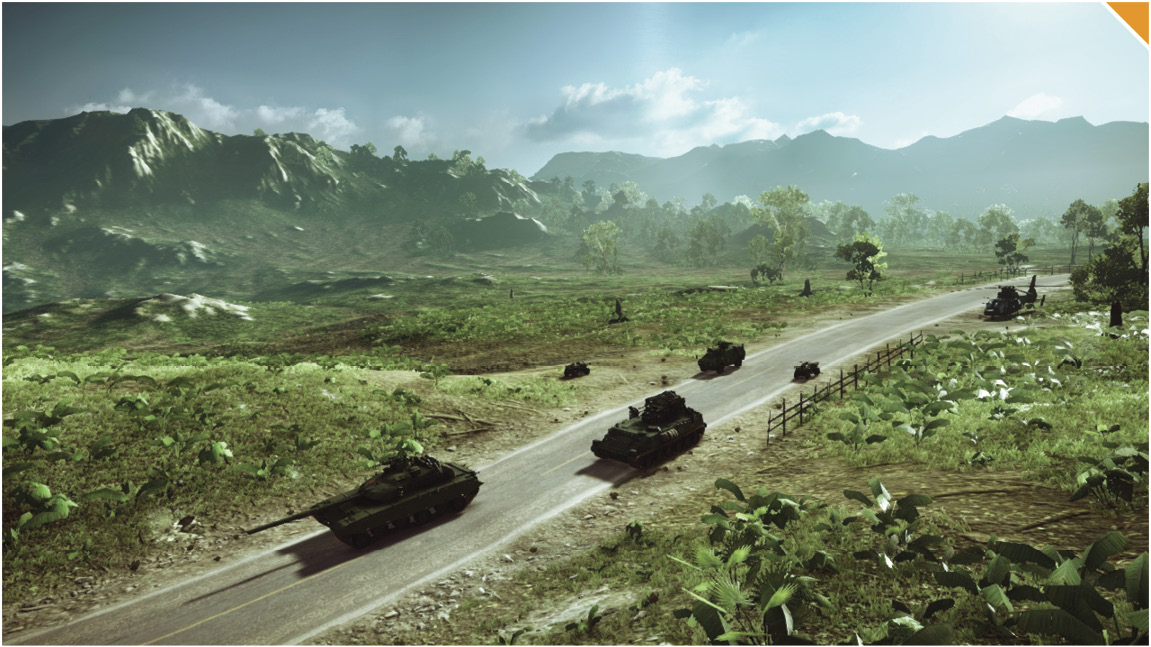
This map is all-out vehicle warfare, with tons of fast-paced tank battles along the perimeter dirt roads, making for plenty of in-your-face action. I found myself traveling around the long roads in my trusty MBT, taking out any enemies in my path.
Conquest Large
Recommended Squad Composition:
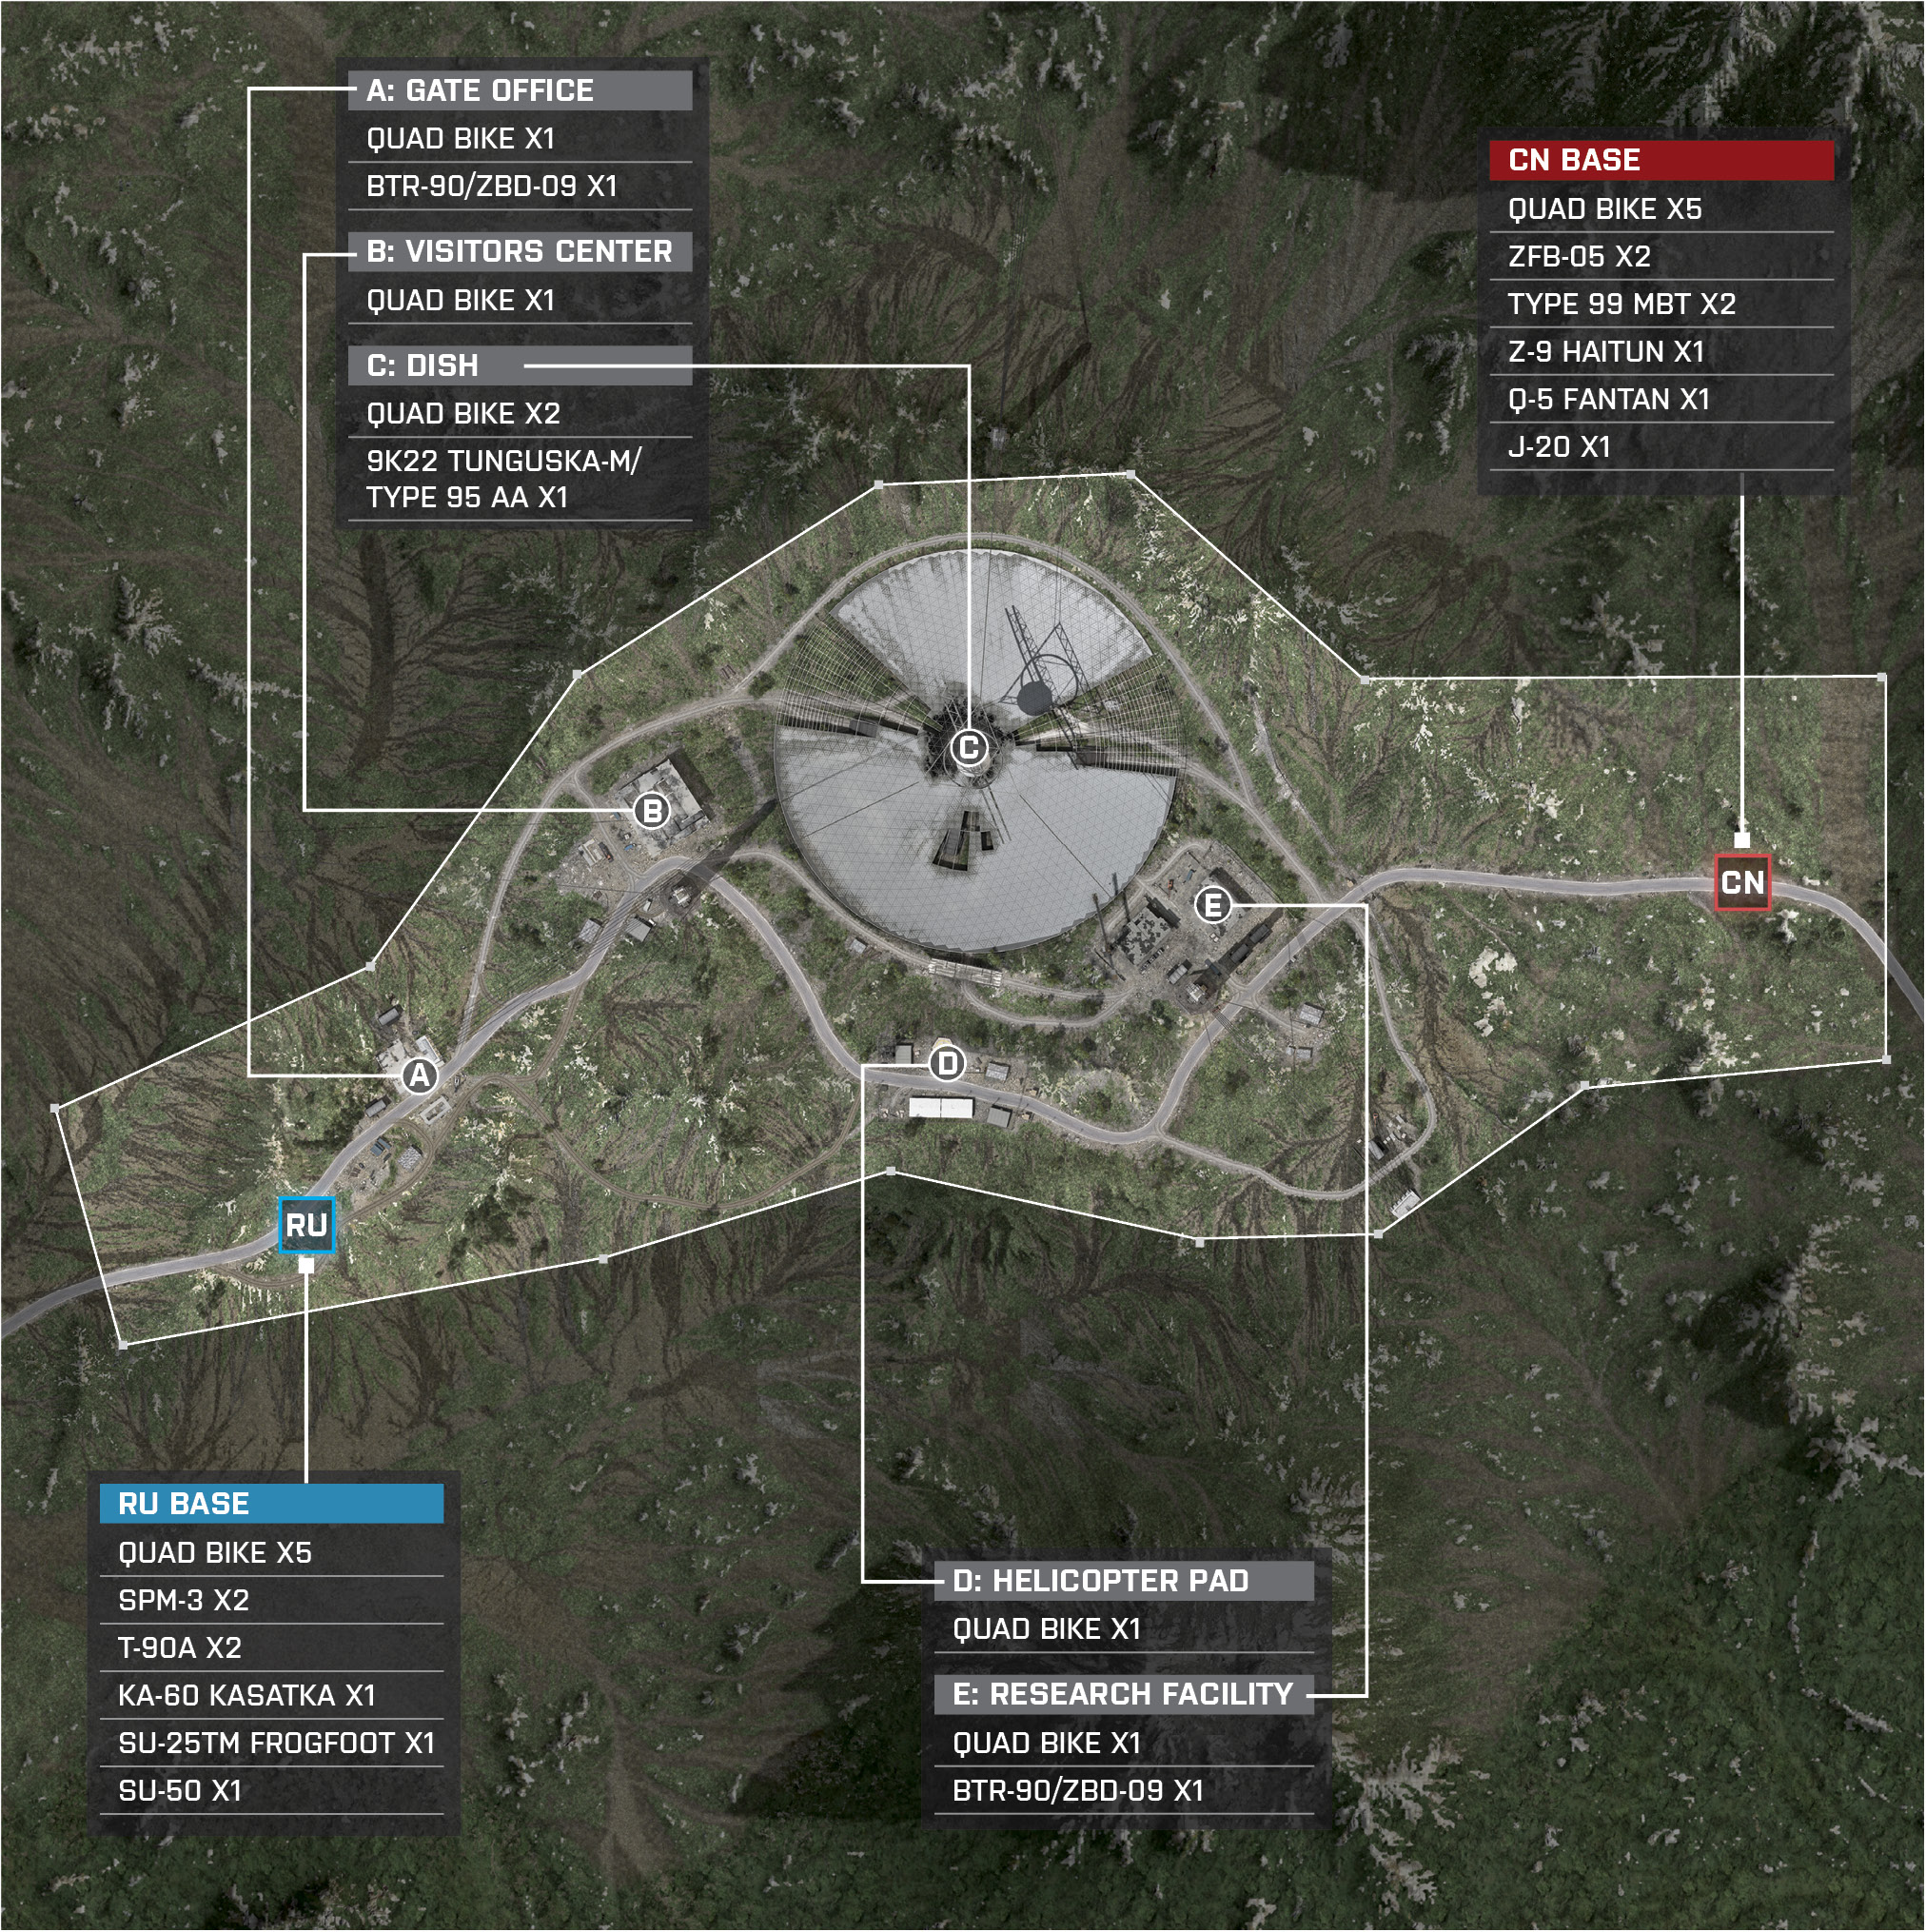
In Conquest Large, one more control point is added—the Gate Office (A) located east of the RU team’s base. With five control points, both teams will try to capture three of the five objectives, and (if the opportunity presents itself) go for that fourth one to drain the opponent’s tickets even quicker. This map has jets that, if put in the right hands, can single-handedly change the outcome of the battle, so be sure to let your best pilot take control. The RU team’s best strategy will be capturing the Gate Office (A), the Visitors Center (B), and the Dish (C). On the other hand, the CN team will want to capture the Research Facility (E), the Dish (C), and the Helicopter Pad (D). Both teams benefit from the third control point they go for. The Dish (C) will grant the team’s commander a Gunship that is very powerful and the Helicopter Pad (D) deploys an attack helicopter that can be a thorn in the opposing team’s side. The CN team is at quite an advantage as they will be trying to defend the Dish (C) and the Helicopter Pad (D), giving them control of the Gunship and an attack helicopter. The RU team will always want to go for the less protected control point. If they let the CN team control these two objectives for too long, the game can be over before the RU team knows it. This map will have many vehicles, so have a few more engineer players in your squad to destroy the enemy’s vehicles, and have a support player to replenish the engineer’s ammo. If there is a chance for your team to capture a fourth control point, then go for it.
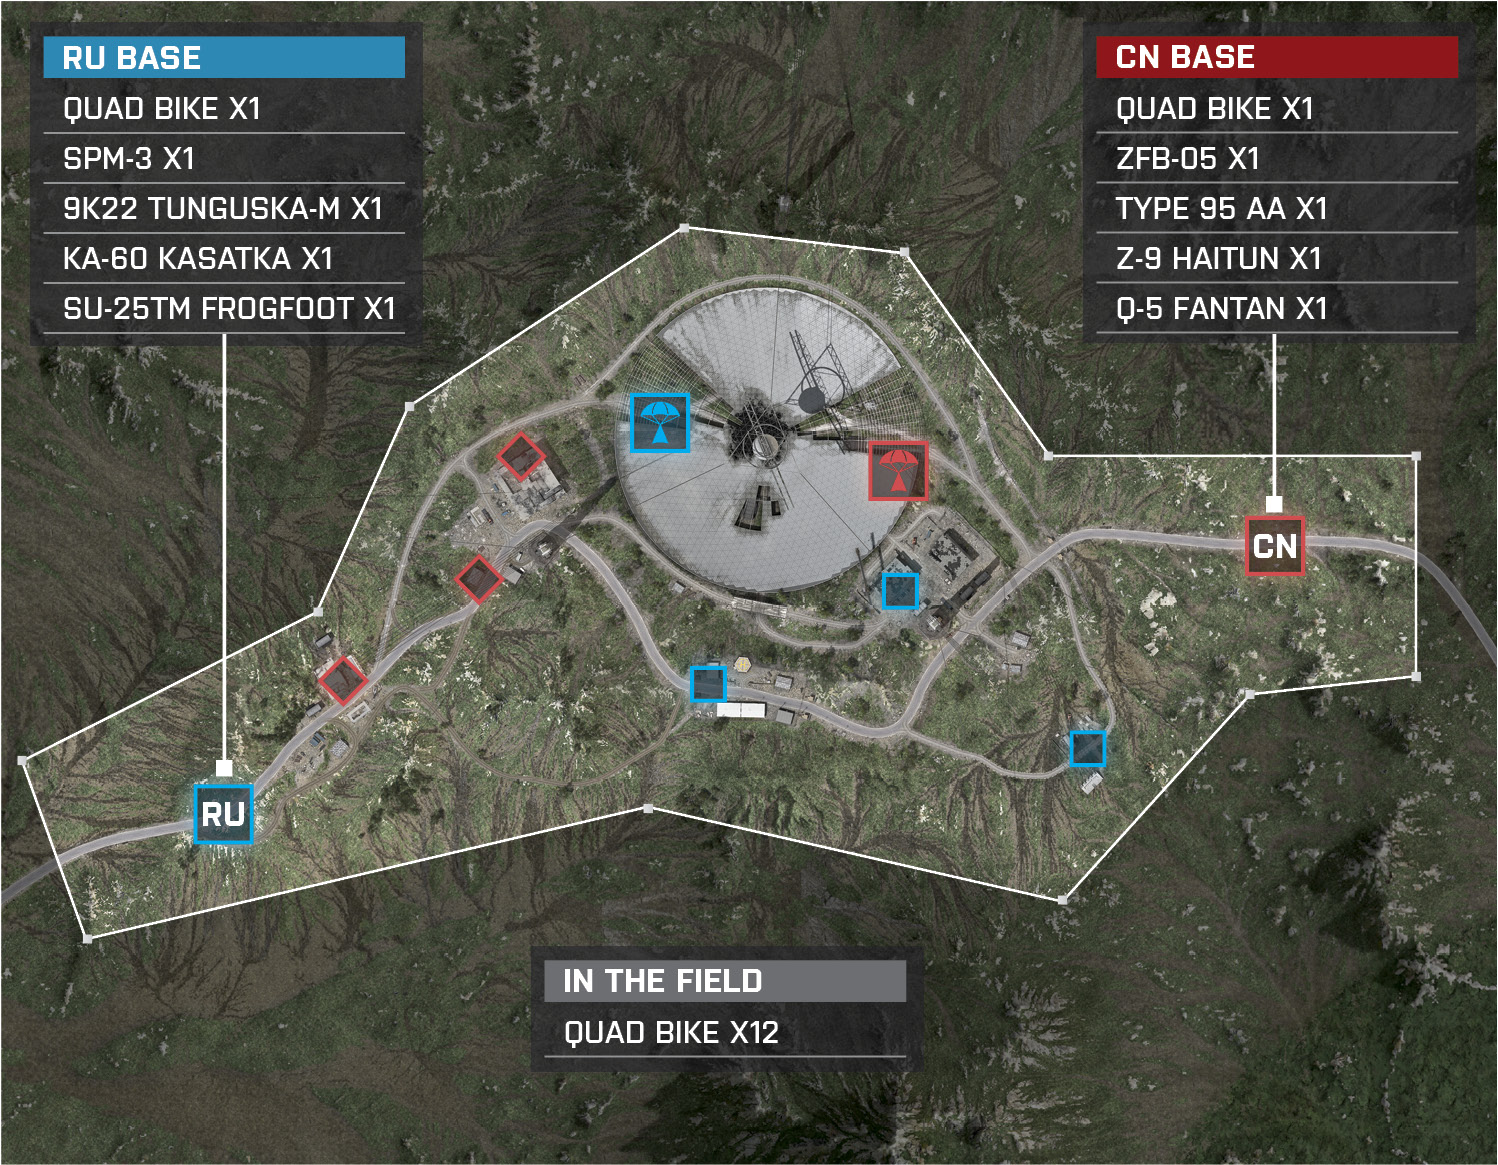
RU Base
Base Assets
Name
Quad Bike
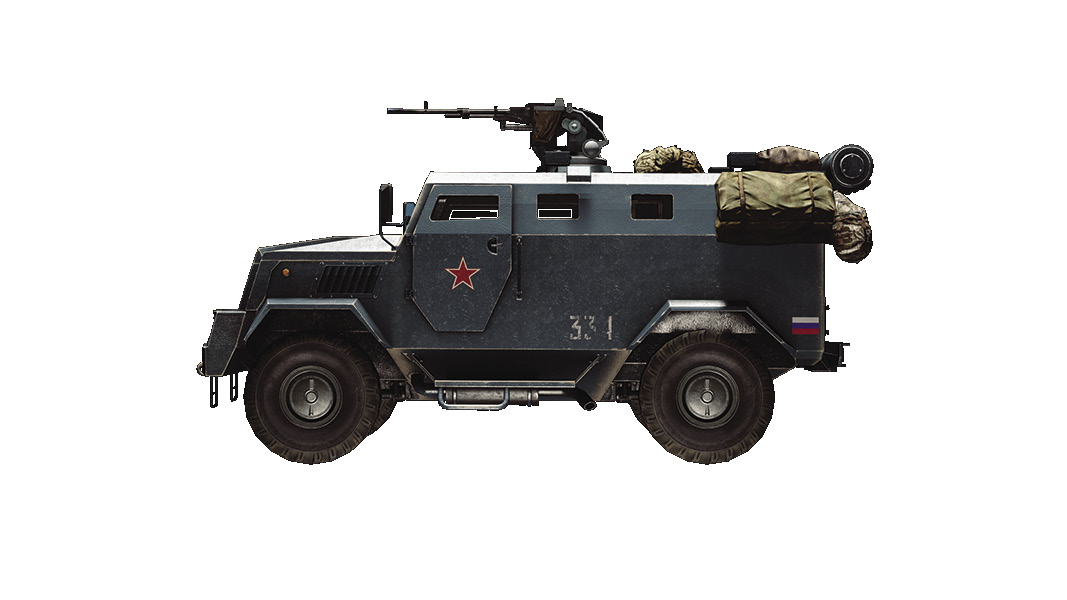
SPM-3
T-90A
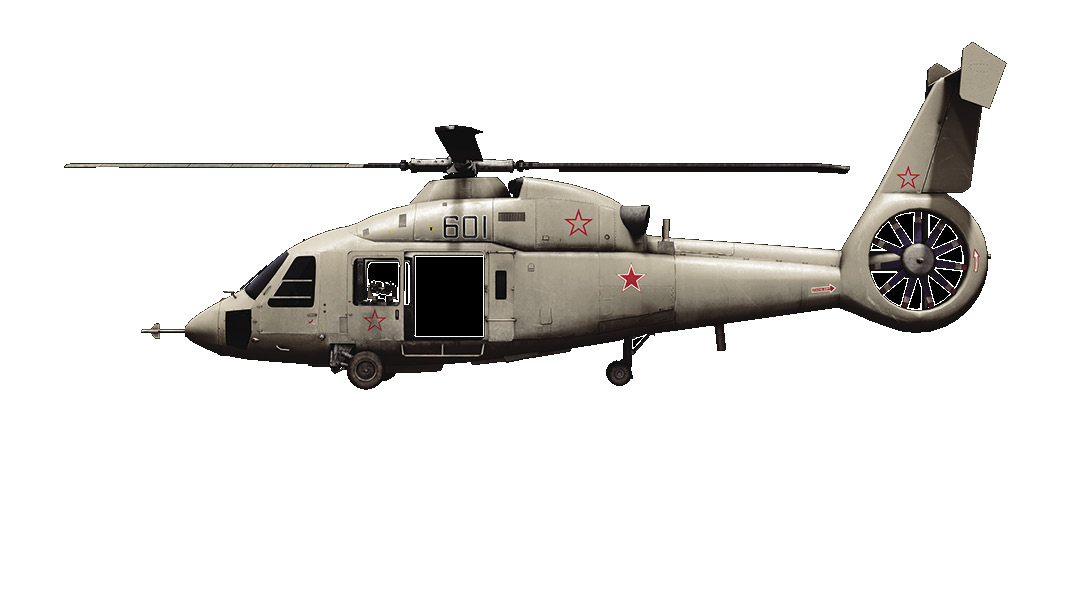
KA-60 Kasatka
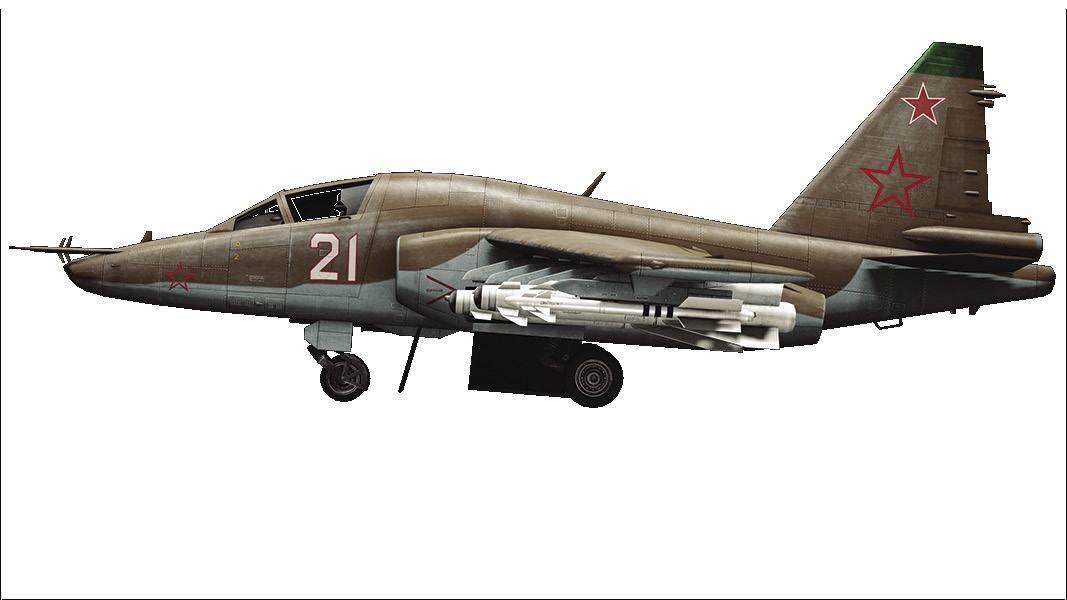
SU-25TM Frogfoot
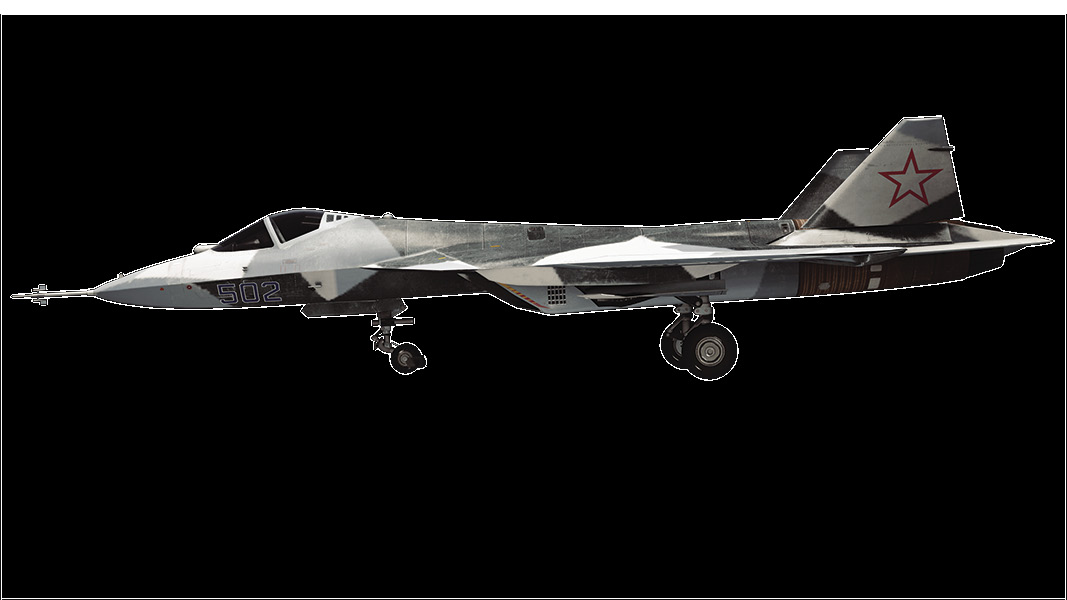
SU-50
Quantity
5
2
2
1
1
1
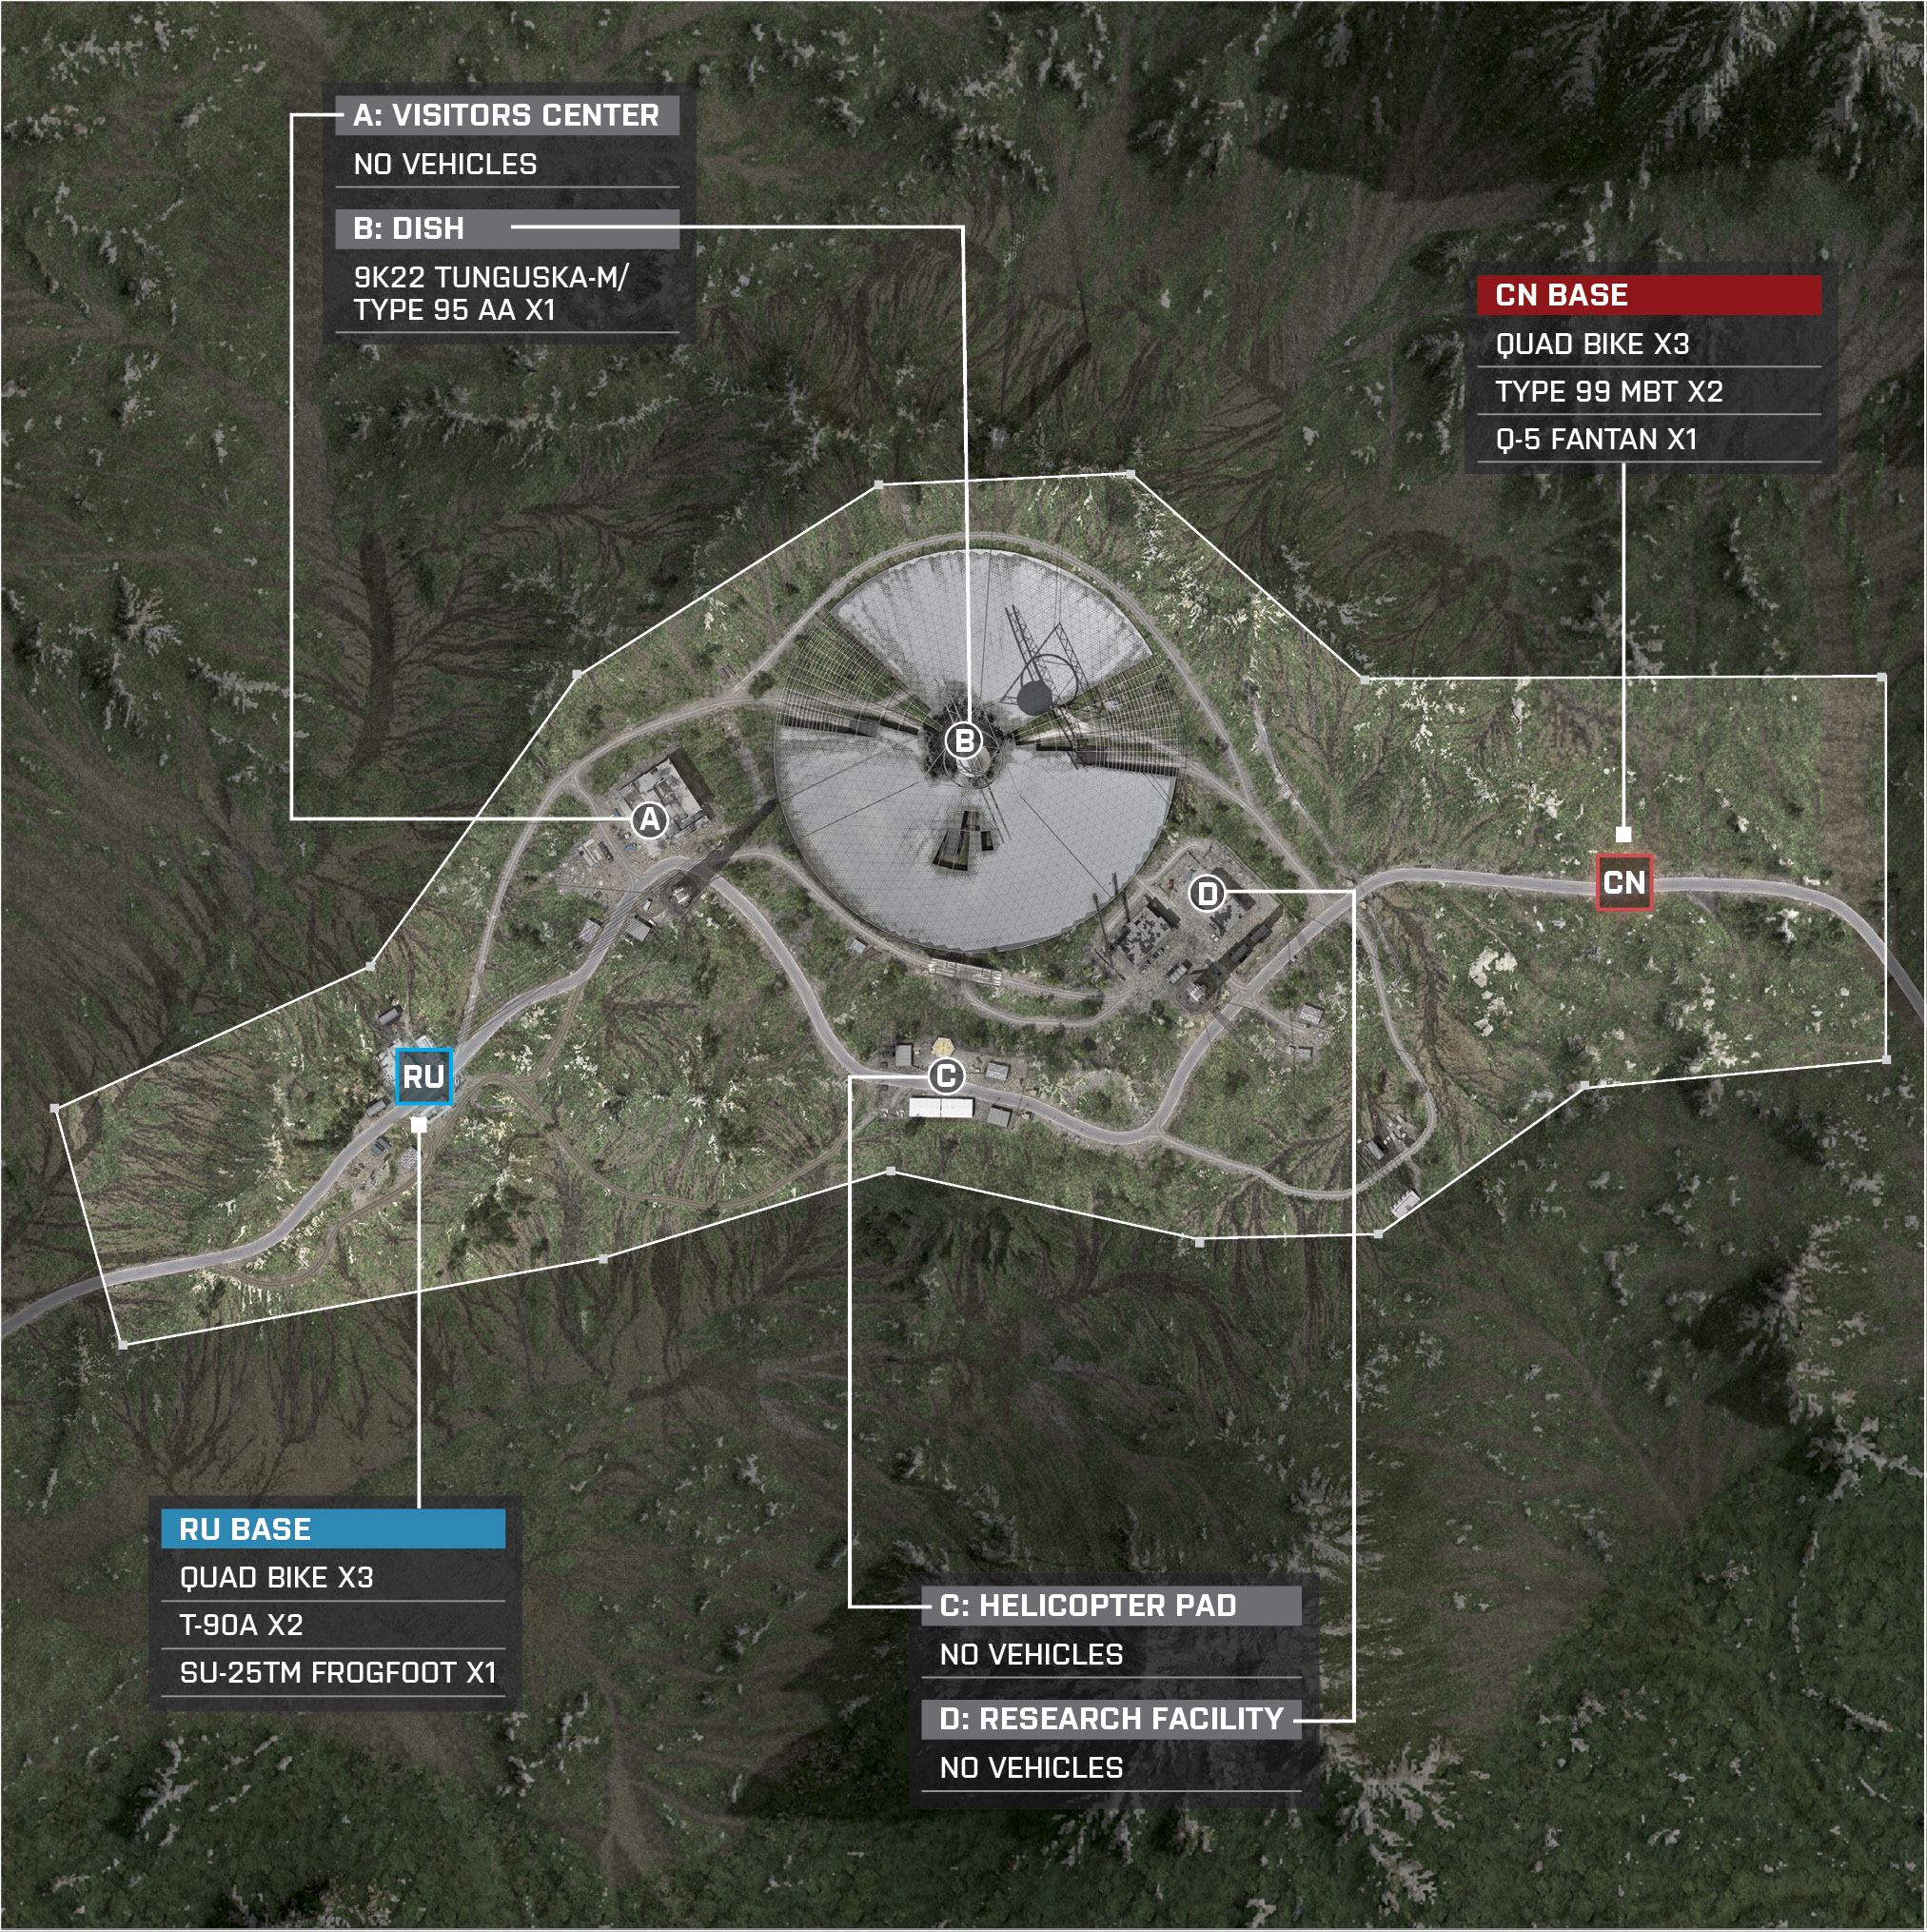
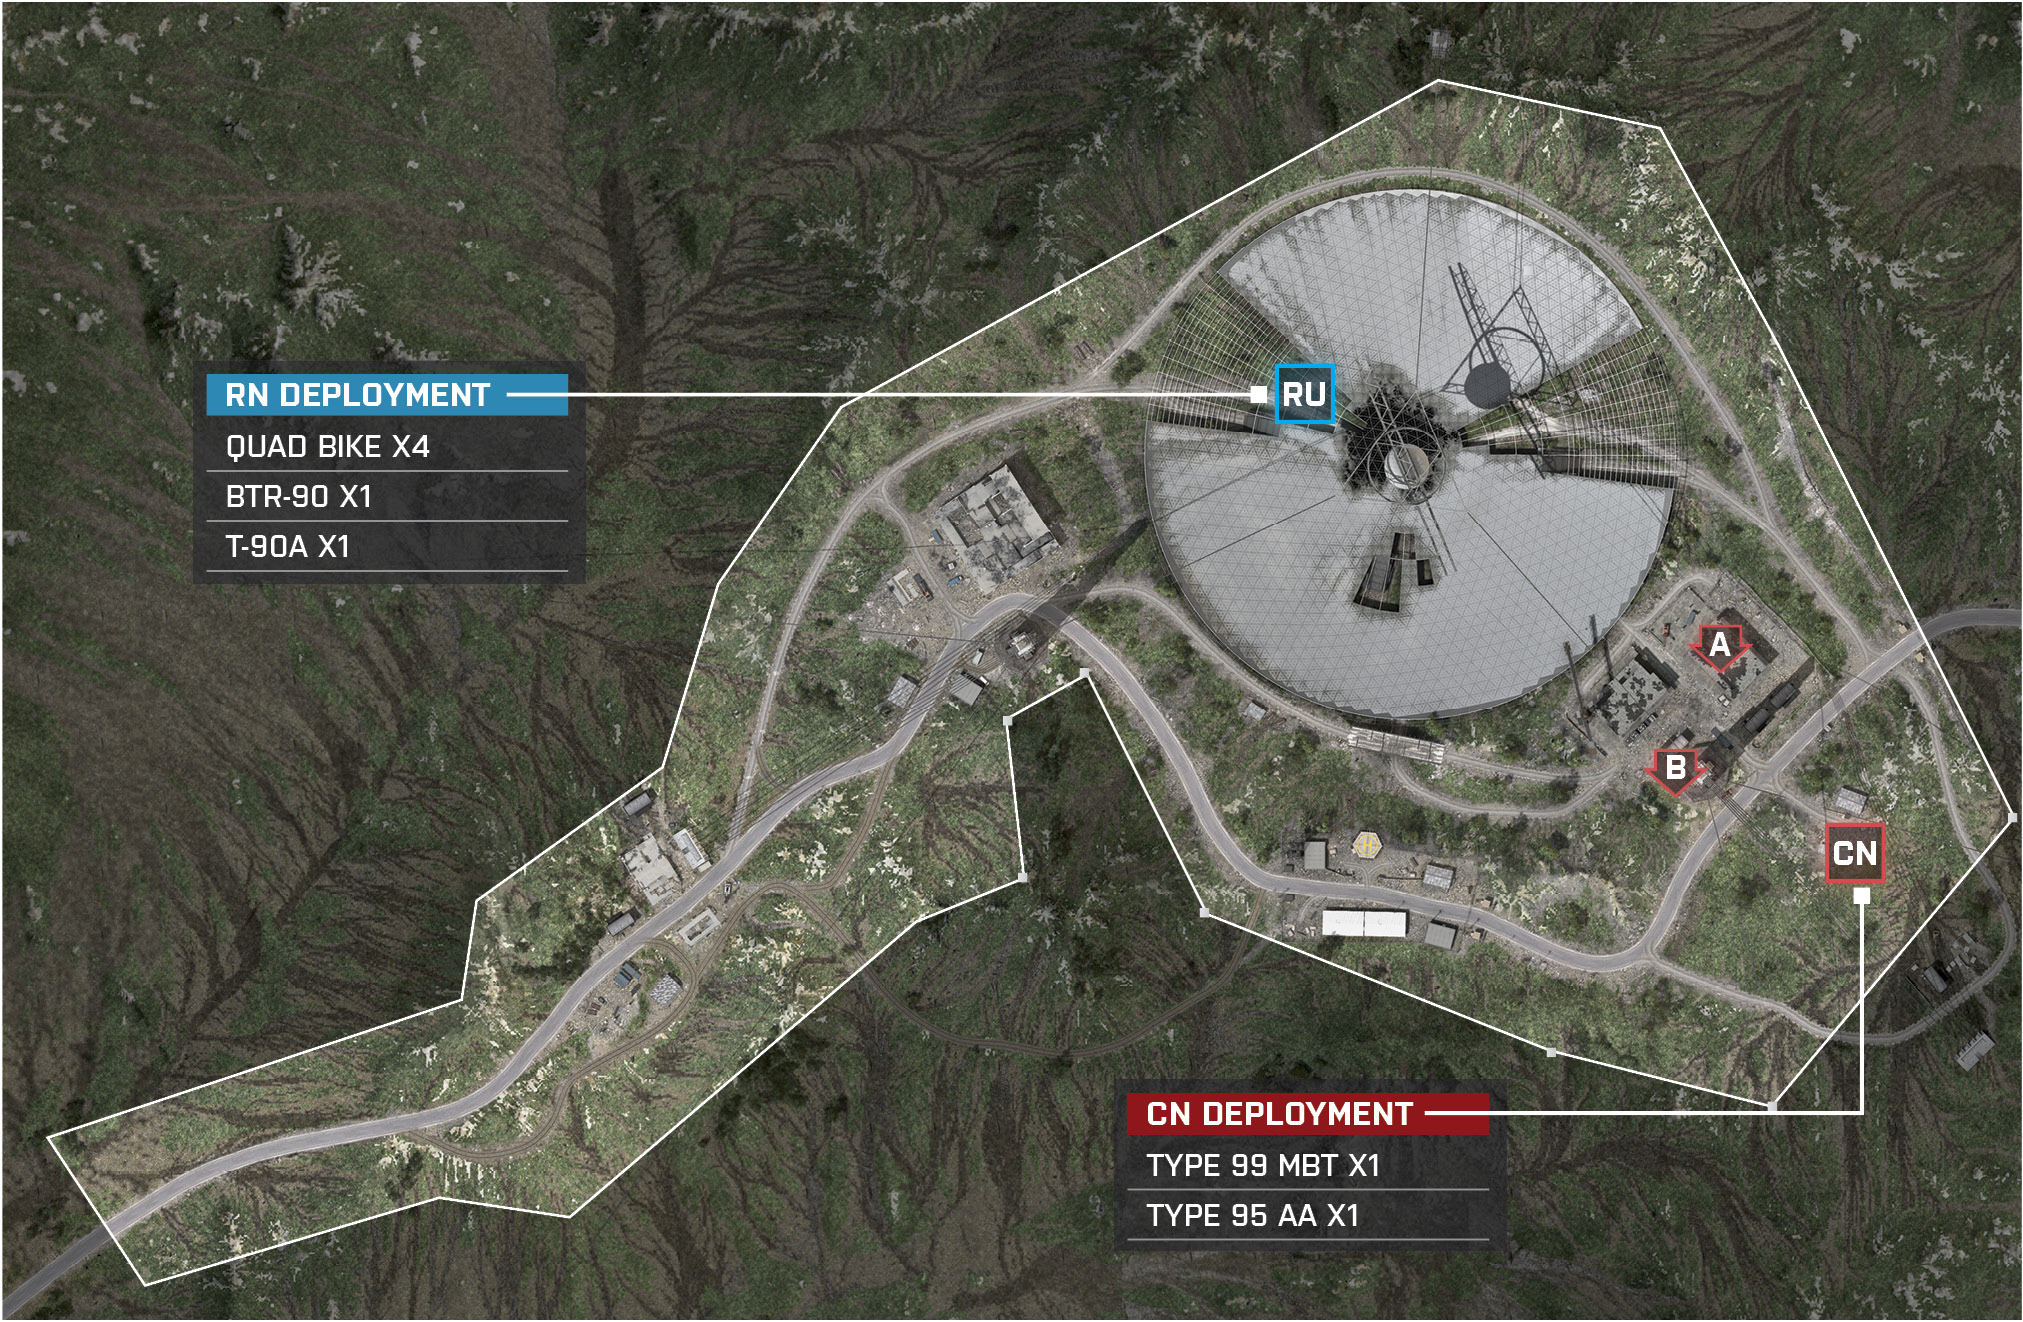
The RU base is located to the southwest side of the map with numerous vehicles to choose from.
Off the start, send your SPM-3 and T-90A towards the Dish (C). Not only is this objective extremely important to control, but your important vehicles will be safe from the enemy aircraft under this cover.
The main points to focus on this map will be the Visitors Center (B), the Dish (C), and the Helicopter Pad (D), since every one of these points will give your commander powerful abilities.
Your squad on this map should make slight changes depending on what the enemy is doing, but always have at least two engineers and one recon member to deal with all the vehicles and long-range battles that will take place.
The paved road that runs through the Helicopter Pad (D) has the highest amount of traffic going through it. Have your engineers place M15 AT mines on this road to pick up easy kills on unsuspecting vehicles.
CN Base
Base Assets
Name
Quad Bike
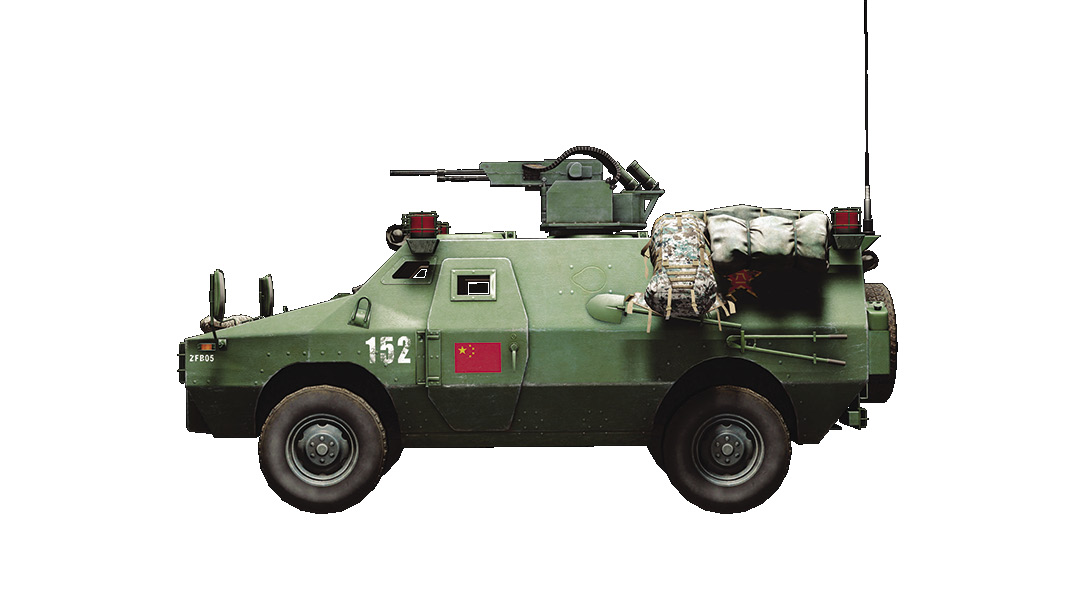
ZFB-05
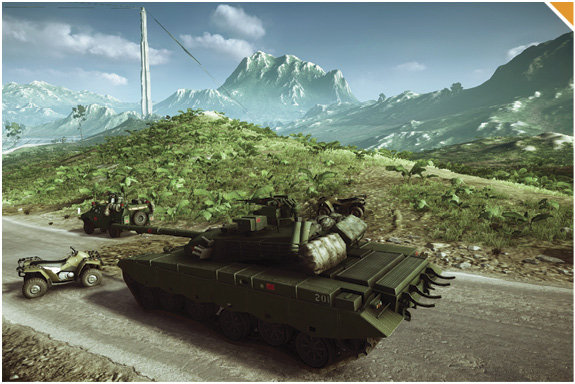
Type 99 MBT
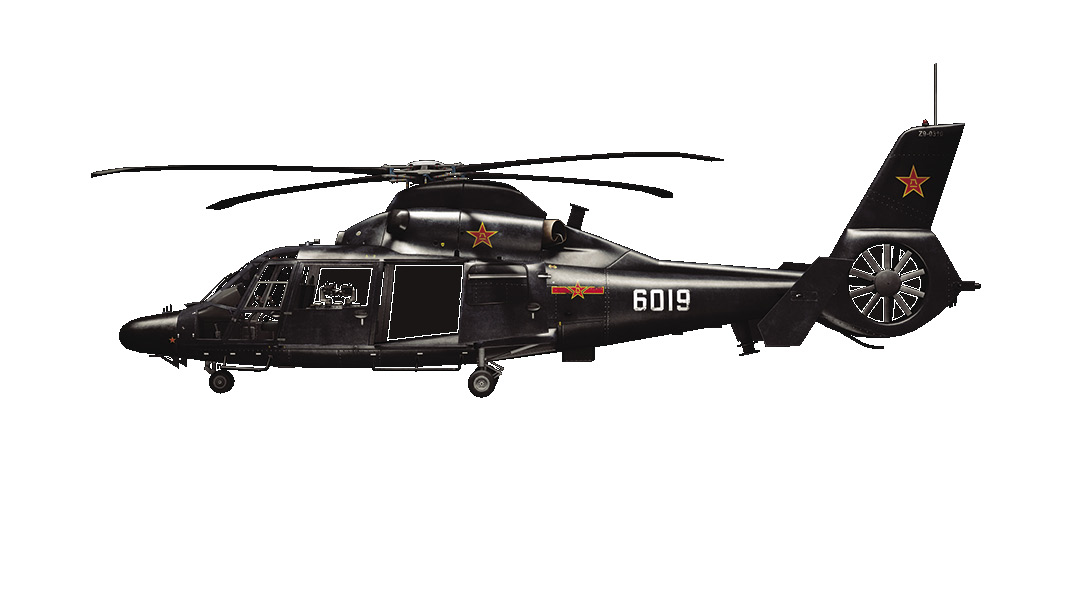
Z-9 Haitun
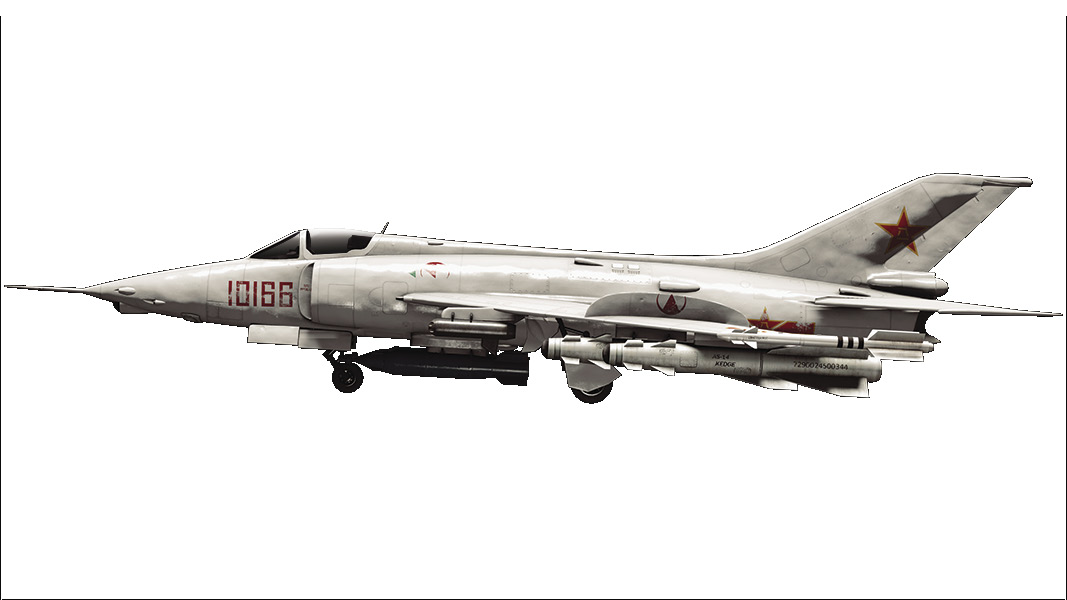
Q-5 Fantan
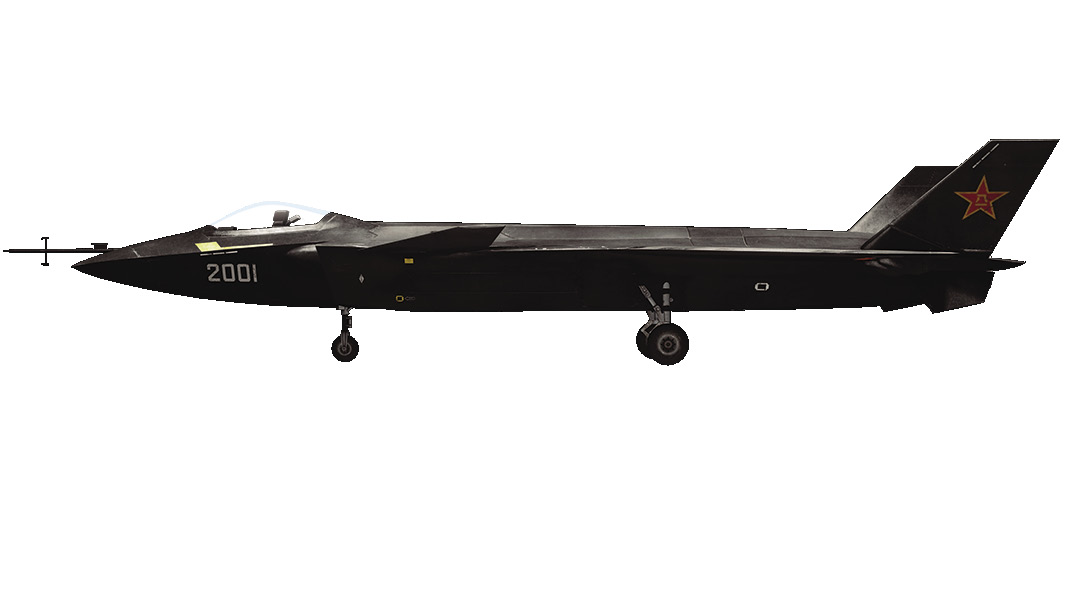
J-20
Quantity
5
2
2
1
1
1
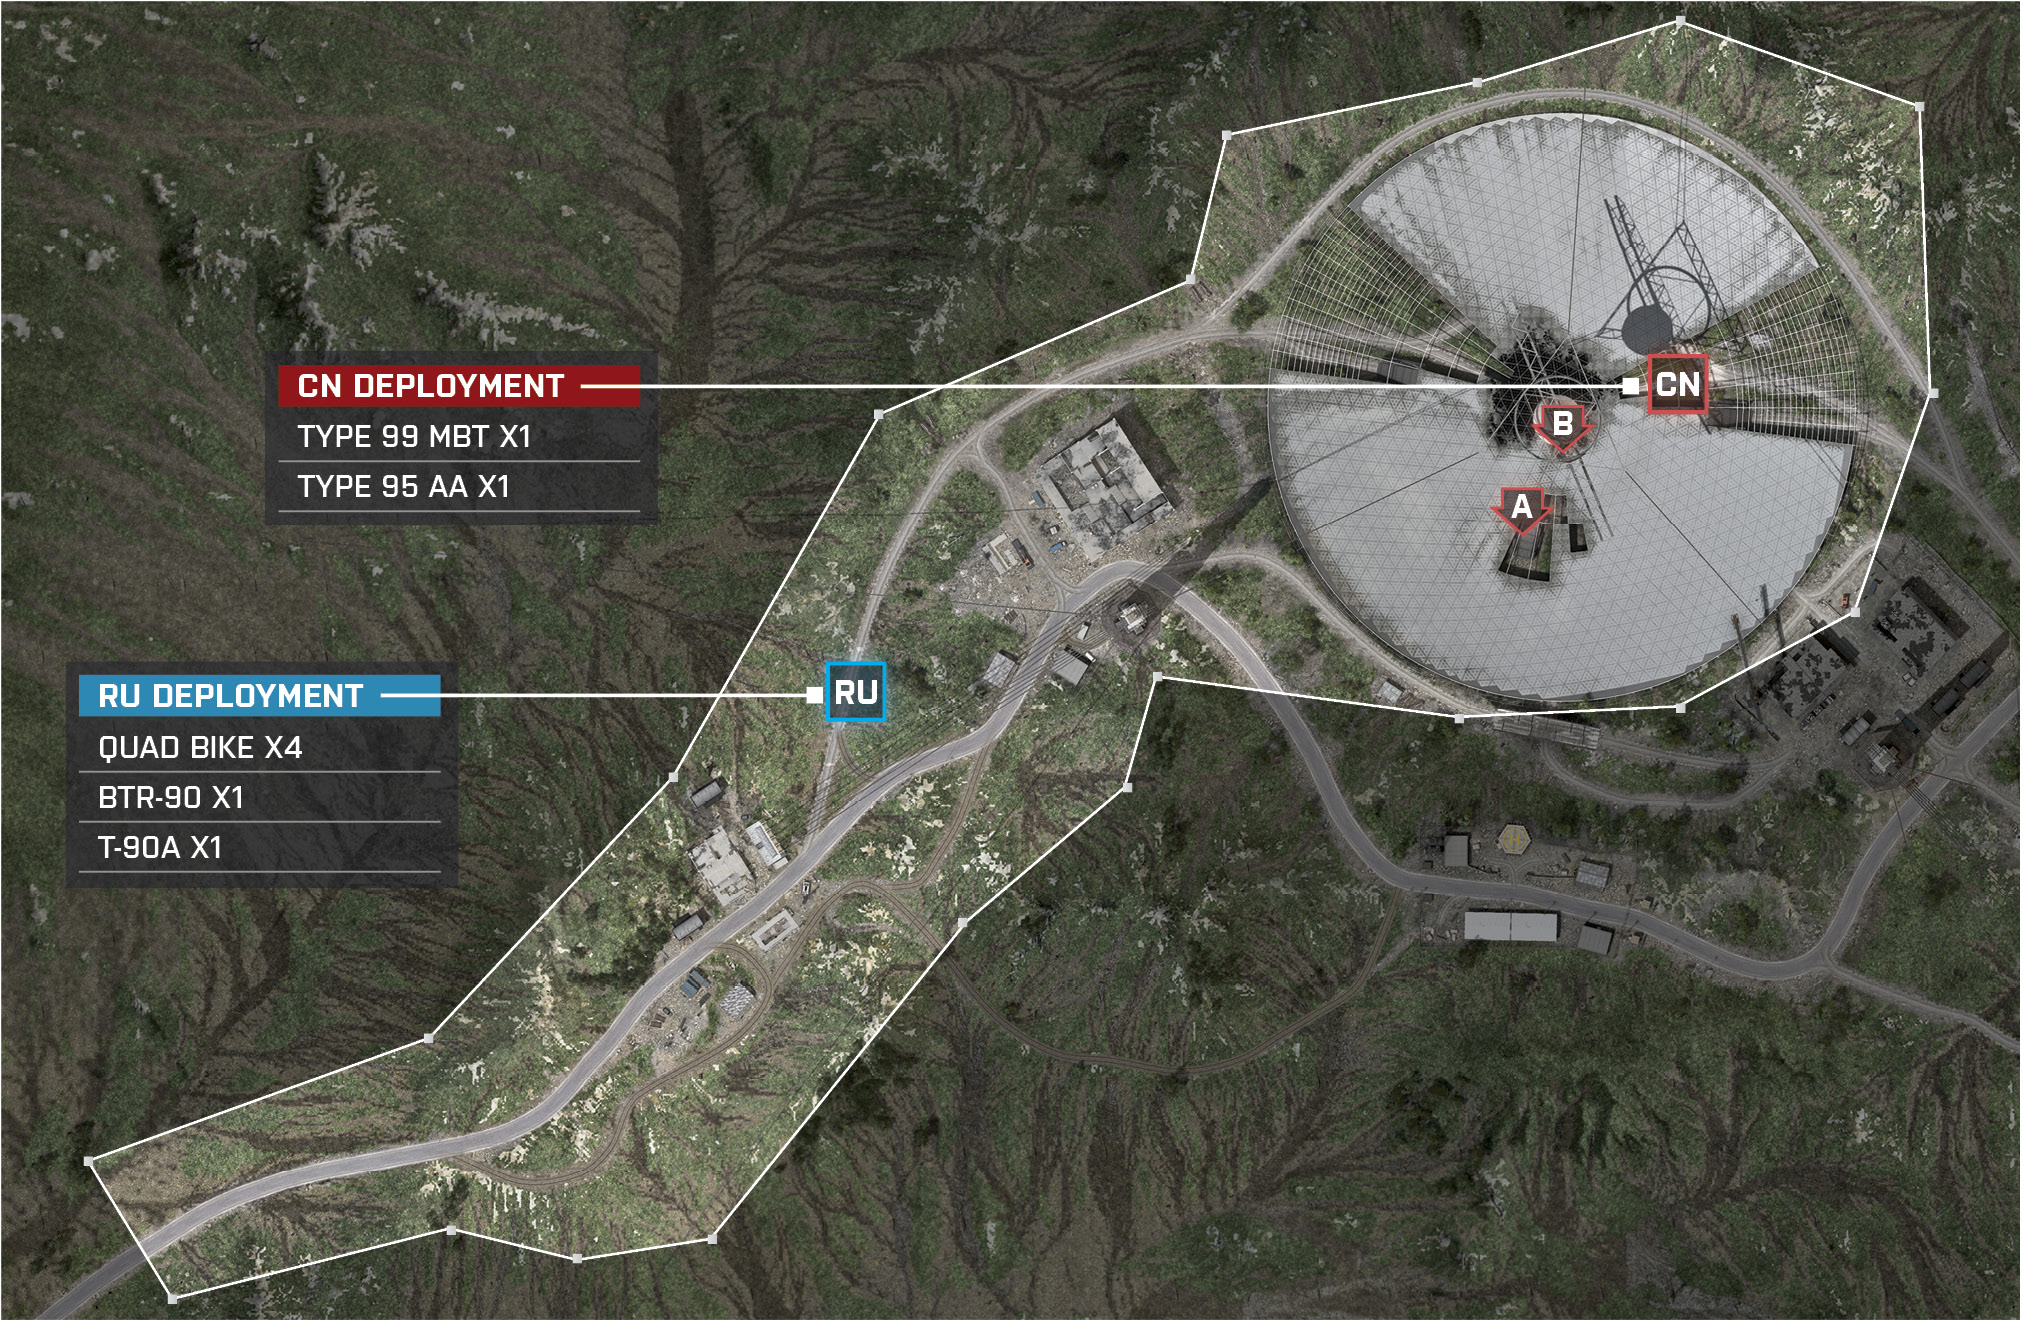
The starting position for the CN base is on the eastern tip of the map.
There is a variety of vehicles at the CN base. Players will be able to choose from an arsenal of light vehicles, a couple of ZFB-05s, a Type 99 MBT, and a transport helicopter.
The CN team can deploy in an attack jet and stealth jet back at base. These will provide great airsupport and aid when destroying the opponent’s jets.
The speed of the light vehicles will prove very beneficial. Take advantage of their speed and rush towards the Dish (C) or the Helicopter Pad (D). The Dish (C) grants your commander a Gunship that can turn the tide of the battle.
Have squads enter the heavy-duty MBT and ZFB-05s and head towards the Helicopter Pad (D). Capturing this control point will let your team gain control of an attack helicopter. This helicopter is very powerful and, with the right pilot, can make the opponent pay.
A: Gate Office
Control Point Assets
RU Control
CN Control
Quad Bike (1)
Quad Bike (1)
BTR-90 (1)
ZBD-09 (1)
This control point is located on the southwest side of the map and is connected to the RU base and the Visitors Center (B) by a two-lane road.
Upon capture, this control point spawns an IFV and a Quad Bike. Take advantage of the size and speed of these light vehicles to quickly flank around the northern and southern dirt paths on this map.
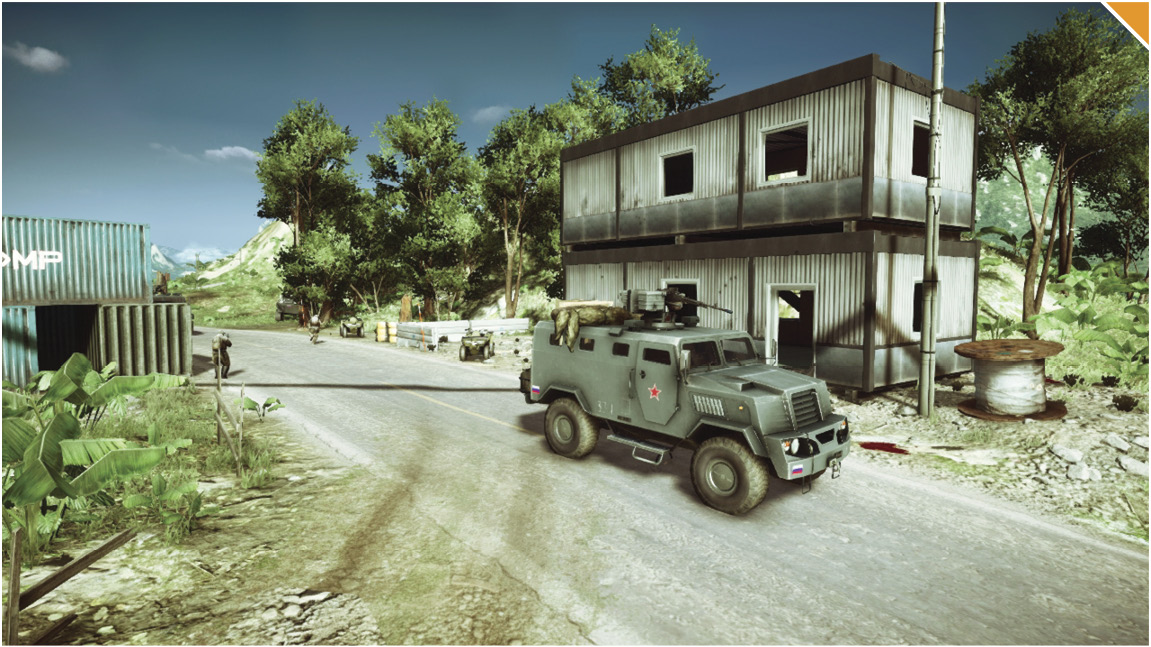
When defending this control point, hold the two-story shack to the west of the flag. This will give you the best view of the area.
When attacking this control point, be careful not to push your vehicles too far into this area. There are many places for the enemies to jump out and C4 your vehicle before you can stop them.
When attacking this control point, your squad needs to have plenty of explosives to deal with any enemy vehicles and also to take down all the destructible walls that the enemy will be hiding behind.
B: Visitors Center
Control Point Assets
RU Control
CN Control
Quad Bike (1)
Quad Bike (1)
This control point is located west of the Dish (C) on the northern side of the map. One Quad Bike spawns at this location. Use it to rush towards the other control points.
North of this objective you’ll find a ladder leading to the top roof above this flag. This area is a great place to oversee incoming enemies from the Dish (C), the Helicopter Pad (D), and the Gate Office (A). When taking fire here, drop to the prone position to cover yourself from ground infantry.
This control point is valuable due to your commander gaining control of the Infantry Scan. Use it to locate opponents hiding beneath the Dish.
South of this flag is a vertical beam with a ladder reaching to the highest point of the map. When playing as the recon class, place a Radio Beacon at the top of the vertical beam to give you and your team a spawn point above the action. Parachute down and take out the enemies from the top of the vertical beam. You can snipe from this position, but it will be quite tough. When attacking, have a few teammates flank around from the trail north of the flag to catch your enemy off guard and to take over the control point easier.
C: Dish
Control Point Assets
RU Control
CN Control
Quad Bike (4)
Quad Bike (4)
9K22 Tunguska-M (1)
Type 95 AA (1)
The Dish (C) is located to the north of the map under a large satellite dish. The Dish (C) is the focal point of Rogue Transmission, and has an enormous amount of cover and hiding places for both teams to use to their advantage.
Once captured, four Quad Bikes and one mobile AA vehicle will spawn near the flag for either team’s use. Teams should either use the light vehicles to transport themselves to another control point or circle the area to protect this point. The mobile AA vehicle is an excellent asset for defending the Dish (C).
The Dish (C) is one of the most important control points to capture for both teams, giving either team the use of the Gunship. The Gunship will provide much help in capturing and defending other control points.
Defenders of this control point can use the dark area and the cluster of buildings to hide. This will make it easy to contest the flag when the attackers arrive.
The attacking team’s first goal when trying to capture this base will be to locate a safe area near a surrounding building and drop a Radio Beacon to keep the attack going.
D: Helicopter Pad
Control Point Assets
RU Control
CN Control
Quad Bike (2)
Quad Bike (2)
Mi-28 Havoc (1)
Z-10W (1)
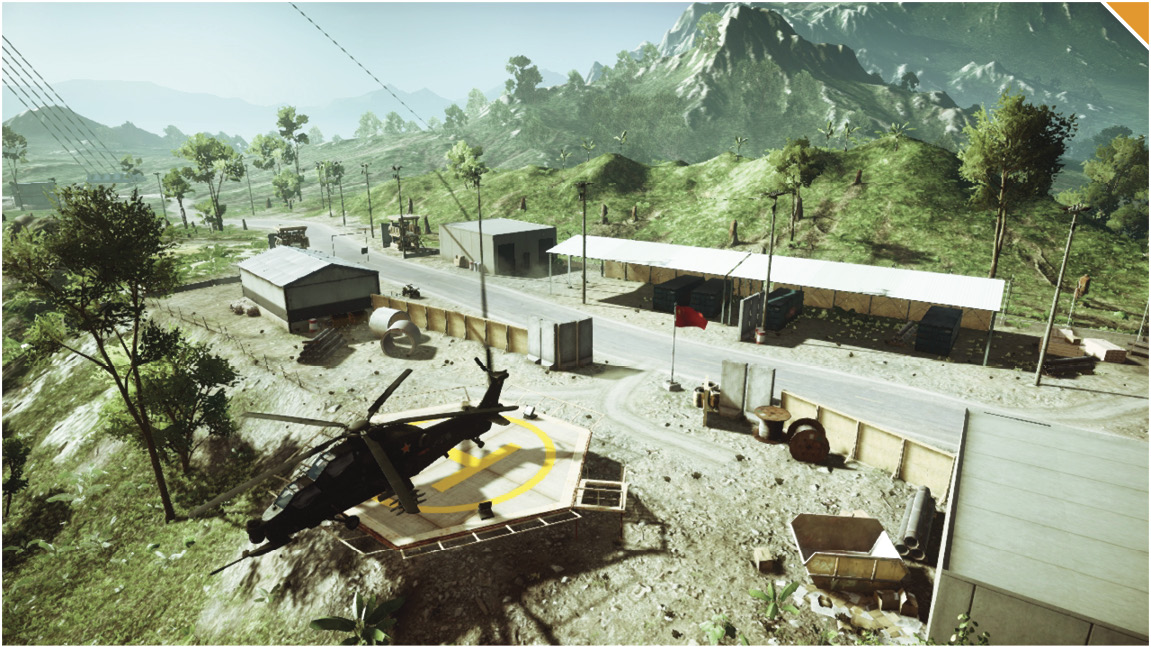
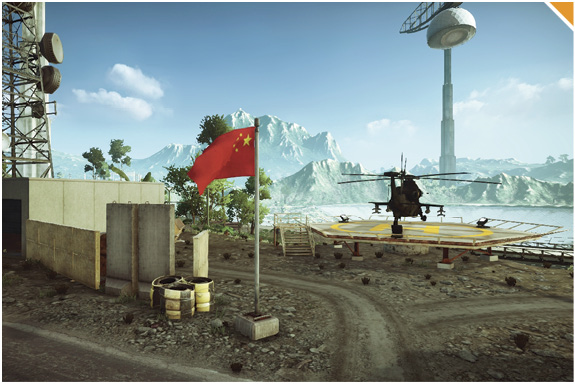
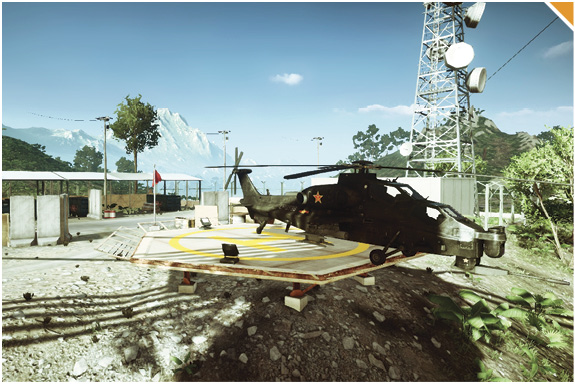
The Helicopter Pad (D) is located at the most southern part of the map. Around the flag there are a few small buildings that are surrounding the area and can be used to hide and contest the flag from.
Vehicles that spawn here when this point is captured are an attack helicopter and two Quad Bikes. Both of these vehicles will be very useful to quickly move towards any of the other close control points. In the hands of a skilled pilot and gunner, the attack helicopter can be a game changer—make an effort to capture and hold this control point to maintain access to the attack helicopter.
Capturing the Helicopter Pad (D) gives your commander the use of Vehicle Scan. Use it to spot enemy vehicles hiding beneath the Dish.
If defenders find themselves losing this control point, there is a building to the southeast of the flag. This is a very dark room where a recon unit can lay a Radio Beacon down and keep the team spawning there.
When attacking this control point, use the team’s MBT to destroy the buildings and expose any defenders hiding around the location attempting to contest the flag.
E: Research Facility
Control Point Assets
RU Control
CN Control
Quad Bike (1)
Quad Bike (1)
BTR-90 (1)
ZBD-09 (1)
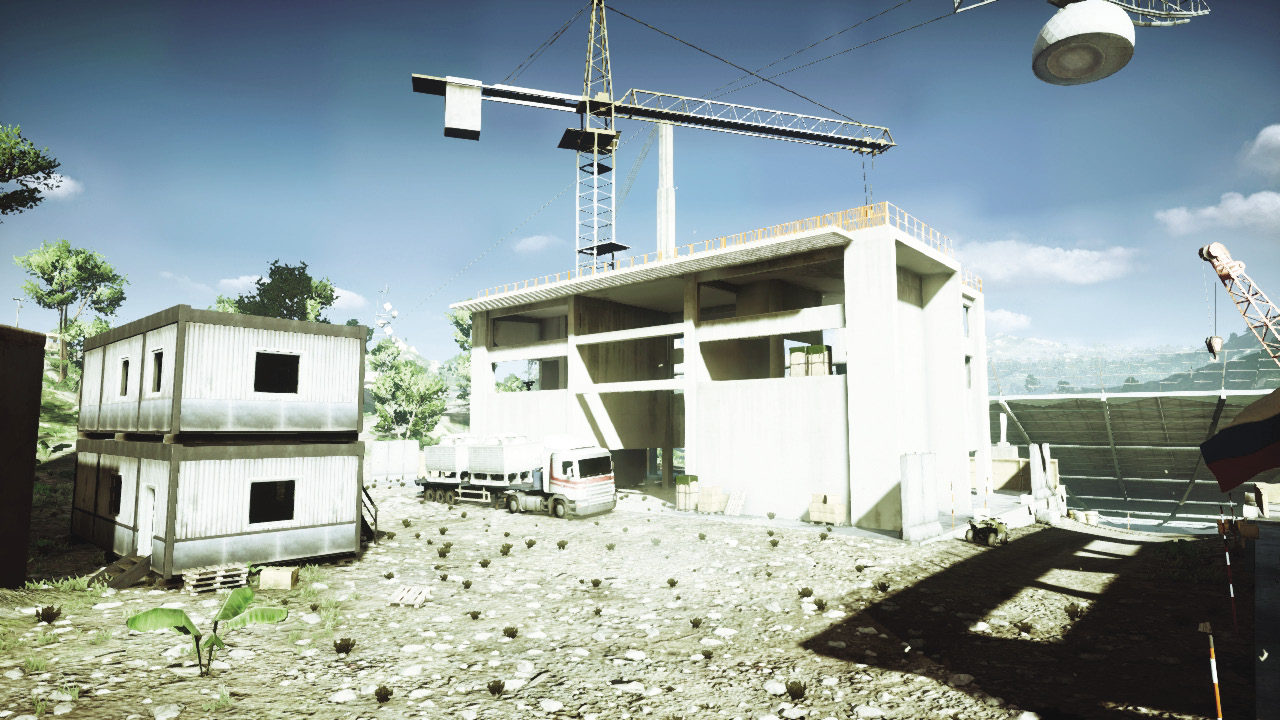
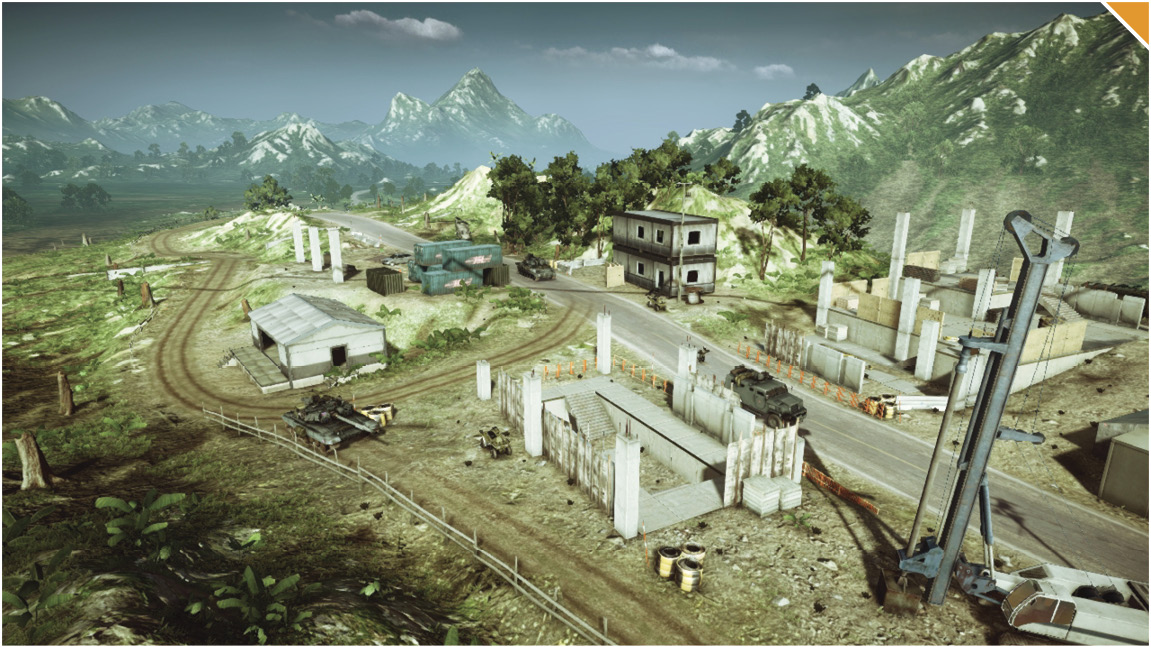
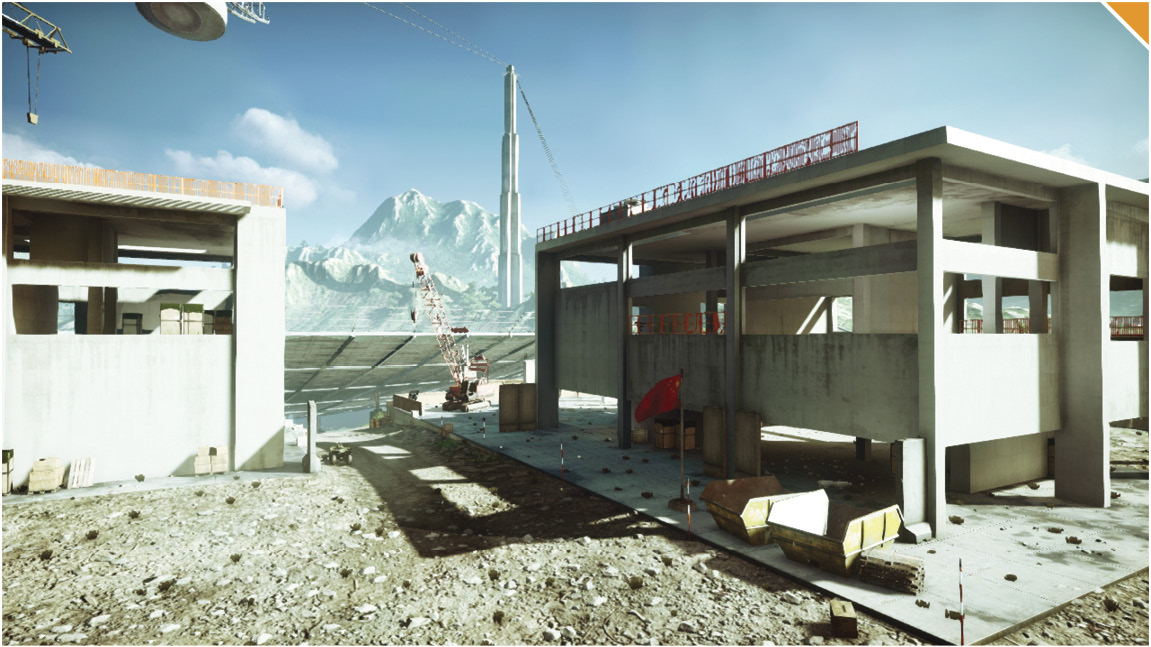
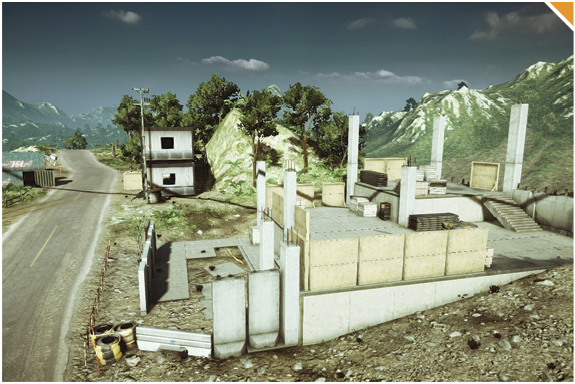
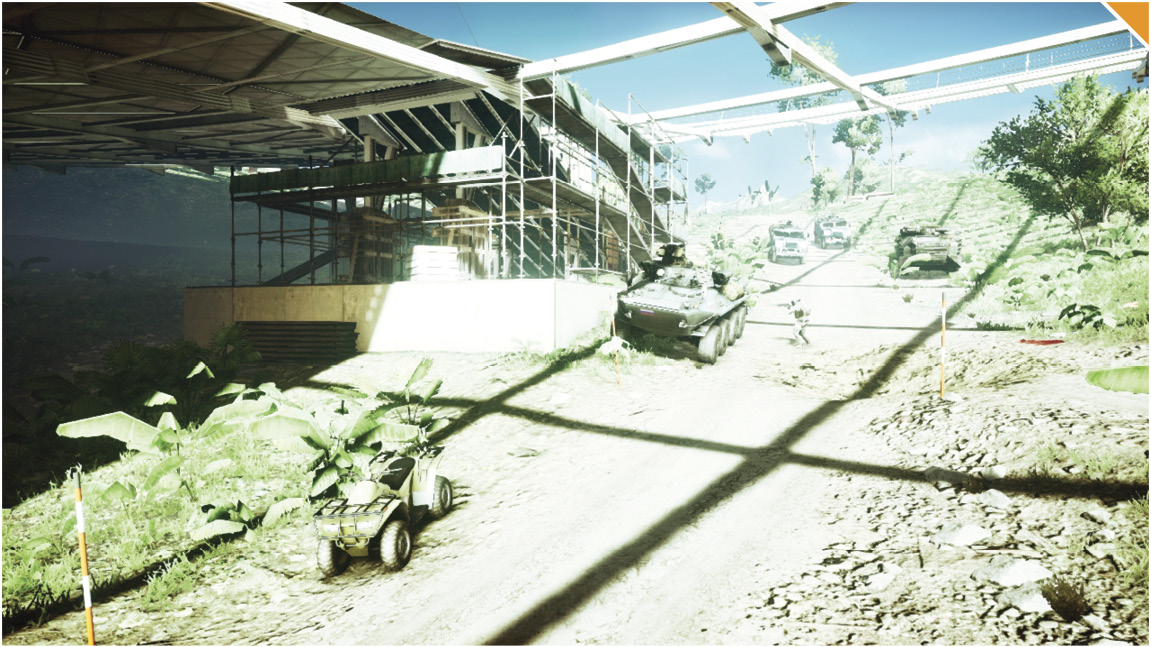
The Research Facility (E) is west of the CN base in a nearly finished construction site.
Capturing this objective grants the capturing team an IFV. This vehicle will prove its worth when encountering enemy infantry under the Dish (C).
Near the flagpole is a concrete vertical beam with a ladder attached. This is a very tall beam that grants recon players a bird’s eye view of the map to snipe from.
Next to the flag is a large shipping container that allows players to open and shut its doors. When defending, players can contest the objective by hiding inside. The attacking team will need to take you out in order to capture the control point.
The area is surrounded with a good amount of stationary weapons; these will assist in controlling this objective throughout the entire game.
Conquest Small
Recommended Squad Composition:
In this vehicle-friendly map, a large satellite dish sits in the center of the map. Above the satellite dish is a dome held by wires attached to three vertical beams. Both teams will be looking at four control points: Visitors Center (A), Dish (B), Helicopter Pad (C), and Research Facility (D). The RU team’s best strategy will be to capture the Visitors Center (A), the Dish (B), and the Helicopter Pad (C). On the other hand, the CN team will want to capture the Research Facility (D), the Dish (B), and the Helicopter Pad (C). The Helicopter Pad (C) will be a control point fought over throughout the duration of the match. The team who captures this flag will gain access to an attack helicopter. In the right hands, this attack helicopter will put the opposing team into chaos. Another control point both teams will fight over will be the Dish (B). Capturing this flag will grant your commander access to the Gunship. The RU team will have an easy time capturing the Visitors Center (A), so send two squadmates towards the Dish (B). These players will relay information to the RU team and let them know which control point the rest of the team should go for. The CN team should capture the Helicopter Pad (C) after capturing the Research Facility (D).The Research Facility (D) provides great cover if the opposing team does get access to the Gunship. Besides the cover, the CN team will also add an attack helicopter to their arsenal of vehicles. Prepare to load up on extra engineers, as this map will consist of both teams warding off each other’s vehicles.
RU Base
Base Assets
Name
Quad Bike
T-90A
SU-25TM Frogfoot
Quantity
3
2
1
The RU base is located to the southwest side of the map at the Gate Office with a handful of vehicles to choose from.
Off the start, send your SPM-3 and T-90A towards the Dish (B). Not only is this objective extremely important to control, but your important vehicles will be safe from the enemy aircraft under this cover.
The main points to focus on this map will be the Visitors Center (A), the Dish (B), and the Helicopter Pad (C), since every one of these points will give your commander powerful abilities.
Your squad on this map should make slight changes depending on what the enemy is doing. But always be sure to have at least two engineers and one recon member to deal with all the vehicles and long-range battles that will take place.
The paved road that runs through the Helicopter Pad (C) has the highest amount of traffic going through it. Be sure your engineers place M15 AT mines on this road to pick up easy kills on unsuspecting vehicles.
CN Base
Base Assets
Name
Quad Bike
Type 99 MBT
Q-5 Fantan
Quantity
3
2
1
The starting position for the CN team is on the eastern tip of the map.
There is a variety of vehicles at the CN base. Players will be able to choose from a set of Quad Bikes, a ZFB-05, a Type 99 MBT, a Type 95 AA, and a transport helicopter.
The CN team can deploy in an attack jet back at base. This jet will provide great airsupport and aid when destroying the opponent’s jet and helicopters.
The speed of the Quad Bikes will prove to be very beneficial. Take advantage of their speed and rush towards the Dish (B) or the Helicopter Pad (C). The Dish (B) grants your commander a Gunship that can turn the tide of the battle.
Have squads enter the heavy-duty MBT and ZFB-05 and head towards the Helicopter Pad (C). Capturing this control point will let your team gain control of an attack helicopter. This helicopter is very powerful and, with the right pilot, can make the opponent pay.
A: Visitors Center
This control point is located west of the Dish (B) on the northern side of the map.
North of this objective you’ll find a ladder leading to the top roof above this flag. This area is a great place to oversee incoming enemies from the Dish (B) and the Helicopter Pad (C). When being shot at, drop to the prone position to cover yourself from ground infantry.
This control point is valuable due to your commander gaining control of the Infantry Scan. Use it to locate enemy troops hiding beneath the Dish.
South of this flag is a vertical beam with a ladder reaching to the highest point of the map. When playing as the recon class, place a Radio Beacon at the top of the vertical beam to give you and your team a spawn point above the action. Parachute down and take out the enemies. You can snipe from this position, but it will be quite tough.
When attacking, have a few teammates flank around from the trail north of the flag to catch your enemy off guard and take over the control point easier.
B: Dish
Control Point Assets
RU Control
CN Control
9K22 Tunguska-M (1)
Type 95 AA (1)
The Dish (B) is located to the north of the map under a large satellite. The Dish (B) is the focal point of Rogue Transmission, and has an enormous amount of cover and hiding places for both teams to use to their advantage.
Once this control point is captured, a mobile AA vehicle will spawn near the flag for teams to use. The mobile AA vehicle is an excellent asset for defending this flag. However, it can also be used to shoot down the enemy’s attack jet.
The Dish (B) is one of the most important control points to capture for both teams, giving them use of the Gunship. This, in turn, from this point will help every other base in securing points on the map.
Defenders here can utilize the shadows among the cluster of buildings to hide, which will make it easy to contest the flag when the attackers arrive.
The attacking team’s first goal when trying to capture this base will be to locate a safe area near the flag and drop a Radio Beacon to keep the attack going.
C: Helicopter Pad
Control Point Assets
RU Control
CN Control
Quad Bike (1)
Quad Bike (1)
Mi-28 Havoc (1)
Z-10W (1)
This flag is located at the most southern part of the map. Around this flag there are a few small buildings that are surrounding the area and can be used to hide and contest the flag.
An attack helicopter and Quad Bikes spawn here. Both of these vehicles will be very useful in quickly moving towards any of the other close control points. In the hands of a skilled pilot and gunner, the attack helicopter can be a game changer—make an effort to capture and hold this control point to maintain access to the attack helicopter.
If defenders find themselves losing this control point, there is a building to the southeast of the flag. This is a very dark room where a recon unit can lay a Radio Beacon down and keep the team spawning there.
When attacking this point when the team is capturing, use your MBT to destroy the buildings to expose any defenders hiding around the location attempting to contest the flag.
D: Research Facility
The Research Facility (D) is west of the CN base. The facility has yet to be completed and is in the middle of a construction site.
Near the flagpole is a concrete vertical beam with a ladder attached. This is a very tall beam that grants recon players a bird’s eye view of the map to snipe from.
Next to the flagpole is a large shipping container that allows players to open and shut its doors. When defending, players can contest the objective by hiding inside. The attacking team will need to take you out in order to capture the control point.
The area is surrounded with a good amount of stationary weapons; these will assist in controlling this objective throughout the entire game.
Capturing this control point gives your commander access to the Vehicle Scan. This will notify your whole team of what vehicles the enemy is using and where they are going.
Rush
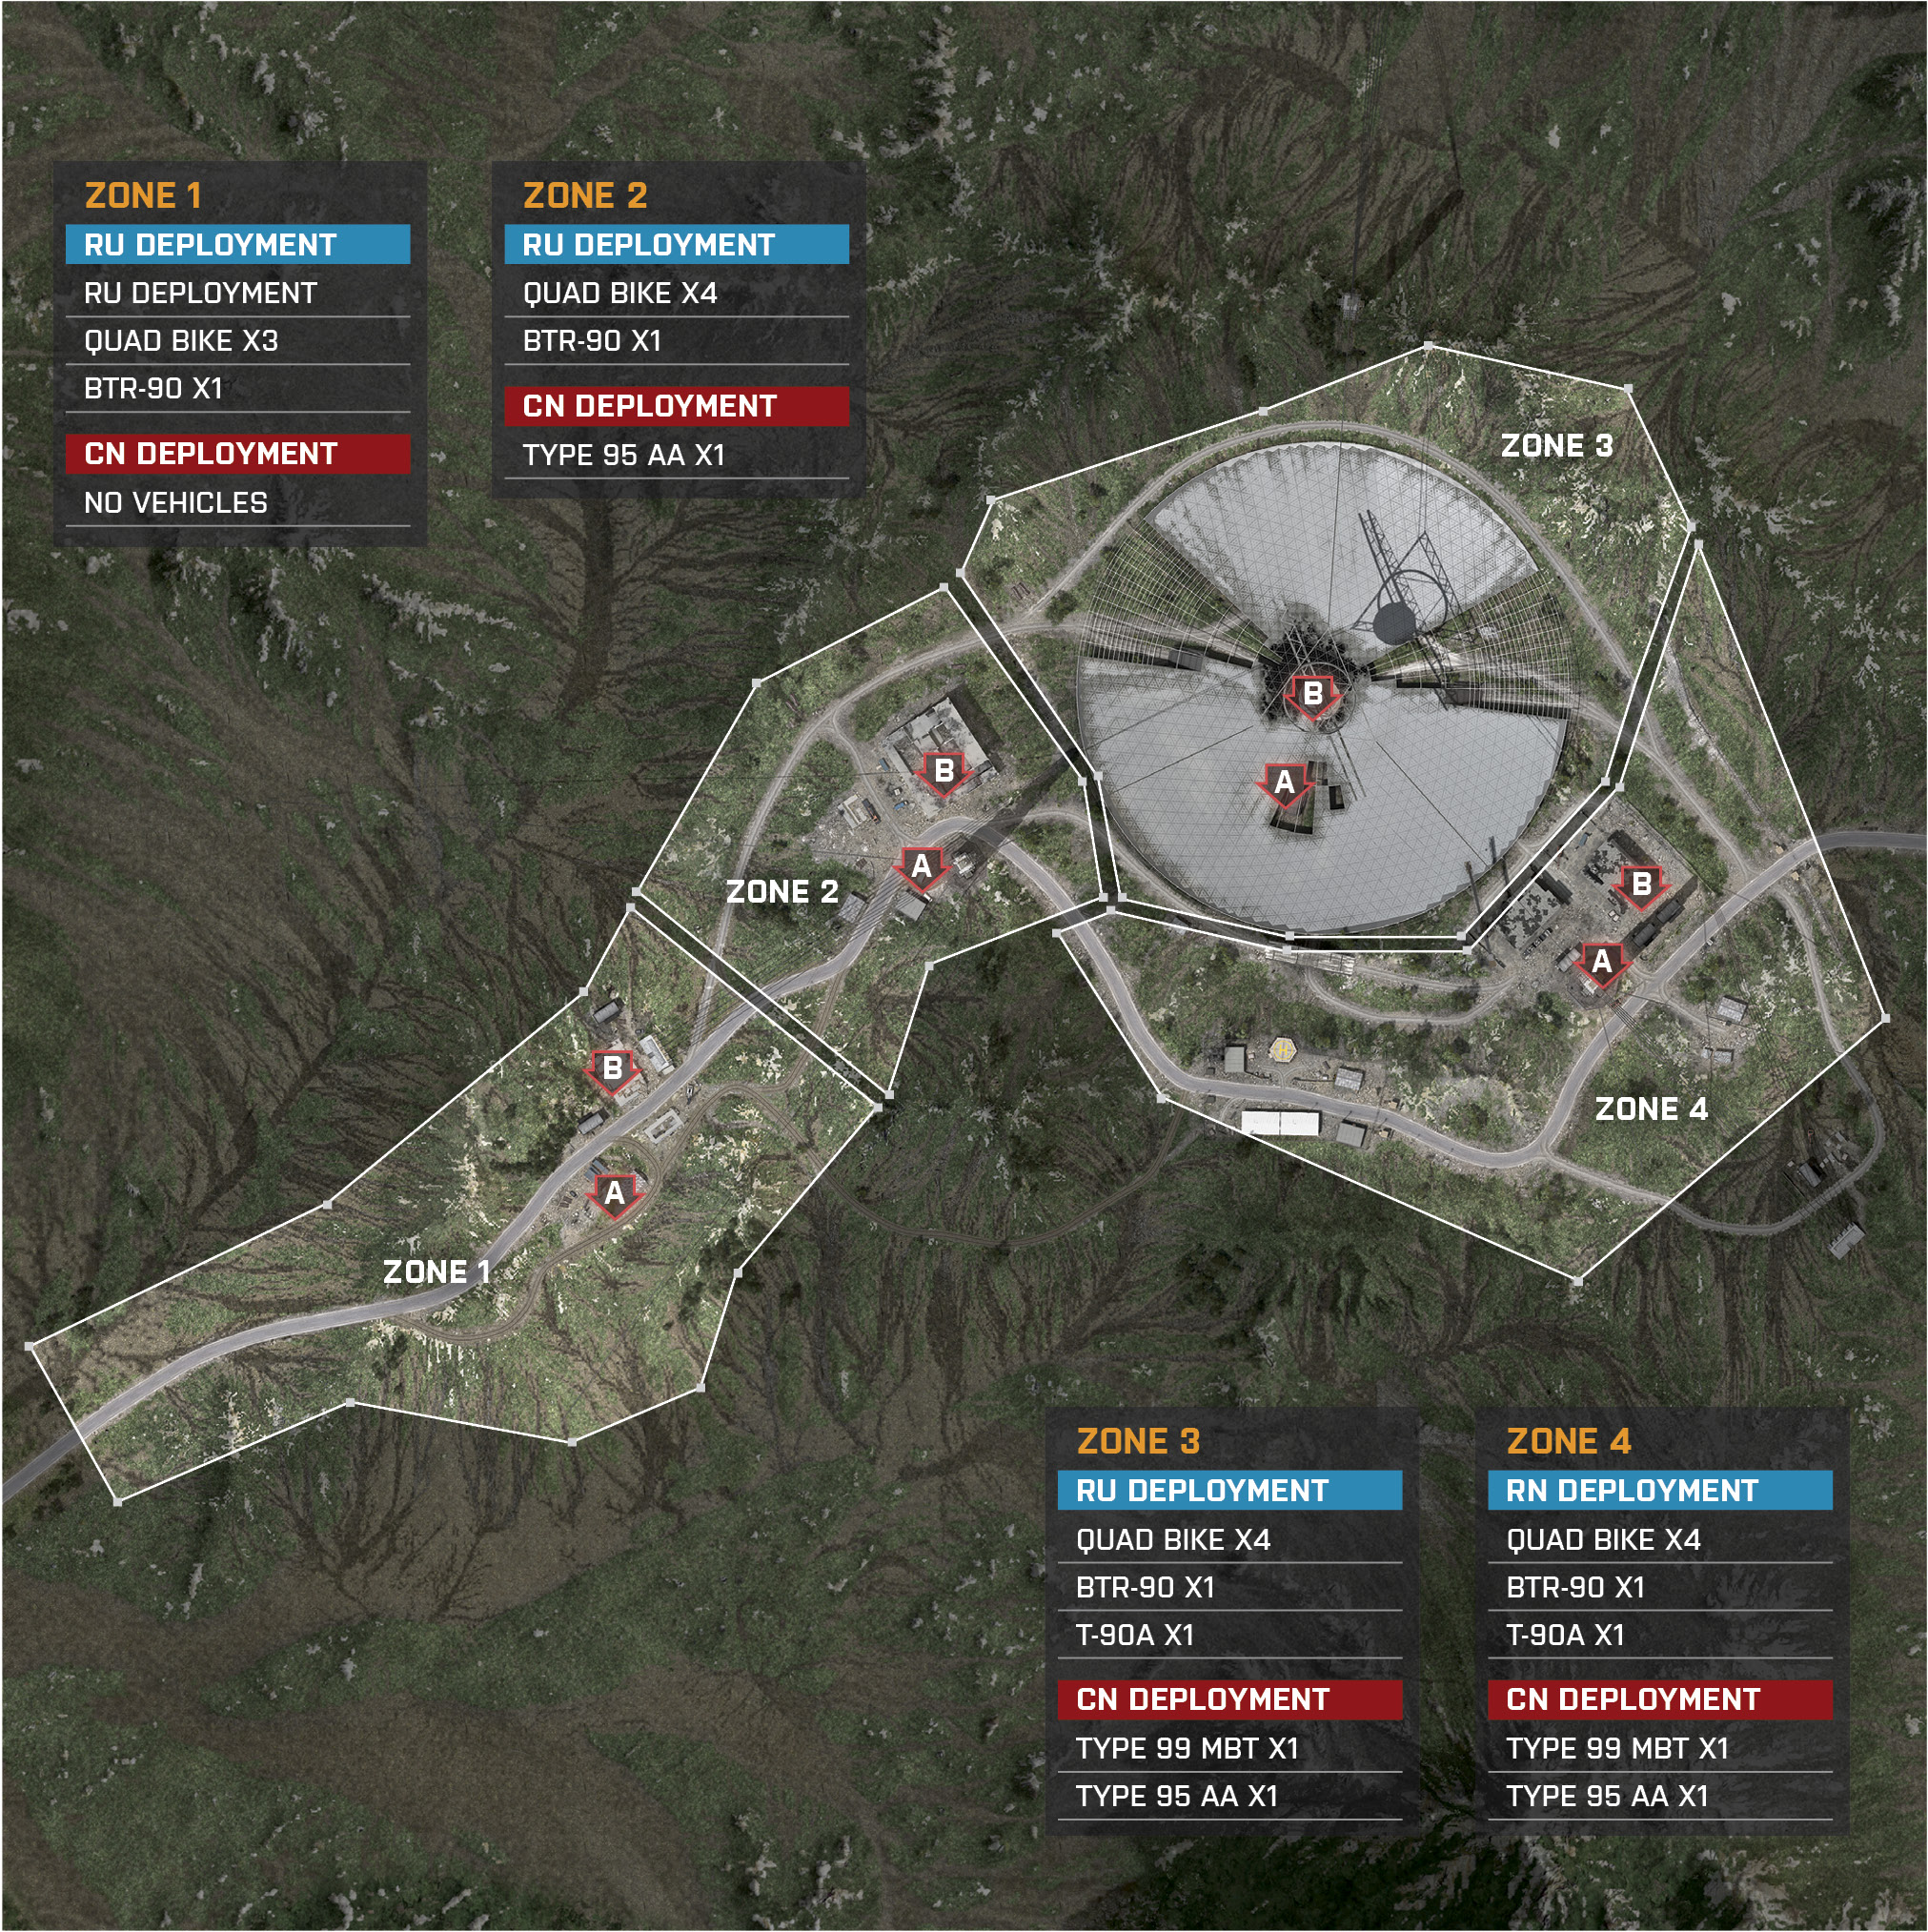
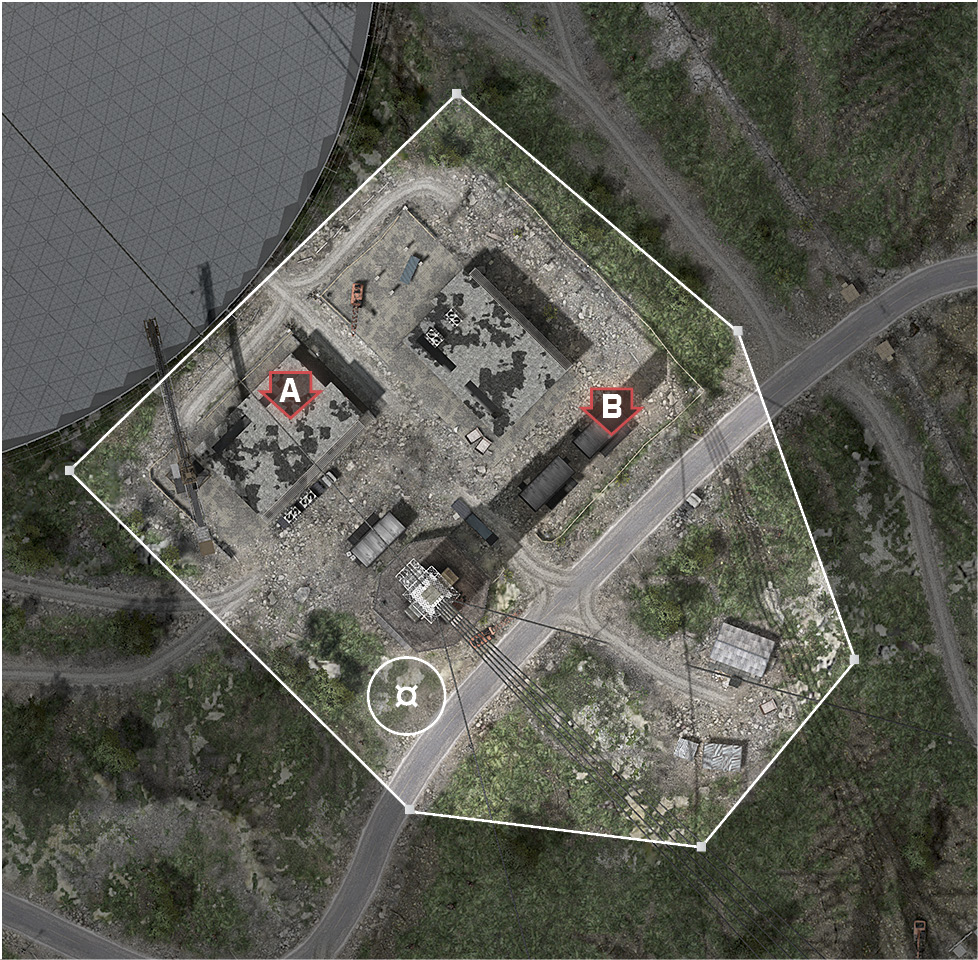
In this Rush battle, the RU attacking team will make their way through four different zones in an attempt to destroy a total of eight M-COM stations. The attackers will begin at the start of the road west of the map and head east to the Gate Office for the first zone. The defending CN team will have one .50Cal to deal with the various light vehicles. The RU team has an HJ-8 Launcher to deal with the incoming BTR-90. The defenders are at a disadvantage in this zone, but with the proper teamwork can stop the attackers here. If the attackers do succeed in making it to the next few zones, the defenders will have a harder time as the attackers gain more vehicles. Zone 3 and Zone 4 are the defending team’s time to shine as they gain vehicles of their own to tackle the RU team’s vehicles. Defenders should have engineers on deck to plant M15 AT mines and rockets to take care of attacking vehicles.
Zone 1: Gate Office
RU Deployment
Recommended Squad Composition:
Deployment Area Assets
Name
Quad Bike
BTR-90
Quantity
3
1
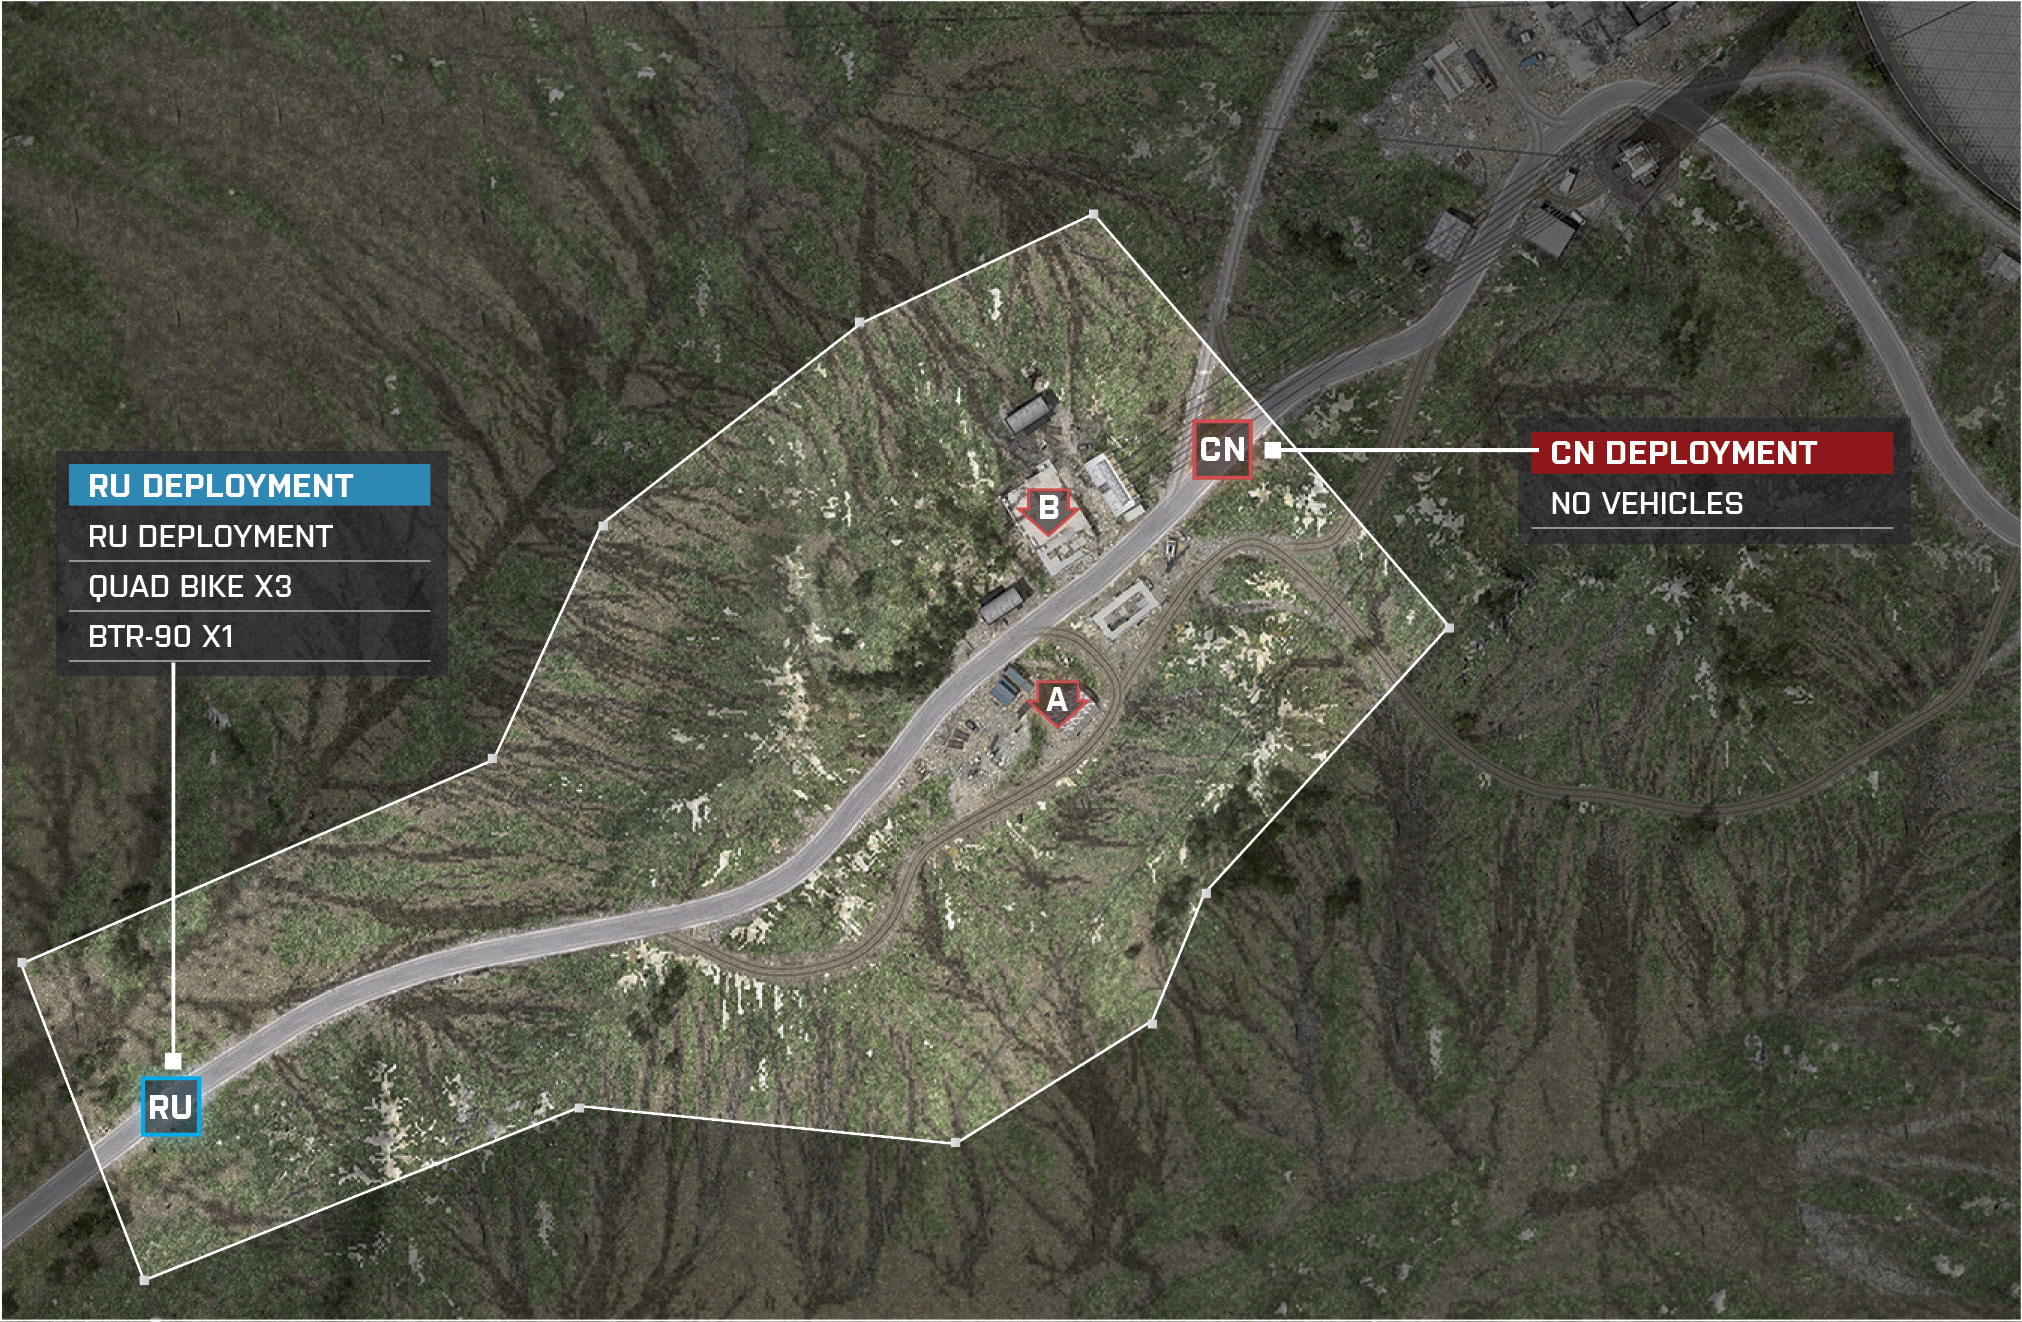
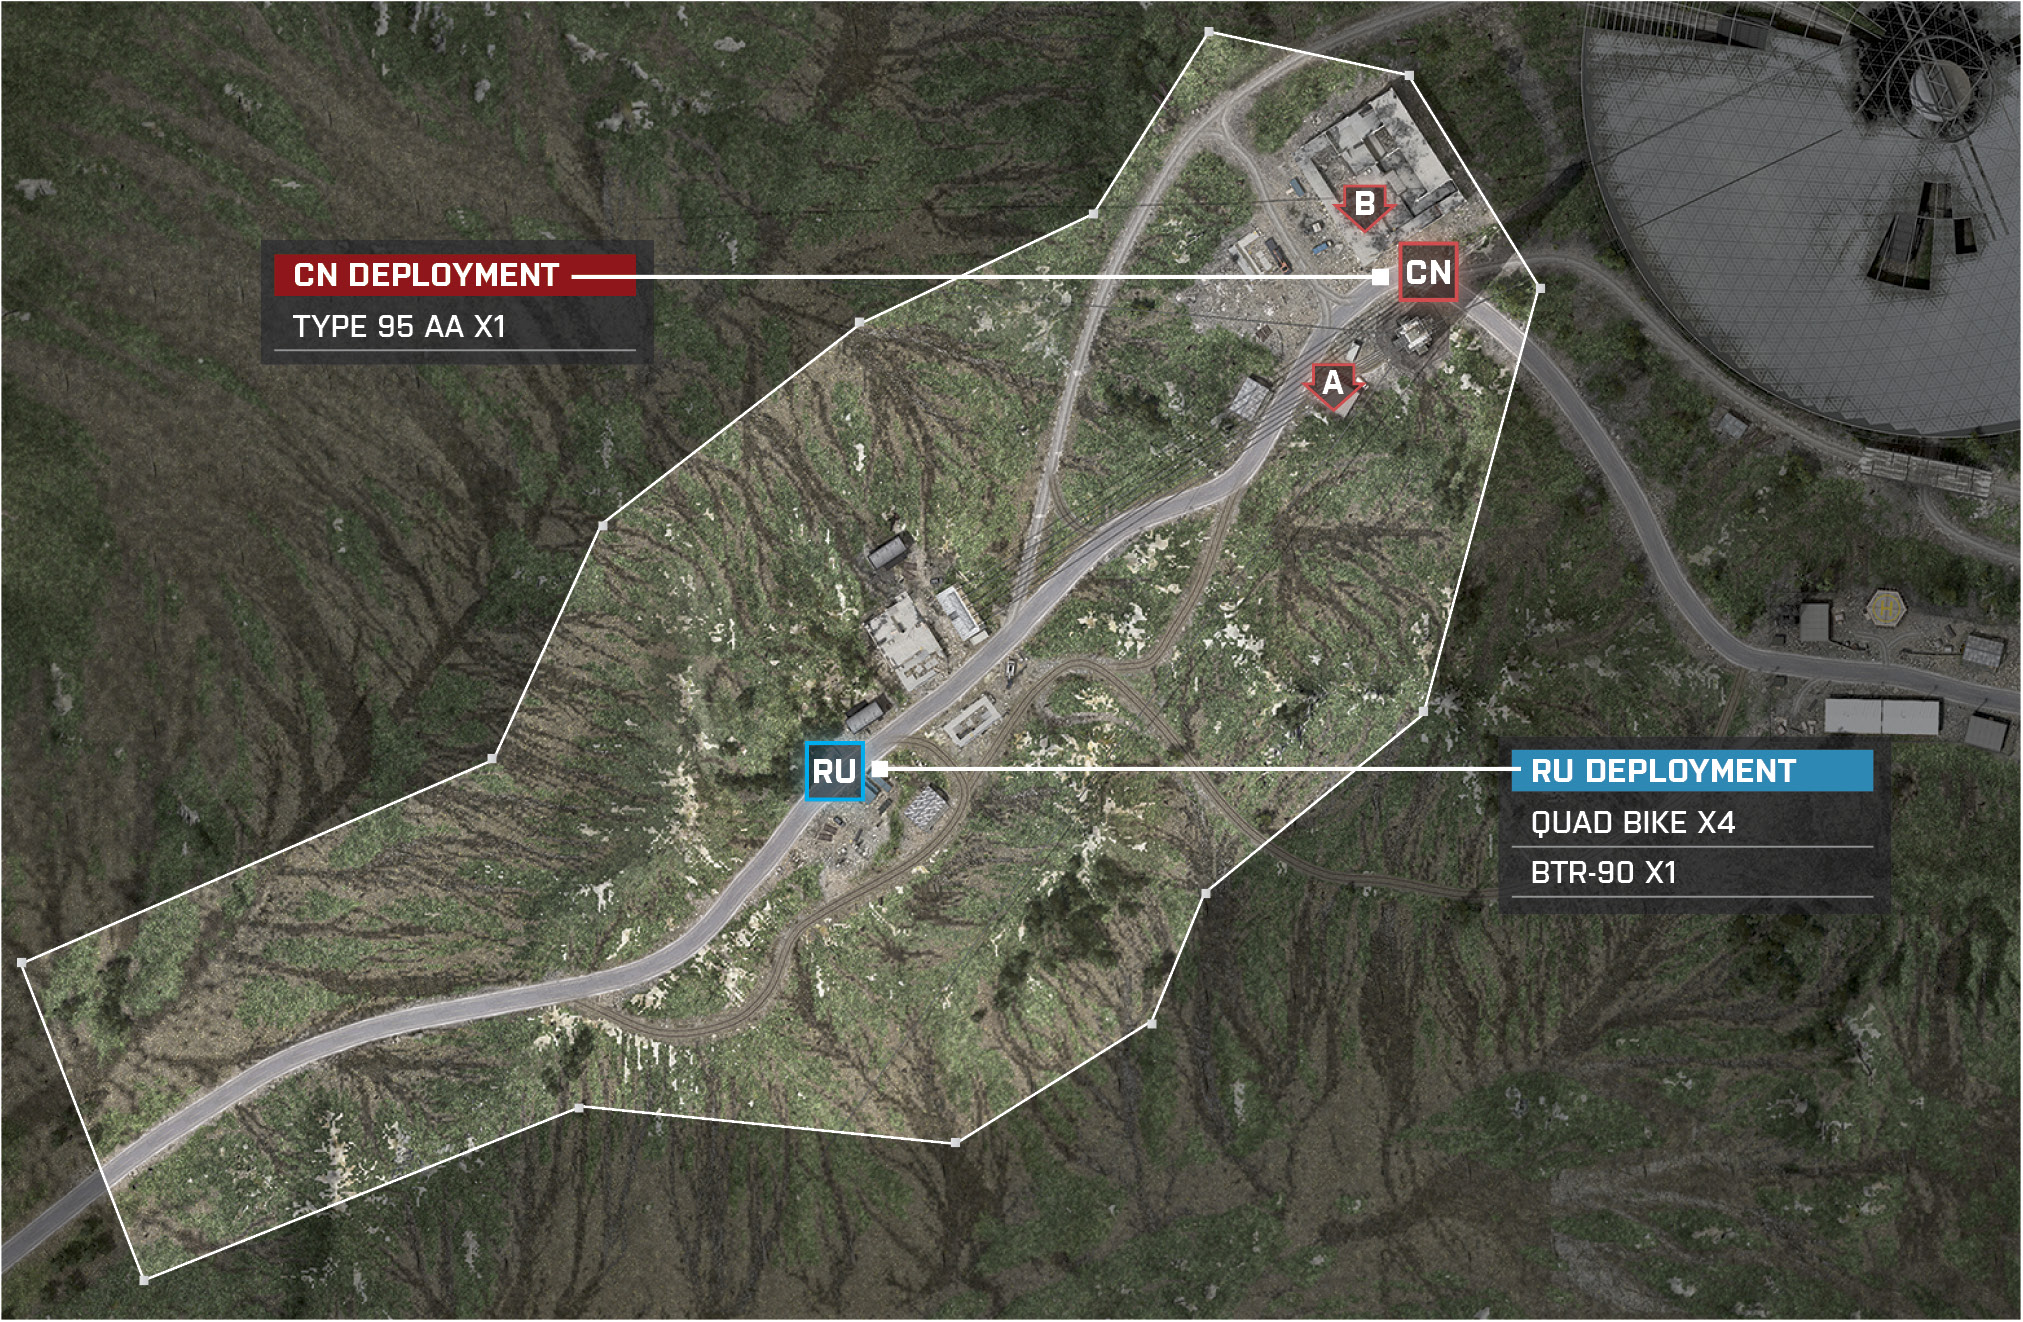
The RU deployment is located at a dead end position in the southwest part of the map. When heading east, the main road splits into two and provides an off-road path.
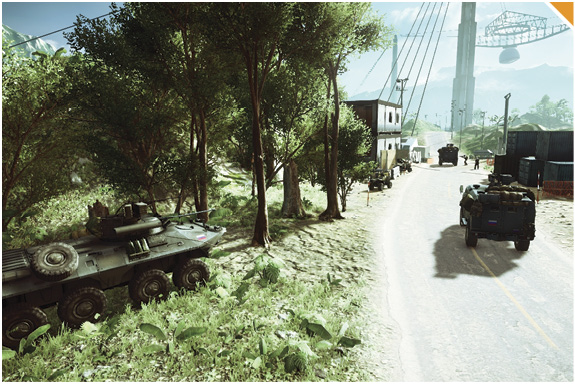
The RU team will spawn with one IFV and four light vehicles. These light vehicles will be a great asset due to their speed.
It is about 250 meters from the deployment zone to the M-COM stations, so be sure to catch a ride in the IFV or light vehicle, otherwise you’ll be looking at a long hike. If you do find yourself on foot, be sure to run on the outskirts and not the main road. You will be concealed in all the tall grass, bushes, and trees.
Have your best driver take control of the IFV and have them navigate through both objectives. Drop players off at M-COM Station A and make timely sweeps through both objectives. The enemy will be flustered as they only have two stationary weapons to defend against vehicles.
A lot of the fighting will be close- to medium-range battles, so be sure to have a few extra assault players. These players will be able to revive each other safely as the grassy area camouflages downed teammates, allowing you to go prone as you revive them. This will score you easy points and allow your team to keep the pressure on the CN team.
CN Deployment
Recommended Squad Composition:
This deployment area is located northeast of the objectives. The CN team will have a good amount of time to set up their defenses due to the RU deployment being located about 300 meters southwest of the objectives.
Send a group of engineers towards the southwest fence to take out incoming enemy vehicles. The RU base spawns with four light vehicles and a BTR-90. The CN team should use mines and rockets to keep the BTR-90 from rushing the objectives.
Send another squad to the crates west of M-COM Station B. This area has great cover and can be used to pick off incoming enemies on the main road to the west. The main road to the west and along the main road to the north and south are the only routes for the RU team to take. Set up your defense and don’t let the RU team pass.
Send a few players towards the nearest hilltop southwest of M-COM Station B. The player at this position will need to watch the enemies flanking from the northwest. This position also has an incredible vantage point over the main road to southwest, ideal for recon troops to monitor the RU team’s movements.
The building containing M-COM Station A can be destroyed. Destroy this building for an easier time defending against enemies attempting to arm the objective.
M-COM Station A
This M-COM station is located toward the south of the map inside an open building just to the right of the main road.
No vehicles spawn for the CN team, but there are two stationary turrets—a .50Cal and a HJ-8 Launcher— which can be used to defend in this first zone.
Defenders need to work together and watch two roads at this zone. Engineers have to be used to be able to successfully stop the enemy from arming at the station. Have your team equip the mines and rocket launchers to stop the enemy’s IFVs.
Attackers have two paths to M-COM Station A. One is a dirt road that leads right by M-COM Station A, and is on a very exposed side of the station as well. Attackers should split squads up and send the bulk of the force up the main road.
Have the other squad composed of engineers travel down the dirt road. This way your team can avoid the launcher placed in the small building.
M-COM Station B
M-COM Station B is located northwest of M-COM Station A. This objective is in the middle of an office that construction workers have just started working on.
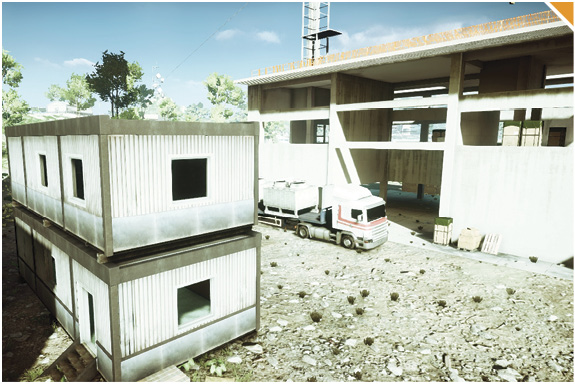
South of the M-COM station is a two-level trailer that has a stationary launcher that will aid defenders in damaging and destroying incoming vehicles.
Defenders can plant M15 AT mines and M2 SLAMs across the main road. The main focus of the RU team’s IFV will be on the incoming rockets from the defenders, so they won’t notice the M15 AT mines and M2 SLAMs across the path.
When attacking, follow the dead zone to the west as you make your way north towards the objective. The tall grass, bushes, and trees will provide you camouflage. This path also grants you the highest view in this hill terrain. Take out defending snipers as they will use this hill as well.
North of the objective is another two-story trailer. Position troops on the second floor. They will be able to spot any attackers trying to flank all the way around.
Zone 2: Visitors Center
RU Deployment
Recommended Squad Composition:
Deployment Area Assets
Name
Quad Bike
BTR-90
Quantity
4
1
After a successful sweep of Zone 1, the RU deployment is moved north to the Gate Office.
The RU team maintains the same vehicles from Zone 1.
Have a pair of the Quad Bikes travel along the northwest dirt path and flank the defenders around M-COM Station B. These vehicles will allow you to drop off the backseat passenger, creating different attack paths towards M-COM Station B.
The defenders have a Type 95 AA, a mobile anti-aircraft, to take out your Z-11W. Send in your BTR-90 to crush through the CN team’s infantry on your way to destroy the Type 95 AA.
CN Deployment
Recommended Squad Composition:
Deployment Area Assets
Name
Type 95 AA
Quantity
1
This deployment area is located east of the objectives and spawns with one Type 95 AA.
Send a couple recon soldiers on the roof of the building holding M-COM Station B. You’ll have a great view of the enemies approaching from the southwest.
Again, destroy the building holding M-COM Station A to better defend the objective and have better visibility on the enemy arming the objective.
Equip engineers with rocket launchers to take out the enemy’s IFV. Place the engineers around the building west of M-COM Station A. This building will provide cover and a great point of attack to stop the enemy’s IFV before it gets near to the objectives.
Take the Type 95 AA north of M-COM Station A to aid both M-COM stations and watch for the RU team’s scout helicopter. Keep an engineer nearby to repair if needed.
M-COM Station A
M-COM Station A is located just south of the CN deployment in dark building on the side of the main road.
The CN team finally has a vehicle available now at the deployment location—a Type 95 AA that will take some of the stress off the engineers at this zone. Placing the Type 95 AA in between both of the M-COM stations will ensure better protection from any scout helicopters trying to transport infantry and attack the stations.
Attackers will push up to the north and be able to take two roads once again. The main road leads straight into M-COM Station A, and the walls surrounding this objective can easily be destroyed by assault classes equipped with the M320 HE.
When defending, there is a building to the southeast of M-COM Station A that can be used to bait the enemy in and attack from the rear when the enemy overcommits and goes for the arm. Destroy the building holding M-COM Station A so your team has a clear view of it.
When defending, another good position is on the top level of the construction site above M-COM Station B. This position will give you a great overview of incoming enemies.
M-COM Station B
This objective is located north of M-COM Station A in the corner of the foundation of a building being built.
The CN team will need an extra engineer or two in order to deal with the scout helicopter that the RU team has. Have a support player to drop ammo boxes to replenish the engineer’s ammo.
Defenders can position themselves at the top of the half-complete roof. Recon players are suggested here to pick off attacking infantry players.
The M-COM station is in a corner. Attackers should keep an eye out for C4 placed by the CN team. Throw grenades into this corner blowing any booby trap set up.
The attacking team’s best plan of attack will be from the west. Use the light vehicles to get to this side before the defenders can set up a perimeter.
Zone 3: Dish
RU Deployment
Recommended Squad Composition:
Deployment Area Assets
Name
Quad Bike
BTR-90
T-90A
Quantity
4
1
1
The new deployment zone for the RU team is now pushed even further into the CN territory and is located in the Visitors Center.
Once again, the RU team has a good mix of vehicles, ideal for making a push on the next pair of objectives. However, the helicopters may be less effective due to the cover of the Dish.
The BTR-90 will play a huge role in arming these M-COM stations. Proceed under the Dish and fire rounds into the distance. Try to destroy all buildings and cement walls. This allows your IFV to move in and take out the CN team’s scattered infantry.
Have players spread out with the light vehicles. Try to approach from multiple angles, pinching the enemy in the center.
CN Deployment
Recommended Squad Composition:
Deployment Area Assets
Name
Type 99 MBT
Type 95 AA
Quantity
1
1
Located east of the objectives, this deployment spawns with a Type 99 MBT and one Type 95 AA. The RU team deploys with a handful of vehicles.
Use the CN team’s tank wisely by keeping it back near the M-COM stations, but watch out for enemy classes holding C4. The area holding the M-COM stations is a dark area and it is hard to see every enemy moving around.
Above M-COM Station A is an incredible position on top of the Dish to defend both objectives. You have the vantage point over the enemies and can stop any infantry attempting to arm the objective.
M-COM Station B is located underground in a dark area. This is the perfect place for a Claymore, making it hard to see the trip wires since they will blend in with the darkness. Enemies will come running in to arm the objective and you’ll easily pick the first one off with the Claymore.
The building southwest of M-COM Station B and west of M-COM Station A will prove extremely useful as you can cover both objectives. Position yourself on the lower platform of the roof, which will give you cover when taking enemy fire, but be sure to go prone to completely cover yourself.
M-COM Station A
M-COM Station A is located under the Dish around some unfinished construction ramps just south of the deployment and M-COM Station B.
Two vehicles that the CN can now use are the Type 99 MBT and Type 95 AA. These two vehicles will be the sole protectors of this area and both stations and can cover the Dish by circling around.
Defenders will want to lay some M15 AT mines around the dark areas leading to M-COM Station A. These will slow the enemy’s advance. But keep engineers posted nearby to mop up damaged and immobilized vehicles.
When attacking M-COM Station A, have one squad lay down some cover fire so that a scout helicopter can drop off some support and recon class troops. Immediately place a Radio Beacon to keep your team spawning on the Dish.
Also on the Dish there is a M32 MGL battle pickup, which the either team will have access to depending on who gets to it first. Once obtained, players can do some massive damage to buildings and vehicles.
M-COM Station B
This M-COM station is located in a basement of a building that has yet to be completed.
Attackers can take their scout helicopter and parachute to the top of the Dish. In the center of the Dish is an opening that lets you drop underneath the Dish and make a dash to the objective for a quick arm.
The attacking team will need assistance from their MBT. Have it slowly move near the objective as it shoots off rounds from a distance, destroying all items the defenders can use for cover.
The CN team will need a few extra engineers. Have them plant M15 AT mines around the area. The area is dark, so the attackers will not be able to spot them.
Southwest is a building that will be extremely useful as it allows defenders to watch both M-COM stations. Position yourself on the lower platform of the roof as it will give you cover, especially if you go prone.
Zone 4: Research Facility
RU Deployment
Recommended Squad Composition:
Deployment Area Assets
Name
Quad Bike
BTR-90
T-90A
Quantity
4
1
1
The final deployment zone is located underneath the Dish. One last push and the victory goes to you and your team.
In this Rush mode, the RU team is rewarded for successfully moving through each zone. The team has the exact same vehicles as in Zone 3.
The last zone is in the Research Facility. Fill up your team’s helicopters and drop the passengers off on the roof of the building that holds M-COM Station A. This is the only way to get on top and it provides a great view of the objectives. Drop a Radio Beacon for constant spawns.
Be sure to keep an eye on the vertical beam. It has a ladder that leads to the top of it, and the opposing team might try to get a sniper up there to pick off your teammates.
Have an extra engineer in your squad. The CN team still has Mobile Anti-Aircraft and two IFVs, which could put a damper on your team’s tickets. Take these out and force the CN team to fight you gun to gun.
CN Deployment
Recommended Squad Composition:
Deployment Area Assets
Name
Type 99 MBT
Type 95 AA
Quantity
1
1
This is the last zone and the CN deployment is located on the southeast of the map, offering the same vehicles as the previous zone. Equip a few engineers on your squad to help counter the great amount of vehicles the RU team has.
Send a squad to the top level of the building northwest of M-COM Station B. This position will give you a great overview of the enemies approaching the objectives from the northwest. Choose the recon class and place T-UGS on the upper level to be alerted when enemies are approaching from the lower level.
Destroy M-COM Station B’s trailer walls with explosives to make it easier to see and stop the enemies attempting to arm the objective.
Send players to the top level of the building containing M-COM Station A. This will also provide a great overview of incoming enemies from the northwest. Equip engineers to take out the vehicles and a recon class to place a T-UGS and Radio Beacon on the top level of this building.
Use the Type 95 MBT and Type 95 AA near these objectives to assist the engineers in taking out the enemy vehicles approaching from the northwest.
M-COM Station A
M-COM Station A is located at the bottom of a large construction building by a staircase.
With this being the last zone for the defenders, the CN team gets a new mix of tank and stealth jet vehicles to protect M-COM Station A. With these vehicles at your disposal, the defending team will be on equal footing.
When defending, have a few players go to the mid and top level and snipe enemy assault units from this vantage point.
Attackers have a cluster of vehicles to evenly match the defenders at this point. Striking from the air first will be the most efficient way of disposing of the defender’s snipers.
The attacker’s BTR-90s will need to have a few engineers and assault class soldiers for a direct fight, taking out the rest of the defender’s landvehicles to clear a path to the M-COM station so it can be armed.
M-COM Station B
This M-COM station is in the corner on the second level of a two-level trailer, south of M-COM Station A.
Attackers should make their way to the north or west roof of the objective. To gain access to this roof, the attackers will need to fly their scout helicopter and drop off its passengers. Once on top, attackers have many angles to take down the CN team.
The RU team will need to be cautious of the CN team’s vehicles; have a few extra engineers to destroy them. The area will then be vehicle-free, allowing the attackers to move more freely around the area.
When defending, blowing up the walls of the second level of the trailer will make it a lot easier to defend. Plant C4 on the second level and watch from a distance. Detonate the C4 when attackers make it near the M-COM station.
On the second level of the building to the west, defenders will be able to watch M-COM Station B. On the west side of the building, defenders can also spray enemies from above as they try to make their way out of the Dish.
Obliteration
Recommended Squad Composition:
Around the Helicopter Pad and Research Facility, the CN team has to protect their targets.
The Gate Office and Visitors Center are the locations of the US team’s targets.
The bomb spawns under the Dish. Take advantage of the speed of the light vehicles to reach this area off the start.
The map is very large, so transport bomb carriers around the outskirts of the maps to safely reach the enemy’s targets.
The airvehicles play a huge role in the game. The attack jet provides great airsupport as the transport helicopters move players around the map quickly.
Defuse
Recommended Squad Composition:
Players attempt to arm the objectives in the Research Facility of this map. The attacking RU team spawns on the southern road and the defending CN team spawns near the northern tip of the map.
Laptop A is in a corner on the second floor of the building to the west of the map. Attackers need to tread carefully in this area as the defenders have better firing angles.
Laptop B is outside the two trailers found on the east of the map. Defenders can use the ladder at the back of the trailer to reach the top and provide cover from above.
Attackers should head northwest around the building that holds Laptop A. When heading this way, look east to pick off any defender running in the open. Lock down the building and go for the arm or slowly pick off the defenders one kill at a time.
Defenders want to get control of the building south of their deployment. The building provides an overview of both objectives. This building provides all sorts of cover and is a safe haven for the CN team.
Domination
Recommended Squad Composition:
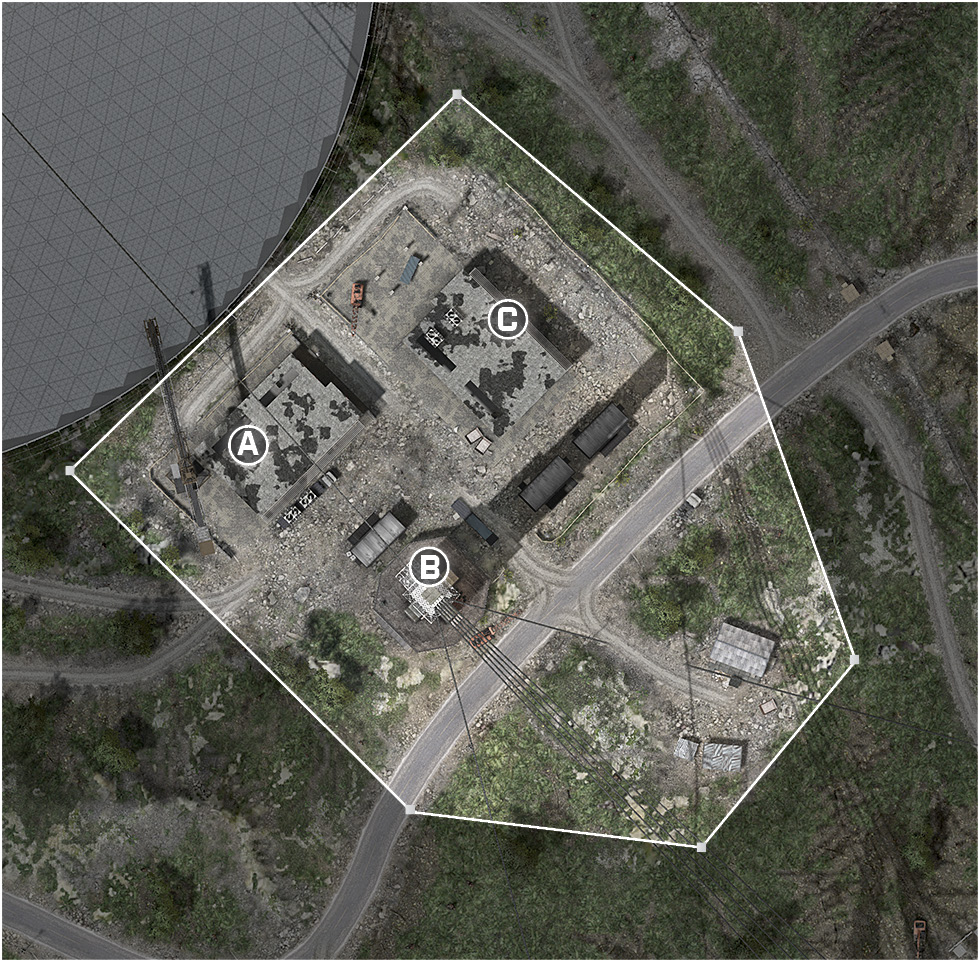
The three control points on this map are Construction (A), Tower (B), and Storage (C).
Be sure to grab the two battle pickups on the map as they are very powerful and will save your primary gun ammo.
Having the engineer’s rockets is a great gadget to equip on this map because of all the destructible walls. Destroying walls reveals the location of your enemies and leaves them vulnerable.
Construction (A) only has two ways to get in, making it easy to defend. This is the most important control point since you can oversee the other objectives and control the entire map from there.
Your best strategy is to capture Construction (A) and Storage (C). These two points provide the best cover and only allow the opponent to come from a few entrances. You are able to shoot from building to building, making it difficult for the opposing team to fight back.
Squad Deathmatch
Recommended Squad Composition:
In this Squad Deathmatch, squads constantly battle for control of the north and west buildings as those buildings provide the best overview of the map.
You want to avoid running through the middle of the map or the players in the north and west buildings will make mincemeat of you.
You can easily protect this building to the north by destroying the inside walls, creating new angles to fire upon the enemy.
The north building has a M32 MGL battle pickup that assists in warding enemy squads away, giving your squad complete control of the building.
The vertical support can be used for cover as you peek towards the center of the map to pick off opposing squads battling each other.
Team Deathmatch
Recommended Squad Composition:
When playing on a full server, avoid running through the middle of the map or the players in the various buildings will punish you.
Control the stairwells inside of the buildings with Claymores and C4; a dedicated player can watch as well to make sure no enemy makes it up.
The team that defends the building on the north side is rewarded the battle pickup on the second level. This M32 MGL can destroy the opposite building’s walls, revealing the enemies behind them.
You can easily protect this building to the north by destroying the inside walls, creating new angles to fire upon the enemy.
If your team has the lead, an organized team can establish a perimeter south of the vertical support. Have a player hide near the vertical support near the bulldozer while the rest of the players hide behind the crates and dumpsters scattered around. The player hiding behind the support should only pop out when an enemy is fighting one of your teammates, giving the enemy no time to react to your ambush.