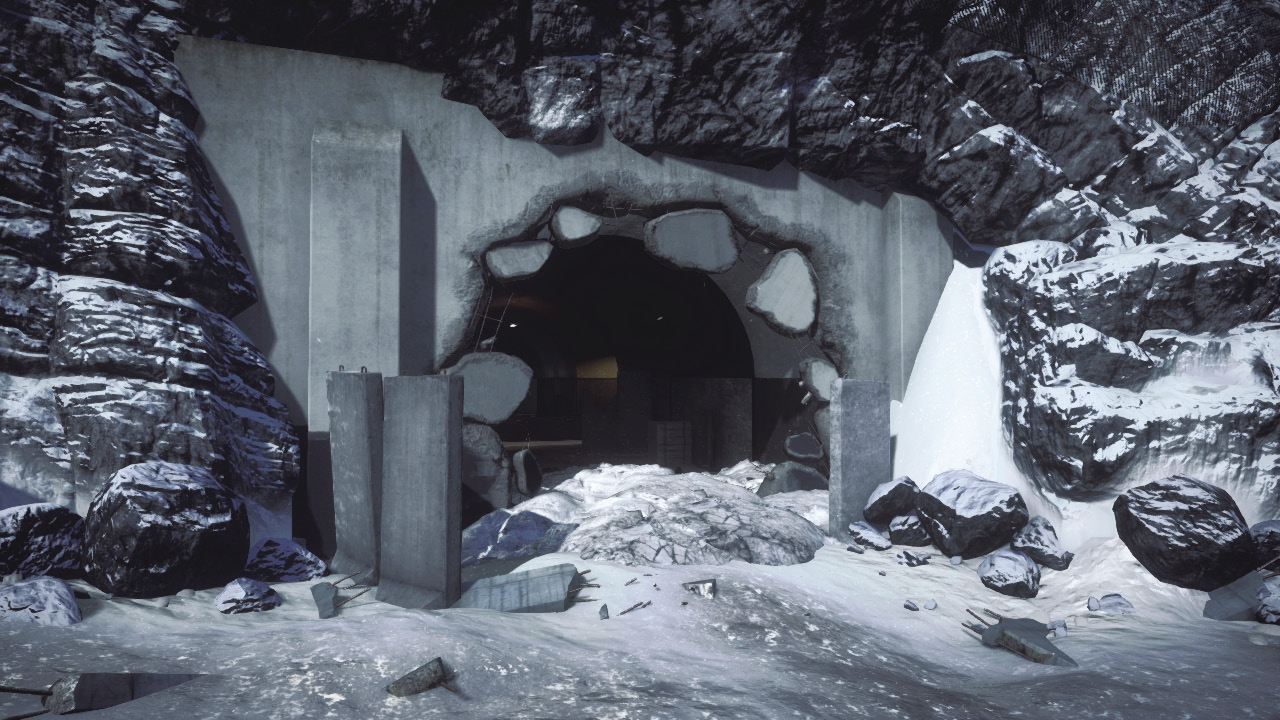
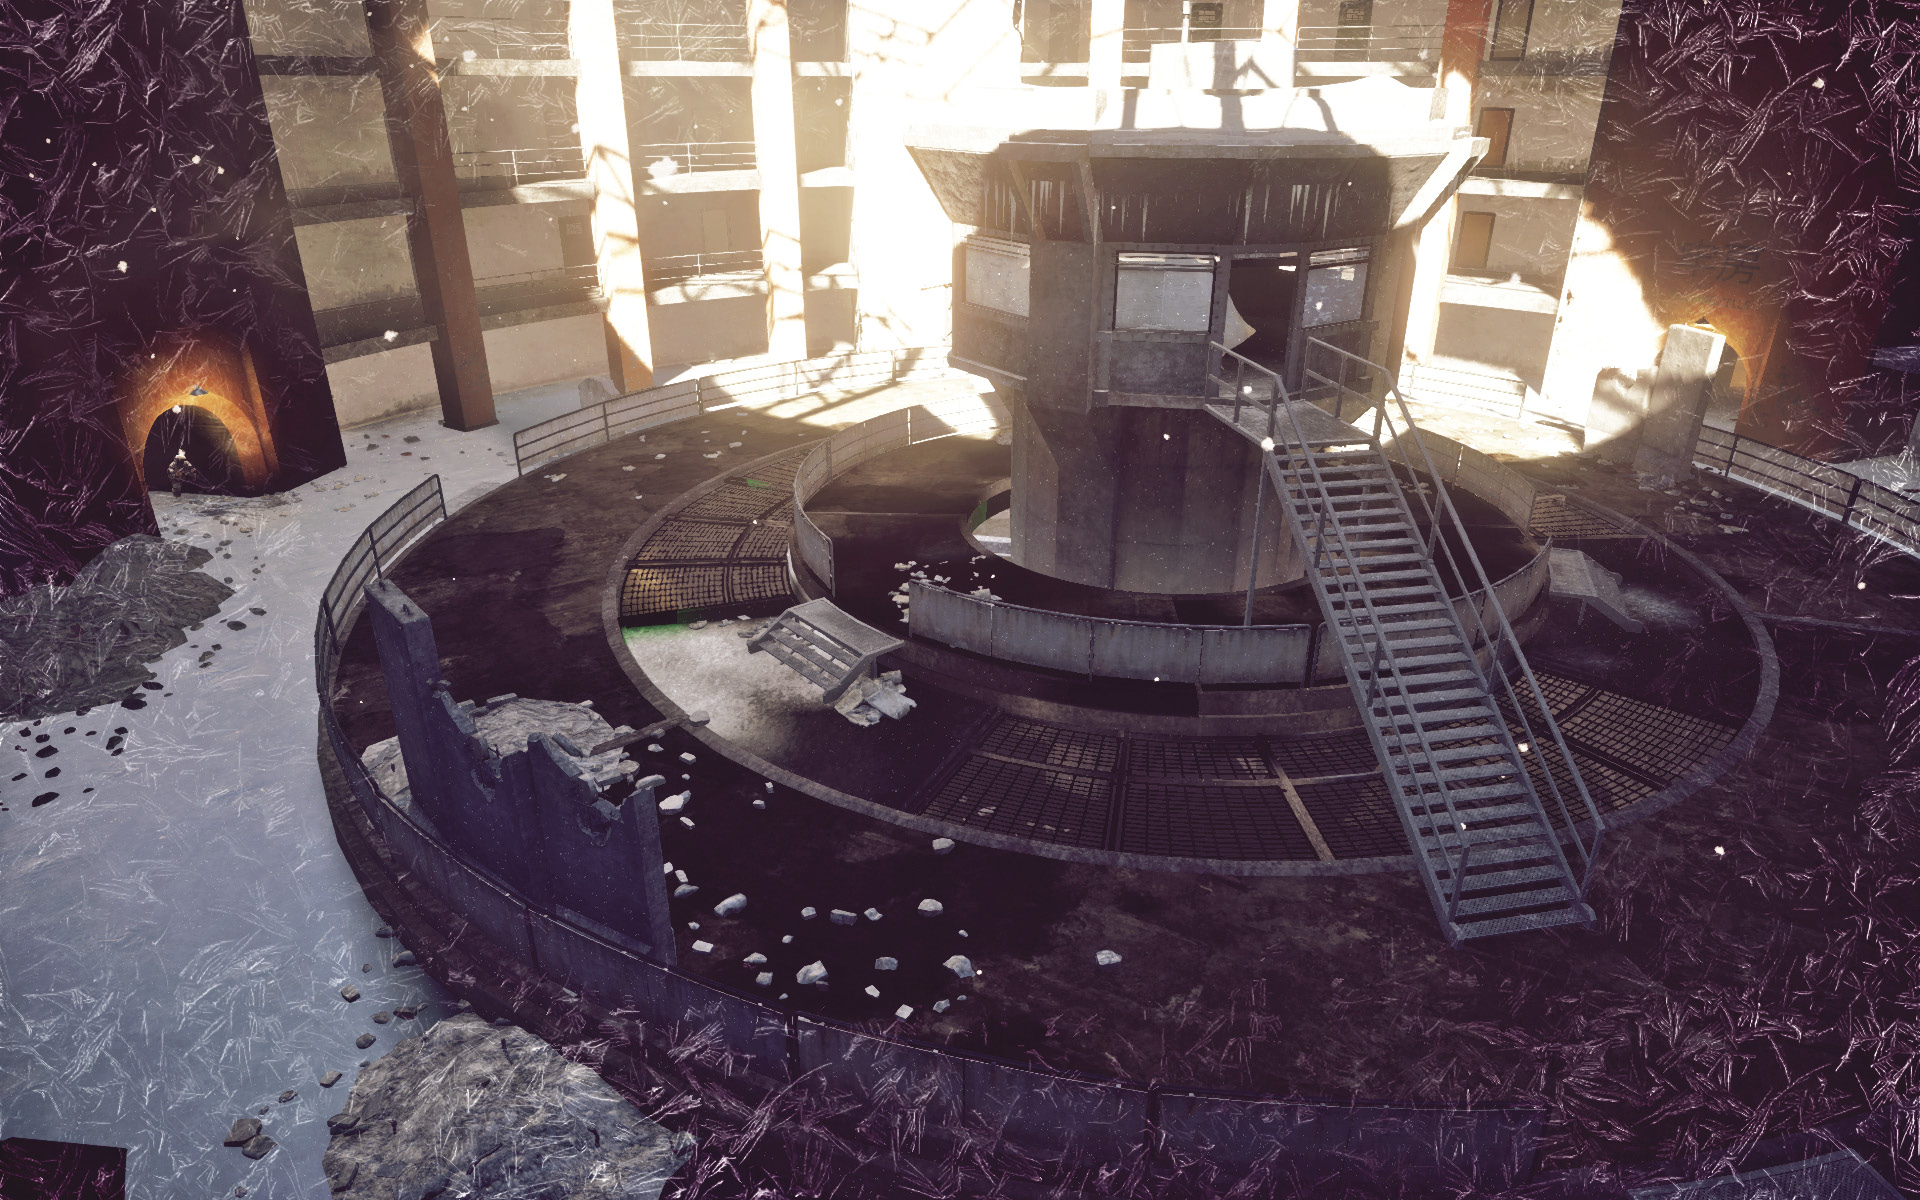
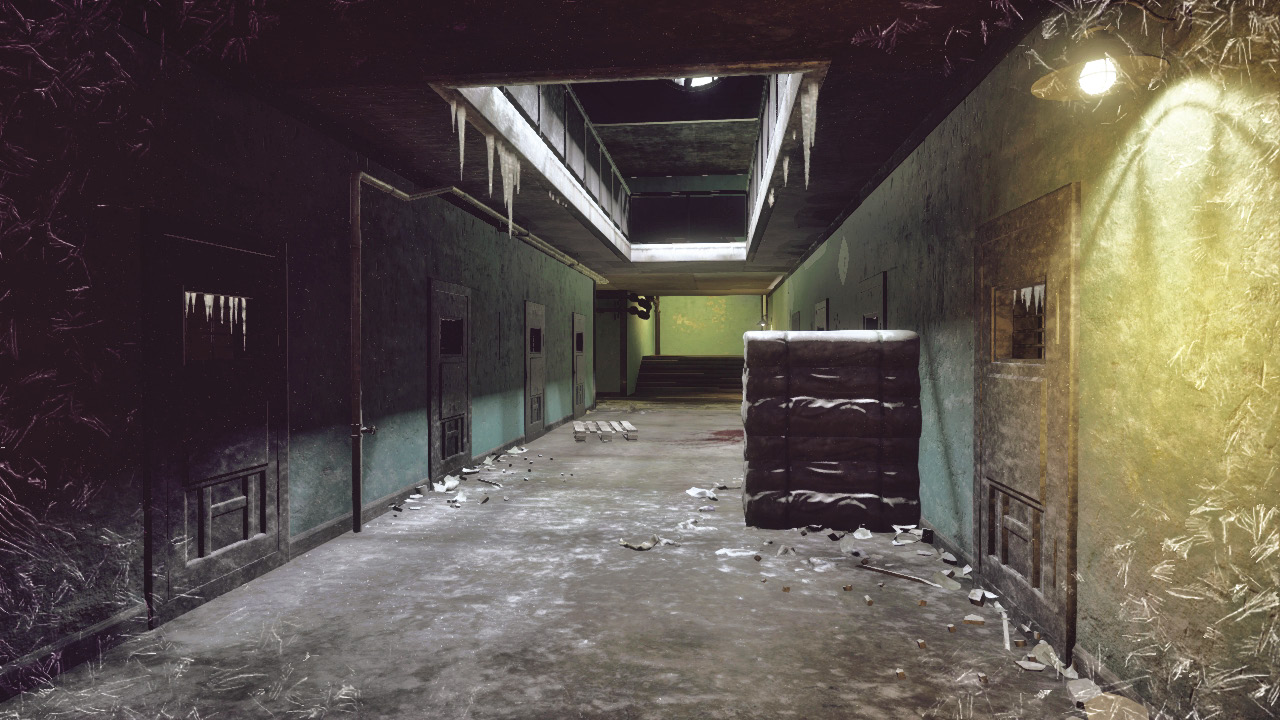
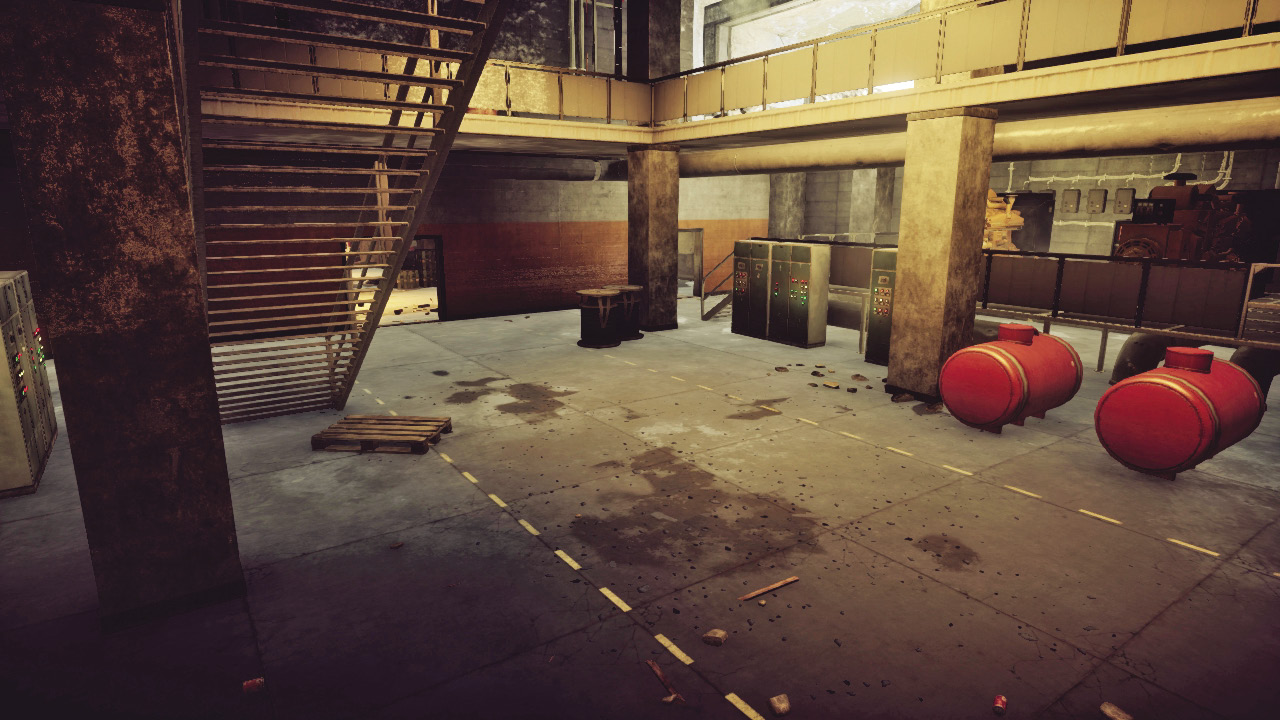
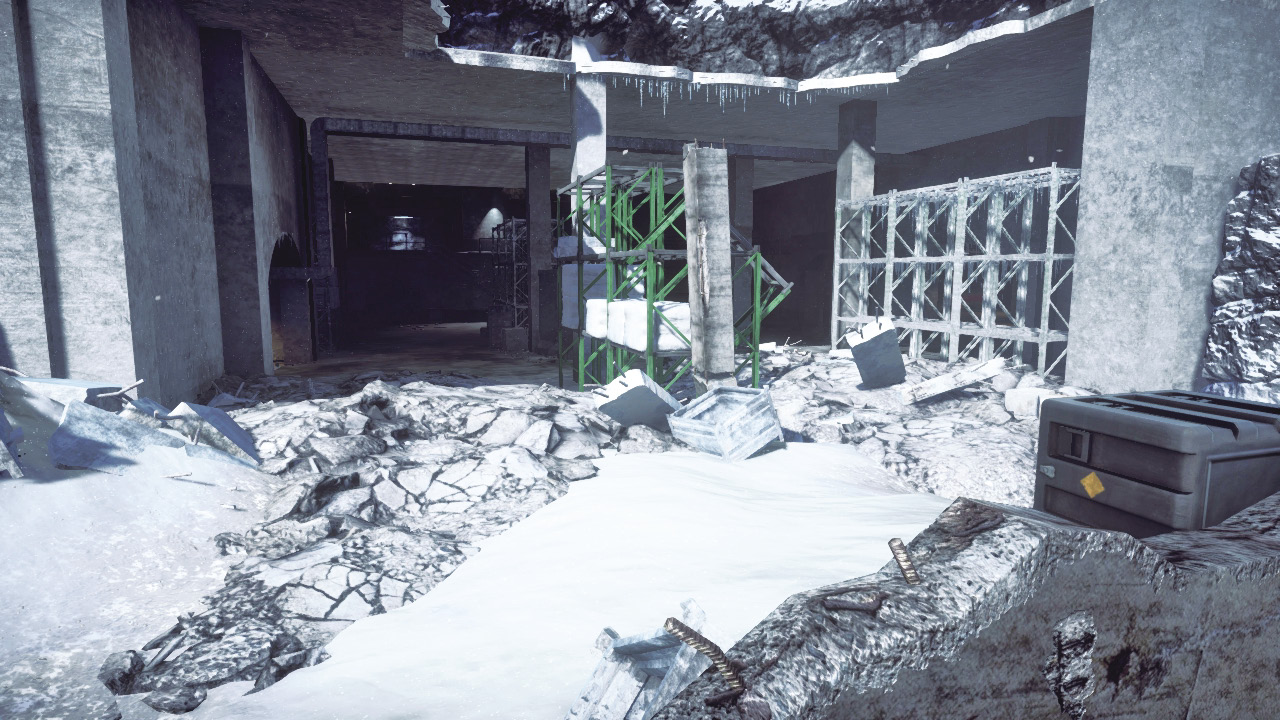
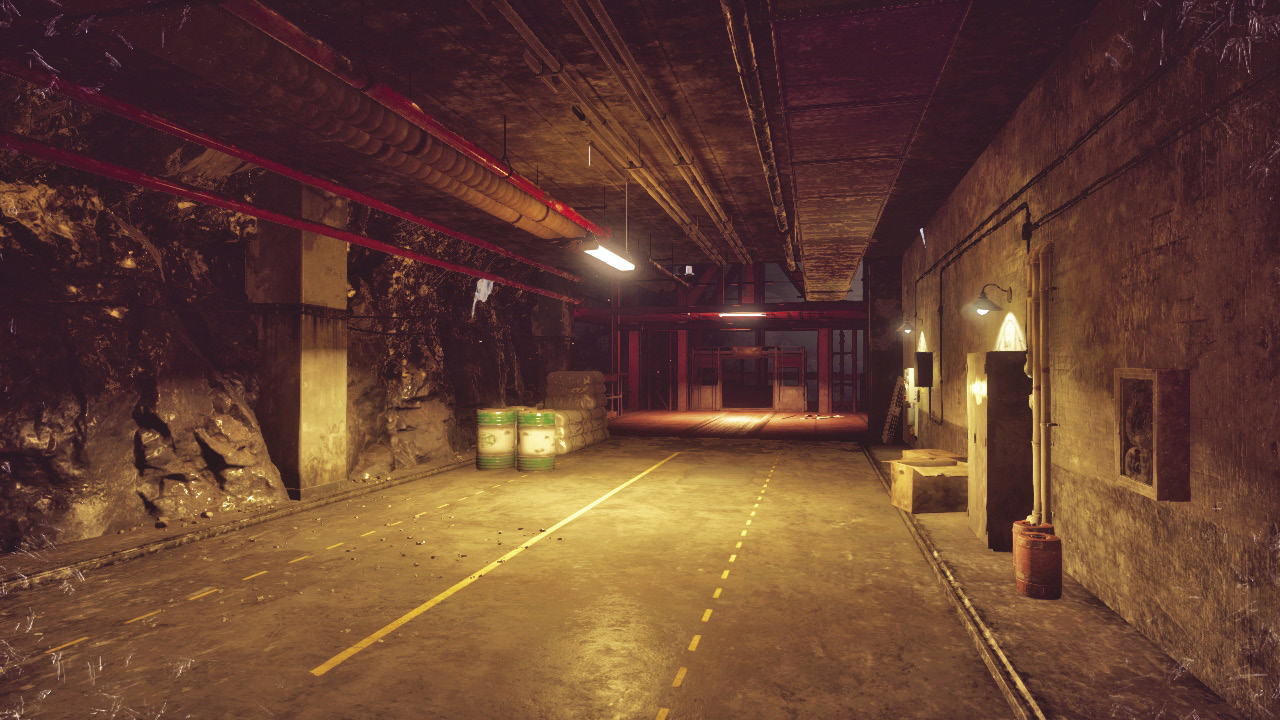
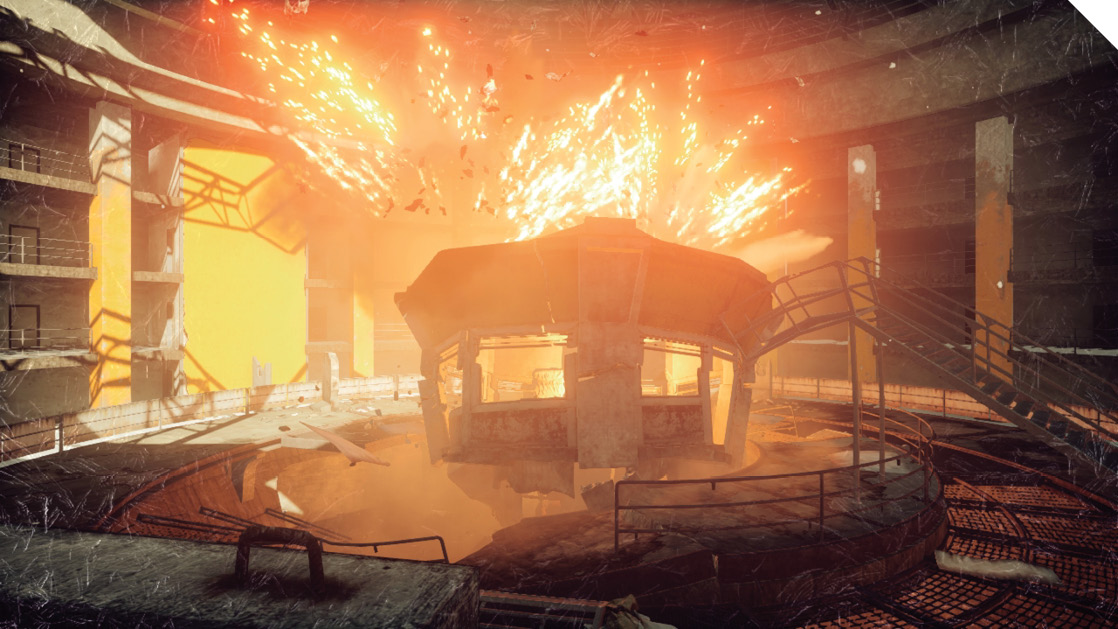
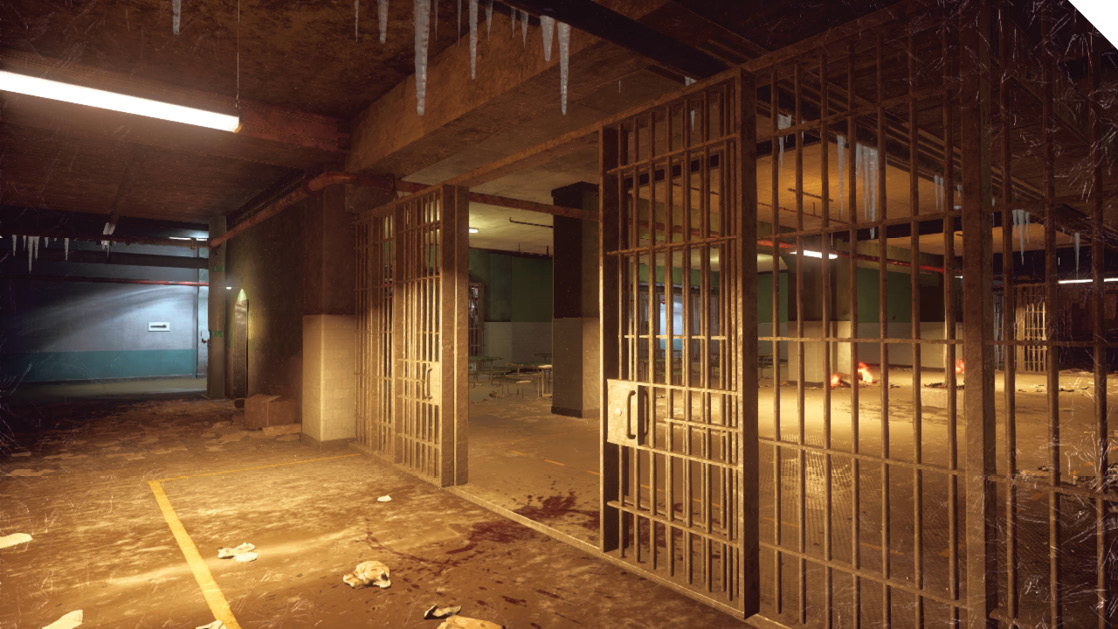
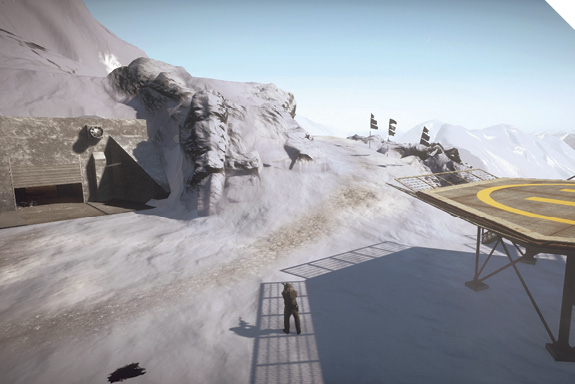
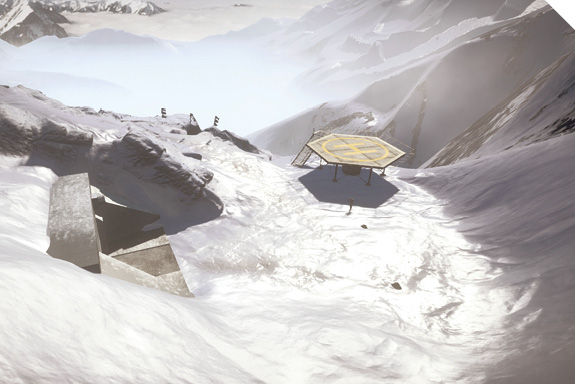
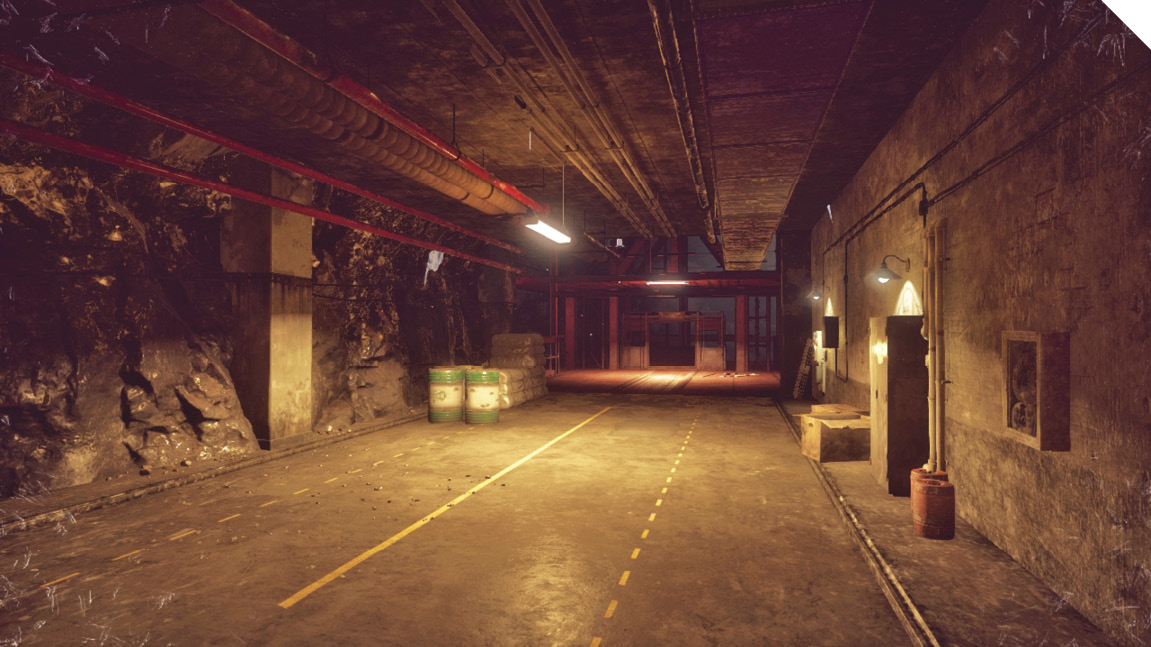
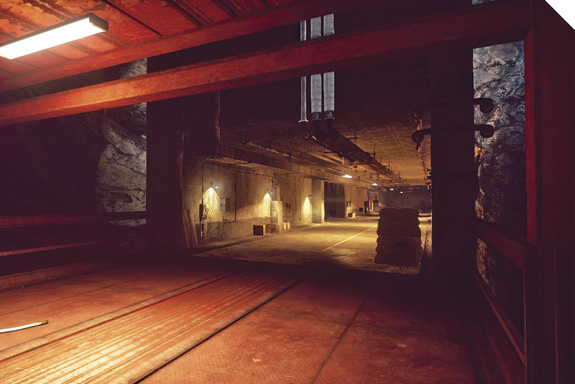
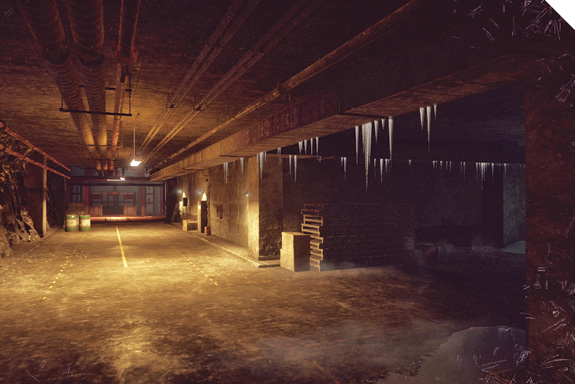
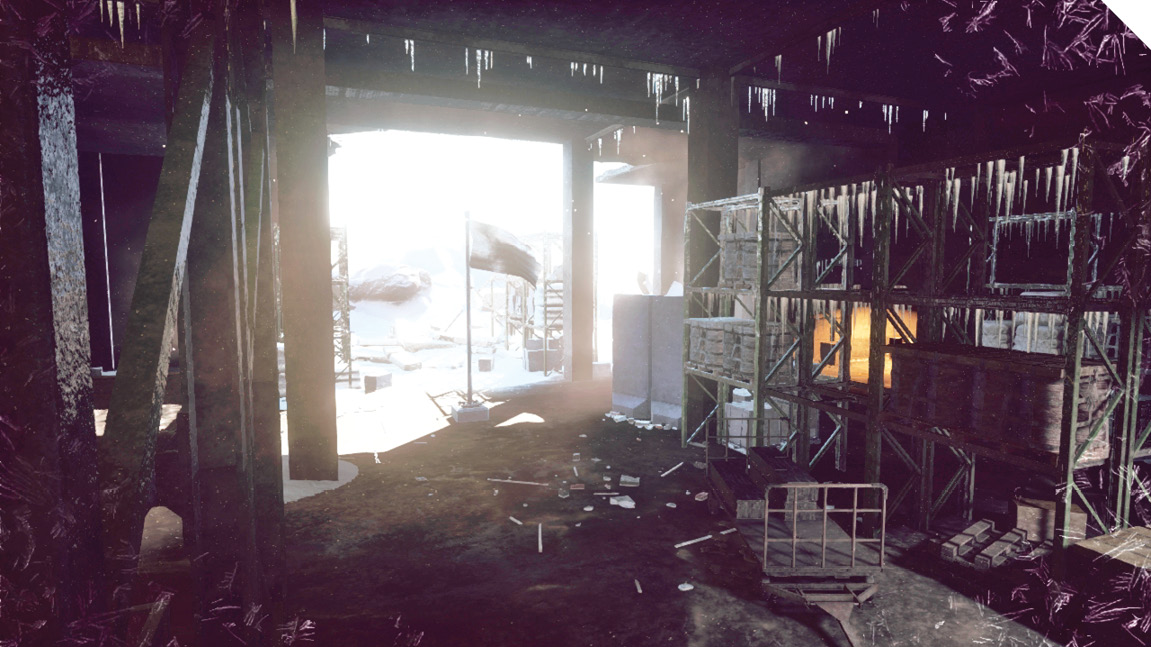
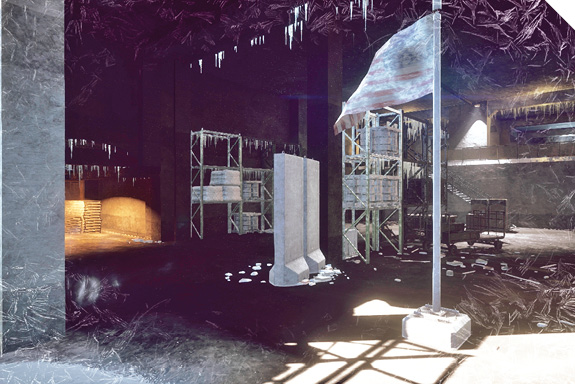
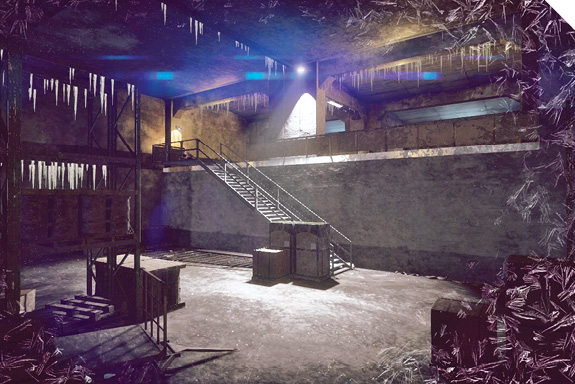
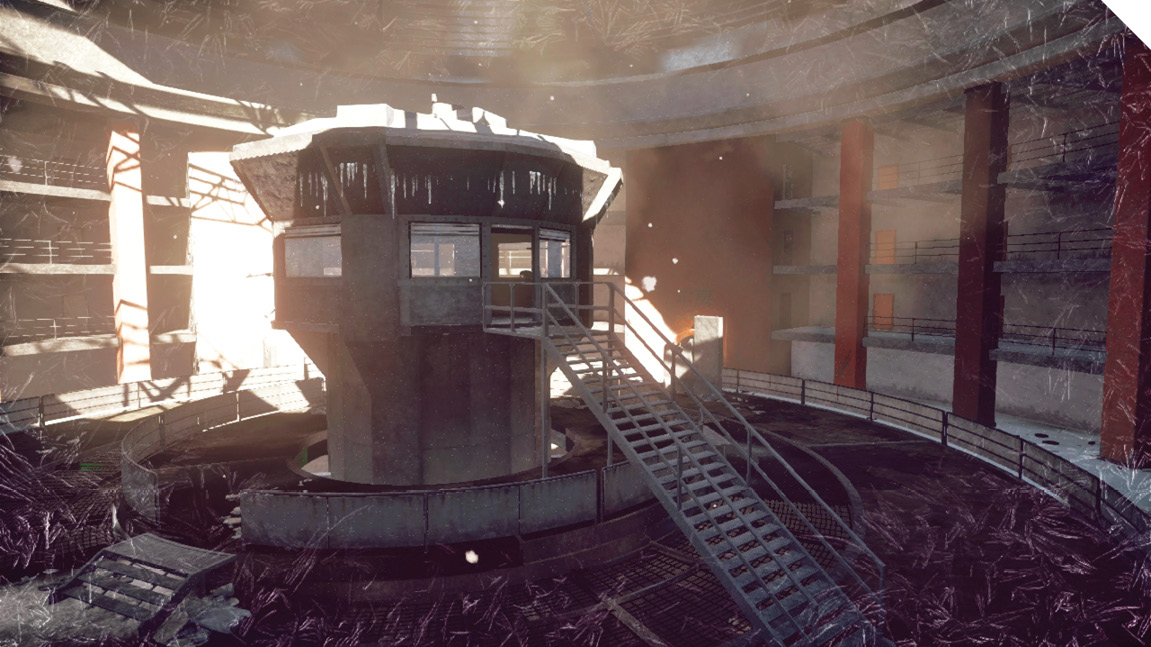
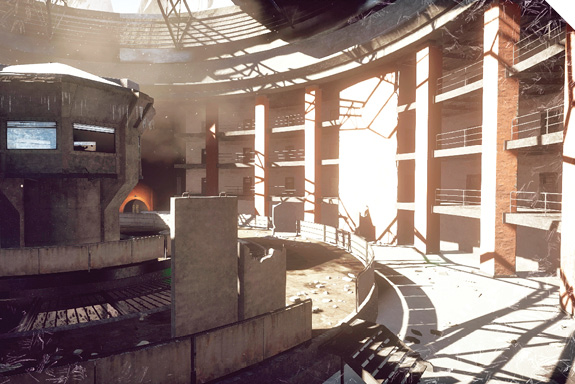
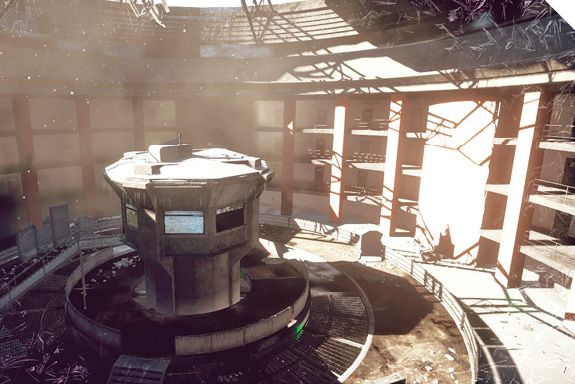
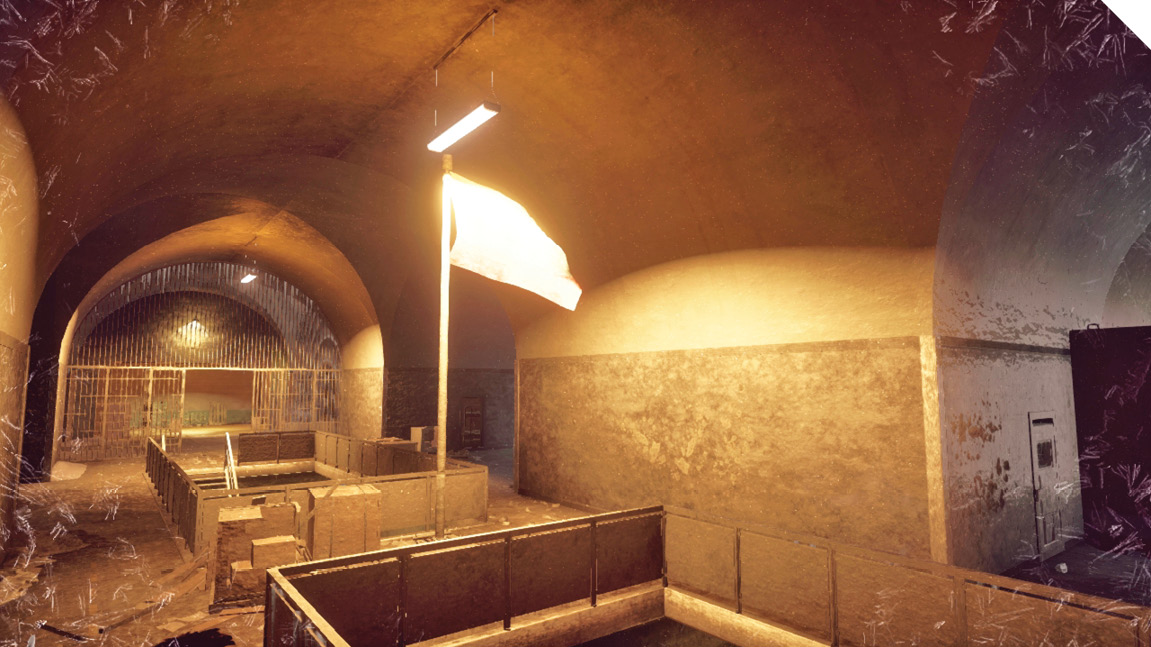
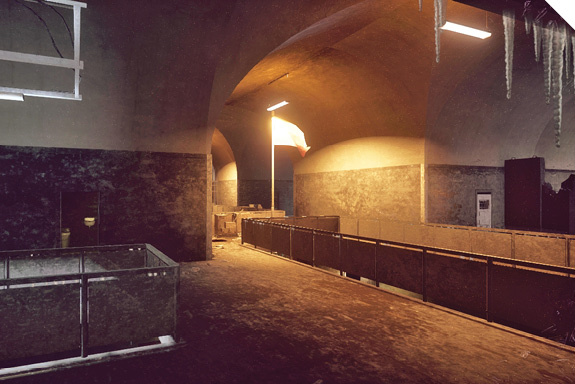
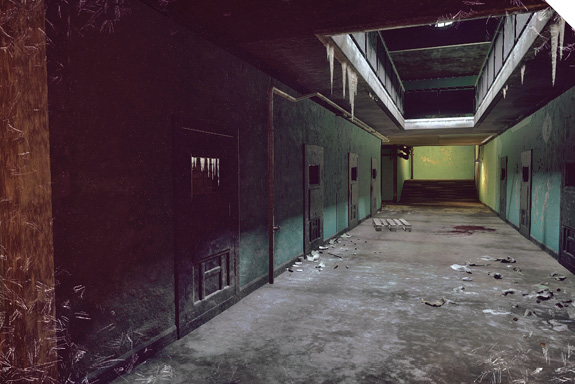
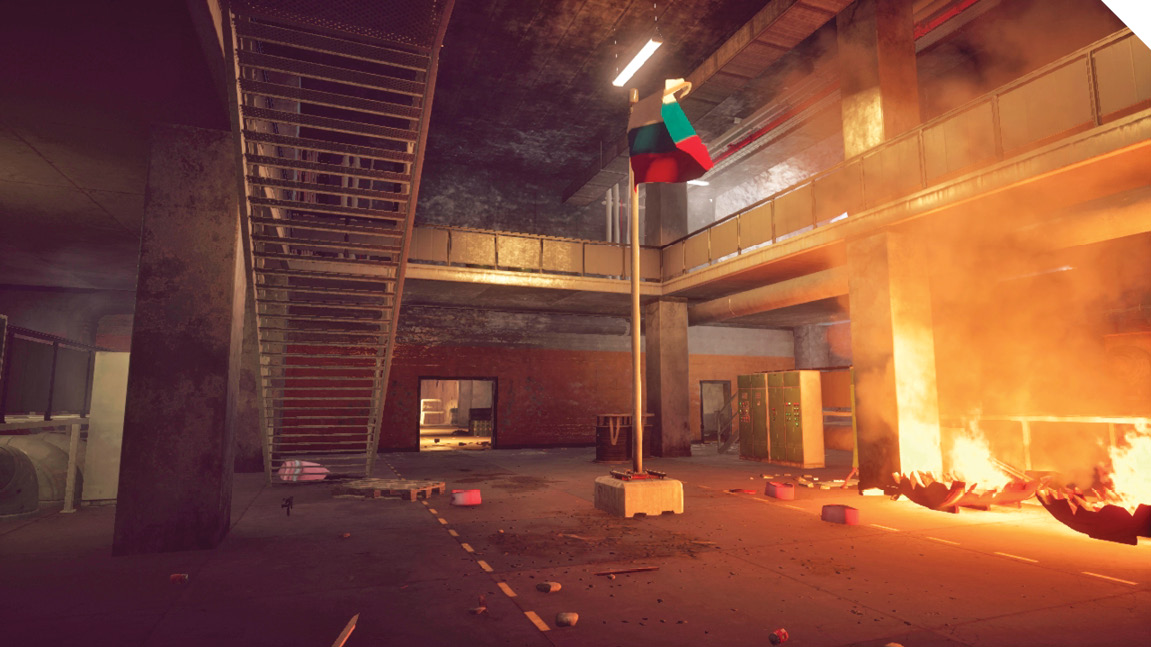
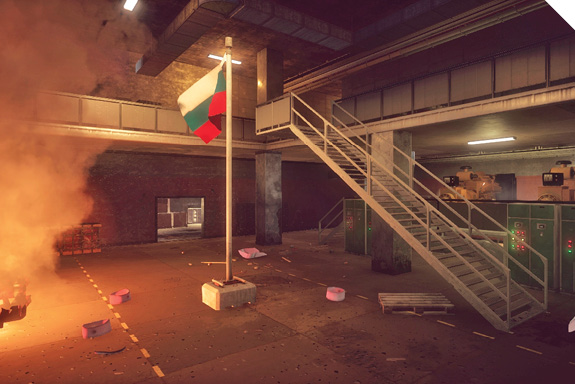
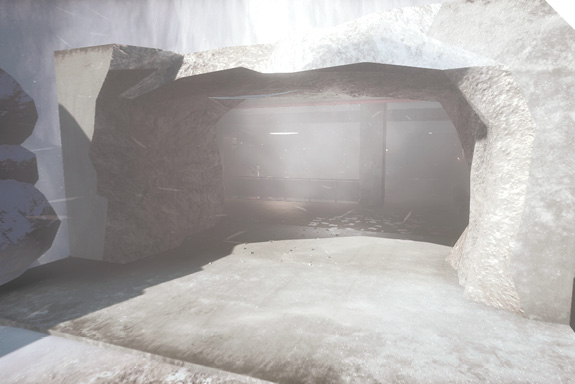
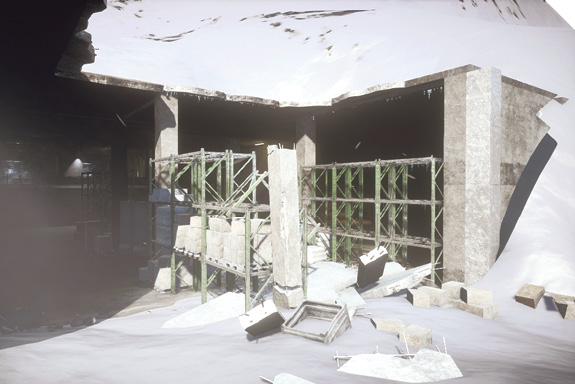
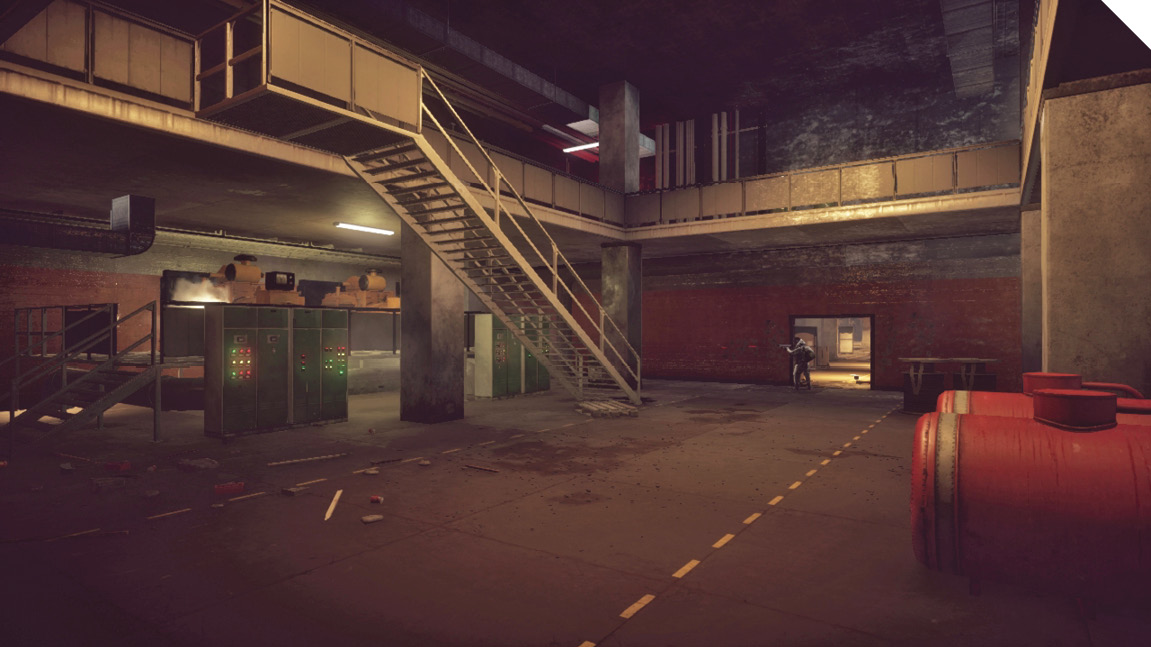
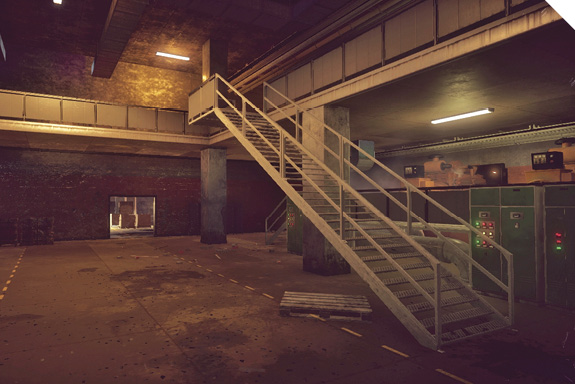
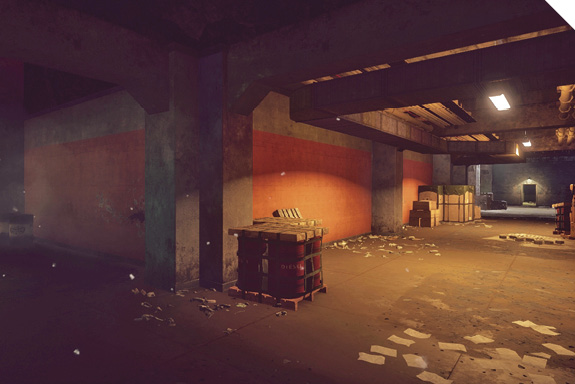
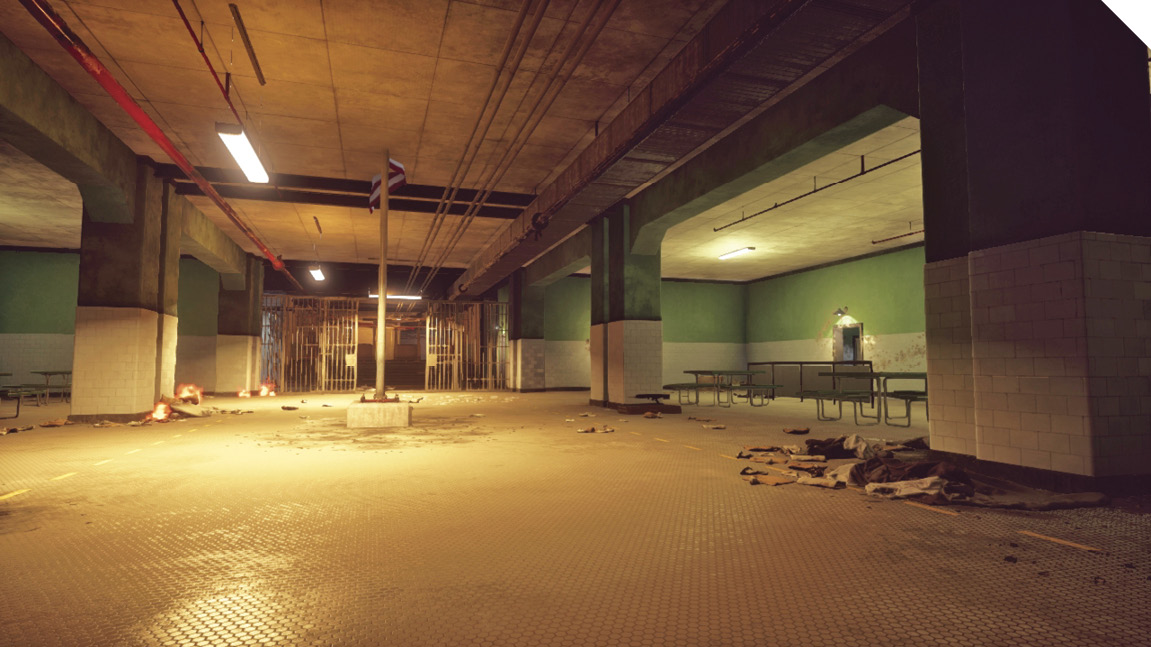
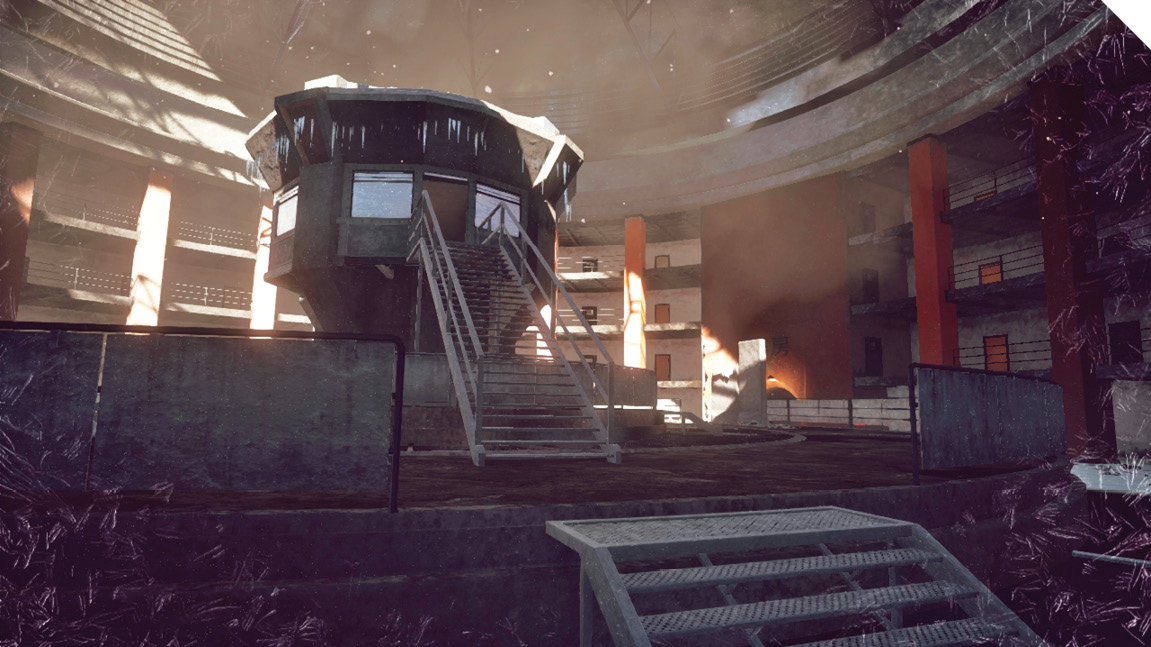
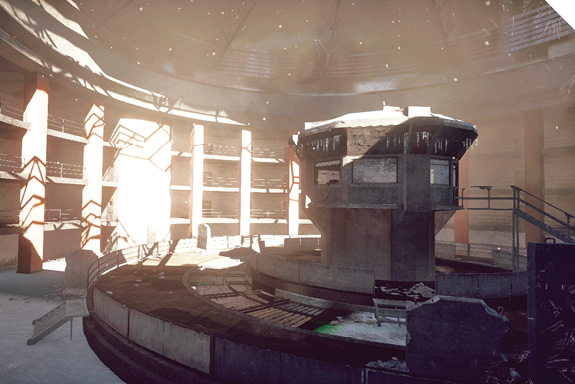
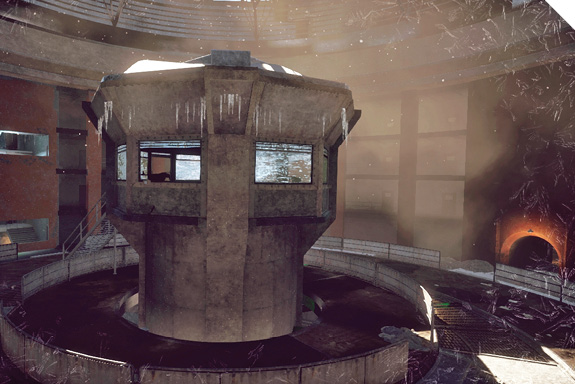
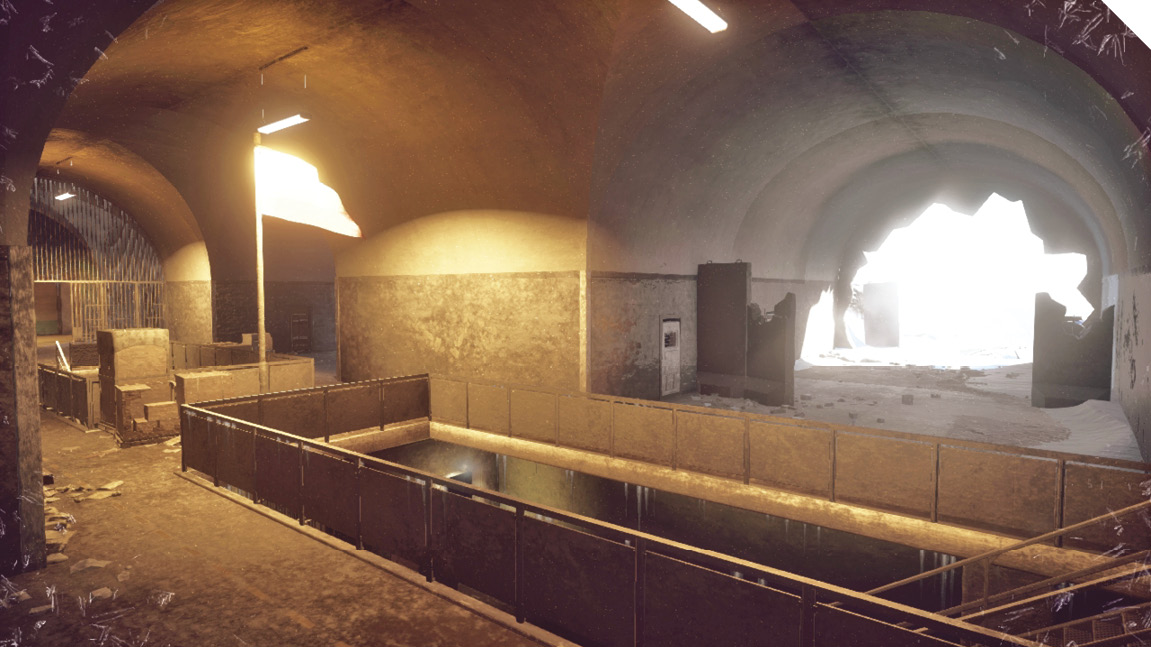
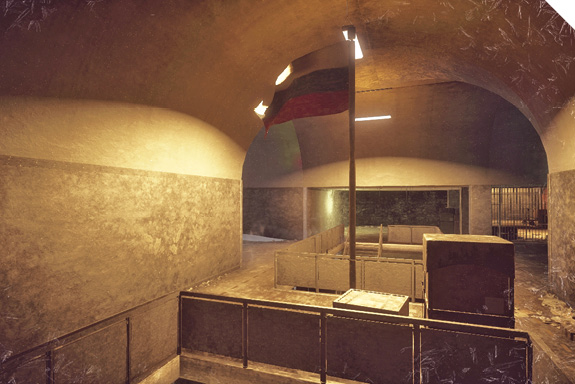
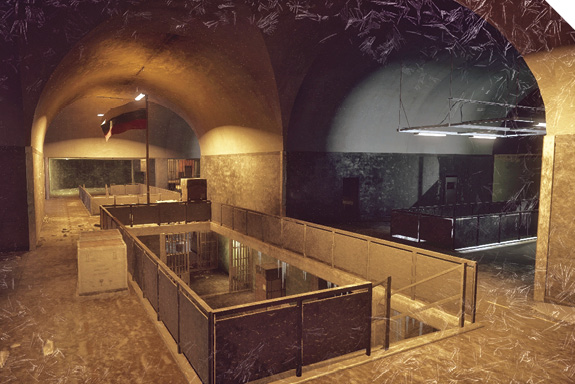
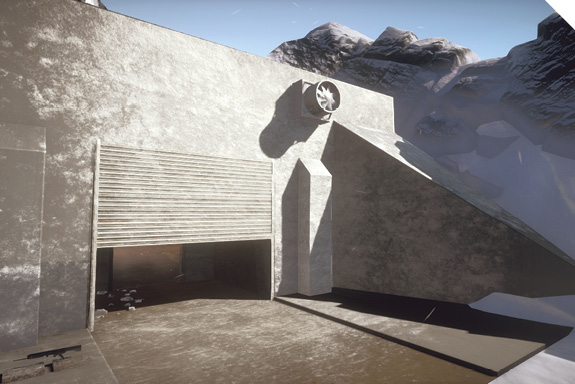
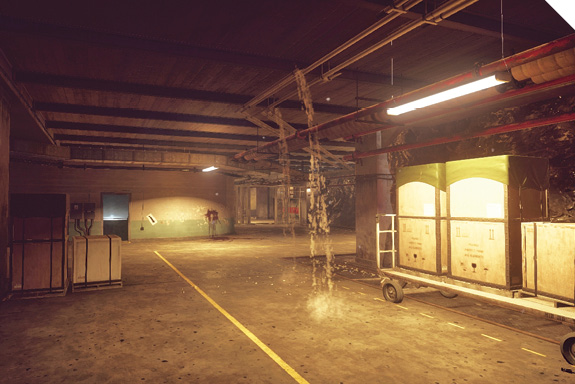
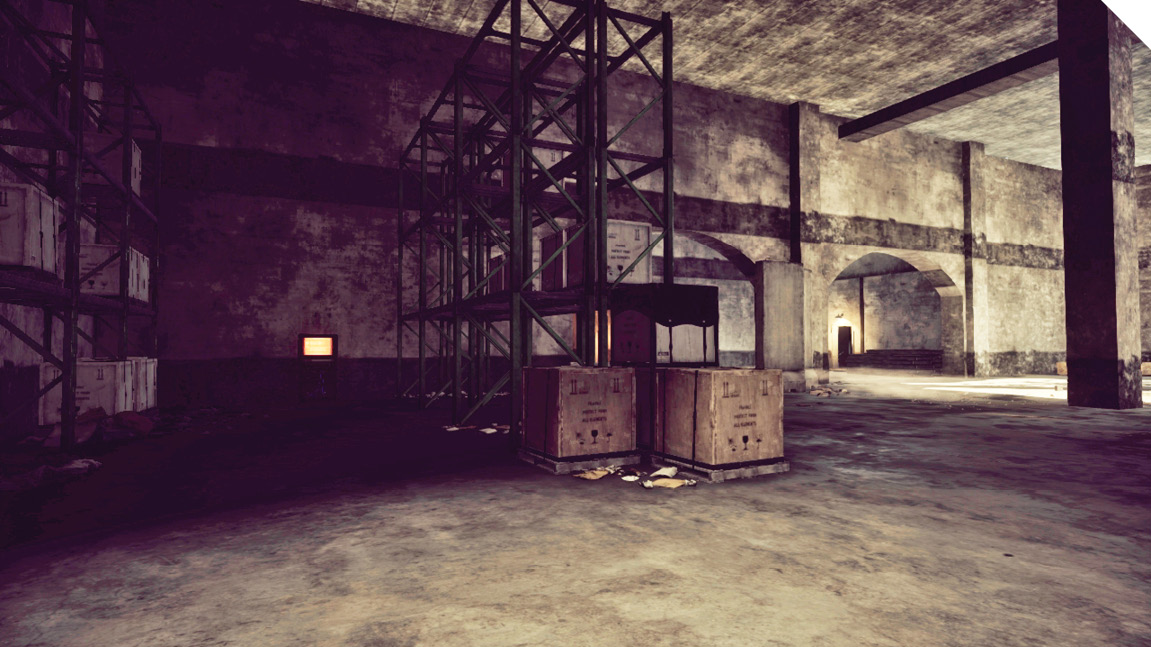
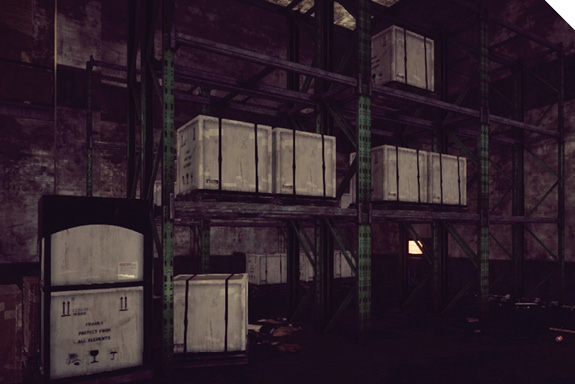
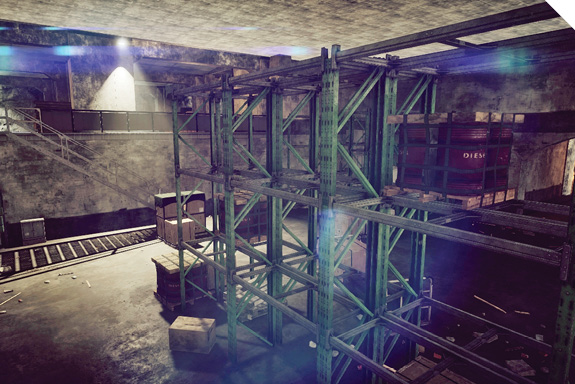
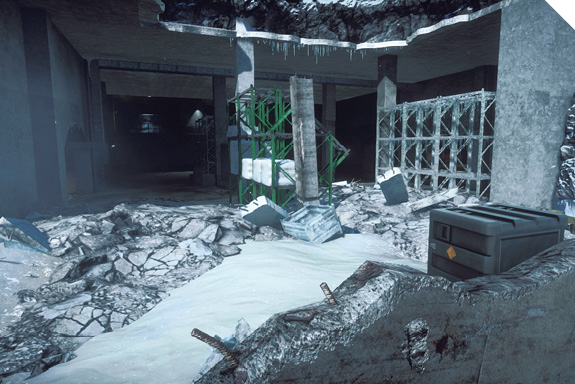
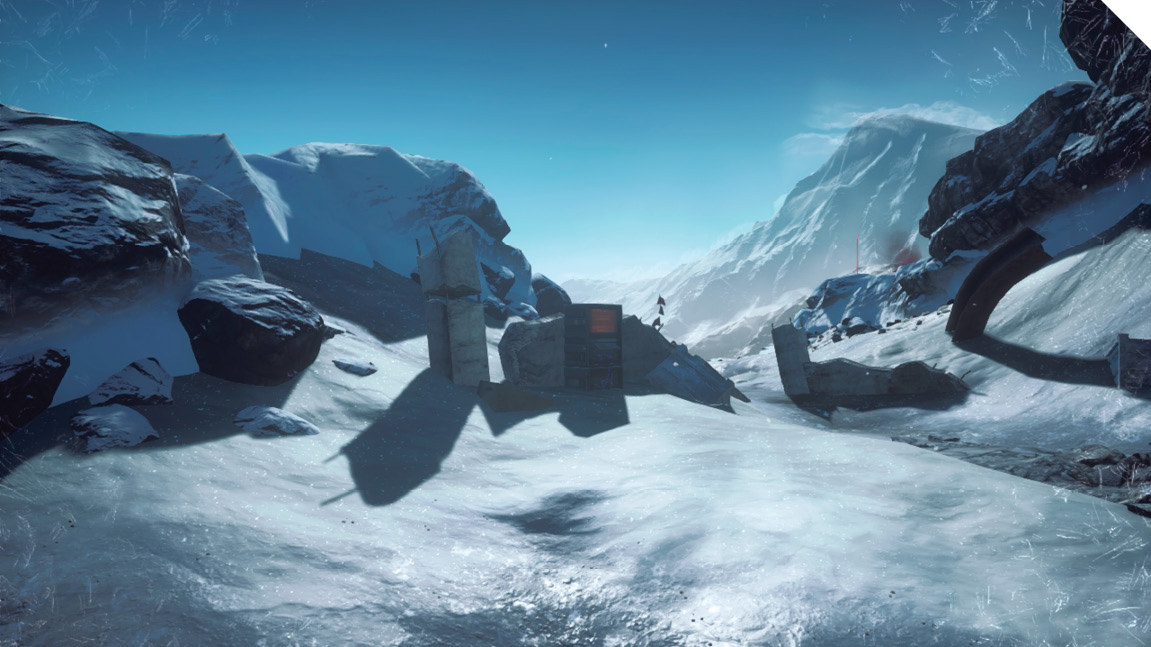
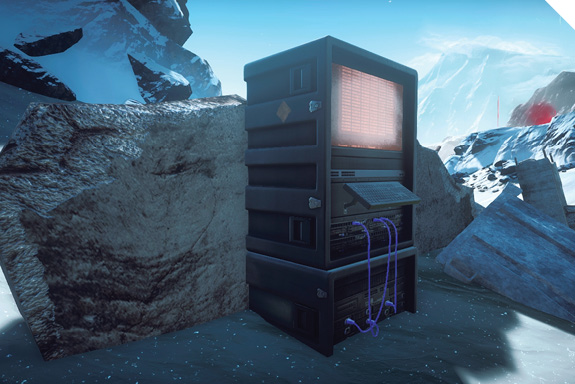
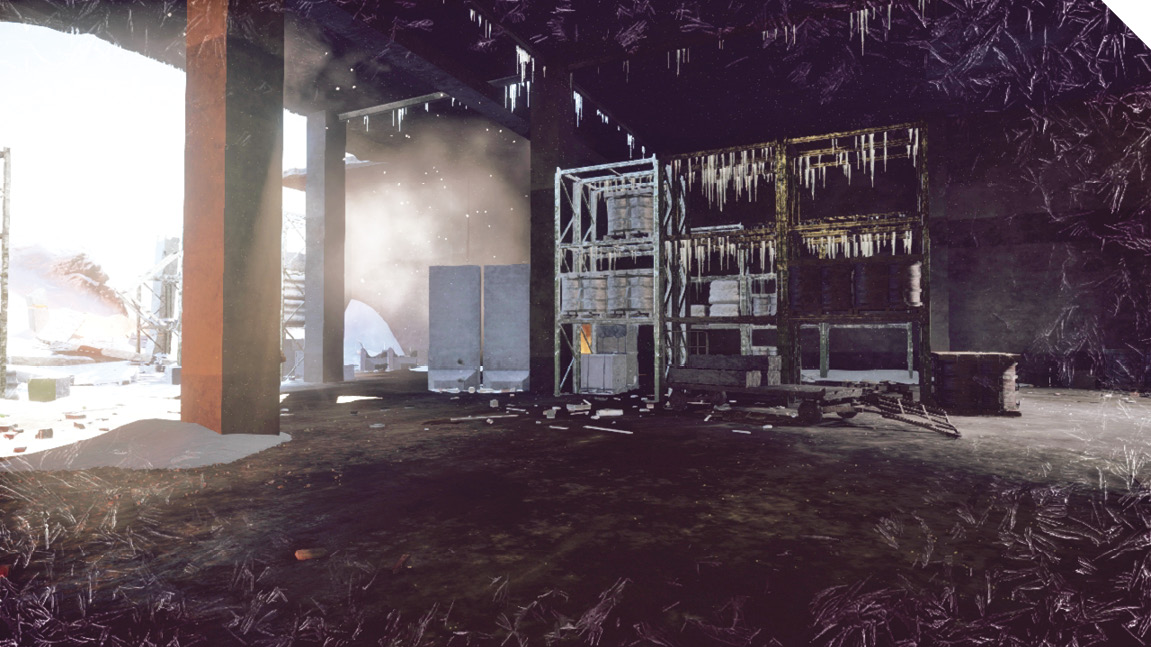
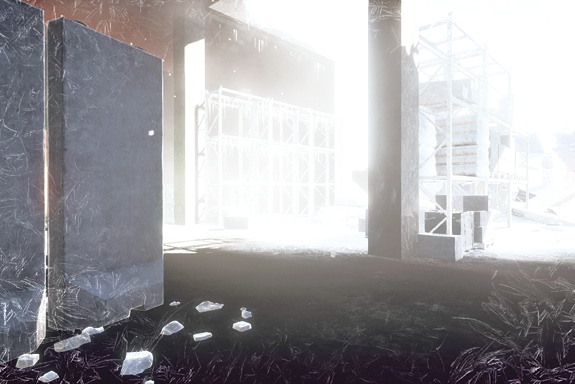
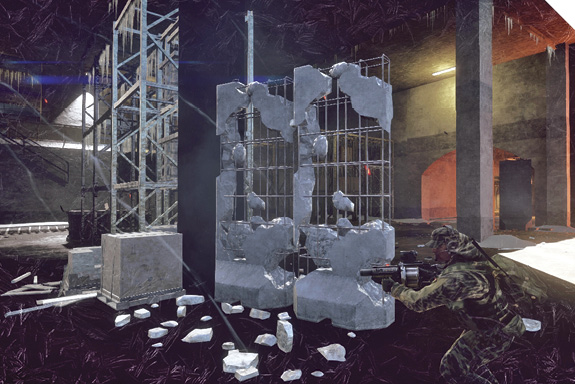
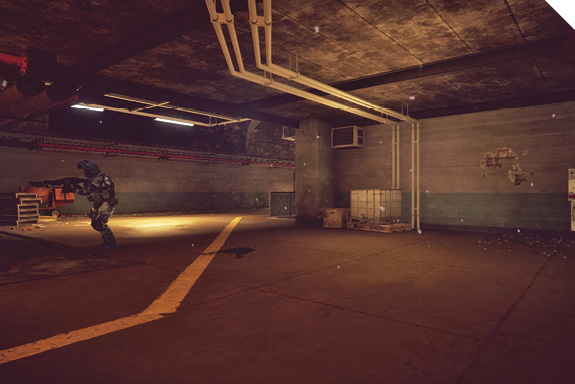
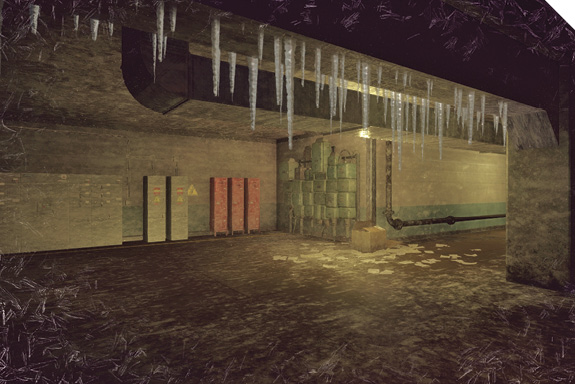
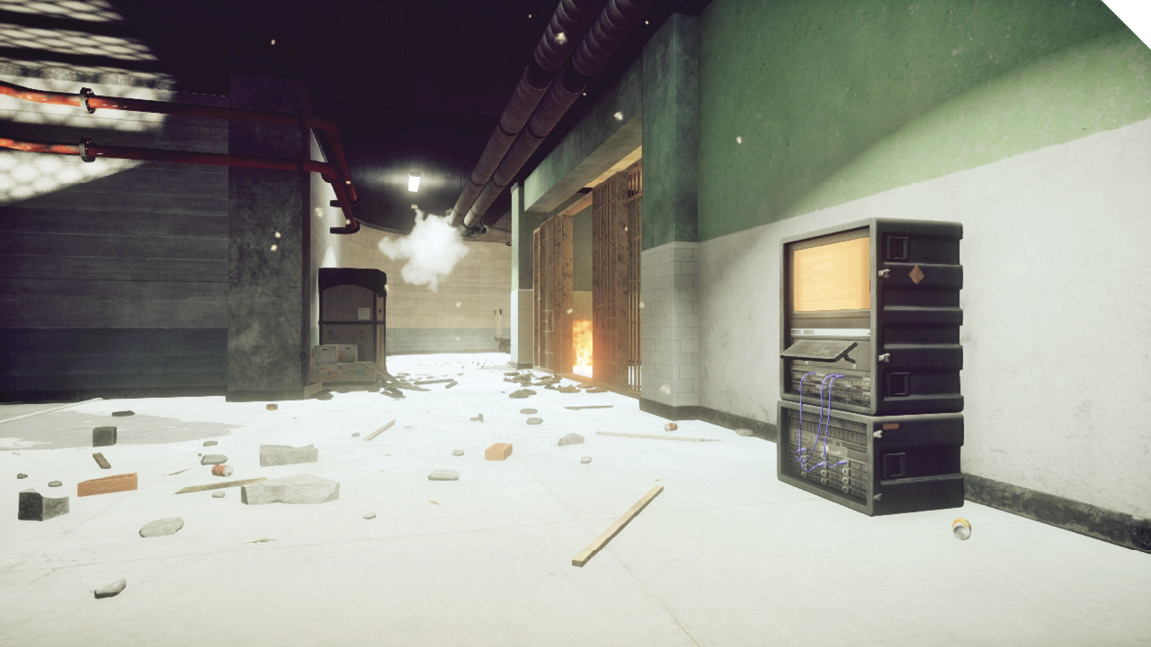
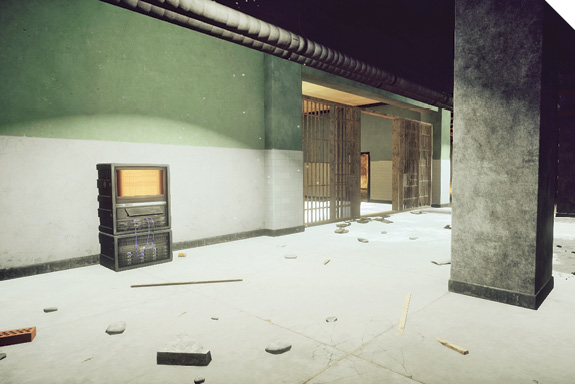
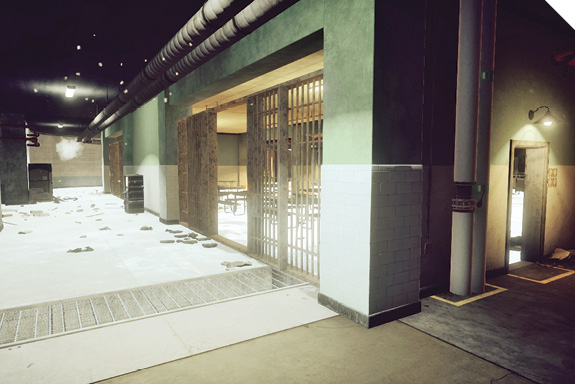
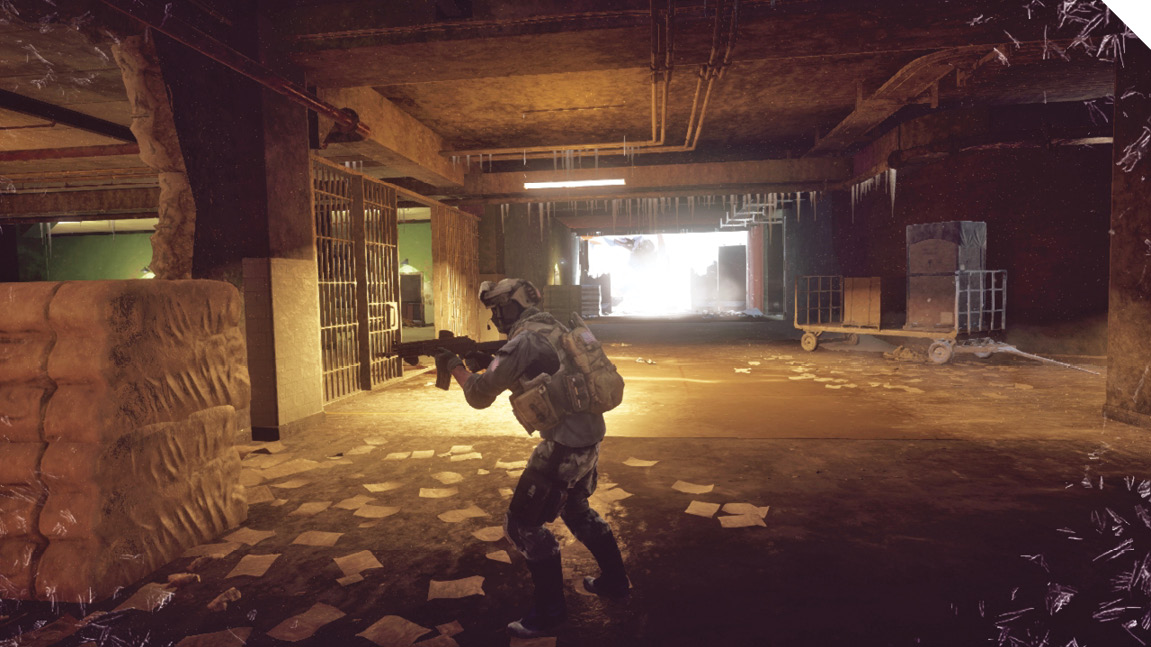
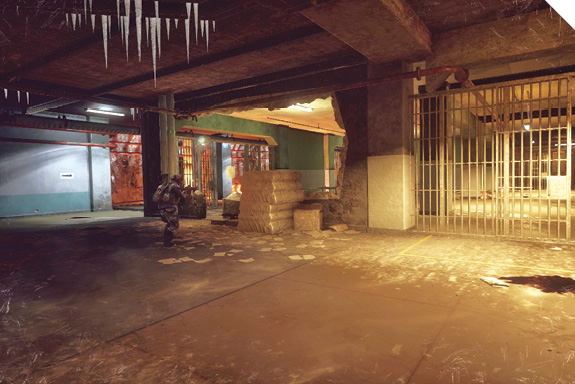
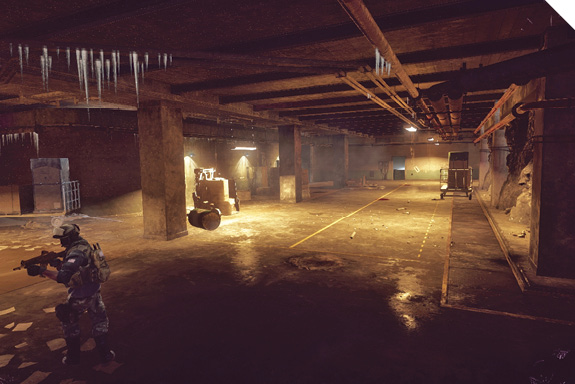
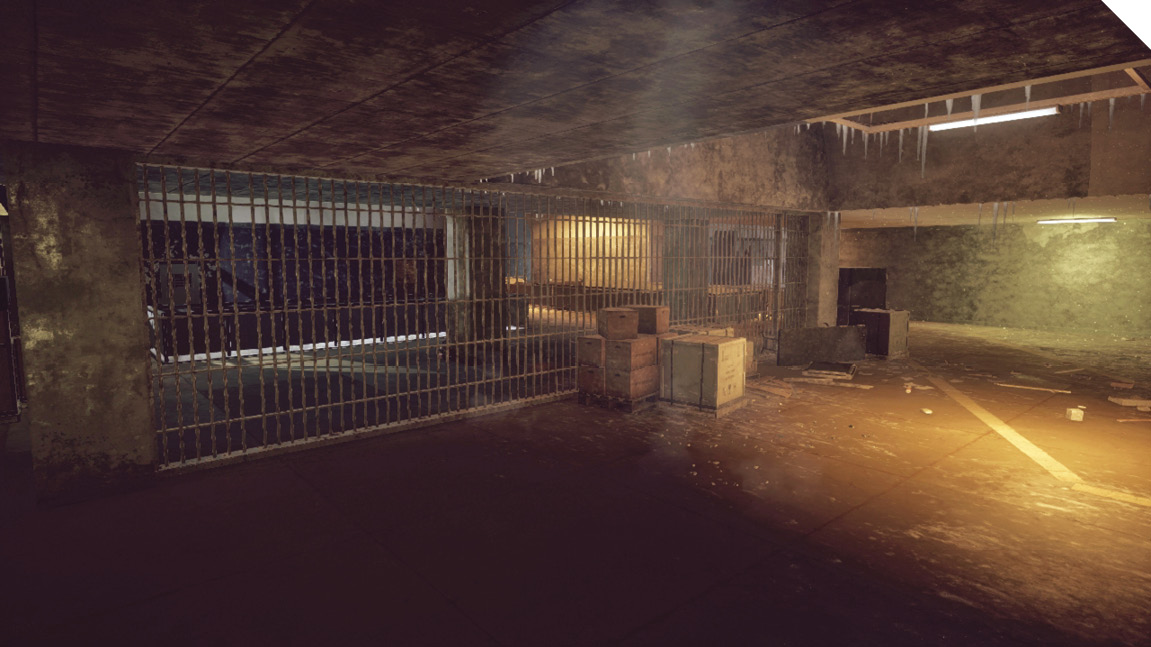
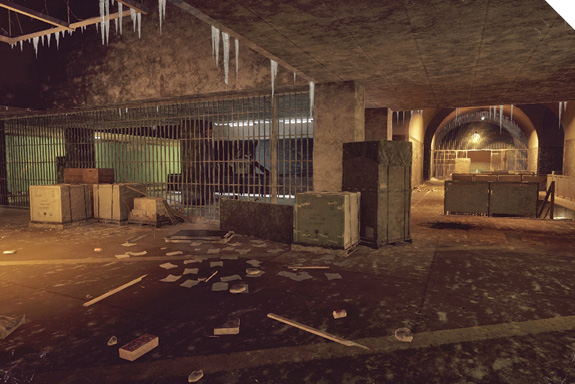
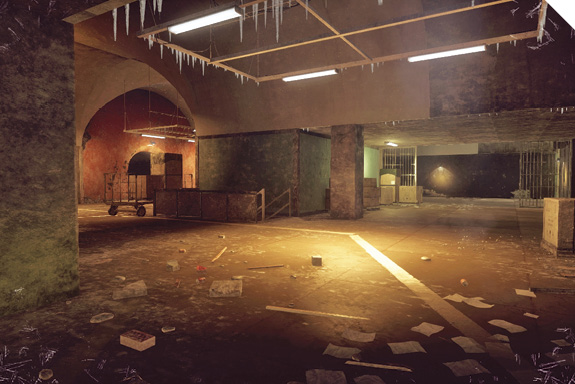
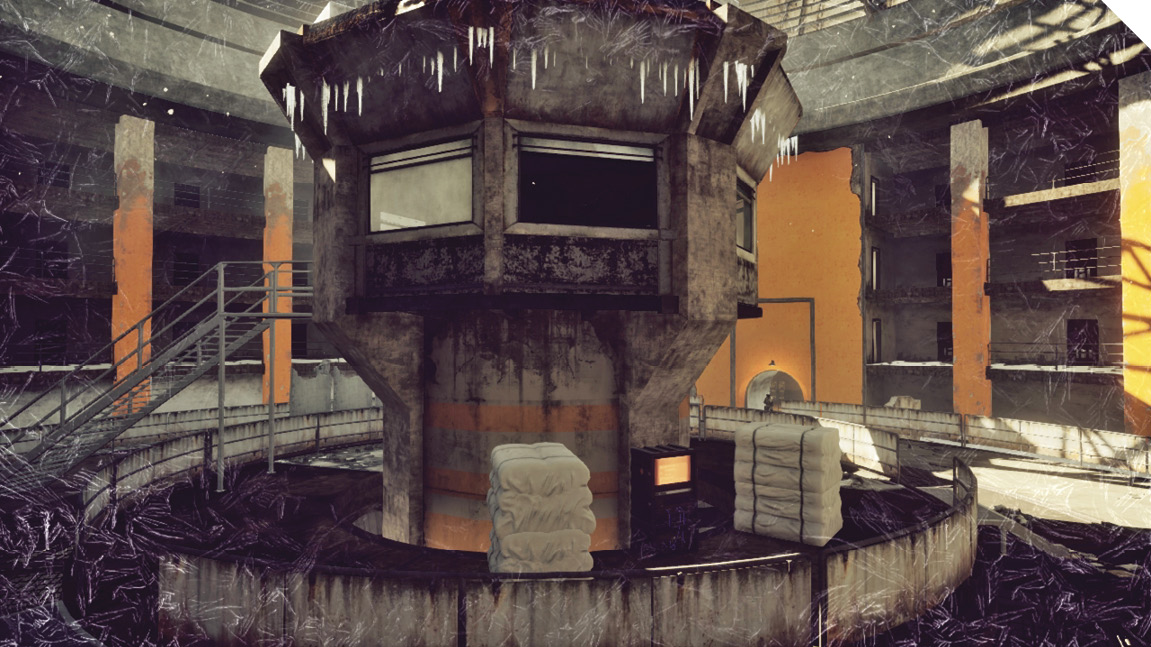
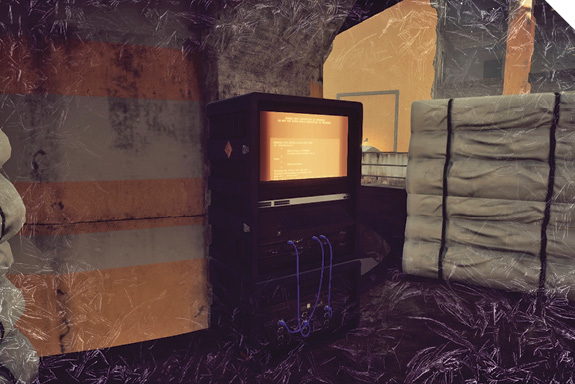
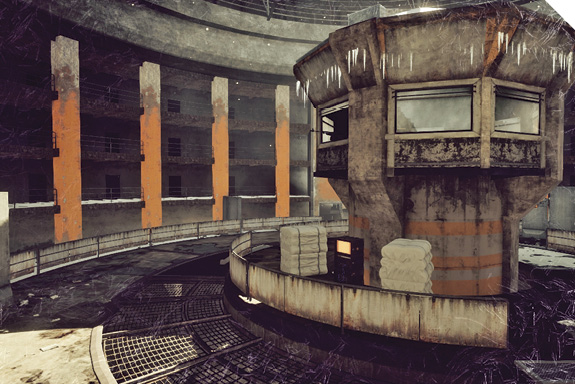
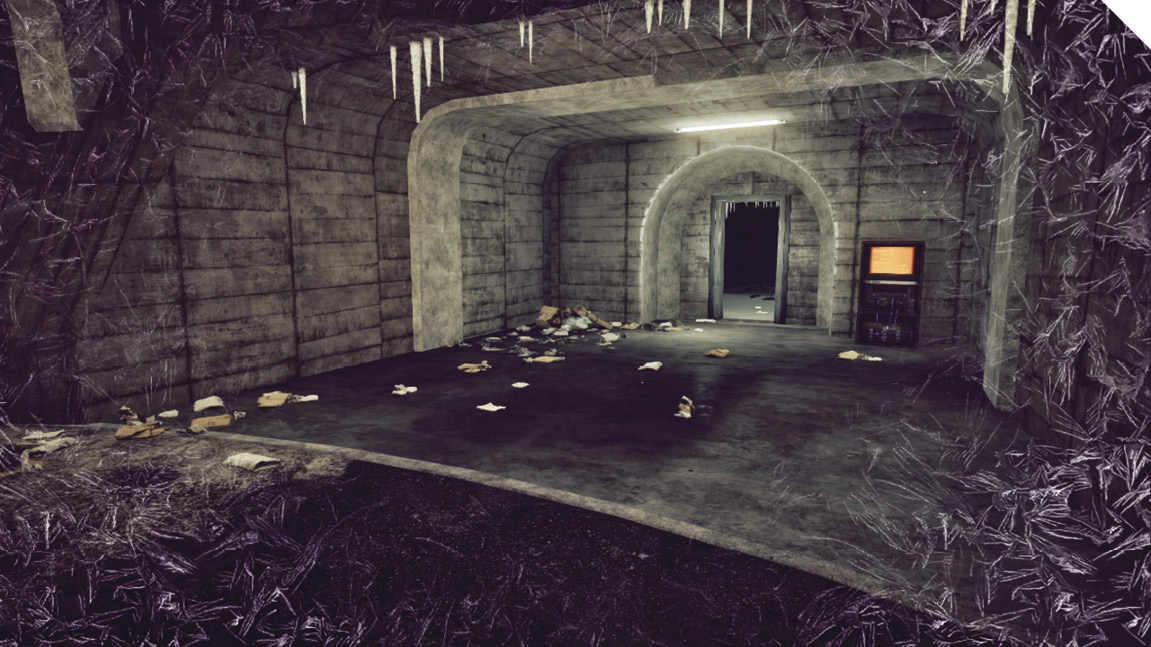
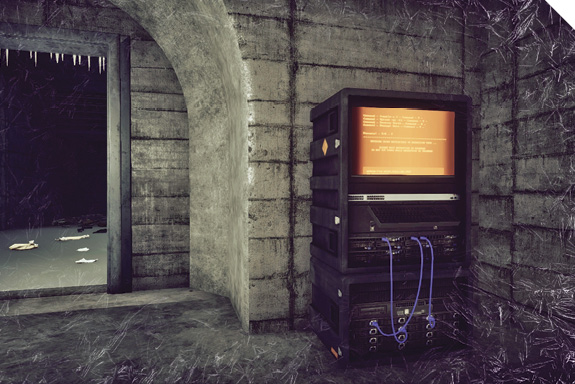
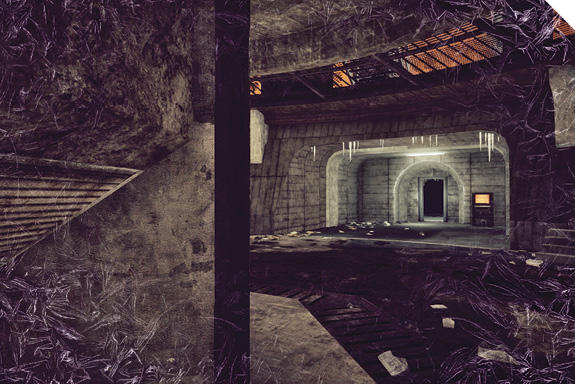
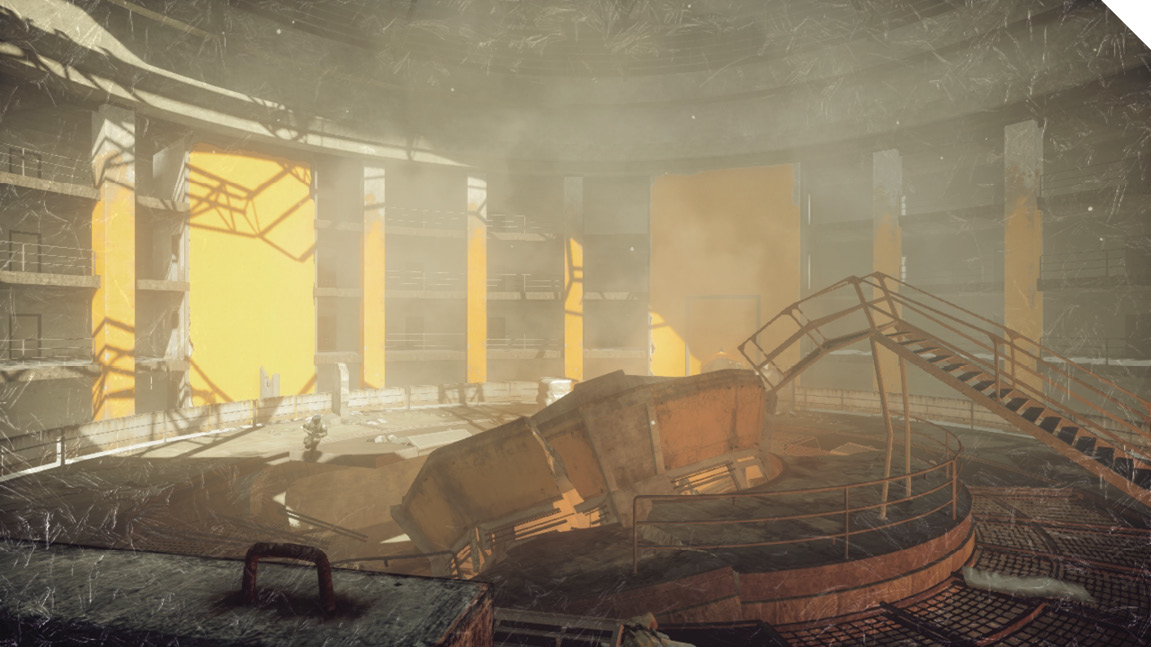
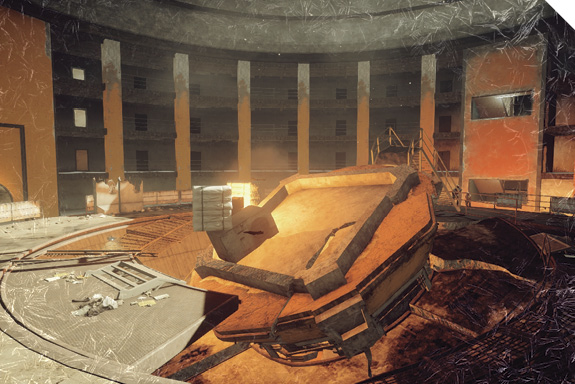
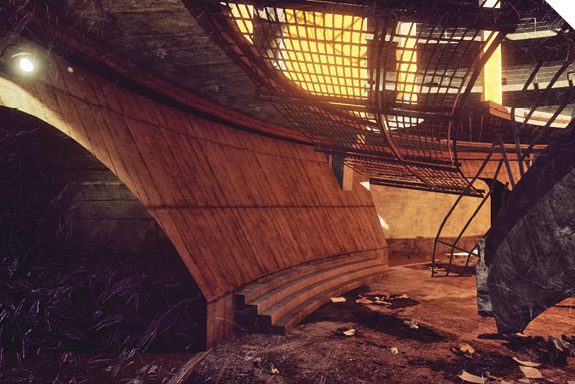
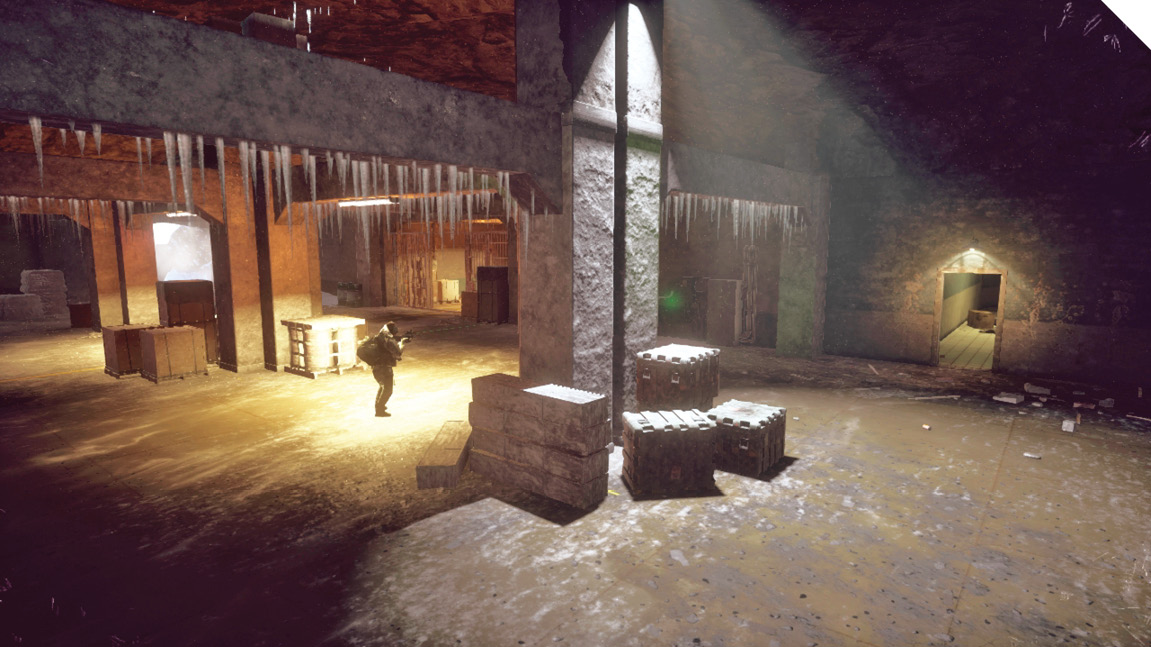
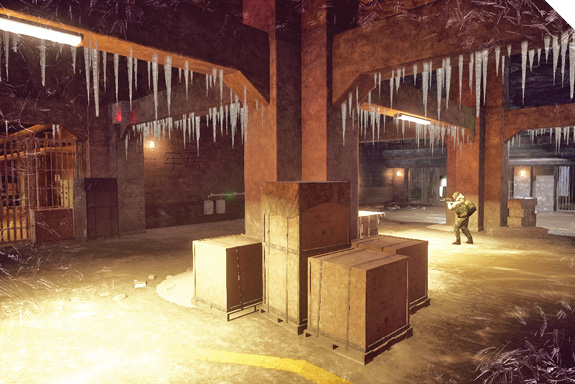
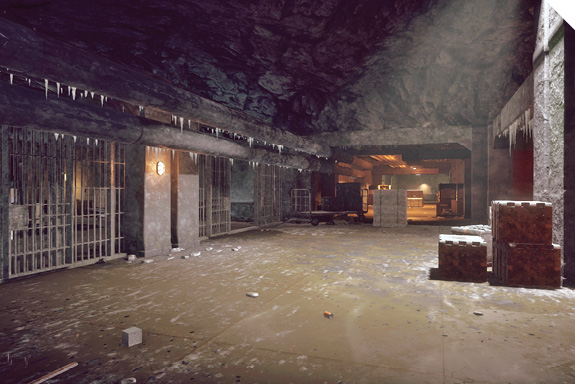
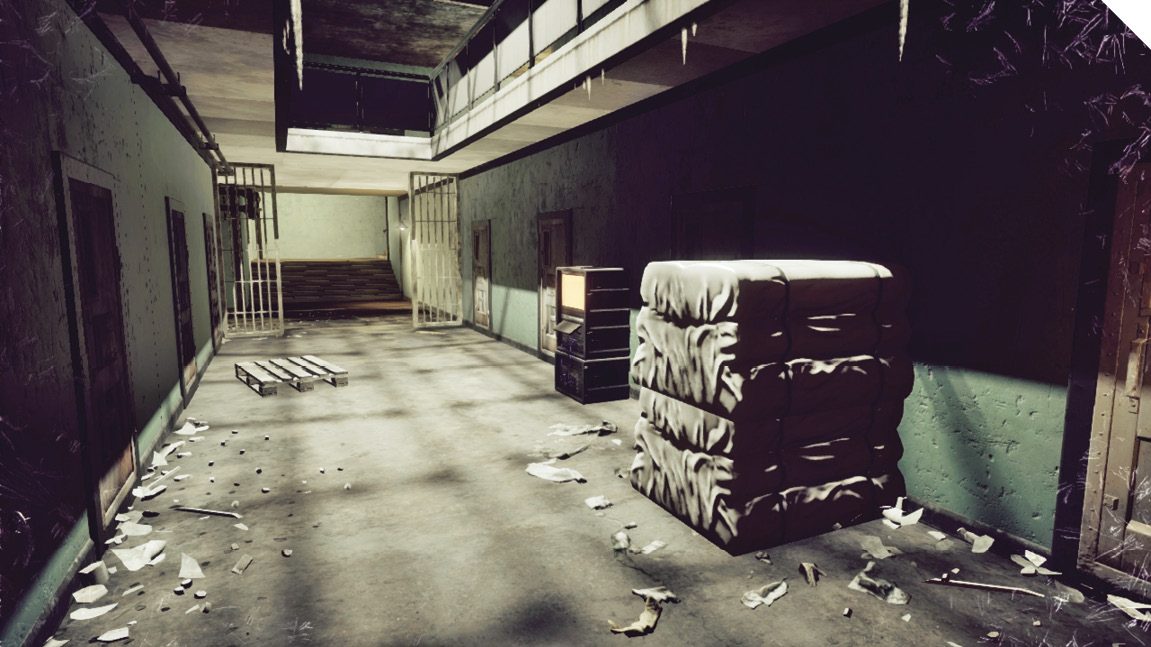
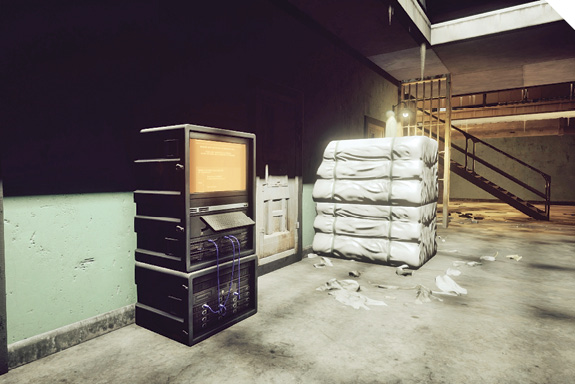
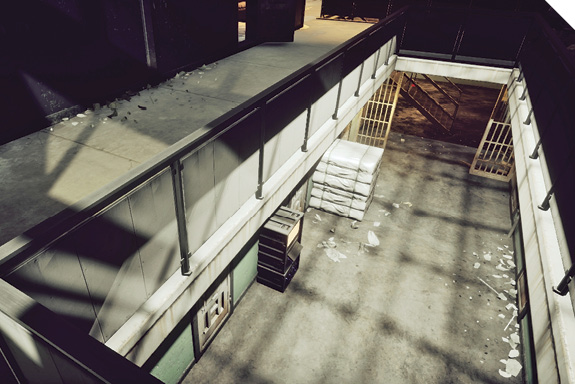
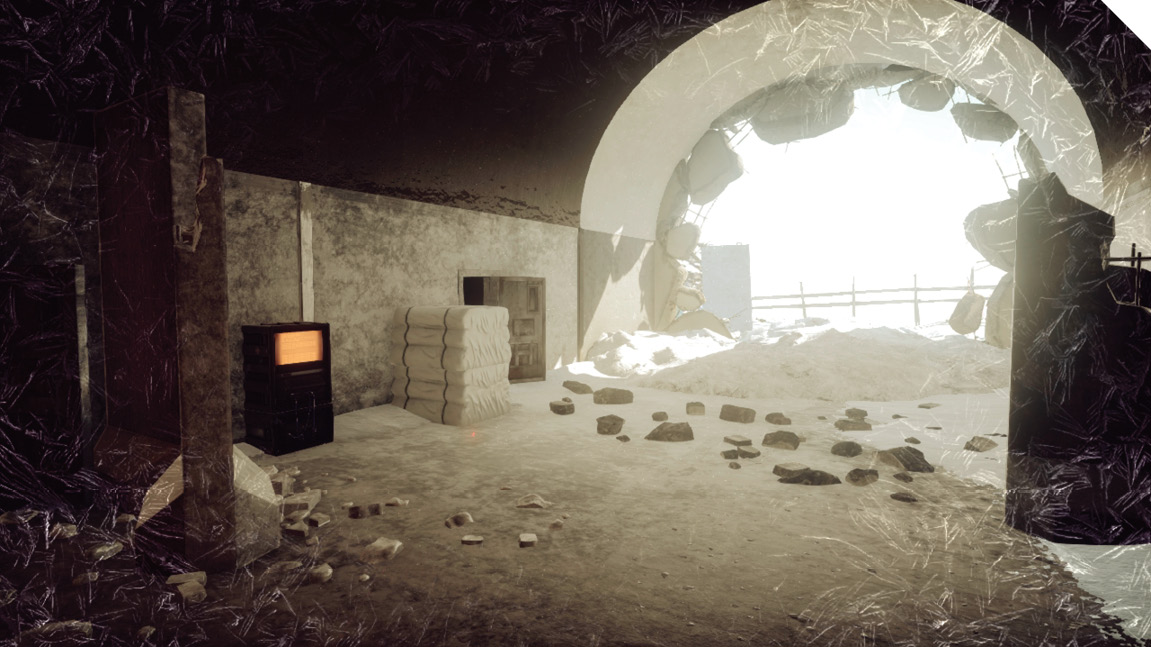
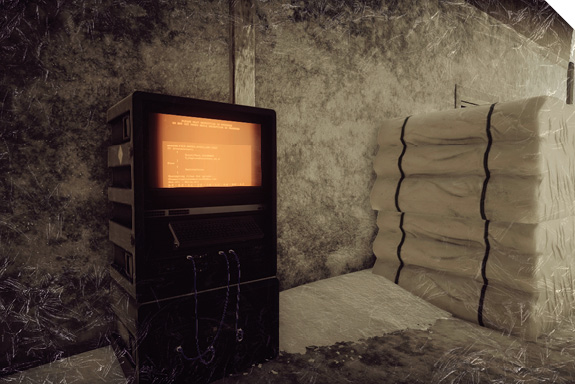
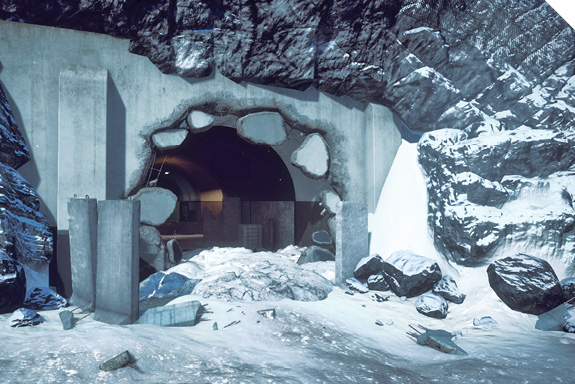
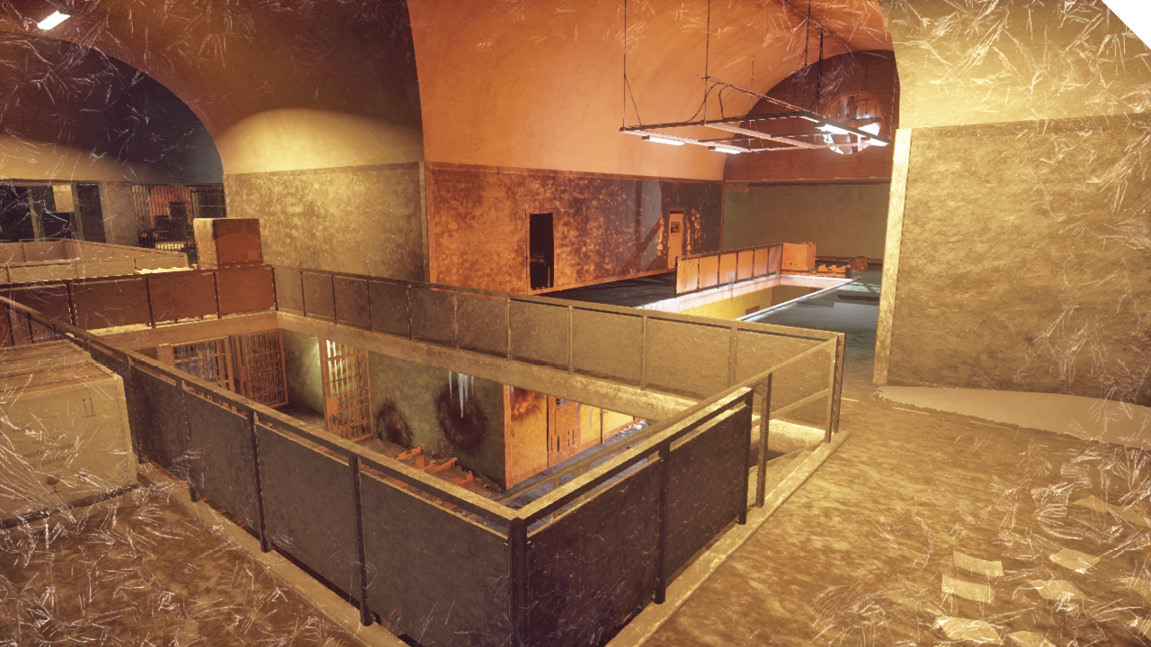
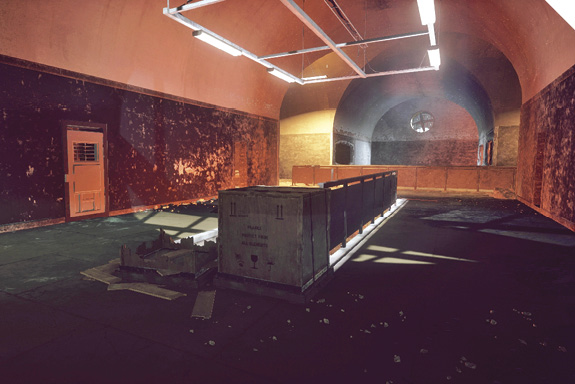
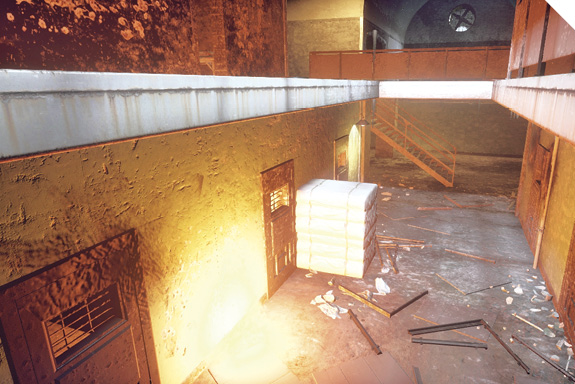
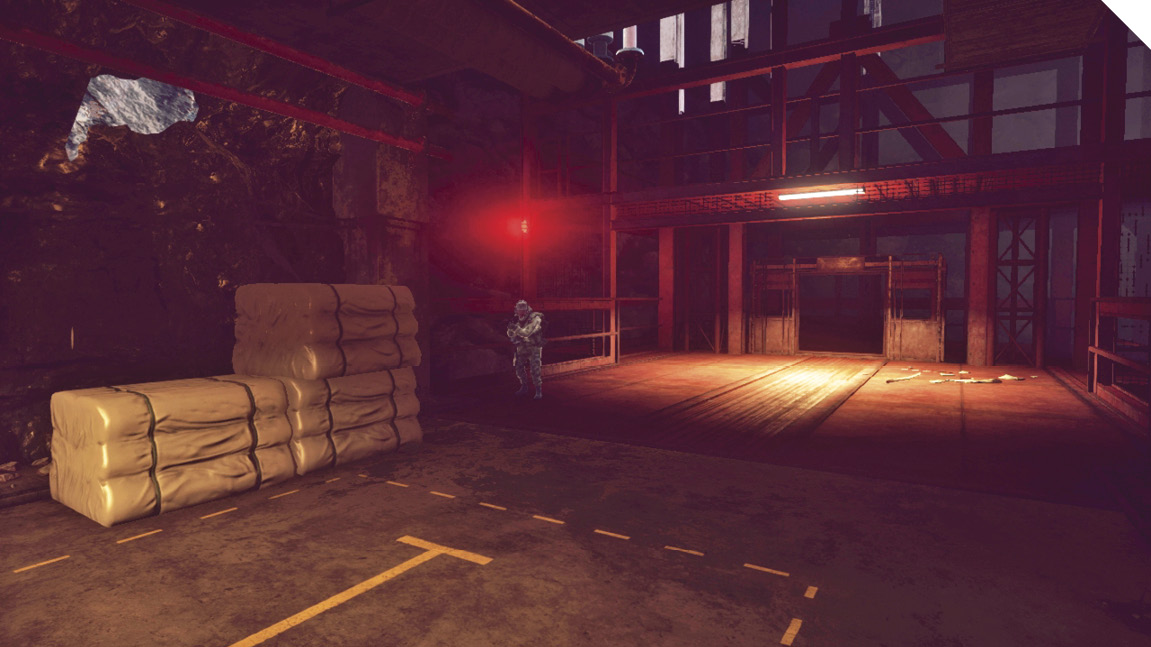
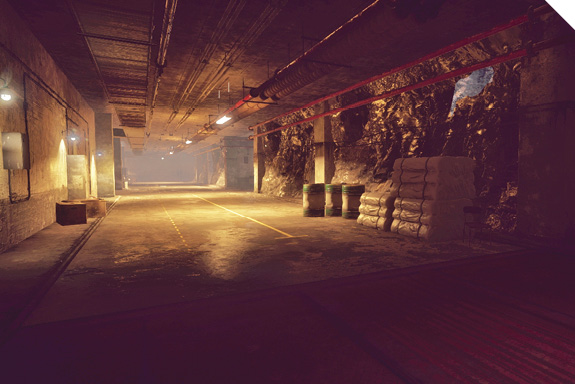
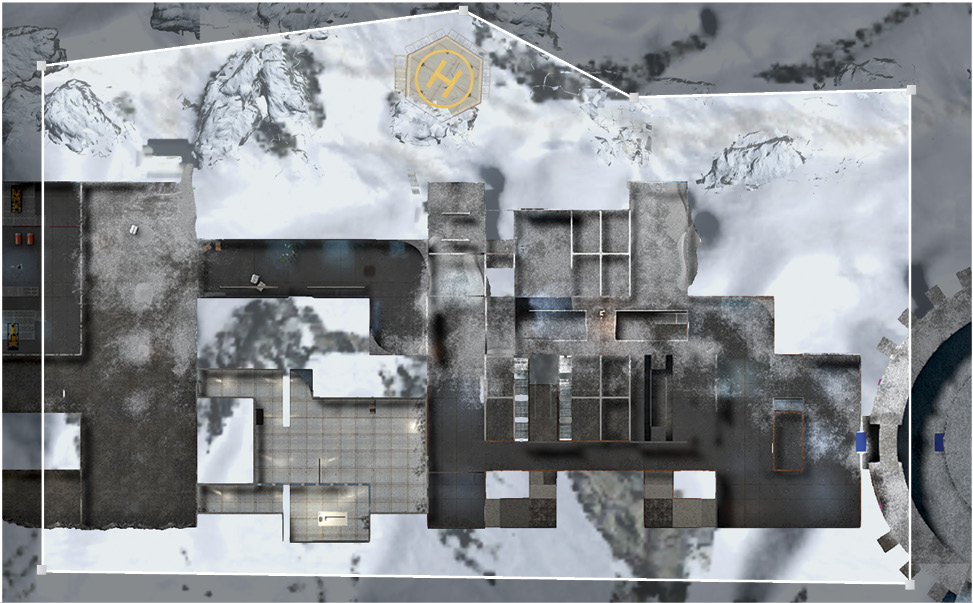
Shifting snow drifts every so often on the outside of the prison. Prison security systems allow players to lock prison gates from one entrance of the hallway. The guard tower in Panopticon crumbles.
How is it triggered?
The Panopticon tower collapses when hit with explosive weapons. To lock the prison gates, press the interaction key/button when near a gate. The blinding snowstorm outside the prison walls intensifies and calms at regular intervals.
How is gameplay impacted?
The prison gates block off routes in the map, forcing players to take other routes. The Panopticon guard tower has weaponry that is disabled after it’s destroyed and the layout of Panopticon also changes when guard tower falls. The shifting snow at the entrances and exits of the prison make it tough to see for players in and out of the prison.
Alpha Squad: Impressions
Mabooza
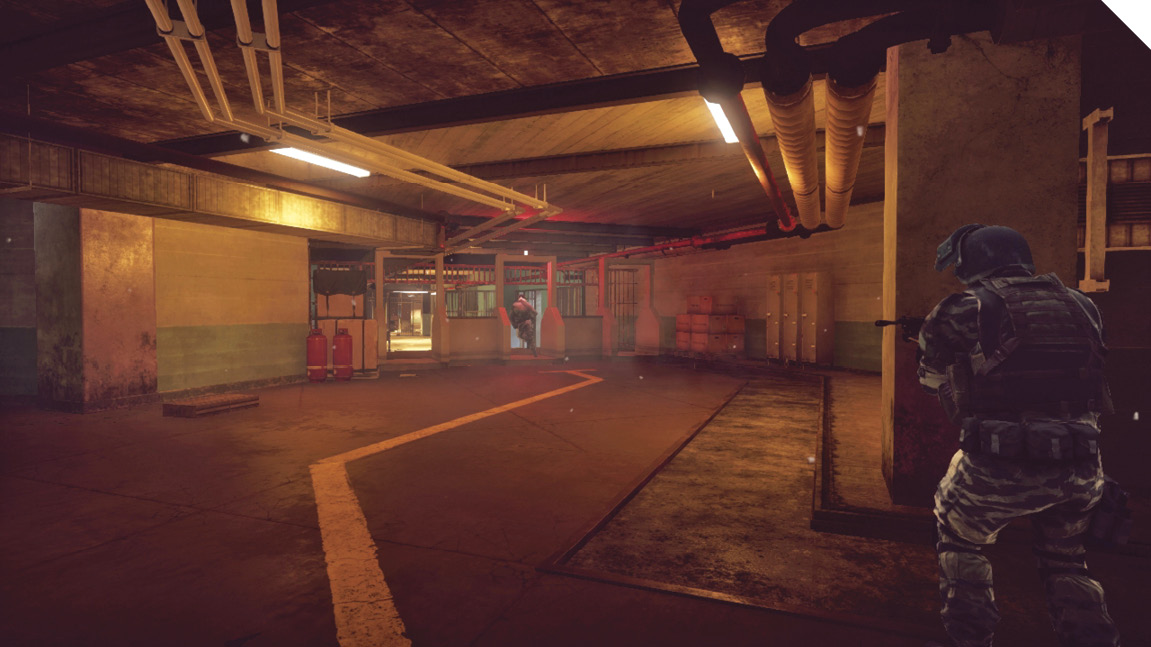
Like close-quarter infantry battles? Then you’ll love this map. But you need to learn it first, otherwise you’re likely to get lost amidst the cramped corridors and dingy cell blocks. I like playing as assault or support while setting ambushes for my opponents using the interactive gates—mastering these gates is critical for controlling the flow of traffic.
StrongSide
This is one of my favorite maps because of all the close- to mid-range battles. You won’t find a single vehicle on this map. This map involves much teamwork with your squad. You’ll find me playing as the support class, laying down steel and placing Claymores in the shadows of the halls.
Walshy
I love the fast-paced close-quarter combat that takes place all over this map. Whenever my squad starts to get pinned down in an area, I make a flank around the enemy team from the outside and catch the enemies off guard.
Flamesword
This map reminds me much of Operation Metro from Battlefield 3—no vehicles and all weapon action. One of my favorite features of this map is the constant snowstorms. Combining these storms with my Smoke Grenades allows me to play like a sneaky ninja and catch the enemies by surprise.
Elumnite
I enjoy this map for all the different routes I could use to flank enemies in other areas so easily. One of the features I use the most on this map would be the interactive gates. You can prevent players from reaching areas of the map by closing any of the gates, forcing them to take another route.
Conquest Large
Recommended Squad Composition:
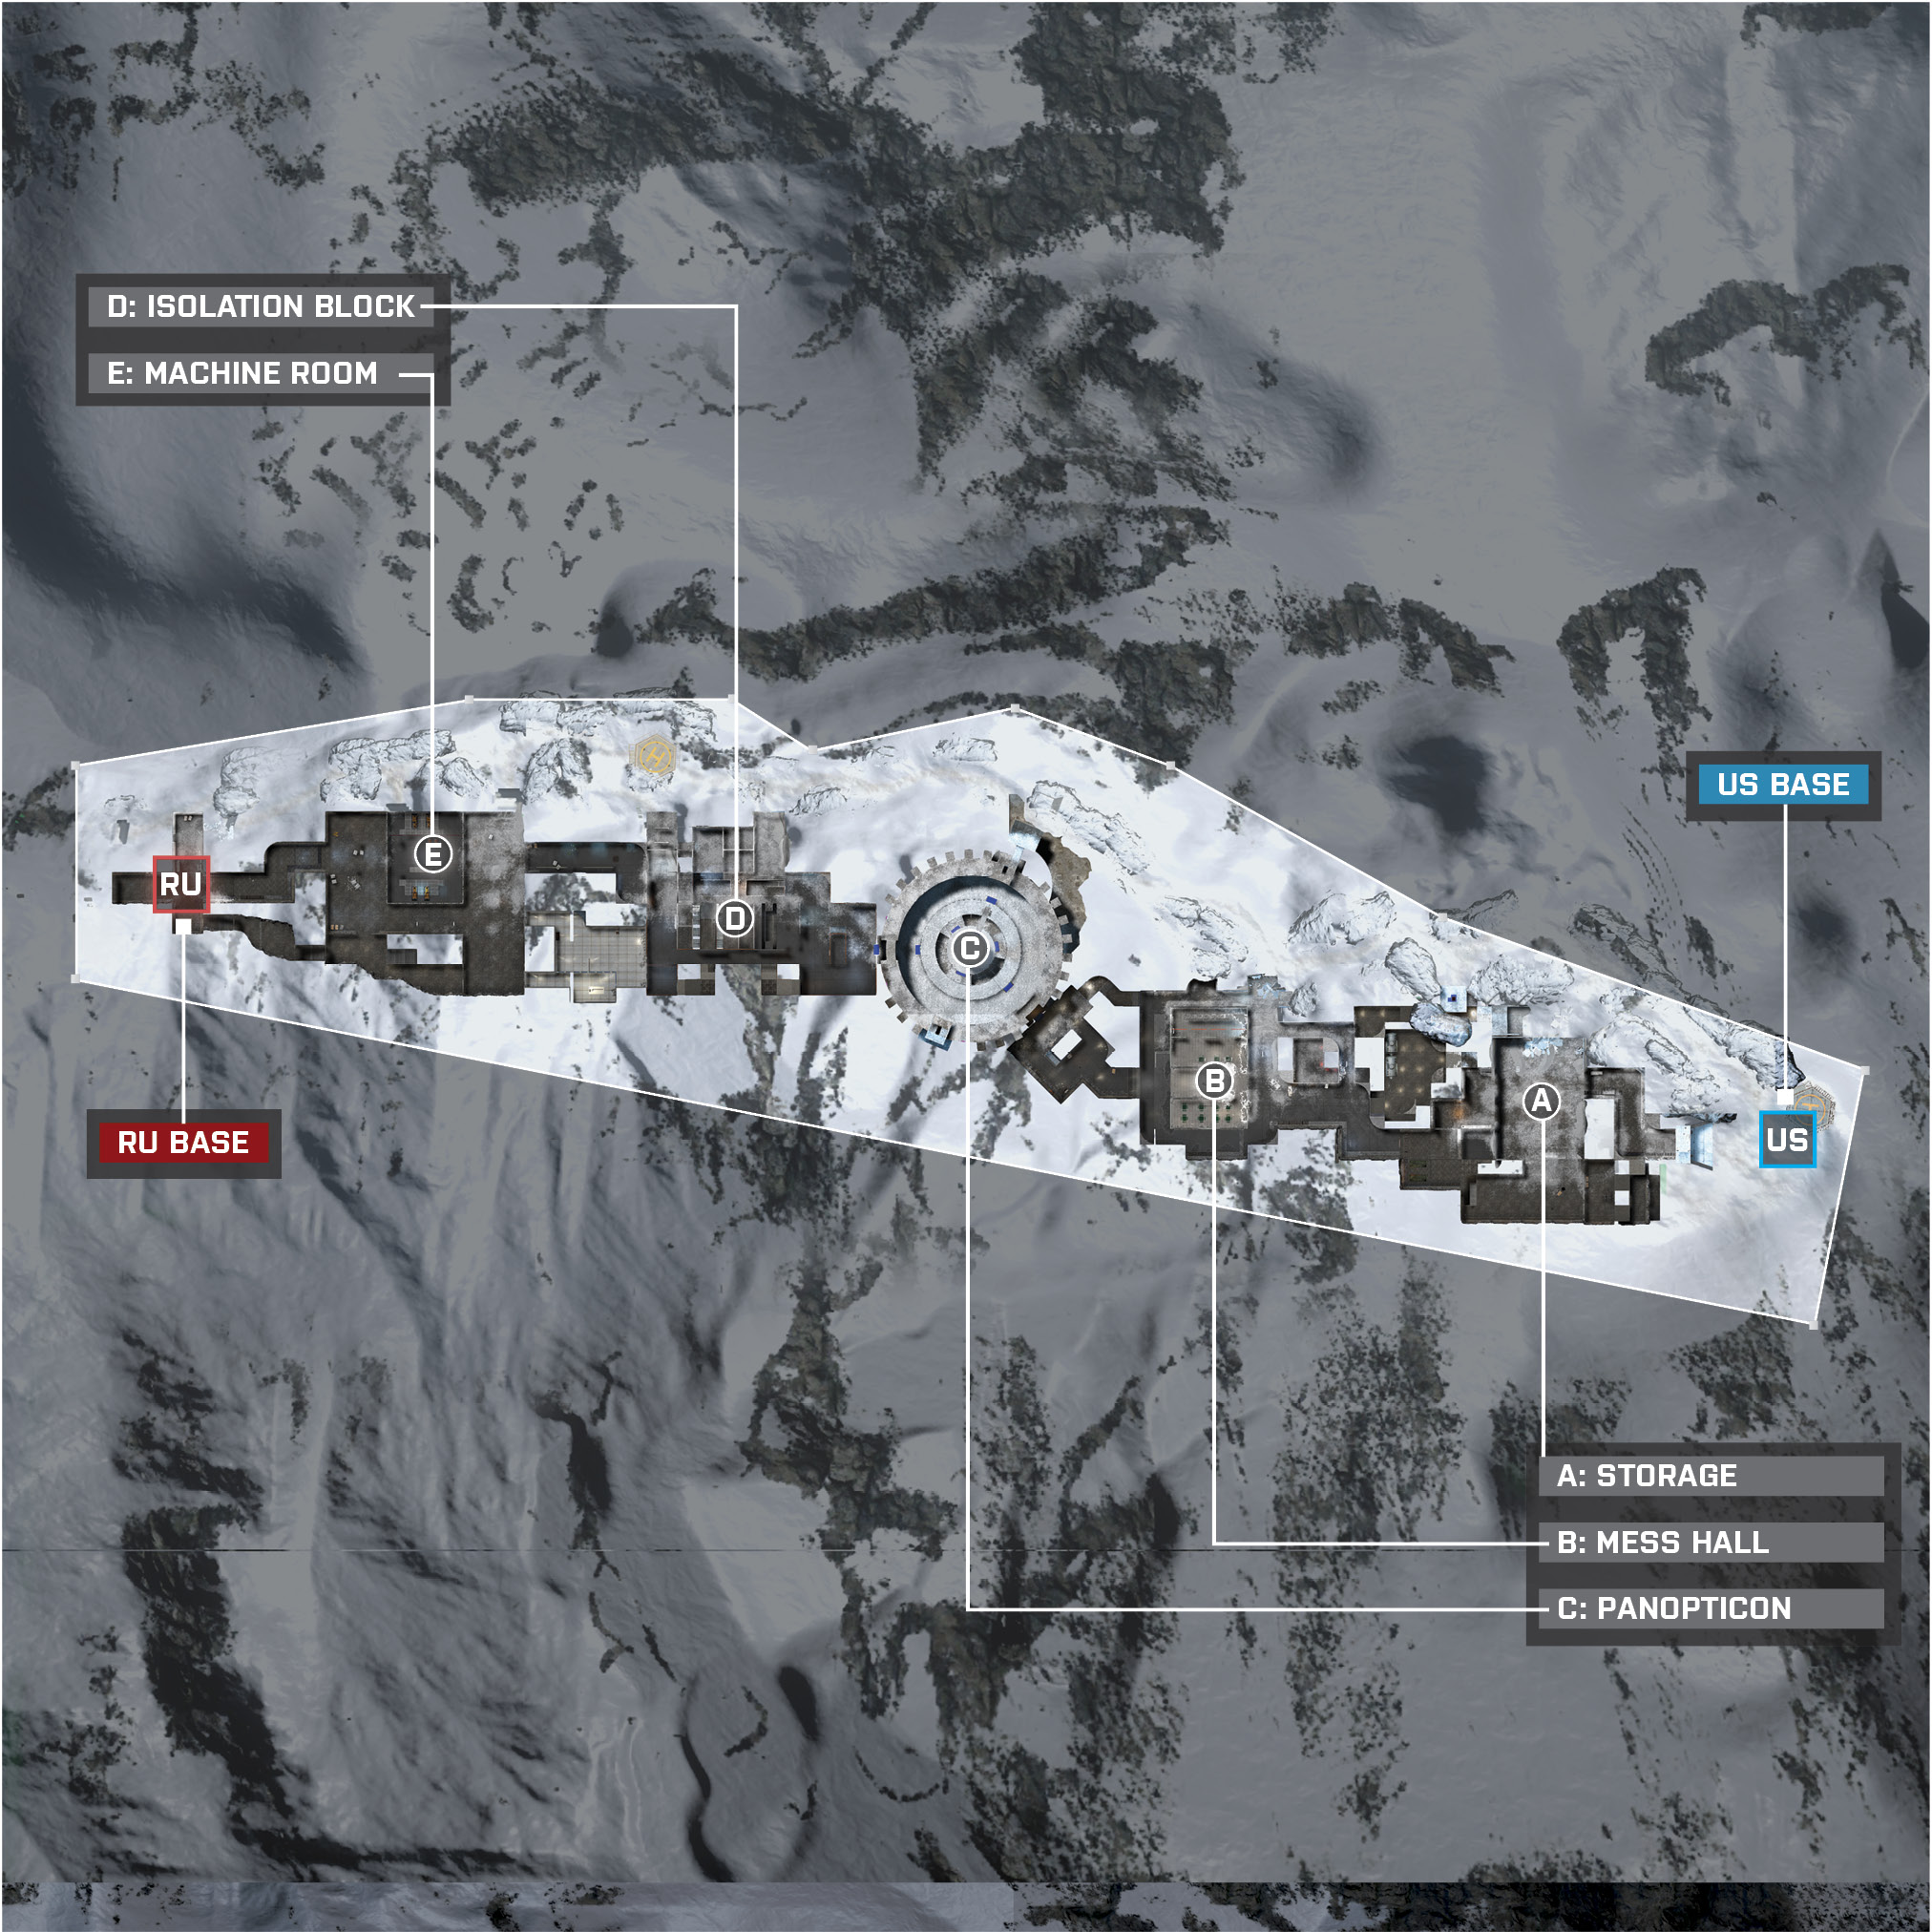
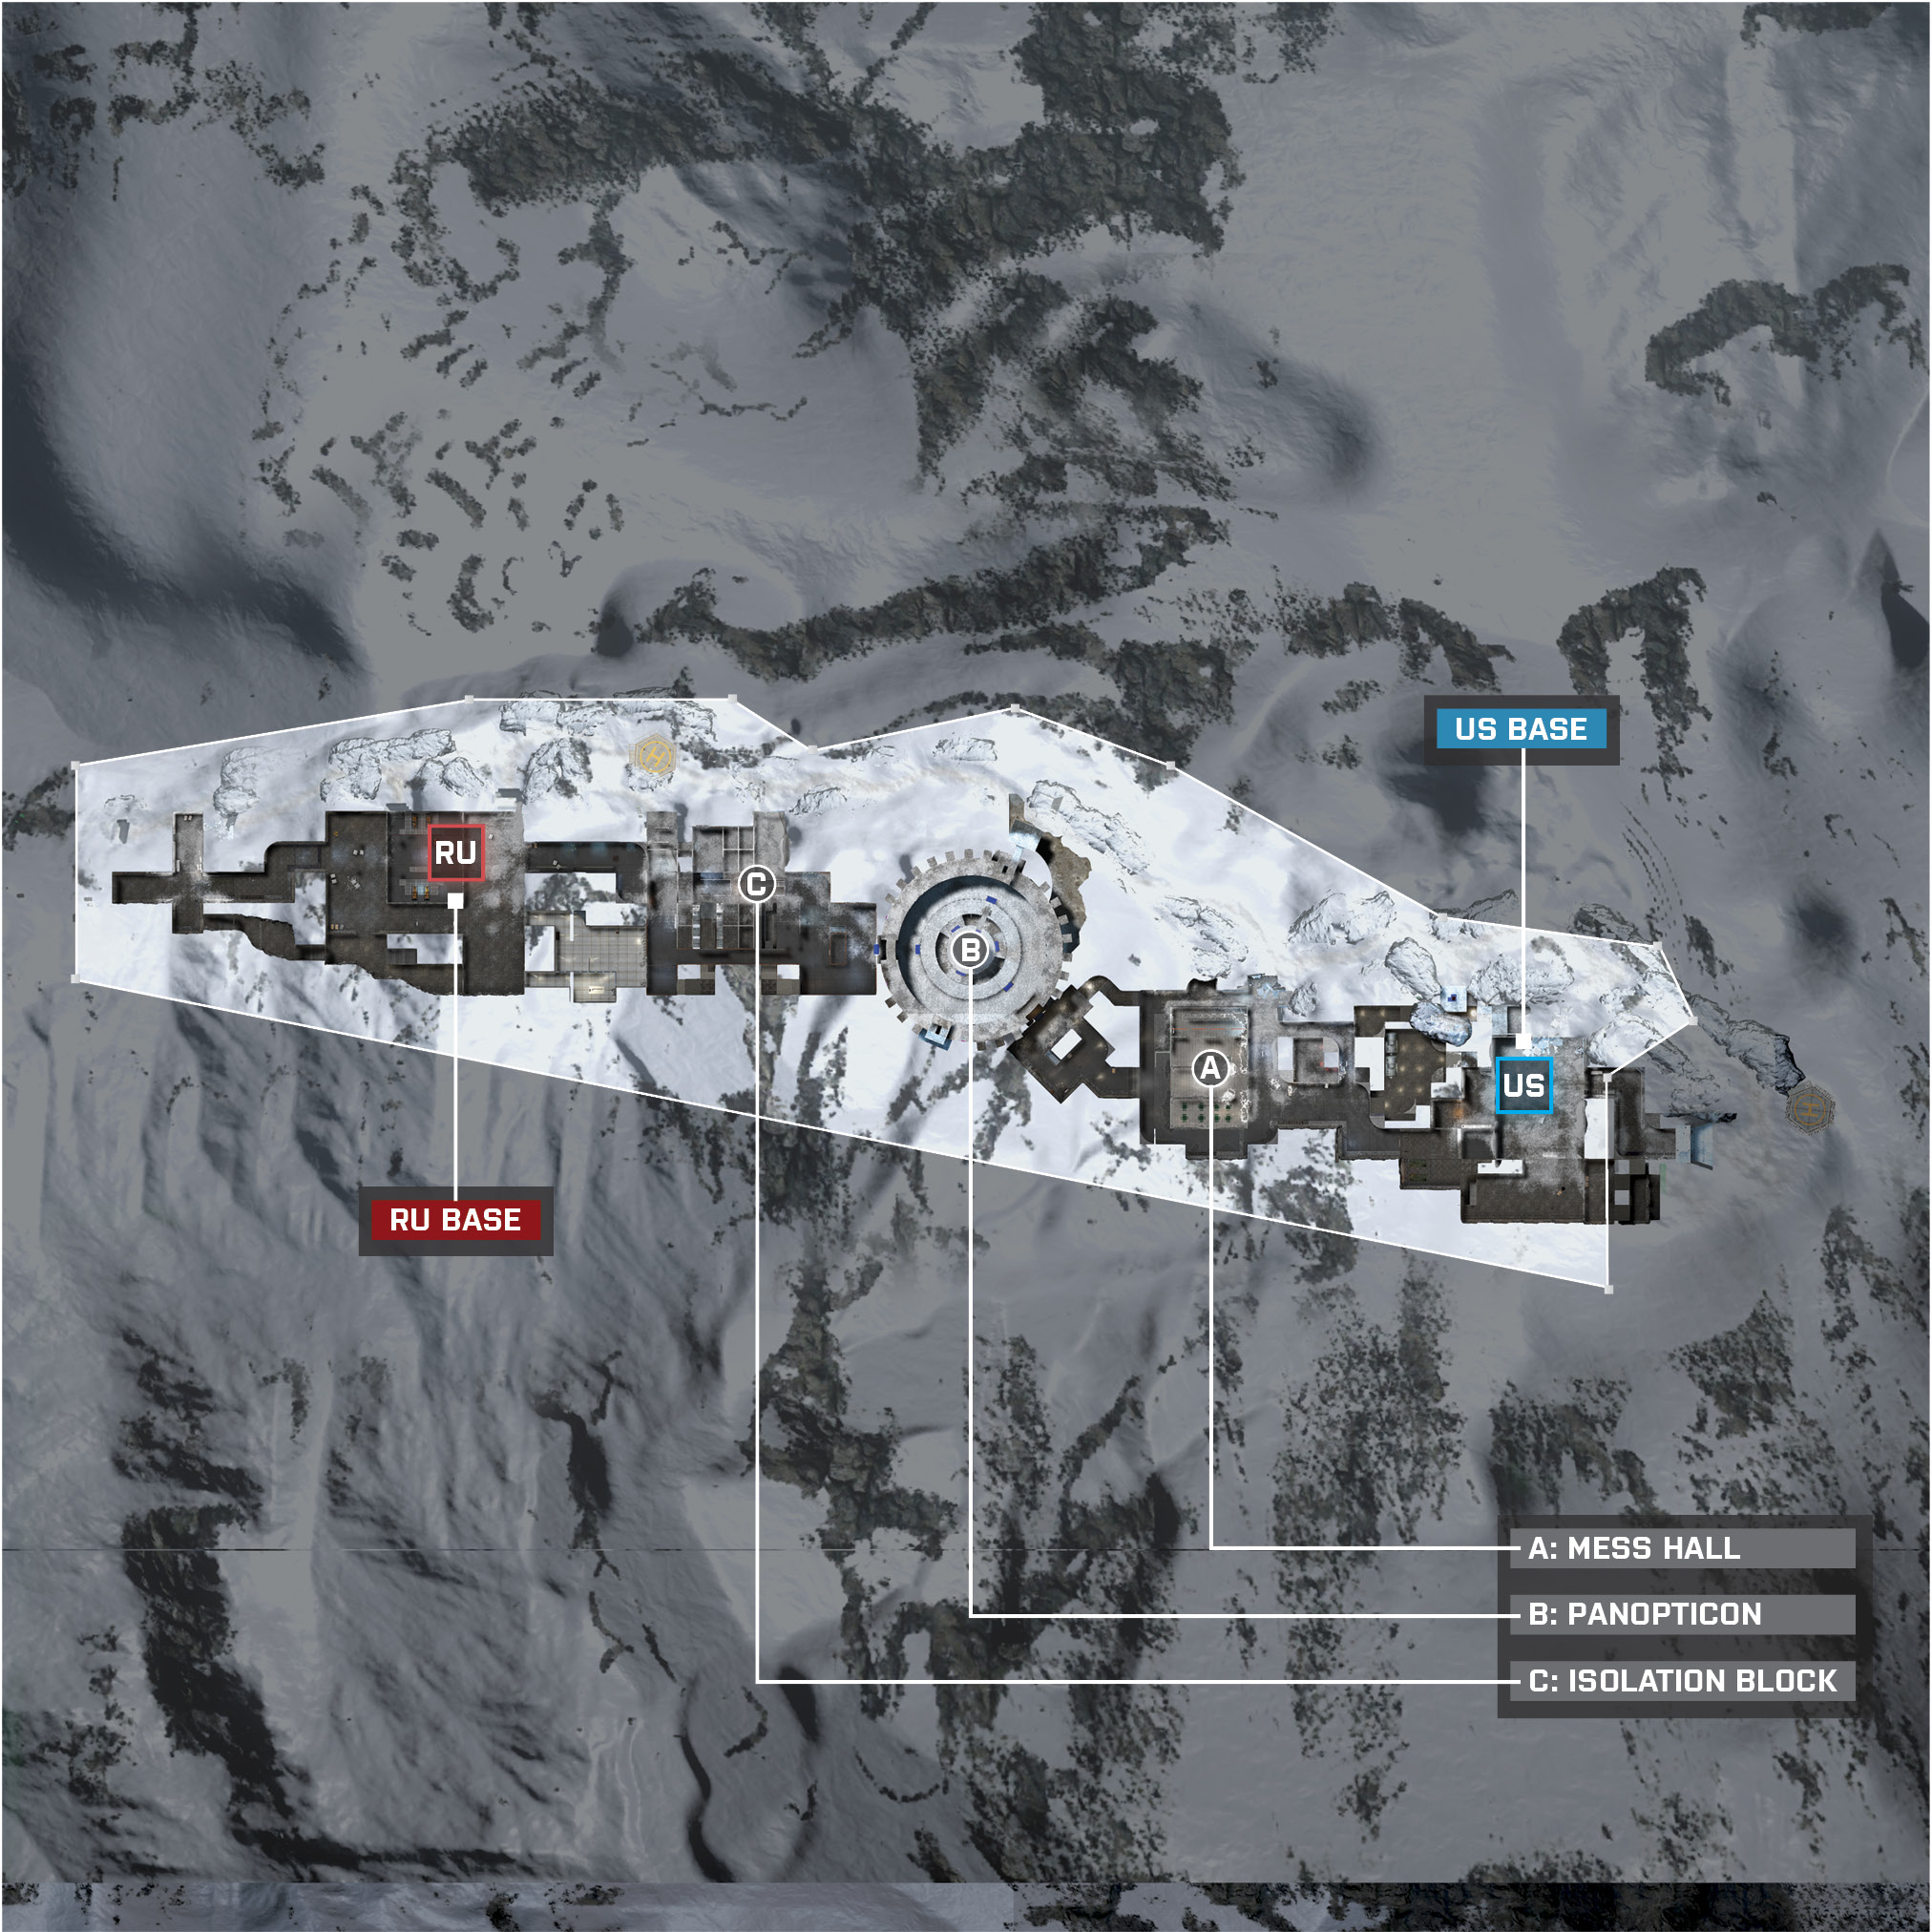
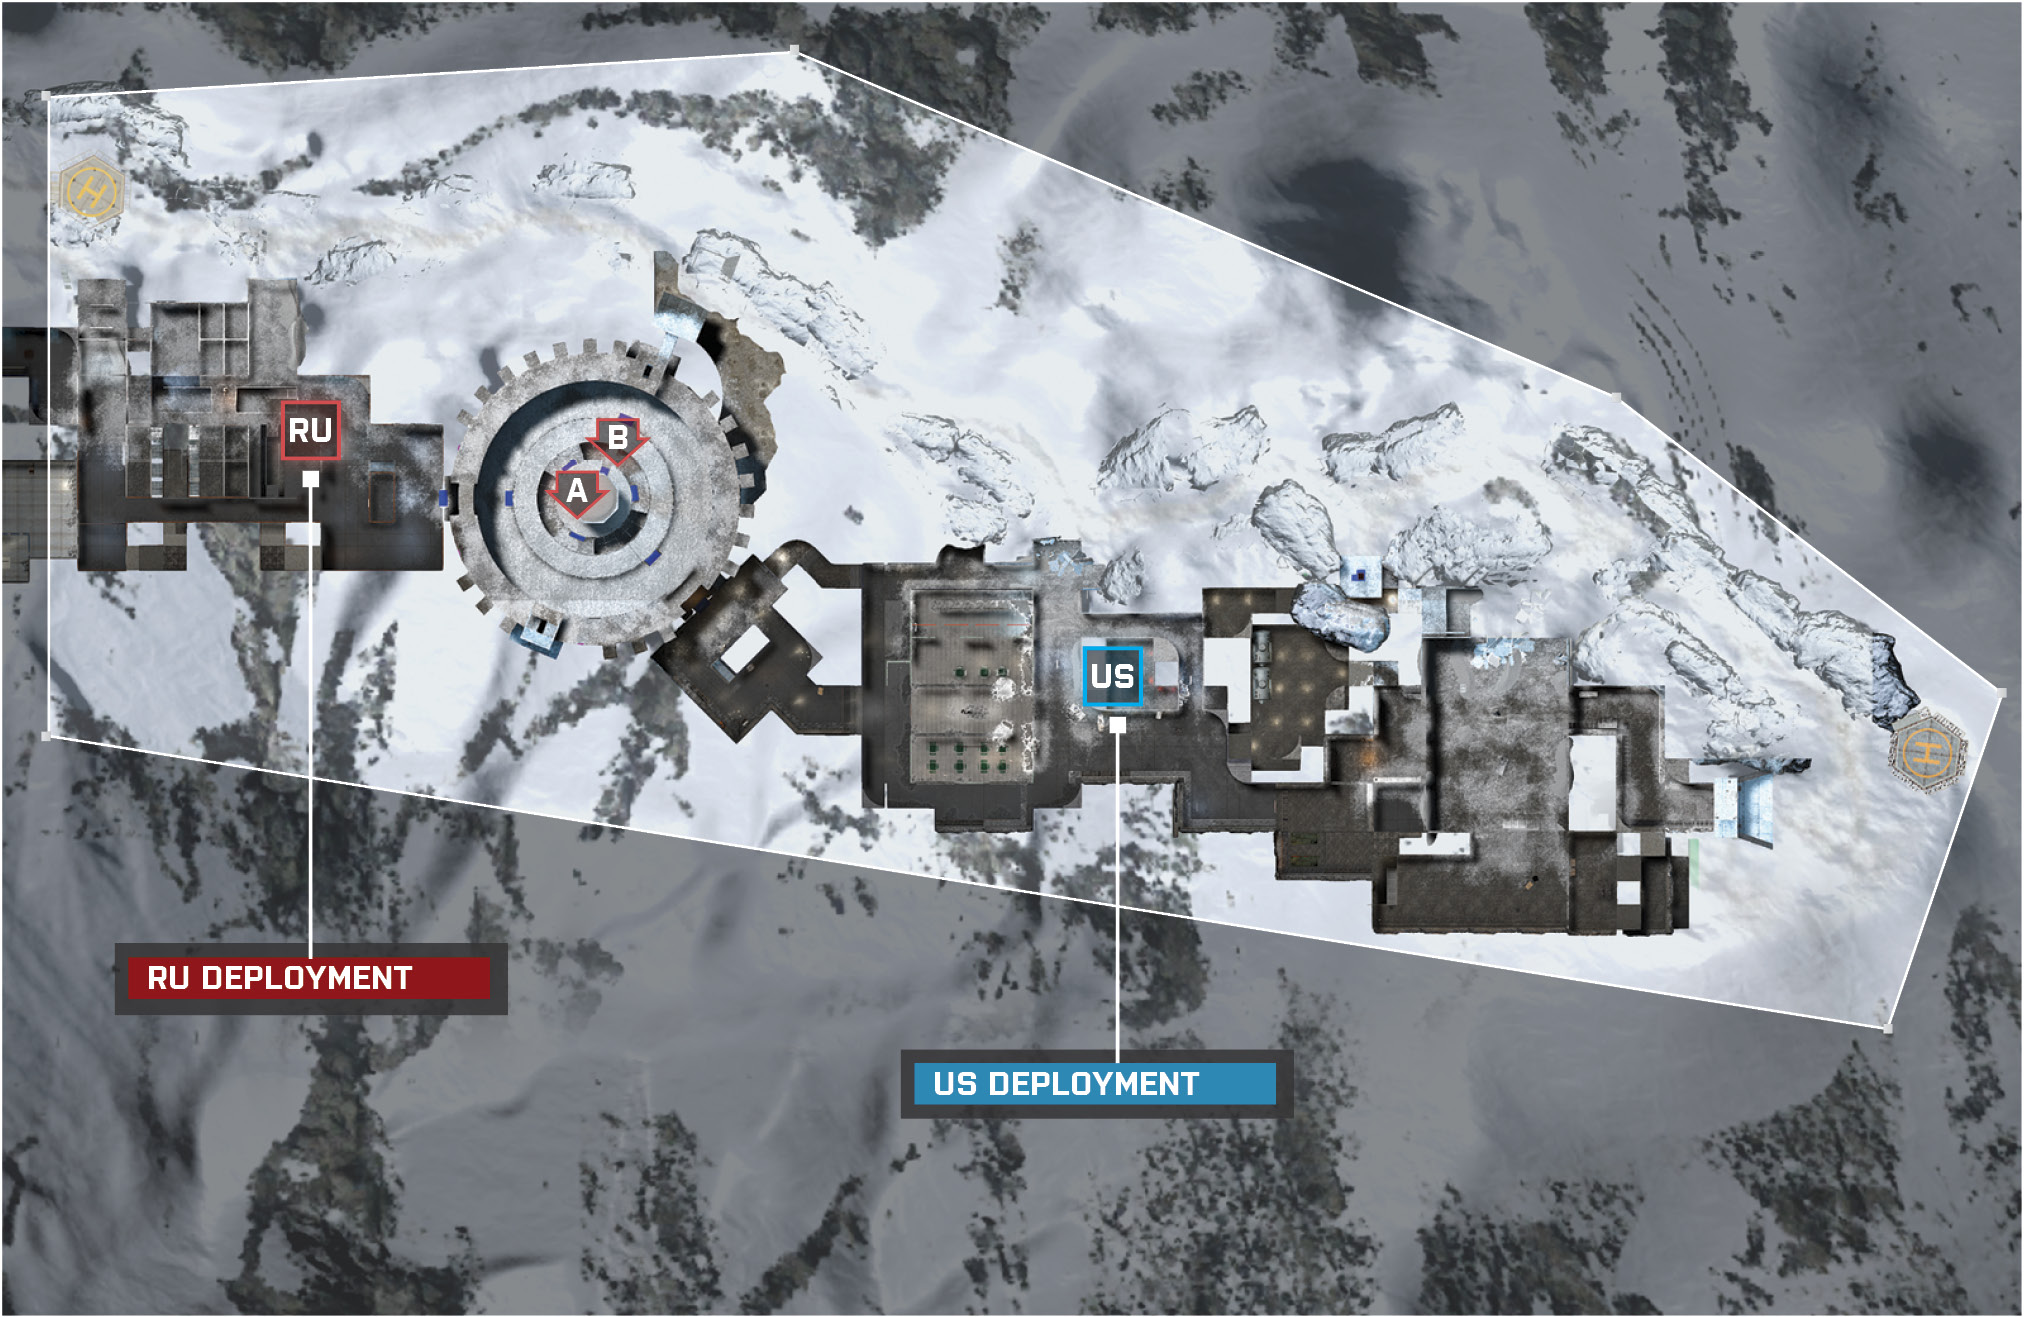
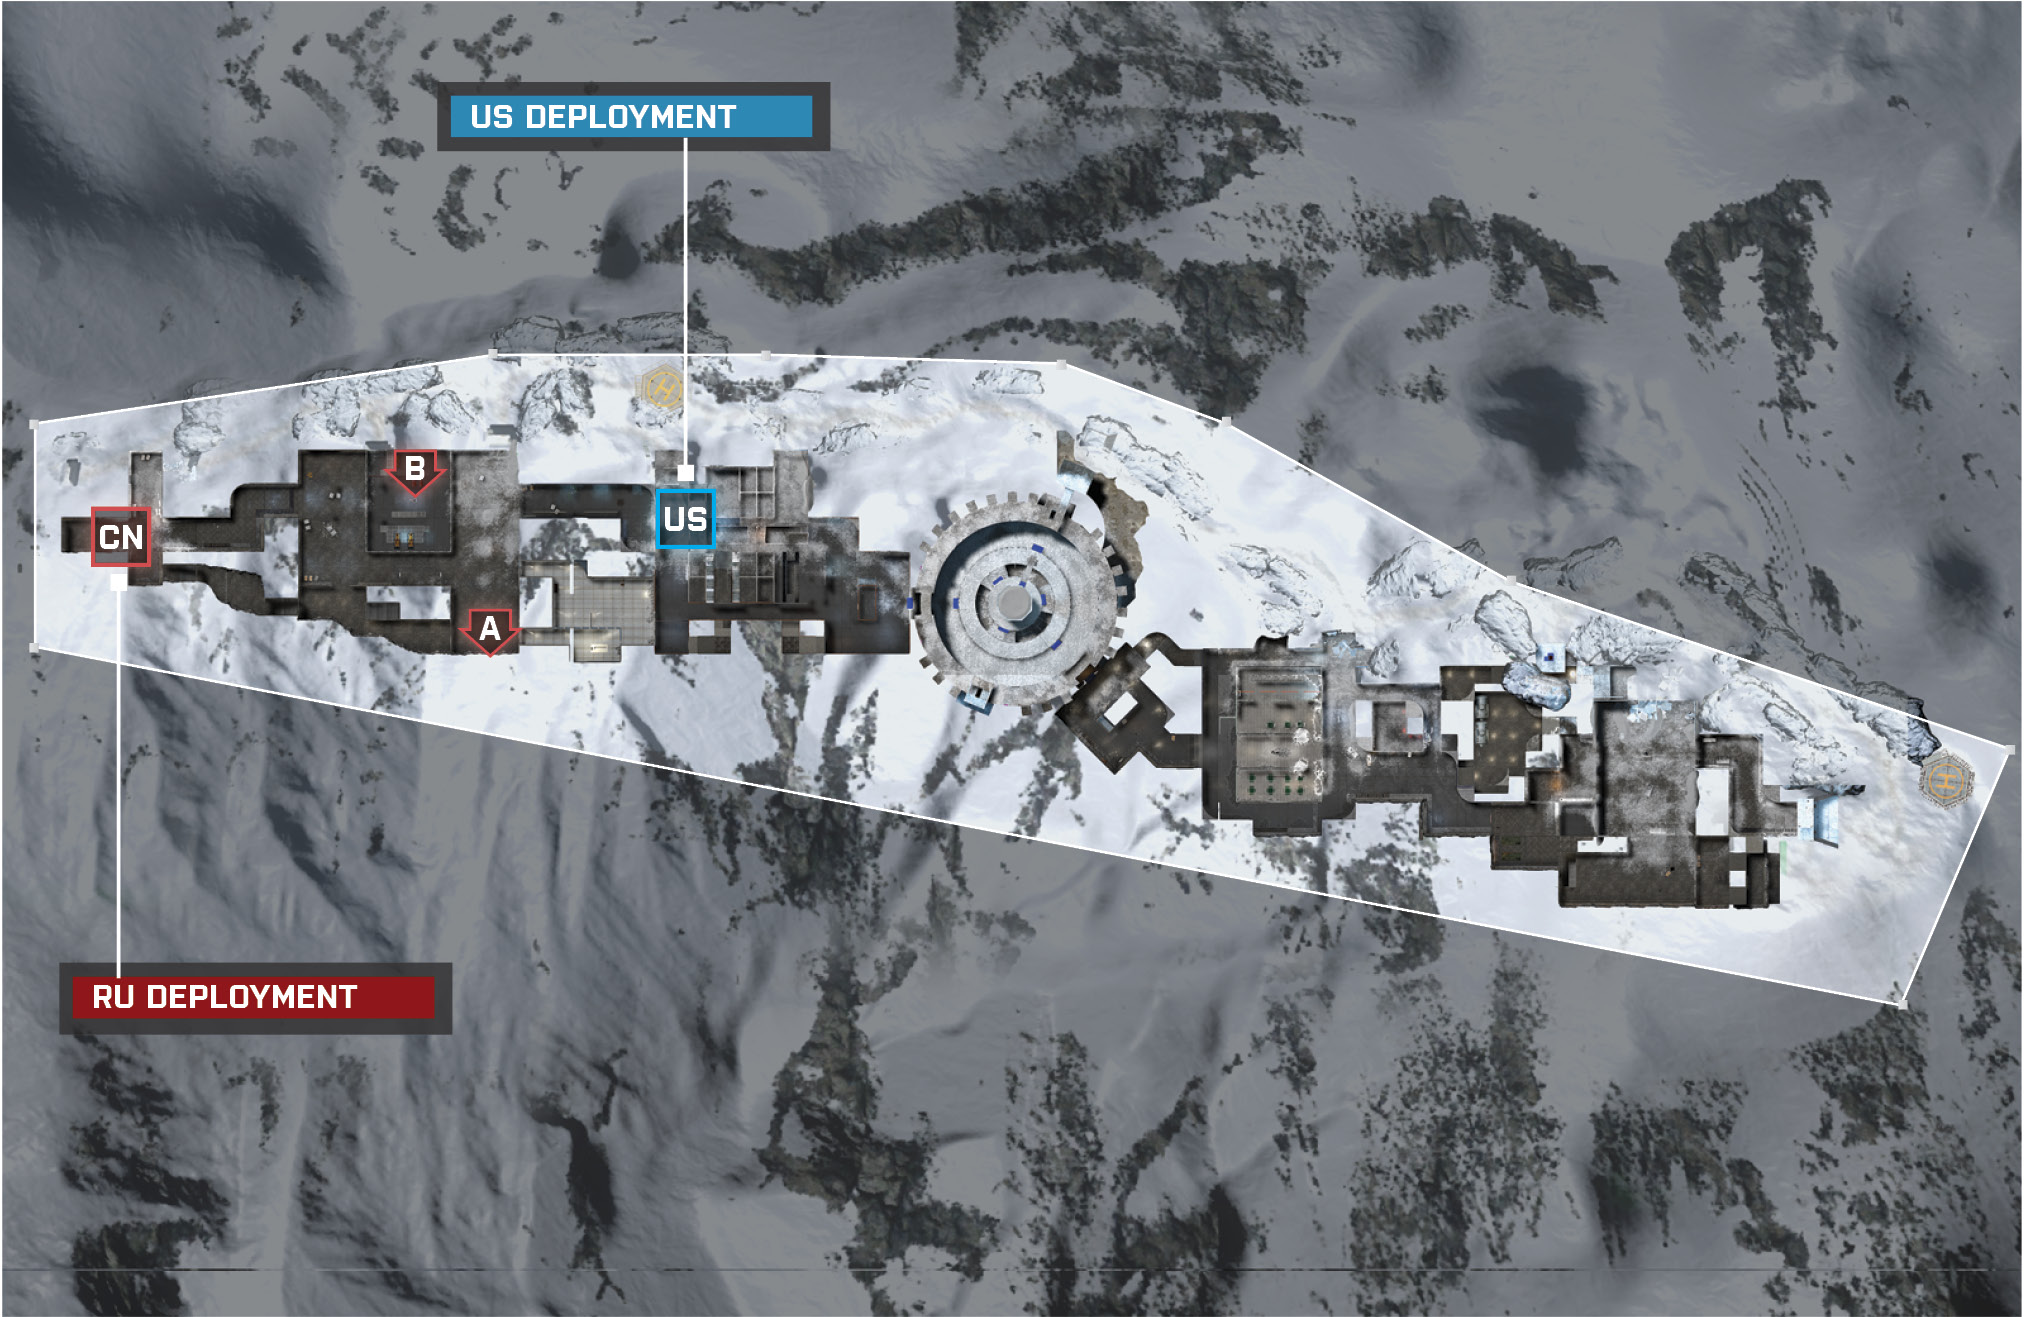
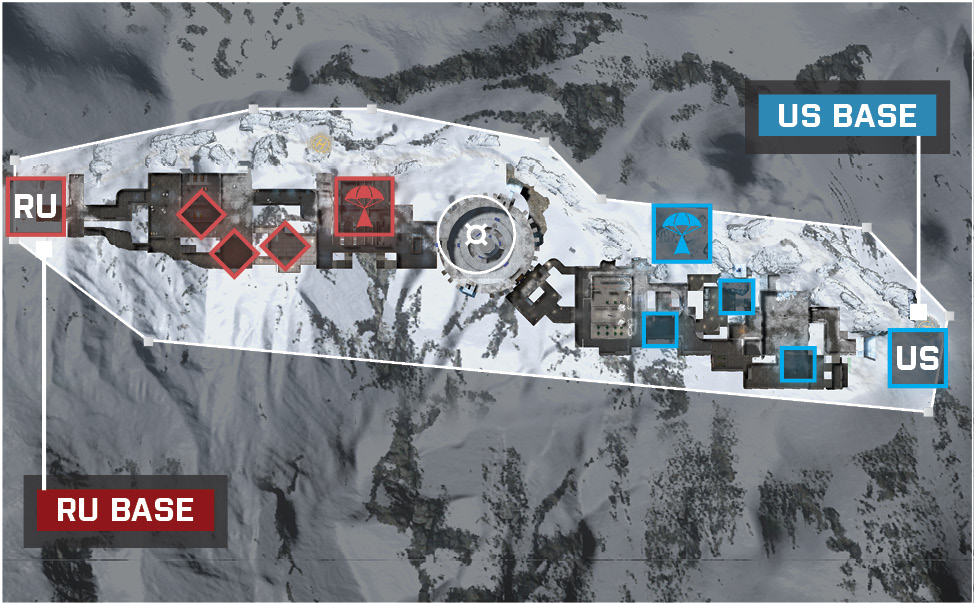
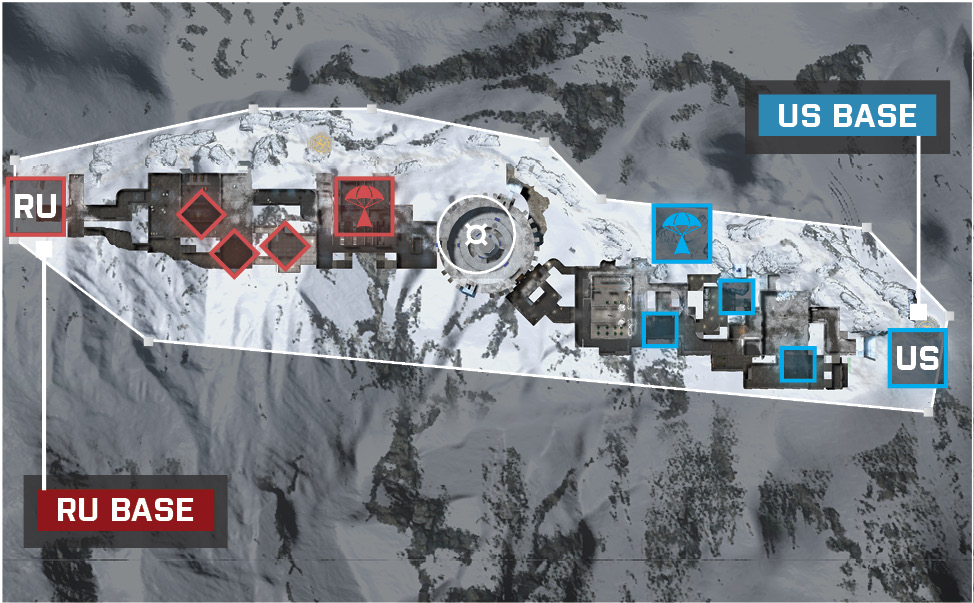
The 64-player variant of this map adds two more control points: Storage (A) and Machine Room (E). Like on the smaller version of Conquest, on this map there are no vehicles, so prepare for a lot of gun action now that there are 64 players. The best strategy for the US team will be to control Storage (A), Mess Hall (B), and the Panopticon (C) in the center of the map. For the RU team, the three control points they should focus on are Machine Room (E), Isolation Block (D), and the Panopticon (C). The objective will be to capture three control points to start draining the enemy’s tickets. The Panopticon (C) is in the center of the map and has a guard tower that contains two .50Cals. These stationary weapons allow you to watch the two main entrances to the Panopticon (C) and provide great cover. A great tactic that can be applied in the center is having a few people throw Smoke Grenades at the two entrances to bait the enemy out for the players on the stationary turrets to pick up some easy kills. Breaking the opposing team’s setup in the center will be tough. If needed, take one of the exits on the north side of the prison to run outside in the cold snowstorm. There are a bunch of entrances back into the prison located near each control point. If the center is guarded well, flank around and steal one of the other control points that are less guarded. This will create an opening to try and regain control of the center and the Panopticon (C). Three control points is all you need, but if the team is pushing the enemy, back be sure to go for that fourth control point: either the Mess Hall (B) if playing on the RU team or Isolation Block (D) if playing as the US team. This will lower the opponent’s spirit and lead to an easy victory.
US Base
The US base is located in the east wing of the prison. There are no vehicles, so choosing the right squad composition will be critical. A lot of the combat will be infantry based, so having a few extra assault soldiers will be beneficial.
The closest control point to the US base is Storage (A). Only a few members of a squad should capture this control point while the rest advance towards the power position in the center of the map.
The Panopticon (C) in the center of the map will be the deciding factor for the winning team. The US team’s best strategy is to capture Storage (A), Mess Hall (B), and Panopticon (C). If this is done, the other team’s tickets will be drained.
A single squad should take one of the north exits off the start and flank outside all the way to the Isolation Block (D). The RU team will have this captured before the US team reaches the Isolation Block (D), but don’t worry. The real objective here is to try and force a few RU squads back to stop the neutralization. This allows the other US squads to capture Panopticon (C) with relative ease due to less resistance.
One squad that heads to the center should go through the lower levels. Once they are under the Panopticon (C) there is a staircase that provides great angles to stop the opposing team from gaining control of the objective. At the top of the staircase is an exit leading outside. Check this area periodically for enemy flankers.
RU Base
The RU base is in the west wing, the opposite wing from the US team. There are no vehicles, so choosing the right squad composition will be critical. A lot of the combat will be infantry based, so having a few extra assault soldiers will be beneficial.
The closest control point to the RU base is Machine Room (E). Only a few members of a squad should capture this control point while the rest advance towards the power position in the center of the map.
The Panopticon (C) in the center of the map will be the deciding factor for the winning team. The RU team’s best strategy is to capture Machine Room (E), Isolation Block (D), and Panopticon (C). If this is done, the other team’s tickets will be drained.
A single squad should take one of the north exits off the start and flank outside all the way to the Mess Hall (B). The US team will have this captured before the RU team reaches the Mess Hall (B), but don’t worry. The main objective here is to try and force the US squads back to stop the neutralization. This will allow the RU team to capture the Panopticon (C) with less enemy infantry.
One squad that heads to the center should go through the lower levels. Once they are under the Panopticon (C) there is a staircase that provides great angles to stop the opposing team from capturing this flag. At the top of the staircase there is an exit outside. Check this periodically for enemy flankers.
A: Storage
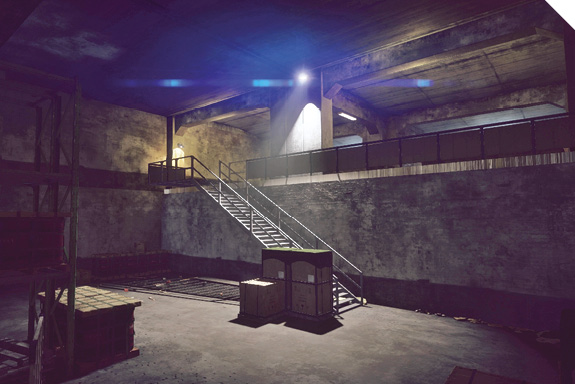
This control point is connected with the outside and is closest to the US base. When positioned here, watch the adjacent hallways from the raised platform.
Only a few US team members should capture this control point at the start of the game while the rest advance west towards the center.
The raised platform provides great cover when fighting infantry units are on the ground. Be sure to hold this position when defending this control point.
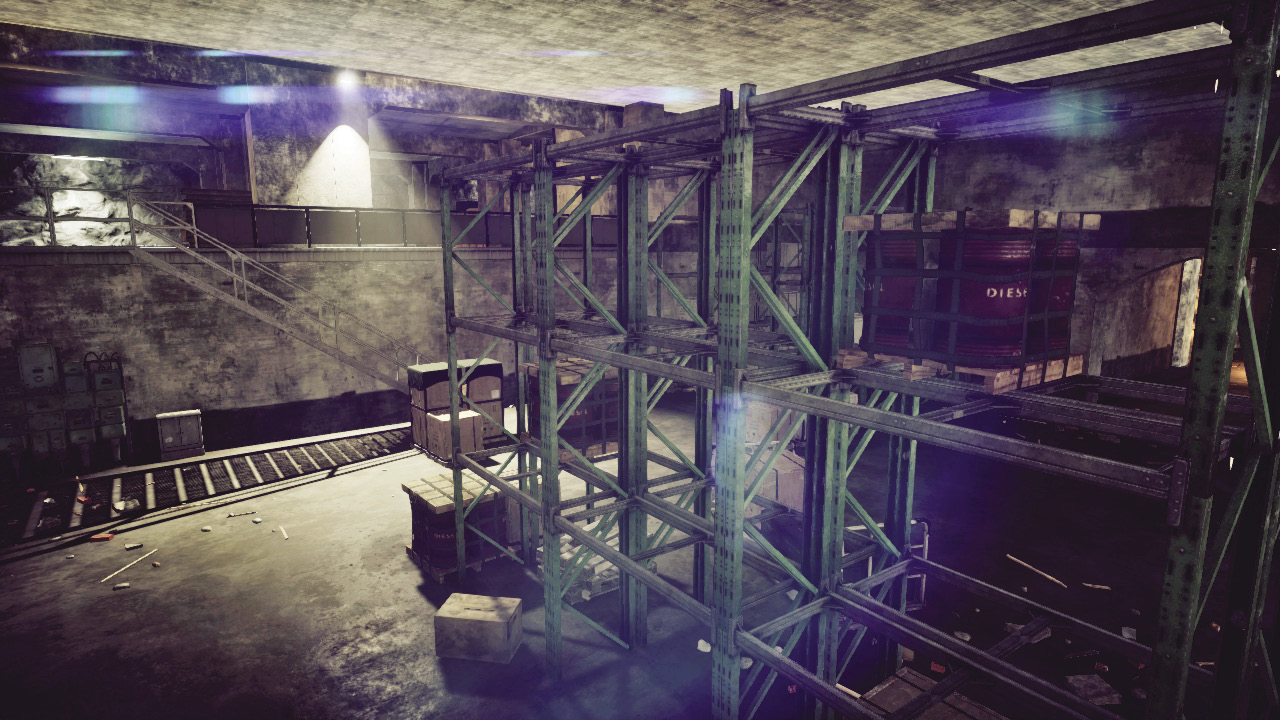
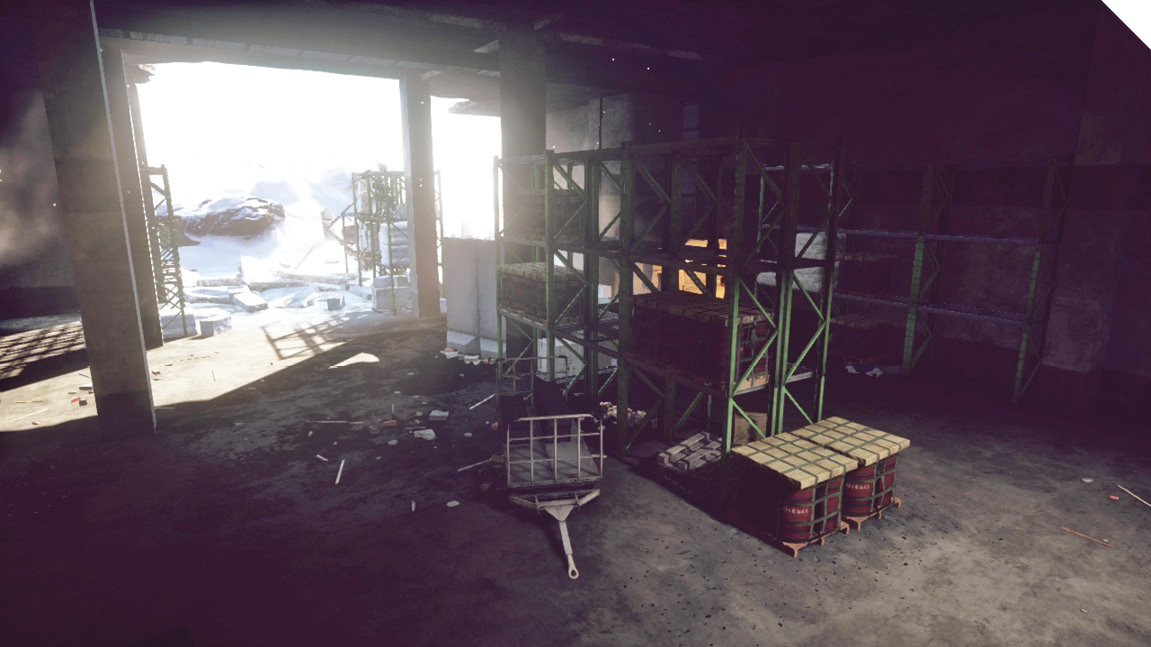
The Storage (A) area has a ton of crate shelves that players can hide behind for cover as they wait for the enemy to get close.
Players utilizing the support or recon class can lay M18 Claymores around the halls that lead to the outside to blow up those attacking flankers.
B: Mess Hall
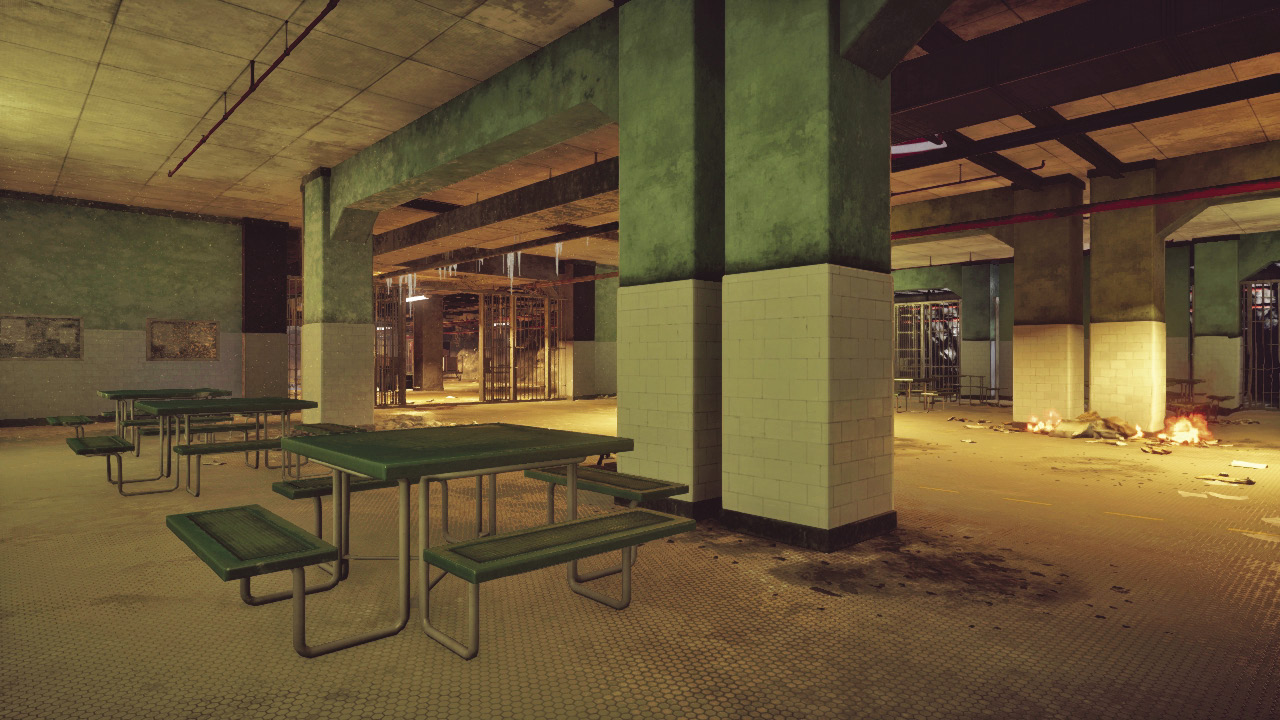
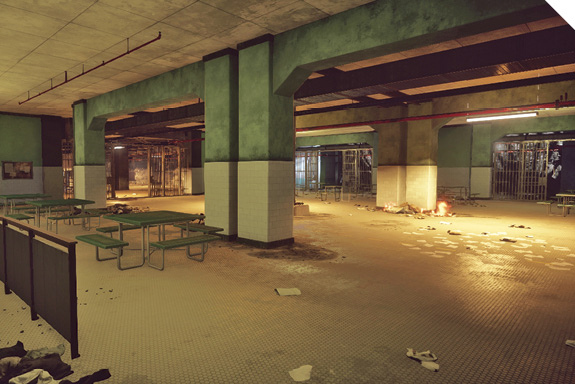
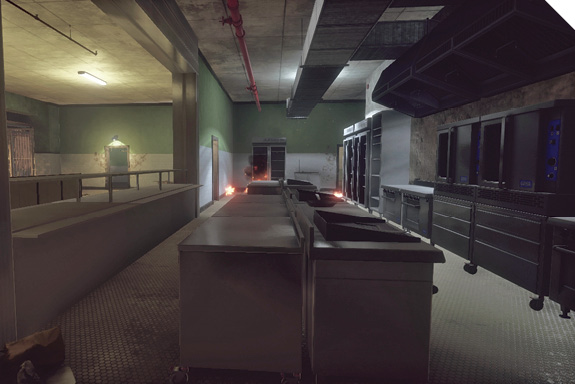
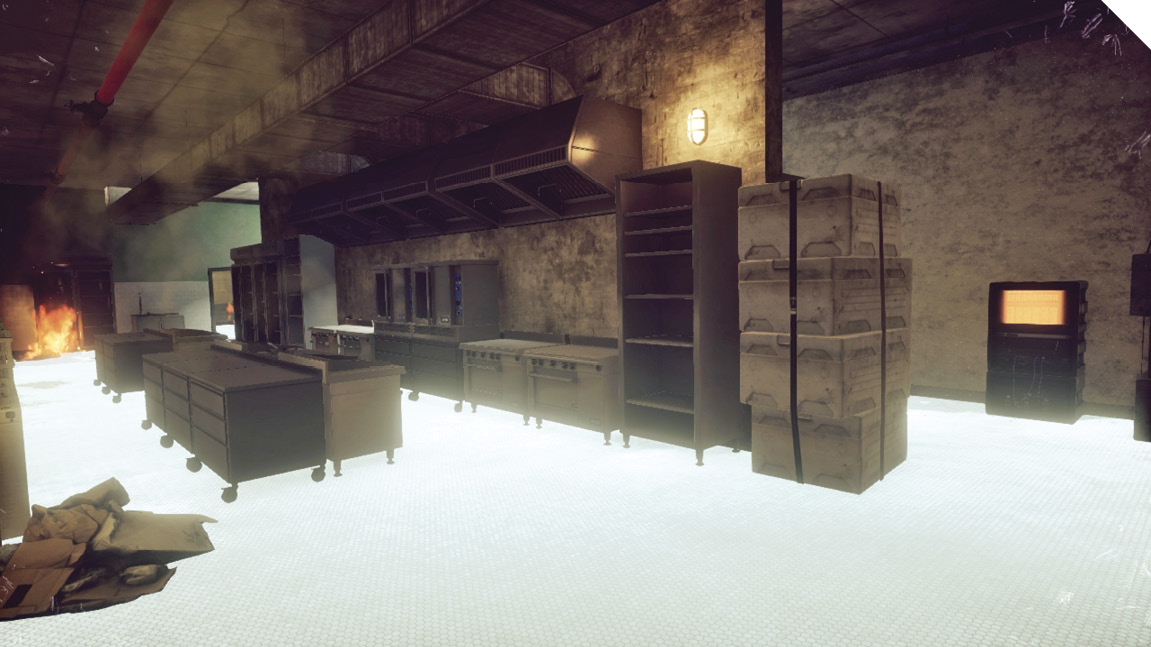
This control point lies in a cafeteria hall with a few tables and a kitchen that can be used for cover. This control point favors the US team as it is near their base. The US team should have a few players capture this control point while the rest head towards the center where most of the action will take place.
North of the Mess Hall (B) is an exit that leads outside. When defending this control point be sure to have a squad in this area to watch out for flankers.
The kitchen is a great place to go prone and only resurface when enemies are near.
The RU team will have a tough time capturing this control point as it is nearest the US base and should only approach if the opportunity presents itself. When going for this control point, be sure to cover the left and right flanks before rushing in blindly.
In the center of this control point lies the USAS-12 weapon pick up. This weapon can be used effectively for offense or defense.
C: Panopticon
Most of the fighting will occur here in the center of the prison. There is a small guard tower in the center with two .50Cals that can be used to watch the two main entrances.
Using the lower levels to gain control of the Panopticon (C) can prove to be effective. Players can capture or contest this control point from underneath.
Holding the staircase north of Panopticon (C) is key. It allows players to spread out onto the different floors in the center, creating a much stronger defensive perimeter.
Planting the lower level entrances with C4 will result in easy kills for your team and less tickets for the opposing team.
Smoke Grenades become super effective here, delaying the opponent from rushing in. If the opponent decides to rush blindly, the stationary turrets will make light work of them.
D: Isolation Block
This control point holds the prison cells for the most dangerous war criminals. This control point favors the RU team as it is near their base. The RU team should have a few players capture this control point while the rest head towards the center where most of the action will take place.
North of the Isolation Block (D) is an exit that leads outside. When defending this control point be sure to have a squad in this area to watch out for flankers. Planting C4 around this exit will prove useful.
Most of these holding cells are destructible, which allows players to hide inside once the cells are destroyed. This is beneficial for both defending and capturing this control point.
Recon class users can throw T-UGS around the Isolation Cell (D), allowing players to focus on defending other areas.
On the lower level of the Isolation Block (D) is a tiny surveillance room. A player can stay crouched in this area and only pop out when needed.
E: Machine Room
This is the closest control point to the RU base. Only a few RU team members should capture it at the start of the game while the rest advance east towards the center.
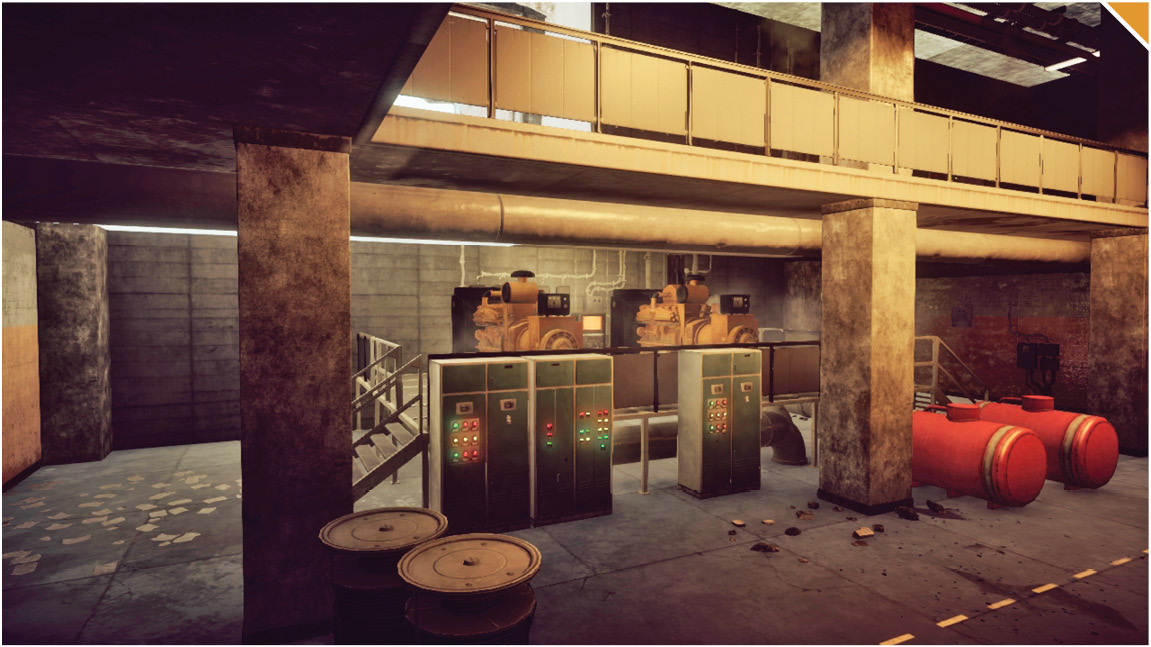
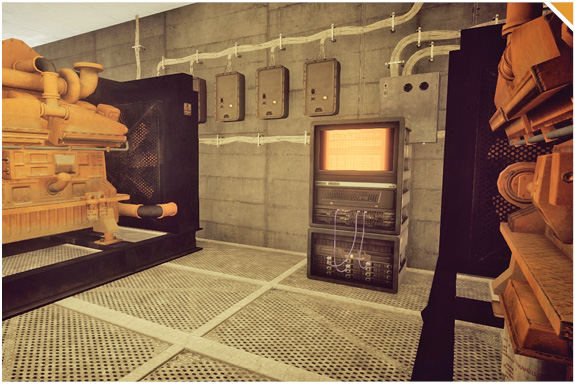
This area has a few explosive generators that can be used to the RU team’s advantage after capturing. Have a defender watch from a distance and shoot the generator when an enemy approaches.
The second floor of the Machine Room (E) is where players want to be. If playing as the US team, it is much easier to clean out the room from above than walking through the front door. This is also a great spot for the RU team to watch the main entrance to the Machine Room (E).
To the north of the Machine Room (E) is another exit that leads to the outside of the map. T-UGS or C4 will help in guarding this exit.
There are plenty of crates around the Machine Room (E) area, so use these for cover and to get the jump on enemies.
Conquest Small
Recommended Squad Composition:
This map will remind many of Operation Metro from Battlefield 3. This is a small-scale map with no vehicles, so much of the game will rely on gun skill and positioning. The prison is isolated inside of a mountain that deals with constant snowstorms. There are three control points in Operation Locker: the Mess Hall (A), Panopticon (B), and Isolation Block (C). Both teams will be fighting to control two of these control points. The US base is located in the east wing of the prison. The best strategy for the US team will be to control both the Mess Hall (A) and Panopticon (B). On the west wing, players can find the RU base. Being such a small map, the best strategy will be to hold only two control points. For the RU team, that would be the Isolation Block (C) and the Panopticon (B). Both teams will quickly realize that the Panopticon (B) will be the determining factor of the game. The Panopticon (B) is in the center of that map and has a guard tower that contains two .50Cals. These stationary weapons allow you to watch the two main entrances to the Panopticon (B) and provide great cover. With there only being three control points, two control points is all you need to drain the opposing team’s tickets. Get control of the Panopticon (B) and bunker up.
US Base
The US base is located in the east wing of the prison. There are no vehicles, so choosing the right squad composition will be critical. A lot of the combat will be infantry based, so having a few extra assault soldiers will be beneficial.
The closest control point to the US base is Mess Hall (A). Only a few members of a squad should capture this control point while the rest advance towards the power position in the center of the map.
The Panopticon (B) in the center of the map will be the deciding factor for the winning team. Taking this control point with the Mess Hall (A) will be all the US team needs to win. Be sure to send over half the team to the center off the start.
A single squad should take one of the north exits from the start and flank outside all the way to the Isolation Block (C). The RU team will have the Isolation Block (C) captured before you reach it. The objective here is to try and force a few RU squads back to stop the neutralization, allowing the other US squads to capture Panopticon (B) with ease.
One squad that heads to the center should go through the lower levels. Once they are under the Panopticon (B) there is a staircase that provides great angles to stop the opposing team. Be sure to lock this down by preventing enemies from entering through the lower level or the exit that leads outside.
RU Base
The RU base is in the west wing, the opposite wing from the US team. There are no vehicles, so choosing the right squad composition will be very important. A lot of the combat will be infantry based, so having a few extra assault soldiers will help your team tremendously.
The closest control point to the RU base is Isolation Block (C). Only a few members of a squad should capture this control point while the rest advance towards the power position in the center of the map.
The Panopticon (B) in the center of the map will be the deciding factor for the winning team. Controlling this point with the Isolation Block (C) will be all the RU team needs to win. Be sure to send plenty of squads to the center off the start.
A single squad should take one of the north exits at the start and flank outside all the way to the Mess Hall (A). The objective here is to try and force the US squads back to stop the neutralization, allowing the RU team to capture the Panopticon (B) with less of a fight.
One squad that heads to the center should go through the lower levels. Once they are under the Panopticon (B) there is a staircase that provides great angles to stop the opposing team. Be prepared to fight the US team at the bottom as well.
A: Mess Hall
This control point lies in a cafeteria hall with a few tables and a kitchen that can be used for cover. This control point favors the US team as it is near their base. The US team should have a few players capture this control point while the rest head towards the center where most of the action will take place.
North of the Mess Hall (A) is an exit that leads outside. When defending this control point be sure to have a squad in this area to watch out for flankers.
The kitchen is a great place to go prone and only resurface when enemies are near.
The RU team will have a tough time capturing this control point as it is near the US base and should only be approached if the opportunity presents itself. When going for this control point, be sure to cover the left and right flanks before rushing in blindly!
In the center of this control point lies the USAS-12 weapon pickup. This weapon can be used effectively for offense or defense.
B: Panopticon
Most of the fighting will occur here in the center of the prison. There is a guard tower in the center with two .50Cals that can be used to watch the two main entrances.
Using the lower levels to gain control of the Panopticon (B) can prove to be effective. Players can capture or contest this control point from underneath.
Holding the staircase north of Panopticon (B) is key! It allows players to spread out onto the different floors in the center, creating a much stronger defense perimeter.
Planting the lower level entrances with C4 will result in an easy kill.
Smoke Grenades become super effective here, delaying the opponent from rushing in. If the opponent decides to rush in blindly, the stationary turrets will make light work of them.
C: Isolation Block
This control point holds the prison cells for the most dangerous war criminals. This control point favors the RU team as it is near their base. The RU team should have a few players capture this control point while the rest head towards the center where most of the action will take place.
North of the Isolation Block (C) is an exit that leads outside. When defending this control point, have a squad in this area to watch out for flankers. Planting C4 around this exit will prove useful.
Most of these holding cells are destructible, which allows players to take cover inside. This is beneficial for both defending and capturing this control point.
Recon class users can throw T-UGS around the Isolation Cell (C), allowing players to focus on defending other areas.
On the lower level of the Isolation Block (C) is a tiny surveillance room. A player can stay crouched in this area and only pop out when needed.
Rush
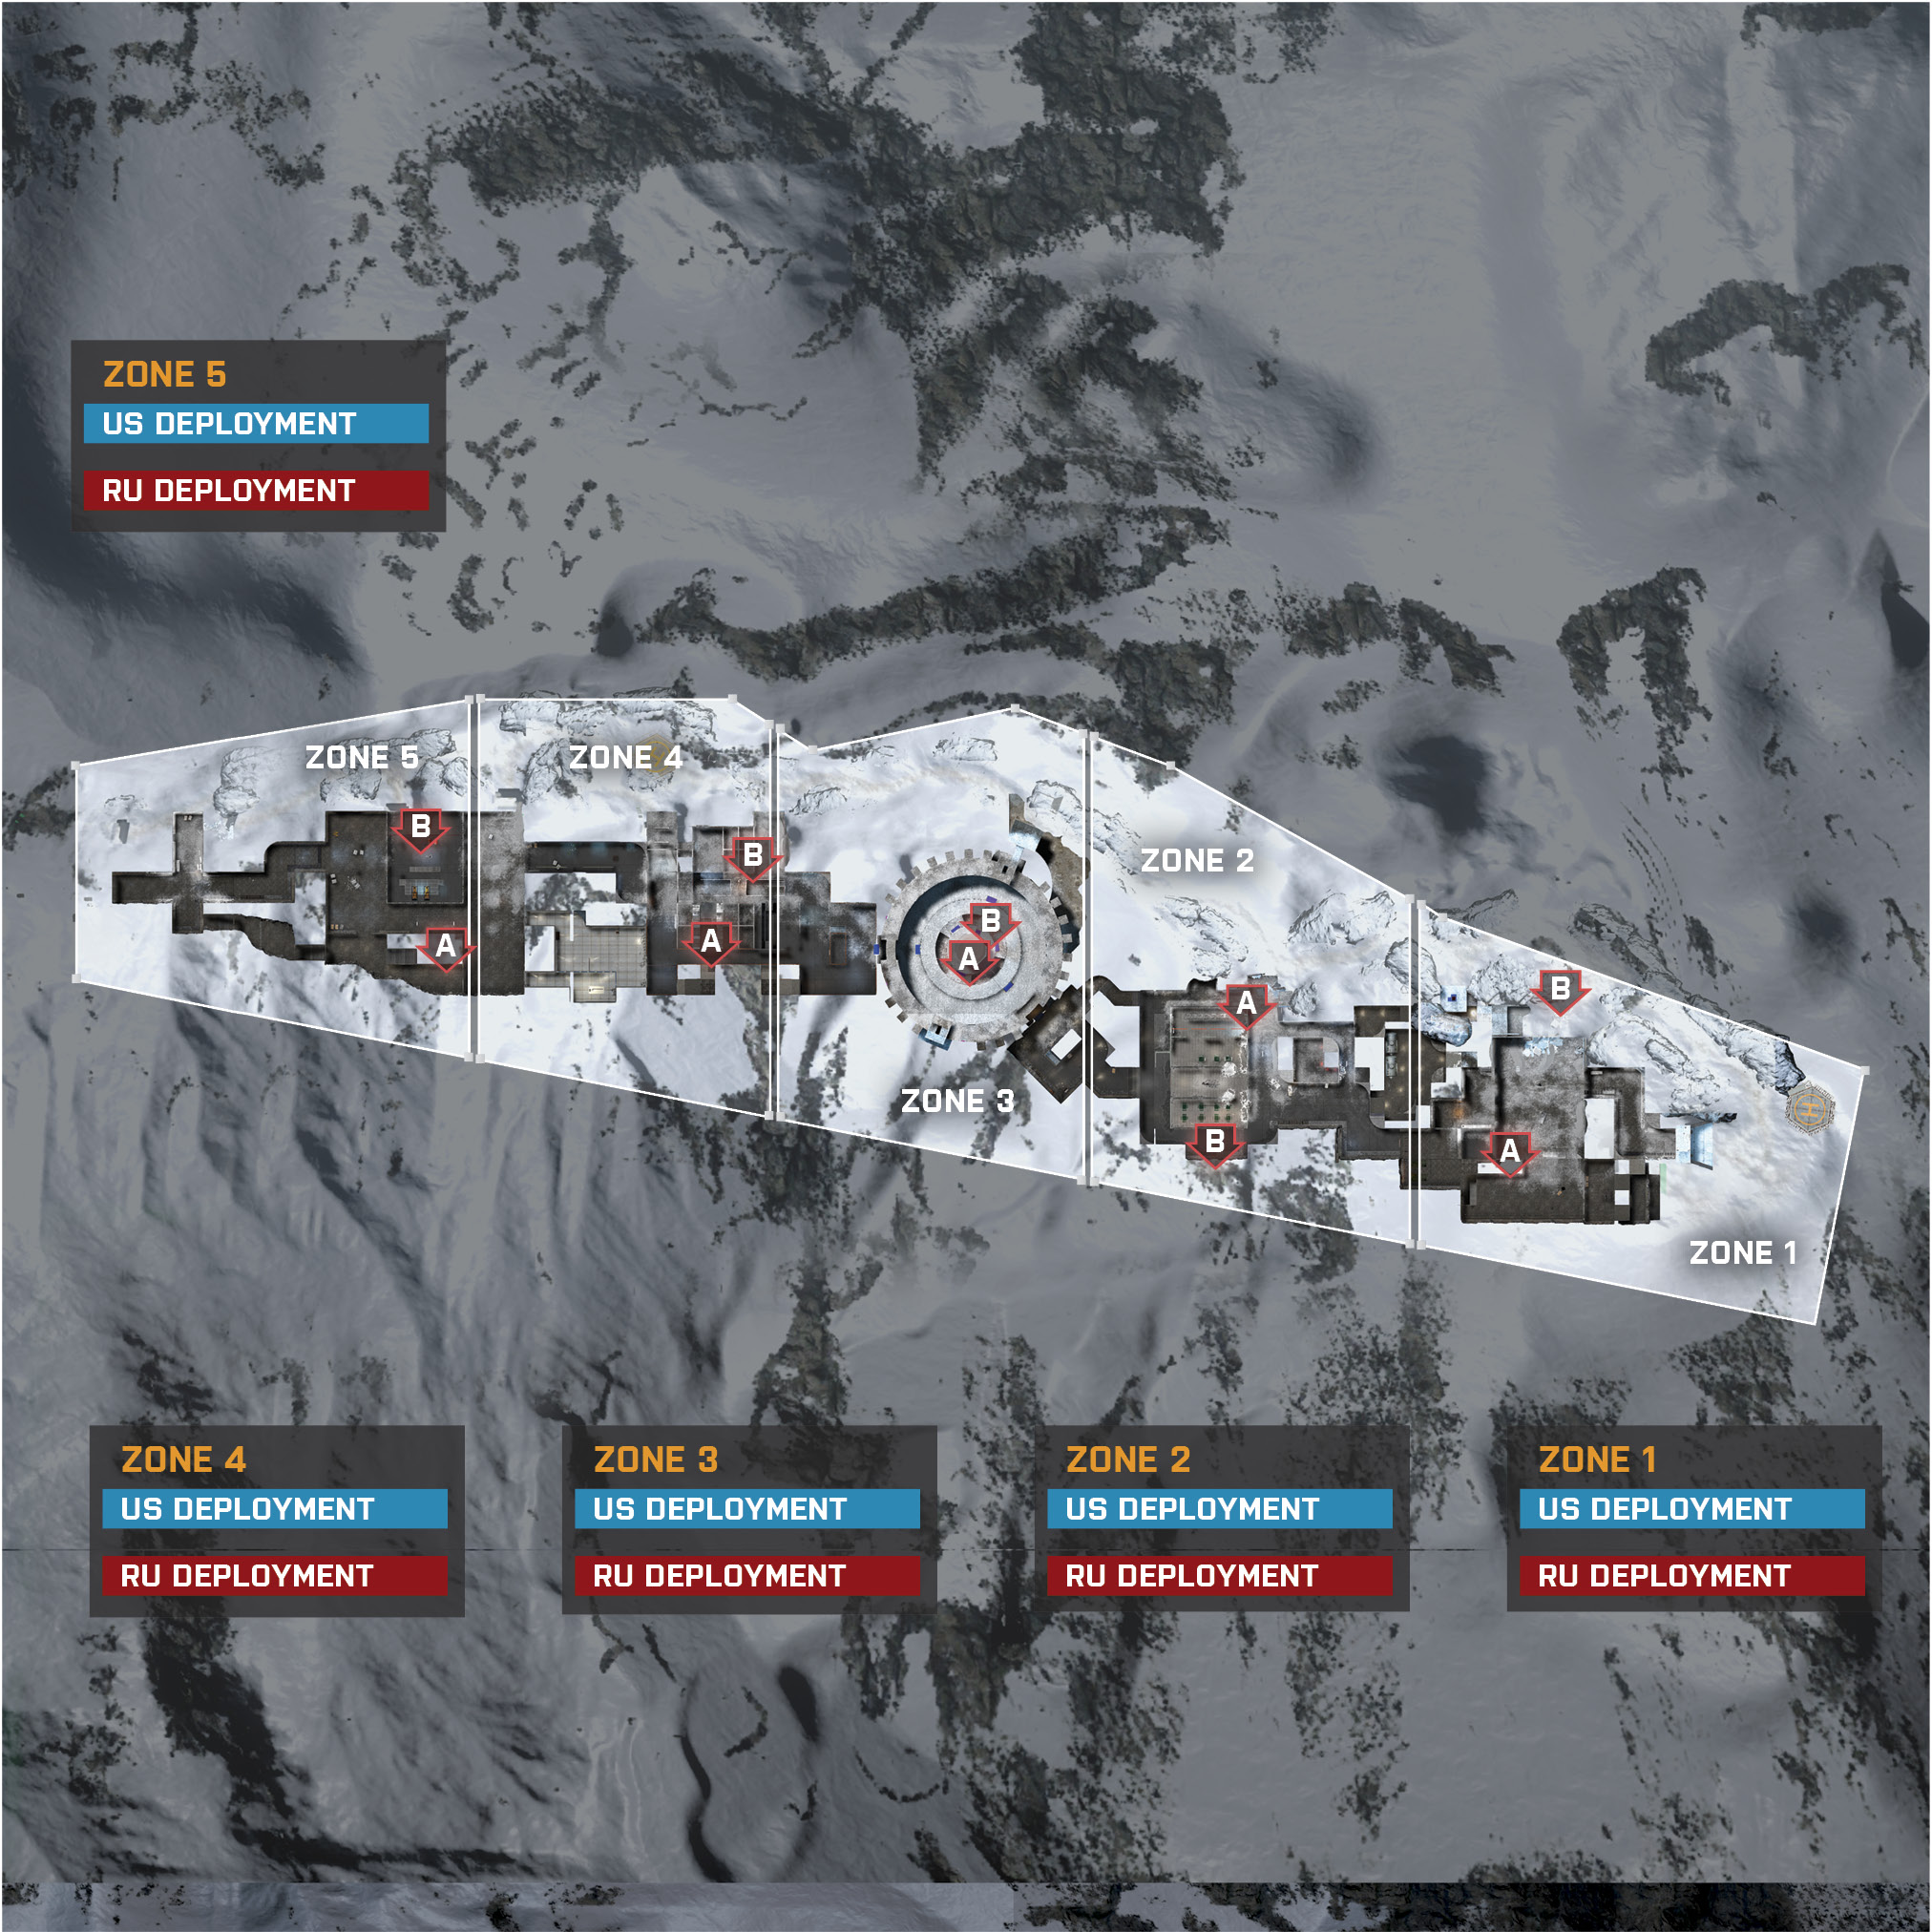
In Operation Locker, players will immediately realize that it is a run and gun game mode. With no vehicles on the map, players must rely on their gun skill and positioning to complete the objective. The US team is the attacking team in this Rush mode and has five zones to go through before claiming victory. These zones start at the east wing of the prison and move west from zone to zone until reaching the last zone in the west wing. The prison has many rooms that players should get comfortable with as players can learn a few different routes leading to each M-COM station. The defenders of this Rush mode will be the RU team. Defenders will have to worry about attacks from both inside the prison and outside. Be aware of all the weapon pickups on the map. These weapons help the RU team escape tight situations whenever the US team is pushing towards the M-COM stations.
Zone 1: Storage
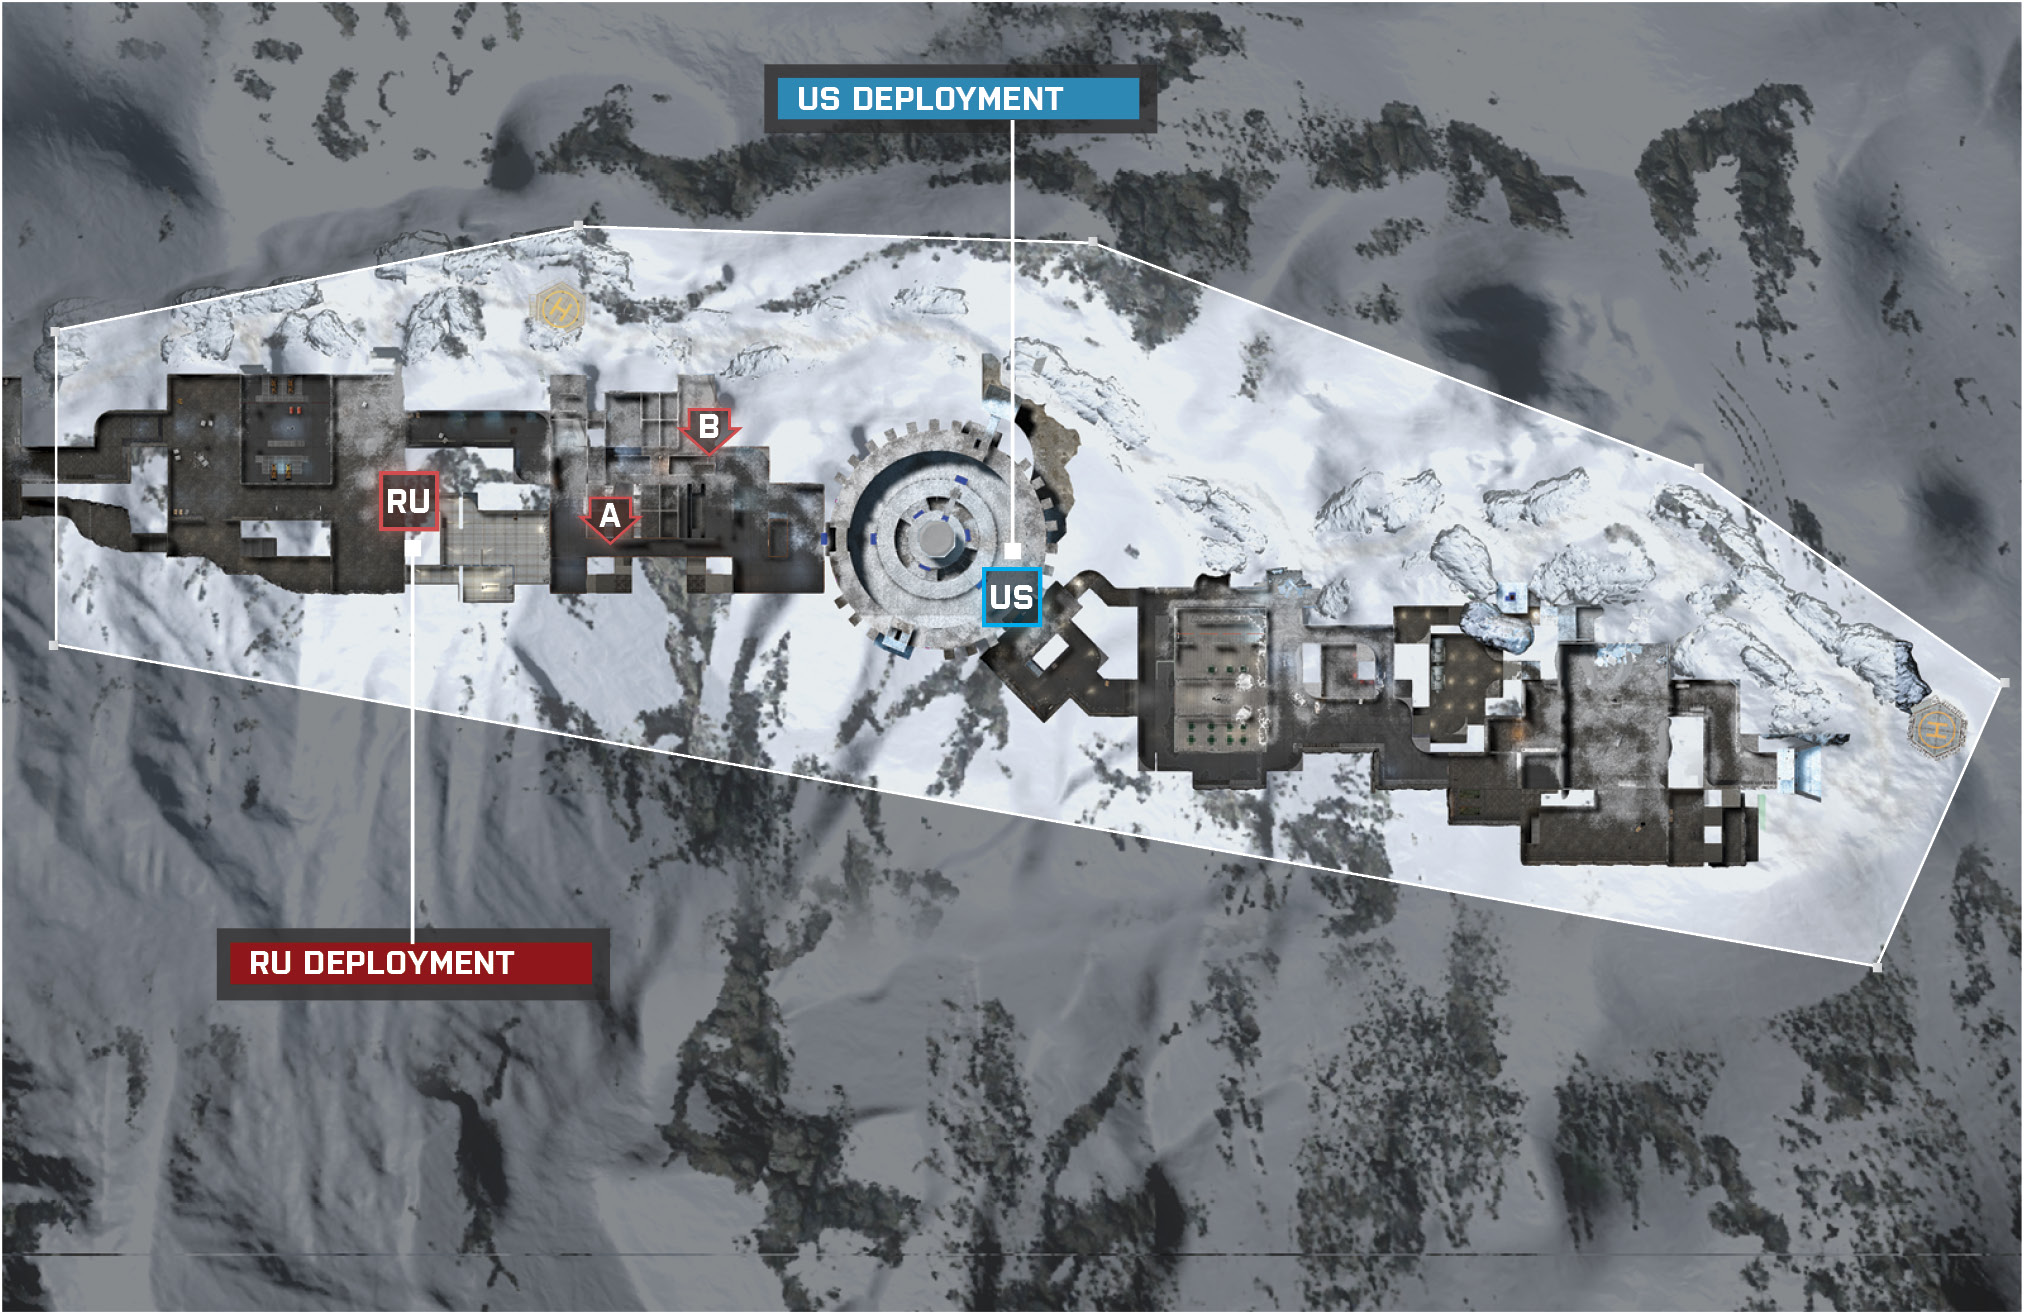
US Deployment
Recommended Squad Composition:
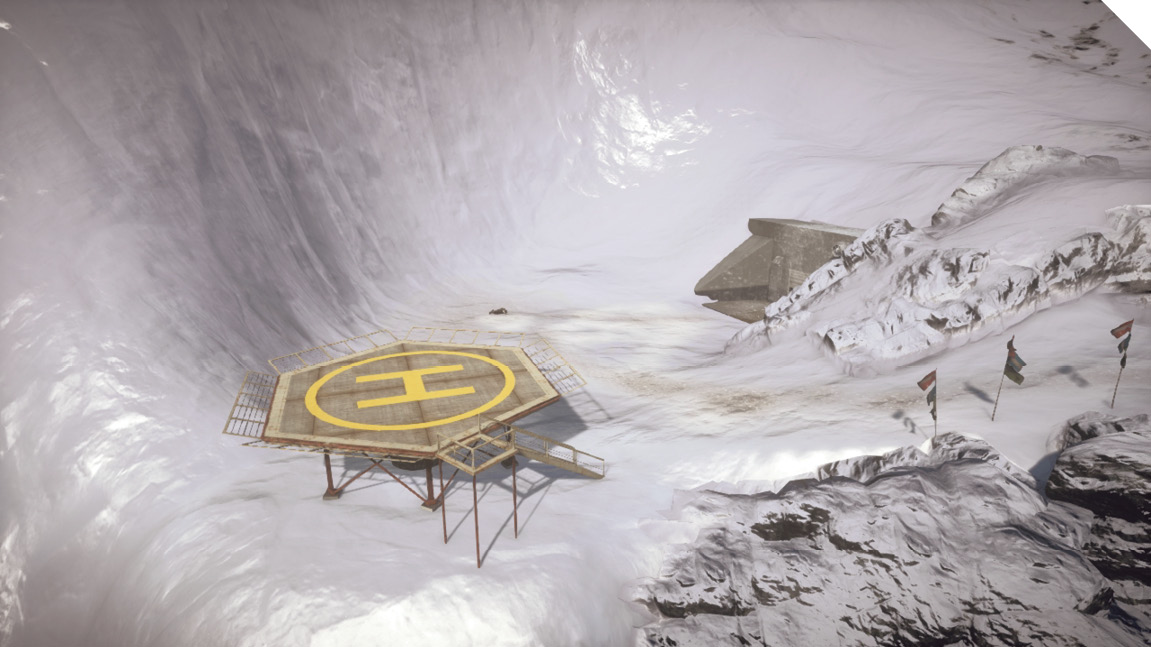
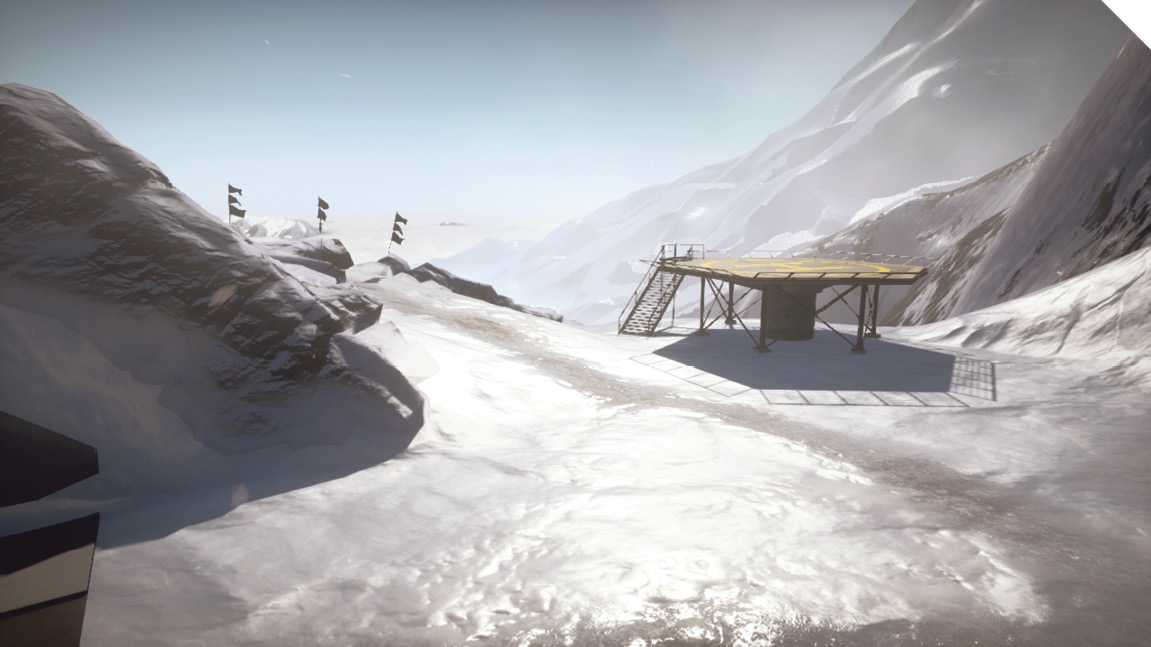
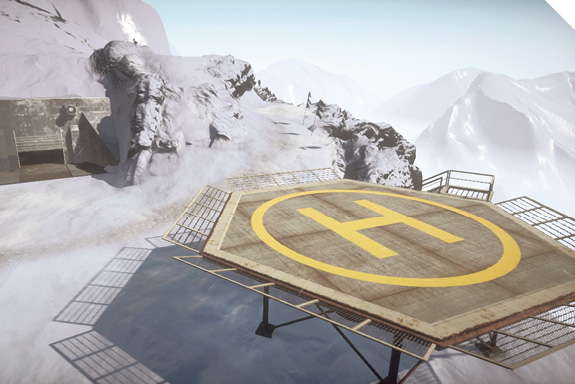
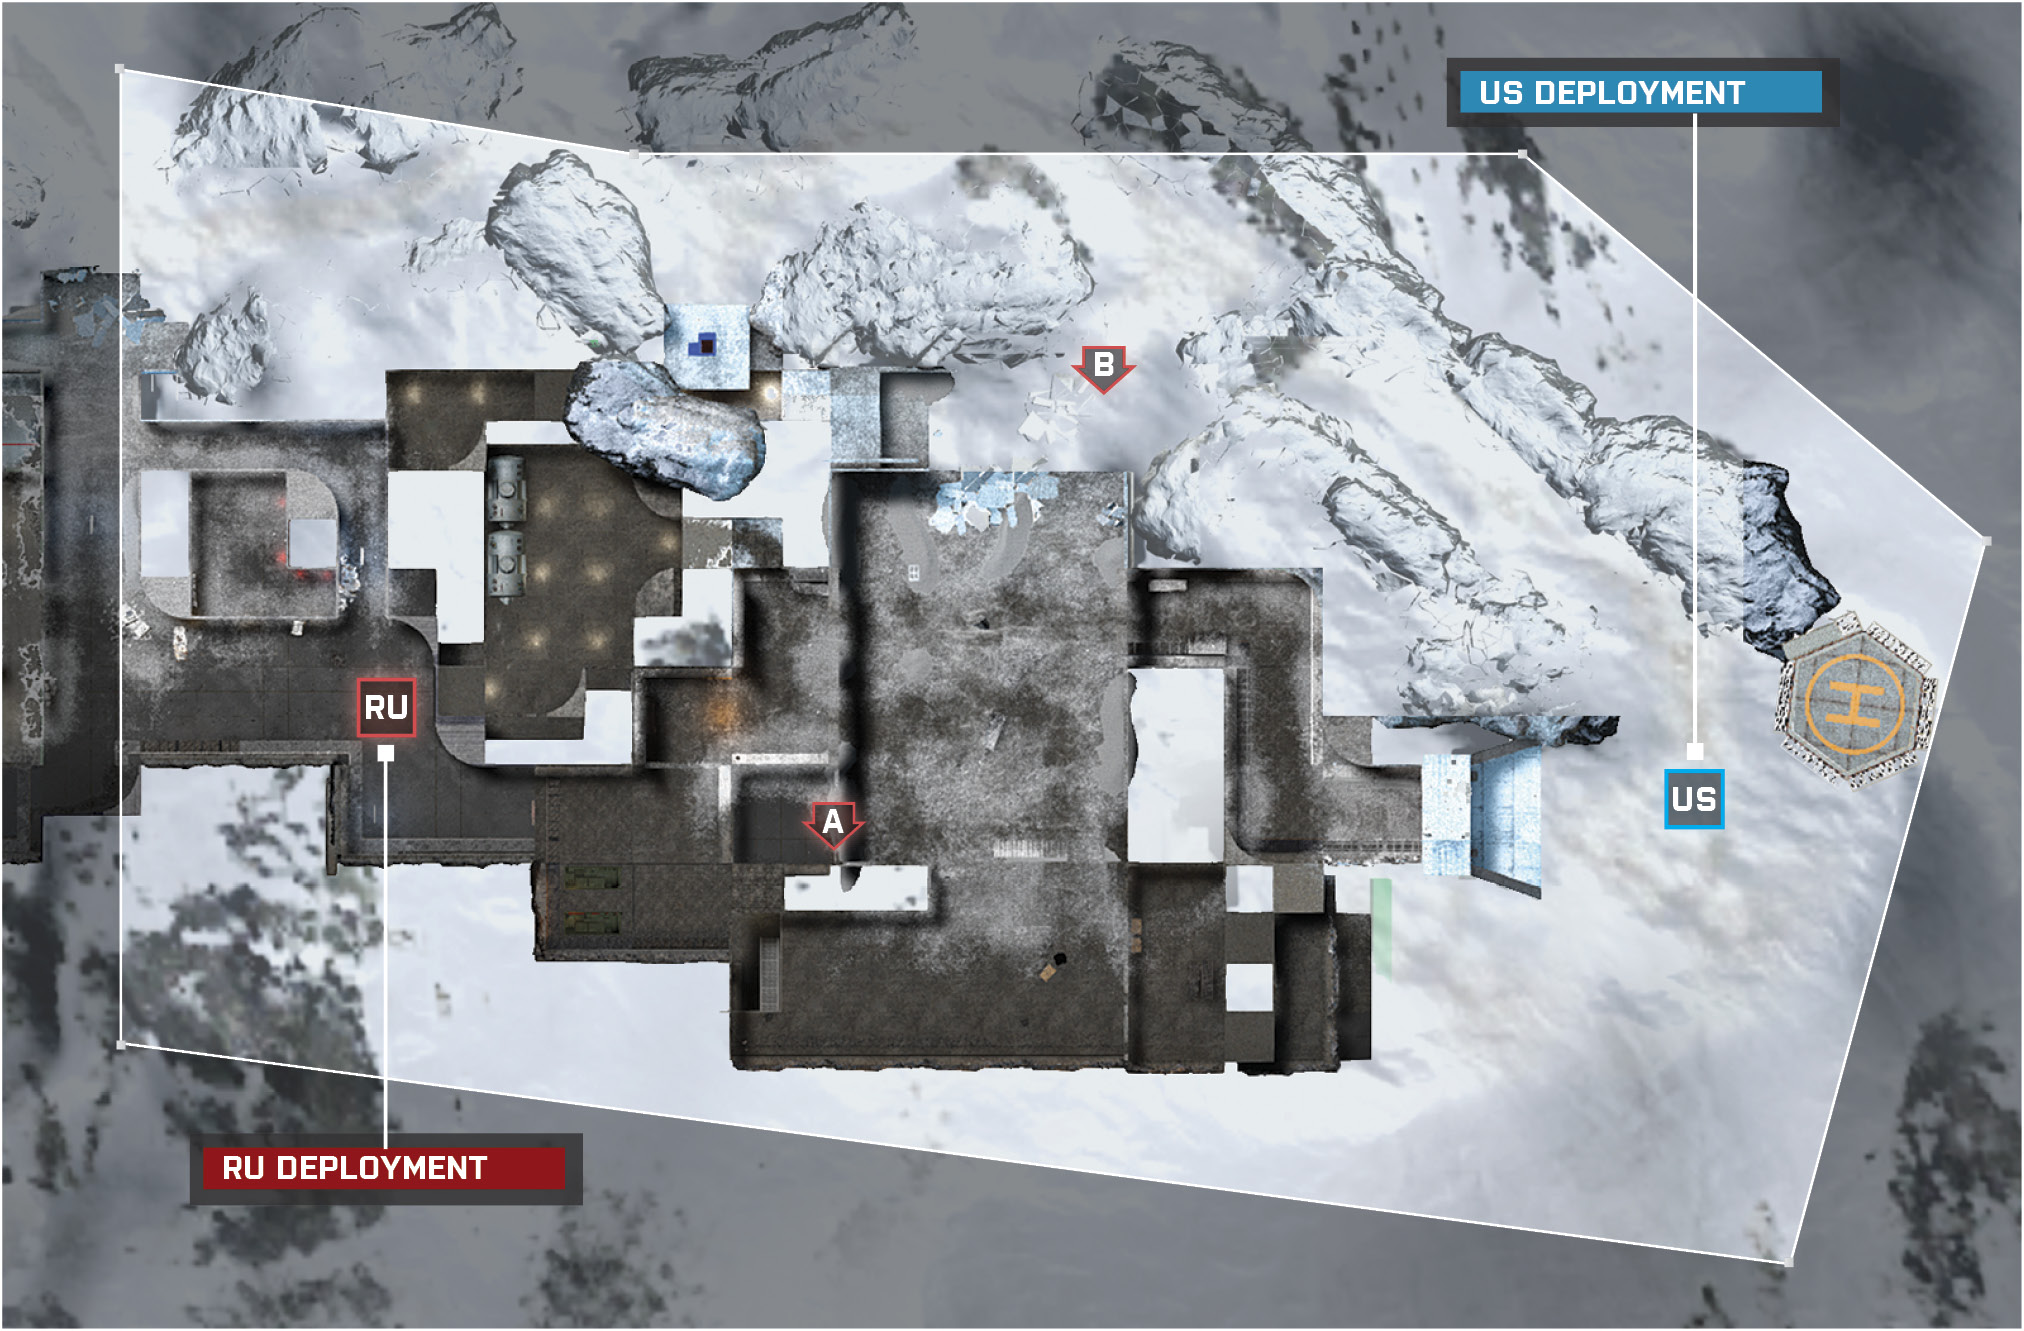
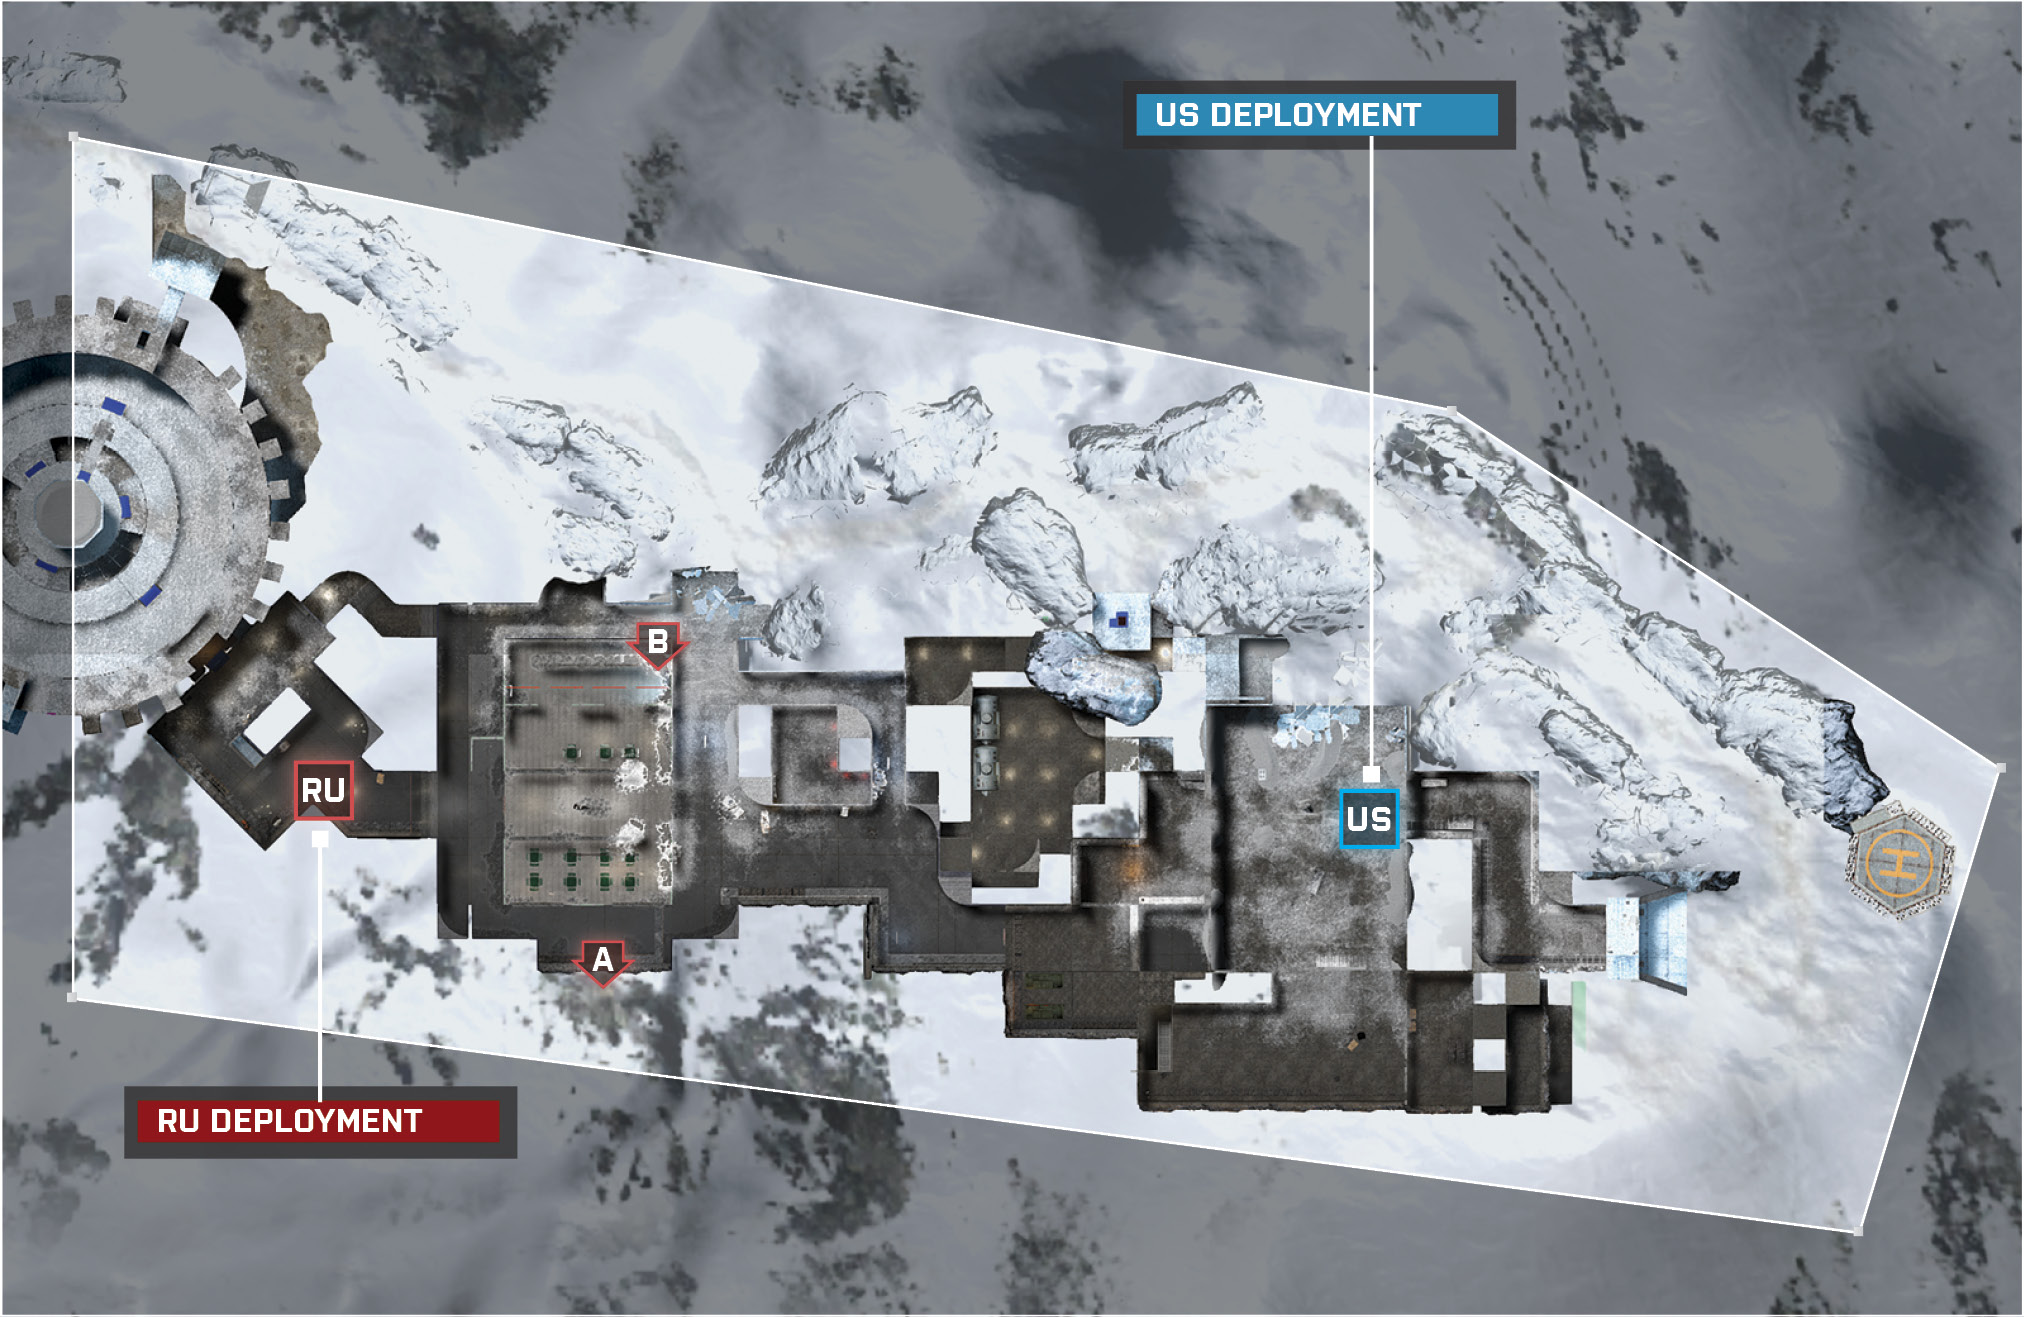
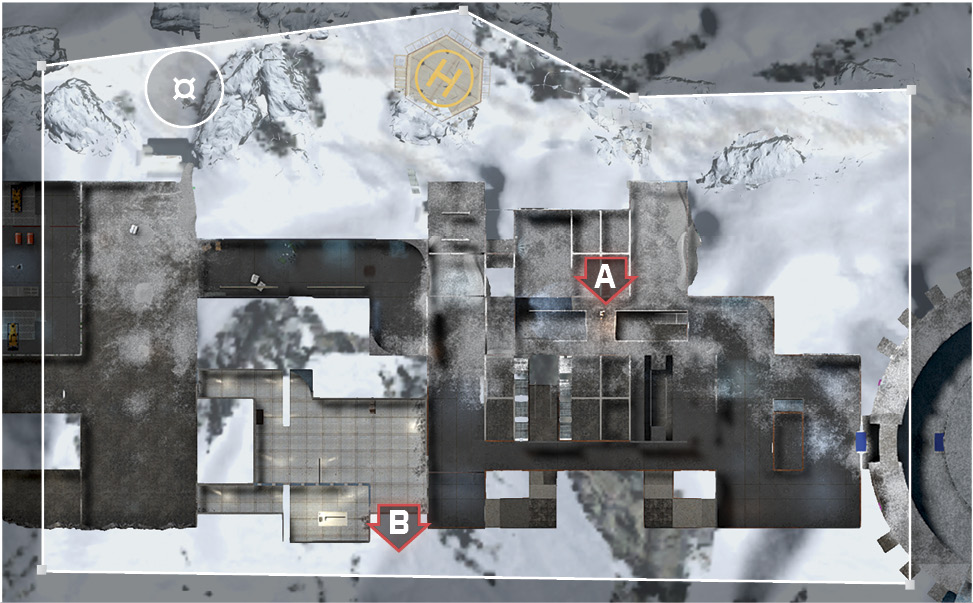
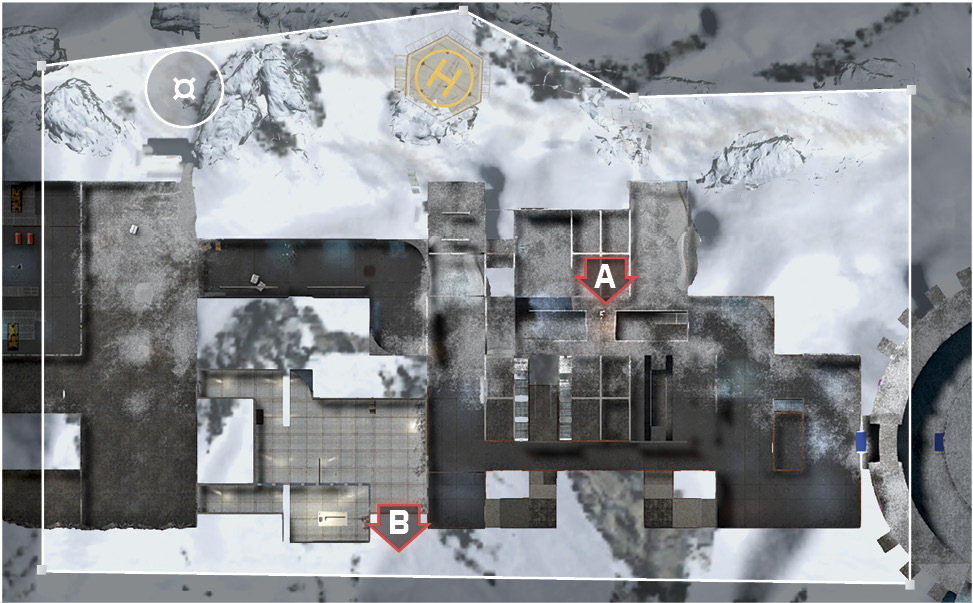
The US team deploys at the very east point of the map outside near a heli-pad. There are no vehicles for the US team or the RU team, so both teams’ gun skills are going to be tested.
A squad or two should follow the northwest path outside towards M-COM Station B. With Smoke Grenades attached, the US team can get a quick arm as the Smoke Grenades and snow decrease the enemy’s visibility.
Radio Beacons should be placed around the northwest path to spawn squad members closer to the battle.
The rest of the US team should head inside the prison and flood through the inside entrances. The southwest entrance will be the toughest, but keeping the RU team there will help the other squads in arming M-COM Station B.
The squads that run through the center entrance should focus on picking off enemies who are trying to disarm M-COM Station B and slowly make their move towards M-COM Station A.
RU Deployment
Recommended Squad Composition:
The RU team starts off inside the prison with three different paths to take. Two of the paths lead directly to M-COM Station A. On one of these paths lies a staircase that grants access to a balcony. The third path, which lies on the north side, is a hall that leads to M-COM Station B. Also in this hall is a ladder that leads outside and provides a higher vantage point to defend M-COM Station B.
The balcony southeast of M-COM Station A will provide a great vantage point to oversee both M-COM stations. The RU team will have an open view at M-COM Station B to stop anyone who starts an arm.
Immediately send players toward the center of the Storage area to set up your defenses quickly. This area will be a high-traffic area.
Send some players to the north hall towards M-COM Station B to watch for oncoming US infantry from the east path in the mountain.
Watch for US infantry attempting to close the gate east of your deployment base. This gate can only be opened and closed from the east side of the gate. When closed, this provides your team only two paths to move towards.
M-COM Station A
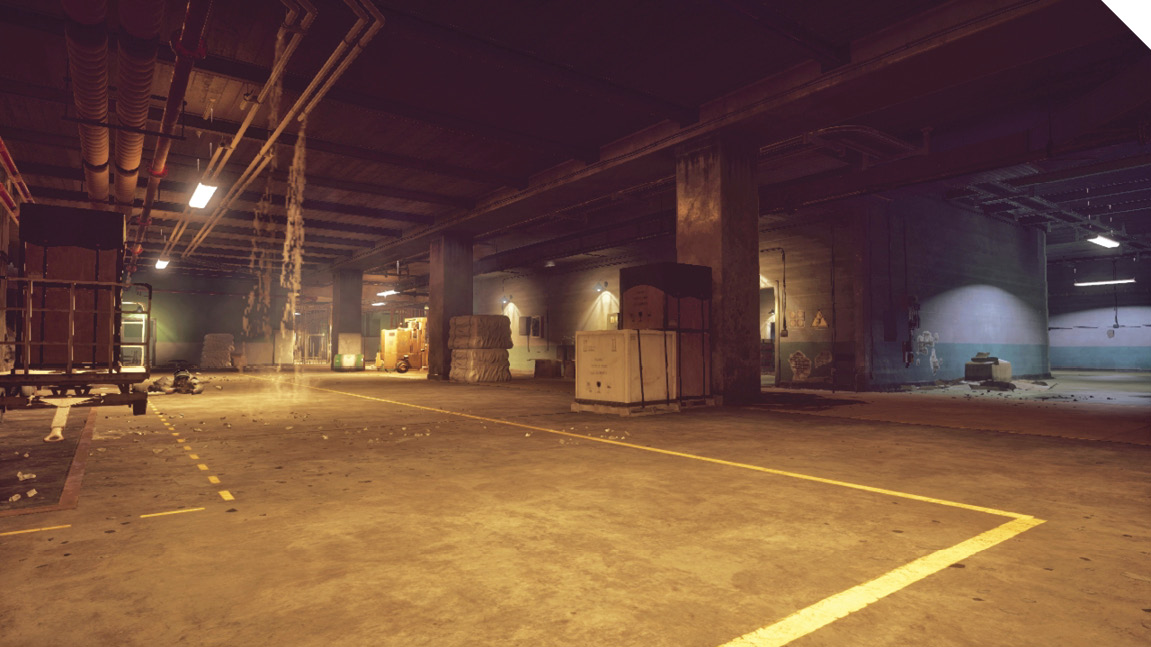
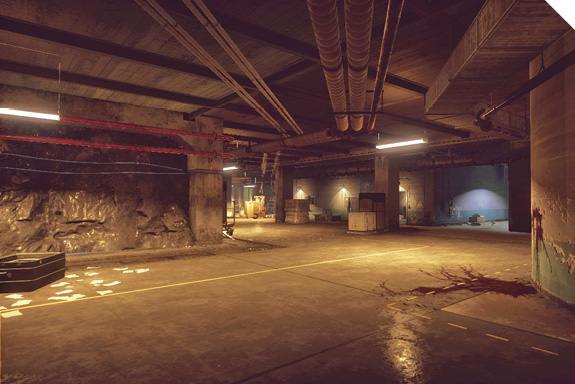
M-COM Station is located in the Storage area. There are plenty crate shelves that provide cover for both teams.
North of M-COM Station A is a door way, past this doorway is a hall that leads to M-COM Station B if the player goes east and the RN base if the player chooses to go west.
Southeast of M-COM Station A is a balcony that provides an overview of both M-COM Stations. At the most eastern part of this balcony lies a door way the US team can come through. Defending this area would force the US team to only approach from below.
When attacking, be aware of the interactive gate southwest of M-COM Station A. When closing this gate it will eliminate an open path for the RN team. This will make arming A much easier as the defender has to take a longer route now.
After arming on the attacking team, head into the doorway and wait to ambush defenders who attempt to disarm the M-COM station.
M-COM Station B
M-COM Station B is located outside in the icy snowstorm north of the Storage area.
Near M-COM Station B there is a lot of debris and rocks surrounding the M-COM station. Use these for cover for either the attacking or defending team.
When attacking, be aware of the enemies hiding in the hall west of the M-COM station. Throwing Smoke Grenades around M-COM Station B will decrease the enemy’s visibility even further and allow for a sneaky arm.
When defending, the snowstorm decreases visibility, so plant M18 Claymores around the area.
Zone 2: Mess Hall
US Deployment
Recommended Squad Composition:
After clearing the first zone, the US base is now moved to the Storage area.
The assault and support classes will be ideal for this zone due to the close-quarter combat that will be encountered.
The M-COM stations sit far west from the US base. Have squads equip a recon class to drop Radio Beacons to shorten the travel for the squad.
Send a squad along the northwest path outside of the prison towards M-COM Station B for an unexpected point of attack.
Have a squad head west towards M-COM Station A. Gain control of the Mess Hall before attempting to arm.
RU Deployment
Recommended Squad Composition:
After losing control of Zone 1, the RU base is now pushed back on the far west side of the Mess Hall.
Much of the battles will be close-quarter ones, so have extra assault and support soldiers to withstand incoming fire.
Be sure to grab the M32 MGL (Grenade Launcher) at the RU base. This will prove to be useful with the close-quarter combat and tight hallways.
Send a squad to M-COM Station B and take advantage of the snowstorm by laying C4 or M18 Claymores around.
Equip the Shorty 12G to have the upper hand when fighting in the tight halls.
M-COM Station A
M-COM Station A is located in the Mess Hall. The Mess Hall contains a kitchen and tables that can be used for cover.
When defending, players can go prone in the kitchen area and resurface when enemies begin approaching.
When defending, take advantage of the map layout. There are many corners the attackers have to pass to make their way near M-COM Station A.
When defending, plant C4 and M18 Claymores in the dark and shadowy corners.
When playing as the US, try to sneak through the halls on the north side and flank the enemy.
M-COM Station B
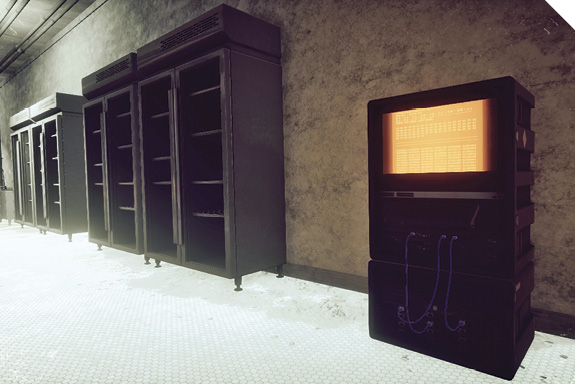
M-COM Station B is located in the backroom of the kitchen, just off the Mess Hall.
This station is surrounded with food crates, attackers be prepared to deal with prone defenders who will try to catch the US attackers by surprise.
There is a hallway to the east of the objective, defenders should be ready for incoming US attackers. Lock this hall down by planting C4 and baiting the attackers near for some easy kills.
Defenders should push along the northeast path outside to take a few tickets from the US team before they get close. Outside also lies an elevated platform above the prison exit. When playing as the RN team, send a few players here to have the first jump on the attacking team.
When attacking, be prepared for the Claymores the defenders have set up. There are many tight corners that the defenders will try to booby trap so be careful when hugging the wall for those tiny explosives.
Zone 3: Panopticon
US Deployment
Recommended Squad Composition:
After destroying both previous objectives, the US base now sits on the east of the Mess Hall.
Deploying here will lead to a long journey to the M-COM stations. Be sure to assign a recon class to the squad to take advantage of their gadgets.
With the base so far away, be aware that the RU team will probably already be in the center waiting for an attack.
Send a squad along the northwest path outside to gain control before pushing into the Panopticon area in the center.
A squad will need to head through the lower levels as quickly as possible to gain access to the basement of the stairways where M-COM Station B is located.
RU Deployment
Recommended Squad Composition:
Once Zone 2 is lost, the RU base is pushed even farther back and now lies west of the Panopticon area.
This gives the team just enough time to get into defensive position before the attacking team makes it to the objectives.
Squads should be spread out on the different floors in the Panopticon area to have multiple ways of attack.
Be sure to control the stairway as it gives access to both objectives. Watch the north exit at the top of the stairs that leads outside, where incoming attackers will be.
Support class proves its worth once again. Plant C4 around the US team’s lower level entrance to stop any flankers from below.
M-COM Station A
This objective is located in the heart of the Panopticon, just below the watch tower on the main floor.
The M-COM station is surrounded by a stack of sandbags on each side. If playing as the US team, go prone in this area to take cover when arming the objective.
When defending, take the high ground to get an overview of the area and objective.
Be sure to send a defender into the watch tower. Inside is a stationary turret that can watch the US team’s main entrance into the Panopticon.
The attacking team will need to gain control of the stairwell from the outside to ensure a safe arm of the objective.
M-COM Station B
This M-COM station lies in the basement under the watch tower, which can also be reached through the north stairwell.
When playing as the RU team, setting up M18 Claymores will prove super effective due to the dark area.
Until M-COM Station A is detonated, there are only two entrances the US team can use to gain access to the basement.
The RU team has two choke points to lock down if M-COM Station A is still active: the tunnel underneath the objective and the entrance that leads to the top of the north stairwell. Defend the two choke points to prevent the attackers from reaching the objective.
Attackers should have a squad set up a perimeter at the top of the stairwell entrance outside and slowly try to make their way in. Keep a squad member alive to allow downed allies to spawn near the combat. Smoke Grenades will allow for a successful push.
Zone 4: Isolation Block
US Deployment
Recommended Squad Composition:
Succeeding once again in destroying the last zone’s M-COM stations, the US base is now moved into the Panopticon.
Once again, send a squad along the northwest path outside to reach M-COM Station B. Drop a Radio Beacon once you’ve made it inside the prison again. This will save players time from having to travel from the deployment spawns.
Send a squad through the lower hall south of M-COM Station A. Tread carefully through this area as it is an extremely close-quarter combat area.
A squad with support troops will benefit in this zone immensely! Just east of M-COM Stations A and B are crates that can be used with LMGs with Bipods to suppress the enemy.
When moving around the dark areas near these M-COM stations, be sure to toggle off your Laser Sights. Avoid giving away the squad’s position at all costs.
RU Deployment
Recommended Squad Composition:
After losing the objectives in the Panopticon, the RU team has little time to establish a setup around the new M-COM station.
Being pushed back once again, the RU base is brought back farther west and located just east outside the Machine Room.
Send a squad north outside of the prison to prevent any flankers from getting near M-COM Station B.
Equip Smoke Grenades to better defend the M-COM station in these tightly closed hallways.
Once again, take advantage of M18 Claymores and C4 by planting them in the dark area around M-COM Station A.
M-COM Station A
M-COM Station A is located in the lower level of the Isolation Block.
This objective has four points of access: you can enter through three hallways and you are also able to drop down through an opening from above.
When playing as the RU team, the upper level is a good position to guard this station. It provides a good overview of the objective. A few defenders can stay low near the stairs waiting for attackers.
When attacking, the US team has to be cautious of defenders crouching in corners. This area has dark sections so take advantage of the Flashlight and blind those defenders waiting around corners!
As a defender, go prone south of the objective on the stairway platform. Keep your sights down the hallway as enemies are sure to cross.
M-COM Station B
M-COM Station B is located on the higher level of the Isolation Block towards the north exit that leads outside the prison.
This area is heavily shielded by objects. When defending, be sure to have a good eye on the objective to keep attackers away.
As the defending team, the safest and best strategy will be to blow up the surrounding holding cells around the objective. This will make the area more open, allowing the defenders to spot attackers.
When attacking, follow the northwest path into the prison. Once near the objective, a huge concrete wall shields players to be able to arm the station.
Send an attacking squad west of the objective to build a perimeter to allow another attacking squad to come in from behind and arm the station.
Zone 5: Isolation Block
US Deployment
Recommended Squad Composition:
Good job making it this far. This is the last zone—fight it out and the US team takes home the gold!
The US base is now moved to the Isolation Block area. Just a bit farther west are the last two M-COM stations.
Again, stick to sending a squad through the northwest path outside. This squad will be able to gain control of the top level of M-COM Station B.
A squad flank through the halls south of M-COM Station A will cause a good distraction to allow the rest of the team to move in.
When moving towards both these M-COM stations, be aware of all the explosive barrels. The defending team will surely try to bait players in.
RU Deployment
Recommended Squad Composition:
This is the last chance to stop the enemy. The RU base is now pushed to the farthest west point of the prison.
Spawning at the base will give little time to return to the objectives to disarm. Placing a Radio Beacon east of the M-COM stations will allow you to spawn behind the attackers, resulting in a successful flank.
Expect the attackers to push from outside of the prison. The attackers will try to gain control above M-COM Station B. Stop them outside of the prison.
Send a squad towards M-COM Station B and hide in the shadows for a good surprise attack.
Being the last zone, stock up on extra assault soldiers. Reviving downed teammates will be crucial in this last stop.
M-COM Station A
South of the Machine Room, M-COM Station A is located on the lower level.
This objective only has two points of access. This leaves either team hopeless if they are pushed back by the opposing team.
This objective is surrounded by many obstacles. These obstacles can be used by both attackers and defenders for cover, but tread carefully. There are explosive containers at both ends that can easily take down multiple enemies.
When defending, be sure to blow up the explosive containers on the west side of the objective. Afterwards, get behind the sandbags that provide great cover against attacking enemies coming from the east.
For both attackers and defenders, Smoke Grenades prove to be very useful. This also allows attackers to push past the M-COM station to clear a path for other teammates.
M-COM Station B
This M-COM station is located inside the Machine Room in between two generators.
There is an entrance from outside the prison that leads to above the Machine Room. This area will need to be watched when defending.
Controlling the upper level of the Machine Room will be the main key when it comes to arming or defending this objective. Defending players will want to plant C4 around the exit that leads outside the prison.
When attacking, planting a Radio Beacon outside the northwest path will allow squad members to spawn near the objective. Once the upper level is controlled, arming the objective will be easier.
The US team should be prepared for the defending RU team to close the gate east of the objective. Try to delay this at all costs. If not, the attacking team will have fewer paths to take.
Obliteration
Recommended Squad Composition:
The RU team must protect three targets located in close proximity of the Machine Room and the medical facility.
The US team needs to guard the three targets just east of the Mess Hall.
The US team should have a designated squad defending the Mess Hall area at all times to protect against invading attackers.
The RU team should have an assigned squad positioned at the center of their three targets, allowing them to quickly move from objective to objective to prevent the US team from arming the targets.
Both teams should move together at all times while controlling the Panopticon, granting either team map dominance. This makes it easier to defend and allows teammates to slowly push into enemy territory to arm the targets.
Defuse
Recommended Squad Composition:
On this map, the attackers and defenders are facing each other in the Isolation Block of the prison. The US team spawns outside in the snowy storm while the RU teams spawns down low in the Isolation Block.
Laptop A is located directly in the Isolation Block in the watch room. Nearby is a USAS-12 battle pickup; defenders who grab this are very effective in this close-quarter area.
Laptop B is found inside one of the medical rooms of the prison. There are circuit boxes that attackers can shoot to turn off the lights. This allows them to move in undetected.
Defenders should never move outside of the prison unless they outnumber the opposing team. Attackers will most likely be waiting on top of the higher up cliffs for lone wolf defenders attempting to flank. Don’t give the attackers this opportunity; there are many holding cells that defenders can use for cover. Be sure to plant Claymores in the dark corners of the map, especially in the room of Laptop A.
The attacking team should equip Smoke Grenades and Flashbangs. This is a very close-quarter map. Flashbangs blind defenders, allowing you to flank the enemy or to get the jump on defenders around the corner. Laptop B is closest to your deployment; destroy the walls around it to reveal camping defenders.
Domination
Recommended Squad Composition:
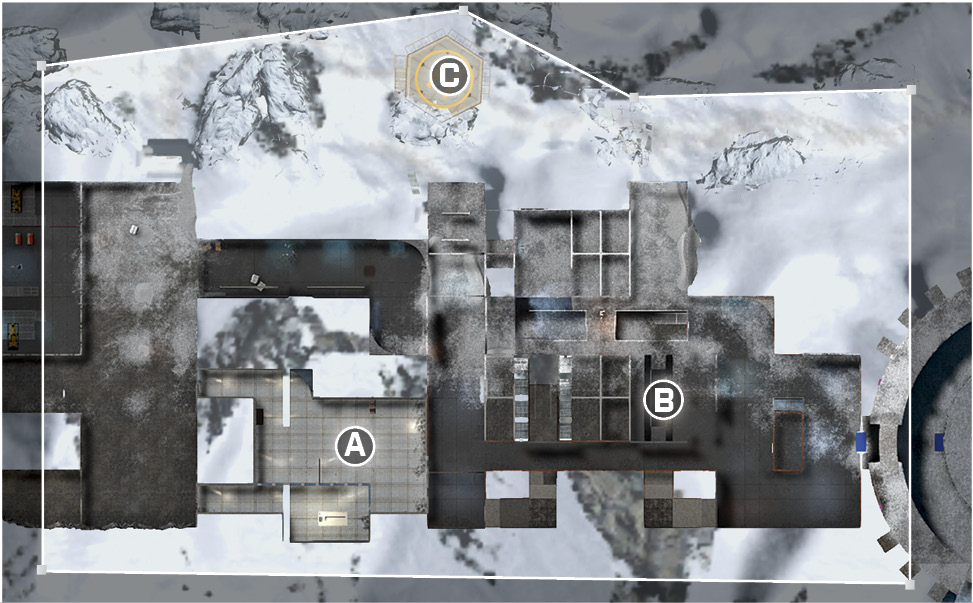
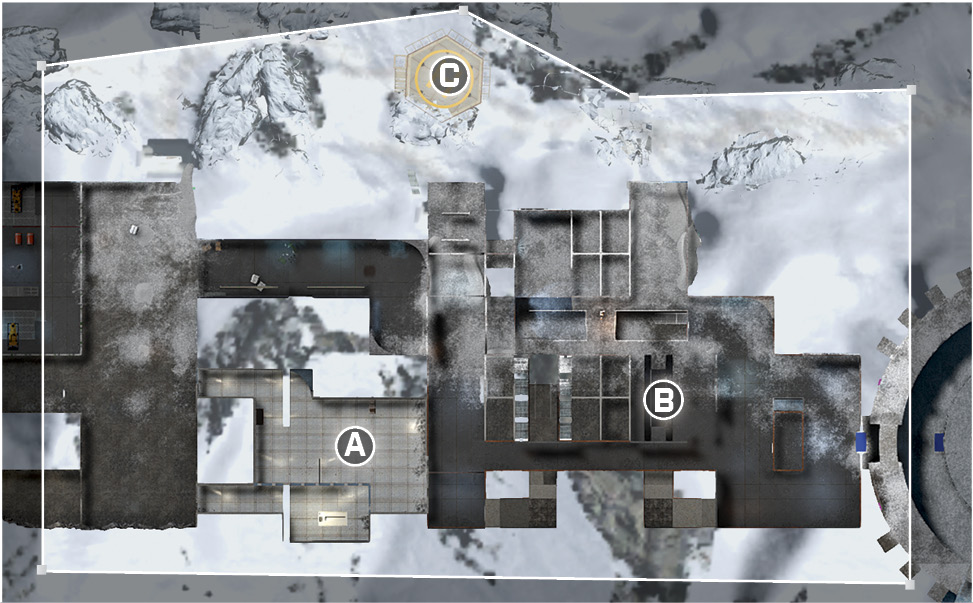
The three control points on this map are the Infirmary (A), the Isolation Cells (B), and the Helipad (C).
Even though this is a close-quarter map, equip medium-range weapons as there are so many open areas.
Equip Flashbangs as there are many rooms players are moving in.
When going to capture the Helipad (C), always capture it from underneath the platform. It is a disadvantage to capture from above as there is no cover.
A good strategy is to take charge of the two control points inside: Infirmary (A) and the Isolation Cells (B). The third point, Helipad (C), is outside and has little to no cover.
Squad Deathmatch
Recommended Squad Composition:
This is a non-stop battle, so be sure that you and your squad are always moving.
All fights consist of close-quarter combat. Shotguns prove critical as players can run into each other as soon as they turn the corner.
You want your squad inside at all times—camping does not benefit you as this game mode is a free-for-all between three other teams.
Placing Claymores in the dark areas surely gets you a kill or two, especially if the opposing squad is bunched up.
An extra assault class or two is very effective as you want to heal or revive your squadmates as you and your squad fight for dominance.
Team Deathmatch
Recommended Squad Composition:
This is one of the most fast-paced Team Deathmatch modes that you play in the game. You are pitted in constant gunfights, so don’t stop moving.
Take advantage of the new lean system against walls. Don’t just blindly rush around the corner. Take a peak around before moving out.
Flashbangs greatly assist players in this tightly spaced map. Throw them in all directions. If you get a hit marker, you know the enemy is around.
Shotguns are a trademark of this map. There are many holding cells players can move from, making the enemy double guess their movements.
Usually you don’t want to be outside because of the little cover, but if your team has the lead that all changes. There are only three ways out of the prison, so be sure to watch these and the game is yours to take.