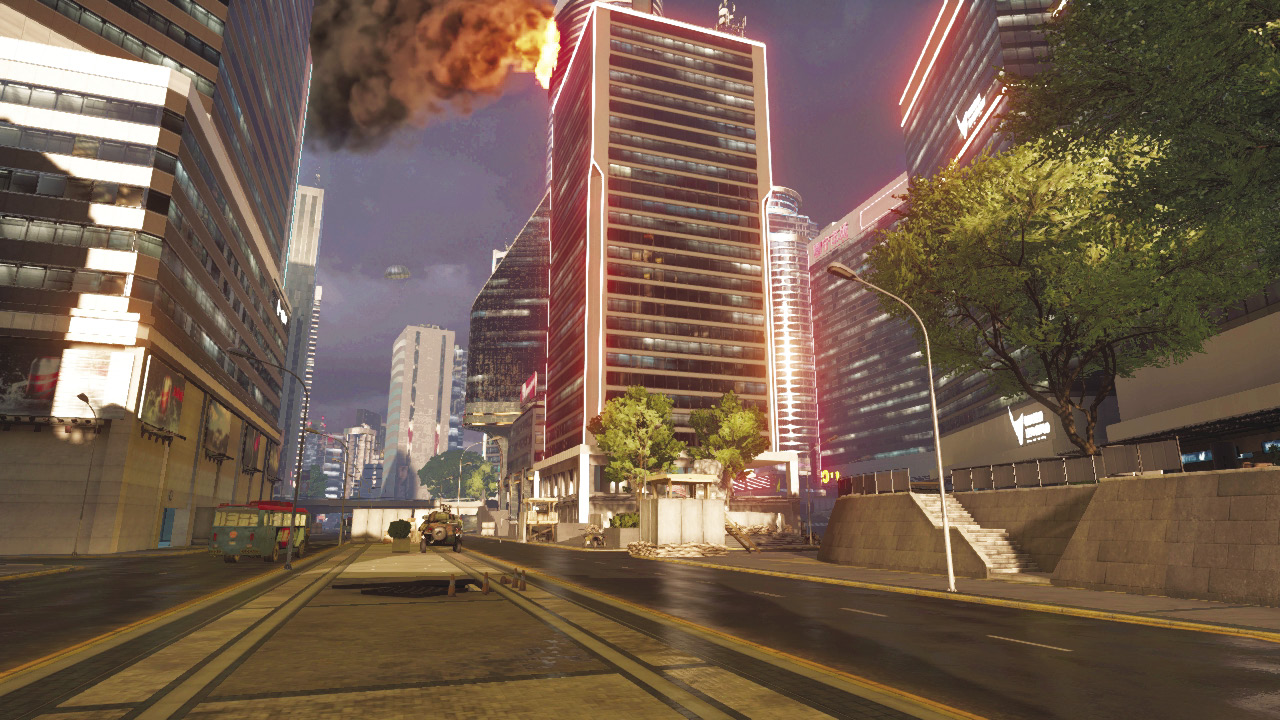
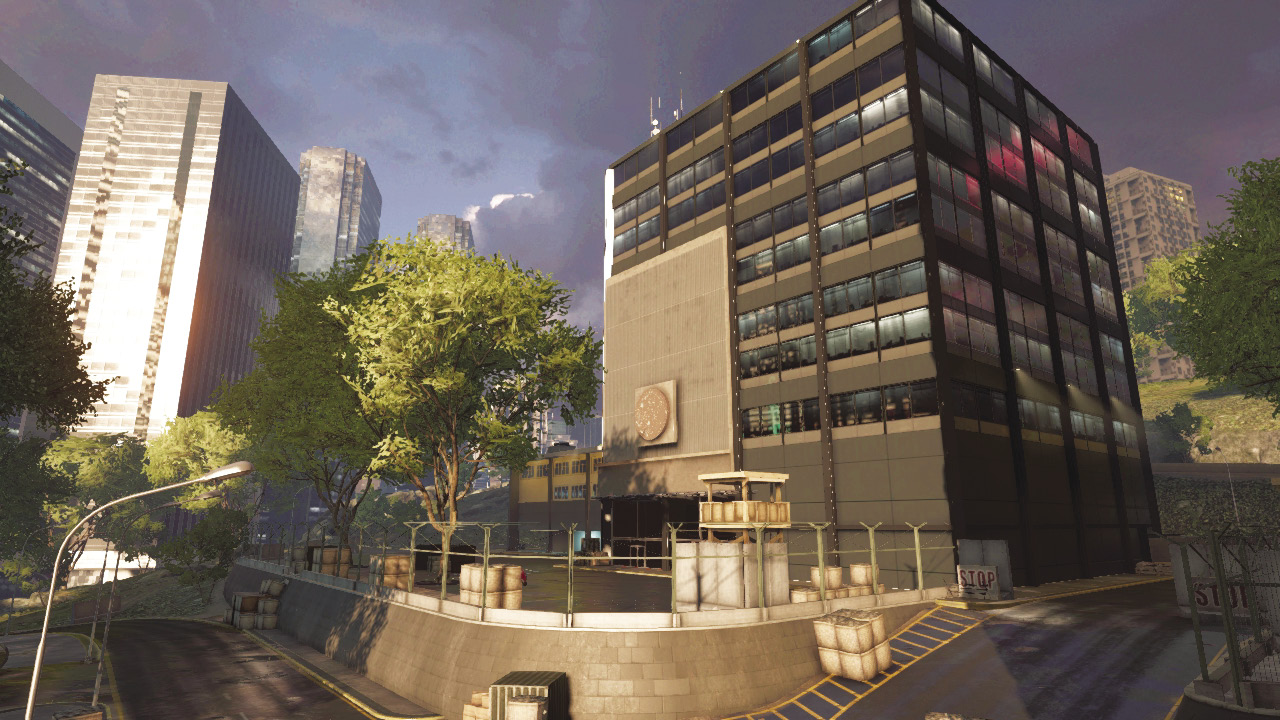
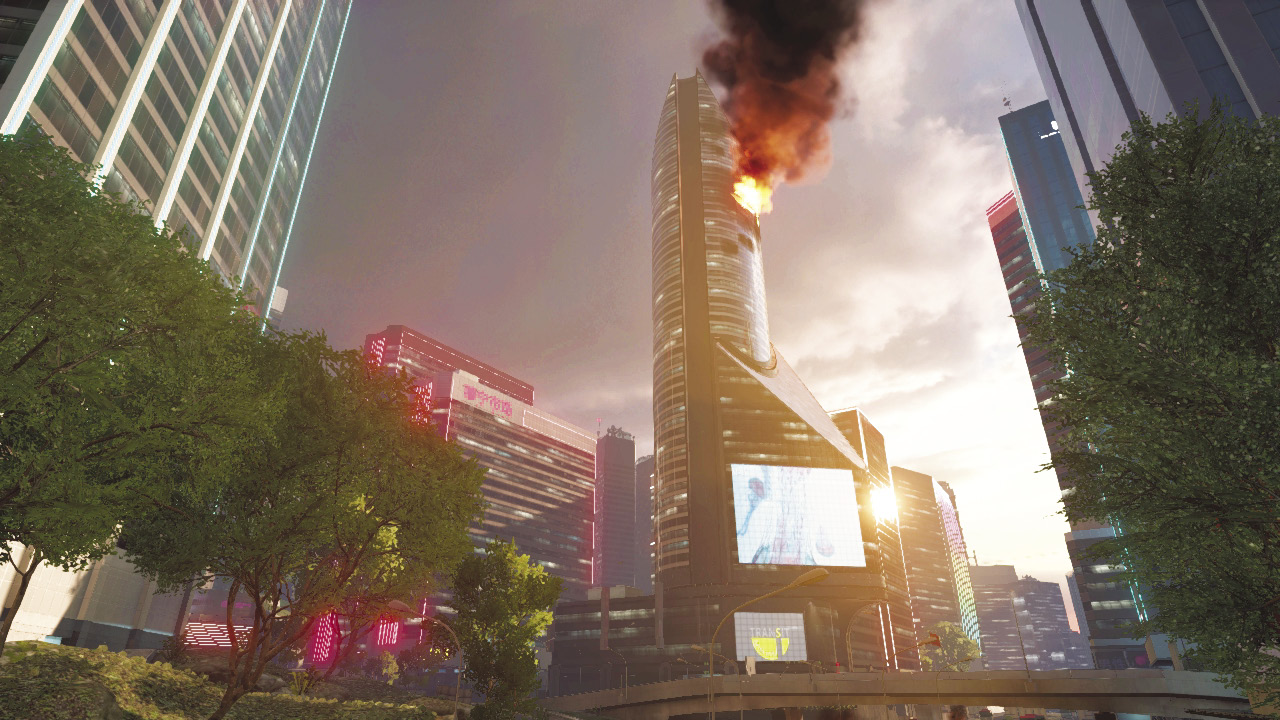
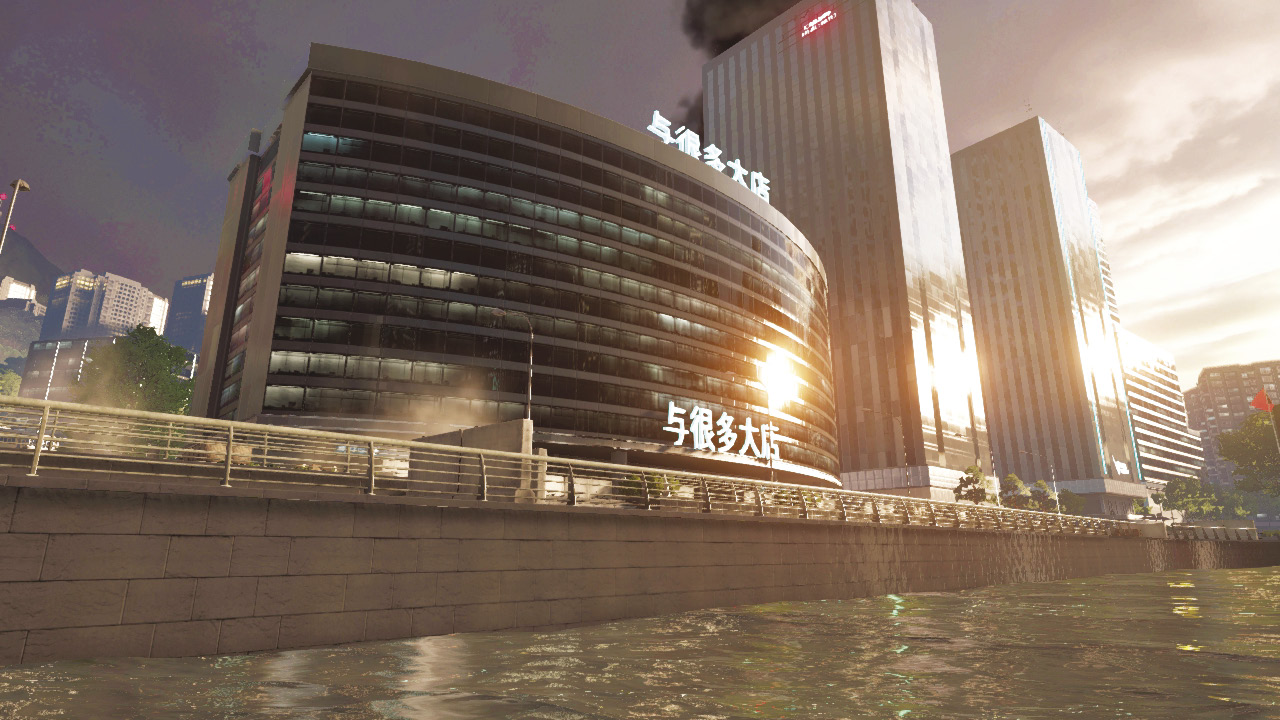
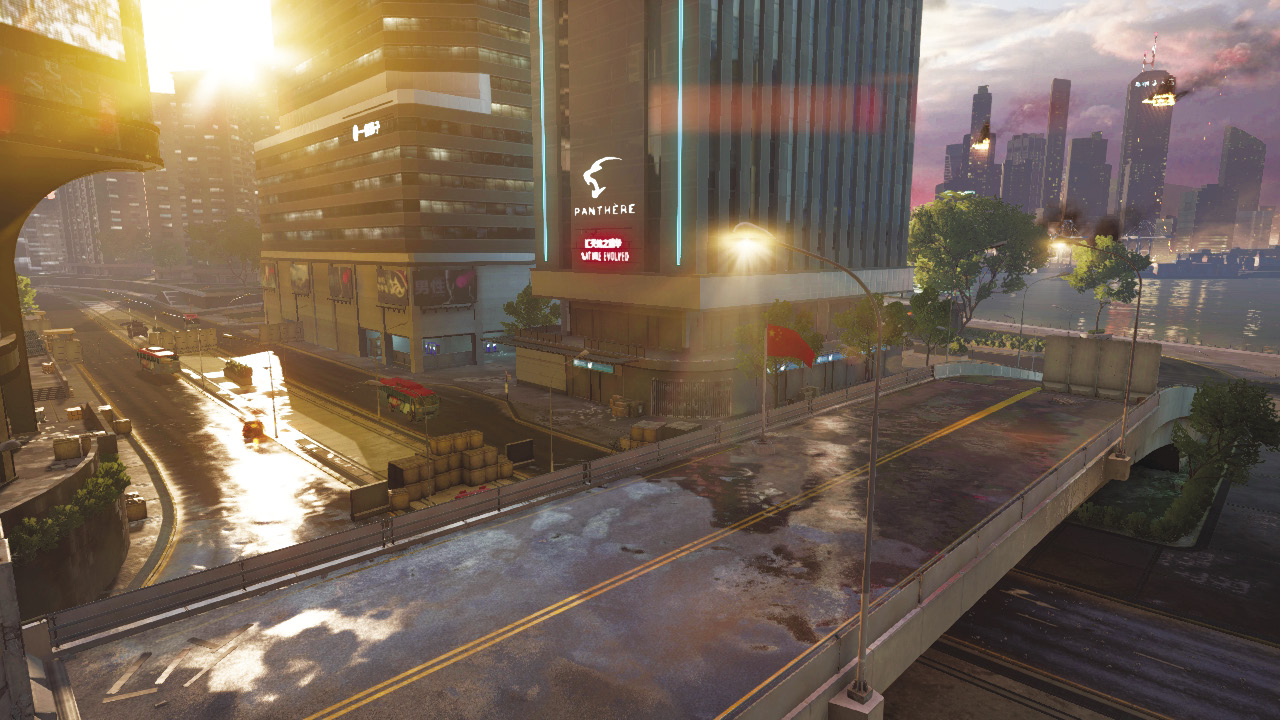
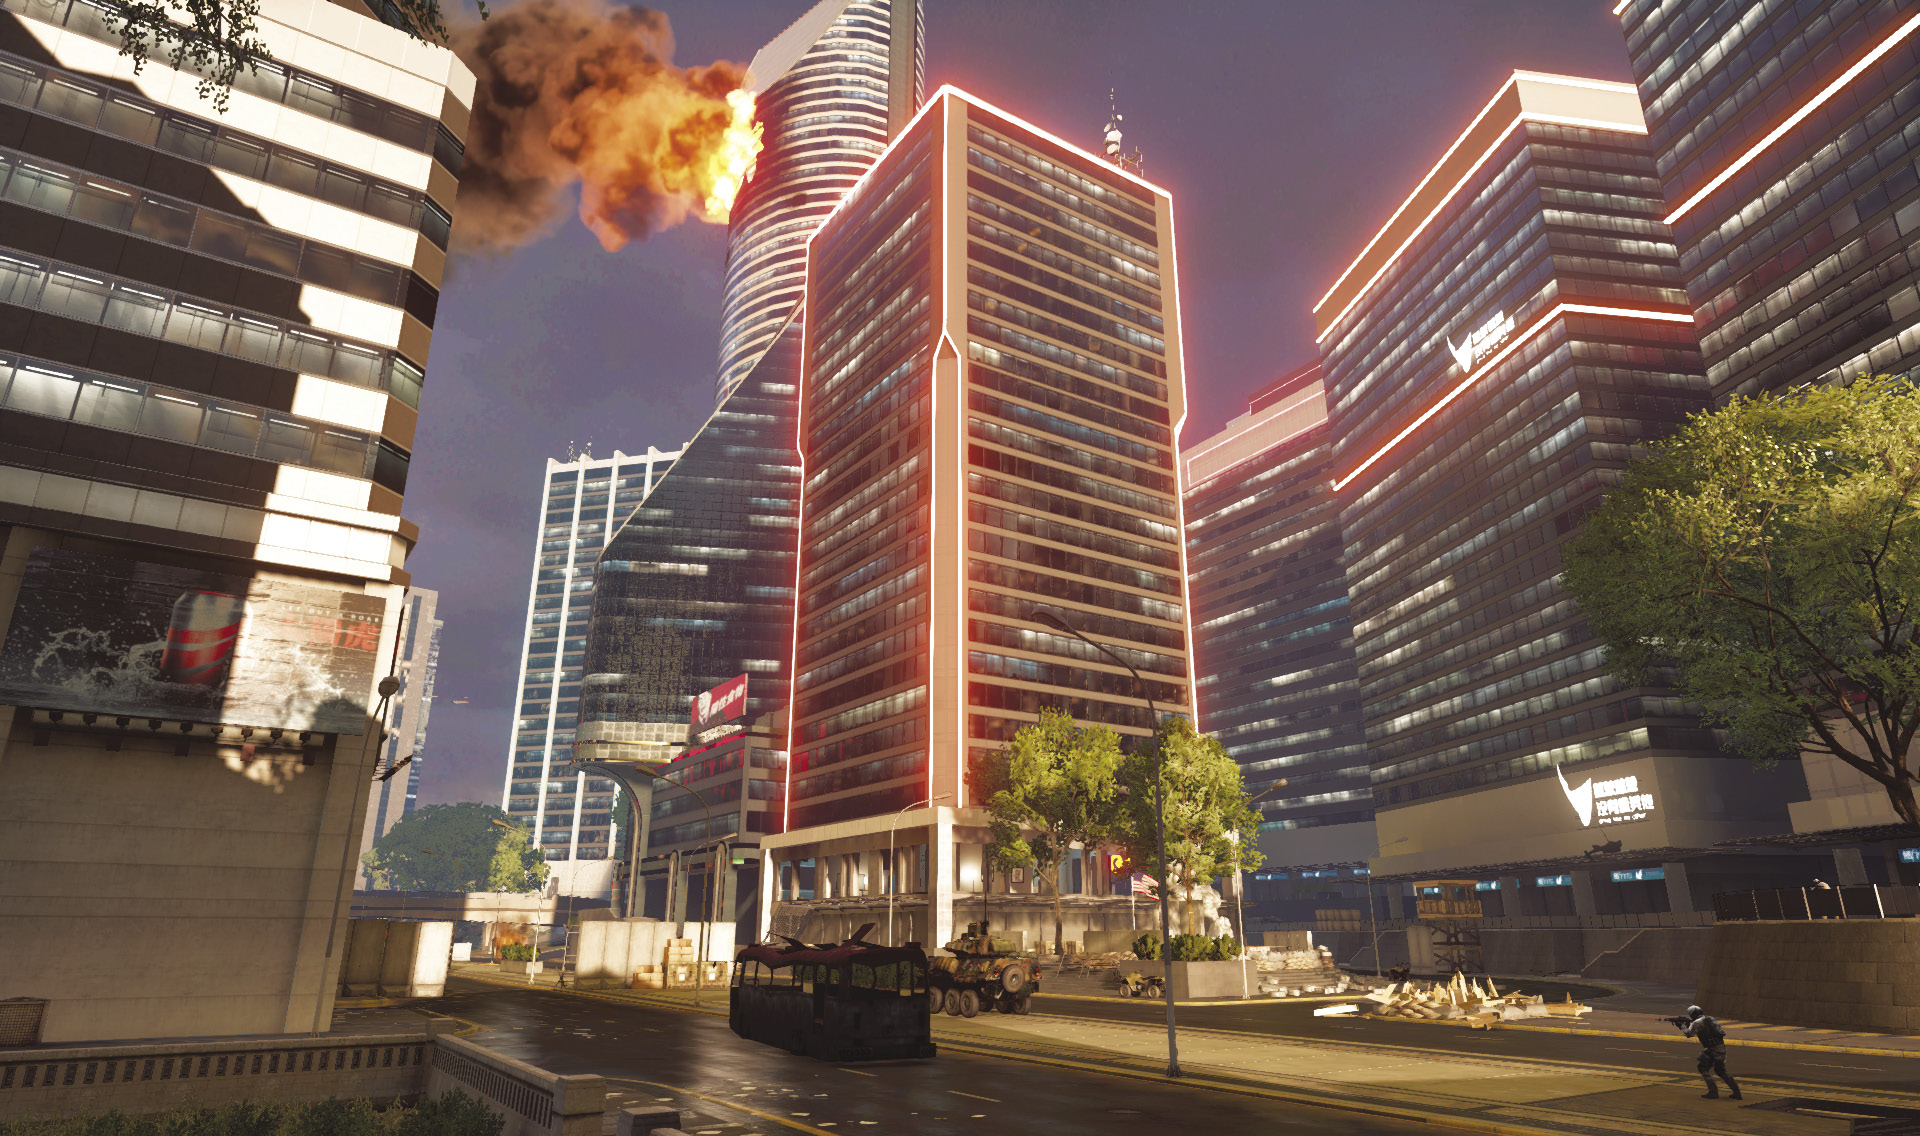
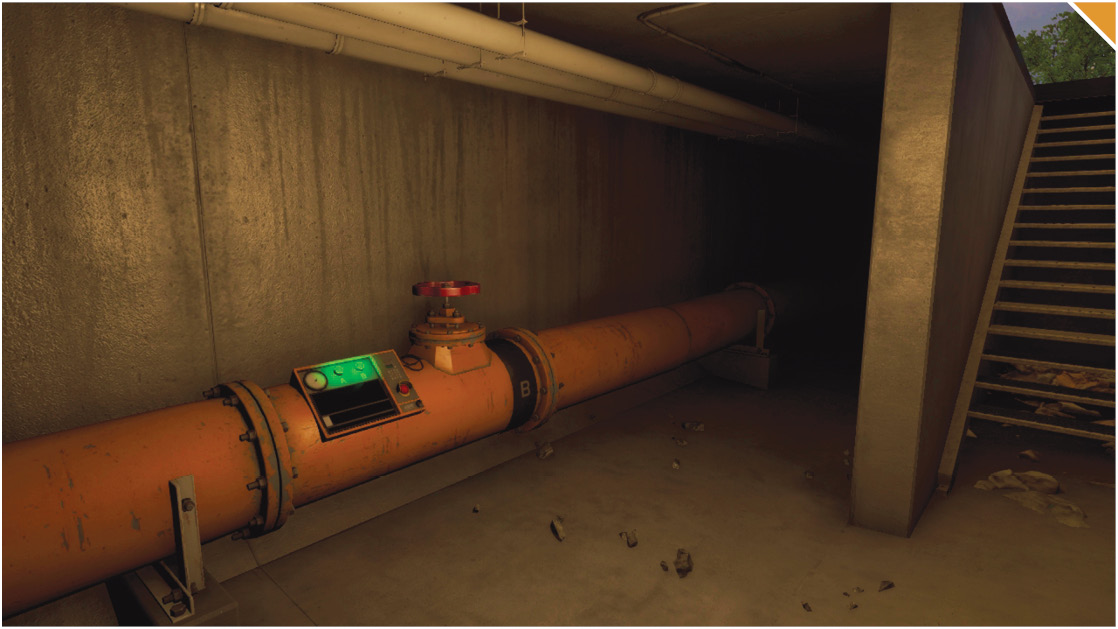
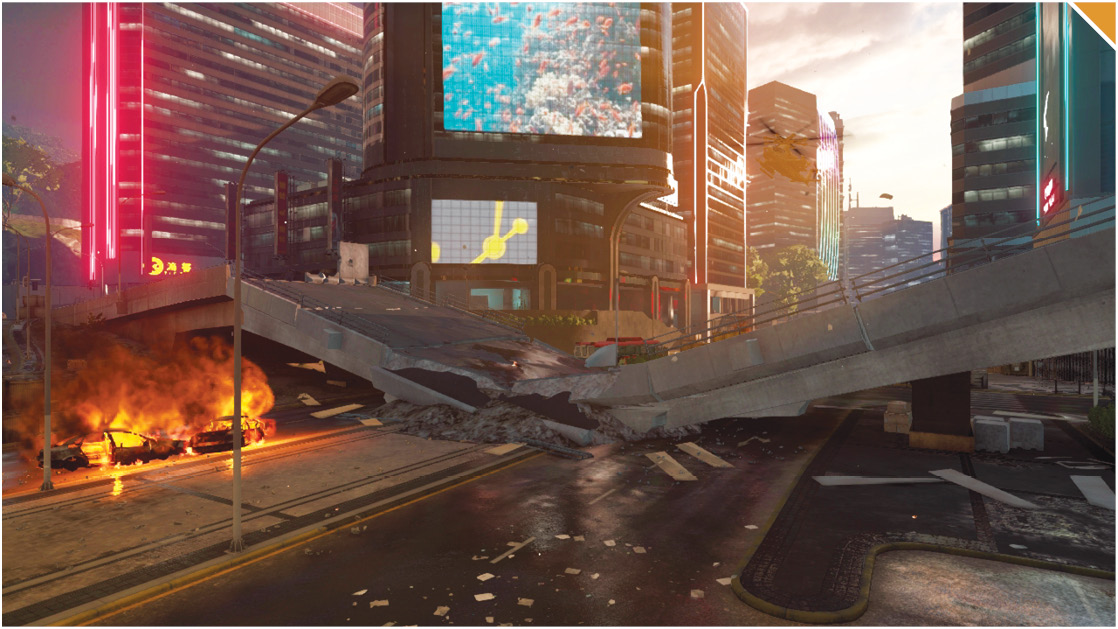
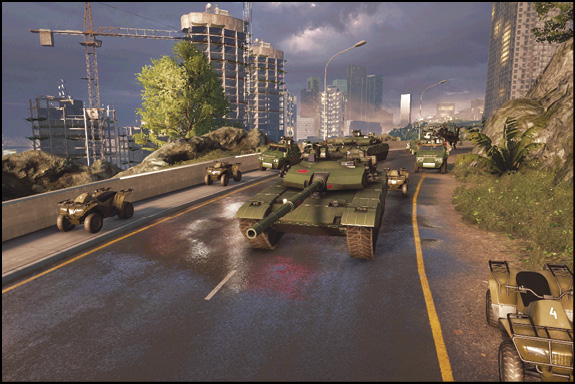
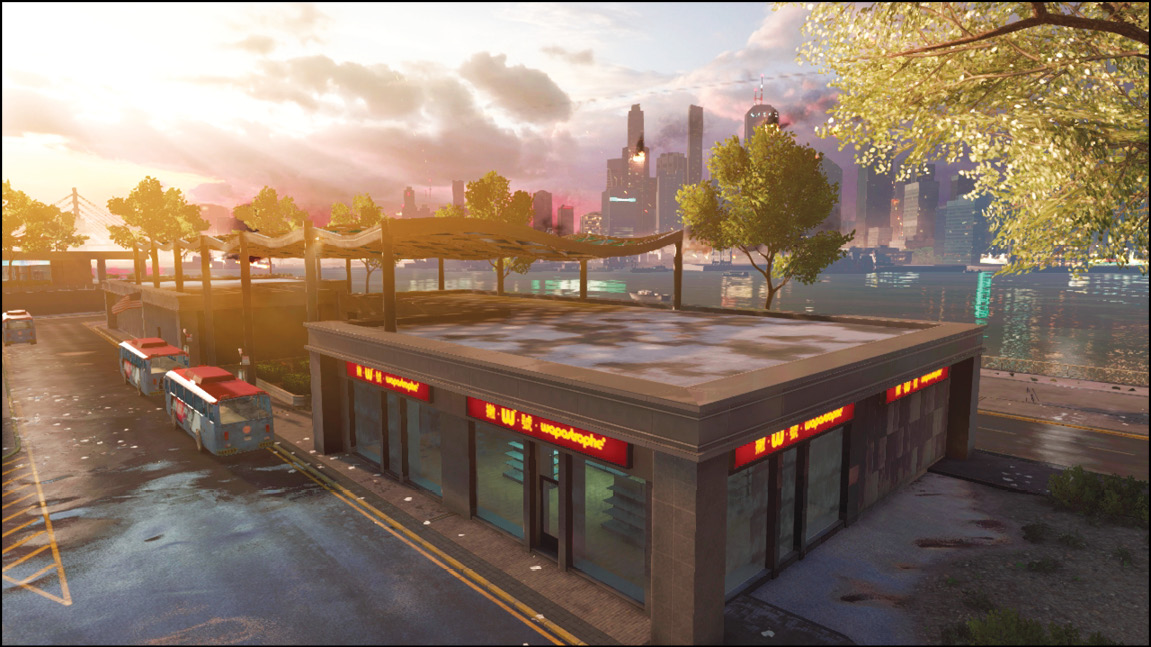
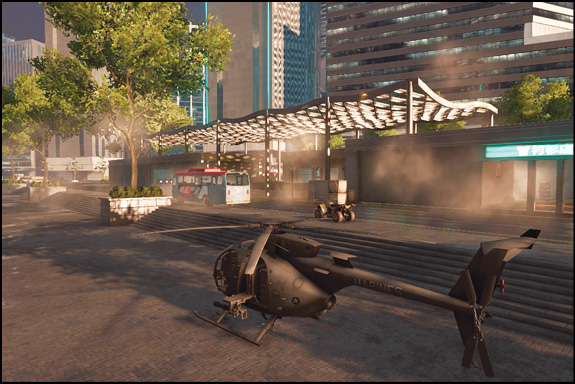
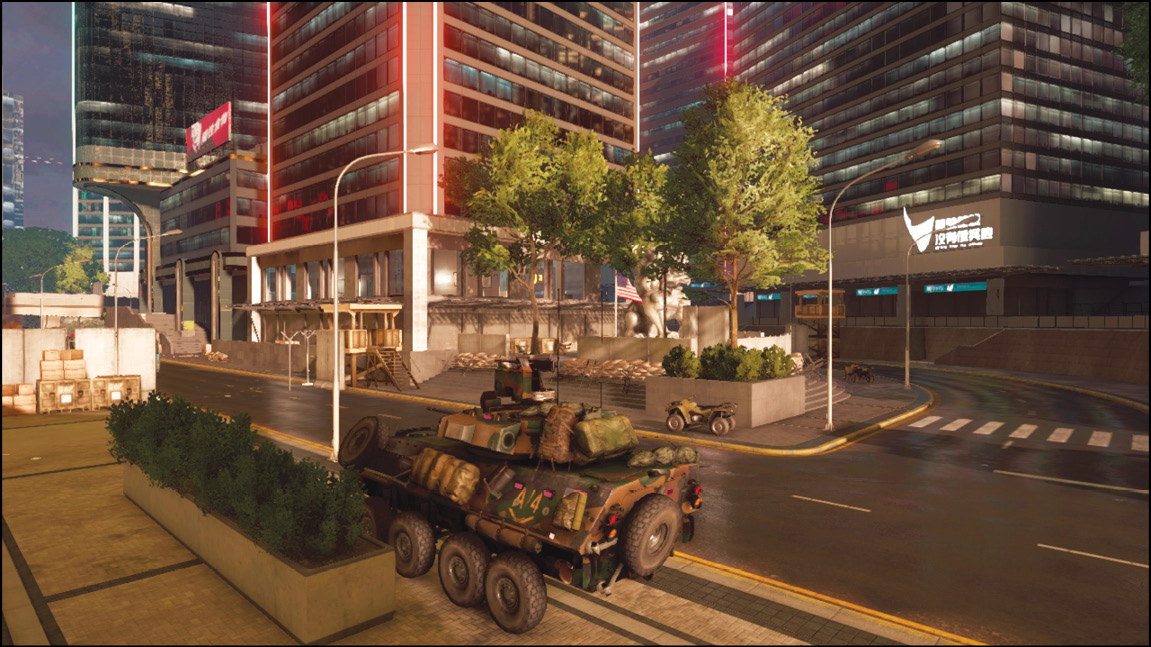
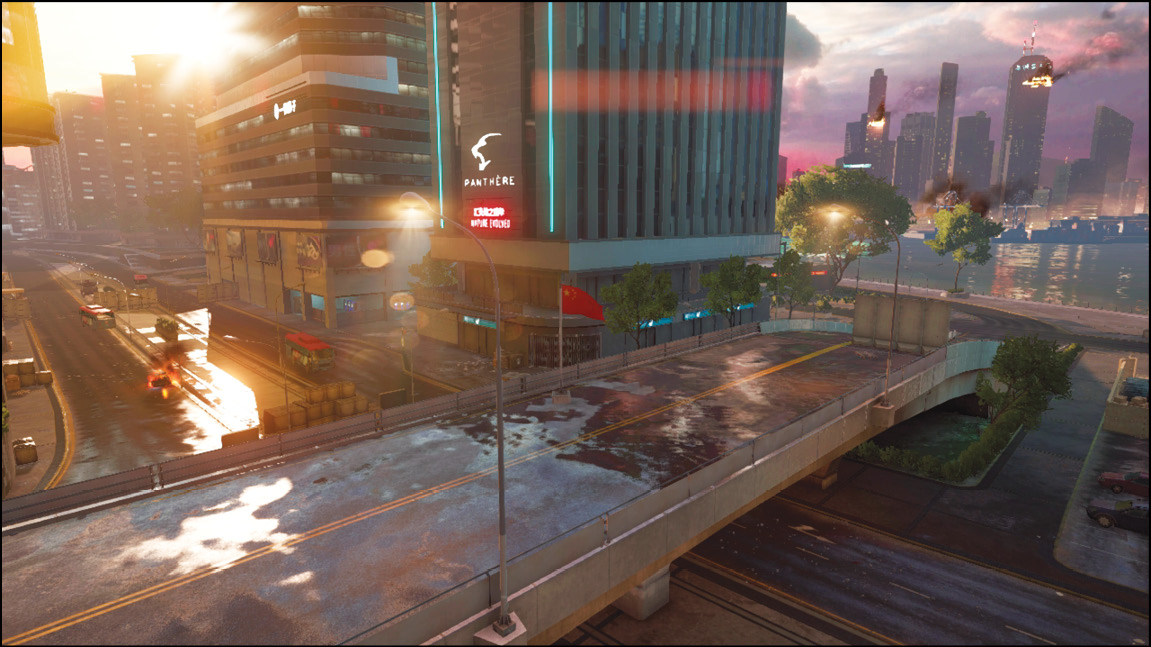
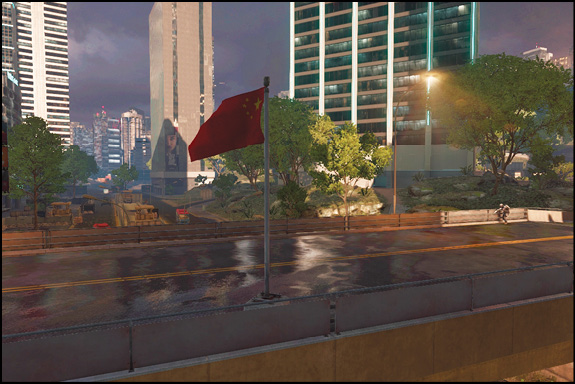
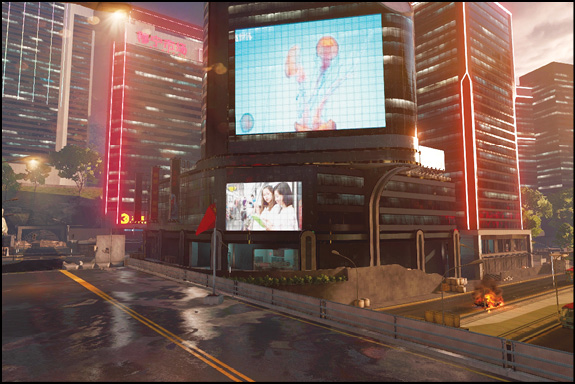
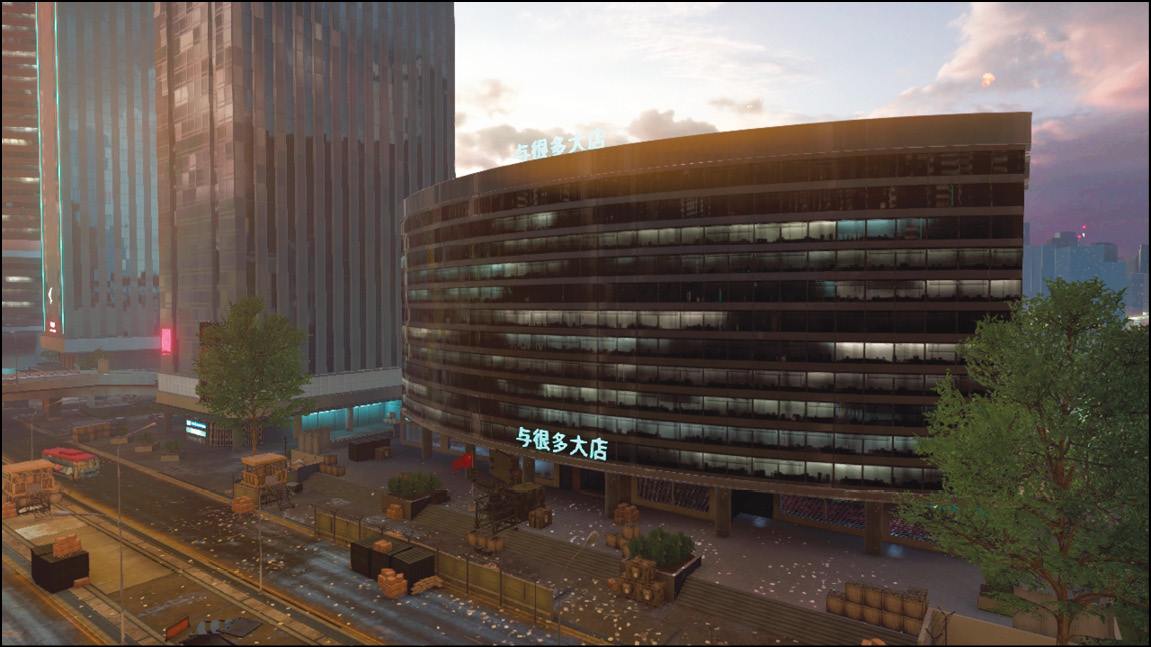
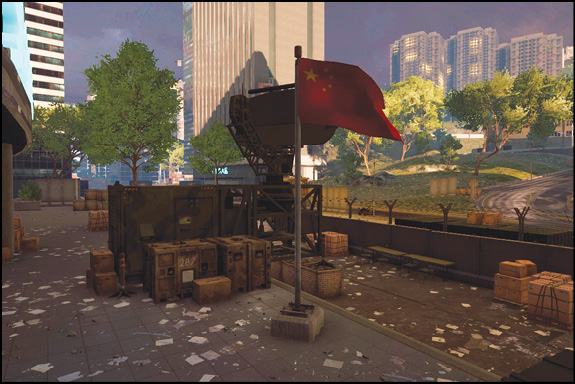
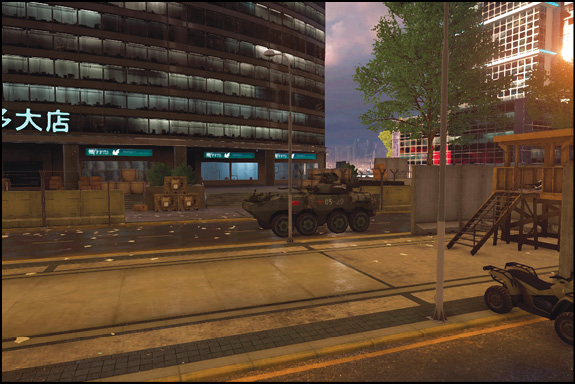
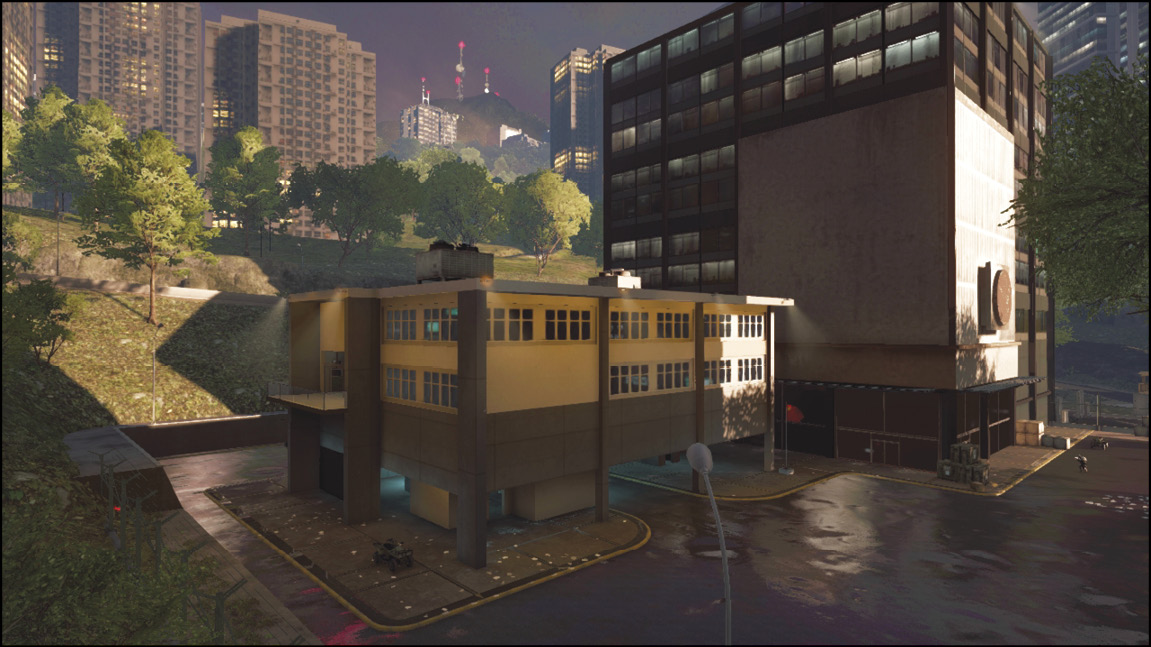
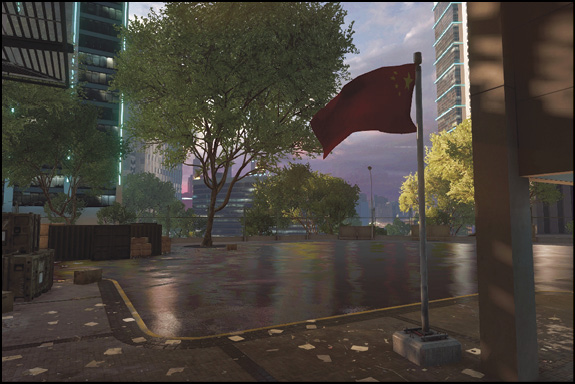
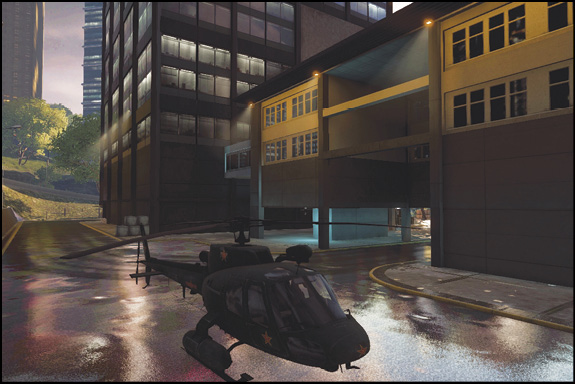
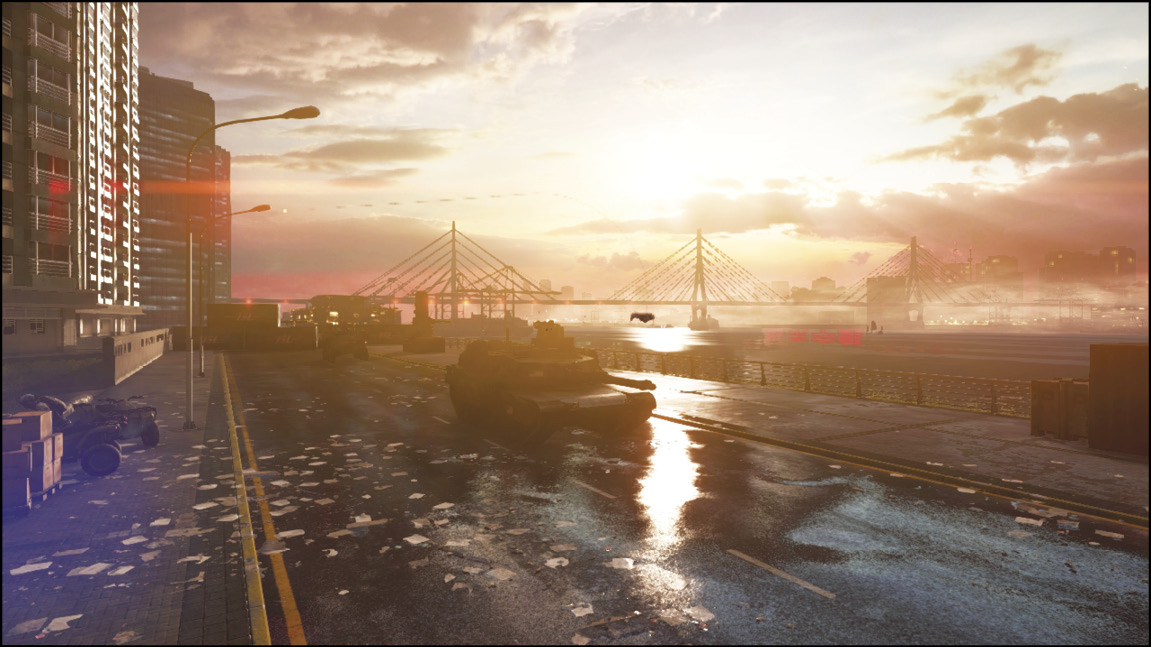
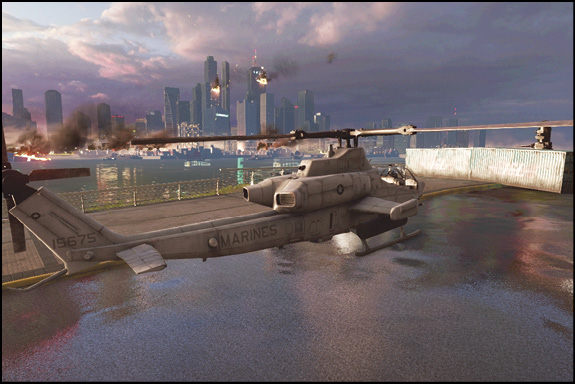
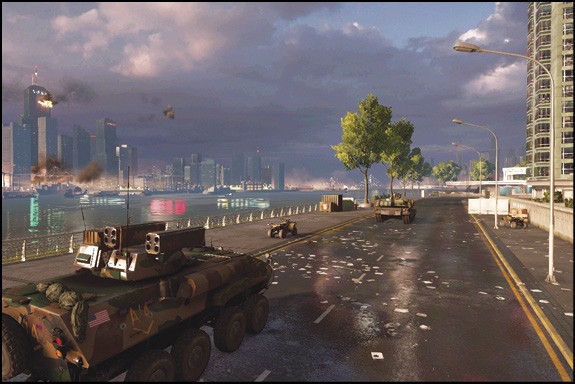
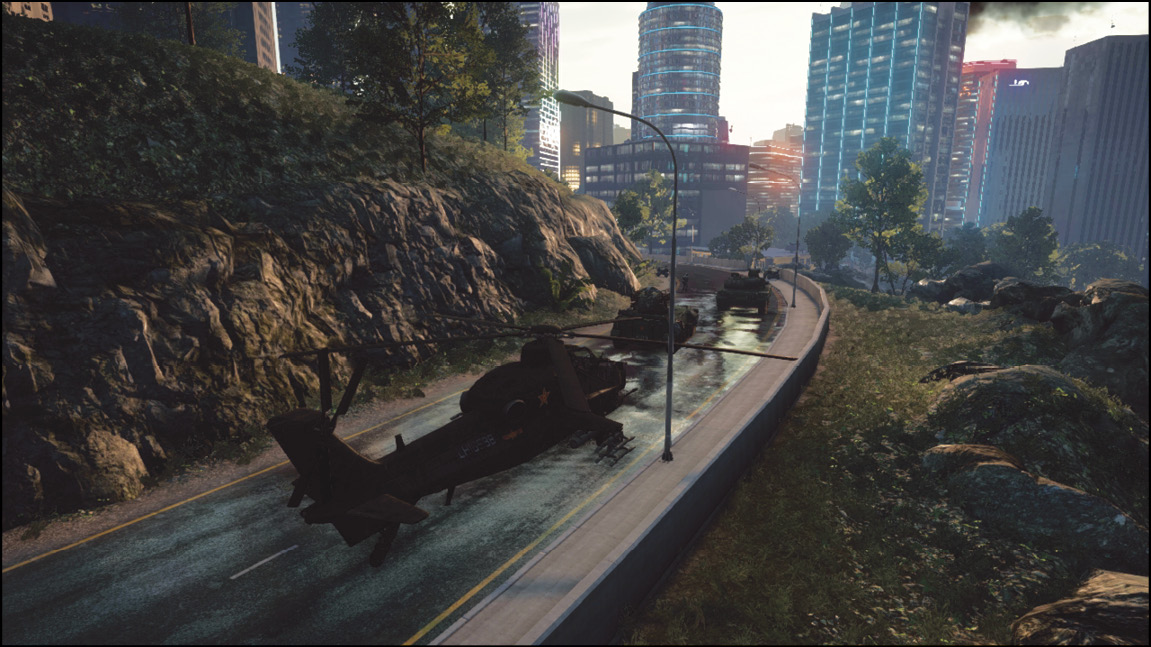
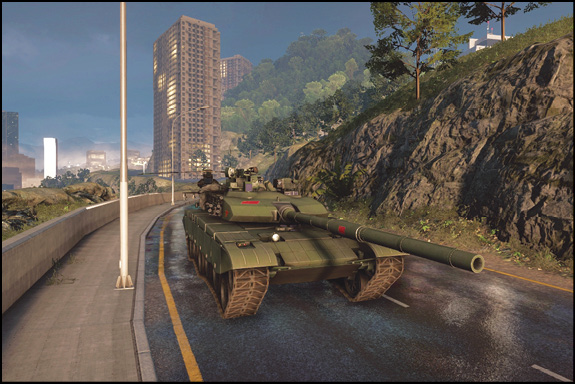
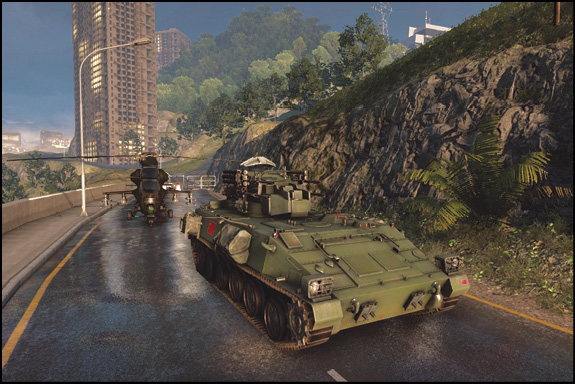
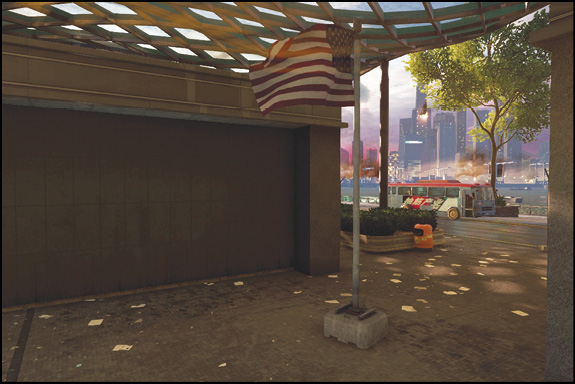
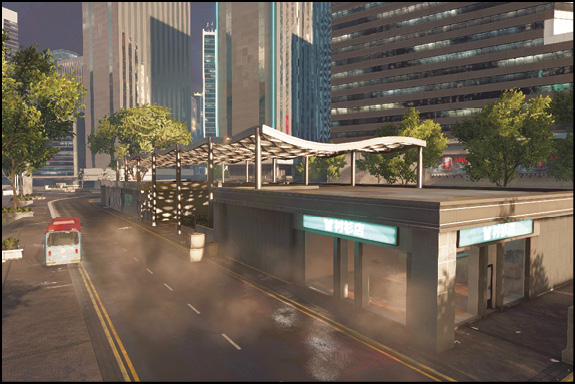
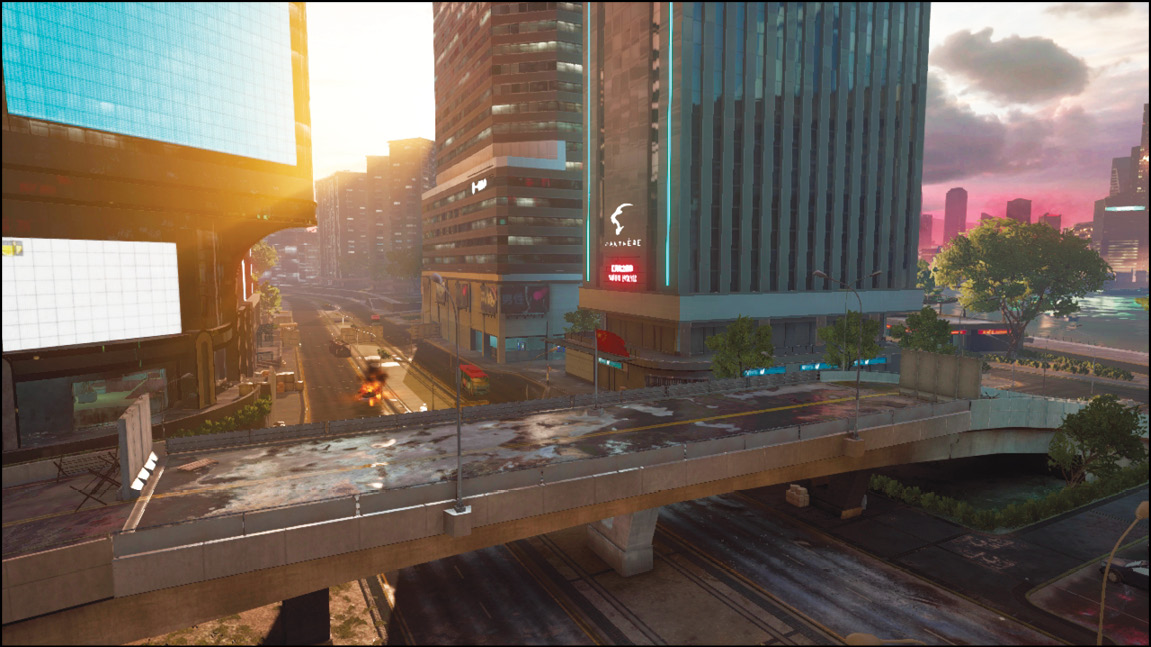
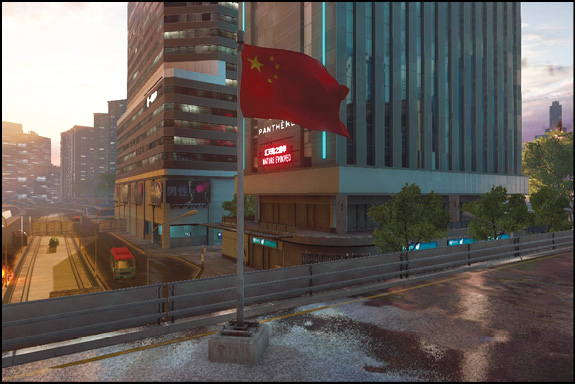
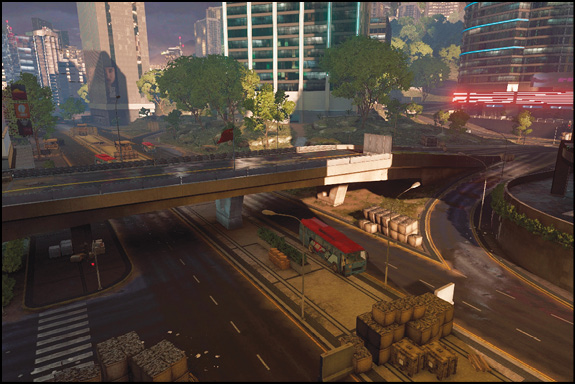
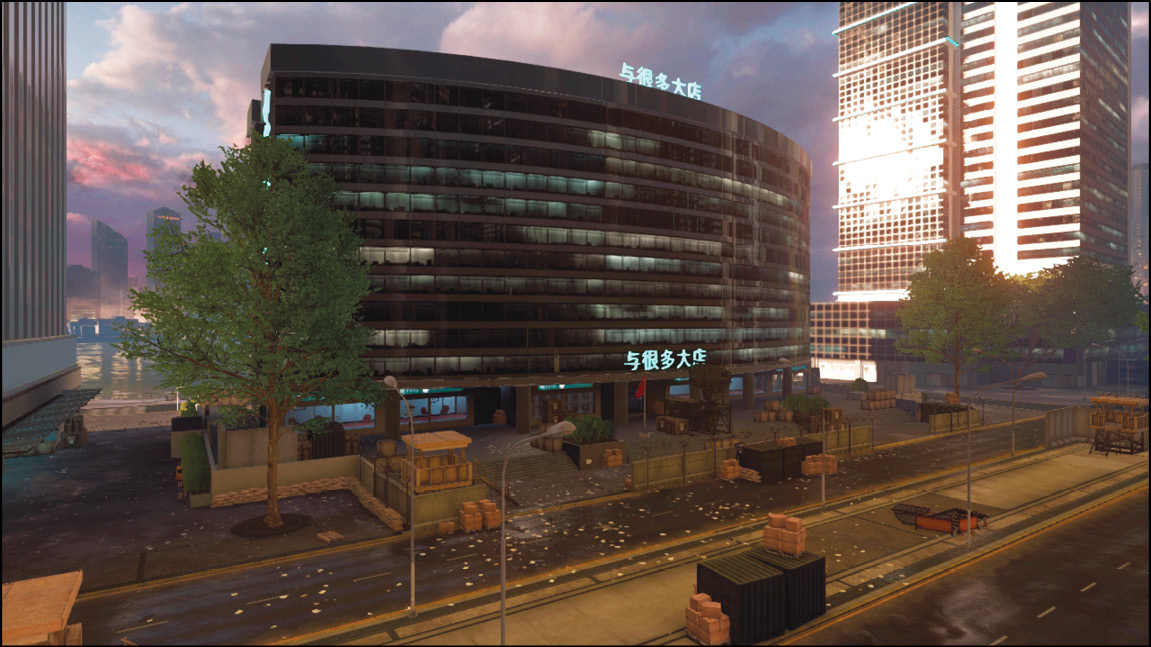
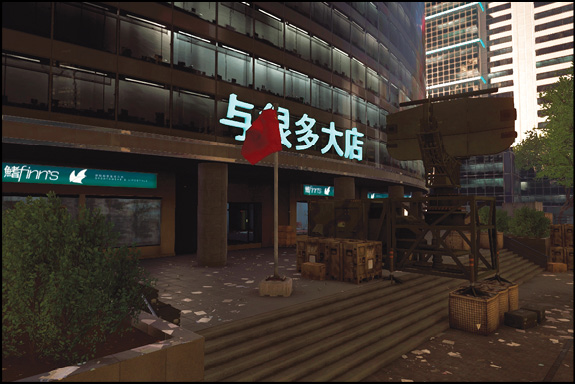
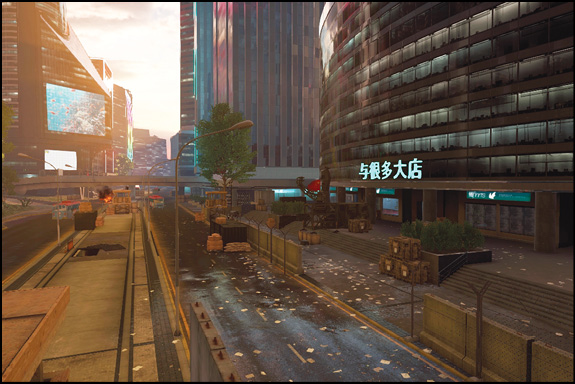
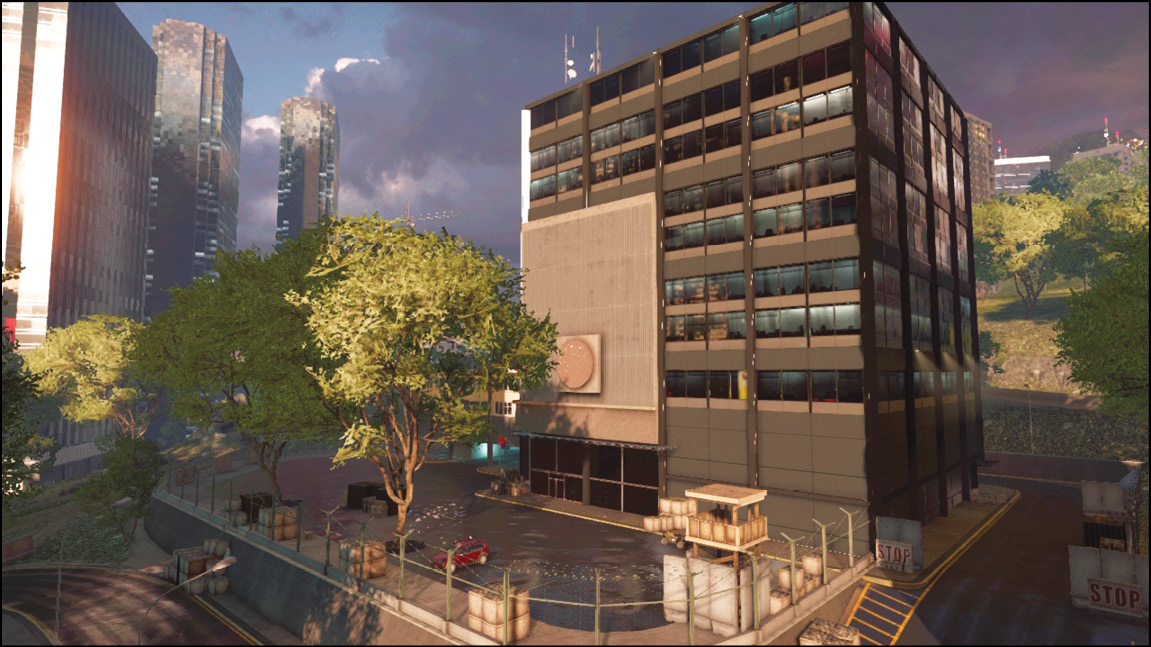
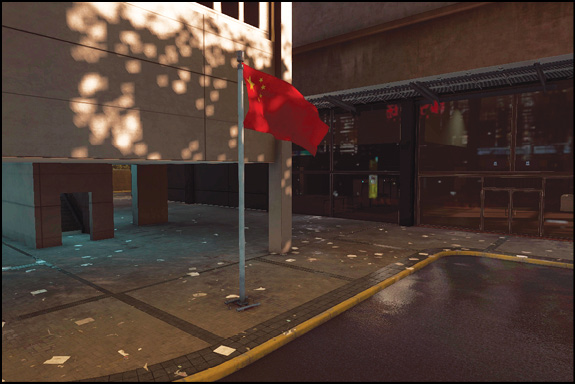
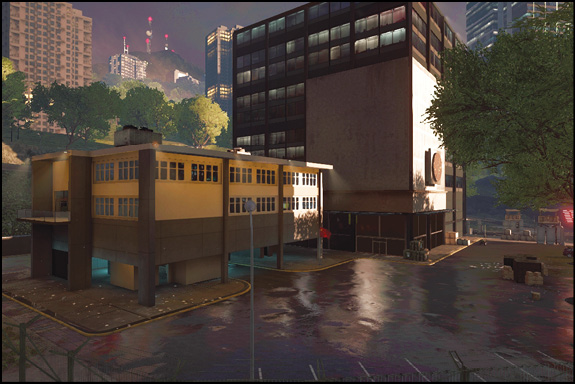
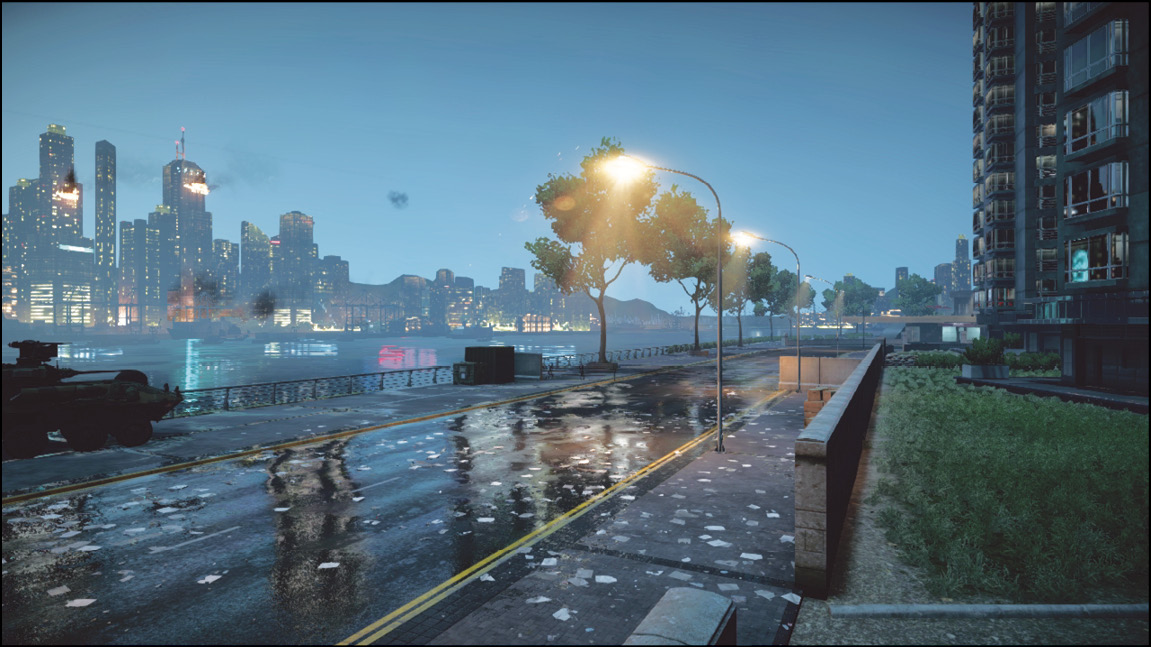
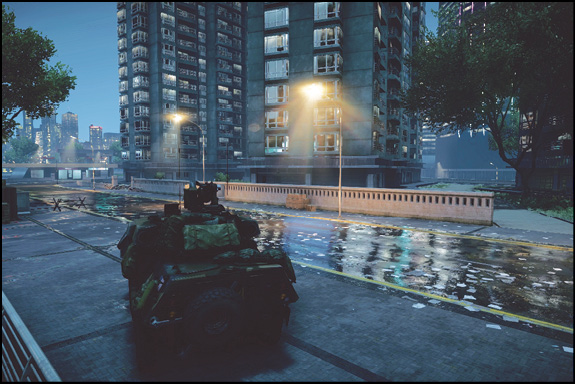
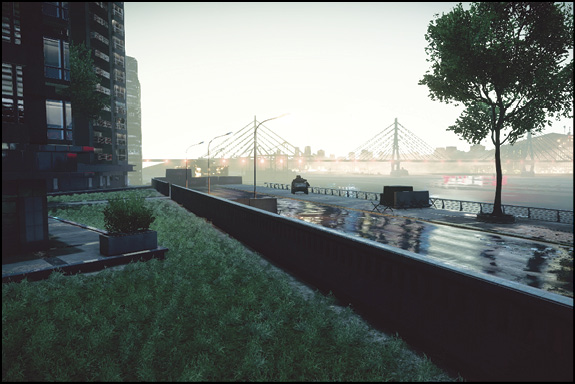
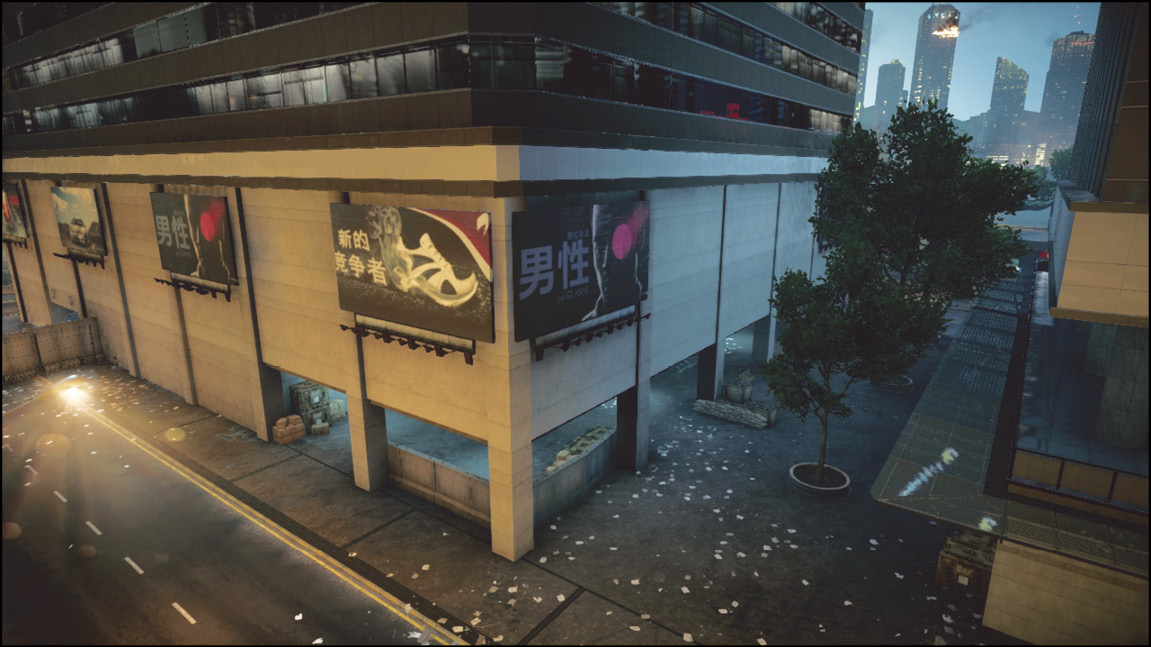
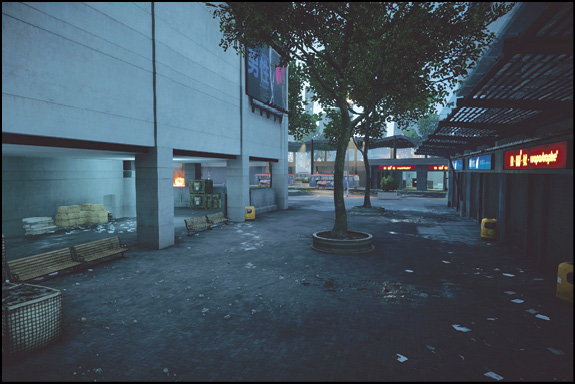
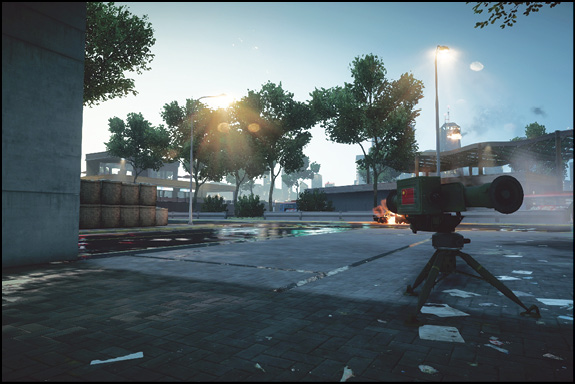
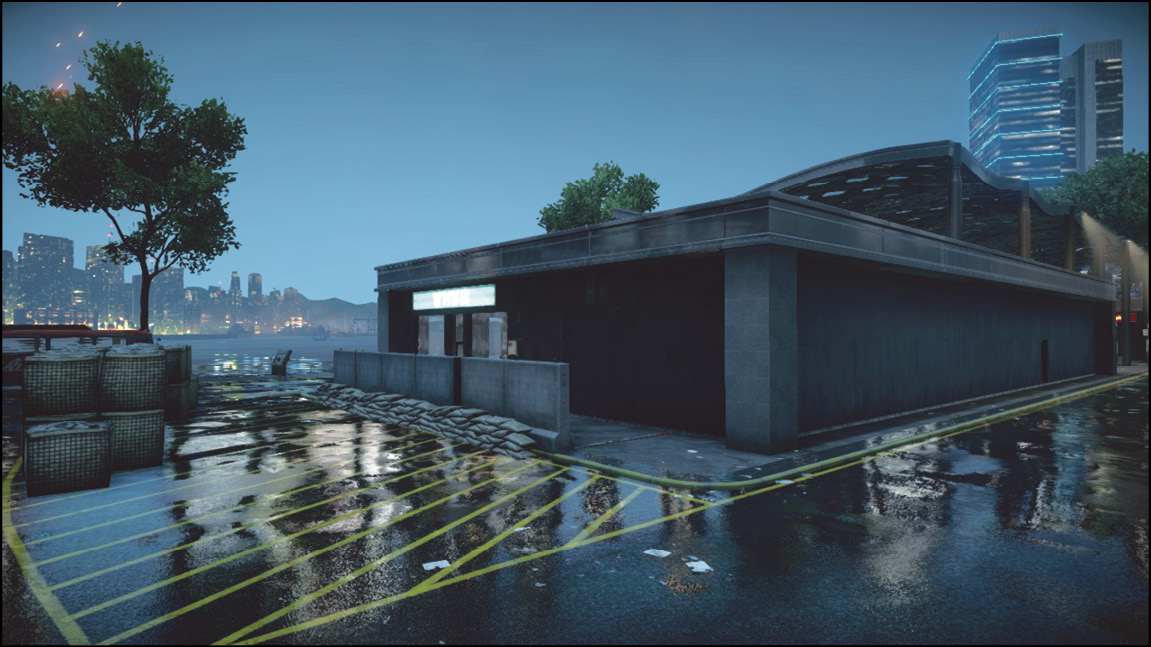
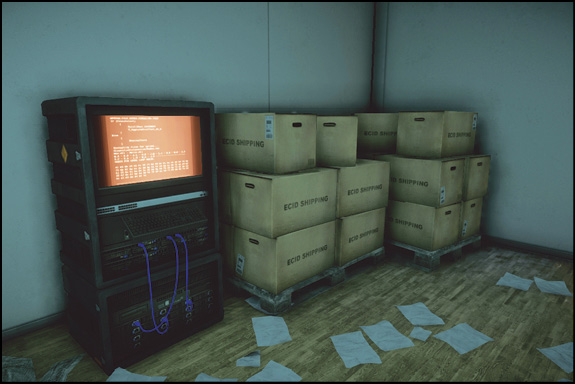
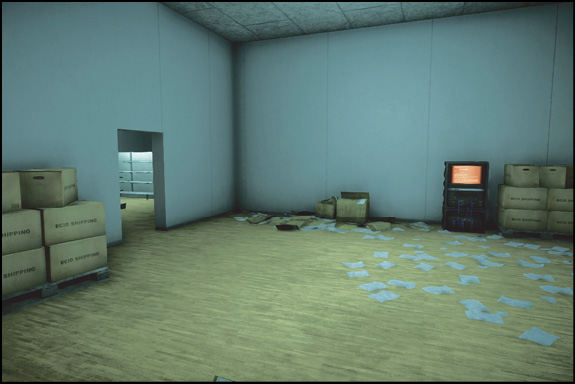
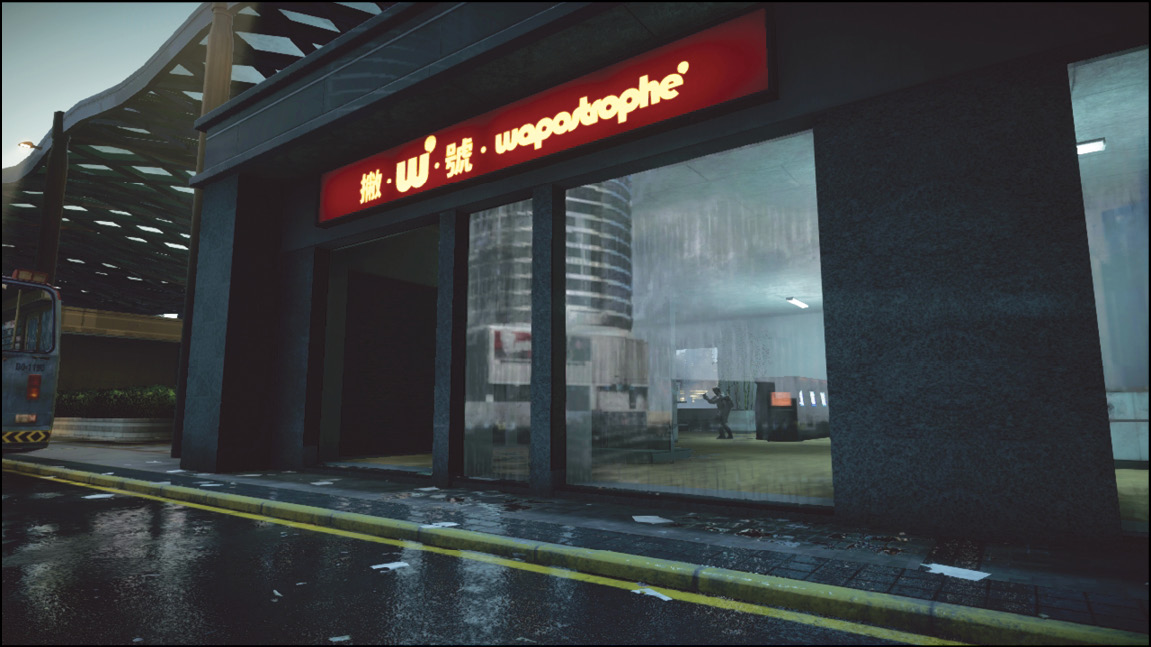
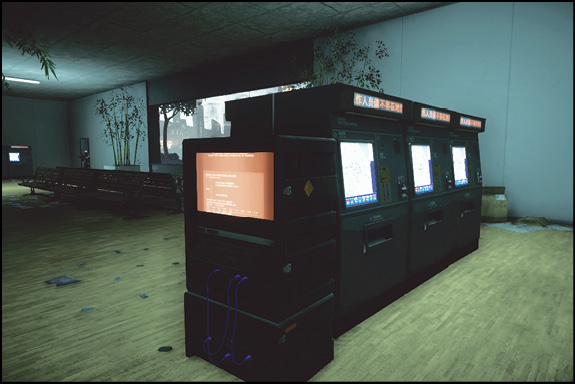
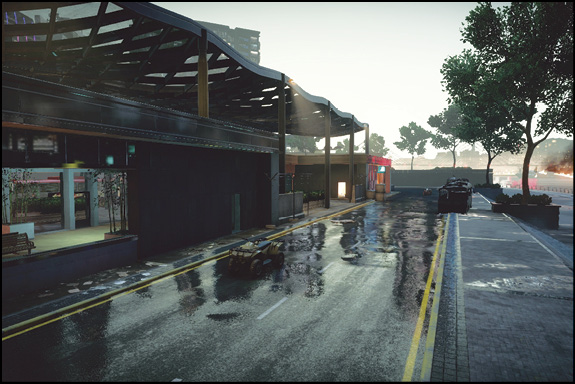
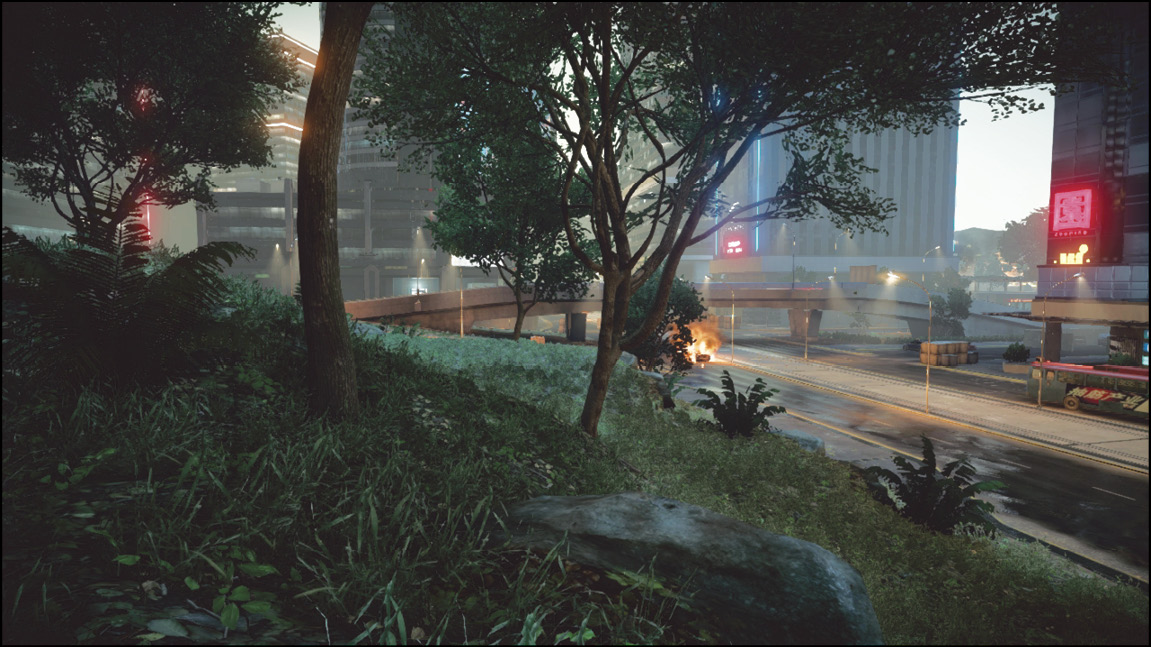
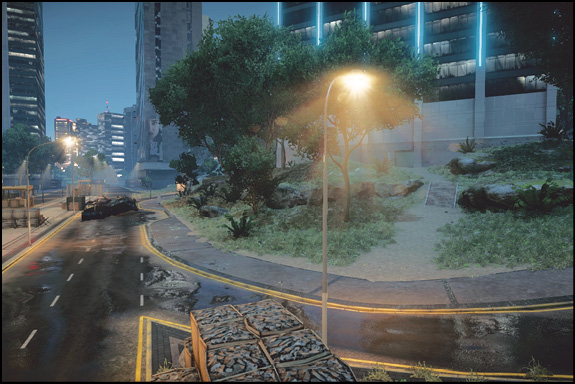
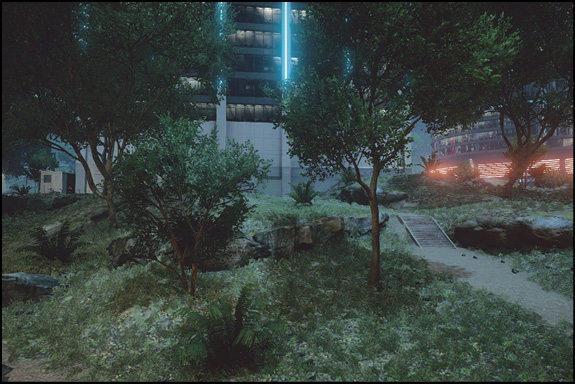
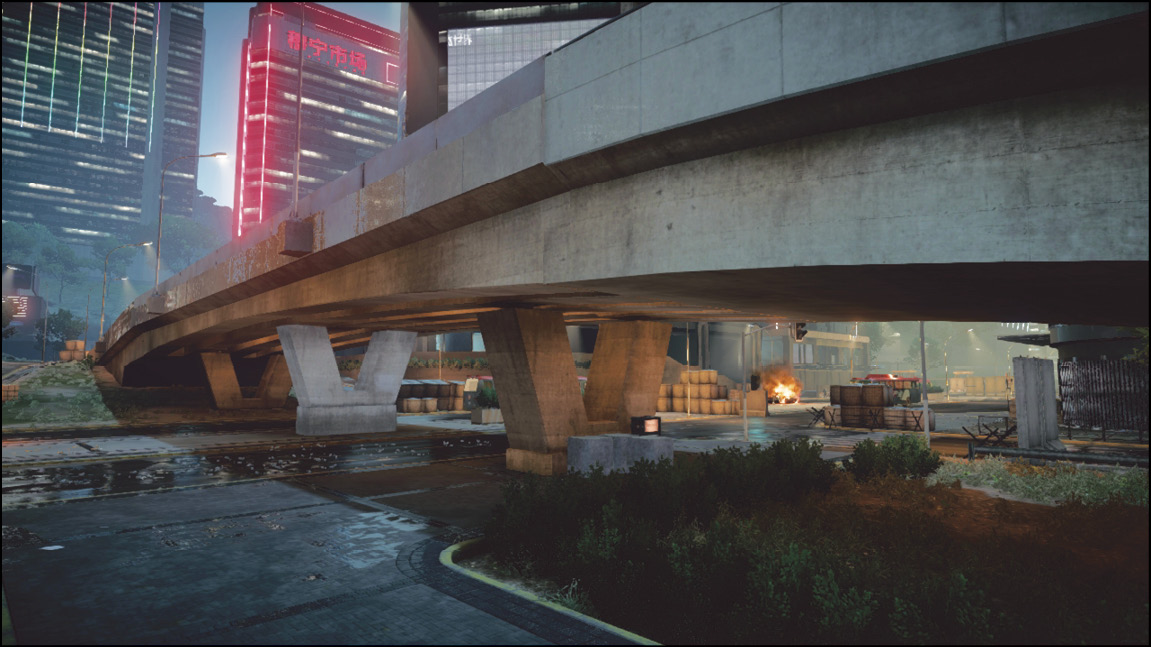
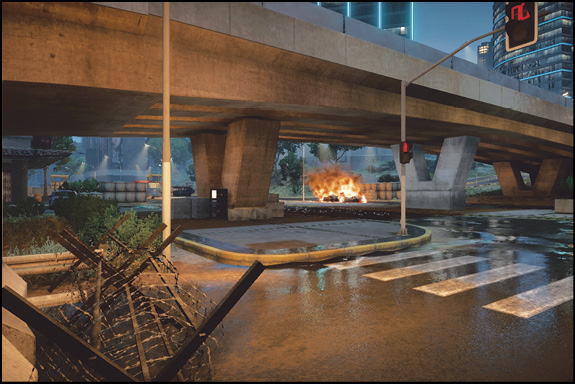
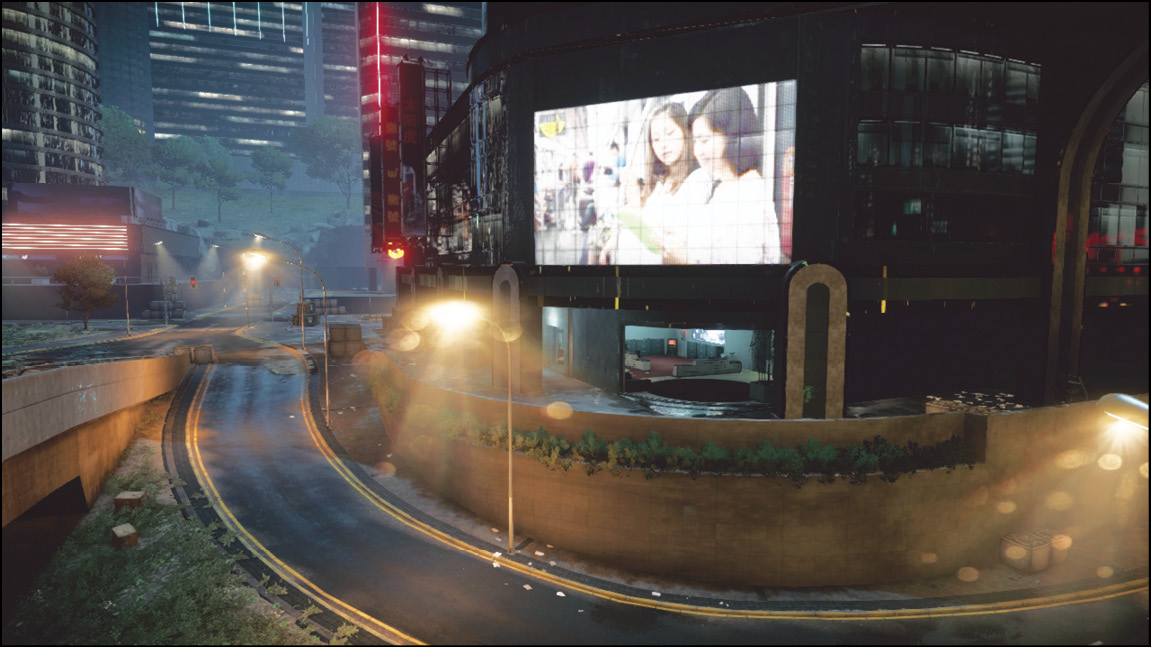
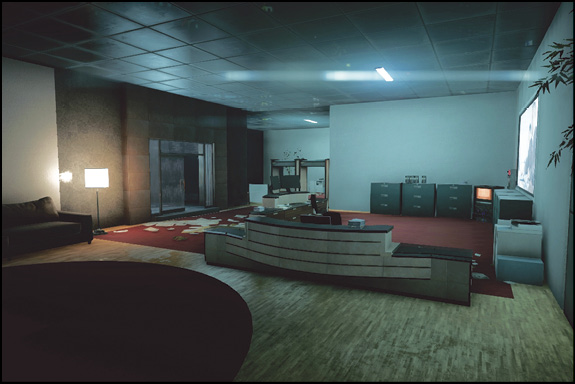
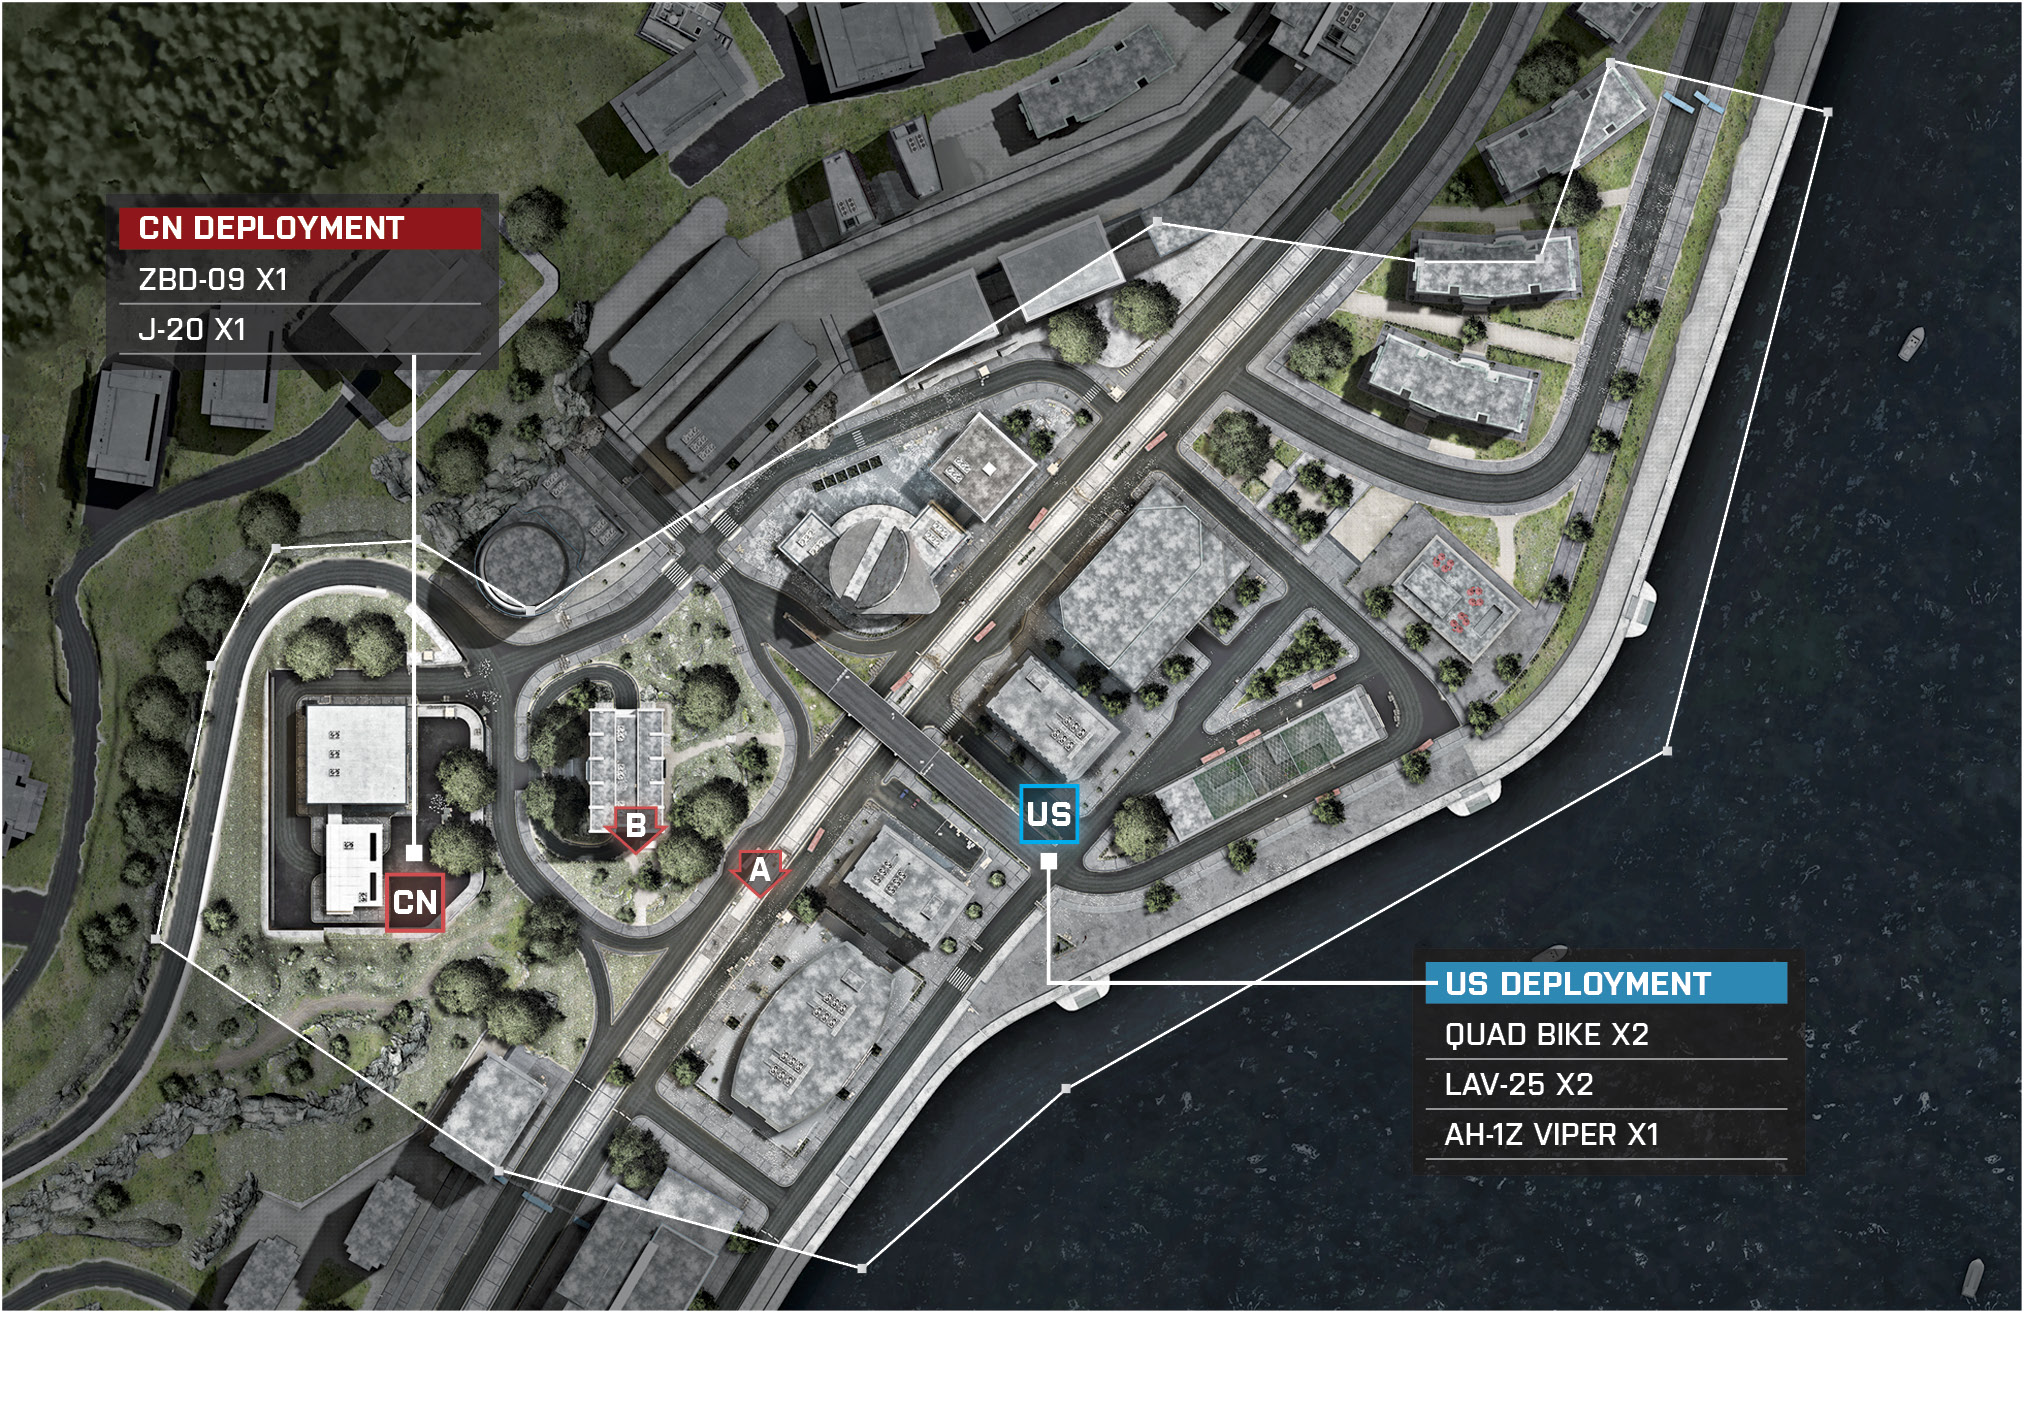
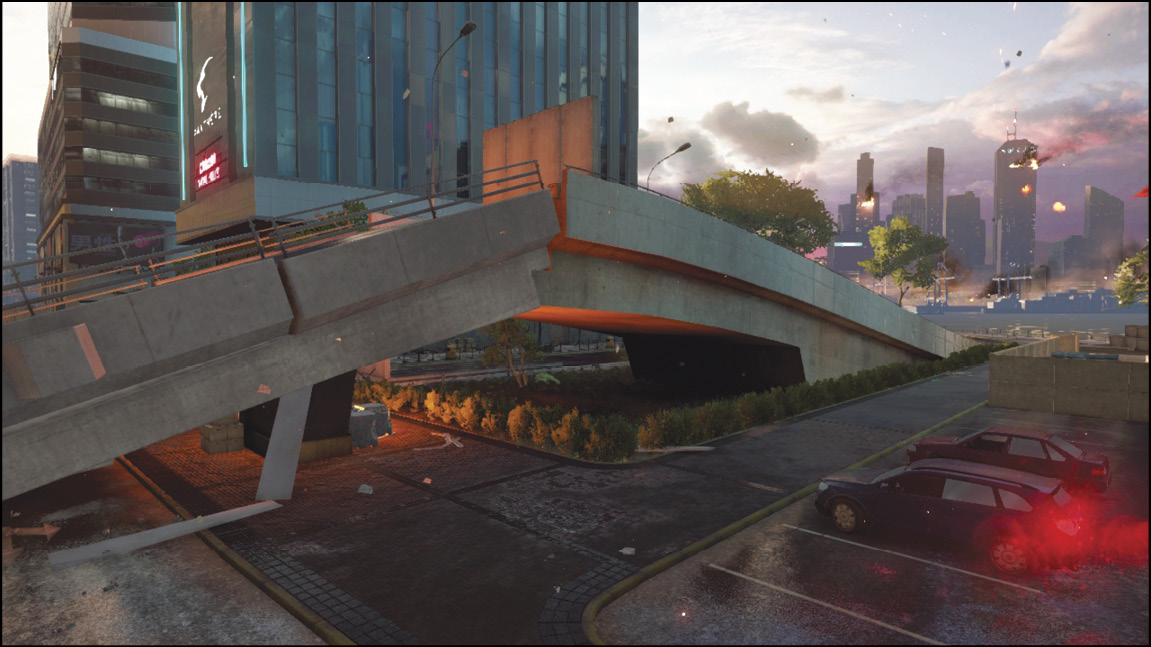
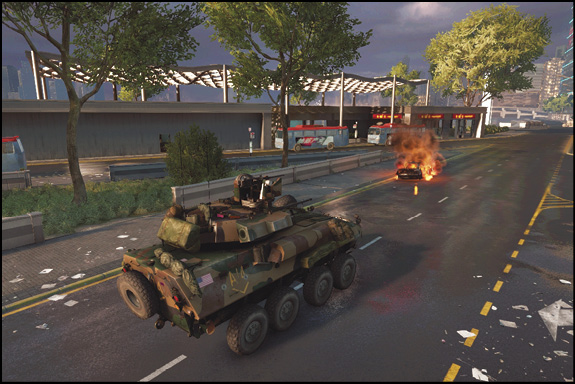
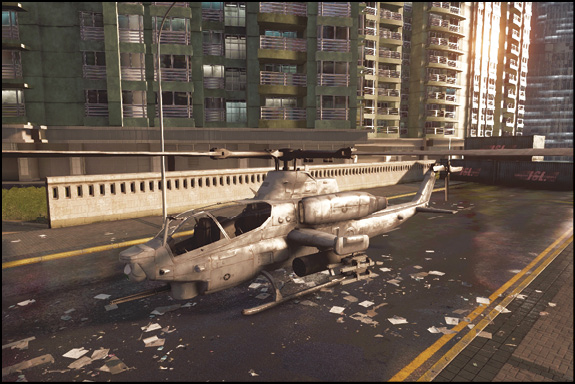
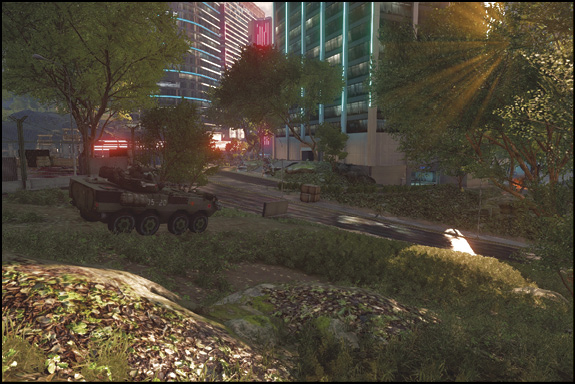
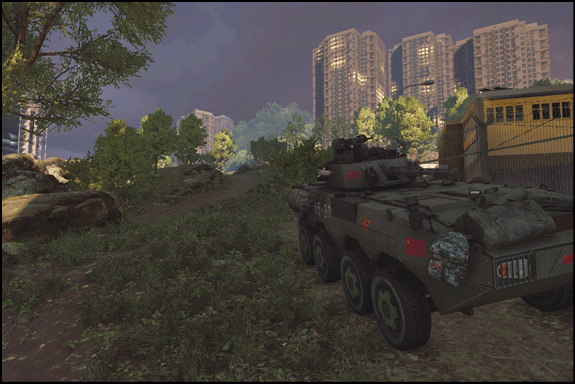
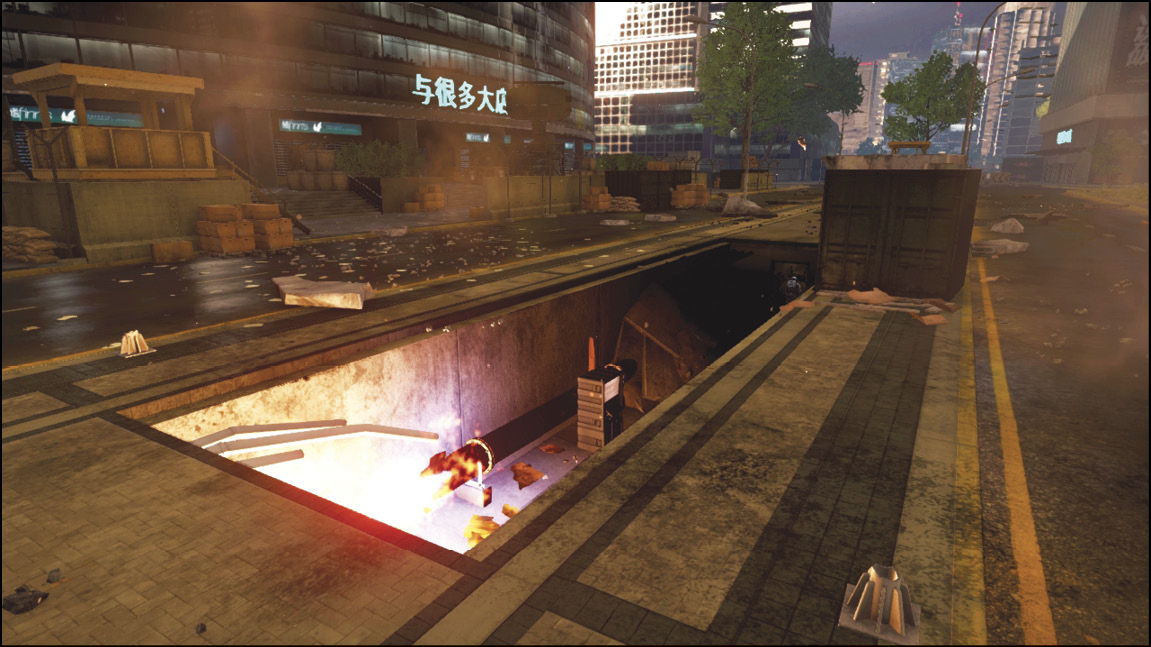
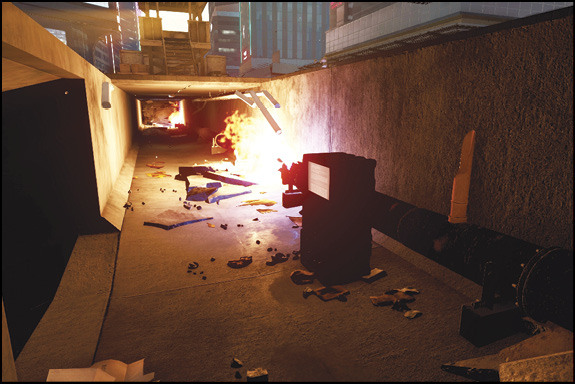
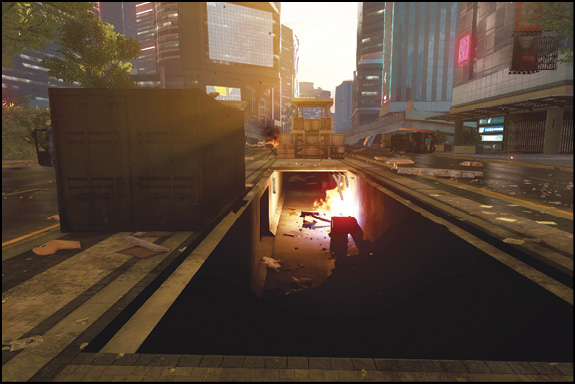
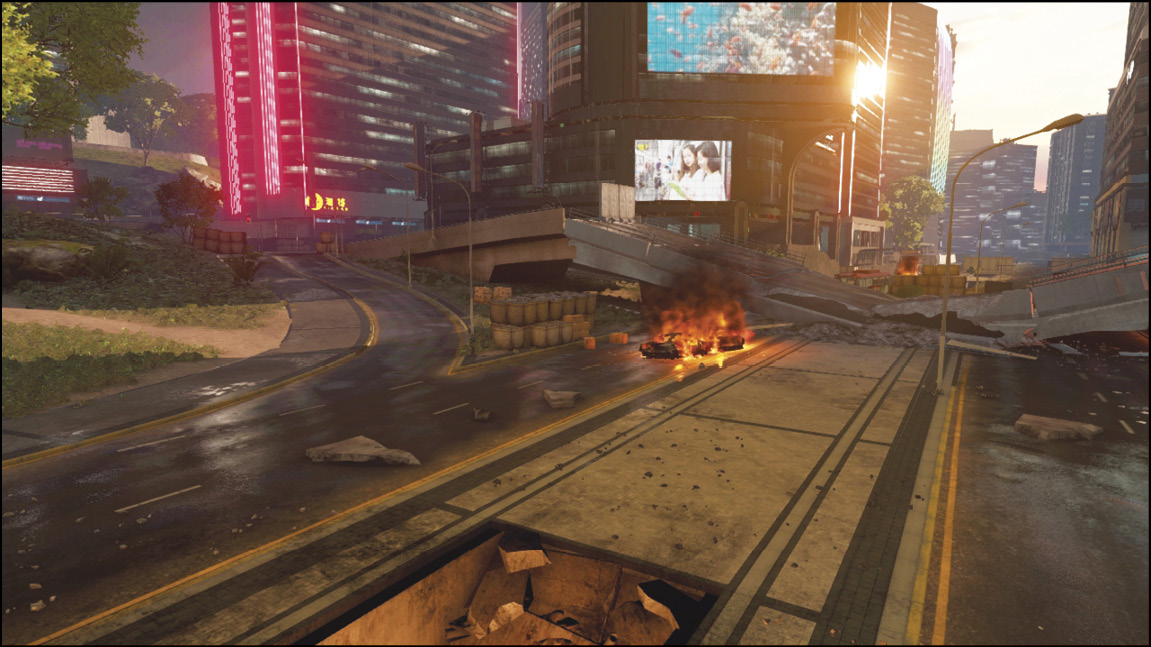
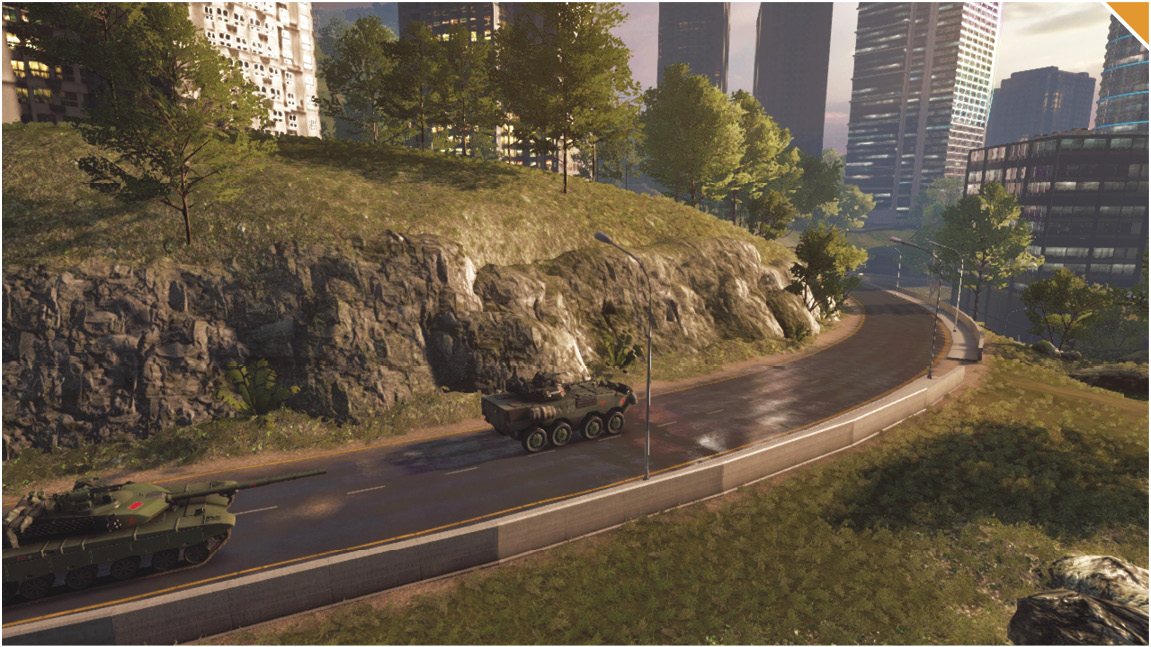
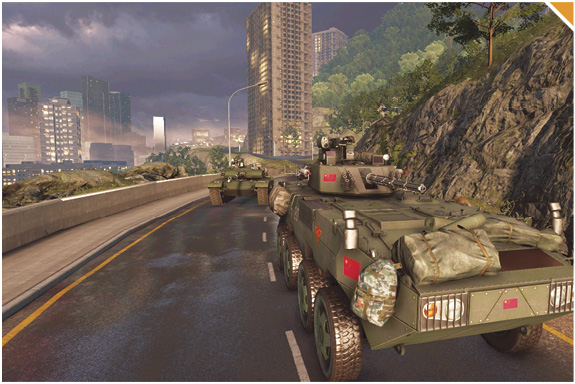
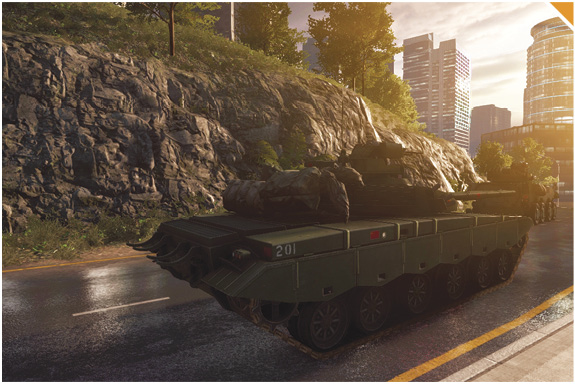
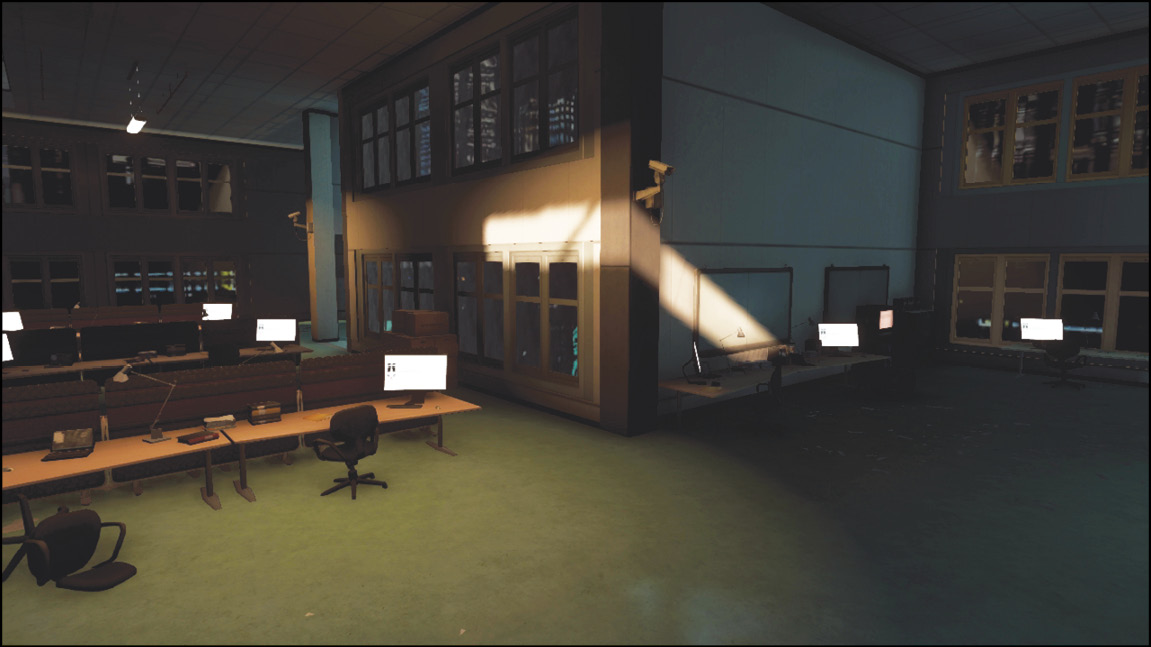
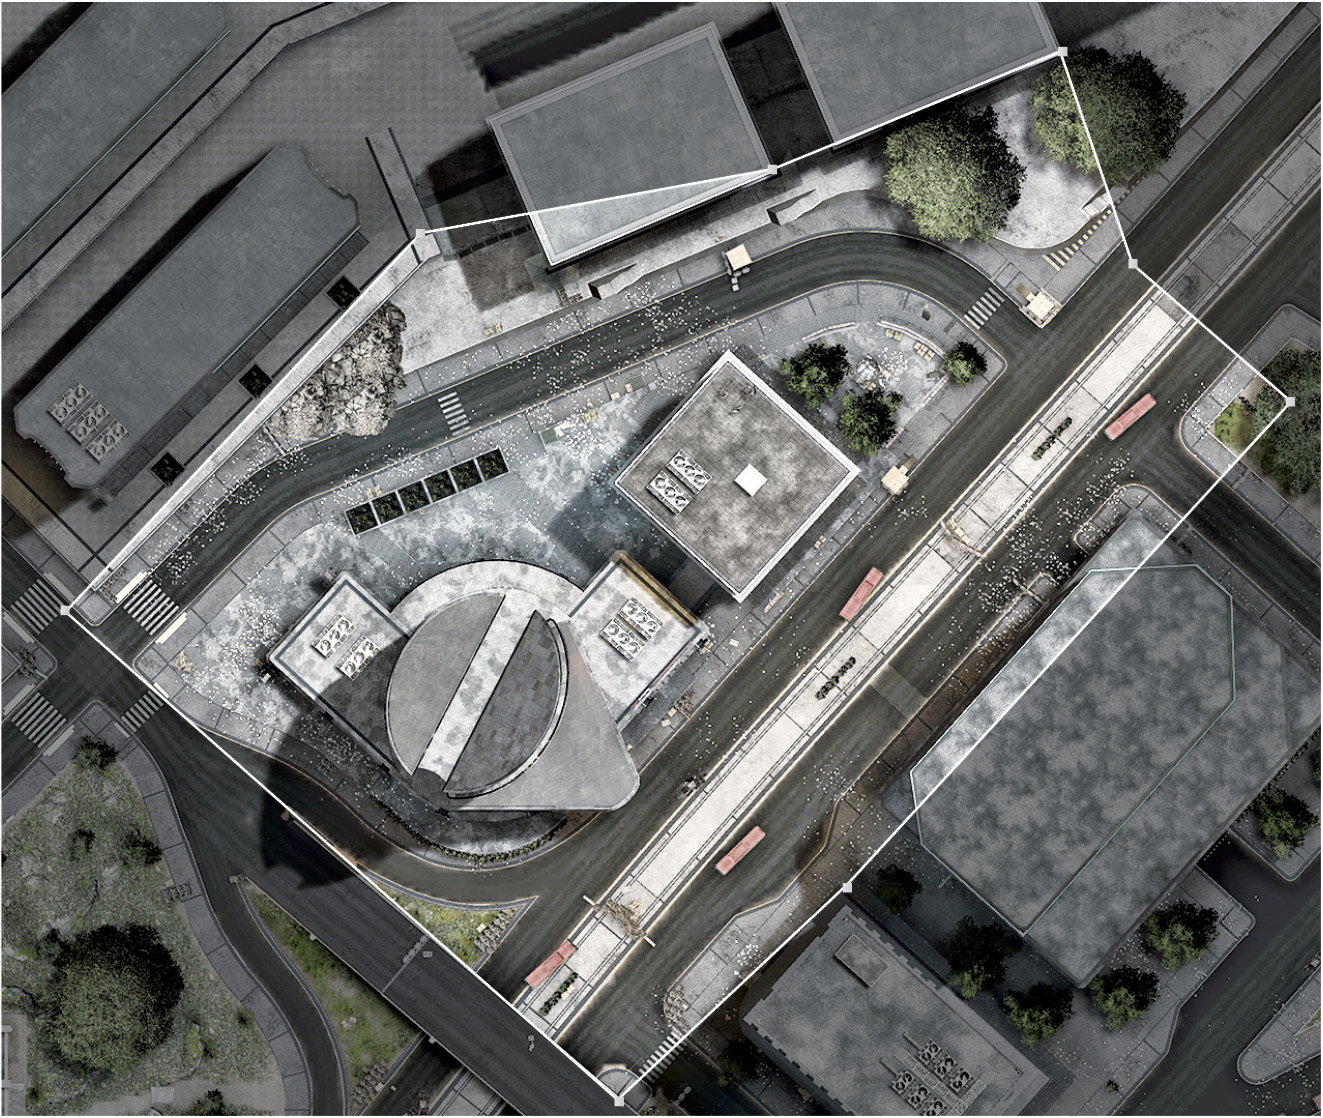
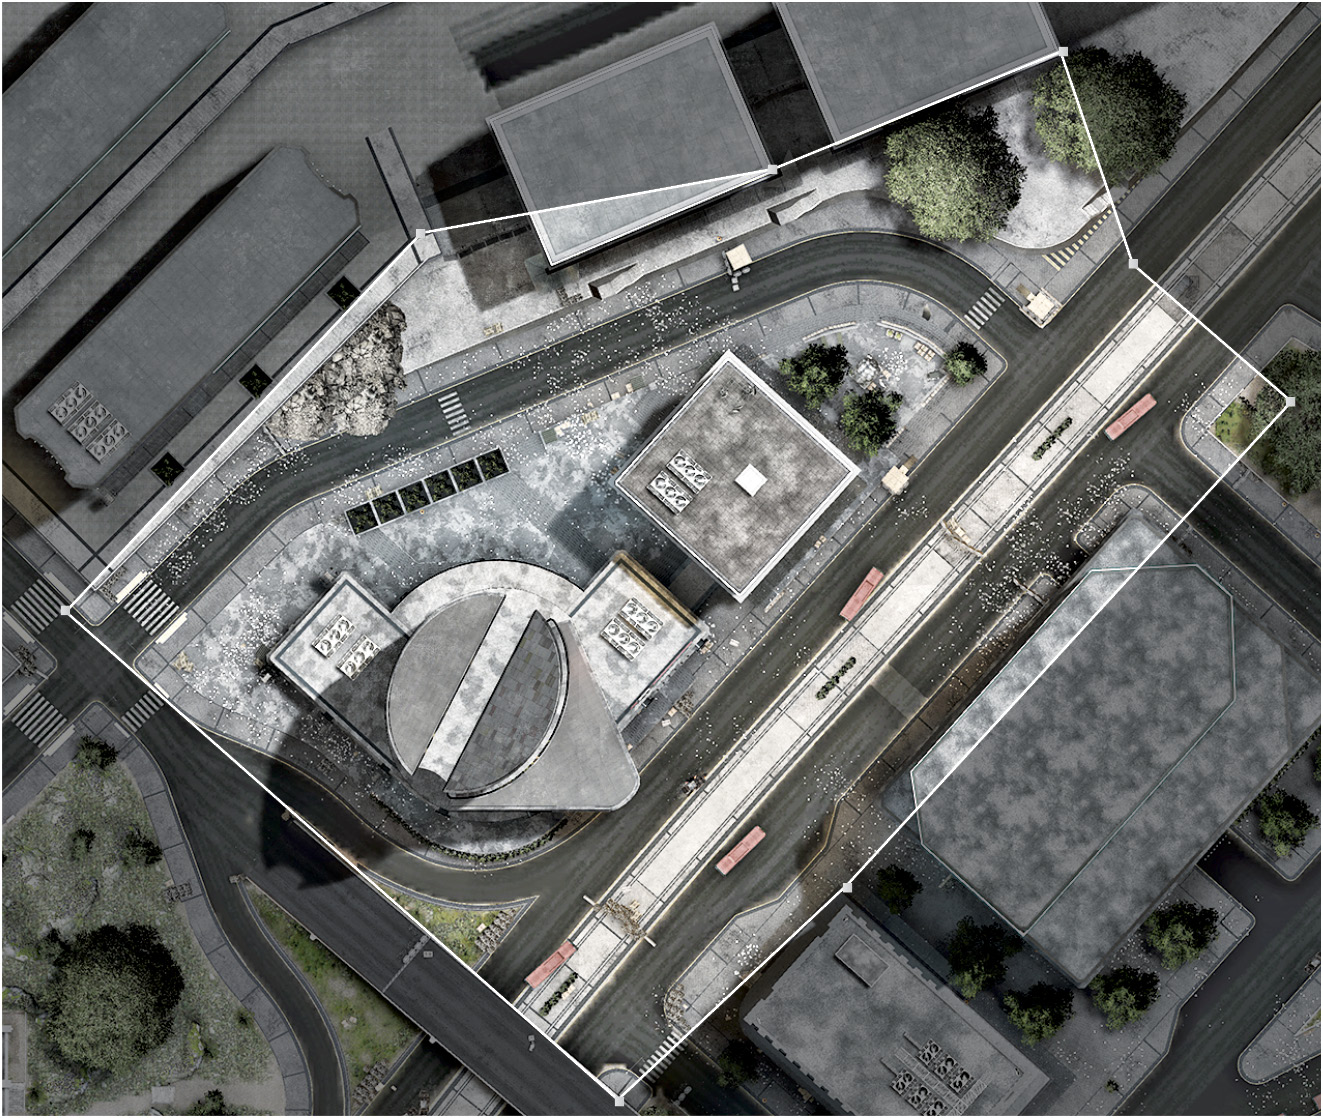
Building pressure in a subterranean gas pipe causes an explosion, damaging the central avenue and collapsing the Bridge.
How is it triggered?
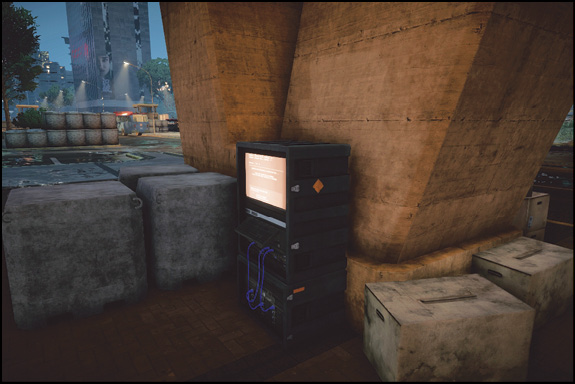
Increase pressure on both sides of avenue by operating two valves beneath the street. Pressure can be increased and decreased by interacting with these two valves. The explosion occurs shortly after pressure is maximized on both sides.
How is gameplay impacted?
The central avenue is filled with debris and a trench-like fissure opens up along the median, providing cover and concealment for infantry advances. The collapsed Bridge and other debris make vehicle movement difficult along the avenue.
Alpha Squad: Impressions
Mabooza
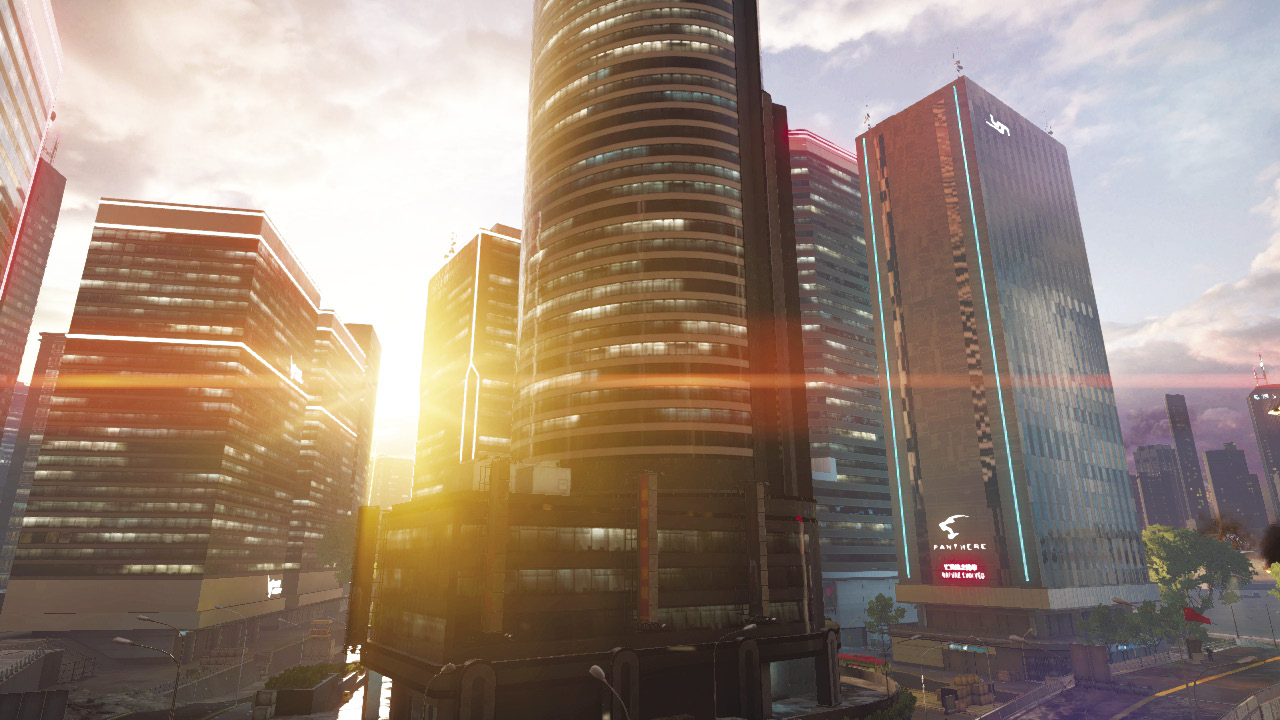
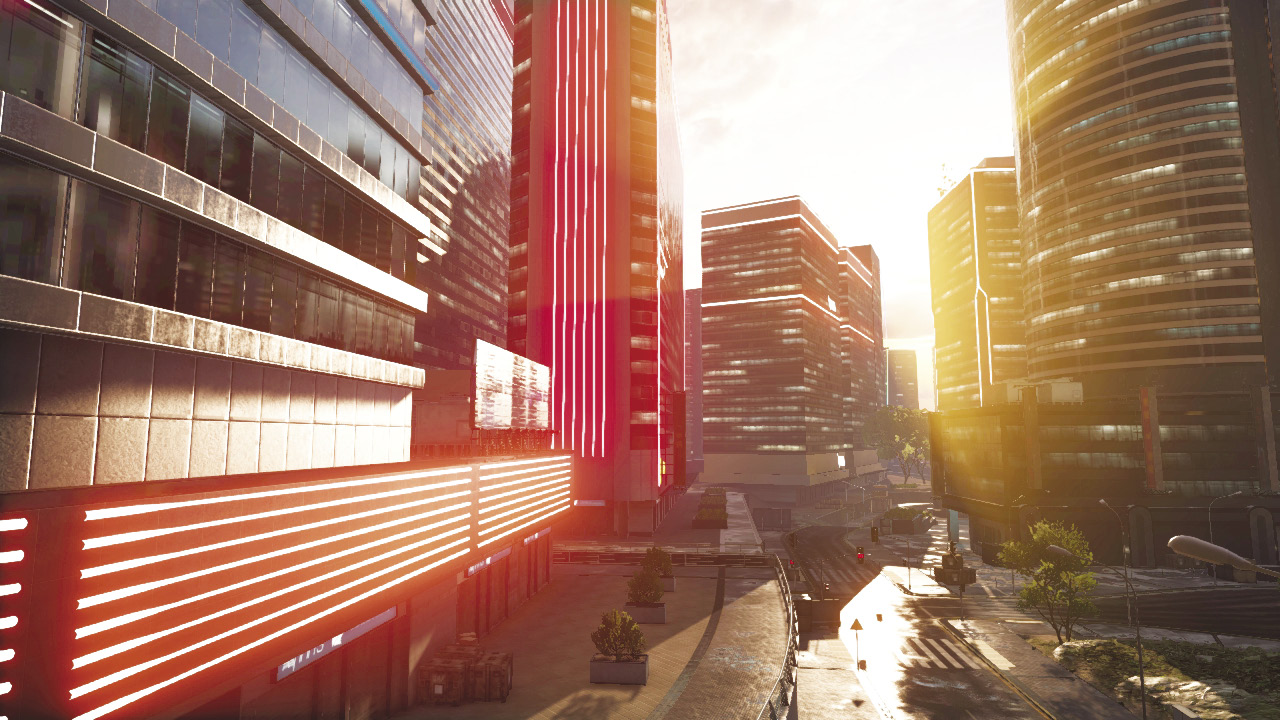
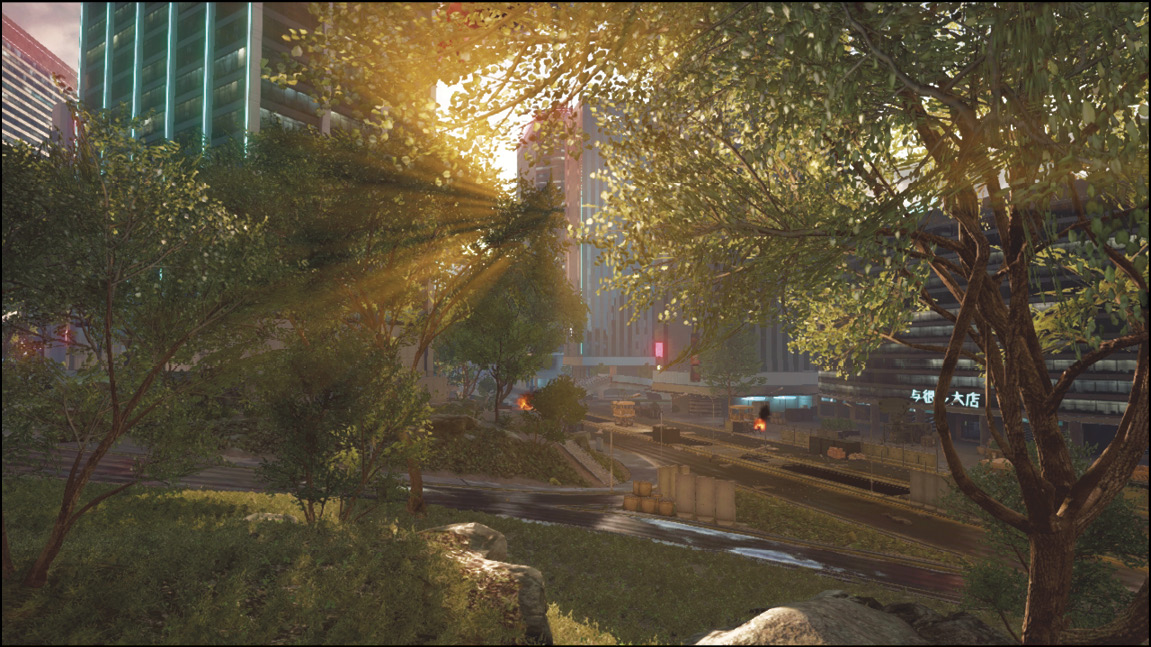
Form a purely aesthetic perspective, Dawnbreaker is absolutely stunning, with rays of sunlight peeking through the rows of skyscrapers. But don’t get caught sightseeing. This is a relative compact urban environment, easily traversed by both infantry and vehicles. With all the cover and accessible building interiors, you may want to consider moving around on foot. Just make sure you have a few engineers in your squad to deal with the large number of enemy ground and airvehicles you’re likely to encounter.
StrongSide
When first playing on this map I thought the features were incredible. Playing in the shadowy night makes this map come to life. I love to sneak through the alleyways and buildings on this map. You’ll also find me using the recon class, sniping away from the rooftops.
Walshy
The urban combat on this map has no match. Whether you are trying to fly through the narrow airspace between the buildings or trying to sneak around on foot, every location you go in Dawnbreaker has intense battles waiting for you as you try to outsmart the opponent at every turn.
Flamesword
Playing this map for the first time was very exciting. I enjoyed moving throughout various buildings to find elevators that led to the top of the building. I set up shop and spotted enemies. If trouble came to me I would BASE jump off the building and make my getaway.
Elumnite
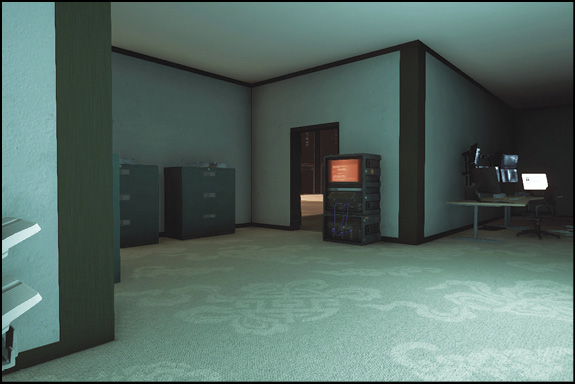
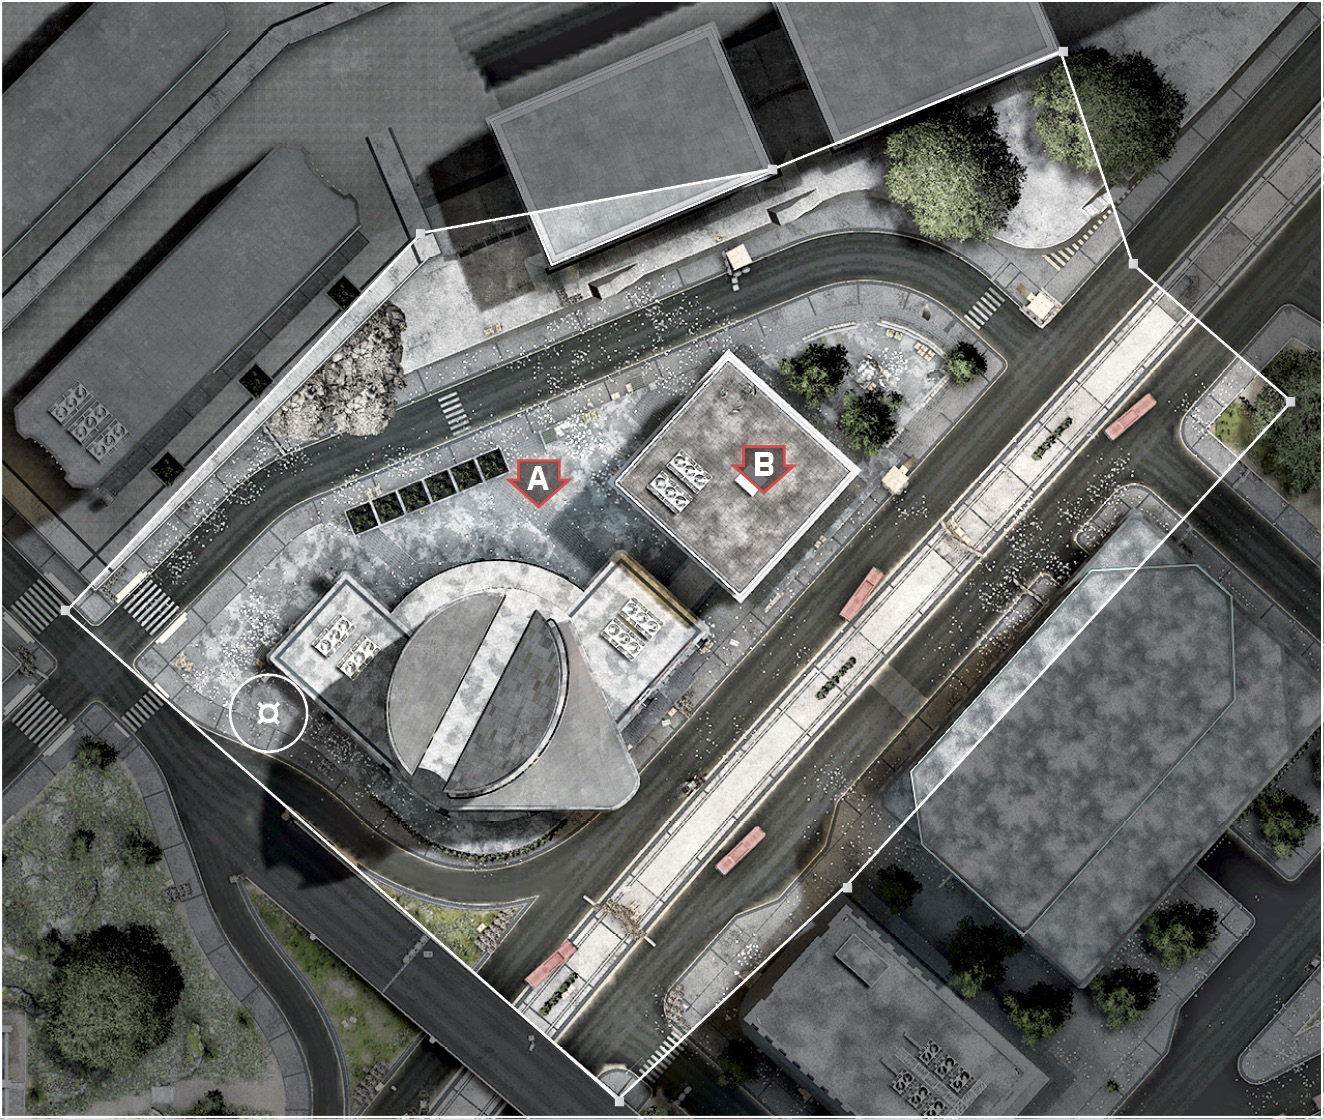
Dawnbreaker has a great mix of indoor vs. outdoor battles, and I like to utilize a generator in the small office in Rush on Zone 2 near M-COM Station B to engulf myself in darkness, impairing enemy vision. Levolution on this map is also crazy, turning the central avenue into a raging underground battlefield.
Conquest Large
Recommended Squad Composition:
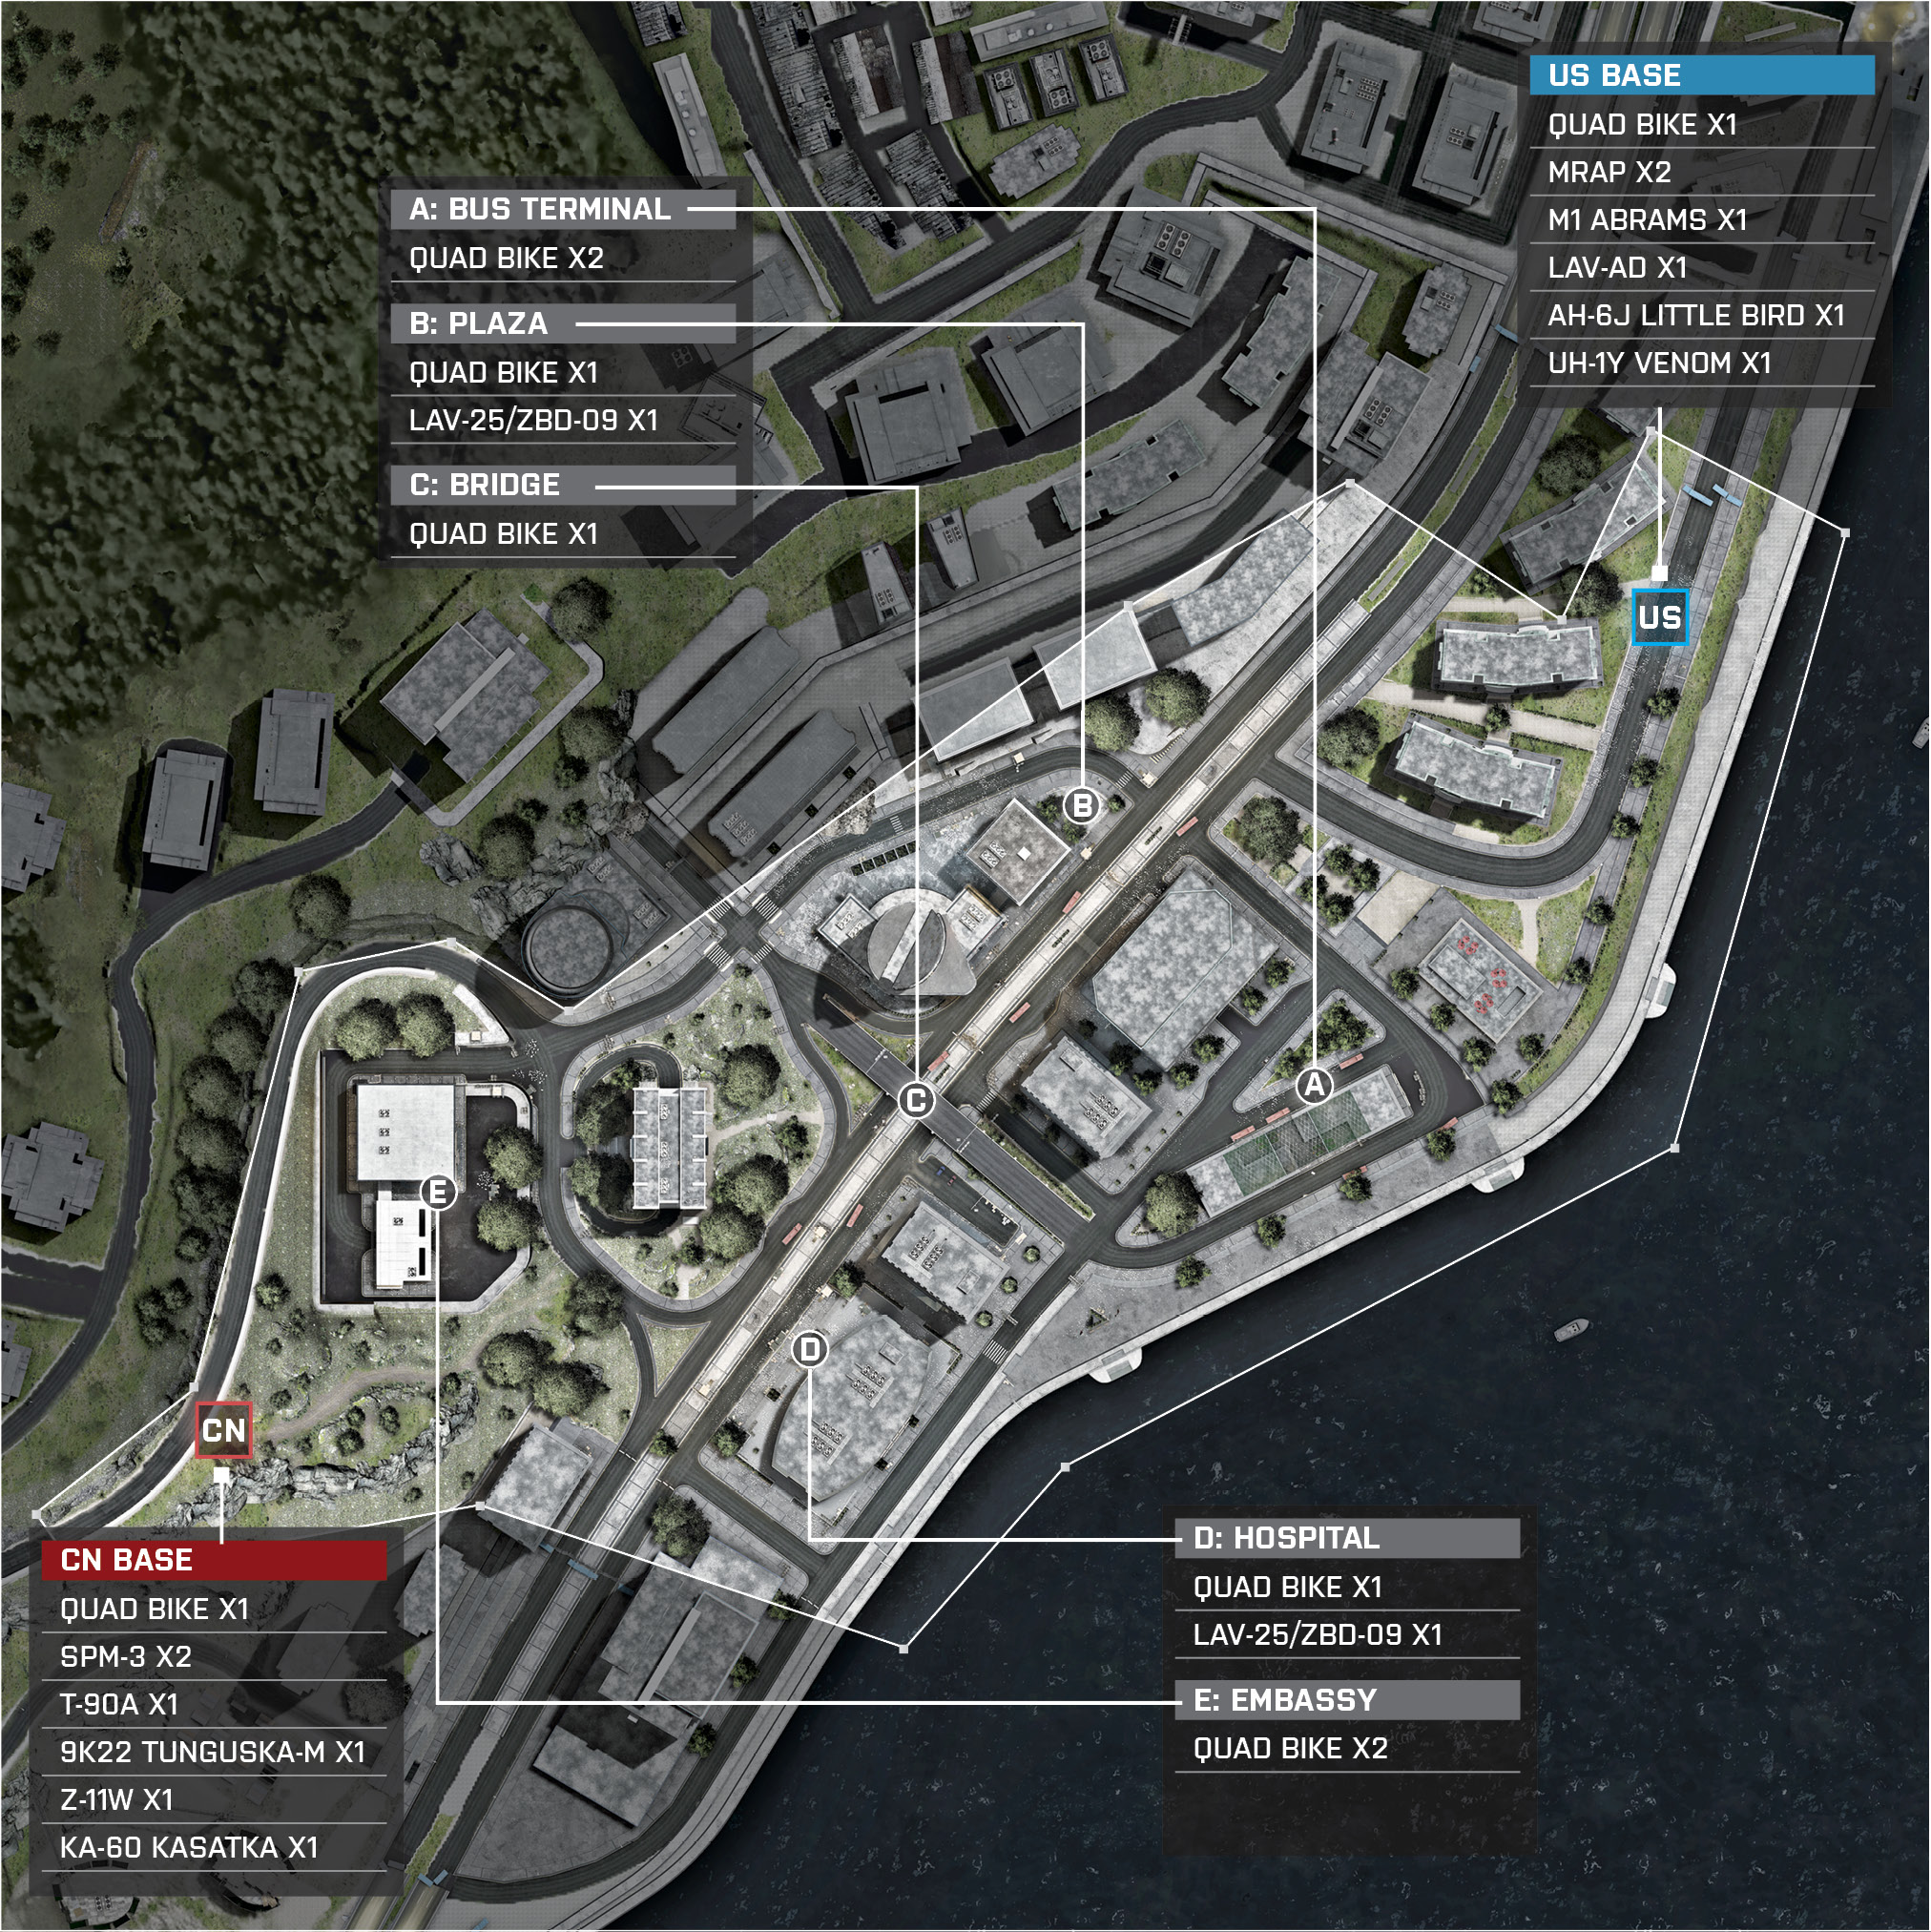
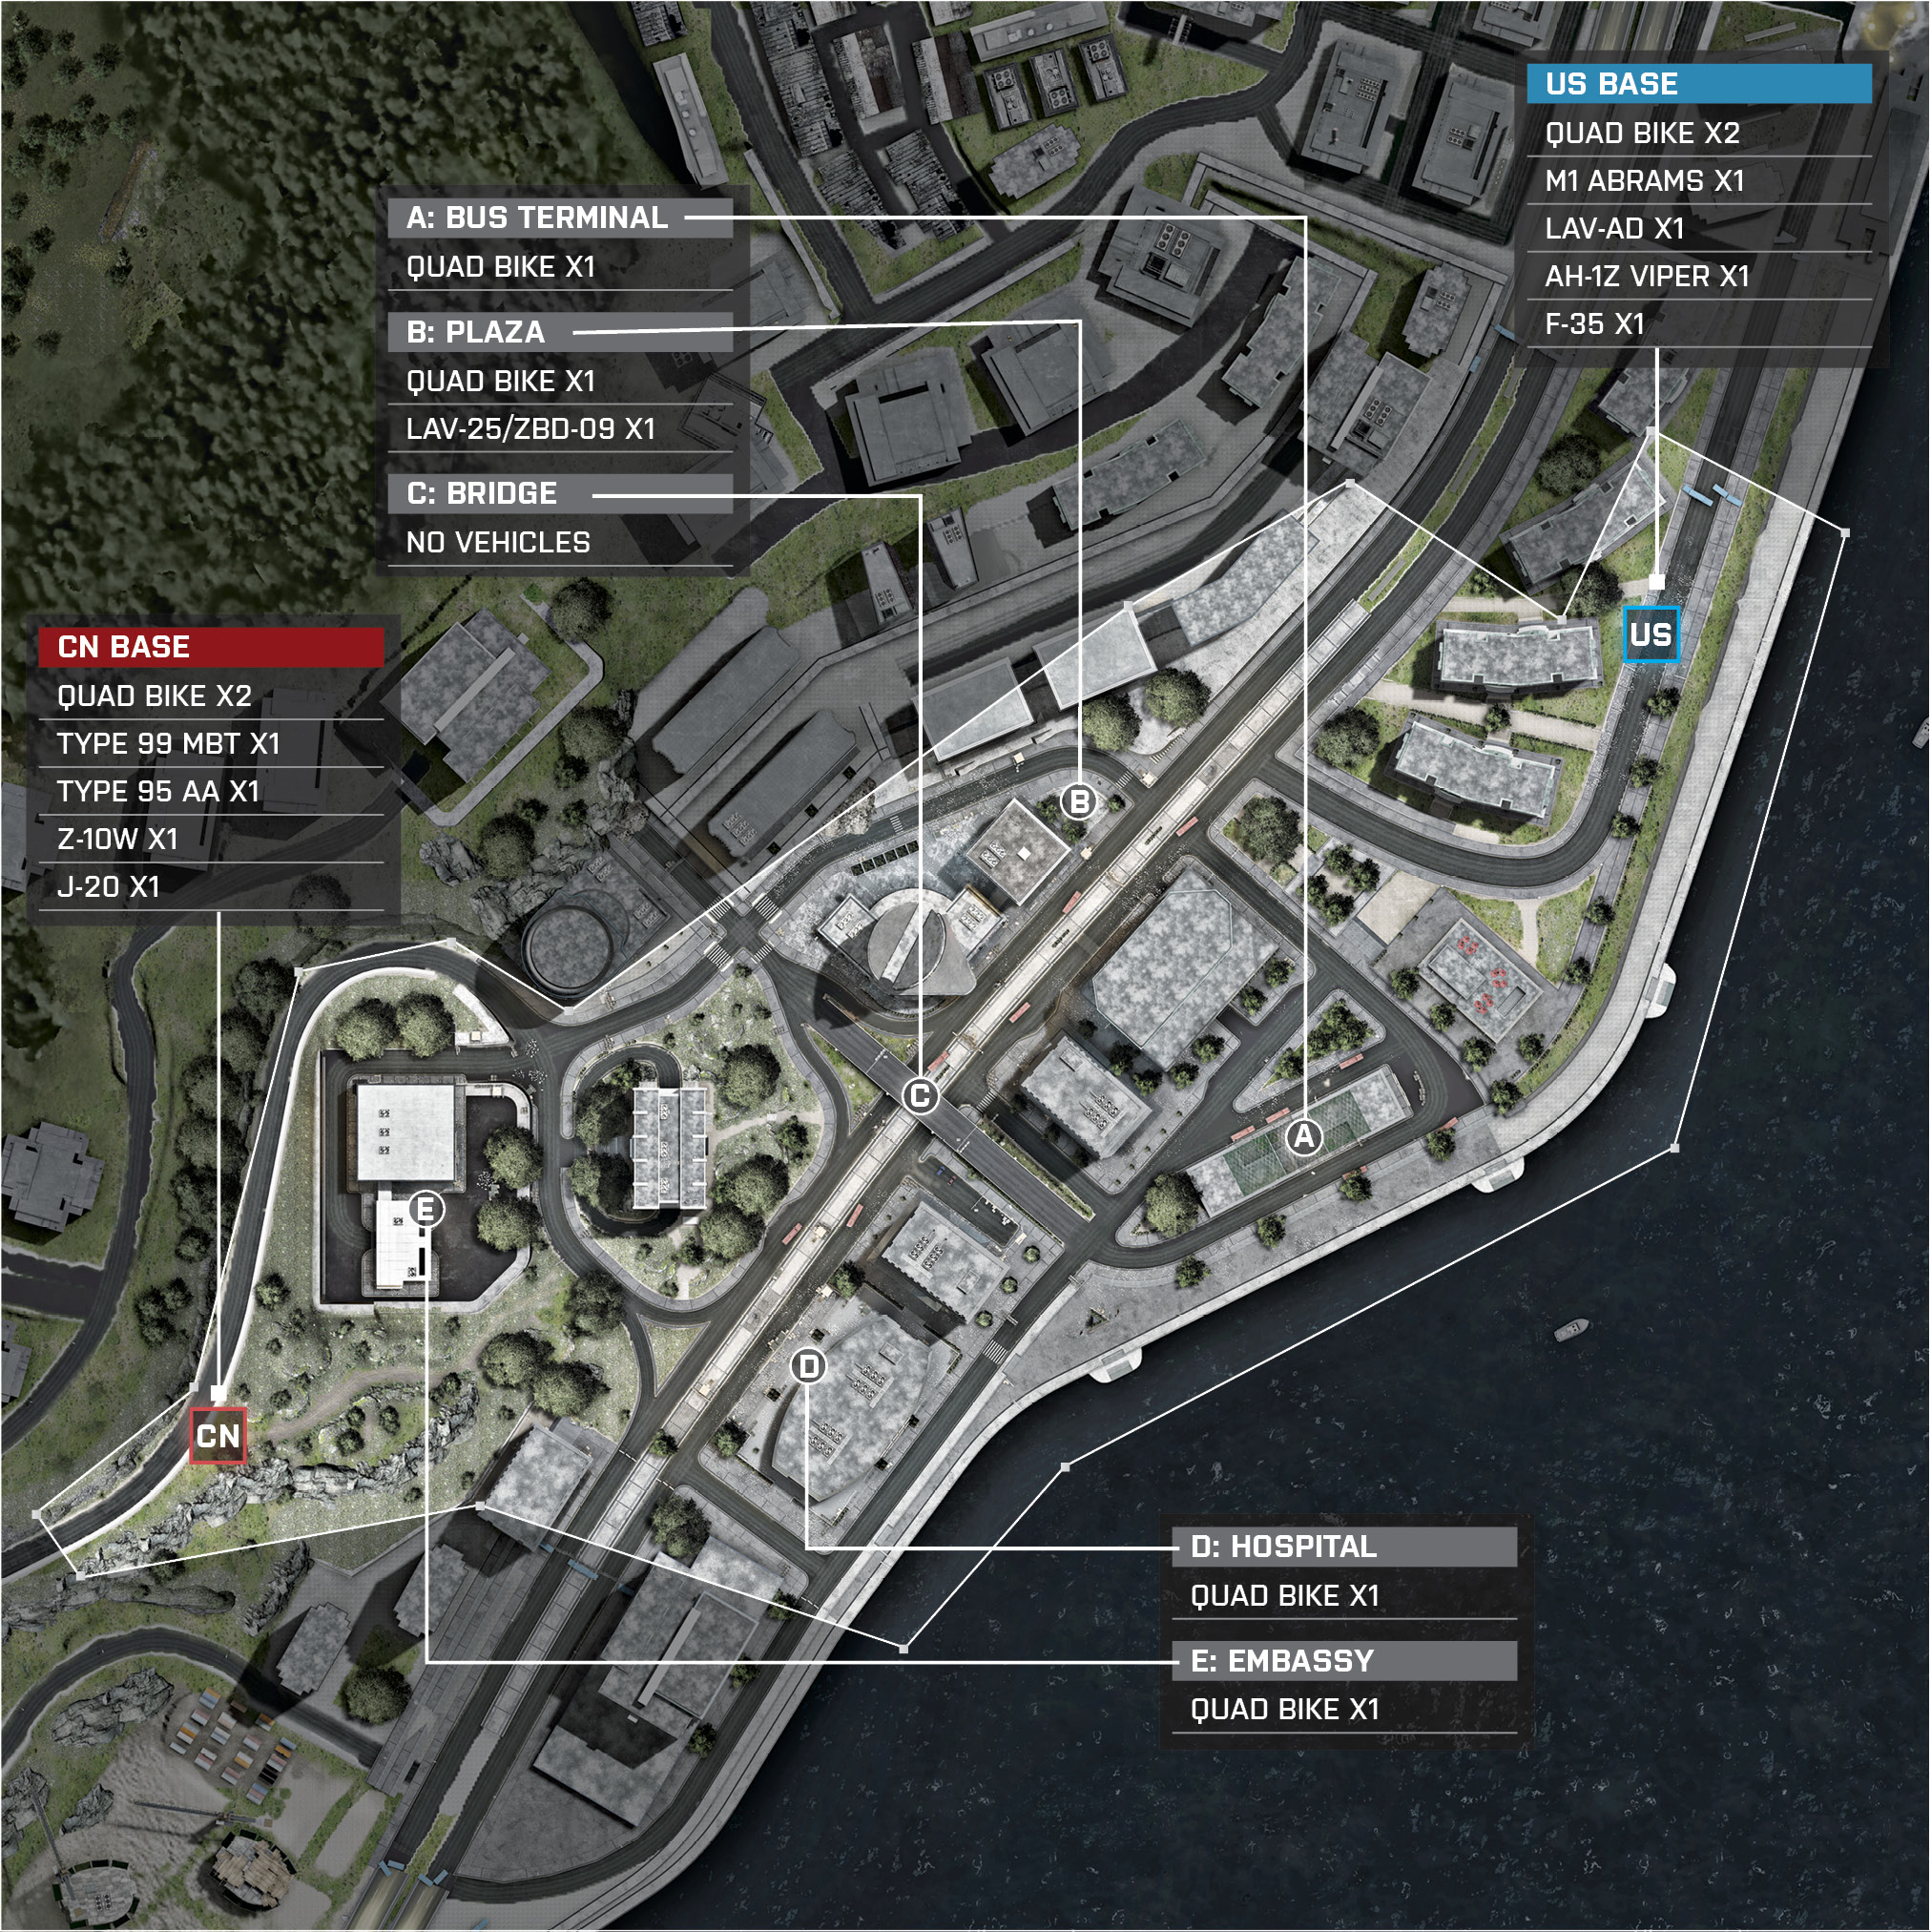
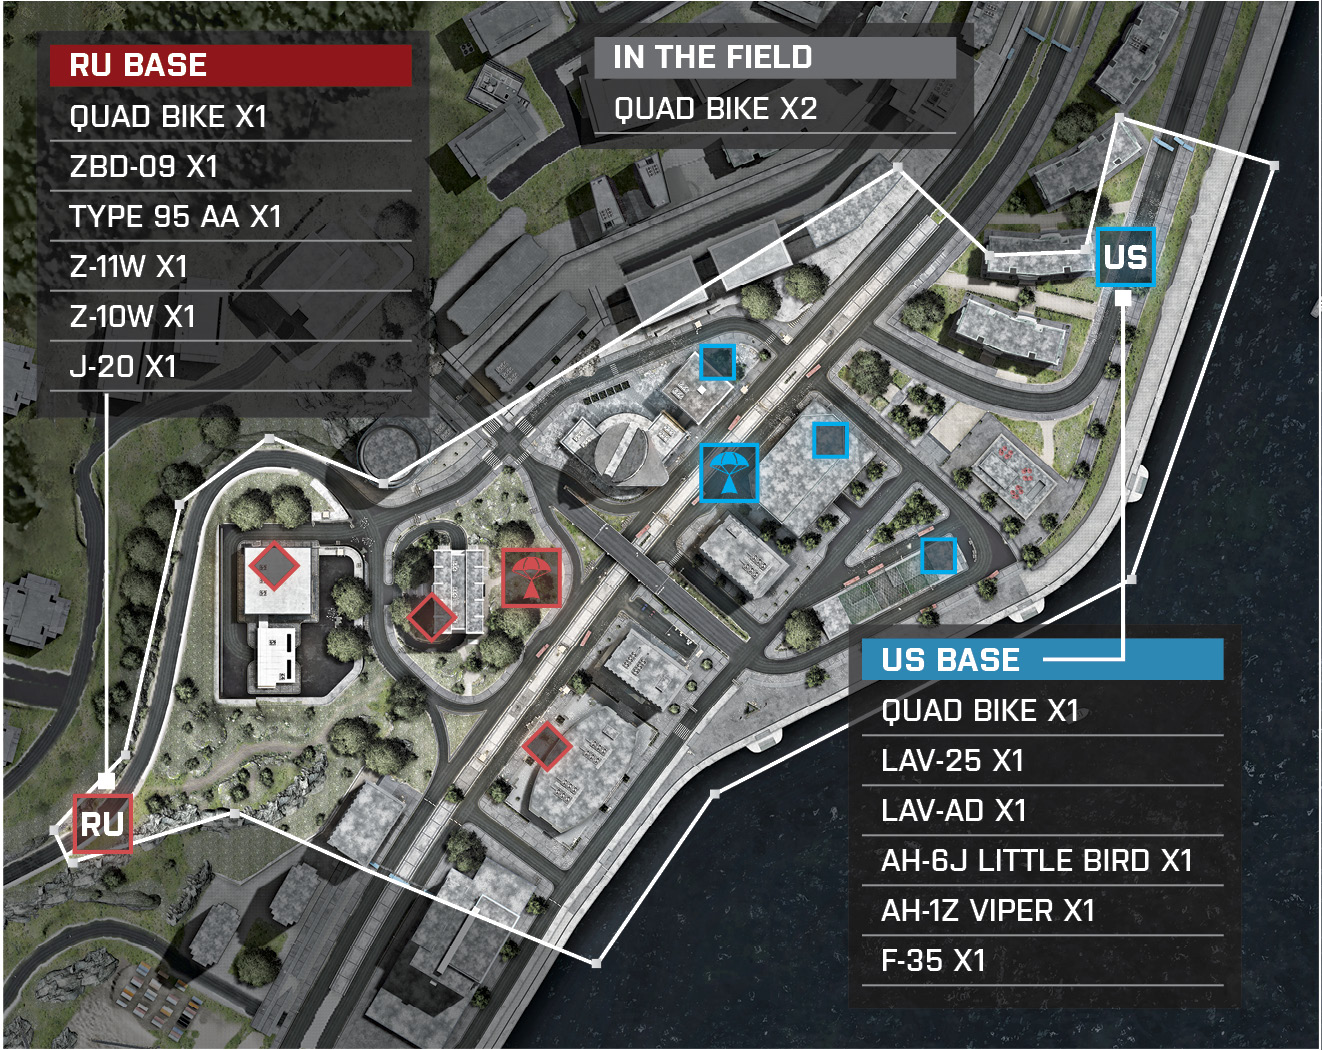
In this battle, the US and CN team engage in firefights in the dark as the night has covered the city. There are a total of five control point on this map: Bus Terminal (A), Plaza (B), Bridge (C), Hospital (D), and Embassy (E). The US team’s best strategy will be to capture the Bus Terminal (A), Plaza (B), and the Bridge (C). The CN team’s safest and best strategy will be capturing the Embassy (E), the Hospital (D), and the Bridge (C). The Bridge (C) will be the focal point of this map as the controlling team is rewarded a Gunship for their commander to call. Both teams have a few helicopters and jets at hand. This map will test the best pilots as there are many buildings you will need to maneuver through in order to make an impact in the game. These buildings are accessible through elevators and should be used to snipe from; the sniper will also be able to spot enemies, revealing them on teammates’ minimap. Be sure to take advantage of the light vehicles that spawn. This map is large, so you don’t want to be caught running the entire game. This map only requires you to capture three control points in order to slowly bleed the opponent’s tickets, so stay on defense and hold down the fort.
US Base
Base Assets
Name
Quad Bike
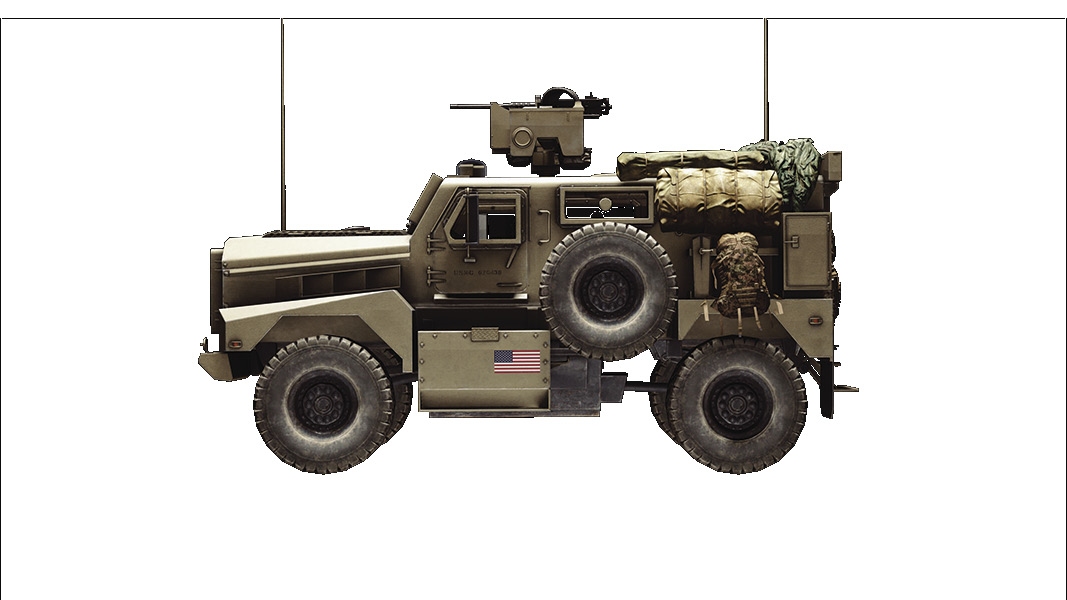
MRAP
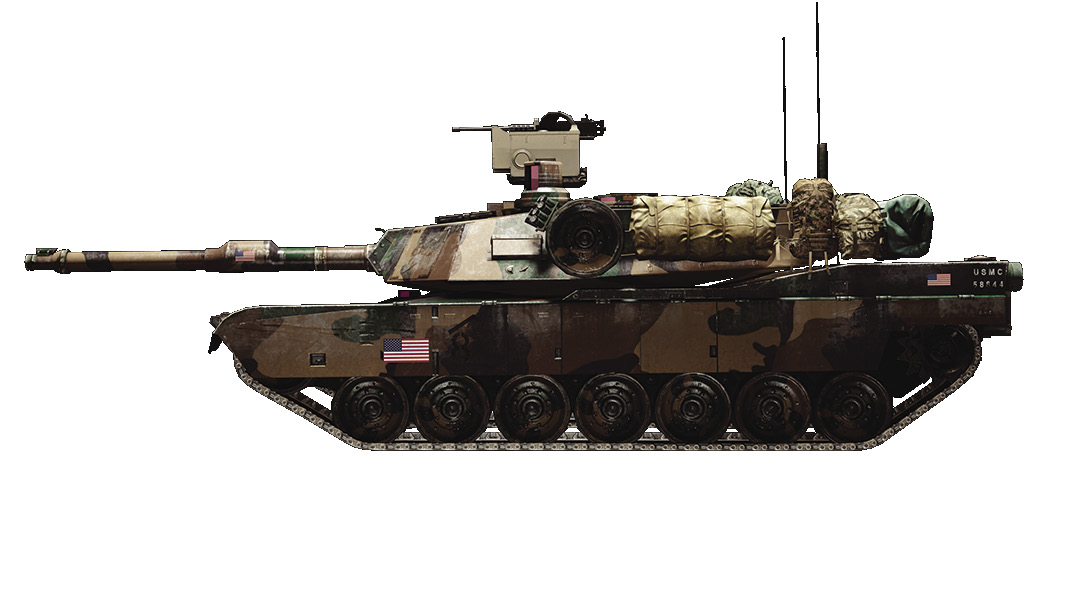
M1 Abrams
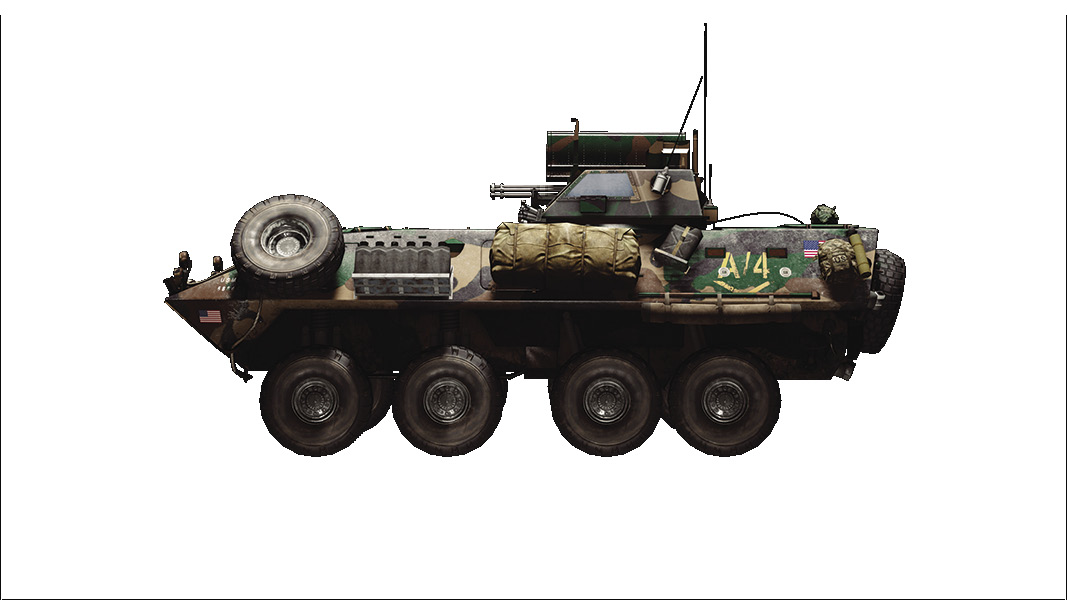
LAV-AD
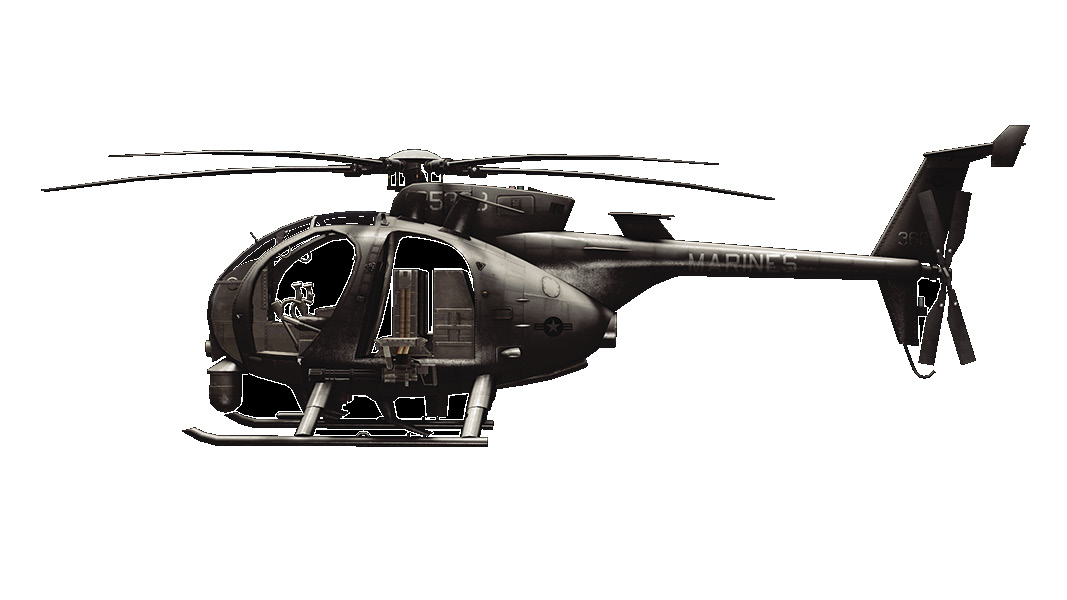
AH-6J Little Bird
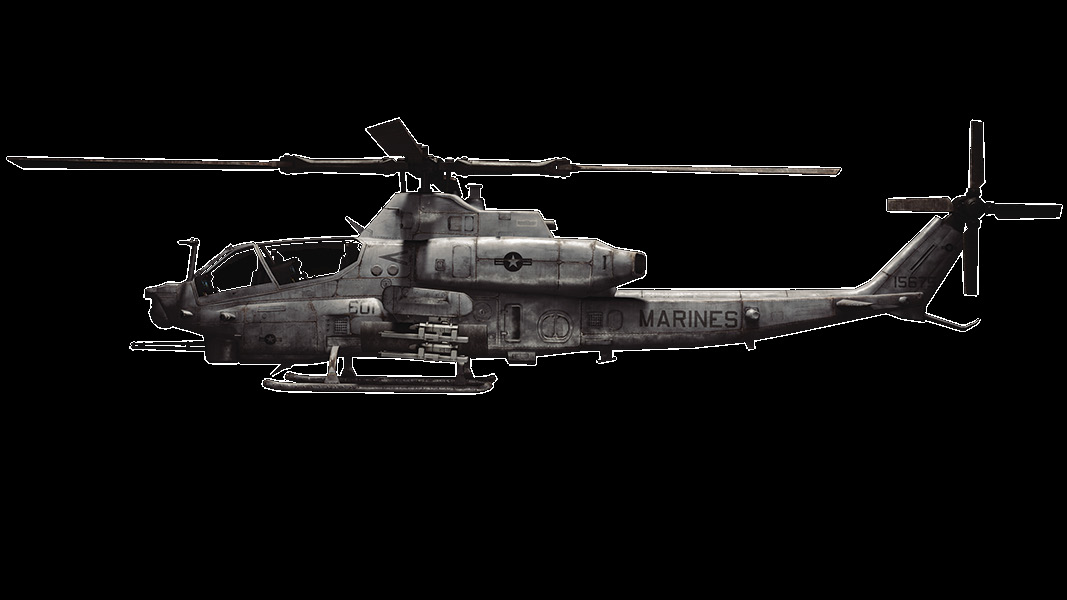
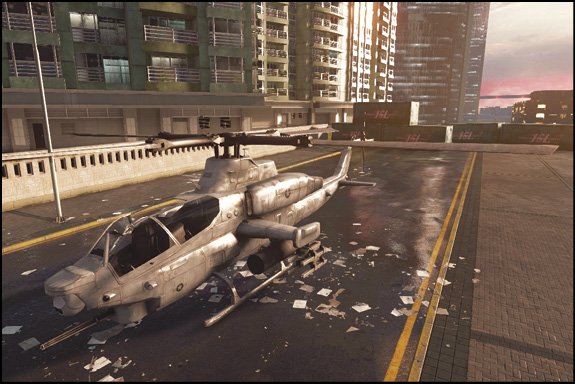
AH-1Z Viper
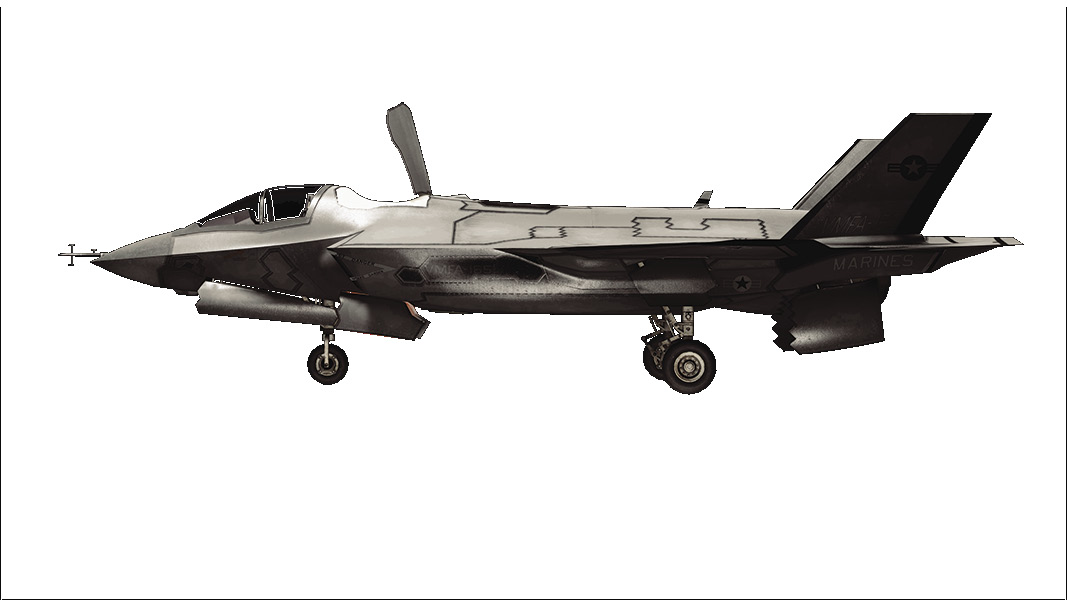
F-35
Quantity
4
2
2
1
1
1
2
The US base is located in the northeastern tip of the map and is quite a distance to nearest control point. Be sure to make full use of the vehicles and catch a ride with a squadmate. This saves you travel time and lets you get right into the action.
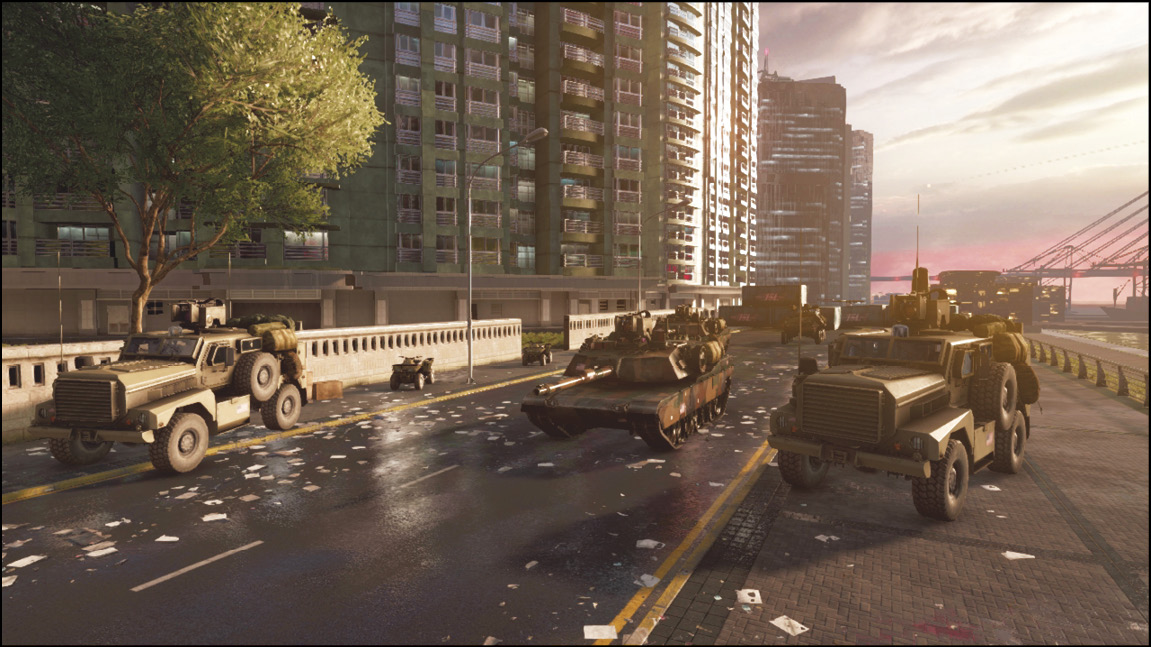
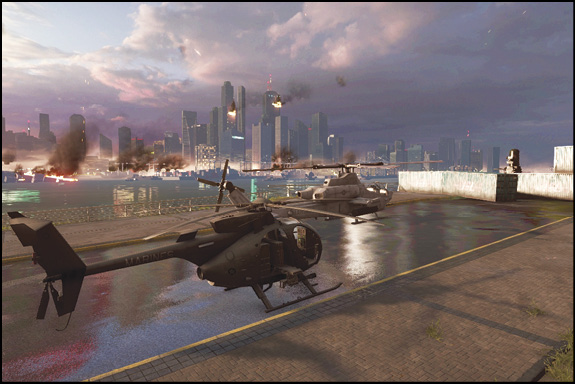
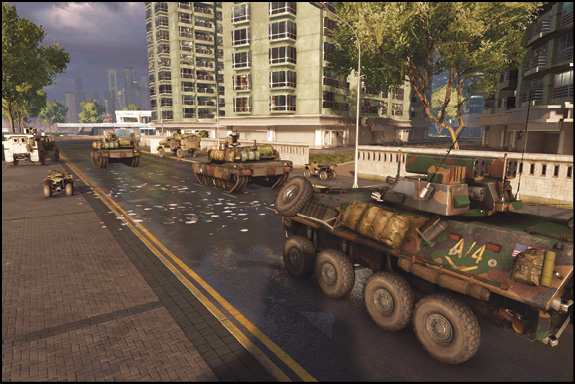
The US team has a variety of ground vehicles and two helicopters: one attack helicopter and one scout helicopter. These vehicles will greatly aid you when capturing the Bridge (C), which unlocks the Gunship for the commander of the team.
The closest control points to the US base are the Bus Terminal (A) and Plaza (B). The US team’s best strategy is to control these two with another control point in order to begin draining the enemy’s tickets.
A squad should take half of the light vehicles and immediately head towards the Bus Terminal (A). This control point shouldn’t be tough to capture off the beginning of the game as the opposing team will surely be capturing the objectives closest to their base. Once captured, the squad should take the light vehicles and head towards the Bridge (C) from the south side, catching the enemy off guard and leading to an easier capture.
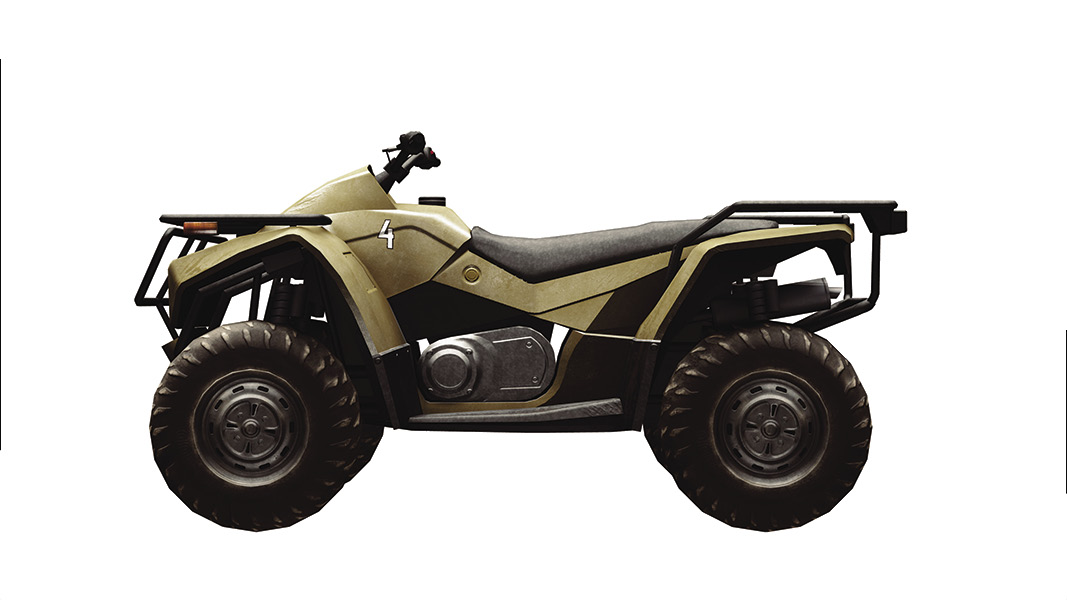
Squads should enter the tanks and light vehicles and head for the Plaza (B). Once captured, they can begin moving towards the Bridge (C) and begin firing rounds to distract the enemy. When performed successfully, the squad on the Quad Bikes can come in from the rear and begin capturing the Bridge (C) while the enemy is distracted.
CN Base
Base Assets
Name
Quad Bike
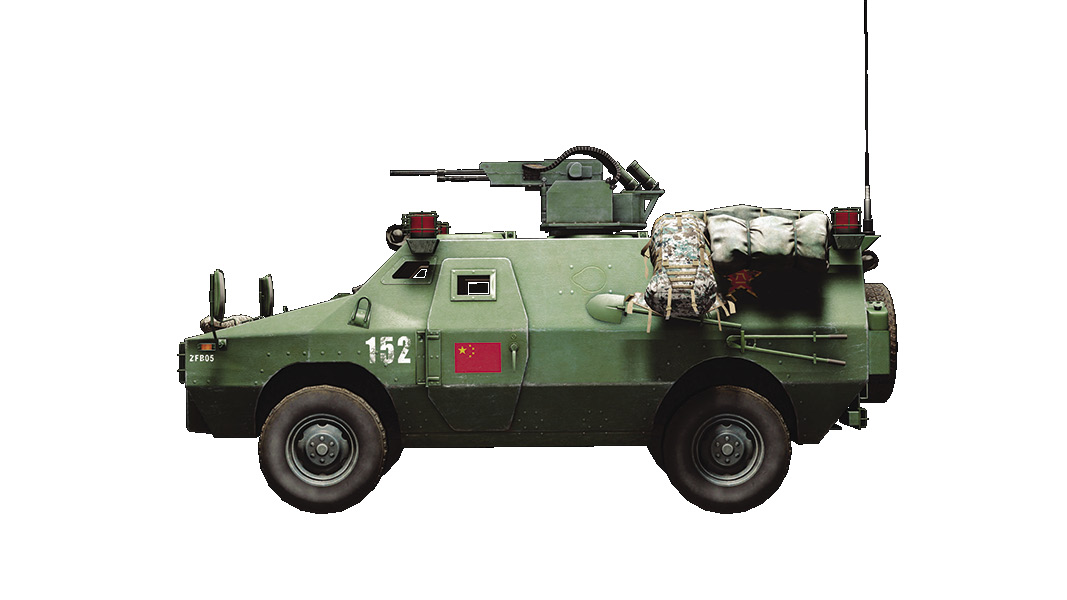
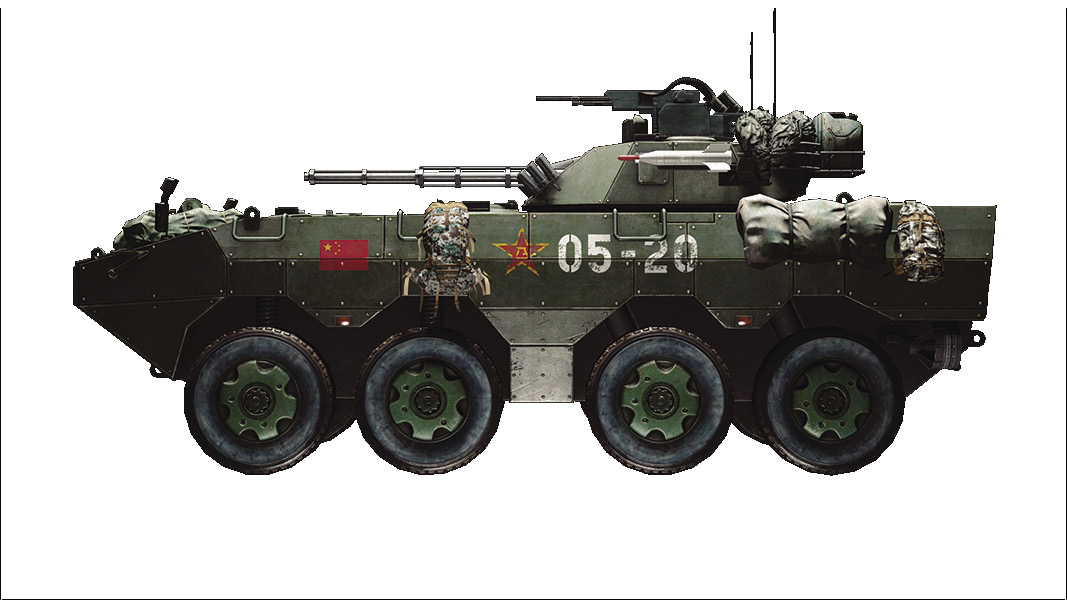
ZFB-05
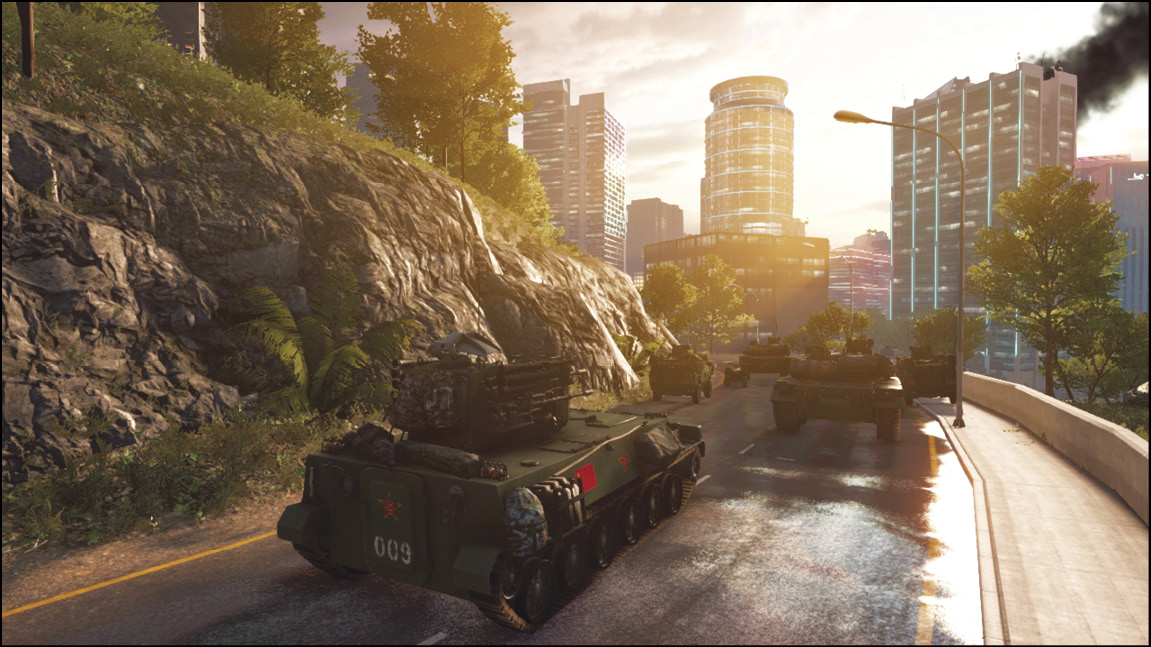
Type 99 MBT
Type 95 AA
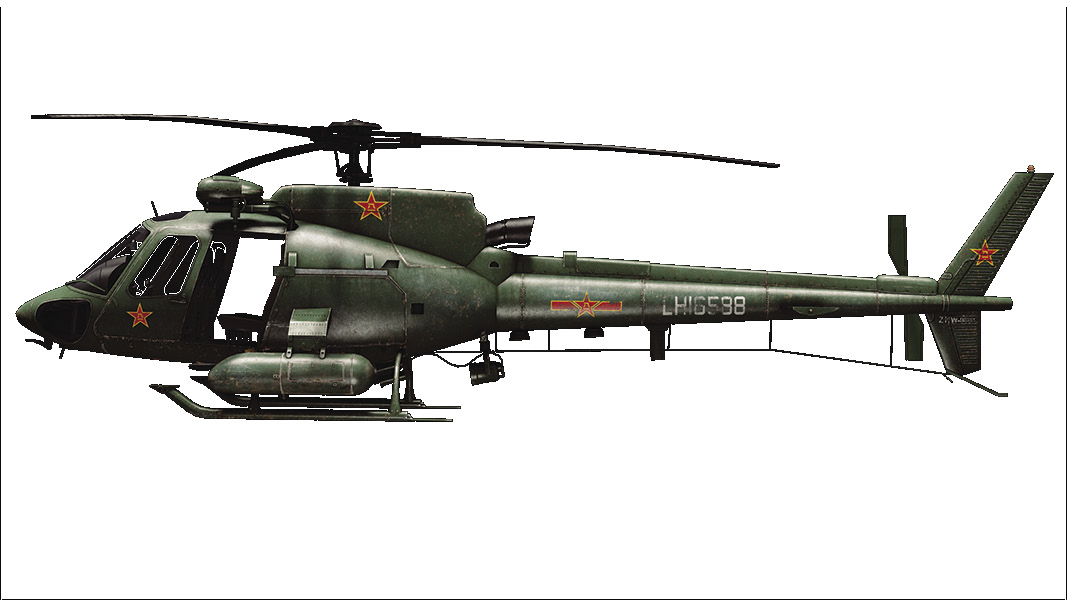
Z-11W
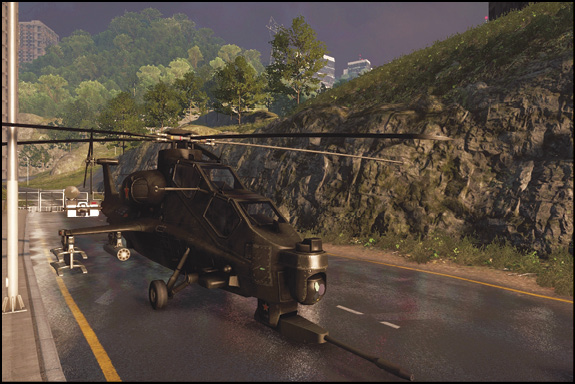
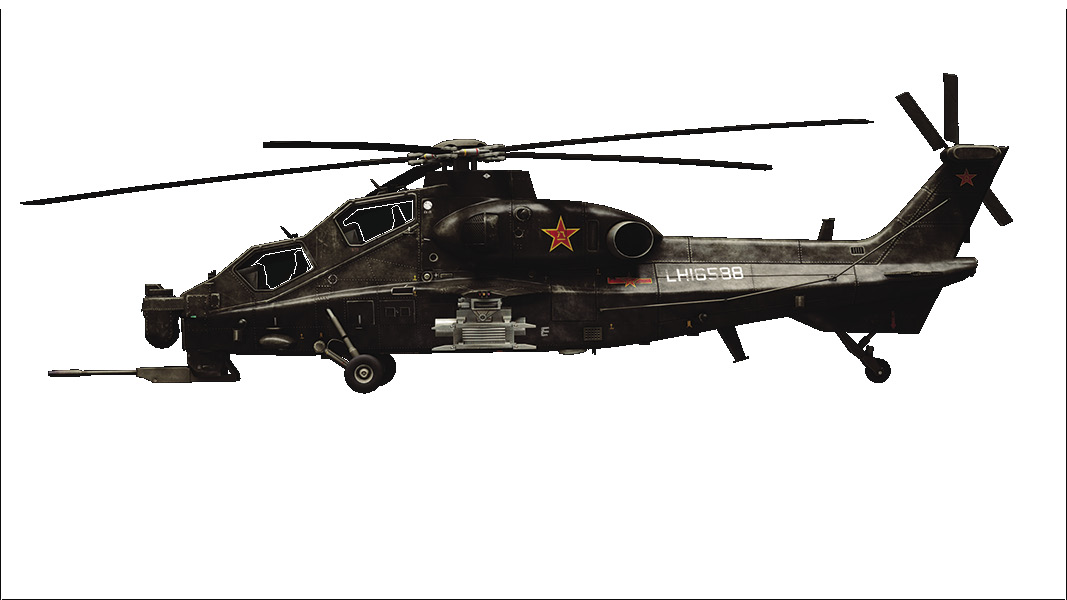
Z-10W
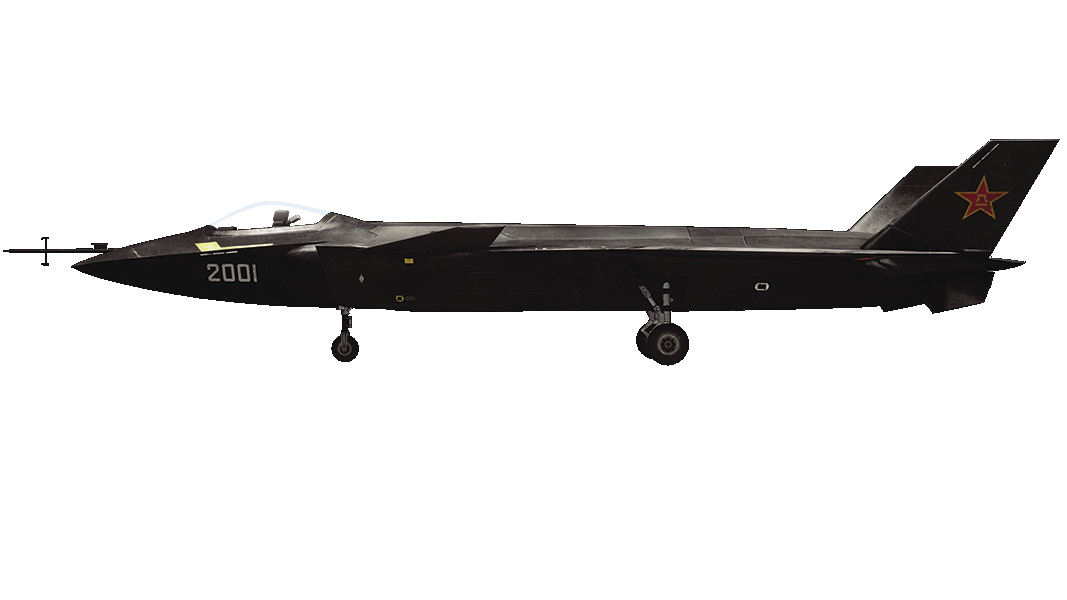
J-20
Quantity
4
2
2
1
1
1
2
The CN base is located to the southwest side of this city. Both you and the enemy US team have multiple vehicles at the start. Be prepared for vehicle-on-vehicle combat during these early skirmishes.
At the start, be sure to send your light vehicles fully loaded up the dirt path to the northeast. This way you can beat your enemies to the Bridge (C) and secure this control point for your commander to utilize the Gunship and cause some damage from above.
When pushing towards the Bridge (C) with vehicles, avoid taking the high road. If you take cover from below you will avoid all the aircraft, and enemy engineers will have a more difficult shot.
This map will be won when your squad mainly focuses on Plaza (B), Bridge (C), and Hospital (D) because of the commander abilities that these control points unlock.
Aircraft need a very skilled pilot to navigate the narrow areas between these skyscrapers. If you are new to flying, don’t start your practice on this map.
A: Bus Terminal
Control Point Assets
US Control
CN Control
Quad Bike (2)
Quad Bike (2)
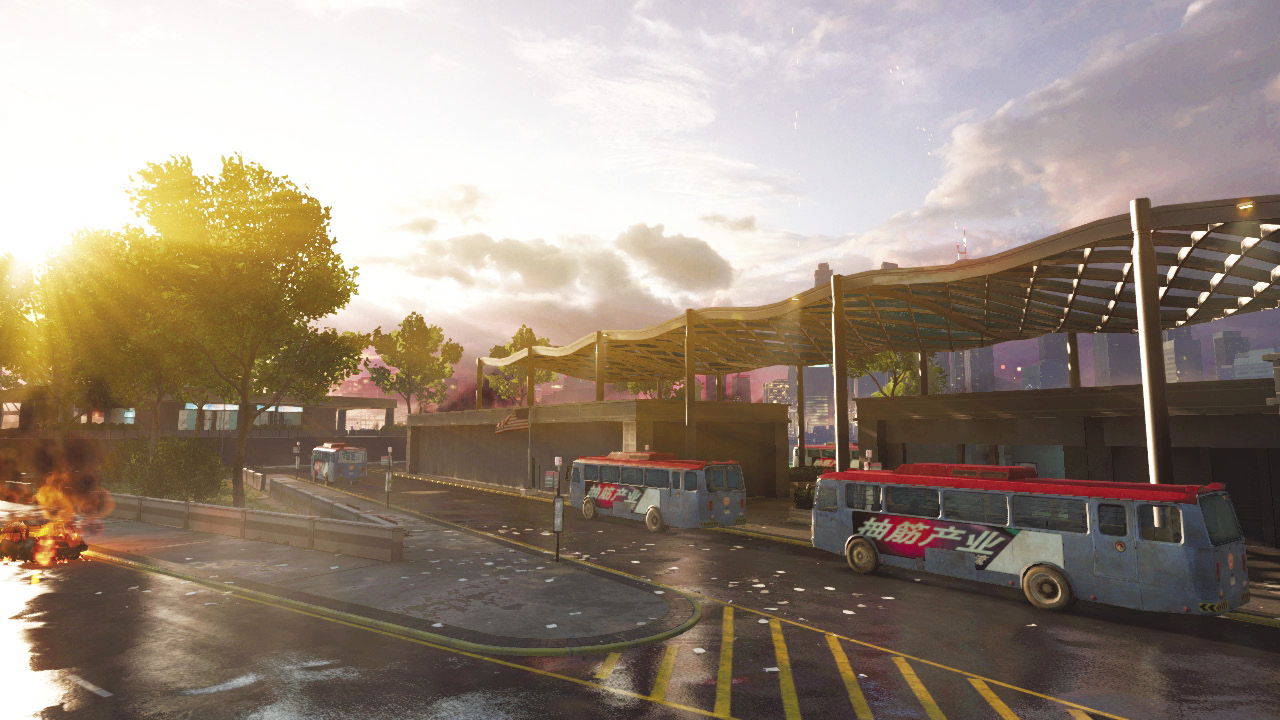
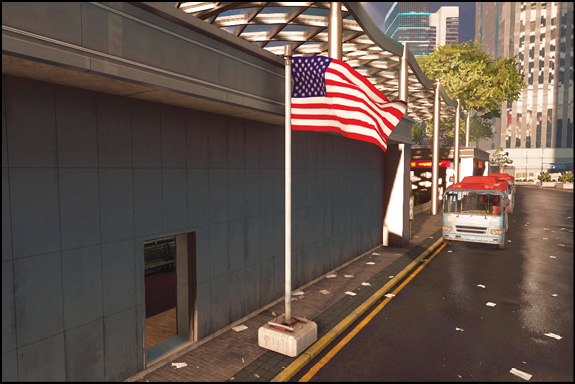
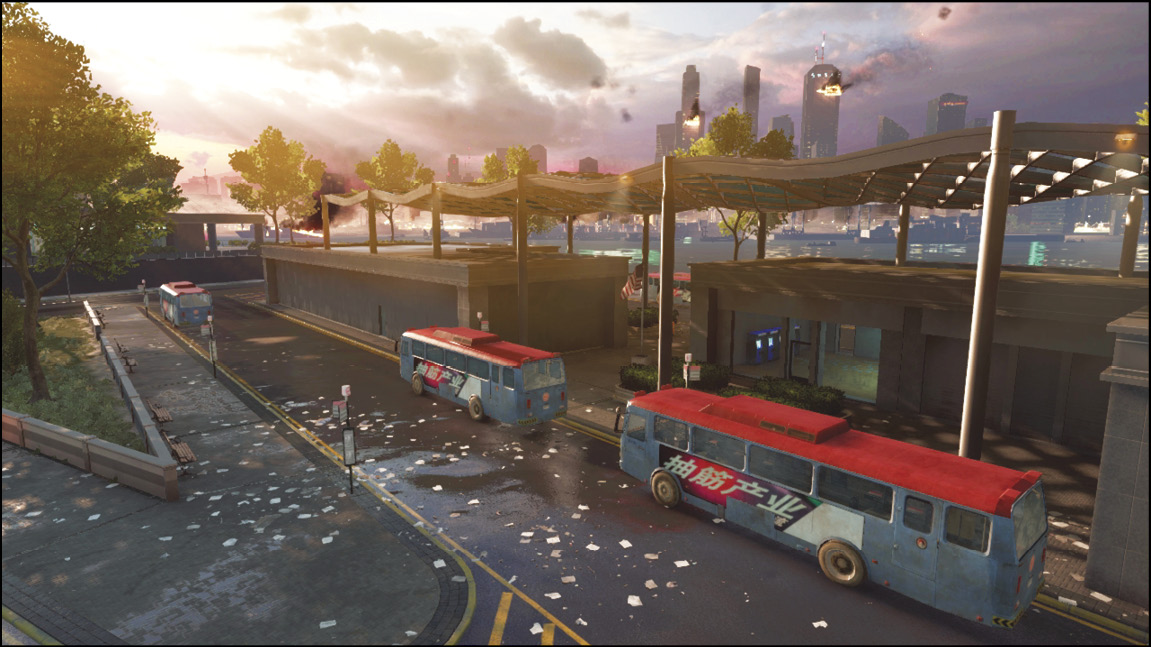
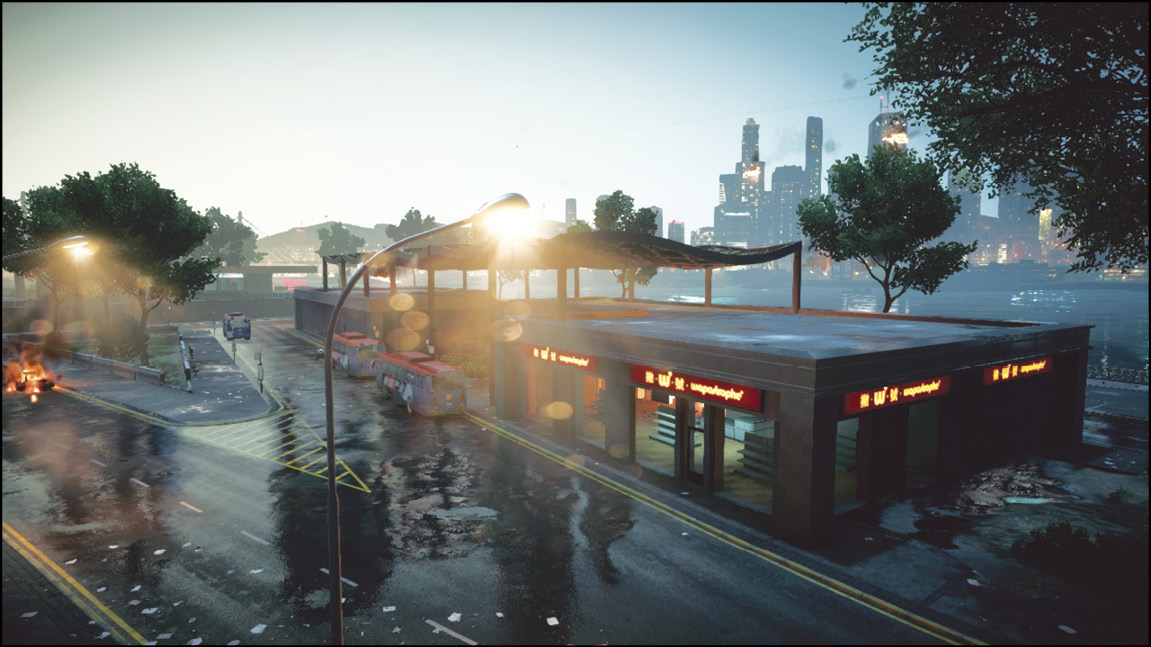
The Bus Terminal (A) is located southwest of the US base. This control point is located at a bus hub and has several buses outside on the streets.
Capturing this point allows the controlling team to get access to two Quad Bikes.
Players can go prone inside the multiple buses around and wait for enemies to neutralize the objective. At that exact moment, exit the bus and ambush the enemies inside the station.
This control point is out of the way for the CN team and should not be approached unless the opportunity presents itself in the late game.
The Bus Terminal (A) provides great cover when inside. When defending, bobby trap doorways with C4 and Claymores. Squads should gear up for close-quarter combat.
B: Plaza
Control Point Assets
US Control
CN Control
Quad Bike (1)
Quad Bike (1)
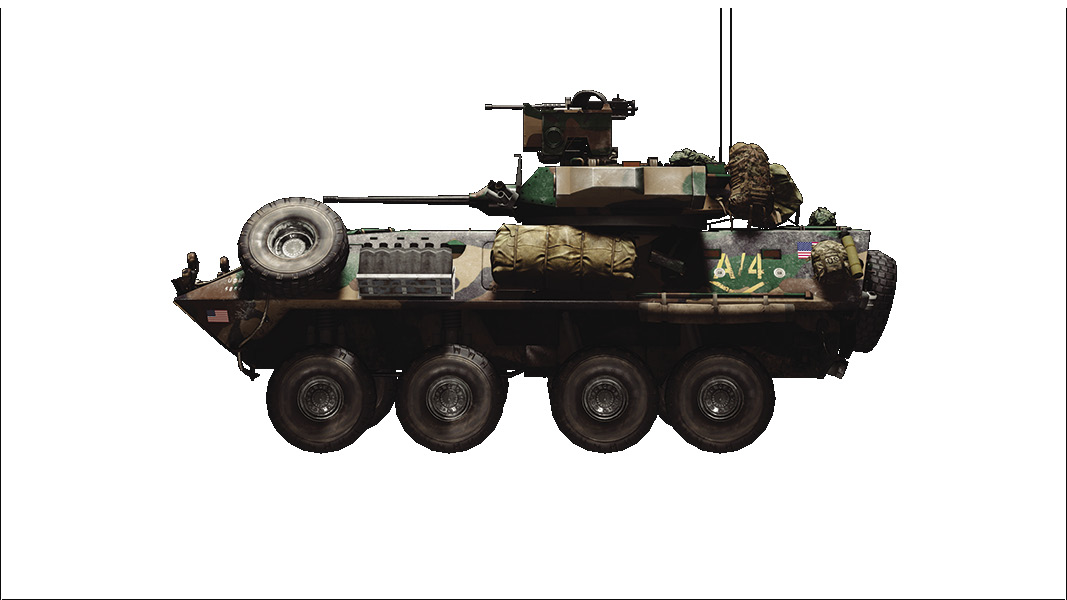
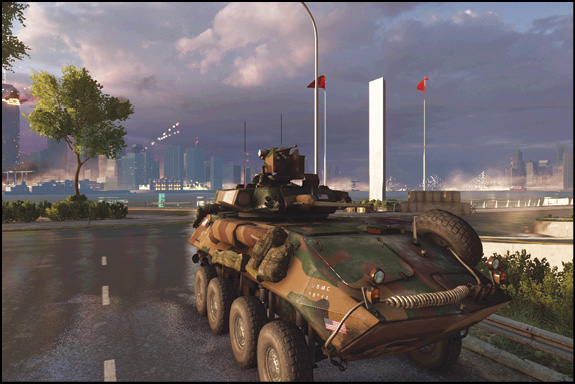
LAV-25 (1)
ZBD-09 (1)
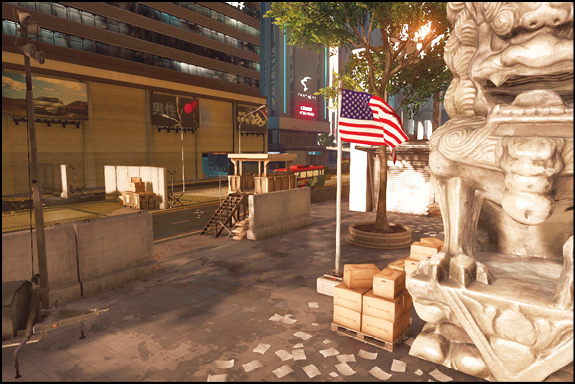
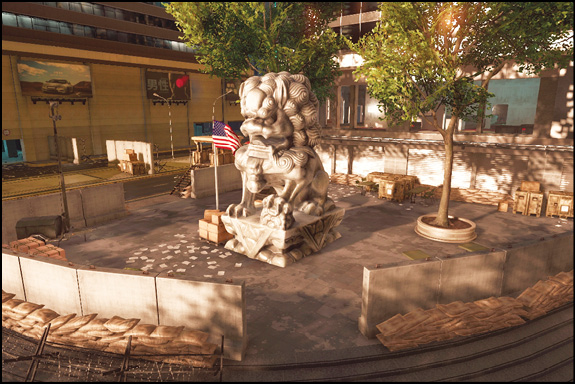
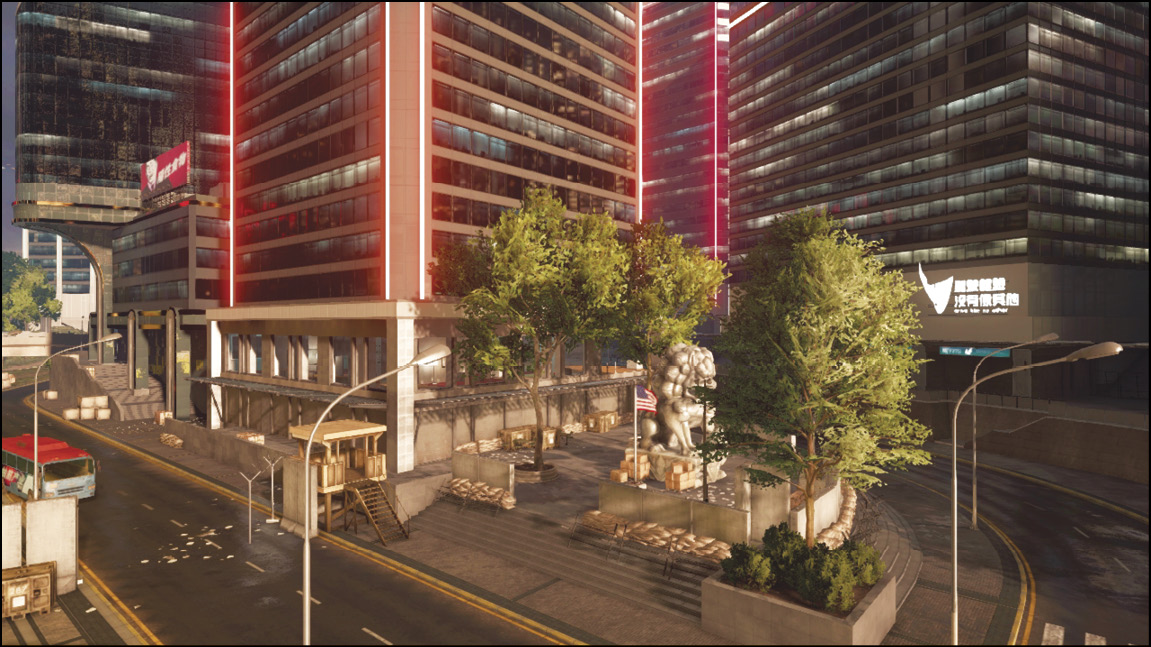
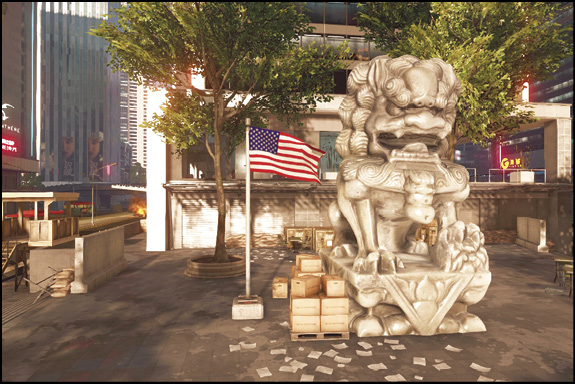
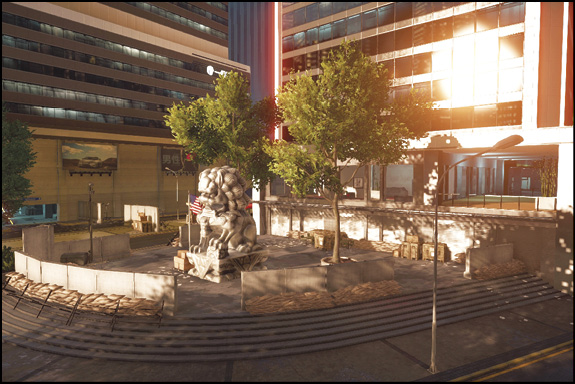
This flag is located on the north side of the map next to an imperial guardian lion statue.
When controlling this objective you gain control of a IFV and a Quad Bike. Use the IFV to defend this area. Use the Quad Bike to make your way to a nearby flag.
North of the flag you’ll find a balcony that oversees the entire control point. Move from the east and west on the balcony to check for enemies on the roads from the south, east, and west. Use the railing partition for cover. This position is great for taking out incoming enemy infantry.
The second level in the tall building southwest of the objective is a good position to control as it oversees the objective towards the north. Use this area to check for enemies, then make your way onto the glass and metal floors outside the windows to the northeast to capture the control point. Place T-UGS inside this building to watch for sneaky enemy infantry.
In this building you’ll find an elevator in the second level that will take you to the roof. Place a T-UGS and Radio Beacon here. Parachute down and get back into the action.
C: Bridge
Control Point Assets
US Control
CN Control
Quad Bike (1)
Quad Bike (1)
This objective is located in the center of the map and surrounded by all of the other control points.
Controlling this flag nets both teams an extra Quad Bike.
This control point grants a Gunship to the commander of the team who captures this objective. This Gunship is very powerful; teams will need to make it a mission to capture this point.
When attacking, have a scout helicopter drop engineers and support troops near the Bridge (C).
After the Levolution is triggered, the Bridge (C) will be completely destroyed. This will make the area more open, making it easier to control.
D: Hospital
Control Point Assets
US Control
CN Control
Quad Bike (1)
Quad Bike (1)
LAV-25 (1)
ZBD-09 (1)
Located in the southern part of the map, the Hospital (D) has a cluster of crates and boxes that surround the flag.
There is one IFV and one Quad Bike that spawns here for the team that captures this objective.
Inside the Hospital (D) there are two shutters that block up the windows when activated. There will be only one way inside, and that’s through the front entrance, making it easier to defend.
Attackers can use Motion Sensors to locate the defenders hiding inside the Hospital (D) building. This makes clearing the objective easier.
Squads composed of engineers will prove useful at this objective for both attacking and defending. If you are trying to recapture this objective be sure to have rockets to take out any vehicles guarding the flag.
E: Embassy
Control Point Assets
US Control
CN Control
Quad Bike (2)
Quad Bike (2)
This flag is located at the western side of the city and is connected to the surrounding areas by a two-lane winding road.
When defending this flag, with only one main route for landvehicles to enter this area, your biggest threat will be infantry storming the control point from virtually every direction.
When attacking this flag, you have to fully clear out the second floor of this building, otherwise the enemy team will continuously spawn their team until your squad is overwhelmed.
When attacking, if you want to get the high ground advantage on this area, have one of your helicopters drop you off on the roof, which is accessible only by air, and contest the control point from above.
Once you capture this flag, you receive two Quad Bikes to allow you to travel quickly to your next points. Ideally you do not want to wait around this objective—you want to capture it and quickly head back to the center of the map where all the action is at.
Conquest Small
Recommended Squad Composition:
The Conquest Small and Conquest Large maps are identical in Dawnbreaker, with the same control point layout. The only differences between these game modes are the number of vehicles and number of players allowed on the map. In this battle, the US and CN team engage in firefights in the dark as the night has covered the city. There are a total of five control points on this map: Bus Terminal (A), Plaza (B), Bridge (C), Hospital (D), and Embassy (E). The US team’s best strategy is to capture the Bus Terminal (A), Plaza (B), and Bridge (C). The CN team’s safest and best strategy is capturing the Embassy (E), Hospital (D), and Bridge (C). The Bridge (C) will be the focal point of this map as the controlling team is rewarded a Gunship for their commander to call. Both teams have a few helicopters and jets at hand; this map will test the best pilots as there are many buildings you will need to maneuver through in order to make an impact in the game. These buildings are accessible through elevators and should be used to snipe from; the sniper will also be able to spot enemies, revealing them on teammates’ minimap. Be sure to take advantage of the light vehicles that spawn. This map is large, so you don’t want to be caught running the entire game. This map only requires you to capture three control points in order to slowly bleed the opponent’s tickets, so stay on the defense and hold down the fort.
US Base
Base Assets
Name
Quad Bike
M1 Abrams
LAV-AD
AH-1Z Viper
F-35
Quantity
2
1
1
1
1
The US base is located in the northeastern tip of the map and is quite a distance to nearest control point. Be sure to make full use of the vehicles and catch a ride with a squadmate. This saves you travel time and lets you get right into the action.
The US team has a variety of ground vehicles and airvehicles. These vehicles will greatly aid you when capturing the Bridge (C), which unlocks the Gunship for the commander of the team.
The closest control points to the US base are the Bus Terminal (A) and Plaza (B). The US team’s best strategy is to control these two, along with another control point, in order to begin draining the enemy’s tickets.
A squad should take half of the light vehicles and immediately head towards the Bus Terminal (A). This control point shouldn’t be tough to capture off the beginning of the game as the opposing team will surely be capturing the objectives closest to their base. Once captured, the squad should take the Quad Bikes and head towards the Bridge (C) from the south side, catching the enemy off guard and leading to an easier capture.
Squads should enter the tank and Quad Bikes and head for the Plaza (B). Once captured, they can begin moving towards the Bridge (C) and begin firing rounds to distract the enemy. When performed successfully, the squad on the Quad Bikes can come in from the rear and begin capturing the Bridge (C) while the enemy is distracted.
CN Base
Base Assets
Name
Quad Bike
Type 99 MBT
Type 95 AA
Z-10W
J-20
Quantity
2
1
1
1
1
The CN base is located to the southwest side of this city. Both you and the enemy US team have a handful of vehicles at the start. Prepare for vehicle-on-vehicle combat during these early skirmishes. Be sure to focus on the enemy’s tank before they can take out your Type 99 MBT.
At the start, be sure to send your light vehicles fully loaded up the dirt path to the northeast. This way you can beat your enemies to the Bridge (C) and secure this control point for your commander to utilize the Gunship and cause some damage from above.
When pushing towards Bridge (C) with vehicles, avoid taking the high road. If you take cover from below, you will avoid all the aircraft and enemy engineers will have a more difficult shot.
This map will be won when your squad mainly focuses on the Plaza (B), Bridge (C), and Hospital (D) because of the commander abilities that these control points unlock.
Aircraft need a very skilled pilot to navigate the narrow areas between these skyscrapers. If you are new to flying, don’t start your practice on this map.
A: Bus Terminal
Control Point Assets
US Control
CN Control
Quad Bike (1)
Quad Bike (1)
The Bus Terminal (A) is located southwest of the US base. This control point is located at a bus hub and has several buses outside on the streets.
Capturing these points allows the controlling team to get access to a Quad Bike.
Players can go prone inside the multiple buses around and wait for enemies to neutralize the objective. At that exact moment, exit the bus and ambush the enemies inside the station.
This control point is out of the way for the CN team and should not be approached unless the opportunity presents itself late in the game.
The Bus Terminal (A) provides great cover when inside. When defending, booby trap the doorways with C4 and Claymores. Squads should gear up for close-quarter combat.
B: Plaza
Control Point Assets
US Control
CN Control
Quad Bike (1)
Quad Bike (1)
This flag is located on the north side of the map next to an imperial guardian lion statue.
When controlling this objective, you gain control of a Quad Bike. Use the Quad Bike to make your way to a nearby flag quickly.
North of the flag you’ll find a balcony that oversees the entire control point. Move from the east and west on the balcony to check for enemies on the roads from the south, east, and west. Use the railing partition for cover. This position is great for taking out incoming enemy infantry.
The second level in the tall building southwest of the objective is a good position to come through as it oversees the objective towards the north. Use this area to check for enemies, then make your way onto the glass and metal floors outside the windows to the northeast to capture the control point. Place T-UGS inside this building to watch for sneaky enemy infantry.
In this building, you’ll find an elevator in the second level that will take you to the roof. Place a T-UGS and Radio Beacon here. Parachute down and get back into the action.
C: Bridge
This objective is located in the center of the map and enclosed by all of the other control points.
No vehicles spawn at this location. Use the surrounding objects and for cover and to stay hidden when enemies are approaching.
This control point grants a Gunship to the commander of the team who captures this objective. This Gunship is very powerful; teams will need to make it a mission to capture this point.
When attacking, have a scout helicopter drop engineers and support classes near the Bridge (C). You will want to locate and destroy the Mobile Artillery Vehicle quickly as this vehicle can do heavy damage to your team.
After the Levolution is triggered, the Bridge (C) is completely destroyed. This will make the area more open, making it easier to control.
D: Hospital
Control Point Assets
US Control
CN Control
Quad Bike (1)
Quad Bike (1)
Located in the southern part of the map, the Hospital (D) has a cluster of crates and boxes that surround the flag.
One Quad Bike spawns here for the team that captures this objective. Use this to quickly make your way towards nearby flags.
Inside the Hospital (D), there are two shutters that block up the windows when activated. There will be only one way inside, and that’s through the front entrance, making it easier to defend.
Attackers can use Motion Sensors to locate the defenders hiding inside the Hospital (D) building. This makes clearing the objective easier.
Squads composed of engineers will prove useful at this objective for both attacking and defending. If you are trying to recapture this objective, be sure to have rockets to take out any vehicles guarding the flag.
E: Embassy
Control Point Assets
US Control
CN Control
Quad Bike (1)
Quad Bike (1)
This flag is located at the western side of the city and is connected to the surrounding areas by a two-lane winding road.
When defending this flag, with only one main route for landvehicles to enter this area, your biggest threat is infantry storming the control point from virtually every direction.
When attacking this flag, you have to fully clear out the second floor of this building, otherwise the enemy team will continuously spawn their team until your squad is overwhelmed.
When attacking, if you want to get the high ground advantage on this area, have one of your helicopters drop you off on the roof, which is accessible only by air, and contest the control point from above.
Once you capture this flag, you receive a single light vehicle to help you travel to the next points. Ideally you do not want to wait around this objective—you want to capture it and quickly head back to the center of the map where all the action is at.
Rush
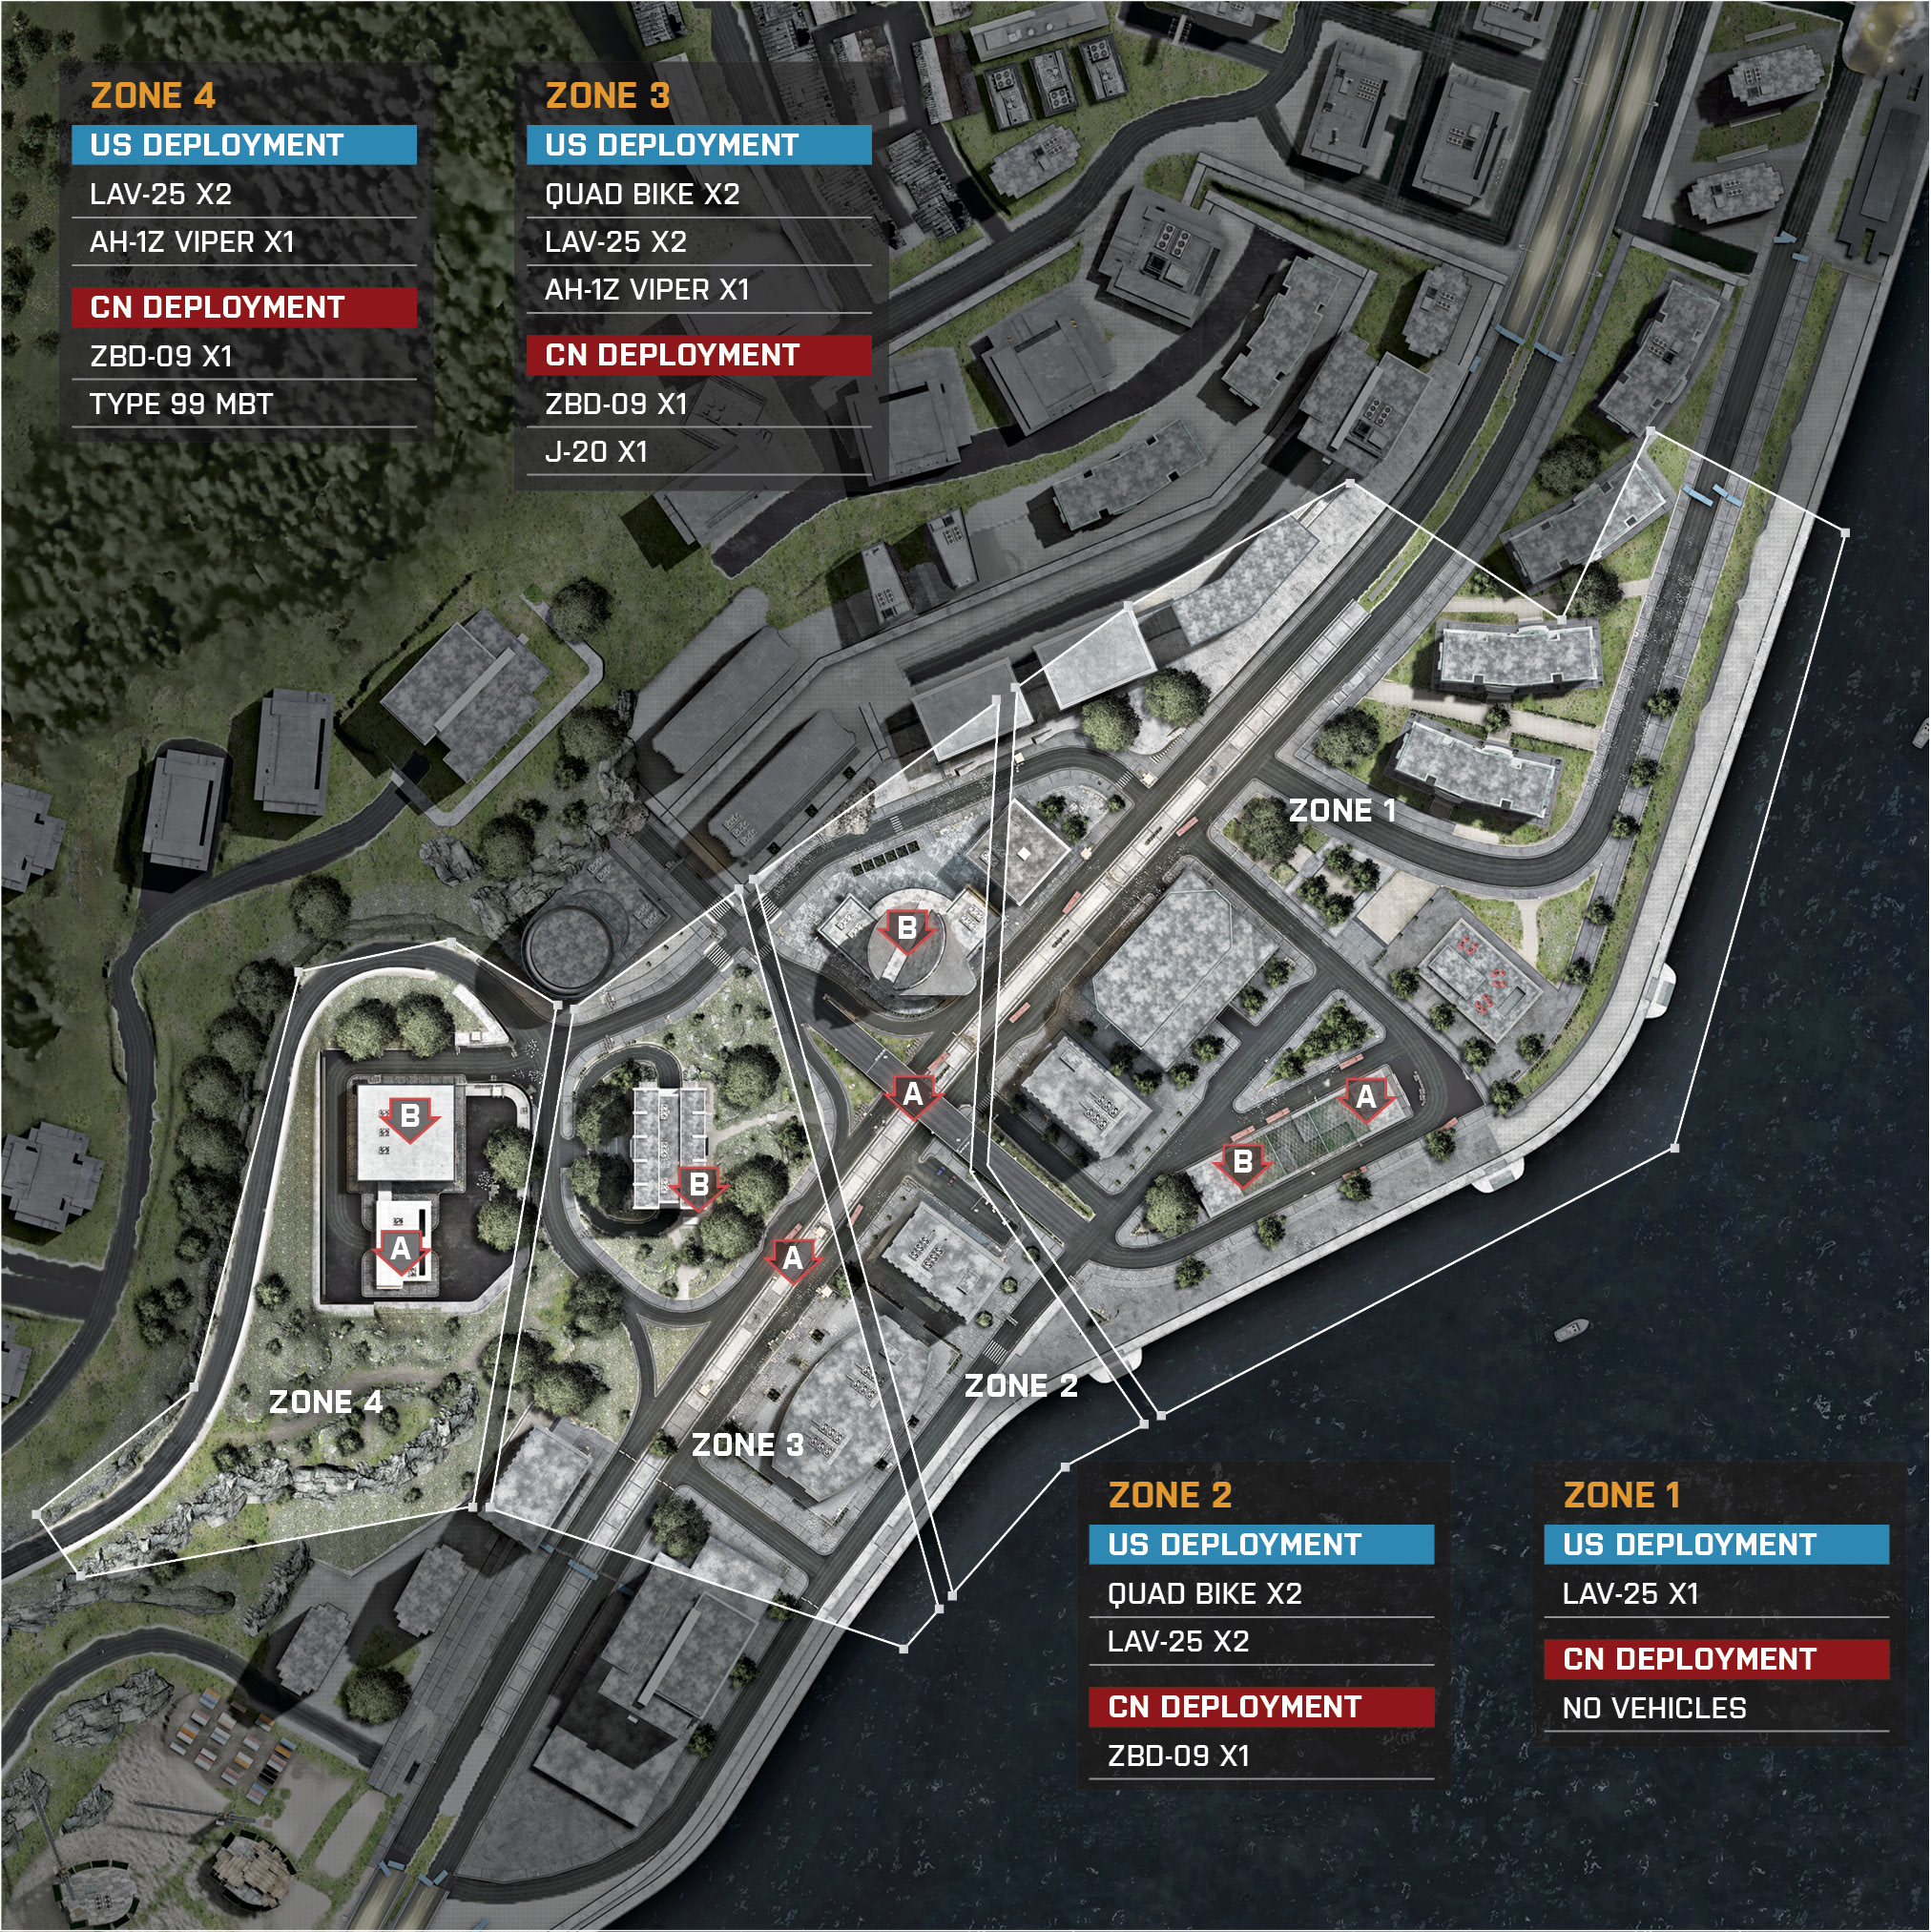
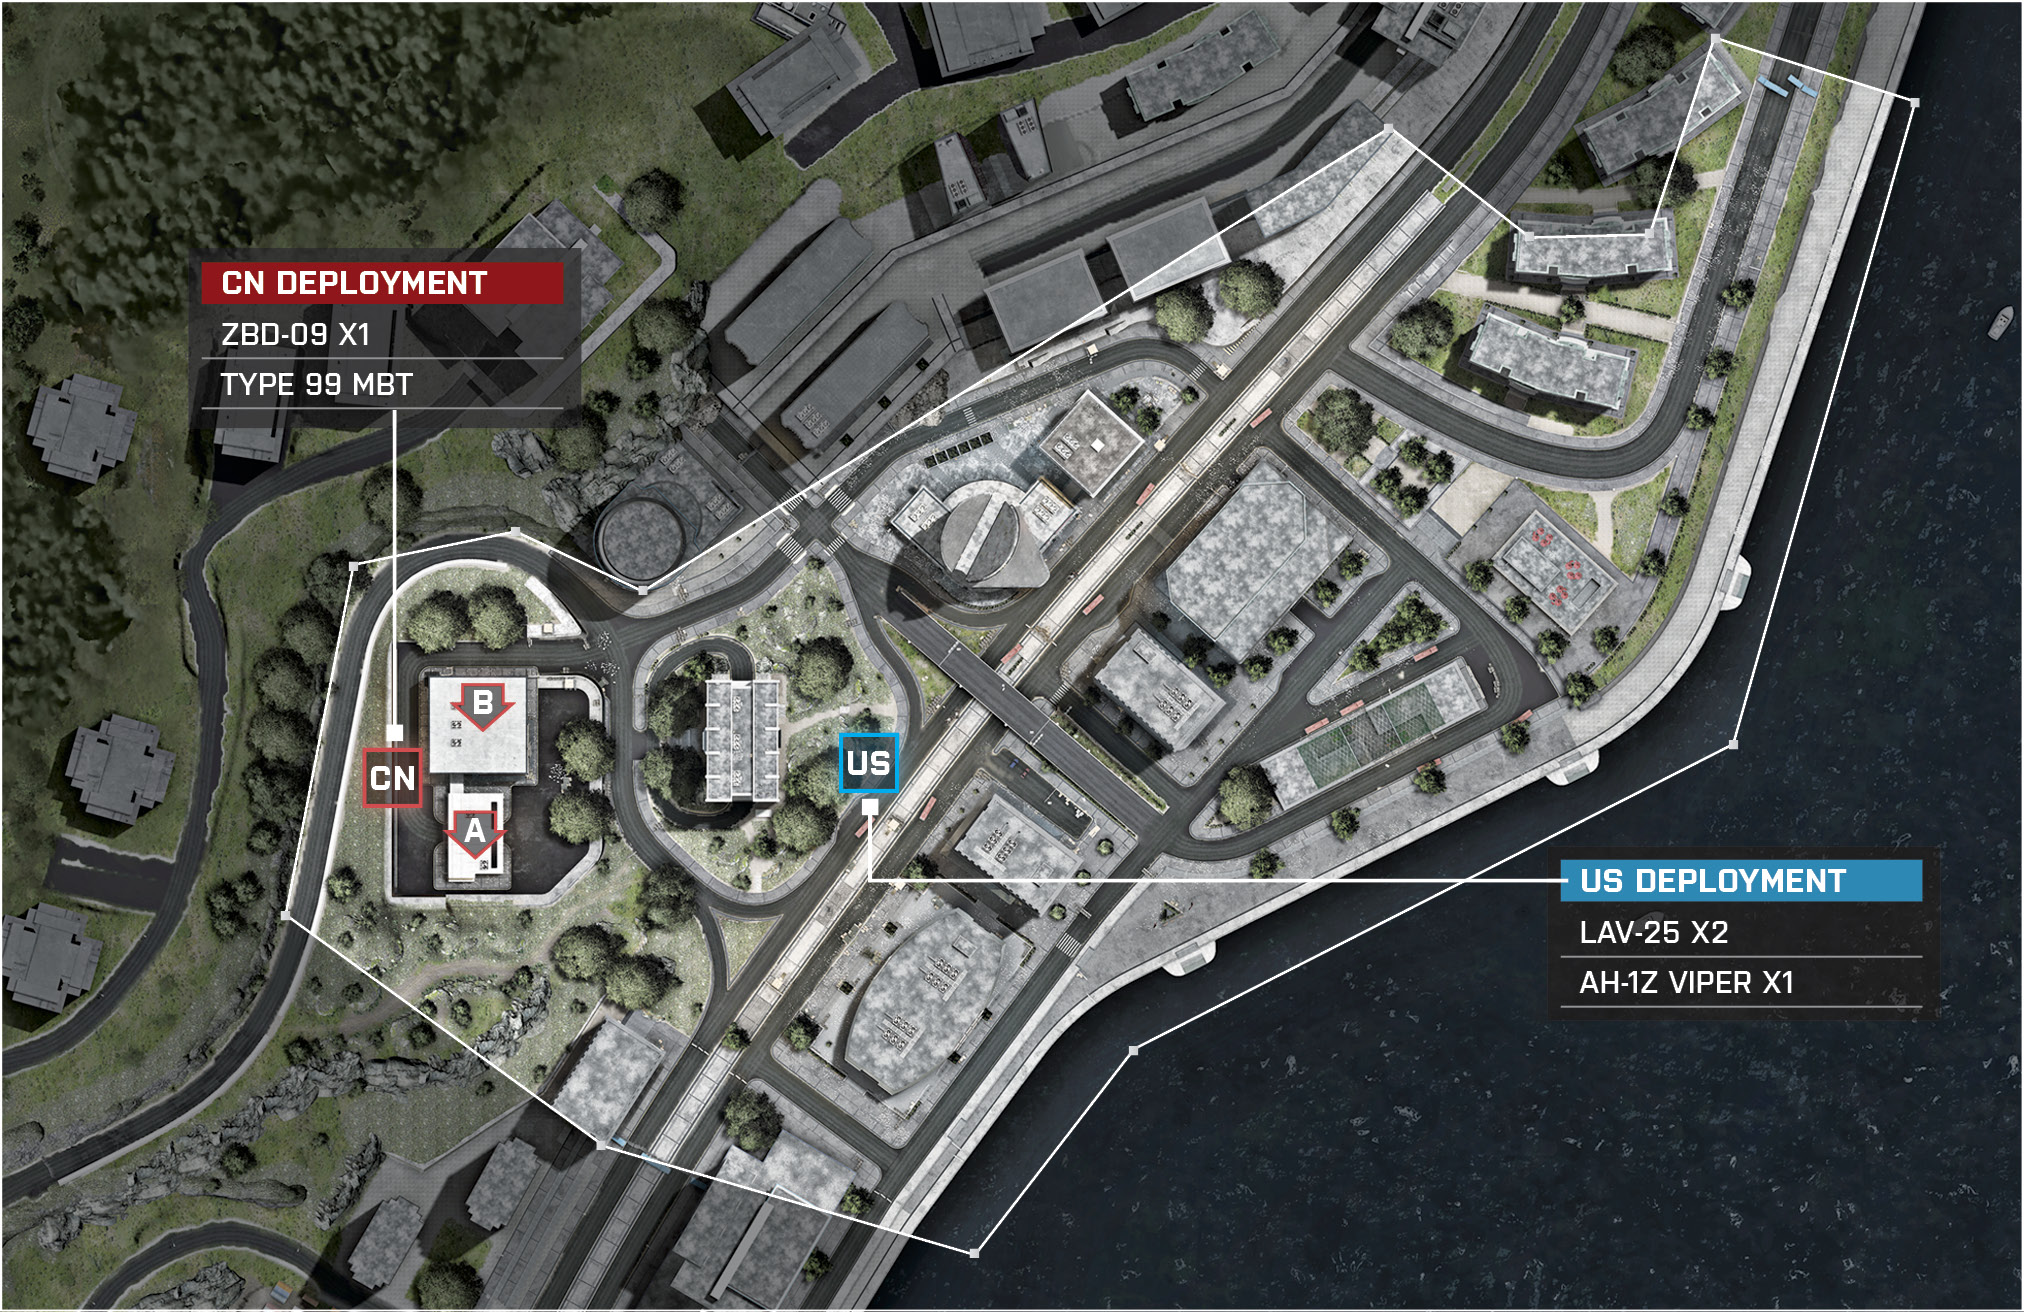
The outskirts of Shanghai hold the battle between the US and CN team. The US team will attempt to push the CN team back through a total of four zones with two M-COM stations in each zone. The US team starts north of the first zone located in the Bus Terminal. The US team has an IFV or two through the first three zones. Be sure to have an engineer on deck to repair the damages when needed as the IFV will be very useful in defeating the CN team. The CN team has no vehicles when defending the Bus Terminal, but don’t be too worried if you are playing on the defending team. Each area has an M-COM station in an enclosed in a building, allowing to defenders to equip shotguns and excel in close-quarter combat, making the attacker’s vehicles useless. The last zone is pushed back to the Embassy where the CN team has one last chance to make a stand. Being on either the US or CN team, be prepared for an intense urban firefight during the nighttime.
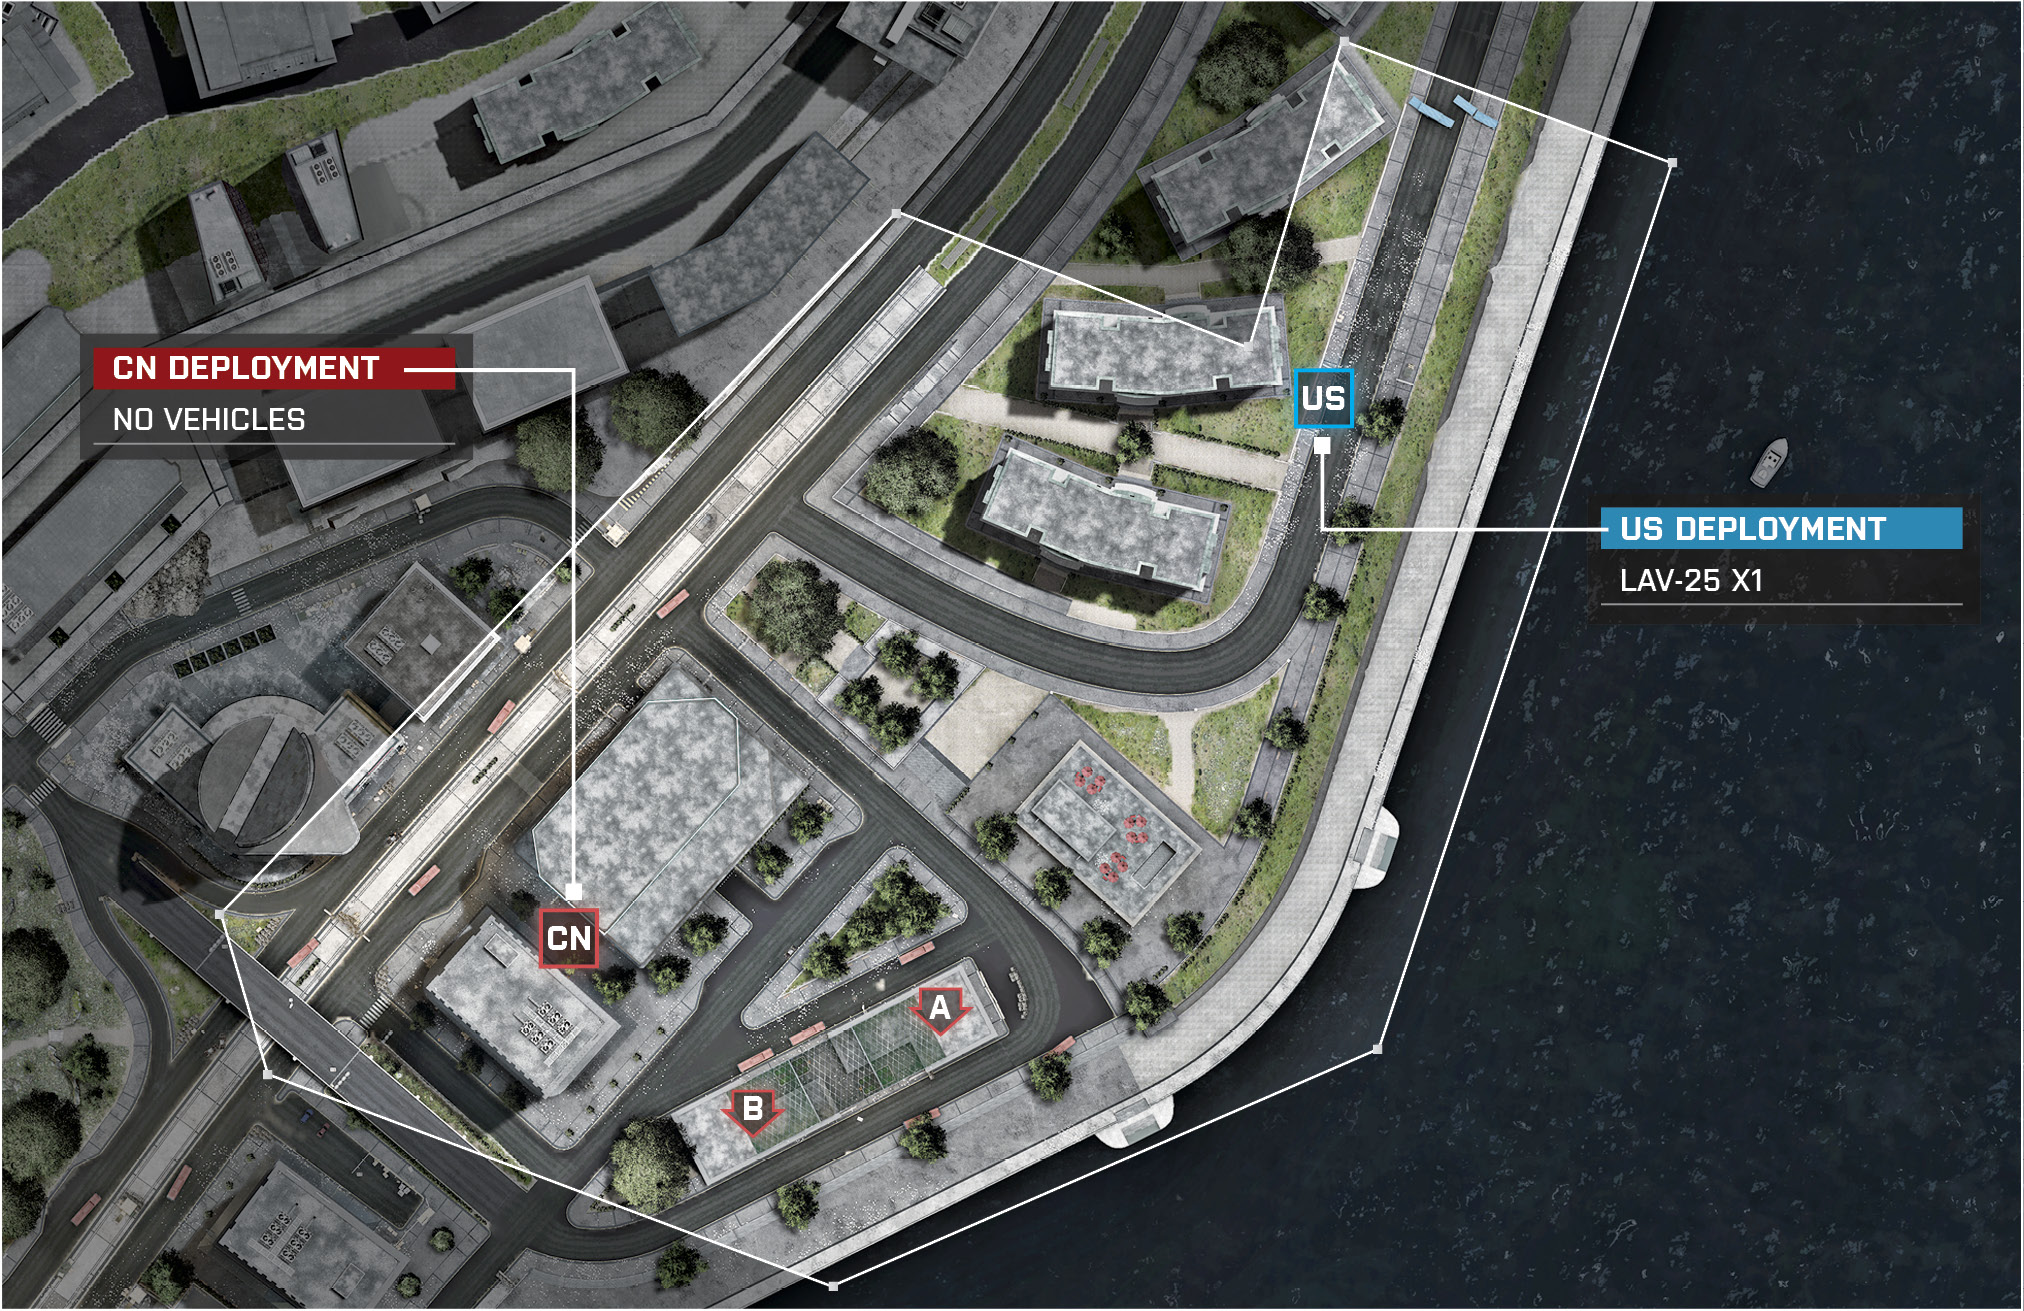
Zone 1: Bus Terminal
US Deployment
Recommended Squad Composition:
Deployment Area Assets
Name
LAV-25
Quantity
1
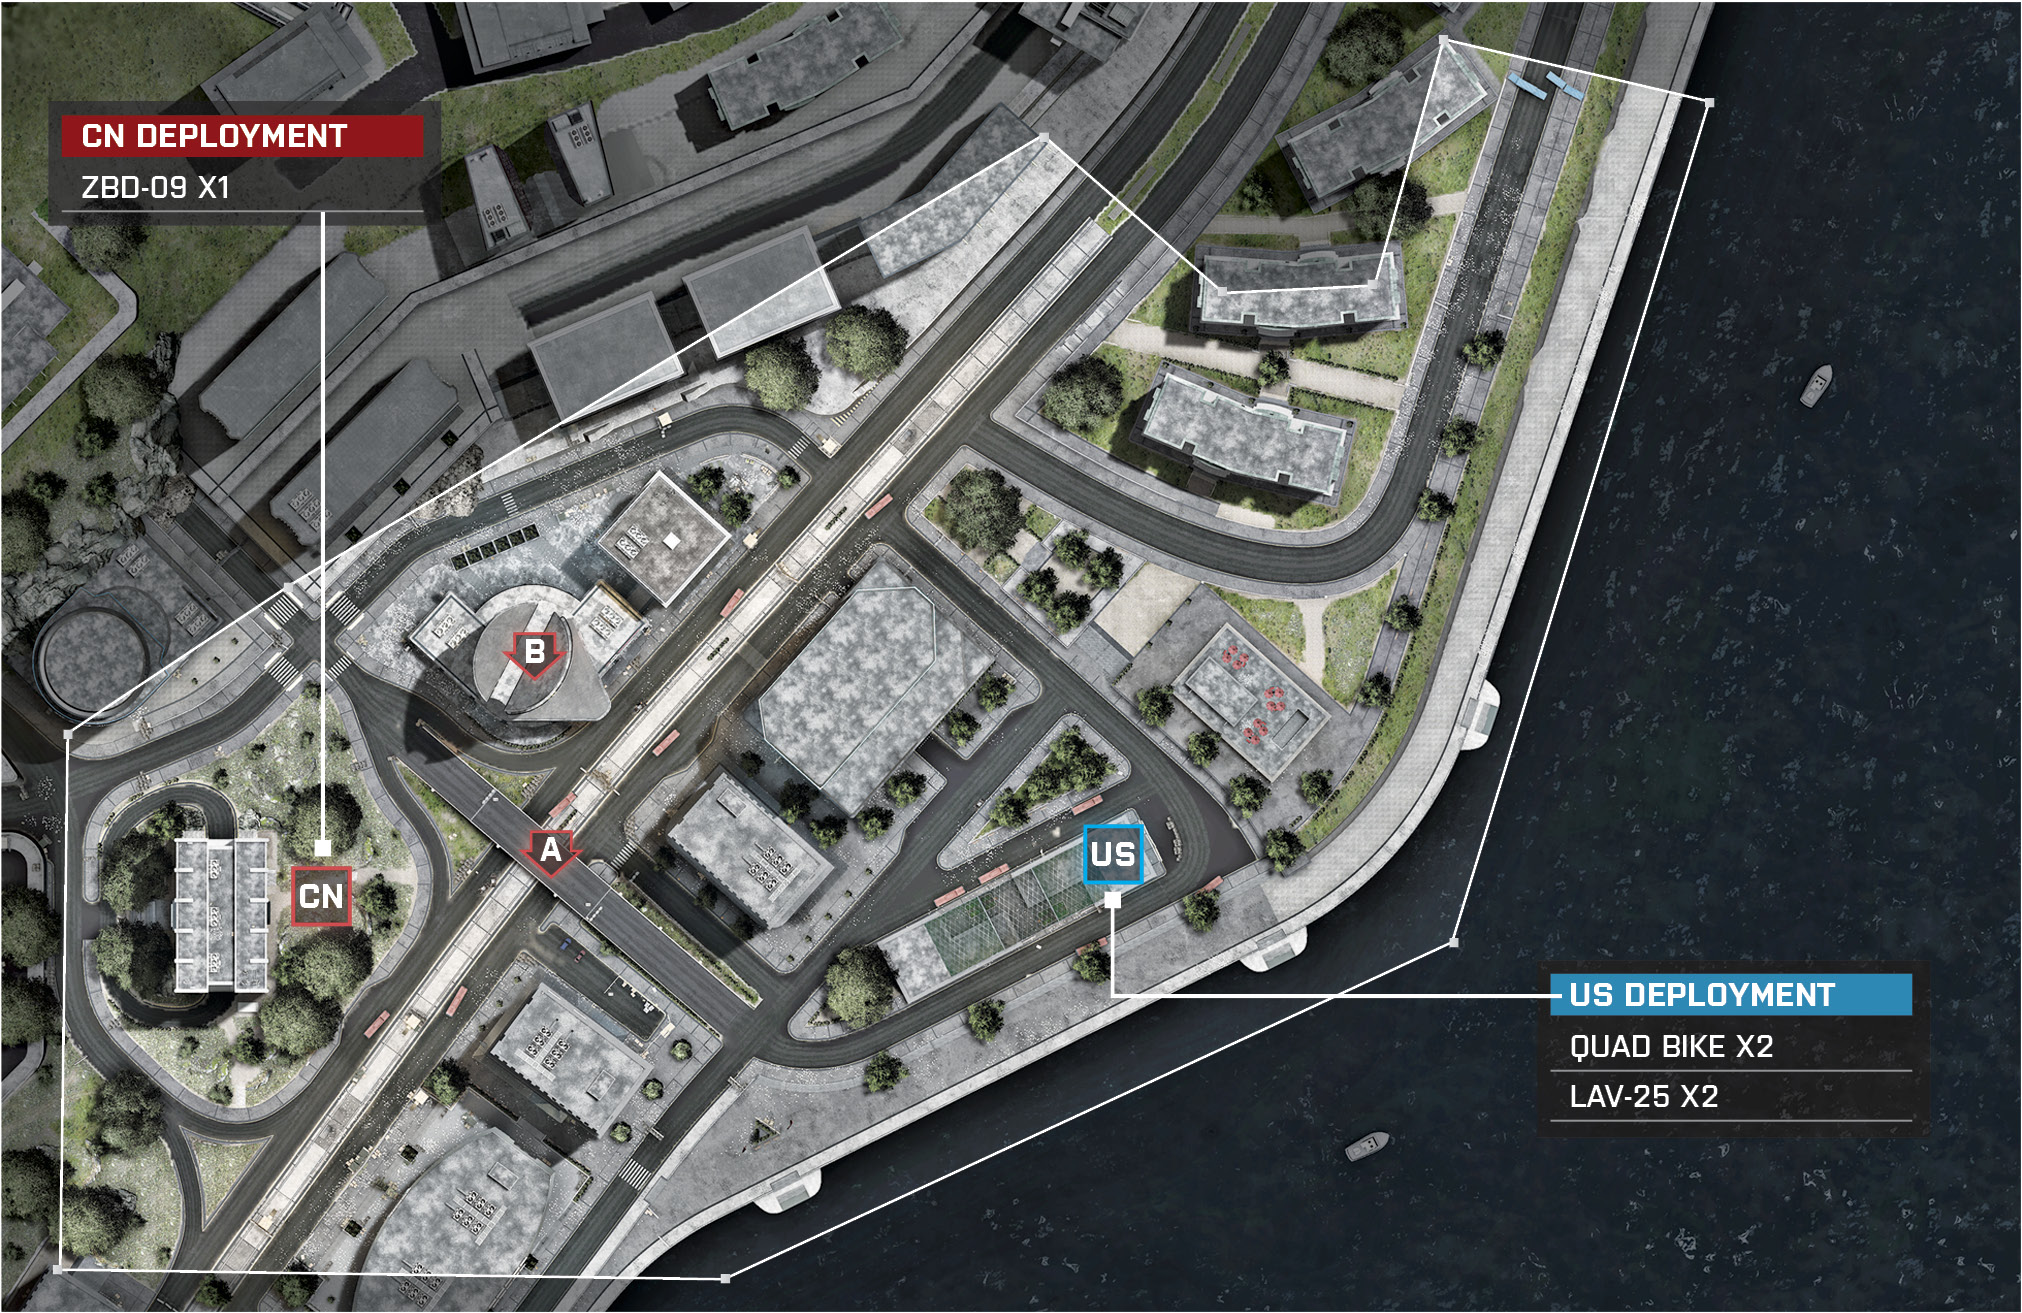
This deployment is located to the northeast of the M-COM stations. You have a direct path by foot to an overlook of the building that houses the objectives.
Be aware of the three .50Cals and HJ-8 Launcher that are placed along the road. These should be easy kills if you have an engineer shoot a rocket near the base of any of these stationary weapons.
You only have one IFV at the back of your base on this zone. Swing around to the southernmost road to avoid the HJ-8 Launcher that is located directly north of M-COM Station B.
The enemy does not have any vehicles in the zone. Use your IFV with care and continue to repair it and pick off enemies as you slowly move up the southern road.
Make sure your squad has a good balance of every class. You will need your recon and engineer players to sit back and take out threats such as enemy snipers and .50Cals. Your assault and support players are going to be on the front line storming the buildings until you can arm both M-COM stations.
CN Deployment
Recommended Squad Composition:
The CN deployment area starts out southwest of the US deployment. The M-COM stations are placed southeast from the CN deployment.
The CN deployment area deploys with one LAV-25, so have a few squad members as engineers to even the playing field against the vehicle.
Off the spawn, rush southeast towards M-COM Station A to set up your defenses before the attacking team can reach this objective. Place a T-UGS within this close-quarter building at M-COM Station A and equip a shotgun. Walls cannot be destroyed at this building, so you only need to watch the entrances.
Send a squad towards M-COM Station B as well and watch for enemies pushing from the northeast side of the map.
Equip players in the many .50Cals sitting around the objectives to set up a solid defense before the attackers push towards the objectives.
M-COM Station A
M-COM Station A is located inside the Bus Terminal in a small room.
This area is also surrounded by .50Cals and concrete walls with sandbags on them. With no vehicles in Zone 1 for the CN team, be sure to use these stationary turrets when guarding the M-COM stations.
Defenders have to really work together to protect M-COM Station A and should locate a safe place to drop a Radio Beacon to the east of the objectives. This will make it so your team is spawning near the objectives in two different locations.
Defenders should have assault classes and hide inside of the building holding M-COM Station A. Equip a shotgun; due to the close-quarter action, this gun will be at its best when used.
When attacking, round up a few assault, engineer, and support classes in a LAV-25 and make your way south towards M-COM Station A. Have a second squad with a recon class take the far southeast route and place a Radio Beacon next to the building that resembles a restaurant.
M-COM Station B
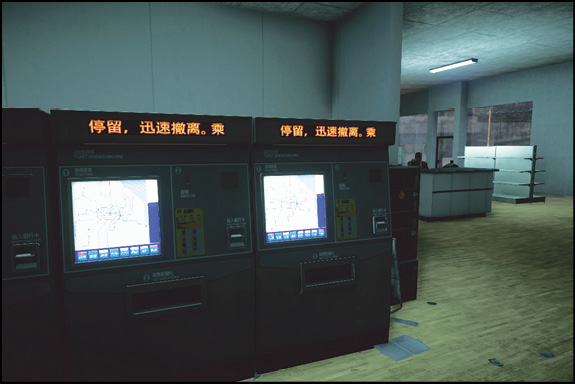
M-COM Station B is located inside the ticket center of the Bus Terminal south of the CN deployment.
There are a handful of stationary weapons around the Bus Terminal. These are effective in keeping the attackers at bay.
When defending, there are plenty of rooms around the object. Have squads split up from room to room and prepare to ambush the enemy when they walk through the entrances.
Attackers will find Smoke Grenades and Flashbangs to be super effective. Defenders are bunkered up in the rooms of the Bus Terminal; these grenades will decrease their vision and disorient their senses. Attackers can then move in and clear the room.
Zone 2: Bridge
US Deployment
Recommended Squad Composition:
Deployment Area Assets
Name
Quad Bike
LAV-25
Quantity
2
2
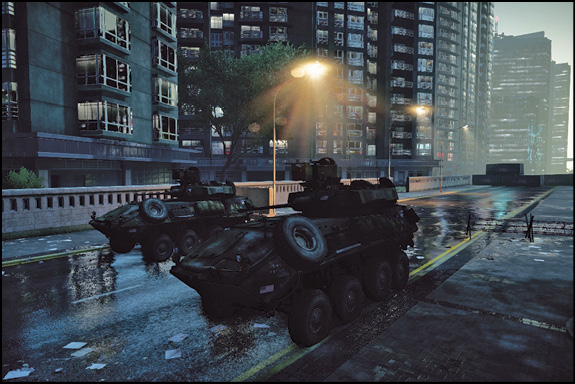
The US now spawns to the southeast of the new M-COM stations. Also, you have more vehicles at your disposal. Make use of the two LAV-25s that spawn towards the back of the eastern road and the four Quad Bikes that spawn directly on the US deployment area.
The enemy has two HJ-8 Launchers located on top of the Bridge. These rocket launchers have a 360-degree turn radius, so there is no way to completely surprise them. However, your best angle of attack is to take the northernmost road around M-COM Station B, and from here you will have a clear shot to take out their stationary weapons.
The stationary weapons are not the only threat in this zone—the enemy now has a ZBD-09 for their own counter-infantry measures. Have at least two engineers in your squad to help eliminate the enemy IFV and repair the damage that your LAV-25s take.
When pushing M-COM Station B, be prepared to fight in this close-quarter combat area with your favorite shotgun.
When attacking M-COM Station A, this area is wide open with numerous areas from the southwest for the enemy to pick you off as your try to arm this objective. Push past the Bridge to clear these enemies out before going for M-COM Station A.
CN Deployment
Recommended Squad Composition:
Deployment Area Assets
Name
ZBD-09
Quantity
1
After losing Zone 1, the CN deployment now sits on the southwest side of the objectives.
Spawning at this deployment area, you’ll find a ZBD-09 to counter the CN team’s two LAV-25s. Have your squad play as a few engineers to stop the enemy vehicles in their tracks.
Send a squad immediately towards M-COM Station B to set up your defenses inside the building containing the objective. This is another close-quarter area, so be sure to equip your shotgun and let the shells unload. Use the many objects and structures within the building for cover.
M-COM Station A is located underneath the Bridge in a fairly open area. This objective can only be seen from southeast of the station. You’ll want to cover this objective, making sure enemies are not able to reach the objective since it has so much cover.
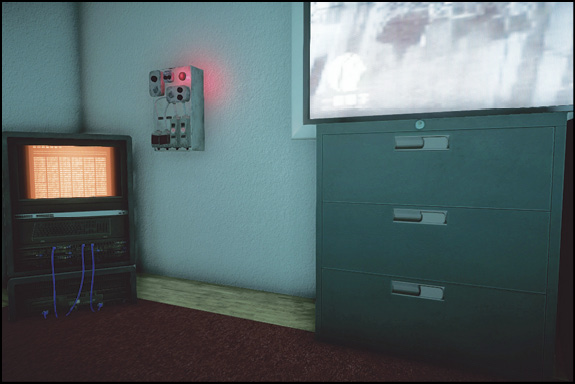
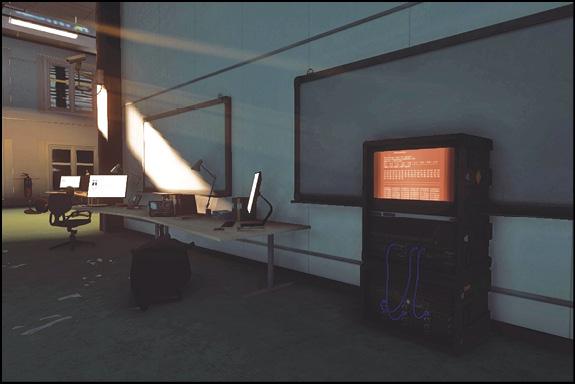
Inside the building holding M-COM Station B, there is a switch above the objective. Shoot this switch to turn off the lights within the building, which lasts for approximately thirty seconds. Scatter Claymores throughout the darkness in an attempt to score some sneaky kills.
M-COM Station A
M-COM Station A is located just underneath the Bridge. There is a bus and a few crates that would serve as cover around this point.
When attacking, send a recon member to the building west of the US deployment. Choose the recon class and make your way to the balcony. At this position you’ll provide great cover for your teammates attempting to arm the objective.
Defenders can lay some T-UGS around the M-COM station just in case some enemies slip by, in which case they will be picked up on the team’s minimap.
The attacking squad should have assault and support classes; take control of any areas where snipers may be posted before moving near the M-COM station.
M-COM Station B
This M-COM station sits far back in the Plaza.
Due to the distance from the US deployment to the objective, the defending team has plenty of time to set up a perimeter. A recon player can take the elevator to the roof of the Plaza and snipe incoming attackers.
When defending or attacking, recon players will play a huge role. These players can drop their MAVs and fly them around while spotting members of the opposing team.
Defenders need to take advantage of the circuit board above the objective. First plant C4 and Claymores around the Plaza’s entrances and then shoot the circuit board. Shooting this circuit board will cause the lights to go out for roughly 30 seconds. The attackers won’t know what they are walking in to.
This objective promotes close-quarter combat as players will move from office to office. When attacking, prepare to use Smoke Grenades and shotguns to take out the camping defenders.
Zone 3: Hospital
US Deployment
Recommended Squad Composition:
Deployment Area Assets
Name
Quad Bike
LAV-25
AH-1Z Viper
Quantity
2
2
1
The US deployment spawns to the east of the M-COM stations with several vehicles, including an attack helicopter.
Beware of the J-20 stealth jet the enemy now has. Have your engineers equipped with Stingers and IGLAs to take care of this aircraft before it inflicts too much damage.
M-COM Station B is heavily fortified with stationary weapons surrounding it. Go for this objective first while the enemy is split up and focused on both M-COM stations. M-COM Station A is much easier to arm, being underground with fewer angles to attack for the defenders.
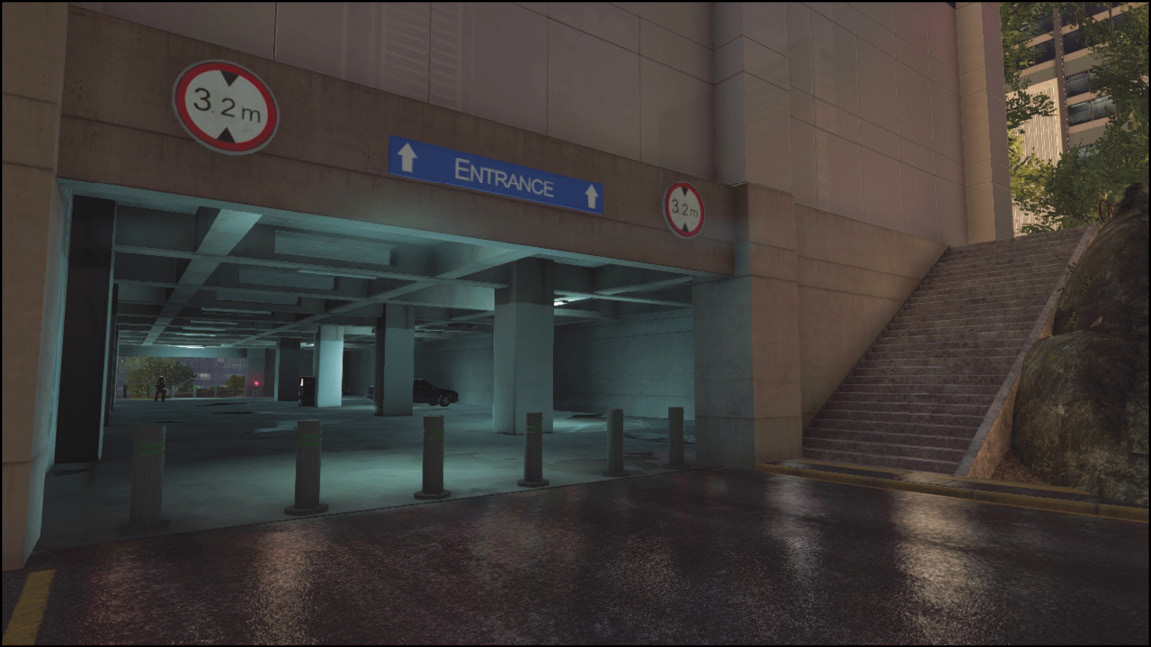
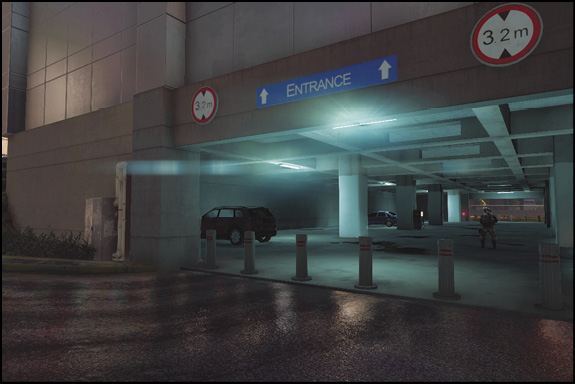
Take your LAV-25s to the north end of M-COM Station B where you are less likely to be ambushed. Have a teammate lower the bollards so you can safely drive your LAV-25 inside the garage.
Make sure your squad consists of engineers and mid-range anti-infantry when attacking M-COM Station B. Your squad should consist of close range and a recon member when attacking M-COM Station A.
CN Deployment
Recommended Squad Composition:
Deployment Area Assets
Name
ZBD-09
J-20
Quantity
1
1
The CN deployment is now located west of the objective and spawns an ZBD-09 and J-20. The US deployment spawns two LAV-25s and an attack helicopter.
When defending M-COM Station B, raise the bollards to stop enemy vehicles from entering.
Initially make your way to M-COM Station B to set up your defenses inside the lower level of the garage.
With how dark it is around M-COM Station A, lay Claymores all over to pick up a few enemies rushing to arm the objective.
M-COM Station A
M-COM Station A is located underneath the damaged street. There are a few long, dark tunnels that all connect to each other leading to the objective.
The CN team has two vehicles that spawn at this zone and can be used to defend the area: a stealth jet and a ZBD-09.
Defenders can lay Claymores all around the dark areas in the tunnels. This will take out flanking attackers and protect the objective.
Attackers will want engineers equipped with a Stinger or IGLA to take out the opposing team’s jet. This allows the US team’s scout helicopter to move in and provide airsupport while dropping squadmates in the area.
M-COM Station B
M-COM Station B is located in the parking garage adjacent to the Hospital.
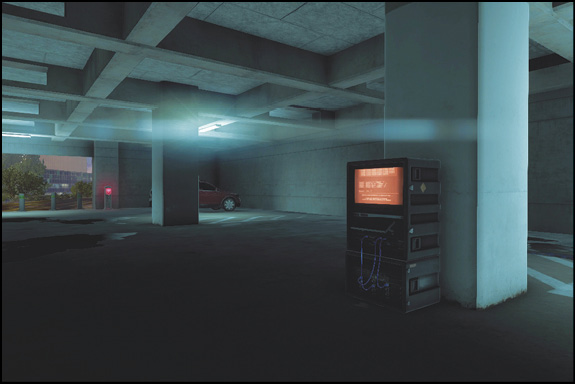
Inside the parking garage are interactive control panels that raise and lower a set of bollards. When raised, these bollards prevent ground vehicles from entering.
The parking garage has an elevator that leads to the roof of the building. Attackers should sneak in and place a Radio Beacon at the top to give your team closer spawns and allow you to get more attempts at the objective.
In the south entrance of the parking garage, a staircase leads to an underground tunnel towards M-COM Station A. This allows defenders to help protect both objectives as they can run back and forth.
In the south entrance, defenders can man the stationary weapons to assist in destroying the US team’s IFVs.
Zone 4: Embassy
US Deployment
Recommended Squad Composition:
Deployment Area Assets
Name
LAV-25
AH-1Z Viper
Quantity
2
1
The US deployment is located to the east of the M-COM stations, which are placed inside the Embassy.
When attacking the Embassy, there is only one main route for landvehicles to enter this area. You need teammates to push in from multiple directions to distract defenders while your LAV-25s enter from the northwest.
The defending CN team has a ZBD-09 and a Type 99 MBT. Be sure to have multiple engineers ready to take out the Type 99 MBT before it dominates your LAV-25s.
Lay down a T-UGS before heading up the stairwells underneath M-COM Station A. This will reveal when enemies are waiting for you so you can have the upper hand.
Try to arm M-COM Station A first, since this area is the most difficult to get control of. From here, finishing the game by arming M-COM Station B will be simple since you have the building under full control.
CN Deployment
Recommended Squad Composition:
Deployment Area Assets
Name
ZBD-09
Type 99 MBT
Quantity
1
1
In Zone 4, the CN deployment is moved to southwest of the objectives.
At this deployment area, a ZBD-09 and a Type 99 MBT spawn here. Use these to stop enemies from making their way into the buildings containing the objectives.
Place a Radio Beacon on the north balcony of the building containing M-COM Station A. If your squad is taken out, you’ll still be given a good spawn near the objective to stop the arm.
Place T-UGS in both of the buildings containing the objectives. For this close-quarter area you’ll want to know what your enemy is doing every second.
You’ll have some time to set up your defenses, so get into a good position with cover and watch the area towards the US deployment. It will take US enemies a bit of time to make their way towards the Embassy, but be patient.
M-COM Station A
M-COM Station A is located towards the west part of the map and is on the second floor of the building.
The CN team has an MBT that will be used to cover the whole building and take out any ground units trying to sneak inside.
Watching the staircases is the most effective way to protect M-COM Station A. Defending support players should station themselves at the top of both stairs and kill any attacker that approaches.
Attackers will push their way through in the IFVs transporting engineers who are ready to take out any tanks outside the Embassy.
The attack helicopter will drop some players off on the roof of the buildings and place a Radio Beacon there. Then, while the other attackers are distracting the defenders, the roof squad will make their move on the M-COM station, catching the CN team by surprise.
M-COM Station B
M-COM Station B is located within the Embassy security room. The security room has cameras watching the activity of an aircraft carrier.
The Embassy has stationary weapons that assist in preventing the attackers from reaching the objective.
Defenders can plant the entire room with Claymores as they watch from the top of the stairs. Be sure to move in after the Claymores go to ensure every attacker was wiped out.
Defenders can plant T-UGS in the two bathrooms to detect any nearby enemies. This will allow you to assist in defending M-COM Station A as they are only a few meters away.
Attackers will have to flood the Embassy from multiple entrances in order to arm. Be sure to have a recon player plant hidden Radio Beacons behind the Embassy to allow constant squad spawns, which will assure the arming of M-COM Station B.
Obliteration
Recommended Squad Composition:
The US team must defend the targets between the Plaza and the Bus Terminal.
The CN team guards the targets between the Embassy and the Hospital.
The bomb is located around the conference room of the building near the Plaza.
Pilots will enjoy this map as they can maneuver around the tall buildings and use them as cover. The attack helicopters can use these buildings to flank the opponents and lay down some heavy artillery.
Using the parachute deployment, recon players can reach the top of many buildings that provide amazing sniping angles.
Defuse
Recommended Squad Composition:
This epic battle is held around the building adjacent to the Plaza, where the US team spawns near the west entrance and the CN team can be found on the northeast entrance.
Laptop A is located in the courtyard between the two connected buildings. There are many items that can be used for cover, including a bus players can hide in.
Laptop B is found just outside of the elevator that leads to the roof of the building adjacent to the Plaza. Beware of defenders hiding inside of the elevator.
The defending CN team can take the elevator to get to the roof of the building and jump to a lower roof that will allow them to completely lock down Laptop A. The only risk is that you will not be able to watch the other objective, so plan accordingly with how many people go to the top.
The US team should focus on staying inside the building as the defenders gain early access to the roof. Bring Flashbangs and punish the CN team for leaving only a few people down low to watch Laptop B.
Domination
Recommended Squad Composition:
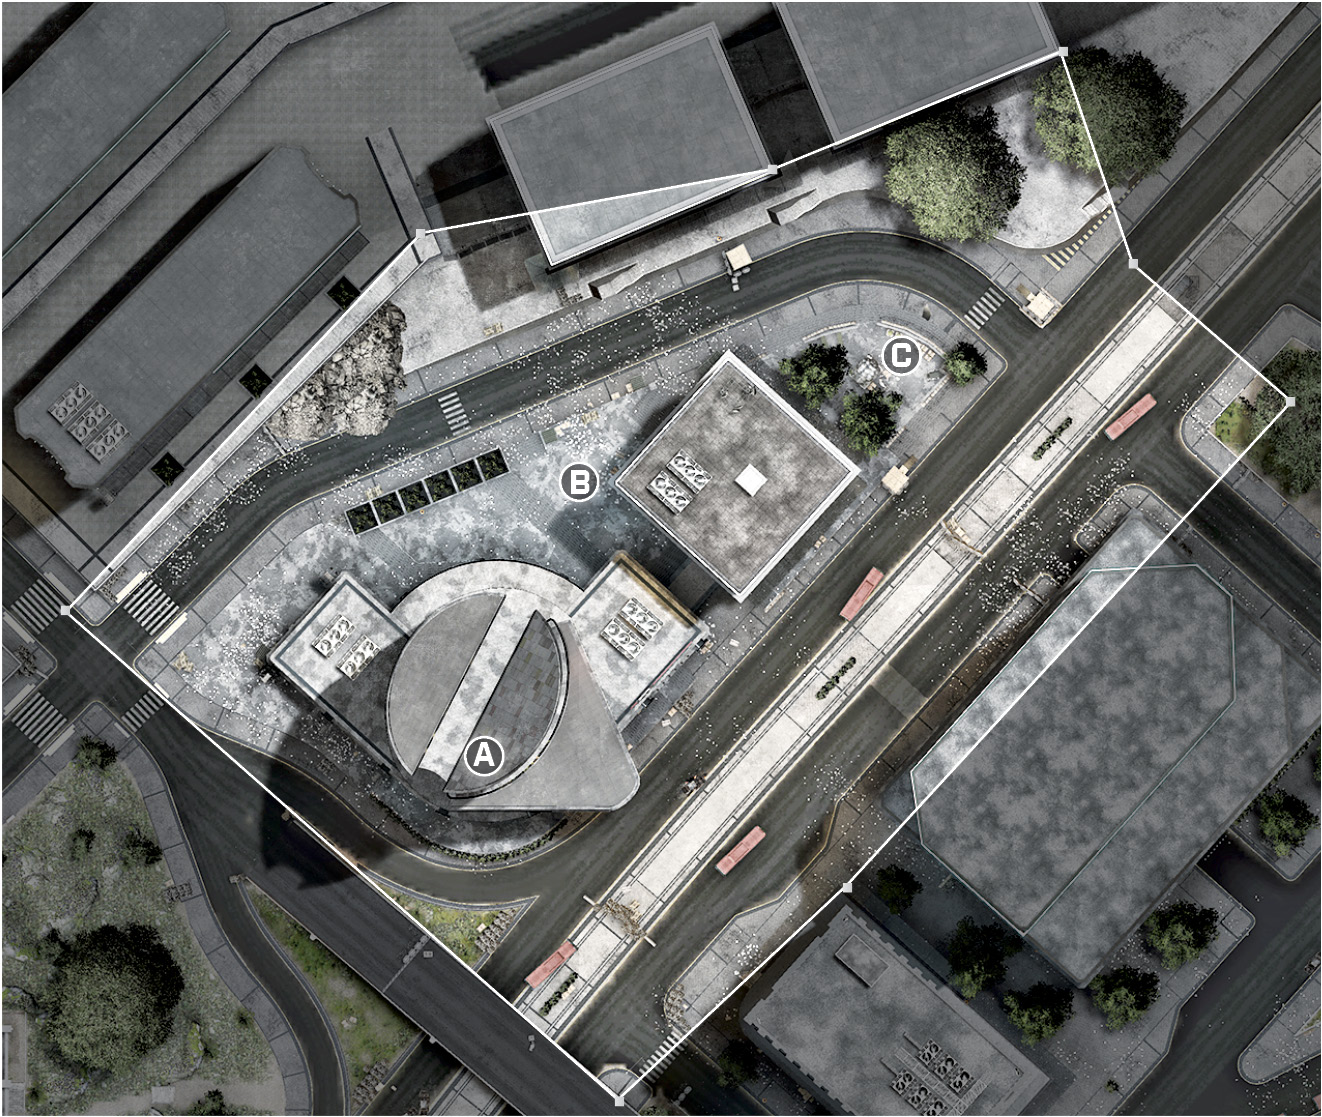
The three control points on this map are the Meeting Room (A), Plaza (B), and Statue (C).
After capturing the Plaza (B), plant C4 around crates to get easy kills as opponents try to recapture this flag.
The elevator near the Statue (C) leads to the roof, which lets you clearly watch over the Plaza (B) and the Statue (C). This strategy allows you to safely guard the control points from a distance.
The roof of the building near the Statue (C) lets you move around at a fast pace, allowing you to respond to squad commands.
When defending, throw Motion Sensors so you know where enemies are coming from at all times.
Squad Deathmatch
Recommended Squad Composition:
Squads battle each other around the Plaza on this map.
The interior of the building is a power position throughout the game. Moving from the back to the front, your squad will witness all the action going on outside, allowing you to clean up some easy kills since your opponents are distracted.
When inside the building be sure to equip close-quarter weapons as you are fighting in confined halls and rooms. Shotguns are suggested as you can hide in the small storage rooms to surprise your enemy.
Inside the building near the front entrance is a circuit board that you can shoot; this will cause all the lights inside to go off. Equip an IRNV scope to excel during this darkened firefight.
Be sure to stay close to your squad. Moving near each other will allow you to react to one another’s call outs. As most of the action will occur around the building; you want to be able to shoot the same targets and revive a squadmate if downed.
Team Deathmatch
Recommended Squad Composition:
Prepare yourself for all kind of fights on this map, including close-quarter, outside firefights, and rooftop battles.
When fighting inside of the building next to the Plaza, there are fire extinguishers that produce a smoke screen for cover when shot. Drop prone and gun down opponents as they run by.
There is a circuit box that shuts off the power for some time when shot. Equip the IRNV to excel in these areas with the lights out.
There are glass overhangs that make new paths inside of the building when you destroy the steel pillar holding the overhang. Use these if the opposing team is defending the inside of the building.
There is an elevator that leads to the top of the building; from here you can jump to one of the lower buildings. The lower buildings provide a superior angle as you can hide from incoming fire.