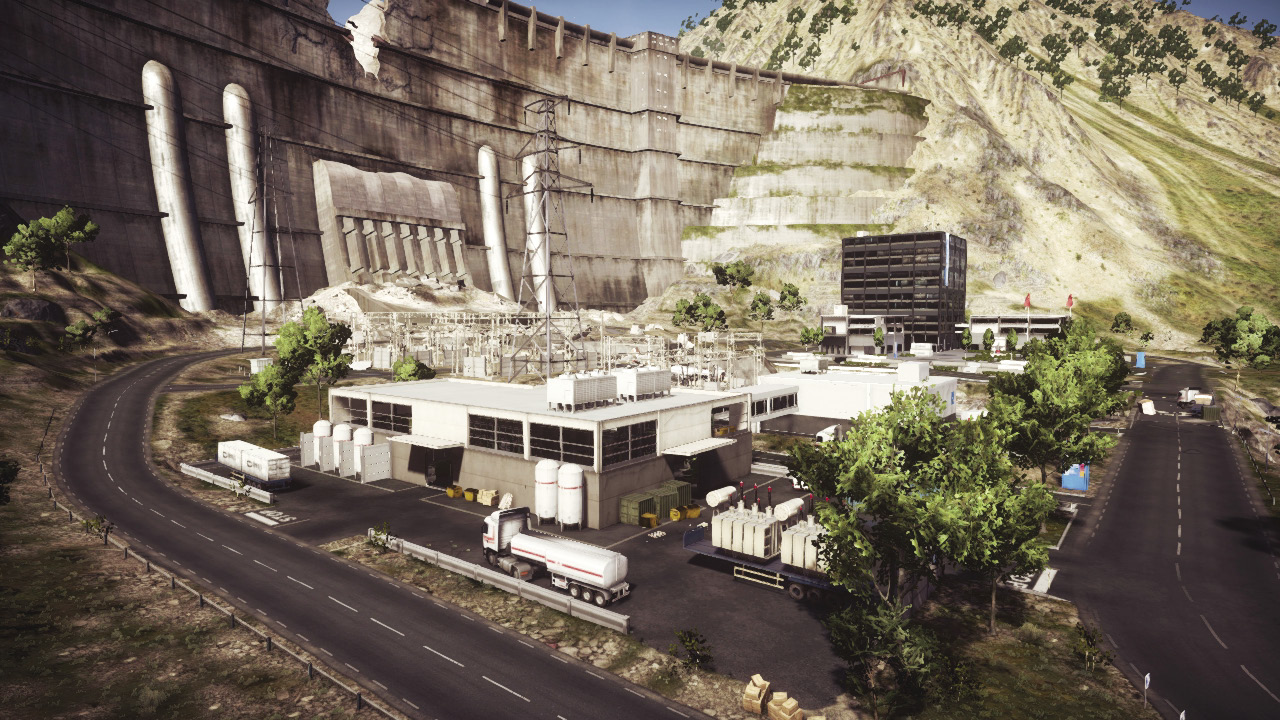
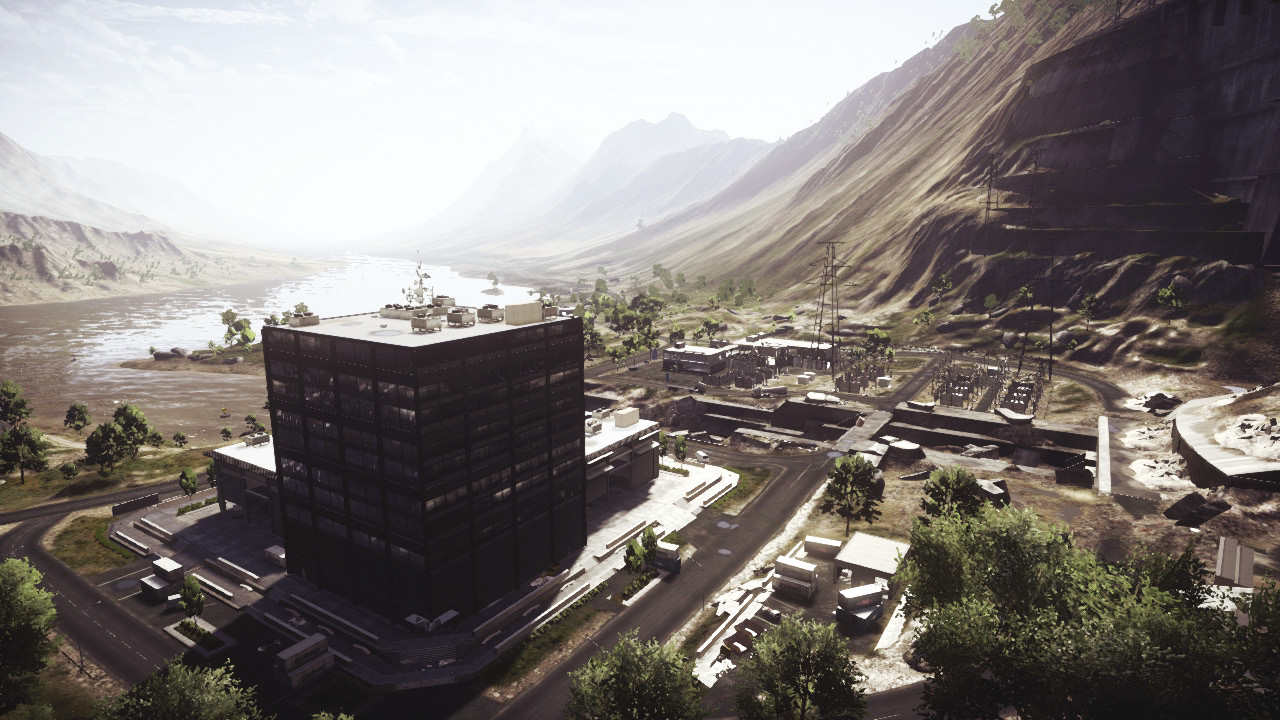
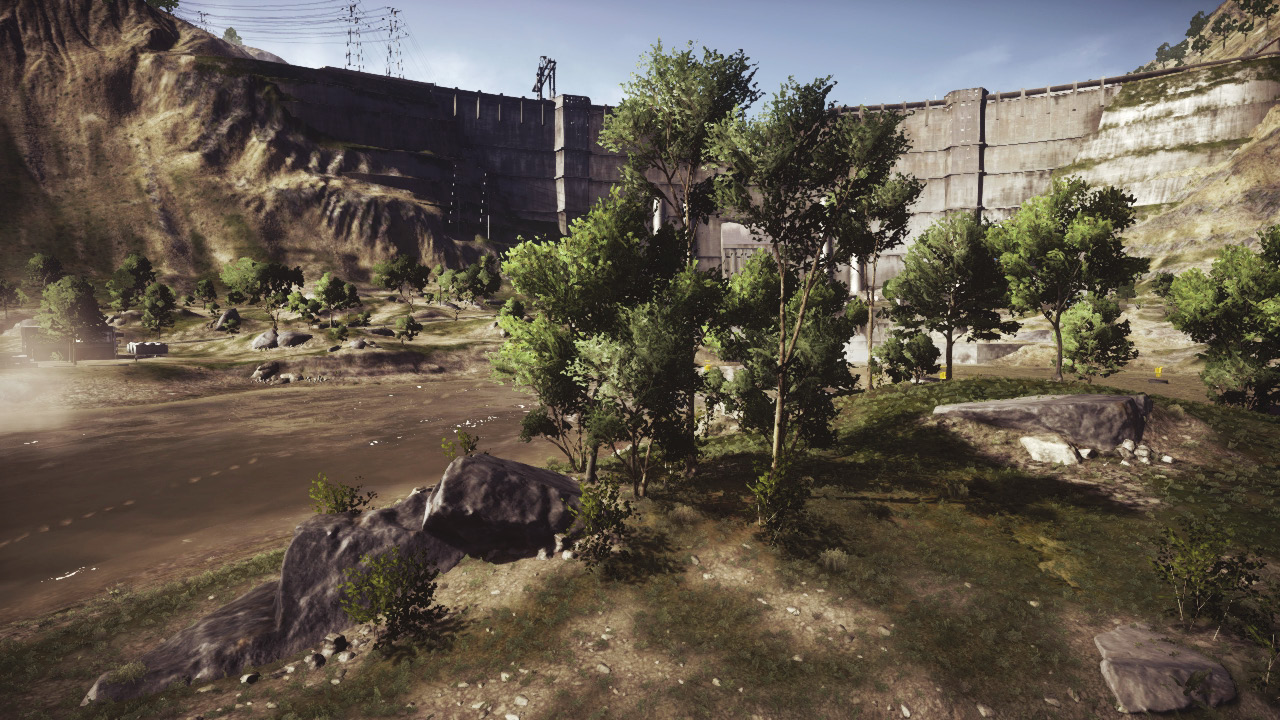
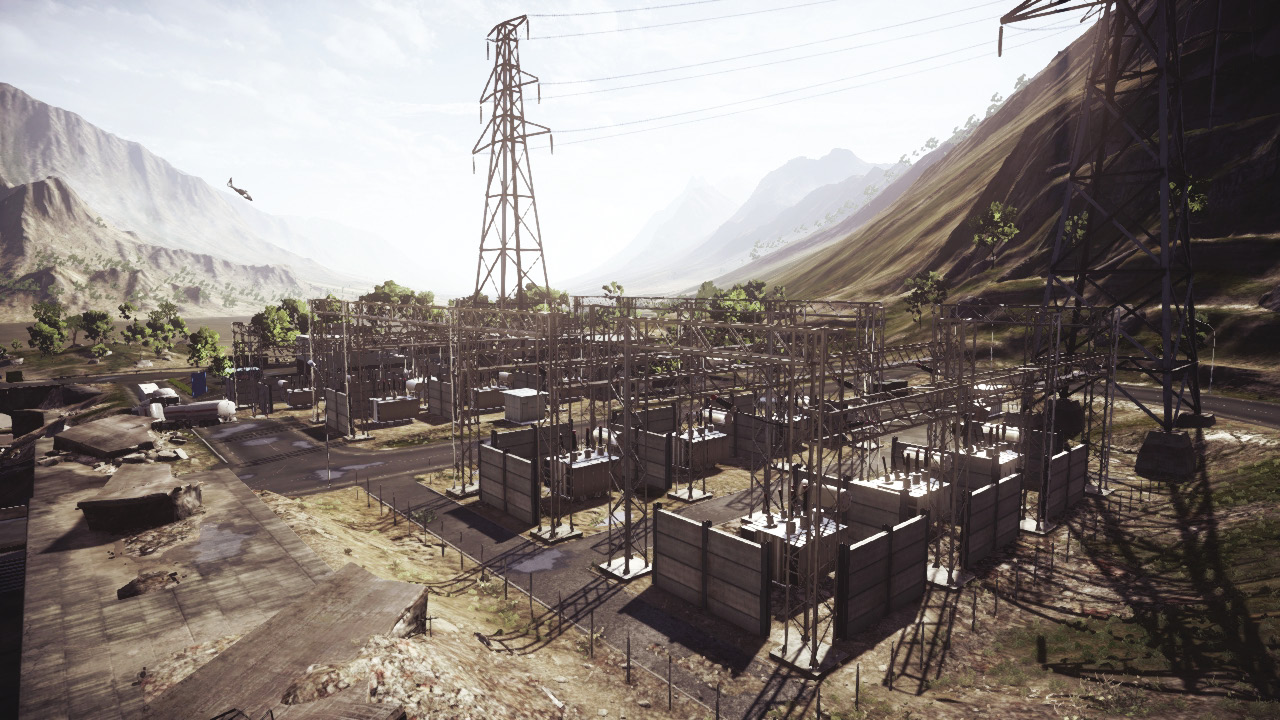
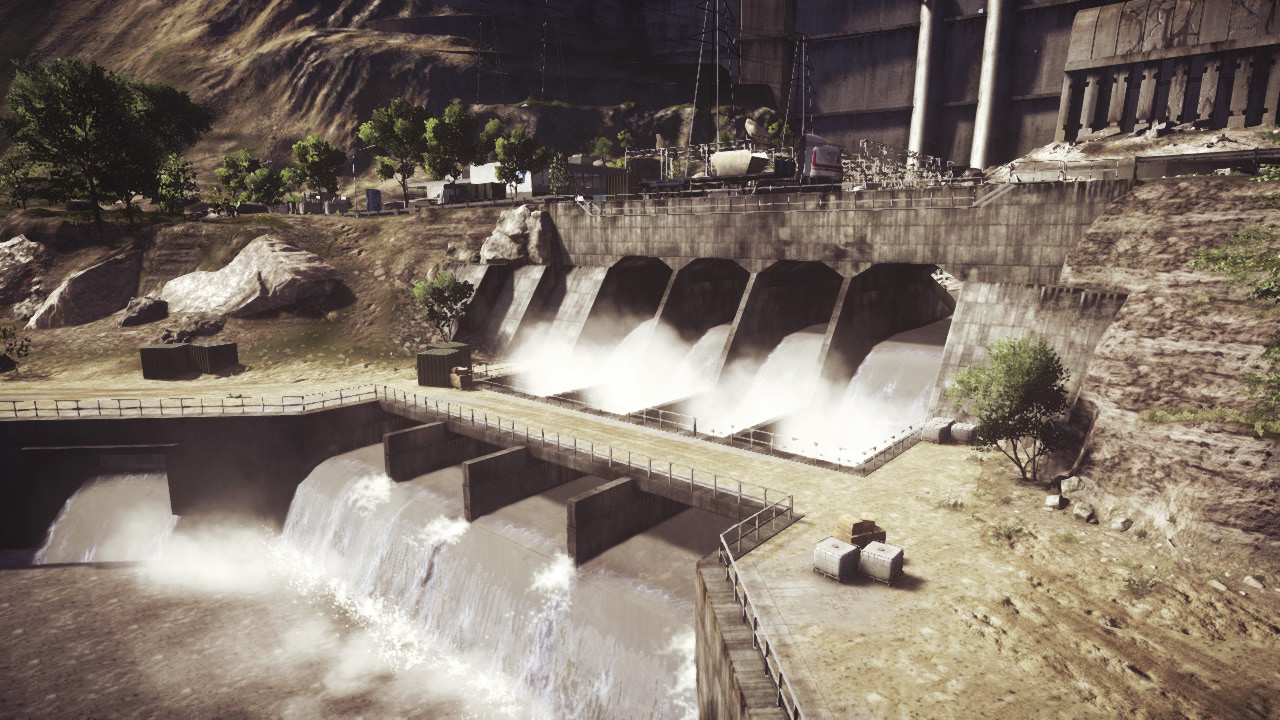
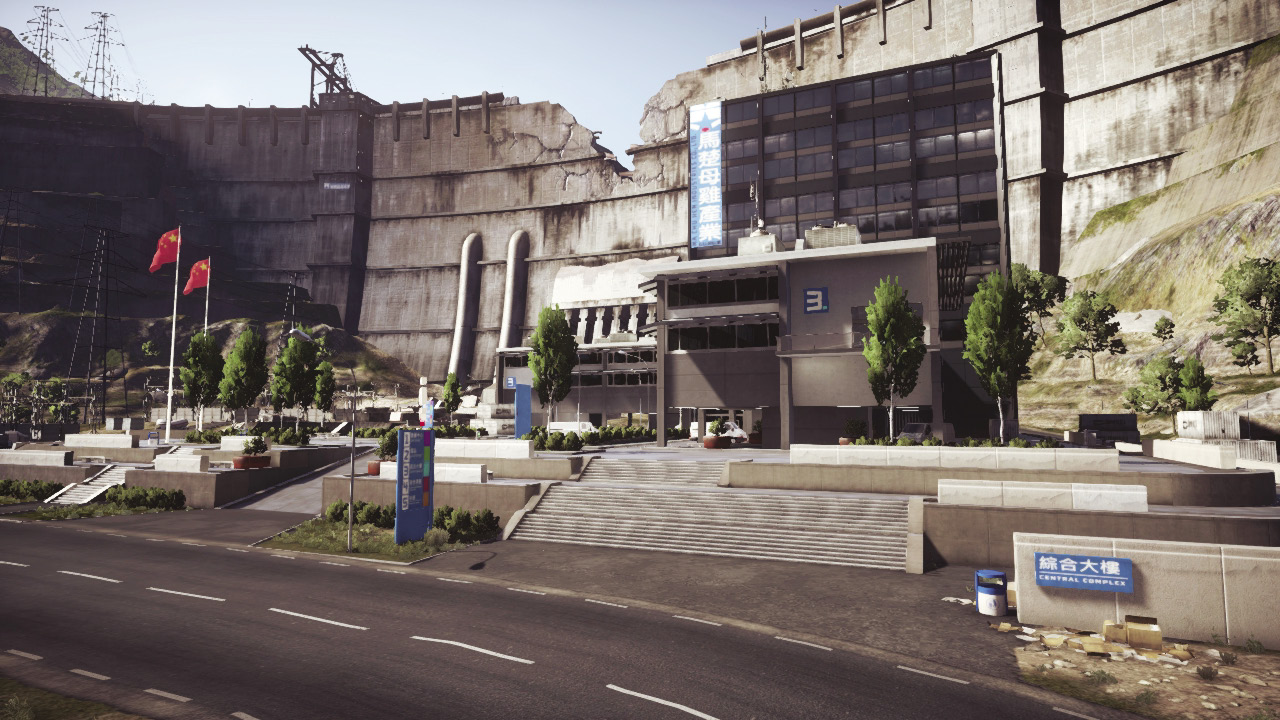
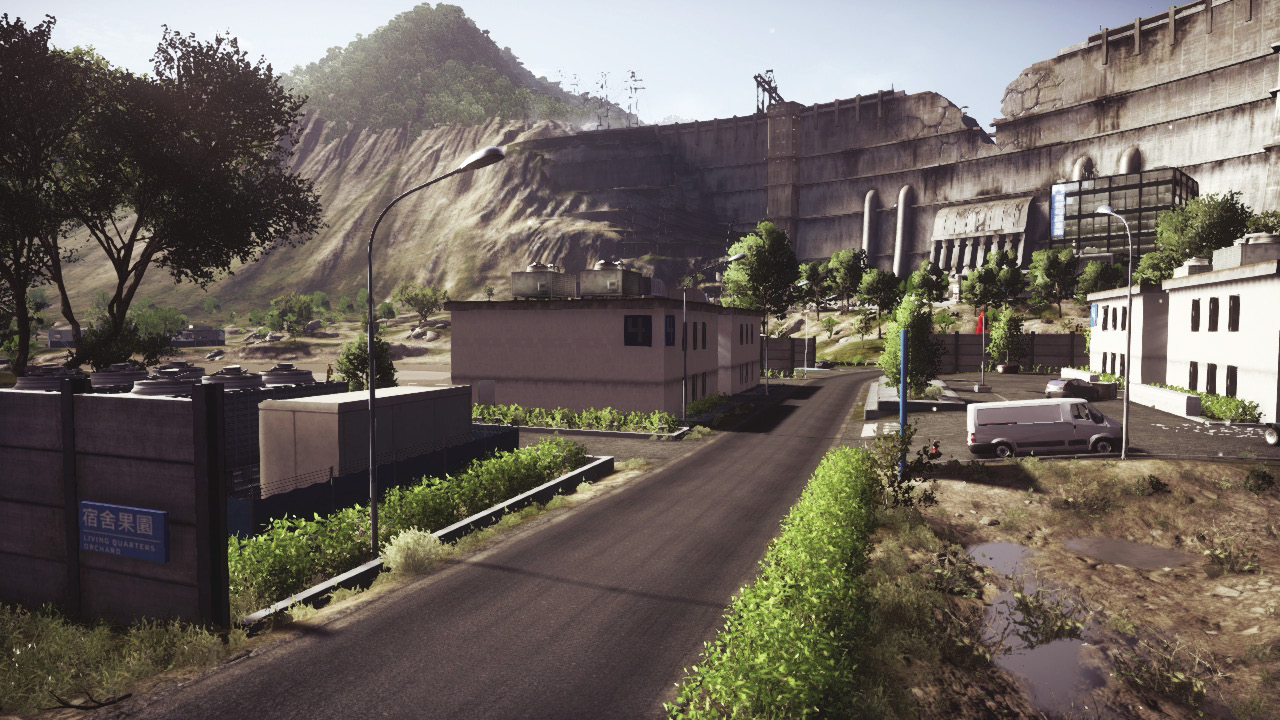
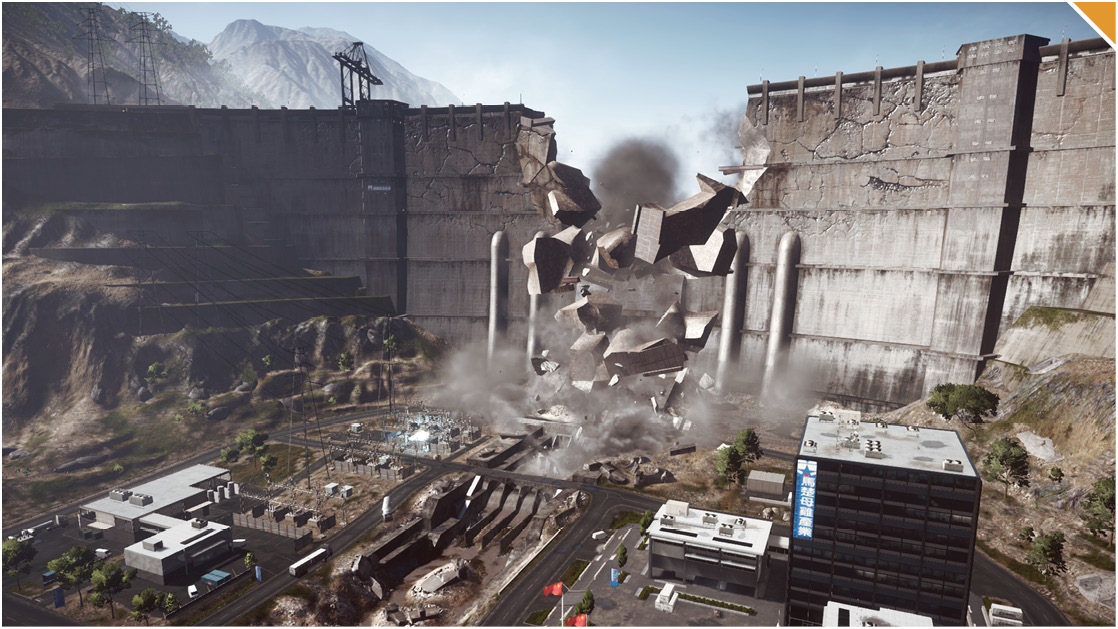
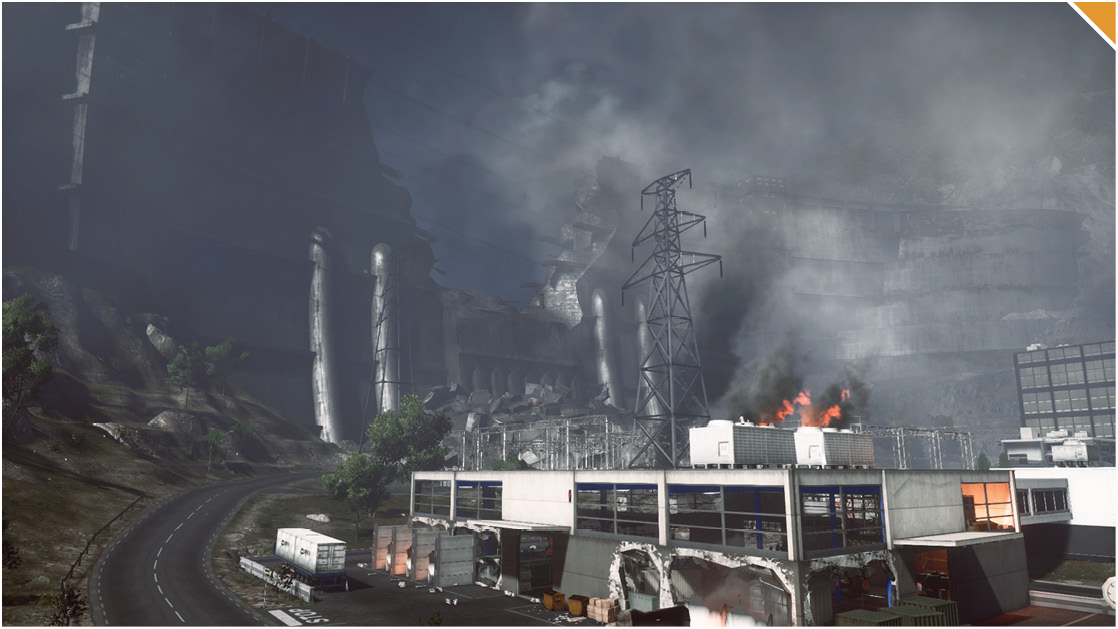
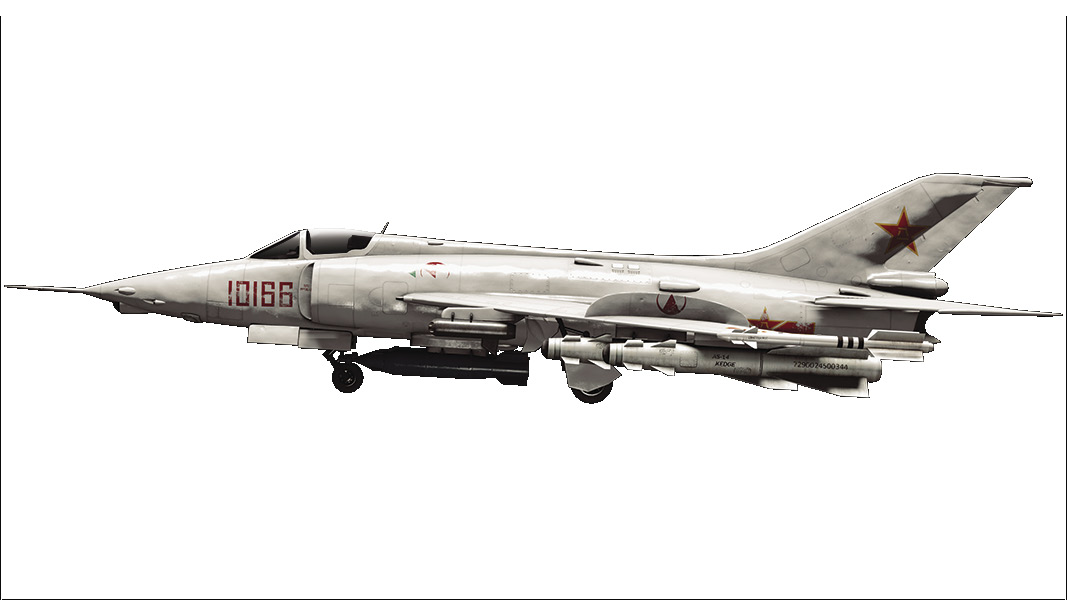
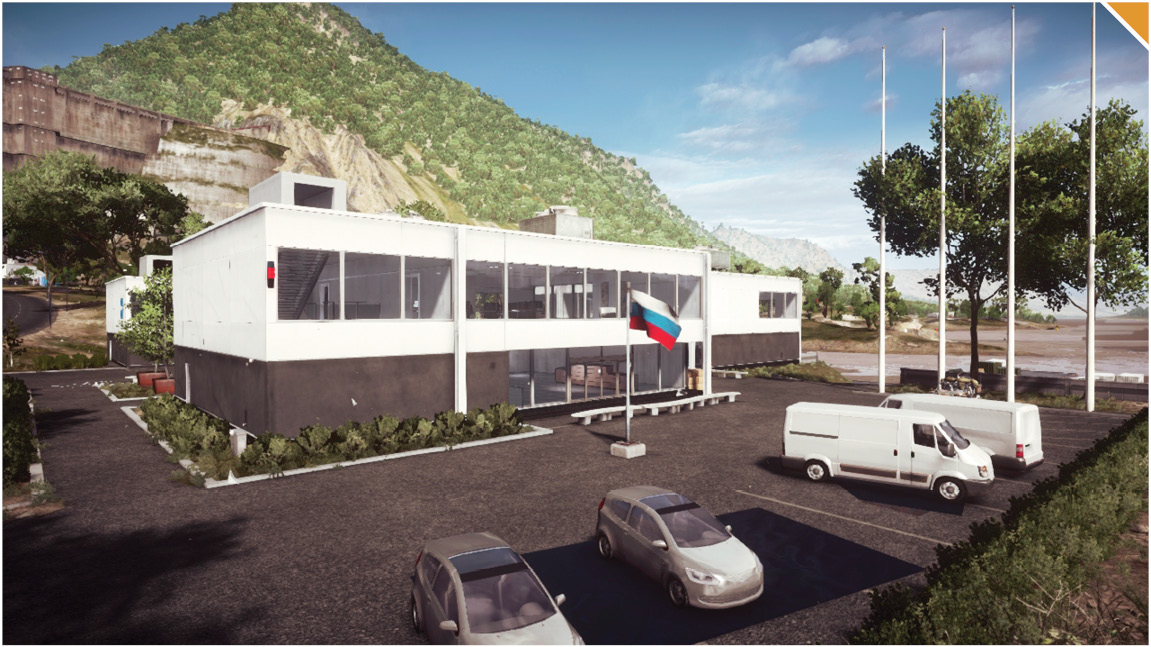
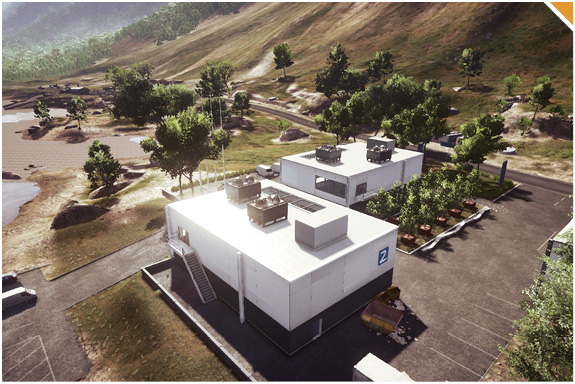
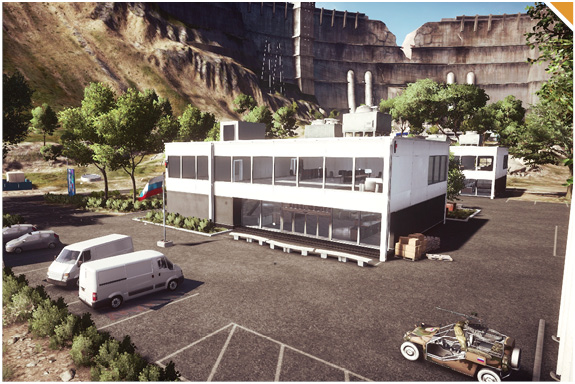
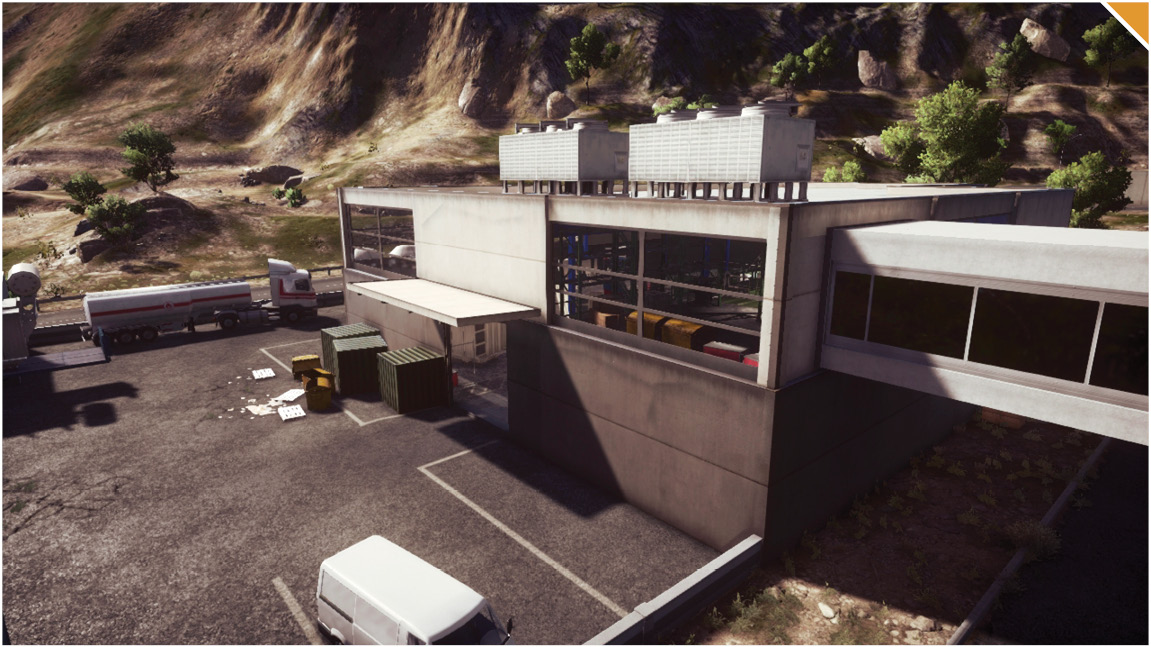
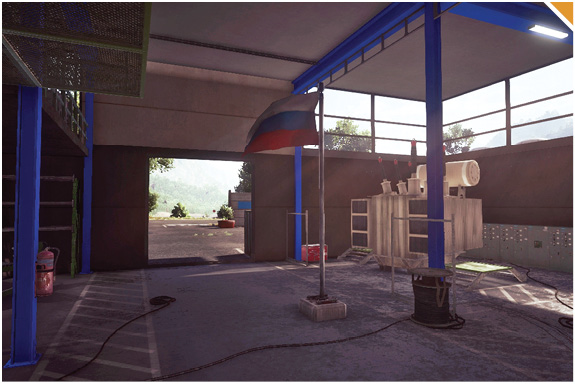
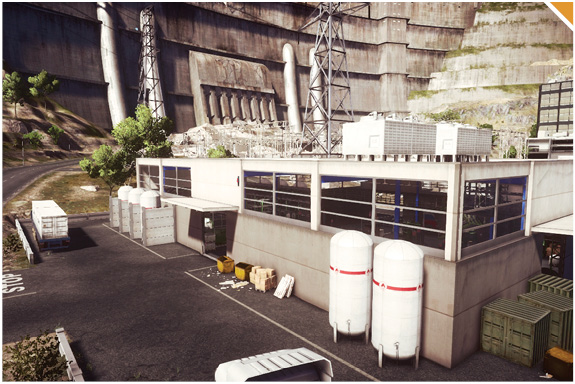
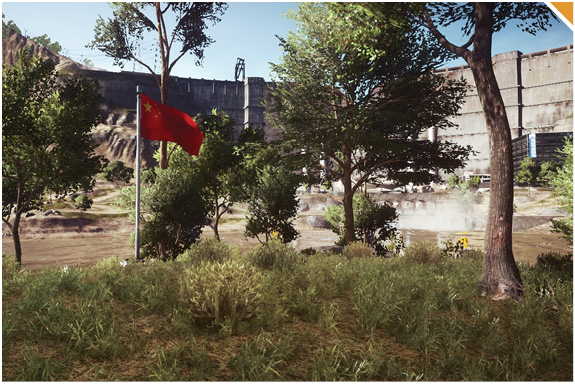
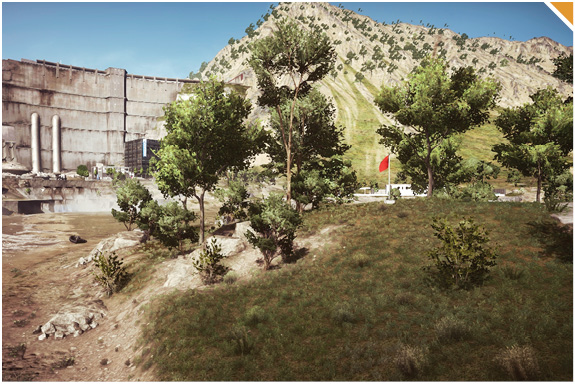
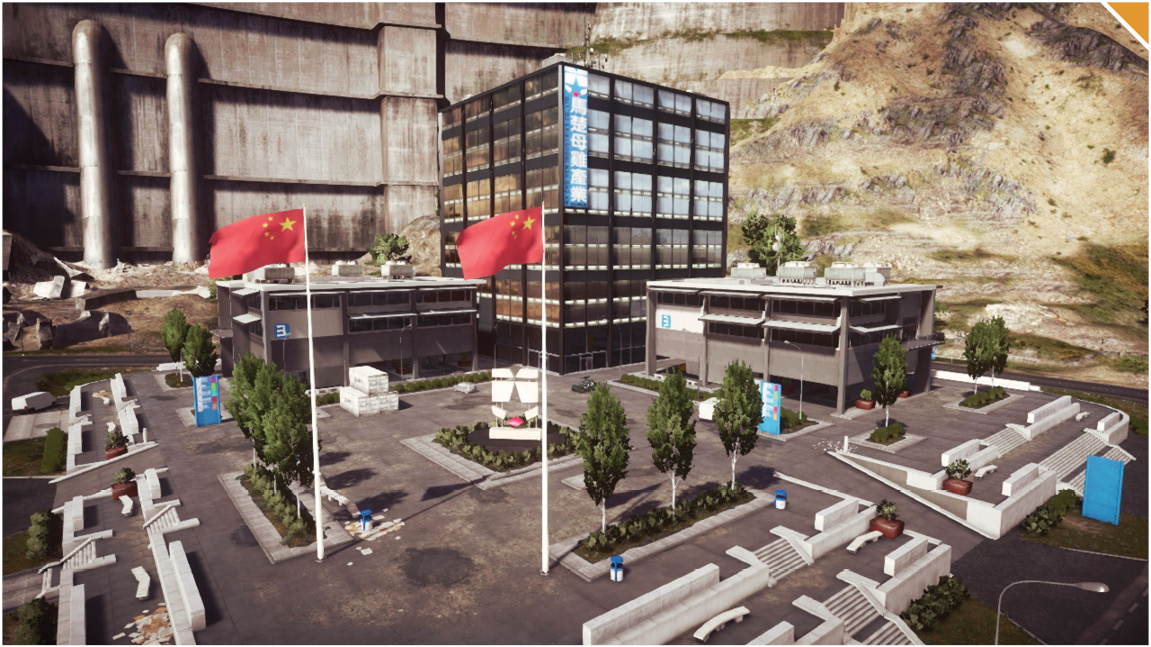
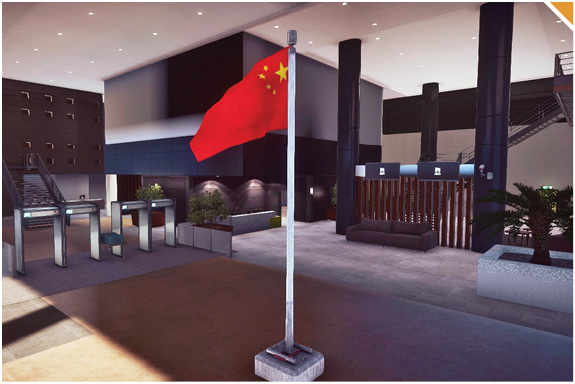
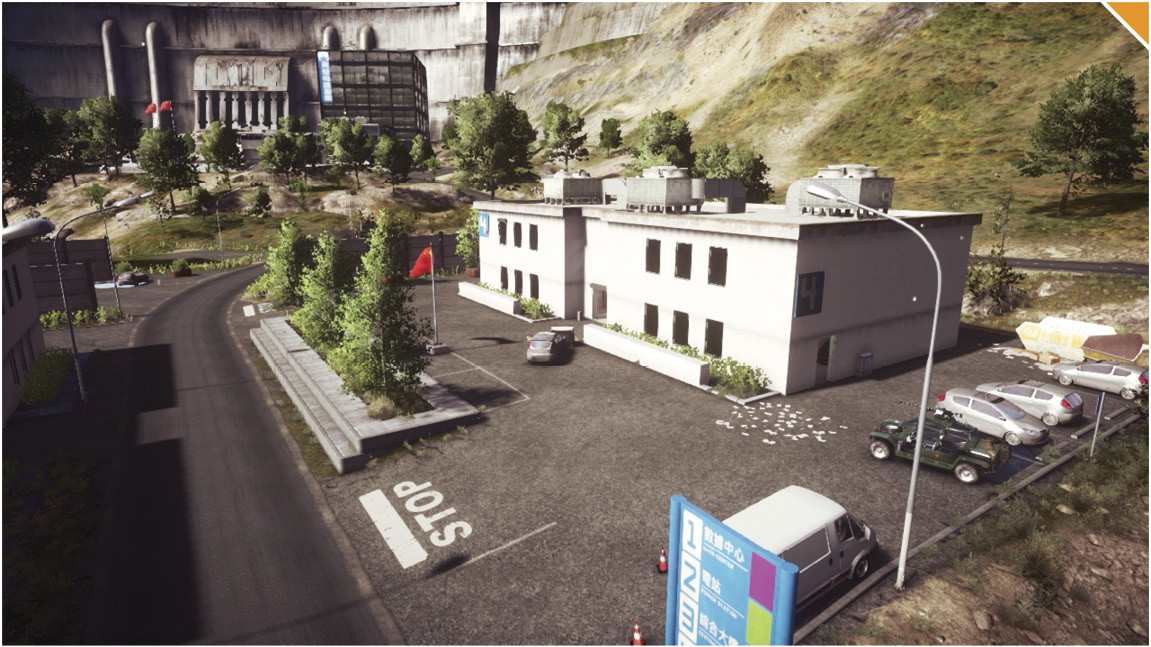
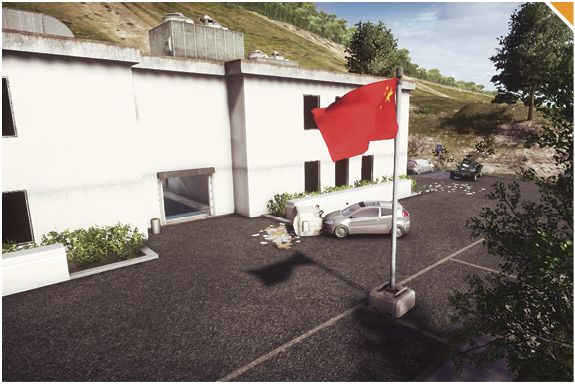
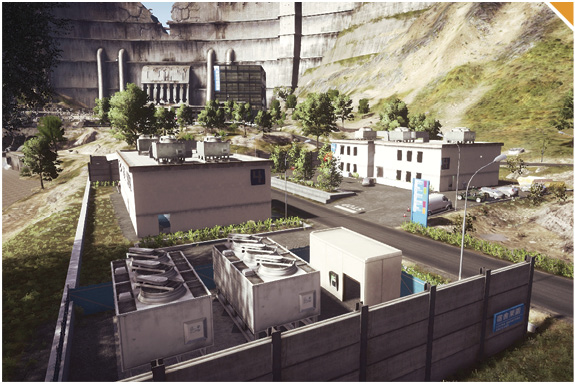
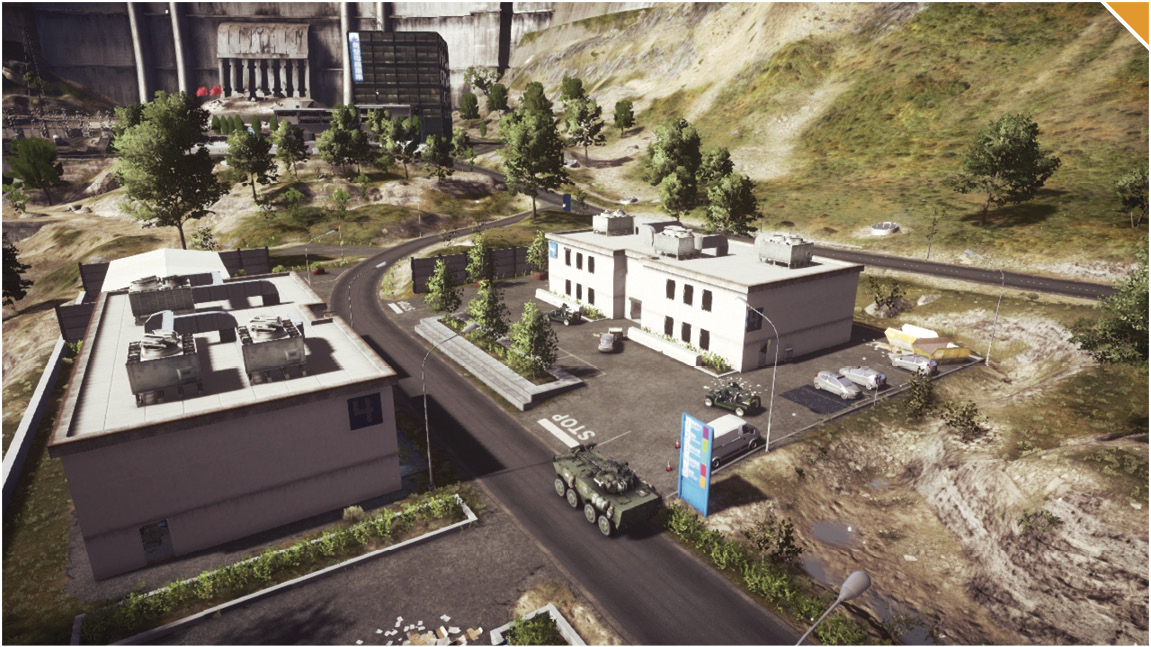
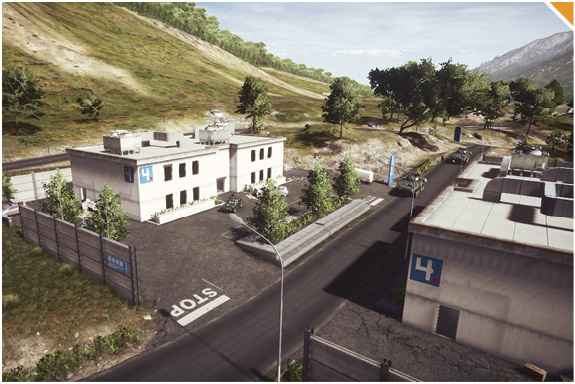
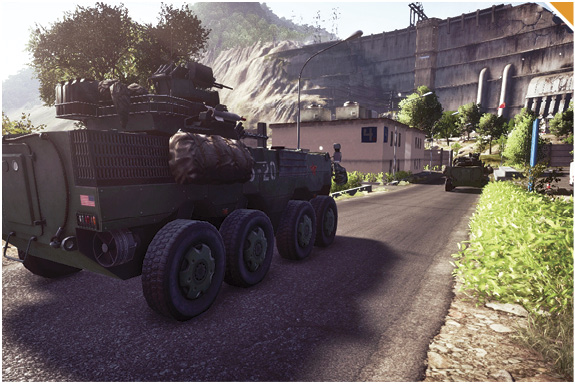
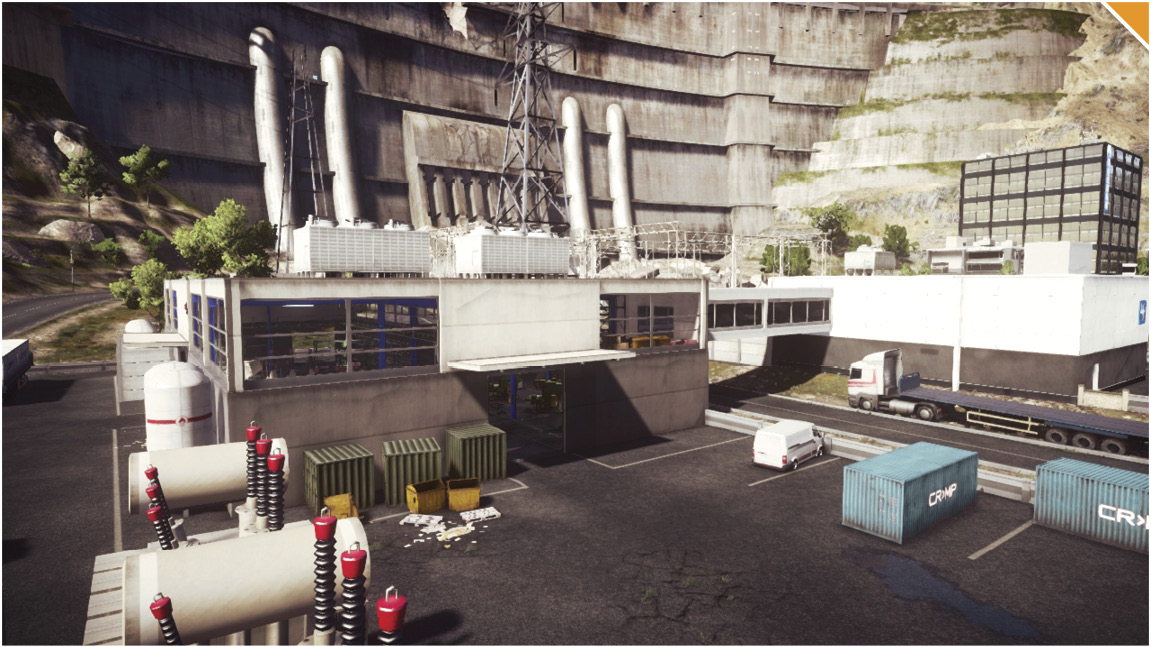
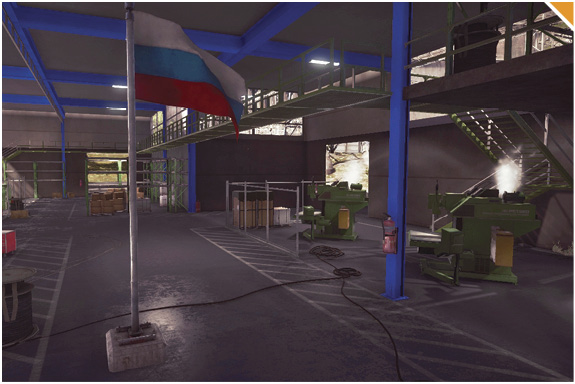
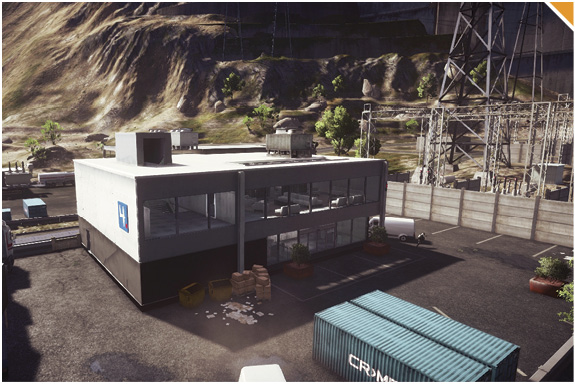
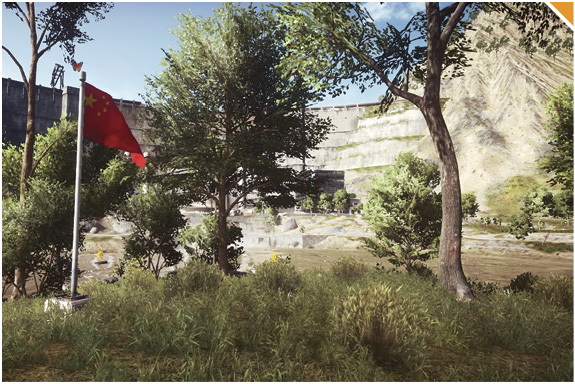
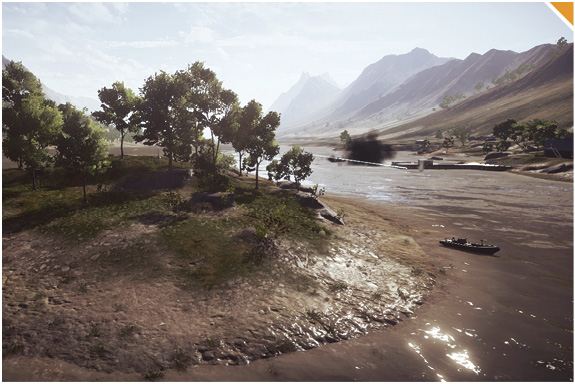
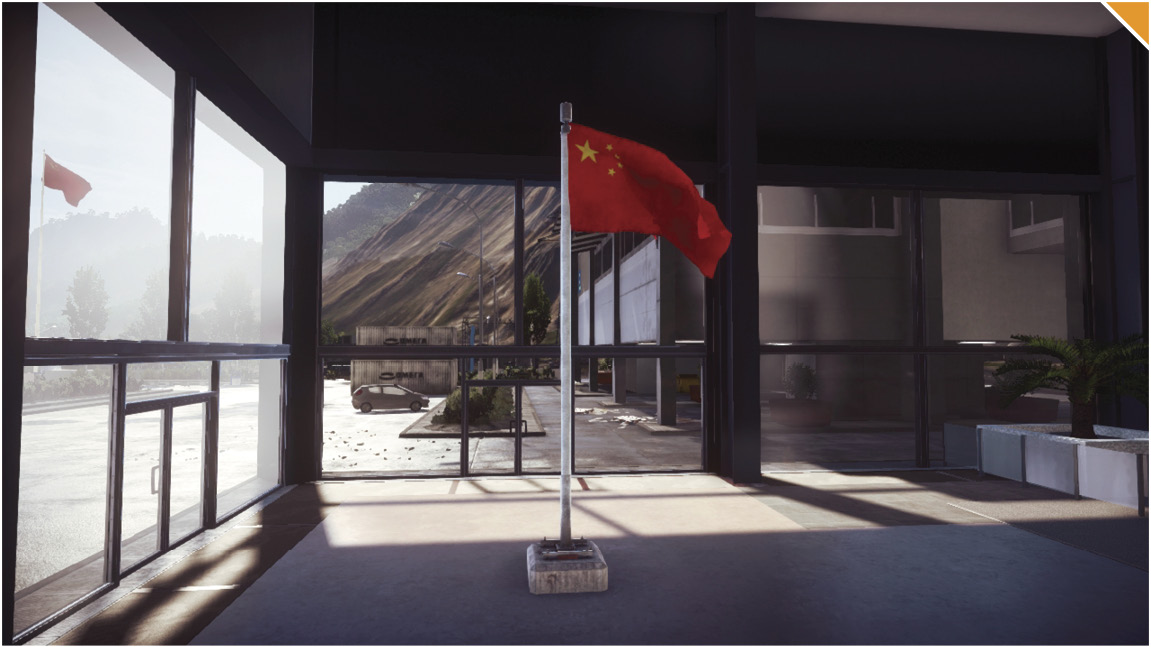
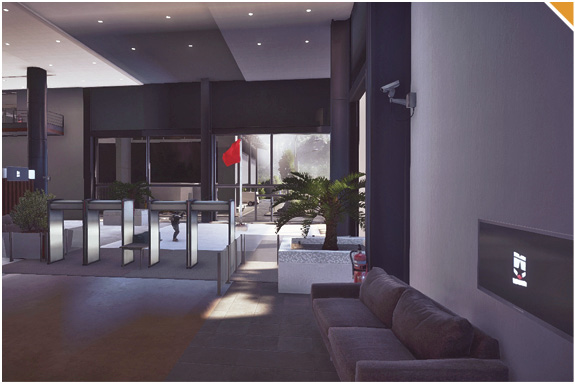
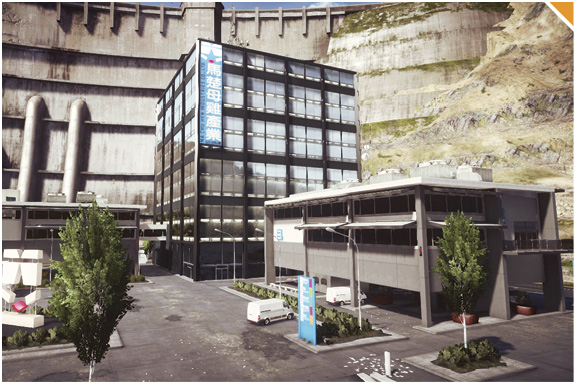
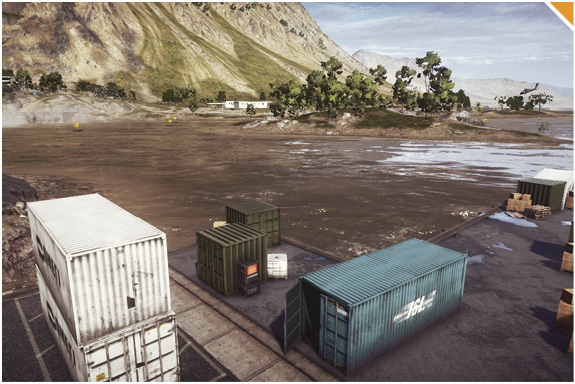
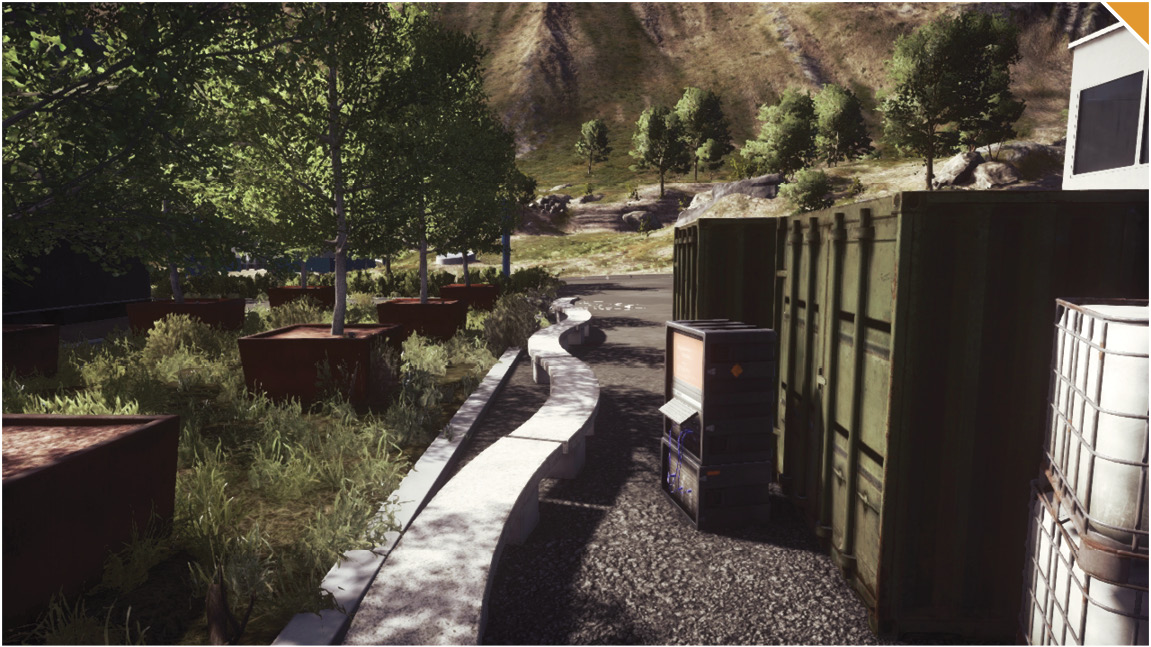
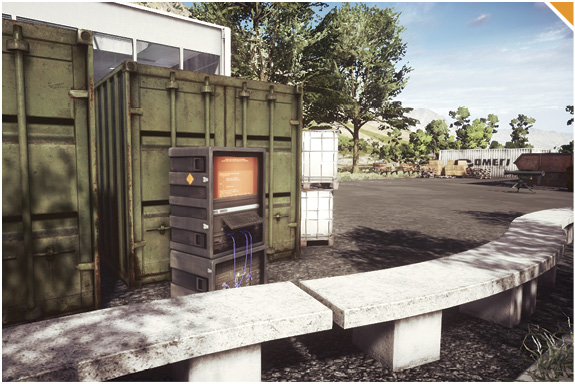
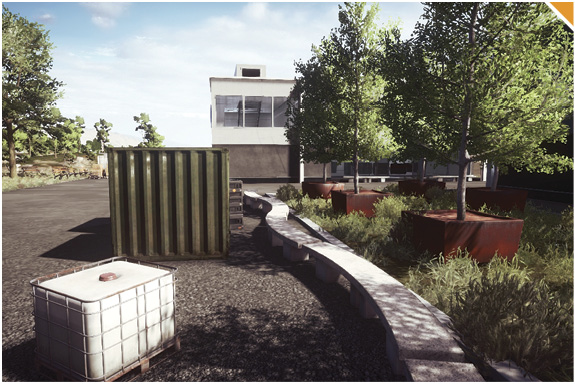
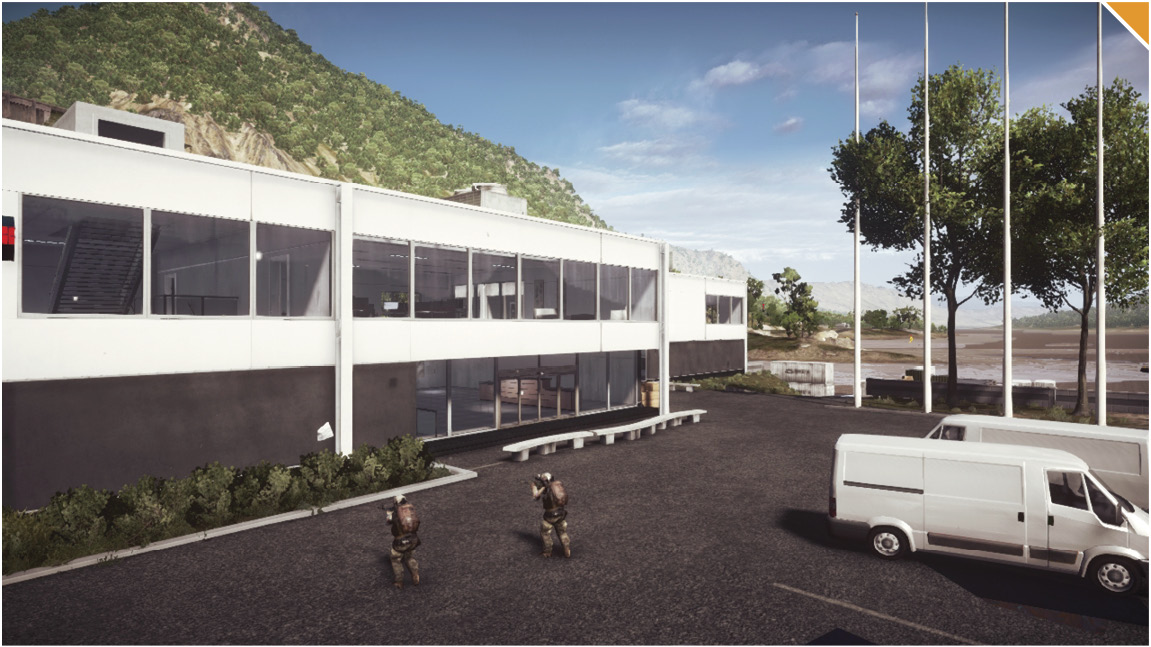
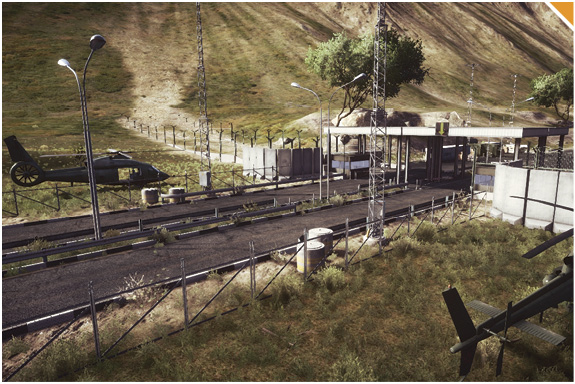
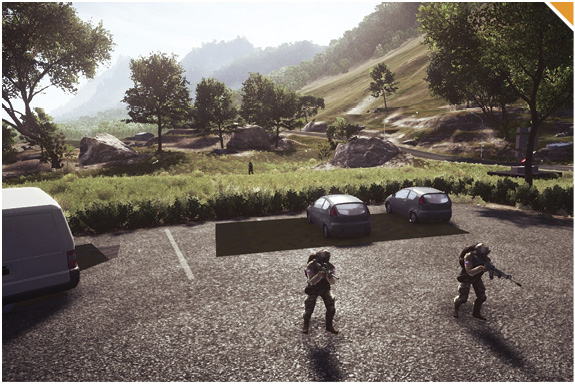
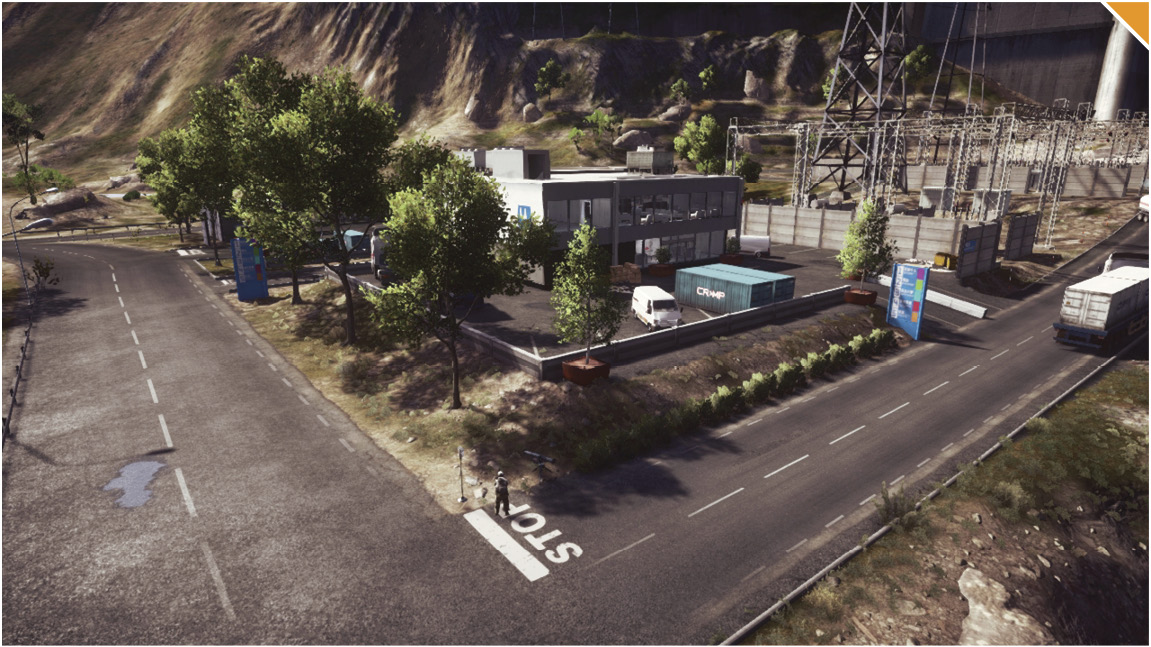
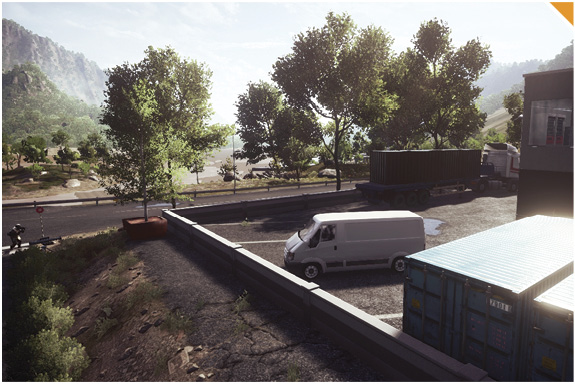
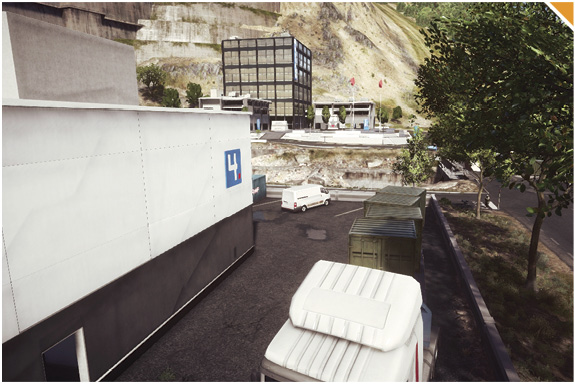
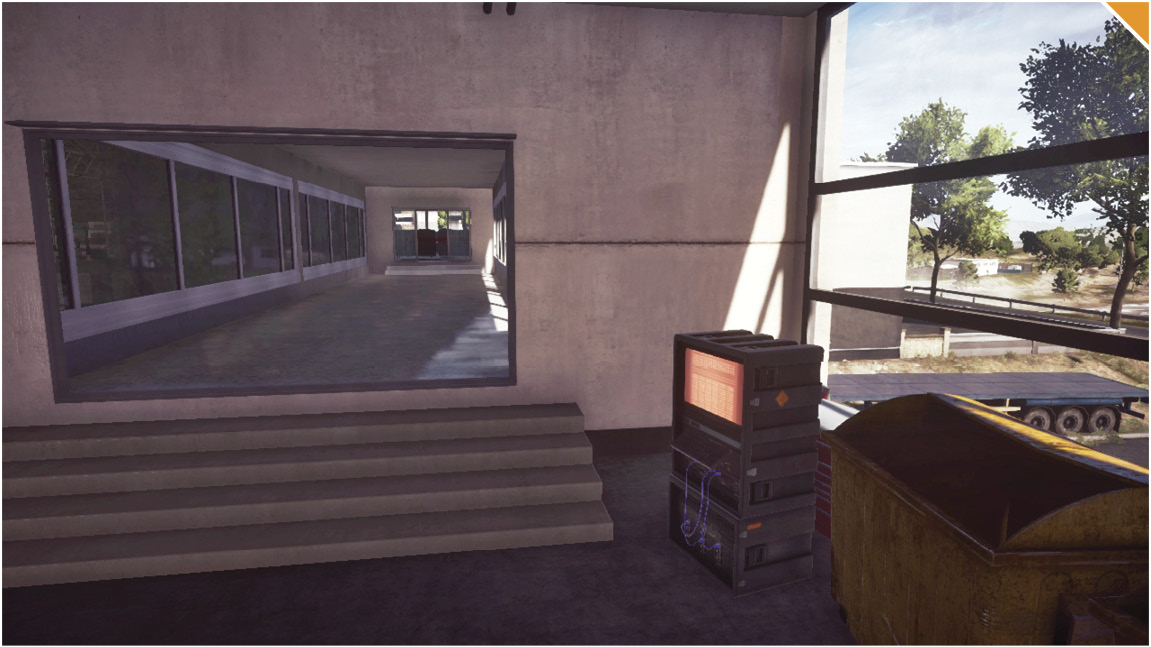
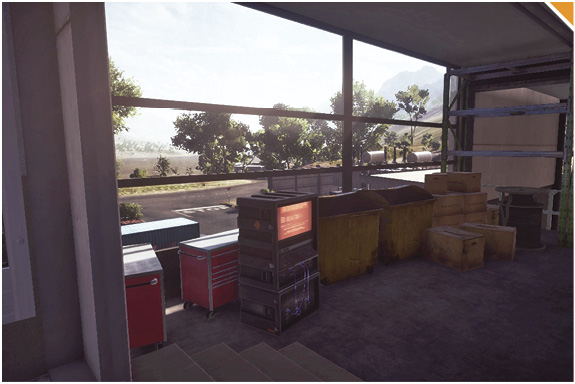
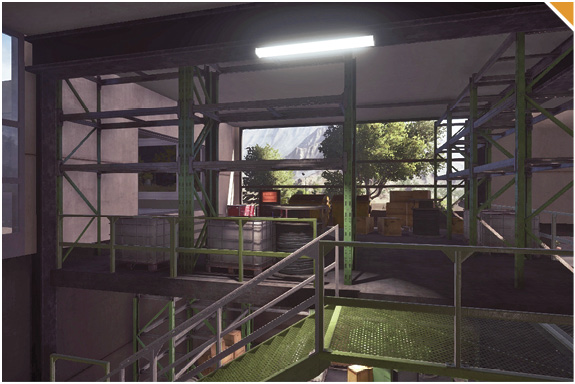
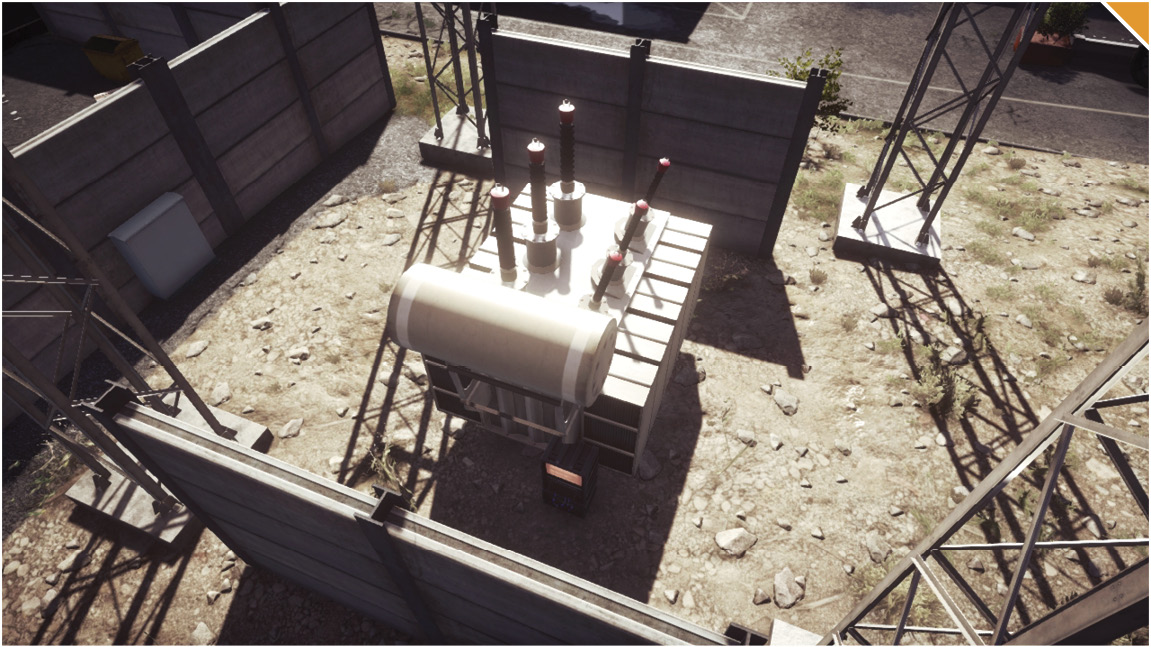
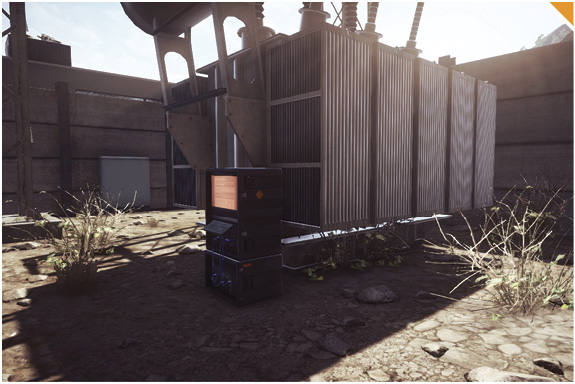
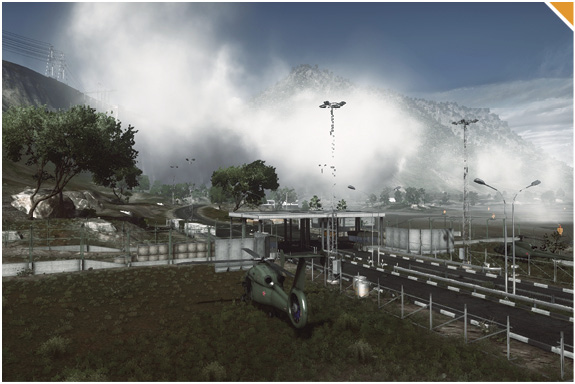
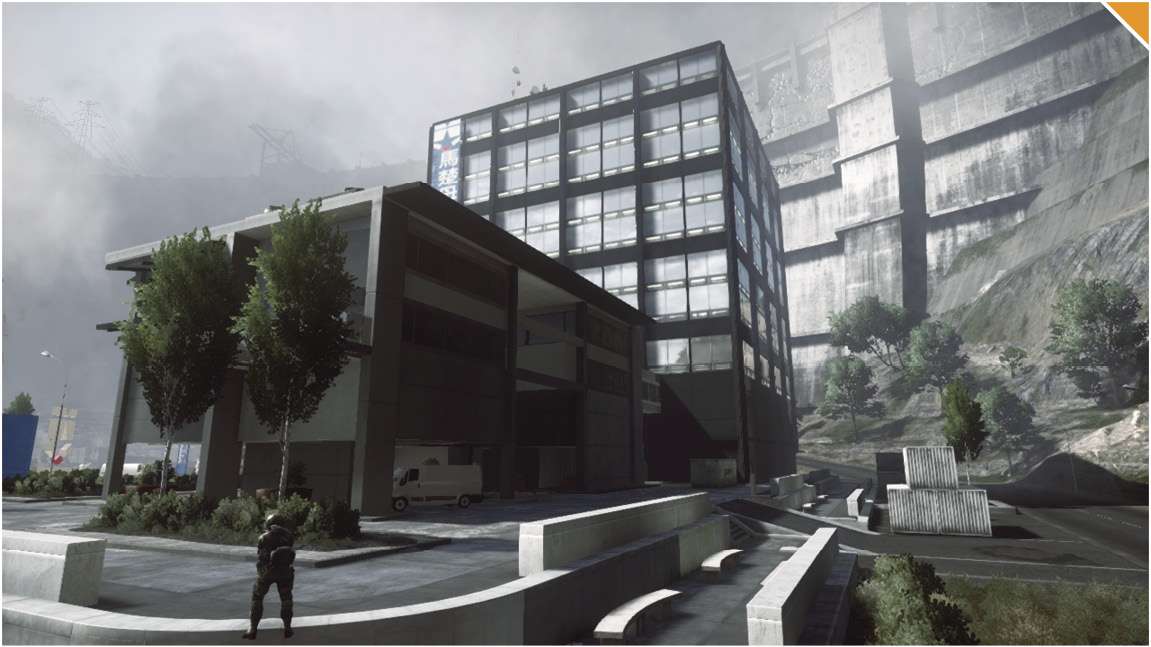
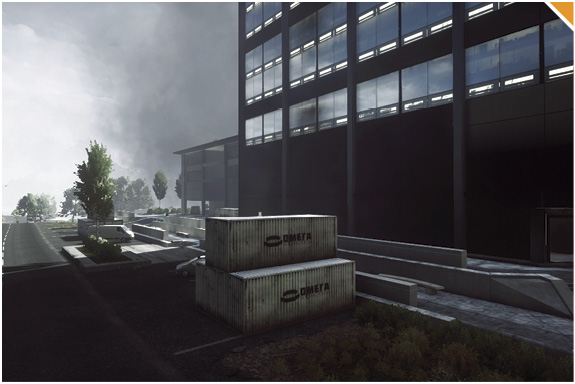
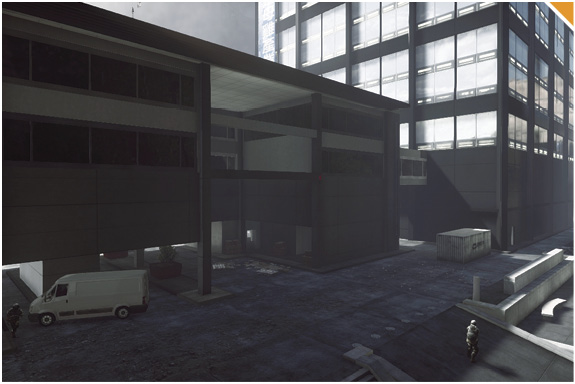
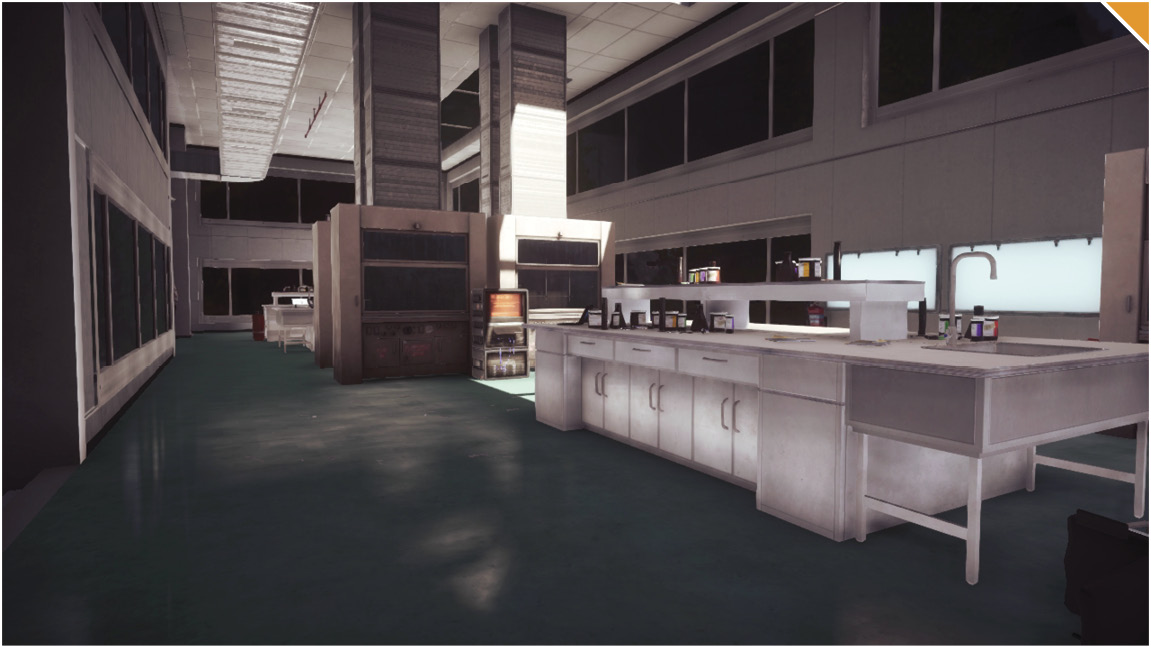
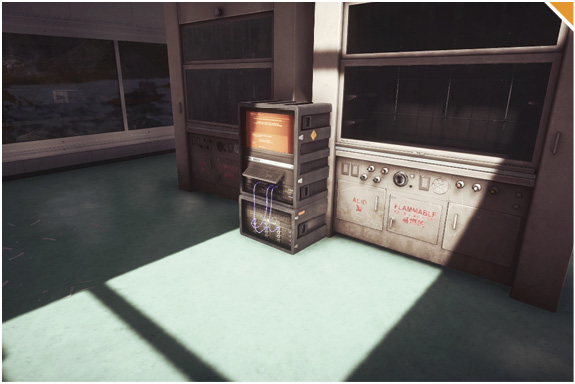
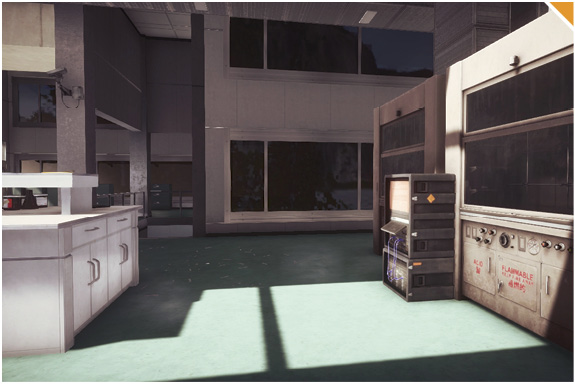
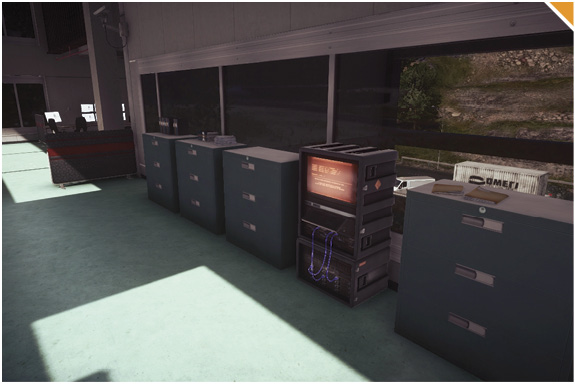
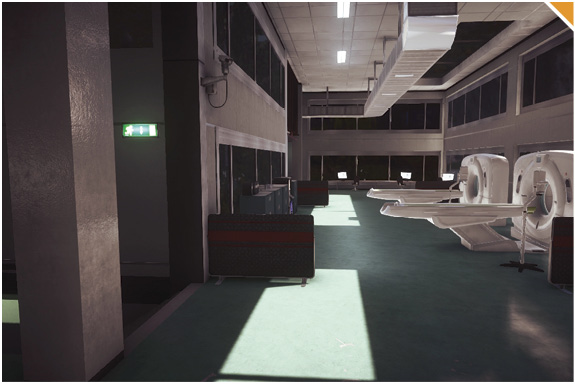
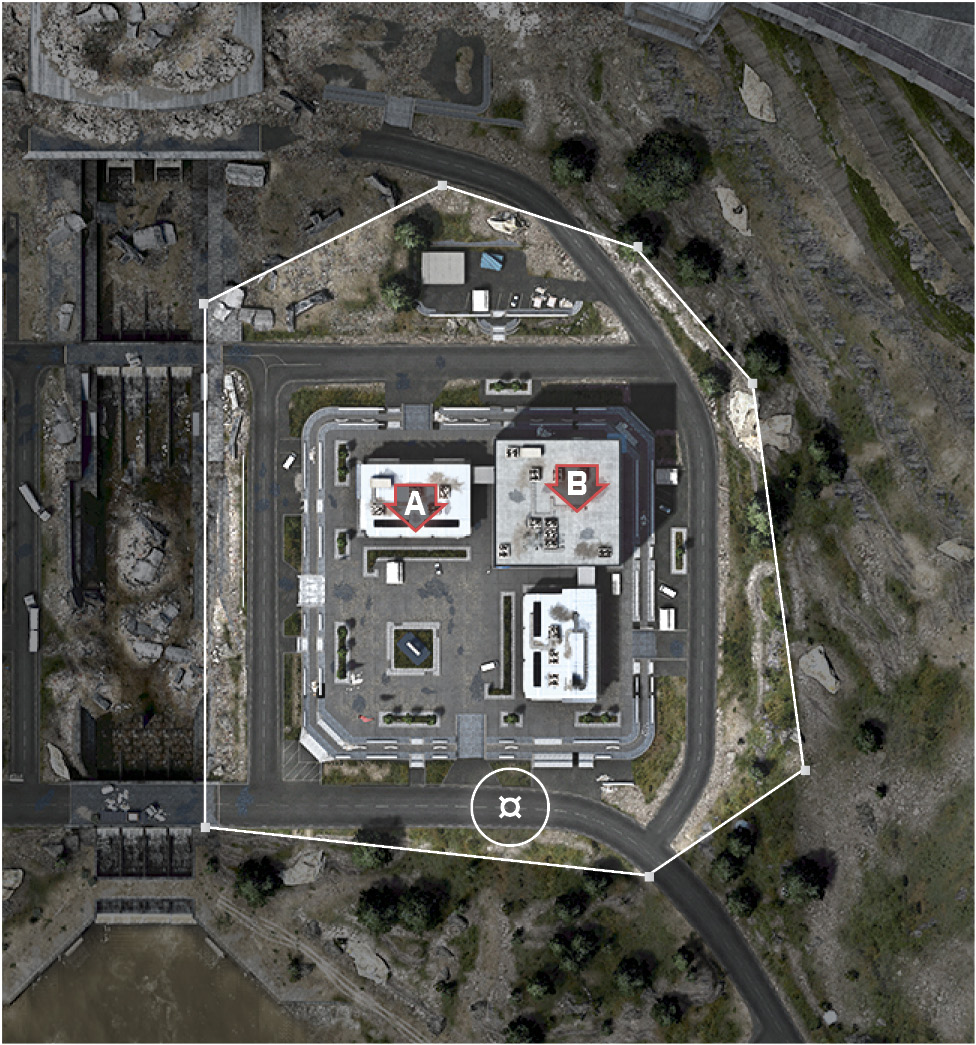
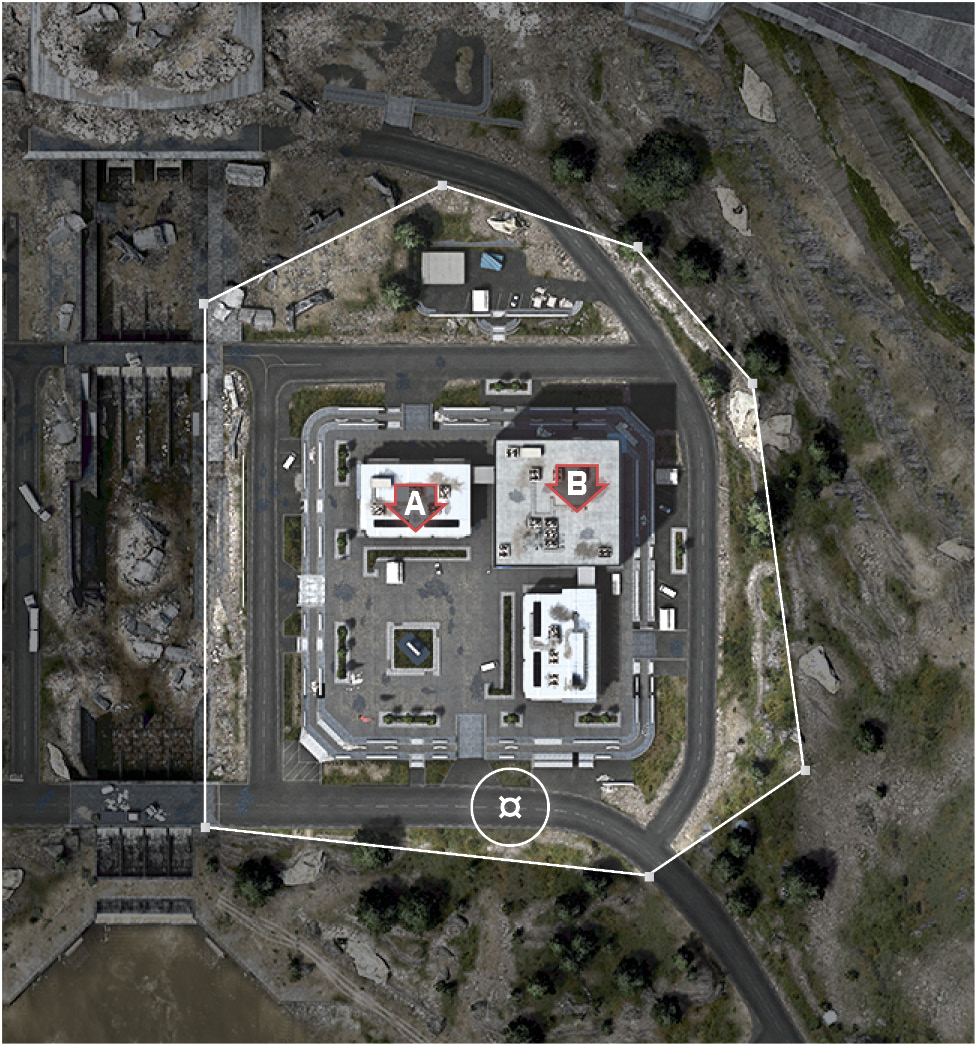
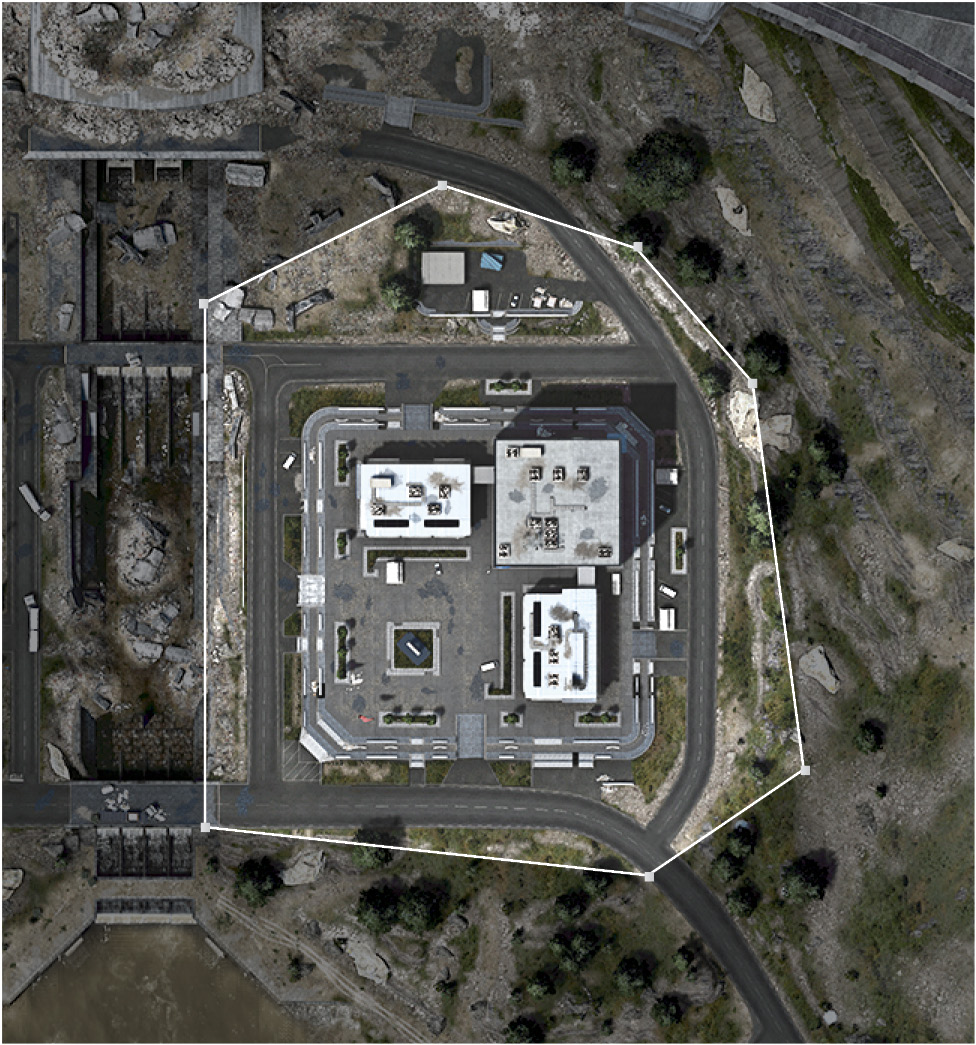
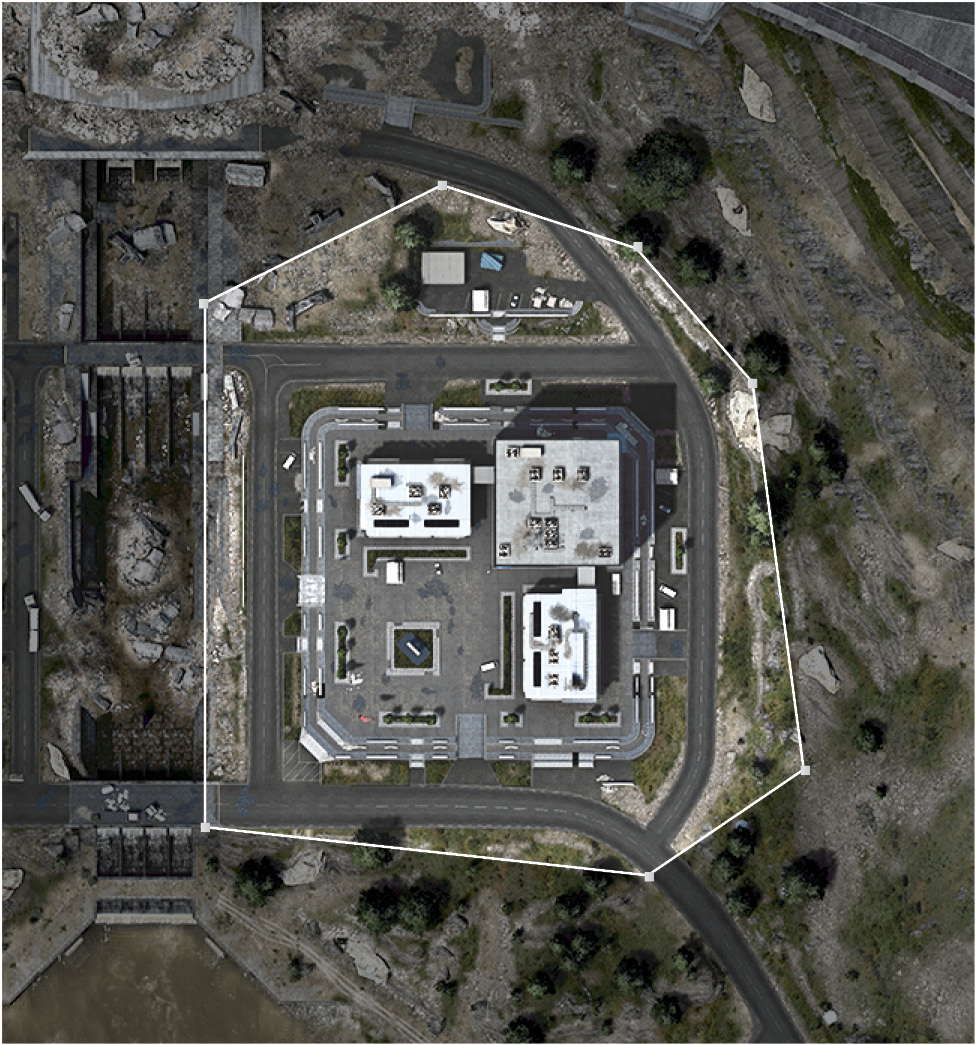
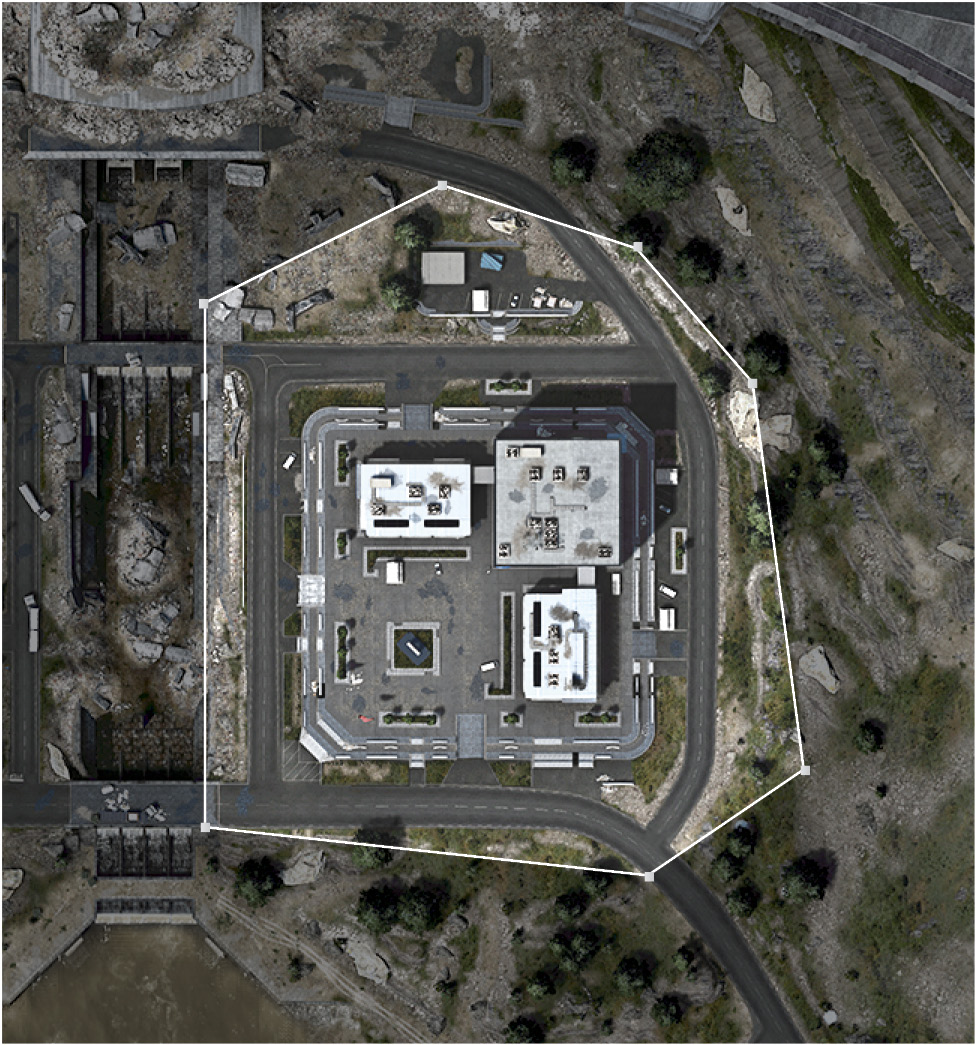
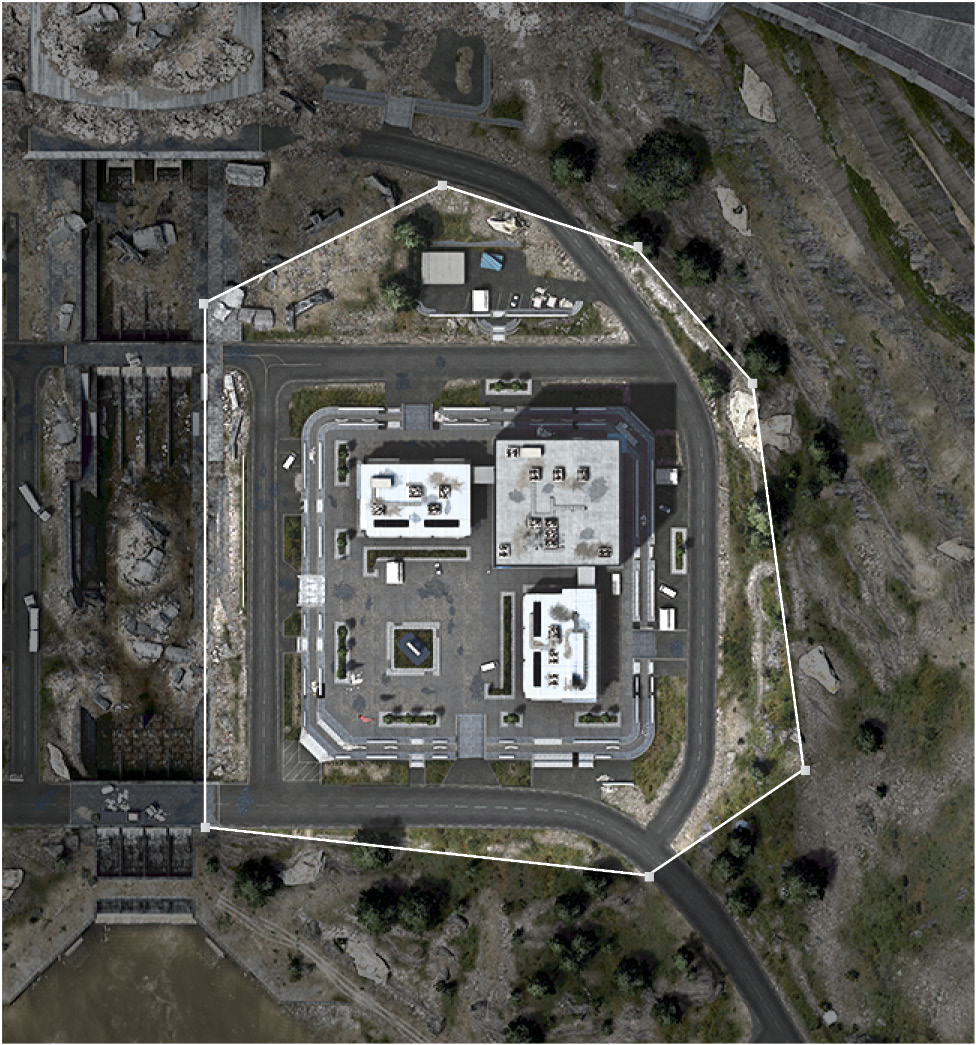
Damage the dam with missiles, rockets, and other explosive munitions. Aim for the cracked area at the top of the dam.
How is gameplay impacted?
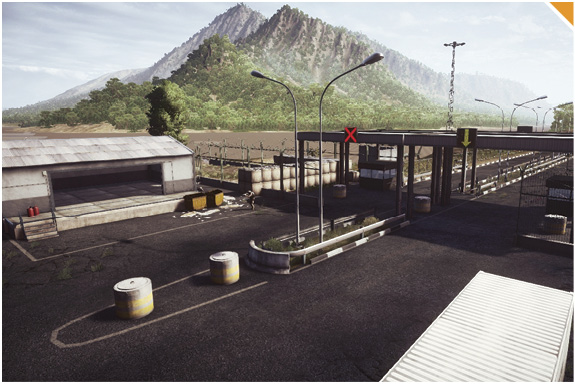
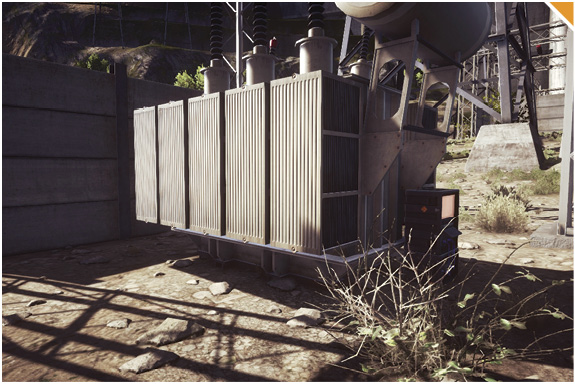
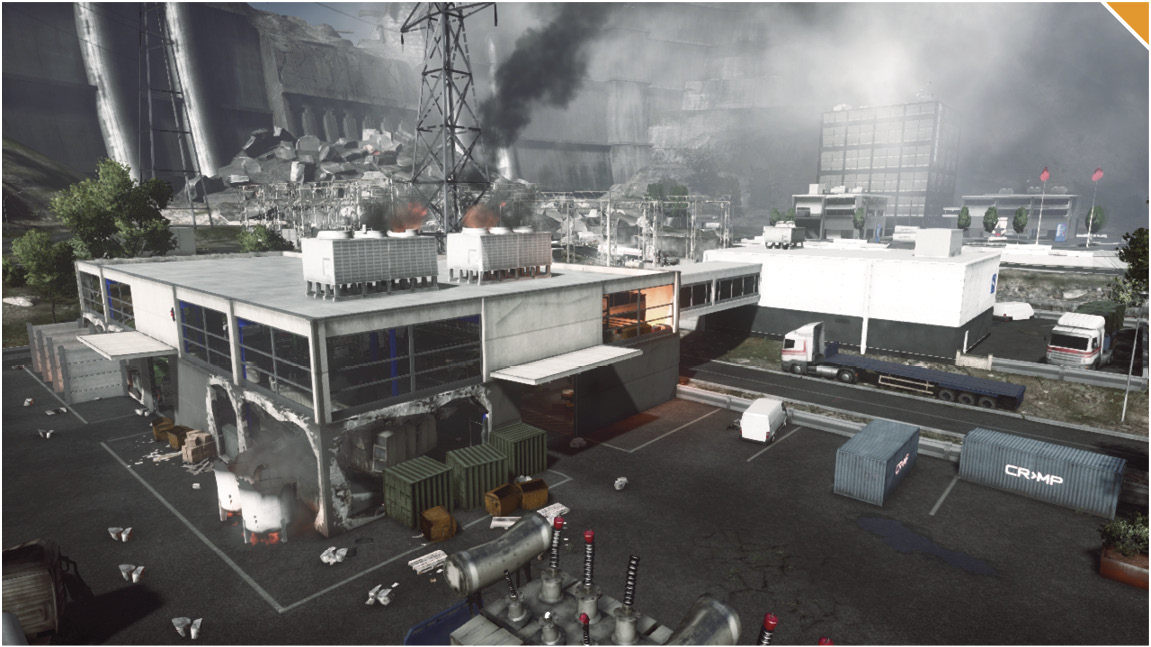
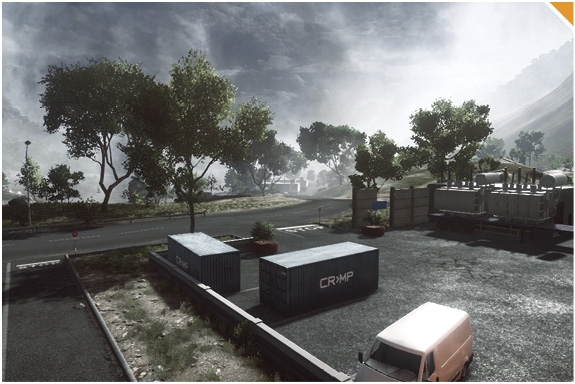
The visibility is reduced throughout the map, a battle pickup is removed, electricity in the area is turned off, and the terrain is altered at the base of the dam.
Alpha Squad: Impressions
Mabooza
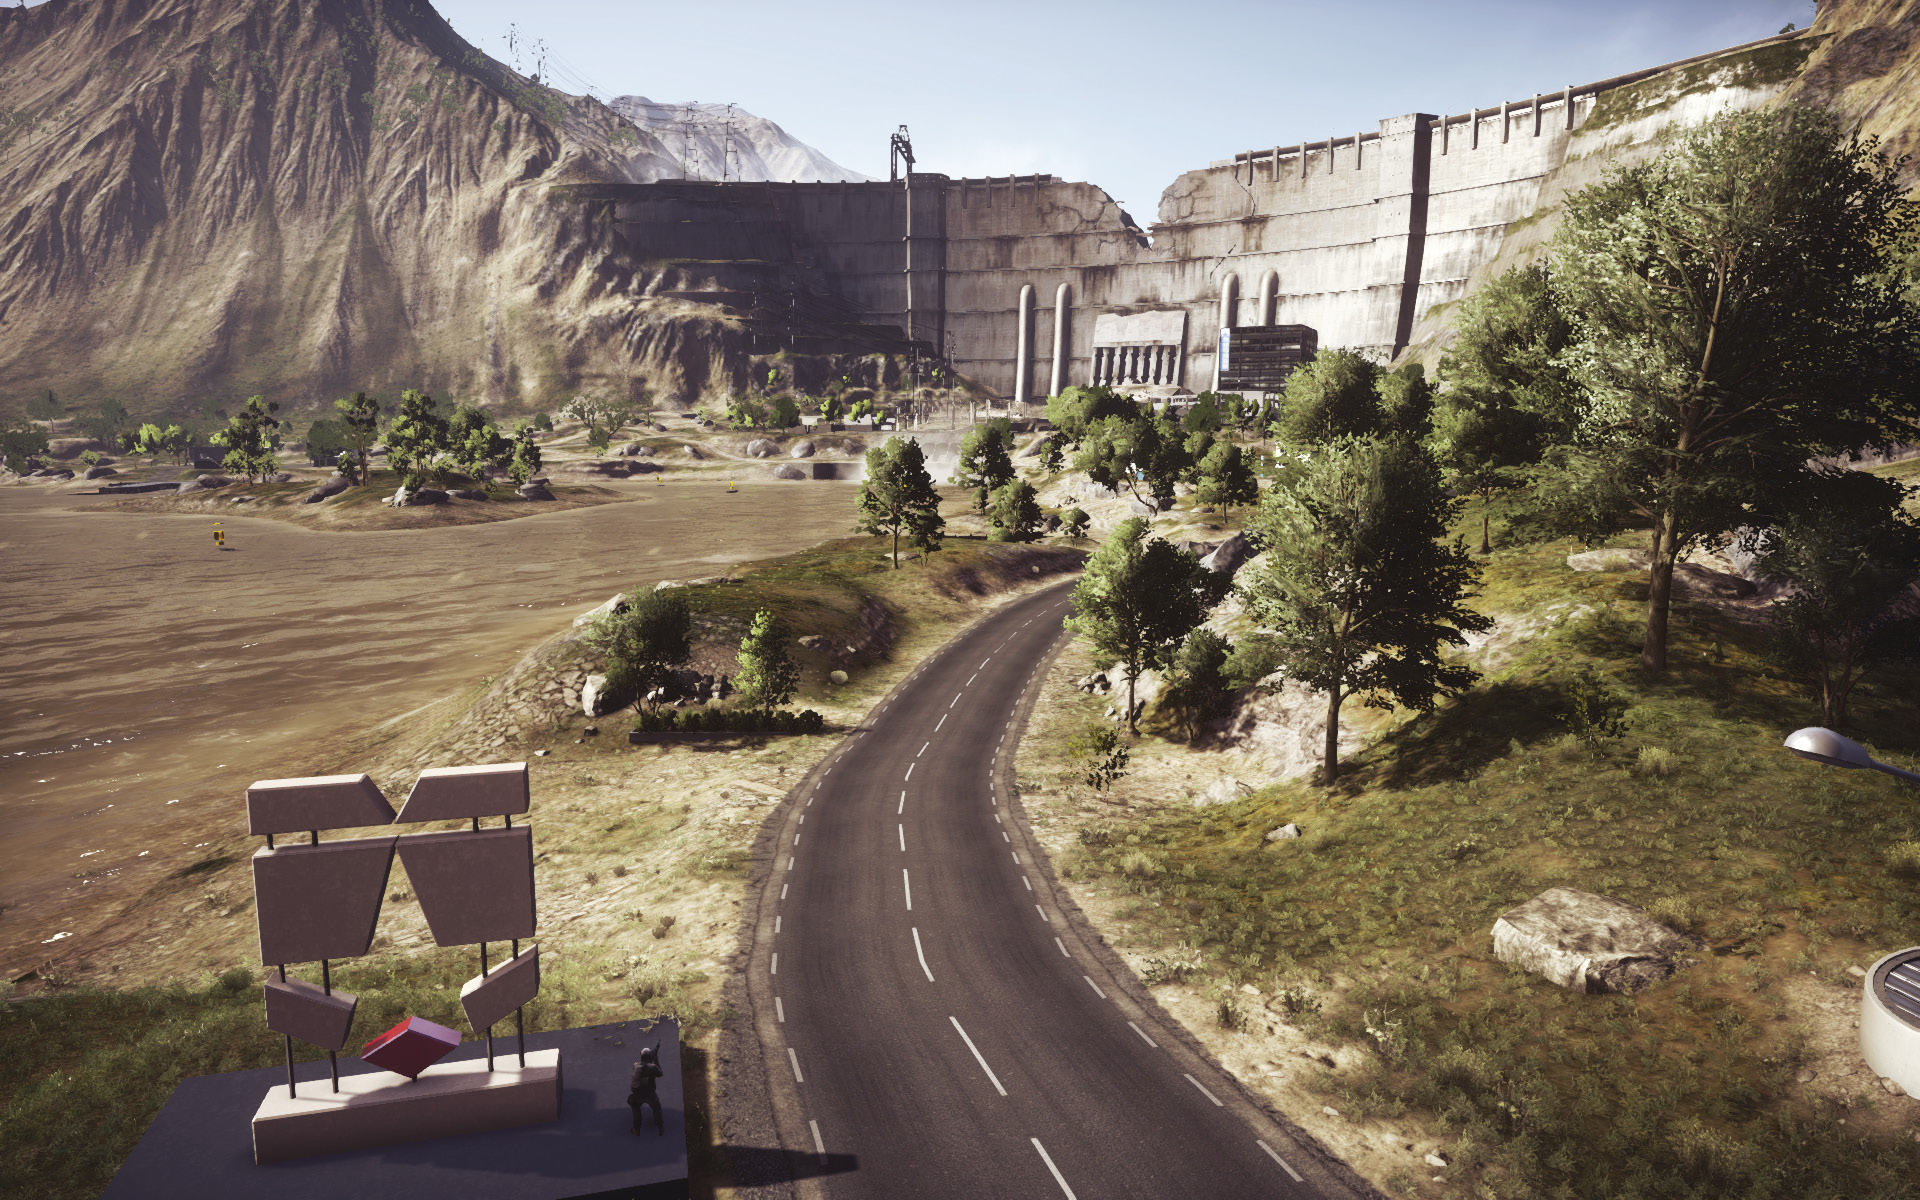
The horseshoe layout of this map reminds me of Wake Islet. As a result, expect plenty of long-range sniper duels between Data Central, the Islet, and the Living Quarters. Equipping a sniper rifle with a Range Finder and high-powered scope can help take all the guesswork out of lining up these epic shots.
StrongSide
If you play me online you’ll probably find me playing Domination on this map. The layout for this game mode is incredible. I’ll be placing T-UGS and Radio Beacons hidden throughout the buildings and have my shotgun attachment for the assault class ready to pump you full of lead.
Walshy
When playing Lancang Dam for the first time, I loved how I was able to take so many different routes around the map. I’m always a big fan of flanking and getting behind the enemy, and this map allowed me to be sneaky multiple times without the enemy knowing which way I was coming from.
Flamesword
This is an awesome map that promotes both infantry and vehicle battles. The Islet is an open area that provides views for many vehicle battles, both air and water. I prefer the north side of the map, where the Power Station and the Research Facility are located. These buildings provide a lot of cover and promote close-quarter combat, which is my favorite.
Elumnite
Lancang Dam has a great mix of land and water combat. This allows both teams to use the Islet in the middle of the map, giving either team a clear path from their bases. The buildings at the control points are amazing locations to hold up inside using the staircases to ambush enemy infantry.
Conquest Large
Recommended Squad Composition:
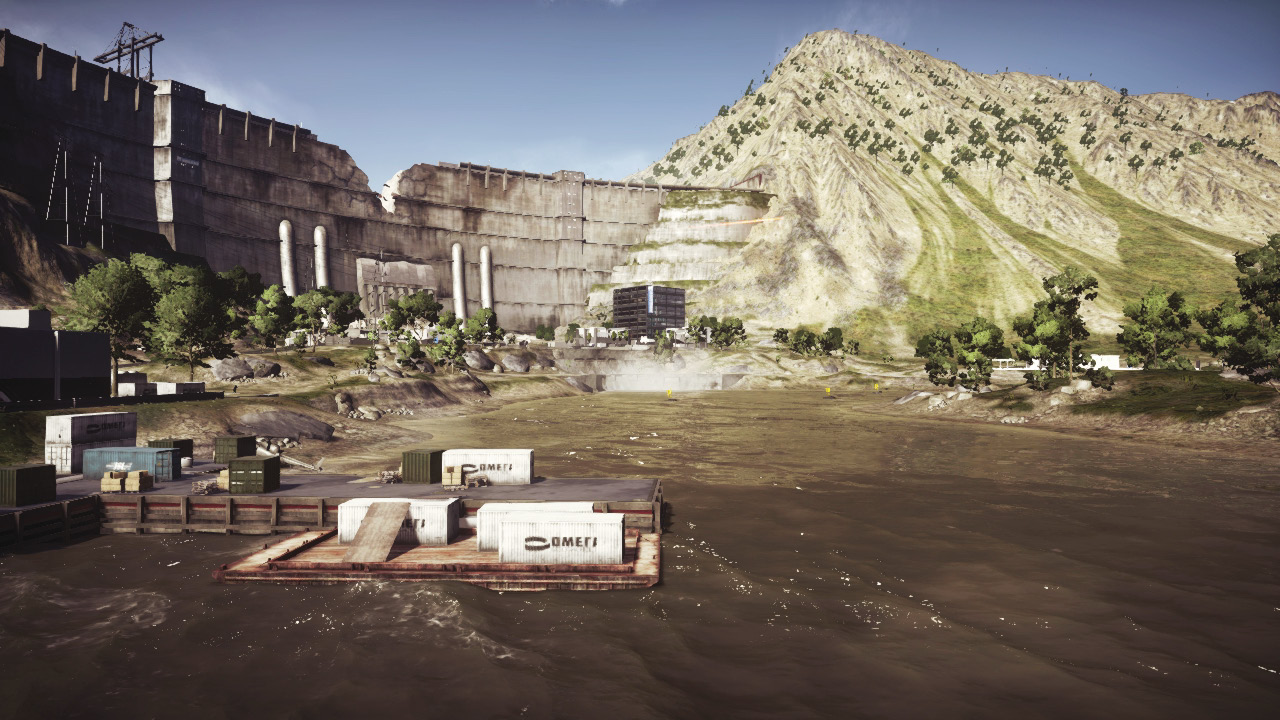
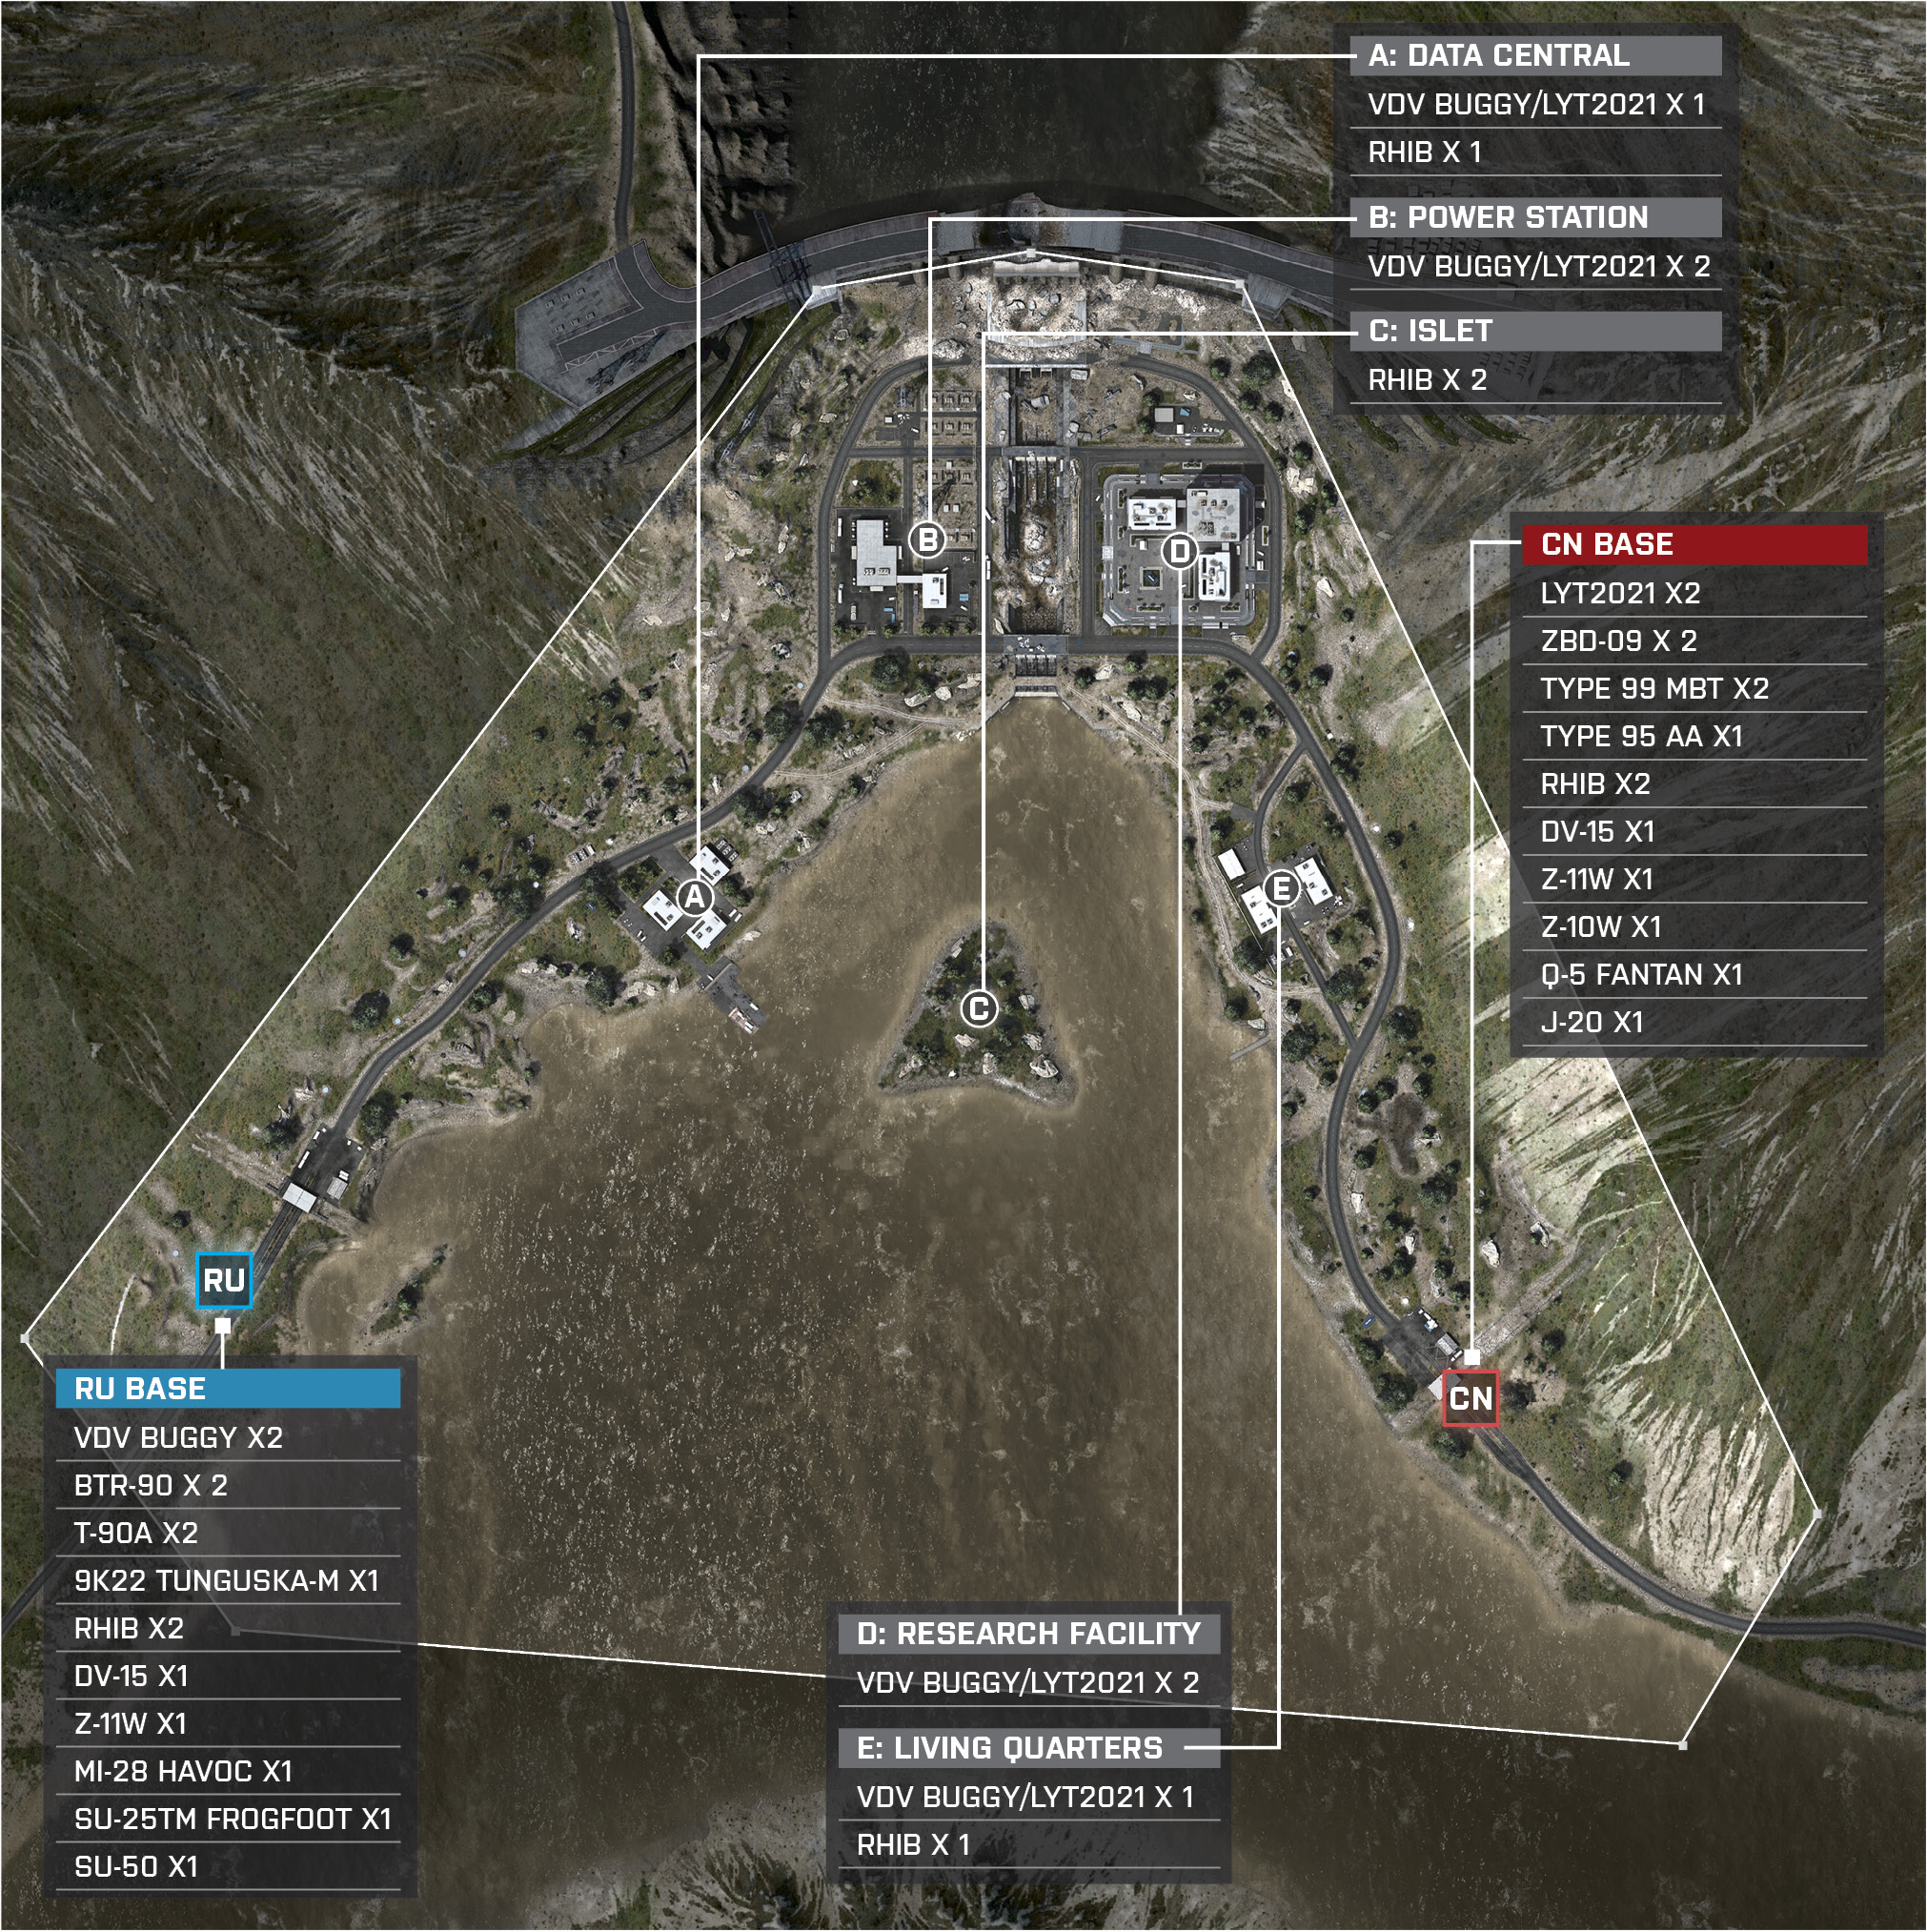
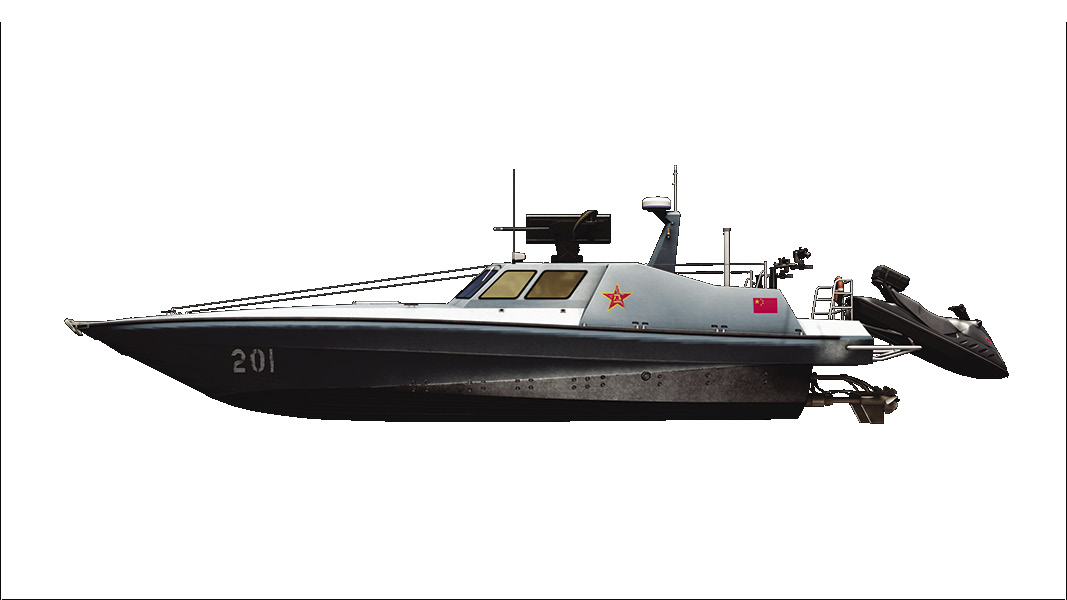
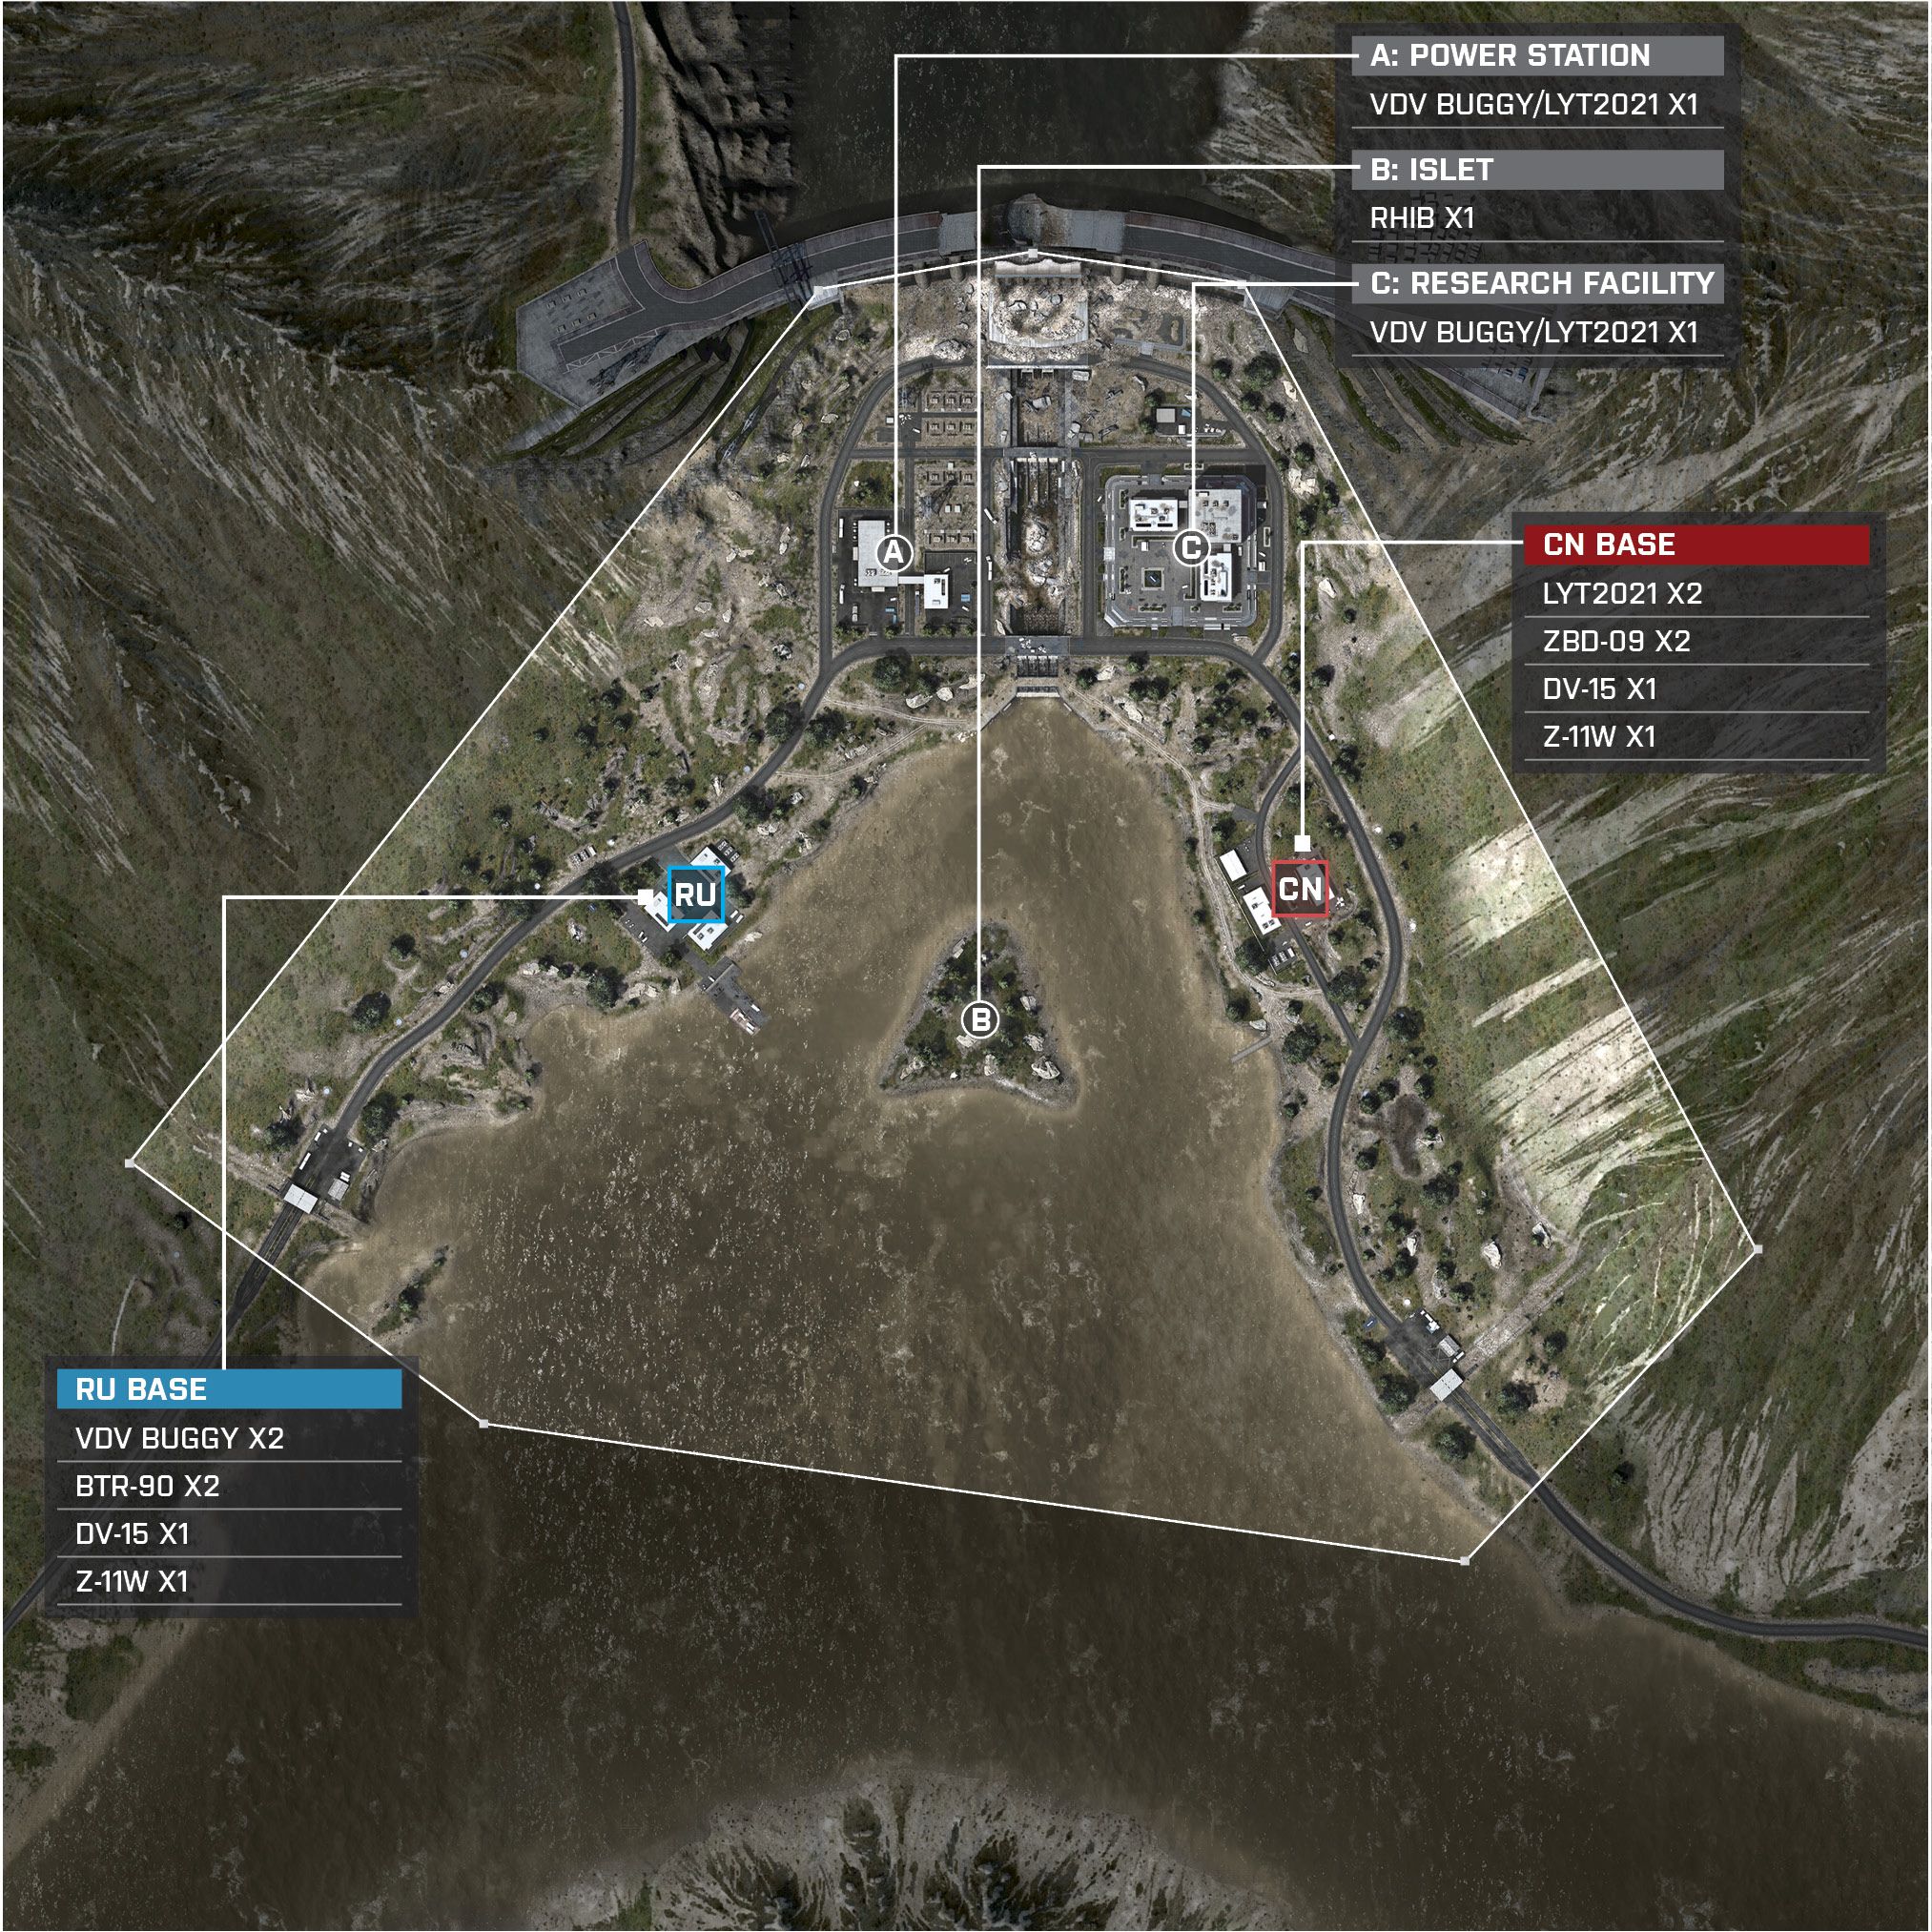
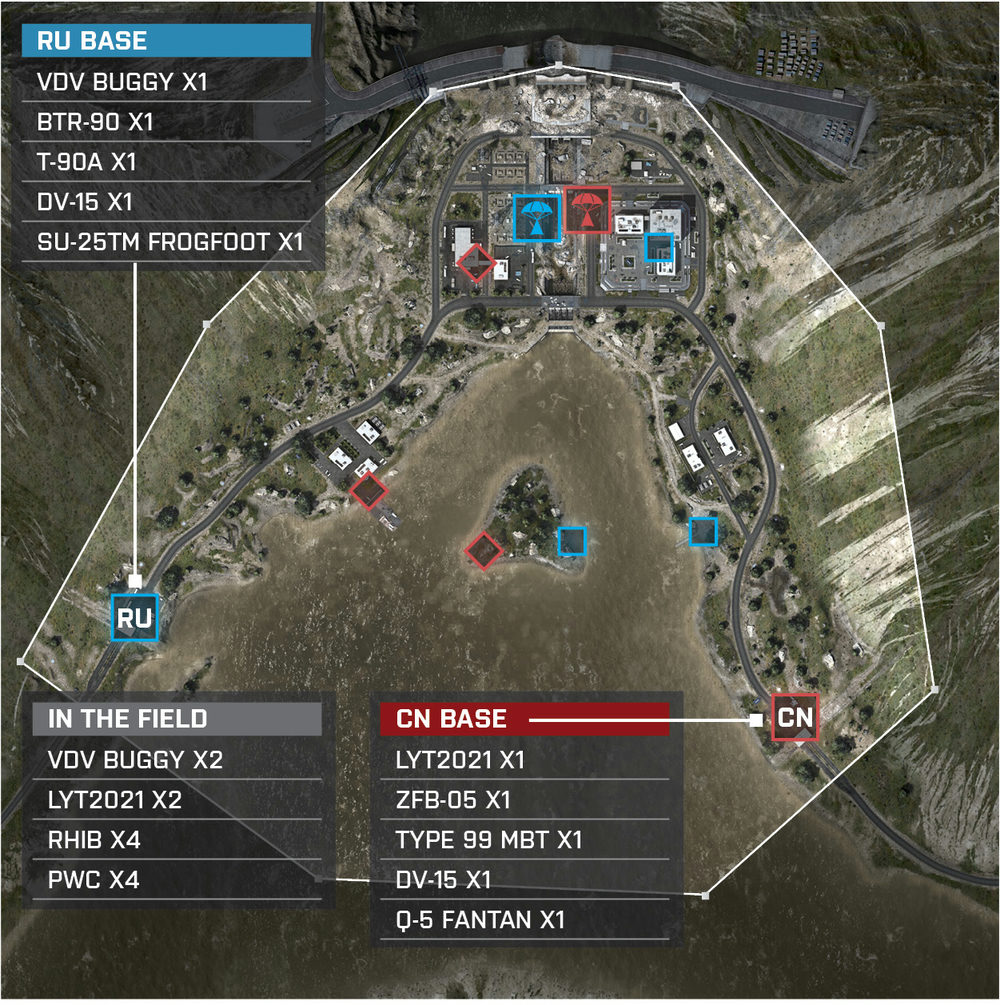
The area that lies past the dam overflow is the site of this intense land and sea battle as the RU and CN teams fight for control of the map. The location of the RU base on the southwest side of the dam puts them potentially at an advantage with the Islet (C) as a shield for cover, while the CN base is found in the southeast direction from the dam. If the RU team manages to capture the Islet (C), they have a clear shot at opponents exiting the CN base. But this works both ways, giving the CN team the same advantage if they hold the Islet (C). For the CN team, they should capture the Living Quarters (E), the Research Facility (D), and the Islet (C). Both teams will be looking to capture and defend the Islet (C) the entire game as it grants the controlling team’s commander a Gunship that can solidify a team’s victory from the very beginning of the game. The RU team will look to rush the Islet (C) with the attack boat, which will provide enough cover for the team’s watercraft to breach the Islet (C). The CN team will need to send all their water vehicles towards the Islet (C) as well, but send in the attack helicopter to aid in the fight. As long as your team controls three control points, the opponent’s tickets will begin dropping, leading to your team’s victory.
RU Base
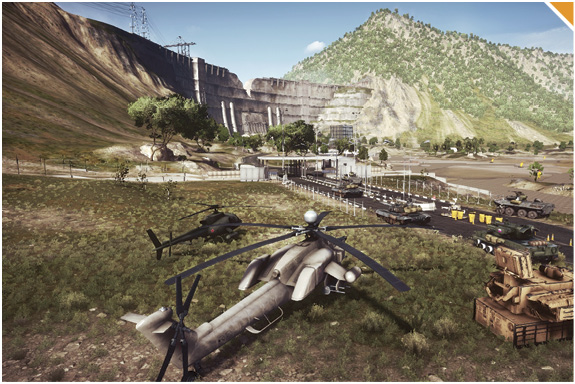
The RU base is positioned at the northwest point of the map bordering a bay of water to the east. The two nearest control points are the Islet (C) and Data Central (A). Be sure to catch a ride in the vehicles that spawn at the base or you are looking at a long hike or swim to these control points.
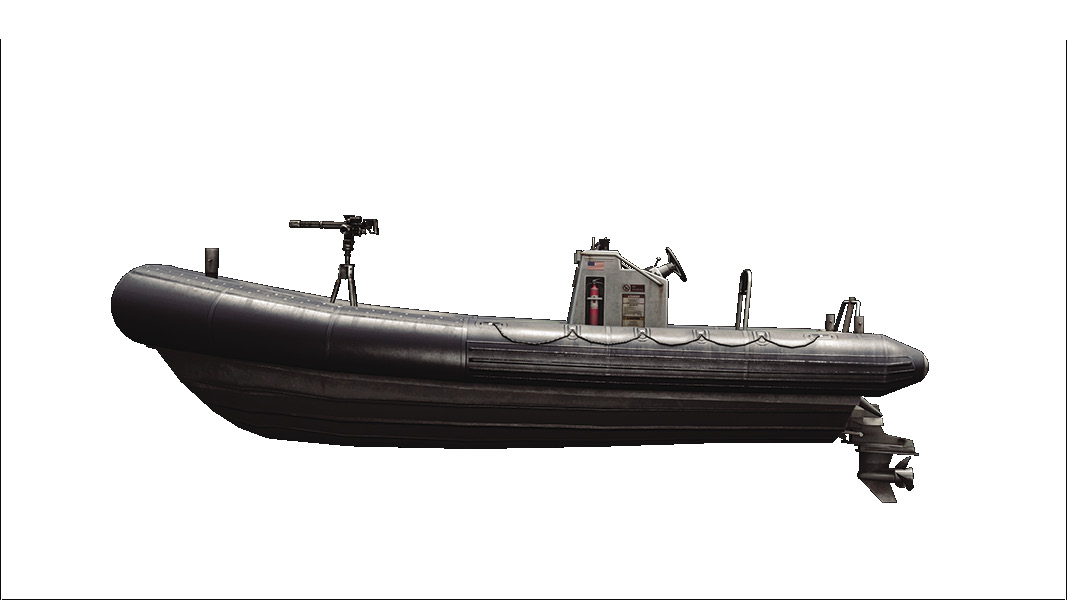
The RU base has a large collection of vehicles that spawn here. Immediately fill up the RHIBs east of the base and head northeast towards the Islet (C). This control point grants access to the Gunship when playing with Commander mode, so send the DV-15 that is located south of the base to provide some heavy duty cover for infantry members who are capturing the Islet (C).
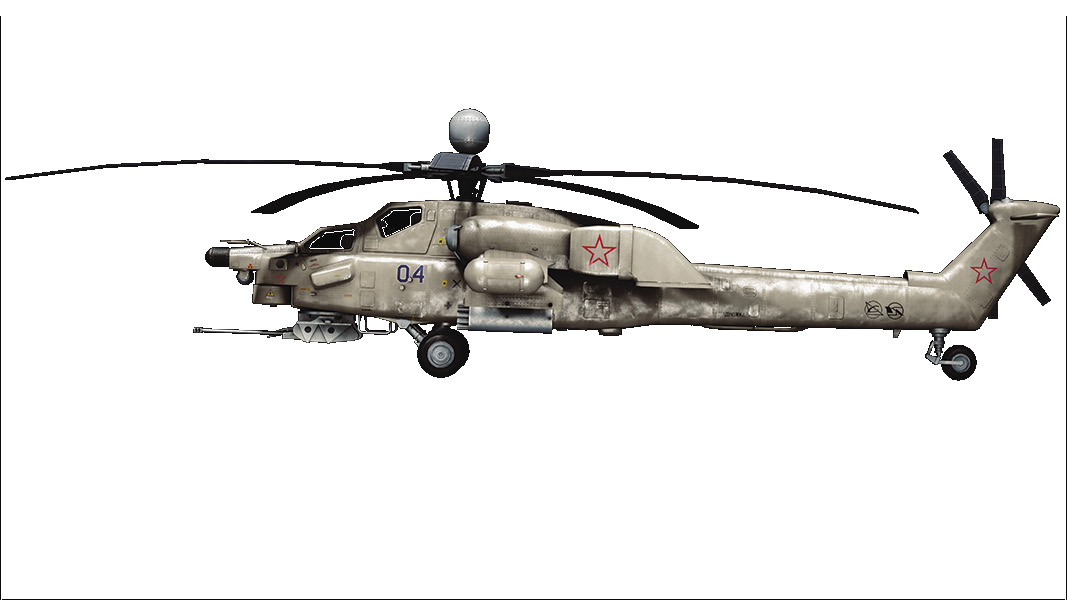
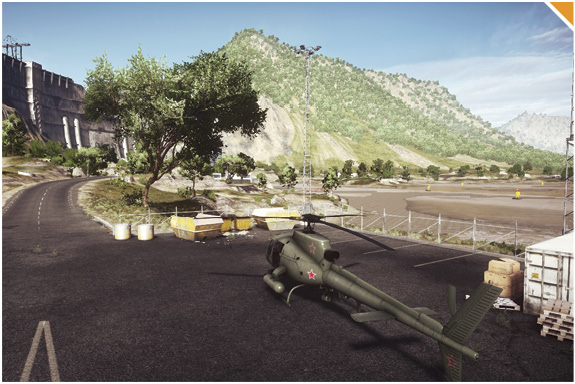
Members of a squad should take full use of the Mi-28 Havoc. This is a powerful attack helicopter that will provide great airsupport for the players capturing the flag on the Islet (C).
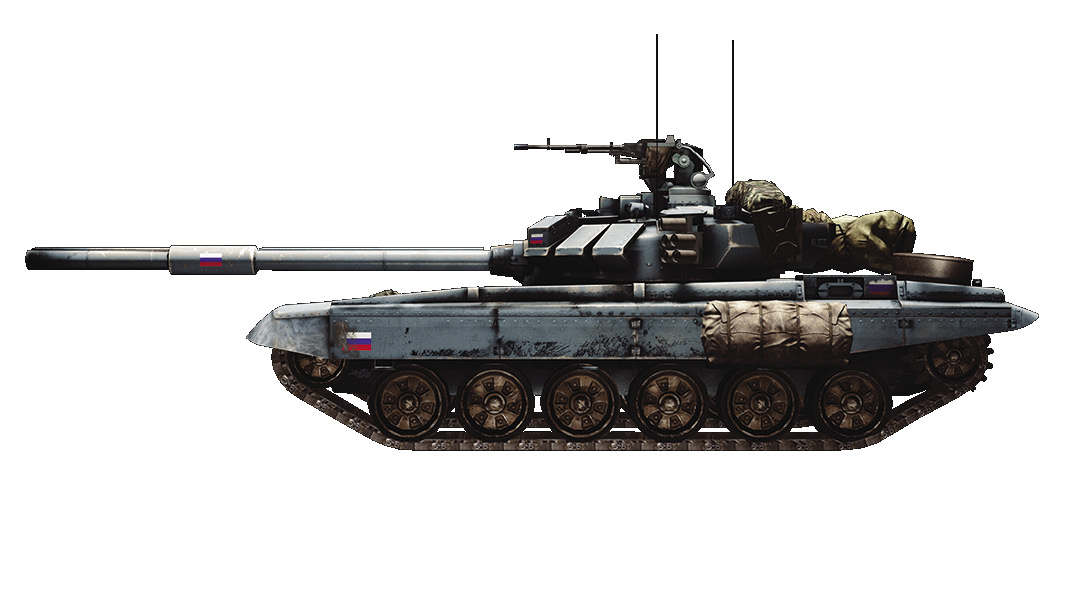
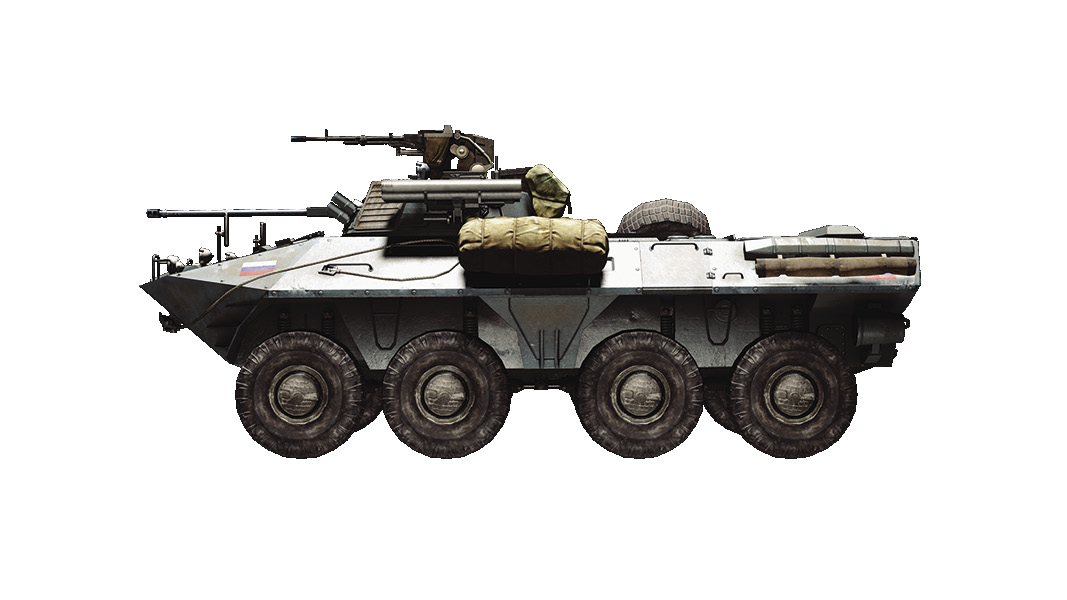
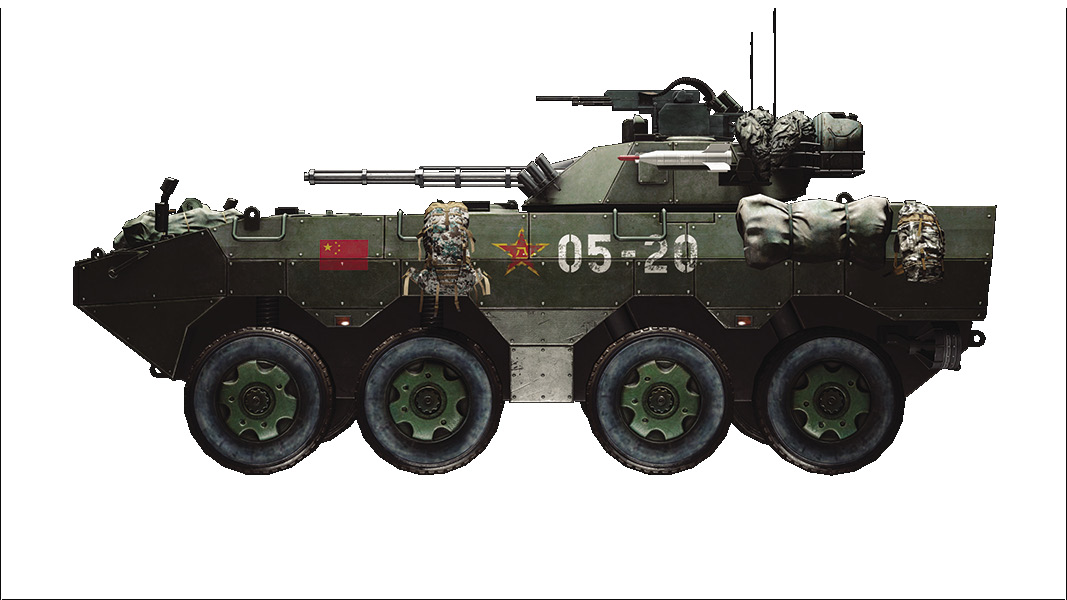
There are two T-90As and two BTR-90s at the base. These two MBTs and IFVs will play a huge role when capturing and defending the Power Station (B) and the Research Facility (D).
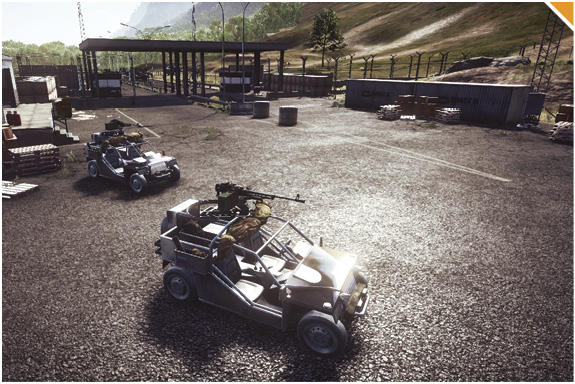
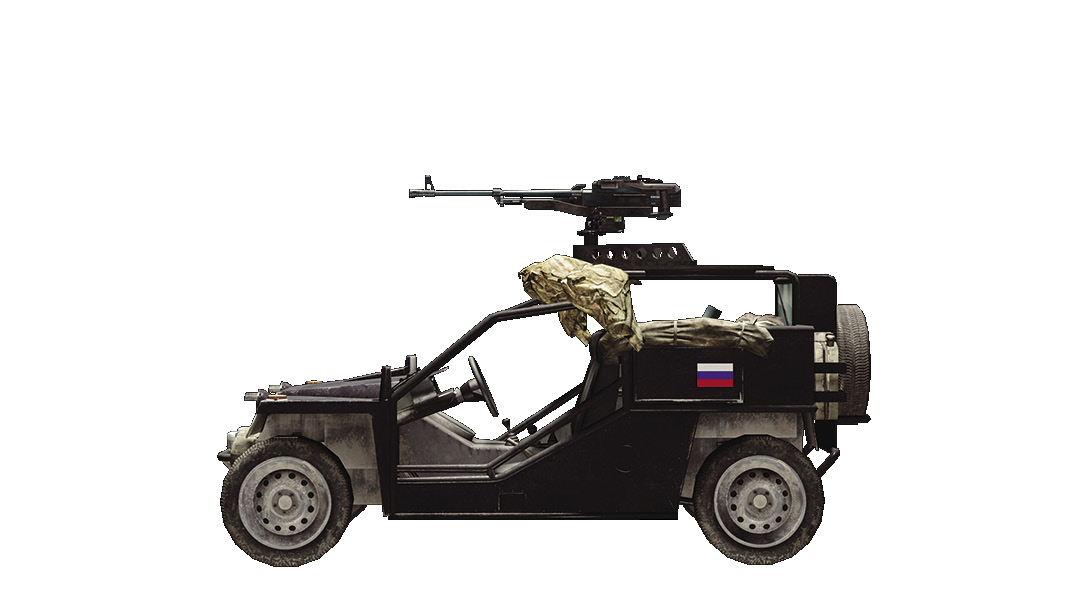
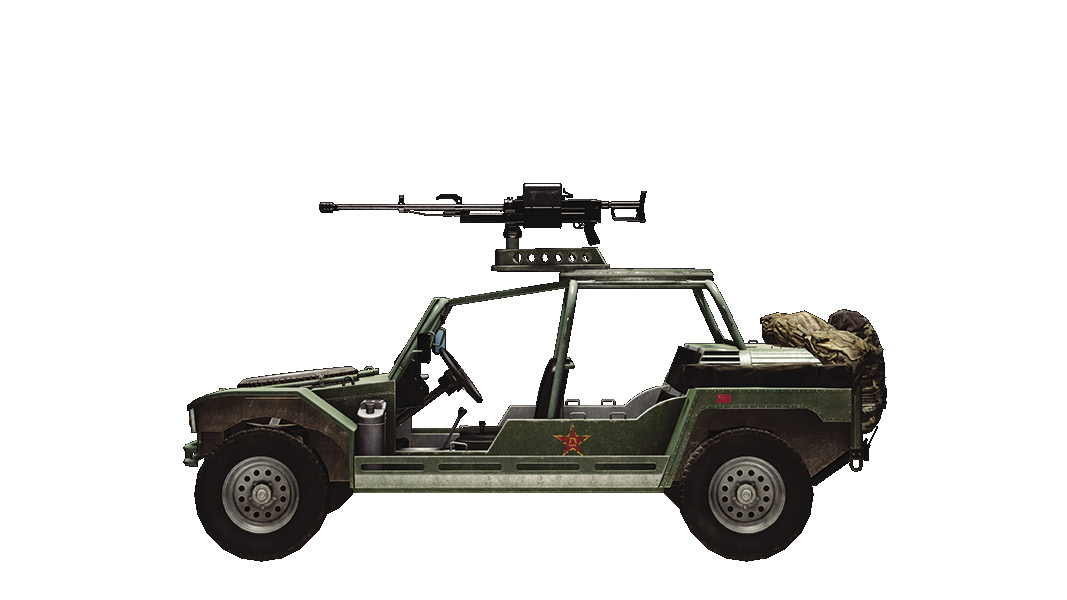
The closest control point on ground to the RU base is Data Central (A). This will be an easy capture off the start. The players in the two VDV Buggies can drop off their side passengers to capture this control point while the driver and gunner continue along the road towards the Power Station (B). The speed of these light vehicles will allow your team to start the game off with two early control points.
Base Assets
Name
VDV Buggy
BTR-90
T-90A
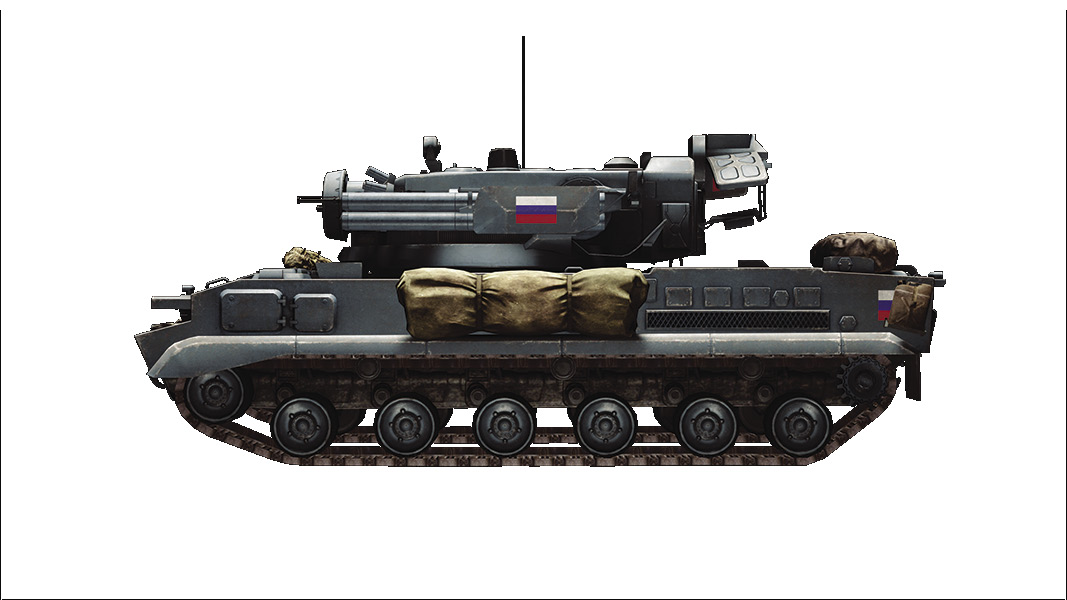
9K22 Tunguska-M
RHIB
DV-15
Z-11W
Mi-28 Havoc
SU-50
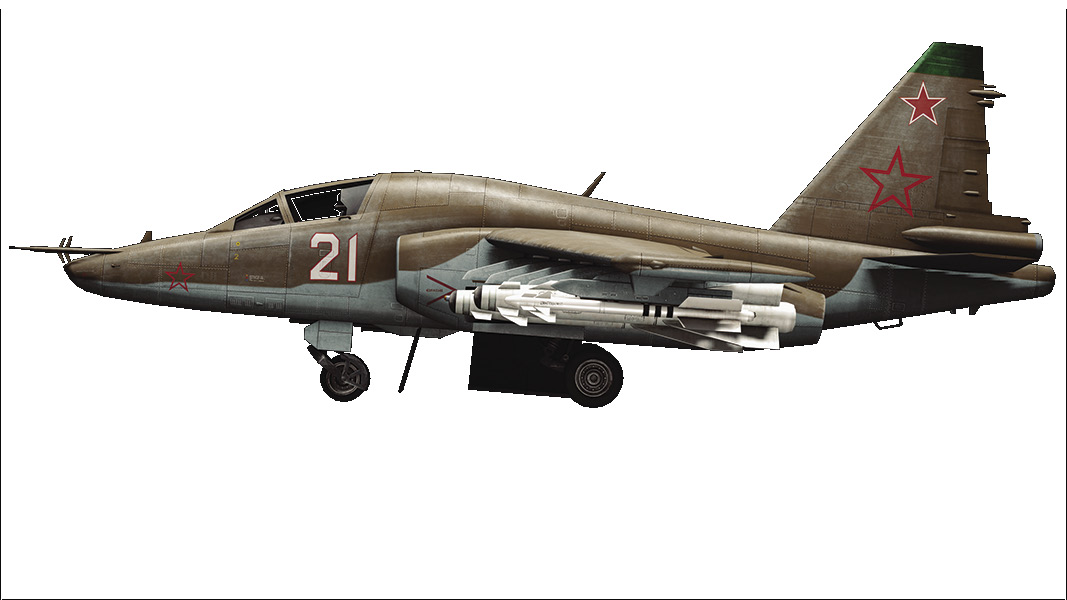
SU-25TM Frogfoot
Quantity
2
2
2
1
2
1
1
1
2
1
CN Base
The CN base is located on the southeastern point of the map bordering a bay of water to its west. The two nearest control points are the Islet (C) and the Living Quarters (E). Be sure to catch a ride in the vehicles that spawn at the base or you are looking at a long run or swim to these control points.
The CN base has a variety of vehicles that spawn here. Immediately fill up the RHIBs west of the base and head northwest towards the Islet (C). This control point grants access to the Gunship when playing with Commander mode. It is also a great idea to send the DV-15, which is located south of the base, to provide some heavy duty cover for infantry members who are capturing the Islet (C).
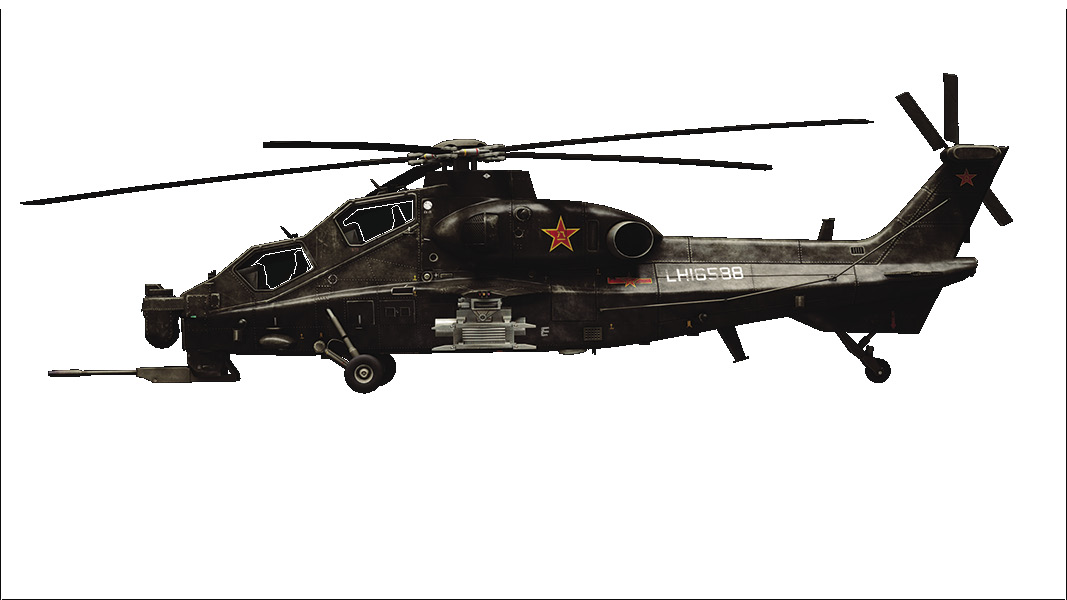
Two members of a squad should make full use of the Z-10W. This is a powerful attack helicopter that will provide great airsupport for the players capturing the flag on the Islet (C).
There are two Type 99 MBTs and two ZBD-09s at the base. These two MBTs and IFVs will play a huge role when capturing and defending the Research Facility (D) and the Power Station (B).
The closest control point by ground to the CN base is the Living Quarters (E). This will be an easy capture off the start. The players in the two LYT2021s can drop off their side passengers to capture this control point while the driver and gunner continue along the road towards the Research Facility (D). The speed of the LYT2021s will allow your team to start the game off with two early control points
.
Base Assets
Name
LYT2021
ZBD-09
Type 99 MBT
Type 95 AA
RHIB
DV-15
Z-11W
Z-10W
J-20
Q-5 Fantan
Quantity
2
2
2
1
2
1
1
1
2
1
A: Data Central
Control Point Assets
RU Control
CN Control
VDV Buggy (1)
LYT2021 (1)
RHIB (1)
RHIB (1)
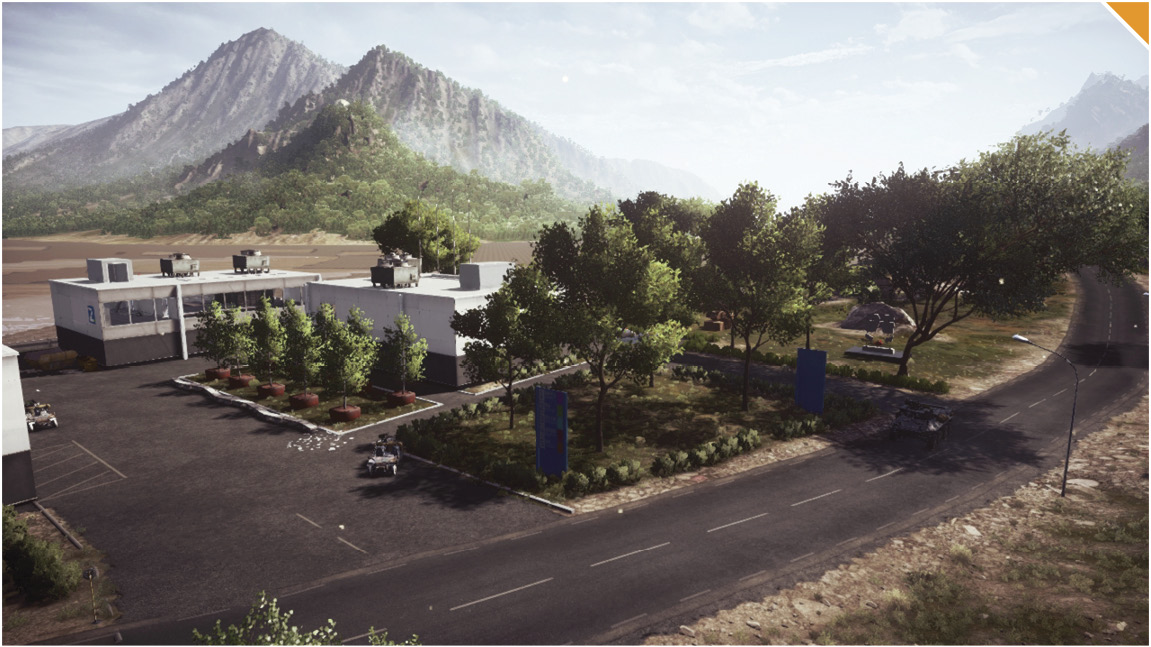
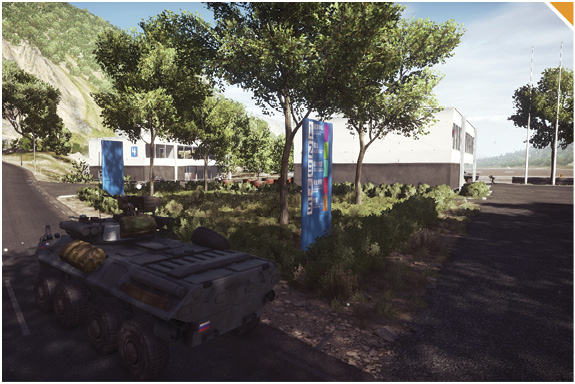
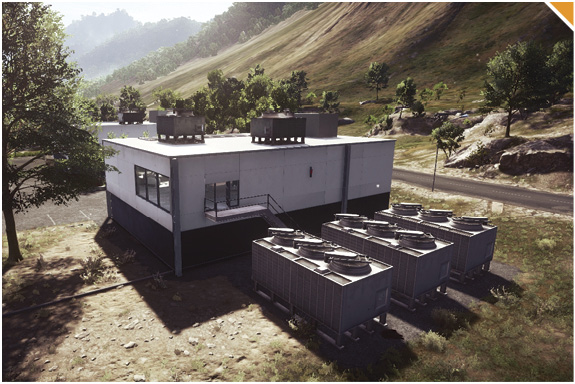
Located on the west side of the map, this control point is surrounded by three buildings that provide great cover to hide and capture the flag. All three of these buildings’ layouts are nearly identical with two entrances to the second floor and only one set of stairs to get on top of the roof.
Once this control point is captured, a RHIB and a light vehicle spawn. It is a long run to the Power Station (B) or swim to the Islet (C). Be sure to take advantage of the vehicles that spawn here to make your next move.
It is important to spread out in the area. Don’t be content holding only one of the buildings. The team that controls the majority will have a huge advantage with cover and angles to pin down the enemies that are in the area.
When attacking this control point, even if you have a vehicle, you are going to need to clear out the buildings to make sure the opponent does not continually spawn in the area and contest the flag.
When defending this control point, it is crucial to have at least one engineer in your squad that can poke out and eliminate any enemy vehicles that dare to get near your squad, which has cover from three different buildings.
B: Power Station
Control Point Assets
RU Control
CN Control
VDV Buggy (2)
LYT2021 (2)
This flag is located on the northwest side of the map between two buildings with a walkway that connects the buildings. There are two main routes with a clear line of sight to this control point: one from the southwest road and the other from the east road.
Once the control point is captured, two FAV vehicles spawn in between the buildings and can be used to reach the Research Facility (D) quickly.
Take full advantage of the walkway and its windows as it gives you protection and can be used to survey the area for incoming enemies.
Take advantage of this open control point with IFVs and MBTs. This will make capturing and defending this control point much easier.
C: Islet
Control Point Assets
RU Control
CN Control
RHIB (2)
RHIB (2)
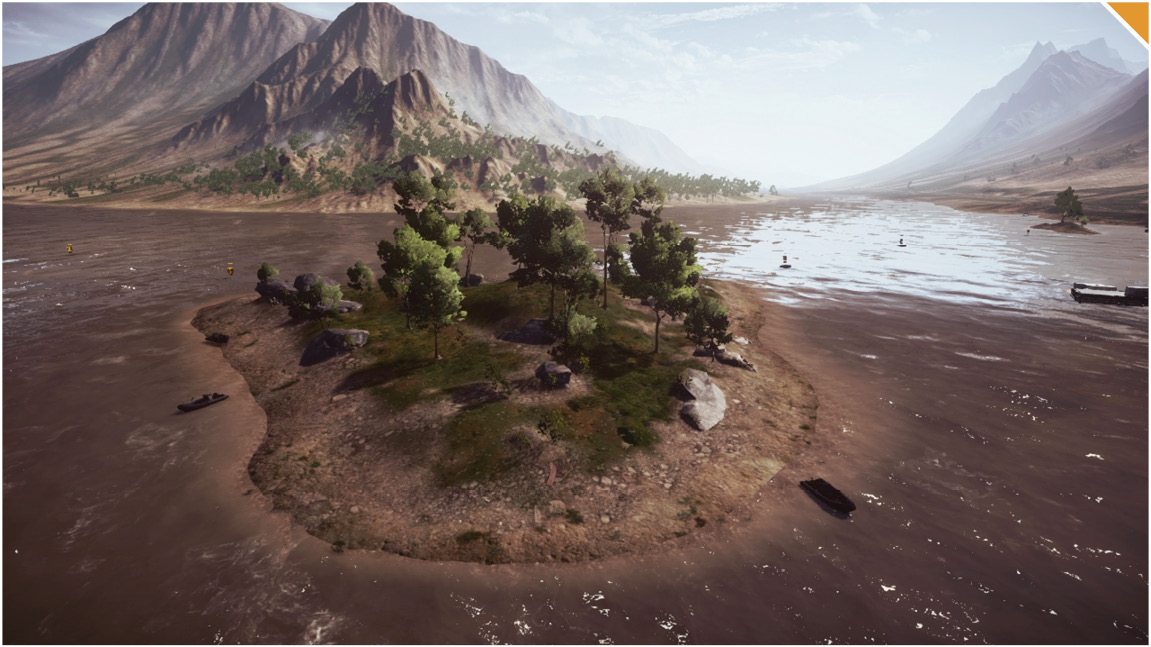
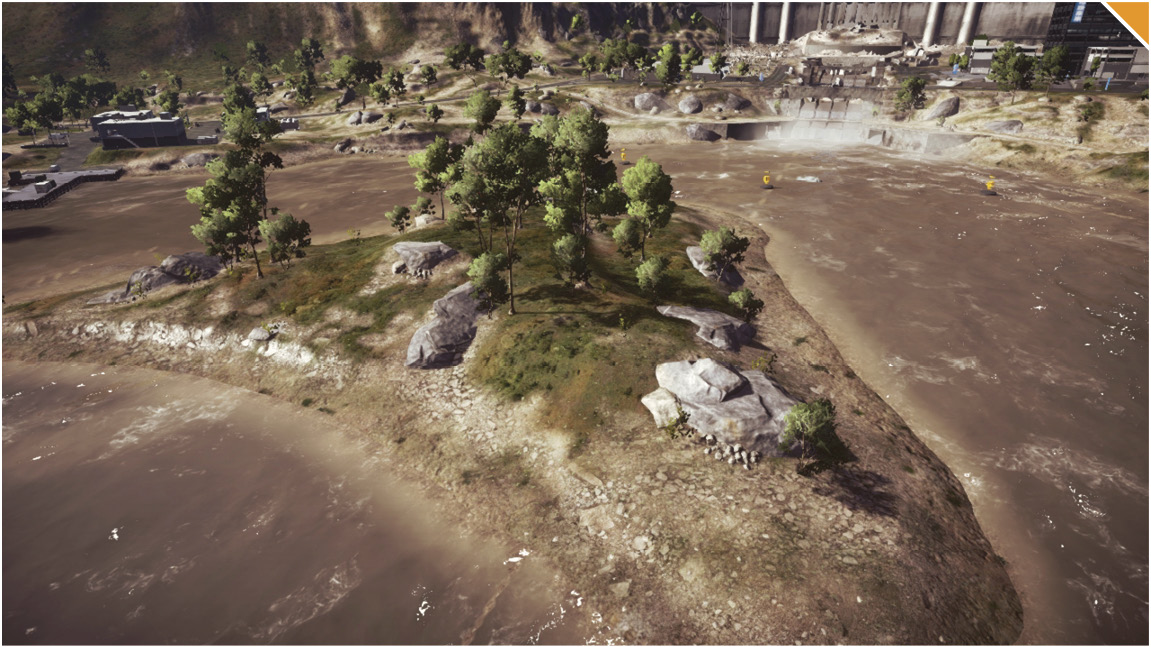
This control point is a remote Islet that is located in the center of the map between Data Central (A) and the Living Quarters (E). To make it over to the Islet (C), you will be required to use watercraft, helicopters, or IFVs, or go for a good old-fashioned swim.
Once the control point is captured, two RHIBs spawn here and should be used to flank around the map. Load up your squad in one of these RHIBs and catch the enemy off guard by driving over to capture Data Central (A) or the Living Quarters (E).
Capturing this control point will give your commander the option to deploy the Gunship. Although this flag can be difficult to control, it is well worth it since it gives your team a huge advantage.
When attacking this control point, you must have air or water domination in order to be successful. If you prefer water combat, make sure to use the attack boat from your deployment spawn. If you prefer air combat, you have a choice of a jet or attack helicopter from your base.
Once this control point is captured, defending it is key since the Gunship can guarantee your team a victory. When defending, be aware of incoming attackers who may submerge underwater to try and recapture this control point just offshore of the Islet (C).
D: Research Facility
Control Point Assets
RU Control
CN Control
VDV Buggy (2)
LYT2021 (2)
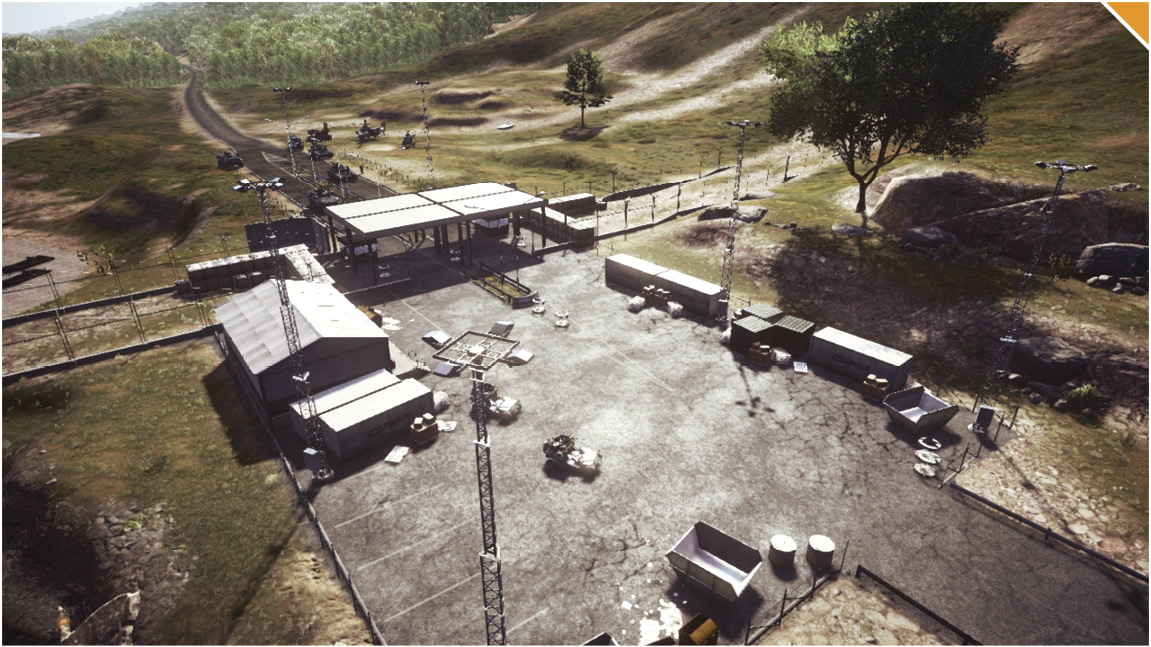
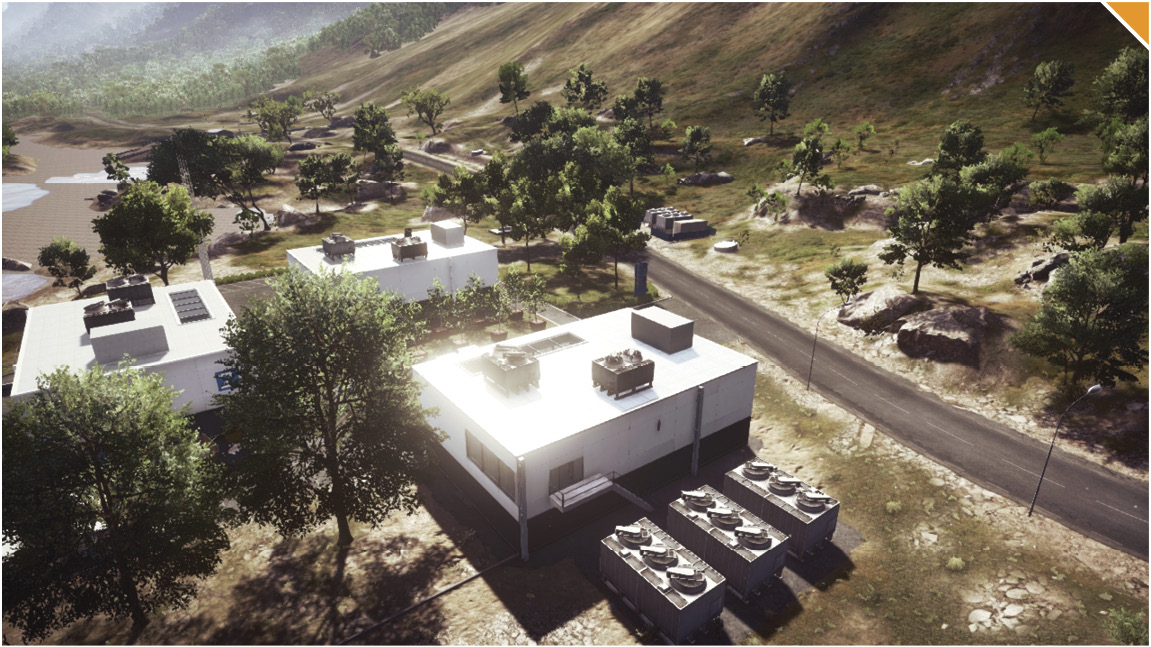
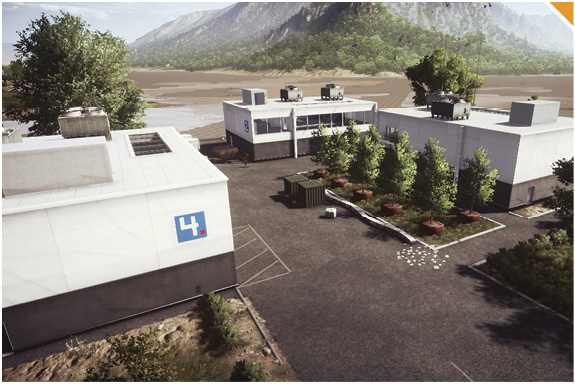
This flag is located to the far north side of the map with three sturdy buildings surrounding it.
After your team captures this point, two light vehicles spawn within this point. These can be used to transport teammates to other control points that your team needs to capture or defend.
Look to defend this point by using all three of the buildings, which all have walkways connecting them. Place a Radio Beacon inside one of the buildings to keep a good spawn point for your squad and allow your team to constantly defend the flag.
There are two bollard control panels located towards the southern and eastern entrance of this control point. When activating the bollards, solid poles rise up from the ground to block vehicles from reaching the inside area of the Research Facility (D).
E: Living Quarters
Control Point Assets
RU Control
CN Control
VDV Buggy (2)
LYT2021 (2)
RHIB (1)
RHIB (1)
Located on the east side of the map, this control point consists of two similar buildings and large, fortified concrete walls. The biggest difference in the two buildings is that the eastern building has one extra entrance to the second floor from a stairway on the back side.
After this control point is captured, a light vehicle and RHIB both spawn. Here there are two standard choices. You can send part of your team to capture the Islet (C) while the rest of your team captures and defends the Research Facility (D). For the other option, you can completely ignore the Islet (C) and have your team completely focus on the northern part of the map by controlling both the Research Facility (D) and the Power Station (B).
The buildings at this control point can be destroyed faster than you expect. Plan ahead by having a recon member in your squad place a Radio Beacon on the outskirts of the control point. This way if your building gets destroyed or your whole squad gets taken down, you can still spawn in the area and fight for the flag.
When attacking this control point, attempt to take over the easternmost building first. It has one more stairwell to the second floor compared to the western building, and will allow your squad another route that you can use to surprise the enemy.
When defending this control point, while the walls are still up these buildings provide great cover. However, these structures will crumble very quickly to explosives. Be sure to take out any threatening vehicles before it is too late and you are permanently exposed.
Conquest Small
Recommended Squad Composition:
The area that lies past the dam overflow is the site of this intense battle between the RU and CN teams. The map will consist of three control points: the Power Station (A), the Islet (B), and the Research Facility (C). Both teams only need to capture two control points to start draining the opposing team’s tickets. The RU team will be looking to take control of the Power Station (A) and the Islet (B). The CN team’s best strategy will be to capture the Research Facility (C) and the Islet (B). The RU team should send every vehicle that can make it to the Islet (B) at the start of the game. The Islet (B) grants the controlling team’s commander a powerful Gunship. The CN team should follow the same tactic as the RU team, as the Islet (B) will hold many battles as both teams will fight to control the Gunship. A secondary strategy that allows a team to defend against the Gunship will be to capture the Power Station (A) and the Research Facility (C). Capturing these two points, which are near each other, will provide cover from the Gunship as there are several buildings and concrete walls. This tactic is very useful as it forces the opposing team to abandon their watercrafts and fight you on equal footing.
RU Base
Base Assets
Name
VDV Buggy
BTR-90
DV-15
Z-11W
Quantity
2
2
1
1
Positioned on the west side of the map, the RU base is surrounded by a cluster of three buildings aptly called Data Central. The Islet (B) is the nearest control point, west of the base.
The RU base has a few vehicles to choose from. The closest control point by ground to the base is the Power Station (A). The speed of the VDV Buggy will allow your team to reach and capture this control point quickly.
A DV-15 spawns on a pier east of the base and will play a significant role when rushing towards the center to capture the Islet (B). Capturing this control point will allow the commander to have access to the Gunship.
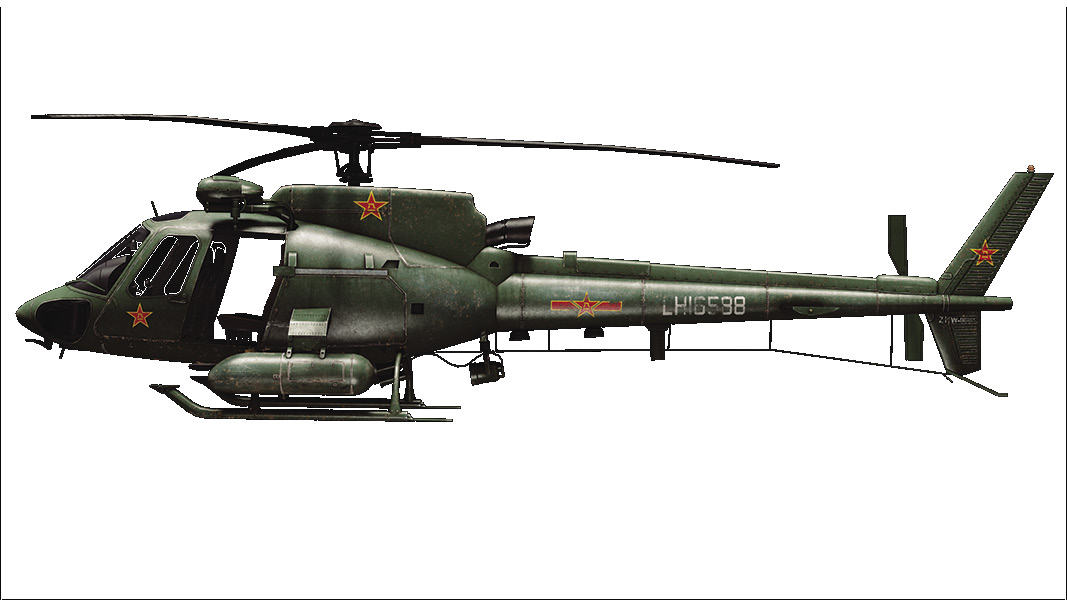
A squad should take control of the Z-11W and immediately head east towards the Islet (B). Members can jump out and parachute down to capture this control point. Prepare to meet head on with CN team forces.
The two BTR-90s are able to move in water and, weighing the importance of the Gunship, these two IFVs should make their way east towards the Islet (B) to guarantee its capture.
CN Base
Base Assets
Name
LYT2021
ZBD-09
DV-15
Z-11W
Quantity
2
2
1
1
Located on the east side of the map, the CN base consists of two similar buildings protected by large, fortified concrete walls. The Islet (B) is the nearest control point, west of the base.
The CN base has several vehicles to choose from. The closest control point on ground to the base is the Research Facility (C). The speed of the LYT2021 will allow your team to reach and capture this control point quickly.
A DV-15 spawns on a dock west of the base and will play a huge role when capturing the Islet (B). Capturing this control point will allow the commander to have access to the Gunship.
Take control of the Z-11W and immediately head west towards the Islet (B). Members can jump out and parachute down to capture this control point. Prepare to meet head on with the RU team’s scout helicopter.
The two IFVs are able to move in water and, weighing the importance of the Gunship, the two IFVs should make their way west towards the Islet (B) to guarantee its capture.
A: Power Station
Control Point Assets
RU Control
CN Control
VDV Buggy (1)
LYT2021 (1)
This flag is located on the upper northwest side of the map between two buildings under a walkway that connects the buildings. There are two main routes with a clear line of sight to this control point: one from the southwest road and the other from the east road.
Once the control point is captured, one light vehicle spawns in between the buildings and can be used to reach the next nearest control point quickly. Use the back road to the north to make sure you avoid any enemy IFVs that are likely to be headed your way.
Take full advantage of the walkway and its windows as it gives you protection and can be used to oversee the area for incoming enemies. Always be sure to spot the enemies to let your squad know where they are and to rack up some extra points.
When using IFVs or light vehicles at this point be careful to not push the vehicle inside. That way, enemy players with C4 can’t sneak up on you!
The recon class should use the walkway connecting both buildings to position themselves so that they have access to the rooftop for a better vantage point. Be sure to throw down a Motion Sensor to reveal any enemies that may have slipped by.
B: Islet
Control Point Assets
RU Control
CN Control
RHIB (1)
RHIB (1)
This control point is a remote Islet that is positioned in the center of the map between the RU base and CN base. To make it over to this Islet (B), you will be required to use watercraft, helicopters, or IFVs, or go for a good old-fashioned swim.
Upon capture of this control point, one RHIB spawns here and will allow your squad to travel back to the mainland where you can take control of the Power Station (A) or the Research Facility (C).
Capturing this control point will give your commander the option to deploy the Gunship. This flag is out of the way, so make sure that once you do capture it, you use the Gunship to help take control of the Power Station (A) or the Research Facility (C). You can’t win by only holding this single control point.
When attacking this control point, using the attack boat is the key to victory. The second best option is to take over one of your IFVs to capture the control point and then leave right after. Always keep in mind that after you capture this control point, you want to leave if the enemy has control of both the Power Station (A) and the Research Facility (C).
When defending this control point, your biggest threat will be the enemy’s attack boat. Be sure to have engineers or your own attack boat to take it down. Lastly, make sure you have a mobile squad ready to leave if you find out your team is getting overwhelmed at the Power Station (A) or the Research Facility (C). You do not want your entire team stuck at this control point.
C: Research Facility
Control Point Assets
RU Control
CN Control
VDV Buggy (1)
LYT2021 (1)
This flag is located to the far north of the map with three sturdy buildings surrounding it. There are multiple spots inside the building that promote sneaky gameplay to contest or capture the control point.
Once the control point is captured, one light vehicle spawns within this control point. This can be used to quickly rush teammates towards the Power Station (A). You should take the back road to the north so the enemy won’t know you are behind them until it is too late.
Look to defend this point by using all three of the buildings, which all have walkways connecting them. Place a Radio Beacon inside one of the buildings to keep a good spawn point for your squad, ensuring control of the Research Facility (C).
Inside the buildings on the upper level you are able to look out the windows and oversee all oncoming enemy infantry. This is a great vantage point for the recon class to take advantage of, as the long distance allows you to sit back and snipe.
There are two interactive control panels that raise bollards located towards the southern and eastern entrance of the control point. When activating the bollards, solid poles rise up from the ground to block vehicles from reaching the inside area of the Research Facility (C).
Rush
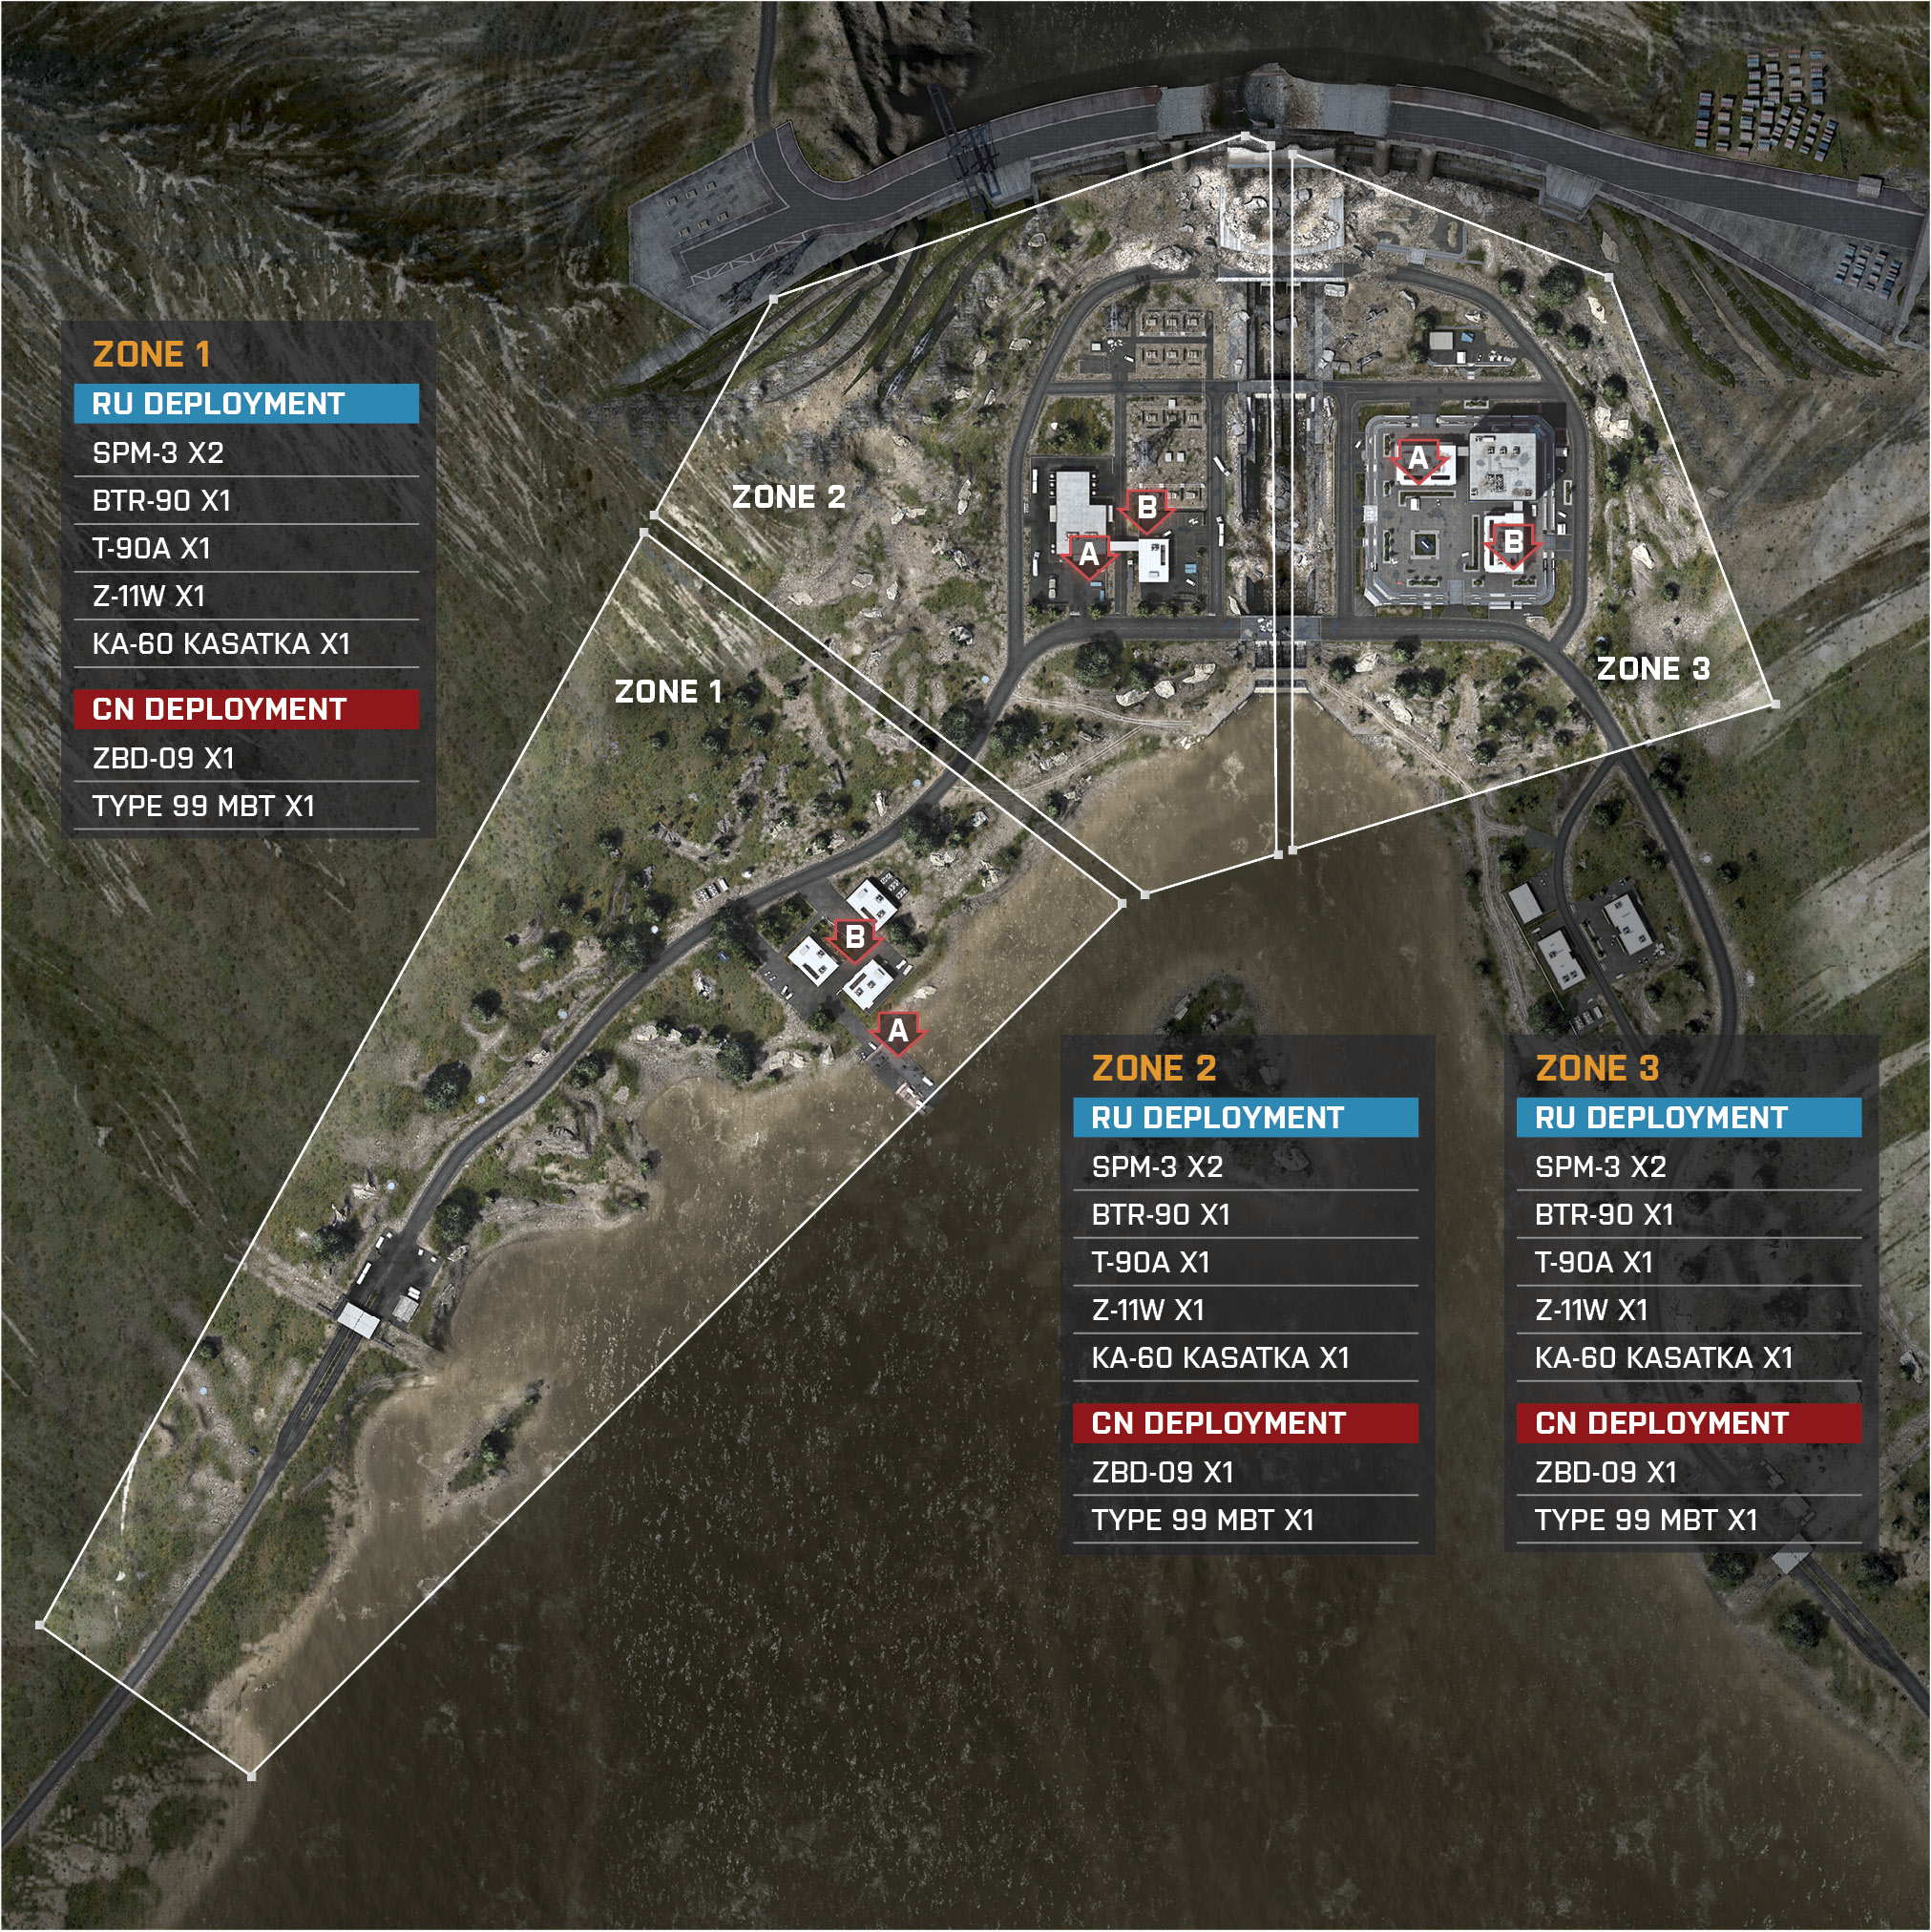
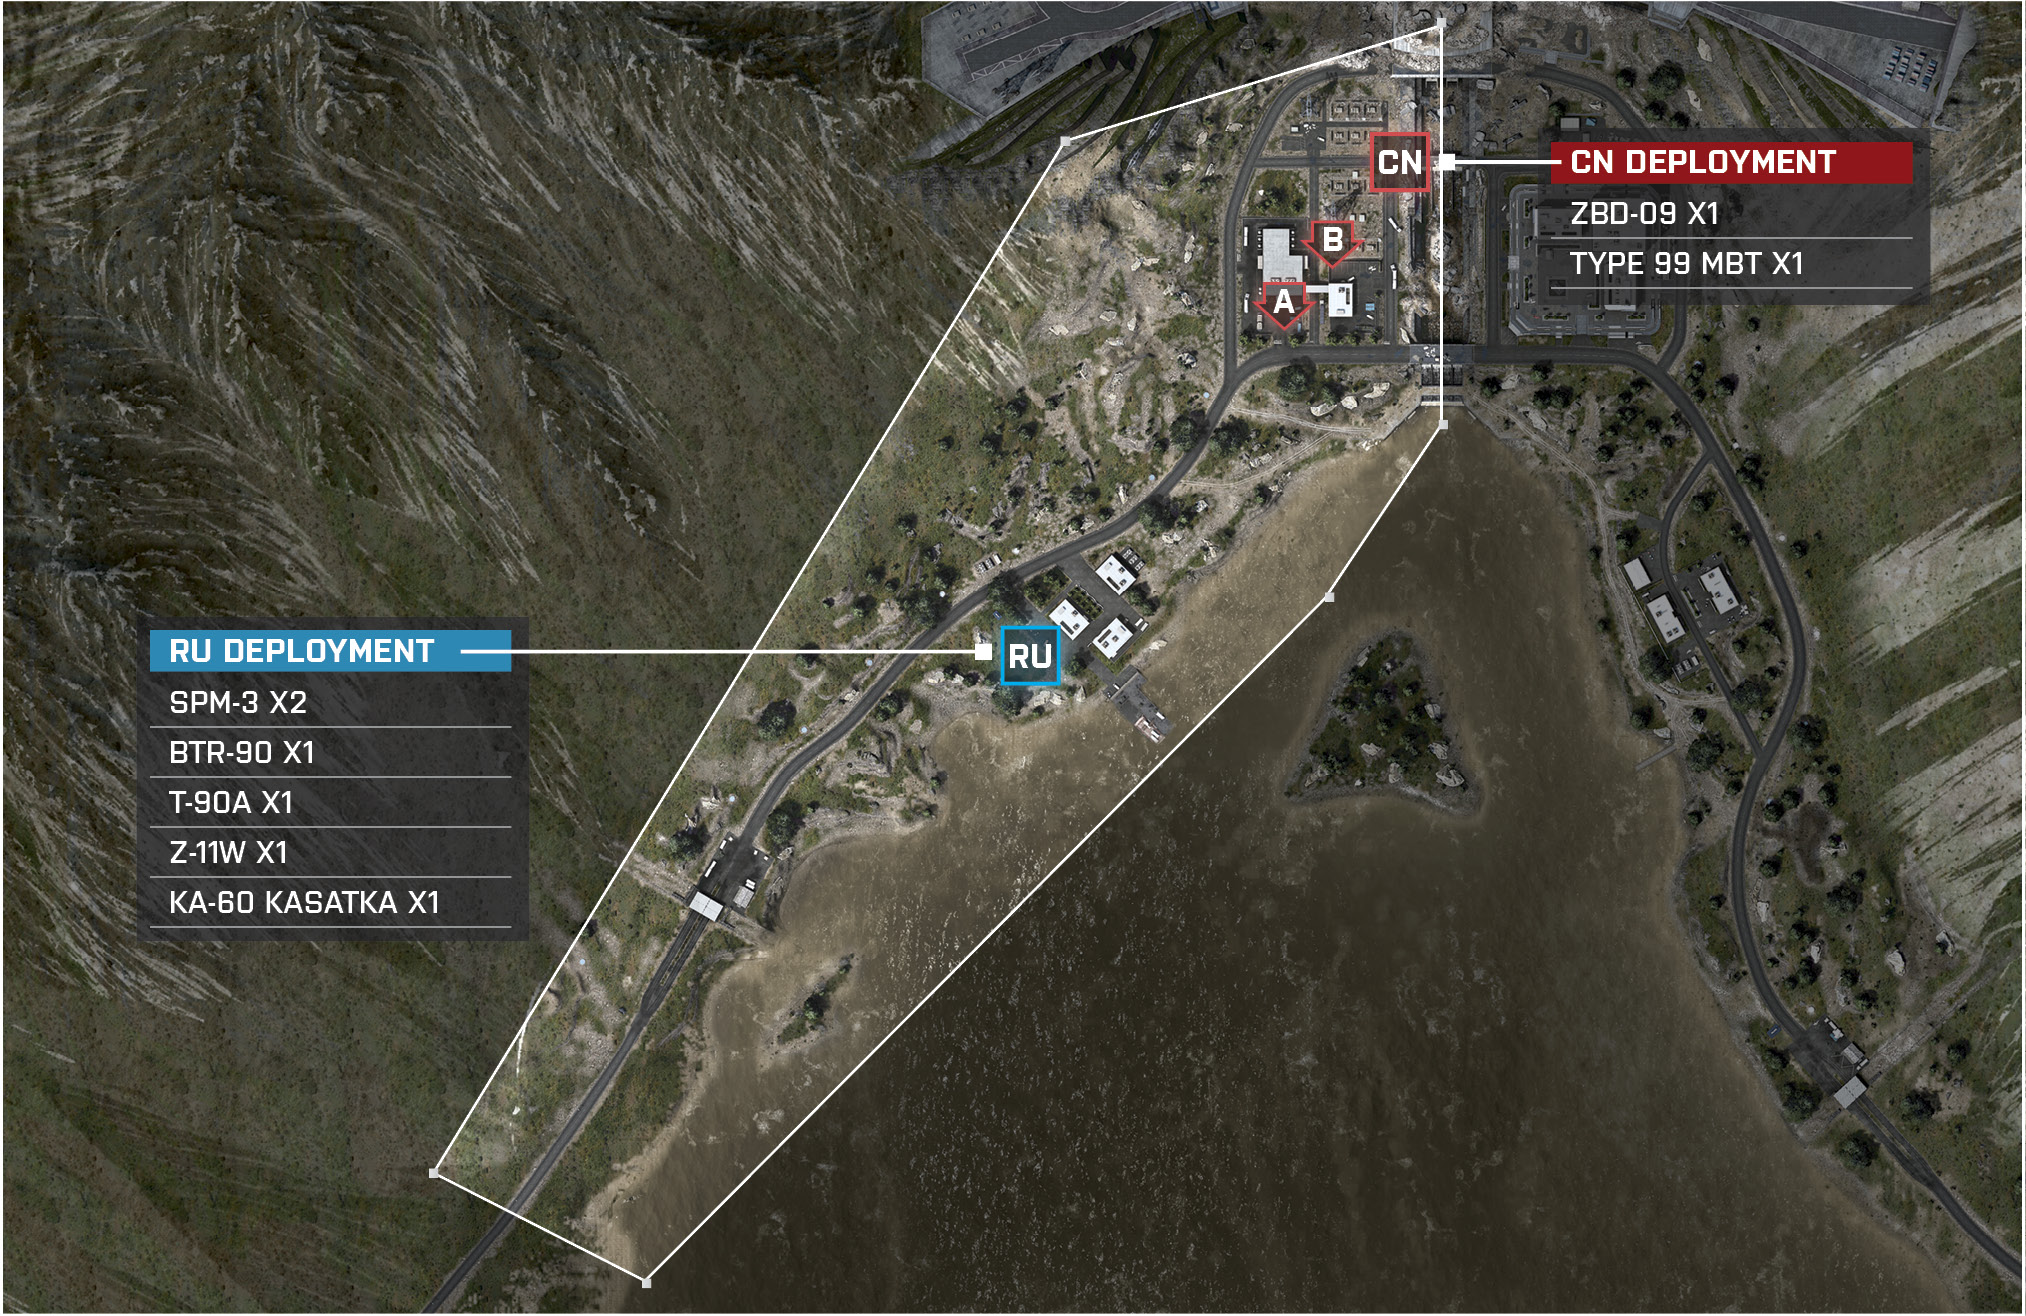
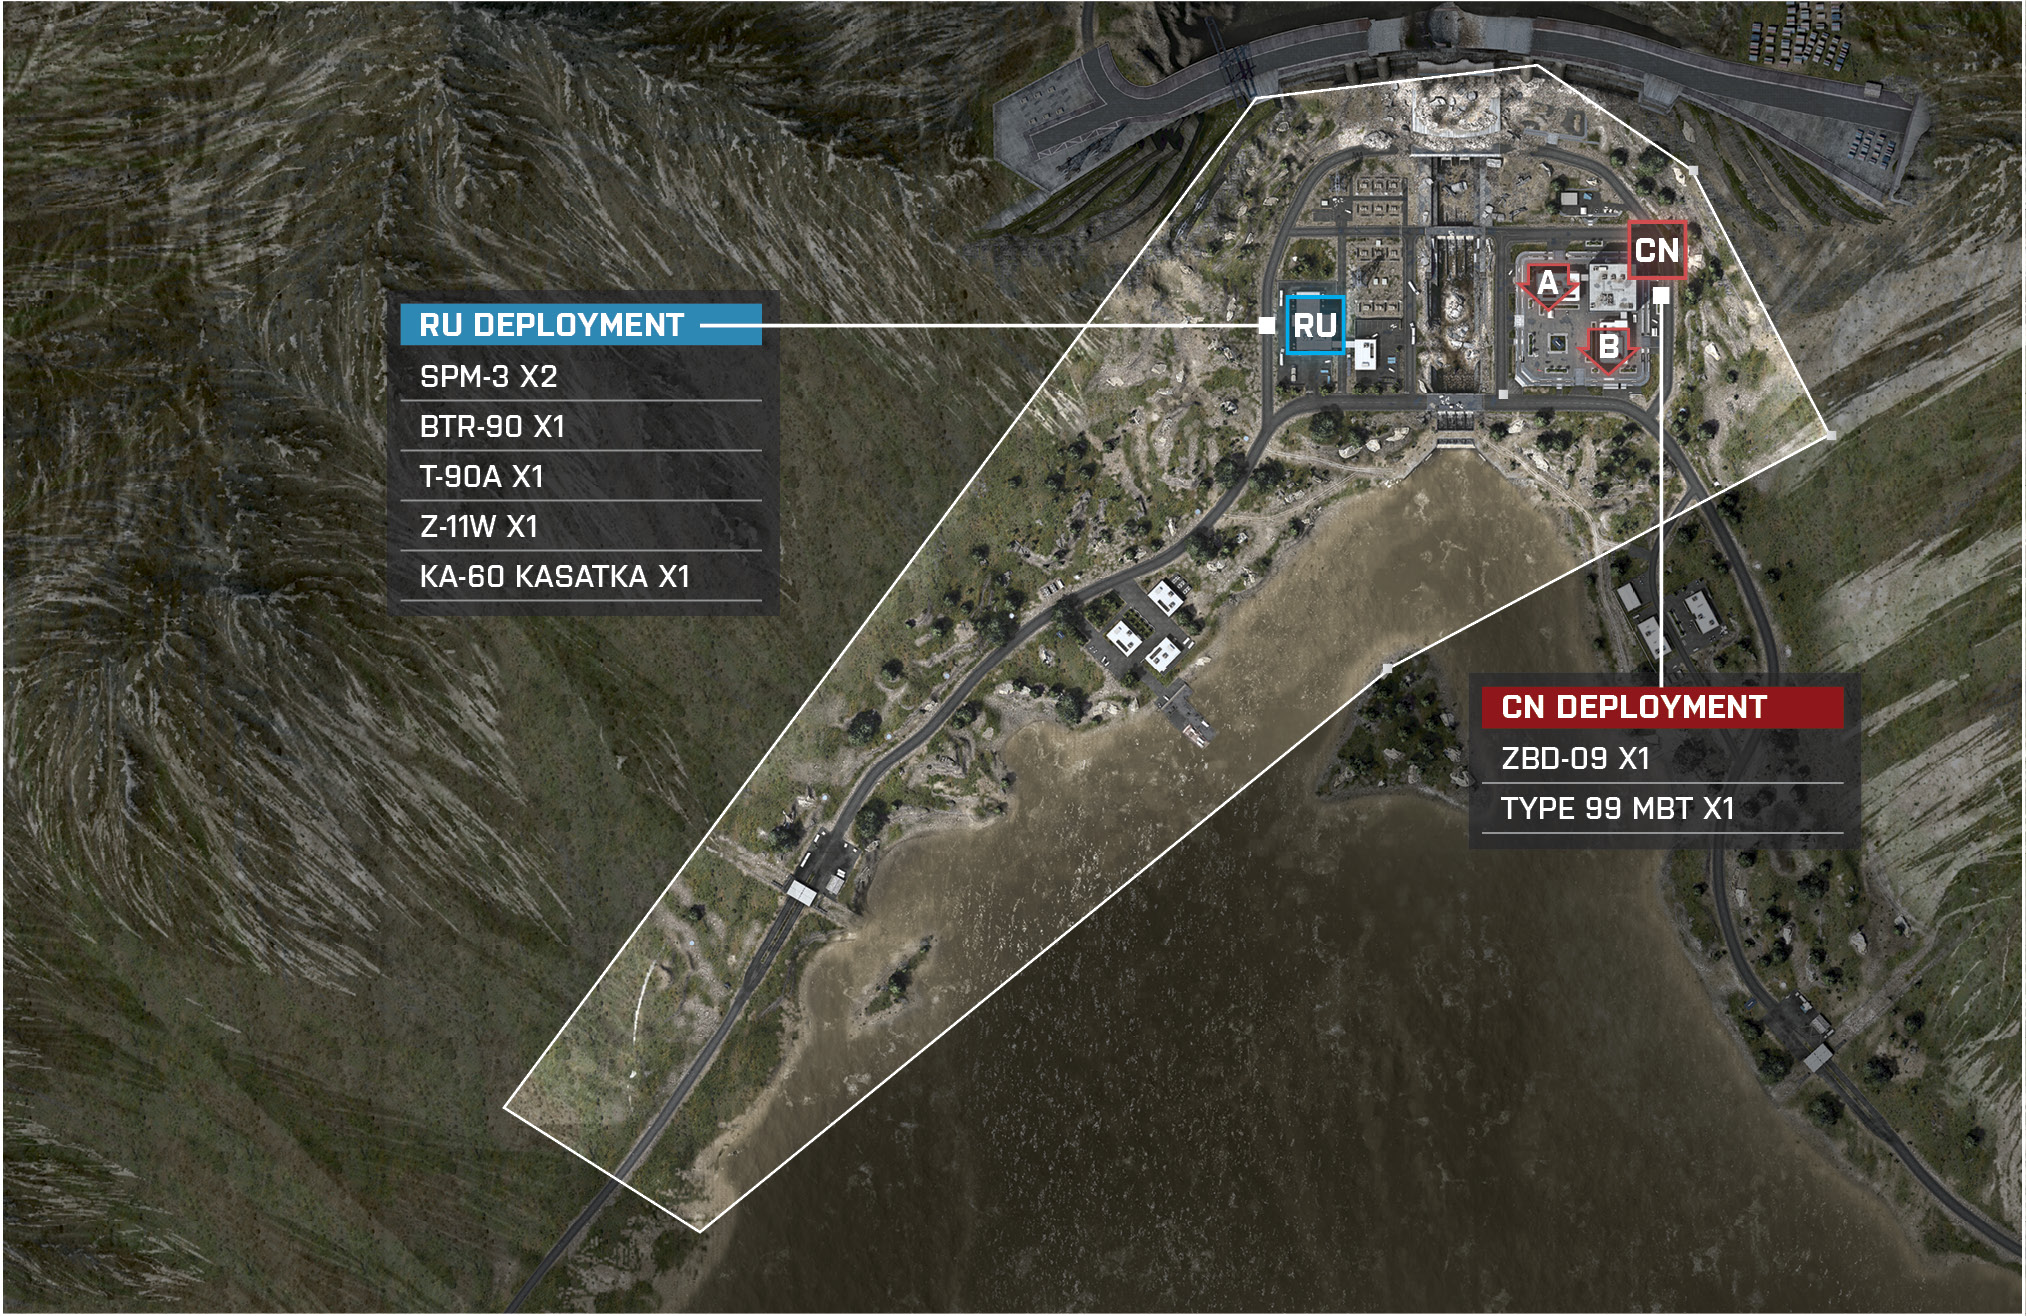
In this Rush battle, the RU team advances through the main road of the map in a drive to destroy six M-COM stations scattered across three different zones. The attackers start in the west and eventually make it up the road towards the Data Central area. The RU team has a watercraft and two helicopters that will allow them to breach the first zone from multiple directions. The second zone will require the attackers to follow the road uphill, where defenders will be waiting with two vehicles and a handful of stationary weapons. The final zone will force the attackers to abandon their vehicles as the defending team. The CN team can activate a set of bollards around the Research Facility, stopping any attacking vehicle from breaching. The CN team has access to a Type 99 MBT throughout the duration of the game; this will assist in defending against the attacking team’s infantry and vehicles. The defenders should always have an engineer on site to score some easy points by repairing the Type 99 MBT.
Zone 1: Data Central
RU Deployment
Recommended Squad Composition:
Deployment Area Assets
Name
SPM-3
BTR-90
T-90A
KA-60 Kasatka
Z-11W
Quantity
2
1
1
1
1
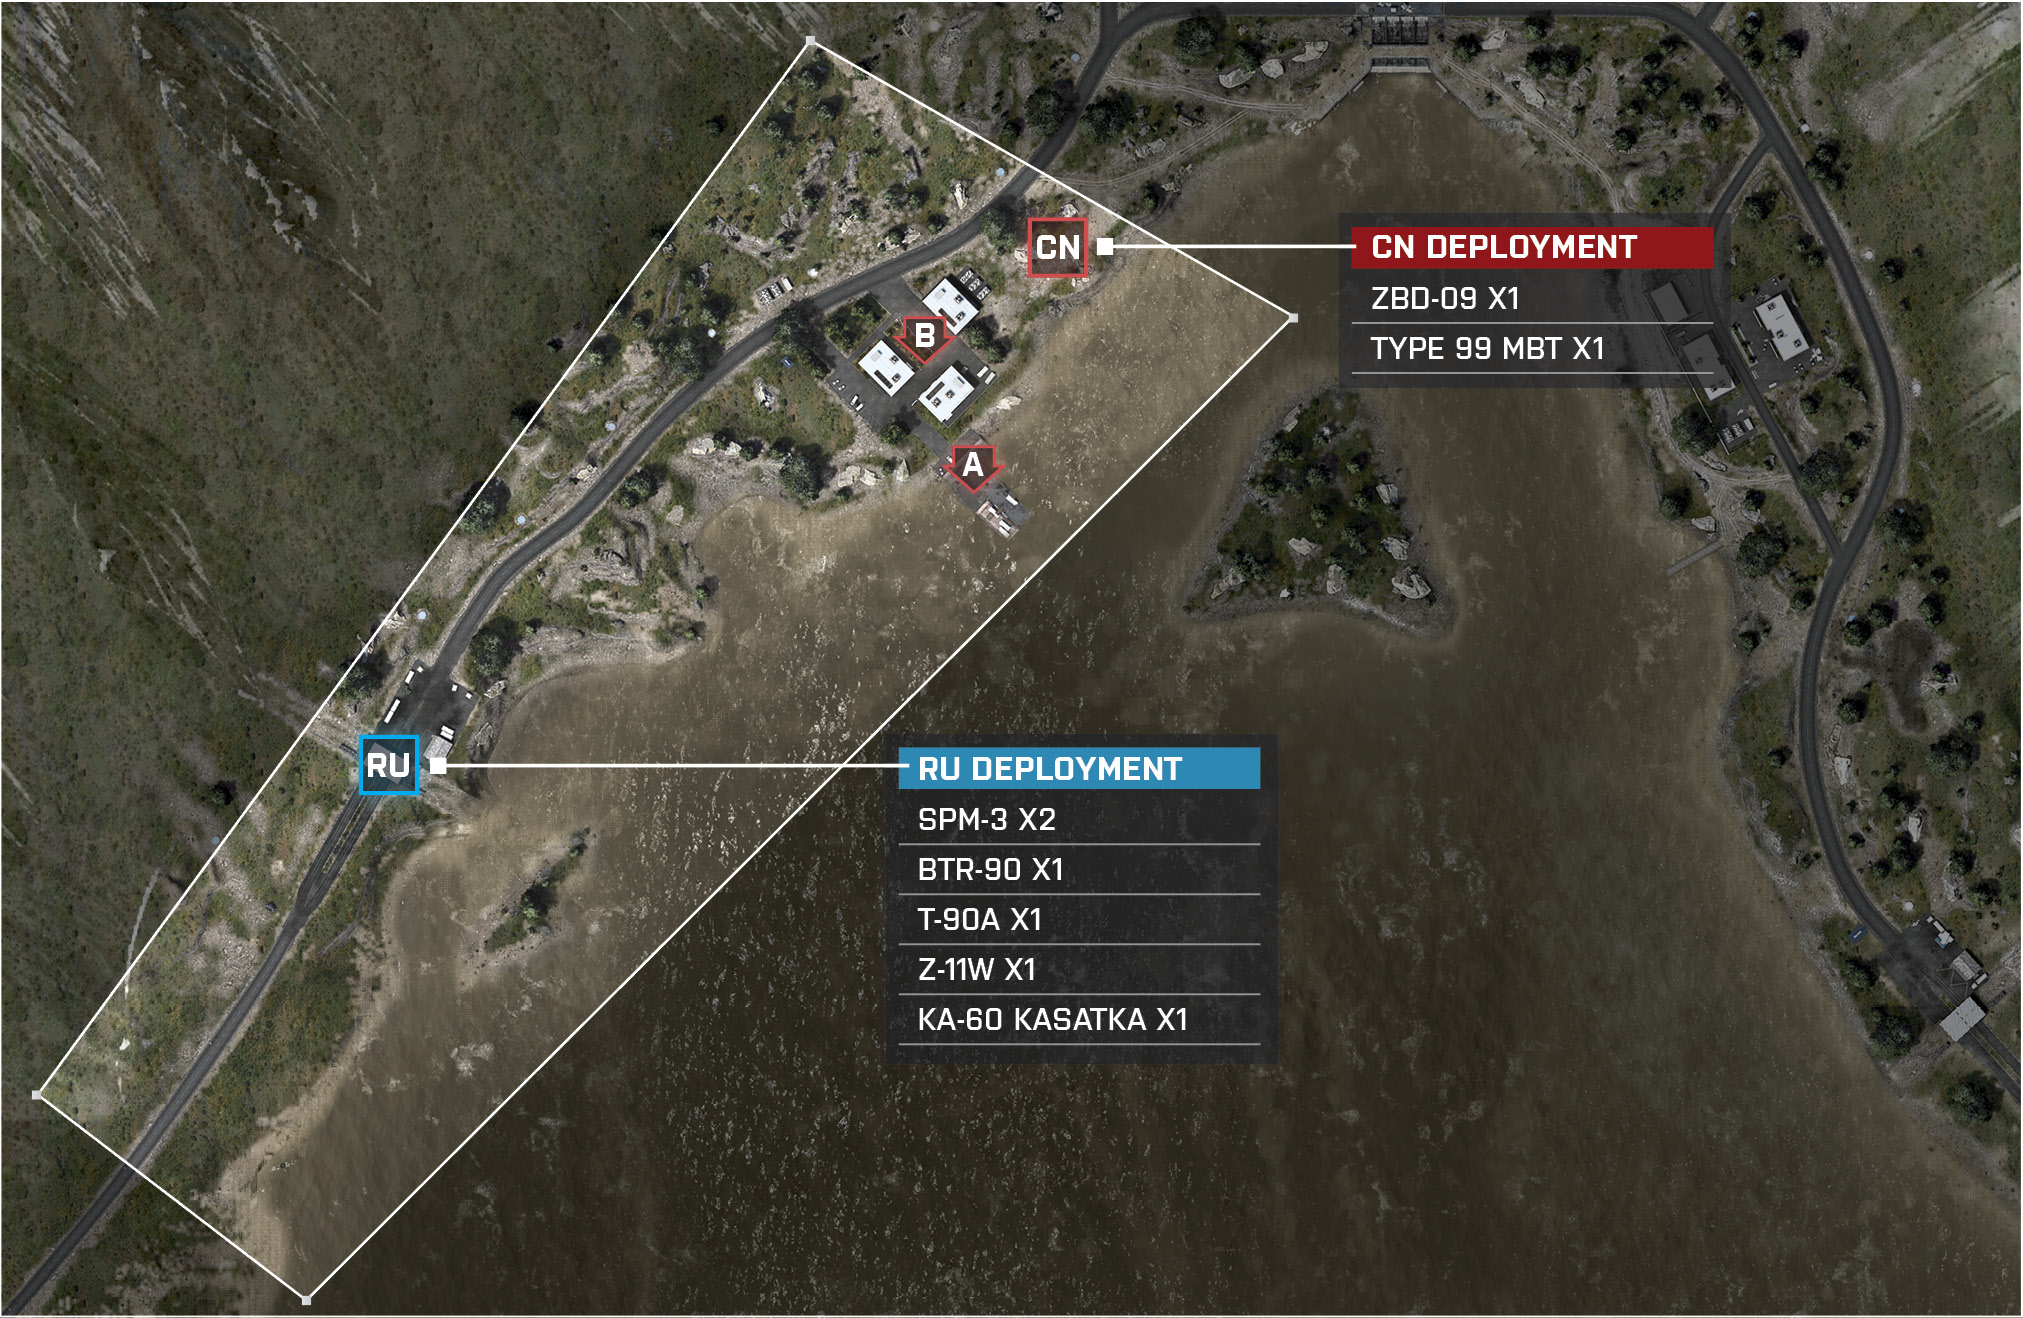
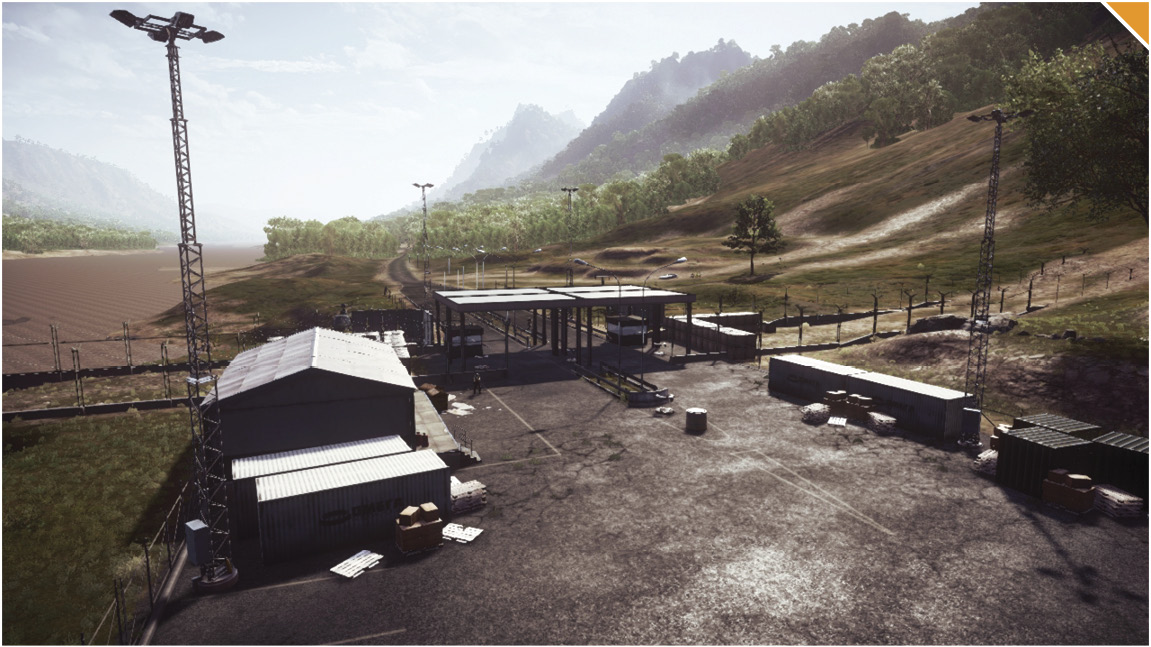
The RU team’s deployment is located to the southwest of the two M-COM stations where you have a long distance to travel before you arrive at your destination. Load up your vehicles before heading out so you don’t leave a teammate behind.
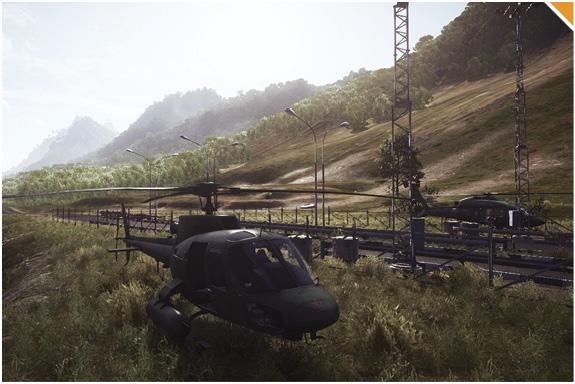
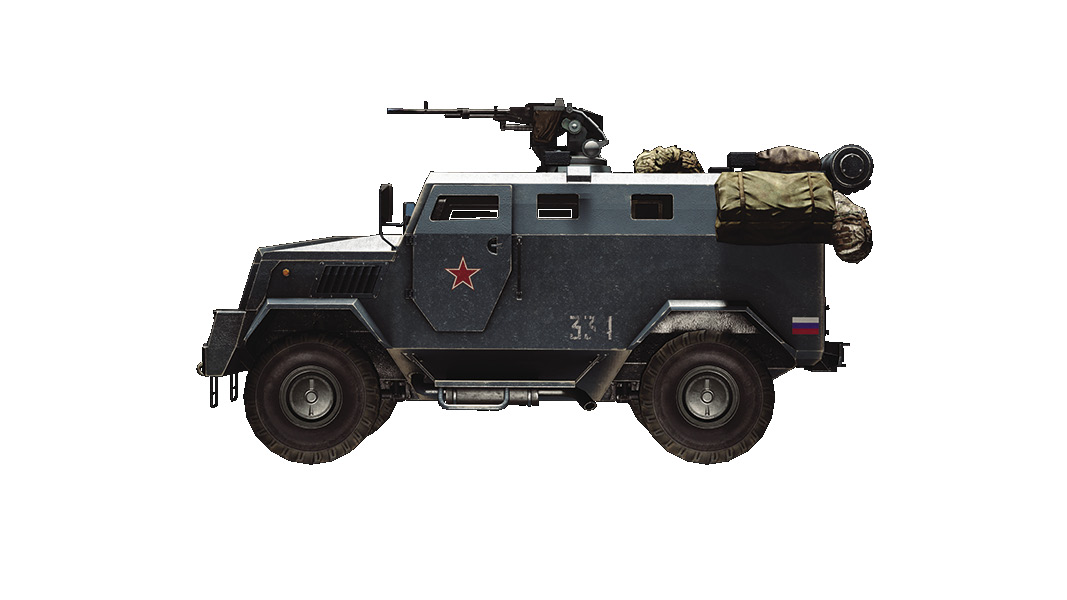
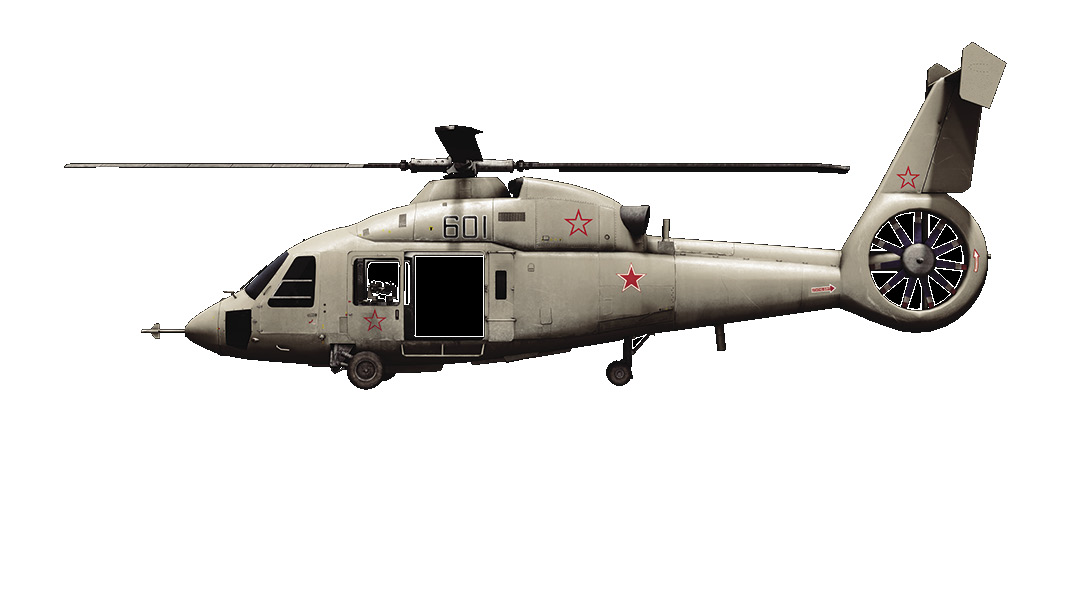
The RU deployment area spawns with every option for travel. One option is a long straight road where you can take your T-90A or SPM-3. A second option is to travel by sea with your RHIB. Your third option is to travel by air with the KA-60 Kasatka.
Immediately send out your transport helicopter and SPM-3 to spot where the enemies are and what they are doing. These vehicles are the fastest and most expendable when compared to your valuable T-90A and KA-60 Kasatka.
When pushing up the road, take out any enemies manning the HJ-8 Launcher, which is located near the end of the road and directly west of M-COM Station B. You’ll need to have your vehicles at full health for the upcoming battles with the enemy’s engineers, ZBD-09, and Type 99 MBT.
As a squad, absolutely make sure to not have every member inside the same vehicle. The last thing you want to do is allow the enemy to kill your entire squad and force you to spawn at the RU deployment area while you leave the rest of your team outnumbered on the front line.
CN Deployment
Recommended Squad Composition:
Deployment Area Assets
Name
ZBD-09
Type 99 MBT
Quantity
1
1
The CN deployment area is located between three Data Central buildings. Between these buildings is a courtyard that holds M-COM Station B.
This deployment area is located near both M-COM stations, which allows you to set up a defensive perimeter before the RU team closes in.
There are a couple of vehicles and stationary guns around the base. The rooftop of the building to the north holds a .50Cal. The player manning this can provide heavy support fire while spotting approaching attackers, and other squad members can make use of the HJ-8 Launcher on the ground to help against incoming vehicles.
The vehicles at hand are the Type 99 MBT and ZBD-09—both vehicles lie north of the base. Send them along the road to encounter incoming attacks, and be sure to use the giant rocks for cover. Have engineers close by to repair these vehicles when needed.
Have extra engineers in your squad. The attacking team has a total of six vehicles at their disposal. Engineers will be needed in order to take these out. Having players spread throughout the buildings and the pier to the west allows your team to have better angles on the RU team’s attacking vehicles.
M-COM Station A
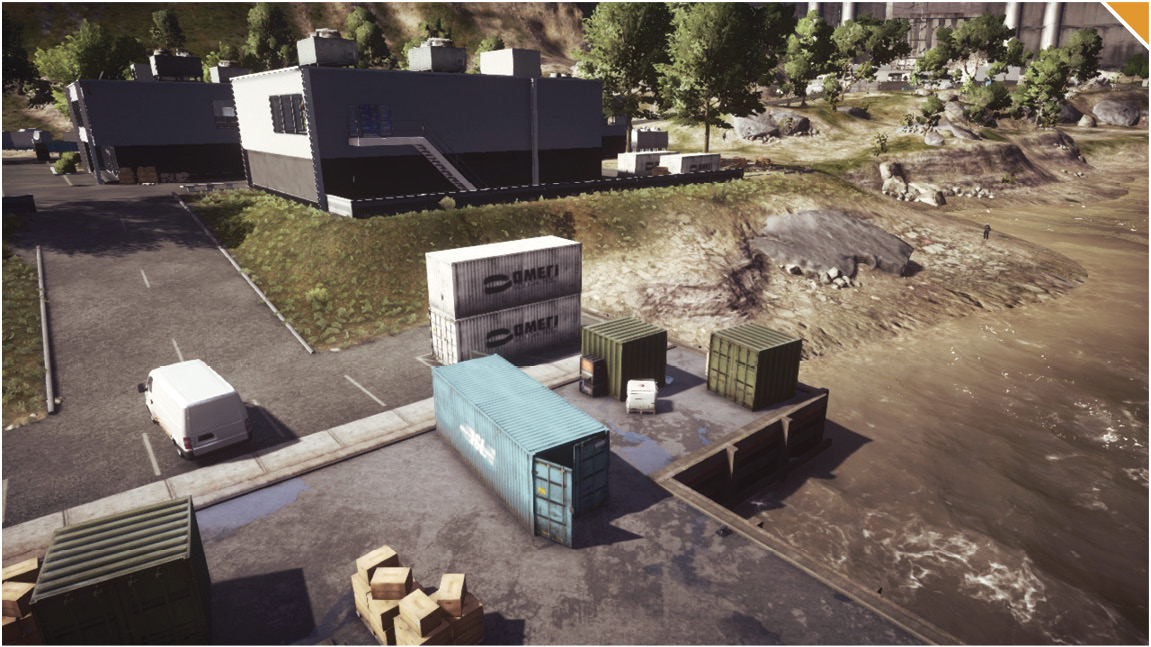
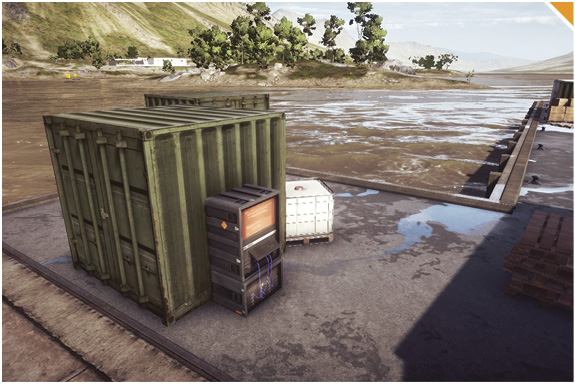
This M-COM station is located southeast of M-COM Station B, and surrounded by many crates that can be used for cover. There is even a large crate to hide in, which is the one closest to M-COM Station A.
When defending M-COM Station A, have your team take a few engineers to protect against enemy vehicles that may come from the air and water.
When attacking M-COM Station A, your team will want to split squads up based on what type of vehicles you are using. Quickly reach M-COM Station A by using the scout helicopters and transport helicopters to drop off teammates in the area.
Attackers should also invade this area by using watercraft vehicles to aid your teammates being dropped off by the transport helicopters.
There is a building closest to M-COM Station A that your team is going to have to make use of. You can access this building by using a flight of stairs just outside, which will lead you to the inside and give you a great vantage point of the lake where the enemy most likely is going to attack from.
M-COM Station B
This M-COM station is located in between the three buildings that comprise Data Central. This spot is also the spawn point of the defending CN team.
When defending, use the three buildings to watch over the M-COM station. On the upper level of these buildings you will have an overview of the entire area, but beware—these buildings can be destroyed fairly easily.
When attacking this M-COM station, take over the two buildings to the south. This way you can take cover, get good spawns, and clear out any enemies that are a threat to stop you from arming.
When defending this M-COM station, the most important location to hold is the building to the southwest. This spot allows you to keep a bird’s eye view on the whole area and give you plenty of time to relocate depending on where the enemy is pushing.
Zone 2: Power Station
RU Deployment
Recommended Squad Composition:
Deployment Area Assets
Name
SPM-3
BTR-90
T-90A
KA-60 Kasatka
Z-11W
Quantity
2
1
1
1
1
The RU team’s deployment area is located to the southwest of the M-COM stations, connected by a short road that eventually comes to a fork where you can go north to flank around the M-COM stations or attack them from the road that heads east.
The RU base spawns with two options for travel. The first option is the forked road where you can take your T-90A or SPM-3. The second option is to travel by air with the KA-60 Kasatka.
Send your SPM-3 up the north fork in the road to flank behind the Power Station and give your squad good spawns to take over the building. This also distracts the enemy team by dividing their attention into two areas instead of one.
Use the KA-60 Kasatka to drop off your teammates on the roof above M-COM Station A. This will allow you to attack from above where the defending CN team cannot get to. Place a Radio Beacon on top of the roof to give your squad a closer spawn point for the rest of this zone.
After taking out the enemy’s only ZBD-09 and Type 99 MBT, switch your engineers to assault and support to prepare for all the close-range combat in the Power Station area.
CN Deployment
Recommended Squad Composition:
Deployment Area Assets
Name
ZBD-09
Type 99 MBT
Quantity
1
1
After losing the battle in Zone 1, the CN team is pushed back. The deployment area is now located south, in front of the Power Station. The Power Station is surrounded by explosive gasoline barrels and semi trucks.
North of the base, the CN team will find a Type 99 MBT and a ZBD-09. Being at the top of the road, the CN team will have an advantage as they wait for the RU team to push into your traps.
In front of the Power Station lies three HJ-8 Launchers that can be used to assist the team in destroying the enemy’s incoming vehicles.
Send a squad to the building south of M-COM Station B. The roof to this building is accessible and a great spot to snipe from. This roof also provides engineers an angle to assist in destroying both ground and airvehicles.
There is one main road that all approaching ground vehicles will have to take. Send a squad composed of engineers and support players to plant C4 and M15 AT mines all around the roads and hills to catch the attackers by surprise. Destroying the attacking vehicles early on will allow other defending squads to move south to prevent the attackers from closing in.
M-COM Station A
M-COM Station A is located inside the west building of the Power Station on the second level, surrounded by wire barrels and tool crates.
Right next to M-COM Station A is a sky bridge connecting to the building east of this station. As a defender, use the recon class and place a Radio Beacon so you can spawn your team there, allowing control of the eastern building. This will ensure that the Radio Beacon is protected and the building is defended.
When defending M-COM Station A, have either a recon or support class drop some Claymores around the first level of the building to take out any attackers that may be infiltrating from the ground. Be sure to booby trap the stairs as well.
Attackers can be dropped off via transport helicopters to gain roof access for the eastern building. Assault classes equipped with the Defibrillator will be useful in reviving your teammates and providing constant close-quarter combat.
The roof of M-COM Station A provides a great overview of the map. To gain access, send a squad with a recon player or two into the opposite building, which has a staircase that allows you to position yourself on either roof. Recon players can spot and snipe incoming attackers.
M-COM Station B
M-COM Station B is nestled in between some concrete barriers on the northeast side of the Power Station.
When attacking this M-COM station, if the fortified concrete walls haven’t been destroyed, prepare for close-range combat around this objective.
On the roof of the building directly south of the M-COM station, you have a perfect vantage point to stop the enemy attempting to arm this objective.
When defending, destroy the wall to the south of the objective. This will open up the area more and make any attackers trying to arm M-COM Station B more vulnerable.
The enemy can’t push in from the east or north due to being out of bounds. So, when defending, push out to the west or south of the M-COM station. By pushing out to one of these sides, you cut the enemy’s options of attack in half.
Zone 3: Research Facility
RU Deployment
Recommended Squad Composition:
Deployment Area Assets
Name
SPM-3
BTR-90
T-90A
KA-60 Kasatka
Z-11W
Quantity
2
1
1
1
1
The RU team’s deployment area is located directly west of M-COM Station B with a short route to travel for your team to win the game.
From the RU base, you have three routes by ground. Two of these routes are the roads to the north and south where you can take the T-90A, SPM-3, or BTR-90. Your other route is by foot through the outflow of the dam. Aside from the ground routes, you can fly your choice of Z-11W or KA-60 Kasatka.
Both of these M-COM stations are located inside the buildings. You can drive over to the objectives, but you will eventually have to exit the vehicles and finish the job by hand.
Use the KA-60 Kasatka to drop off your teammates on the roofs above both of the M-COM stations. Unlike the previous zone, the enemy can get on top of both of these rooftops, so prepare to fight for control of these areas.
When attacking these objectives, beware of enemy T-UGS in the buildings. These buildings promote close-quarter combat. Equip your shotgun and expect enemies around every corner.
CN Deployment
Recommended Squad Composition:
Deployment Area Assets
Name
ZBD-09
Type 99 MBT
Quantity
1
1
Being pushed back farther, the CN base is now located west of the Research Facility. The CN team has one last chance to stop the RU team.
Around the Research Facility are interactive control panels that will raise a line of bollards. These bollards will stop ground vehicles from penetrating the heart of the Research Facility.
Just north of the Research Facility, the CN team once again has a Type 99 MBT and ZBD-09 at their disposal. Be sure to always check if these vehicles are up, as they will help tremendously against the RU team’s vehicles.
The building that holds M-COM Station B has a ladder that you can climb to the top of the building. Send a squad with one or two recon players here. They will have a great overview of the map and will be able to watch M-COM Station B.
Both M-COM stations are inside the Research Facility buildings. These buildings have many close corners, so take advantage of the M18 Claymores that both recon and support classes have. Pack your Shorty 12G to dominate these close-quarter fights.
M-COM Station A
M-COM Station A is located in the northwest building in the Research Facility on the second floor in a Laboratory room.
On the west side of the M-COM station there is a balcony. When defending, you should use the engineer class equipped with either the MBT LAW or MK153 SMAW to take out any landvehicles.
Within this close-quarter area, use support and assault classes to defend M-COM Station A. Having an XM25 Airburst watching the staircase closest to M-COM Station A will be very effective in holding off enemy attacks. On top of watching the staircase, place T-UGS towards the top to spot enemies on your radar.
When attacking, be sure to clear the roof of M-COM Station A. Placing a Radio Beacon or keeping a squad member alive will allow other squad members to continuously spawn, allowing for more attempts at the objective.
When playing as the RU team, having Smoke Grenades and Flashbangs will help in getting through the defenders hidings in the stairwells.
M-COM Station B
When defending, use the interactive bollards to prevent the attackers from driving their vehicles next to the building. Watch for the enemy to exit a vehicle and try to deactivate the bollards to get an easy kill.
This objective is located at the top floor of the Research Facility amongst all the medical equipment.
When attacking this objective, take over the roof first. This way you can spawn your squad above and can control the building with the high ground advantage.
When defending, hold the rooftop above this objective. Not only does this allow you pick off attackers running in the open outside of the building, but it also lets you surprise the enemies from above when they are inside the building.
Besides dropping in from the roof, there are only three ways to enter the top floor of this building where the objective is located. When defending, place M18 Claymores around the narrow stairwells that lead up to the objective to pick up easy kills or to alert you when an enemy is approaching.
Obliteration
Recommended Squad Composition:
Both teams have targets located on the Islet and on the docks nearby.
The last CN target is found in the Research Facility and, to the west, players can find the RU team’s last target.
The bomb can be found near the main bridge above the dam overflow. Prepare for firefights across this bridge; have a recon player snipe from a distance, stopping the other team from grabbing the bomb.
The attack boats aid both teams in defending their objectives on the Islet. Have an engineer on board to easily repair the attack boat.
Use transport helicopters to drop off teammates behind enemy lines while the bomb carrier pushes towards a target. This leaves an opening for the bomb carrier as the opposing team has to defend two different attack waves.
Defuse
Recommended Squad Composition:
Both teams battle throughout the Research Facility of this map. The defending CN team spawns behind the northeast building and the attacking RU team spawns southwest in front of Research Facility’s main staircase.
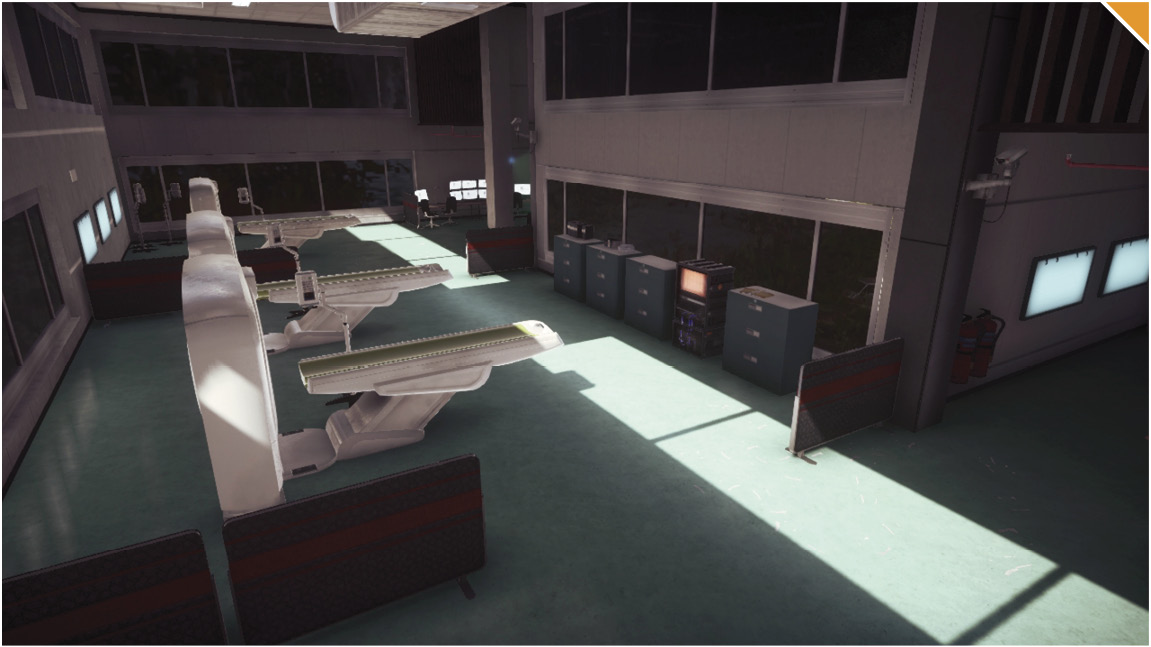
Laptop A is located in the second floor of the Laboratory. Attackers can flank the north side of this building and throw Smoke Grenades through the windows to the second floor, decreasing the enemy’s ability to see.
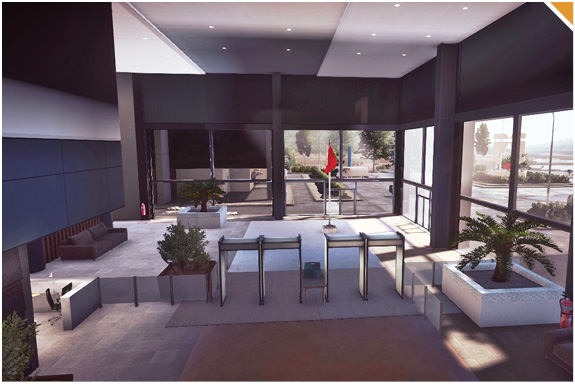
Laptop B is found in the back surveillance room of the Lobby. These walls are indestructible, so defenders can set up Claymores near the three entrances of the room.
When attacking, be sure to avoid running through the parking lot off the start as you can easily be picked off. Instead have two players run inside of the southeastern building and take the sky bridge into the Lobby; be sure to look across where defenders might be waiting. The rest of the squad should storm through the side entrances of the Lobby to enter the surveillance room the quickest.
When defending the Laboratory, be sure to watch the ladder on the west side—you do not want the defenders to reach the roof of the building or else they can pick you off. Stay near the sky bridge that connects to the Lobby to also watch the other objective.
Domination
Recommended Squad Composition:
Get the high ground and patrol the stairwells for easy, close-range kills with shotguns or M18 Claymores. This is extremely effective when you have T-UGS strategically placed within the buildings.
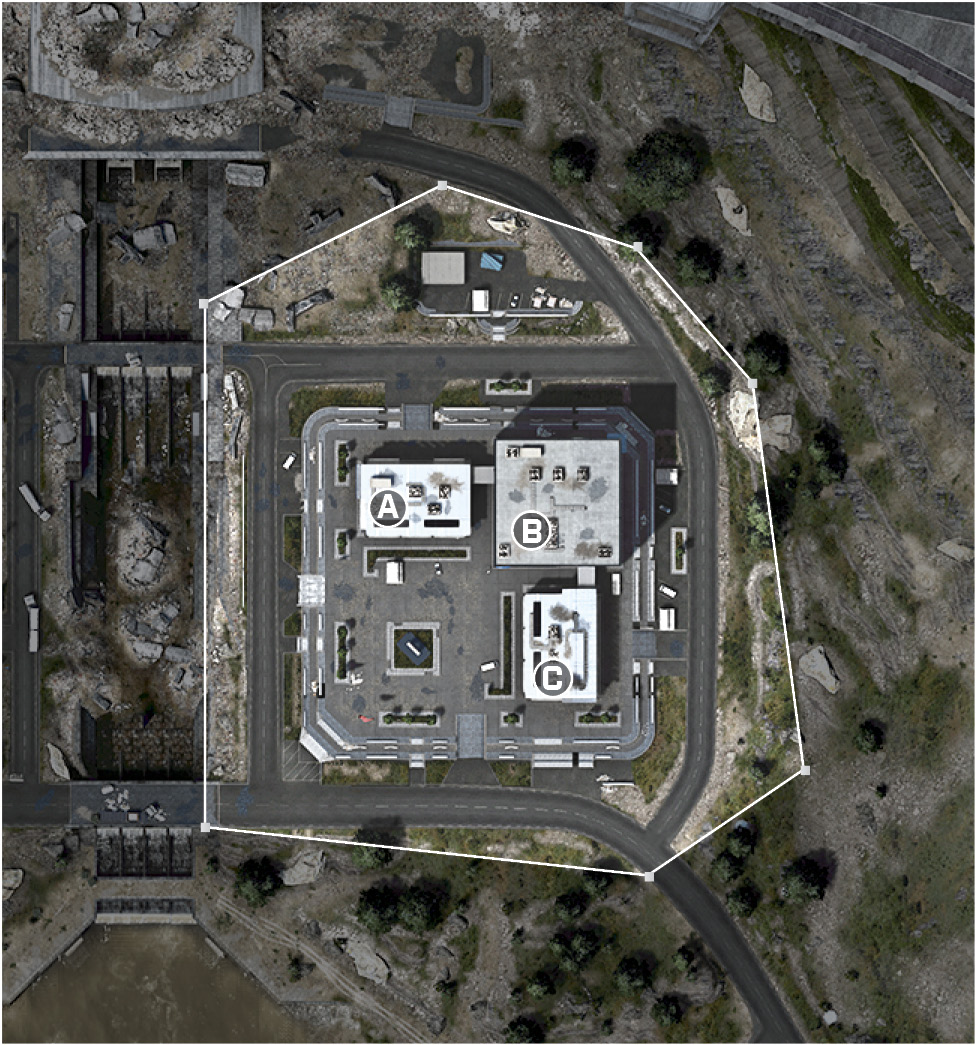
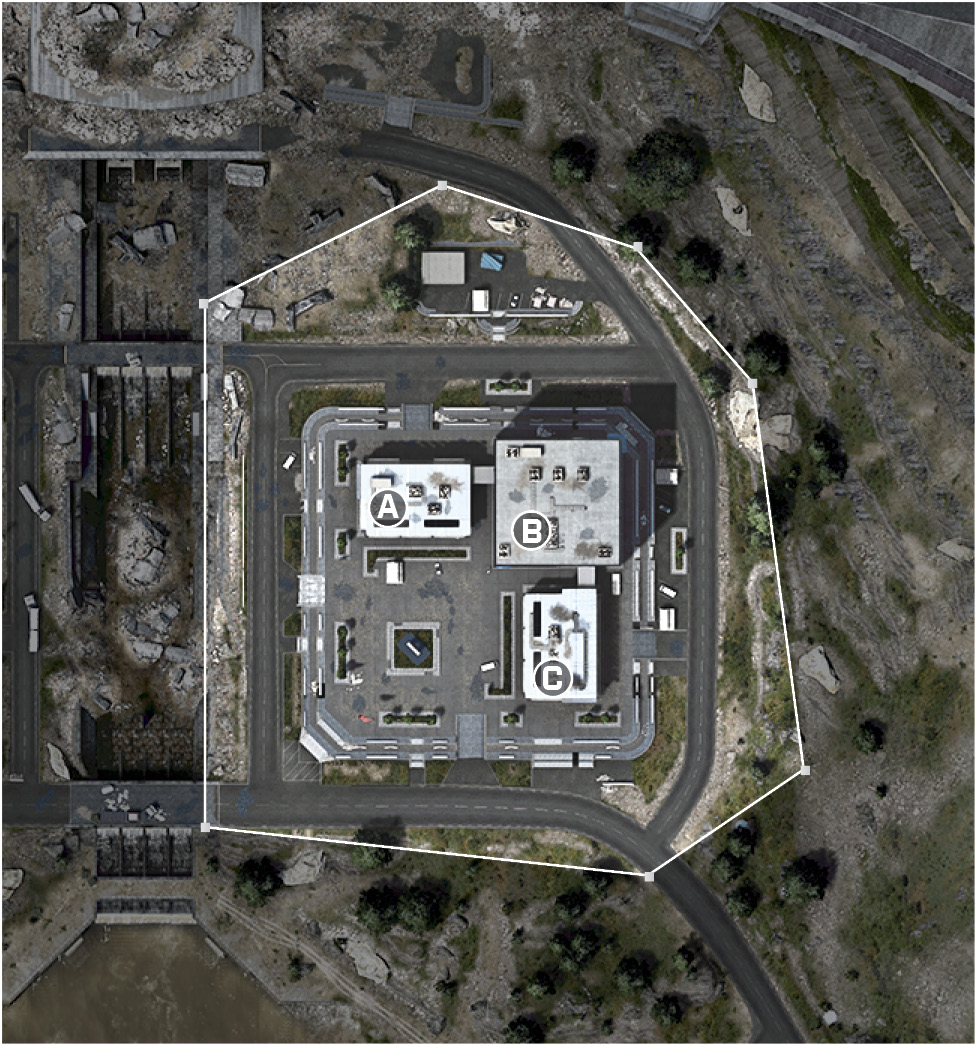
Domination consists of three control points: Laboratory (A), Lobby (B), and Research (C). In order to drain the opponent’s tickets you need to capture two control points.
There are two approaches. Either cover the Laboratory (A) and Lobby (B), or cover Research (C) and Lobby (B). When controlling these, hold the sky bridges at the top. These provide a great view of the Lobby (B) and allow you to have the upper hand on incoming attackers.
The Laboratory (A) and Research (C) buildings have ladders, allowing you to access their rooftops, which is ideal for defending both locations. When up top, there are glass windows that let you watch the flags from above. Have someone up here to watch the flag and keep control of this high ground to give your squad good spawns.
If the enemy has two control points and one of these is the Lobby (B), this is a perfect opportunity to sneak around to either the Laboratory (A) or Research (C), since the enemy will expect your squad to attack the closest objective.
Squad Deathmatch
Recommended Squad Composition:
The map in Squad Deathmatch is restricted to the Laboratory, Lobby, and Research rooms of the Research Facility.
Controlling the roof of the Laboratory or the Research room gives your team amazing fire angles to shoot the enemies on the ground.
If your team controls the IFV, be sure to roam the edges of the Research Facility. Getting too close lets an enemy run up and throw C4 on you. Avoid driving between buildings.
Having an engineer and support class assists in destroying the IFV if one of the opposing squads takes control.
Control the sky bridges to move from either building to the Lobby where you can shoot enemies on the floor.
Team Deathmatch
Recommended Squad Composition:
This is an intense Team Deathmatch consisting of close- and medium-range gunfights around the Research Facility. The parking lot is a for sure no fly zone—do not risk running through this open area.
The Laboratory and Research buildings both have ladders that lead to the roof. This is a safe haven for support players as they can lay suppressive fire throughout the game from above.
The rubble from the dam provides great cover if you find yourself fighting around the northwestern part of the map. If guerilla warfare is your forte, draw enemies to this location.
Control the sky bridges to move from either building to the Lobby where you can shoot enemies on the floor.
Take advantage of the tinted windows to pick off enemies running from building to building or just out in the open area.