
Lego Star Wars III: The Clone Wars Guide Walkthrough Storm Over Ryloth (DS)
Storm Over Ryloth-Act 3 (DS)
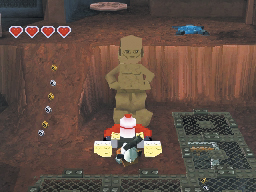
Obi-Wan and Commander Cody are inside the city walls. Detonate the large bomb near the statue, then use the pieces to assemble a small door.
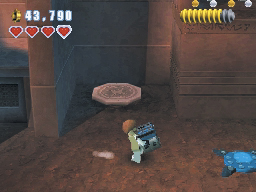
Follow the studs up the ramp and approach the building to the left. Double-jump to reach the blue crate on the second floor. Drop down and carry the crate to the nearby build-it pad. Use the pieces to assemble a large bomb. Detonate the bomb, then continue through the hole in the wall.
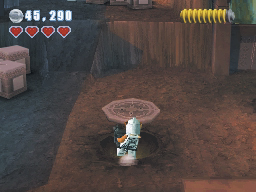
Follow the ramp down to meet up with Boil, Waxer, and Numa as they emerge from the sewer. After the three characters join your party, drop down into the sewer.
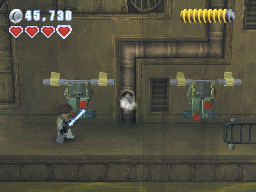
When you land, follow the sewer to the right. Some of the pipes vent steam at regular intervals. Wait for a break in the steam, then continue past the pipe before the next burst. Continue to the right and double-jump over the gap. When you land, use the build-it to assemble the grapple pad.
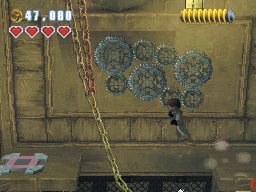
Use the grapple pad to reach the ledge above you. Double-jump past the gears to reach the grapple pad to the left. Wait for the nearby pipe to stop venting steam, then use the grapple pad to swing across the gap. When you land, pull the lever on the wall. After the water level drops, hop down to explore the revealed areas.
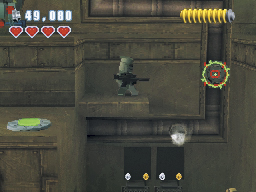
Hit the switch to reveal a trail of studs, then use a light clone to hit the sharpshoot target on the pipe. Drop down to the platforms below you, and pull the lever to the right. When the water level drops a second time, jump down to explore the floor below you.
Obi-Wan and Commander Cody are inside the city walls. Detonate the large bomb near the statue, then use the pieces to assemble a small door.
Follow the studs up the ramp and approach the building to the left. Double-jump to reach the blue crate on the second floor. Drop down and carry the crate to the nearby build-it pad. Use the pieces to assemble a large bomb. Detonate the bomb, then continue through the hole in the wall.
Follow the ramp down to meet up with Boil, Waxer, and Numa as they emerge from the sewer. After the three characters join your party, drop down into the sewer.
When you land, follow the sewer to the right. Some of the pipes vent steam at regular intervals. Wait for a break in the steam, then continue past the pipe before the next burst. Continue to the right and double-jump over the gap. When you land, use the build-it to assemble the grapple pad.
Use the grapple pad to reach the ledge above you. Double-jump past the gears to reach the grapple pad to the left. Wait for the nearby pipe to stop venting steam, then use the grapple pad to swing across the gap. When you land, pull the lever on the wall. After the water level drops, hop down to explore the revealed areas.
Hit the switch to reveal a trail of studs, then use a light clone to hit the sharpshoot target on the pipe. Drop down to the platforms below you, and pull the lever to the right. When the water level drops a second time, jump down to explore the floor below you.
Minikit 8
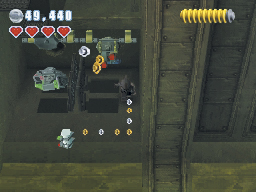
After you drain the sewer water, follow the studs on the ground to collect the minikit.
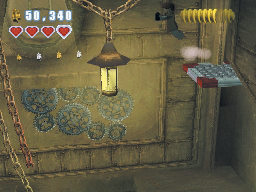
When you’re ready to leave, assemble the Jedi pad on the sewer floor. Use the pad to return to the main path, then climb back up to the gears on the wall. Use the Force on the gears to bring the platform to the ledge. Ride the platform up to the top of its path, then jump to the ledge above the gears. Grab the studs, then exit to the surface.
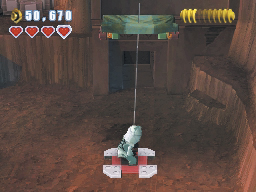
You appear from a door near the sewer entrance. Use the grapple pad to extend the awning over the door. Jump up along the rocks, then hop onto the awning. Bounce on the awning until you can reach the next ledge, then use the small door in the wall.
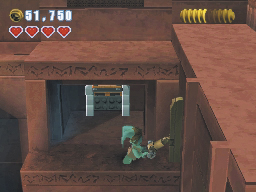
You pop out of a small door near a lever. Pull the lever to open another sewer entrance, then drop to the ground.
Minikit 9
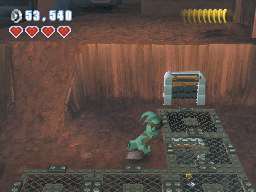
Before you enter the sewer, head down the nearby ramp. Use Numa to pass through the small door you built earlier, then follow the grates to activate the hidden switch. A crate pops out of the wall and reveals a build-it.
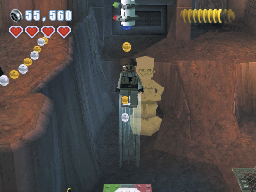
Exit through the small door, then use the build-it to assemble the Jedi pad. Activate the pad to jump right through the minikit. Land on the ledge to the left to collect some extra studs.
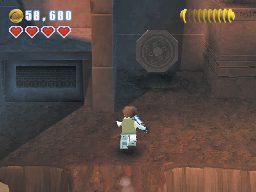
When you’re ready to leave the area, Move up the ramp and drop down through the sewer entrance.
Minikit 8
After you drain the sewer water, follow the studs on the ground to collect the minikit.
When you’re ready to leave, assemble the Jedi pad on the sewer floor. Use the pad to return to the main path, then climb back up to the gears on the wall. Use the Force on the gears to bring the platform to the ledge. Ride the platform up to the top of its path, then jump to the ledge above the gears. Grab the studs, then exit to the surface.
You appear from a door near the sewer entrance. Use the grapple pad to extend the awning over the door. Jump up along the rocks, then hop onto the awning. Bounce on the awning until you can reach the next ledge, then use the small door in the wall.
You pop out of a small door near a lever. Pull the lever to open another sewer entrance, then drop to the ground.
Minikit 9
Before you enter the sewer, head down the nearby ramp. Use Numa to pass through the small door you built earlier, then follow the grates to activate the hidden switch. A crate pops out of the wall and reveals a build-it.
Exit through the small door, then use the build-it to assemble the Jedi pad. Activate the pad to jump right through the minikit. Land on the ledge to the left to collect some extra studs.
When you’re ready to leave the area, Move up the ramp and drop down through the sewer entrance.
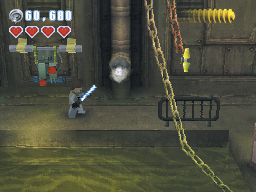
Follow the sewer to the right. Smash the breakable objects and collect extra studs. When you approach a pipe, wait for a break in the steam before you pass. When you reach the flowing water, jump across the debris to continue along the path.
Red brick
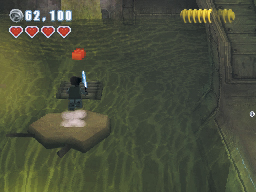
When you reach the flowing water. Wait for the red brick to appear on the floating debris. Jump across the debris to collect the red brick, then continue to the right. After you collect this red brick, the “Score ×6” extra can be purchased in the rec room.
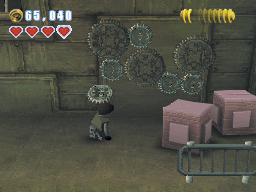
Move past the bars and jump up to the ledge at the end of the sewer. Repair the gears on the wall; the sewer exit opens to the left. When you’re ready to leave the area, jump down from the ledge and head up through the exit.
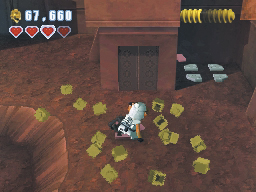
When you return to the city, clear out all of the attacking Droids. Detonate the large bomb near the statue, then use the pieces to build a grapple pad. Grapple up to the blue crate on the building, then drop down and carry the crate to the build-it pad.
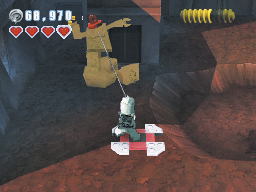
Assemble a new grapple pad, then use it to topple the headless statue. After the statue shatters, build the Jedi pad and climb up between the buildings.
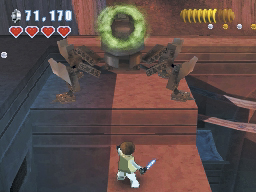
Use the Force to turn the turrets against each other. Collect the studs atop the city wall, then drop back down to the ground.
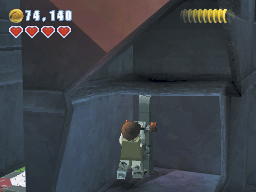
Search the area for hidden studs, then step into the damaged building. When you’re ready to leave, pull the lever to complete the mission.
Follow the sewer to the right. Smash the breakable objects and collect extra studs. When you approach a pipe, wait for a break in the steam before you pass. When you reach the flowing water, jump across the debris to continue along the path.
Red brick
When you reach the flowing water. Wait for the red brick to appear on the floating debris. Jump across the debris to collect the red brick, then continue to the right. After you collect this red brick, the “Score ×6” extra can be purchased in the rec room.
Move past the bars and jump up to the ledge at the end of the sewer. Repair the gears on the wall; the sewer exit opens to the left. When you’re ready to leave the area, jump down from the ledge and head up through the exit.
When you return to the city, clear out all of the attacking Droids. Detonate the large bomb near the statue, then use the pieces to build a grapple pad. Grapple up to the blue crate on the building, then drop down and carry the crate to the build-it pad.
Assemble a new grapple pad, then use it to topple the headless statue. After the statue shatters, build the Jedi pad and climb up between the buildings.
Use the Force to turn the turrets against each other. Collect the studs atop the city wall, then drop back down to the ground.
Search the area for hidden studs, then step into the damaged building. When you’re ready to leave, pull the lever to complete the mission.
Minikit 7 (Freeplay)
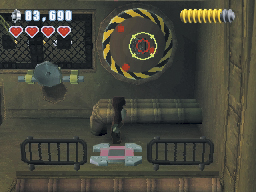
Use a bounty hunter to set off the thermal detonators on the hatch door near the grapple pad. Jump through the hatch and move to the left. Collect the minikit behind the grates, then exit back through the hatch.
Minikit 10 (Freeplay)
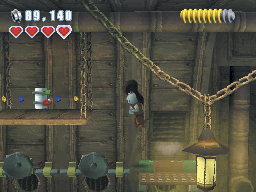
When you land in the sewer, use thermal detonators to unlatch the hatches on the wall. Use the build-it to assemble a new platform, then jump up and grab the minikit to the left.
Storm Over Ryloth Story Rewards
- Clone Trooper Boil and Clone Trooper Waxer characters are unlocked and ready to be used in Free Play.
- The Mar Tuuk, Numa, Aayla Secura, TX-20, Clone Trooper Boil (No Helmet), and Clone Trooper Waxer (No Helmet) characters are available for purchase in the rec room.
- Storm Over Ryloth is available for Free Play.
Minikit 7 (Freeplay)
Use a bounty hunter to set off the thermal detonators on the hatch door near the grapple pad. Jump through the hatch and move to the left. Collect the minikit behind the grates, then exit back through the hatch.
Minikit 10 (Freeplay)
When you land in the sewer, use thermal detonators to unlatch the hatches on the wall. Use the build-it to assemble a new platform, then jump up and grab the minikit to the left.
Storm Over Ryloth Story Rewards
- Clone Trooper Boil and Clone Trooper Waxer characters are unlocked and ready to be used in Free Play.
- The Mar Tuuk, Numa, Aayla Secura, TX-20, Clone Trooper Boil (No Helmet), and Clone Trooper Waxer (No Helmet) characters are available for purchase in the rec room.
- Storm Over Ryloth is available for Free Play.