
Lego Star Wars III: The Clone Wars Guide Walkthrough Count Dooku
Chapter III: Jedi Crash
“Greed and fear of loss are the roots that lead to the tree of evil.”
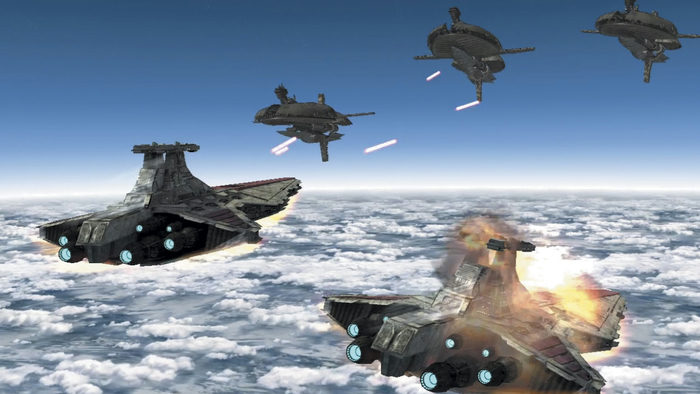
Count Dooku’s war against the Republic is waged on many fronts. A fleet led by Aayla Secura is under heavy attack from Separatist Munificent-class frigates, and the Republic’s flagship is in danger of being overrun by the enemy. Fortunately, two Jedi heroes are not far behind....
Minikits
|
No. |
Icon(s) |
Mode |
Notes |
|
1 |
— |
Free Play |
Follow the green arrows and destroy the five highlighted ships. |
|
2 |
2 |
Free Play |
Follow the green arrows and destroy the five highlighted probes. |
|
3 |
— |
Free Play |
Destroy the six gold circles around the blue-lit hangar of the battleship on the left. |
|
4 |
— |
Free Play |
Attack the glowing red object at the back of the left battleship with an enemy (Separatist) spacecraft (such as a Vulture Droid). |
|
5 |
5 |
Free Play |
Destroy the secret landing pad’s three gold toilet stalls. |
|
6 |
6 |
Free Play |
Land on the first landing pad. Pull the switch at the back. Destroy the two silver pipe sections near the ceiling to put out the fire. |
|
7 |
1-5 |
Free Play |
Destroy five Probe Droids, one on each landing pad (except the secret one). Smash crates to reveal it. |
|
8 |
8 |
Free Play |
Destroy the gold gate covering the crawl space near the third water spout and head through. |
|
9 |
9 |
Free Play |
On the torpedo generator landing pad, destroy the gold box, then build a crane and grapple down. |
|
10 |
10 |
Free Play |
In the hangar, use Jar Jar to jump onto the tall platform in the rear-left of the area. |
True Jedi Stud Requirement: 80,000
Story Characters
Anakin Skywalker
Obi-Wan Kenobi
Aayla Secura
Commander Bly
Objective 1: Activate the Water Spouts
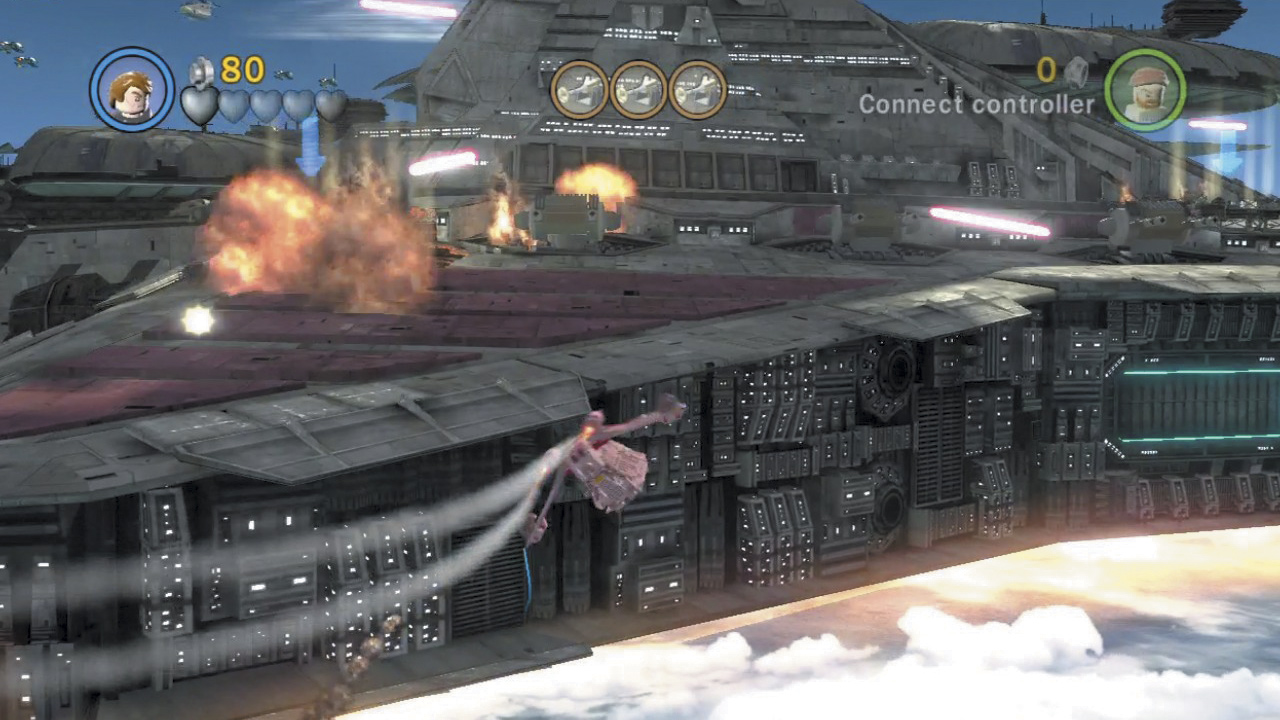
You begin this mission in the heat of an intense space battle. Familiarize yourself with your starship’s controls as you fly to the right. Hold the Jump button to boost, and double-tap in any direction to perform a swift roll maneuver.
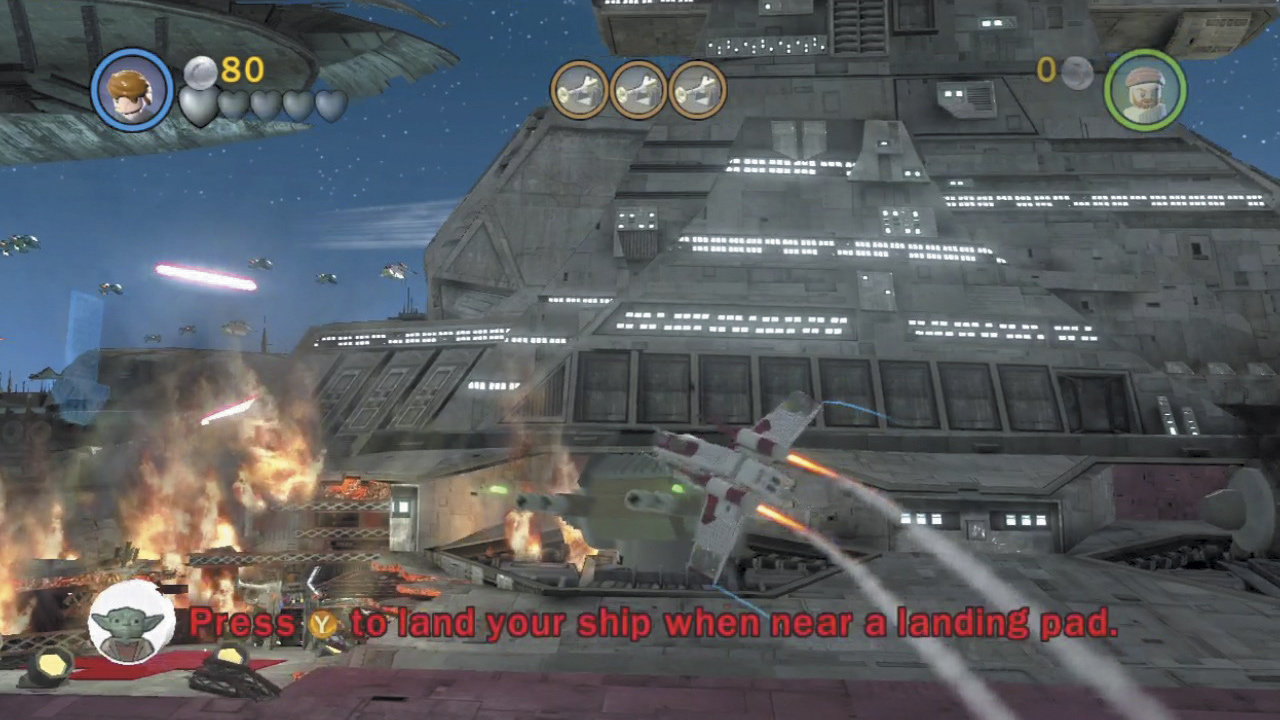
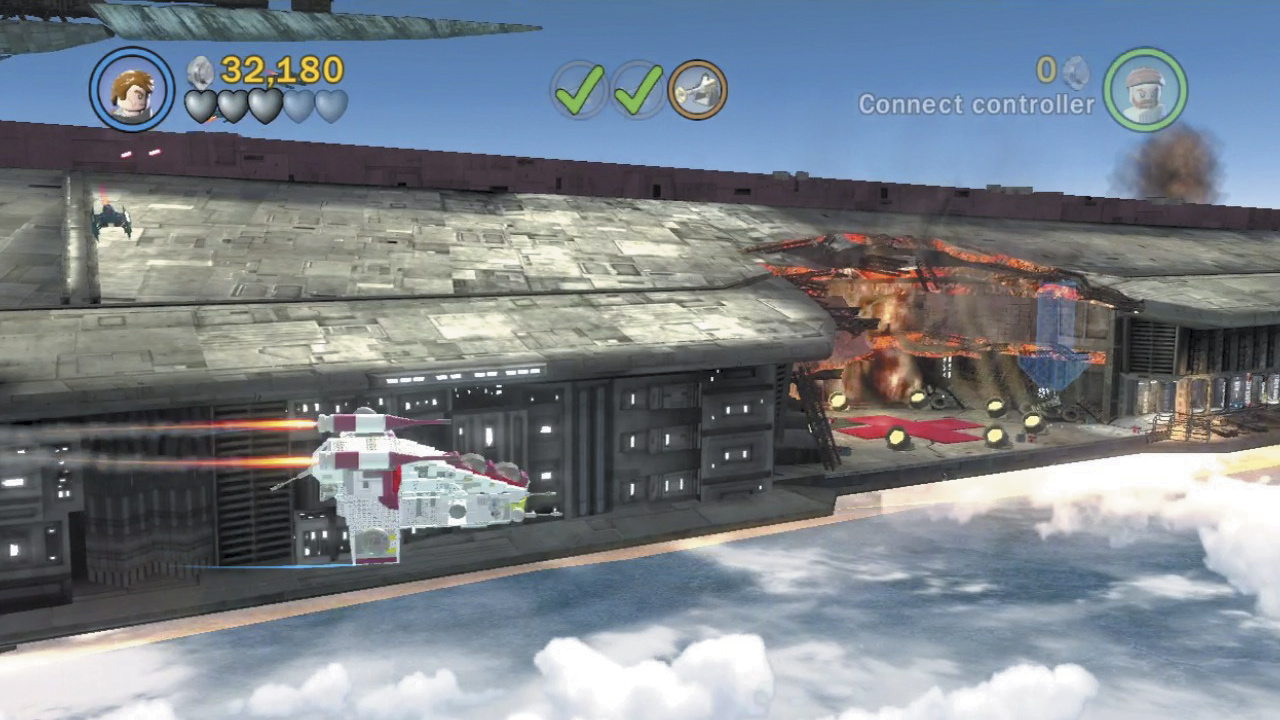
Fly to the right until you spy a fiery landing pad on the burning battleship. (The landing pad is marked by a blue arrow.) Fly close and press the Change Character button to land.
Minikit 1 (Freeplay)
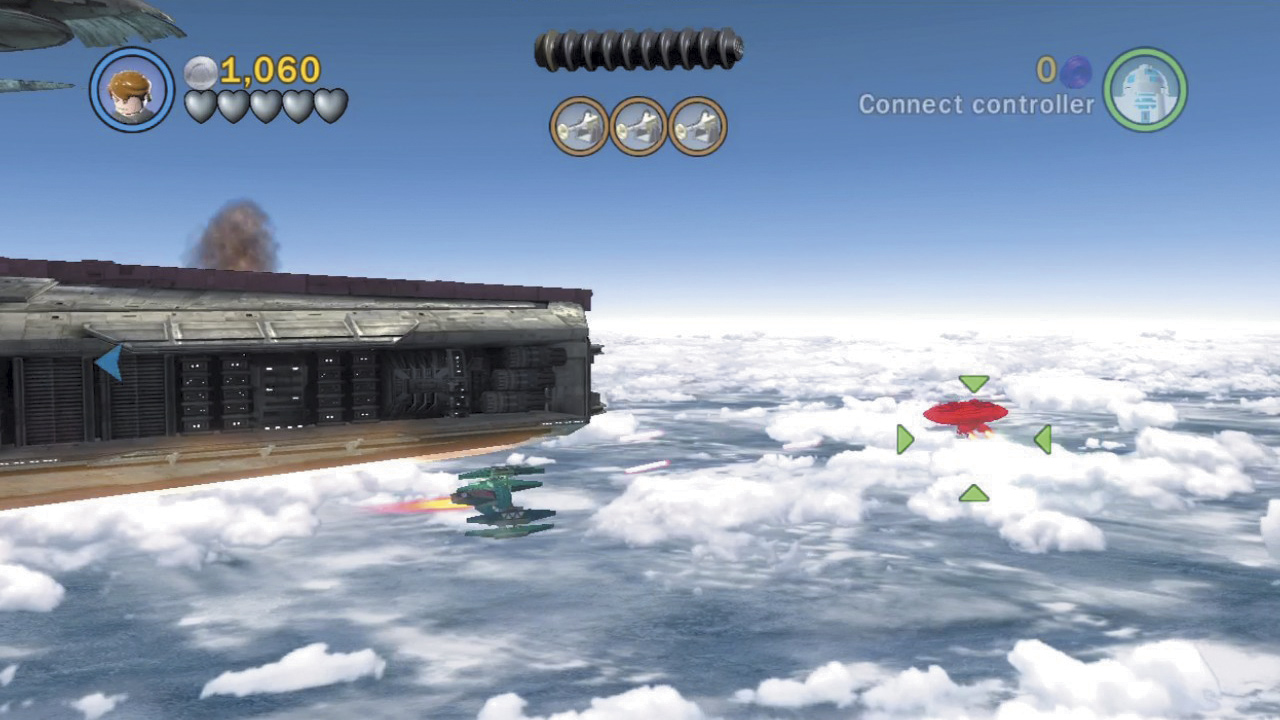
During Free Play, five ships are highlighted with green reticles at the start of the mission. Before doing anything else, seek out and destroy all five of these ships to secure your first minikit from this level.
Minikit 2 (Freeplay)
Five special probes are also highlighted with green reticles during Free Play. Fly around and destroy all five of these floating probes to score a minikit.
Minikit 3 (Freeplay)
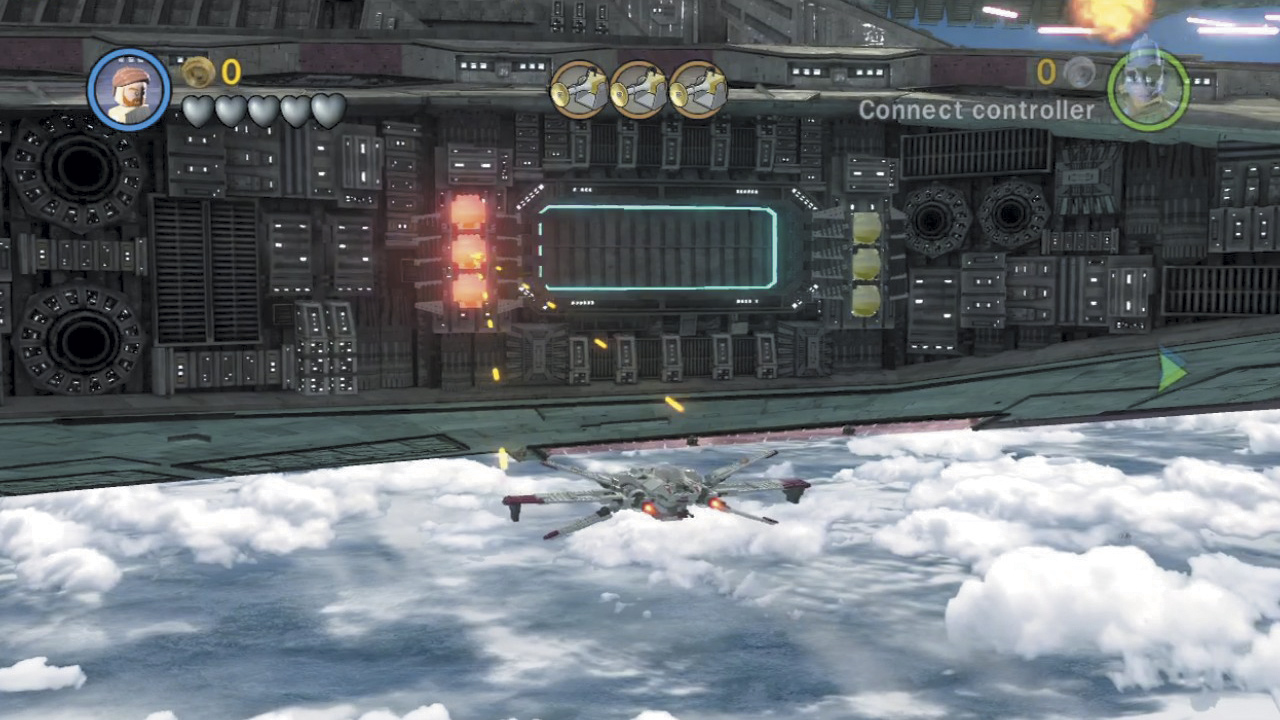
Fly to the left and look for a blue rectangle on the side of one of the battleships—this is its hangar. Toggle to a rapid-fire starship and blast the six gold circles that surround the hangar to destroy them. You’ll earn a minikit for your efforts.
Minikit 4 (Freeplay)
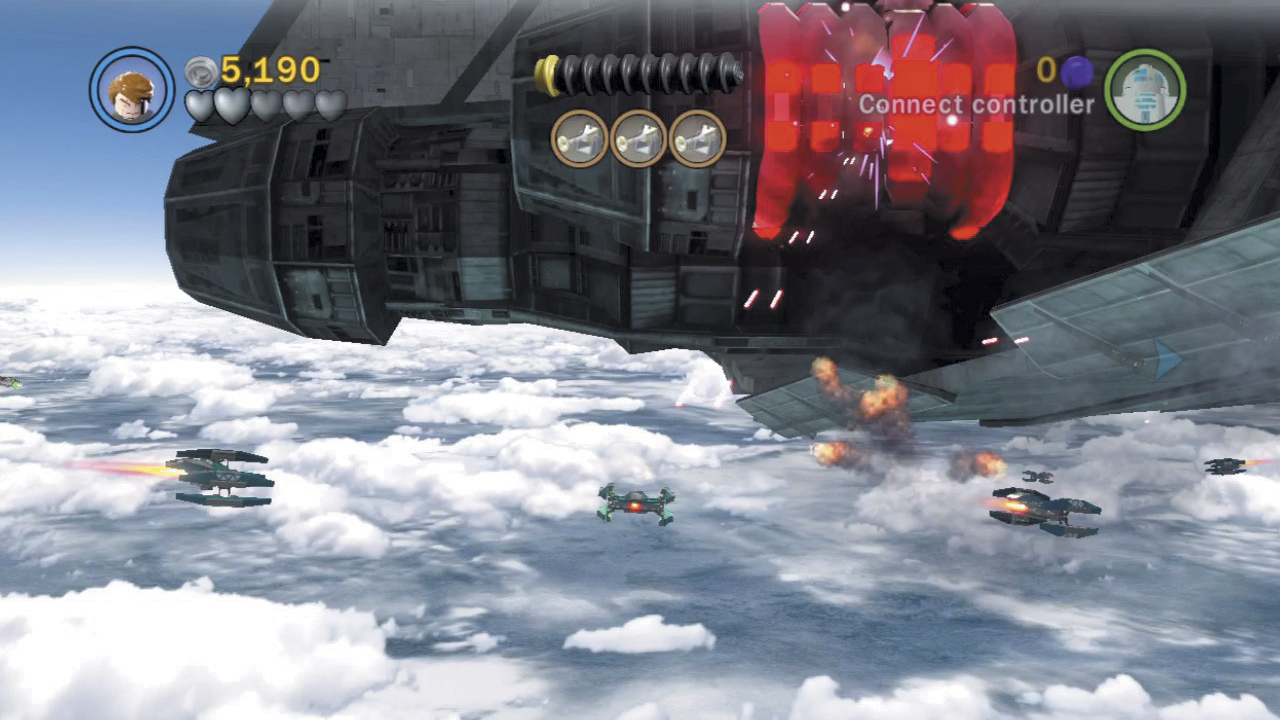
A large object glows with red energy at the rear of the left battleship. Toggle to any enemy starship, such as a Vulture Droid, and fire on the object until it explodes, coughing up a minikit.
Minikit 5 (Freeplay)
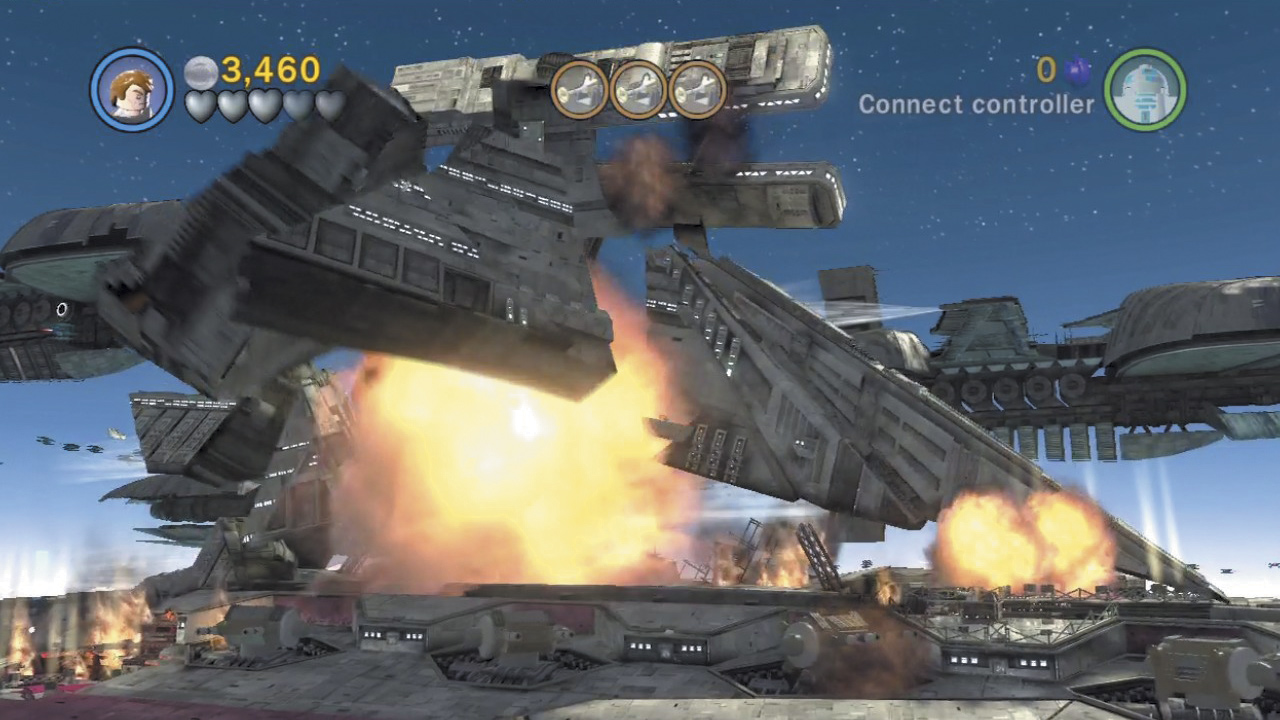
Soar to the front of the battleship on the right—the one with all of the fire and landing pads. Then fly into the background, toward the enemy vessels. Before long, the top portion of the burning battleship explodes and breaks off. Whoa!
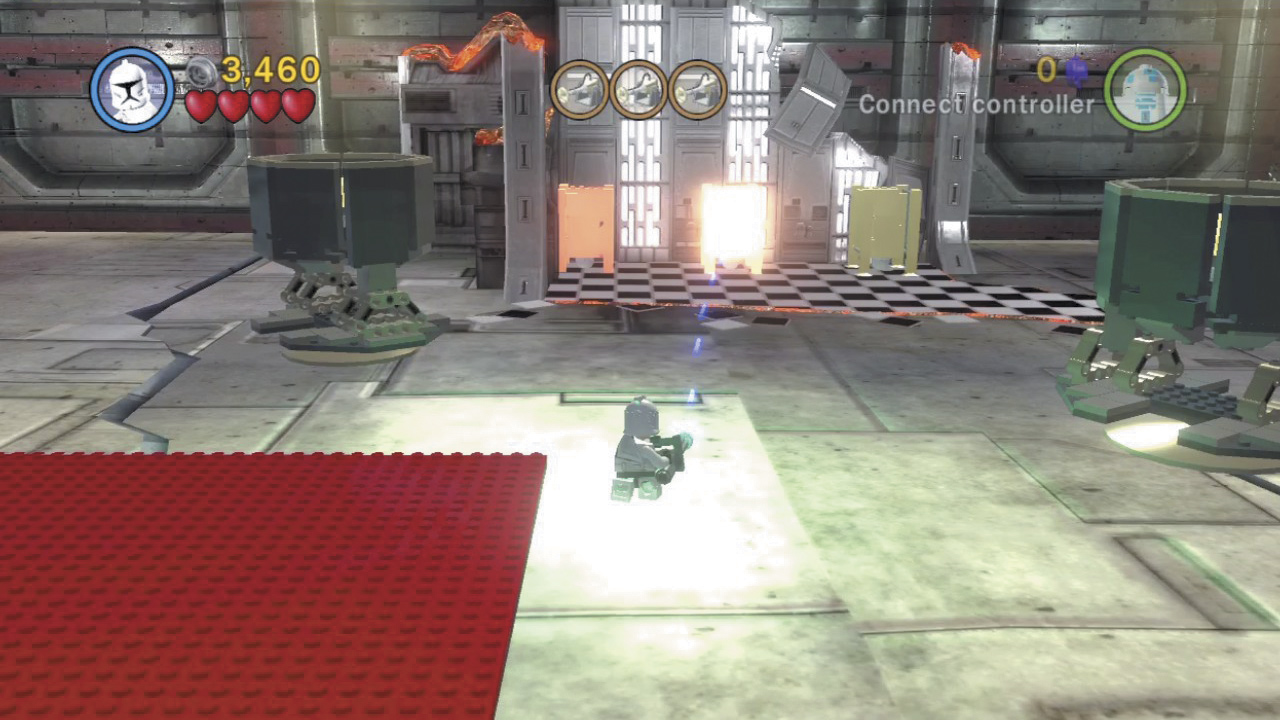
With the battleship’s top section gone, a new landing pad is exposed. Touch down here and use a rapid-fire character, such as Lieutenant Thire, to destroy the three gold bathroom stalls in the background. Embarrassed clone troopers pop out of each stall, along with a minikit!
The First Water Spout
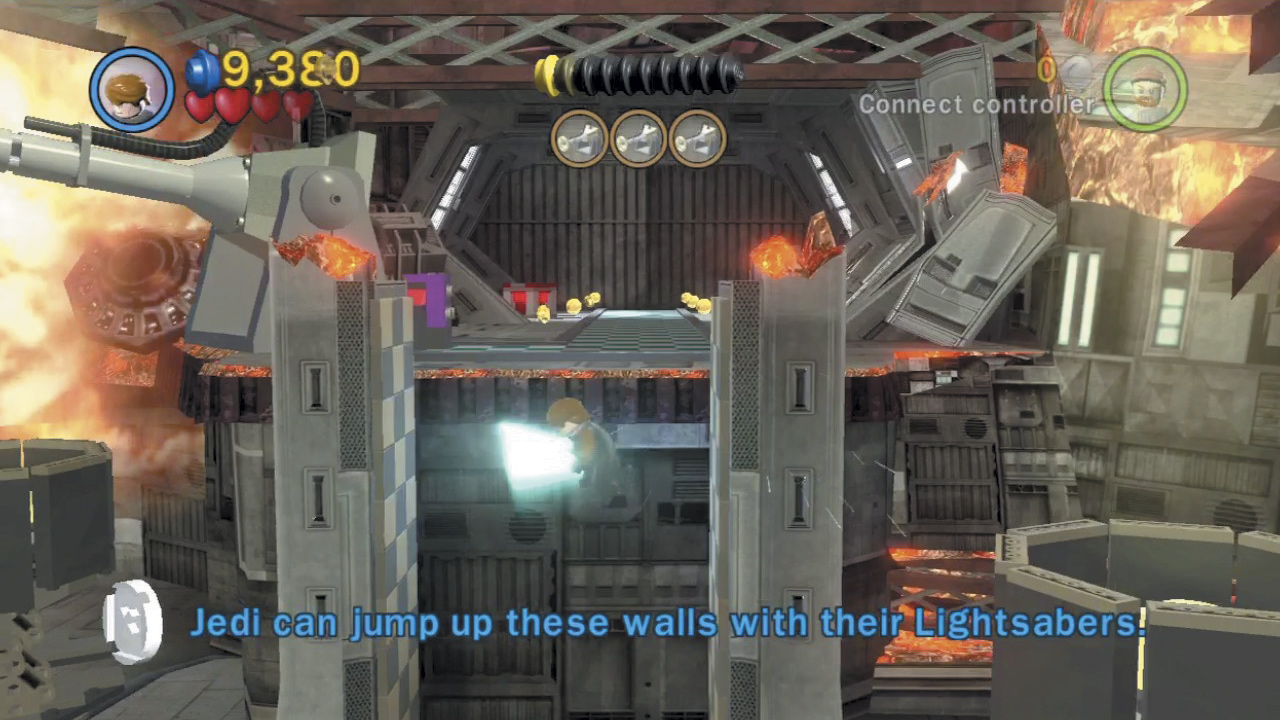
Run toward the landing pad’s tall checkered background walls. Leap between the checkered walls, and Anakin will use his Lightsaber to help himself ascend the height.
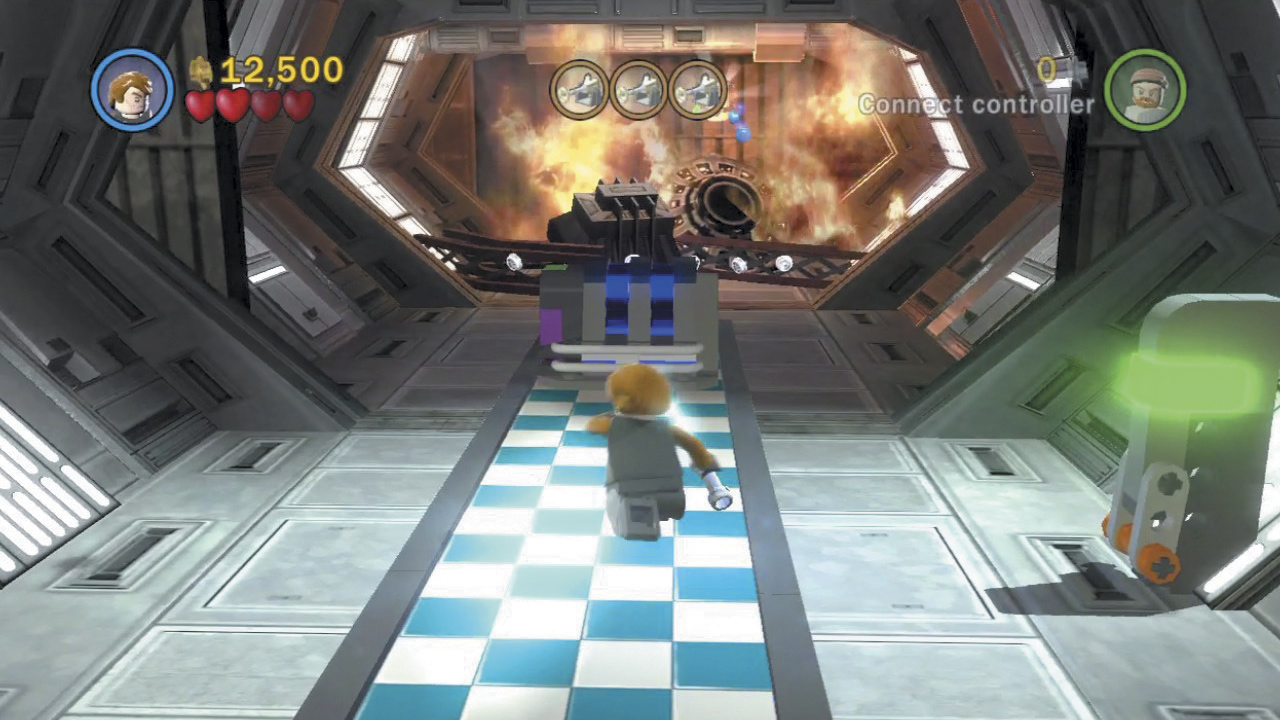
There’s a checkered path above the checkered walls. Pull the lever you discover at the far end to reveal a fiery back room with a generator. Get behind the generator and shove it back along the checkered path.
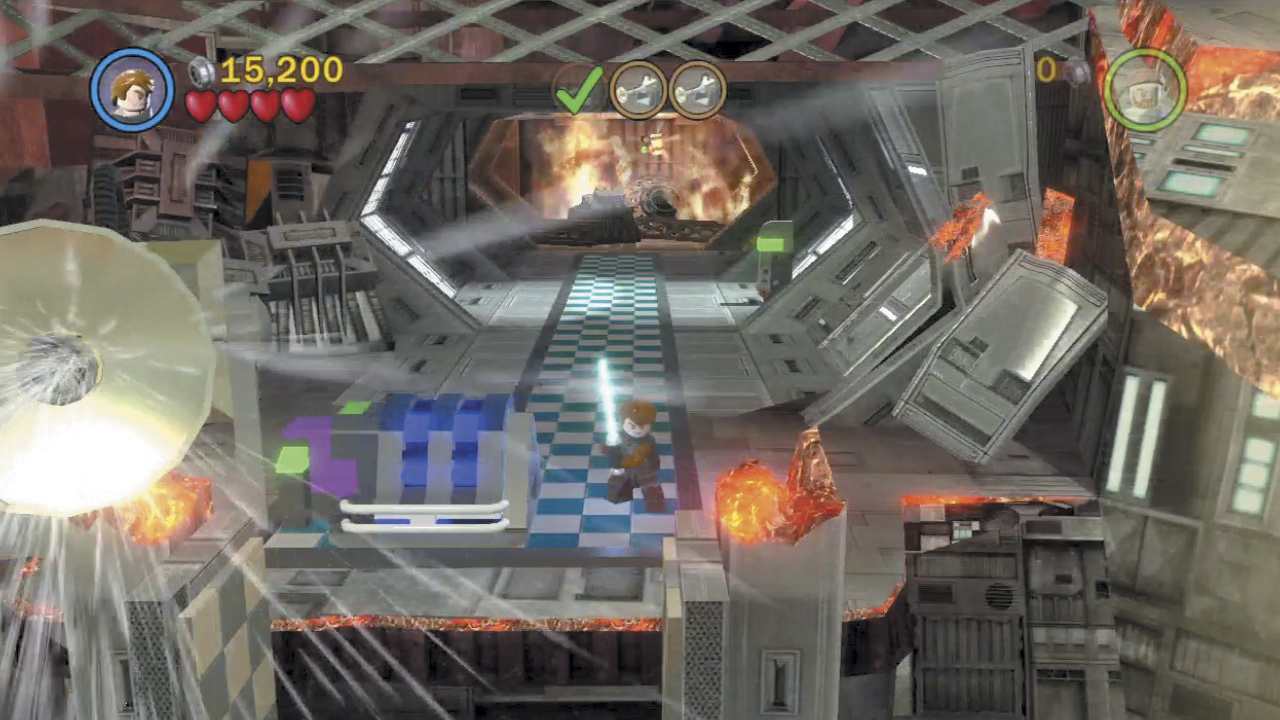
Maneuver the generator into contact with the purple plug at the path’s opposite end. Power begins to flow into the nearby water spout, which quickly begins to douse the landing pad’s flames.
Minikit 6 (Freeplay)
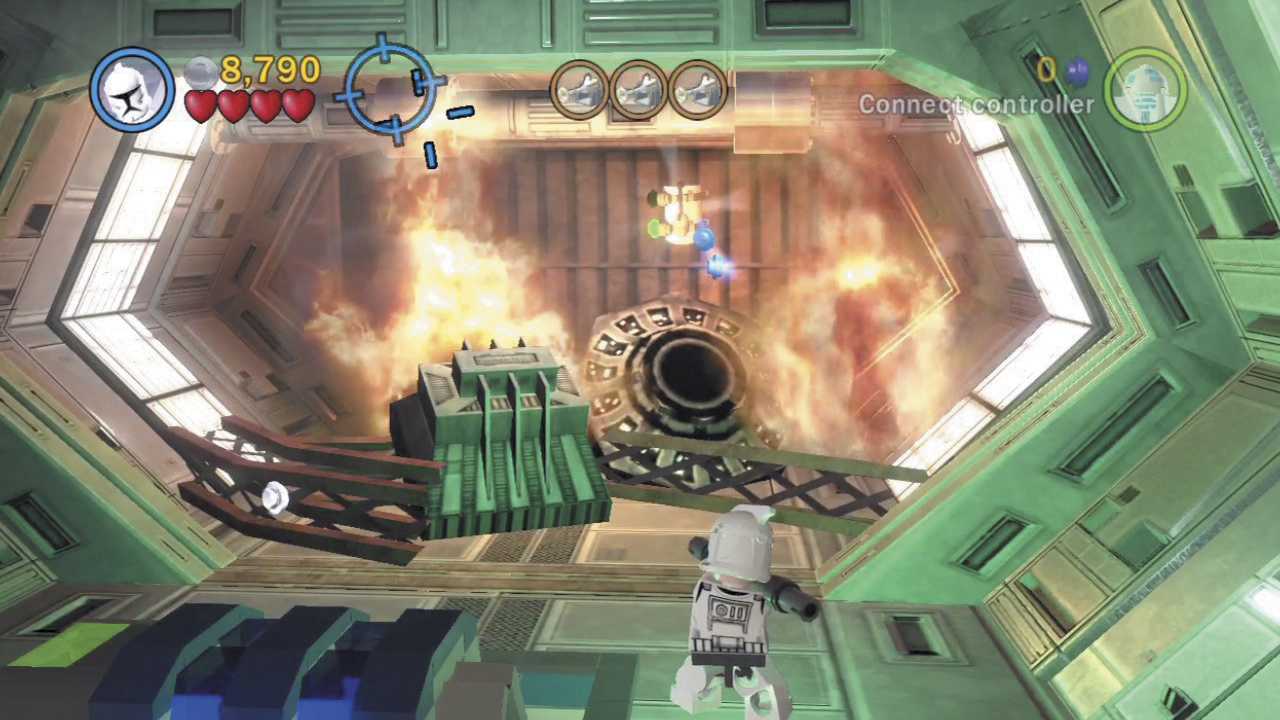
Toggle to a character with explosive weaponry, such as Echo, and blast the silver pipes near the ceiling where you found the generator. This extinguishes the background flames, letting you safely leap up and grab the minikit that was previously too hot to handle.
Minikit 7 (Freeplay)
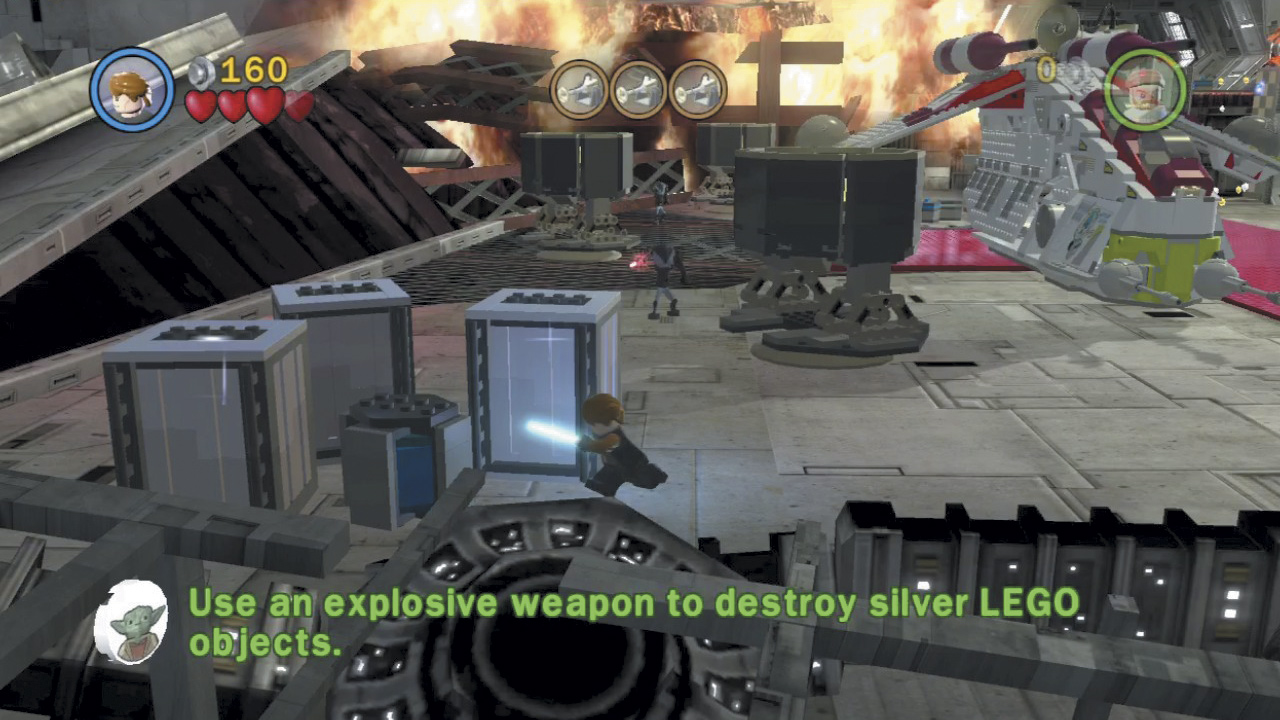
Notice the silver boxes on this landing pad’s lower-left corner? Destroy these with explosive weaponry in Free Play mode to reveal an enemy Probe Droid, then destroy the Probe Droid. Find and destroy four more Probe Droids like this one to earn a minikit! The Probe Droids are scattered about the various landing pads, so scour each one for them. We’ve marked their locations on the maps to help you find them.
The Second Water Spout
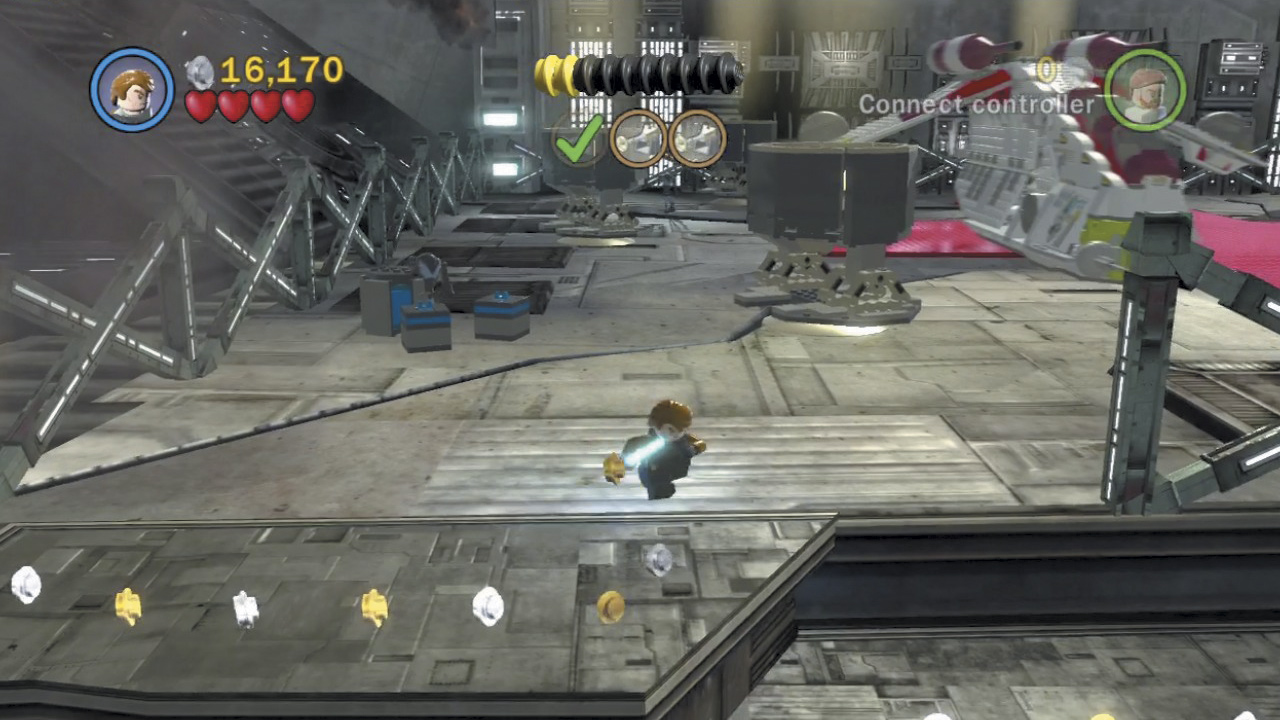
Return to your ship and take flight once more. Touch down on a second landing pad, which is just to the right of the first (again, it’s marked by a blue arrow). After you land, run toward the foreground and descend the ledges to reach a lower area.
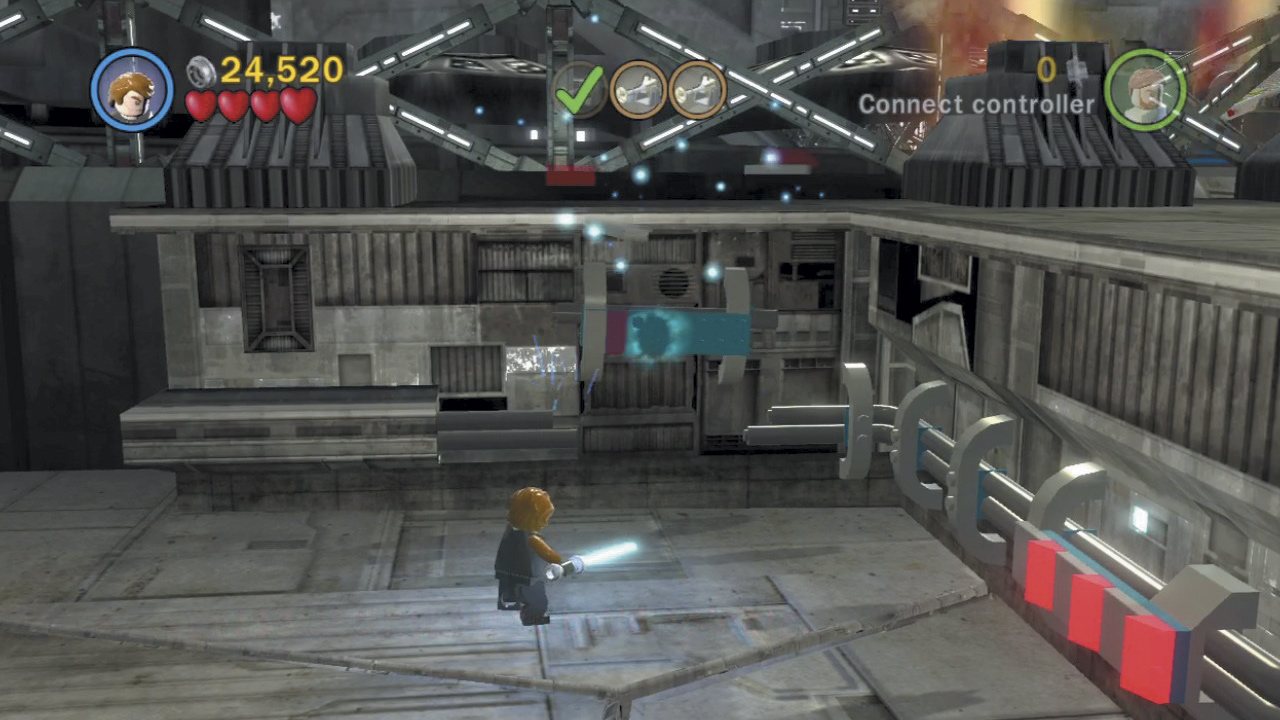
Find a jumble of pieces at the left side of the second landing pad’s lower area. Build these pieces to reconnect the power lines that run along the wall.
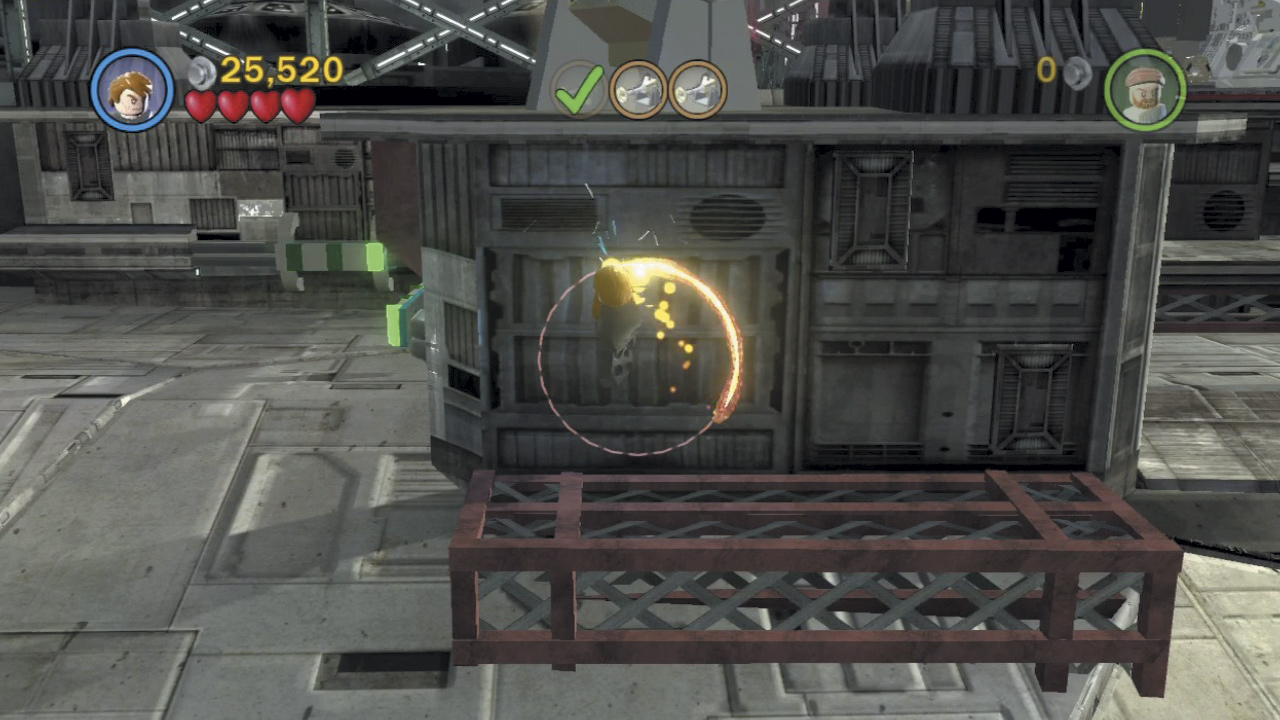
Backtrack a bit and spy a blue Jedi logo on the ground near the wall. Approach this and press the Attack button, then trace a circle with Anakin’s Lightsaber to cut a hole in the wall. Pull the lever you discover behind the wall to activate the second water spout.
The Third Water Spout
Return to your ship and lift off once more. Continue flying to the right to locate a third landing pad. Set your ship down and sprint to the right, entering a side passage.
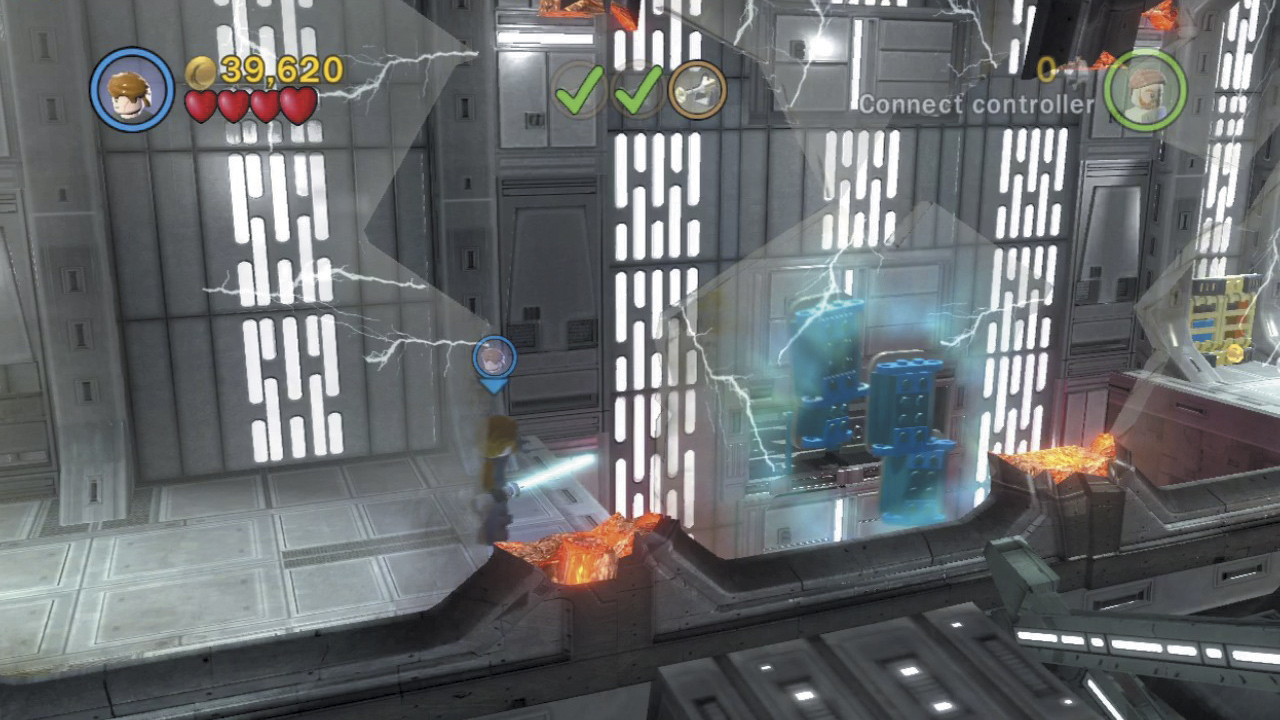
When you come to a wide pit, use the Force to shift the blocks on the wall and expose a platform. Leap across with care, using double jumps to avoid falling.
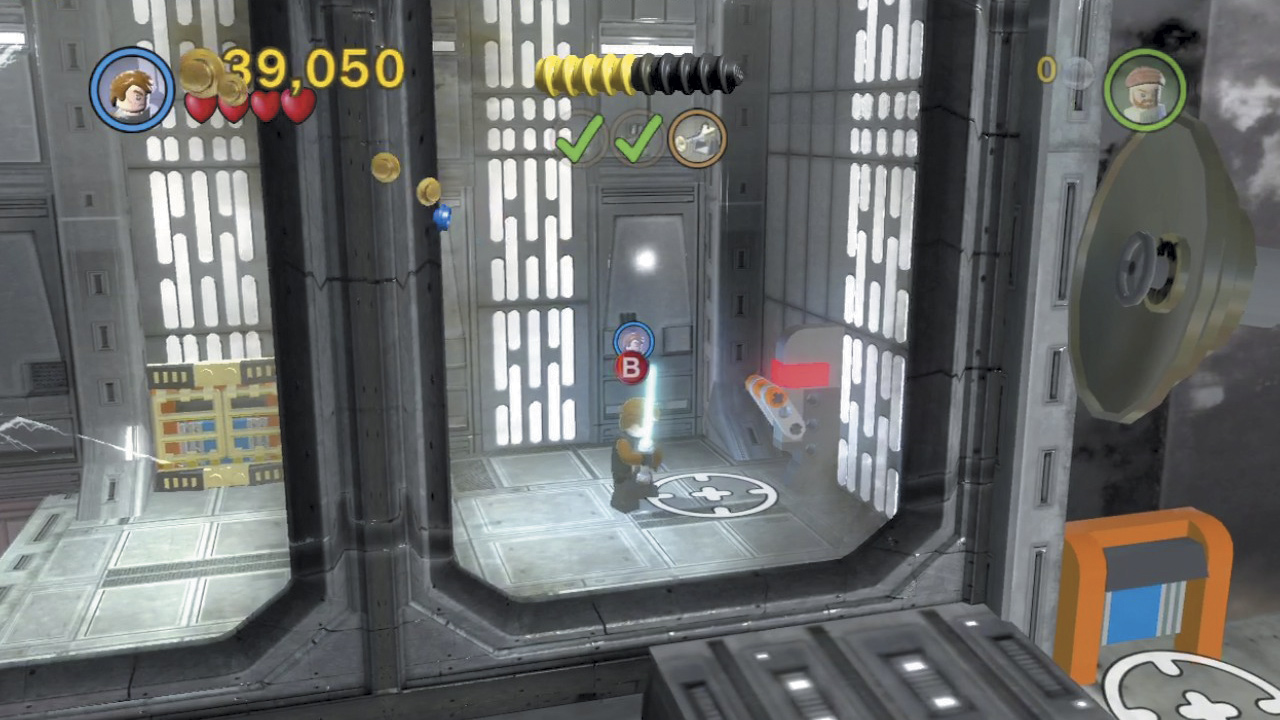
Nice moves! Now pull the lever at the end of the passage to activate the third and final water spout.
Minikit 8 (Freeplay)
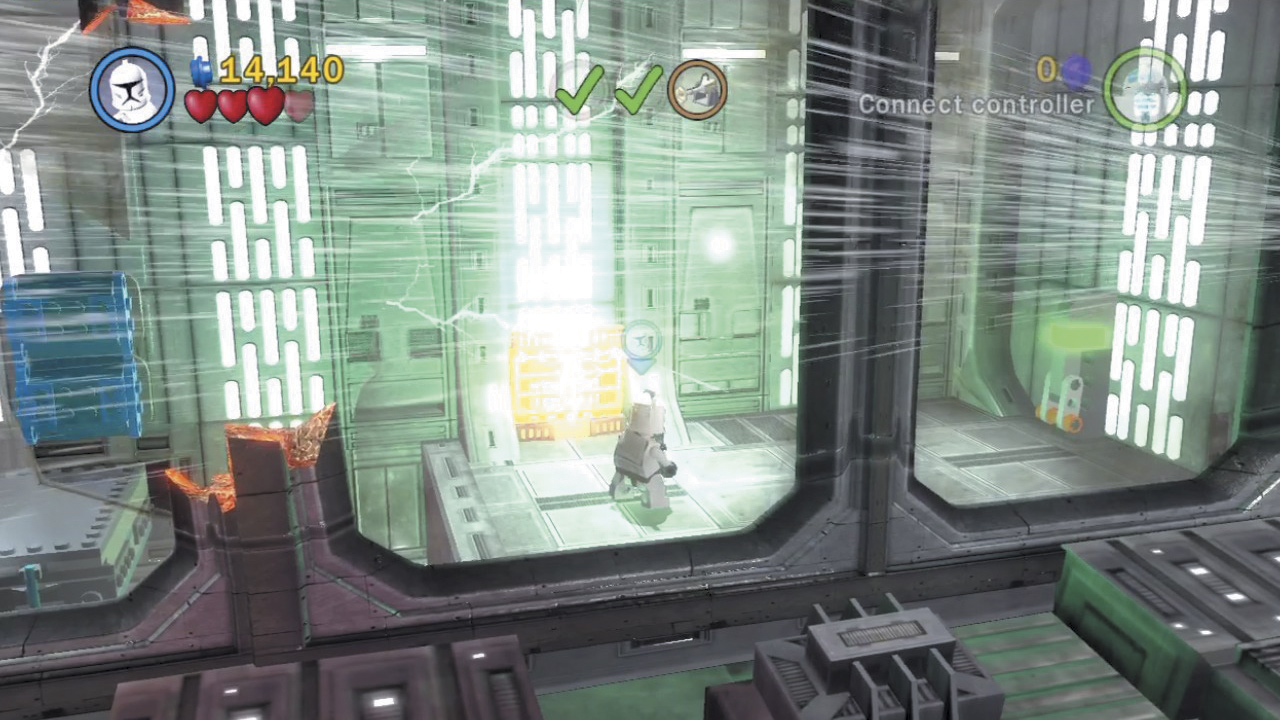
There’s a crawl space hatch near the lever that activates the third water spout. Use a rapid-fire character, such as Lieutenant Thire, to destroy the hatch’s gold covering, then switch to a stubby character and crawl through.
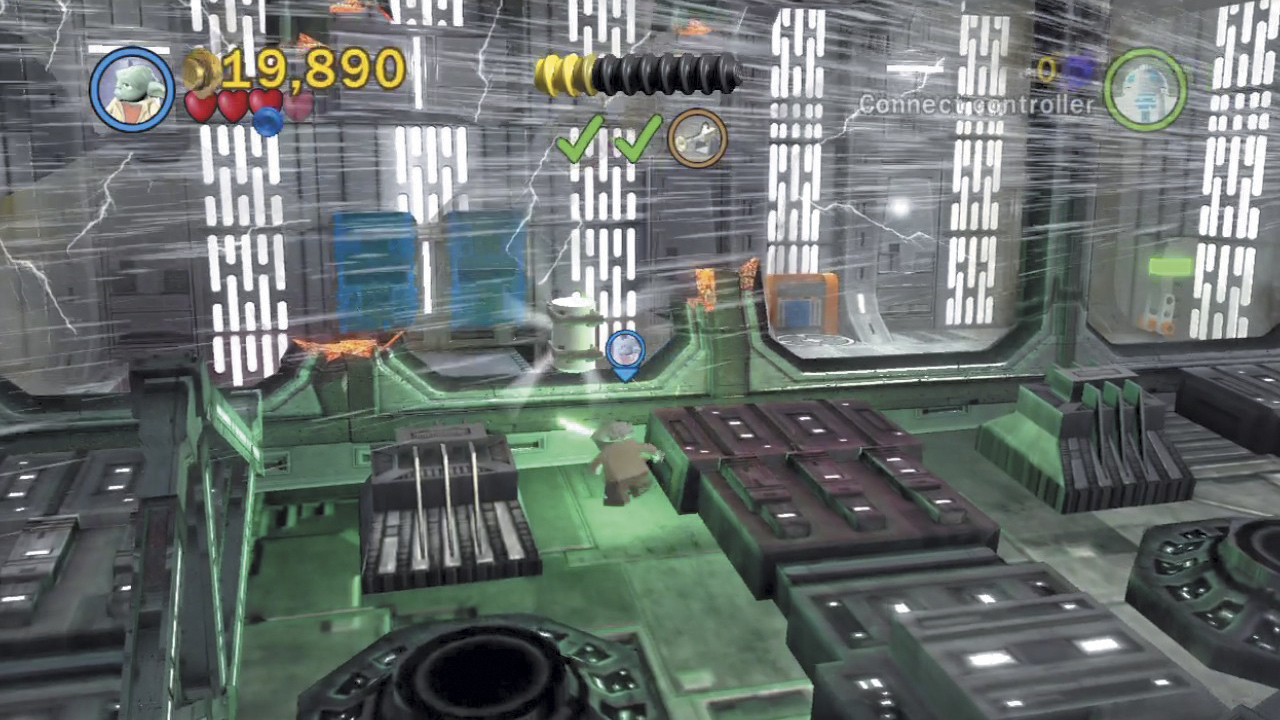
You emerge outside, close to a minikit. Grab that baby and crawl back through.
Objective 2: Free the Cruiser
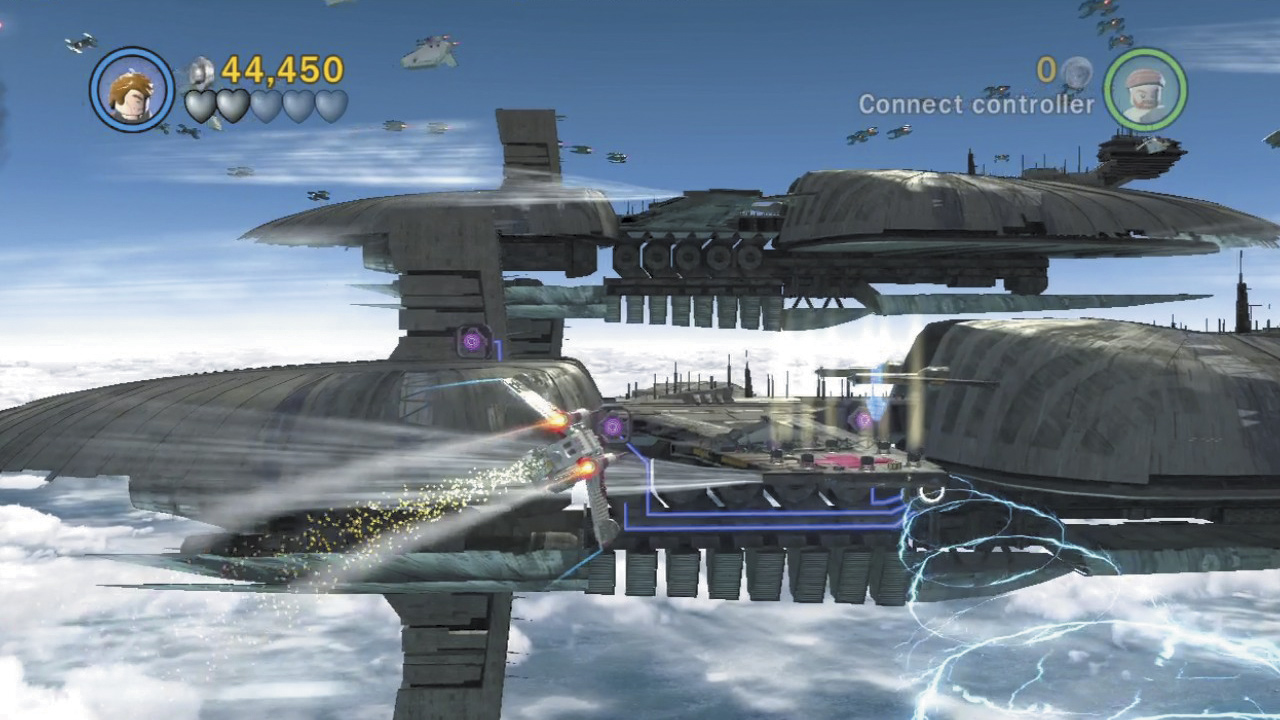
Return to your starship and take flight to advance the plot. The enemy manages to capture a Republic cruiser in a tractor beam, and your new goal is to set it free. Begin by flying left and landing on the enemy ship that’s caught the cruiser.
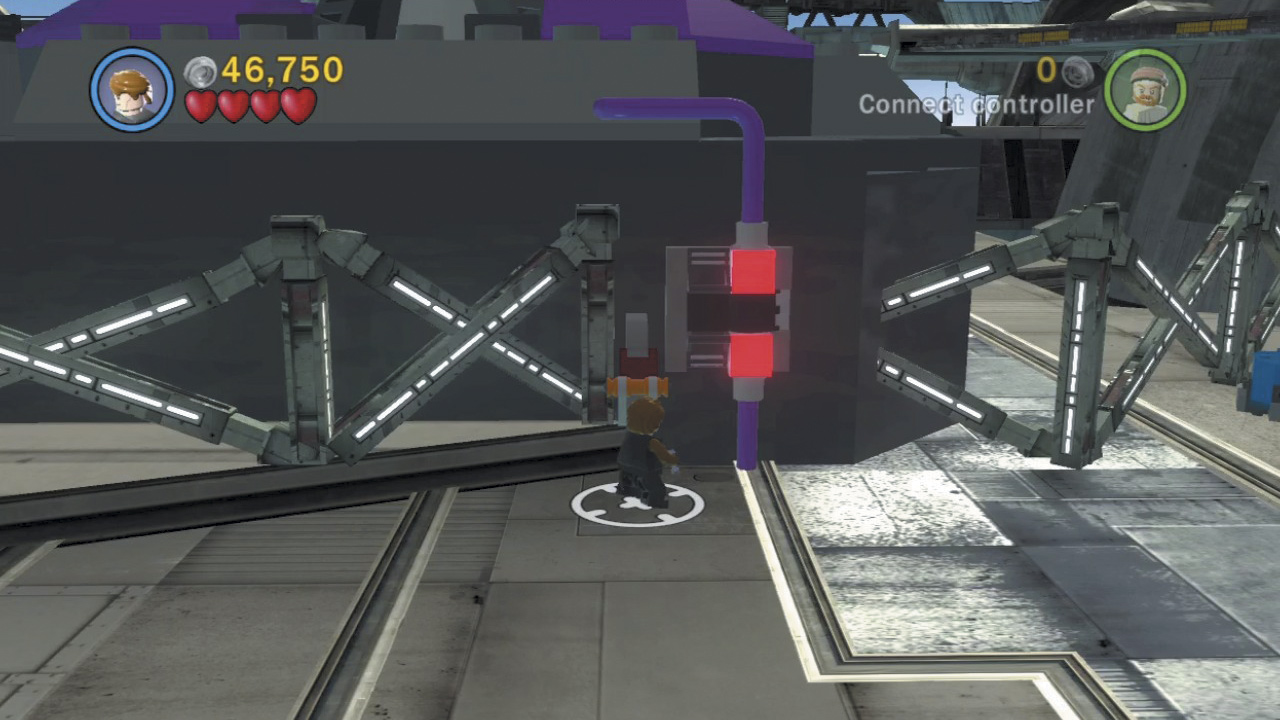
Run to the background and use the Force to manipulate a giant object, erecting a torpedo generator. Pull the nearby lever afterward to supply the generator with power.
Minikit 9 (Freeplay)
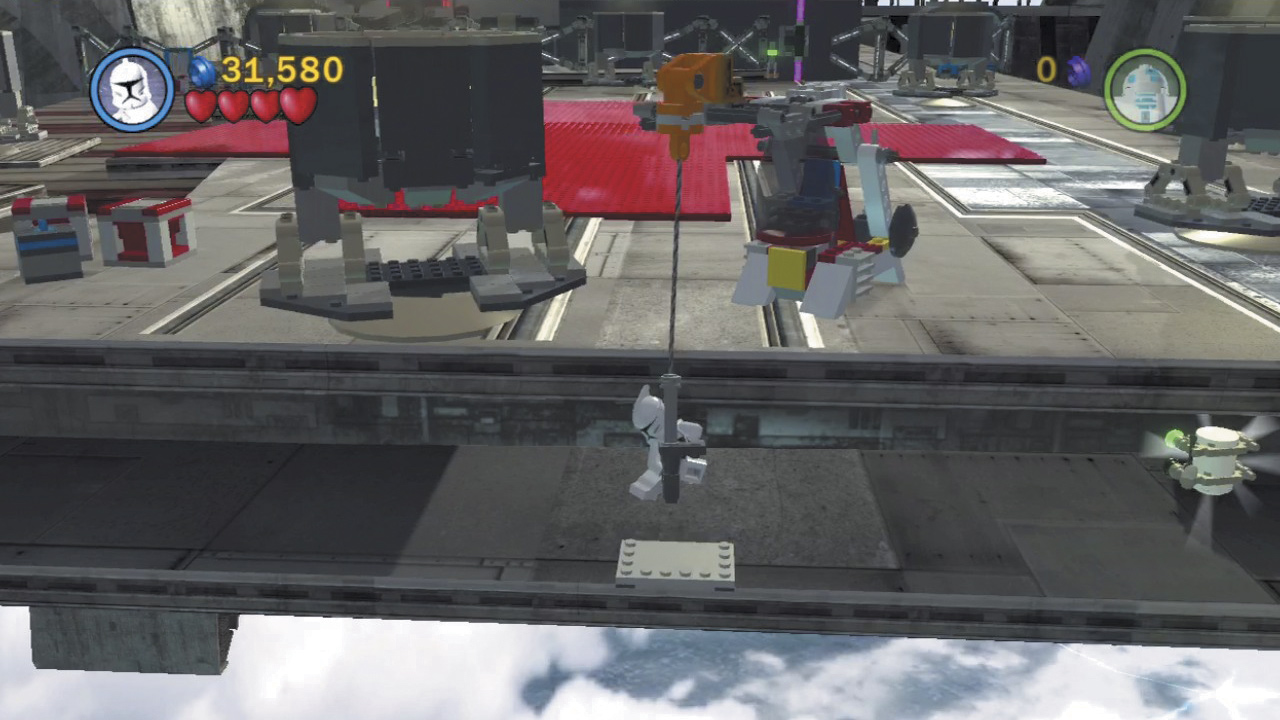
Use a rapid-fire character to obliterate the gold boxes on the landing pad with the torpedo generator. Then construct a crane out of the pieces that remain. Use the crane to grapple down to a lower ledge and claim a minikit that hides down here.
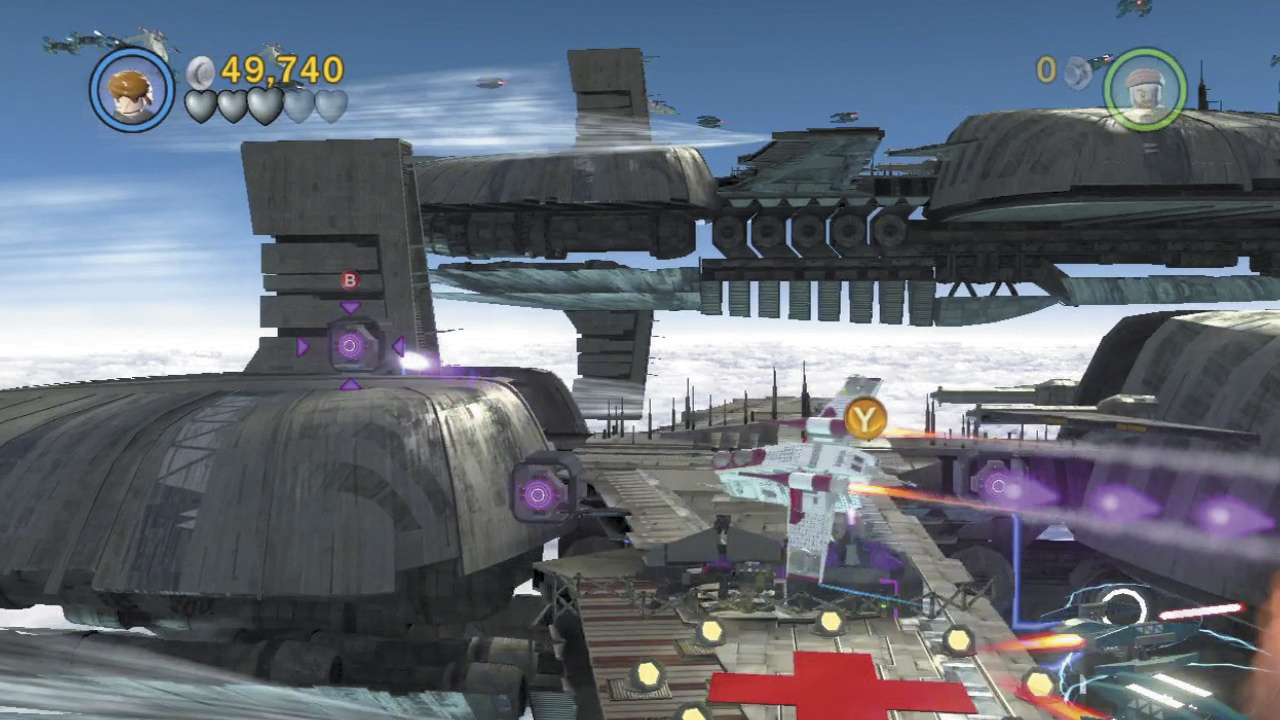
Return to your ship and fly past the torpedo generator to acquire some serious firepower. Launch a torpedo at each of the three pink targets on the enemy ship to destroy it, freeing the Republic cruiser.
Objective 3: Escape!
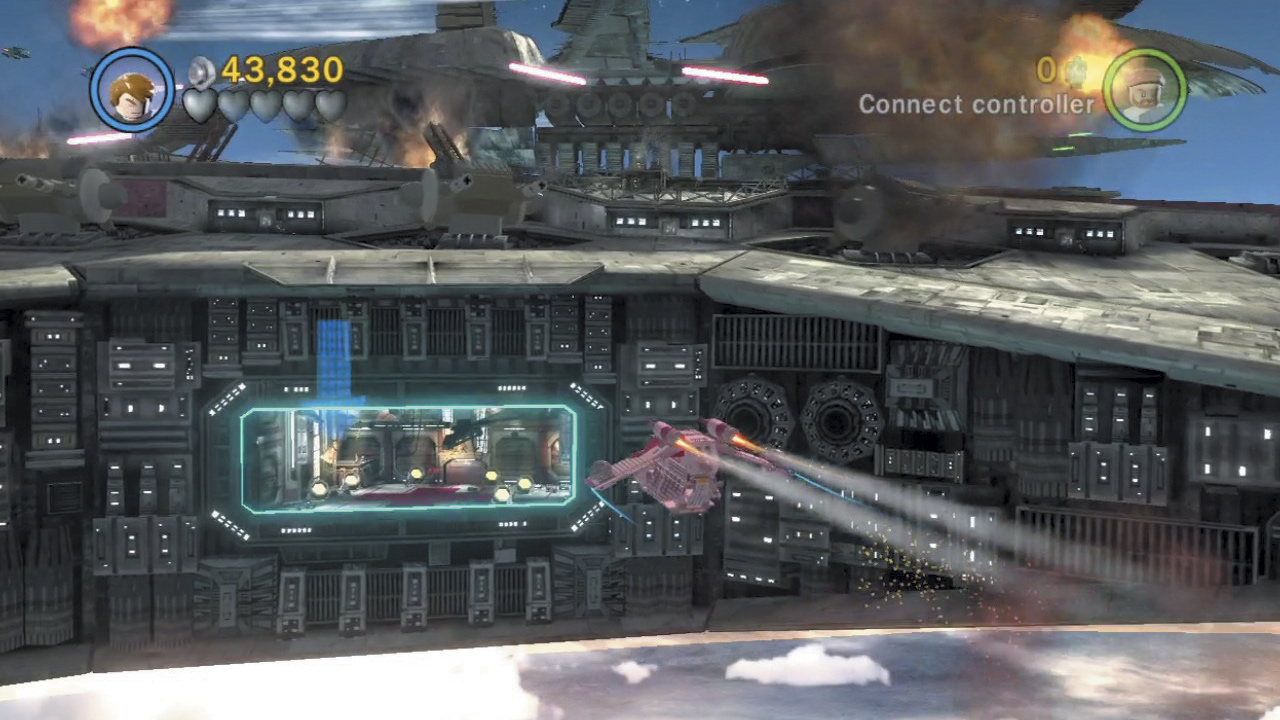
The cruiser takes shelter inside the nearby battleship, whose hangar doors have opened. Fly over to the blue-lit hangar and land inside.
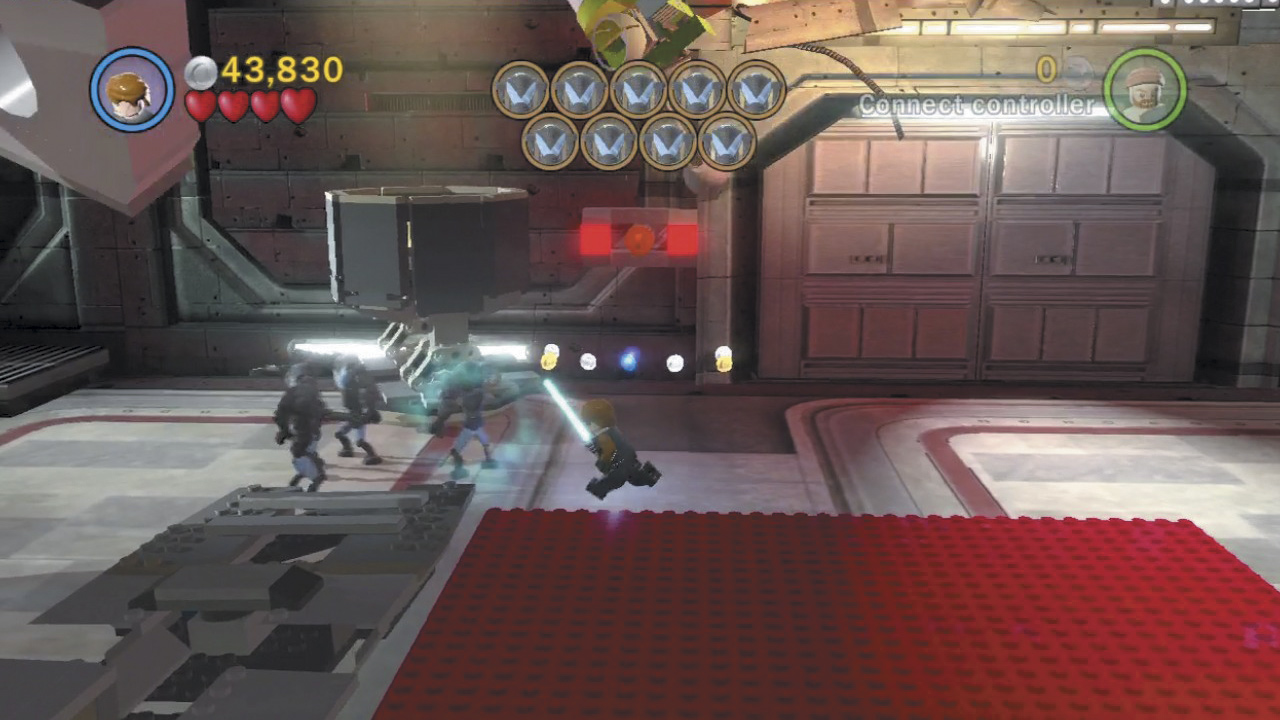
A number of Super Battle Droids have pinned down Ahsoka and Commander Bly inside the hangar. Dispatch the Droids until the coast is clear and your allies drop down from their perch to join you.
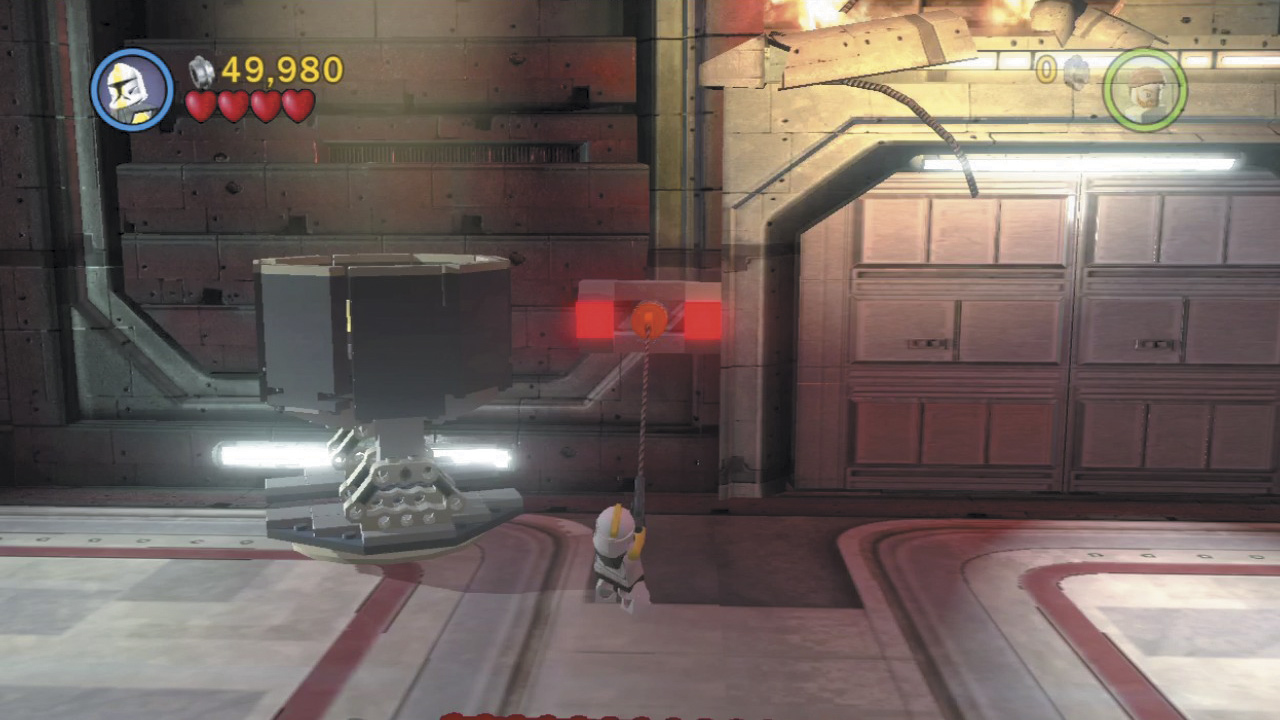
Smash up the hangar for studs if you like, then assume control of Commander Bly. Use the clone’s grapple gun to tug on the hook point near the background door and open the way forward.
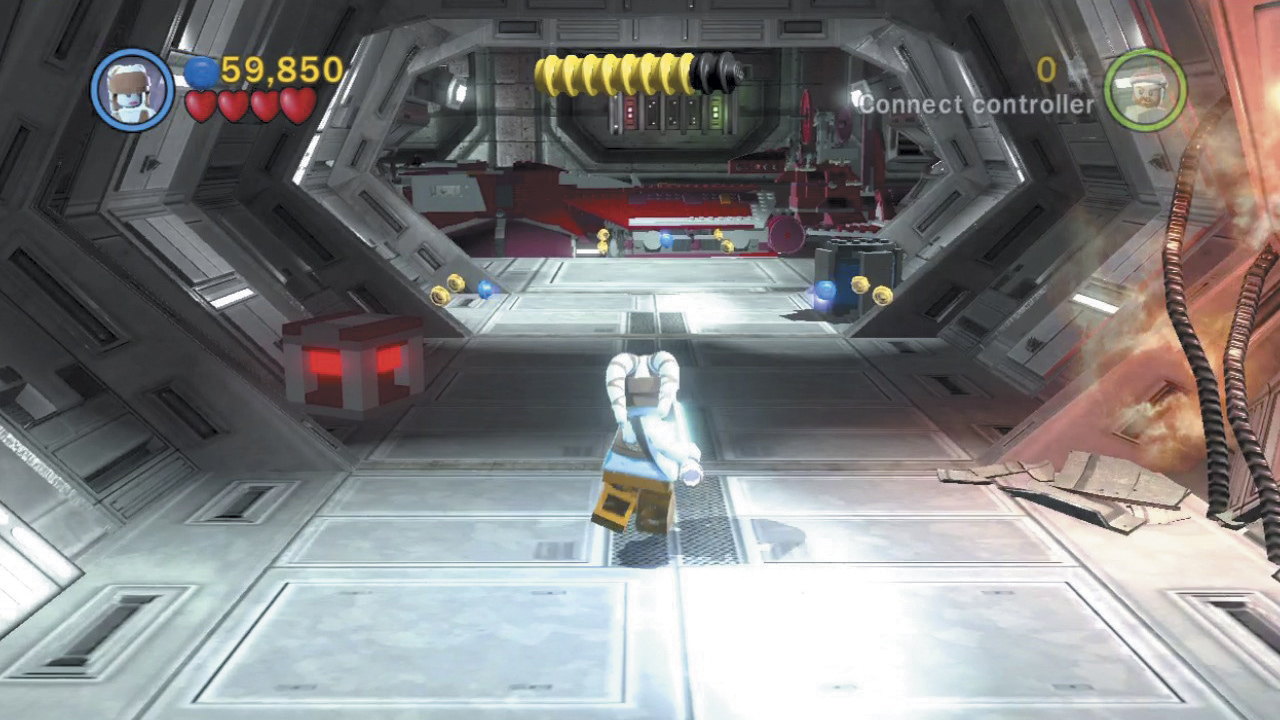
Proceed down the tunnel beyond the hangar, nabbing valuable studs as you go. The Republic cruiser you rescued moments ago is docked at the tunnel’s far end. Hop aboard to get a move on.
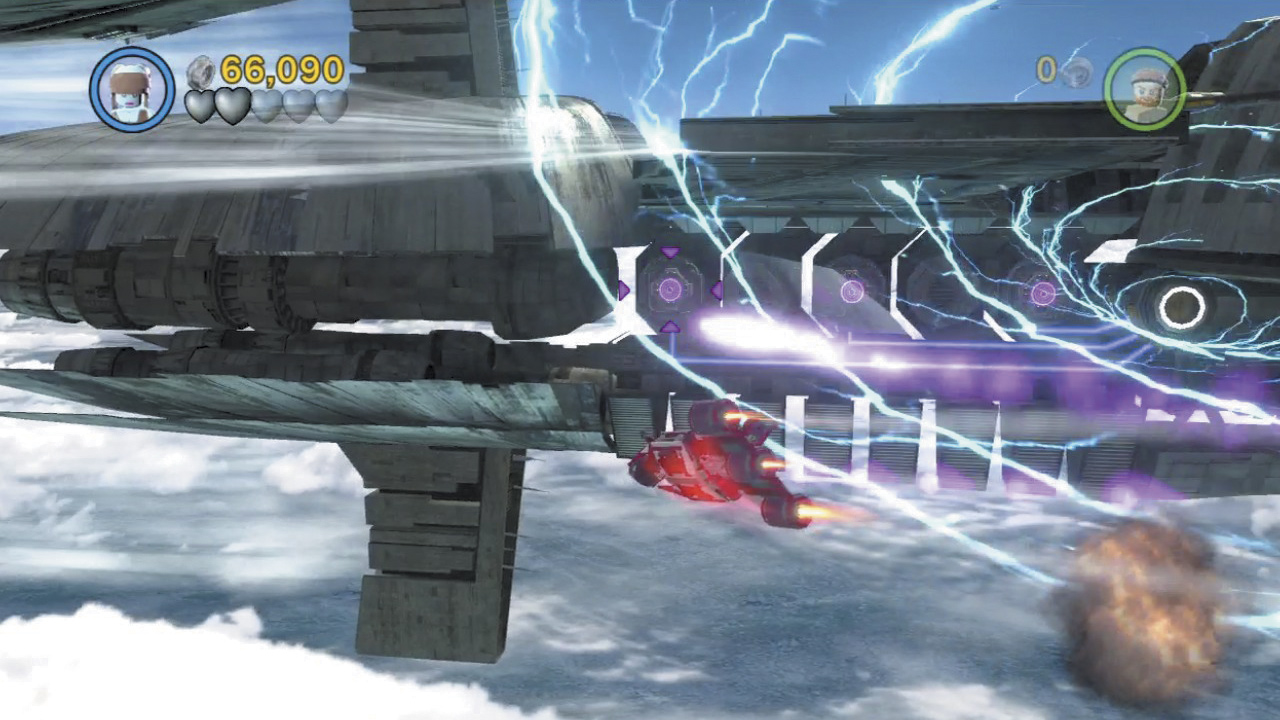
Fly far to the left to discover another enemy vessel that has caught a Republic battleship in a tractor beam. Your cruiser is already armed with torpedoes; launch one at each of the three pink targets on the enemy ship. Strike all three targets to disable the tractor beam.
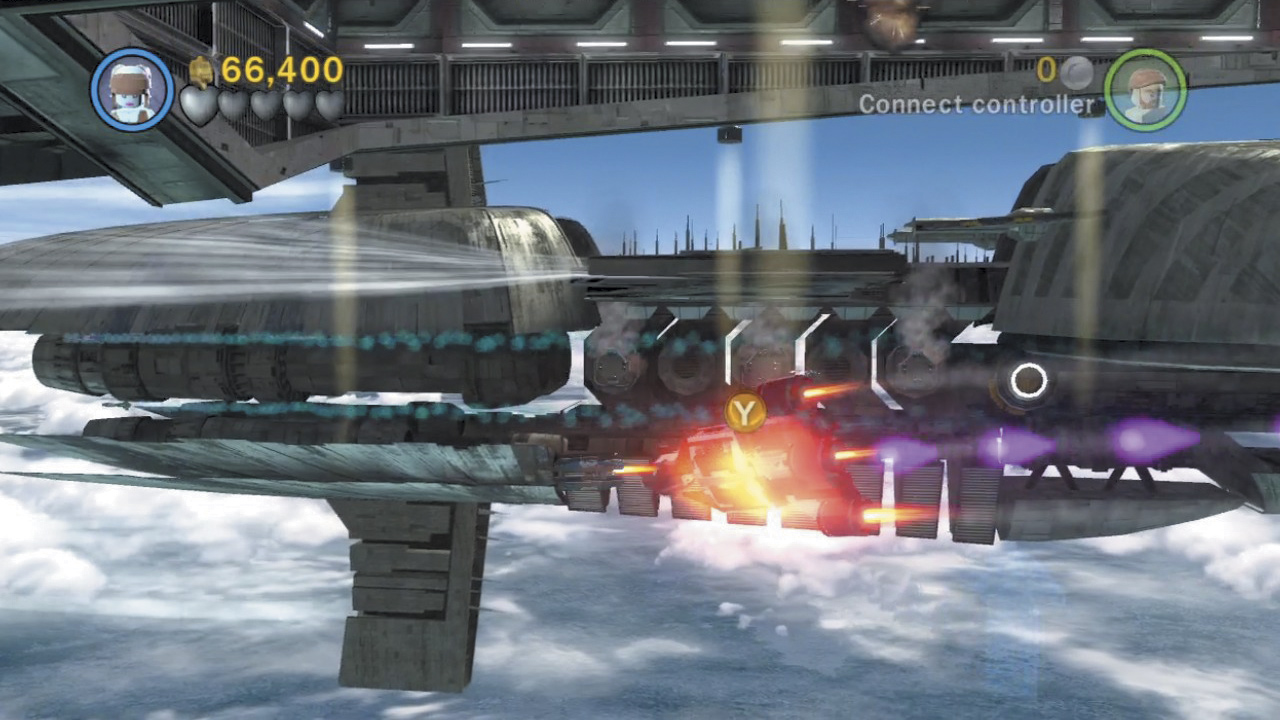
That’s it; you’re out of here! Simply fly beneath the Republic battleship that you’ve just freed (the one on the left) and dock when prompted to make good your escape.
Minikit 10 (Freeplay)
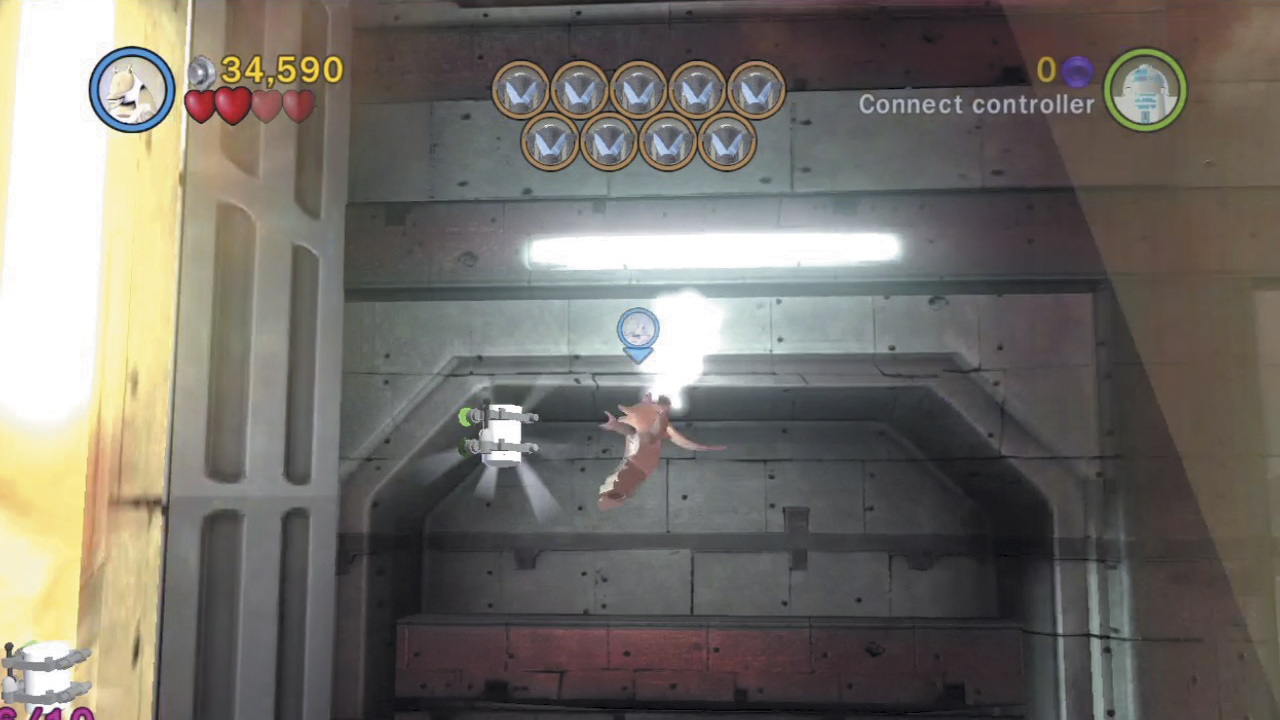
After securing the hangar, toggle to Jar Jar and use his superior jumping height to reach the back-left ledge, where Ahsoka and Commander Bly were previously trapped. Use his jumping ability again to leap up and grab a minikit that hovers high above.