
Lego Star Wars III: The Clone Wars Guide Walkthrough General Grievous
Chapter III: Destroy Malevolence
“A plan is only as good as those who see it through.”
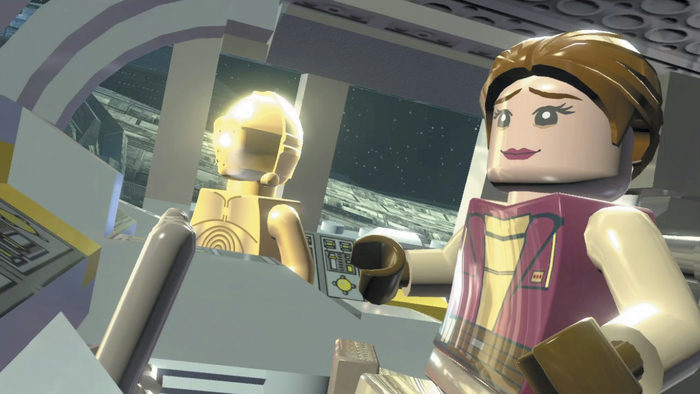
Republic strike forces are on the verge of complete victory over General Grievous and his stricken ship, the Malevolence. However, Padmé Amidala and her protocol Droid C-3PO are about to become unwitting bargaining chips for the devious Separatists....
Minikits
|
No. |
Icon(s) |
Mode |
Notes |
| 1 | 1 |
Free Play |
Activate the clone panel near the start, then use the Force to solve the tilt maze. |
| 2 |
1-5 |
Free Play |
Use the Dark Force on five Sith washing machines hidden throughout the level. |
| 3 | 3 |
Free Play |
Grapple the two hook points at the start of the train yard. |
| 4 | 4 |
Free Play |
In the train yard, hover over and activate the protocol Droid control panel, then destroy the gold boxing glove. |
| 5 | 5 |
Free Play |
Destroy the silver box on the second train, then build and activate an astromech Droid control panel to reveal a caged minikit. Use the crane to open the minikit’s cage, then return the gray object to its original platform and hover over. |
| 6 | 6 |
Free Play |
Before leaving the train yard, jump to the background platform and destroy the silver object to drift up to the minikit. |
| 7 | 7 |
Free Play |
In the chamber where you battle Grievous, destroy the five silver points. |
| 8 | 8 |
Story |
Cut down a Droideka’s shield, then Force-throw the Droideka into Grievous. Do this five times. |
| 9 | 9 |
Story |
When slotting the three colored bits into the wall, match the colors to those on the left. |
| 10 |
10
|
Free Play |
Activate the power panel on the bridge, then grapple the hook point before it retracts. |
True Jedi Stud Requirement:
Story Characters
Anakin Skywalker
Obi-Wan Kenobi
R2-D2
Padmé Amidala
C-3PO
Objective 1: Rescue Padmé and C-3PO
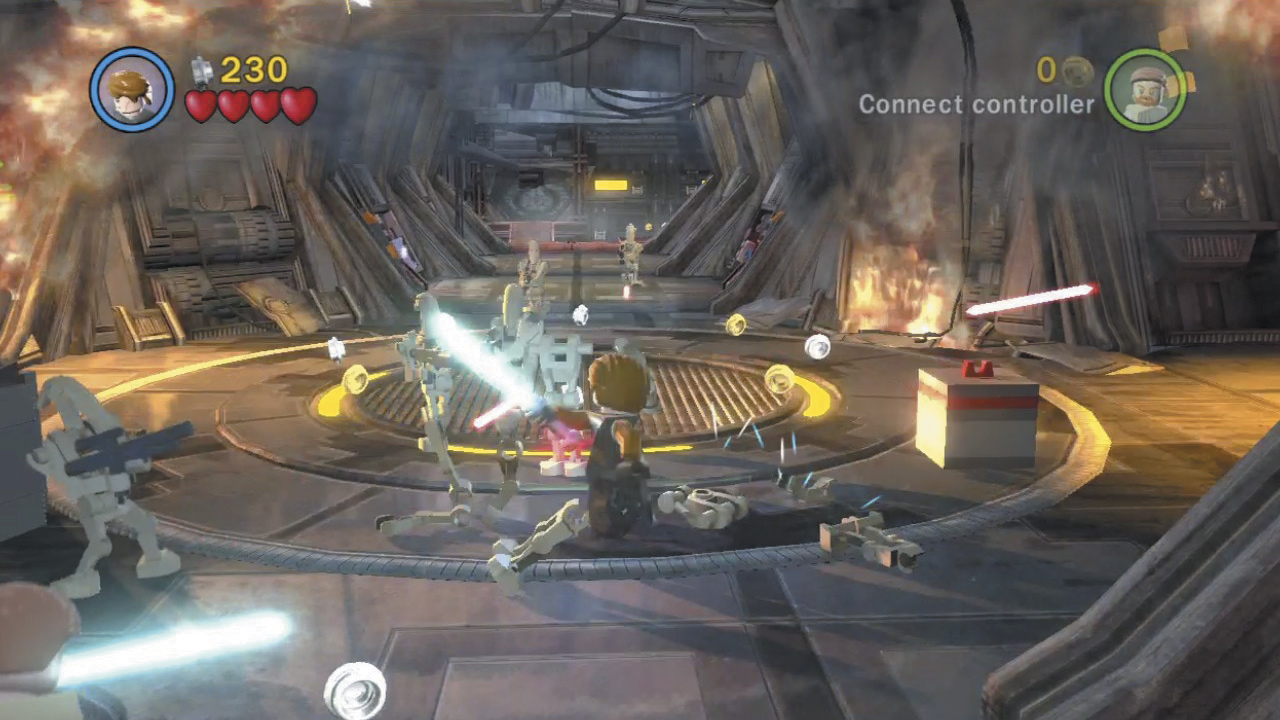
Padmé and C-3PO have been captured by the enemy, and it’s up to you to rescue them before the Malevolence goes boom. Dismantle the Droids that attack you from the start, then begin exploring the battered battleship.
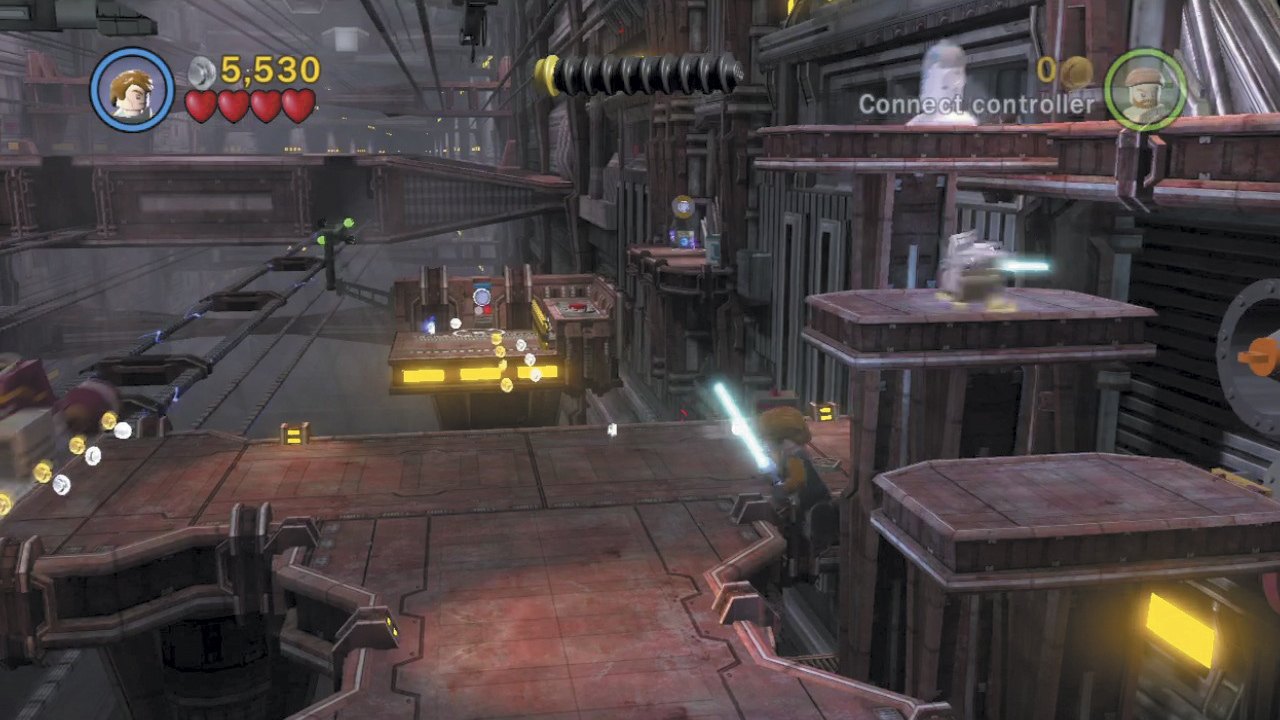
A large train yard lies just ahead. Drop down the step-like platforms to reach the lower walkways and destroy the many crates down here for studs.
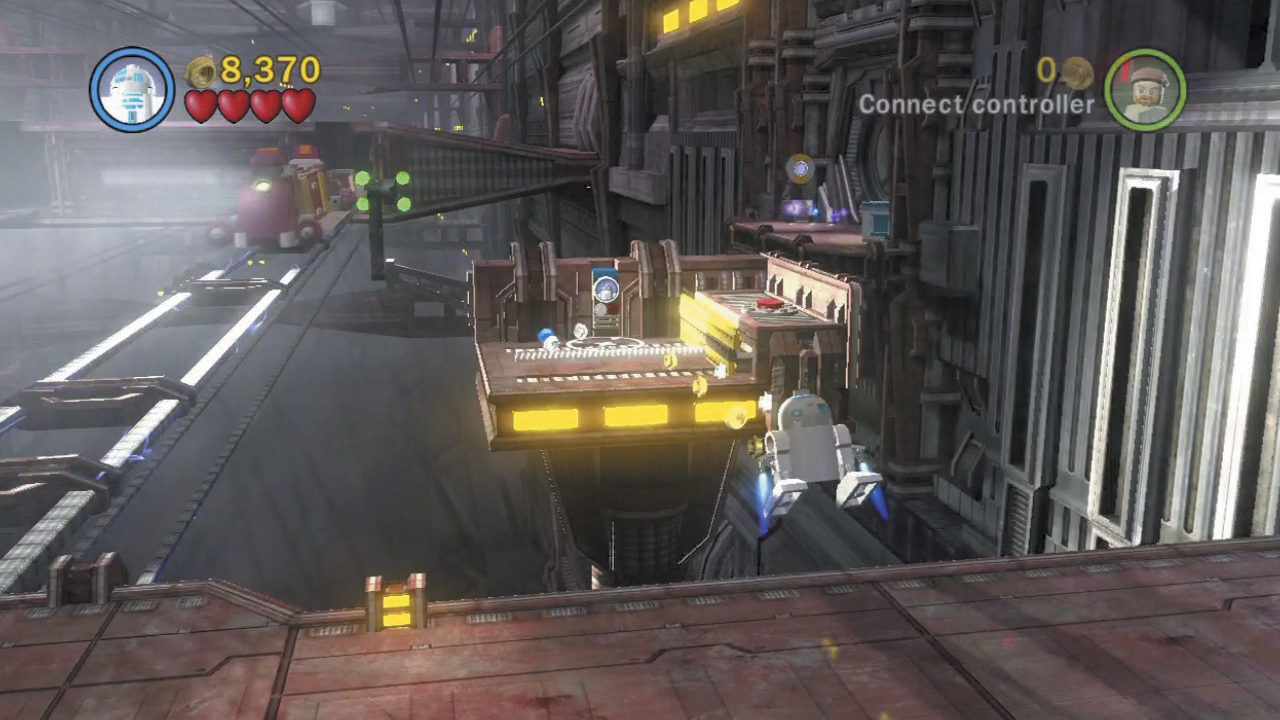
Switch to R2-D2 and use the Droid’s hover ability to reach the small platform in the background. (Simply hold the Jump button to hover.) R2 can just barely clear this distance.
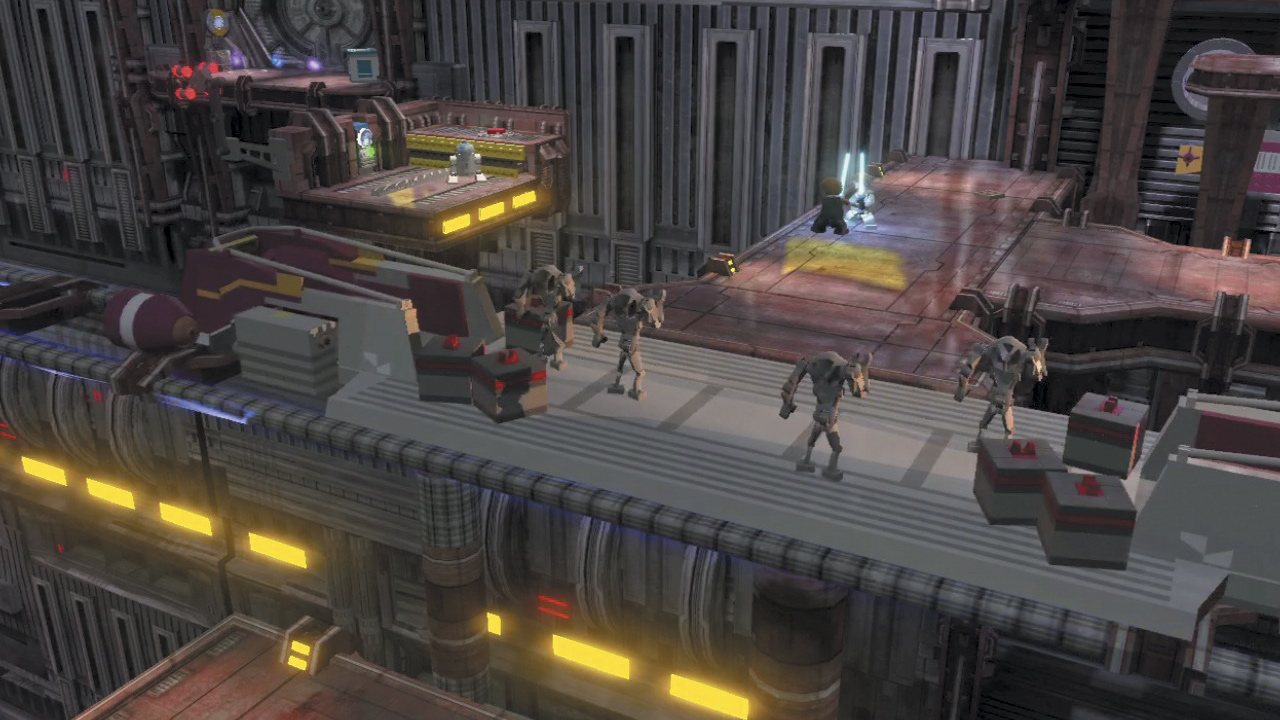
Activate the platform’s astromech Droid control panel to summon a train full of Super Battle Droids. Switch to Anakin or Obi-Wan and make short work of these pests.
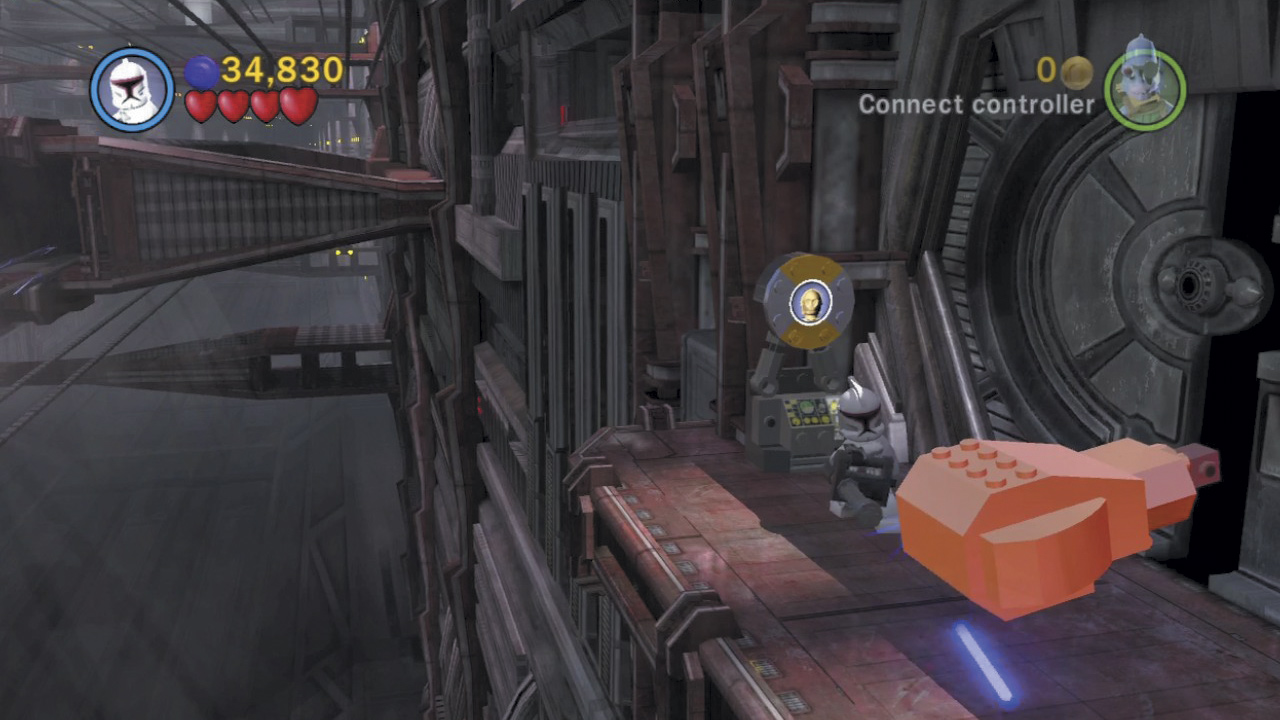
Nab two purple studs from the far platform, then change to C-3PO and activate the protocol Droid control panel to cause a giant gold boxing glove to pop out from the wall. Switch to a rapid-fire character and melt the glove down to discover a minikit! Pocket the prize, then change back to an astromech Droid and hover back to the previous platform.
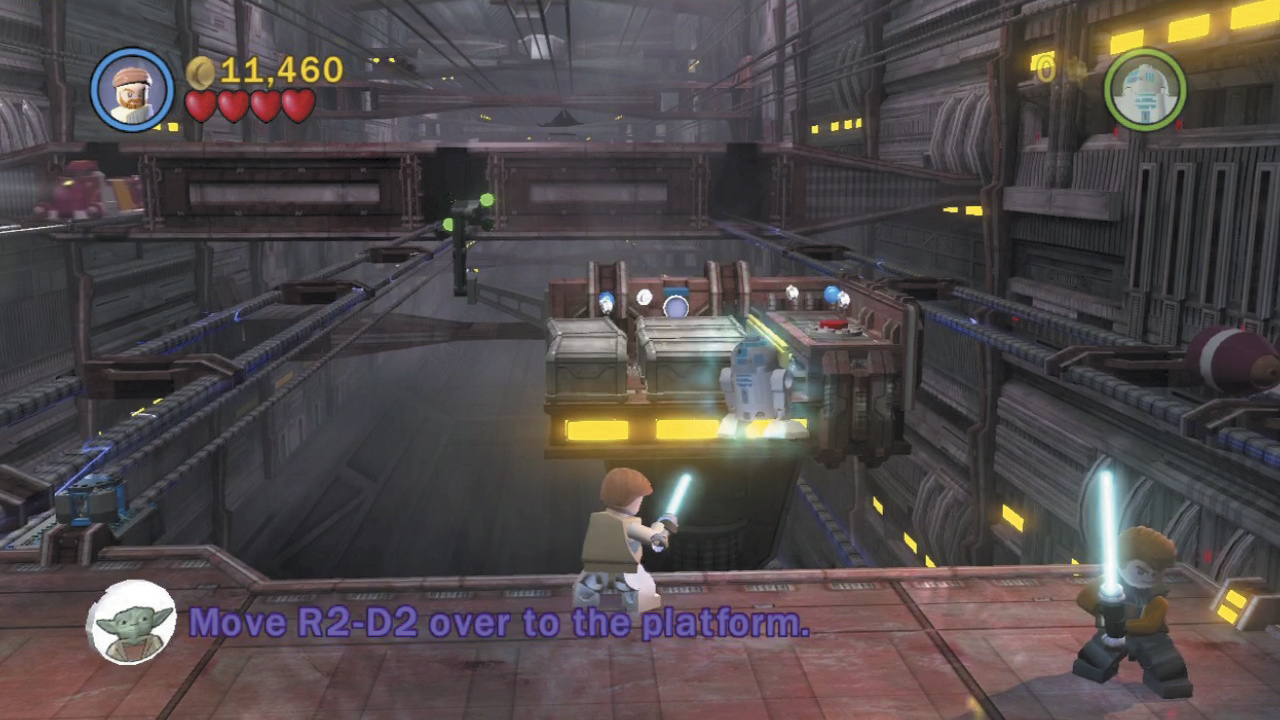
Leap from the train to reach the next platform ahead and wipe out the battle Droids you face there. Afterward, use the Force to lift R2-D2 and move the Droid over to another background platform.
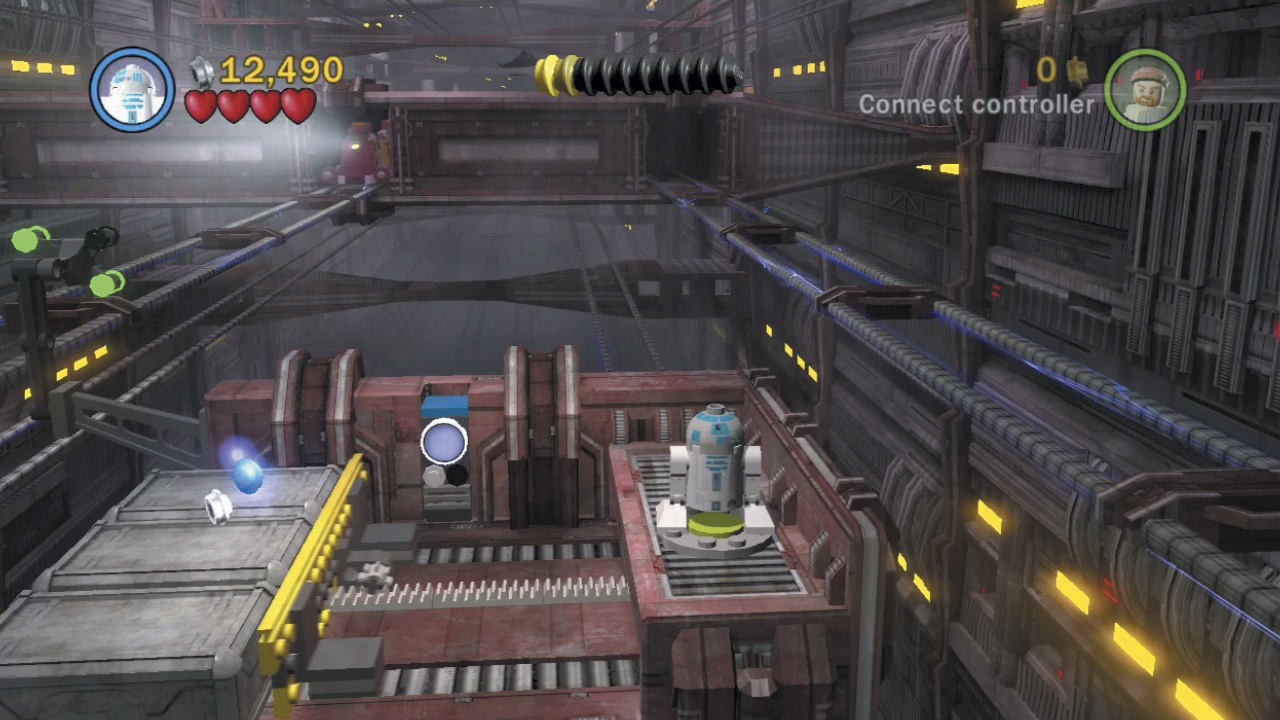
Switch to R2 once the Droid has reached the platform, and roll onto the red button to turn it green. This knocks some crates out of your way; drop down and activate the platform’s astromech Droid control panel.
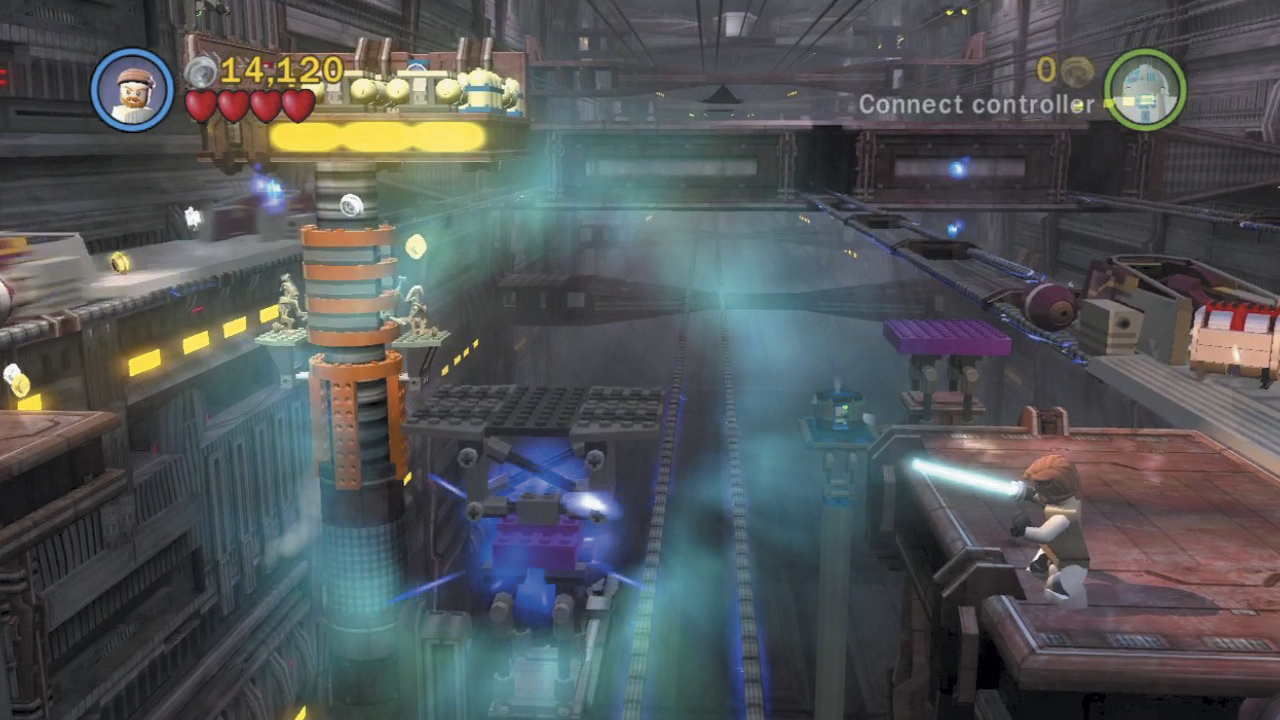
The panel summons another train. Defeat its Droid passengers, then use the Force to lift the large gray object that sits atop the purple platform in the background. Move the gray object onto a different platform in the foreground, which crackles with blue energy.
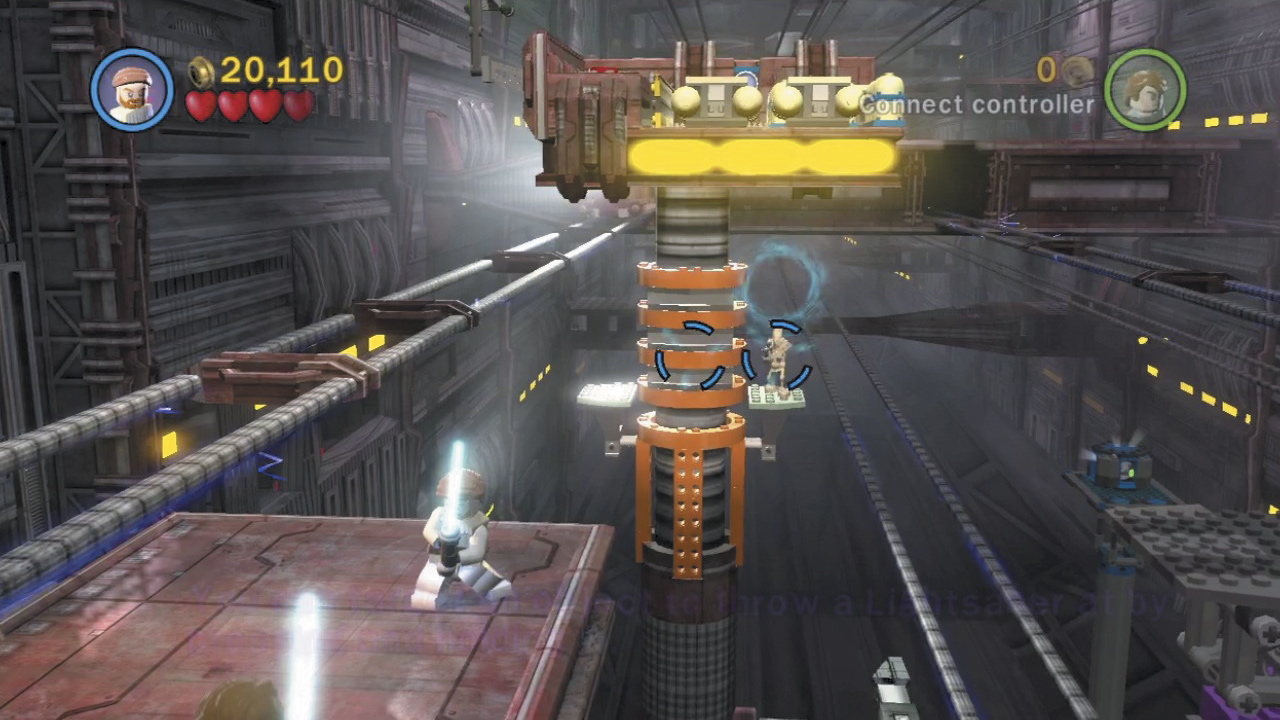
Leap from the gray platform to reach the next platform ahead. Lay waste to the Droids here, then take aim and hurl your Lightsaber at the background platform with the two battle Droids.
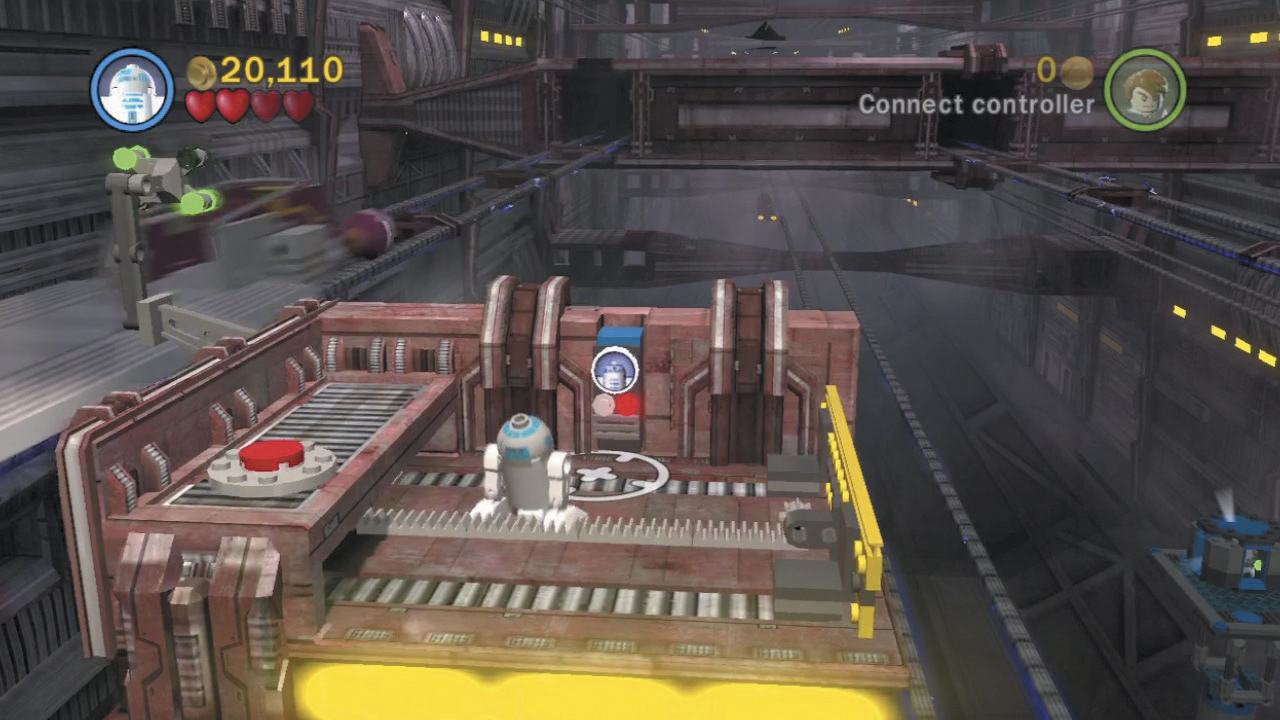
Striking the platform with a well-aimed Lightsaber causes the platform to drop. Force-lift R2-D2 and move him over to the platform, then activate the astromech Droid control panel as you’ve done before.
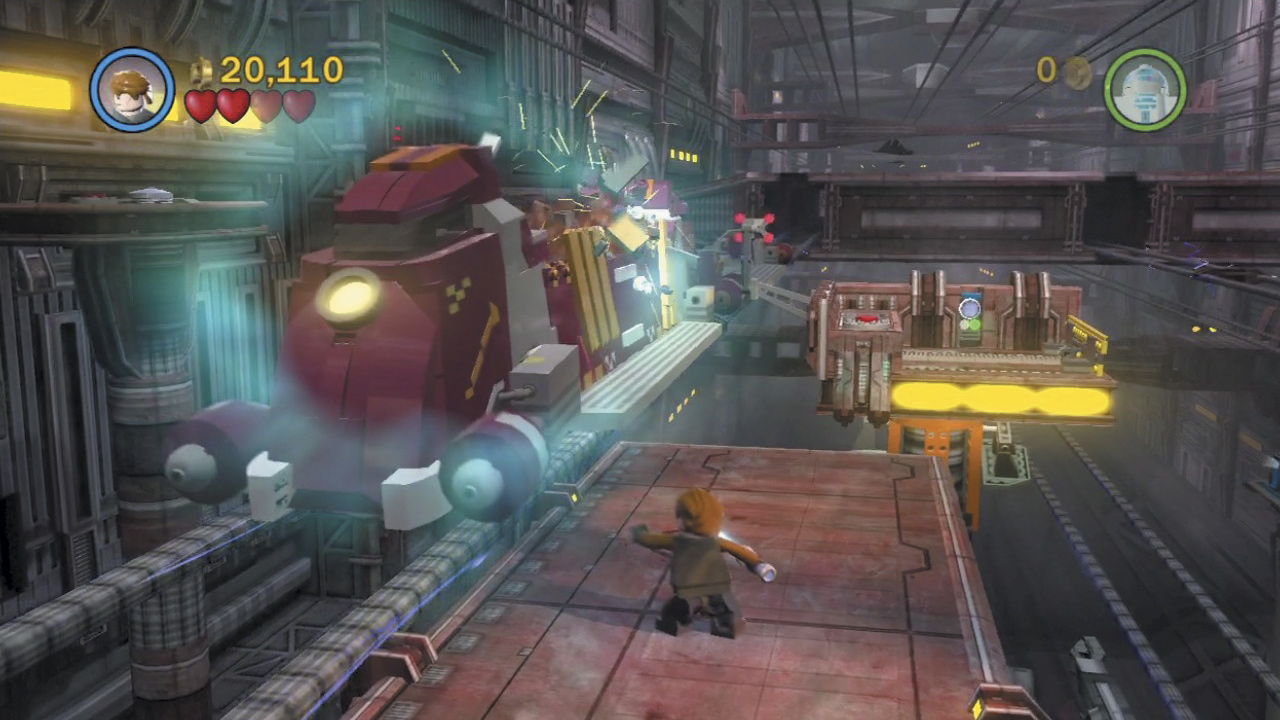
A third train pulls up—use the Force to transform its front car into a massive crane. Run along the remainder of the train afterward and hop into the crane’s operator seat to take control.
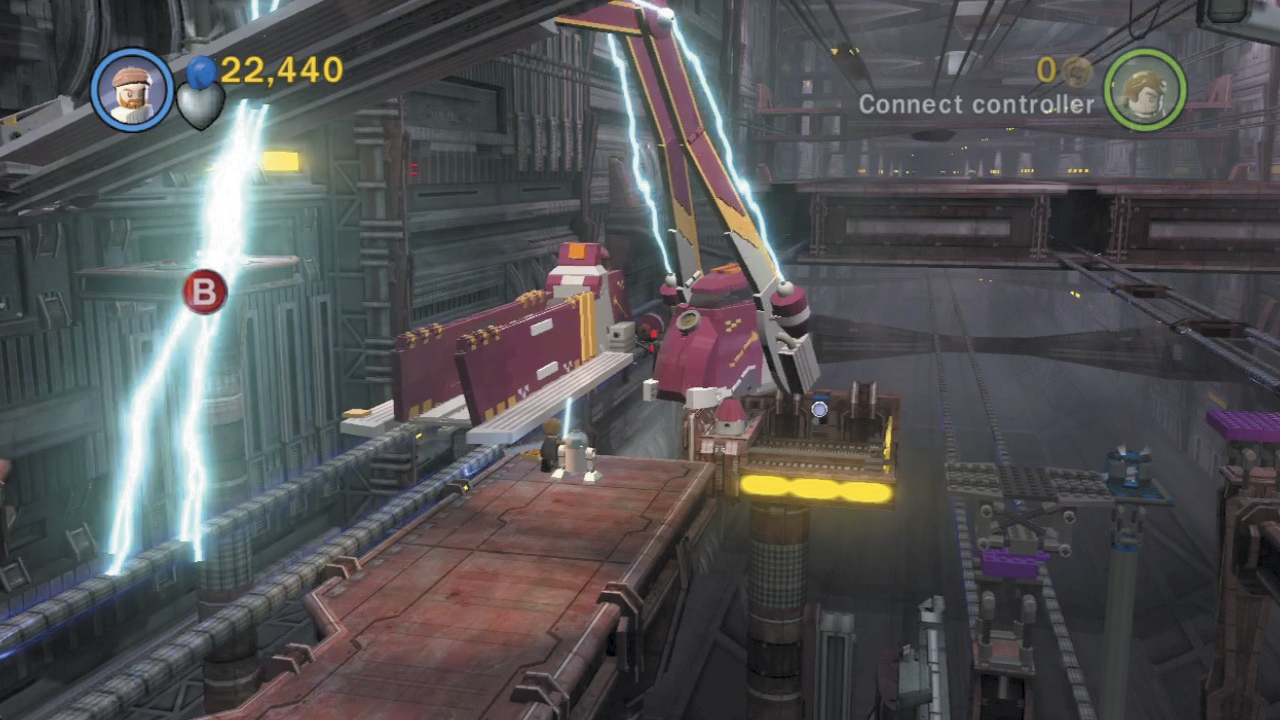
Rotate the crane until an electrical charge zaps the third train’s rear car. Then press the Action button to lift the train car with the crane.
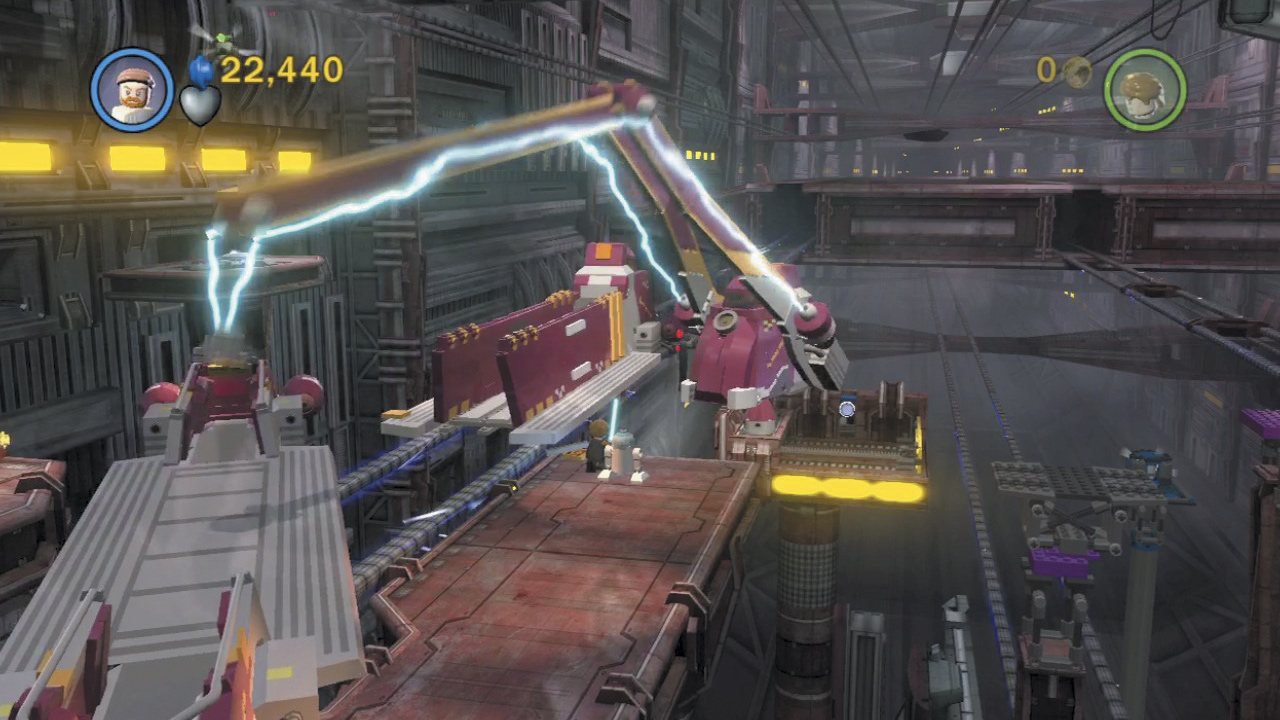
Swing the train car around until the crane’s electrical current zaps the rail in front of the train. Press the Action button at this point to set the car down. Now you can cross over to the far platform and exit the train yard!
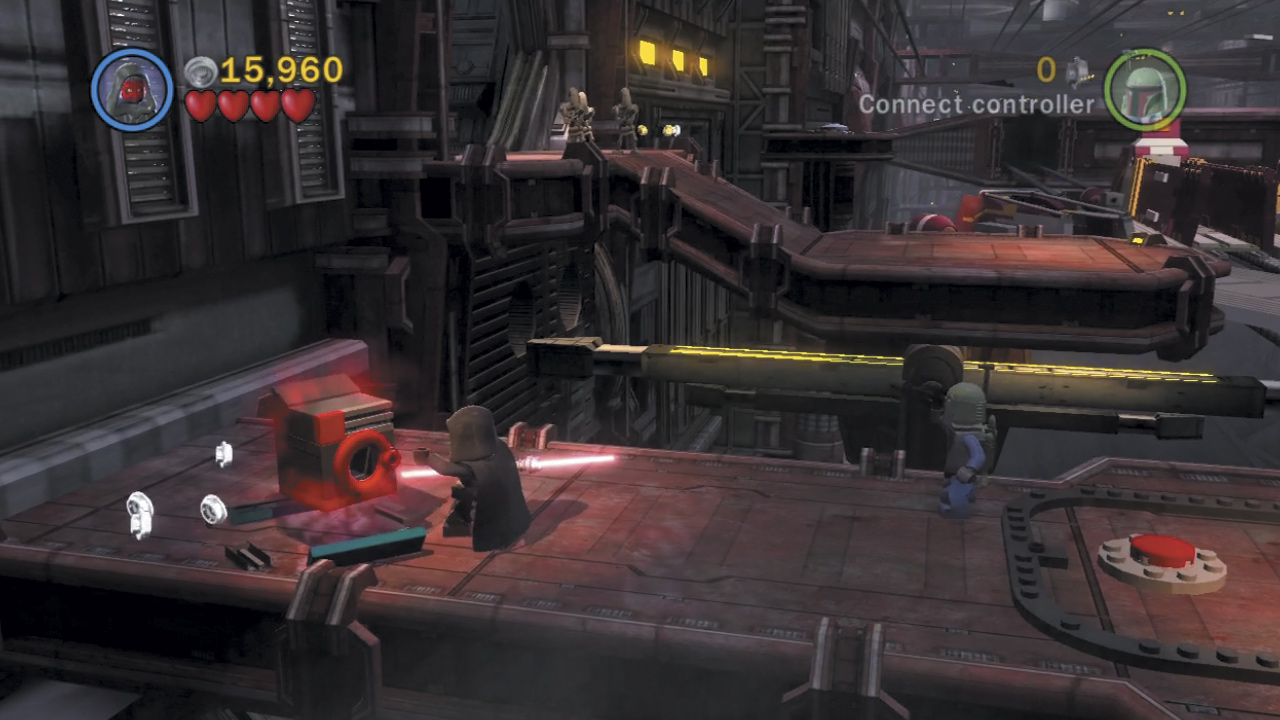
Fight your way down the short corridor beyond the train yard. It’s not long before you discover Padmé and C-3PO, but the reunion doesn’t last—our heroes are soon separated by enemy barricades!
Minikit 1 (Freeplay)
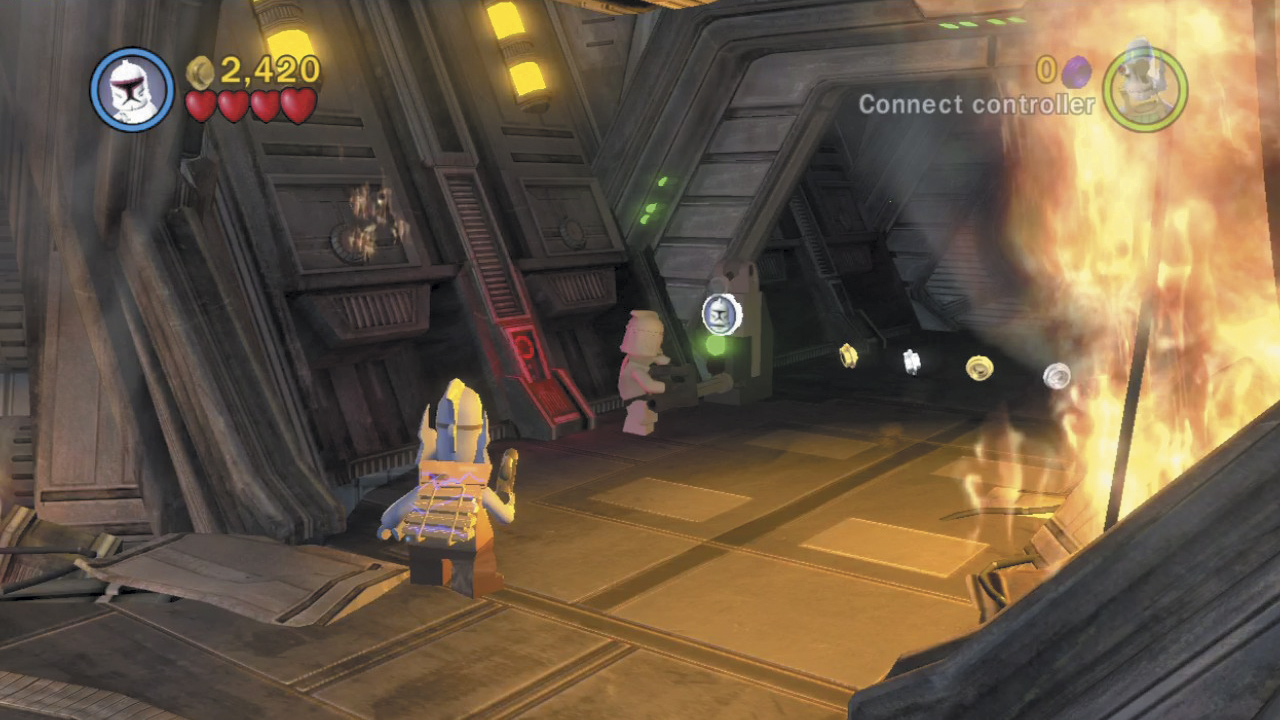
Toggle to any clone trooper and activate the clone trooper control panel near the start to access a secret side room.
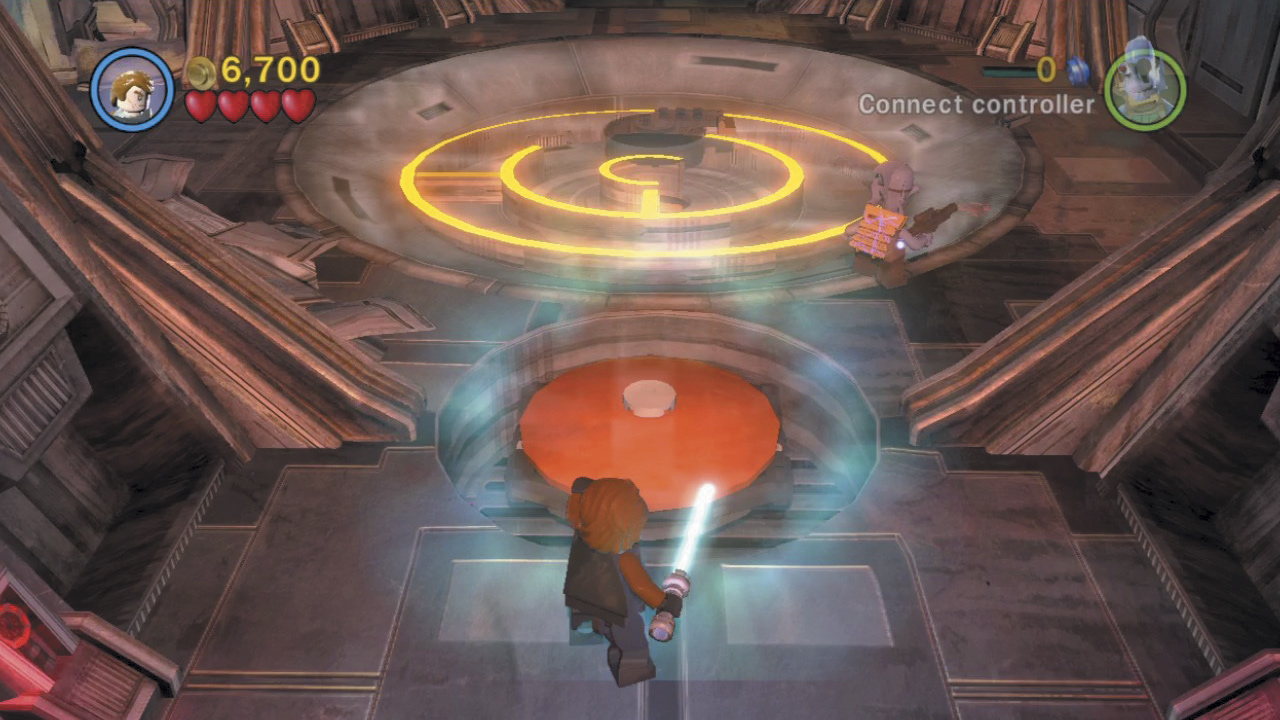
Inside the room, switch to a Jedi and use the Force to manipulate the giant control stick in the floor. The stick controls the tilt maze in the floor; solve this little puzzle to win a minikit!
Minikit 2 (Freeplay)
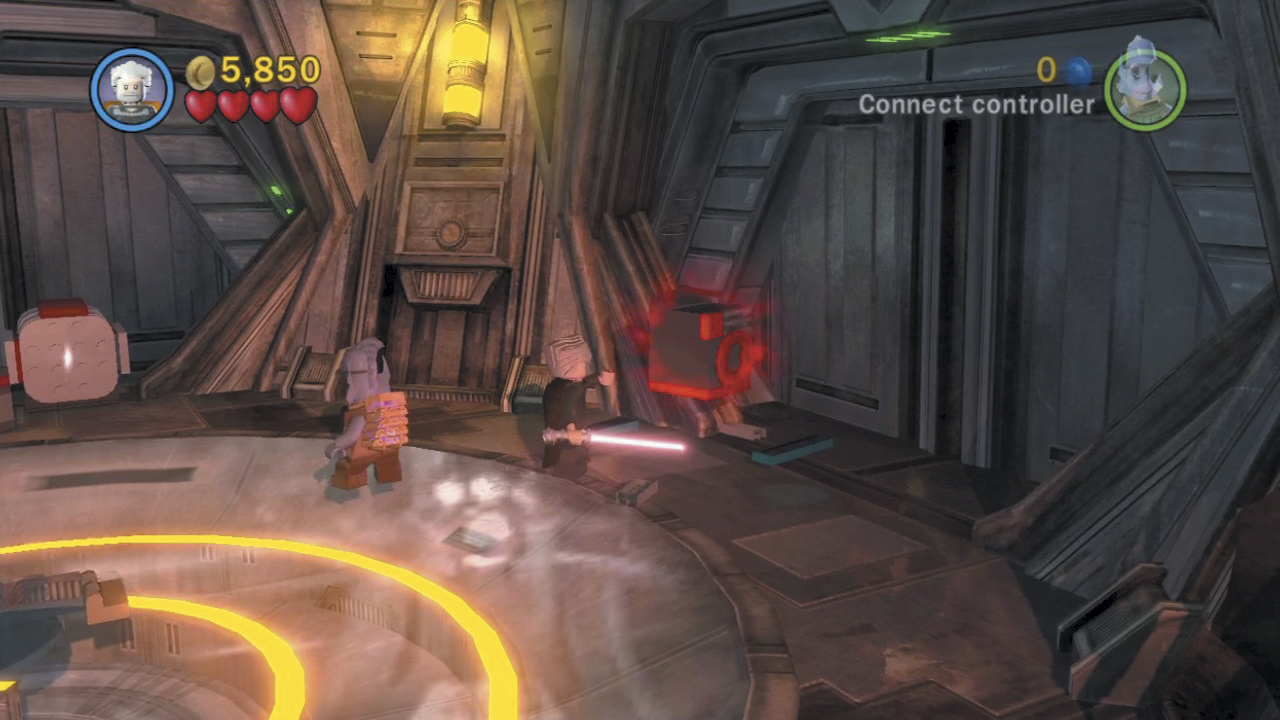
Five washing machines are hidden throughout this level—the first is found within the secret tilt-maze room. Use a Sith character’s Dark Force ability to lift and destroy all five washing machines and you’ll receive a fresh, clean minikit. The five Sith washing machines are marked on the maps to help you find them; some are hidden inside of gray and blue boxes that you must first destroy.
Minikit 3 (Freeplay)
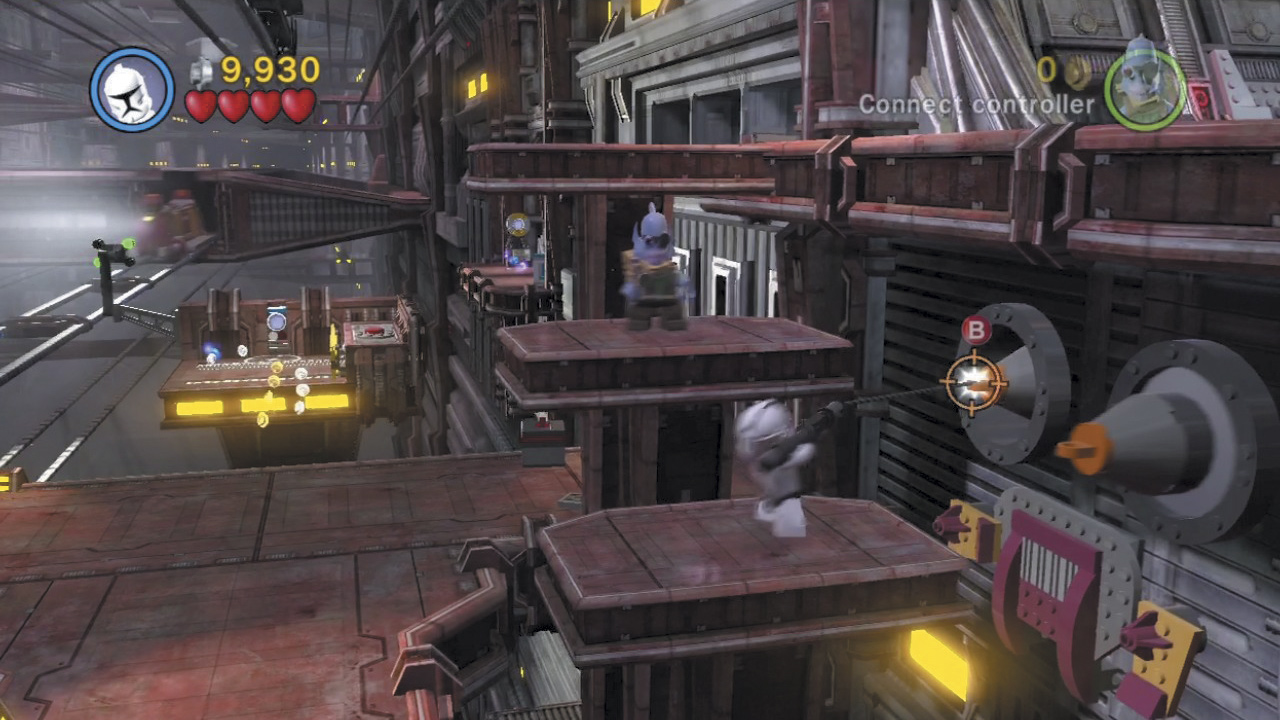
As you descend the step-like platforms, spy a pair of hook points on the wall to the right. Grapple and pull both hook points out from the wall to expose a minikit below.
Minikit 4 (Freeplay)
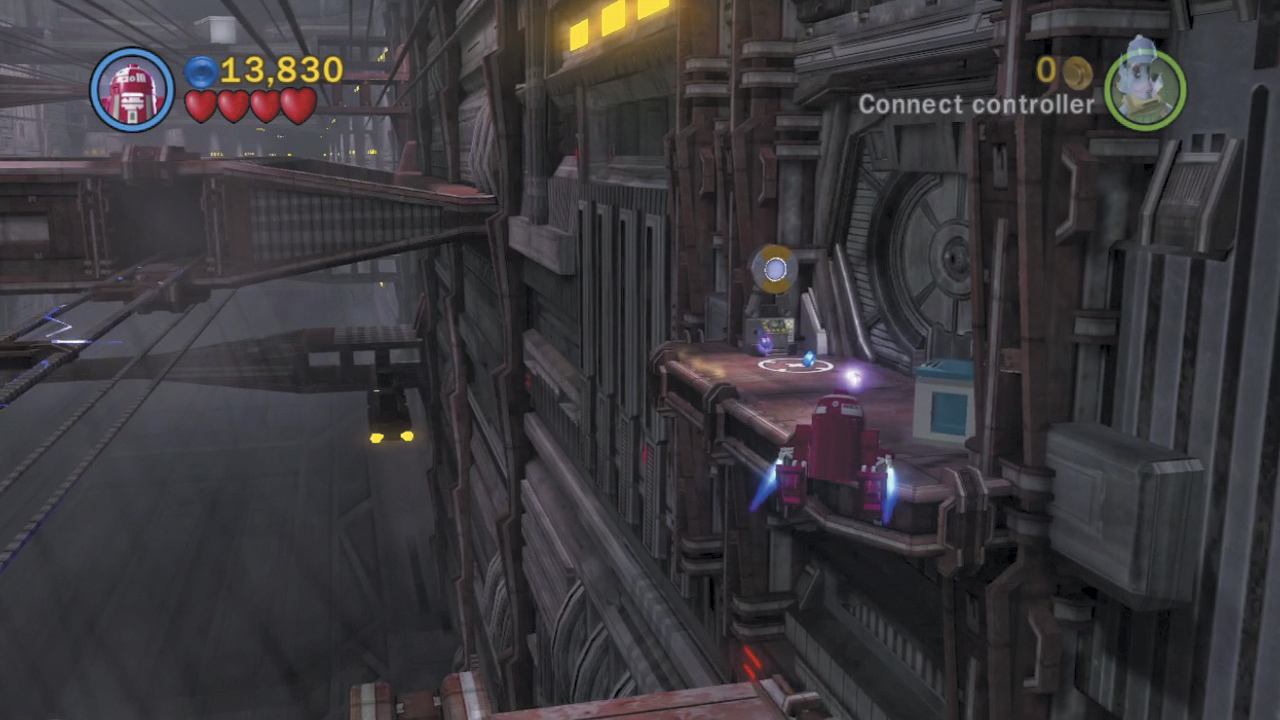
After activating the astromech Droid control panel, toggle to any other character so you can jump up onto the lip of the platform. From here, switch back to an astromech Droid and then hover over to the far background platform.
Minikit 5 (Freeplay)
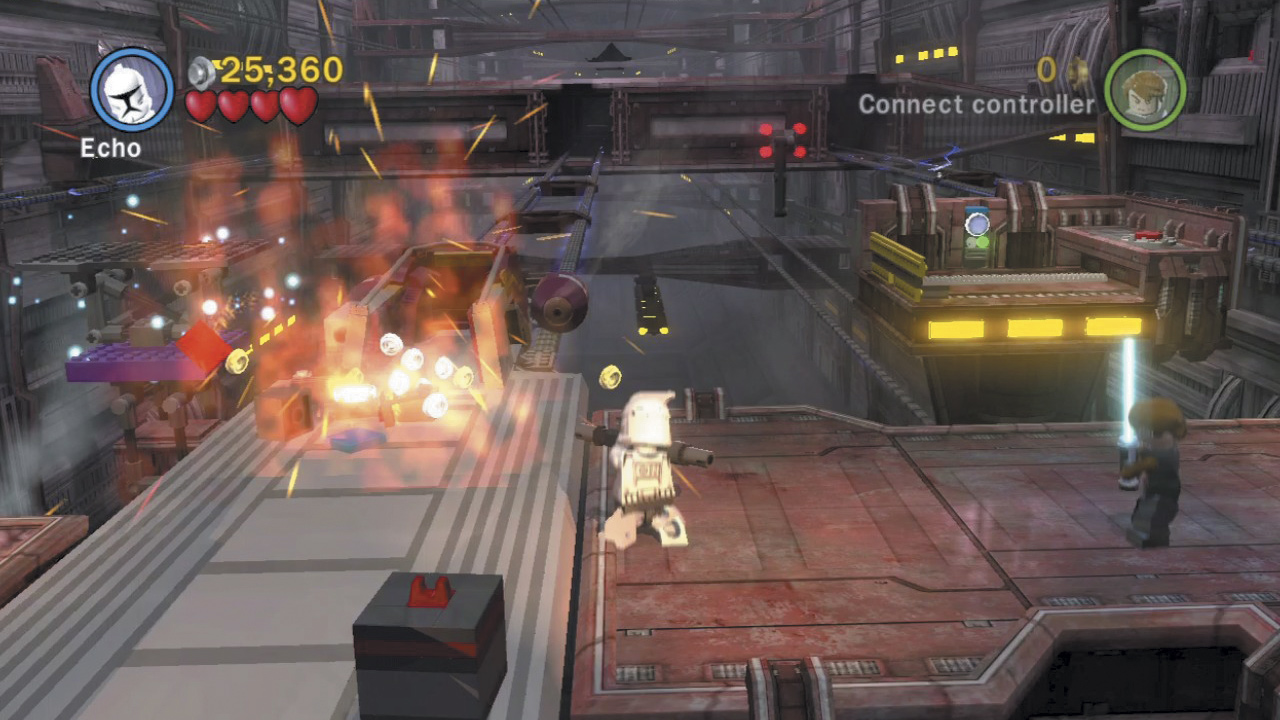
Use an explosive attack to destroy the silver box on the second train, then build the remaining bits into an astromech Droid control panel. Activate this to raise a remote background platform that sports a minikit.
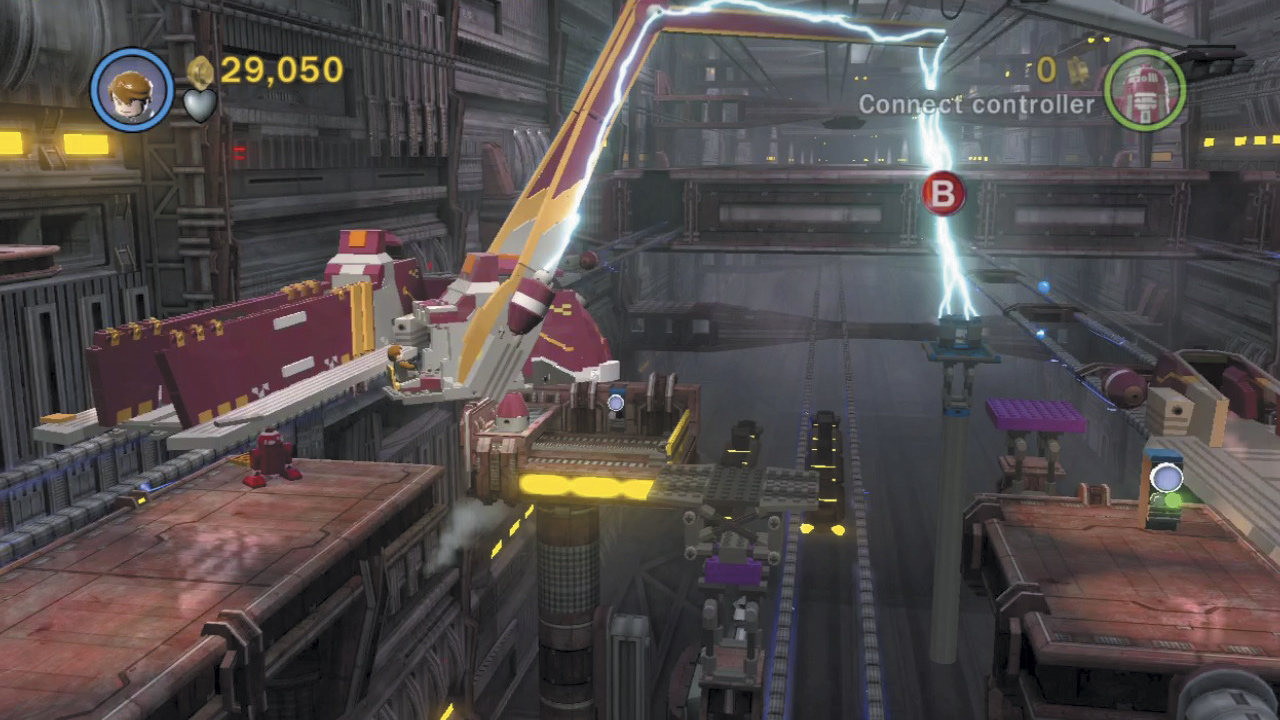
Unfortunately, the minikit is held in a cage that prevents you from collecting it. Use the crane you build from the third train to shatter the cage. Now you just need to get over there!
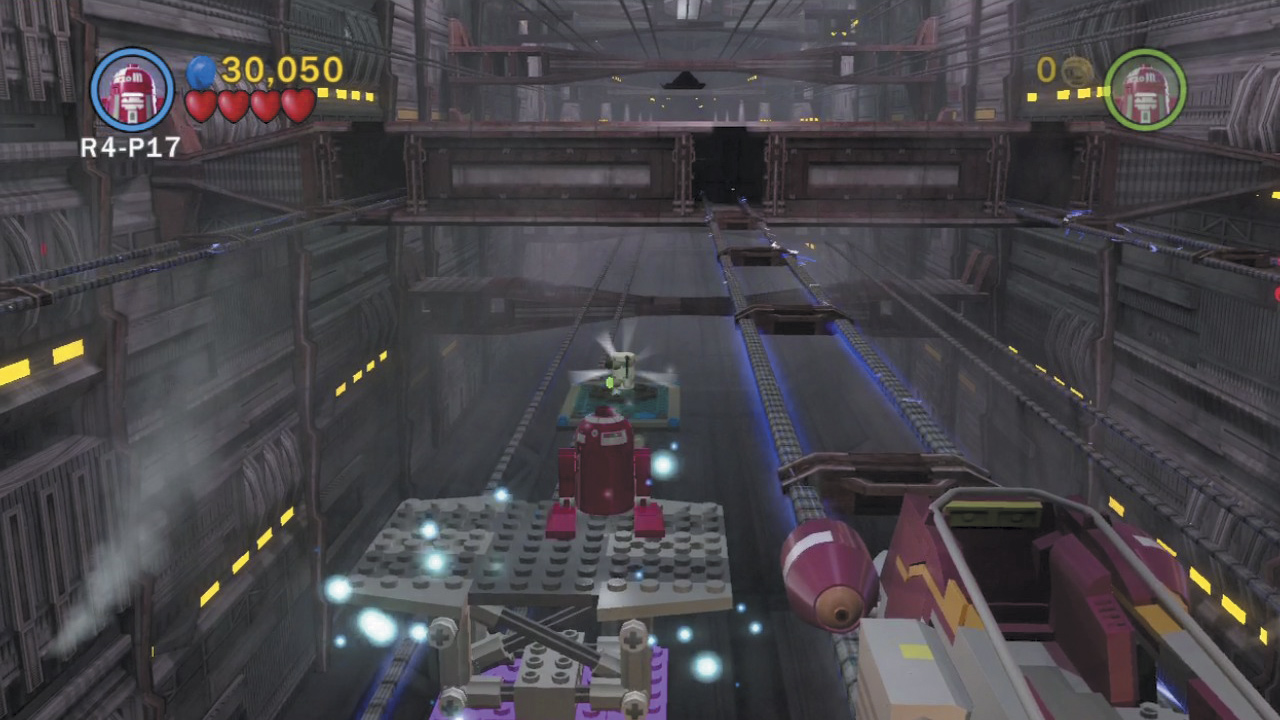
Use the Force to return the large gray object to its original purple platform. Leap onto the gray object, then switch to an astromech Droid and hover over to claim your prize. It’s a difficult distance, but it can be done!
Minikit 6 (freeplay)
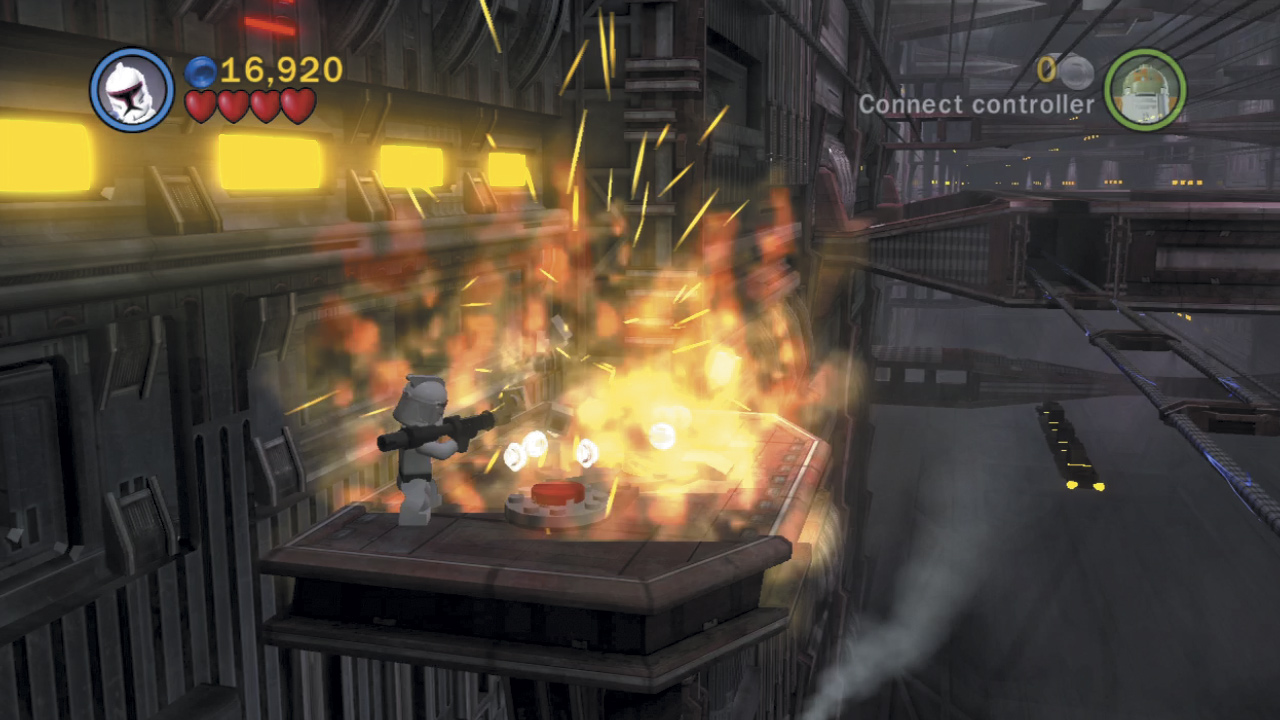
Before leaving the train yard, spy a small platform in the background that features a silver plate. Leap over to the platform from the end of the train car you placed with the crane, then blast the silver plate with an explosive attack to uncover a fan. Use this updraft to reach a high-flying minikit!
Objective 2: Escape Confinement
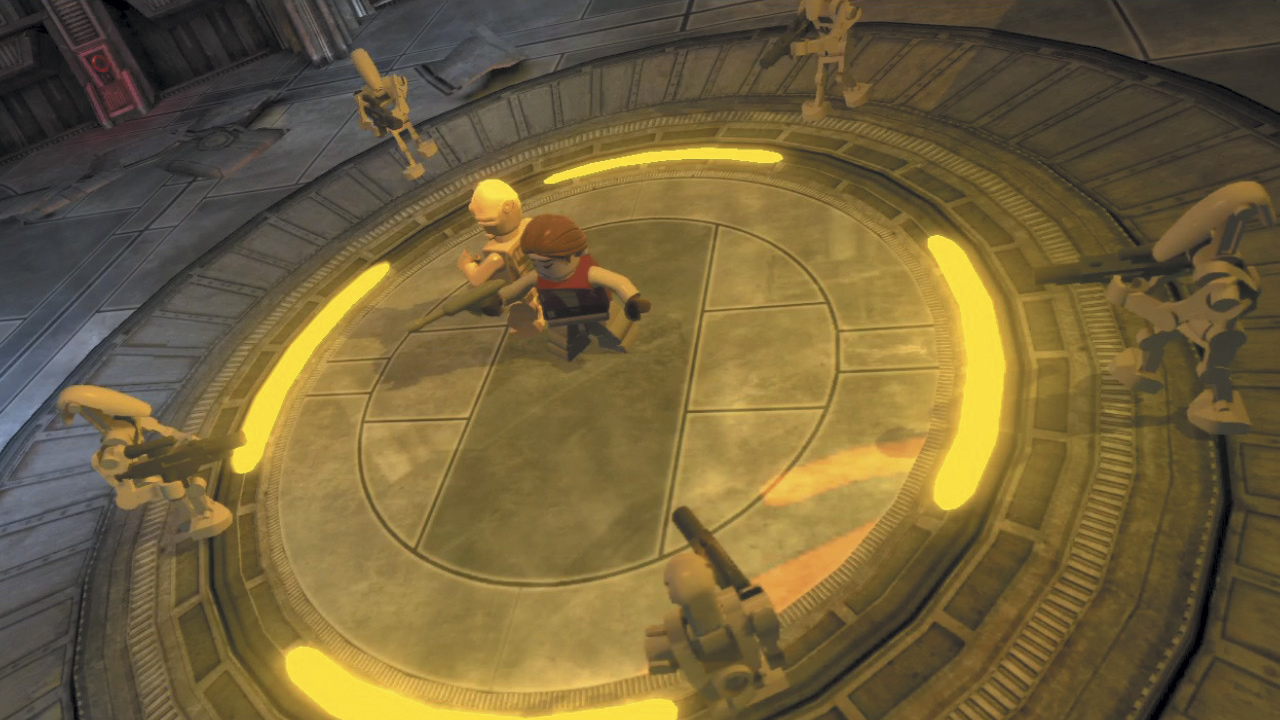
Obi-Wan and R2-D2 are cut off from their comrades, but that won’t stop them. Advance until a wall of fire blocks your path, then use the Force to lift three purple sections of pipe from the nearby ground. Place these pipes to fill the gaps in the overhead sprinkler system.
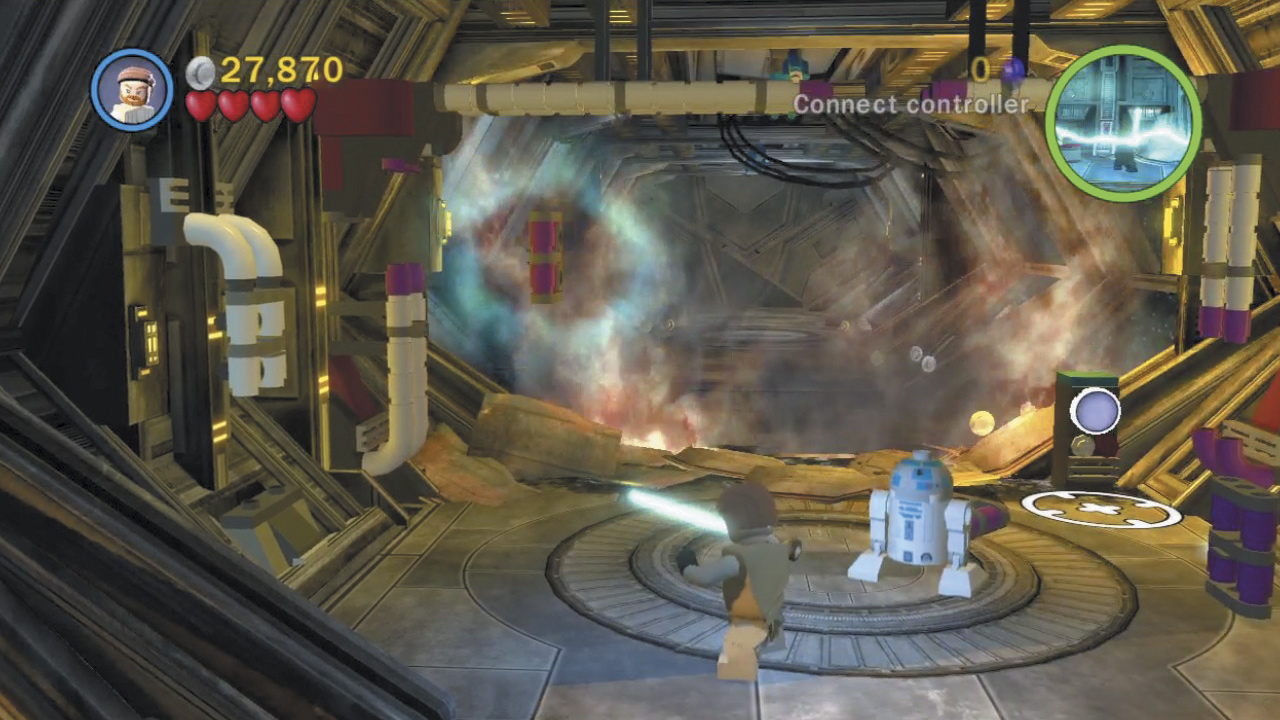
With the pipe fully repaired, switch to R2 and activate the nearby astromech Droid control panel to trigger a sprinkler that douses the flames. That’s all you can do here for now; press and hold the Change Character button to swap over to Anakin.
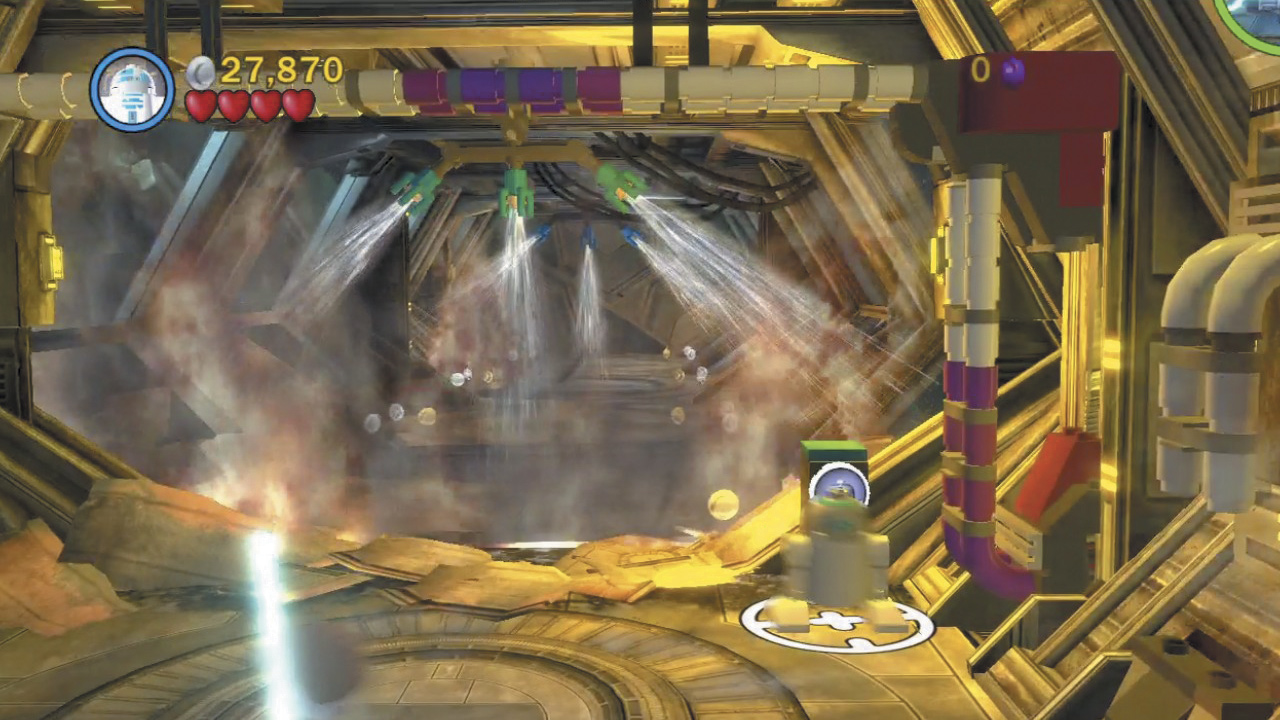
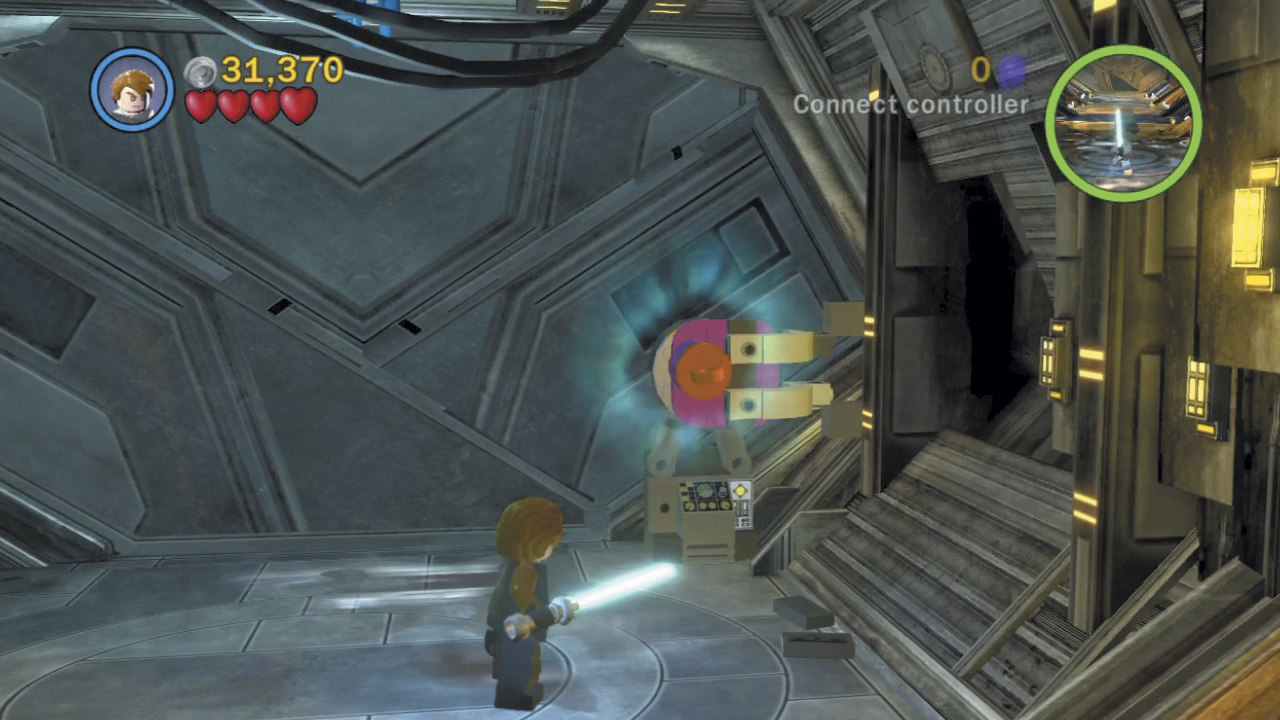
Destroy the crates in Anakin’s area to discover a hook point. Use the Force to place this onto the nearby purple pad.
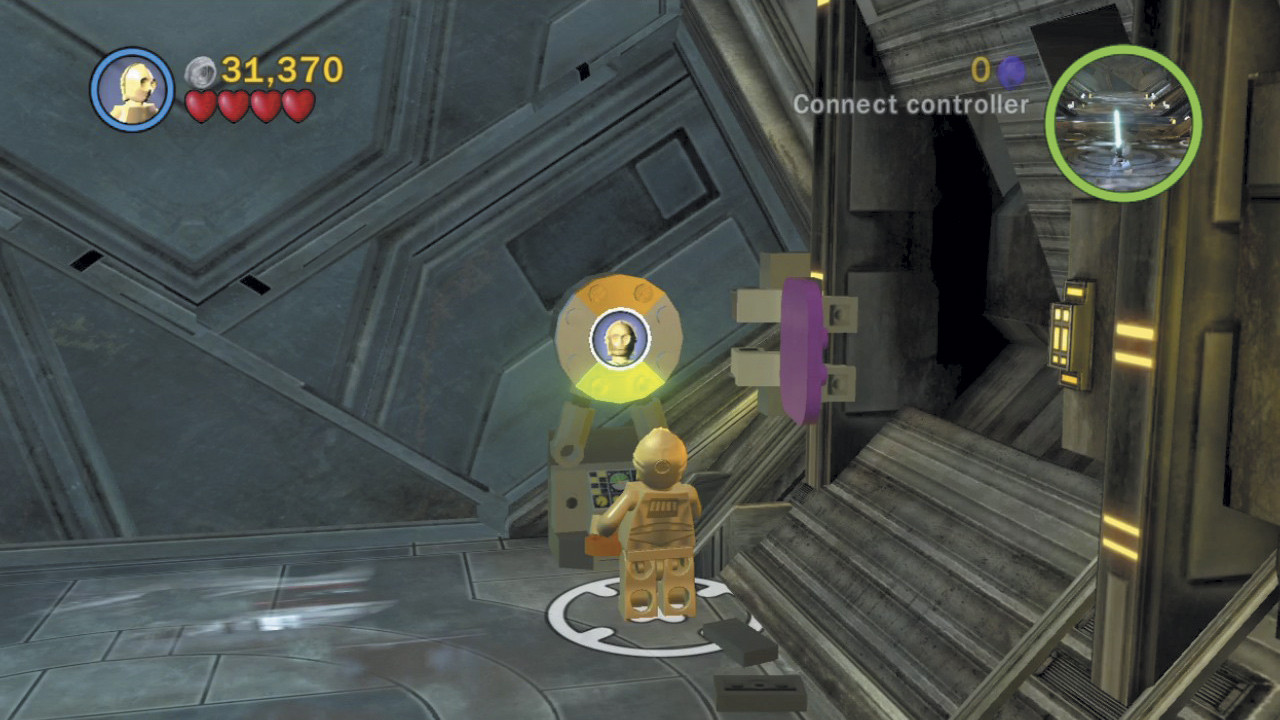
Switch to Padmé and grapple the hook point to reveal a protocol Droid control panel. Activate this with C-3PO by mimicking the four command inputs to open the door ahead.
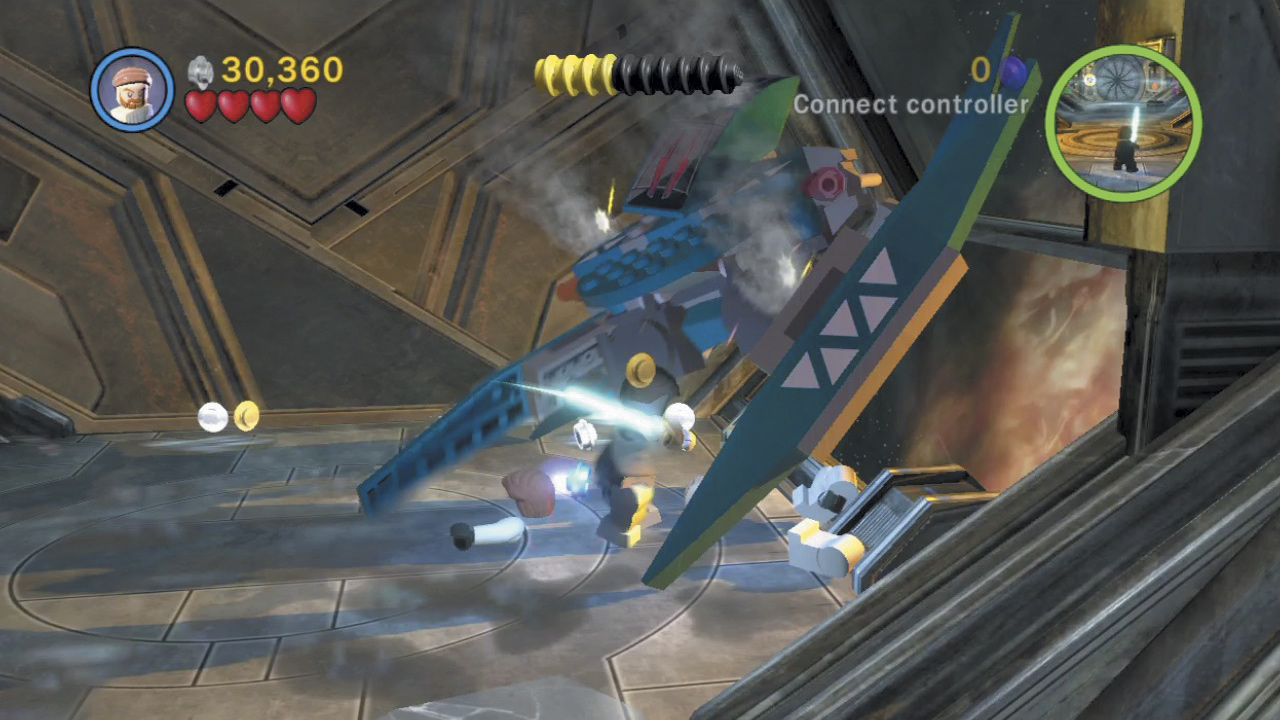
Suddenly, a Vulture Droid smashes through Anakin’s area and crash-lands over near Obi-Wan. Attack the Vulture Droid with Obi-Wan’s Lightsaber until a Jedi logo appears on the ground, then use the logo to dismantle the Droid.
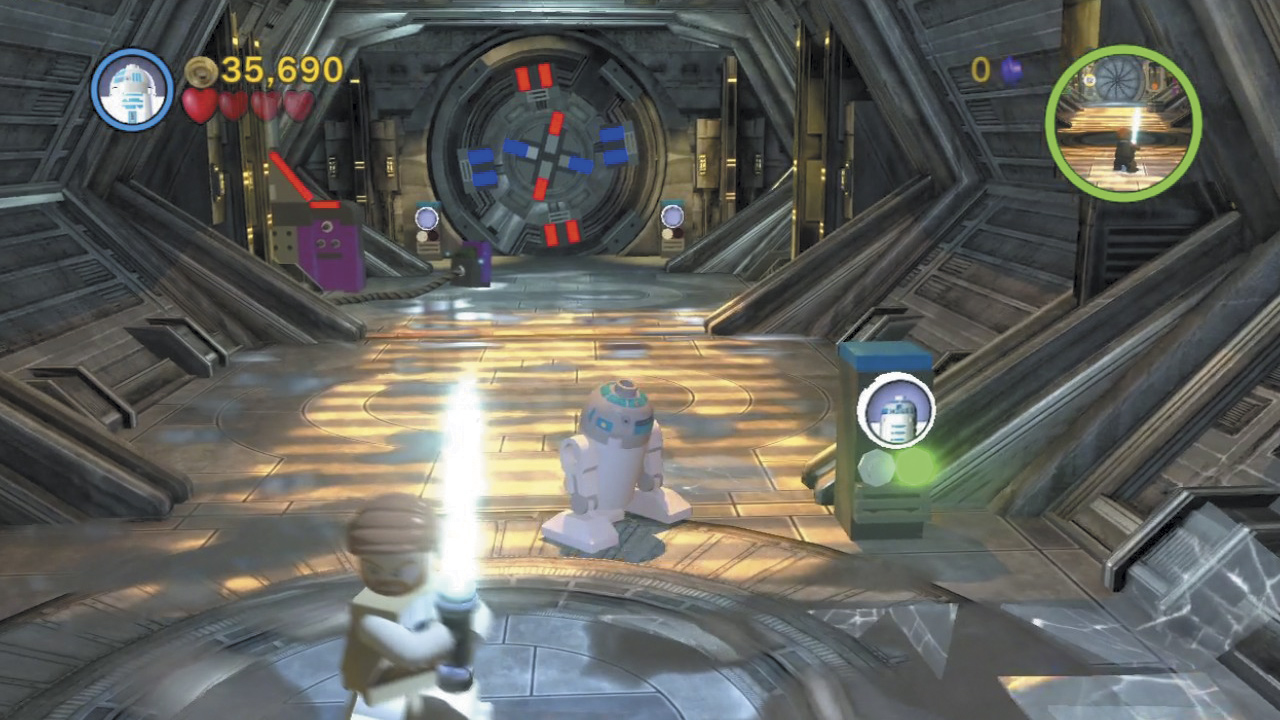
Build the remnants of the Vulture Droid into an astromech Droid panel. Activate the panel to open the blast door ahead, revealing a colorful door.
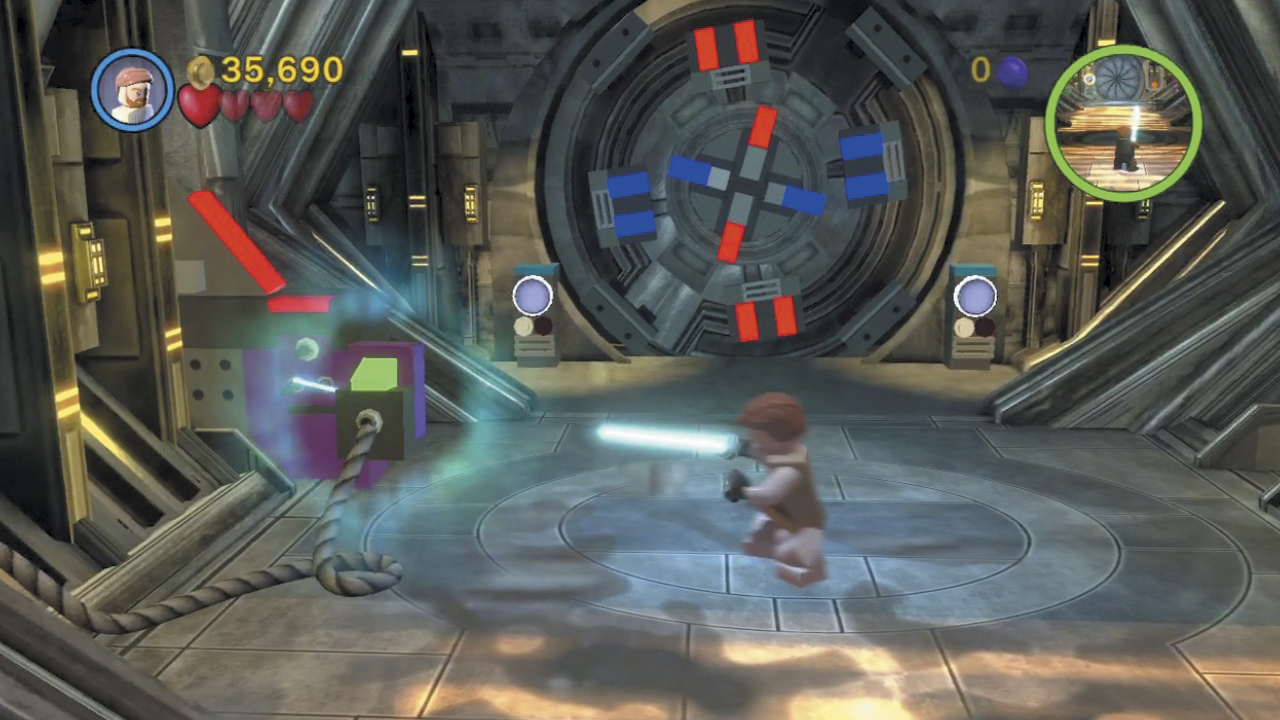
Force-lift a disconnected plug into the nearby socket to activate the two astromech Droid control panels near the colorful door. To align the door’s colored bars and proceed, activate the two panels in the following order: left, right, left, right.
Objective 3: Extend the Bridge
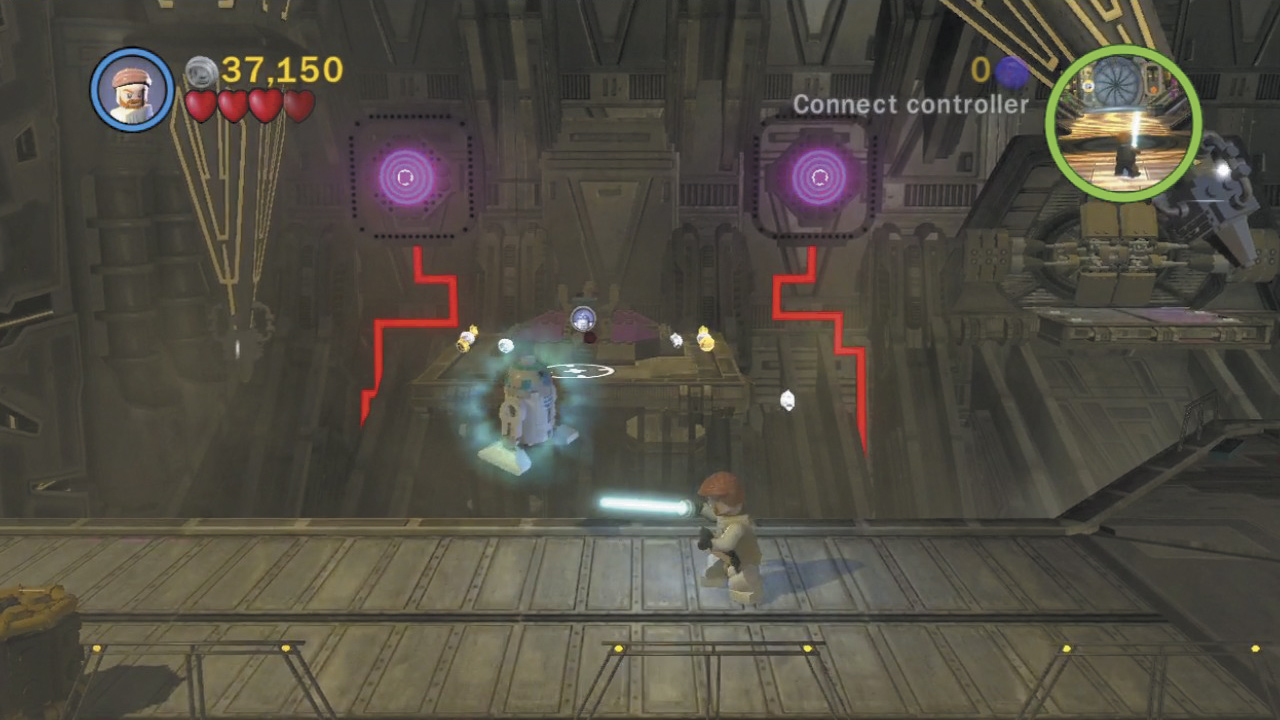
Obi-Wan and R2-D2 have reached a new area. Drop from the ledge and defeat the enemy Droids, then Force-lift R2 over to the background platform.
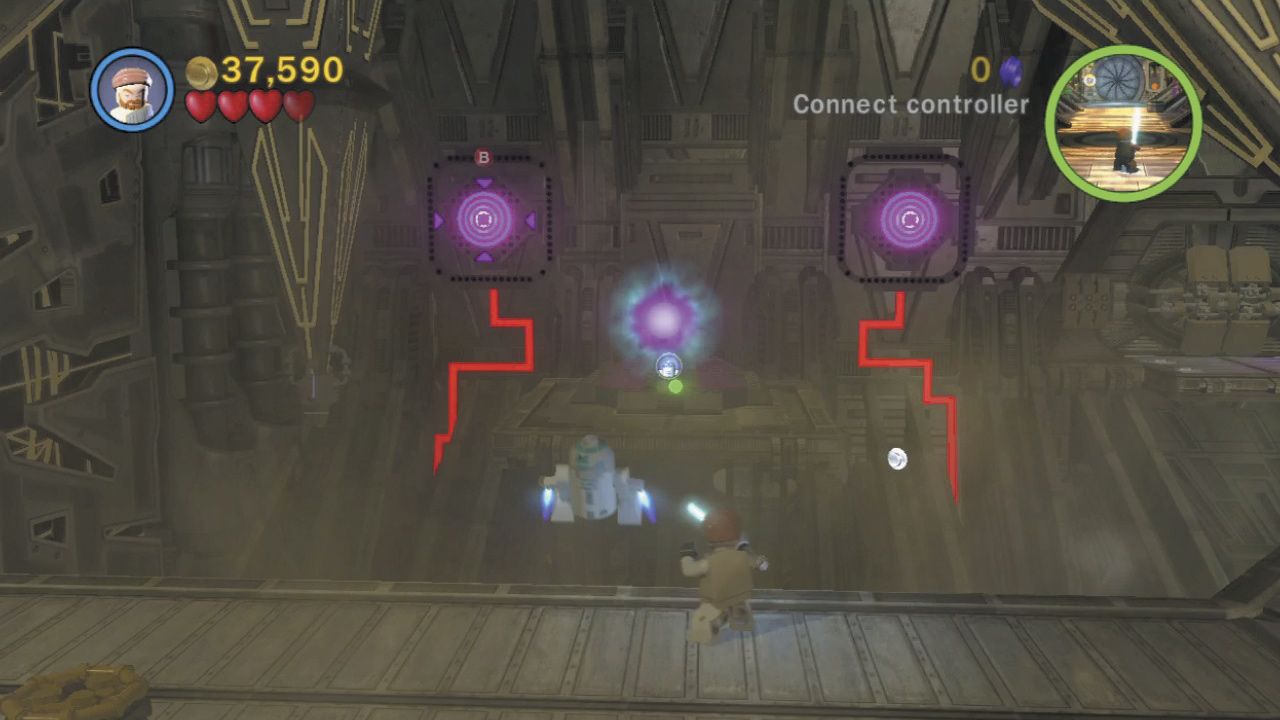
Switch to R2-D2 and activate the platform’s astromech Droid control panel to fire up a torpedo generator. Switch back to Obi-Wan and use the Force to hurl torpedoes at the two background targets to destroy them. Repeat this with the similar platform to the right, torpedoing another two targets. This banishes the shield that covers the central panel.
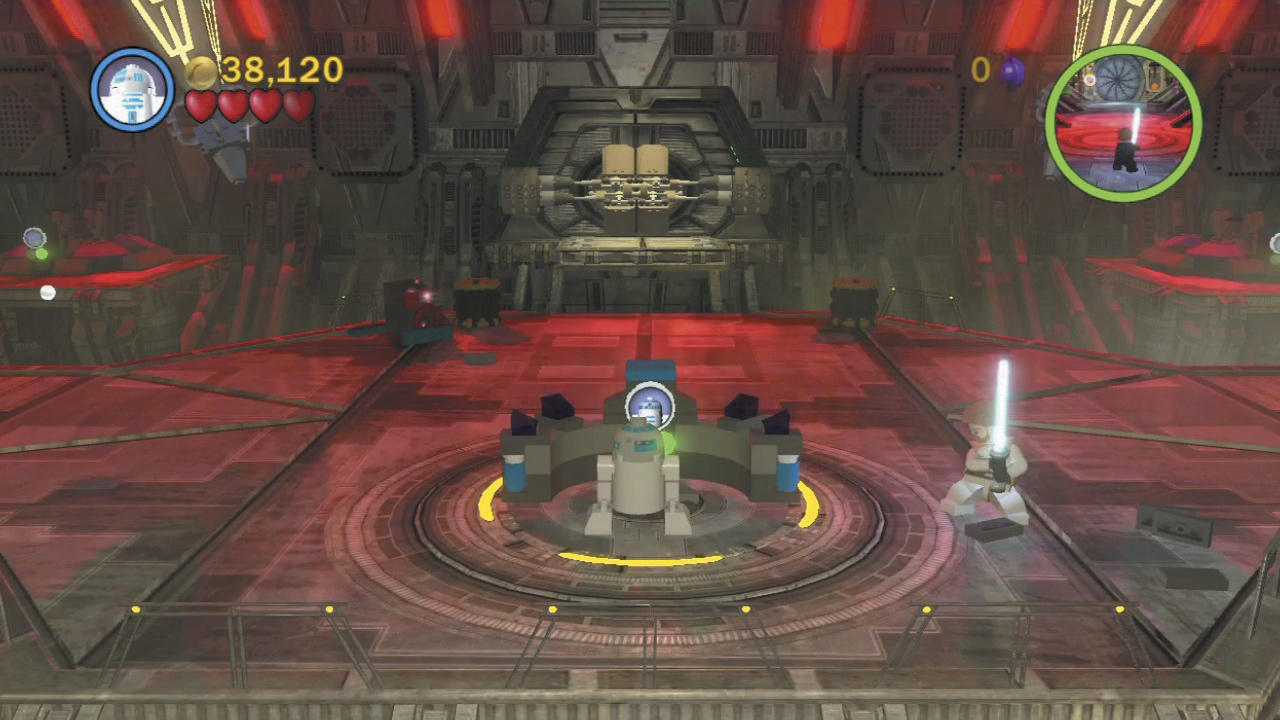
Activate the central astromech Droid control panel to extend a bridge leading toward the background door. Beware: General Grievous himself stalks out from behind the door. He’s ready to do battle!
Minikit 7 (Freeplay)
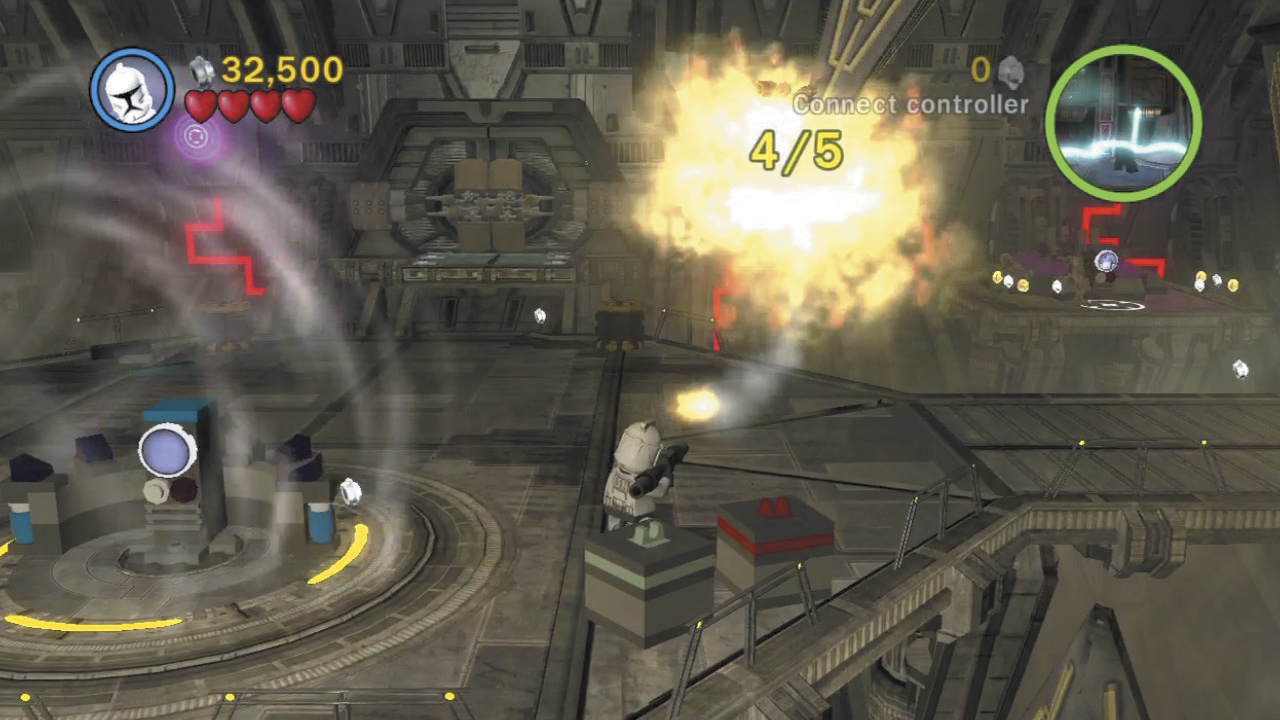
Five silver points can be seen sparkling in the background of this chamber. Take aim and blast all five with explosive attacks to receive an easy minikit!
Objective 4: Defeat General Grievous
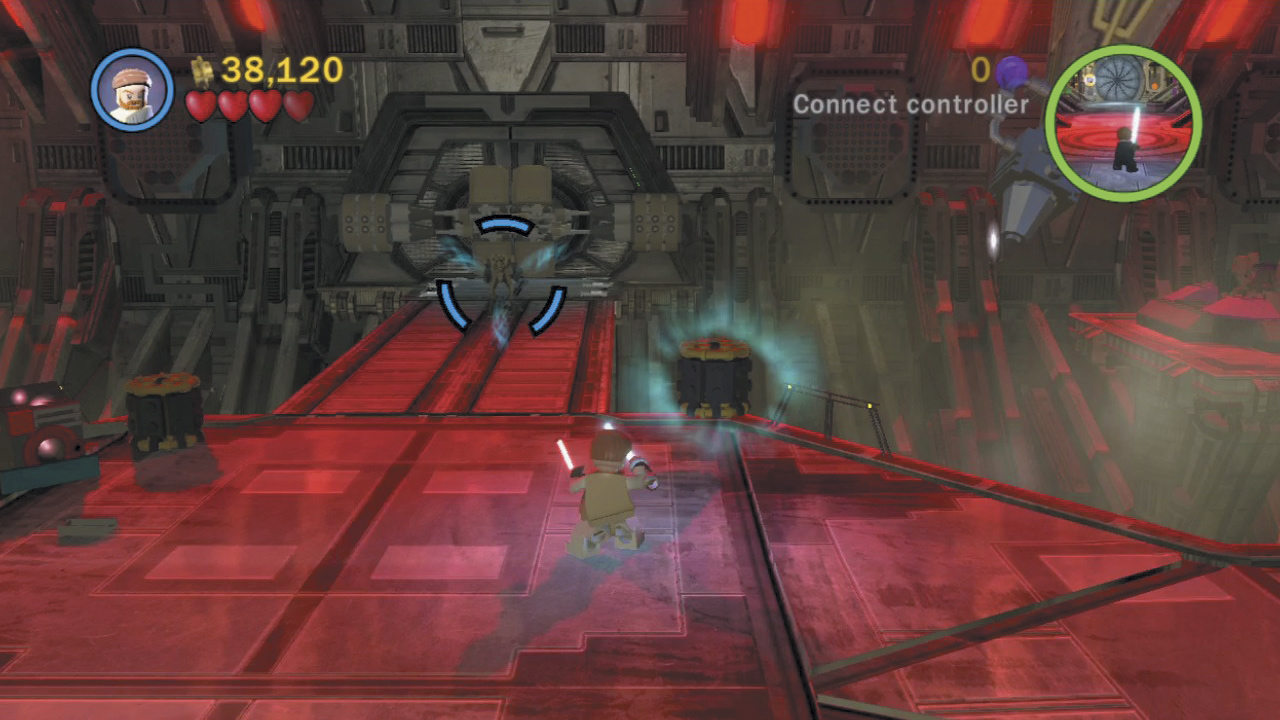
Don’t attack Grievous directly; use the Force to hurl surrounding objects at him instead. Whack Grievous twice to make him run over to the chamber’s left side.
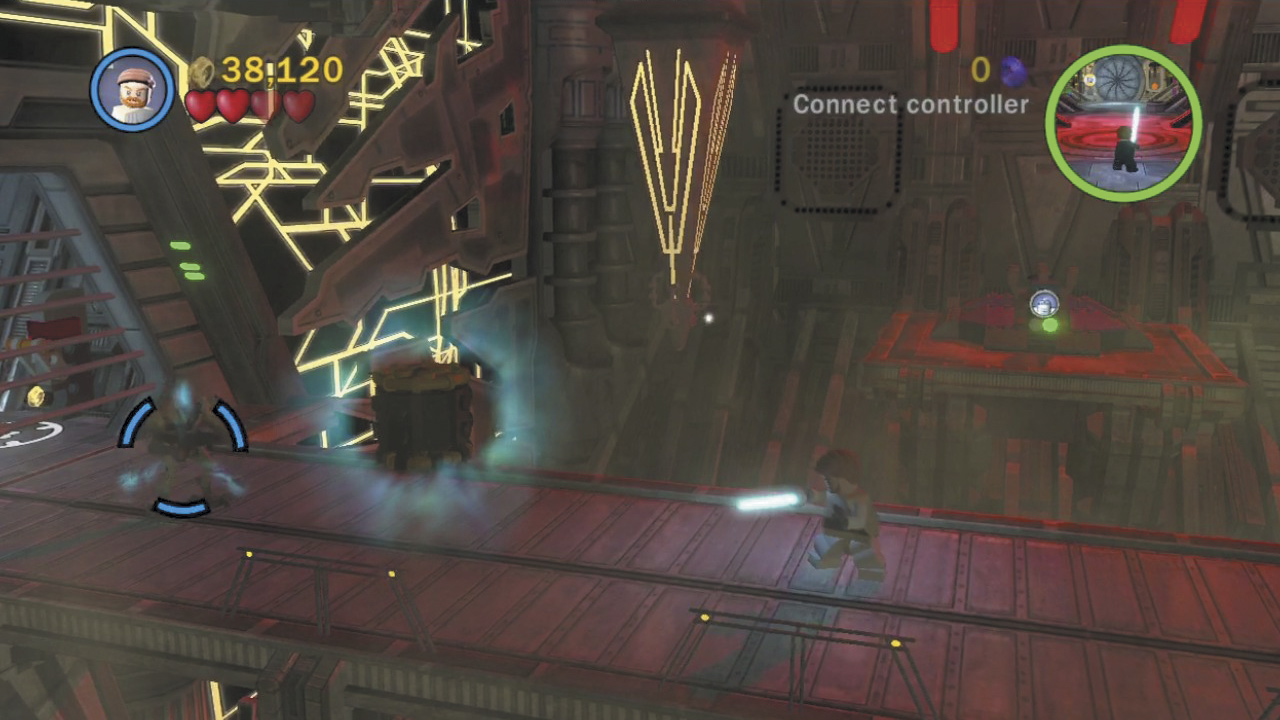
Chase Grievous and Force-throw another object at him to knock him through the bars behind him. Grievous flees again, this time to the chamber’s right side. Pull the lever within the side room before giving chase.
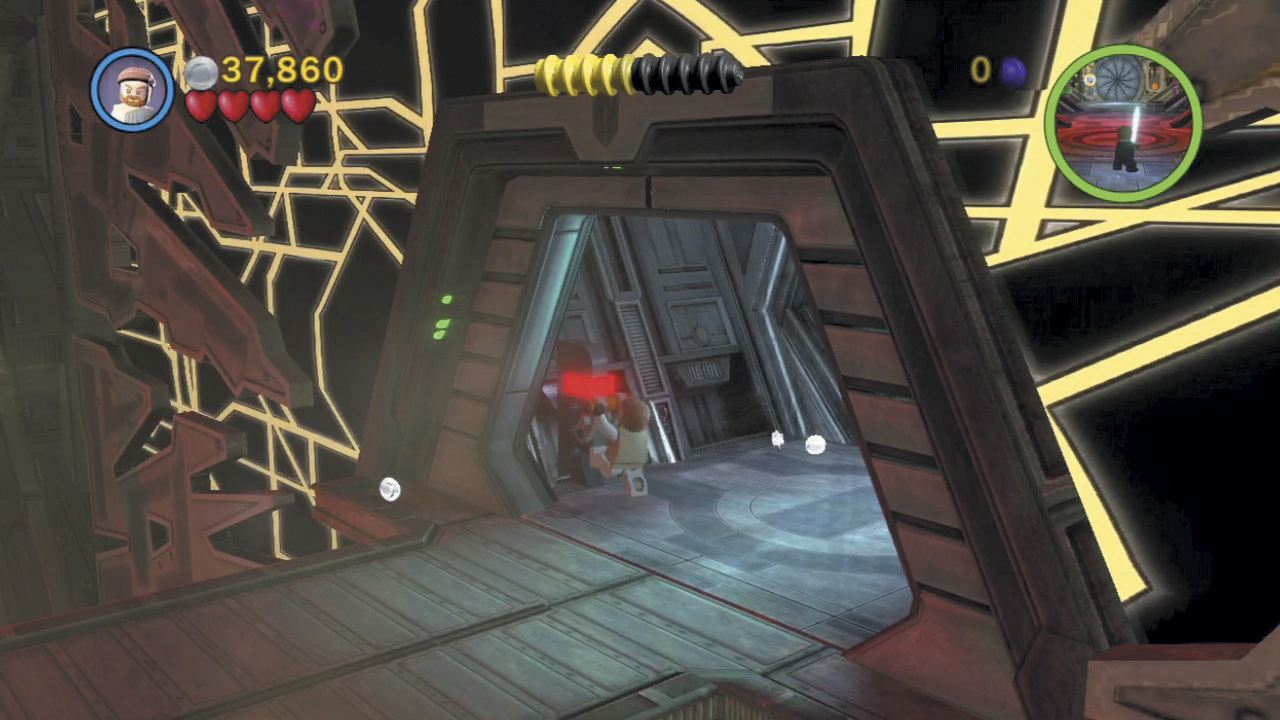
Force-throw another object at Grievous to knock him through another set of bars. Pull the lever in the small room beyond after Grievous flees to the chamber’s center.
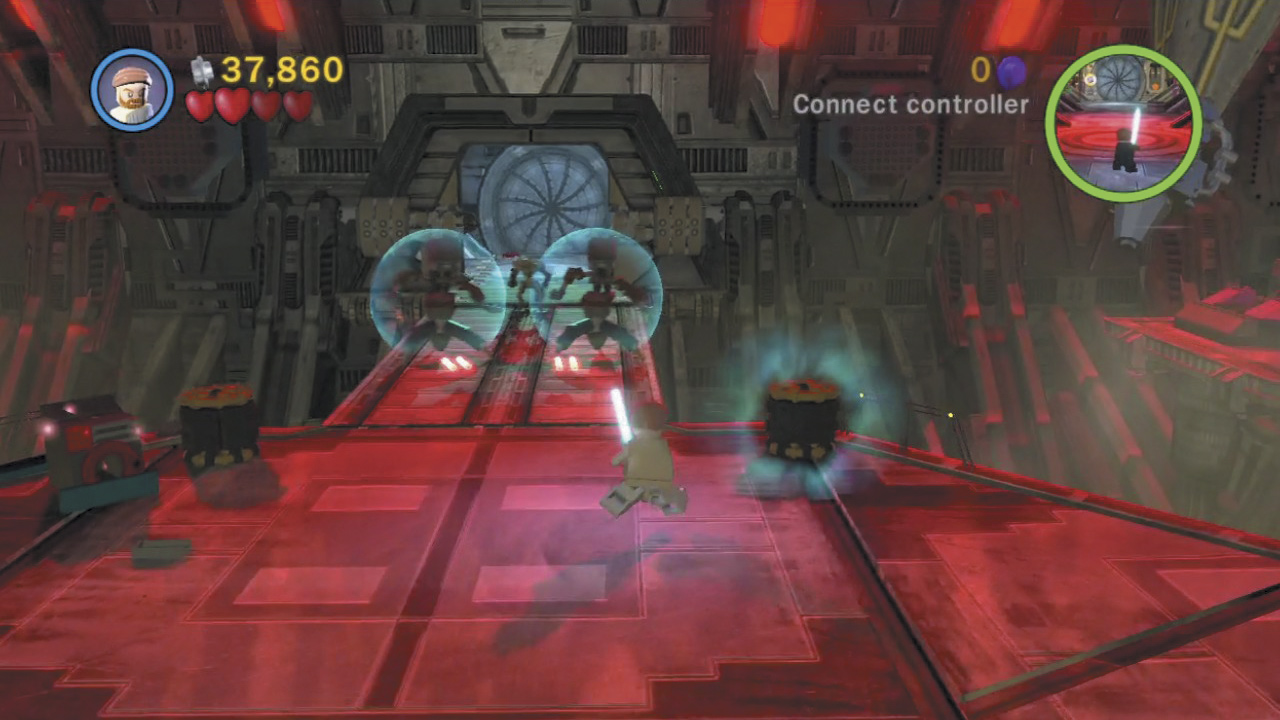
With both levers thrown, the background door opens. Now you just have to finish off that creepy clanker! Grievous hides behind two shielded Droidekas; dispatch these bodyguards, then Force-throw one final object at the General to send him packing.
Minikit 8
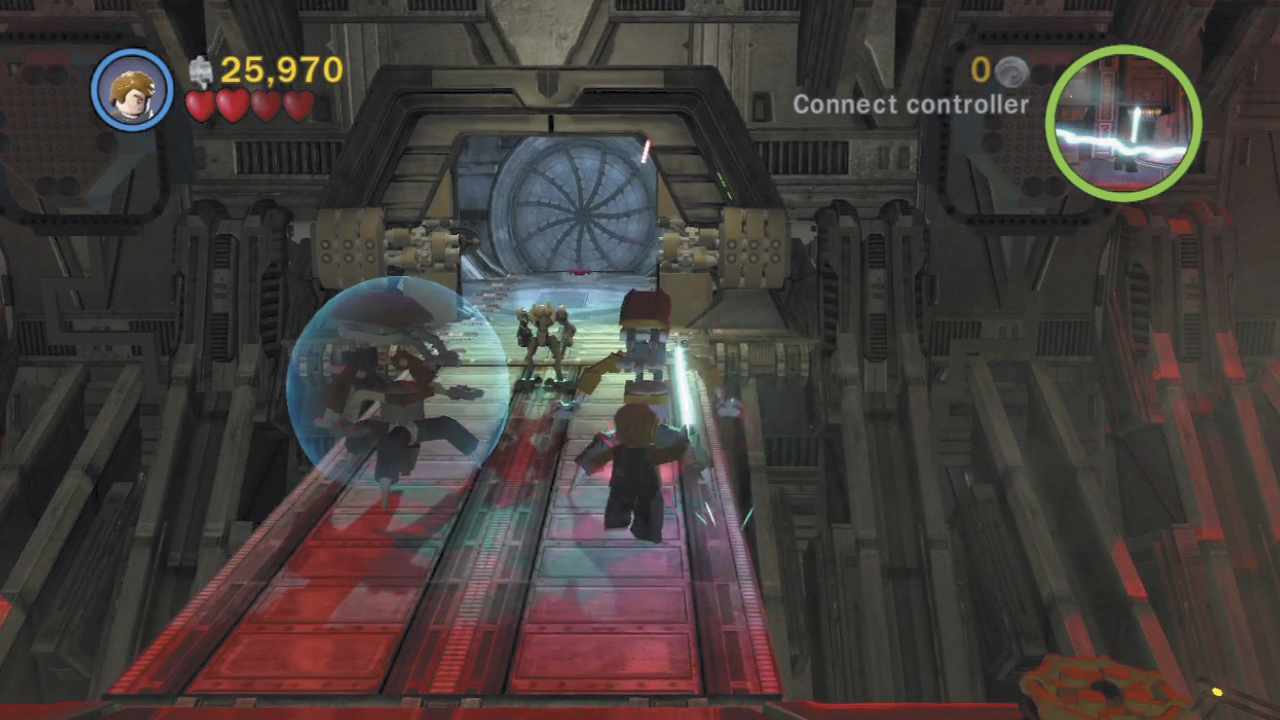
Before defeating Grievous, attack a Droideka to remove its shield, then Force-throw the Droideka into Grievous to wound him. Do this five times to score a super-secret minikit! You’ll need to chase Grievous around the chamber to accomplish this feat.
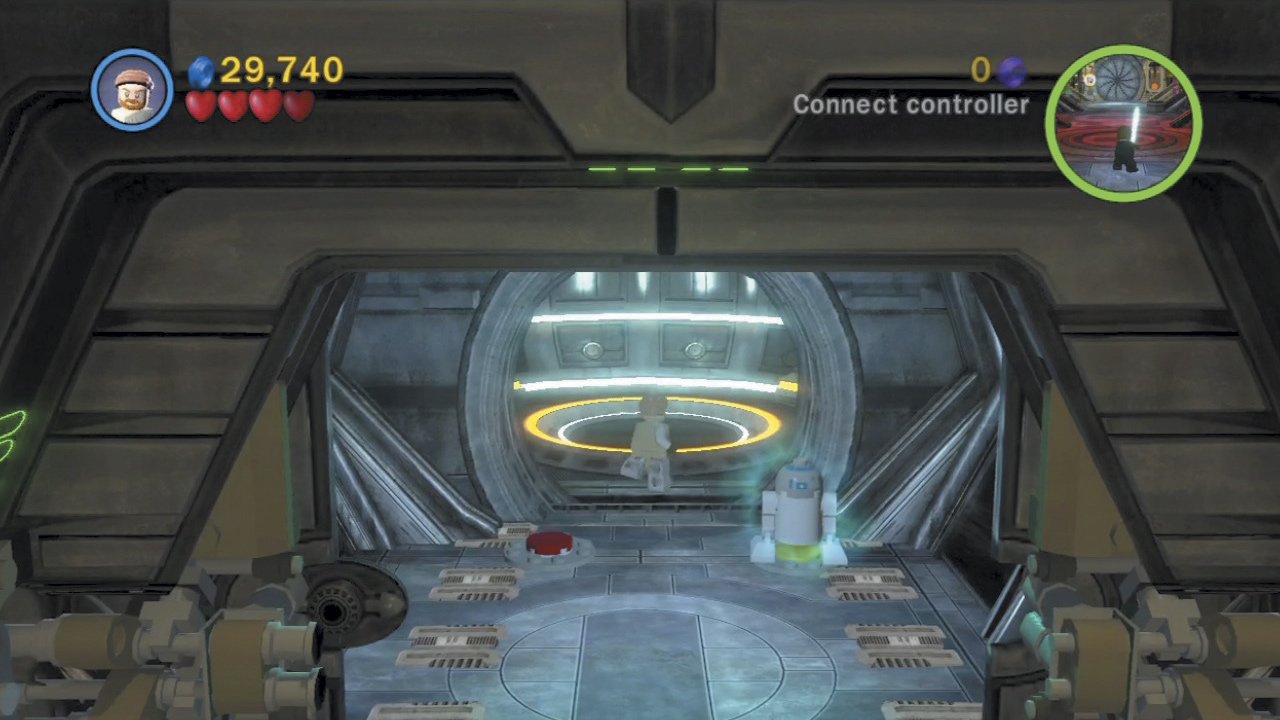
With Grievous out of the way, cross the bridge and stand on one of the two buttons beyond. R2 will automatically move onto the other button, opening the next door ahead. Proceed down the lift beyond.
Objective 5: Reach the Ship’s Bridge
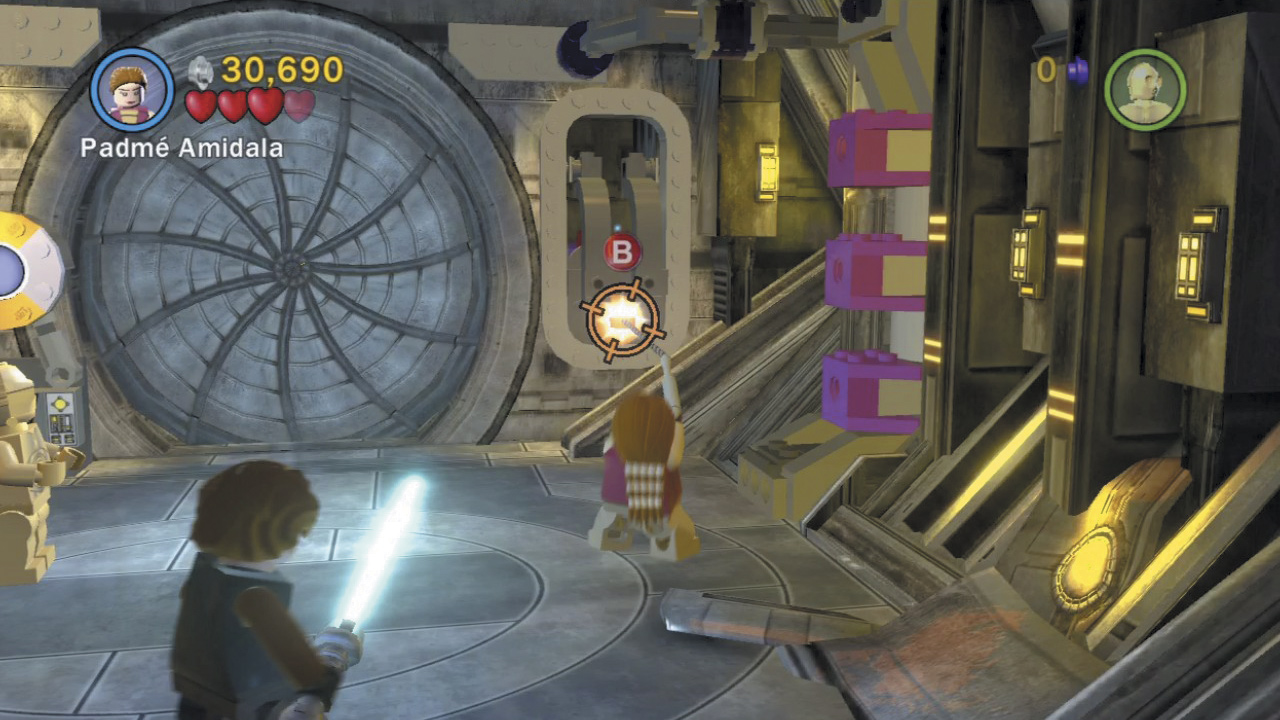
After Obi-Wan and R2-D2 defeat Grievous and ride down the lift, the scene switches back to Anakin and friends. Take control of Padmé and grapple the hook point near the far door to reveal three colored bits that tumble to the floor.
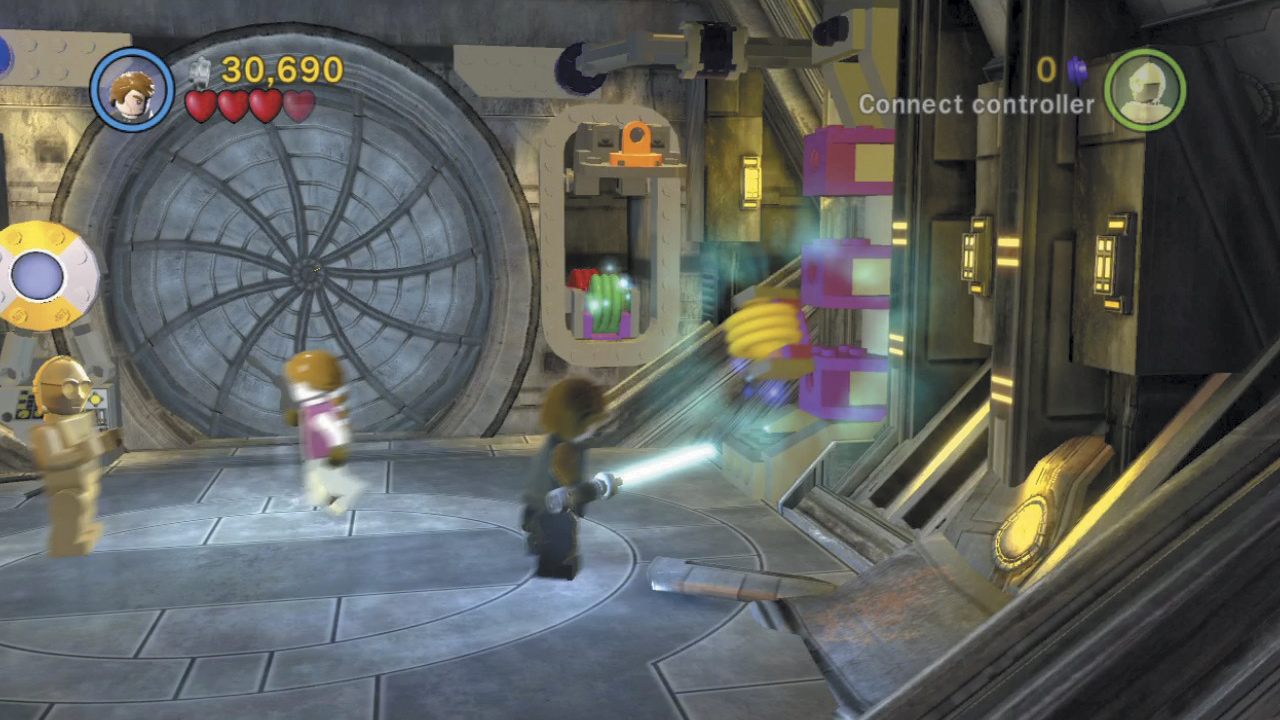
As Anakin, use the Force to place the colored bits on the three purple notches to the right. The order of the bits doesn’t matter—unless you’re after a minikit! See the sidebar for details.
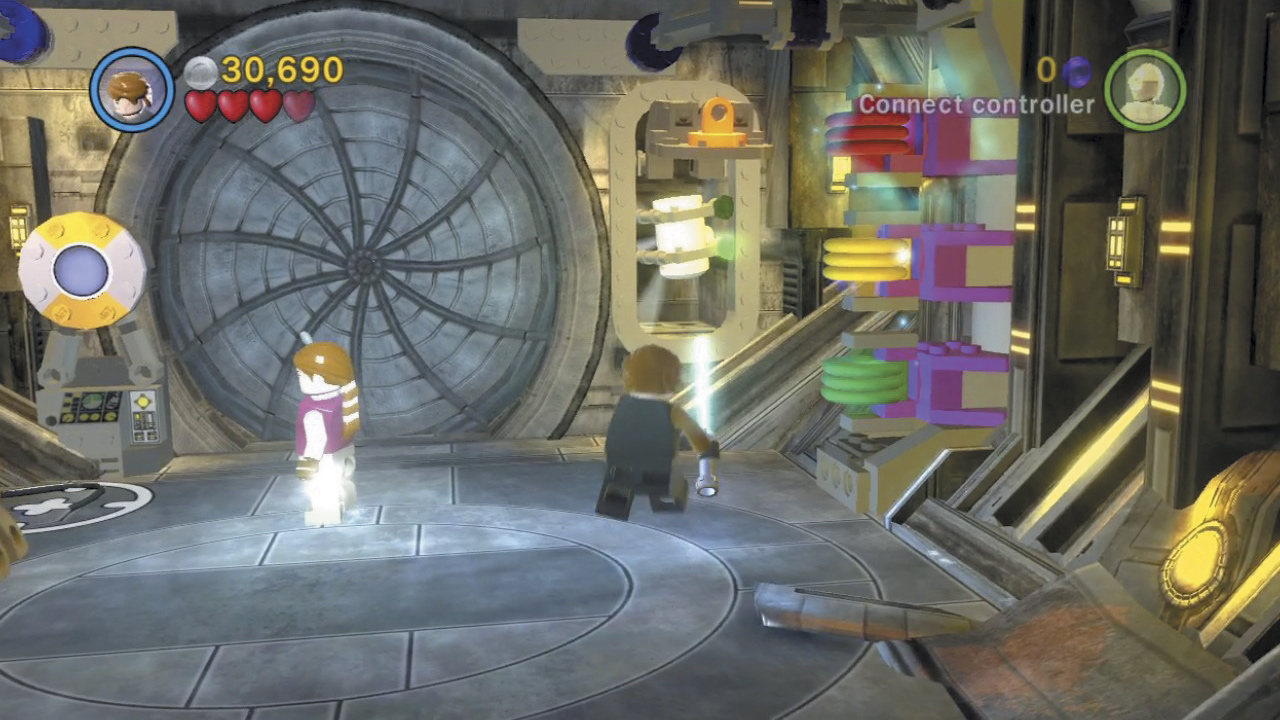
With the bits slotted into place, the nearby protocol panel comes online. Time to shine, Threepio! Activate the panel, then ride up the lift beyond to reach the battleship’s bridge.
Minikit 9
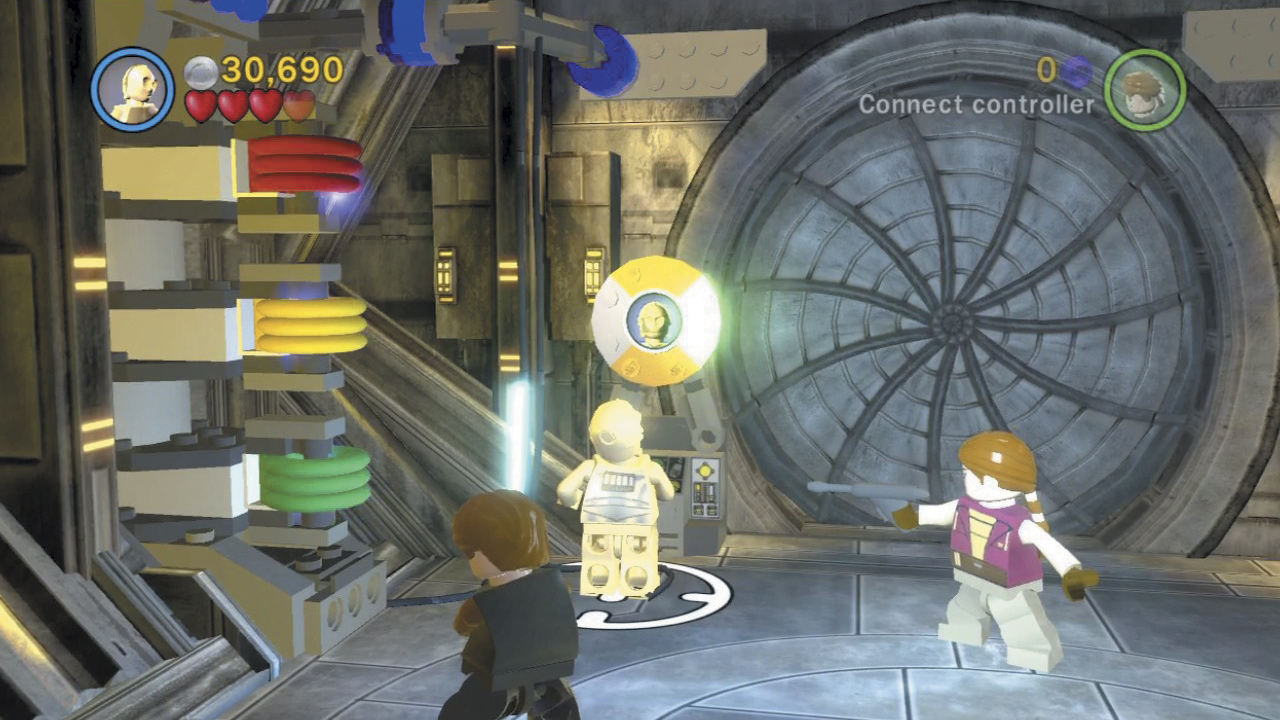
To score an easy minikit, place the bits in the same order as shown on the left wall. Start with the bottom bit (green) and work your way up to the top (red). Deductive reasoning tells us that yellow must then go in the middle!
Objective 6: Destroy the Malevolence
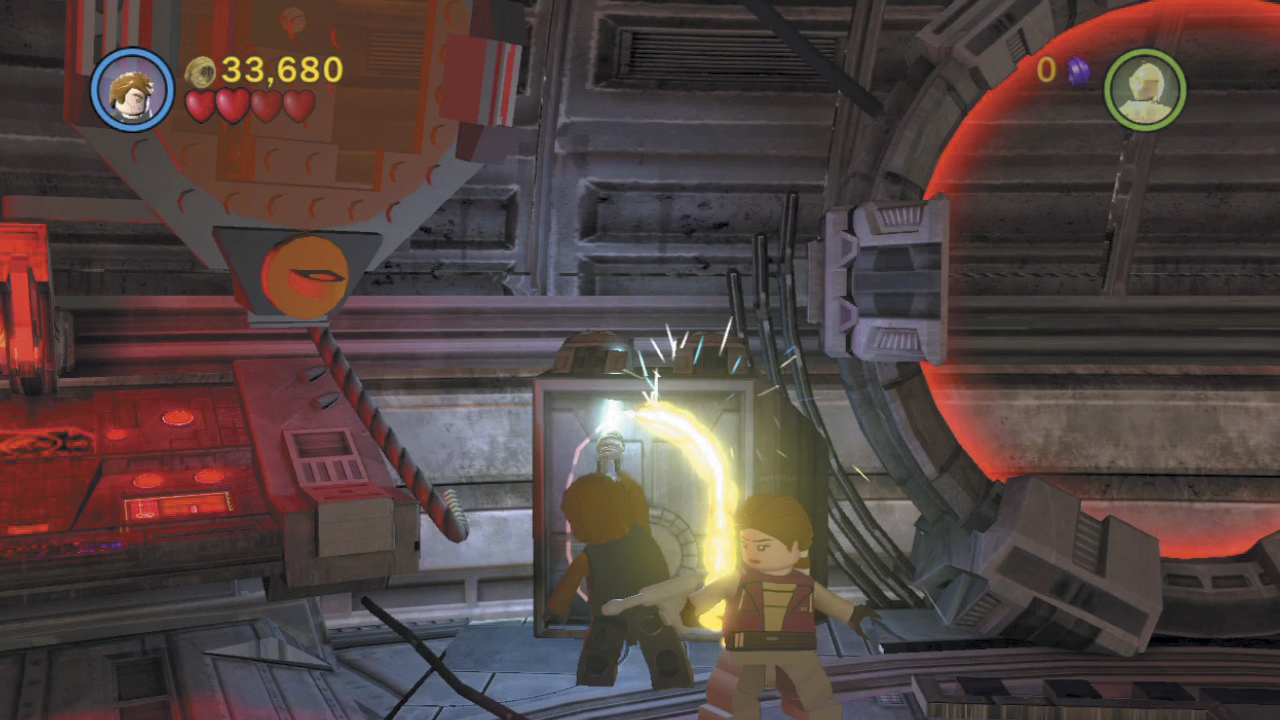
The bridge of the Malevolence is in chaos. Eliminate the few Droids that are left to defend the ship, then cut two small holes in the background wall where the Jedi logos appear.
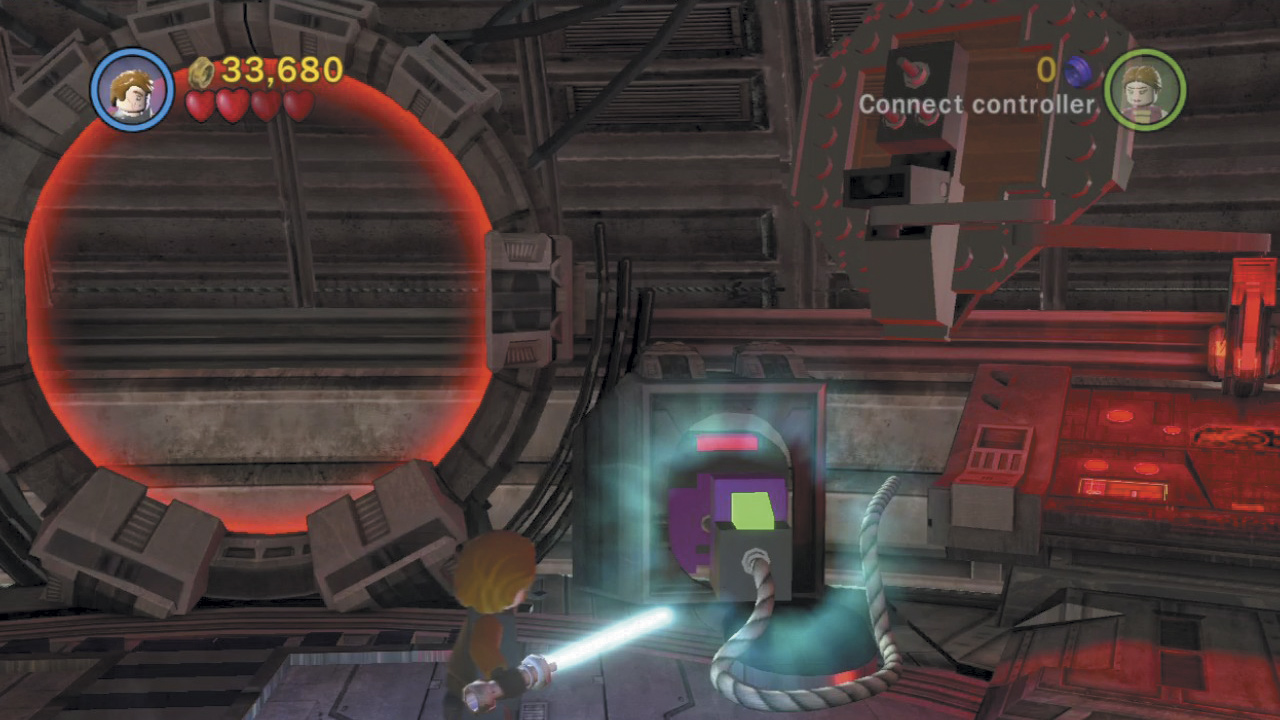
Purple sockets are found behind the holes that Anakin carves. Switch to Padmé and have her pull on the two overhead hook points to expose two plugs, then have Anakin Force-move the plugs into the sockets.
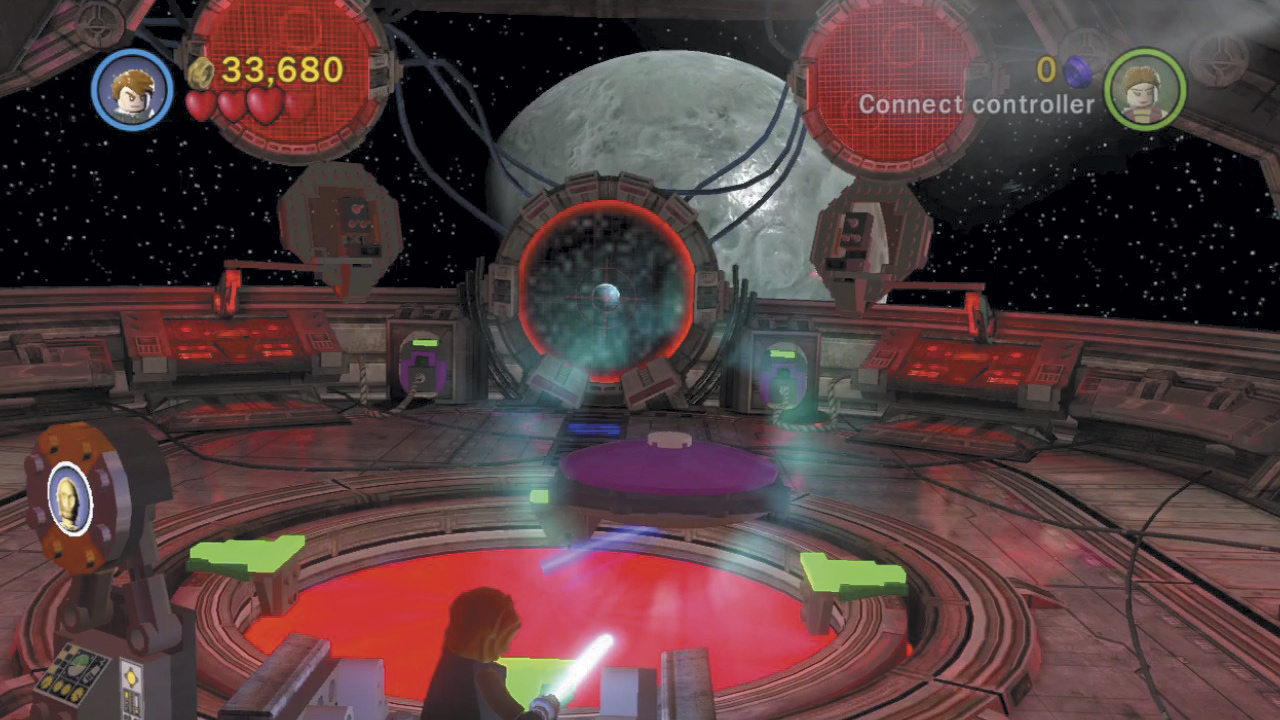
With both plugs connected, the ship’s blast shields withdraw, allowing for bridge navigation. Activate the central protocol panel, then use the Force on the large central control stick to steer the ship directly toward the nearby moon. (Place the moon in the navigation screen’s crosshairs).
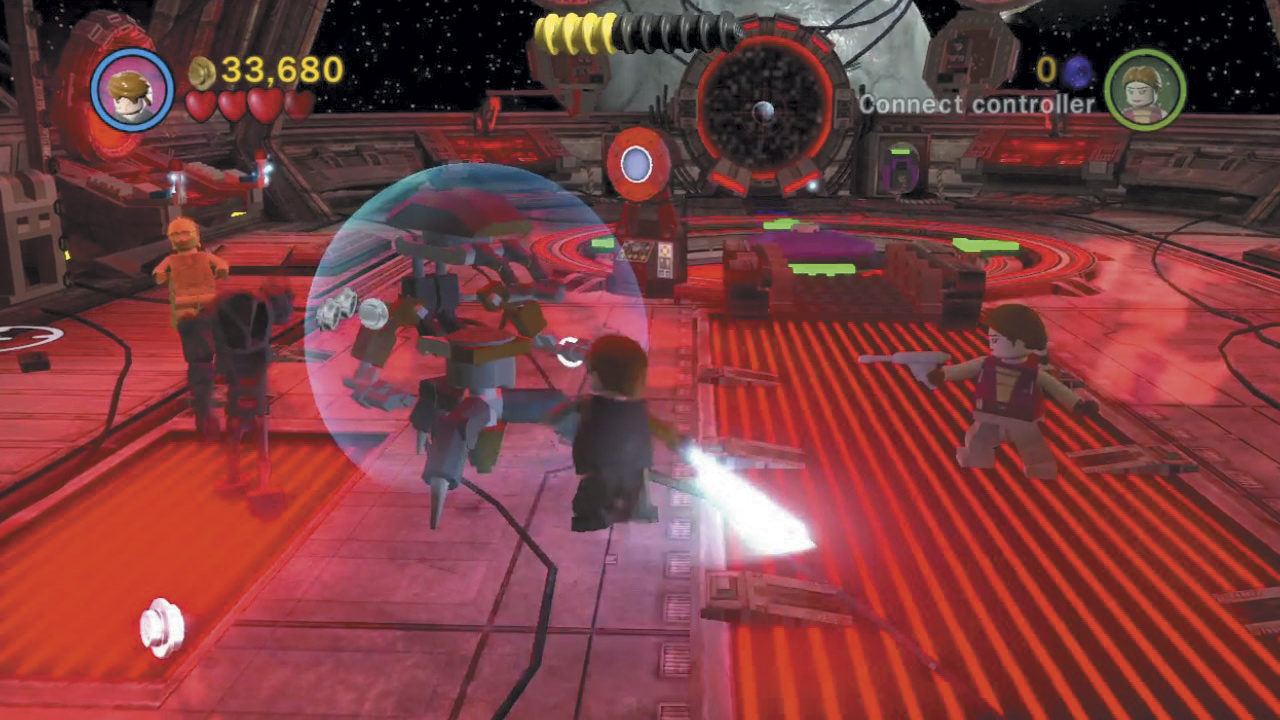
Enemy Droids flood the bridge after you set the ship on a collision course with the moon. Dispatch them all to seal the Malevolence’s fate, then flee into the left elevator to escape before impact. Another tremendous victory for the Republic!
Minikit 10 (Freeplay)
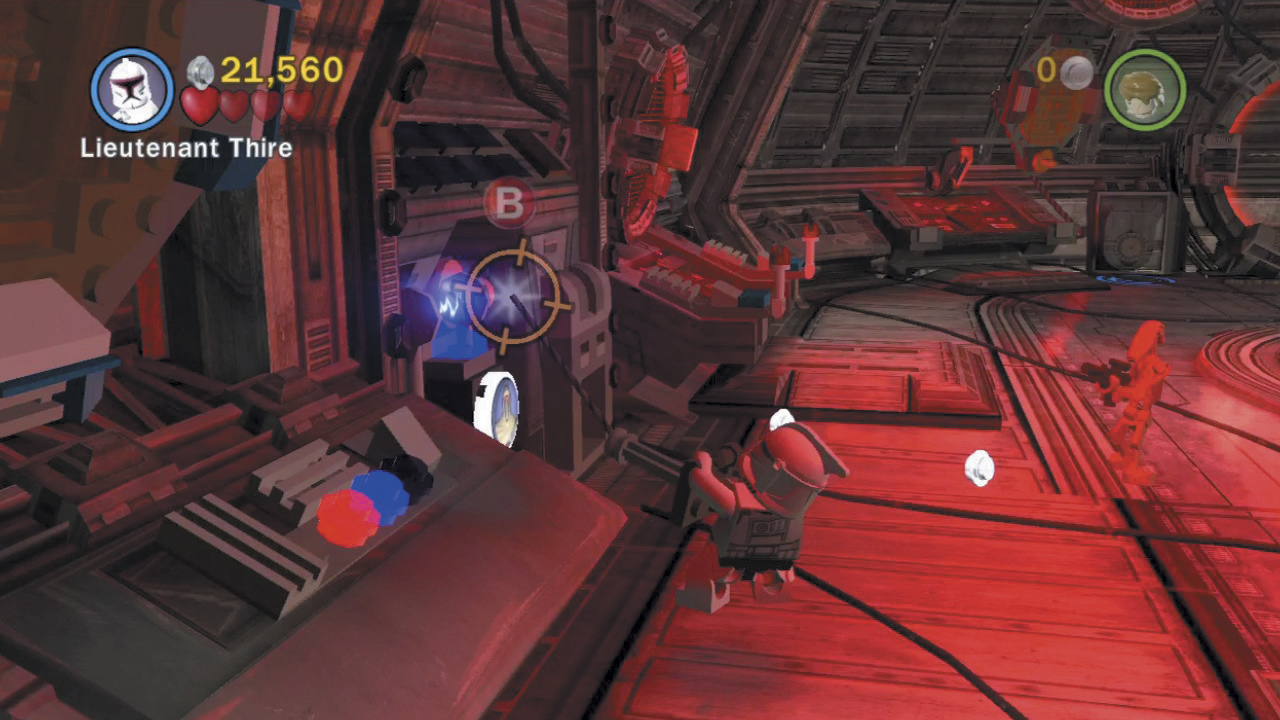
Activate the power panel on the left side of the bridge to extend a hook point. Quickly grapple the hook point before it retracts to open a secret nook that contains a sparkly minikit!