Prima Games eGuides
primagames.com Browse Redeem a code Help
Lego Star Wars III: The Clone Wars eGuide
Sign in My Guides

Sign in or create an account

We'll email you a link. No password needed, and if you don't have an account yet, the link makes one.

By creating an account or signing in, you agree to our Terms of Service and Privacy Policy.

Have a password?

Had an account on the old eGuides site, or a code from a printed guide? Help and troubleshooting

Sign in with a password

By signing in, you agree to our Terms of Service and Privacy Policy.

Check your email

A sign-in link is on its way. It works once and expires in 15 minutes. Open it and you're in, with an account if you didn't already have one.

Contents

  • Essentials
    • Padawan Training
      • Introduction
      • Adventurous Actions
      • Space Combat
      • Ground Assaults
      • Tantalizing Treasures
    • Secrets and Extras
      • Secrets and Extras-Introduction
      • Space Combat
      • Secrets and Extras
      • Secrets and Extras
      • Cheat Codes
    • DS Game Basics
      • The Hub (DS)
      • Game Modes (DS)
      • Game Progress (DS)
      • Character Abilities (DS)
      • Characters (DS)
      • Ships (DS)
    • Cast
      • Unlocking Characters
      • Cast
    • DS Checklists
      • DS Checklists
  • Walkthrough
    • Hub Areas
      • Battleship Resolute
      • The Invisible Hand
    • Prologue
      • Geonosian Arena
      • Freeplay
    • Count Dooku
      • Chapter I: Battle of Geonosis
      • Chapter II: Gungan General
      • Chapter III: Jedi Crash
      • Chapter IV: Defenders of Peace
      • Chapter V: Weapons Factory
      • Chapter VI: Legacy of Horror
    • General Grievous
      • Chapter I: Duel of the Droids
      • Chapter II: Shadow of Malevolence
      • Chapter III: Destroy Malevolence
      • Chapter IV: Lair of Grievous
      • Chapter V: Rookies
      • Chapter VI: Grievous Intrigue
    • Asajj Ventress
      • Chapter I: The Hidden Enemy
      • Chapter II: Ambush
      • Chapter III: Blue Shadow Virus
      • Chapter IV: Storm Over Ryloth
      • Chapter V: Innocents of Ryloth
      • Liberty on Ryloth
    • Epilogue
      • Epilogue
    • Separatist Missions
      • Chapter I: Hostage Crisis
      • Chapter II: Castle of Doom
    • Ambush (DS)
      • Ambush-Introduction (DS)
      • Ambush-Act 1 (DS)
      • Ambush-Act 2 (DS)
      • Ambush-Act 3 (DS)
    • Destroy Malevolence (DS)
      • Destroy Malevolance-Introduction (DS)
      • Destroy Malevolance-Act 1 (DS)
      • Destroy Malevolance-Act 2 (DS)
      • Destroy Malevolance-Act 3 (DS)
    • Rookies (DS)
      • Rookies-Introduction (DS)
      • Rookies-Act 1 (DS)
      • Rookies-Act 2 (DS)
      • Rookies-Act 3 (DS)
    • Lair of Grievous (DS)
      • Lair of Grievous-Introduction (DS)
      • Lair of Grievous-Act 1 (DS)
      • Lair of Grievous- Act 2 (DS)
      • Lair of Grievous-Act 3 (DS)
    • Gungan General (DS)
      • Gungan General-Introduction (DS)
      • Gungan General-Act 1 (DS)
      • Gungan General-Act 2 (DS)
      • Gungan General-Act 3 (DS)
    • Jedi Crash (DS)
      • Jedi Crash-Introduction (DS)
      • Jedi Crash-Act 1 (DS)
      • Jedi Crash-Act 2 (DS)
      • Jedi Crash-Act 3 (DS)
    • Hidden Enemy (DS)
      • HIdden Enemy-Introduction (DS)
      • Hidden Enemy-Act 1
      • Hidden Enemy-Act 2 (DS)
      • Hidden Enemy-Act 3 (DS)
    • Blue Shadow Virus (DS)
      • Blue Shadow Virus-Introduction (DS)
      • Blue Shadow Virus-Act 1 (DS)
      • Blue Shadow Virus-Act 2 (DS)
      • Blue Shadow Virus-Act 3 (DS)
    • Storm Over Ryloth (DS)
      • Storm Over Ryloth-Introduction (DS)
      • Storm Over Ryloth-Act 1 (DS)
      • Storm Over Ryloth-Act 2 (DS)
      • Storm Over Ryloth-Act 3 (DS)
    • Liberty on Ryloth (DS)
      • Liberty on Ryloth-Introduction (DS)
      • Liberty on Ryloth-Act 1 (DS)
      • Liberty on Ryloth-Act 2 (DS)
      • Liberty on Ryloth-Act 3 (DS)
    • Weapons Factory (DS)
      • Weapons Factory-Introduction (DS)
      • Weapons Factory-Act 1 (DS)
      • Weapons Factory-Act 2 (DS)
      • Weapons Factory-Act 3 (DS)
    • Legacy of Teror (DS)
      • Legacy of Terror-Introduction (DS)
      • Legacy of Terror-Act 1 (DS)
      • Legacy of Terror-Act 2 (DS)
      • Legacy of Terror-Act 3 (DS)

Lego Star Wars III: The Clone Wars Guide › Walkthrough › Jedi Crash (DS)

Jedi Crash-Act 3 (DS)

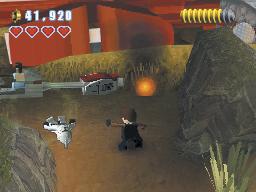
Anakin, Ahsoka, and a heavy clone are at the crash site. Use the Force on the speeder to add the clone trooper.
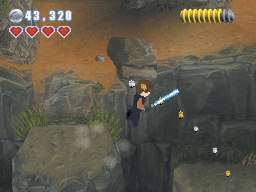
Move away from the wreckage to find a series of platforms running along the cliff side. Drop down and follow the studs across the platforms to the right.
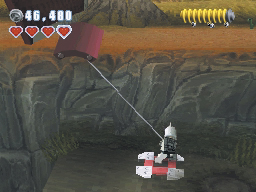
When you reach the crate, smash it open and assemble a grapple pad. Use your light clone to swing across the gap, then destroy the debris to reveal another build-it. Assemble a new grapple pad to pull the bit of wreckage down to the platforms.
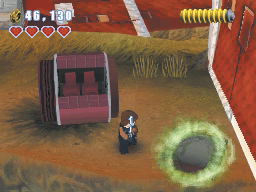
Switch to one of your Jedi and use the Force on the piece of wreckage. After it lands near the thruster, double-jump across the platforms and return to the crashed ship. Target the piece of wreckage and use the Force to reassemble the thruster.
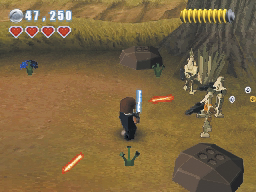
After the thruster clears the path, clear out the battle Droids and follow the path to the right.

Minikit 4
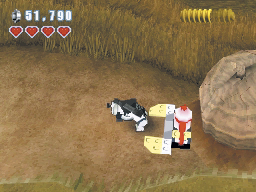
Destroy the crate near the fallen tree to collect a minikit.
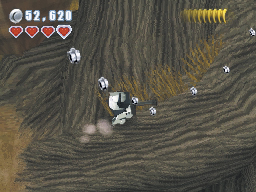
Tip

For some extra studs, use the Force to make budding flowers bloom.

In the next area, use the Force to pull the crate onto the path. Smash the crate, then use its contents to assemble build a large bomb. Activate the bomb to blast the giant seed pod out of your path.
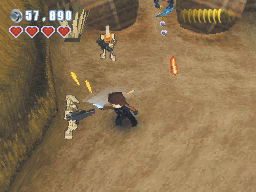
The explosion shakes more seed pods loose from the giant tree. Avoid the shadows of falling seed pods and continue down the path. When you reach the giant tree, follow its spiraling trunk onto an offshoot.

Minikit 5
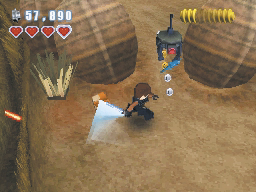
Use the Force to move the gray crate onto the offshoot. Smash the crate to reveal a minikit.
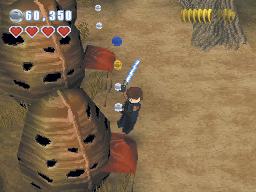
Continue to the right. Jump through the studs and drop to the ground. When you land, fight through the waves of enemies and take out the Separatist recon Droid blocking your path.

Recon Droid
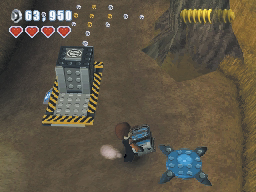
The recon Droid is used to scout hostile territory or keep watch of enemy movements. When one of these Droids spots you, it relays your position and calls for reinforcements. Recon Droids are lightly armored, and are sometimes equipped with basic blasters.
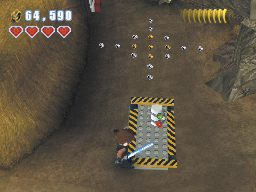
Continue to the Lurmen colony at the end of the path. Collect all of the studs above the awnings, then follow Wag Too through the main structure.
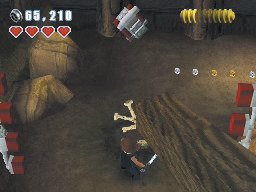
After Wag Too leads you back outside, follow the path to the right. Take out the Droid near the cart, then move the blue crate onto the build-it pad. Assemble the large bomb, then set it off to topple the nearby tree. The tree crashes down, destroying the red barrier farther up the path.

Minikit 6
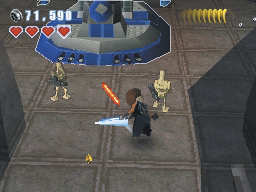
Jump on the cart and smash the remaining crate to collect a minikit, then continue up the path.
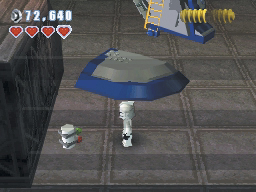
Approach the barrier, then use the Force to throw some debris into the nearby turret. Run up to the debris and use another throw to take out a second turret.
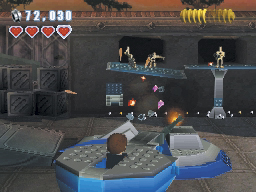
Continue to the right until the AAT moves in to attack. Use the Force to throw a large rock; the impact breaks a piece of the wall loose and pins the AAT near the entrance. Build the grapple pad to reach the ledge above you. Step on the two switches to open the entrance, then drop down through the studs.
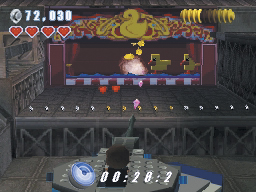
Tip

Before you go inside, make sure you collect the studs to the right of the AAT.

After you enter the building, Lok Durd and his battle Droids taunt you from behind thick bars. Use the Force to push the bars out of the way, then run in and deal with the Droids.

Minikit 7
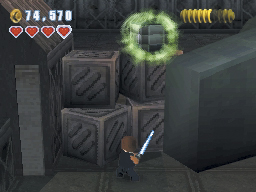
Move to the left and destroy the smaller AAT pieces to reveal a build-it. Assemble the grapple pad, and use it to latch onto the nearby crate. Pull the crate down to reveal a minikit.
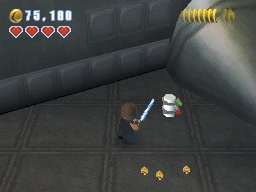
Climb into the AAT turret, then use it to destroy Lok Durd’s secret weapon. When the battle Droids appear on the walkway across the room, shoot the columns out from under them.

Red brick
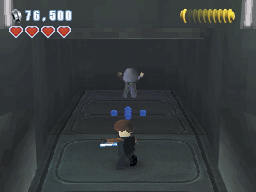
After you use the AAT turret to destroy the walkway, a large crate comes tumbling down along with the Droids.

After you collect this red brick, the “Score ×4” extra can be purchased in the rec room.

Minikit 8

When the battle Droids appear behind you, swivel the turret around and wipe out the reinforcements as they arrive. When the battle Droids stop coming, the wall opens up to reveal a shooting gallery. Shoot all the ducks within the 30-second time limit to reveal the minikit. Leave the turret and collect the minikit on the stage.

Minikit 9

Move to the upper-left corner of the room. Use the Force on the stacked crates to reveal a minikit.

Minikit 10

Move to the right and smash the crate near the ramp to reveal a minikit. If you haven’t done so already, collect the red brick and studs to the right.

When you’re ready, move up the ramp and use the Force to open the door. Confront Lok Durd to complete the mission.

Jedi Crash Story Rewards

  • The Clone Snowtrooper and Tub characters are unlocked and ready to be used in Free Play.
  • The Chi Cho, Riyo Chuchi, Lok Durd, Wag Too, Anakin (Snow), Thi-Sen, and Obi-Wan (Snow) characters are available for purchase in the rec room.
  • Jedi Crash is available for Free Play.

Keep reading with a free account

The first 3 sections of Lego Star Wars III: The Clone Wars are open to everyone. An account opens the rest of it, and every other guide in the archive. It's free, and there's nothing to buy.

Bought guides on the old Prima Games site? Your account and every guide you own moved here, so there's nothing to buy again. Sign in.

Create a free account Or browse our free guides

PreviousJedi Crash-Act 2 (DS) NextHIdden Enemy-Introduction (DS)