
Lego Star Wars III: The Clone Wars Guide Walkthrough Ambush (DS)
Ambush-Act 2 (DS)
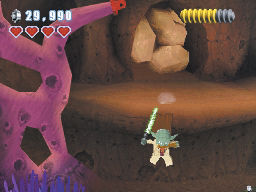
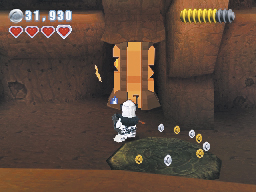
Locate the stack of flashing bricks and open fire with your heavy clone’s blaster cannon. Keep shooting until you destroy the bricks, then sweep the cavern floor for breakable objects and LEGO studs. Head back to the left and switch to your light clone, then use the grapple pad to return to the ledge.
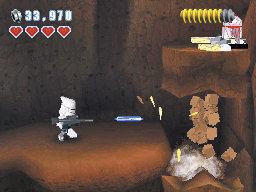
Follow the ledge to the right. Destroy the rocks to drop the bomb into place. Activate the bomb with your heavy clone to clear the path ahead of you.
Minikit 6
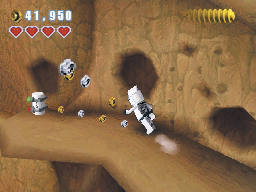
Select Yoda and use the Force to move the latch point onto the wall, then use the toppled bricks to build another grapple pad. Switch to your light clone and swing up to the ledge above you. Grab the studs along the ledge and pick up the minikit at the end of the trail.
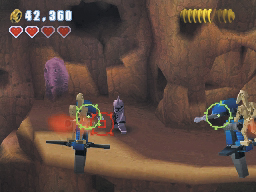
Drop back down to the grapple pads and continue along the path. A number of battle Droids are waiting to ambush you, so stay on your toes. Aside from the enemies standing in your path, watch for the Droids pouring in from the large hole in the wall. If you’ve switched characters for the fight, switch back to the light clone when the STAPs appear. Use your sharpshooting ability to take these agile enemies out of the fight.
STAP
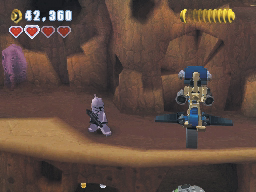
The STAP (Single Trooper Aerial Platform) is piloted by a single battle Droid, and boasts twin blaster cannons and excellent maneuverability. These small vehicles are generally used for scouting purposes, but they also make fairly effective anti-personnel units. STAPs are lightly armored, so their defenses are dependant on their considerable speed. STAPs are vulnerable to sharpshooting, but a Jedi’s double-jump can also cause the pilots to lose control of the vehicle.
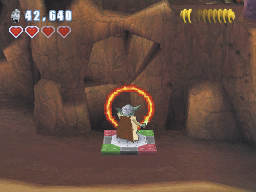
Sharpshoot the two STAPs and wait for a third to swoop in. The pilot loses control of the vehicle, and the STAP shatters against the rocks. Build a Jedi pad out of the wreckage and use Yoda to activate it. Follow the touchscreen prompt to slice through the rocks with your Lightsaber.
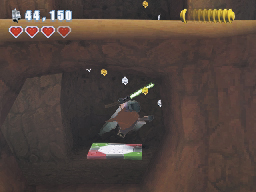
Drop down through the opening to find another pile of bricks. Build a new Jedi pad and collect the nearby studs. When you’re ready to continue, activate the Jedi pad and climb up along the walls.
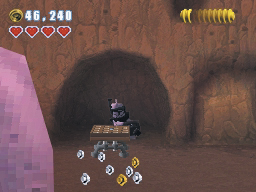
When you reach the ledge at the top of your climb, deal with the battle Droids and select your heavy clone. Clear out the flashing bricks to reveal a small alcove. Use the rubble to build a bouncer, then hop on to spring into the air.
Minikit 7
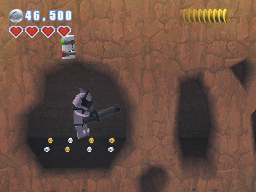
Before you continue through passage, hold the Jump button to gain some extra height on your next bounce. Grab the minikit above you, then bounce into the passage and continue to the right.
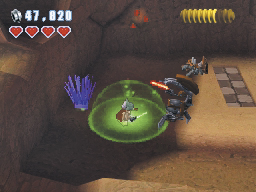
Before you drop down to the next area, make sure you’re ready to take on a Droideka. Yoda or your heavy clone are both up to the task, so select your preferred character and clear out all opposition. Move over to the checkered tiles and use the LEGO bricks to build a bouncer.
Minikit 5 (Freeplay)
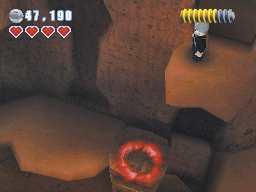
After you detonate the bomb, pass through the nearby enclosure to reach a small ledge. Select a Sith character from your party and target the platform below you.
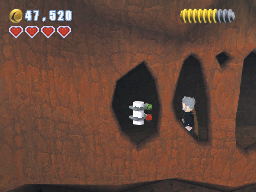
Use the Force to raise the platform into place, then jump across and collect the minikit all the way to the left.
Minikit 8 (Freeplay)
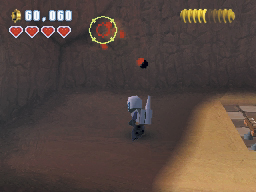
Move to the shaded area on the bouncer’s left side and locate the rock covered in thermal detonators. Select a bounty hunter and toss a fresh thermal detonator onto the rock. Stay clear of the explosion, then jump up to grab the exposed minikit before leaving the area.
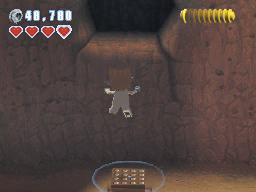
When you are ready to exit the level, push the bouncer toward the wall. Once you reach the edge of the checkered tiles, use the bouncer to reach the passage high above the ground.