
Lego Star Wars III: The Clone Wars Guide Walkthrough General Grievous
Chapter VI: Grievous Intrigue
“For everything you gain, you lose something else.”
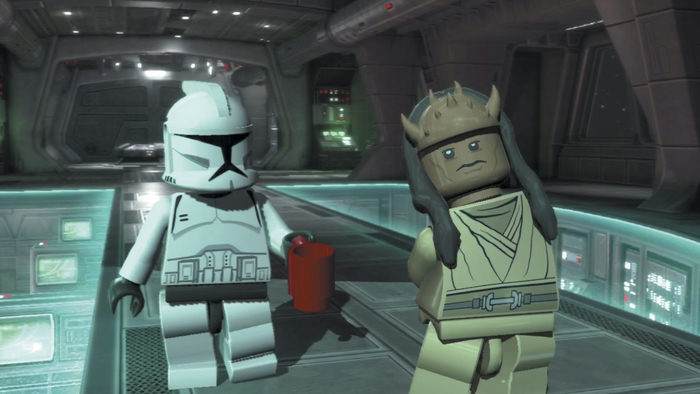
Returning from a routine patrol, Jedi Master Eeth Koth is unaware that General Grievous has selected him to act as bait to lure Obi-Wan Kenobi into a face-to-face confrontation. Now, Eeth Koth must overcome Grievous’ MagnaGuards and alert Obi-Wan to the danger ahead....
Minikits
|
No. |
Icon(s) |
Mode |
Notes |
| 1 | 1 |
Story |
From the start, Force-throw five objects at the foreground window to crack it five times. |
| 2 | 2 |
Free Play |
Destroy the gold box near the back of the bridge, then build the lever from the pieces. |
| 3 | 3 |
Free Play |
Once on Grievous’s ship, destroy the silver object near the first ramp, then blast the plant that emerges. |
| 4 |
1-5 |
Free Play |
Find and plug up five steaming vents on Grievous’s ship. |
| 5 | 5 |
Story |
Find and destroy three gold objects on the walls in the second circular chamber. (Force-lift a Super Battle Droid in Story mode.) |
| 6 | 6 |
Story |
Block the four floor hatches in Eeth Koth’s holding room. |
| 7 | 7 |
Free Play |
Destroy the gold door in Eeth Koth’s holding room. |
| 8 |
— |
Free Play |
During space combat, destroy the five green highlighted ships. |
| 9 | 9 |
Story |
Stack the purple crates in the hangar to reach a high minikit. |
| 10 |
10
|
Free Play |
Activate the power panel in the hangar to launch a shuttle, then destroy it in space. |
True Jedi Stud Requirement: 60,000
Story Characters
Eeth Koth
Clone Trooper
Anakin Skywalker
Adi Gallia
Obi-Wan Kenobi
Objective 1: Defeat General Grievous
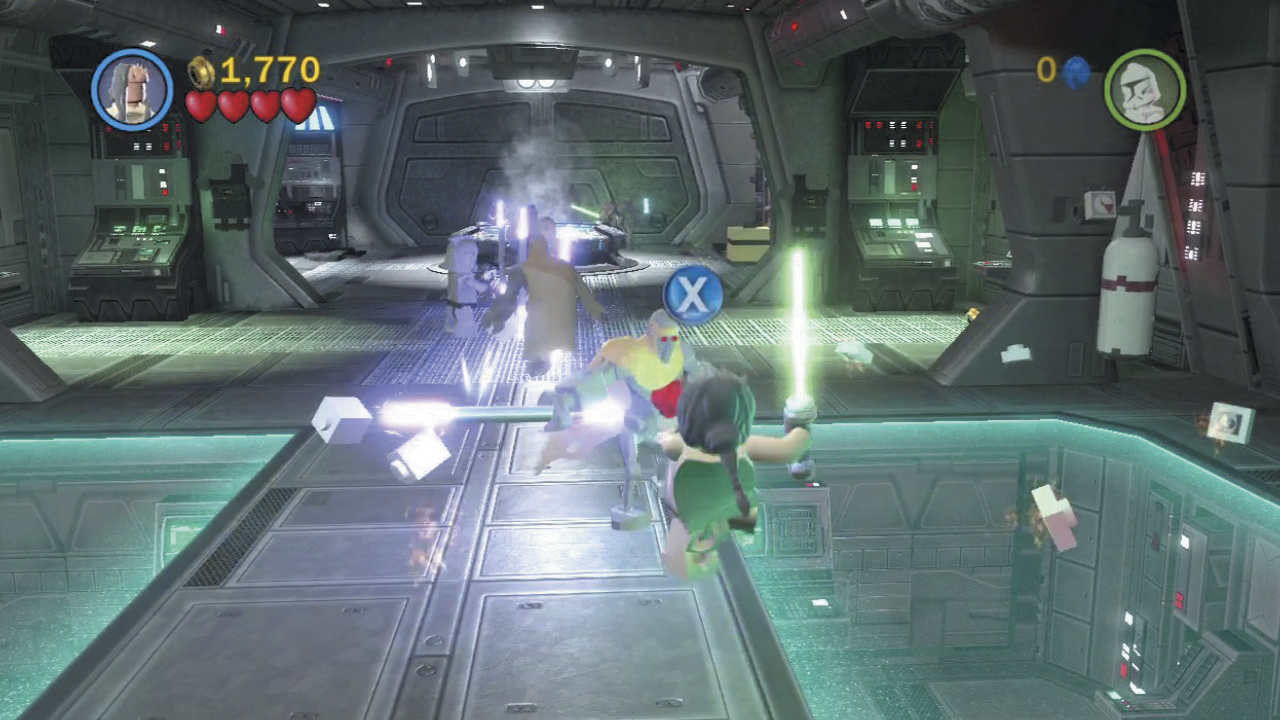
You begin this mission on the bridge of Grievous’ battleship—the wicked General awaits you near the background door. Wipe out the initial commando Droids, then advance and dispatch the MagnaGuards that Grievous sends at you as well.
Minikit 1
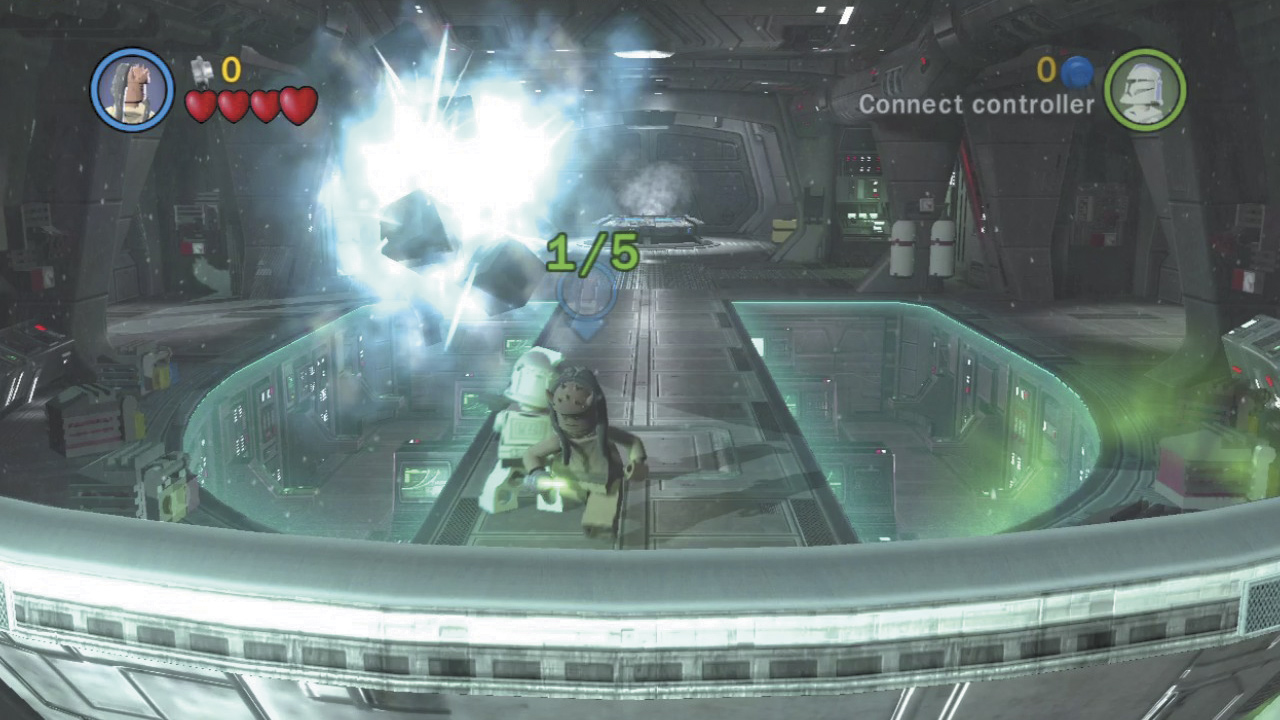
Force-lift one of the objects near the starting point and throw it at the foreground window to crack it. Rrepeat this four more times to shatter the window and your reckless behavior will be rewarded with a minikit!
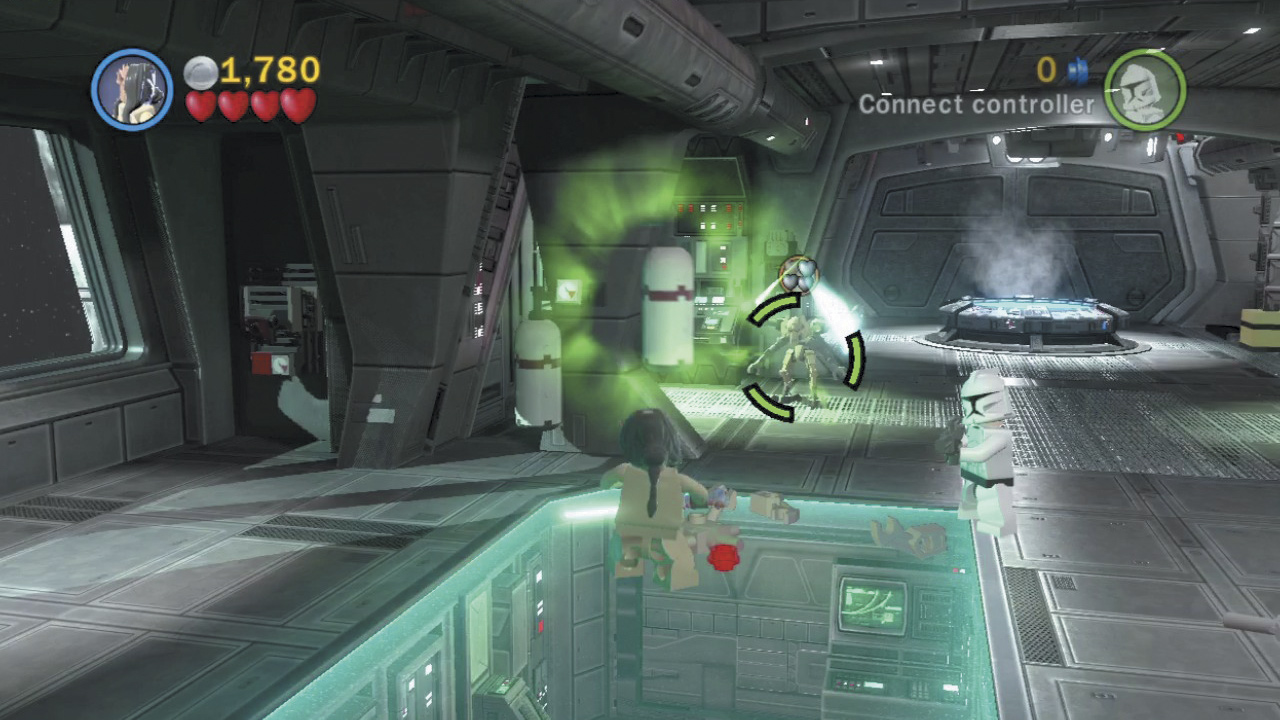
Grievous stalks toward you after his MagnaGuards fall. Keep your distance and use the Force to hurl an object at Grievous to stun him. The explosive canisters affixed to the walls work quite nicely.
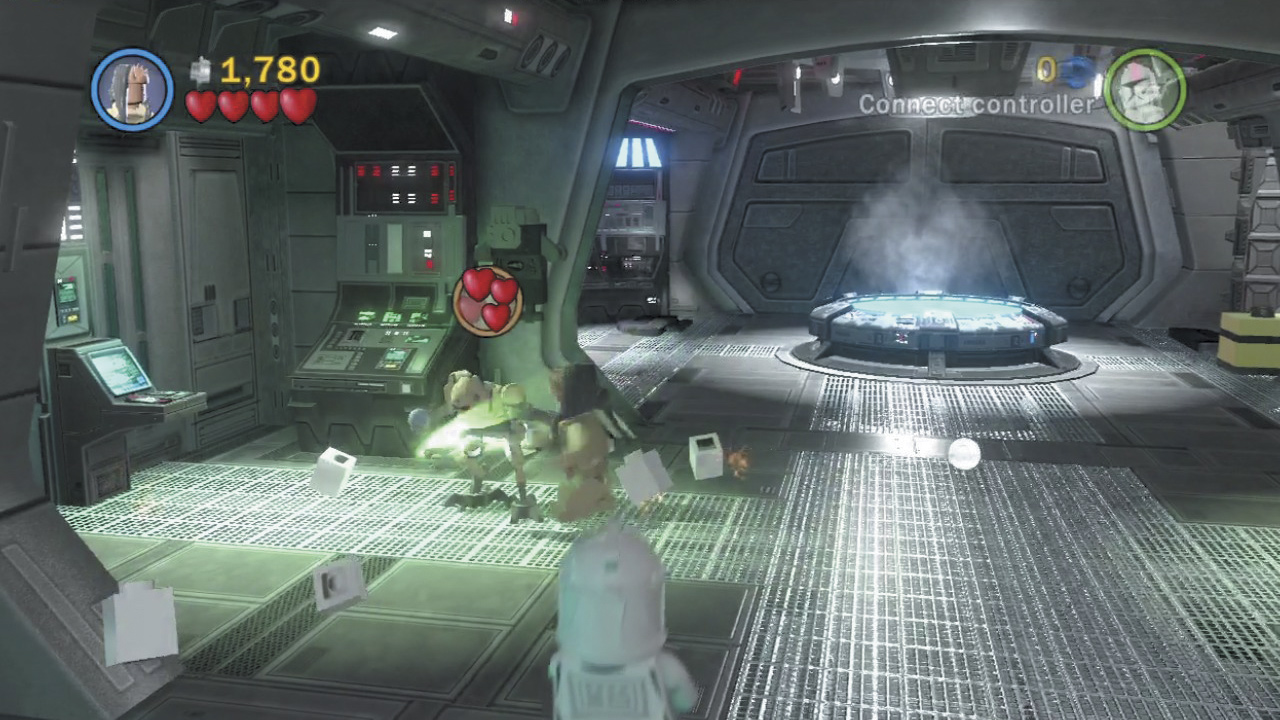
Attack Grievous after stunning him to score damage. The wicked General will then summon more MagnaGuards. Repeat the same sequence as before: Eliminate the guards, then stun and wound their master.
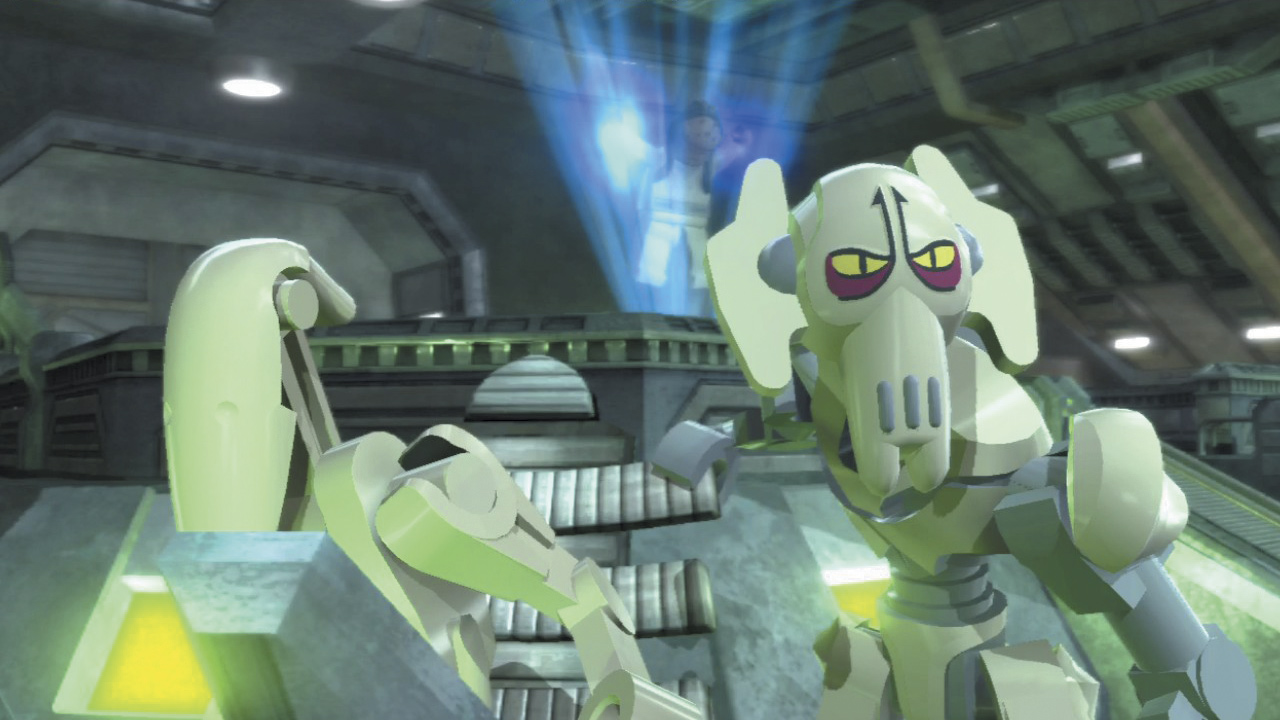
It’s not long before Anakin and Obi-Wan arrive in a Republic battleship. Grievous had been hoping for this, and quickly captures their ship in a tractor beam! The General then boards the ship, while Anakin and Adi Gallia sneak onto Grievous’ mighty vessel by way of shuttlecraft. The plot thickens!
Objective 2: Bypass the Force Fields
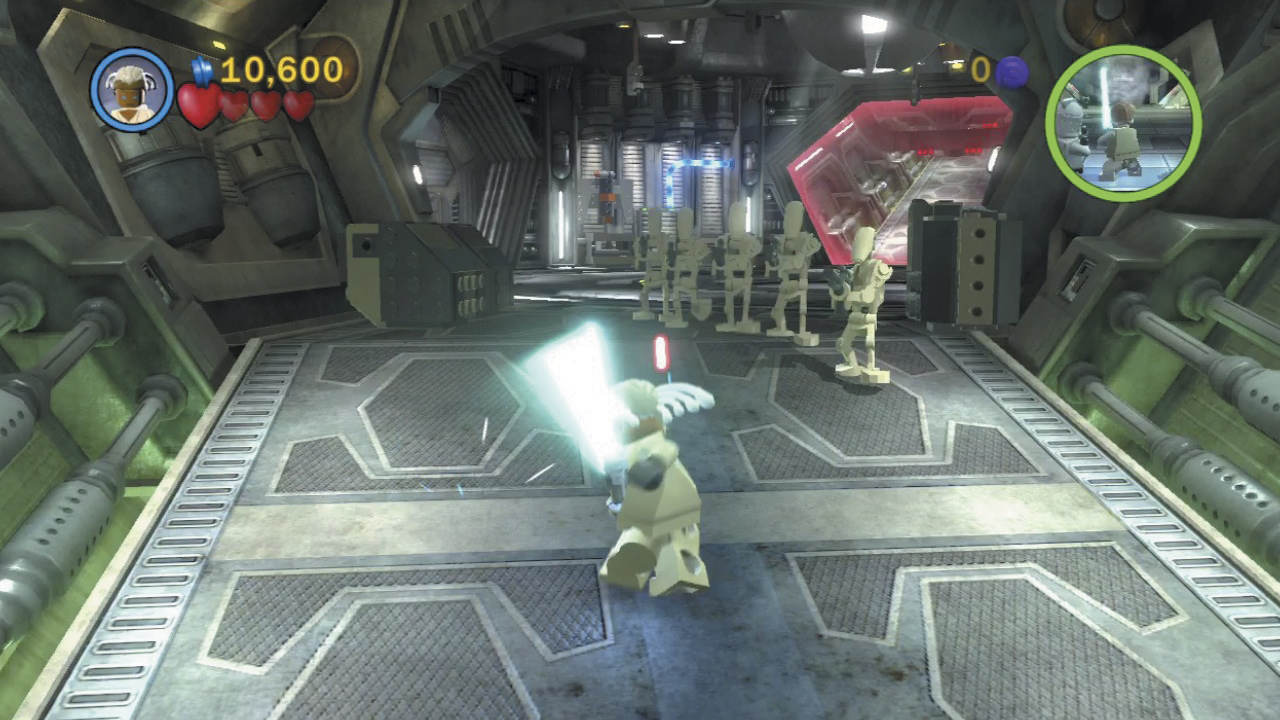
Anakin and Adi Gallia must now work together to save their comrade, Eeth Koth, whom Grievous has captured. Destroy everything in the first circular chamber for studs, then make your way up the background ramp, defeating enemy battle Droids on your way toward another circular chamber.
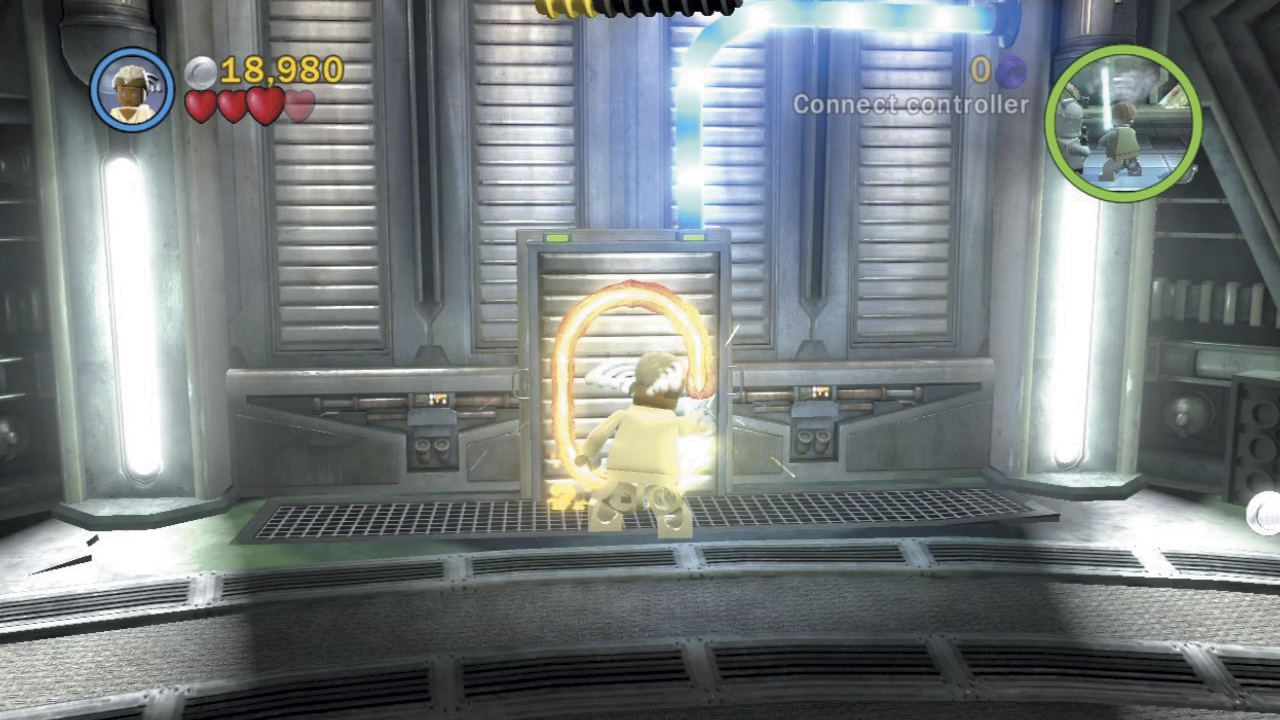
A force field prevents you from advancing beyond the second circular chamber. Cut a hole in the wall to the left of the force field to expose one of three blue orbs that power the barrier.
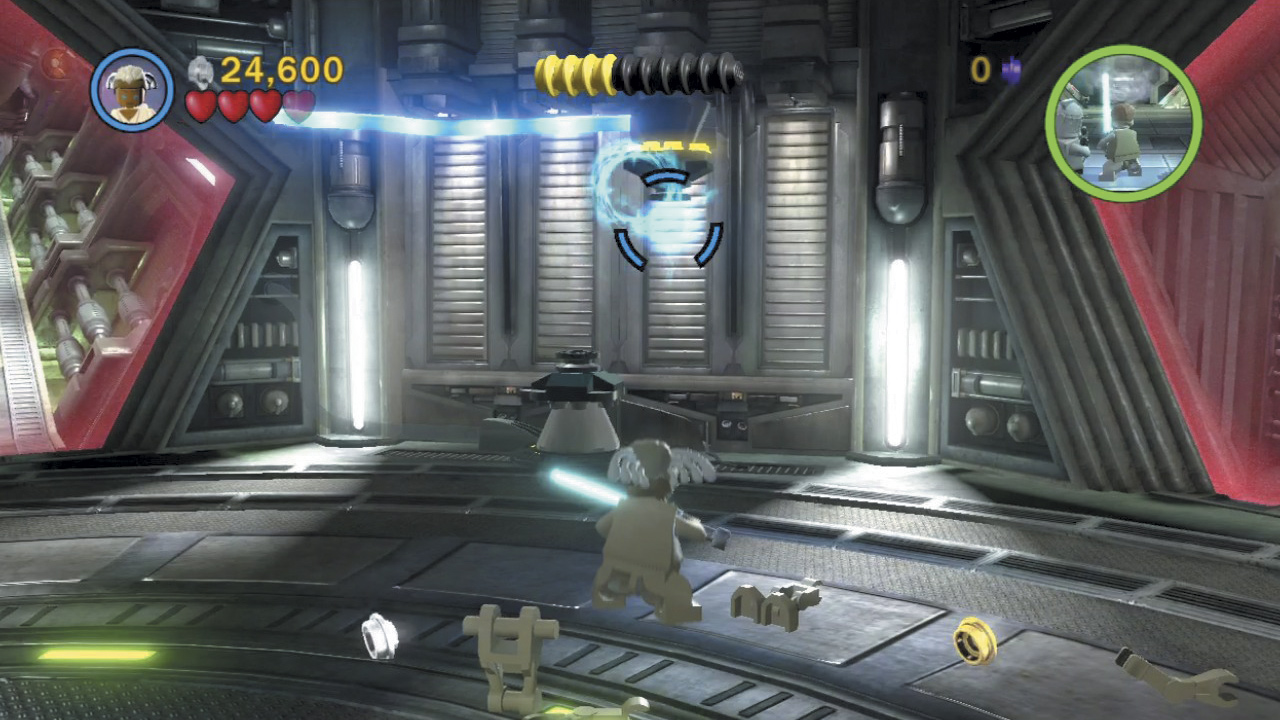
Attack the blue orb to disable it, then quickly take aim and hurl a Lightsaber at the two blue orbs to the right of the force field. With all three orbs deactivated, the force field powers down.
Minikit 3 (Freeplay)
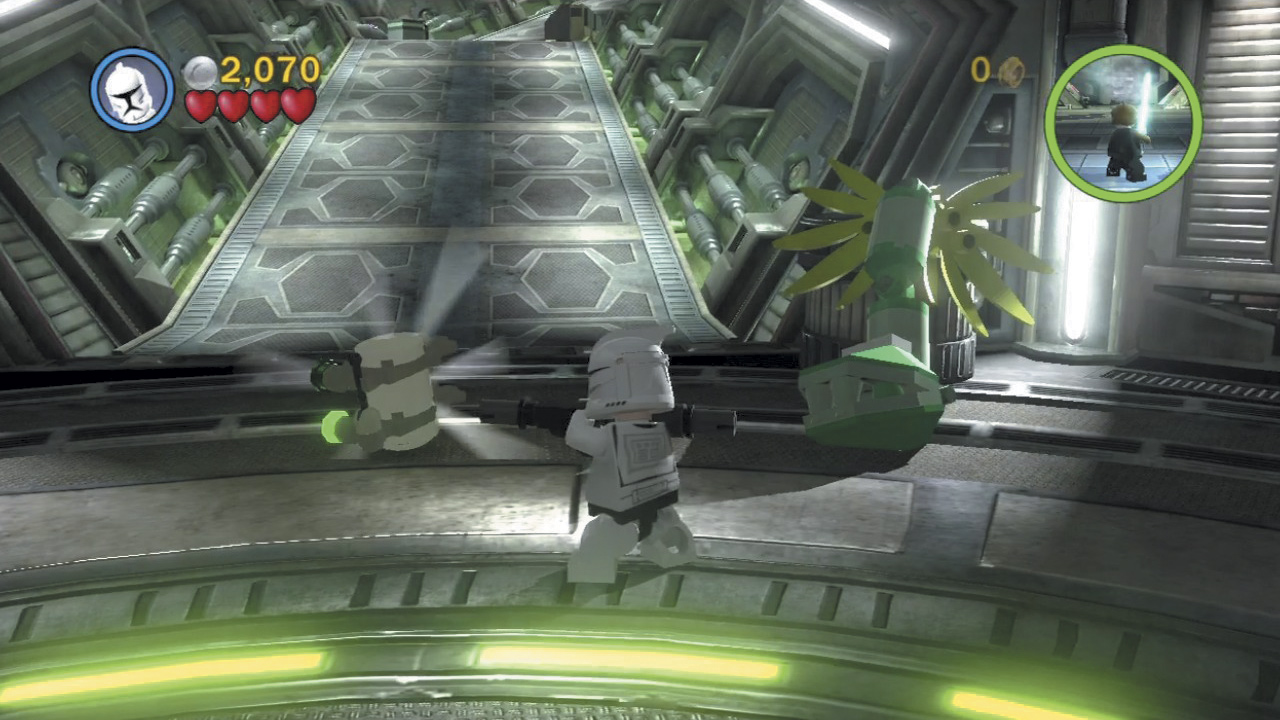
Before leaving the first circular chamber, blast the silver container to the right of the ramp with an explosive attack. A giant plant pops out—blast this as well to make the plant cough up a minikit!
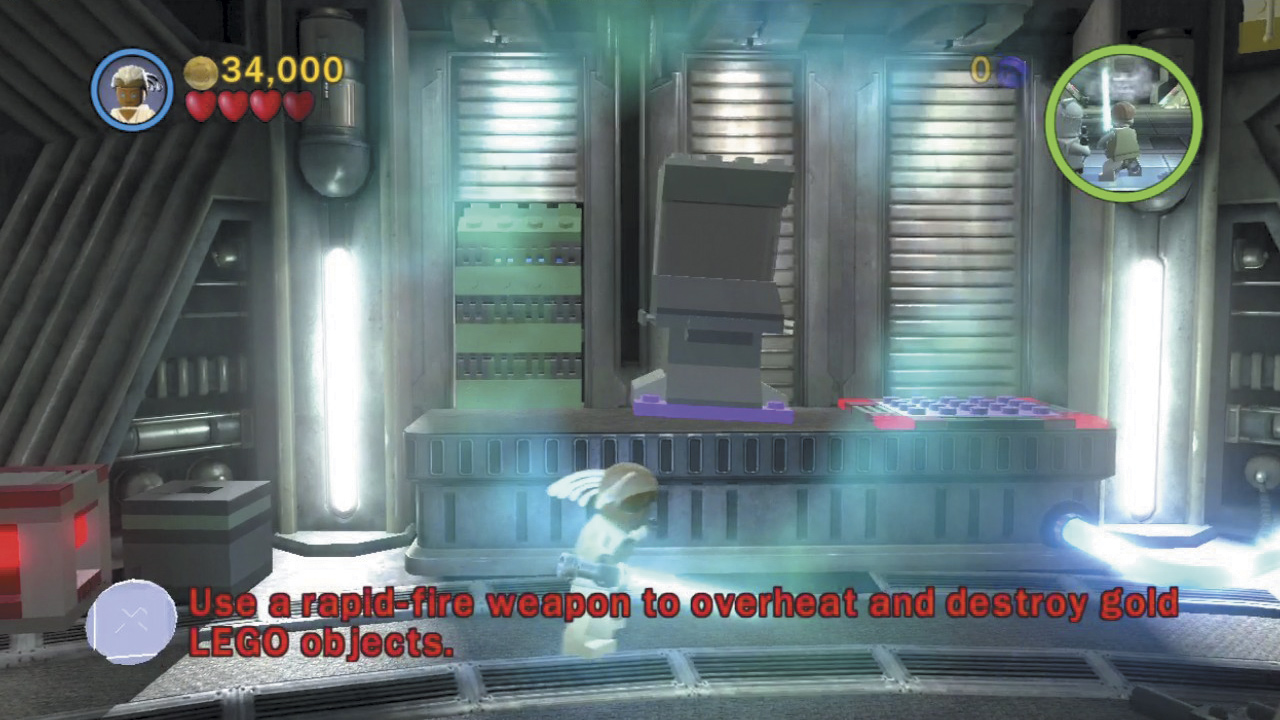
Another force field blocks your progress in the next circular chamber ahead. Force-move the large object to the left of the force field and place it onto the purple pad to expose a blue power orb.
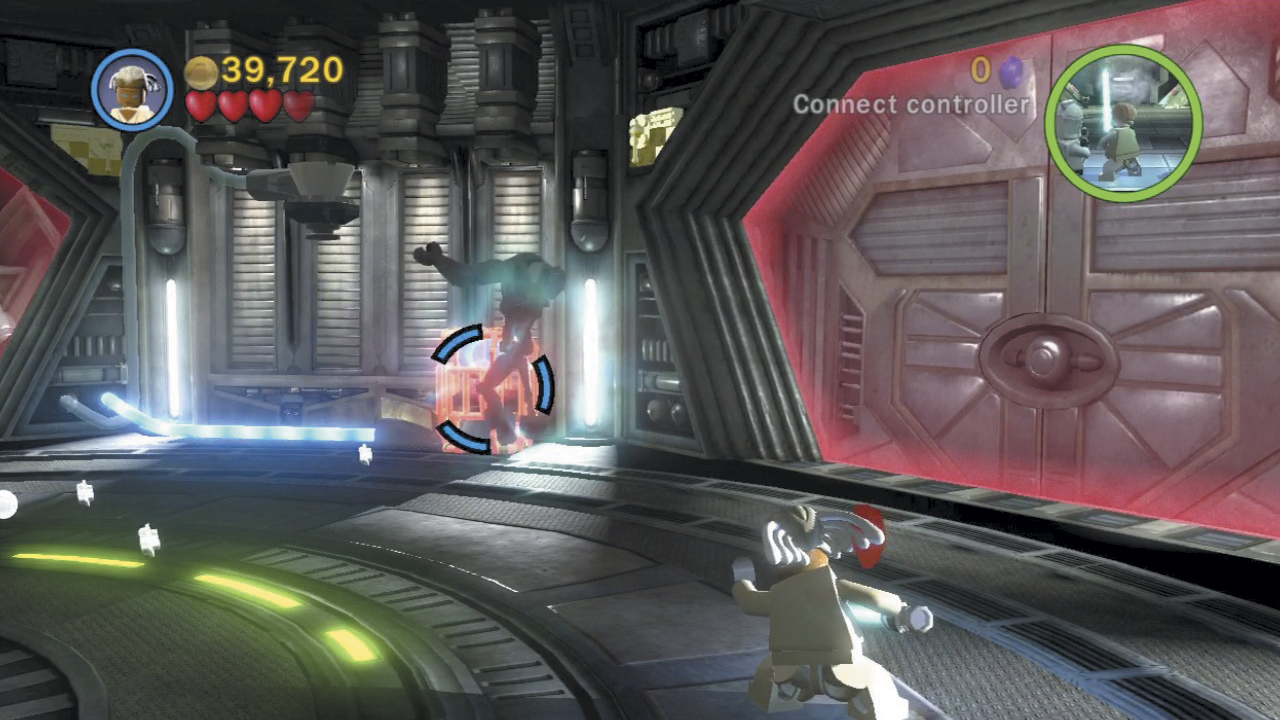
Next, Force-lift one of the gray Super Battle Droids that regularly enter the room from the door on the right. Once lifted, the Droid will begin firing like crazy. Force-move the Droid toward the gold bars to the right of the force field—the Droid’s rapid fire will destroy them, revealing a second power orb. The third power orb hangs from the ceiling nearby.
Minikit 5
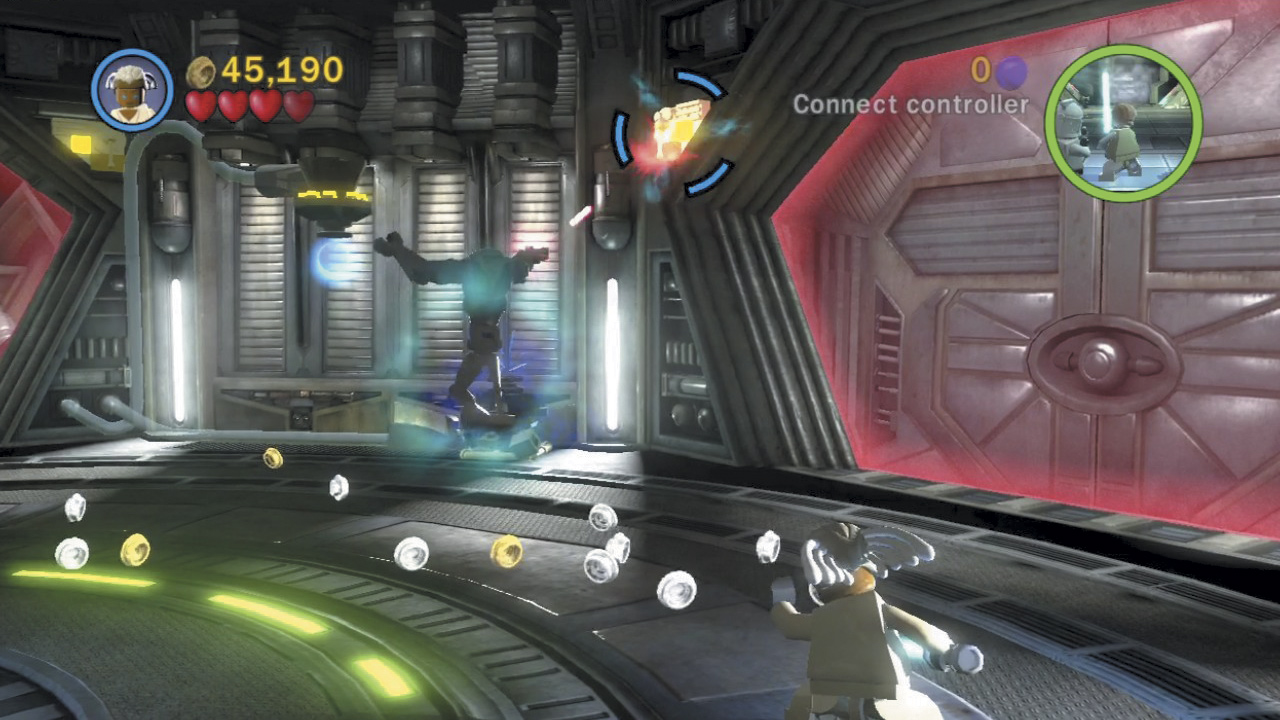
Force-lift a Super Battle Droid and use it to destroy three gold pads high up on the walls in this circular chamber to receive a minikit!
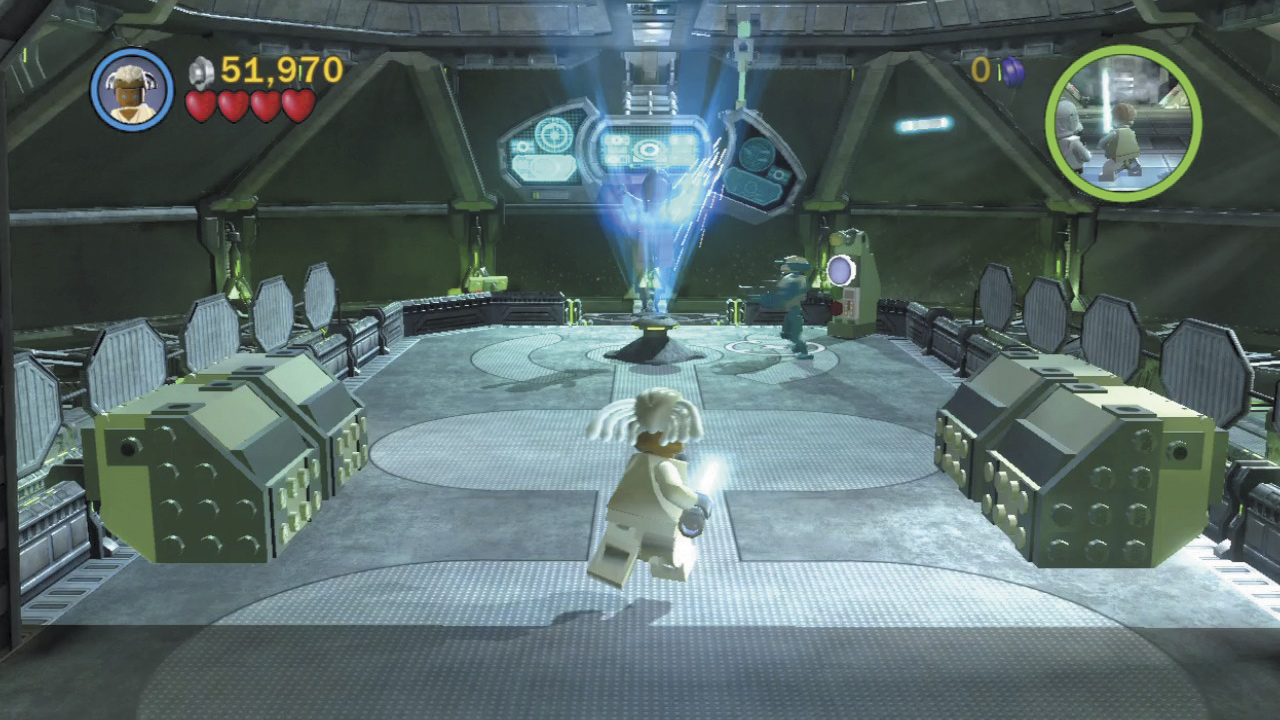
With all three power orbs exposed, take aim and toss your Lightsaber at them to deactivate all three in short order. The force field then deactivates—hurry onward!
Minikit 2 (Freeplay)
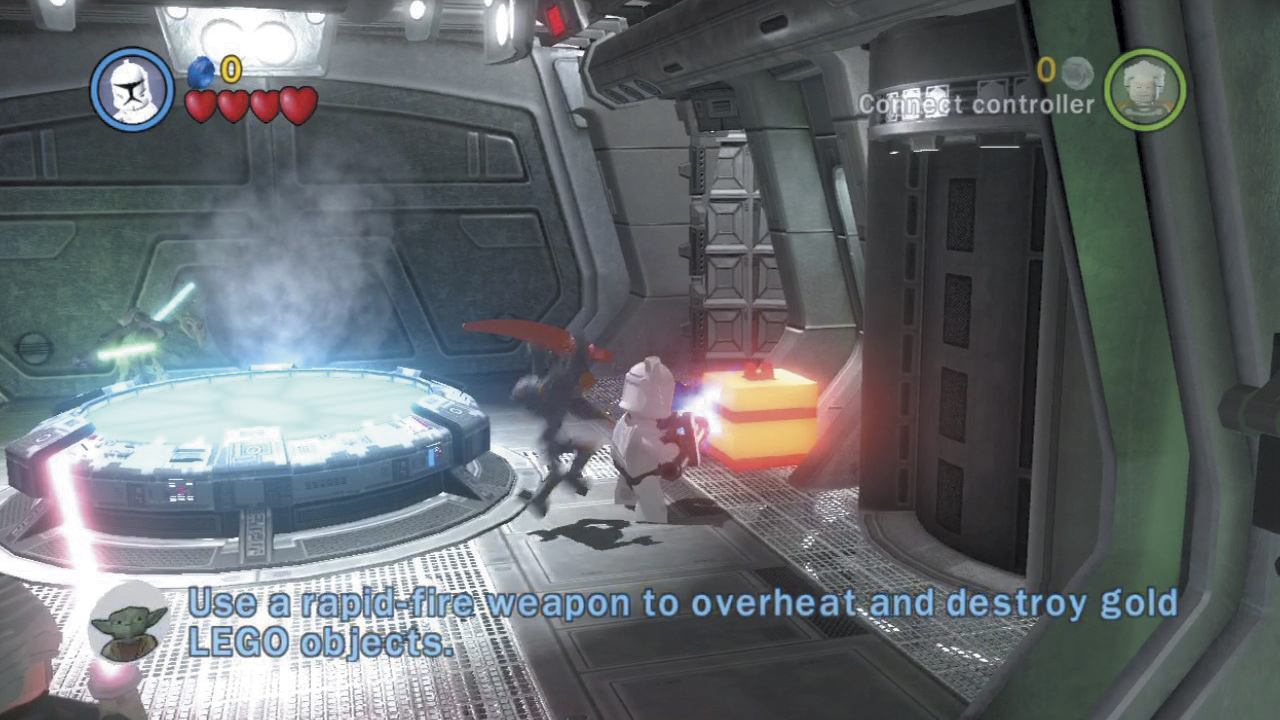
Toggle to a rapid-fire character and destroy the gold box near the back of the bridge. Build the pieces that spill out to form a lever, then pull the lever to open the nearby elevator. A minikit tumbles out!
Minikit 4 (Freeplay)
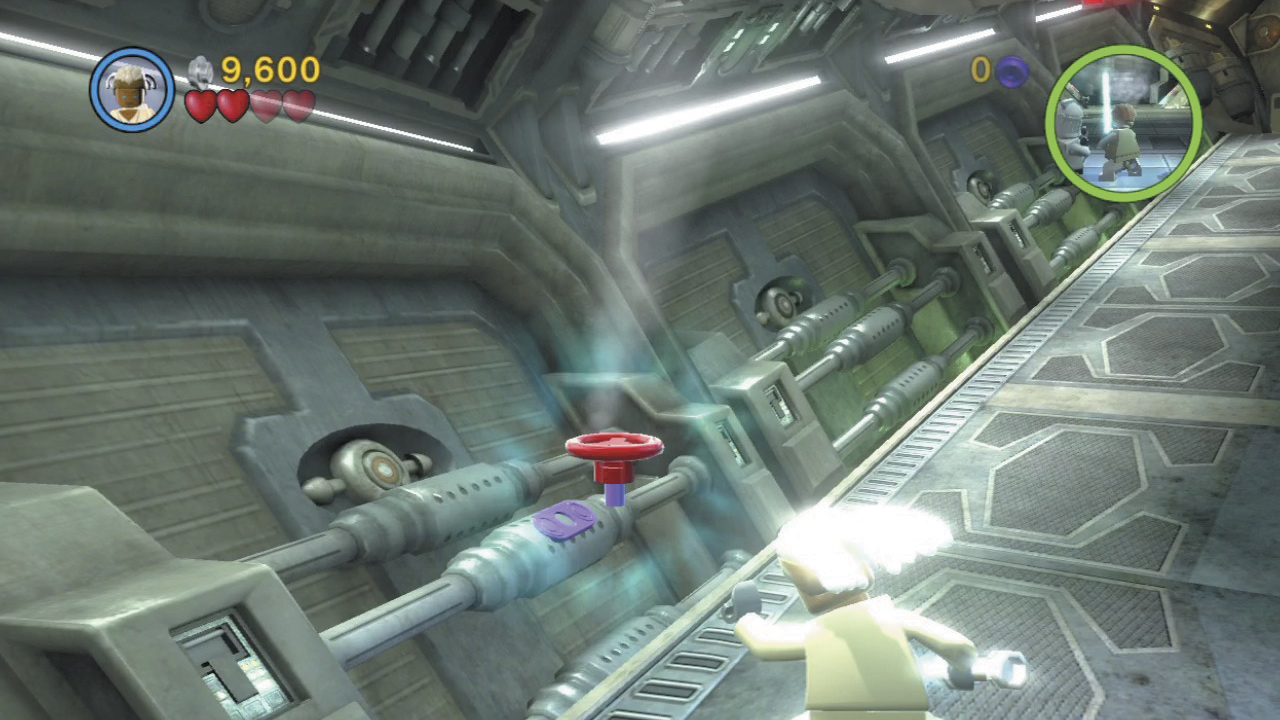
On your way to the second circular chamber, destroy the crates on the ramp to discover a small red valve. Force-move this onto the nearby steaming pipe to plug it. Plug up four more of these vents in this area to earn a minikit! Check the map for their locations.
Objective 3: Rescue Eeth Koth
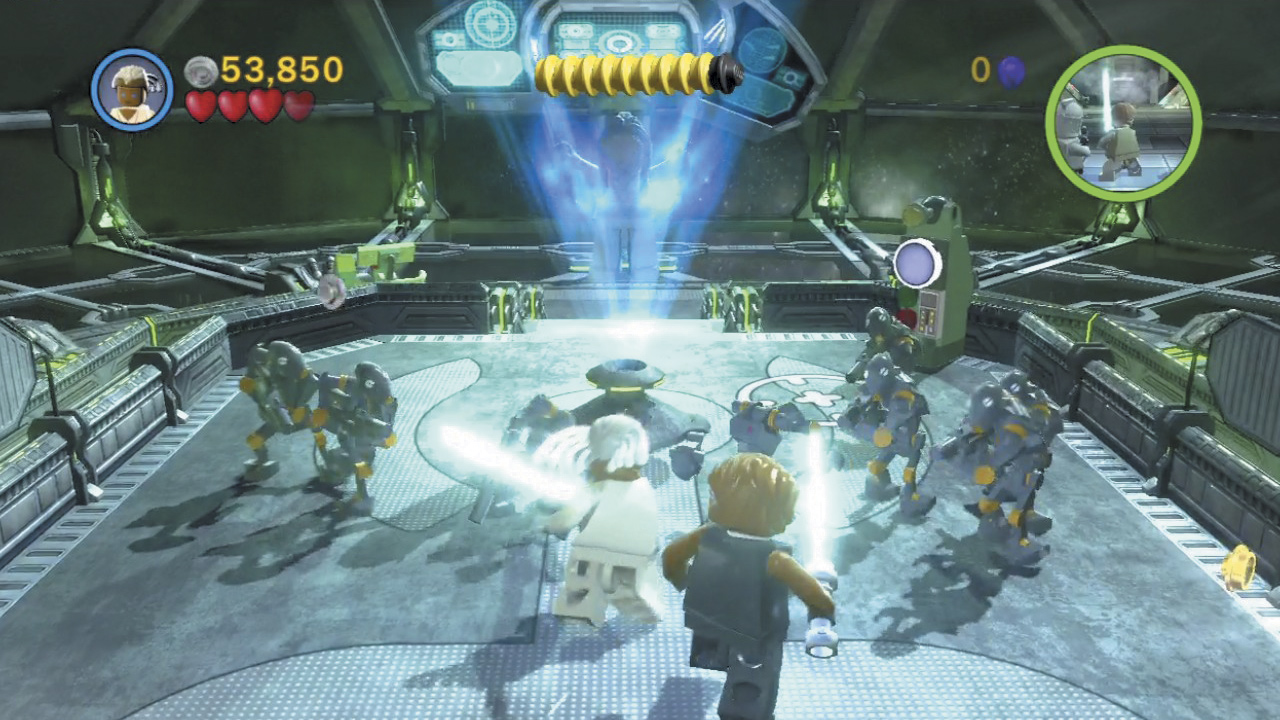
You soon arrive at a control room, where Eeth Koth is being held. Scrap the commando Droids that ambush you here, then look around for a special Droid whose head you can remove.
Minikit 6
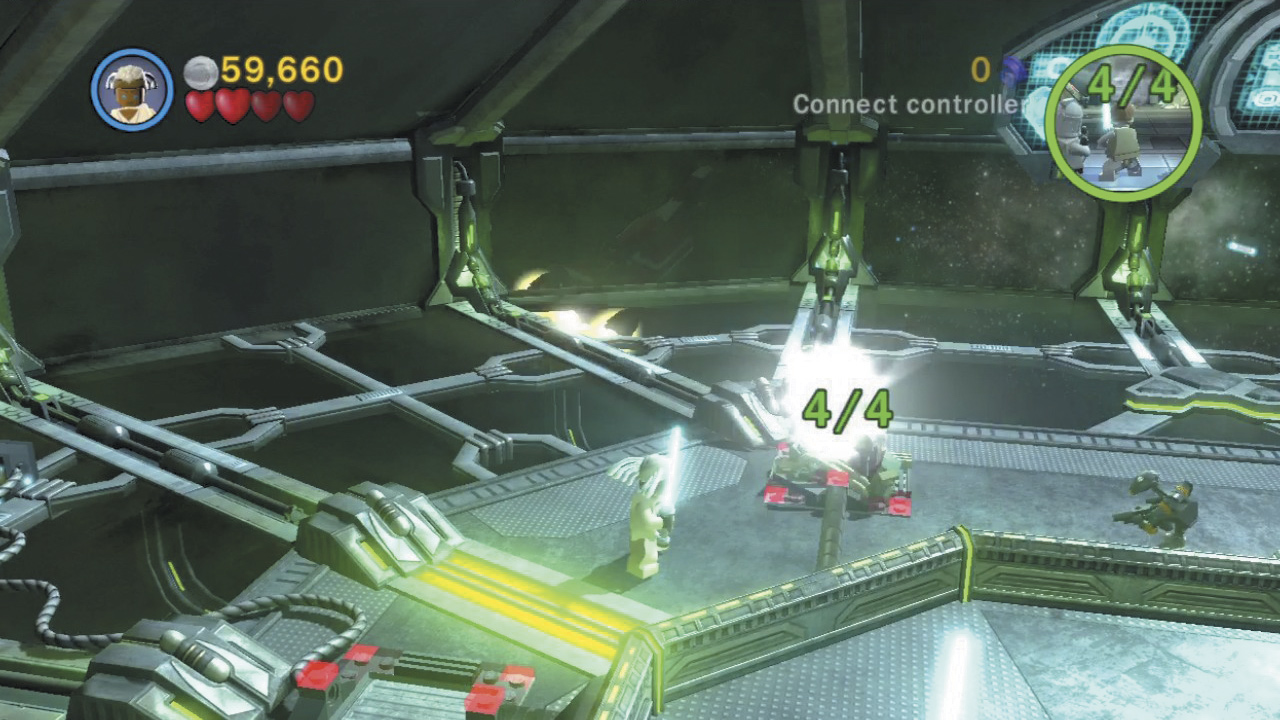
Plug the control room’s four floor hatches to stem the flow of commando Droids and earn a minikit in the process. Here’s how to plug each floor hatch, from left to right:
Use the Force to unplug the hatch’s power cord.
Destroy the chair near Eeth Koth, then build the bits that remain to cover the hatch.
Toss your Lightsaber at the overhead screen, which falls onto the hatch.
Force-move the nearby crate onto the hatch.
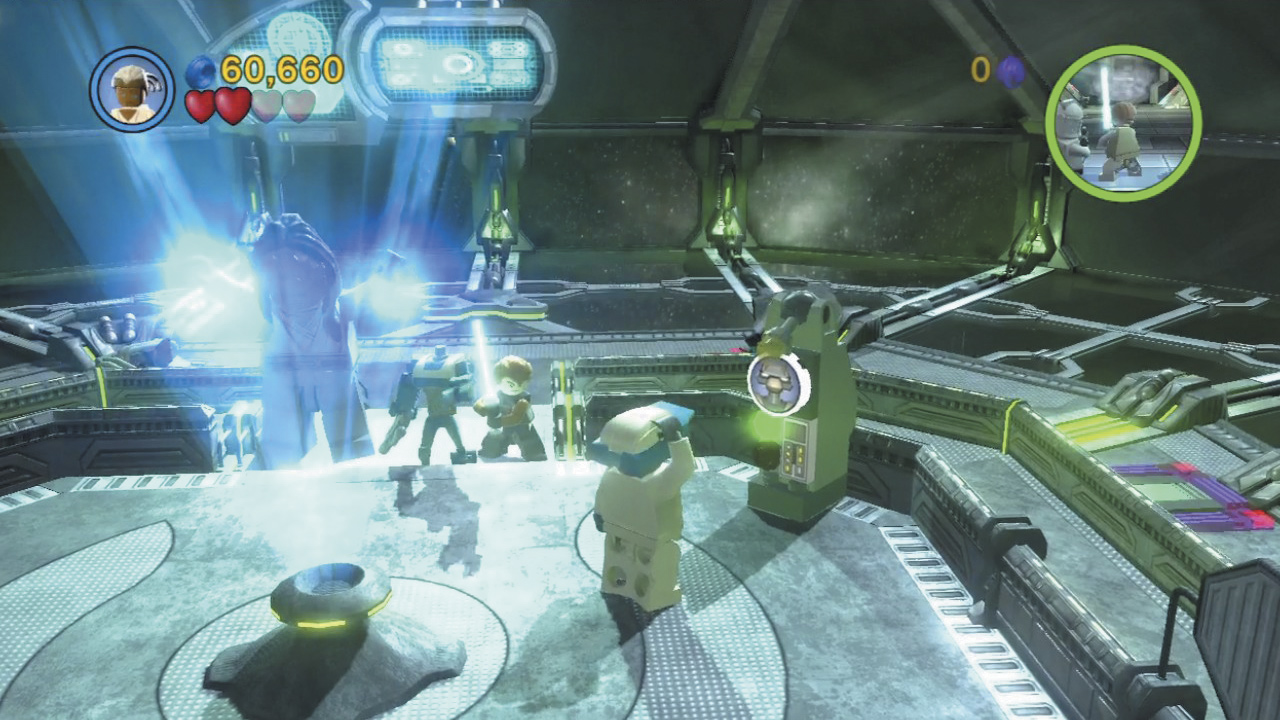
Knock off the Droid’s head, then quickly collect it from the ground it to put it on. Now that you’re in disguise, activate the enemy Droid control panel near Eeth Koth to free him from captivity.
Minikit 7 (Freeplay)
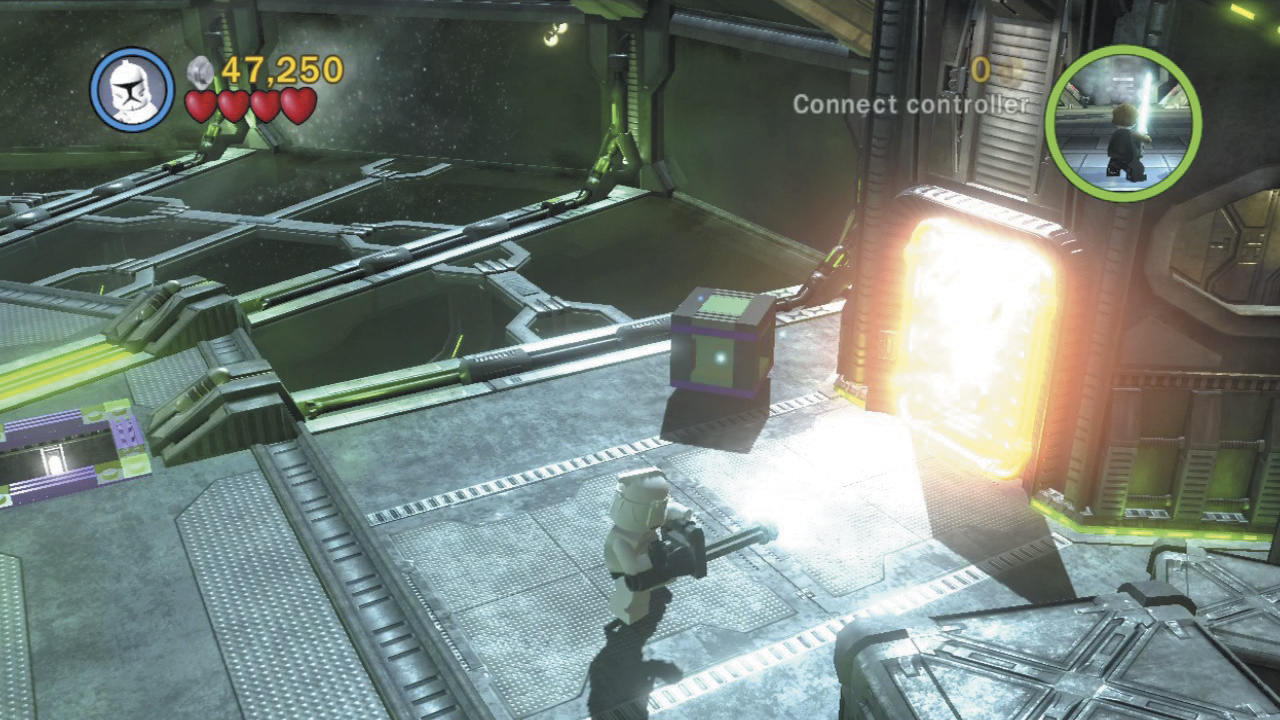
Score an easy minikit during Free Play by destroying the gold door on the control room’s right side with a rapid-fire character; the minikit sits in the nook beyond. A lack of Super Battle Droids prevents you from acquiring this prize in Story mode.
Objective 4: Defeat General Grievous—Again!
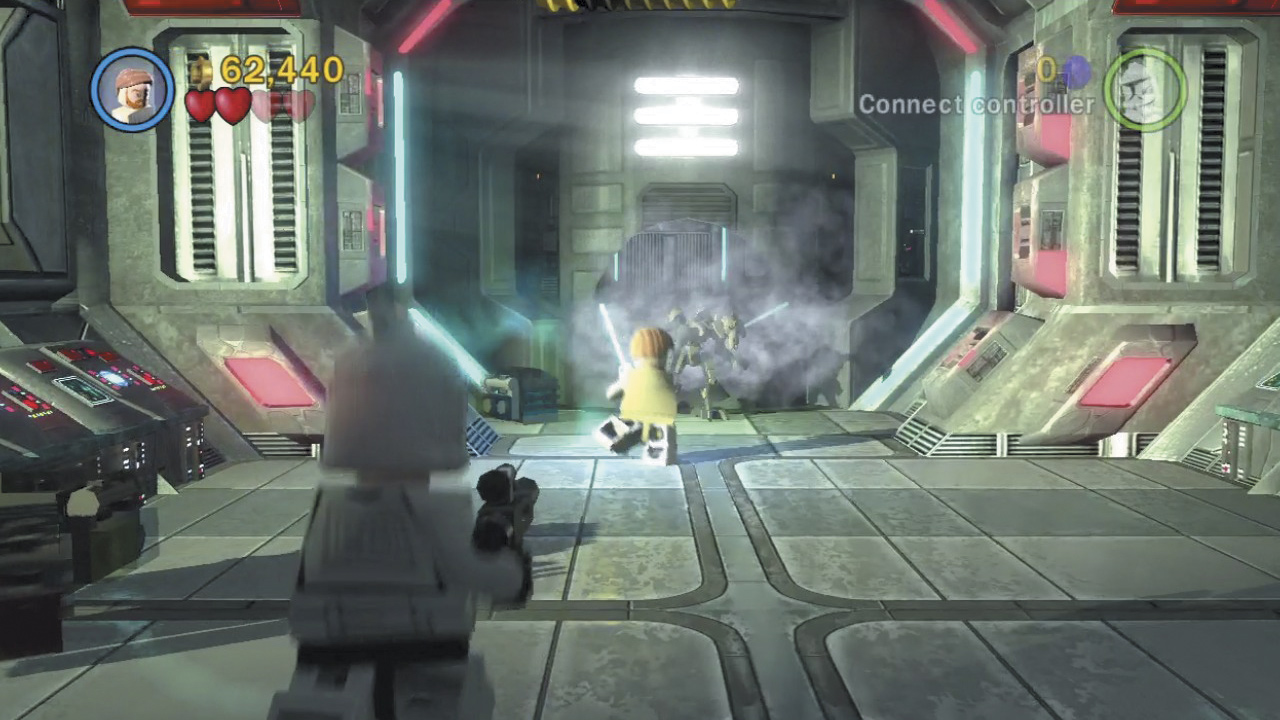
Anakin has completed his mission—now Obi-Wan must purge the Republic’s ship of General Grievous’ vile presence. Advance down the corridor until the villain saber-cuts his way through the background wall, bringing a host of MagnaGuards with him.
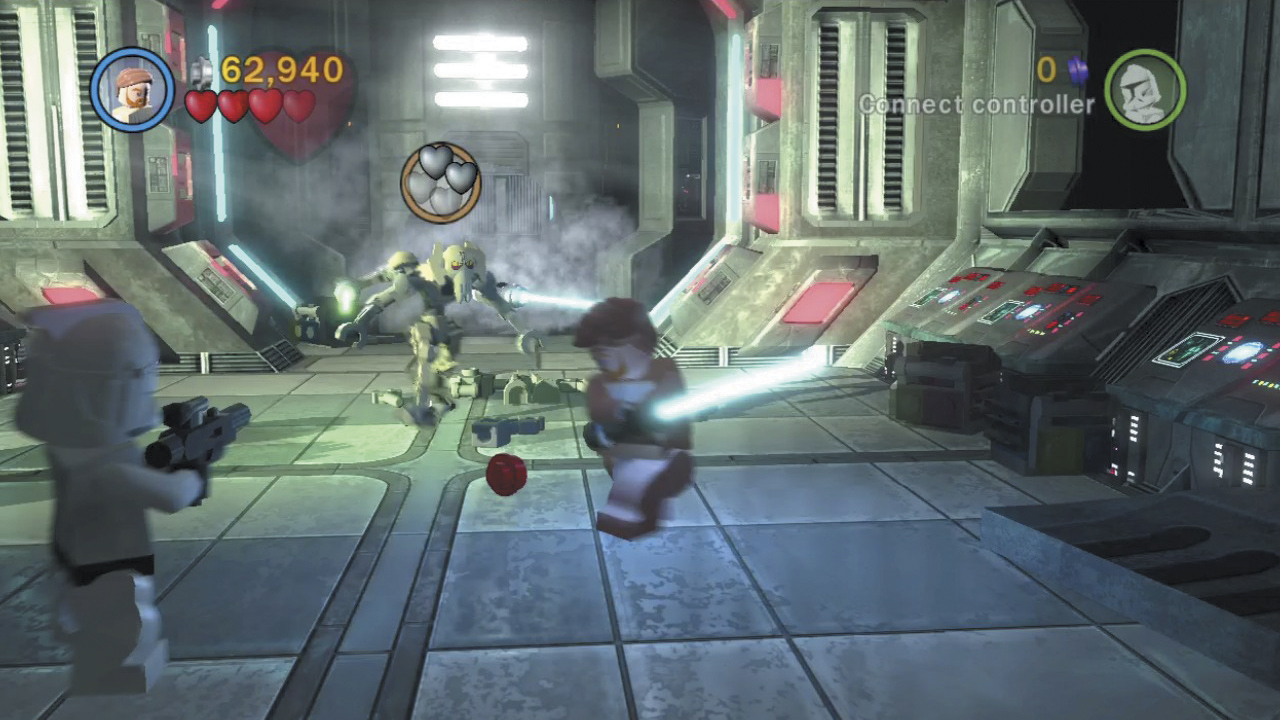
Use the same tactics in this fight with Grievous as you did the last: Defeat his bodyguards, then Force-throw an object at Grievous to stun him. Rush in and deliver a Lightsaber combo afterward to score damage.
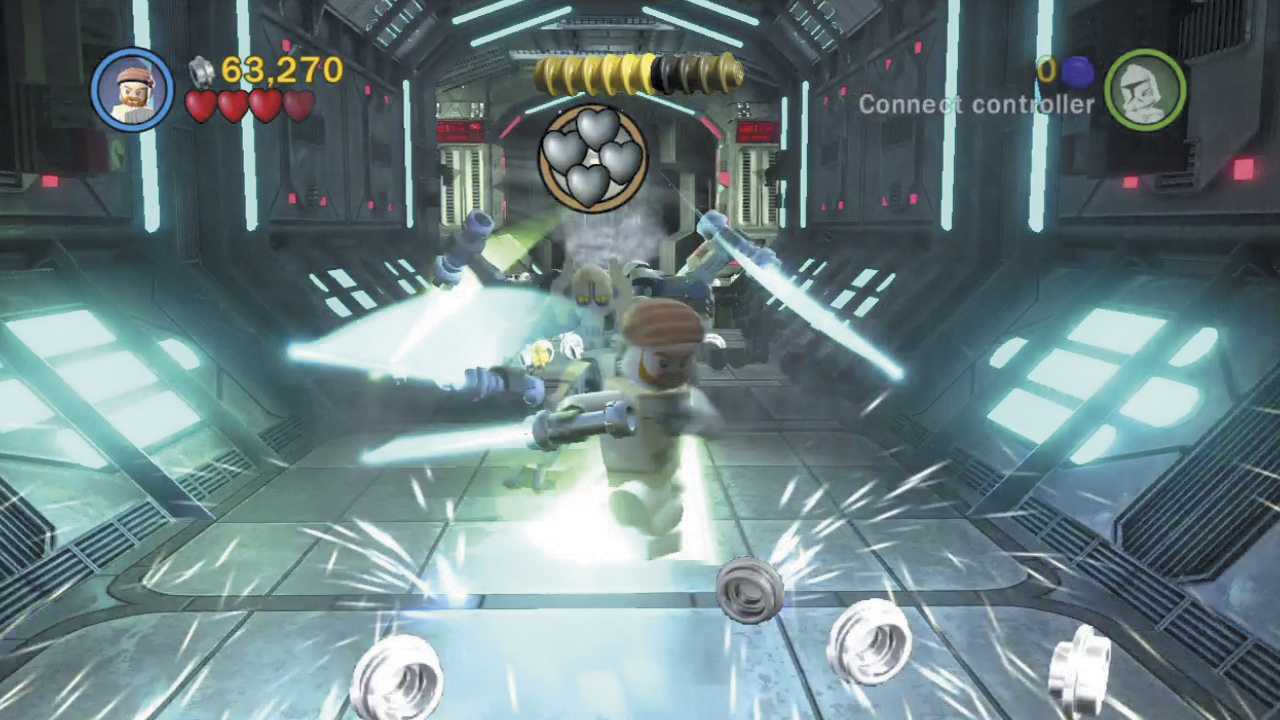
Keep it up until Grievous begins whirling his Lightsabers. Then flee toward the foreground, sprinting down the corridor and into a control room.
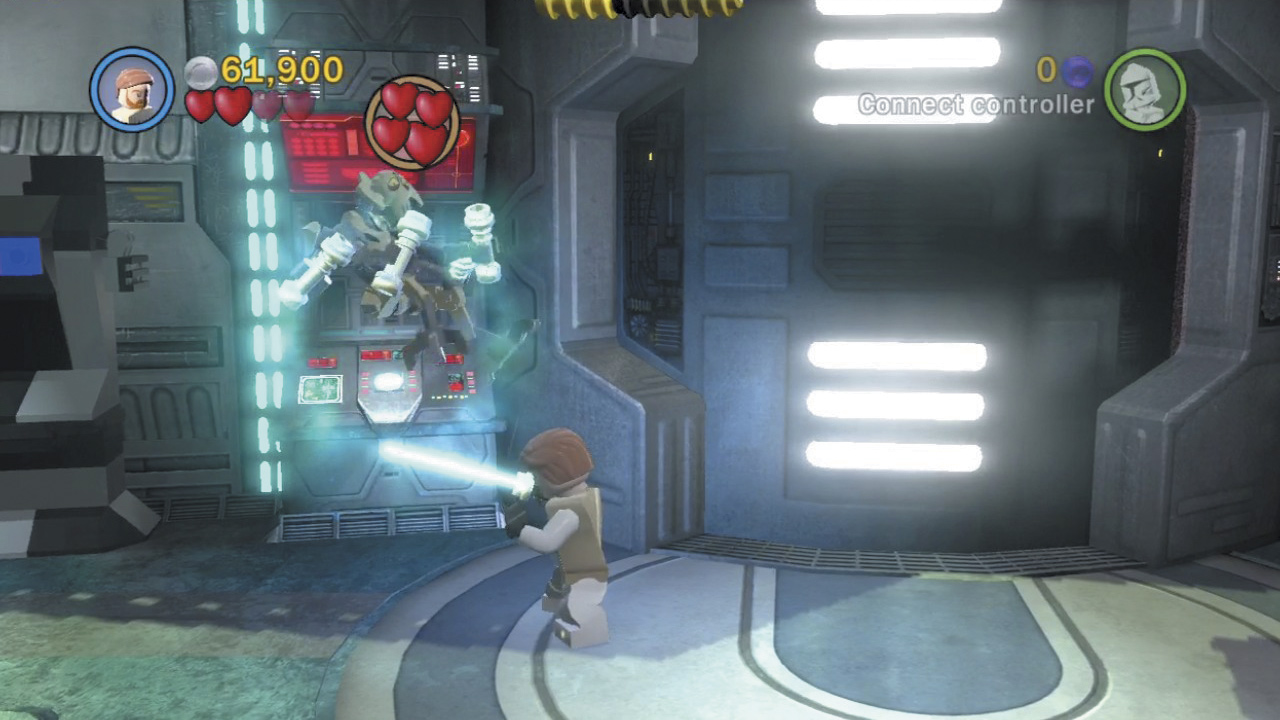
Continue Force-throwing objects at Grievous to stun him as you battle him in the control room. This time, instead of attacking Grievous while he’s stunned, Force-throw him into a wall!
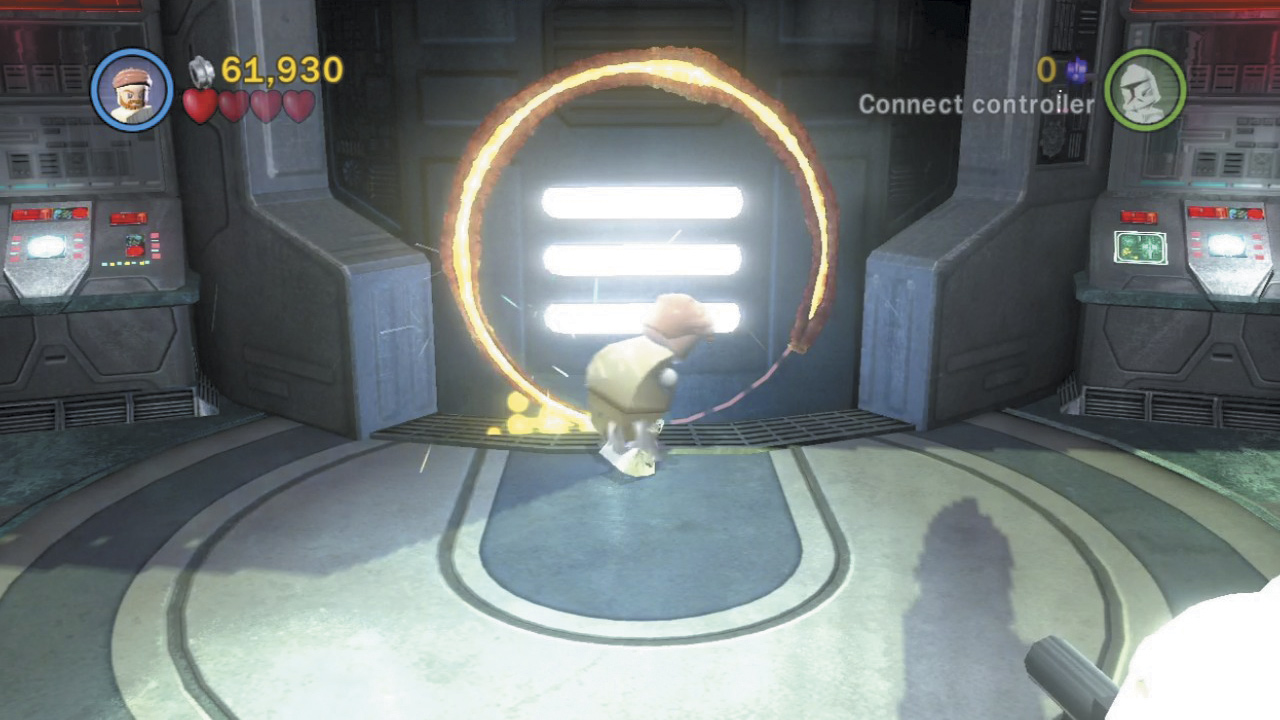
It’s not long before General Grievous hightails it out of the control room, sealing you inside. Saber-cut through the doors and give chase.
Objective 4: Defeat General Grievous—For Real!
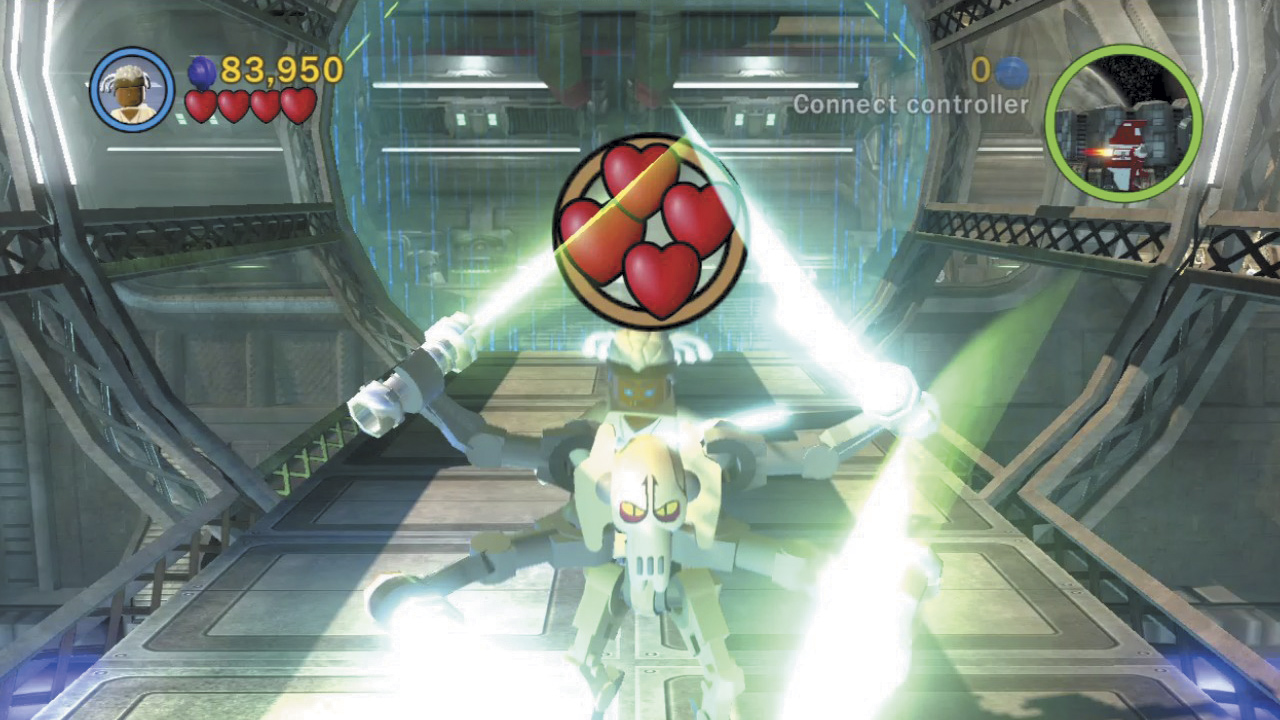
Grievous makes his final stand on the boarding tunnel between his ship and Obi-Wan’s. You can’t penetrate his frontal defenses, so switch to Adi Gallia—who sneaks up behind the General. Attack Grievous from the rear instead.
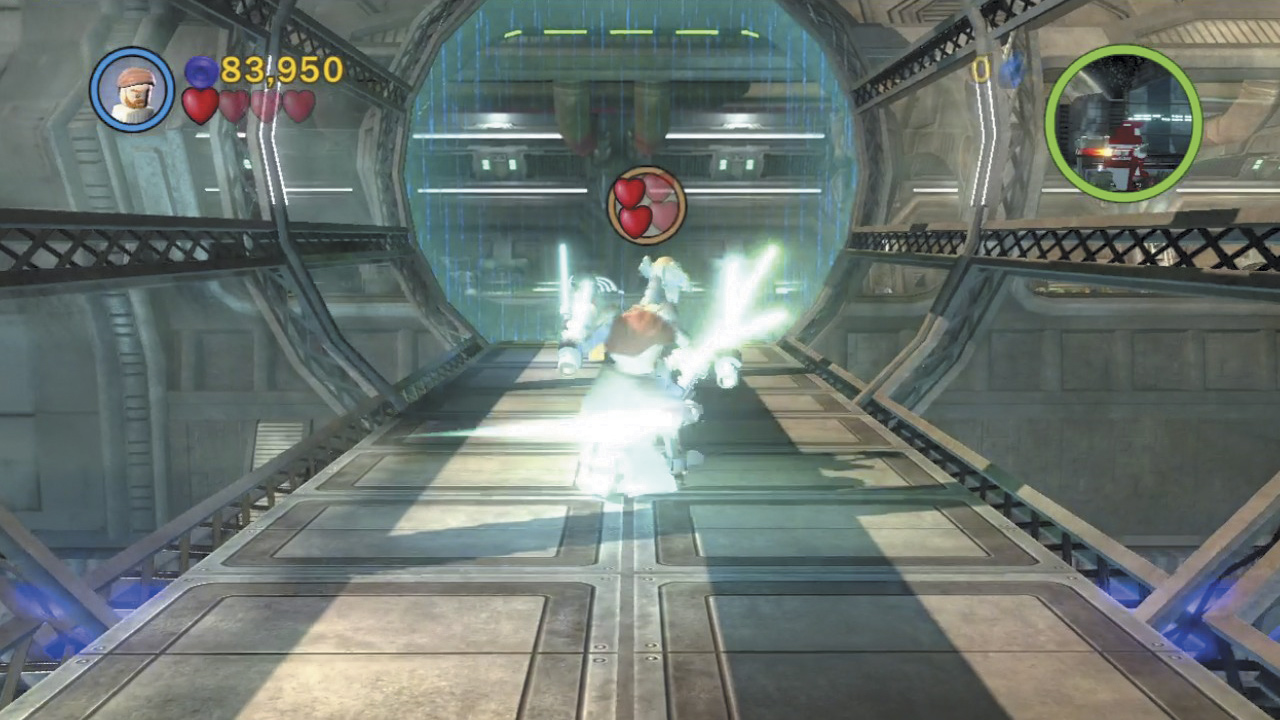
Attacking Grievous’ hind side causes him to spin around. Quickly change back to Obi-Wan and strike Grievous’ back again. Repeat this until the wicked General can take no more.
Objective 5: Assist Obi-Wan
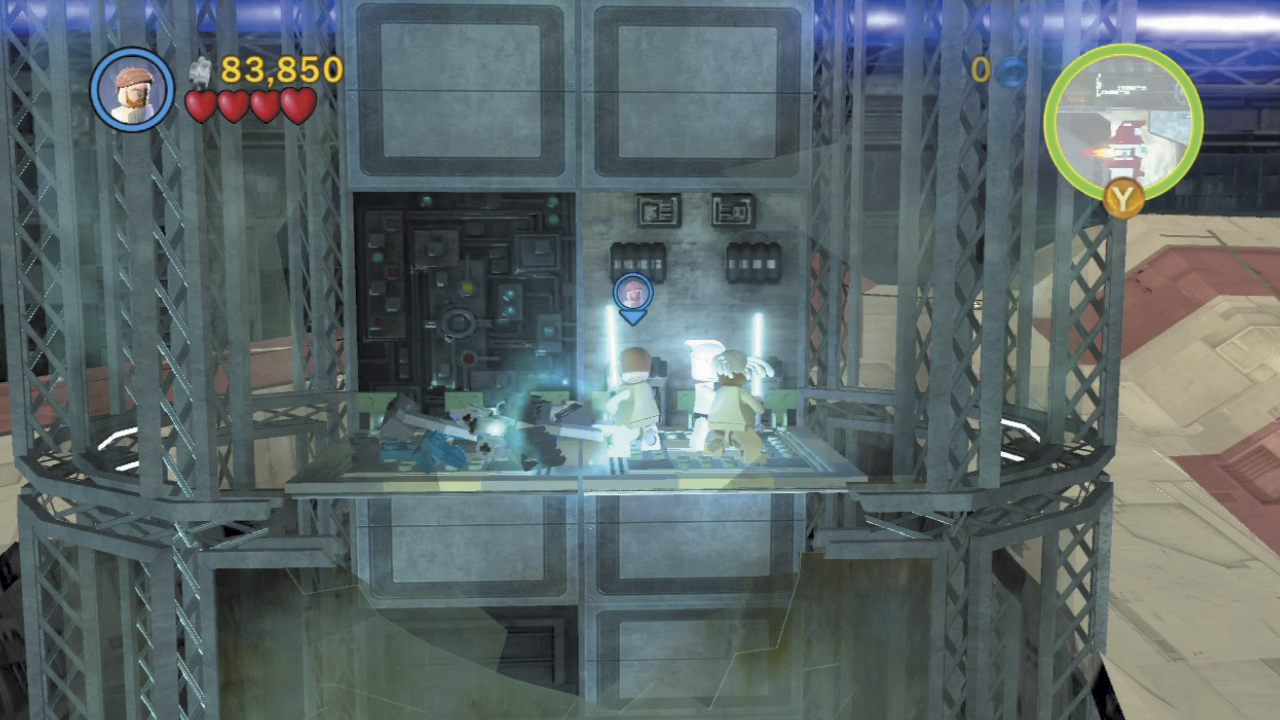
General Grievous has fled back to his ship, and Obi-Wan finds himself in a precarious position, stuck at the bottom of the collapsed boarding tunnel. Build the nearby bits to form a platform, then use the Force to lock it in place.
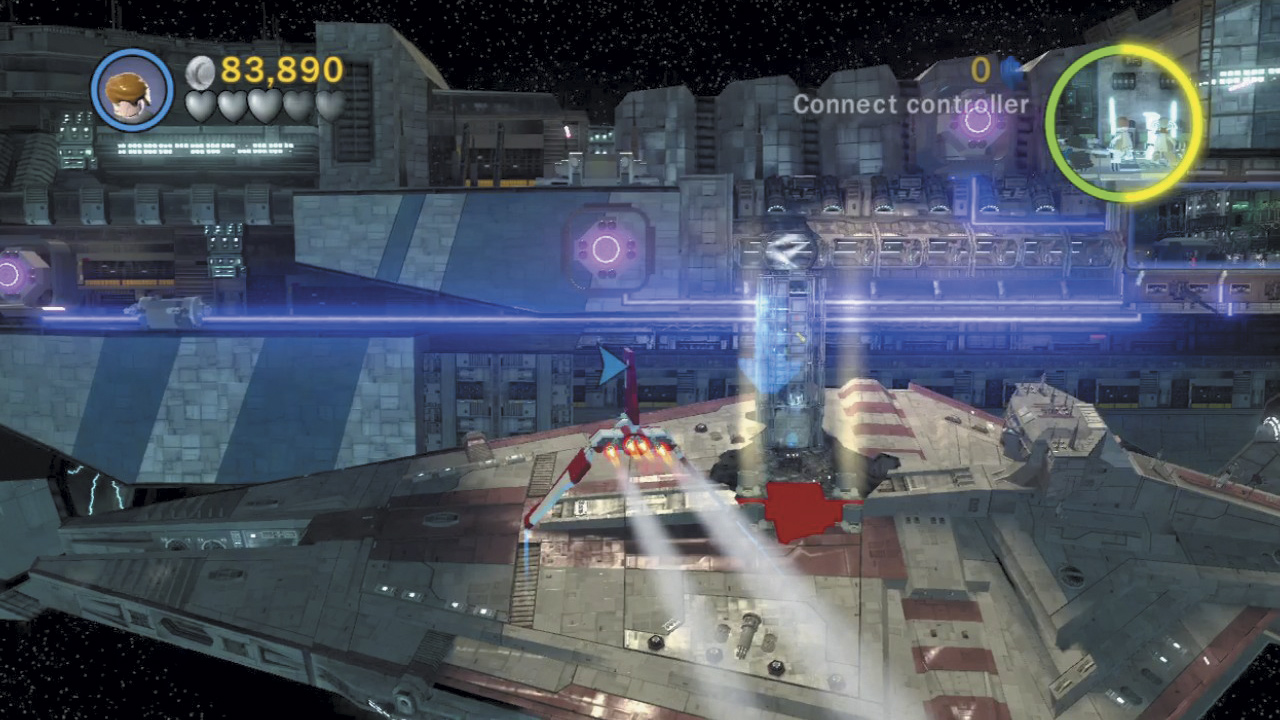
Press and hold the Change Character button to switch to Anakin, who’s flying around in a shuttlecraft. Set the ship down on the landing pad atop the Republic battleship, which is marked by a blue arrow.
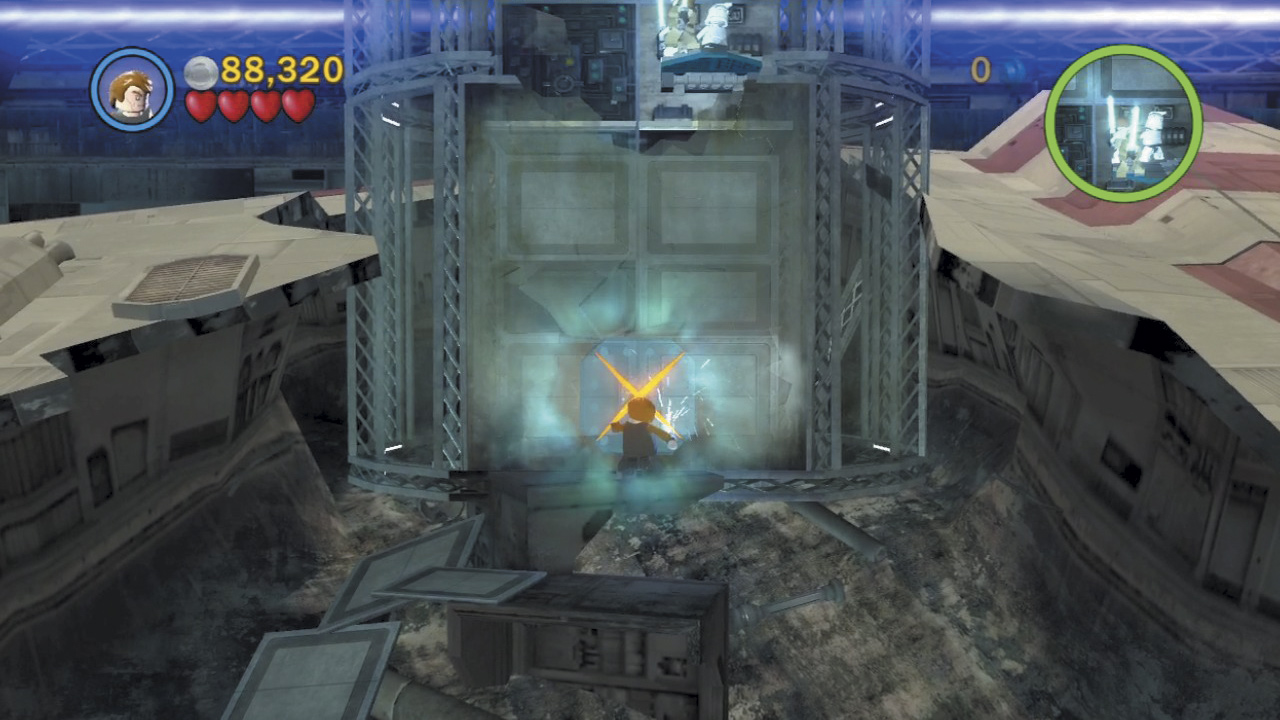
Run to the background and carve into the glass where the Jedi logo appears. Use the Force afterward to shatter the glass, then cut a hole into the wall beyond to expose some circuitry. Destroy this to extend more platforms for Obi-Wan.
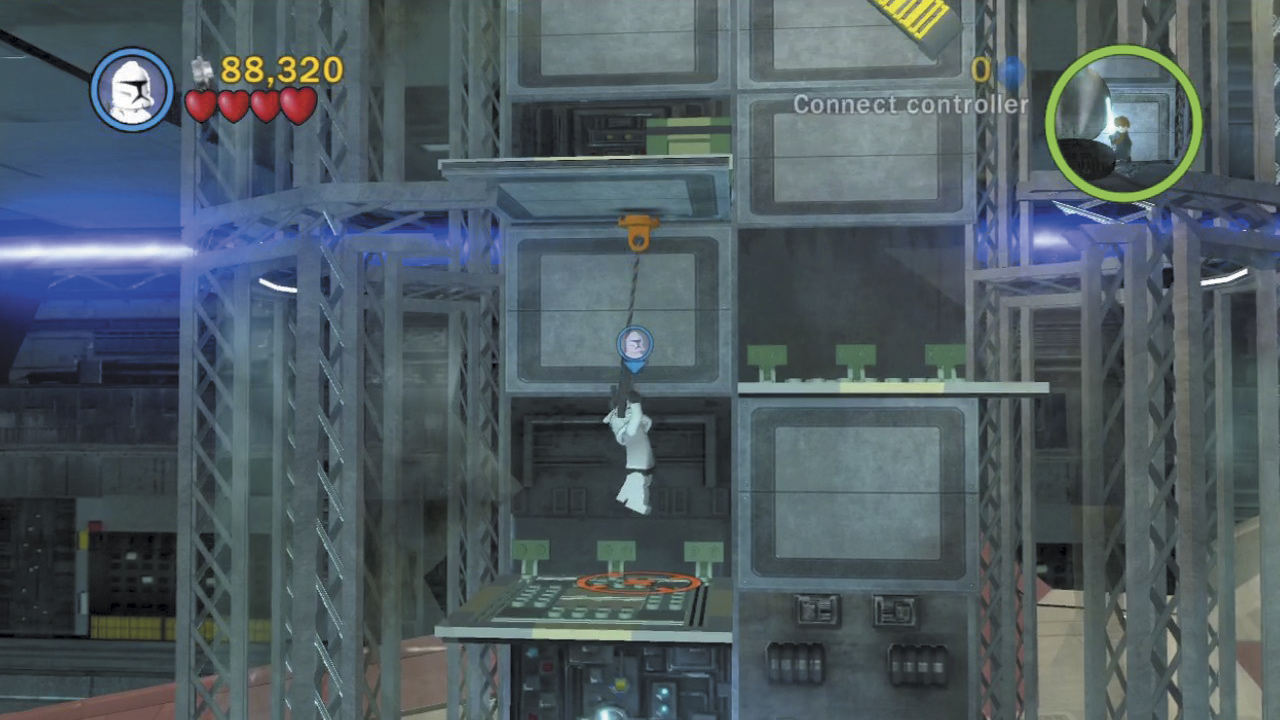
Tag back to Obi-Wan and make your way up the platforms. Use the Force and the clone trooper’s grapple gun as needed, and keep going until you reach the top.
Minikit 8 (Freeplay)
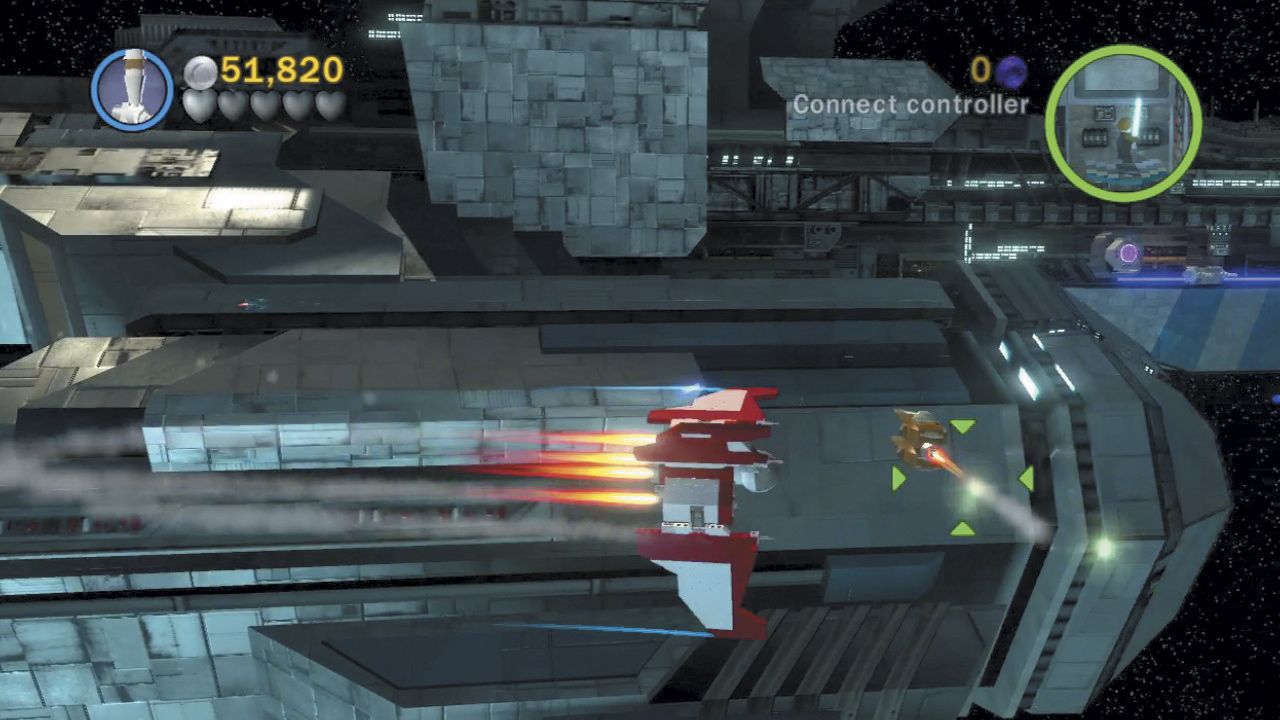
During Free Play, five enemy ships will be highlighted by green reticles. Hunt down these special ships and destroy all five to score a minikit!
Objective 6: Escape!
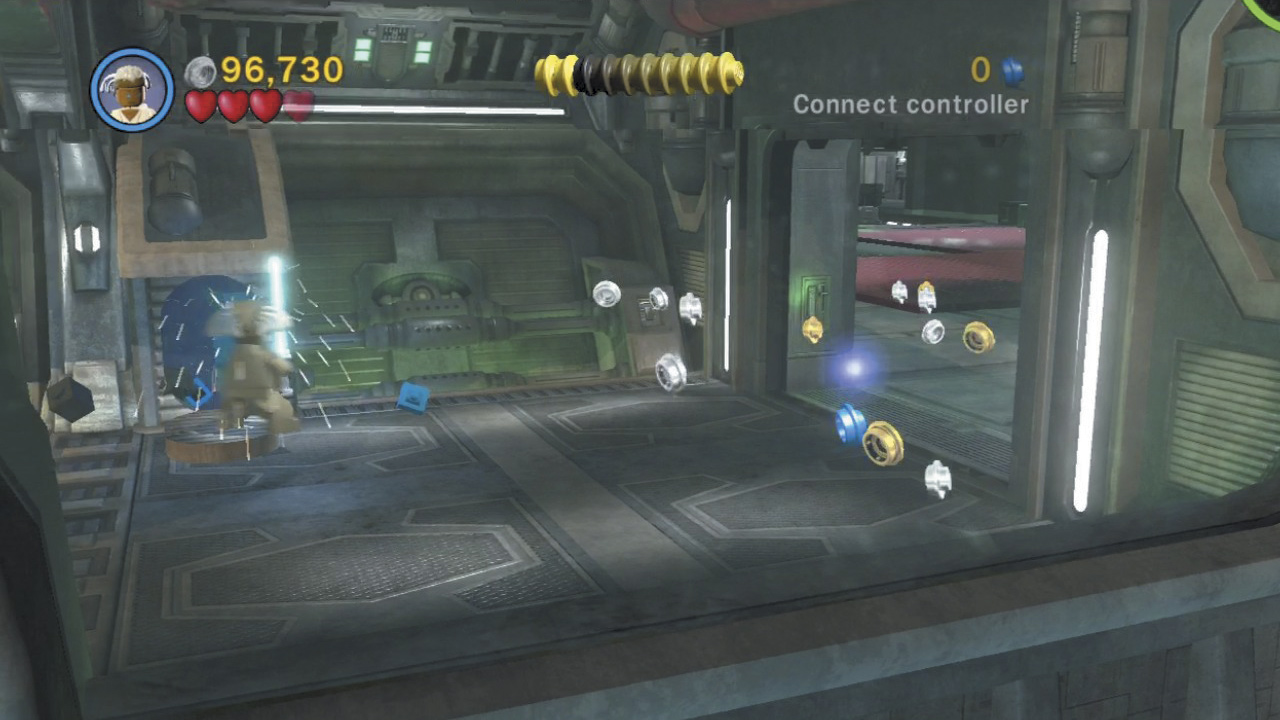
His devious plans falling to ruin, Grievous sets his battleship to auto-destruct and quickly flees the scene on an escape craft. No matter—look for a nearby Jedi logo and cut a small hole into the wall here to reveal some circuitry. Destroy this to open the nearby door.
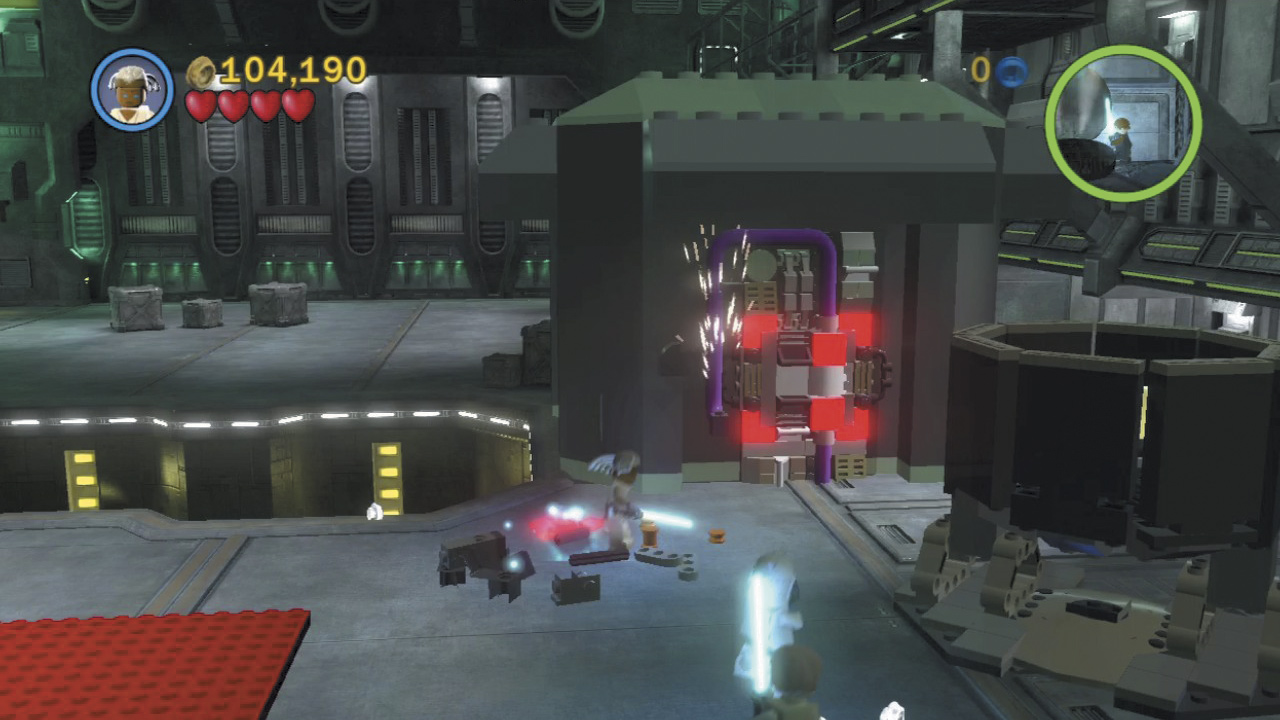
The door leads to a hangar. Eliminate the enemy Droids here, then destroy the upper-right boxes to obtain some bits. Build these into a lever, then pull the lever to activate a torpedo generator outside the ship.
Minikit 9
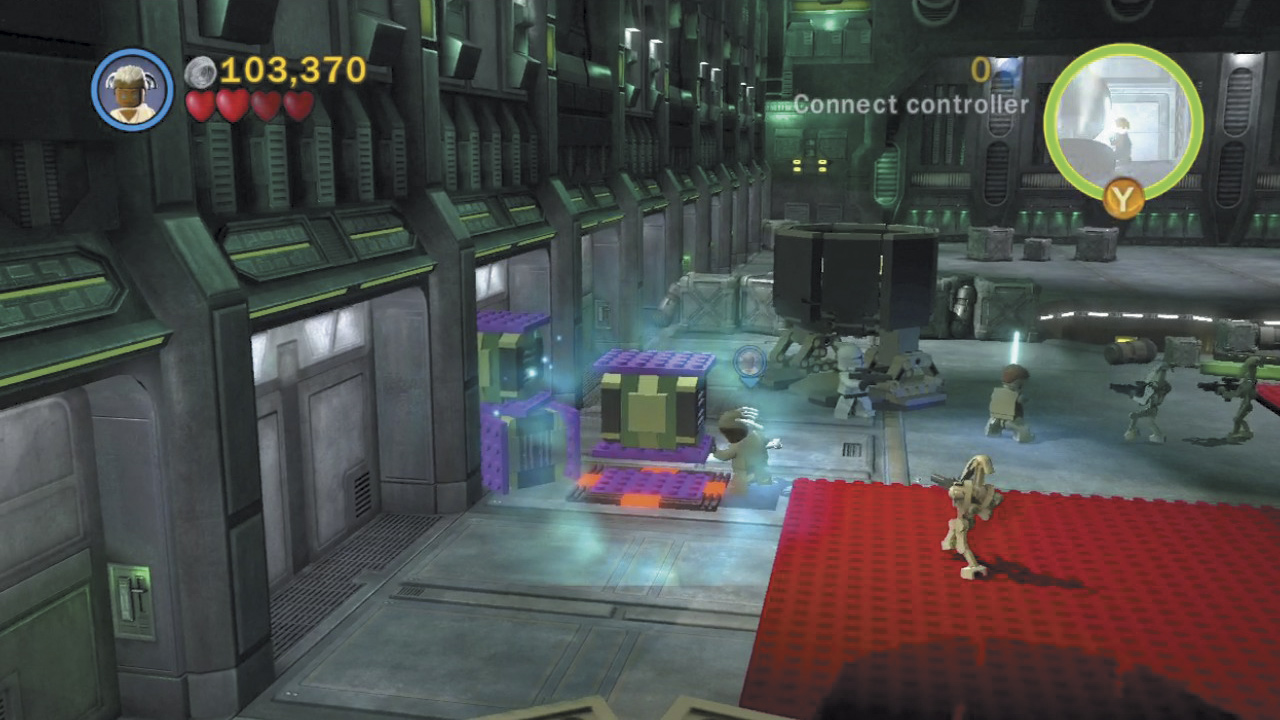
Inside the hangar, use the Force to stack the three purple boxes to the left, carefully placing them onto the nearby purple pad. A minikit appears high above the boxes after you stack them—jump up and claim your prize! It may help to stagger the boxes a bit and create footholds.
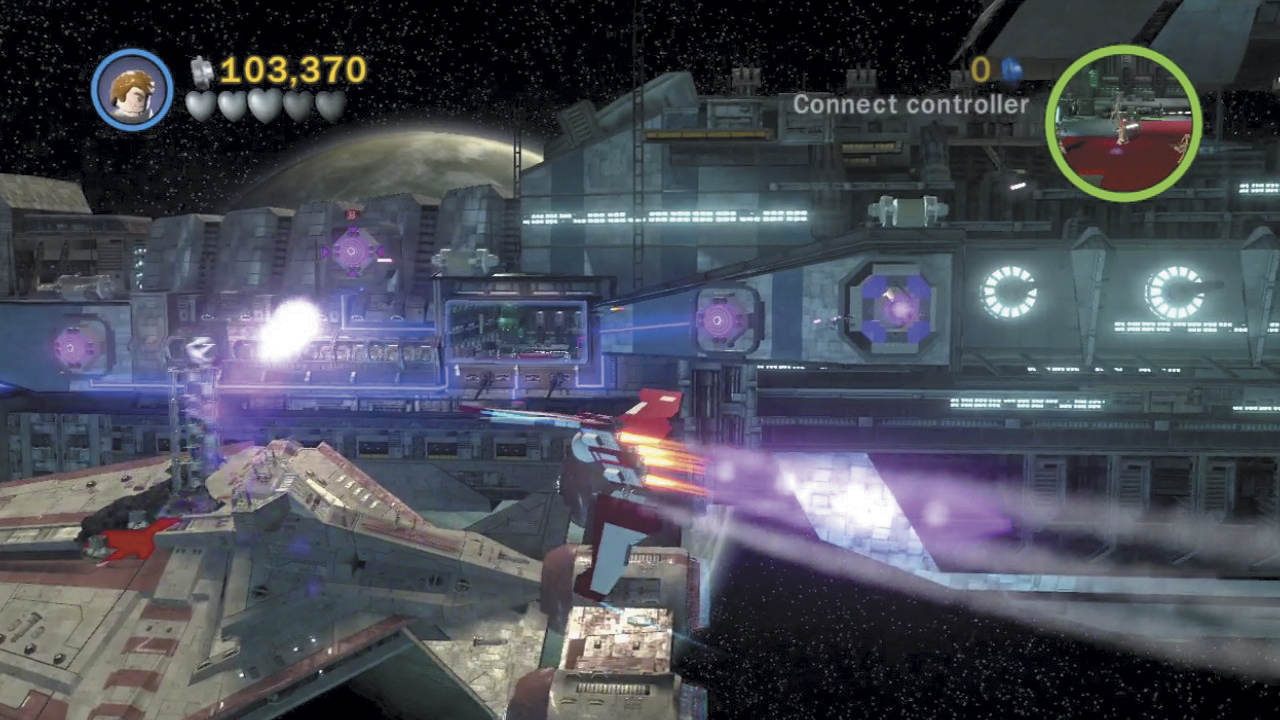
Toggle to Anakin and return to his shuttle. Collect some of those torpedoes from the side of the battleship, then blast the four pink targets near the hangar to drop its force field.
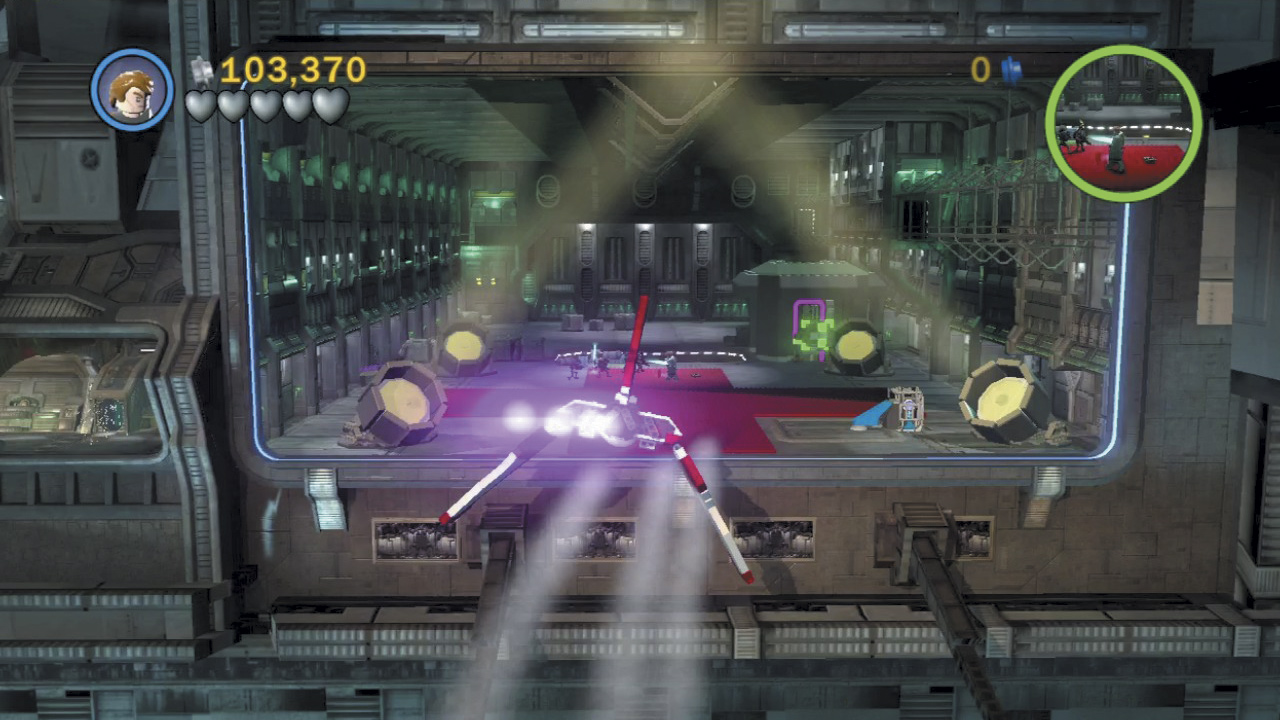
With the hangar’s force field disabled, land your shuttle to rescue Obi-Wan and company—and not a moment too soon!
Minikit 10 (Freeplay)
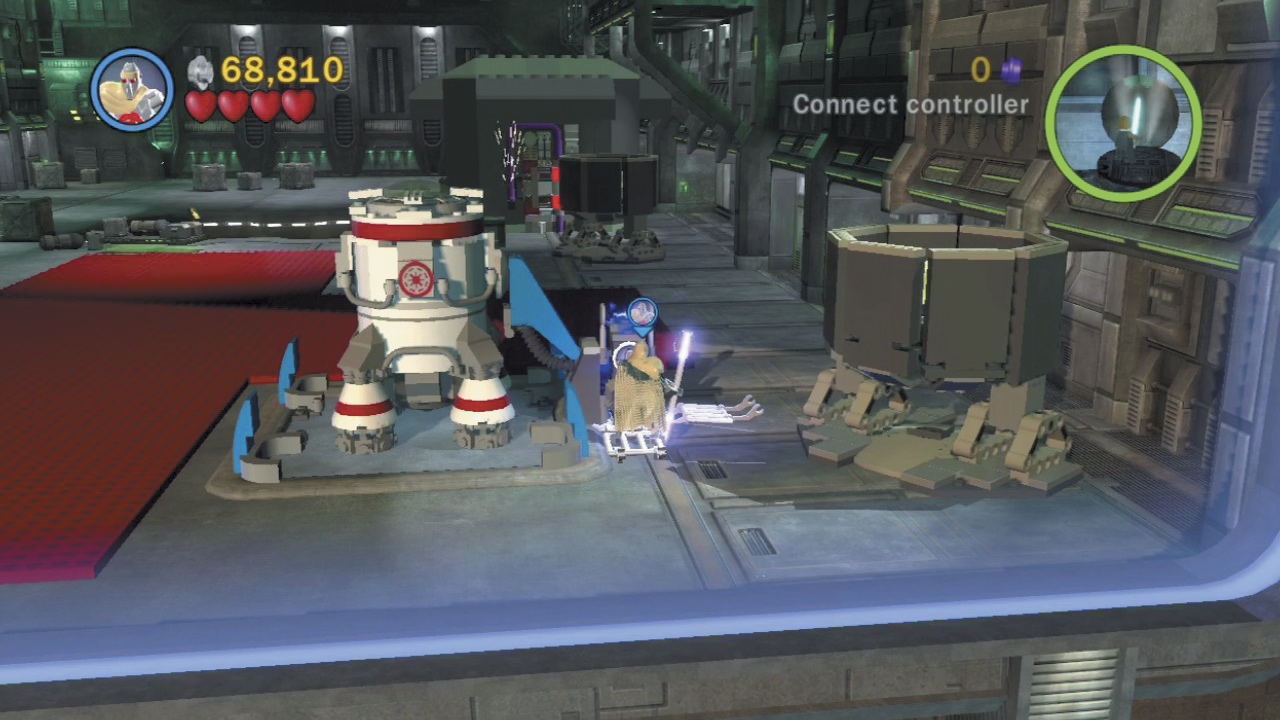
During Free Play, blast the silver covering off the power panel inside the hangar, then activate the panel to send a shuttle flying into space. Switch to Anakin and shoot the shuttle from range to claim a minikit. That’s teamwork!