
Lego Star Wars III: The Clone Wars Guide Walkthrough Destroy Malevolence (DS)
Destroy Malevolance-Act 1 (DS)
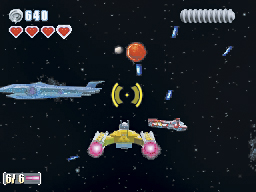
The level opens with the Republic’s strike force suffering heavy losses. You take control of a Y-wing as your squad mates are picked off, one after the other. The game offers a brief tutorial before enemy fighters arrive. Follow the onscreen instructions to get a feel
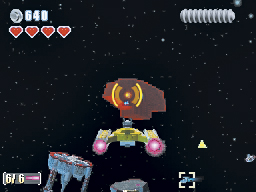
When the first Vulture Droids arrive, scan the area. Avoid engaging your enemies for now. Instead, fly toward the floating bits of space debris press and hold the Attack button to fire your blasters. There are three destructible pieces of debris in the area, so watch for signs of an effective attack. When blaster fire causes a target to flash read, continue attacking until you expose the blue core at the center of the debris.
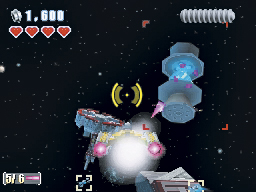
The blue cores can only be destroyed by your ship’s torpedoes. Hold your crosshairs over the exposed core and wait for your torpedo to lock on. After the pink indicators zoom in on your target, press the Torpedo button to fire a torpedo and destroy the core.
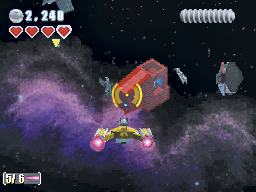
The three bits of destructible debris have the same basic appearance, so look for similar pieces once you’ve identified one of the valid targets. The enemy Vulture Droids don’t pose much of a threat at this time, so keep searching the debris for the two remaining cores.
Minikit 1
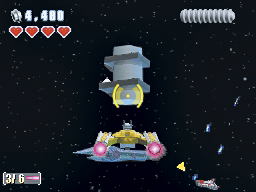
When you destroy the third core, a minikit automatically appears in front of your ship. Once you’ve collected the minikit, turn your attention toward the attacking Vulture Droids.
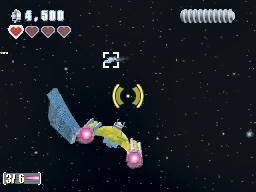
To track a Vulture Droid, follow the yellow arrow at the edge of your screen. Vulture Droids appear inside of white brackets, and can be destroyed by blaster fire.
Vulture Droid
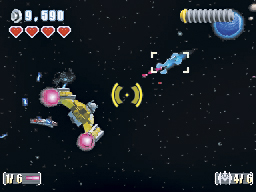
The Vulture Droid is Separatist starfighter that can transform to act as a walking weapons platform. When in flight, Vulture Droids are extremely nimble—since Vulture Droids are computer-controlled, they can make sharp turns and sudden speed changes that would injure a living pilot. Vulture Droids are armed with both blasters and missiles, making them extremely effective in large numbers.
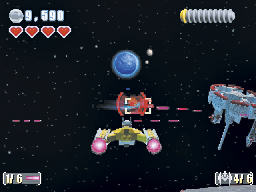
Try to keep the Vulture Droid near the center of the screen. When the reticle turns red, use your blasters to rip through the enemy starfighter. Your accuracy improves as you get closer to your target, so press the Boost button to help close the distance if you don’t seem to be doing much damage. Use your ship’s blasters to eliminate both of the Vulture Droids and wait for the next wave of enemies to arrive.
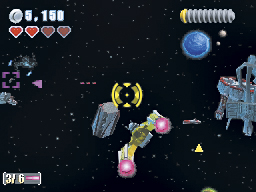
After a moment, two Hyena Bombers enter the battle. Follow the pink arrows on the sides of your screen to help locate these heavy ordinance Droid ships.
Hyena Bomber
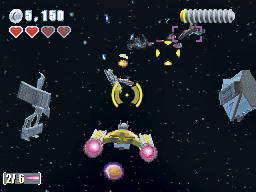
The Hyena Bomber is used to deliver heavy damage to key targets. Hyena Bombers are less agile than Vulture Droids, which makes them vulnerable to missile locks. Whenever you spot a Hyena Bomber on the battlefield, make sure to take it down as quickly as possible. Hyena Bombers are only deployed to attack strategically important targets, so preventing a Hyena Bomber from completing a bombing run should always be a priority. Get in close enough to lock on, then fire off a missile to take these enemies out with a single shot.
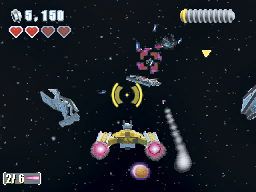
Lock on to a Hyena Bomber and destroy it with one of your Y-wing’s torpedoes. Chase down and destroy the second Hyena Bomber to trigger the next wave of enemy fighters.
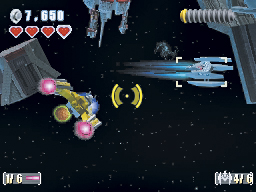
You must defeat six Vulture Droids to complete this phase of the battle. Collisions can deal serious damage to your ship, so watch out for floating debris as you chase the Vulture Droids around the area. Check the lower-right corner of the screen for your current status as you destroy each of the ships.
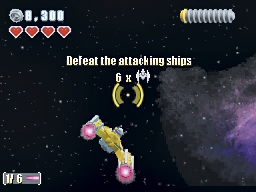
Destroy six enemies to trigger the next wave of Vulture Droids. Again, use your blasters to destroy all the enemy starfighters in the area. Many of the Vulture Droids are busy attacking other targets; try to destroy each enemy before it has a chance to return fire. Clear the battlefield of all Vulture Droids to enter the next stage of the battle.
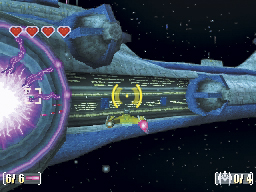
After a short cutscene, you appear just outside the Malevolence . Veer off to the ion cannon’s right side; use your thrusters to clear the cannon before it fires another shot. The Vulture Droids protecting the Malevolence are much more aggressive than those you faced in the previous waves. Don’t chase after any of the Vulture Droids just yet; focus on dodging enemy attacks as you fly toward the Malevolence .
Minikit 2
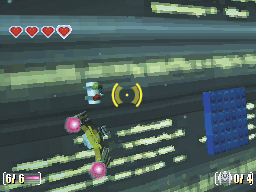
Look for the minikit just to the right of the ion cannon. Grab the minikit and look for the blue panel just to your right.
Minikit 3
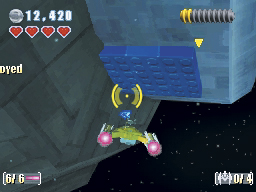
There are 10 blue panels spread across the Malevolence . Six of the panels are circling the ion cannon; the remaining panels run along the side of the ship. Use your blasters to destroy each of the blue panels. Defend yourself from incoming Vulture Droids, but make the blue panels your priority.
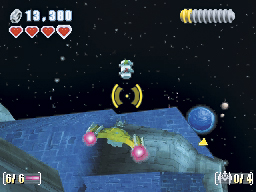
You receive a status update each time you destroy a panel. When you destroy the last panel, a minikit appears above the ion cannon. Fly over and collect the minikit, then shift your focus to the Vulture Droids.
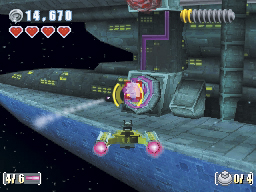
Destroy four Vulture Droids to expose one of the Malevolence ’s shield generators and move onto the battle’s next phase. Lock on to the exposed generator and take it out with your torpedoes. Land three successful hits to destroy the shield generator and expose the next generator in the chain.
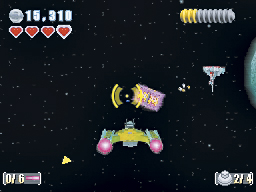
There are four linked shield generators leading to the ion cannon. Each time you destroy a generator, it exposes the next. When you run out of torpedoes, follow the pink arrow to find a Droid supply ship. Use your blasters to destroy the ship, then fly through the payload to restock your torpedoes.
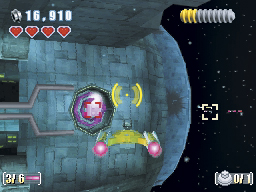
Destroy the four shield generators and find another supply ship to reload your torpedoes. Destroy the generator on the ion cannon’s side to disable the dreaded weapon.