
Lego Star Wars III: The Clone Wars Guide Walkthrough Count Dooku
Chapter VI: Legacy of Horror
“Sometimes, accepting help is harder than offering it.”
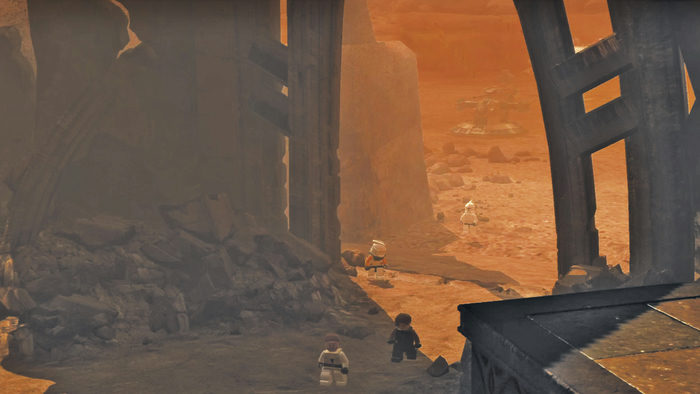
Following a tremendous victory on Geonosis, Jedi Masters Obi-Wan Kenobi and Luminara Unduli have been charged with the task of capturing Separatist leader Poggle the Lesser. Their quarry has taken Luminara deep into the desert....
Minikits
|
No . |
Icon(s) |
Mode |
Notes |
|
x |
1 |
Free Play |
Grapple the overhead statue on the entry area’s right ledge. |
|
x |
2 |
Story |
Build the colored block stairs perfectly. |
|
x |
1-5 |
Free Play |
Find and build five Geonosian statues throughout the level that will in turn dance. |
|
x |
1-5 |
Story |
In the first tunnel, destroy the five statues that pop out from the sides of the walls. |
|
x |
5 |
Free Play |
In the first tunnel, activate the astromech Droid control panel, then fix the mine cart track in the side room. |
|
x |
6 |
Free Play |
In the first tunnel, destroy four gold plates on the walls, then build the walker. Stand on the orange pad, then use Jar Jar to grab the minikit in the side room. |
|
x |
7 |
Free Play |
In the lower tunnel, activate the power panel and obtain a minikit from the cake in the side room. |
|
x |
8 |
Free Play |
In the lower tunnel, destroy the silver objects on the spider web, then use the Dark Force to place the purple objects onto the web. |
|
x |
1-5 |
Story |
Force-slam five clay jars during the escape run. |
|
x |
10 |
Story |
Saber-jump up the checkered wall at the end of the escape run. |
True Jedi Stud Requirement: 115,000
Story Characters
Anakin Skywalker
Obi-Wan Kenobi
Commander Cody
Clone Trooper
Objective 1: Enter the Tunnels
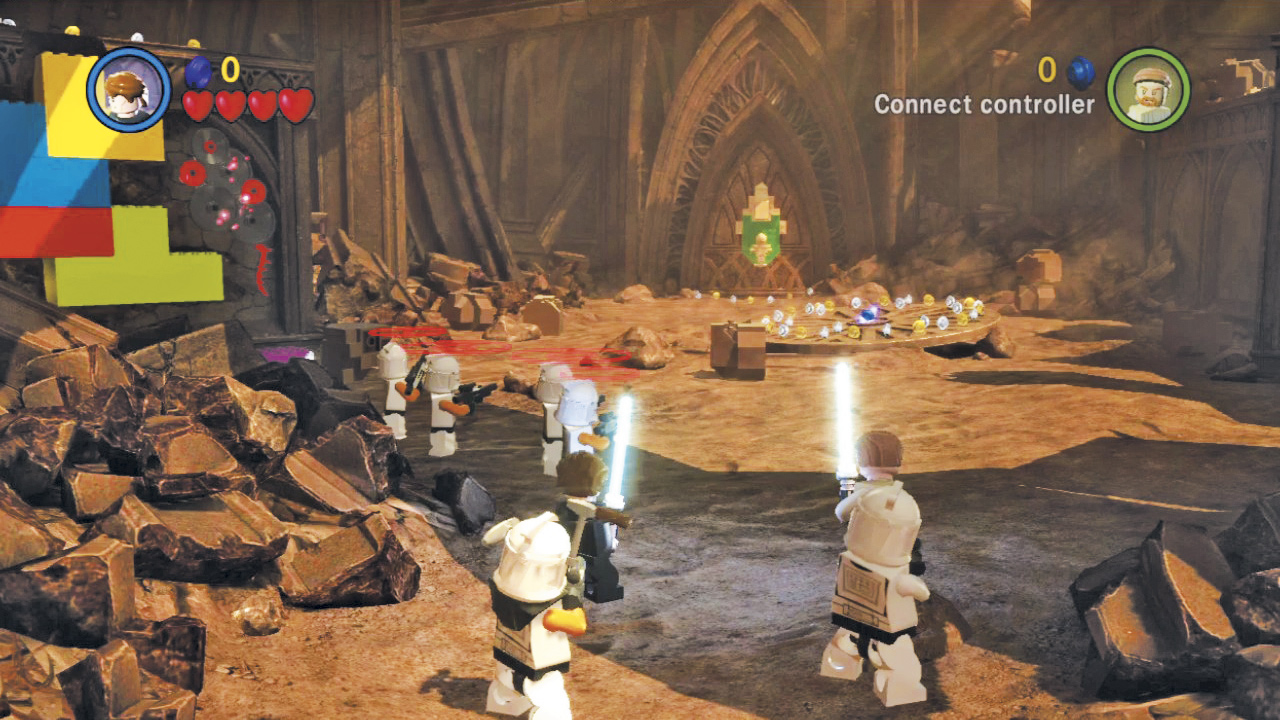
Luminara has been captured by the enemy—you’ve got to save her! Loot the quiet starting chamber for studs, then assume control of Commander Cody.
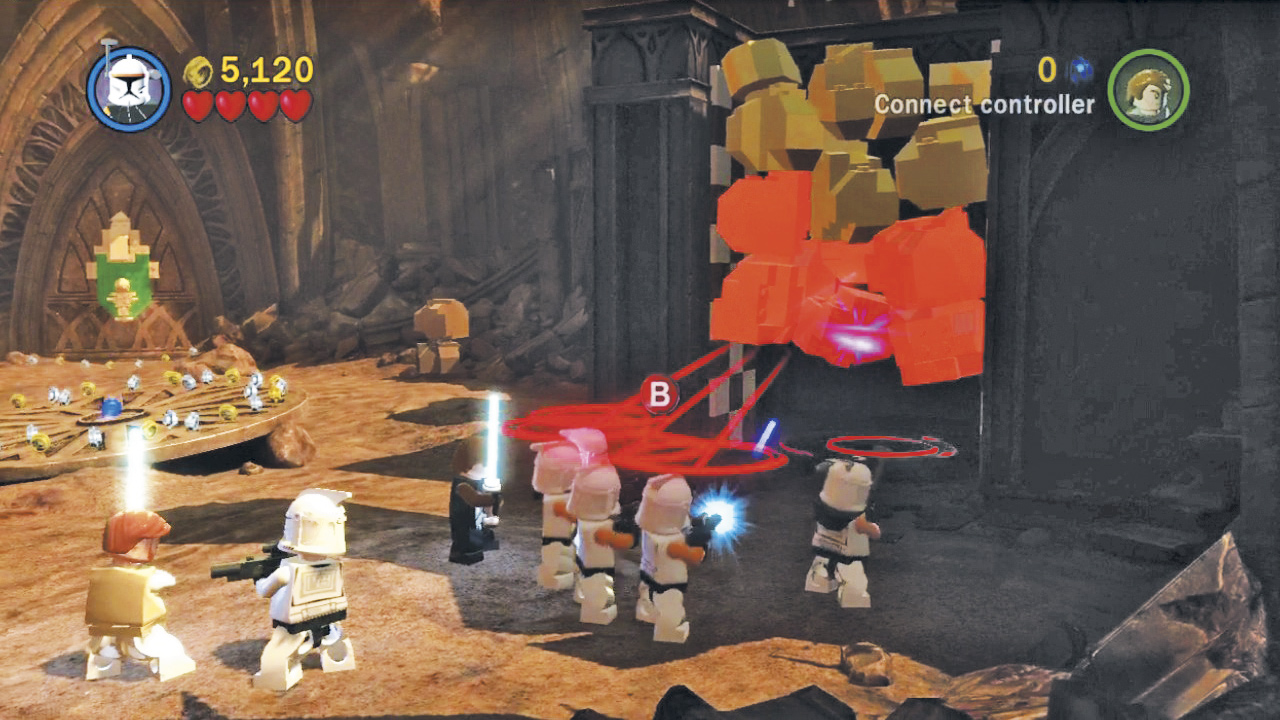
As Commander Cody, stand near the small group of blaster clones and press the Action button to get their attention. Hold the Attack button and target the gold rubble on the right to order the clones to open fire. Repeat this until the debris is completely removed.
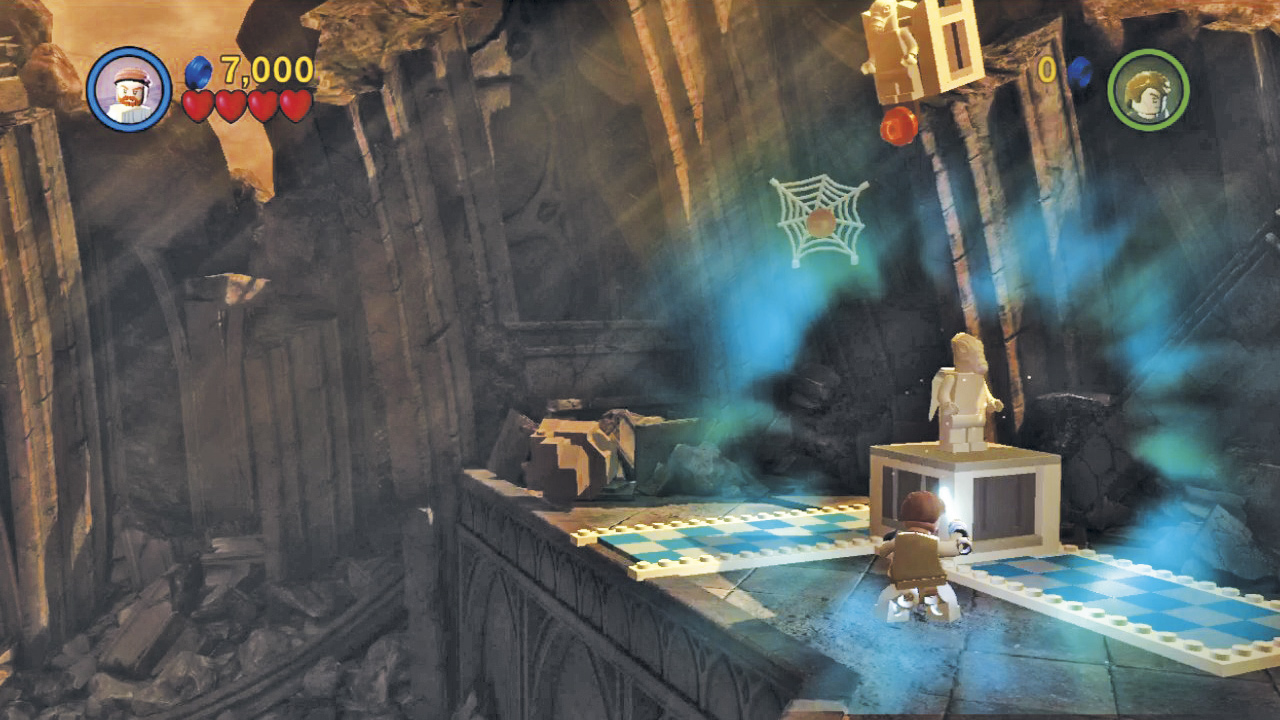
Way to blast! Now switch to a Jedi and saber-jump up the checkered wall you’ve uncovered. Build the bits you discover on the ledge above to complete the checkered path, then slide the large statue along the path and over the edge of the ledge.
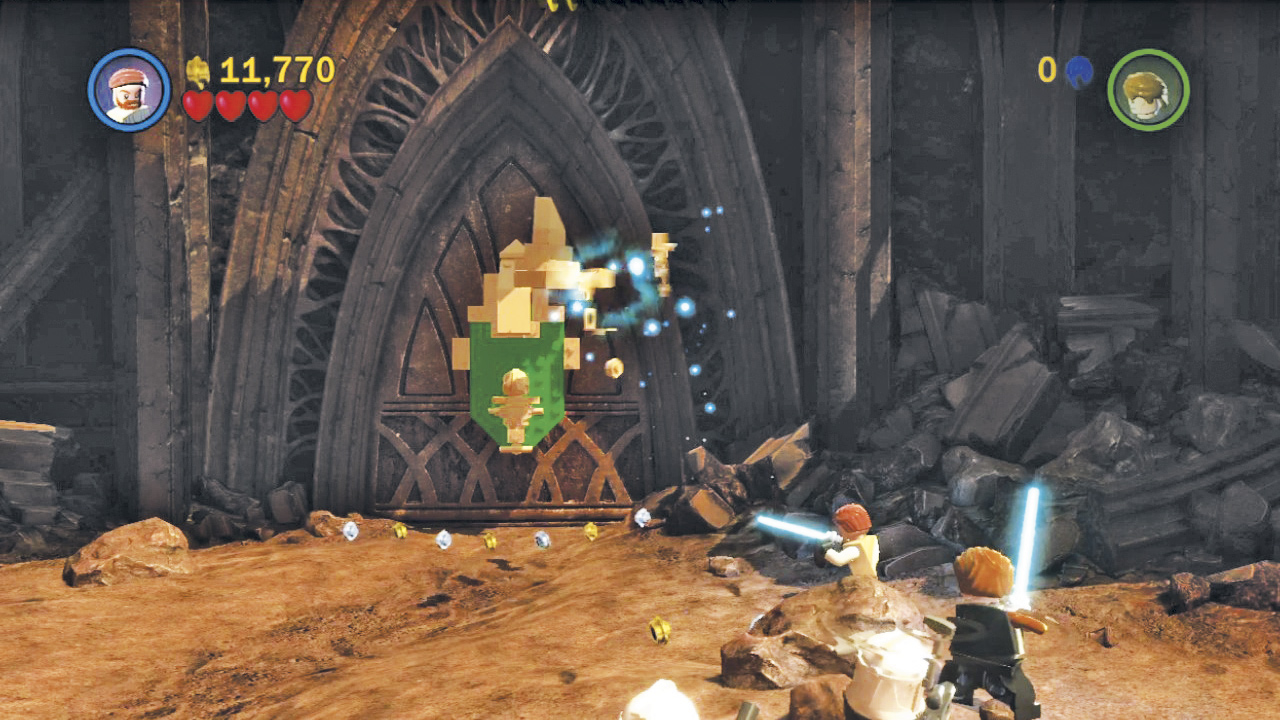
The statue crashes on the ground below, revealing some jiggling pieces. Build these to restore a portion of the crest on the background door.
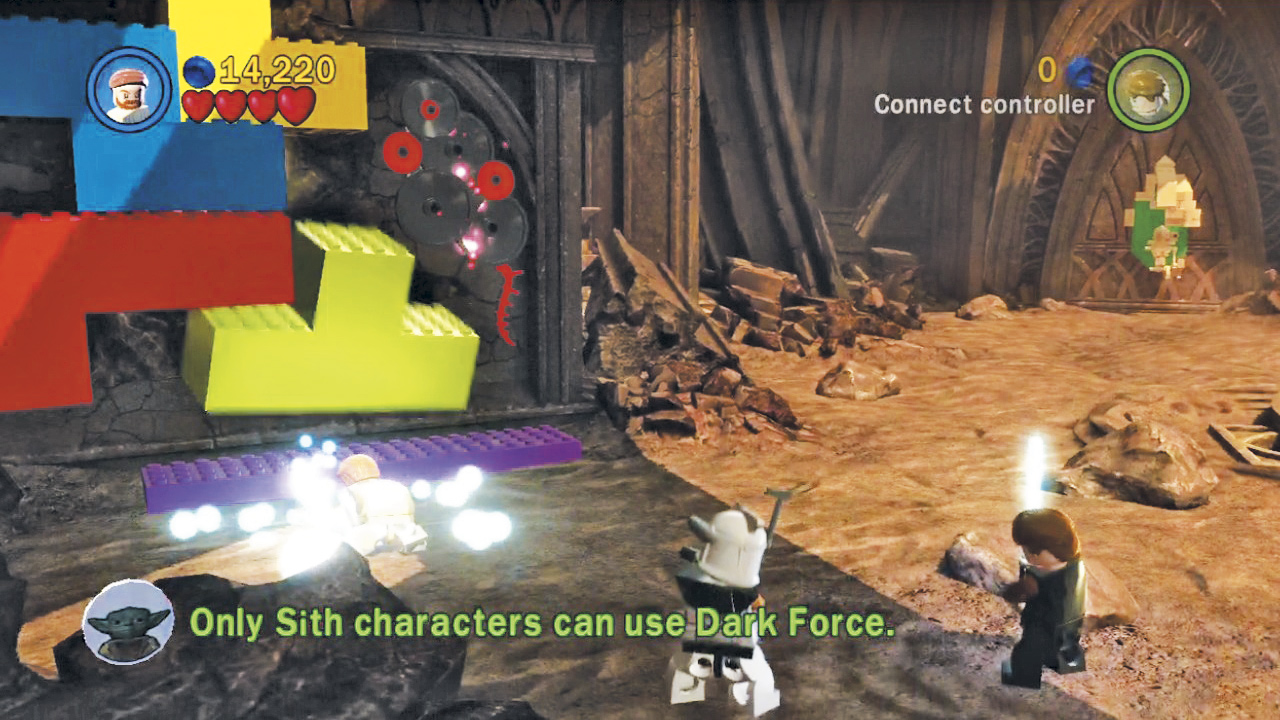
Next, perform a Force-slam to knock the large colored blocks down from the left wall. Use the Force to assemble these into a staircase, then switch to Commander Cody and hop up to the ledge above.
Minikit 1 (Freeplay)
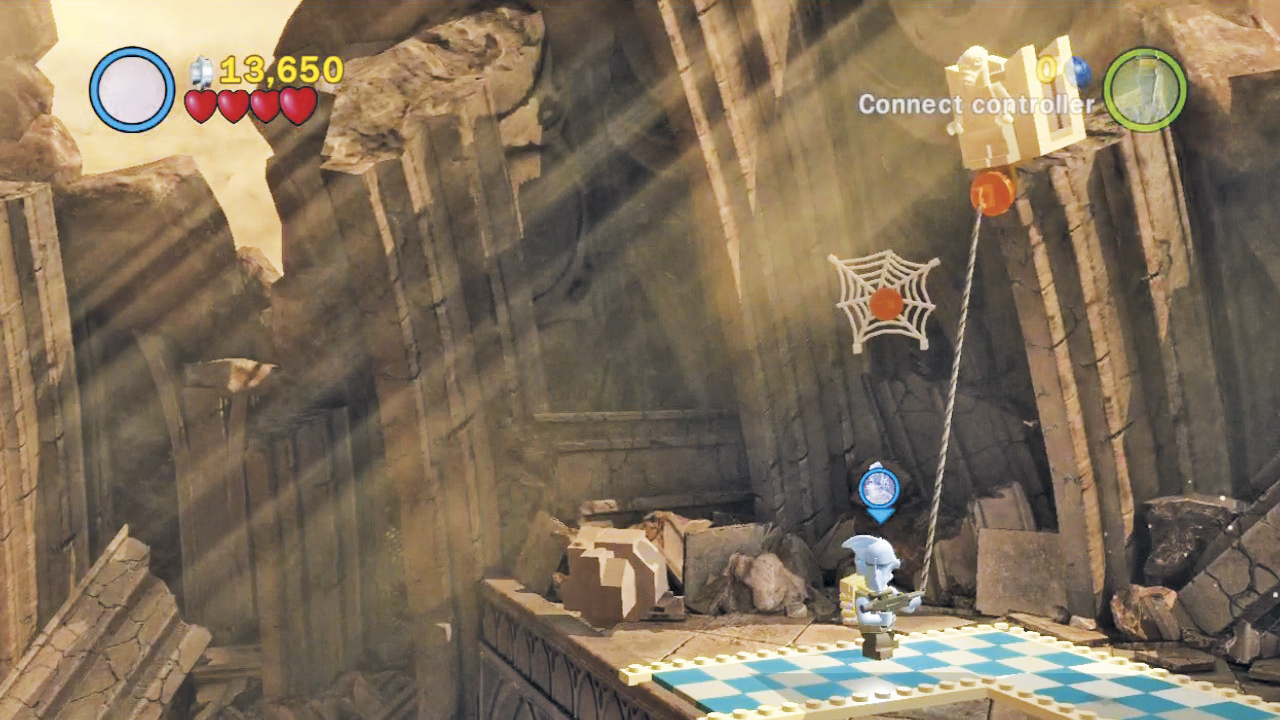
After saber-jumping up the checkered wall, toggle to a grapple gun character and pull down the overhead statue. It shatters when it hits the ground, revealing a minikit!
Minikit 2
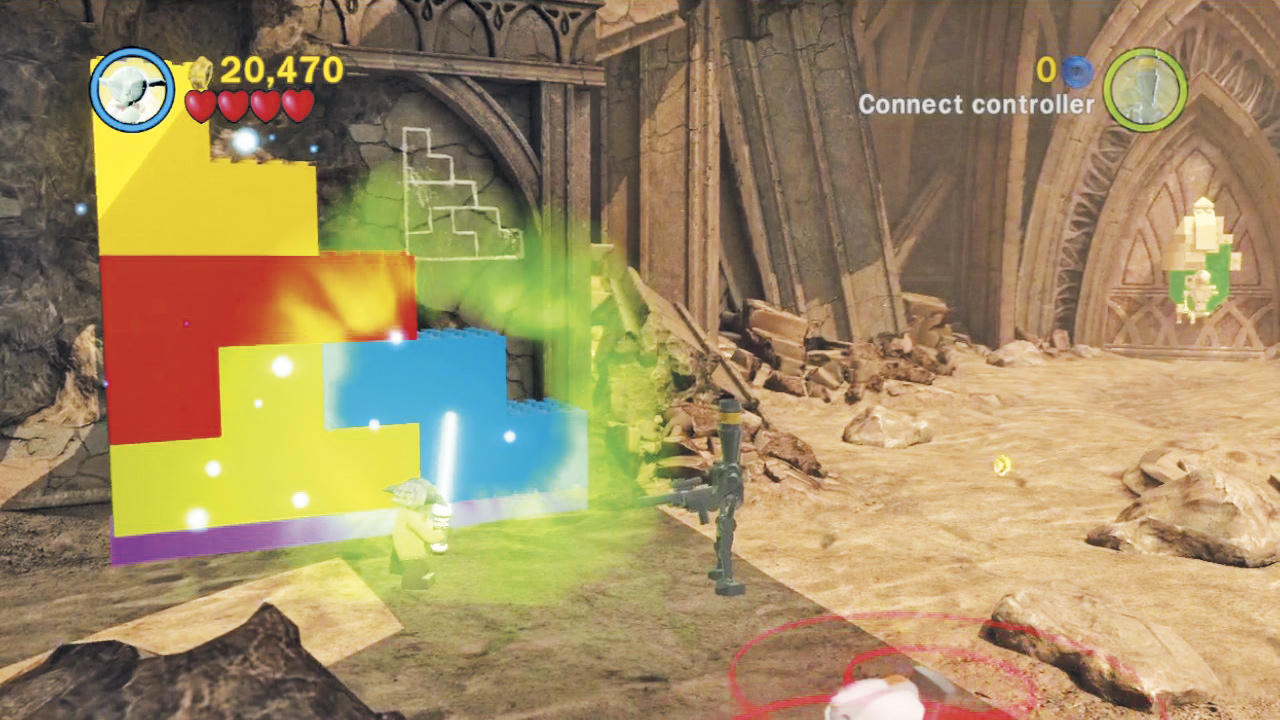
Stack the colored blocks into a “perfect” staircase (as pictured) to earn a minikit. The blocks must be painstakingly aligned with one another (no gaps!) and situated precisely on the purple base pad. During Free Play, you can receive a hint about obtaining this minikit by using a Sith character’s Dark Force ability to uncover a sketch that’s hidden on the nearby wall.
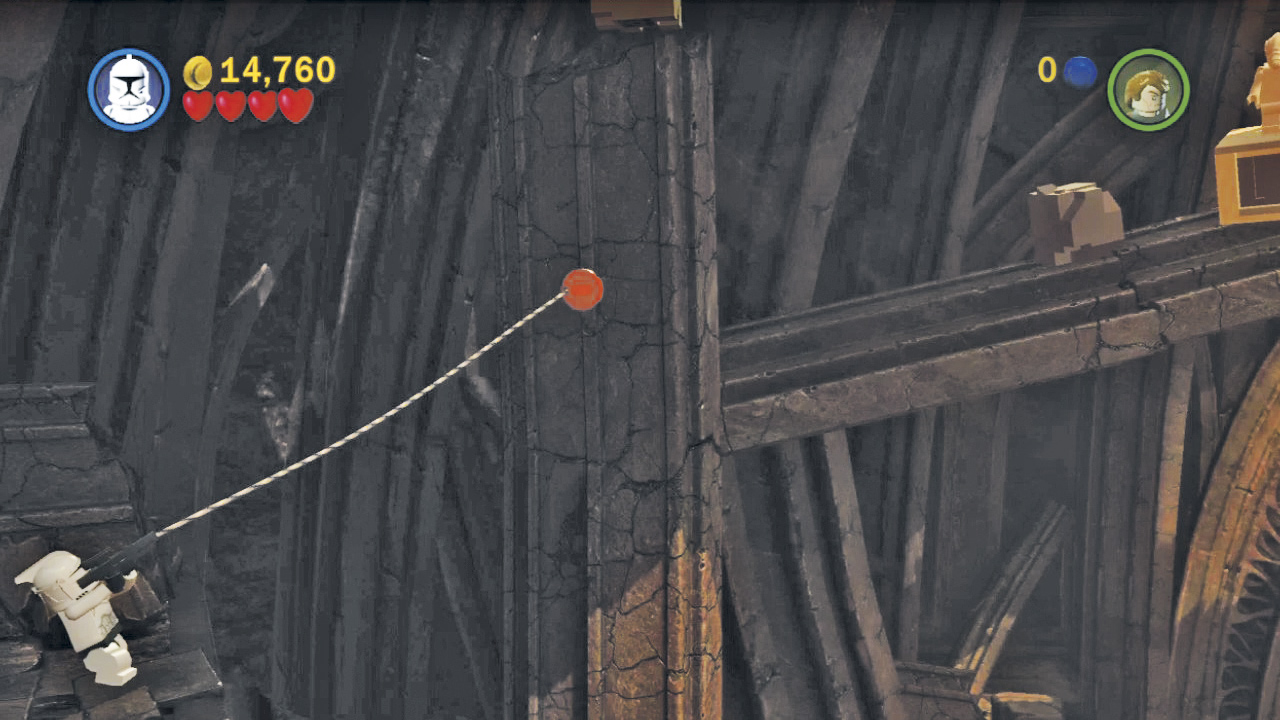
Once on the ledge, use Commander Cody’s grapple gun to yank on the hook point affixed to the nearby pillar. Pull on the line to topple the pillar, then run along the fallen column until it collapses.
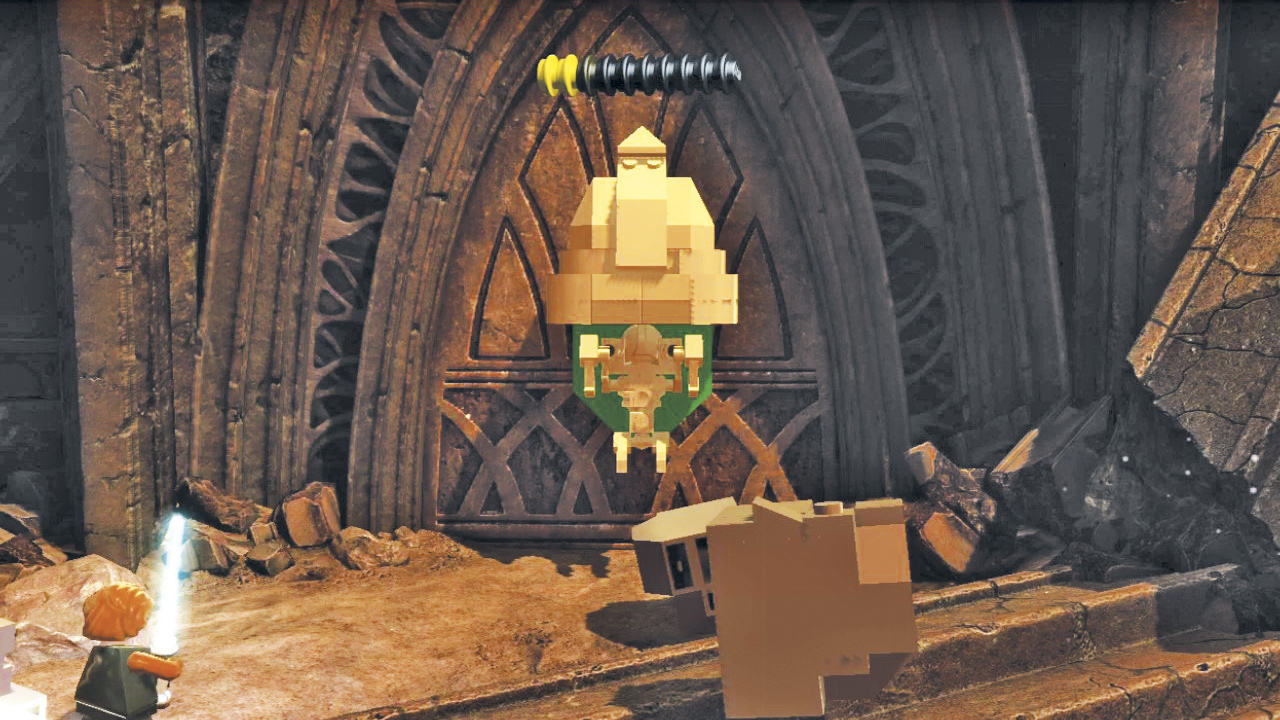
Another large statue falls to the ground when the pillar collapses. Stack the jiggling pieces that remain to complete the crest on the background door. The door then opens, granting you access to a long, dark tunnel.
Minikit 3 (Freeplay)
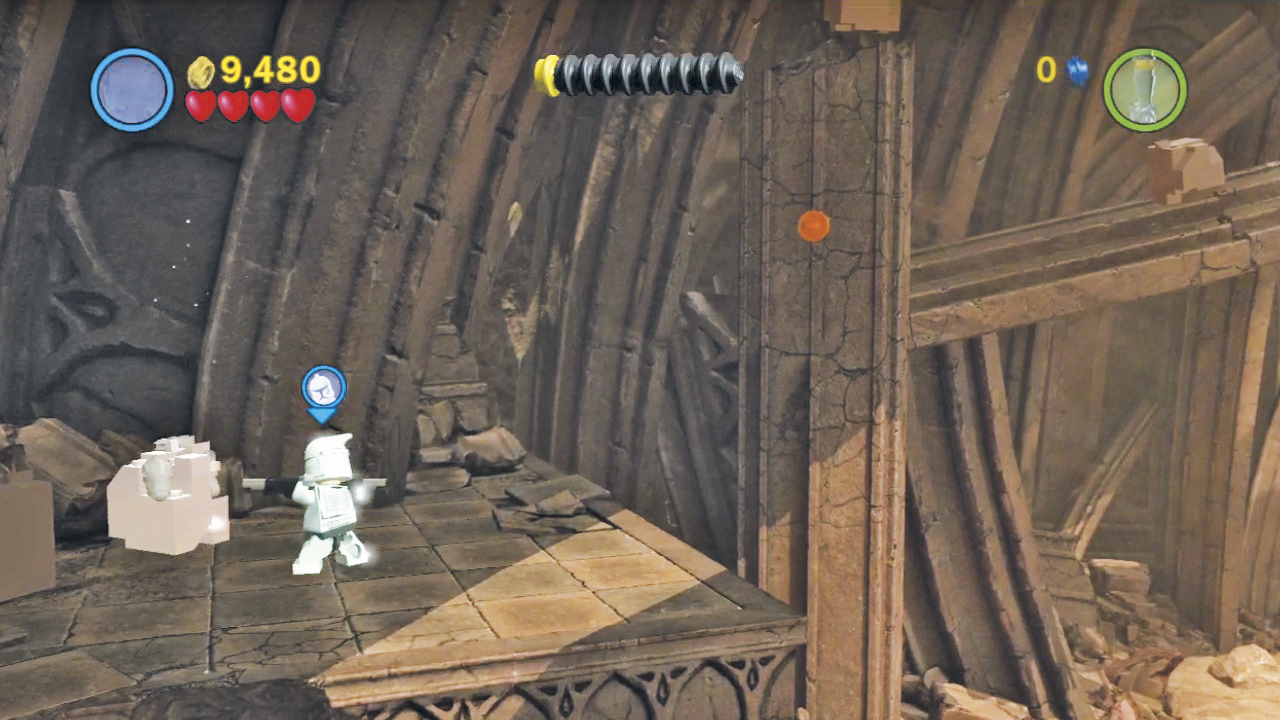
Use an explosive character to destroy the silver rock you discover above the colored block stairs. Build the pieces that spill out to assemble a Geonosian statue, which does a happy little dance before vanishing. Find four more of these special Geonosian statues throughout this level and rebuild each one to earn a minikit! We’ve marked these fellows on the maps to help you find them.
Objective 2: Navigate the Tunnel
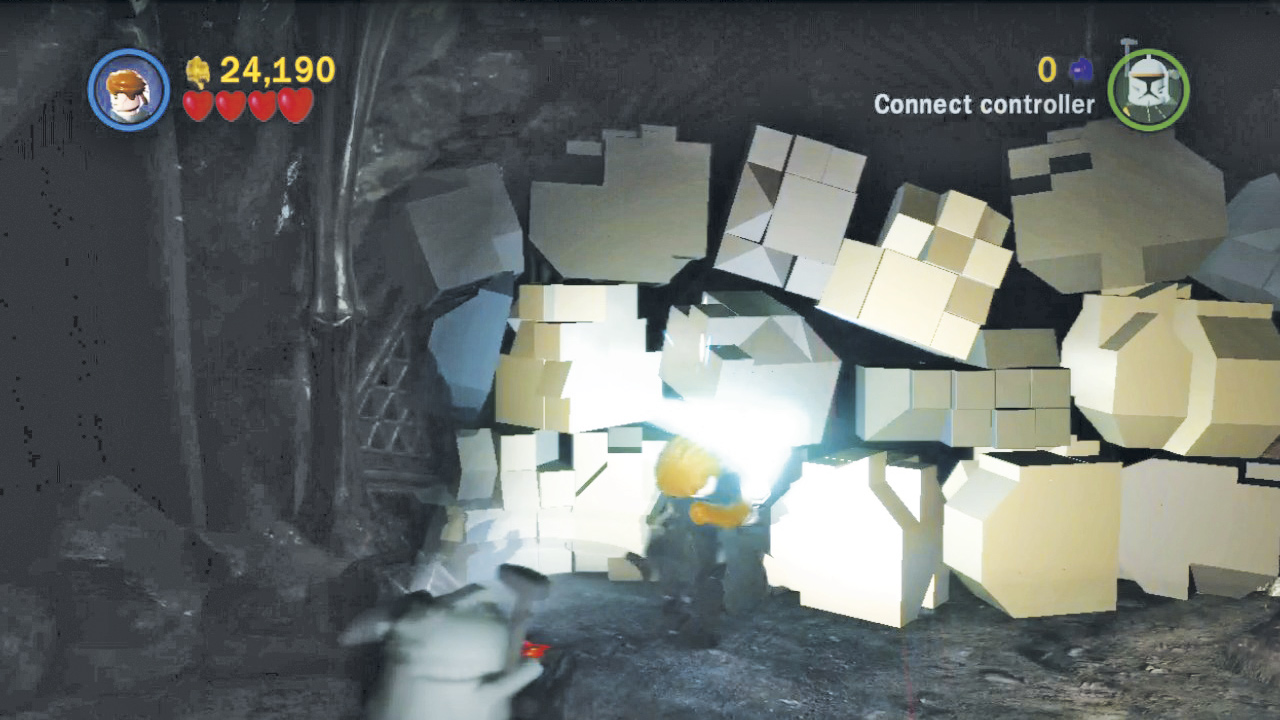
Smash each rock and grapple every spiderweb for studs as you explore the murky tunnel. Attack the giant pile of rubble you soon encounter to destroy it and clear the way forward.
Minikit 4
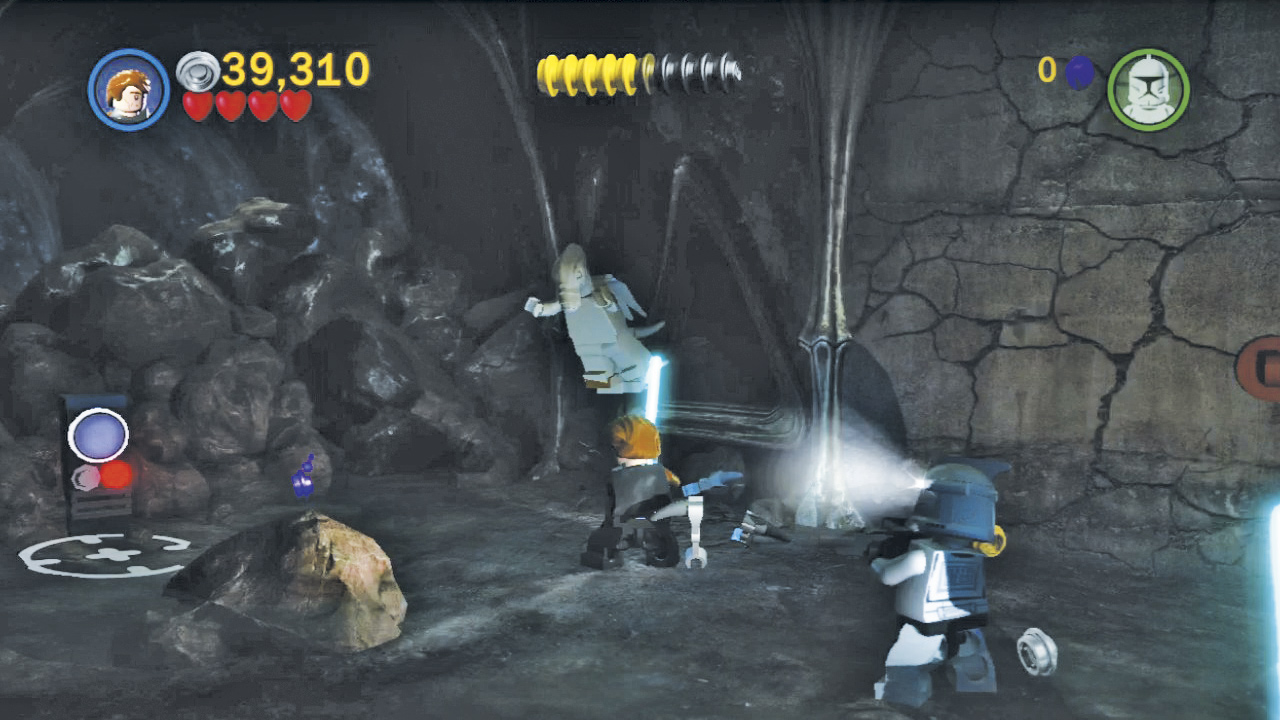
Five Geonosian statues will try to get the jump on you as you explore the tunnels. The first is just beyond the rocky rubble—it pops out from the left. Simply run along the sides of the tunnel to make the statues spring out, then destroy all five statues to earn a minikit. We’ve marked each statue’s location on the map to help you find them.
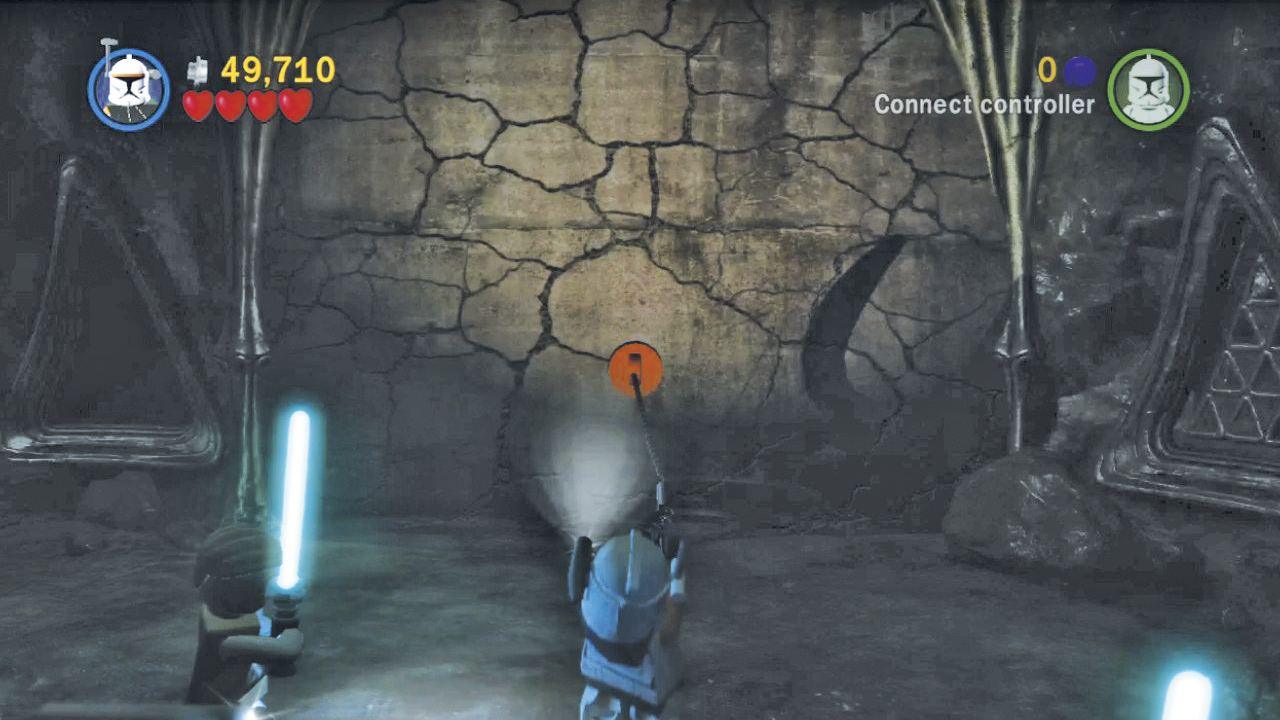
Farther ahead, a solid stone wall blocks your progress. Yank the wall’s hook point with a grapple character to bring it crashing down, then venture onward.
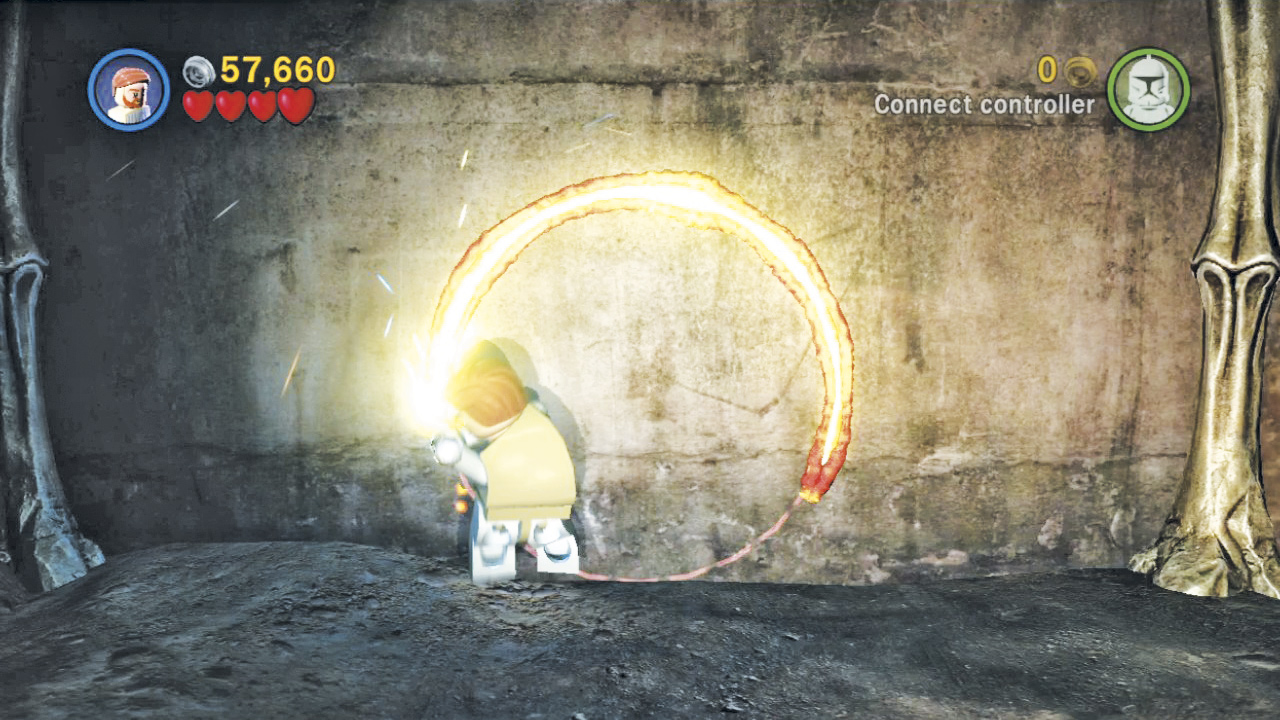
Continue your advance through the tunnels, hunting for studs and statues to smash. When you reach another solid wall, have a Jedi carve a hole in it with their Lightsaber so you may proceed.
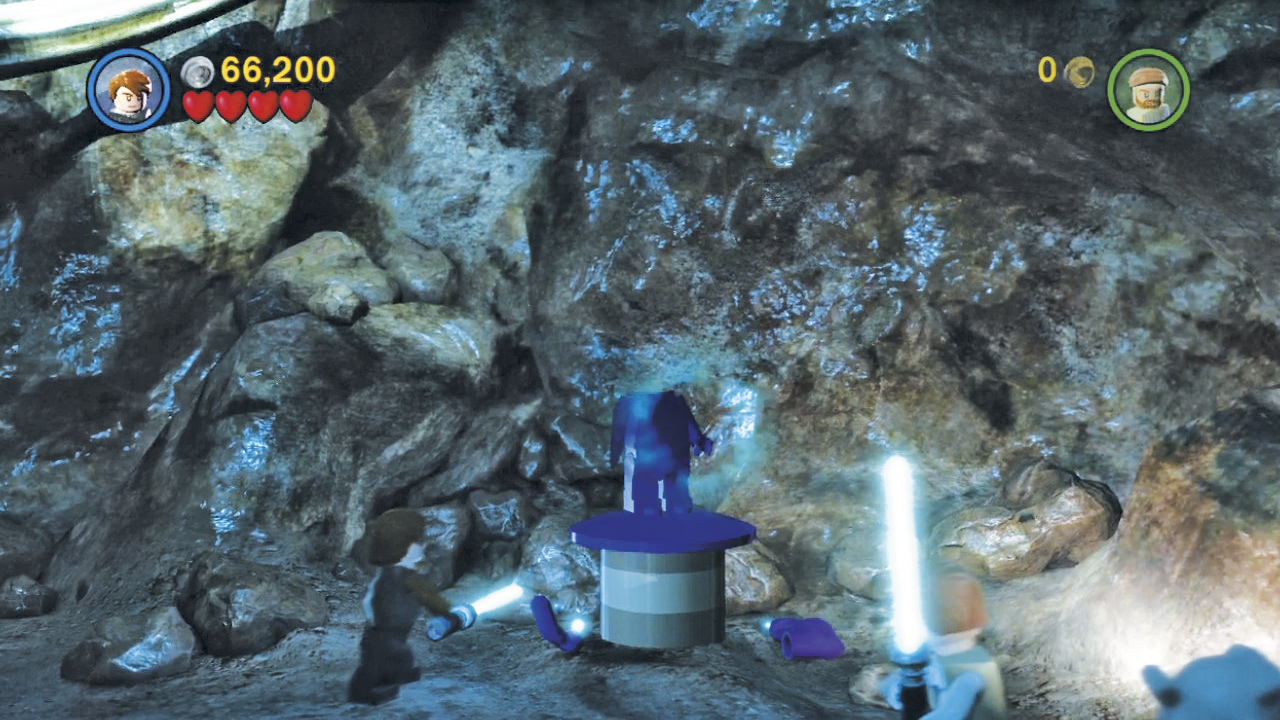
You eventually come to a small circular chamber. Take aim and hurl your Lightsaber at the purple pieces on the wall to knock them down.
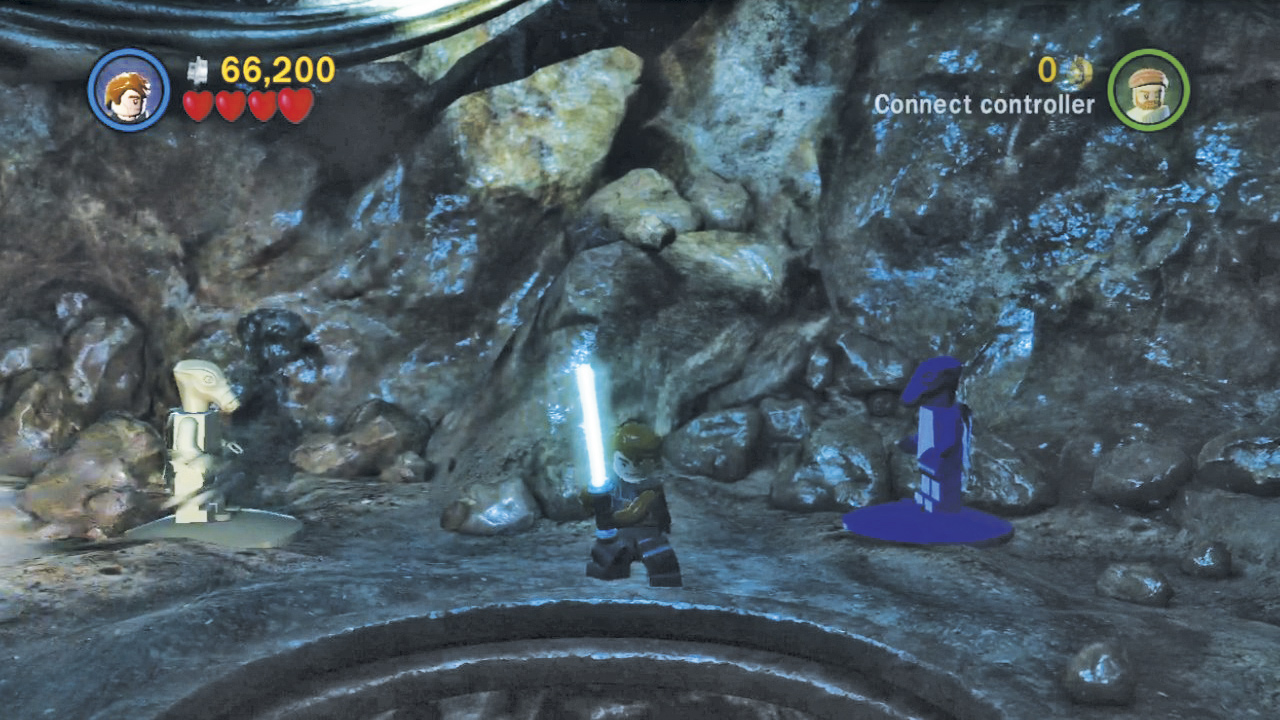
After knocking down all the pieces, use the Force to move them onto the purple pedestal to the right, creating a copy of the Geonosian statue on the left. Start with the legs, then move the torso, then finally the arms and head. Complete the statue to open a hole in the floor, then drop down to visit a new area.
Minikit 5 (Freeplay)
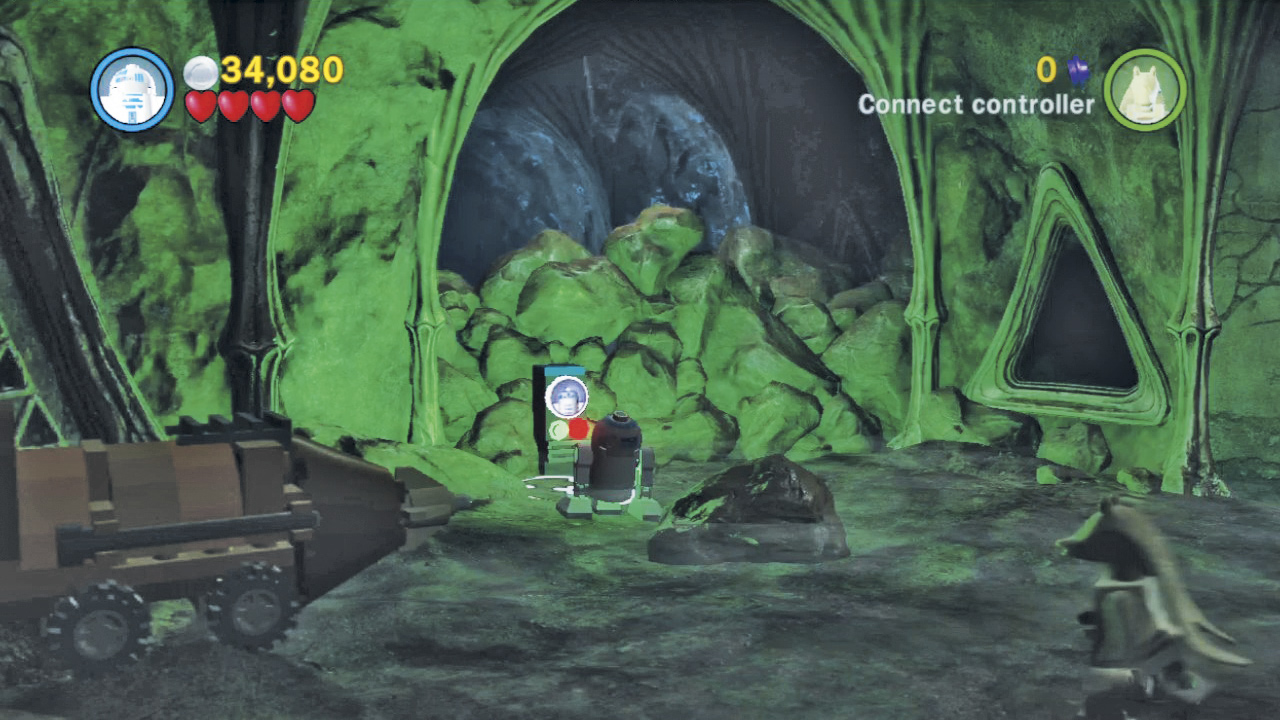
Activate the astromech Droid control panel to the left of the hook point wall to start up a nearby drill. Pass through the hole that the drill makes in the nearby rubble to reach a secret chamber!
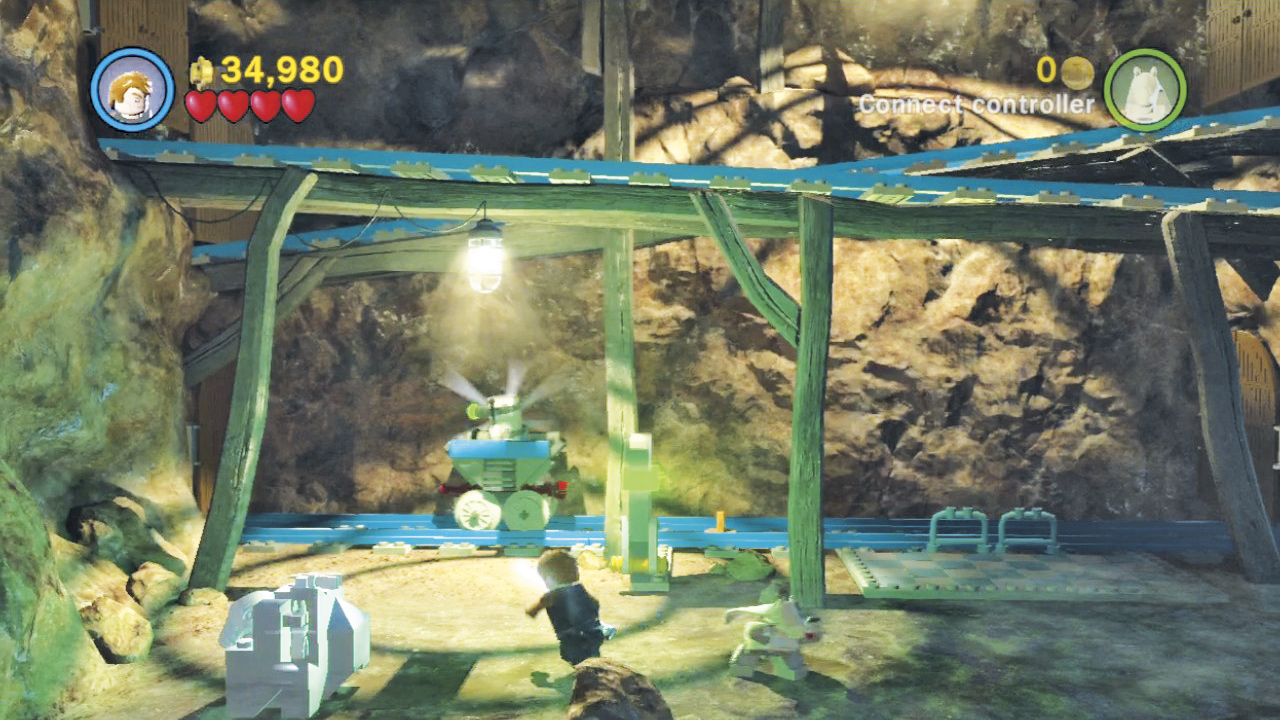
A mine cart track has fallen into disrepair here. Grapple the hook point to pull a length of track off the wall, then use the Force to reassemble the track, making sure that all three segments are set in place. Pull the nearby lever afterward to send a minikit rolling your way!
Minikit 6 (Freeplay)
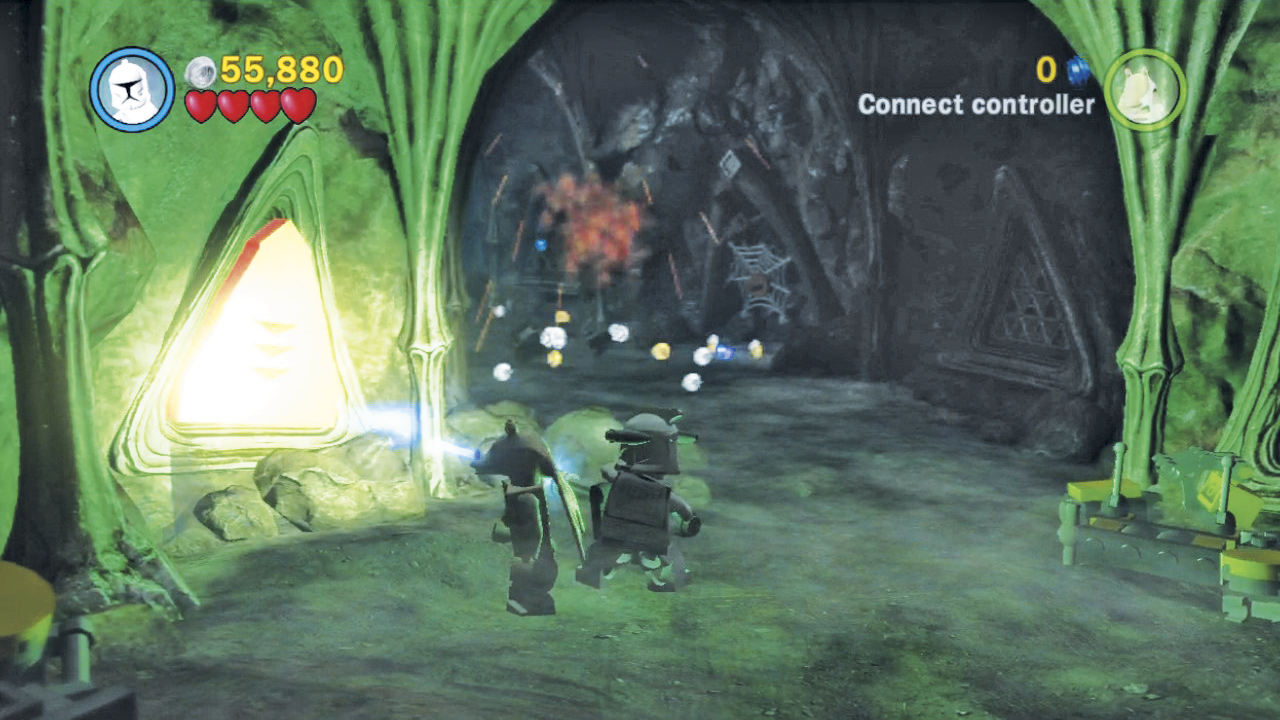
Four gold plates adorn the walls just beyond the hook point wall. Blast all four to pieces with a rapid-fire character, then assemble the resulting pieces into a mighty walker!
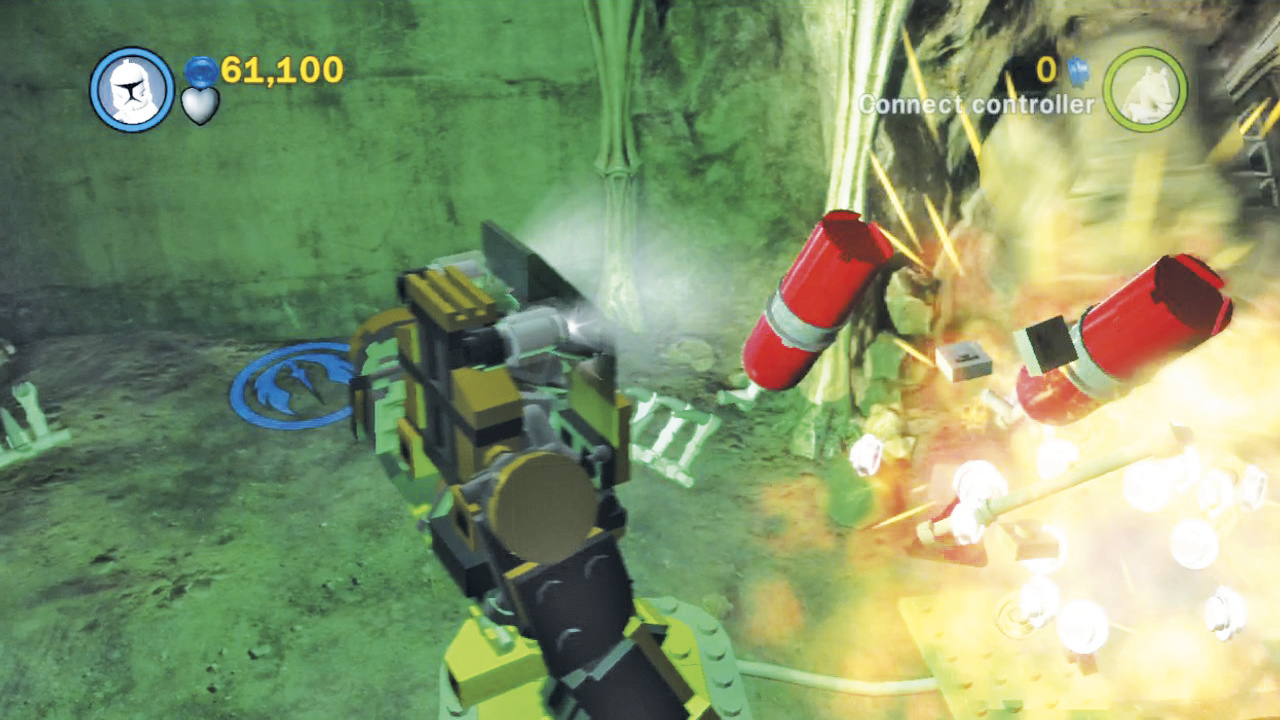
Pilot the walker and stomp down the tunnel. Step onto the orange pad you soon discover to detonate the nearby fuel tanks, blasting a hole through the wall.
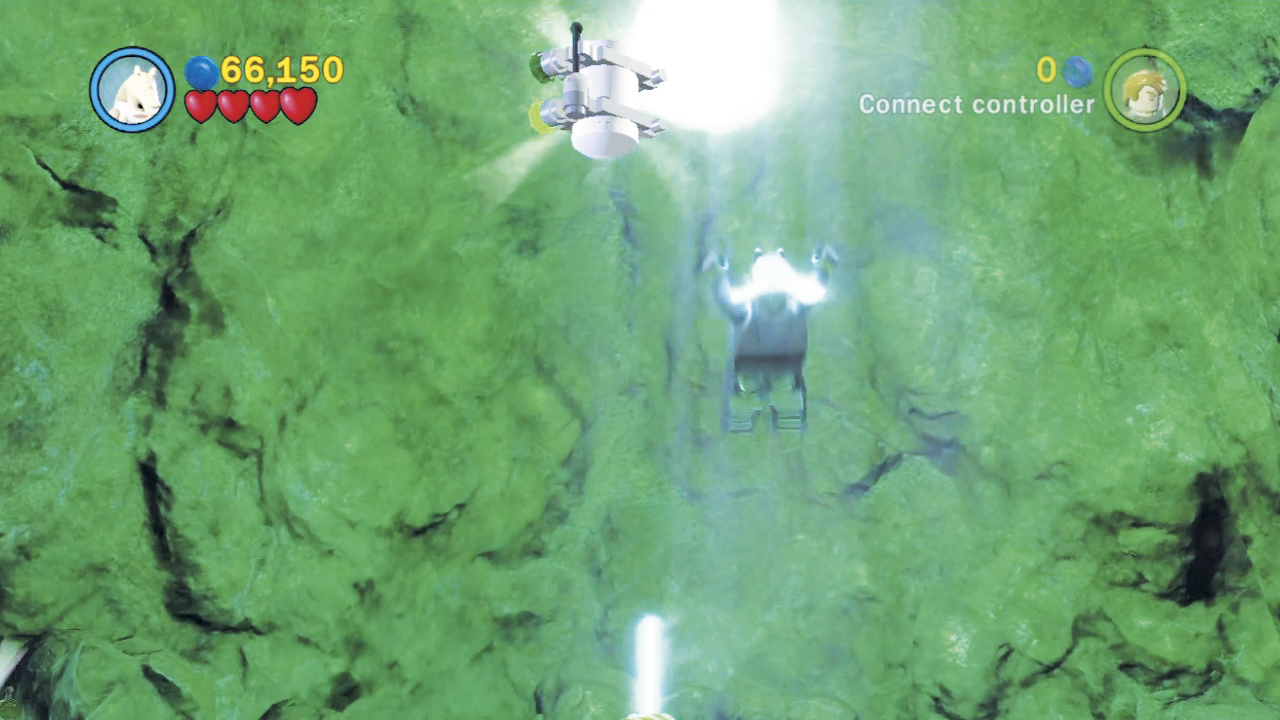
Exit the walker and enter the hole you’ve created to visit a side chamber. Toggle to Jar Jar and double-jump into the soft overhead light to nab a minikit that hovers up high.
Objective 3: Find Luminara
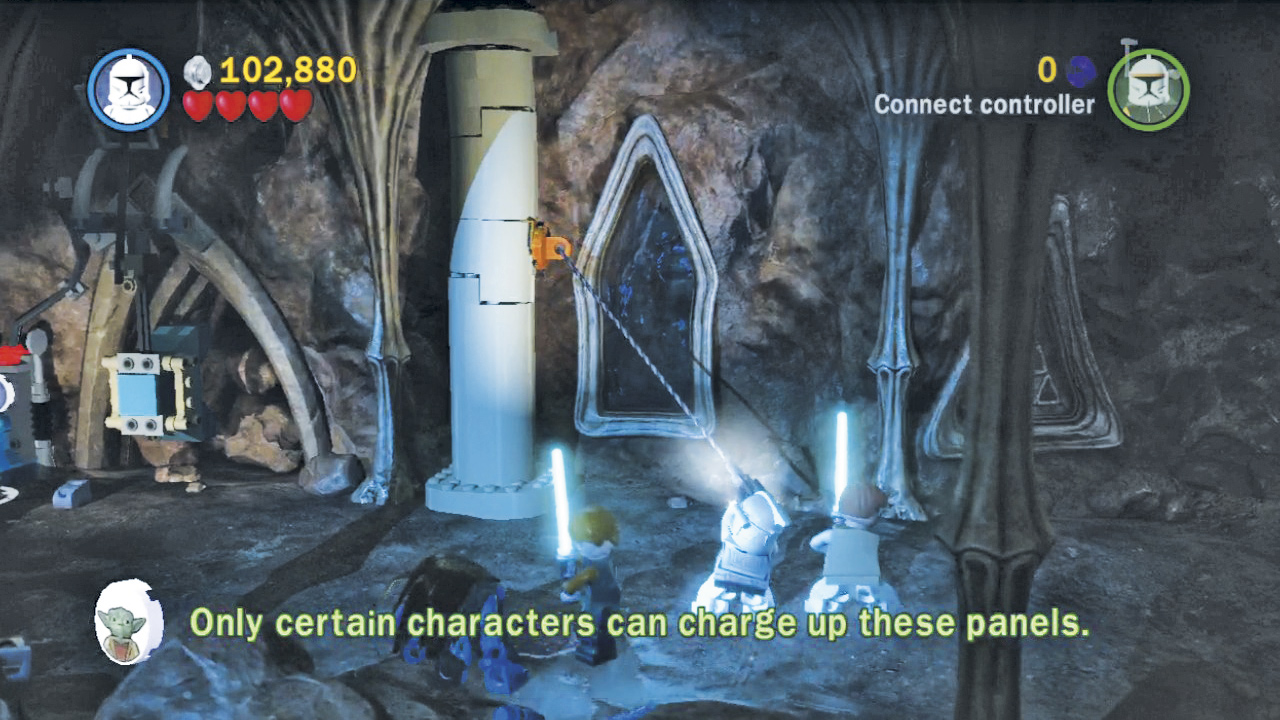
Our heroes land in a lower tunnel, where a steady stream of Geonosian soldiers emerge from two side passages. Block the passage on the left by grappling the nearby pillar and causing it to collapse.
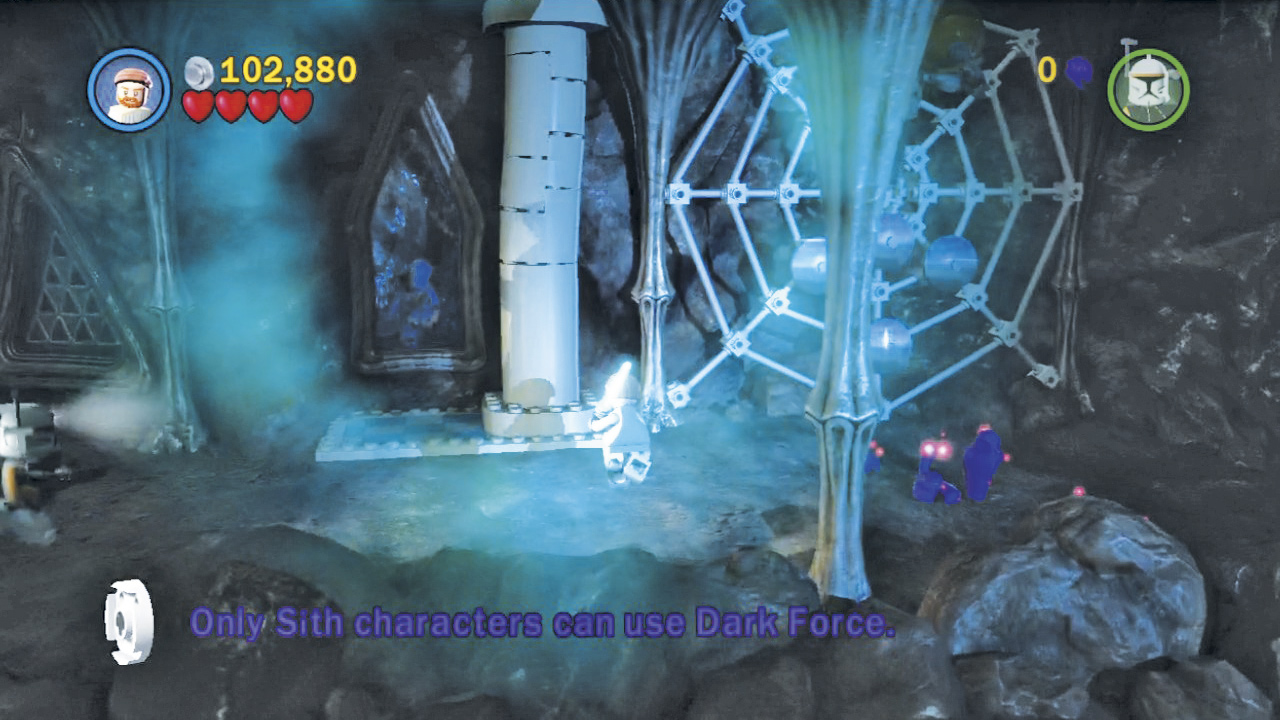
Next, seal the passage on the right by using the Force to shove the nearby pillar until it tumbles over.
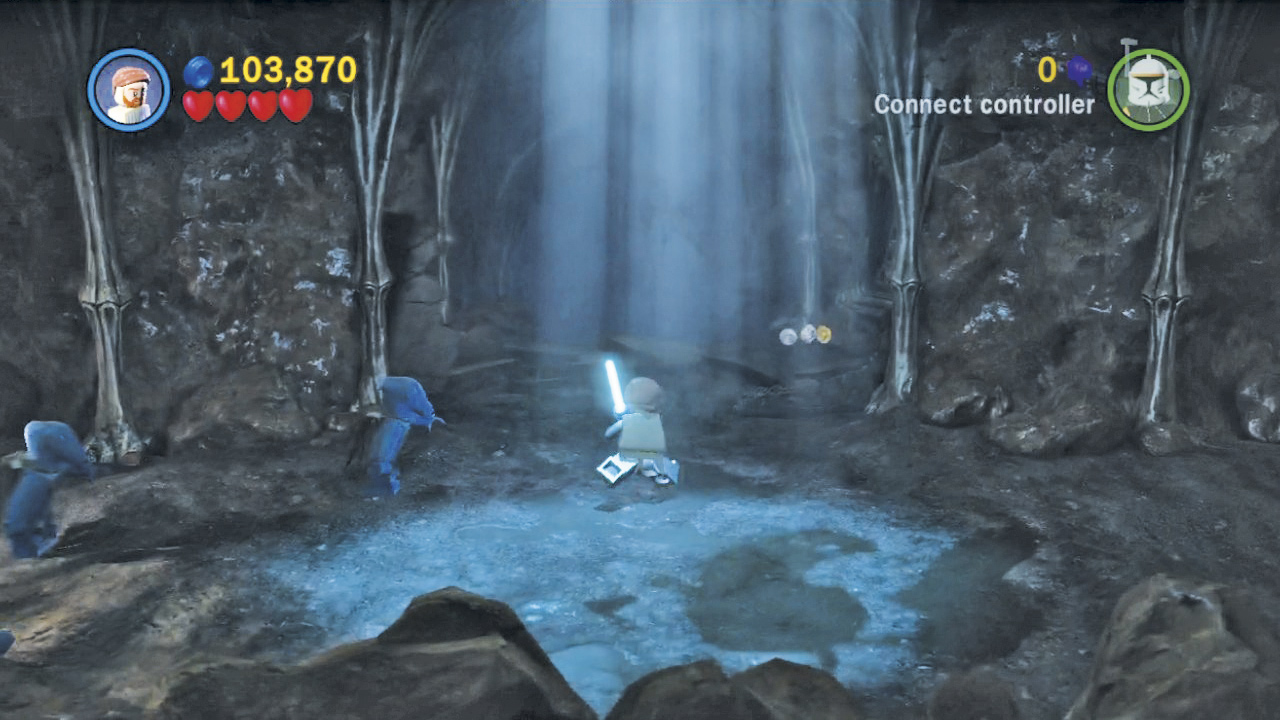
Collapsing both pillars causes the background wall to crumble, revealing more tunnel. Luminara can’t be far!
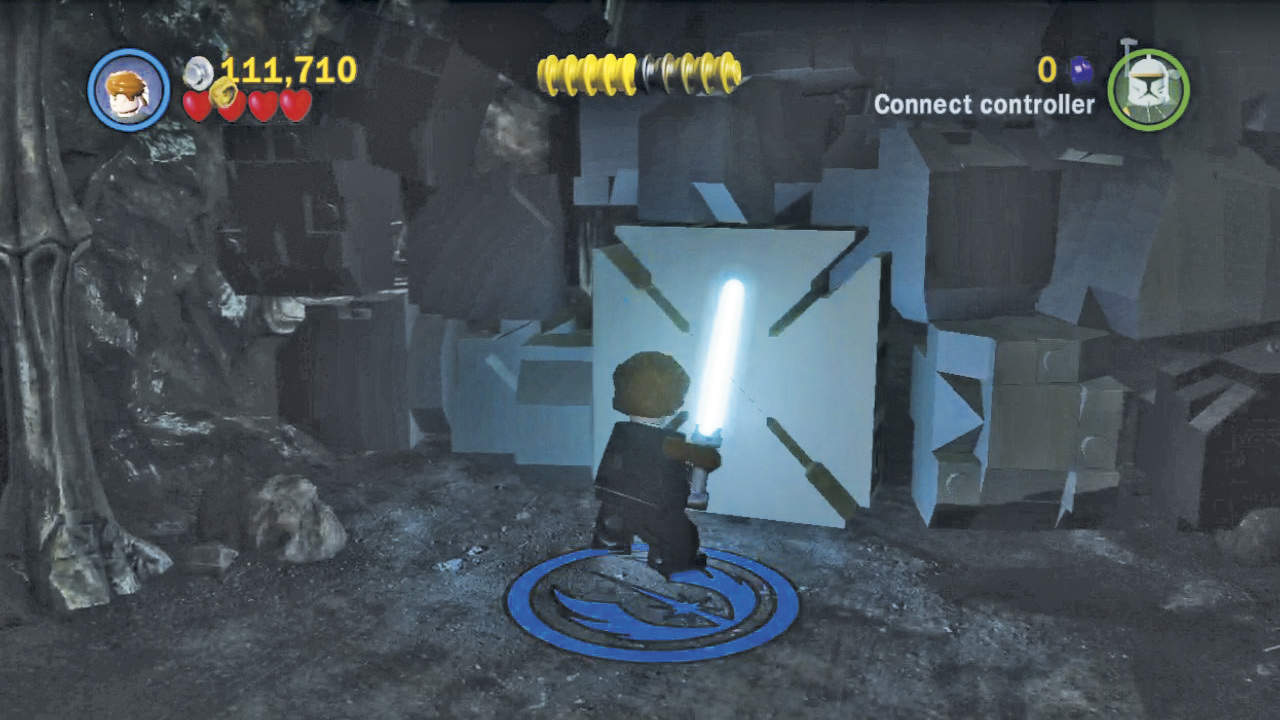
Continue along the tunnel until you reach a mass of debris. Stand on the Jedi logo and press the Attack button to slice into the junk, then use the Force to send it flying out of your way. Venture onward to at last discover your wayward ally.
Minikit 7 (Freeplay)
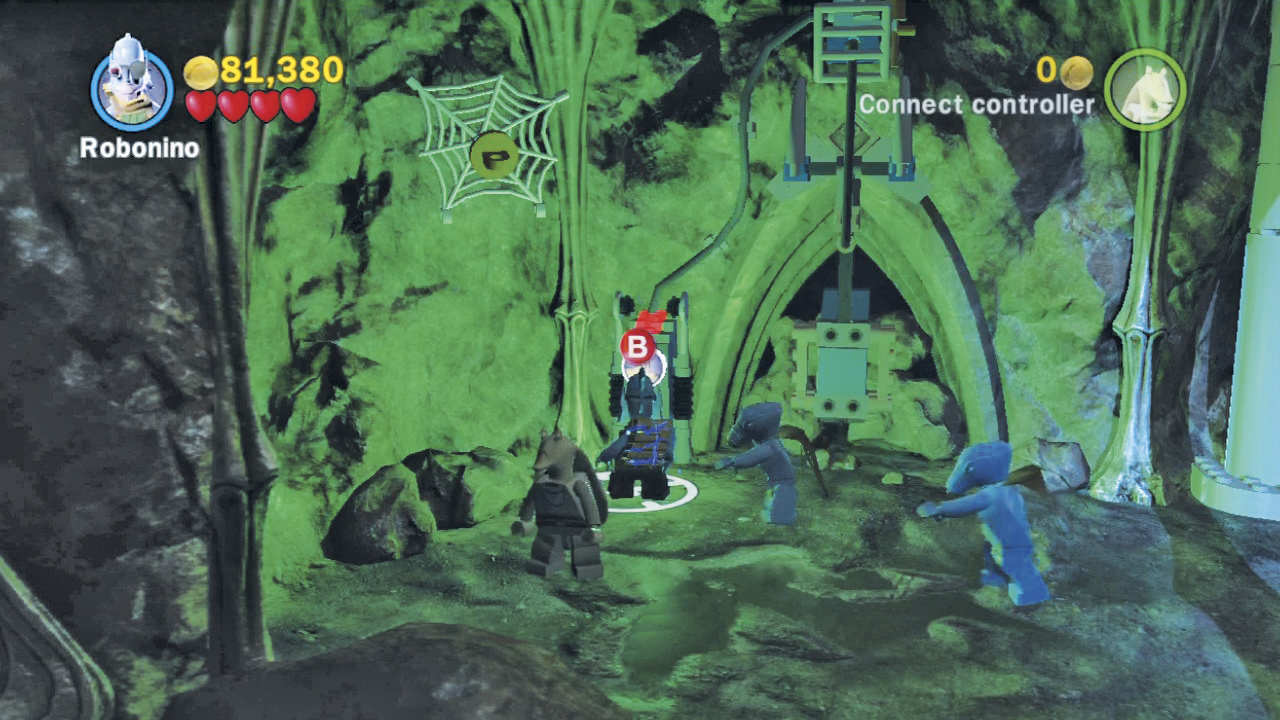
Before carrying on, charge up the power panel to the left to gain access to a surprisingly festive room.
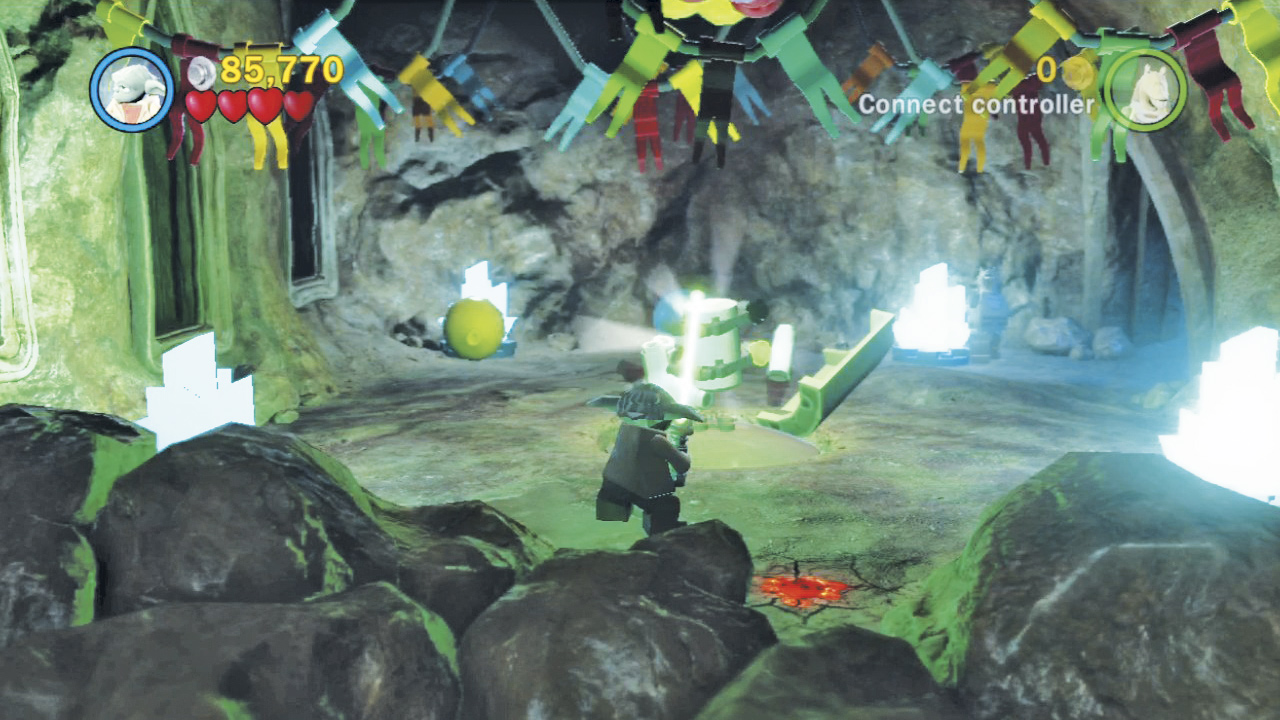
Use the Force to light the four rock formations in the little room. Once all four are lit, streamers and balloons drop from the ceiling, and a birthday cake pops up in the room’s center! Bash the cake open to receive your present: A precious minikit! It’s just what you’ve always wanted.
Minikit 8 (Freeplay)
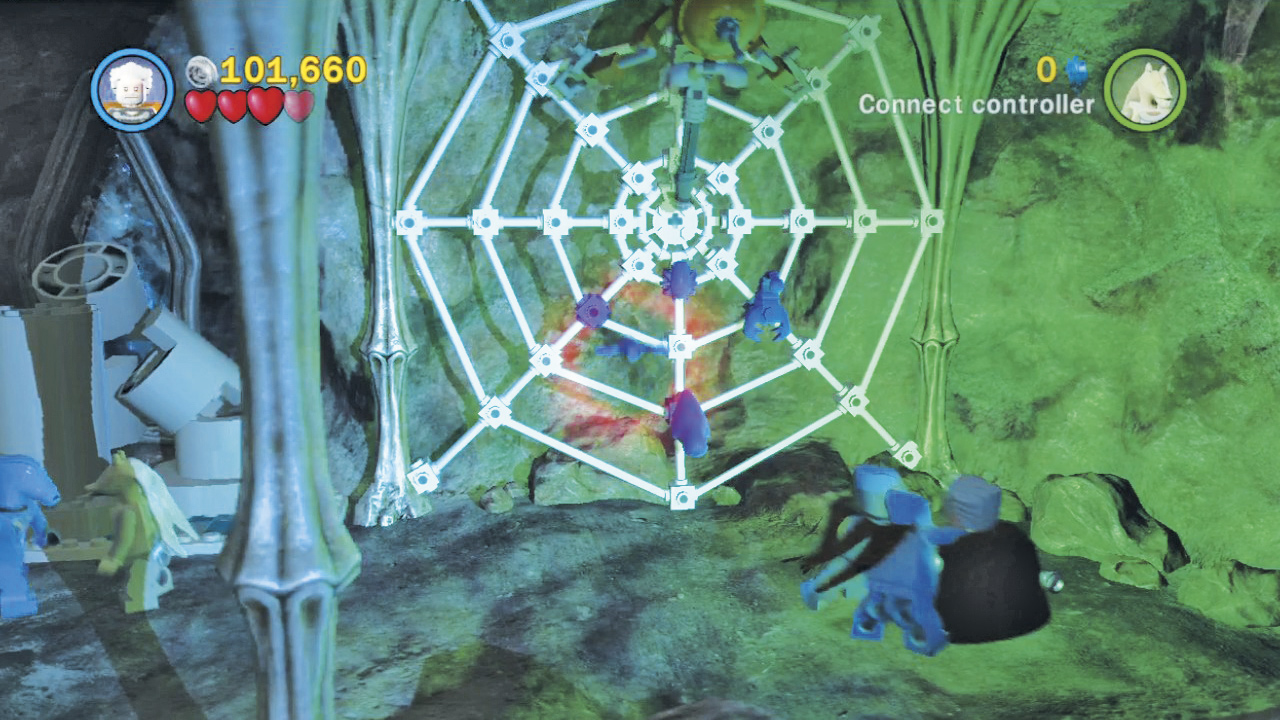
Exit the party room and run to the right to discover a giant spiderweb on the wall. First, blow away the web’s silver pieces with explosive weaponry. Then use a Sith character’s Dark Force ability to lift and place four nearby purple objects onto the web.
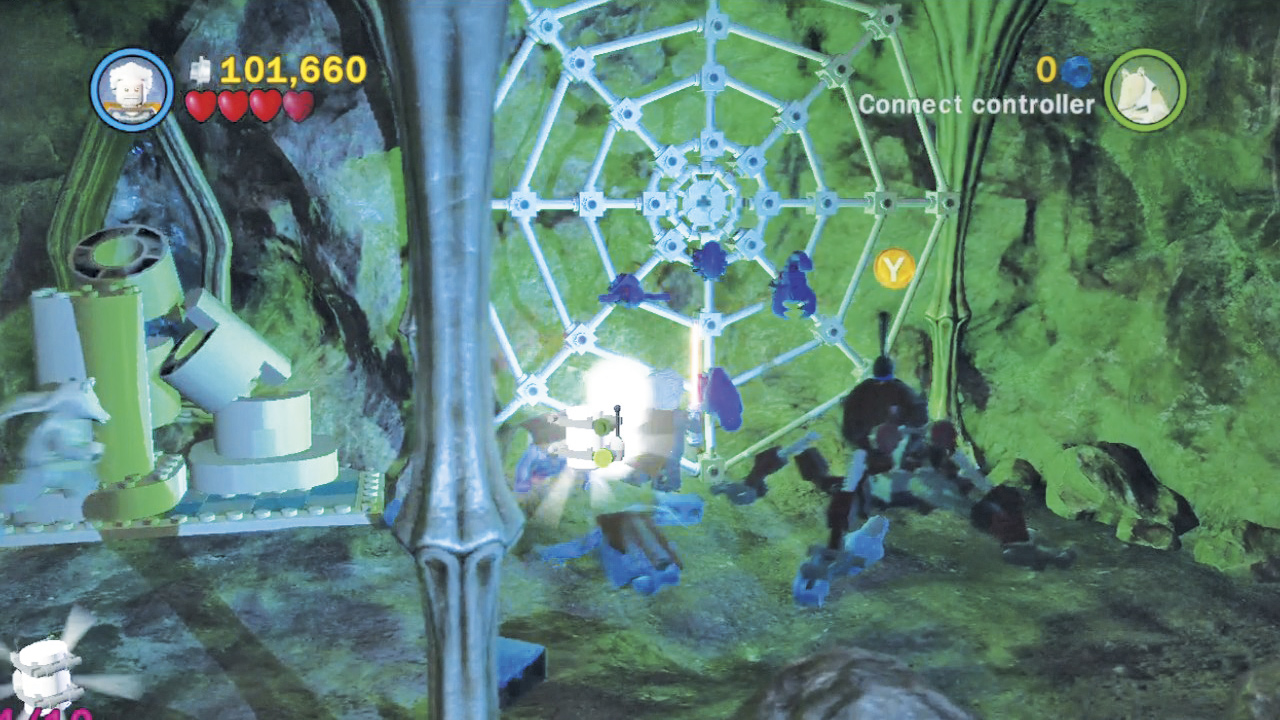
Once all four objects have been fitted to the web, a spider drops to the ground and coughs up a minikit! You can pilot the spider around afterward for fun if you like.
Objective 4: Rescue Luminara
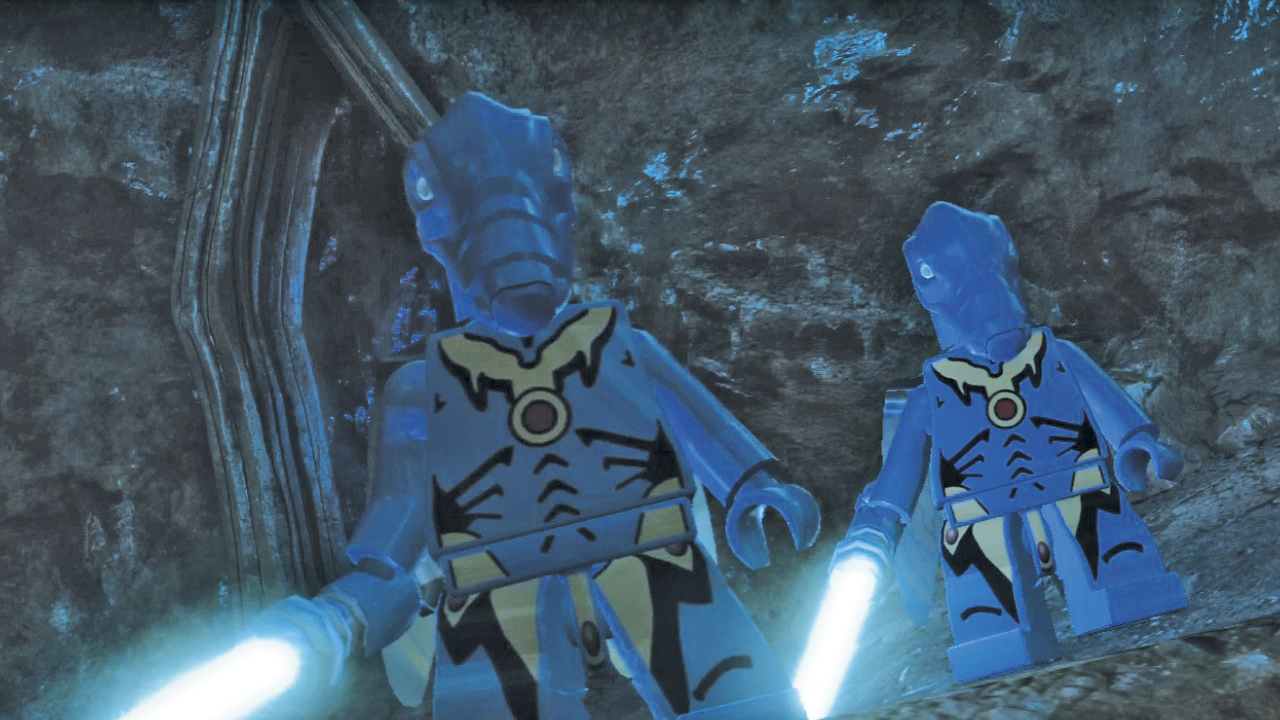
Luminara has been captured by the Geonosian Queen, and the queen is none too pleased with your intrusion. With a shriek, she quickly seals our heroes inside her lair. Worse, her guards manage to steal Anakin’s and Obi-Wan’s Lightsabers during the distraction. Not good!
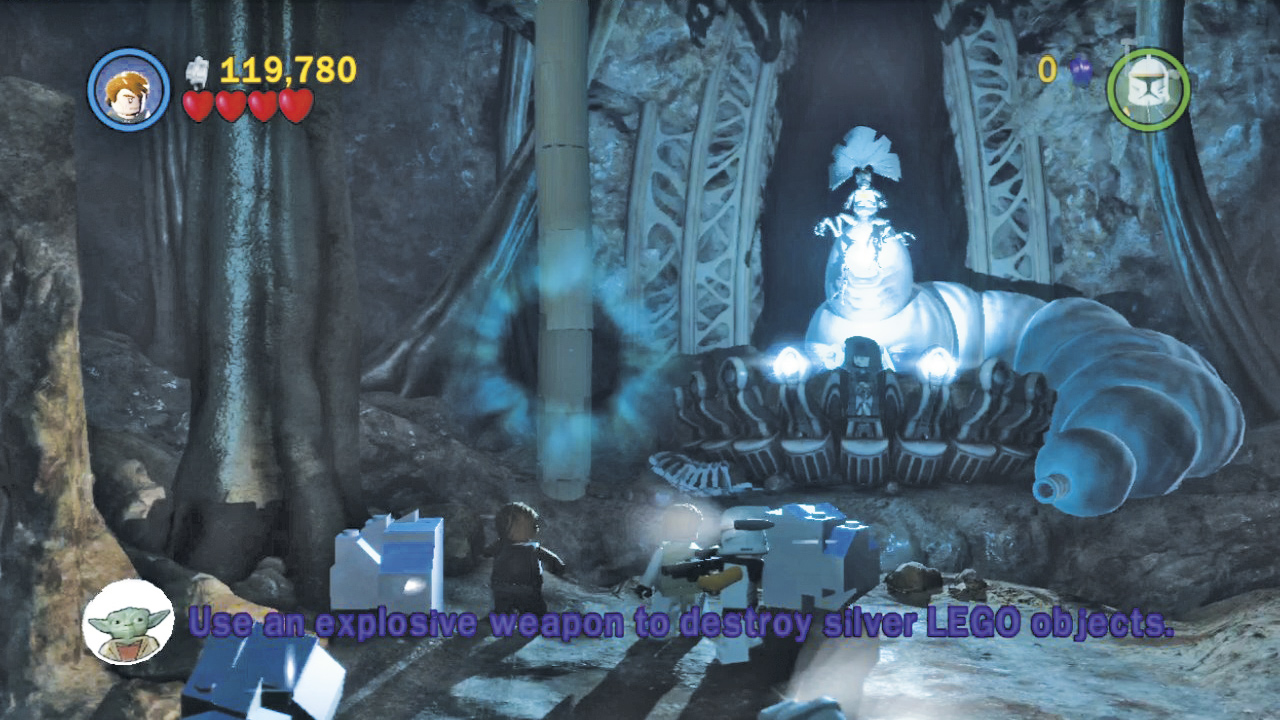
Begin by using the Force to topple the pillar to the left. This enrages the queen, who begins spewing objects at you from her massive tail.
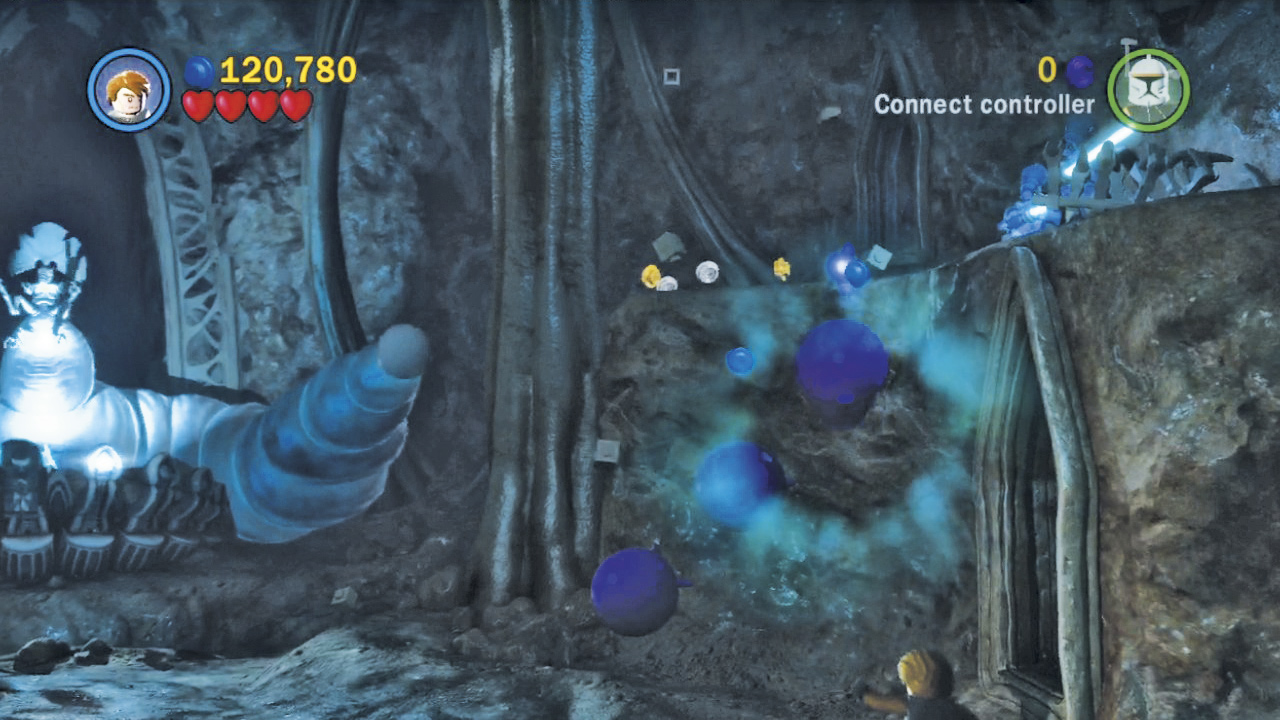
Every third or fourth object the queen spits out will be purple. Use the Force to lift these, then fit them onto the purple notches to the right. Fill all three notches to create steps leading up to a ledge.
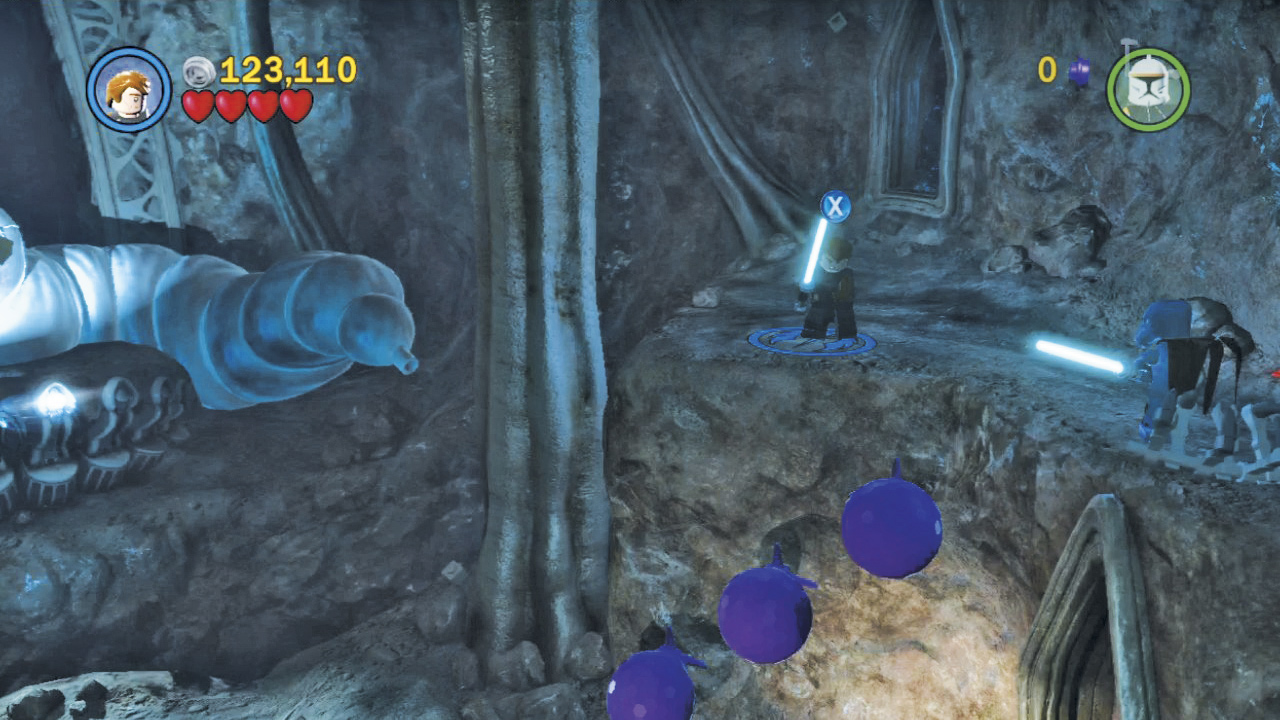
Leap up the purple steps to reclaim your Lightsabers from the Geonosian soldiers. A Jedi logo then appears on the ground nearby; stand on it and press the Attack button to slice into the nearby pillar and weaken it.
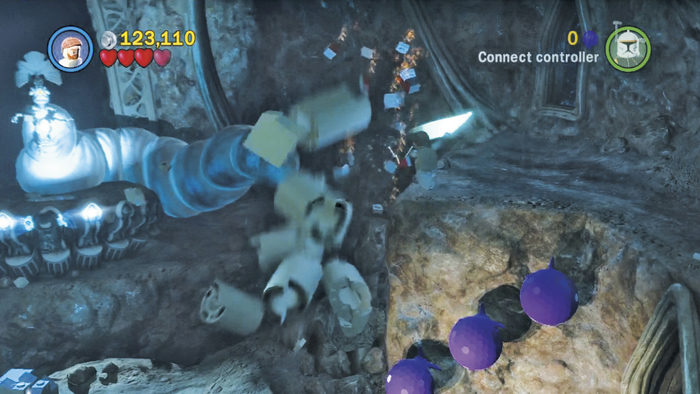
From the height of the ledge, attack the weakened pillar to destroy it. This really ticks off the queen, who now begins firing explosive charges from her tail. Yikes!
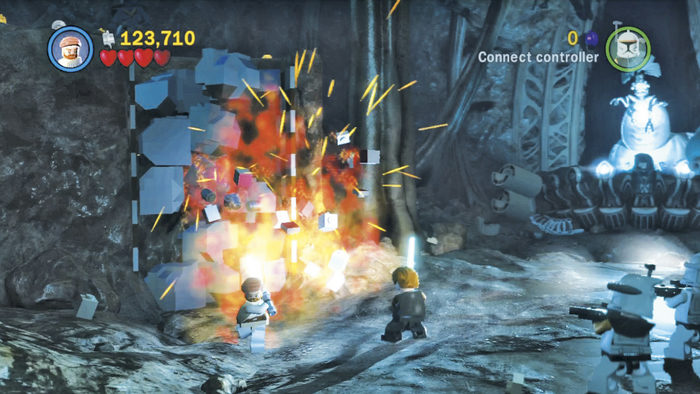
Trick the queen into lobbing her bombs near the tall pile of silver rubble to the left. Once the rubble is completely gone, saber-jump up the checkered wall that’s revealed to reach the chamber’s left ledge.
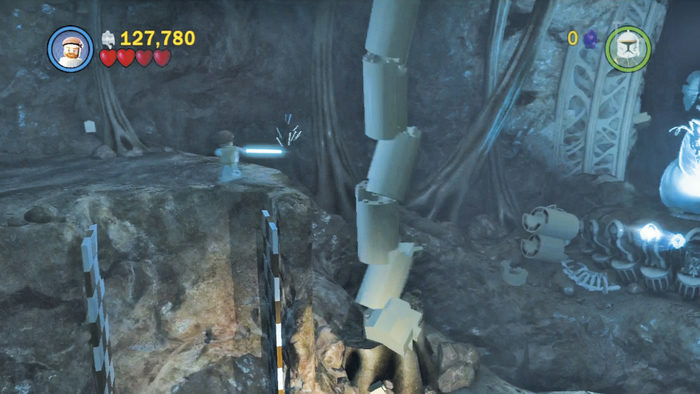
Stand on the Jedi logo on this ledge and use it to slice into the nearby pillar, weakening it as you did the previous one. Climb back up onto the ledge and attack the weakened pillar to topple it.
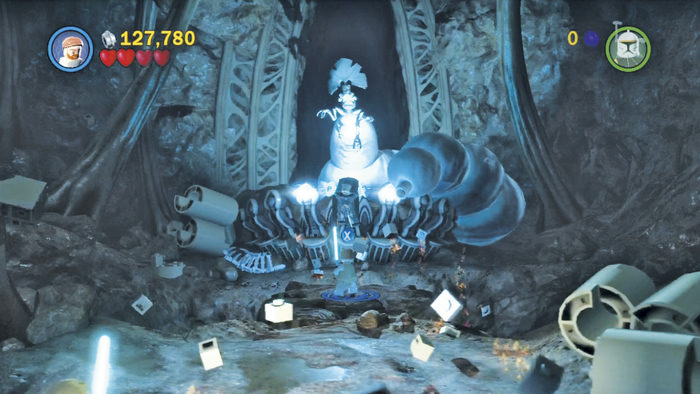
The chamber is quickly collapsing now—hurry down to the ground floor and use the Jedi logo that now appears in front of the Queen to at last free Luminara. It’s time for a hasty retreat!
Objective 5: Escape!
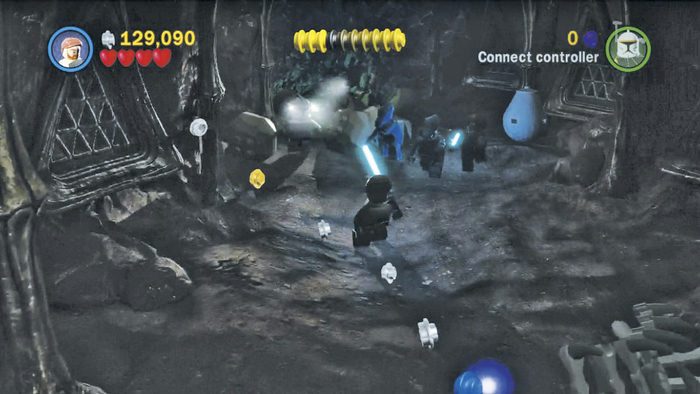
You must now make a frantic dash through a tunnel, with a massive swarm of Geonosians hot on your tail. Just keep sprinting toward the foreground, dodging enemies and leaping over debris that falls in your way. It won’t be long before you’ve made good your escape, ending the mission.
Minikit 9 (Freeplay)
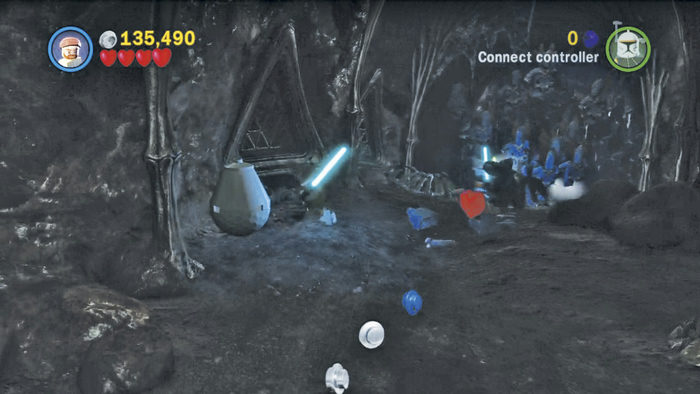
Five clay jars rest inside the escape tunnel—the first is right near the start of the run. Use fast Force slams to quickly destroy each jar as you flee the scene. The jars appear to alternate sides of the tunnel and are easy to spot, but we’ve also marked them on the map to ensure that you don’t miss any. Bash all five to score a minikit!
Minikit 10
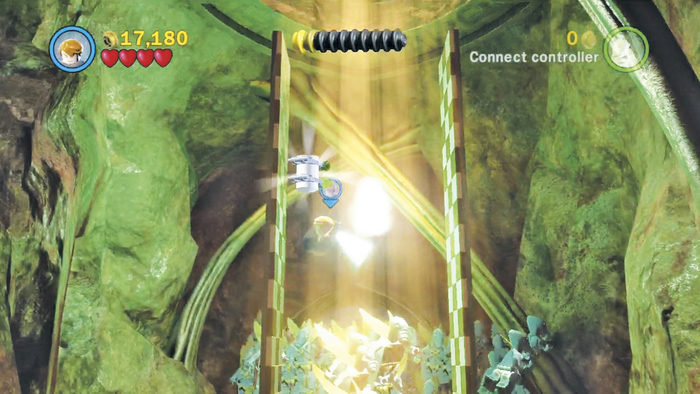
Scale the checkered walls at the very end of the escape run to claim a minikit that hovers way up high.