
Lego Star Wars III: The Clone Wars Guide Walkthrough General Grievous
Chapter I: Duel of the Droids
“You hold onto friends by keeping your heart a little softer than your head.”
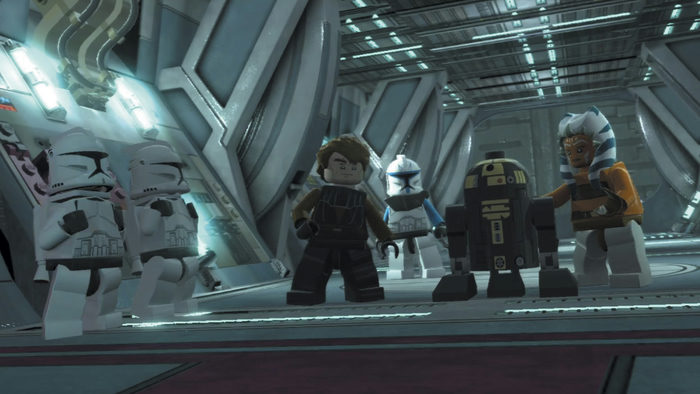
Anakin’s faithful astromech Droid R2-D2 has been captured and delivered to General Grievous, who intends to extract secret military information from the Droid’s memory. Assisted by his Padawan, Ahsoka, and a replacement Droid, R3-S6, Anakin leads a mission to destroy the Separatist base where R2-D2 is being held. Together with a small detachment of clone troopers, the Jedi launch their attack on Grievous’ secret base....
Minikits
|
No. |
Icon(s) |
Mode |
Notes |
|
1 |
1-5 |
Story |
Destroy the five tea dispensers in the side consoles. |
|
2 |
2 |
Free Play |
Activate the power panel near the start, then go through the crawl space and destroy the three Droids. |
|
3 |
1-5 |
Free Play |
Destroy the five mouse Droids throughout the level (two hide behind Dark Force side consoles). |
|
4 |
1-4 |
Free Play |
Find and build five Gold Super Battle Droids (destroy side consoles to reveal). |
|
5 |
1-3 |
Story |
Destroy the three golden boxes with the help of the Gold Super Battle Droids. |
|
6 |
1-5 |
Free Play |
Activate the three protocol Droid control panels in the corridors and destroy the five beach balls you find. |
|
7 |
7 |
Free Play |
After defeating Grievous, hover to the left ledge, then activate the power panel. |
|
8 |
8 |
Free Play |
Use the Dark Force to reveal minikit pieces in the room with R2-D2. Build it on the purple table. |
|
9 |
9 |
Free Play |
Use the Dark Force to reveal UFO bits in the hangar area. Drive the UFO over the orange pads. |
|
10 |
10 |
Free Play |
Jump through the hole above the hangar balcony, then knock down the pins in the bowling alley. |
True Jedi Stud Requirement: 110,000
Story Characters
Ahsoka Tano
Captain Rex
R3-S6
Anakin Skywalker
R2-D2
Objective 1: Place the Explosive Charges
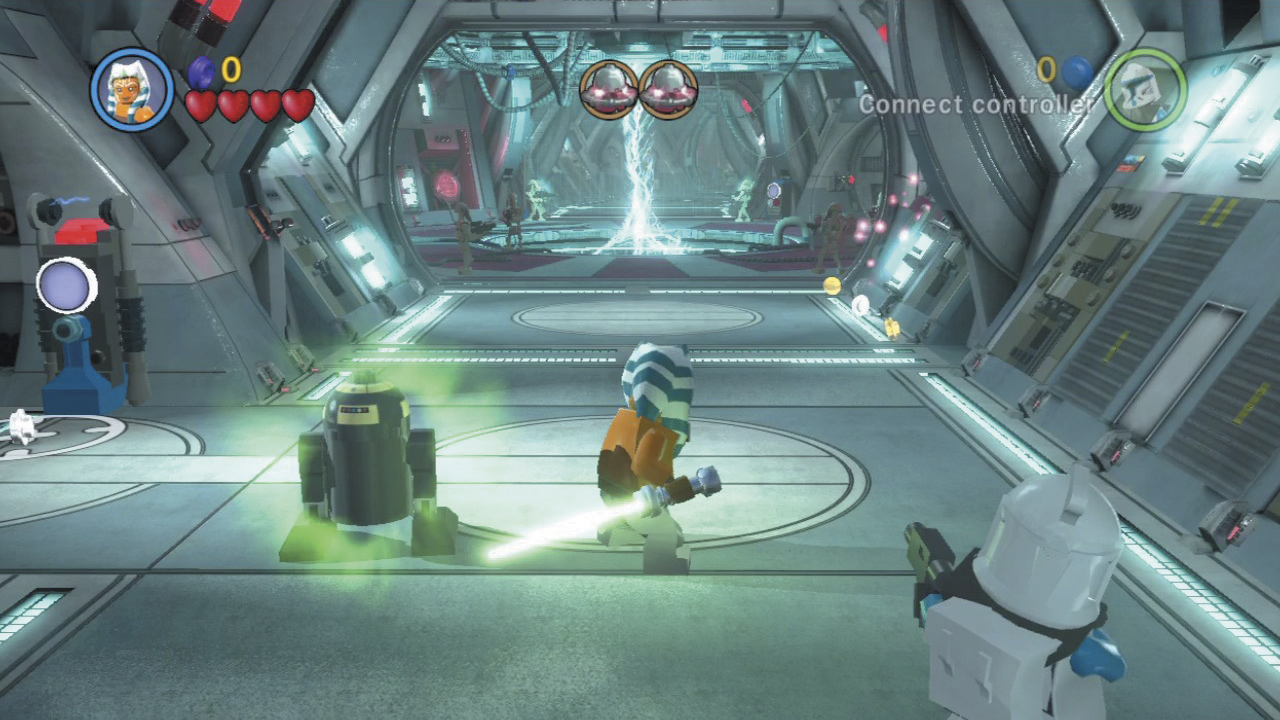
Destroying a fortified base is no easy task—you’ll need to place several explosive charges about the compound to get the job done. Wipe out the Droids that storm you from the start, then make your way to the circular chamber ahead.
Minikit 1
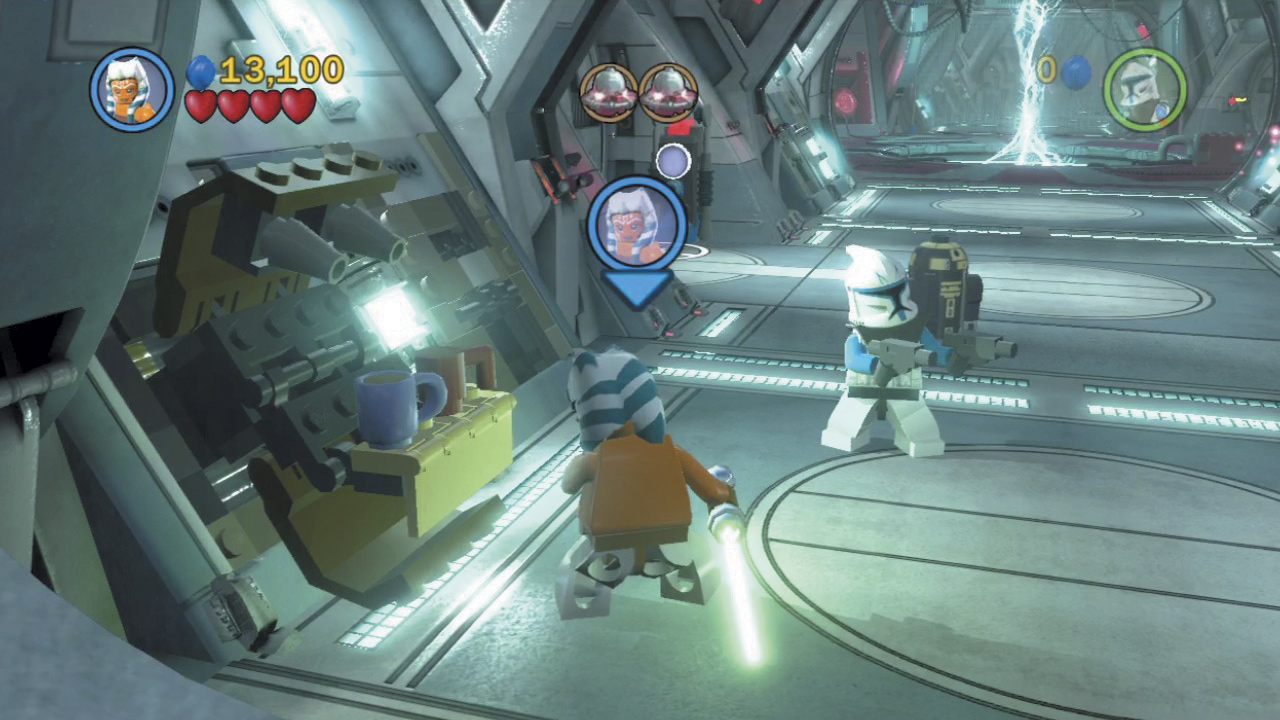
From the starting point, run toward the foreground and destroy a side console to reveal a tea dispenser. Find and destroy a total of five tea dispensers throughout these corridors to receive a refreshing minikit! Each one pops out of a side console, so be sure to attack those walls. You’ll find each tea dispenser labeled on the maps for your convenience.
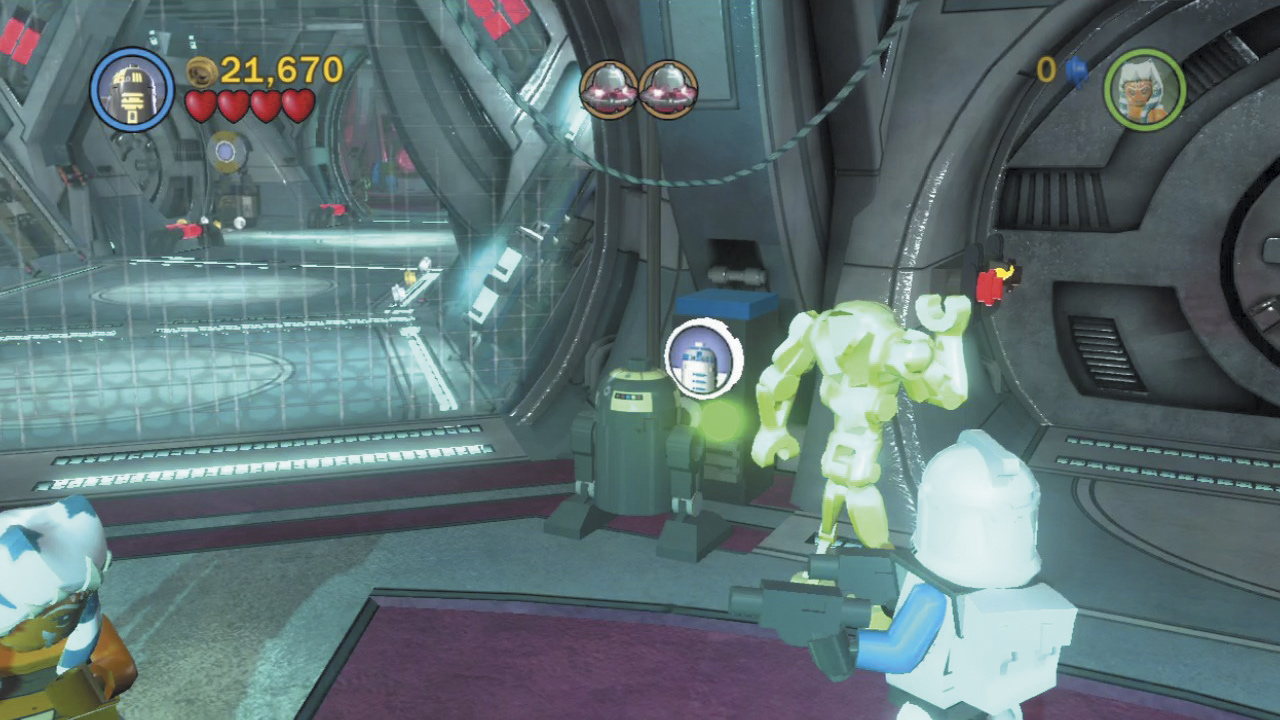
A force field blocks your progress, but not for long. Use R3-S6 to activate the astromech Droid control panel on the nearby wall to open a side room.
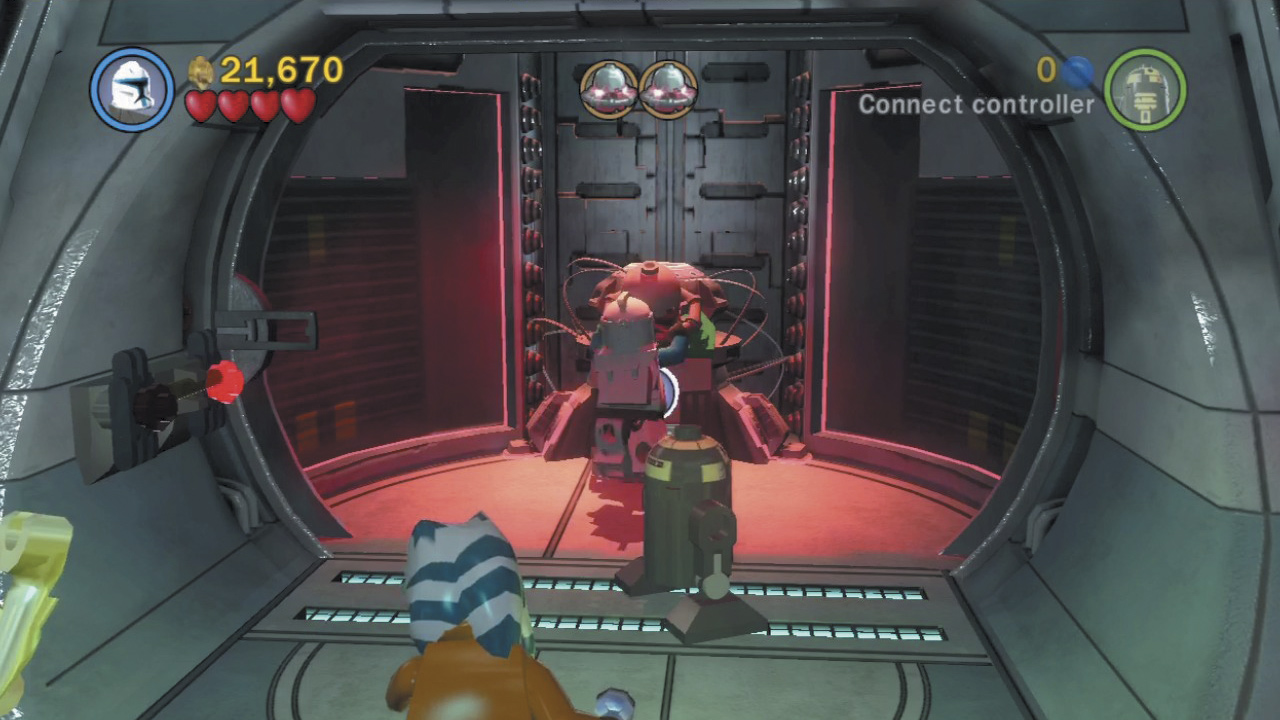
Switch to Captain Rex and enter the side room. Activate the clone panel within the room to make Captain Rex place an explosive charge atop the panel—the first of many charges you must place.
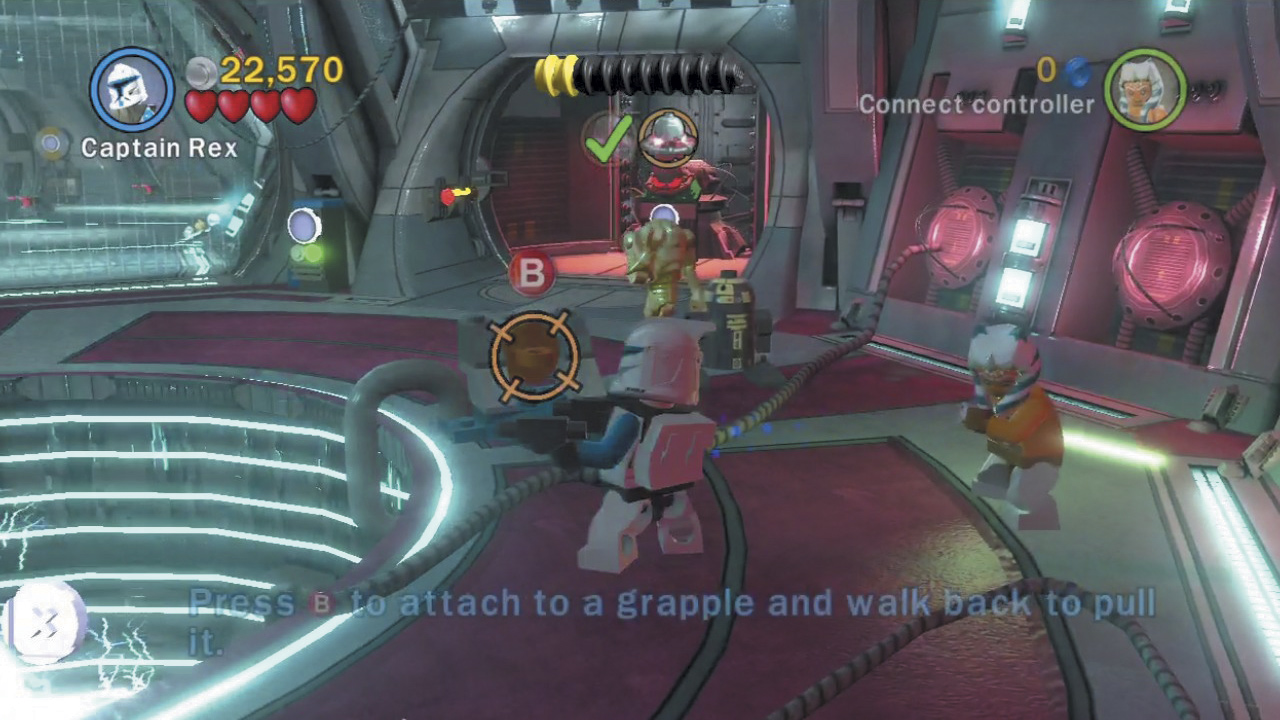
Next, destroy the gray box to the right of the room’s central pit, then stack the remaining pieces to form a hook point. Yank this with Captain Rex’s grapple gun to raise a platform up from the central pit.
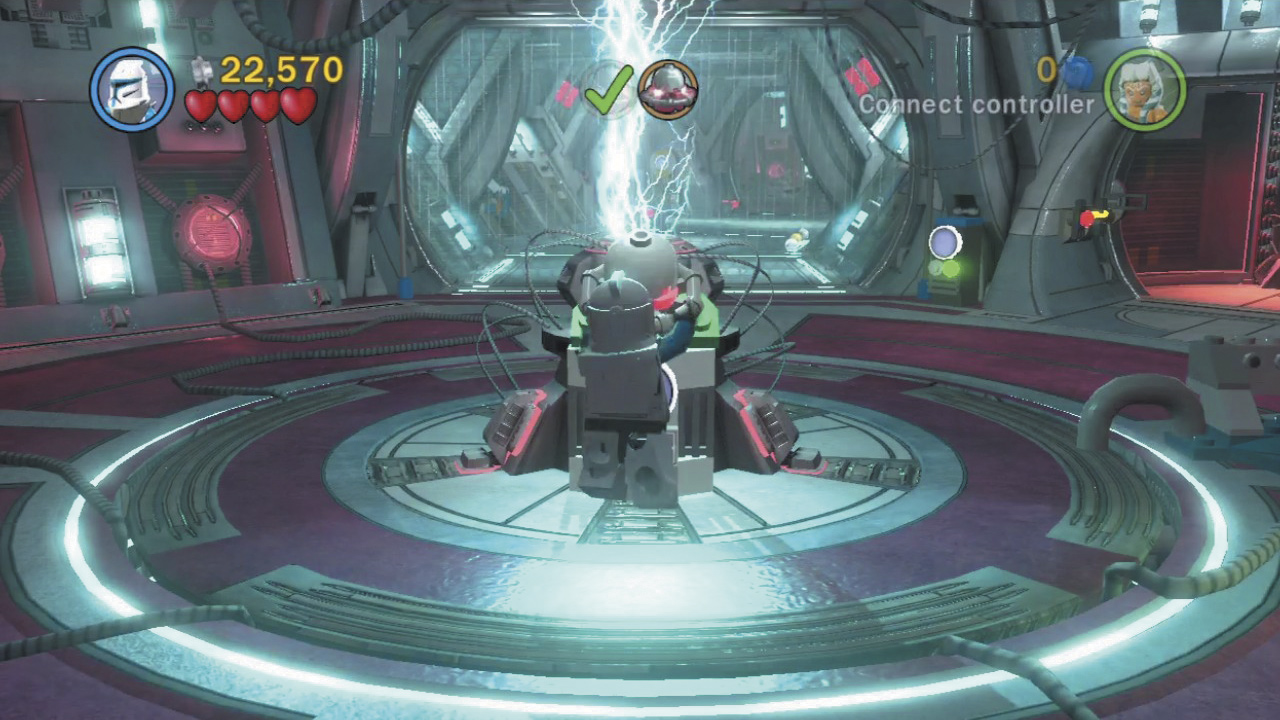
The platform features another clone panel—have Captain Rex set an explosive charge on this one as well. With both charges placed, the force field vanishes. Proceed to the next circular chamber ahead.
Minikit 5
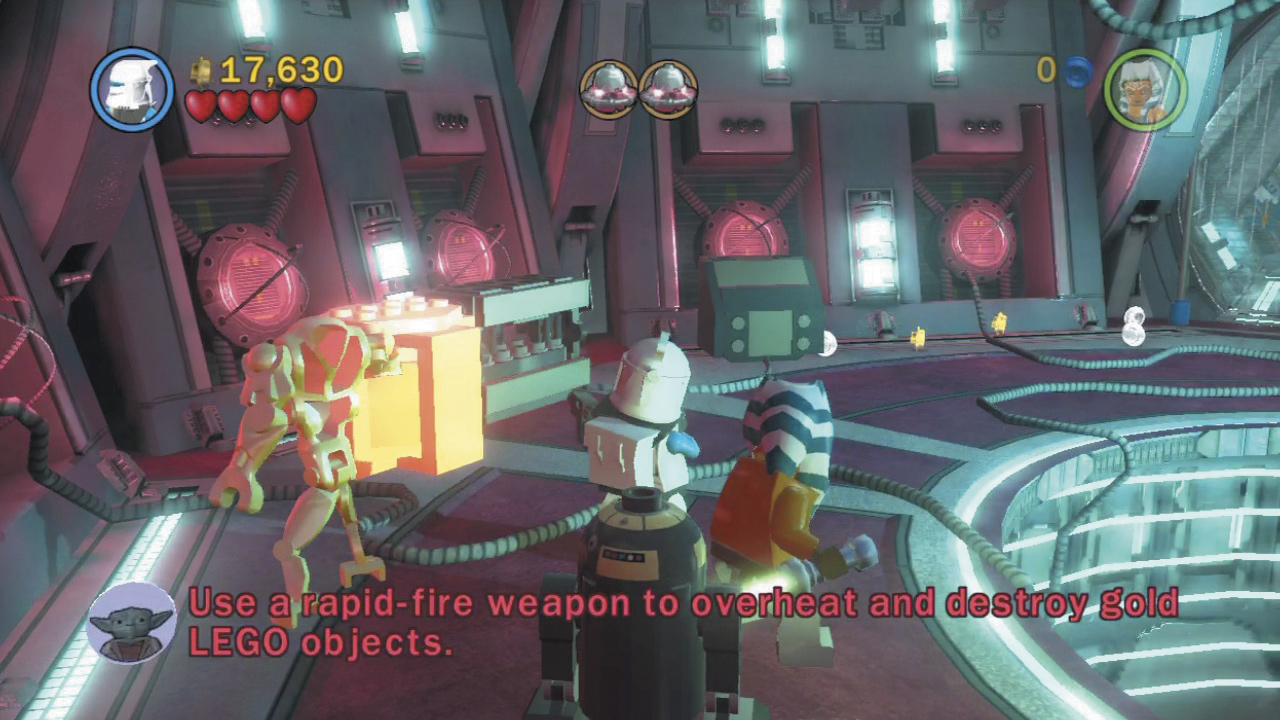
Destroy three gold boxes in these corridors to earn a minikit—each box is marked on the maps. You can accomplish this in Story mode by building Gold Super Battle Droids as part of obtaining minikit 4—the Droids’ rapid-fire blasters make short work of those boxes!
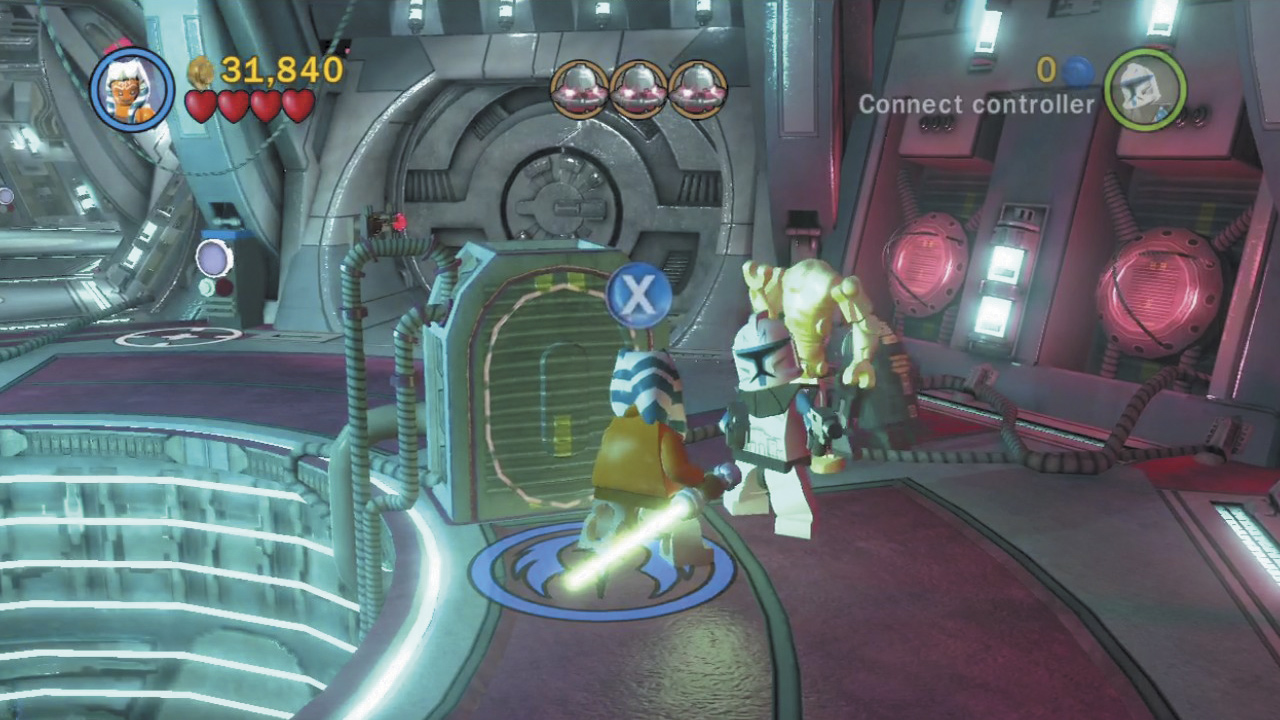
In the second circular chamber, stand on the Jedi logo near the central pit and carve a hole in the machinery to expose a hook point. Grapple this to raise the central platform up from the pit, then place a charge on the platform’s clone panel.
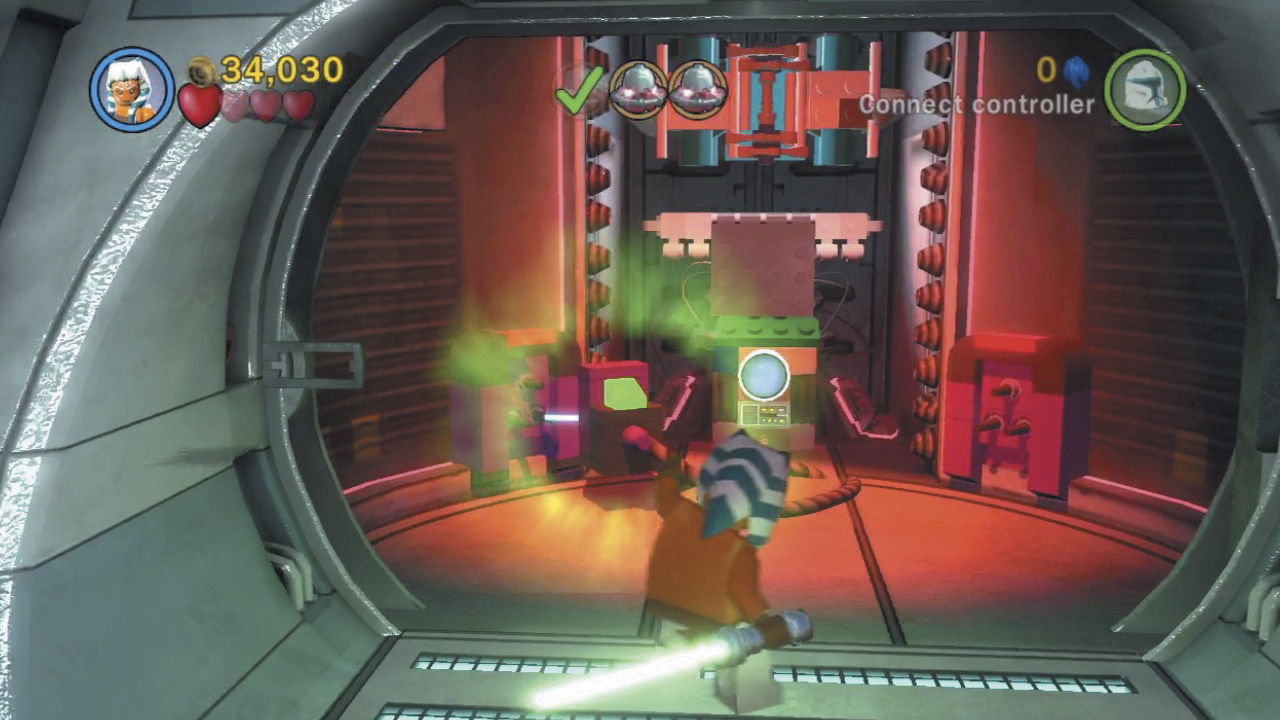
Next, activate the nearby astromech Droid control panel to open a side room. Use Ahsoka’s Lightsaber to make short work of the shielded Droideka inside the room, then use the Force to move the room’s power plug over to the left socket. Place a charge on the clone panel once power is restored.
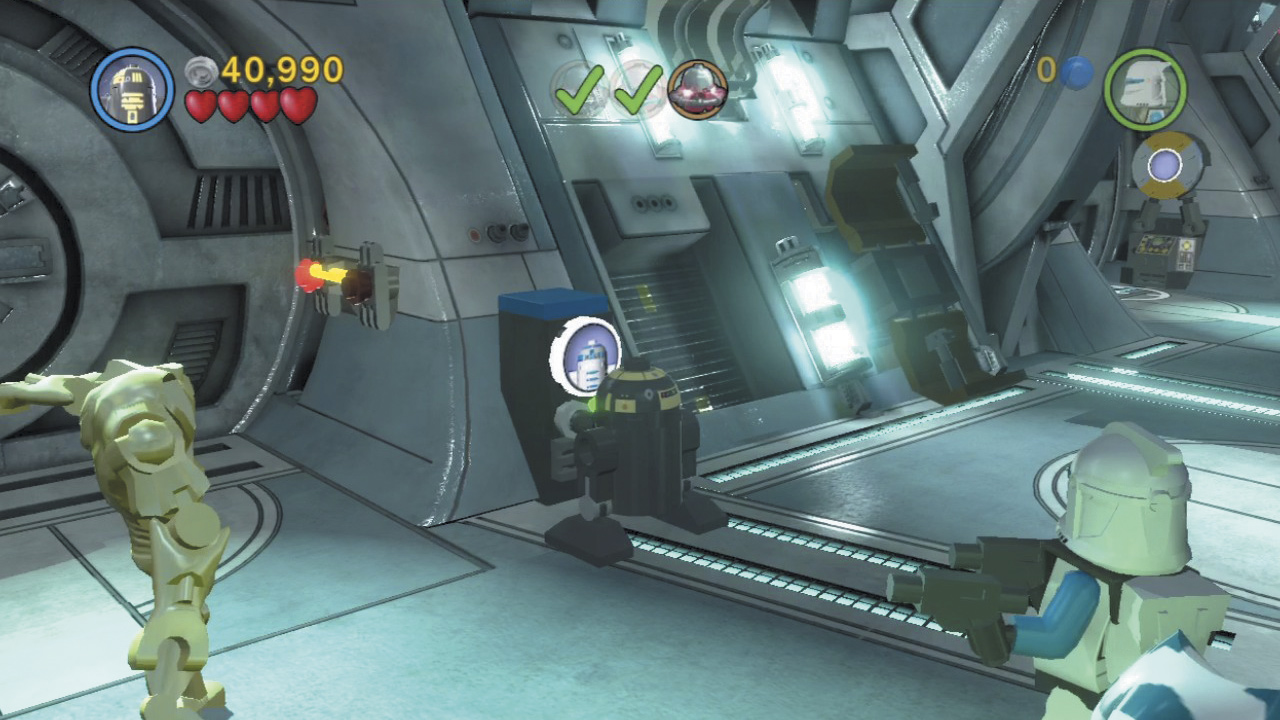
Venture onward and activate the astromech Droid control panel in the following hall to access a side room with a shielded gun turret. Quickly take cover behind the nearby crate to avoid being shot to bits.
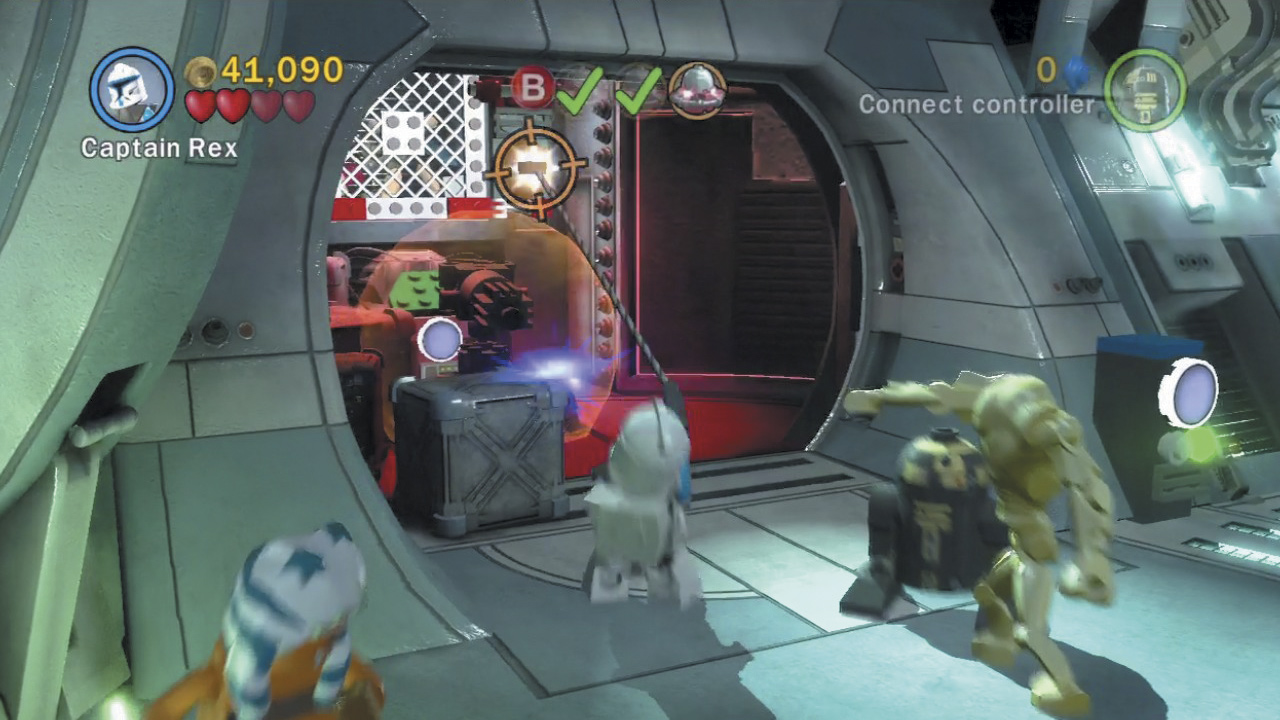
While safely behind the crate, grapple the hook point above the gun turret. Debris crashes down upon it, ending the threat. Now you can place a charge on the clone panel the turret was guarding!
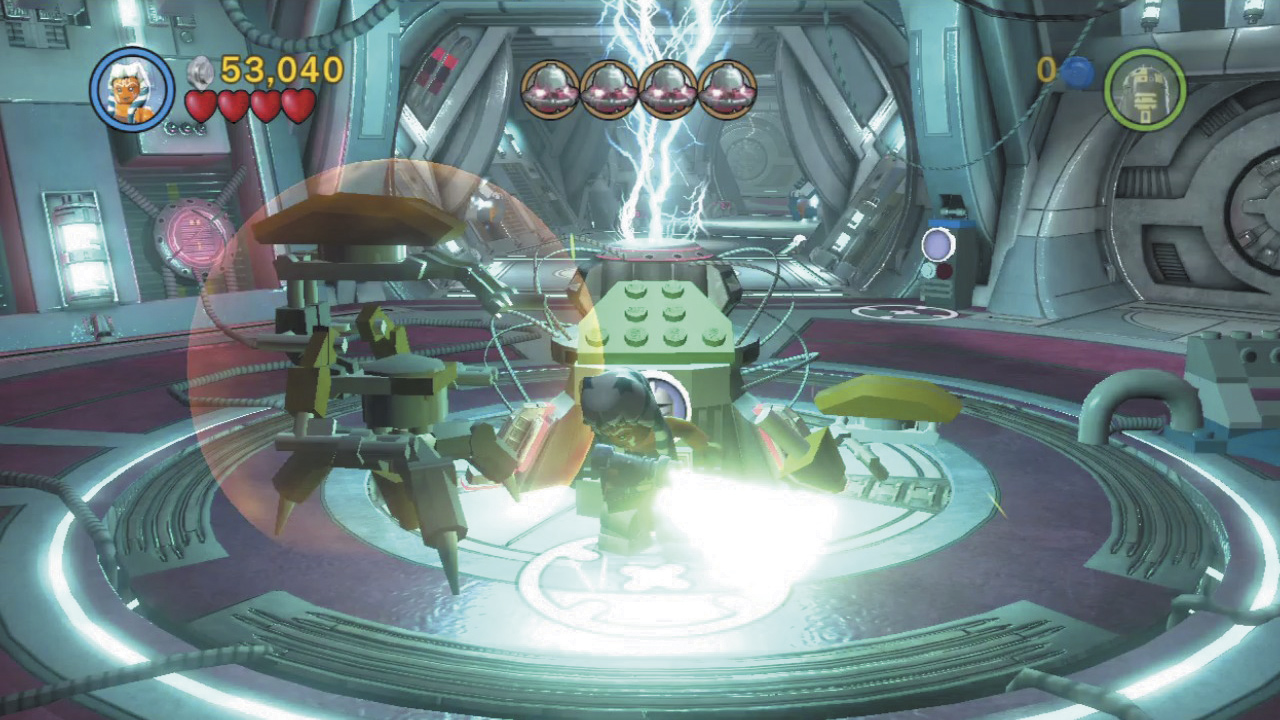
Proceed to the third circular chamber and use the Force to raise a hook point near the central pit. Grapple this to raise the central platform, then quickly switch to Ahsoka and lay waste to the unwelcome Droidekas that ride up as well.
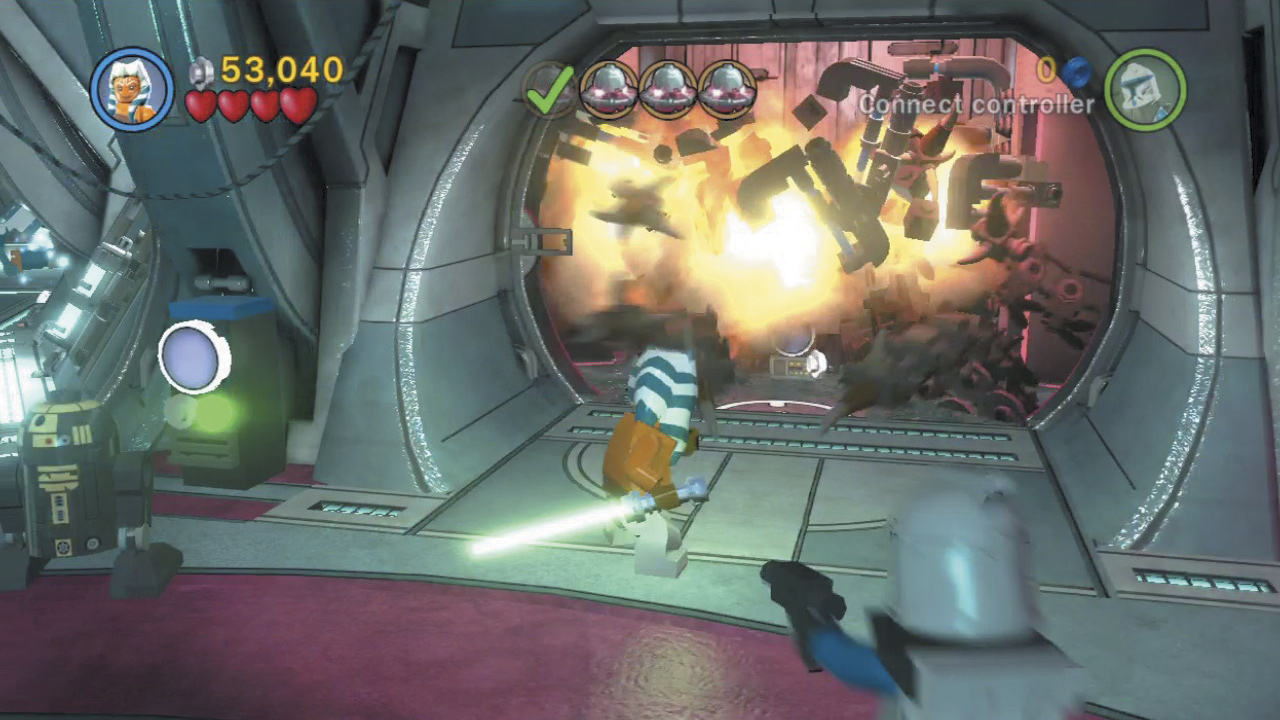
Place a charge on the platform’s clone panel as you’ve done before, then activate the nearby astromech Droid control panel to open the chamber’s side room. The room is full of nasty critters; use the Force on the overhead pipes to flood the room with searing flame.
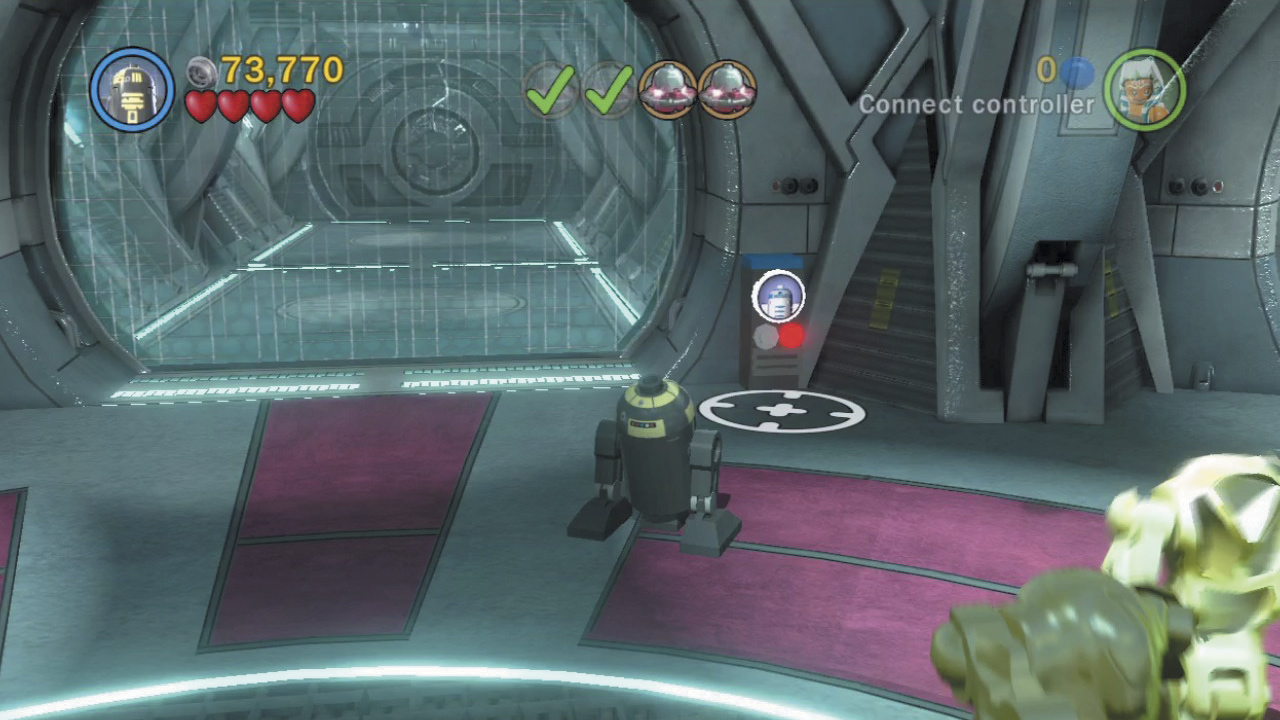
Slap a charge on the clone panel inside the side room, then venture on to the next circular chamber. Activate the astromech Droid control panel here to open two side passages, but beware: Enemy Droids storm you from these corridors!
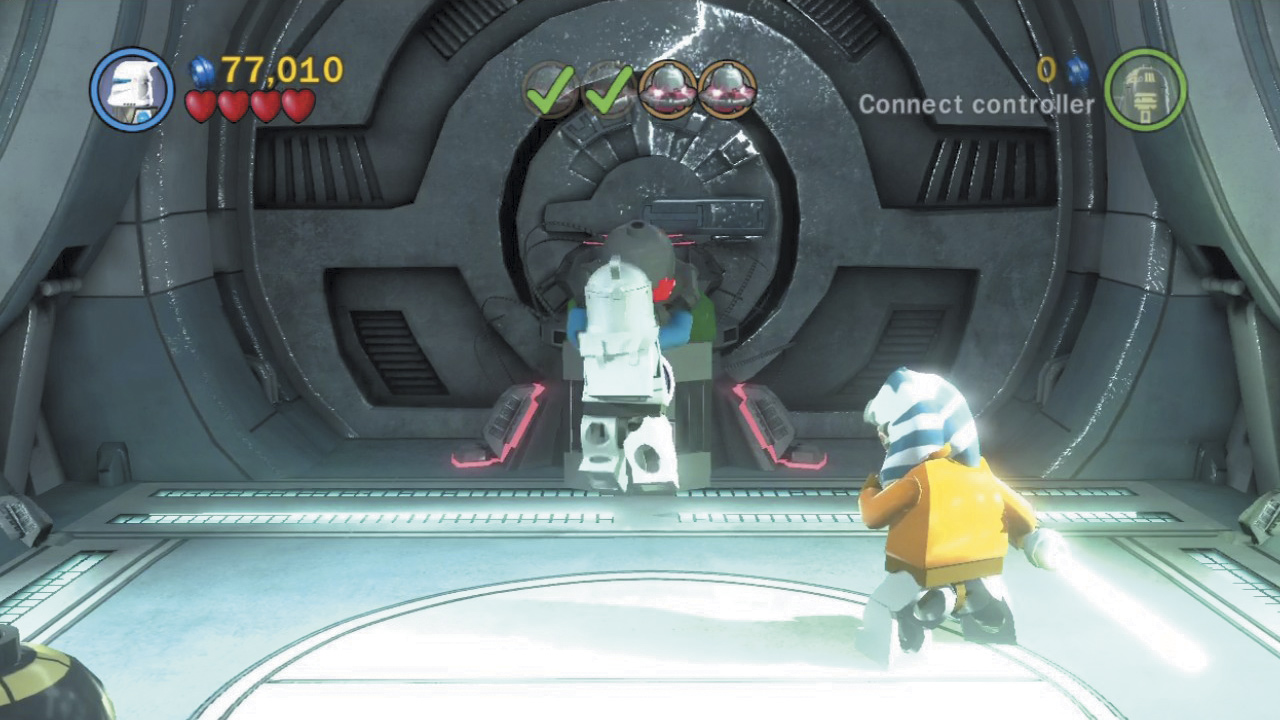
Use Ahsoka to make short work of the Droids, then simply place explosive charges at the end of both passages to advance the plot. More Droids may ambush you, so be on your guard!
Minikit 2 (Freeplay)
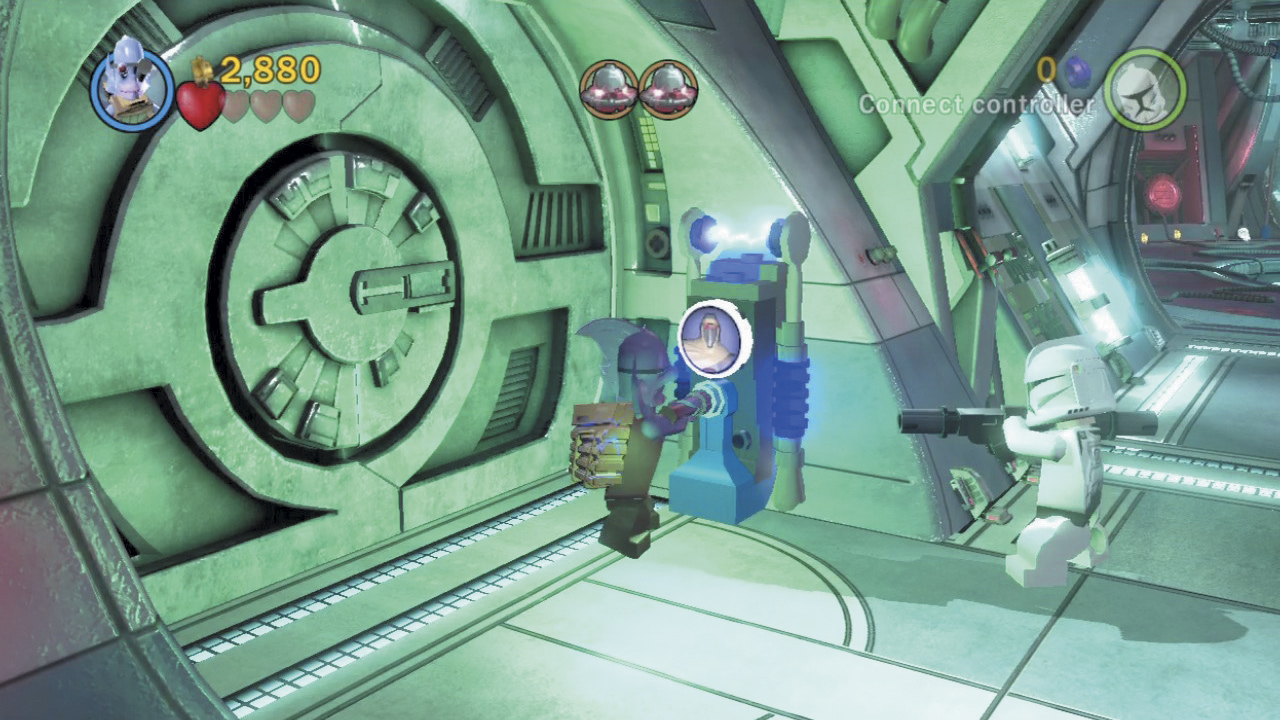
Activate the power panel near the staring point, then crawl through the hatch that’s revealed to reach a balcony. Defeat the three lazy Droids out here to score a minikit!
Minikit 3 (Freeplay)
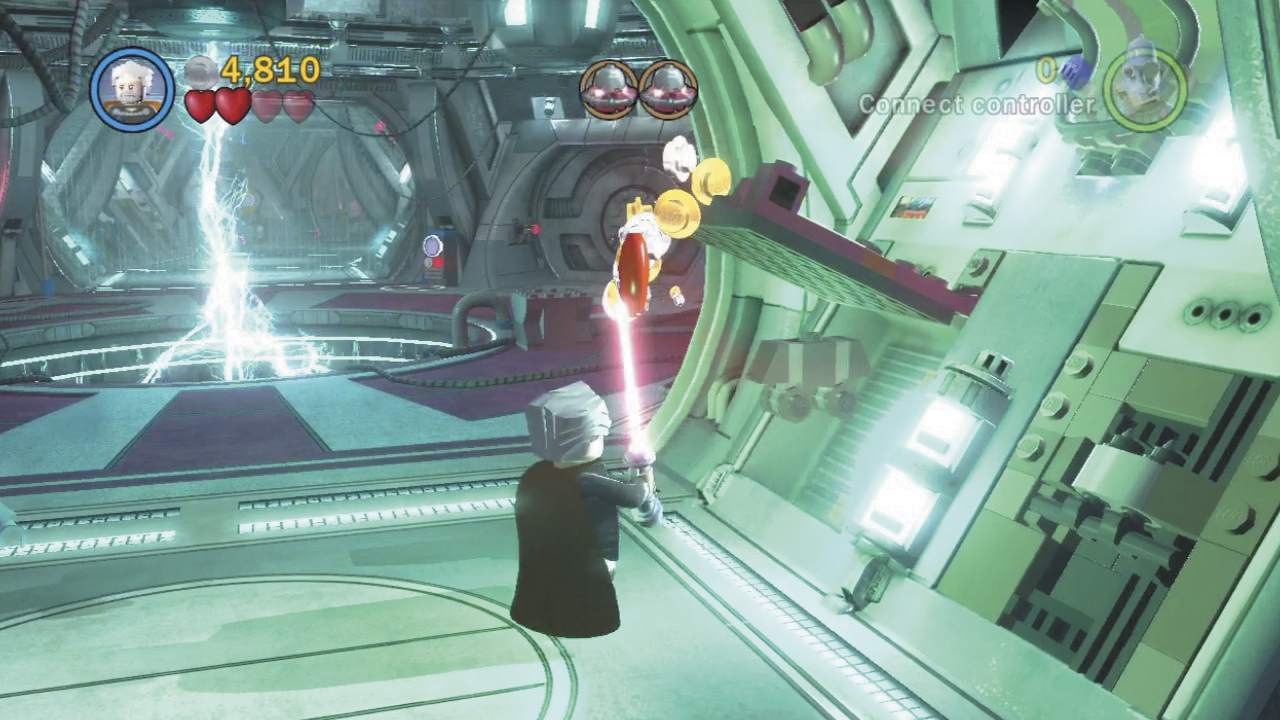
Use a Sith character to open the side console that glows with red energy near the staring point. A little mouse Droid pops out—destroy it before it scurries off! Find and destroy four other mouse Droids in these corridors to earn a minikit. The next three are running around free in the corridors, while the final one is hidden in another Dark Force side console near the end of the corridors (each is marked on the map).
Minikit 4 (Freeplay)
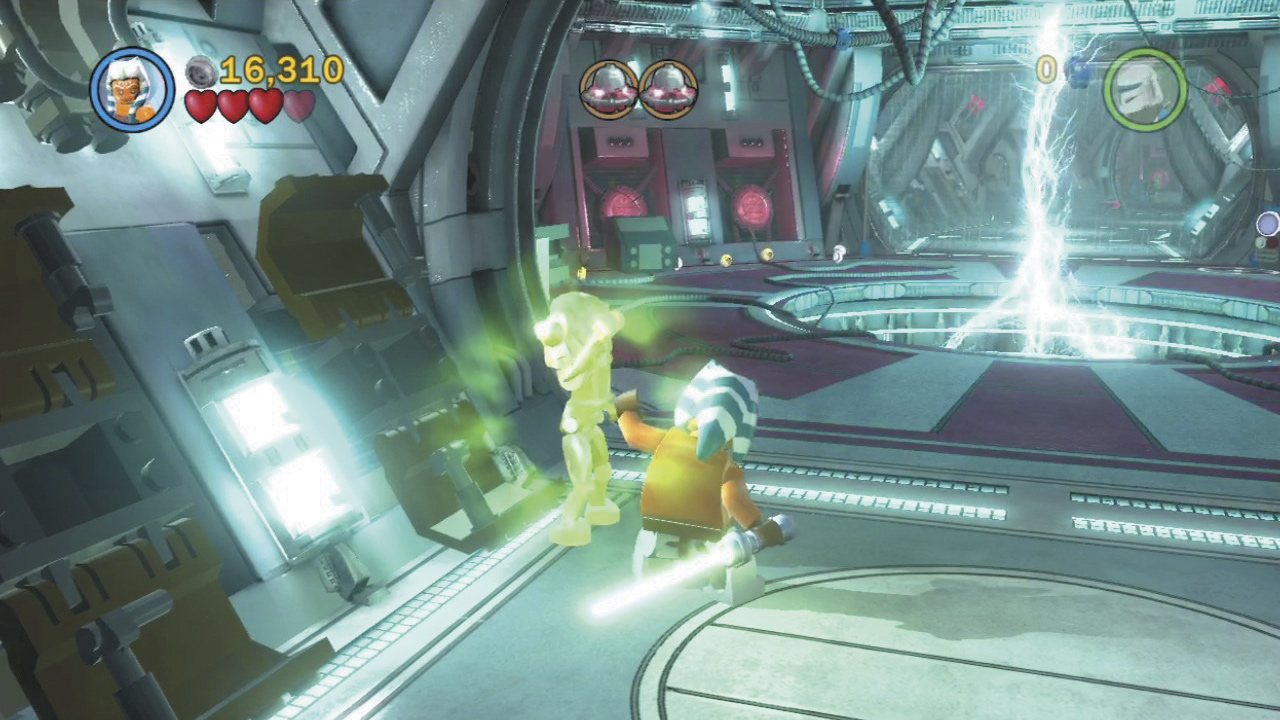
Smash a side console near the staring point to reveal parts of a Gold Super Battle Droid. Use the Force to reassemble the Droid, who joins your crew and fights for your side as an indestructible ally! Find two more Gold Super Battle Droids in the corridors and rebuild them in this same fashion to score a minikit. Naturally, we’ve marked their locations on the maps to ensure you don’t miss them.
Minikit 6 (Freeplay)
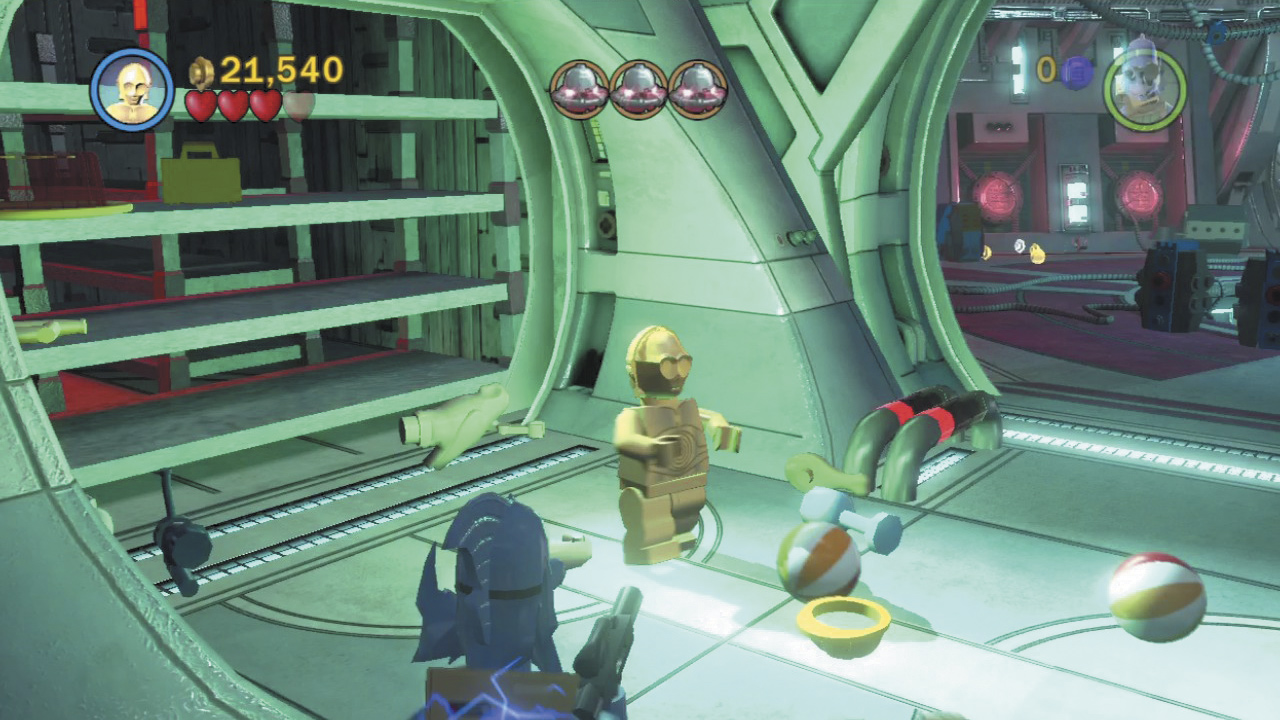
Use C-3PO to activate the three protocol Droid control panels in the corridors—the first one is just beyond the first circular chamber. This opens the nearby storage closets, causing all sorts of junk to spill out. Spot and pop five beach balls that tumble out from these closets to earn a minikit!
Objective 2: Defeat General Grievous
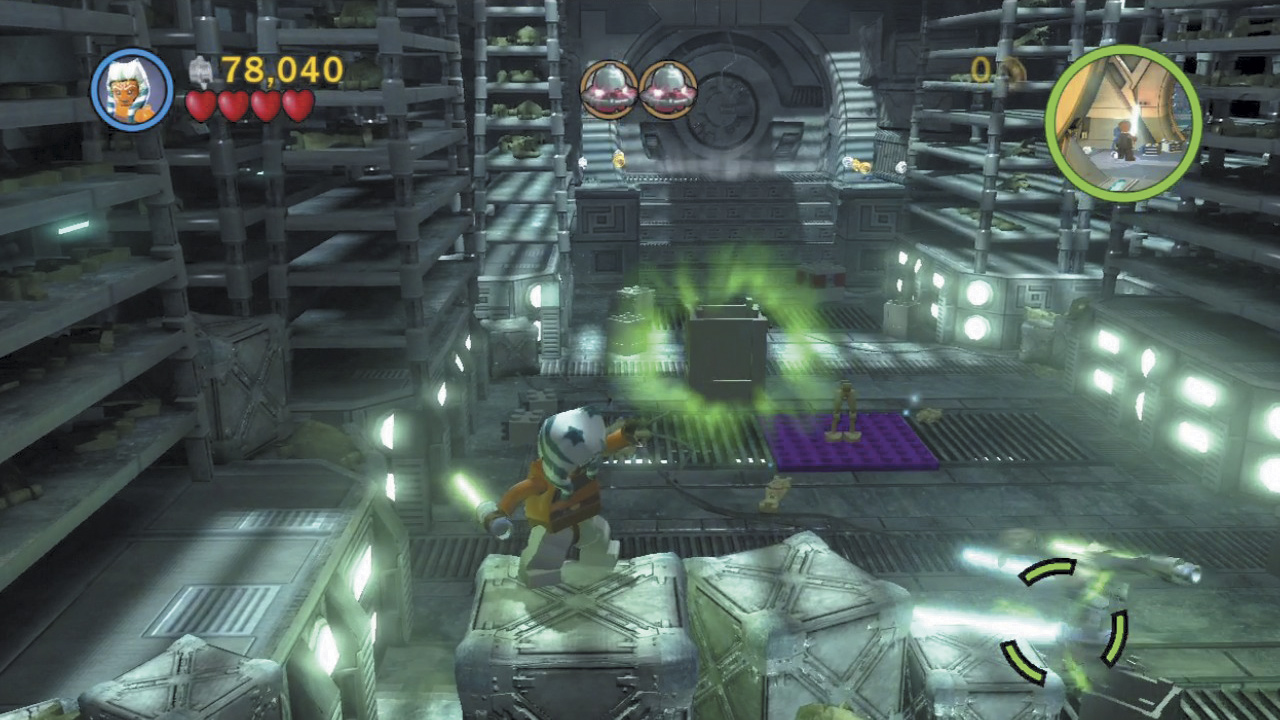
R3-S6 has revealed himself to be a traitor, and now Ahsoka must do battle against the fearsome General Grievous. Crossing Lightsabers with Grievous is folly—he’s got four of them! Instead, use the Force to hurl objects at Grievous to stun him, then close in and strike.
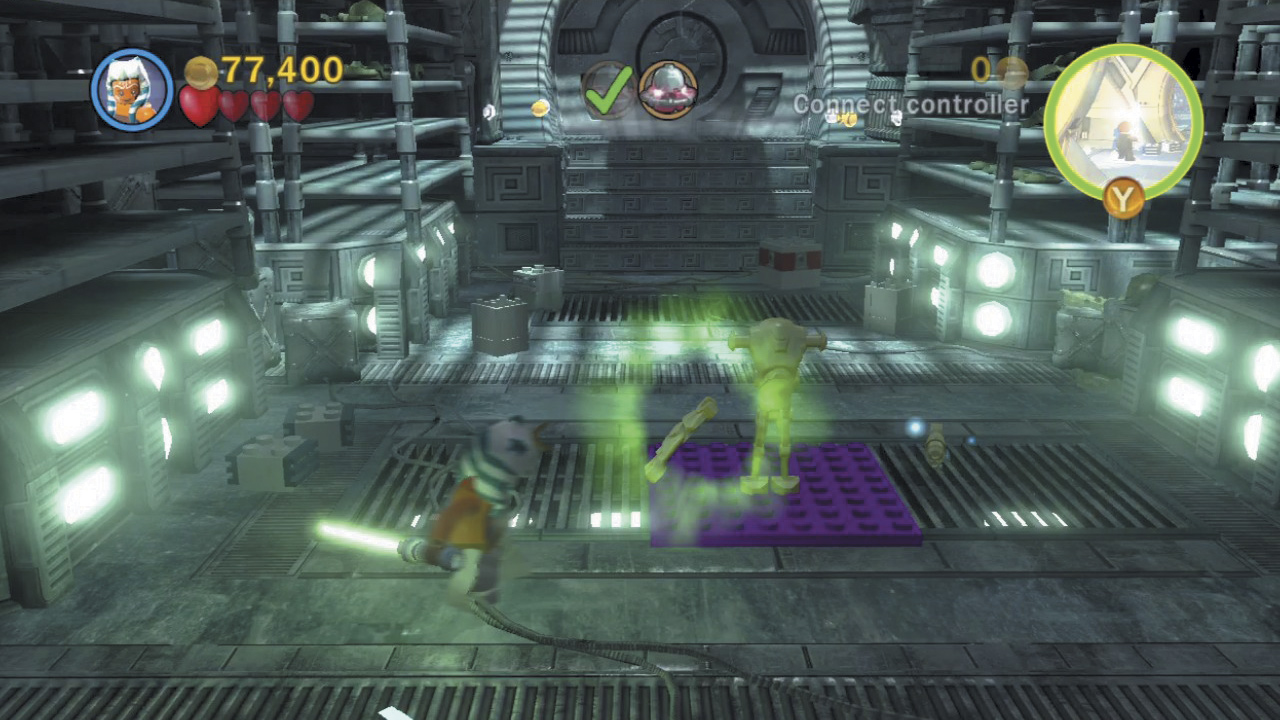
Grievous flees to a higher vantage after you wound him three times. To reach him, use the Force to assemble the Super Battle Droid on the room’s central pad, placing the torso onto the legs first, and then attach the arms and head.
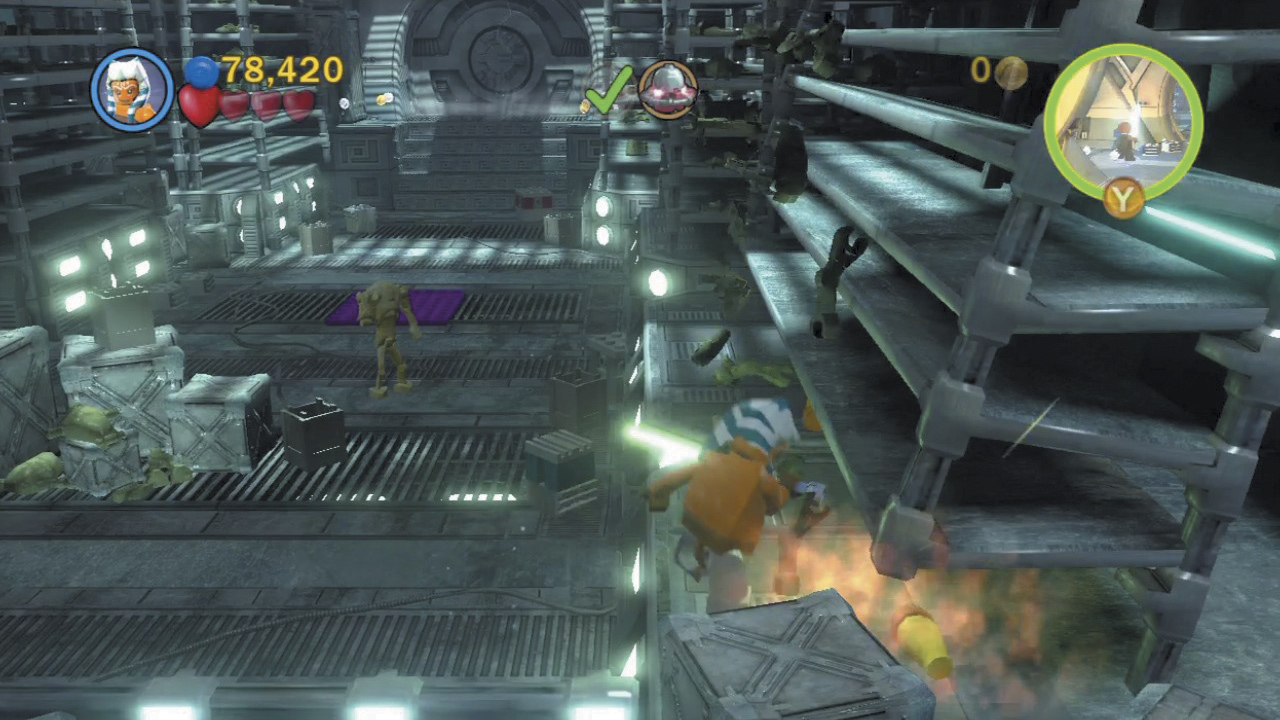
The Super Battle Droid assists you by destroying the gold box near the shelving on the right. This reveals a hidden Jedi logo; use it to knock over the shelves, creating a set of stairs that lead up to Grievous.
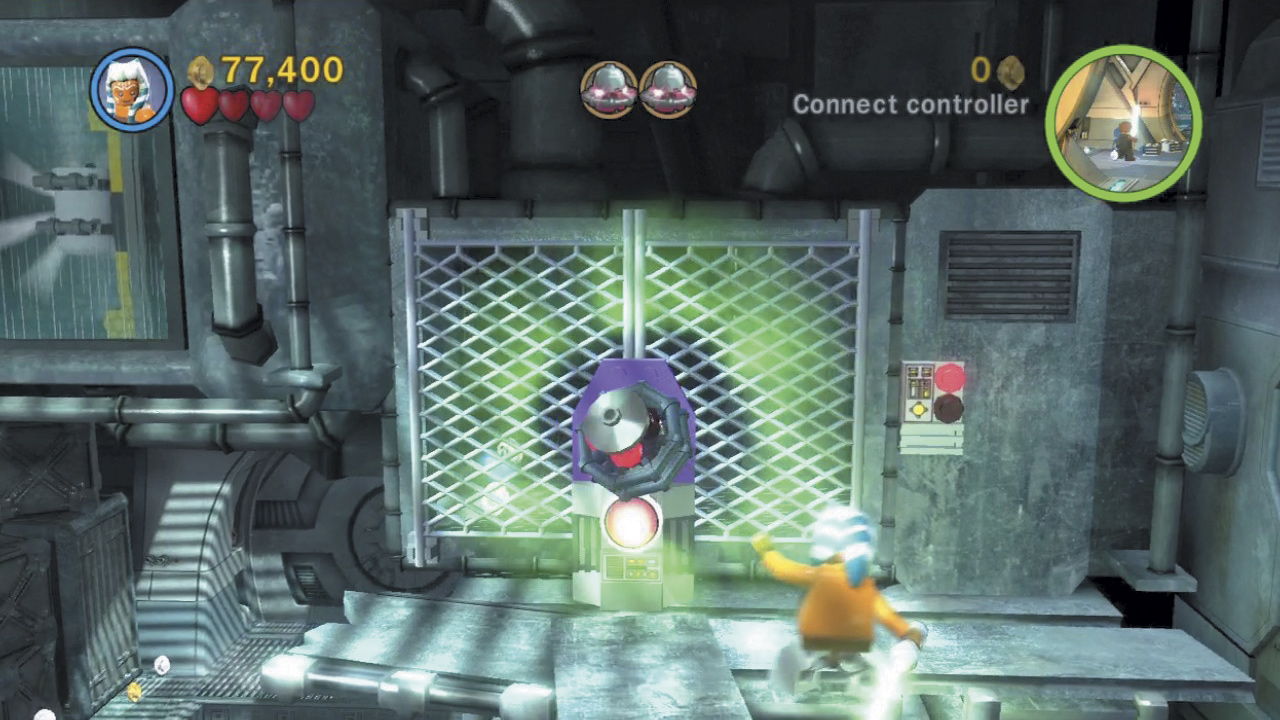
Grievous flees when you approach, closing a door behind him. Use the Force to place the nearby explosive charge onto the door’s purple plate, then press and hold the Change Character button to swap over to Anakin.
Minikit 7 (Freeplay)
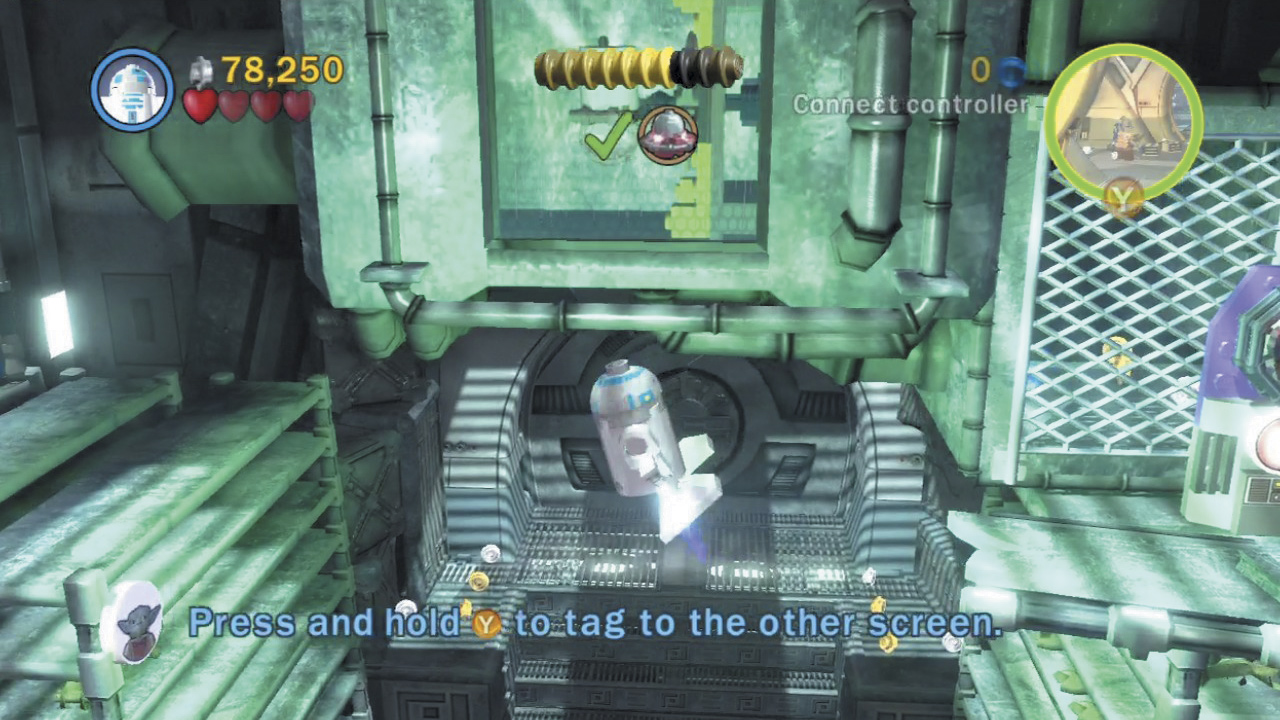
After defeating Grievous and placing the explosive charge, toggle to an astromech Droid, such as R2-D2, and hold the Jump button to hover over to the room’s left shelves.
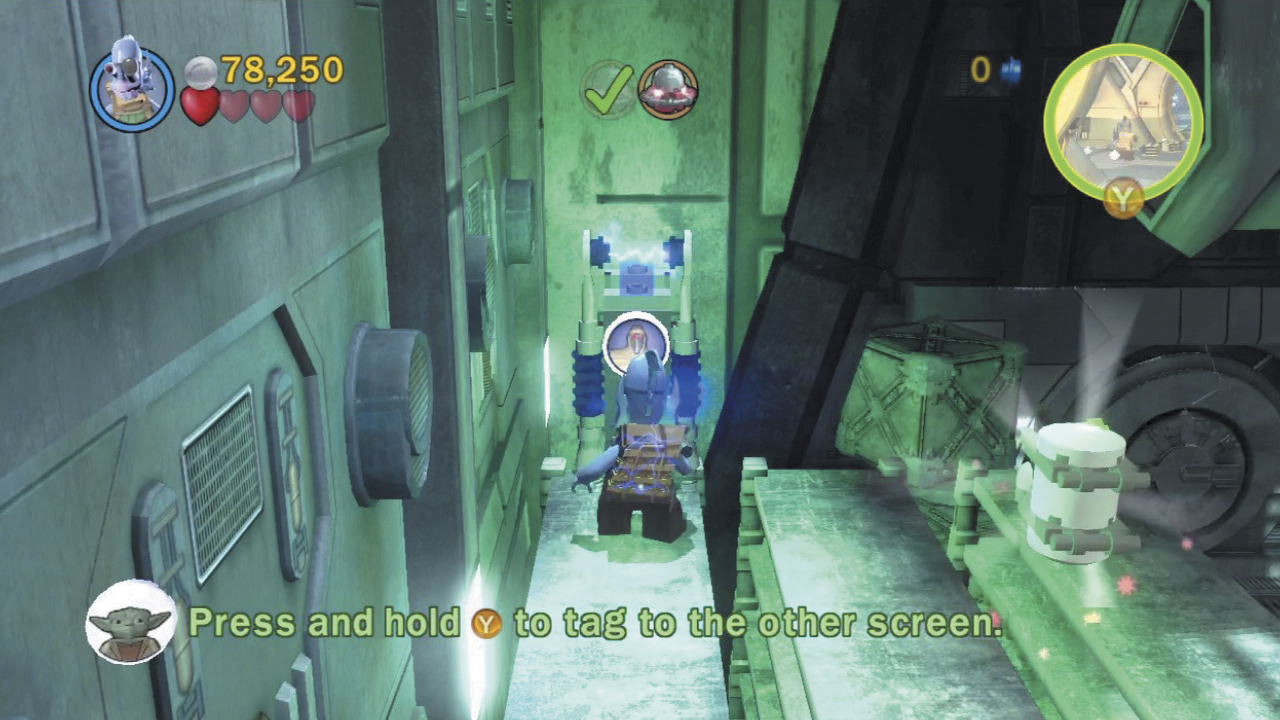
Activate the power panel you discover atop the shelves to charge up the nearby machinery. Out pops a minikit. Beauty!
Objective 3: Detonate the Charges
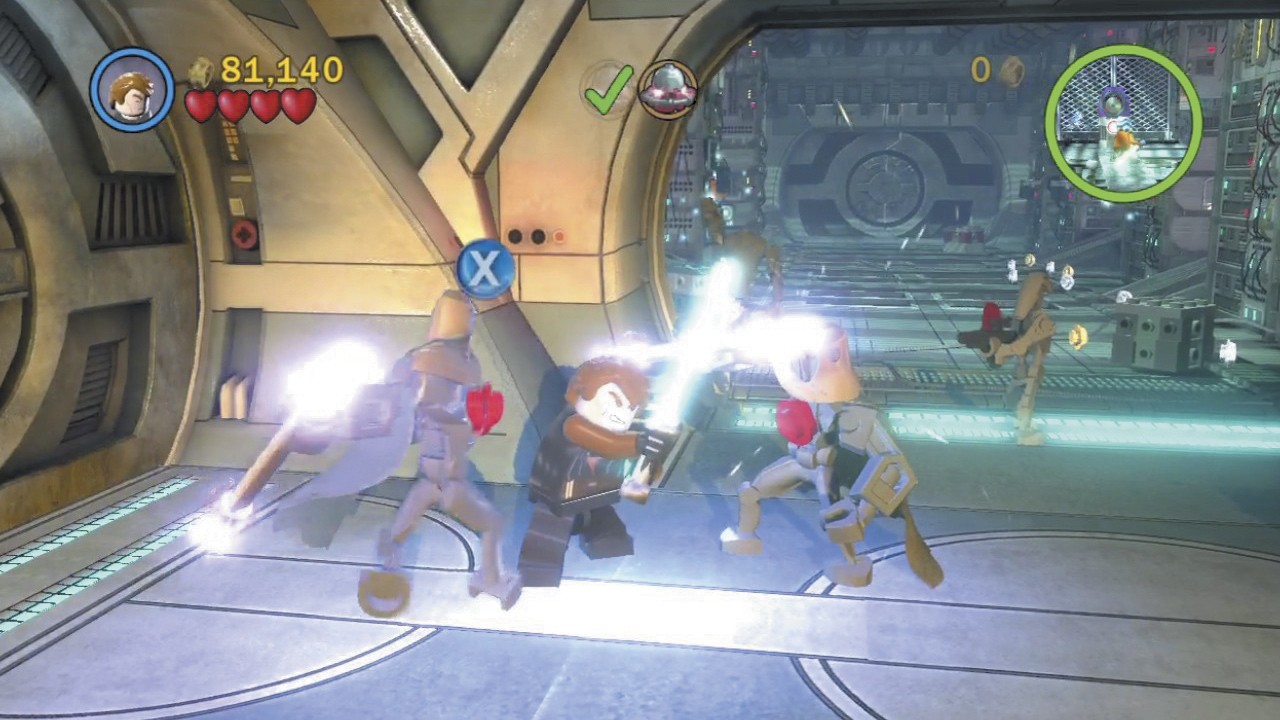
Anakin is in hot water: Two formidable MagnaGuards quickly engage him the moment you take control. Repeatedly tap the Attack button as you battle these worthy foes, and don’t stop until they’re reduced to scrap metal.
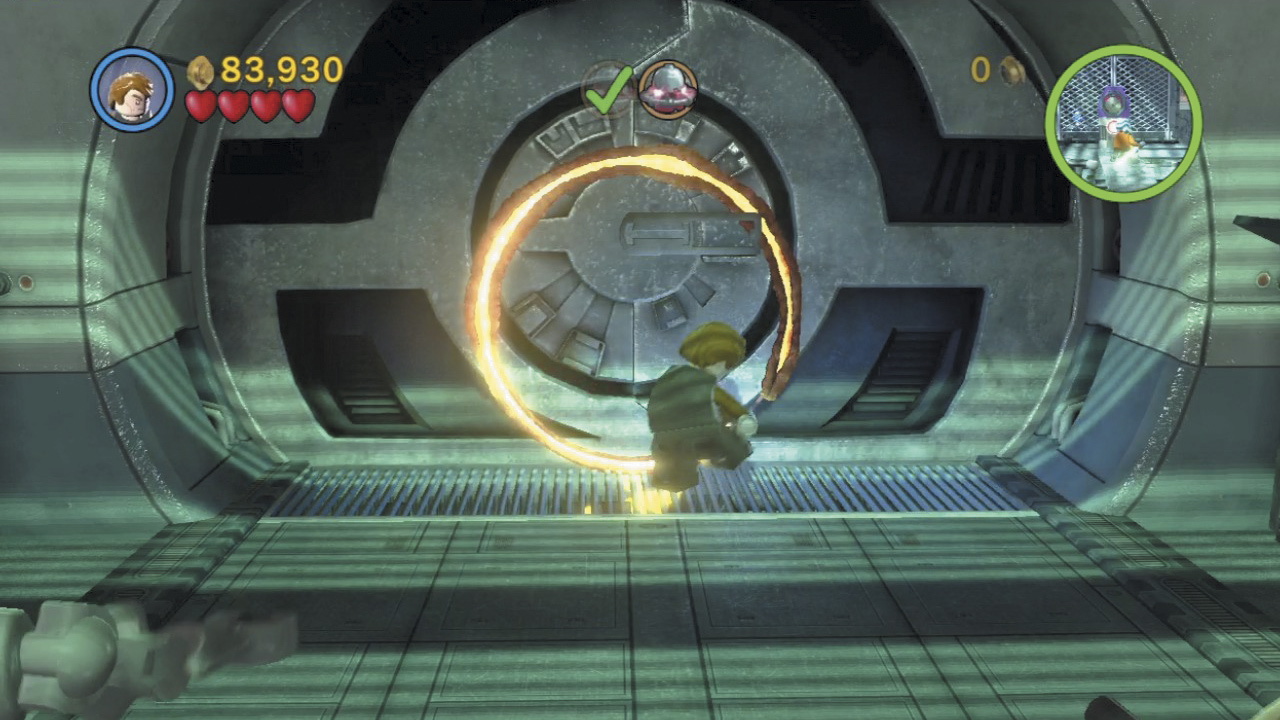
Fight your way toward the background door—a Jedi logo sits on the ground here. Use the logo to carve your own way into the next chamber.
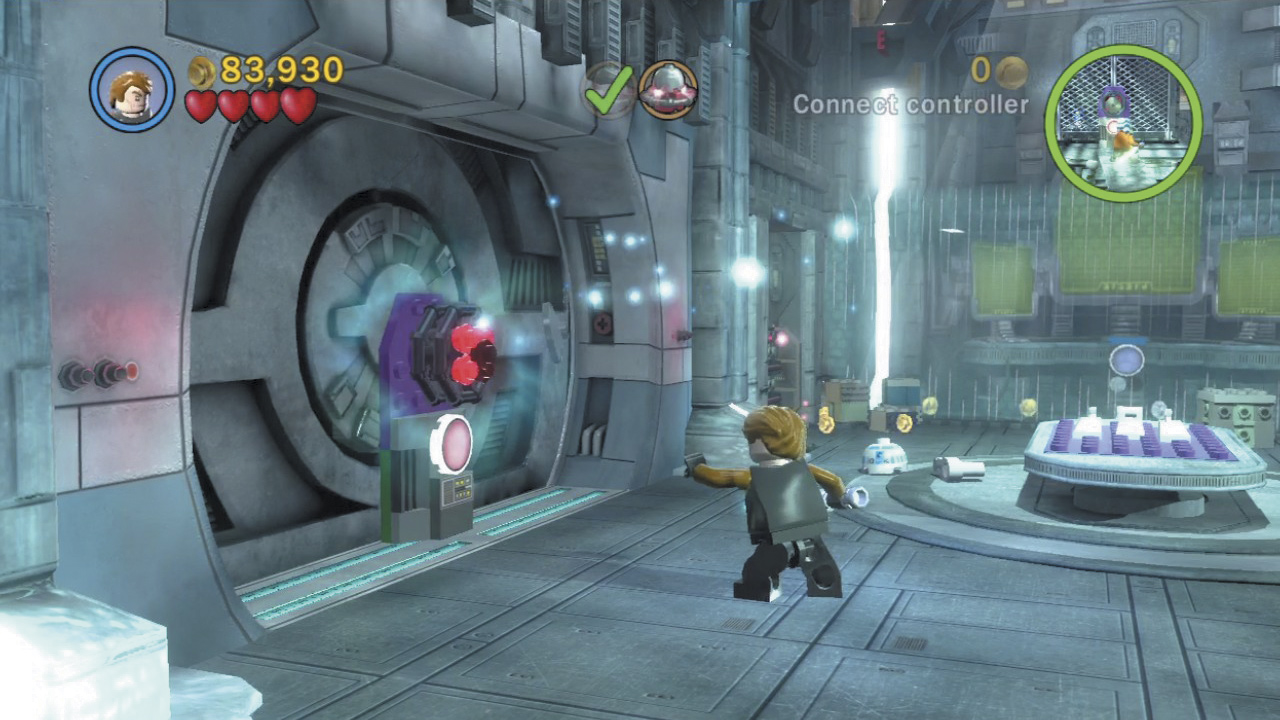
Defeat two more MagnaGuards in the next room, then use the Force to assemble and place the final explosive charge. Great work! Now you just need to set these things off.
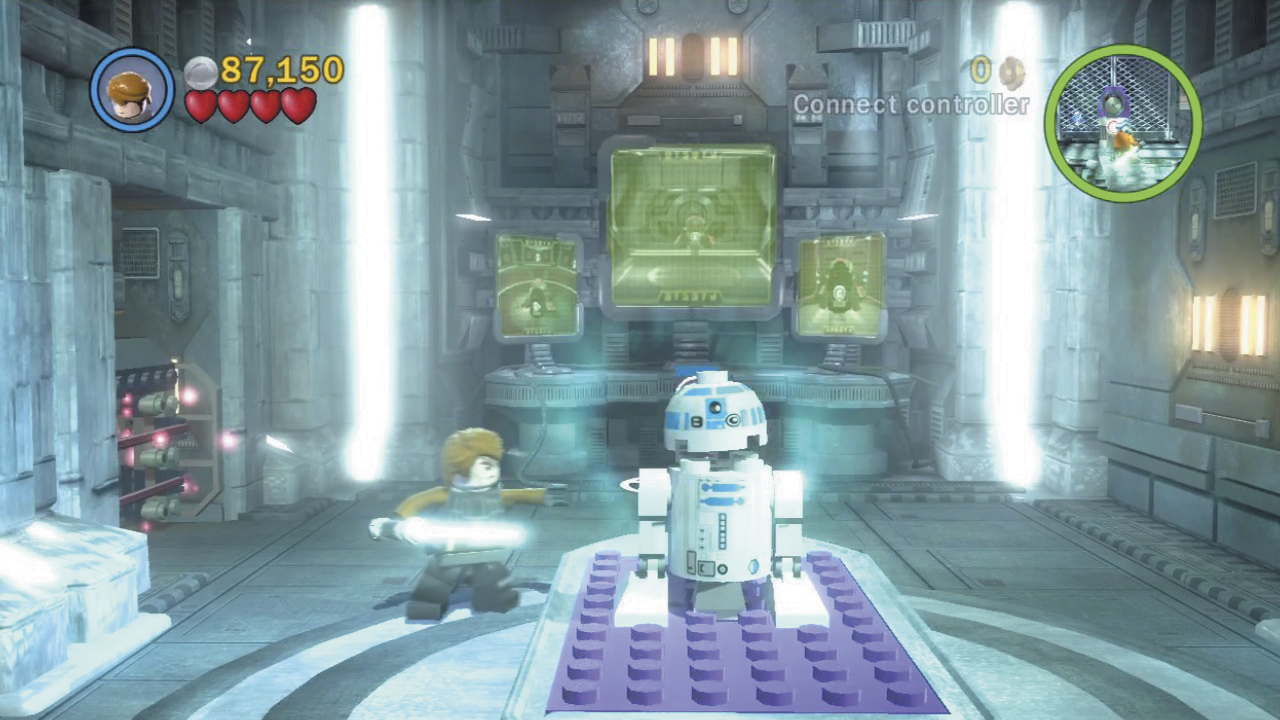
The enemy has been dissecting R2-D2 in this room—pieces of the poor Droid are strewn all about. Use the Force to reassemble R2, placing the torso onto the purple table first before attaching the legs and head.
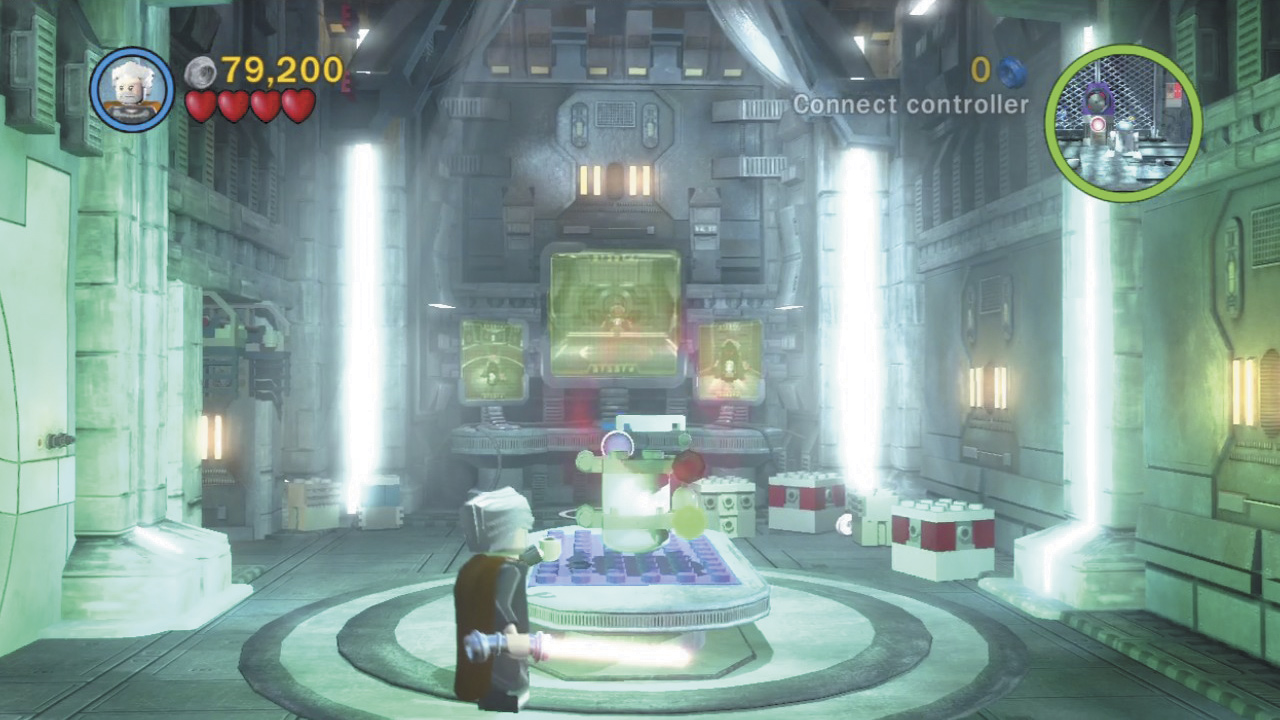
Smash the objects to reduce them to pieces, then use the Force to build a minikit by stacking these pieces on the central table. Start with the mid-sized white piece, then add one of the gray pieces. Place the large white piece next, followed by the other gray piece. Top it all off with the smallest white piece to complete your minikit masterpiece!
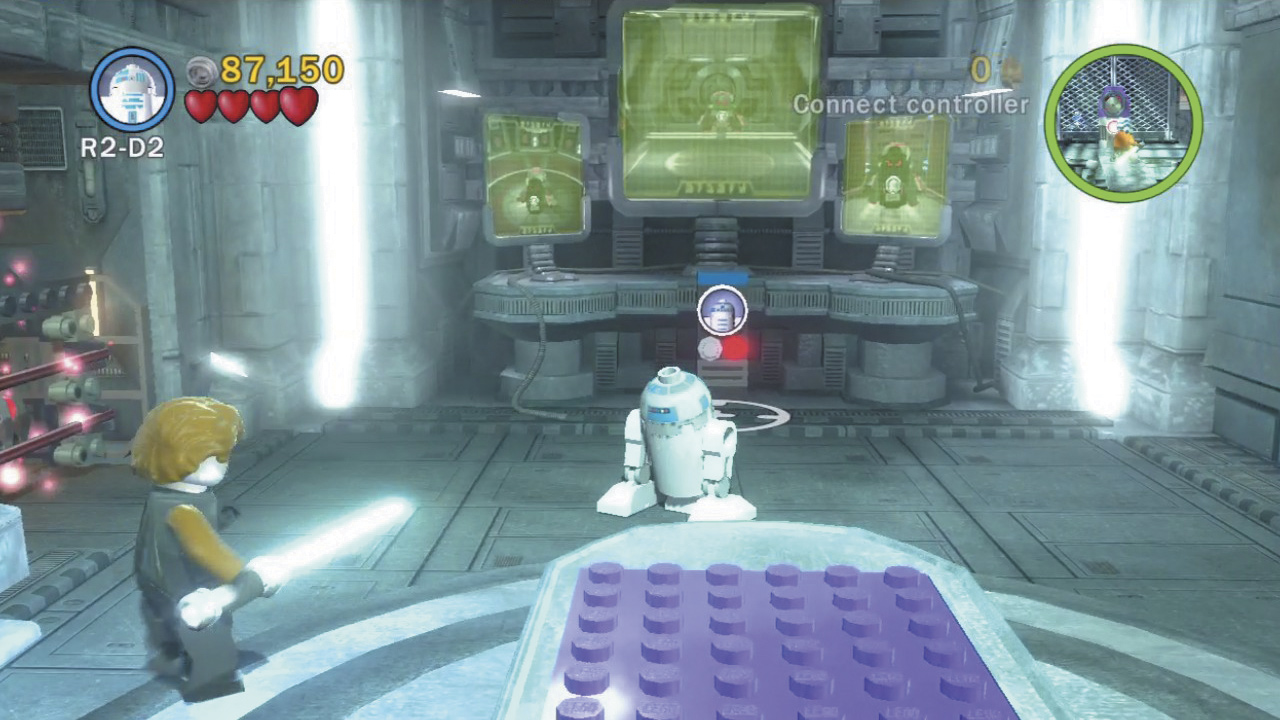
With R2 back in action, you’re now able to activate the astromech Droid control panel at the back of the room. Do so to set off all of the charges you’ve placed around the facility and cause widespread damage.
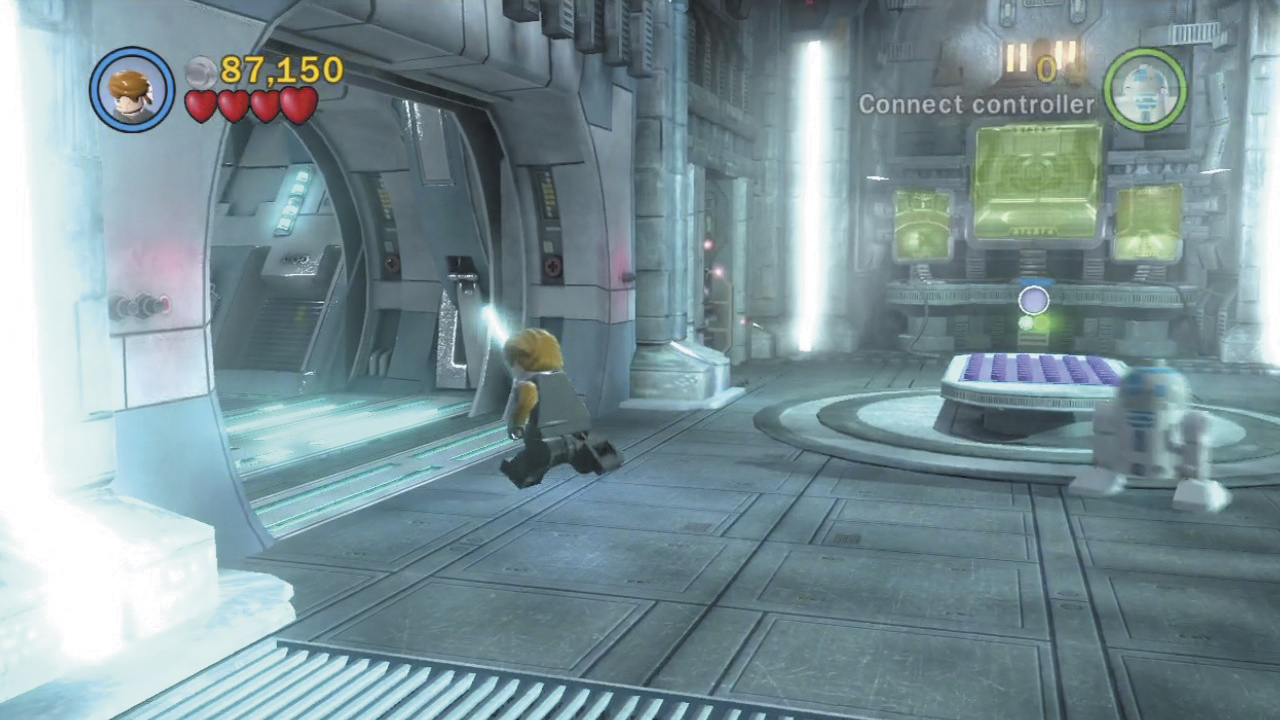
Time to bail out of here! Hurry through the side door that has now opened to reach the final area.
Minikit 8 (Freeplay)
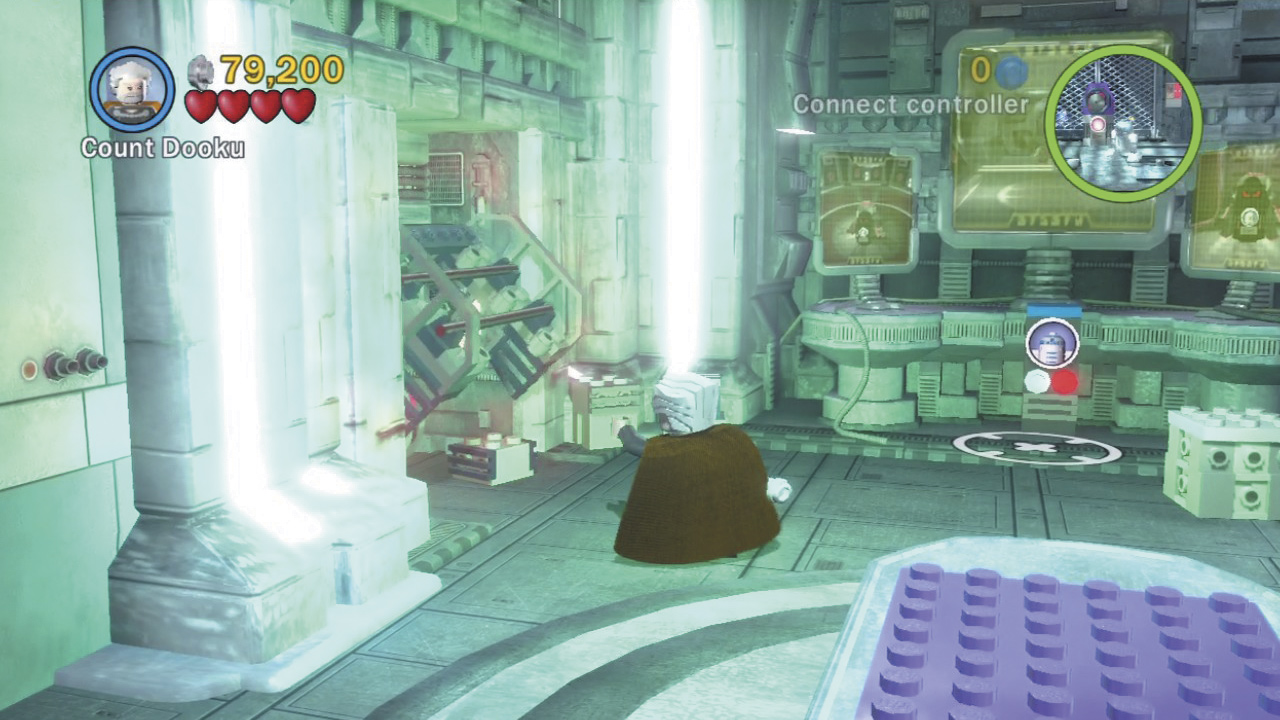
The nook near R2-D2’s assembly table glows with red energy. Use a Sith character’s Dark Force ability to open the nook, causing two curious objects to roll out.
Objective 4: Escape!
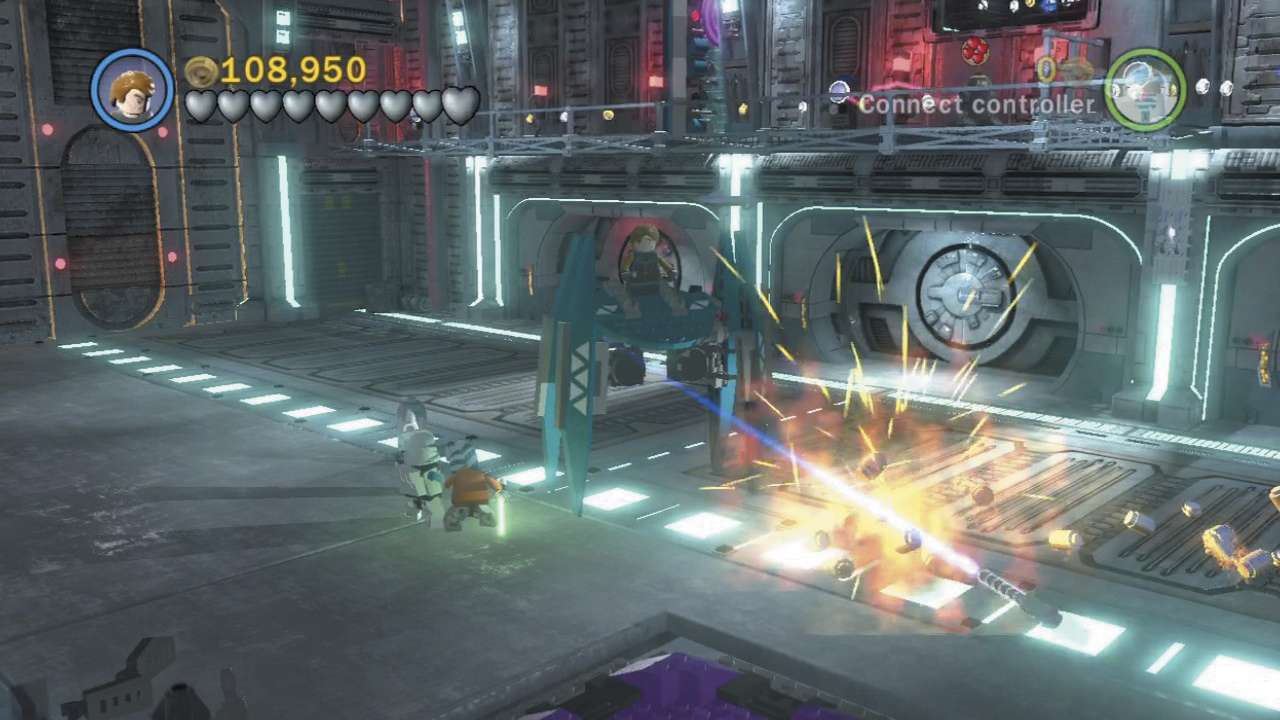
You’ve come to a hangar filled with enemy Droids. Hop into the vacant Vulture Droid and lay waste to everything in the hangar, including all of those silver boxes and crates.
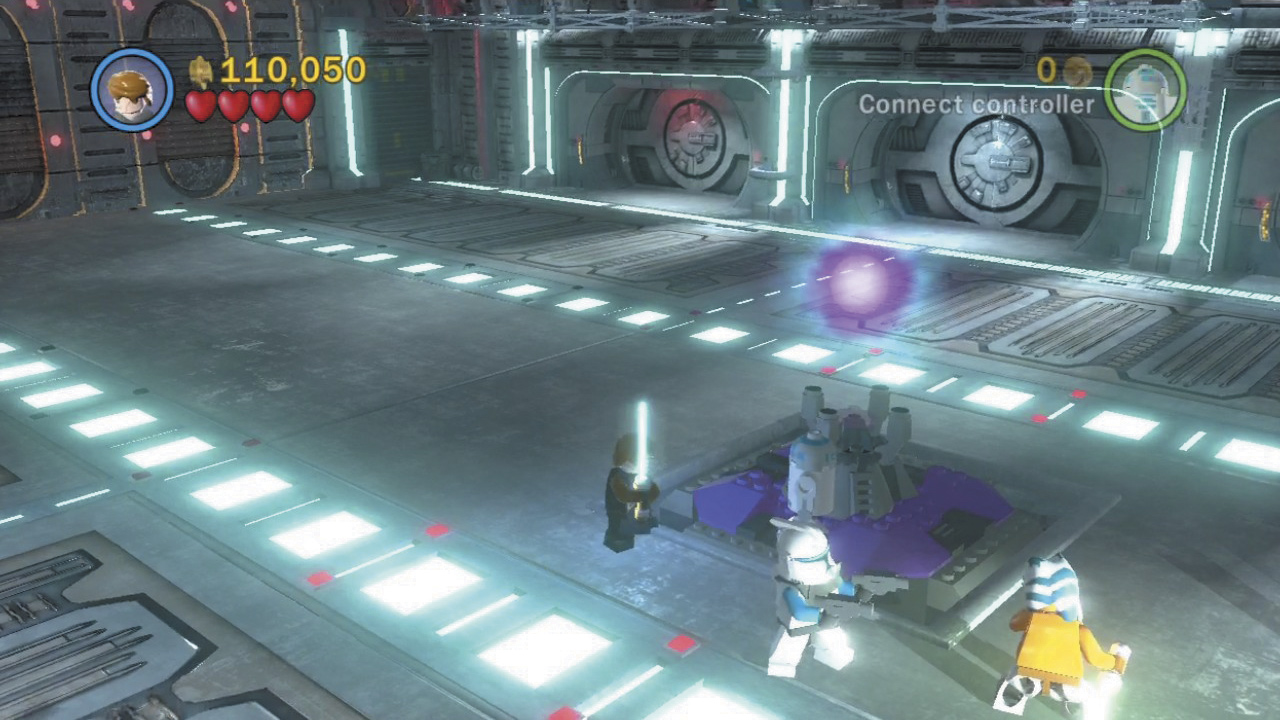
After leveling the place, look for some jiggling pieces near the hangar’s central pad. Build these into a torpedo generator, then use the Force to place the generator onto the pad, activating it. This will soon come in handy!
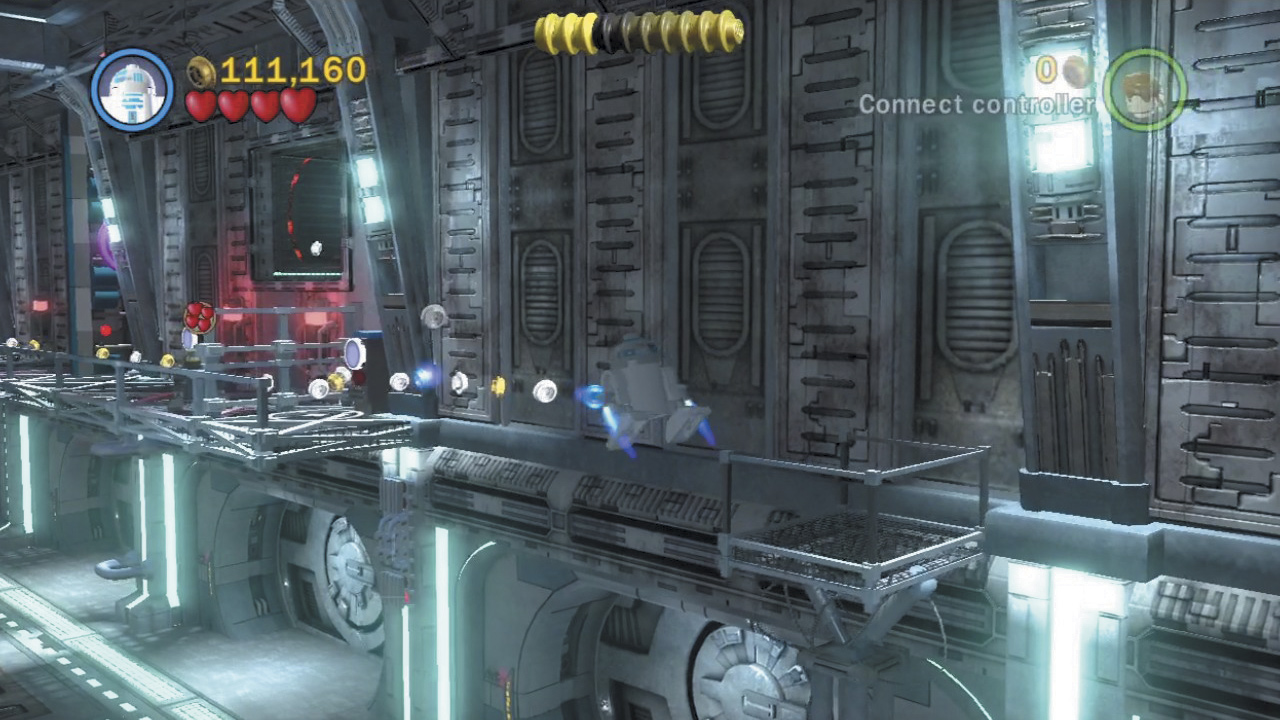
Switch to R2-D2 and activate the astromech Droid control panel to rise up on a lift. Hover over to the nearby balcony and activate a second panel to drop the barrier between you and that treacherous tinnie, R3-S6.
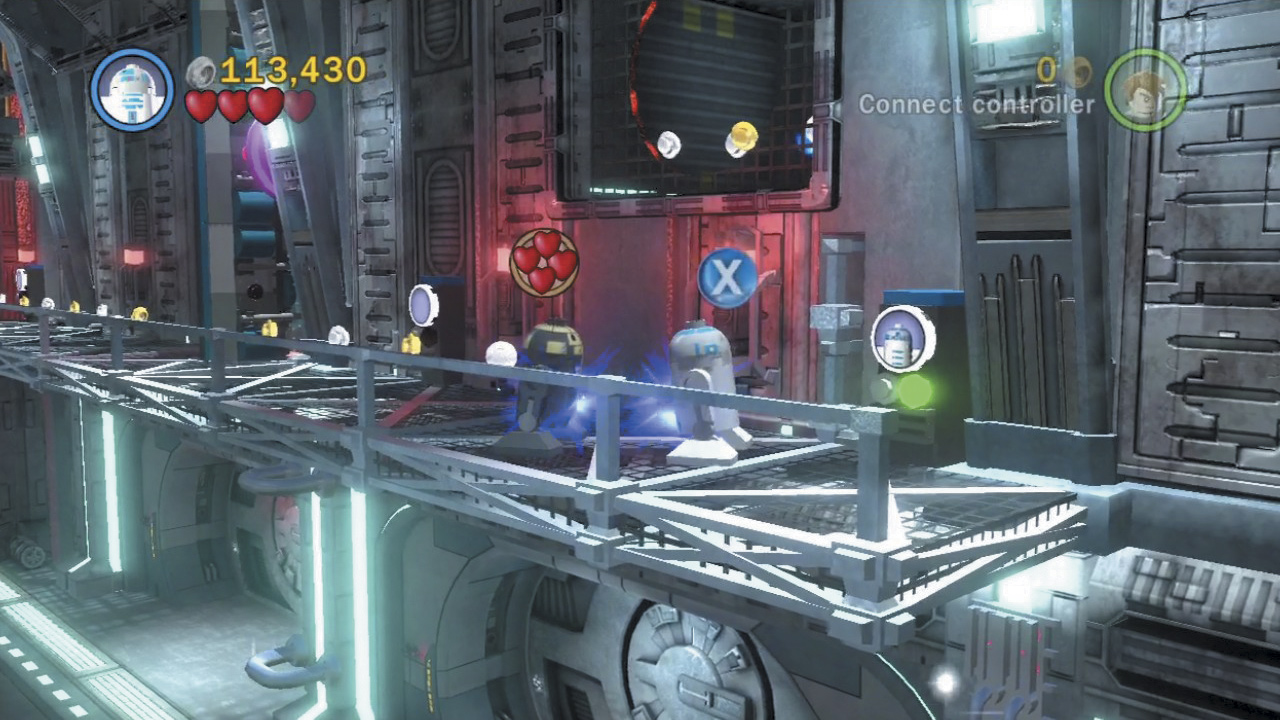
Approach R3-S6 and hammer the Attack button to give the Droid a nasty shock. Repeat after R3-S6 retreats to knock off another one of its hearts and cause it to retreat behind a barricade.
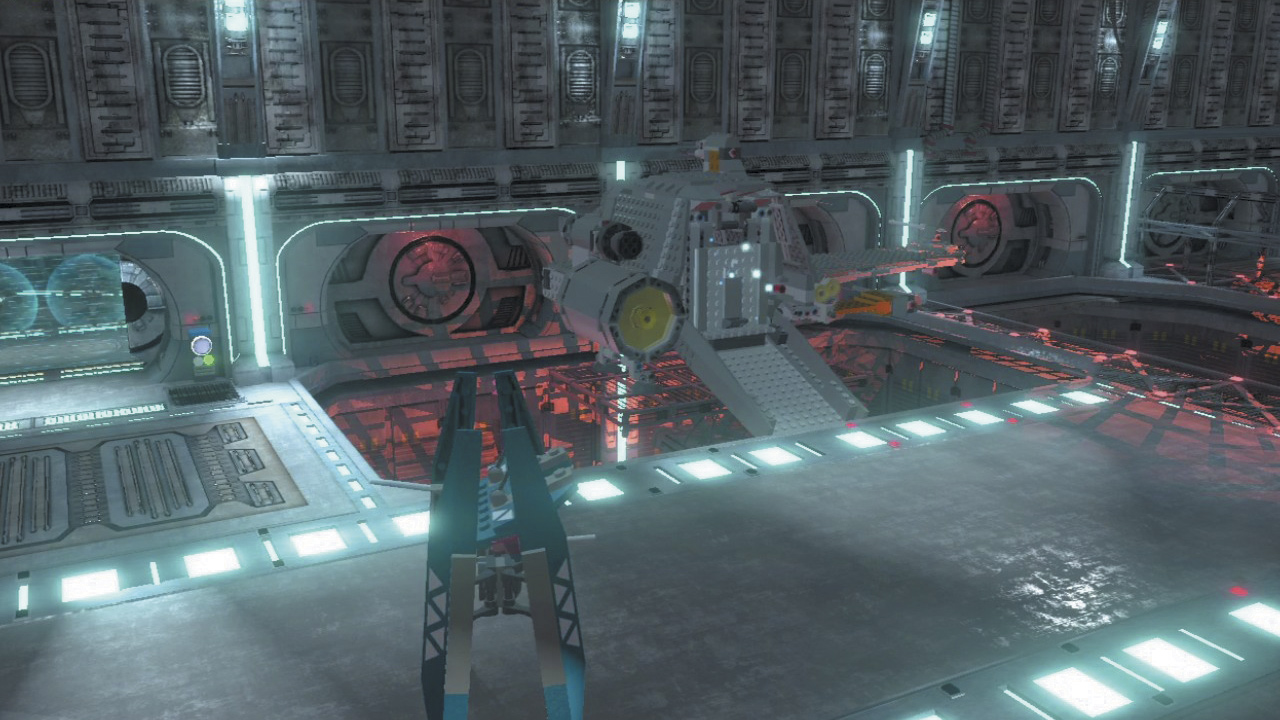
You can’t reach R3-S6, so activate the nearby astromech Droid control panel instead to raise a starship from the pit below. That’s your ticket out of here!
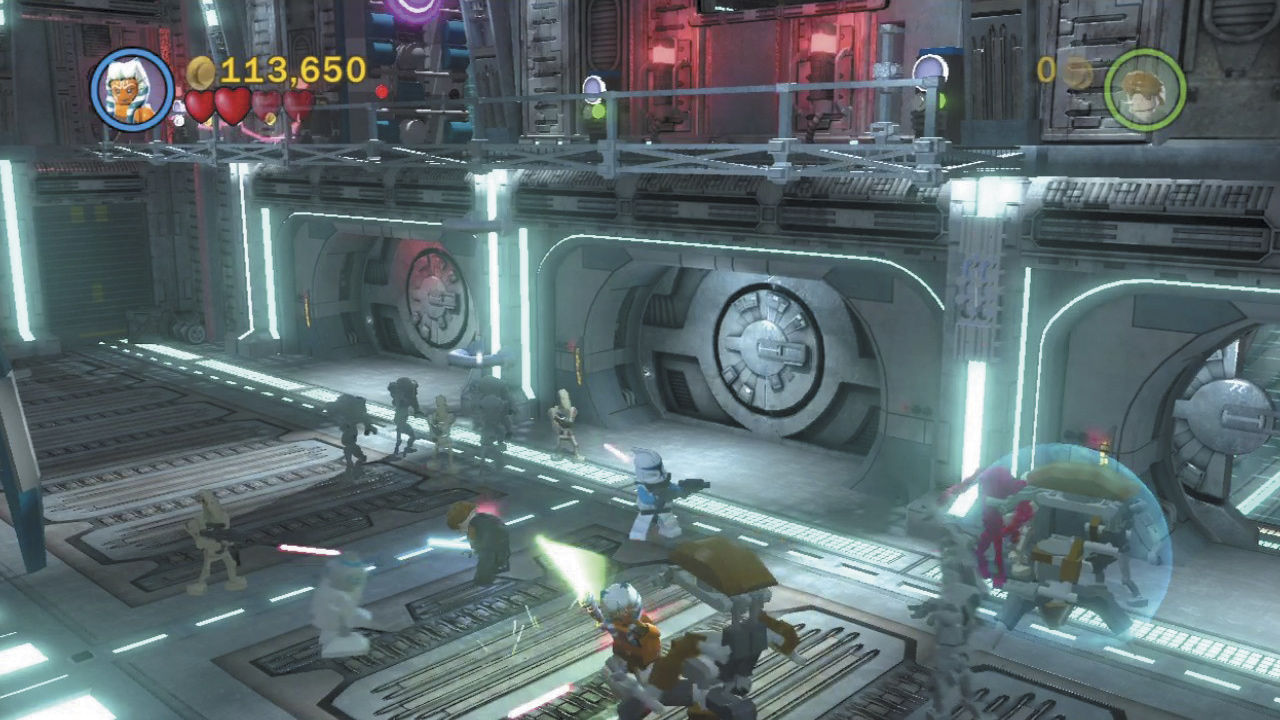
Switch to a Jedi and lay waste to the enemies that have flooded the lower portion of the hangar, including two fearsome Vulture Droids. Use a Vulture Droid of your own to speed things up if you like.
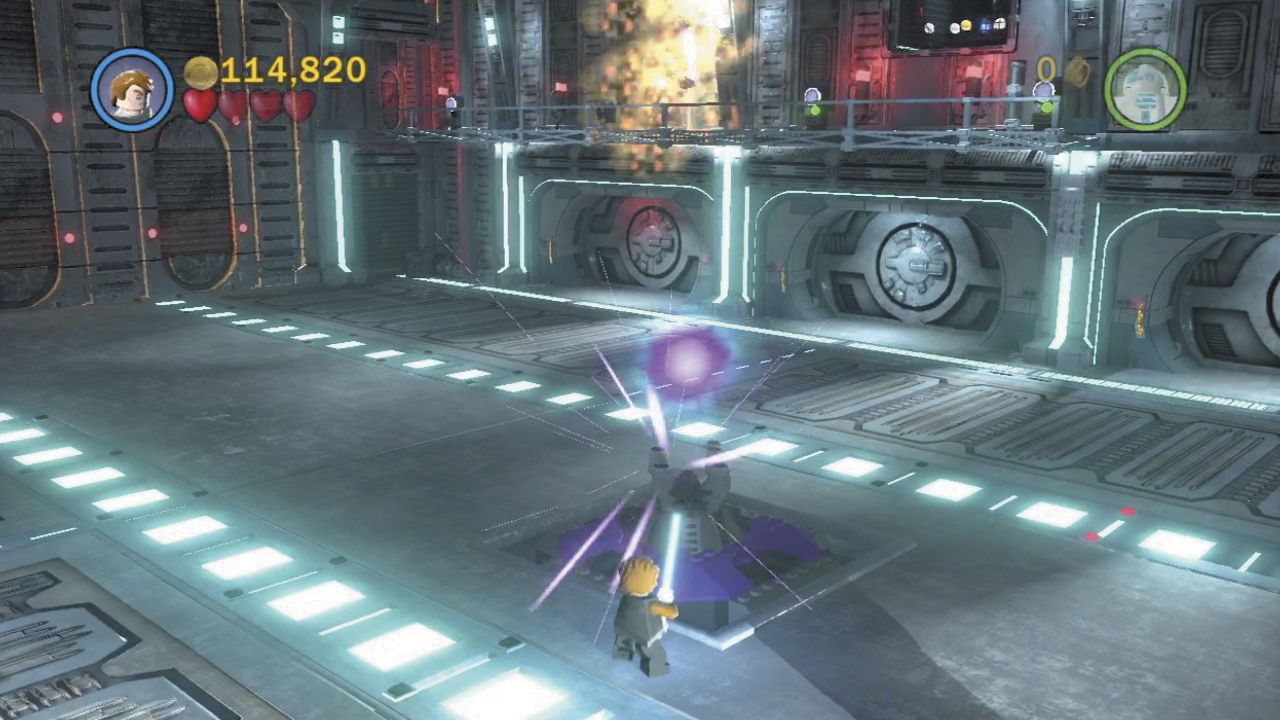
After the smoke clears, use the Force to send a torpedo flying at the pink target on the barricade that R3-S6 is cowering behind. This obliterates the barricade, exposing R3.
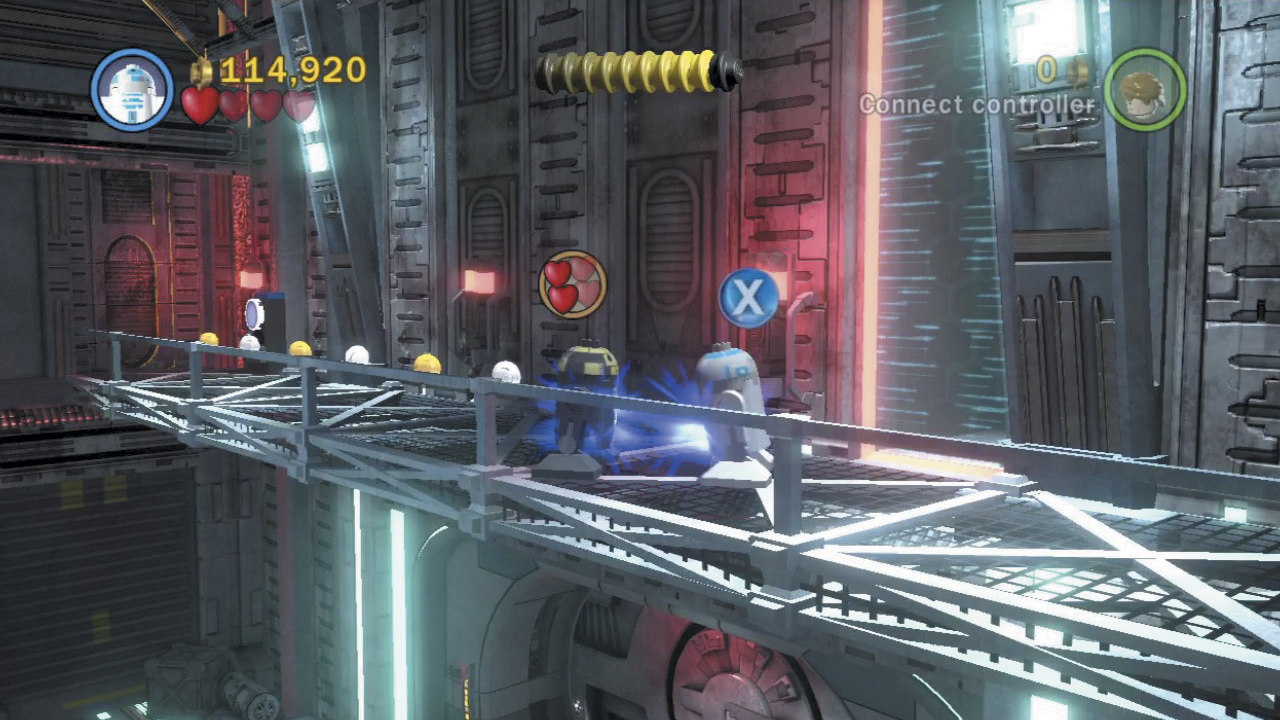
Switch back to R2-D2 and zap R3-S6 again until it flees outside. Activate the final astromech Droid panel to open the door and chase after R3.
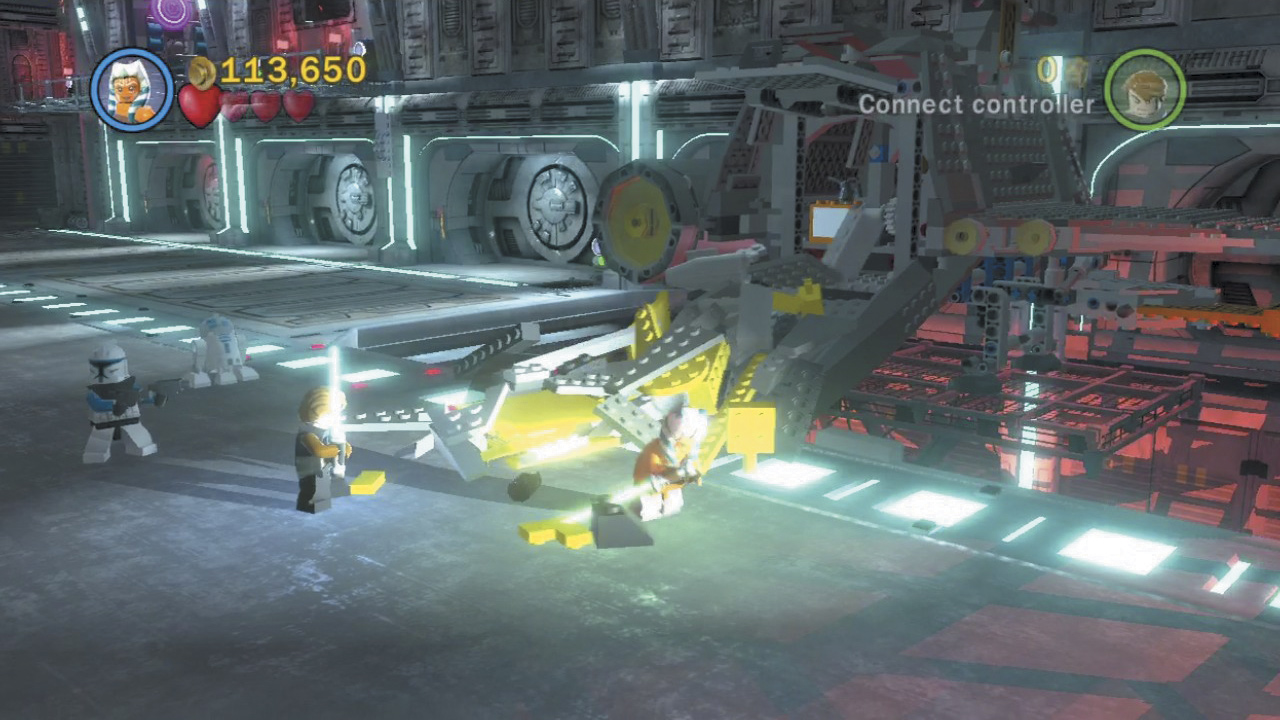
Take control of a Jedi and use the Force to open the door of the ship that R2-D2 raised into the hangar. A jumble of pieces spills out; stack these into a sleek starfighter.
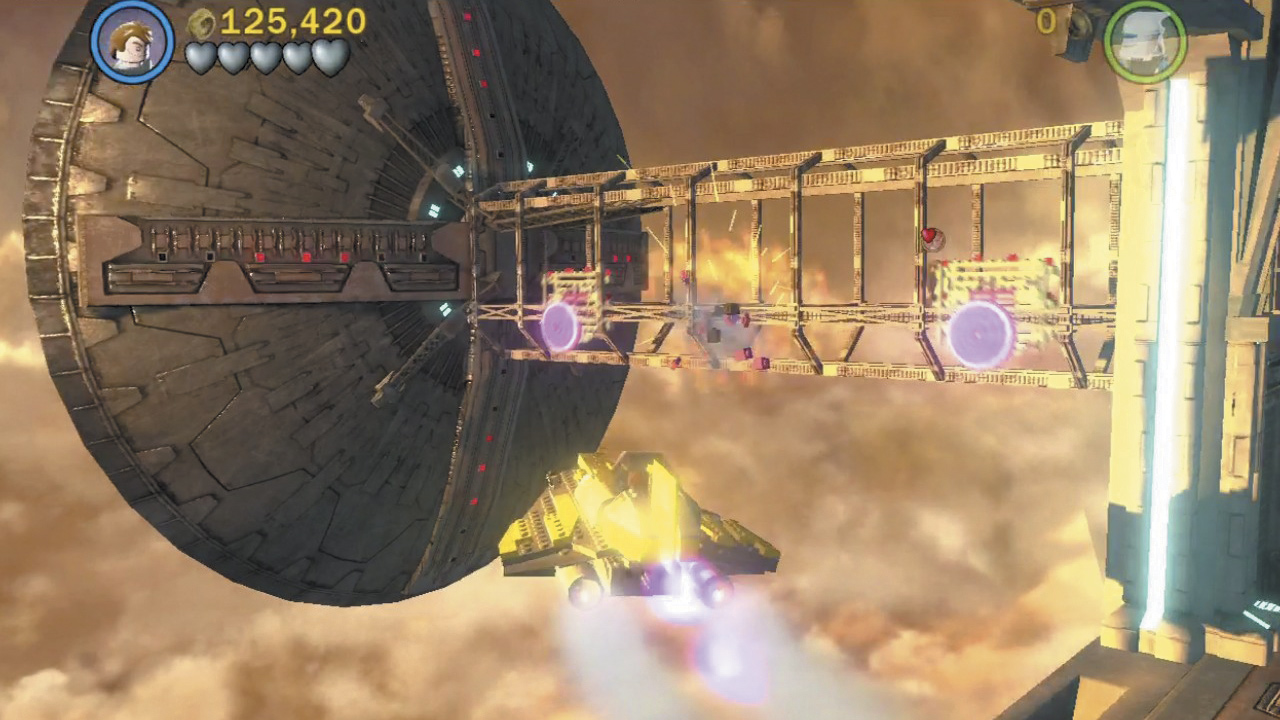
Pilot the starfighter and snag some torpedoes. Fly outside to the bridge where R2 and R3 are duking it out, and torpedo all three pink targets along the base of the bridge. The bridge starts to collapse; fly over to R2 to rescue the Droid and make good your escape!
Minikit 9 (Freeplay)
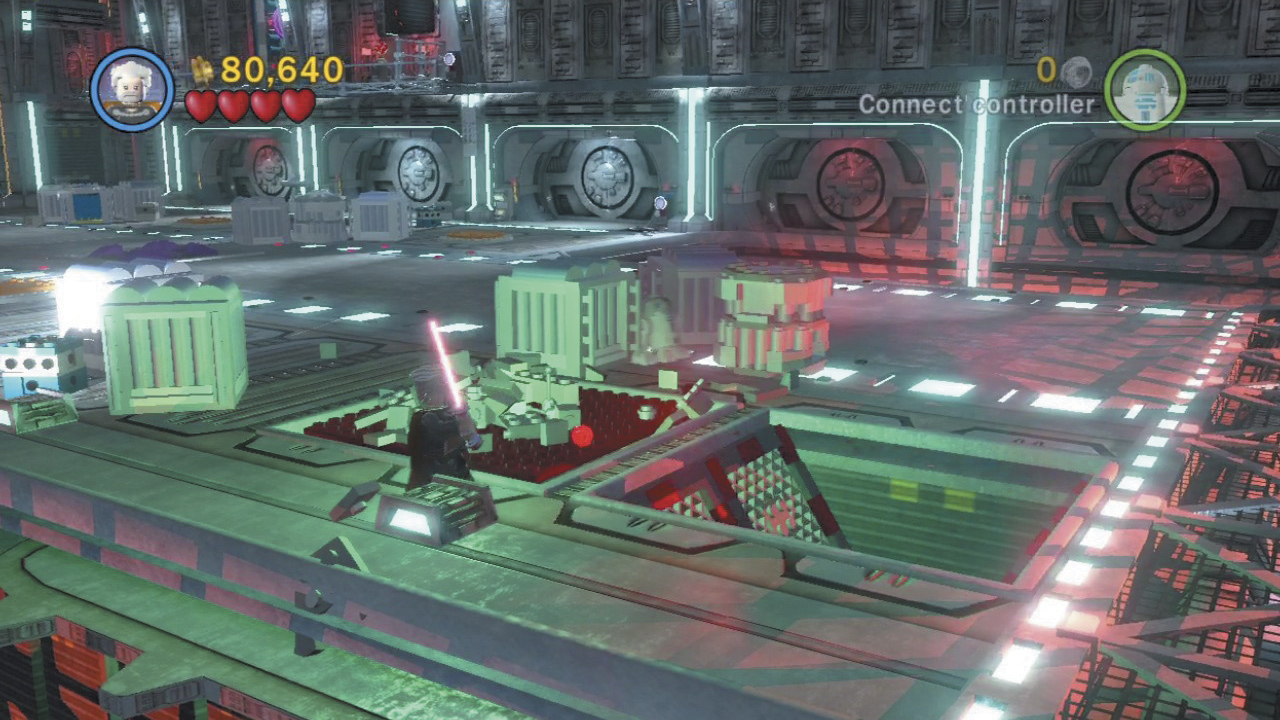
Toggle to a Sith character and use the Dark Force on the two glowing sections of floor to uncover some loose pieces. Build these into a low-flying UFO.
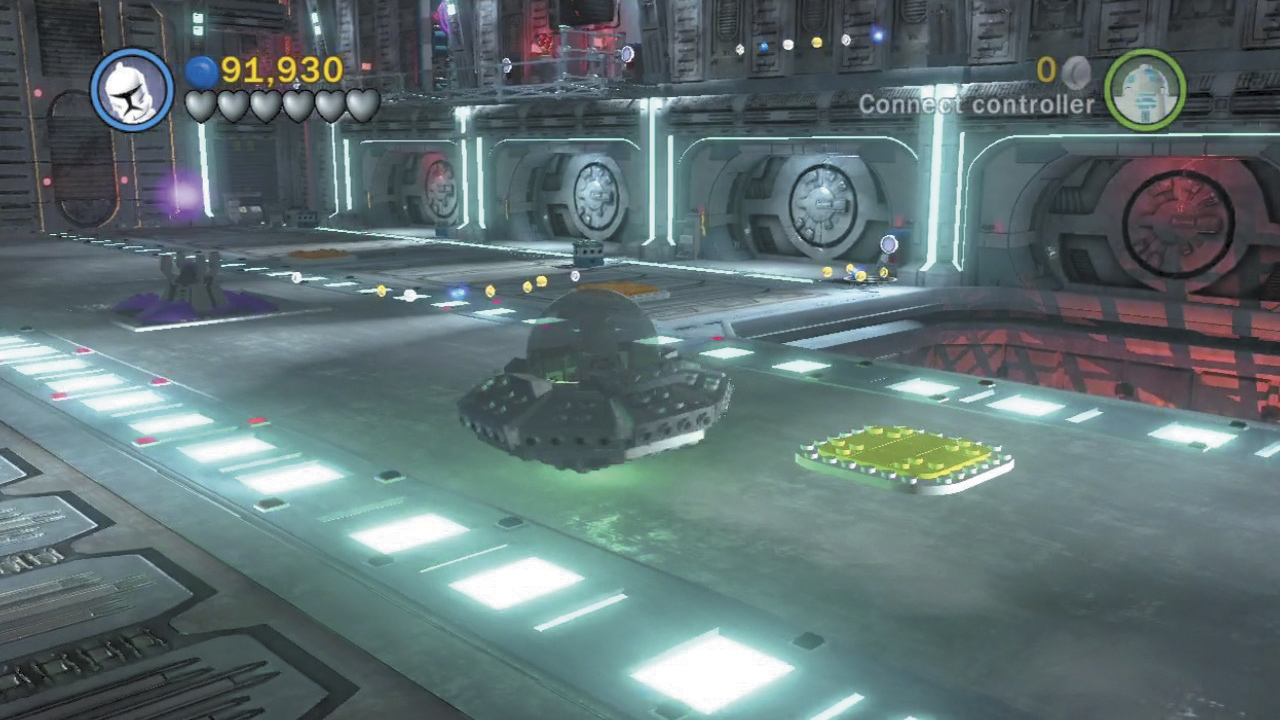
Pilot the UFO and drive it over the orange pads on the hangar’s floor. Change every pad’s color to green to receive a minikit for your troubles!
Minikit 10 (Freeplay)
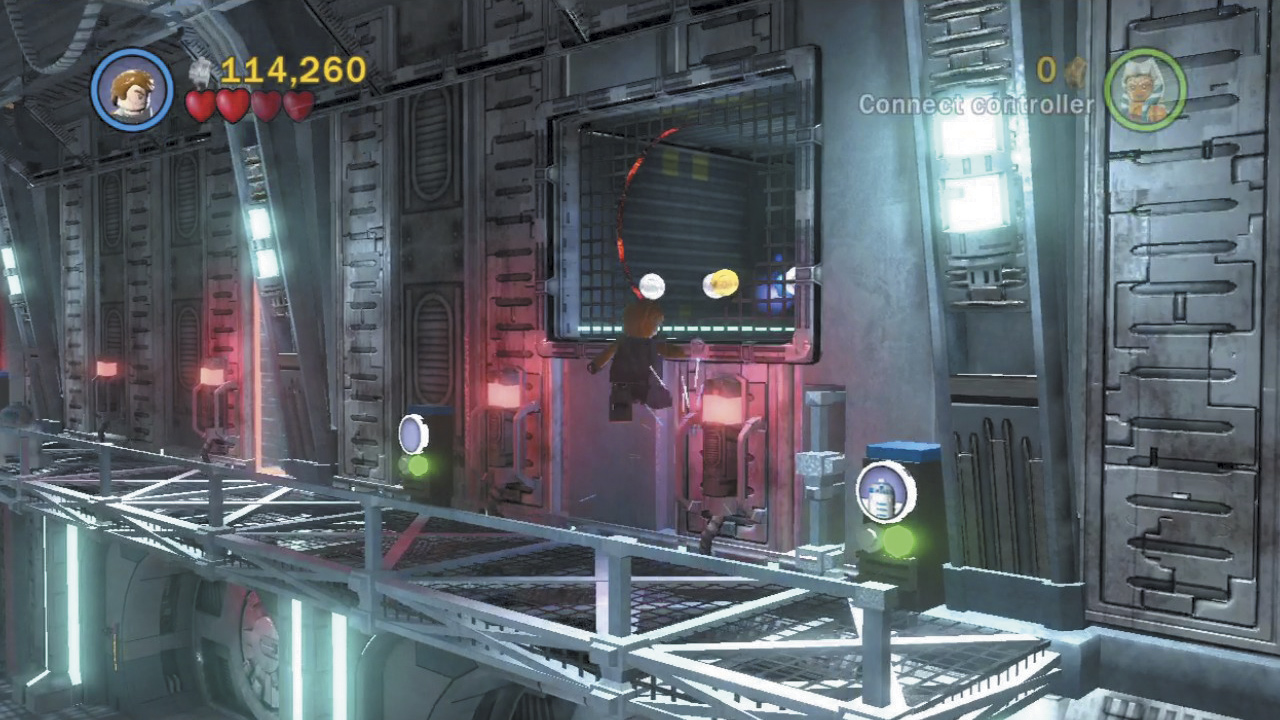
After R3-S6 has fled, toggle to a different character so you may jump into the hole in the wall above the balcony.
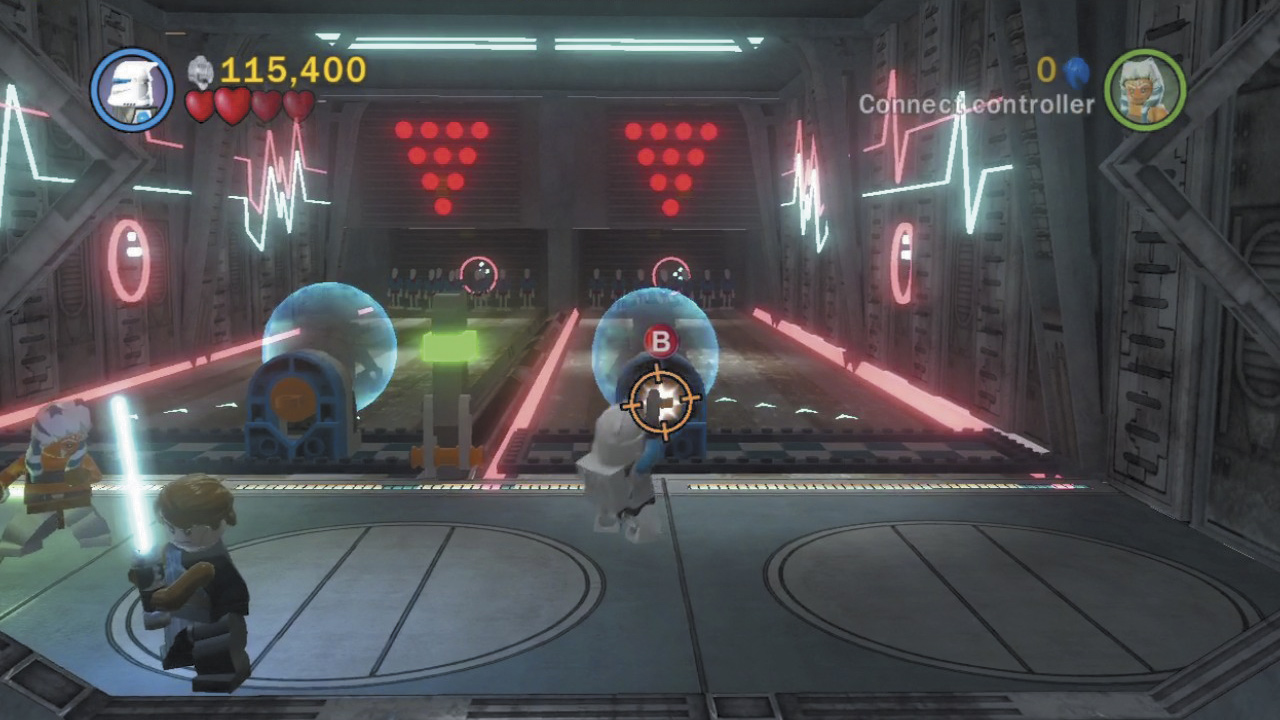
The hole leads to a bowling alley. Pull the lever, then grapple the hook points to send the balls rolling at the pins—you can slide the hook points around to angle your shots. Knock down every pin on the left lane to strike a ton of studs, along with a minikit!