
Lego Star Wars III: The Clone Wars Guide Walkthrough Rookies (DS)
Rookies-Act 2 (DS)
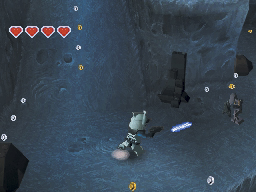
The level opens with Rex and Cody deep in the tunnels of the Rishi moon. Defend yourself from incoming commando Droids and take a moment to collect the studs in there area. Make a full sweep around the cavern floor to discover studs and hidden build-its. Assemble grapple pads to pull latch points off the walls, and shoot all the flowers sprouting up from the ground.
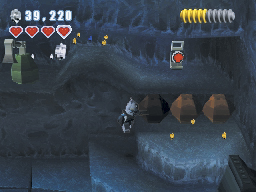
Climb the steps to reach the bounty hunter control panel on the cavern’s right side. This panel can only be used in Free Play, but there is a nice stash of studs nearby.
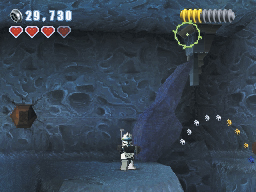
After you’ve collected everything from the cavern floor, head up the ramp near the entrance. Use the build-it to assemble and detonate a large bomb. After the explosion, a trail of studs appears; follow the studs to the edge of the platform to get a better view of the cavern ceiling. Use Commander Cody to shoot the stalactite and create a bridge.
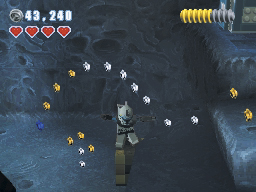
Cross the bridge and continue to the right. Hit the sharpshoot target to bring the next stalactite down. Use the rubble to build a box, then use the box to reach the ledge.
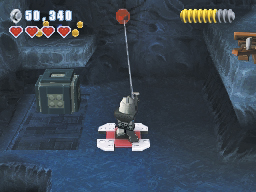
When you reach the grapple pad, break the brown rock to the right. Use the build-it to assemble a second grapple pad, then round up the hidden studs in the area. Pull the sliding box away from the wall to reach the blue stud, and use the first grapple pad to pull down the latch point. When you’re ready to leave, use the grapple pad to the right and detonate the bomb to clear the exit.
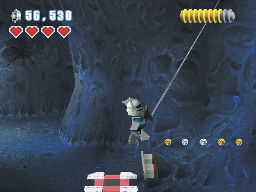
Break every object you can find in the next area. Build the grapple pad and swing across the gap. When you reach the other side, use the build-it to assemble a lever and activate the energy bridge. Head back and collect the studs from the bridge before moving on.
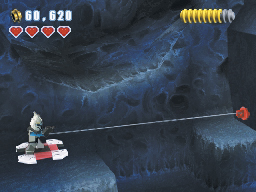
Follow the path around to the right. Jump up to the grapple pad on the platform and pull the rock down to make a bridge. There are still plenty of studs hidden in breakable objects; be sure to search the area before you cross the bridge.
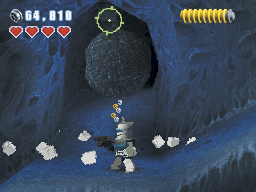
Follow the path up to another barricaded exit. Use Commander Cody to shoot the flashing planks, then switch to Rex and blast the sharpshoot target above the boulder. Run out of the boulder’s path and wait for it to roll by. Take moment to collect the studs to the right, then return to the exit and move onto the next area.
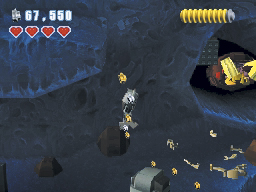
You arrive in a Rishi eel’s lair. Follow the studs to the right and drop down near a large gray crate. There are plenty of studs to collect in the area, but don’t take another step to the right until you’ve dealt with the eel.
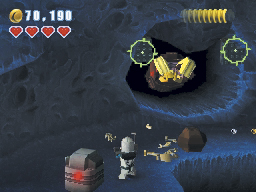
There are two sharpshoot targets on the eel’s hole. Move into position and use Captain Rex to shoot the targets; when the large rock drops into place, follow the narrow path to the right. The eel emerges from a second hole. Hit one more sharpshoot target to seal the hole and clear the path to the exit. When you’re ready to leave, use Commander Cody to clear away the barricade.
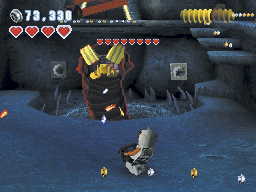
When you enter the next area, the Rishi eel bursts up through the ground. The fight ahead takes a while, so select your preferred character and start shooting. Strafe to dodge the automated turrets, and keep picking away at the eel’s health. When the eel loses its fourth heart, it slams against the cavern steps.
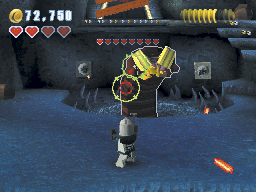
After the tremor, rocks begin falling from the ceiling. Watch the ground for shadows to predict where rocks will land. Dodge both rocks and blaster fire as you continue to shoot the eel. After you deal enough damage, a sharpshoot target appears on the eel. Use Captain Rex to shoot both of the eel’s eyes.
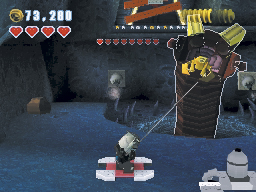
After the eel’s second tantrum, two build-its fall from the ceiling. Assemble the bricks to make a grapple pad and a large bomb. Move Captain Rex onto the grapple pad and latch onto the eel. When the eel comes crashing to the ground, switch to Commander Cody and detonate the large bomb to chase off the eel for good.
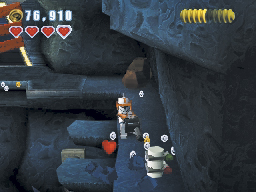
When the eel retreats, it knocks another build-it to the ground. Assemble the bouncer to reach the cavern stairs, then climb up to the narrow ledge along the wall. Use Commander Cody’s blaster cannon to clear the exit at the top of the stairs.
Minikit 6
Before you leave the eel’s lair, break the objects along the ledge near the stairs. Collect the minikit, then head through the exit.
Red brick (Freeplay)
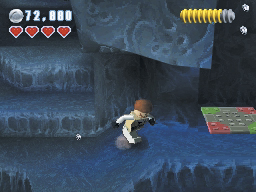
Stand at near the cavern steps and use the Force to move the large rocks away from the wall. Move to the right and use the Jedi pad inside the hidden area.
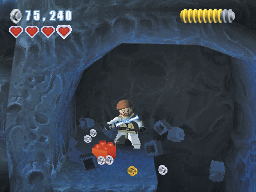
Climb up to the top of the shaft and clear away the rocks from the ledge. When the dust settles, collect the red brick from the ledge, drop back down the shaft, and return to the cavern.
After you collect this red brick, the “Score ×2” extra is available for purchase in the rec room.
Minikit 4 (Freeplay)
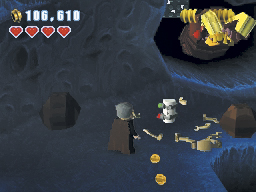
When you drop down near the eel, use the Dark Force on the gray crate. The eel pops out to grab the crate as it moves into range. When the dust settles, a minikit is sitting near the eel’s hole. Don’t attempt to collect the minikit until after you’ve dealt with the eel.
Minikit 5 (Freeplay)
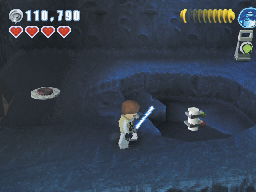
Break the objects on the cavern’s left side, then approach the shallow pit. Use the Force to pull the dish out of the ground and shake a build-it loose from the ceiling. Build the Droid control panel, and use it to activate the switch nearby switch. Hit the switch to fire a laser. After the dish is destroyed, collect the minikit from the pit.