
Lego Star Wars III: The Clone Wars Guide Walkthrough Rookies (DS)
Rookies-Act 1 (DS)
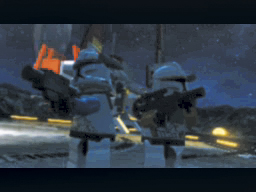
Just as General Grievous launches an assault on the listening post, Captain Rex and Commander Cody arrive for a routine inspection. When the rookie holdouts manage to fire off a warning flare, the seasoned veterans spring into action.
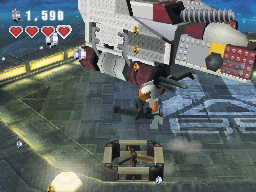
The level opens with Captain Rex and Commander Cody still on the landing pad. Super Battle Droids are hidden in two of the boxes near the shuttle; use Cody’s blaster cannon to cut through these enemies before they have a chance to attack. Assemble the build-its and hop on the two fans to collect the floating studs.
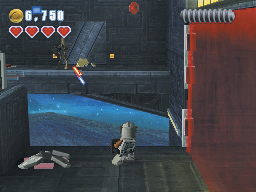
Follow the path to the right. Watch out for the commando Droids hiding behind the boxes, and use Cody’s heavy weapon to clear out the entire area. When you reach the red barrier, aim your fire at the Droids across the gap.
Commando Droid
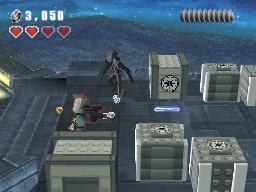
Despite their heavy armor, commando Droids are remarkably agile. These Droids are usually deployed for covert missions, but they’re also extremely effective in direct combat. Commando Droids are fast enough to dodge both grenades and blaster fire; time your shots to hit them between jumps, or use a Jedi ground slam to take them out when they get close.
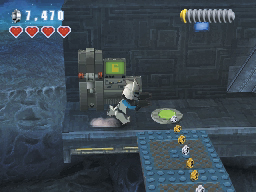
Build the grapple pad near the red barrier and swing across the gap. When you land, follow the ledge back to the left. Step on the switch to extend the bridge, then use the build-it to assemble the locking mechanism’s lever. When you pull the lever, the red barrier deactivates. Run back across the bridge and move to the next area.
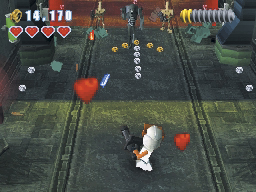
Use Commander Cody’s blaster cannon to clear out the corridor a section at a time. Each barrier drops when you get close enough, so take your time, keep shooting, and strafe to dodge incoming fire. Keep moving forward until a Droid appears and throws a thermal detonator into the corridor. Back out of the blast radius, then continue forward and drop down through the hole in the floor.
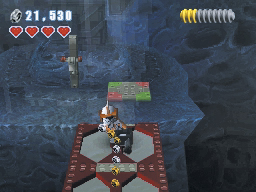
When you land, smash the rocks to uncover two build-its. Assemble the build-its and use the lever to flip the bridge into place. You can’t use the Jedi pad in Story mode, so move across the bridge when you’re ready to continue.
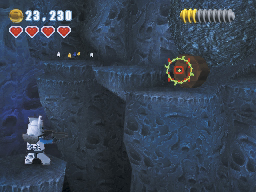
Jump along the platforms and use Captain Rex to sharpshoot the brown rock across the gap. When the boulder rolls into place, jump on and continue to the right. Plenty of studs are in the area, so make a thorough sweep to collect them.
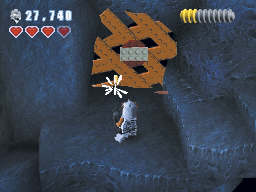
Move past the barricaded exit to find extra studs, breakable objects, and a Jedi pad build-it. When you’re ready to continue, head back and use Commander Cody to shoot your way through the exit.
Minikit 1 (Freeplay)
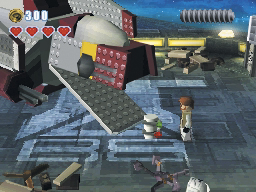
Before you leave the landing pad, use the Force to open the shuttle. The minikit comes sliding down the ramp; grab the minikit after it lands on the ground.
Minikit 2 (Freeplay)
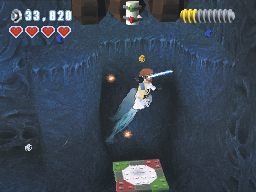
Activate the Jedi pad to the right of the exit. Climb up the walls to collect a minikit and some blue studs. Follow the stud trails to the left and double-jump over the exit.
Minikit 3 (Freeplay)
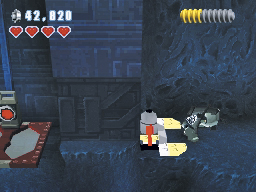
Use the Jedi pad to reach the ledge above the exit. Move to the left and use the build-it to assemble a bomb. Detonate the bomb to clear to a path to the lift, then use a bounty hunter to access the control panel.
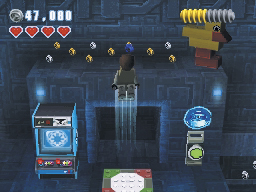
When the lift stops, step off and take out the two Droids to the right. Use the build-it to assemble a Droid control panel at the end of the walkway. Activate the panel and assemble the Jedi pad behind the doors. Use the pad to reach the studs on the ledge above you. Attack the large duck on the ledge to send it flying around the area. The duck crashes into the arcade cabinet near the door and reveals a minikit. Grab the minikit and jump through the studs on your right to return to the exit.