
Lego Star Wars III: The Clone Wars Guide Walkthrough General Grievous
Chapter IV: Lair of Grievous
“Most powerful is he who controls his own power.”
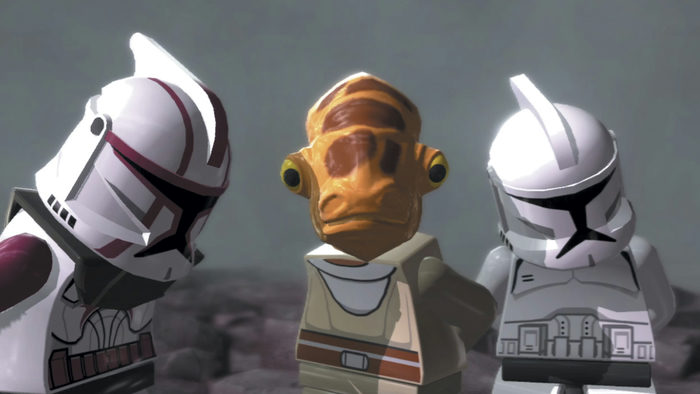
Viceroy Nute Gunray, en route to Coruscant to face trial for his many war crimes, has made a daring getaway in a stolen Republic frigate. Jedi Master Kit Fisto has skillfully tracked the ship to the remote Vassek system. On the mist-shrouded third moon, Master Kit Fisto has arranged to meet his former Padawan, Nahdar Vebb. Together, they plan to apprehend the villainous Viceroy....
Minikits
|
No. |
Icon(s) |
Mode |
Notes |
|
1 |
1
|
Story |
Order the blaster clones to destroy the gold rock near the start. |
|
2 |
2 |
Free Play |
After the shuttle has been hit by a rocket, use the Dark Force to create a power panel, then activate it. |
|
3 |
1-10 |
Free Play |
Find and turn ten valves with the Dark Force inside the compound, then destroy them. |
|
4 |
1-10 |
Story |
Hit ten hanging overhead lights with a thrown Lightsaber inside the compound. |
|
5 |
5 |
Free Play |
Use an astromech Droid or bounty hunter to hover over to the first circular chamber’s side room, then Force-move the colored pool balls into the matching pockets. |
|
6 |
6 |
Free Play |
Activate the three panels in the corridor with the power plugs, then drive the cart over the orange pad. |
|
7 |
7 |
Free Play |
In the lava pit, use the Dark Force to raise foreground platforms that lead to the minikit. |
|
8 |
8 |
Free Play |
Activate the power panel inside the Gor room. |
|
9 |
9-10 |
Free Play |
Find and destroy ten gold clamps in the Gor room and the following outdoor area, then shoot the spotlights in midair. |
|
10 |
10 |
Story |
In the final outdoor area, Force-move the top of the left tower onto the right tower. Then plug the right tower into the generator. |
True Jedi Stud Requirement: 130,000
Story Characters
Kit Fisto
Nahdar Vebb
Commander Fil
Heavy Weapons Clone Trooper
Objective 1: Enter the Compound
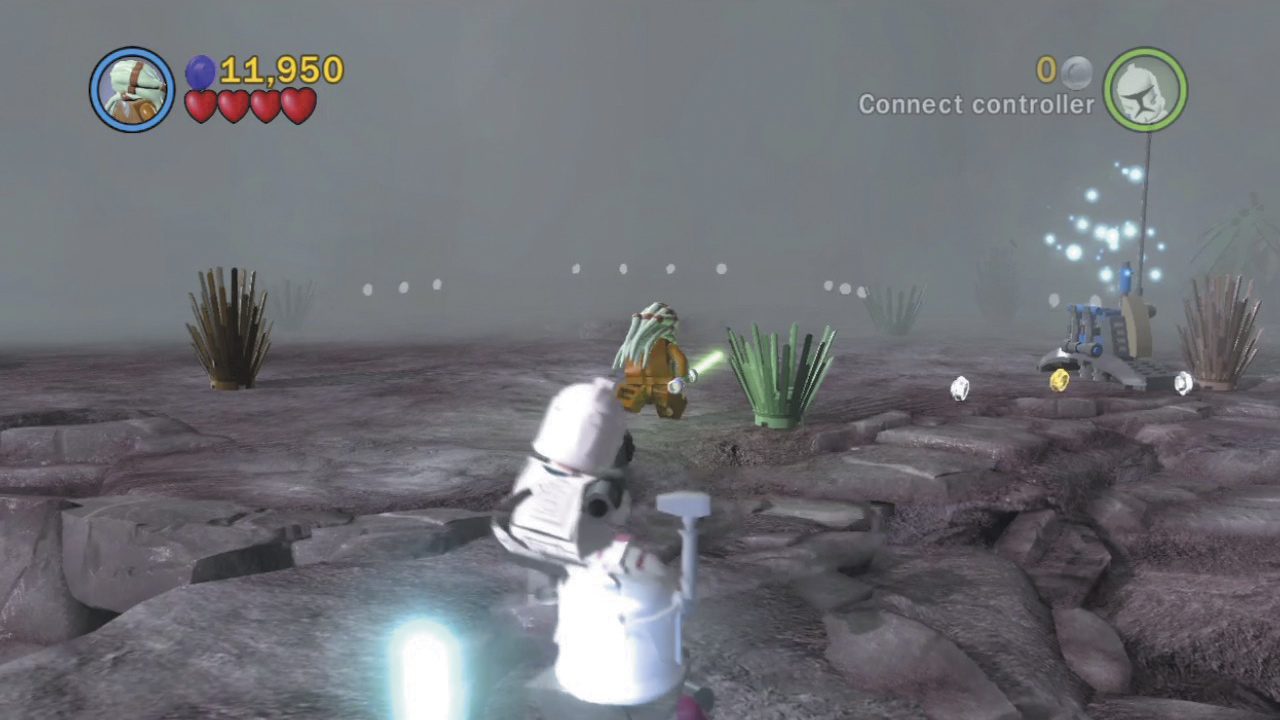
You begin this mission just outside of General Grievous’s lair. Destroy everything around the landing zone for studs, then lead your comrades into the thick fog ahead.
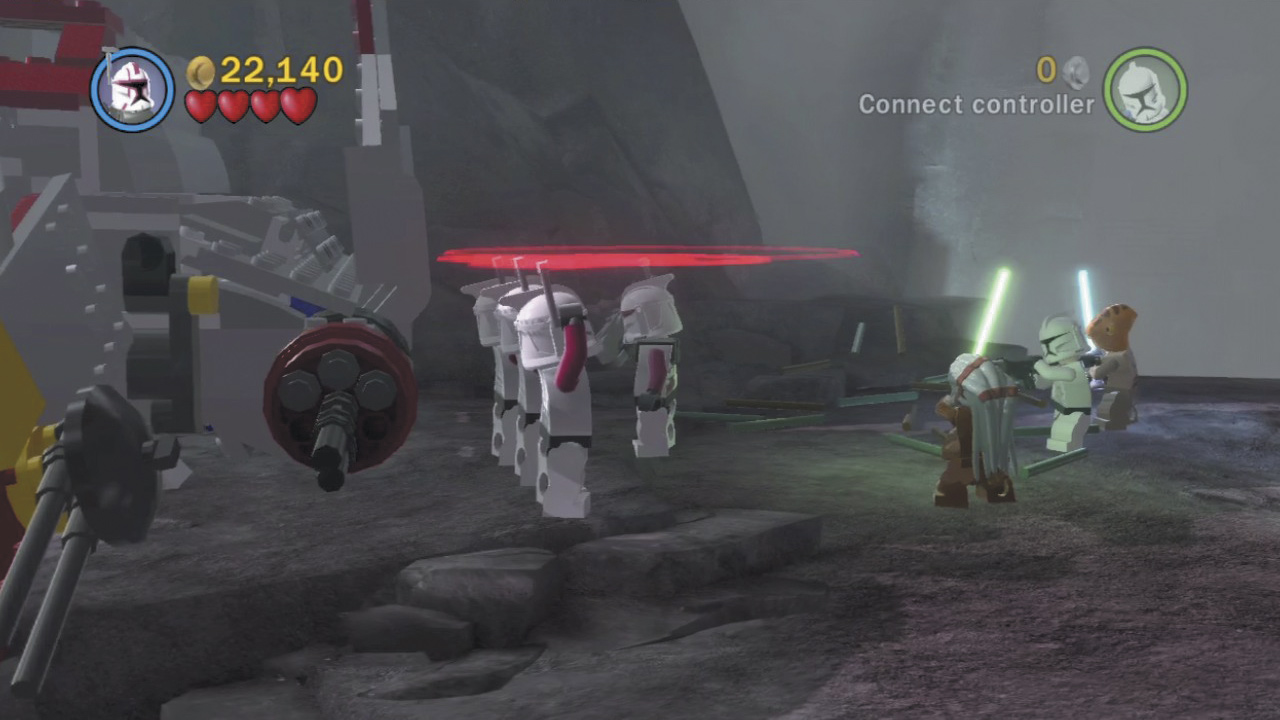
You soon encounter a number of blaster clones near a shuttle. You can’t control these troopers directly, so take control of Commander Fil instead and press the Action button to get the clones to follow you.
Minikit 1
Take control of Commander Fil and order the blaster clones to follow you. Lead the clones back to the starting point and then order them to fire on the gold rock to the left. The rock soon explodes, revealing a minikit! Leap over and claim your prize.
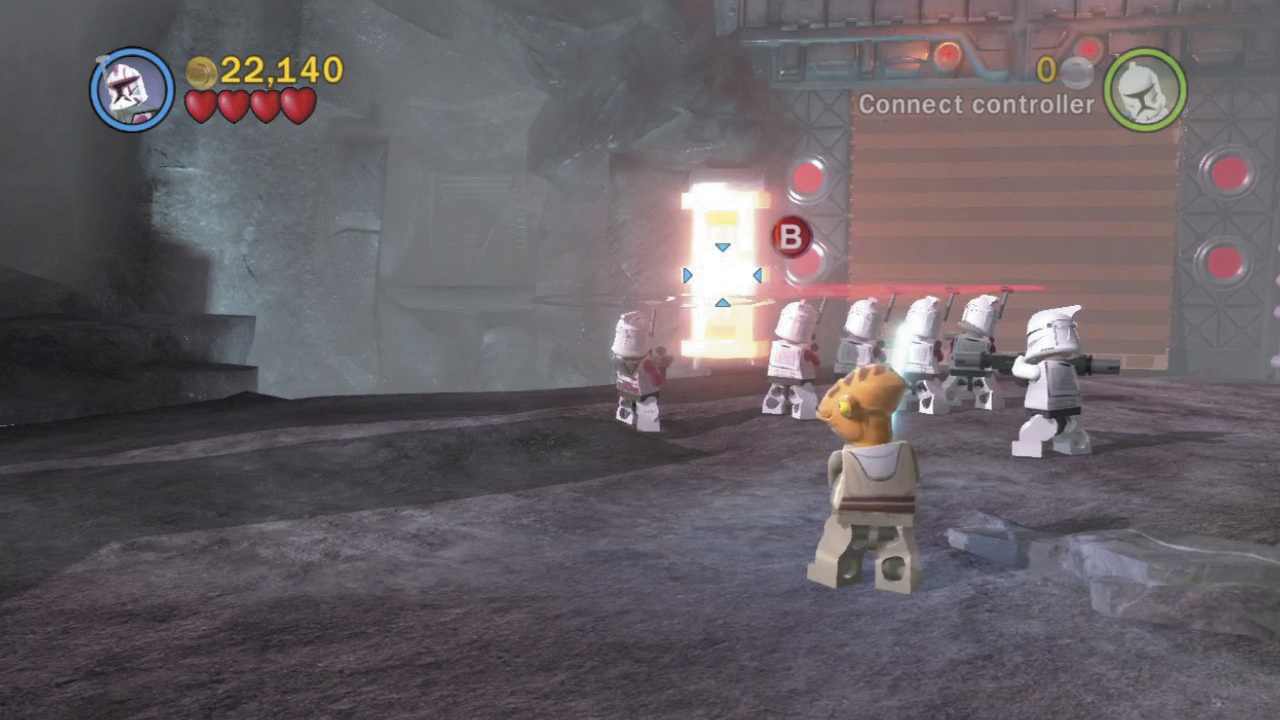
Lead the clones north to discover a sealed gate. Hold the Attack button and target the gold object to the left of the gate to order the clones to blast it. The combined firepower is enough to overheat and destroy the gold object, exposing a hook point!
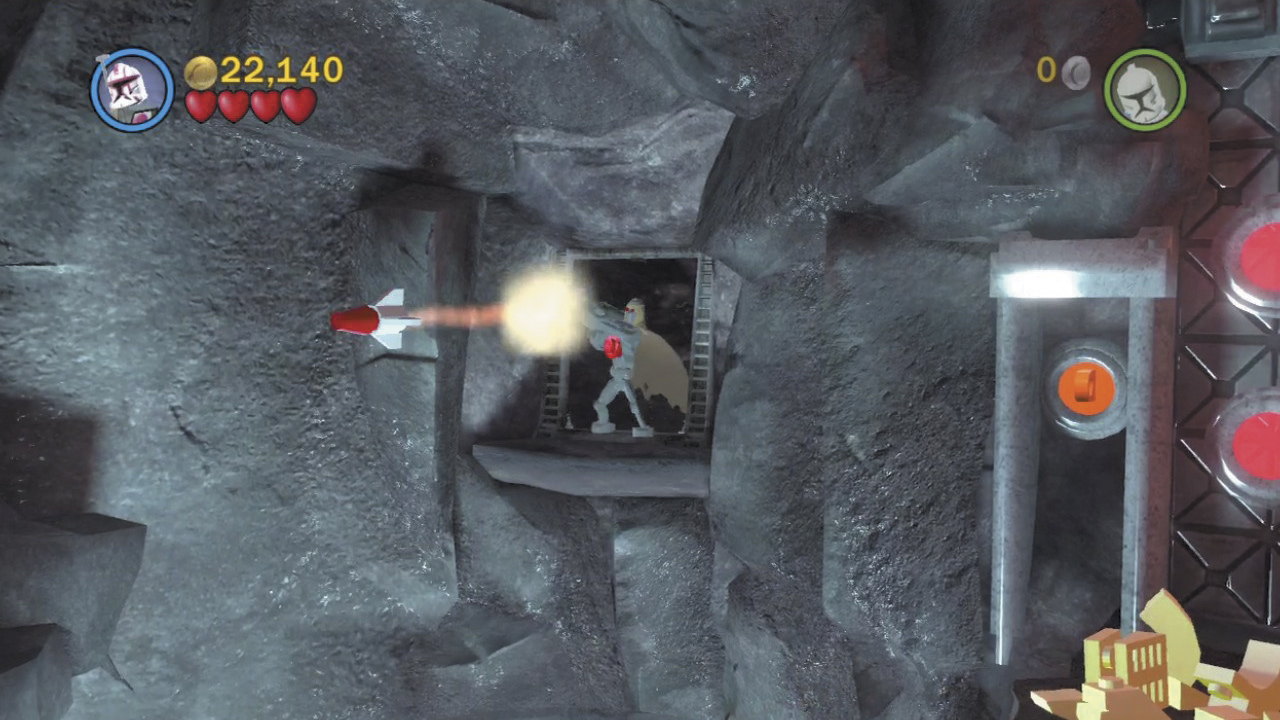
Heads-up: After you destroy the gold object, two MagnaGuards appear from two elevated nooks. One of the villains fires a rocket at the clone troopers’ shuttle, damaging it beyond repair. Settle the score by switching to the heavy-weapons clone trooper and launching rockets back at the MagnaGuards.
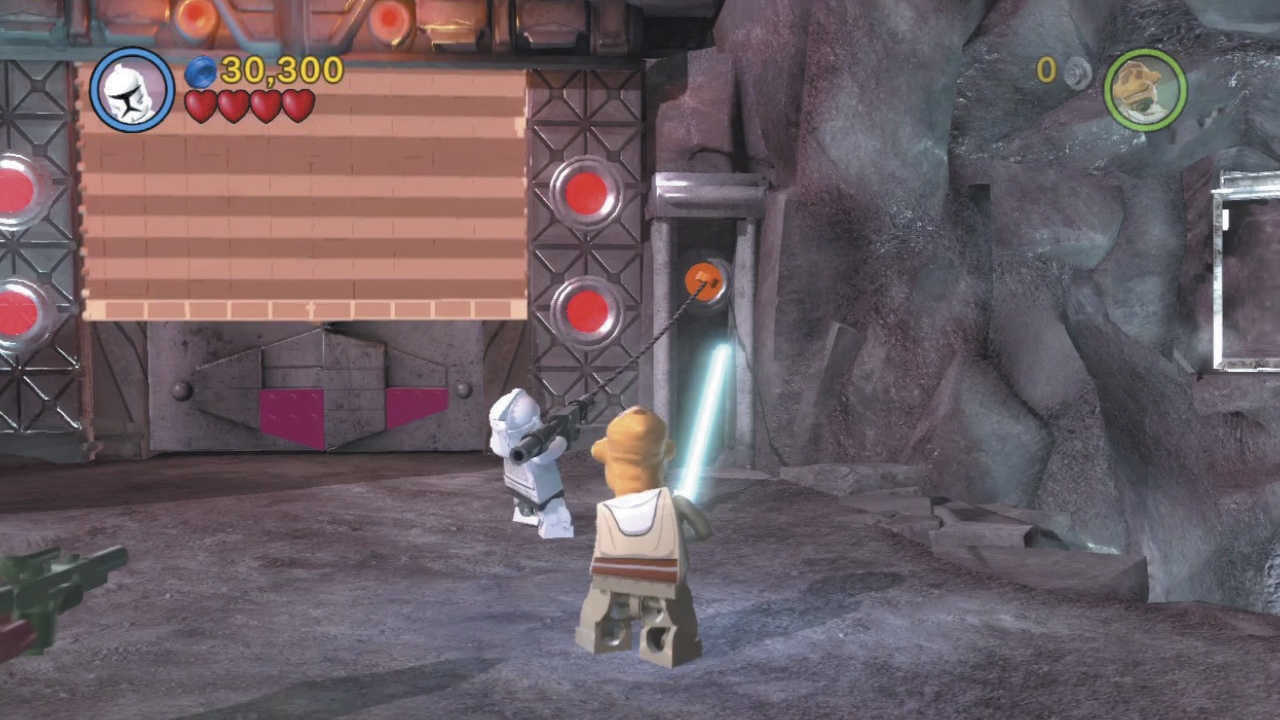
With both MagnaGuards obliterated, blast the silver object to the right of the gate to reveal a second hook point. Grapple and tug on this, then switch to Commander Fil and yank the other hook point to fully raise the gate’s shutter.
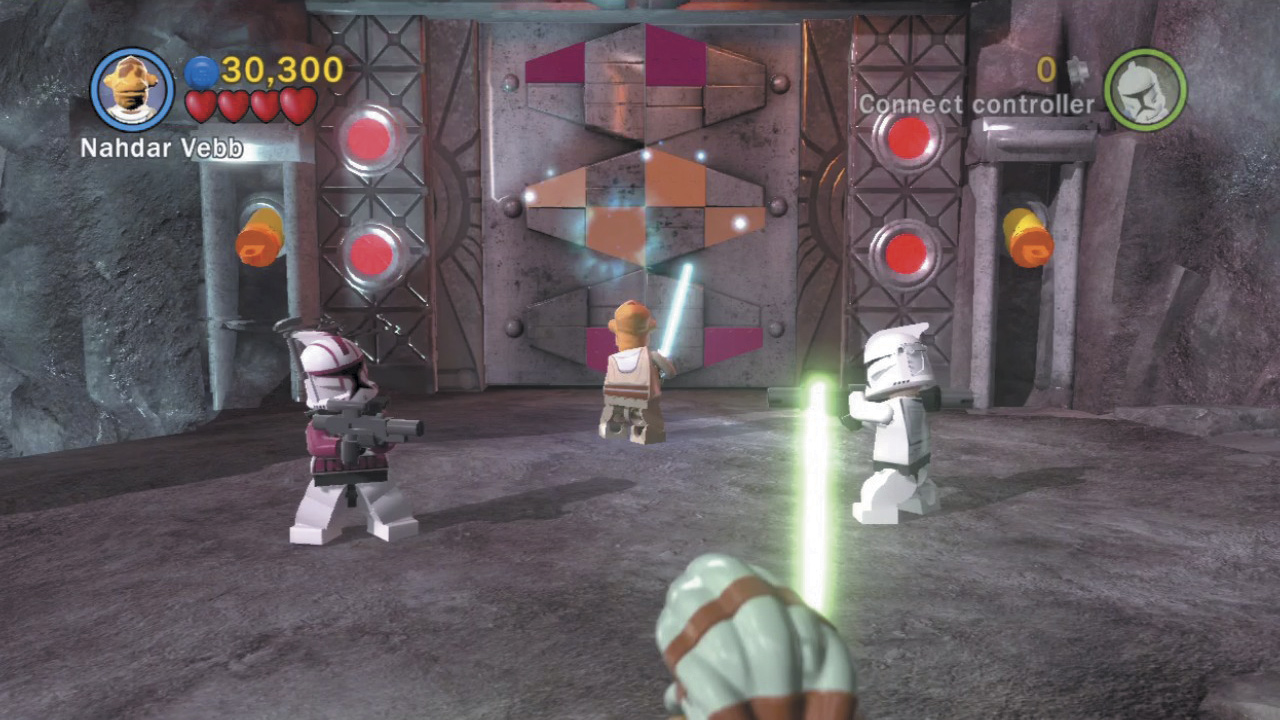
With the shutter raised, switch to a Jedi and use the Force to move the gate’s four brown tiles onto the four purple plates. Match up the shapes to solve this simple puzzle and open the way to General Grievous’s Lair.
Minikit 2 (Freeplay)
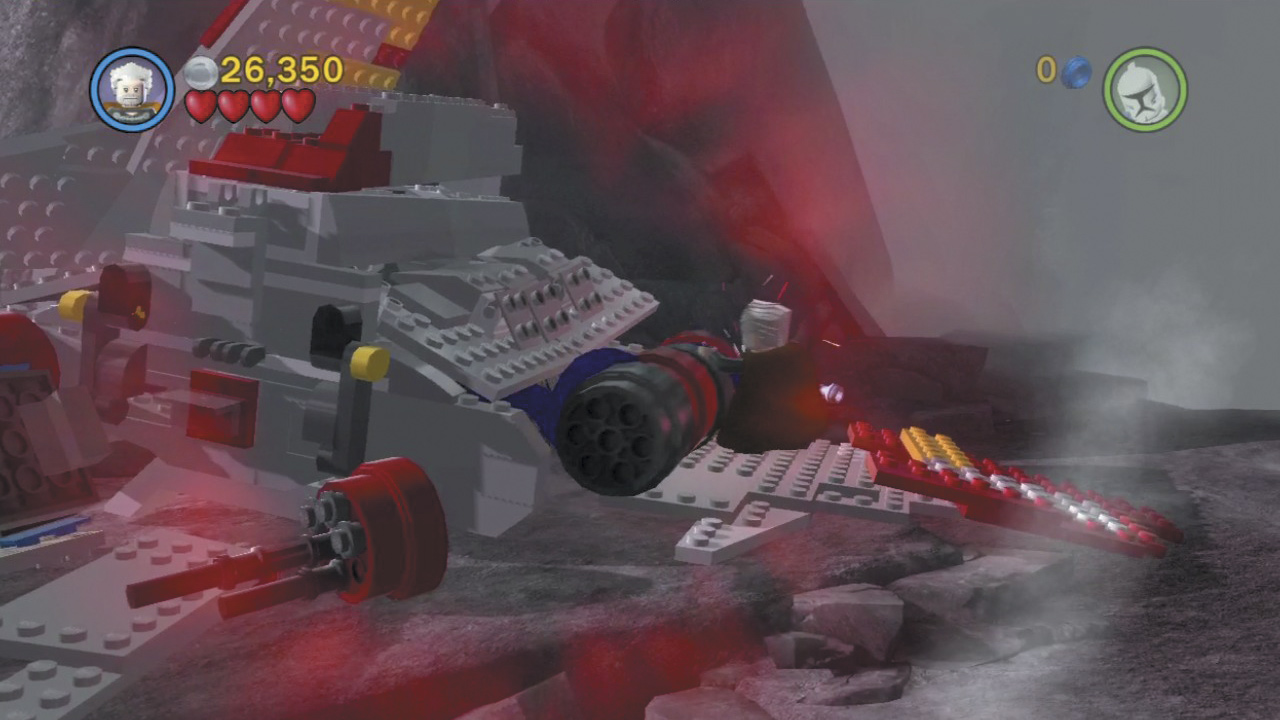
After the MagnaGuard blasts the shuttlecraft, use a Sith character’s Dark Force ability to create a power panel out of the ship’s exposed systems. A massive insect then begins to fly around, firing explosives at you!
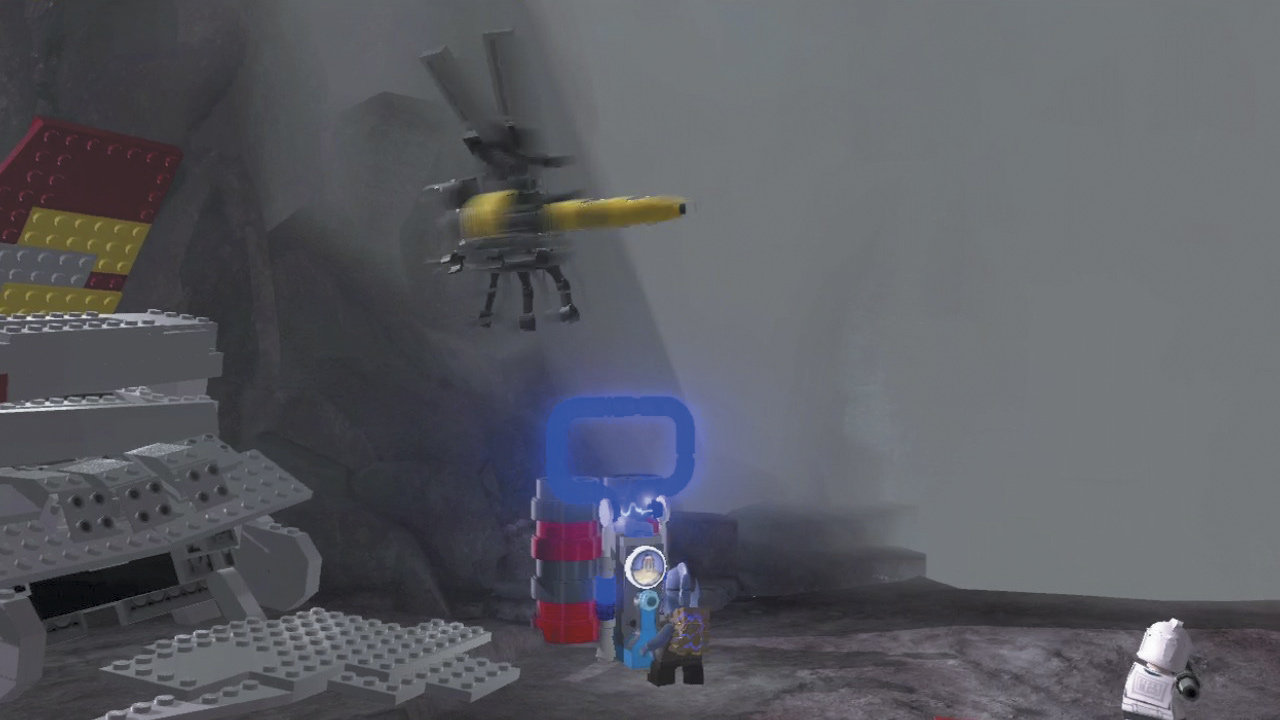
Quickly activate the power panel to charge up a giant bug zapper. The insect is drawn in, pops, and leaves a precious minikit behind!
Objective 2: Search for Gunray
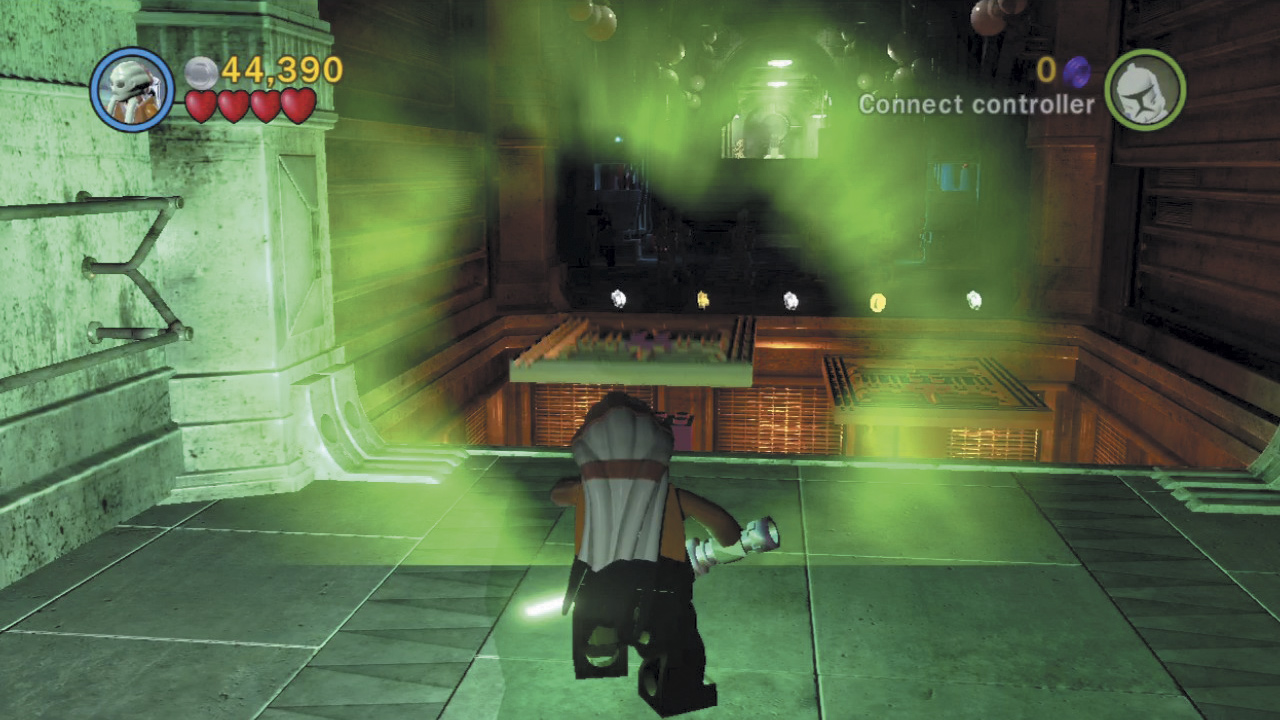
Destroy everything inside the compound’s entry hall to acquire a number of studs, then advance to the nearby pit. Force-lift the platform on the left wall and maneuver it onto the pit’s left pedestal—make sure it clicks into place! Move the platform on the right wall onto the pit’s right pedestal in a similar fashion, forming a bridge.
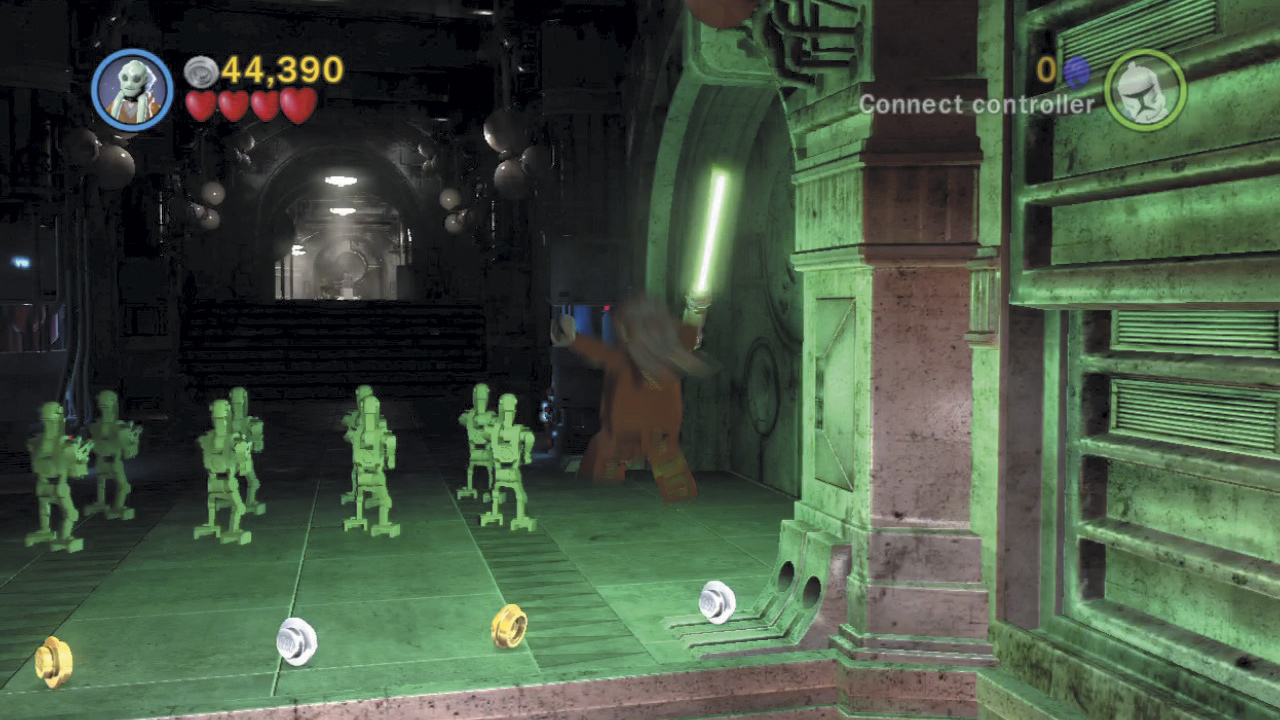
Use the same tactics to cross the second pit, then wipe out the group of unsuspecting battle Droids beyond. Scale the steps that follow on your way to a circular chamber.
Minikit 4
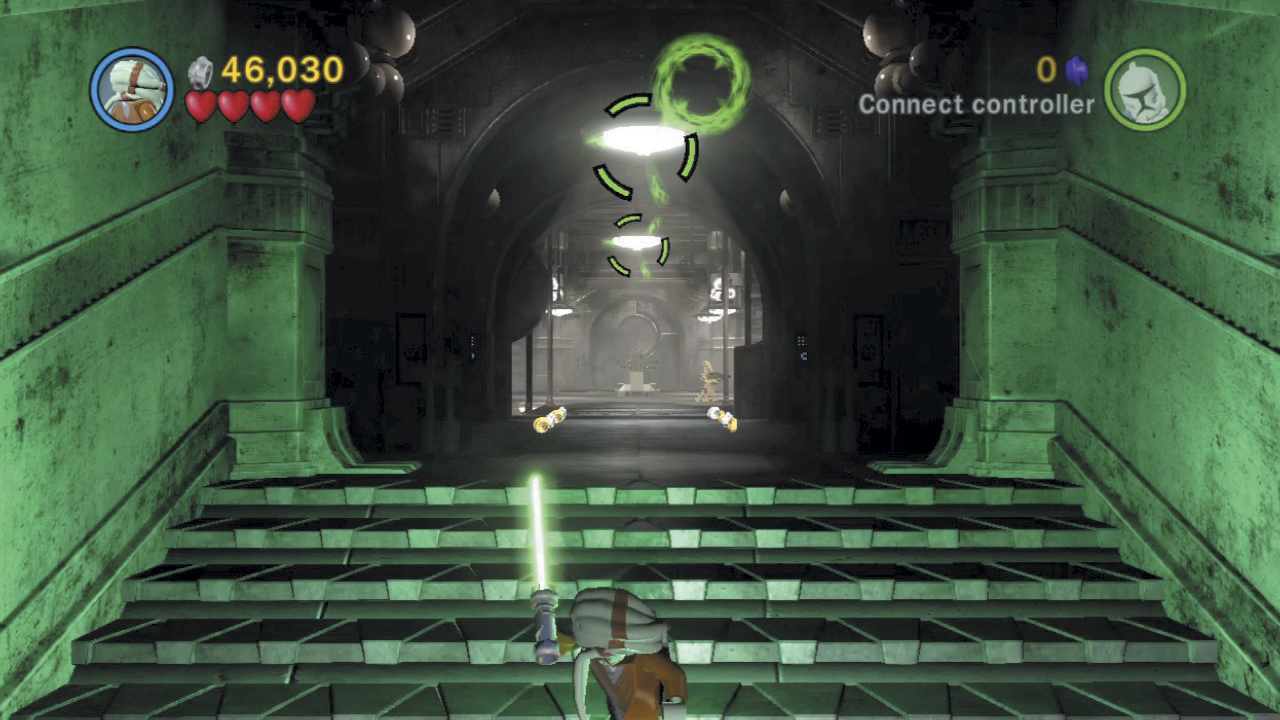
Take aim and hurl a Lightsaber at the six overhead lights beyond the pits. Look for four more hanging lights later in the level (in the hall with the lava pit trap) and hit these as well. Smack all 10 hanging lights to earn a minikit! Check the maps for the lights’ locations.
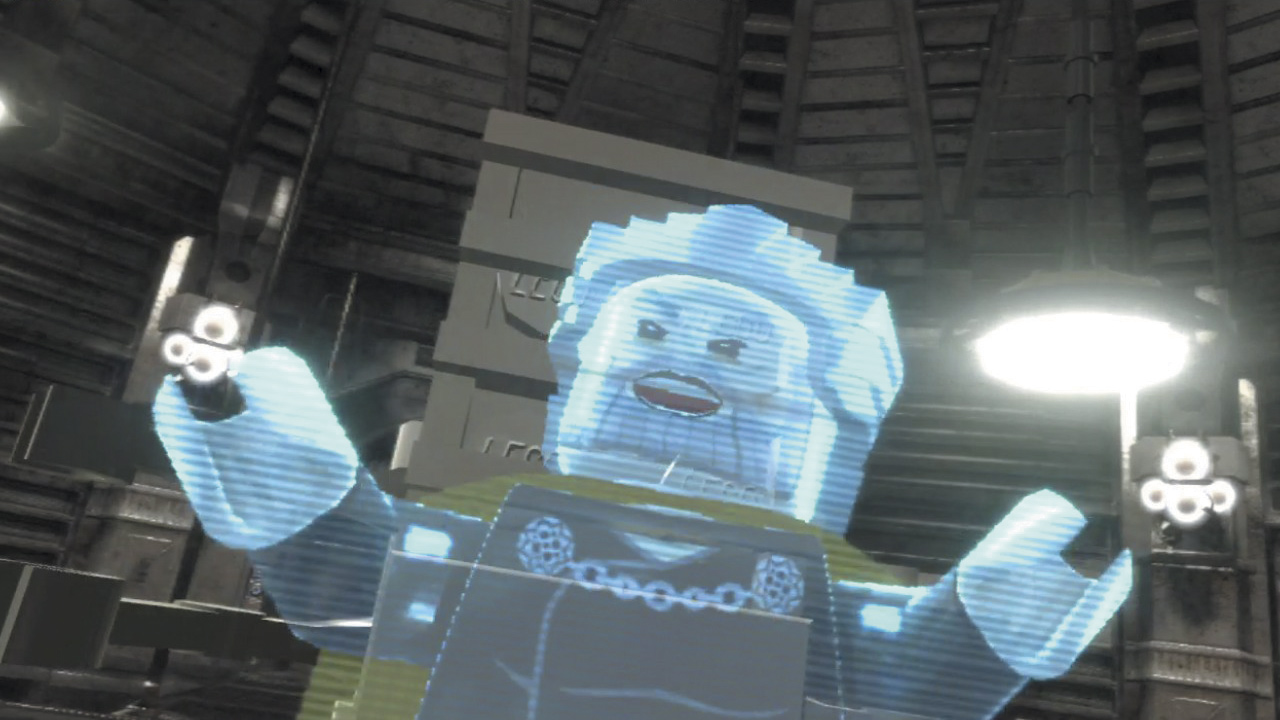
Lay waste to the Droids in the circular chamber to secure the area, then inspect the central console. A hologram of Count Dooku appears and taunts our heroes before vanishing. What a creep! Proceed through the background door that opens afterward.
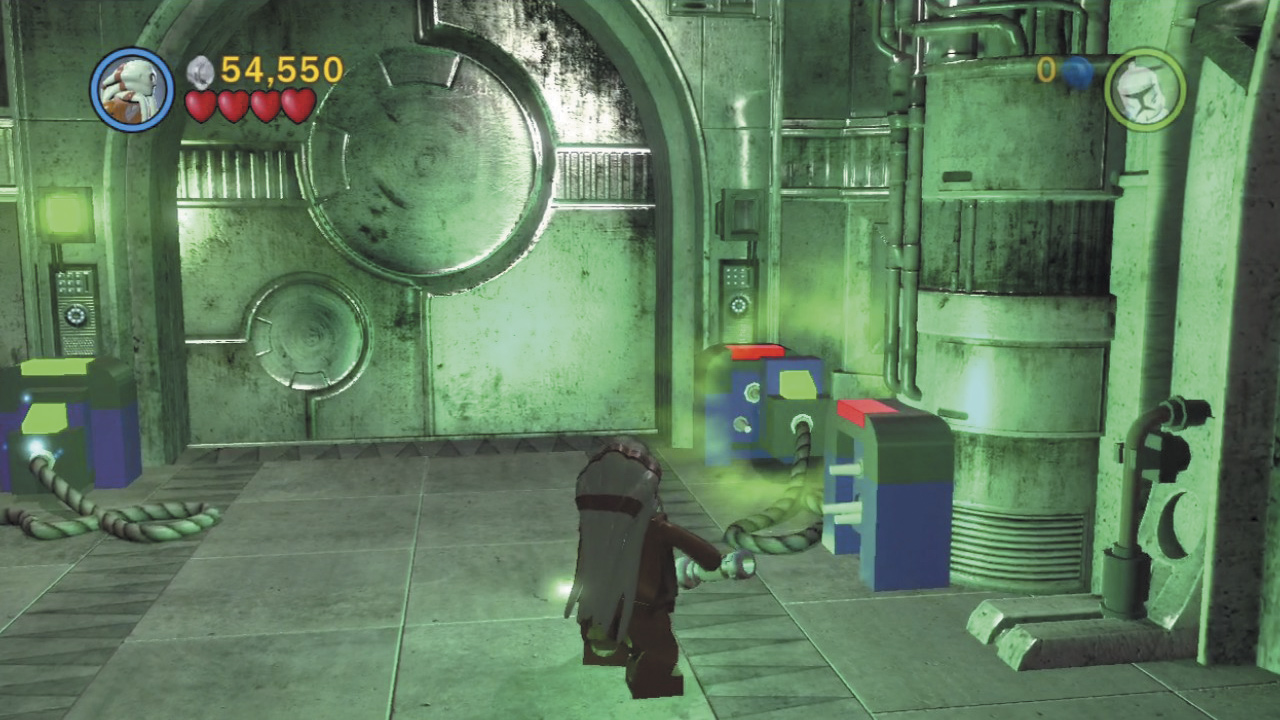
Ignore the enemy Droid and bounty hunter panels in the next corridor and proceed to the far door. Force-move two power plugs into the nearby sockets to open the door and reach a chamber full of Droid parts.
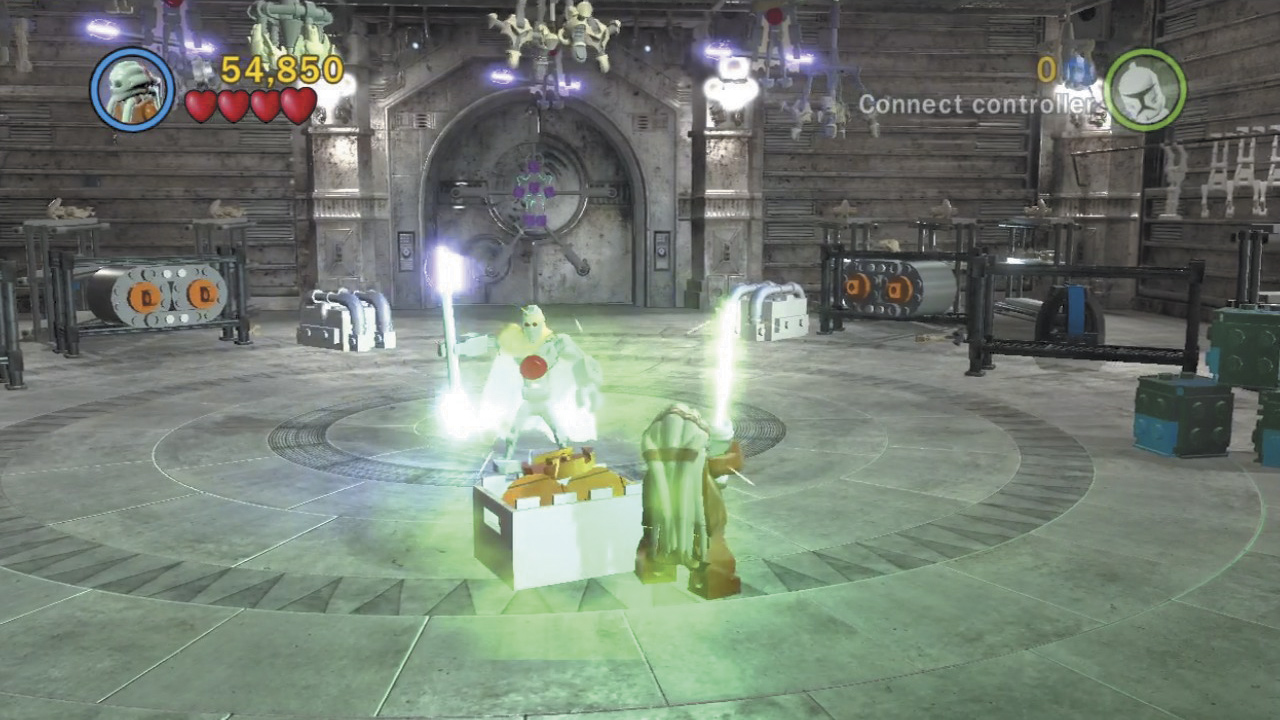
Defeat the MagnaGuard that attacks you in the parts chamber by hammering the Attack button (with a Jedi). Afterward, run around and destroy everything else in the room for studs.
Blast the two silver boxes near the background door to reveal some special Droid parts. Pull two sets of hook points out of another two silver objects, then blast these as well to reveal even more special parts.
Switch to a Jedi and Force-move the Droid parts onto the background door. Place the arms to the sides, the legs at the bottom, the torso in the middle, and the head up top. The finished product resembles General Grievous ...
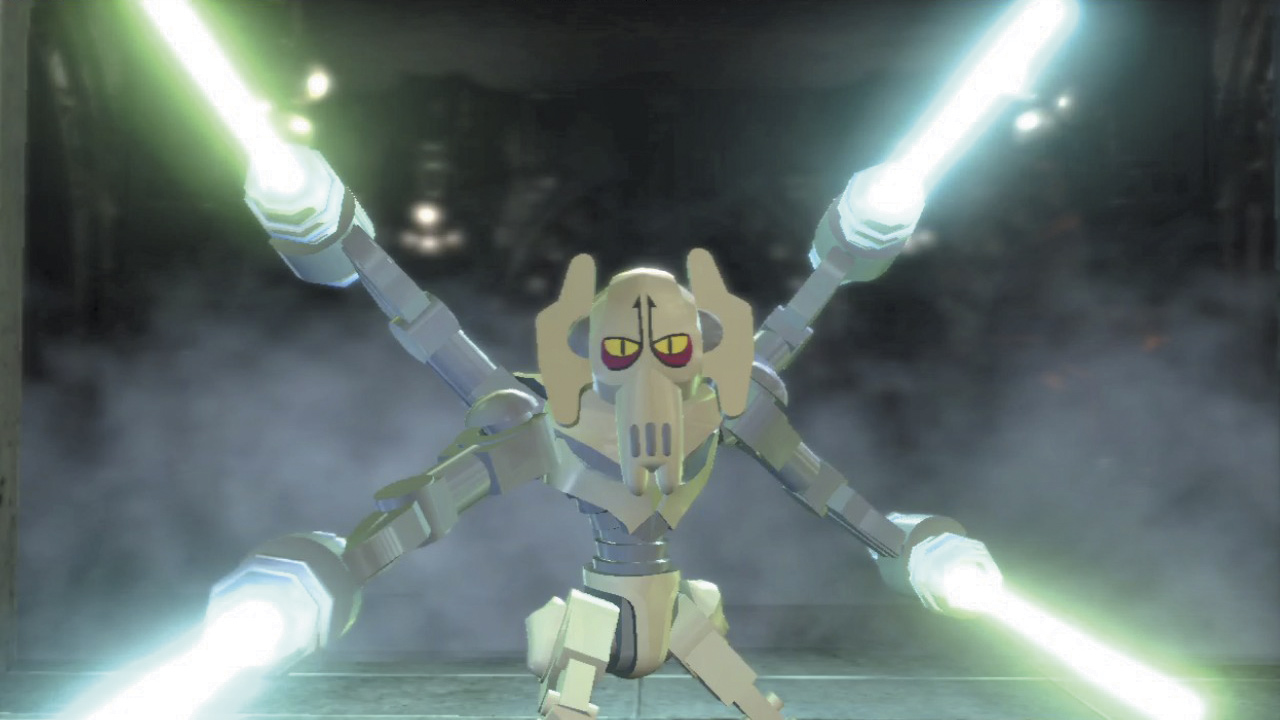
... And none other than Grievous himself emerges from behind the door!
Minikit 3 (freeplay)
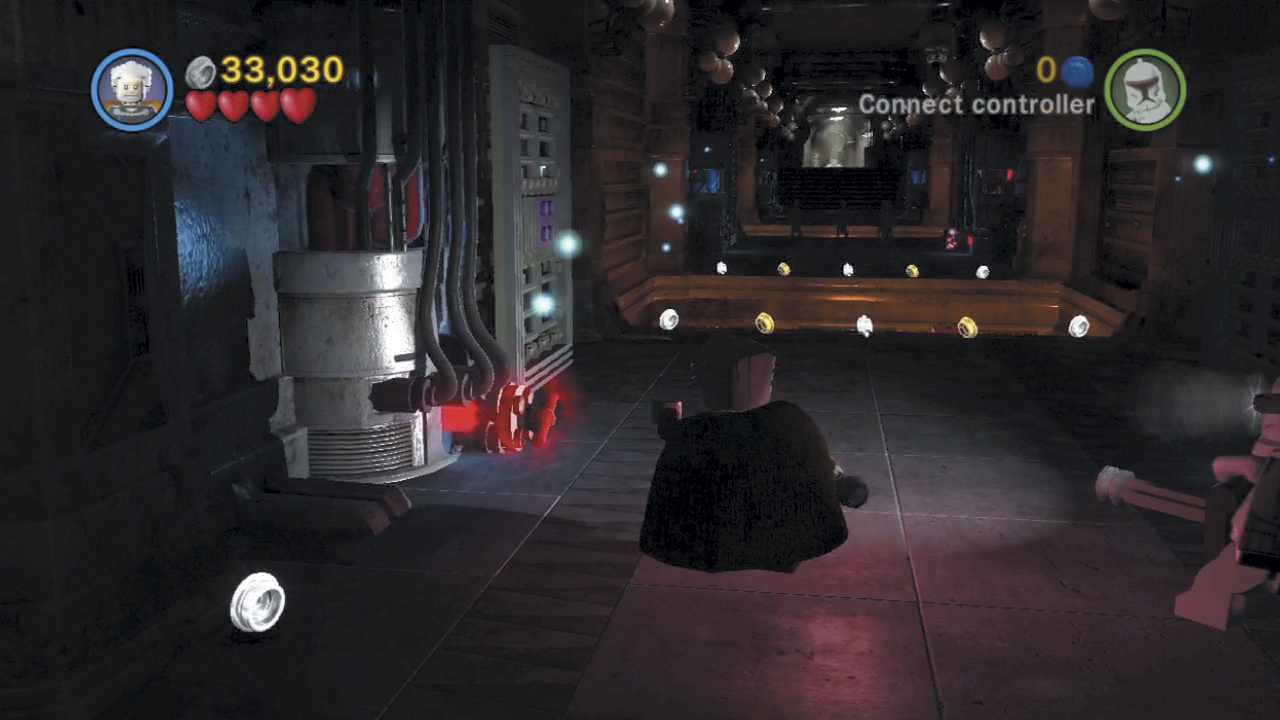
Ten valves glow with red energy inside the compound’s corridors—the first is found just before the first pit. Find and turn all ten of these with a Sith character’s Dark Force ability, then destroy the valves afterward to earn a minikit. All ten valves are all marked on the maps for your convenience.
Minikit 5 (Freeplay)
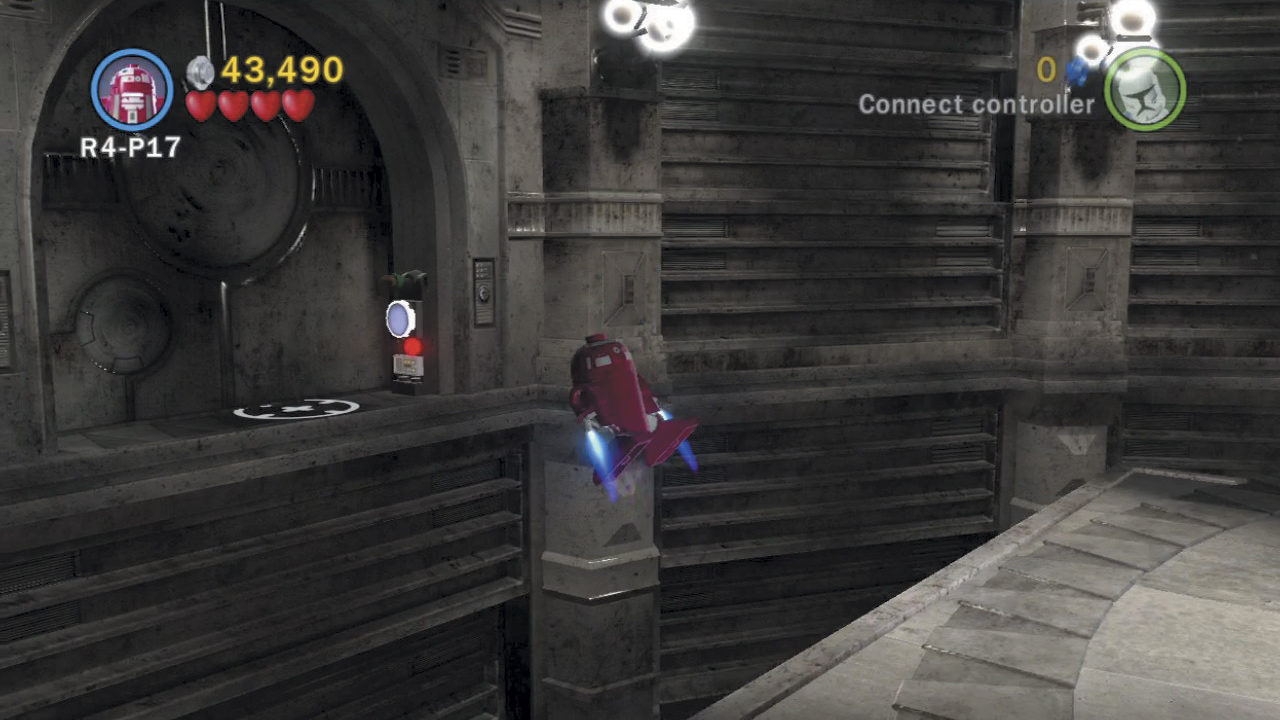
Before leaving the circular chamber, use an astromech Droid to hover over to the left ledge. Activate the ledge’s bounty hunter panel to access a small side room.
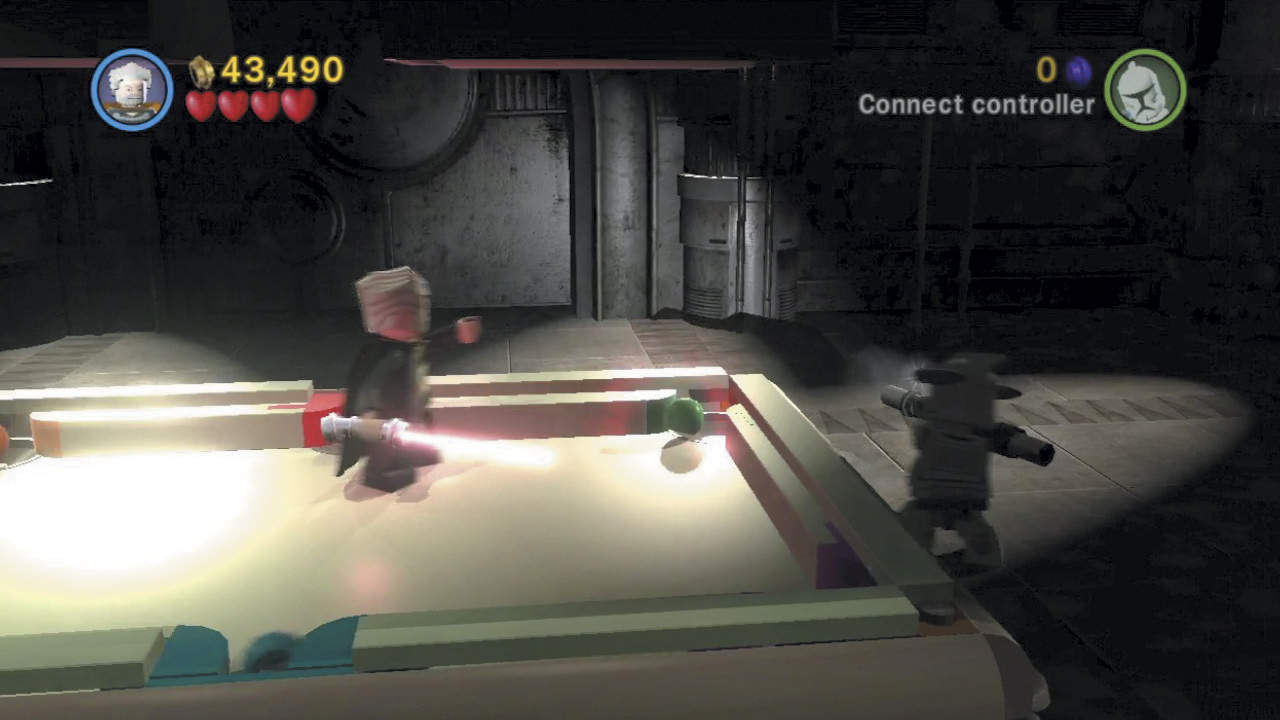
Pull the lever inside the room to turn on the lights, revealing a pool table. Force-move each of the colored balls into the matching pockets to rack up a minikit! OK, who wants to break next?
Minikit 6 (freeplay)
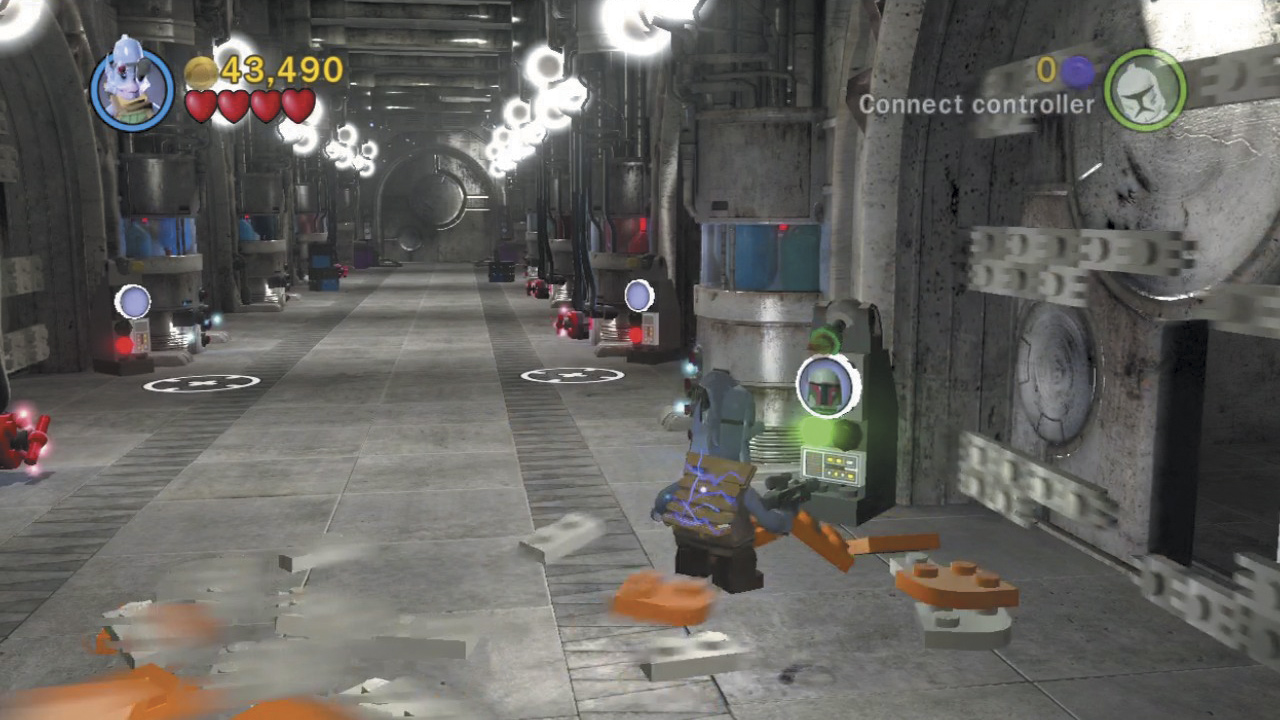
During Free Play, activate the three panels in the corridor to receive an assortment of pieces. Build these into an orange pad and a utility truck, then drive the truck over the pad to claim an easy minikit!
Objective 3: Defeat General Grievous
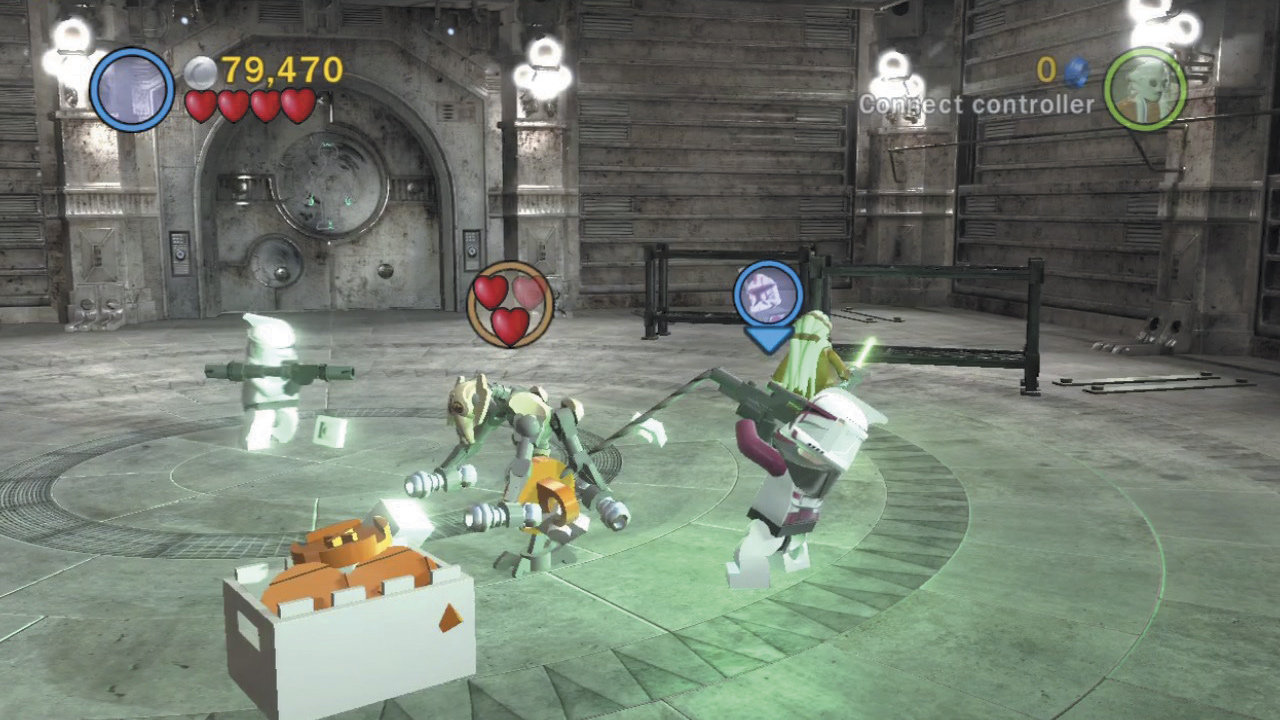
Grievous’s whirling Lightsabers are lethal, so don’t get too close. Instead, run to the foreground to find a box of pieces sitting near the chamber’s entrance, and Force-throw this box at the wicked General to stun him.
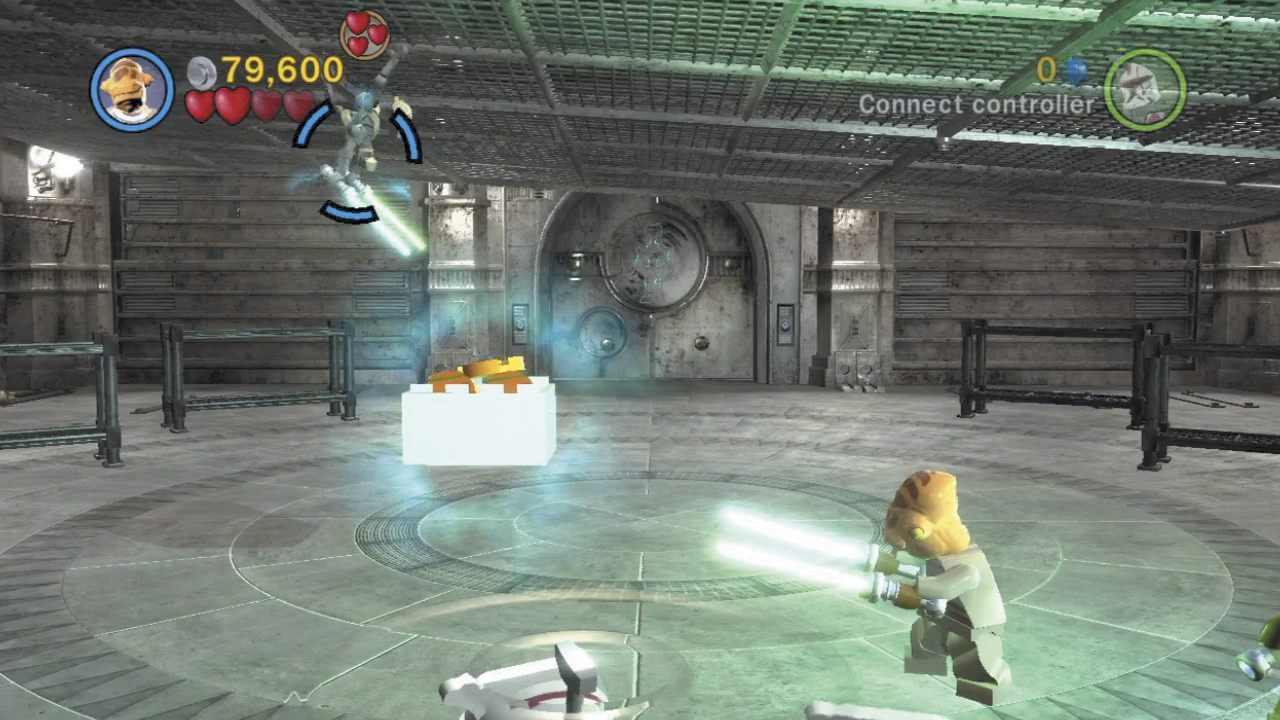
After stunning Grievous, quickly switch to a clone character and grapple the hook point that now appears on his leg. Yank off the leg, then repeat this sequence to tear Grievous’s other leg off. (The box of pieces will respawn indefinitely.)
Having lost both of his locomotors, Grievous changes tactics and begins climbing around the ceiling, hurling Lightsabers at you. Toss that same box of pieces at him again, hitting him three times to knock him to the ground.
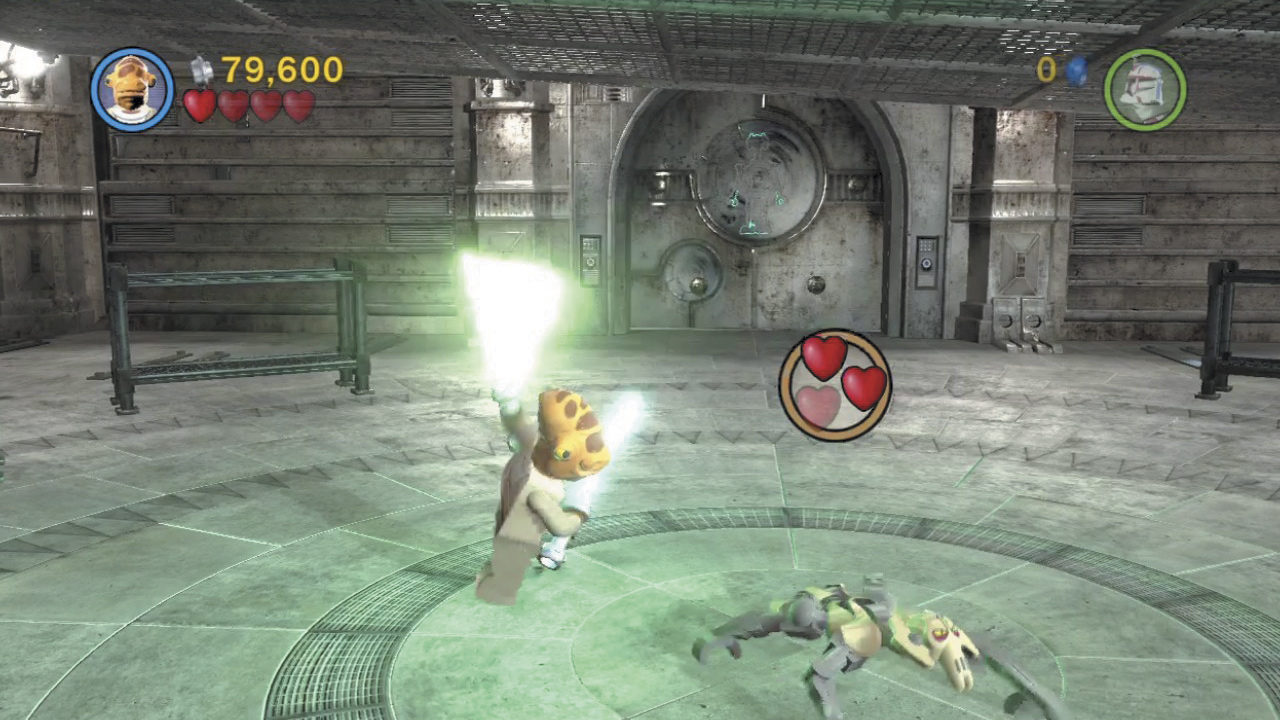
Once Grievous has been grounded, assail him with a Jedi’s Lightsabers. Chase Grievous all about the room and keep hitting him until the villain finally flees through the background door. Give chase to advance to the next area.
Objective 4: Catch General Grievous
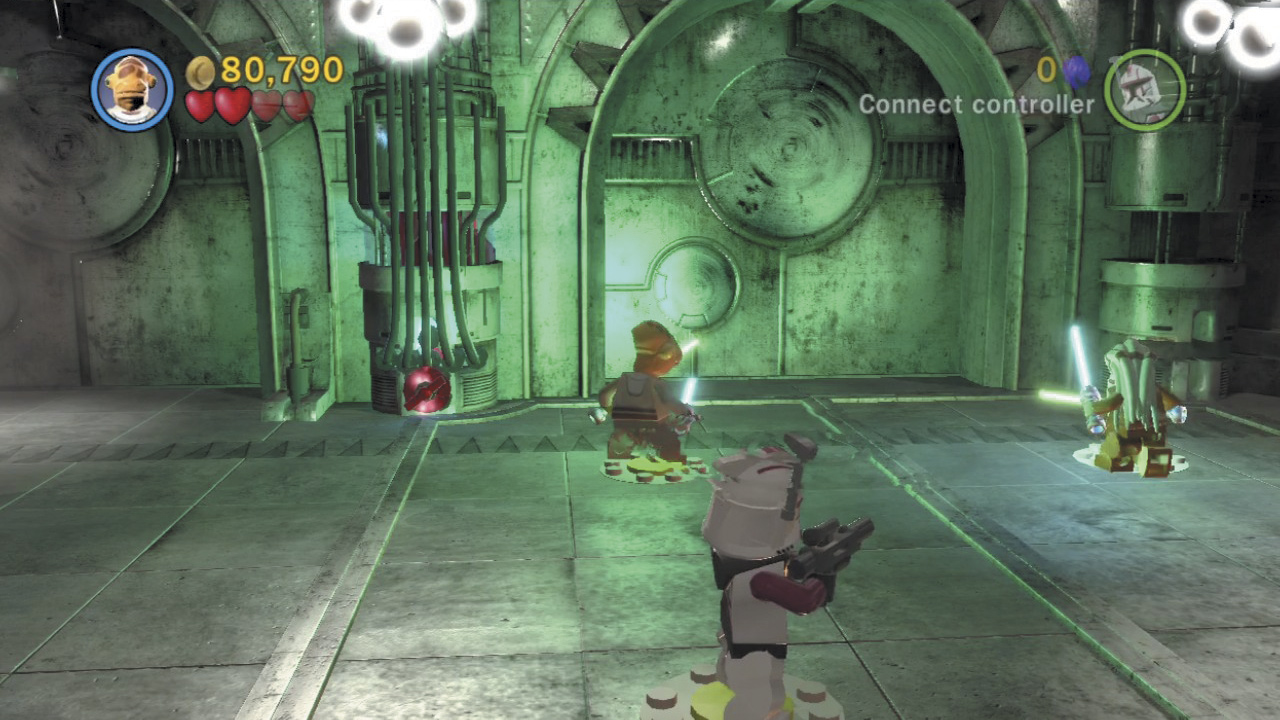
Grievous is nowhere in sight, but he couldn’t have gotten far. Stand on one of the four buttons in the next area, and your comrades will automatically step onto the other three.
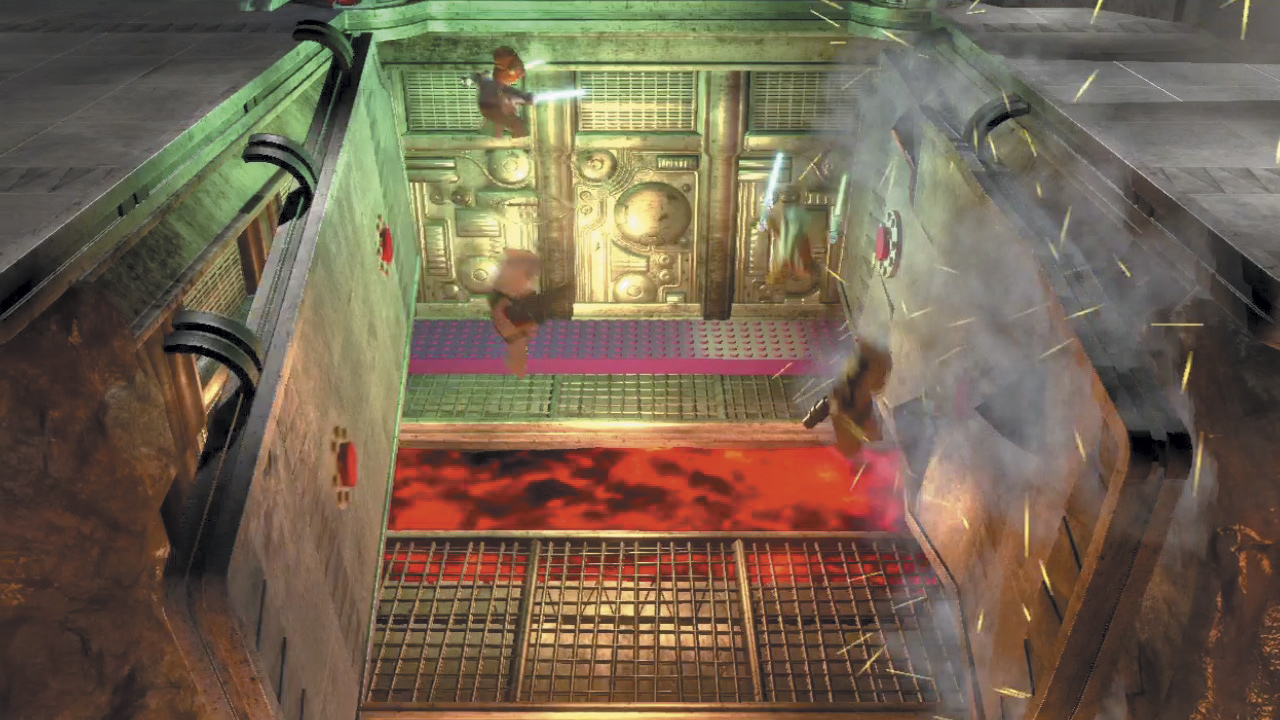
Unfortunately, standing on the buttons triggers a trap: The floor gives way, dumping your team into a lava pit!
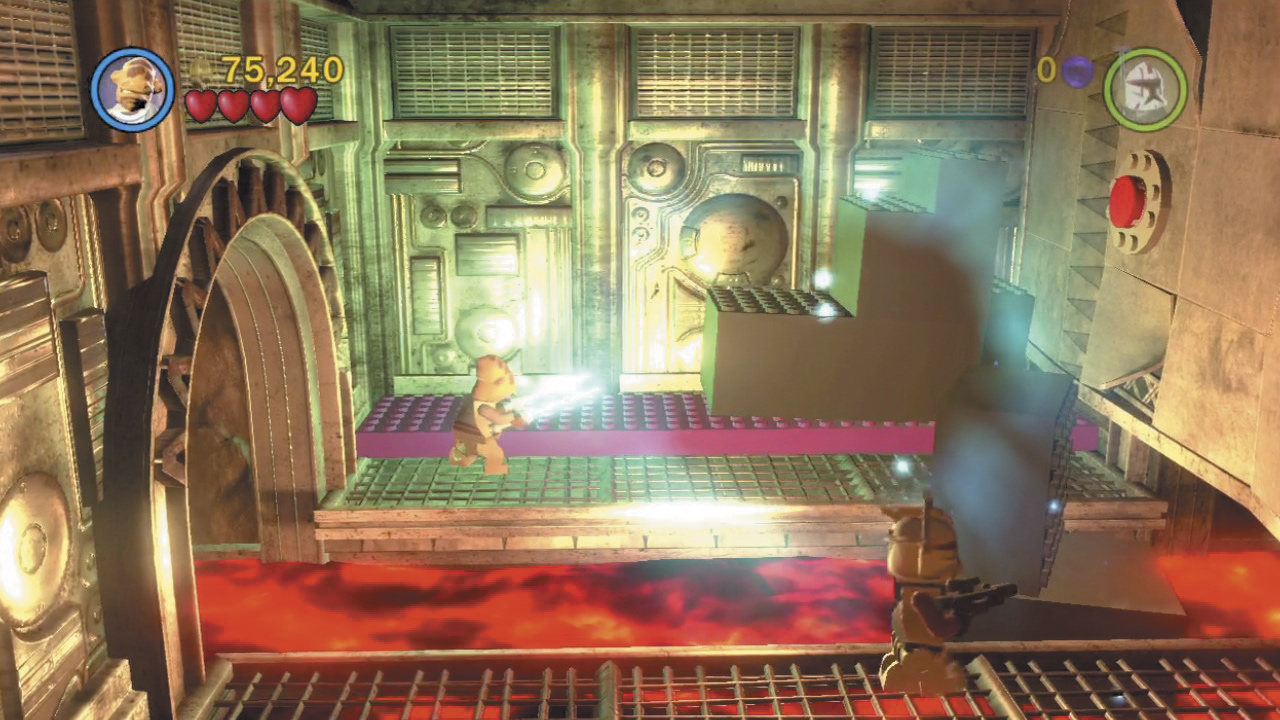
Use the Force to stack the giant gray blocks onto the pit’s purple pad, thereby creating a means of escape. It doesn’t have to be pretty, just enough to get your team up and out to the pit’s right side.
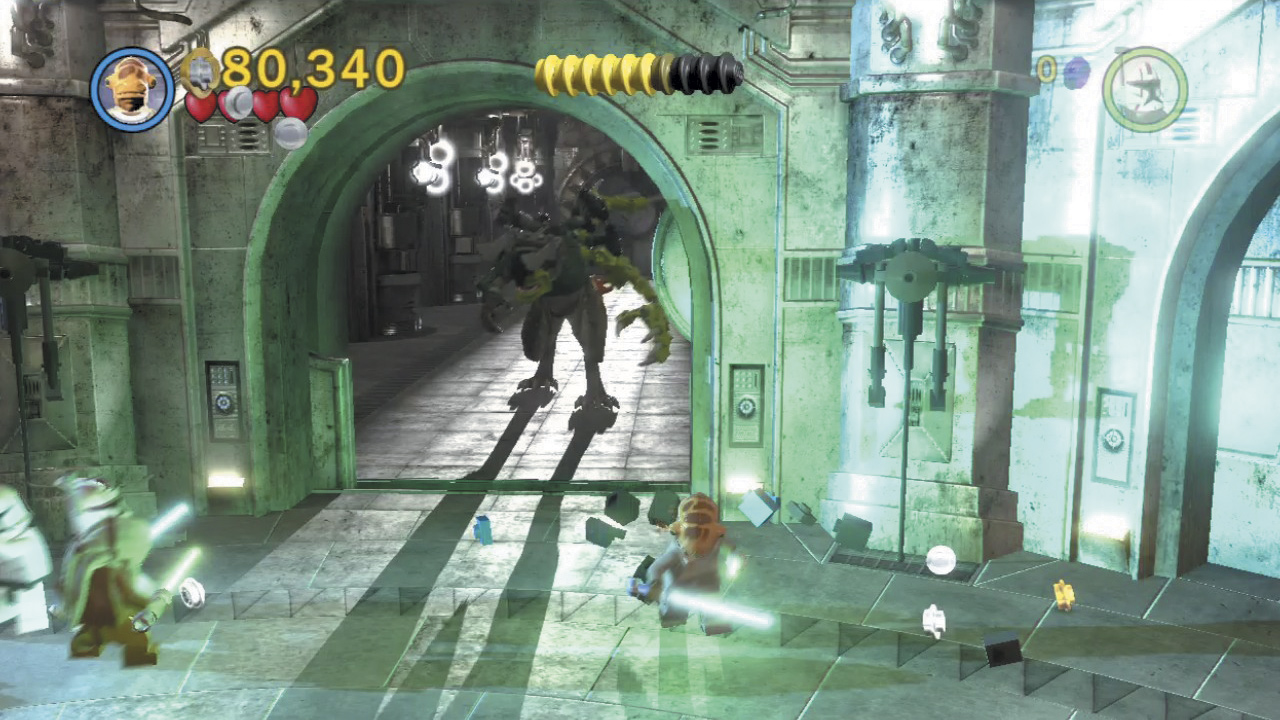
Through a window in the next circular chamber, General Grievous can be seen receiving some much-needed repairs. This is the least of your concerns, however—for the monstrous Gor soon stomps into the room!
Minikit 7 (Freeplay)
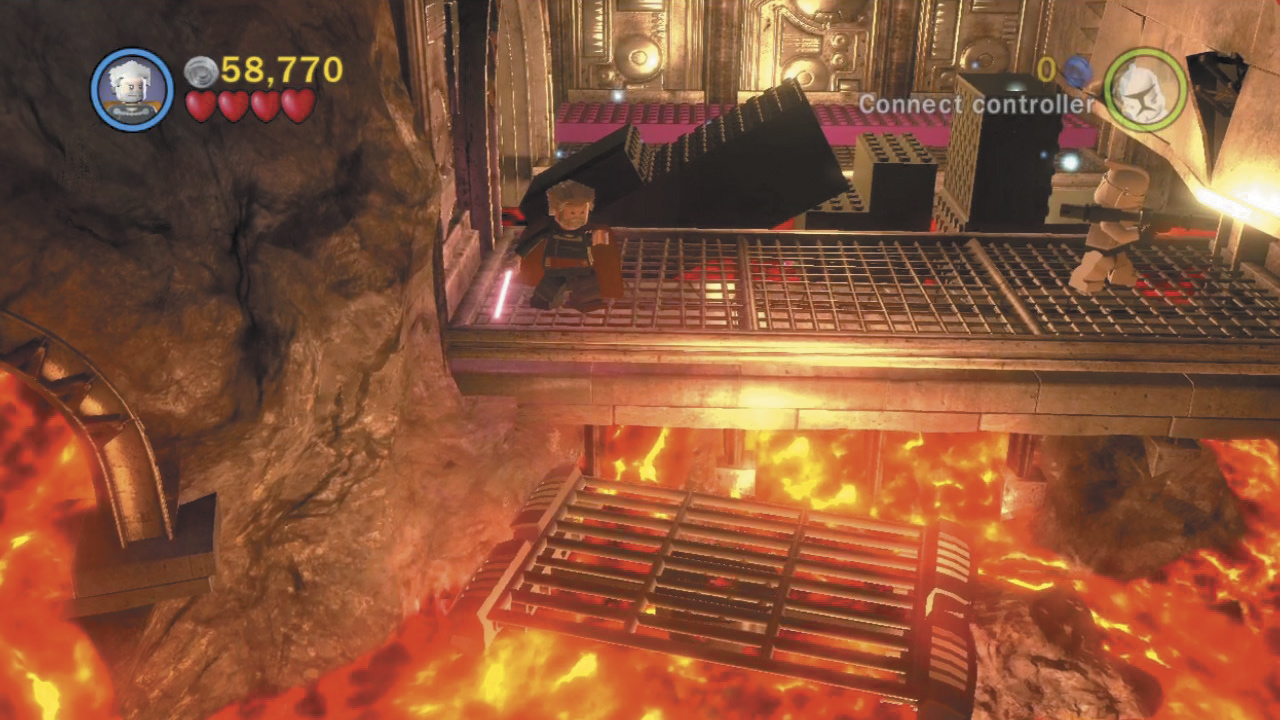
Before leaving the lava pit, toggle to a Sith character and face the foreground. Use the Dark Force to raise a hidden platform up from the lava, and keep using the Dark Force until the platform stabilizes.
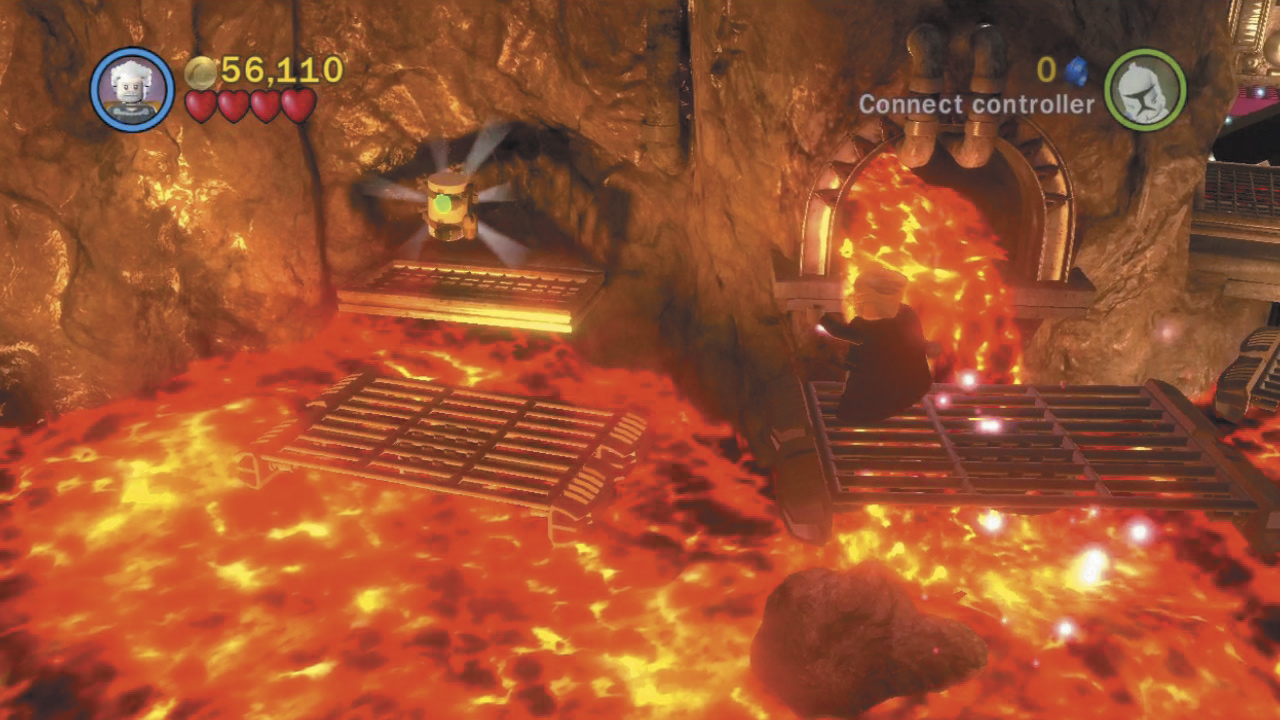
Hop onto the platform, then quickly use the Dark Force to raise another one to the left—don’t dally because the platforms soon sink. Repeat this once more to reach a small ledge with a minikit!
Objective 5: Defeat the Gor
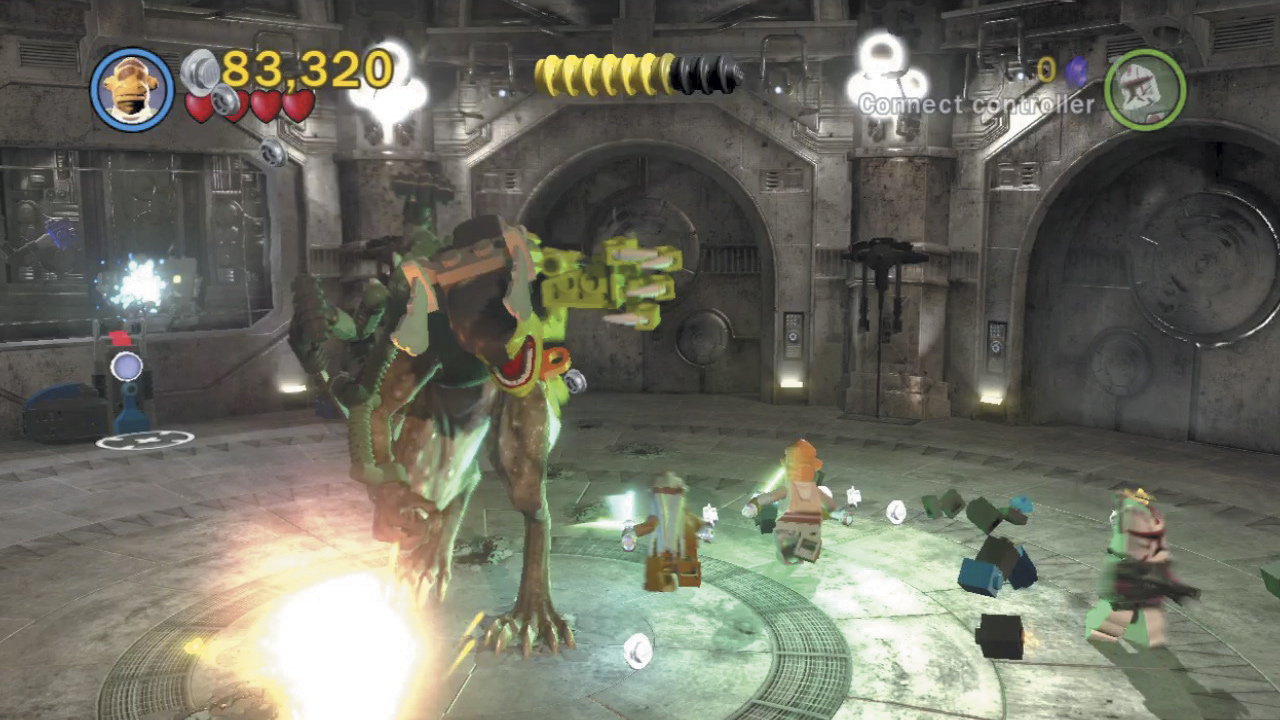
Do your best to avoid Gor as you work at grappling the two hook points on its sides. Once both hook points are grappled, a Jedi logo appears near the monster—use this to leap up and hack off one of Gor’s appendages. Repeat this sequence until the brute goes down for the count.
Minikit 8 (Freeplay)
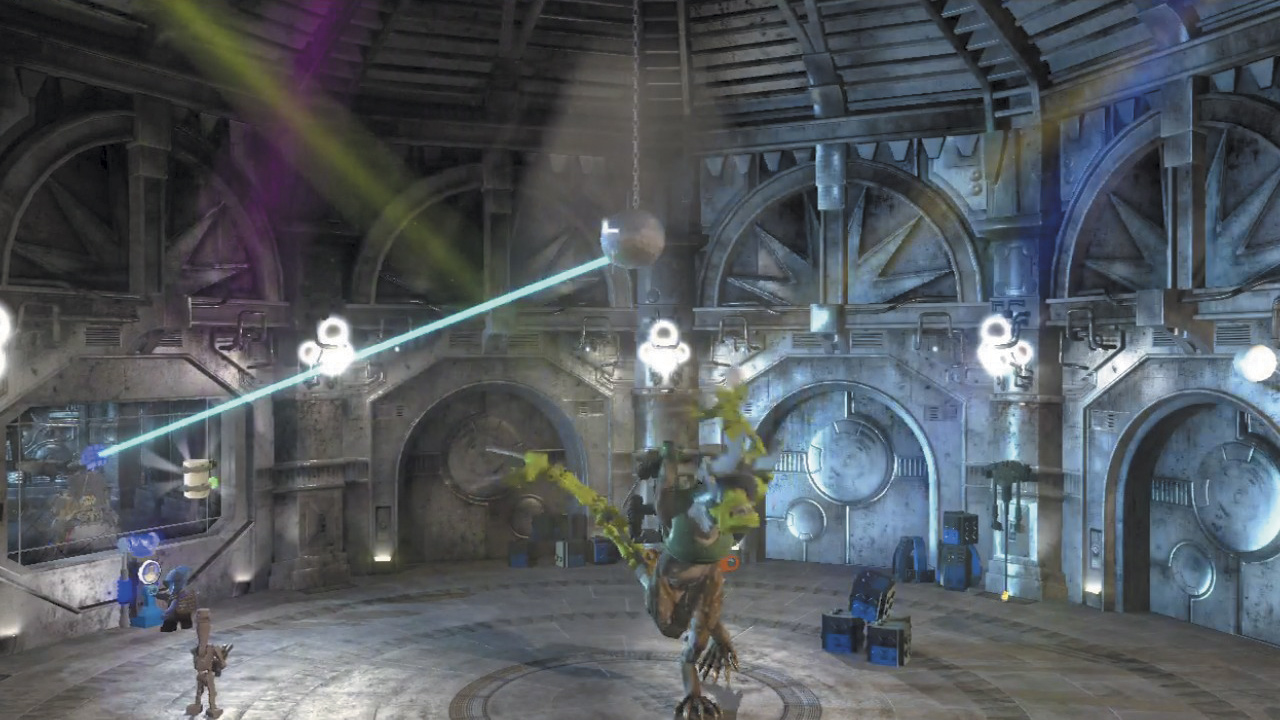
During Free Play, activate the power panel on the left side of Gor’s chamber to get the party started. A disco ball drops from the ceiling, tunes starts pumping, and lights begin to flash—who knew Grievous was such a party animal? Snag the minikit that appears near the power panel while Gor is busy grooving to the beat.
Blast the disco ball with a rocket launcher character to “make it rain”—studs, that is!
Minikit 9 (Freeplay)
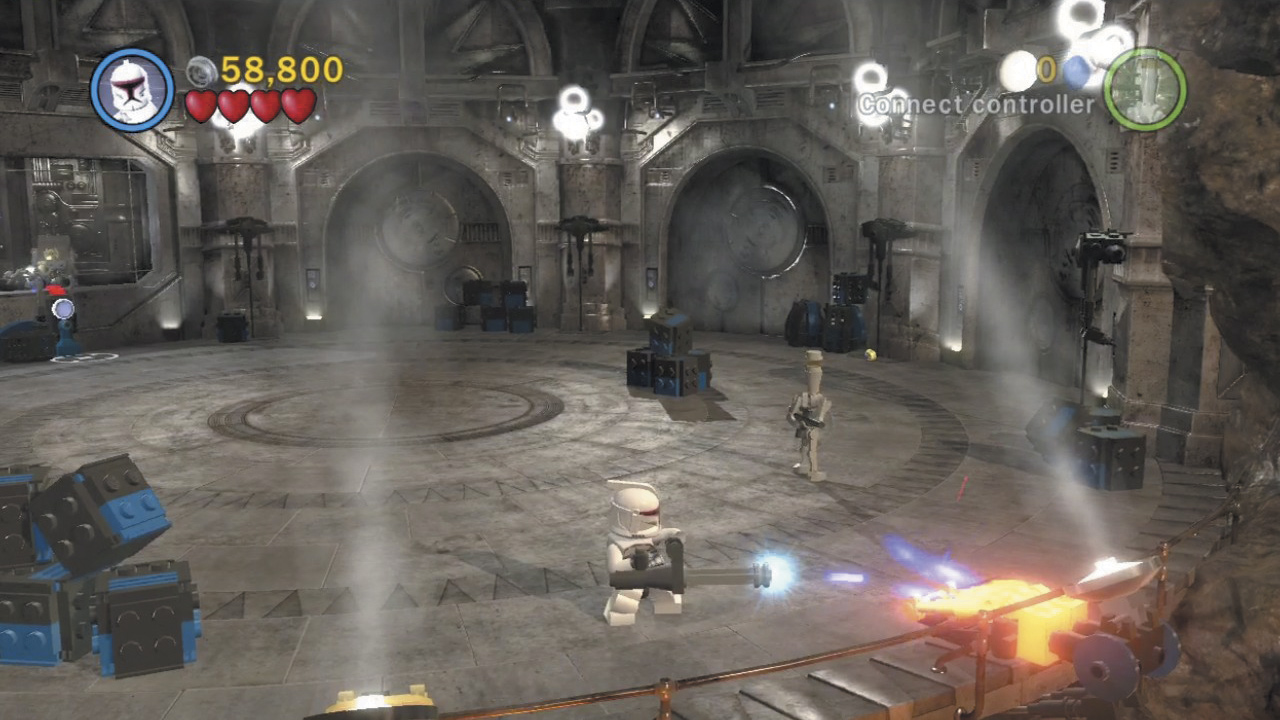
Find and shoot ten spotlights during Free Play to earn a minikit. The first three are found in the foreground of Gor’s chamber—destroy the protective gold clamps with a rapid-fire character, then shoot the spotlights into the air. Keep firing to hit them again in midair—it may help to stand back a bit. Do this to the seven remaining spotlights in the next area and your marksmanship will be richly rewarded!
Objective 6: Escape!
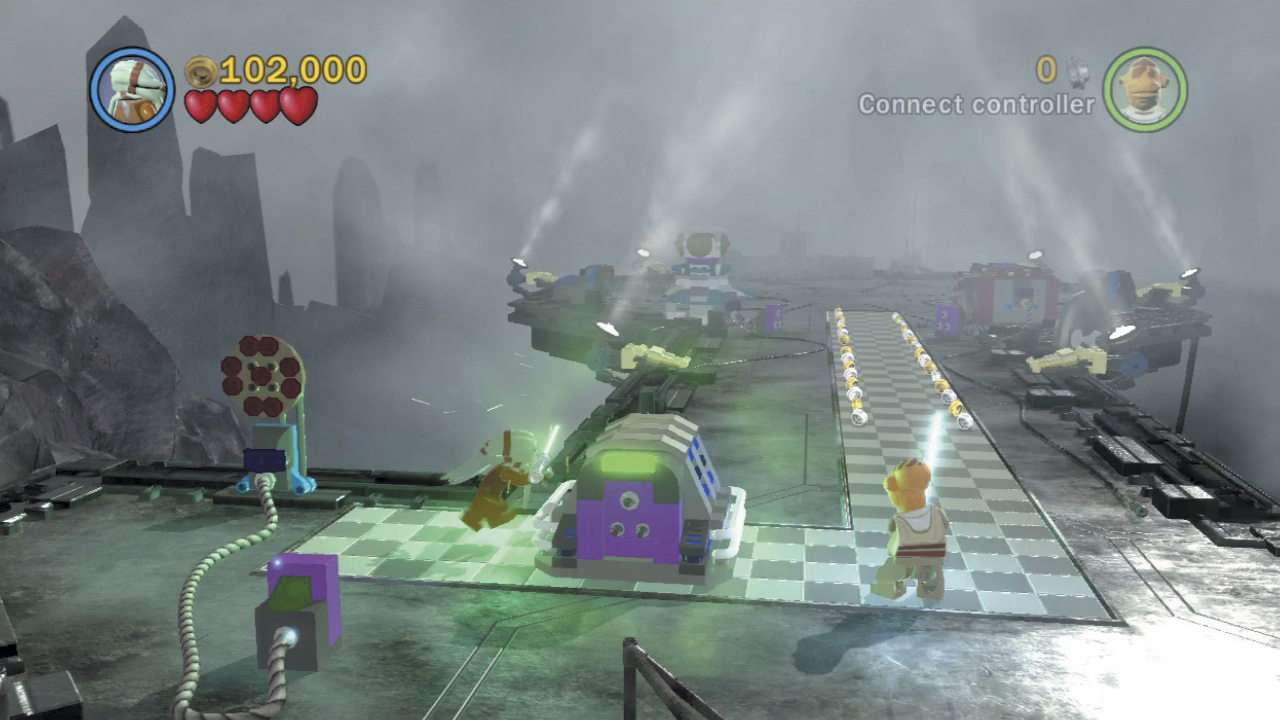
You’ve pressed your luck far enough—the villainous Viceroy is clearly not here. Head outside and use the Force to unplug a generator, then slide the generator along the checkered track.
Eliminate the two MagnaGuards that ambush you at the end of the track with some furious saberplay. Then use the Force to remove the top portion of the left tower, setting it aside for the time being.
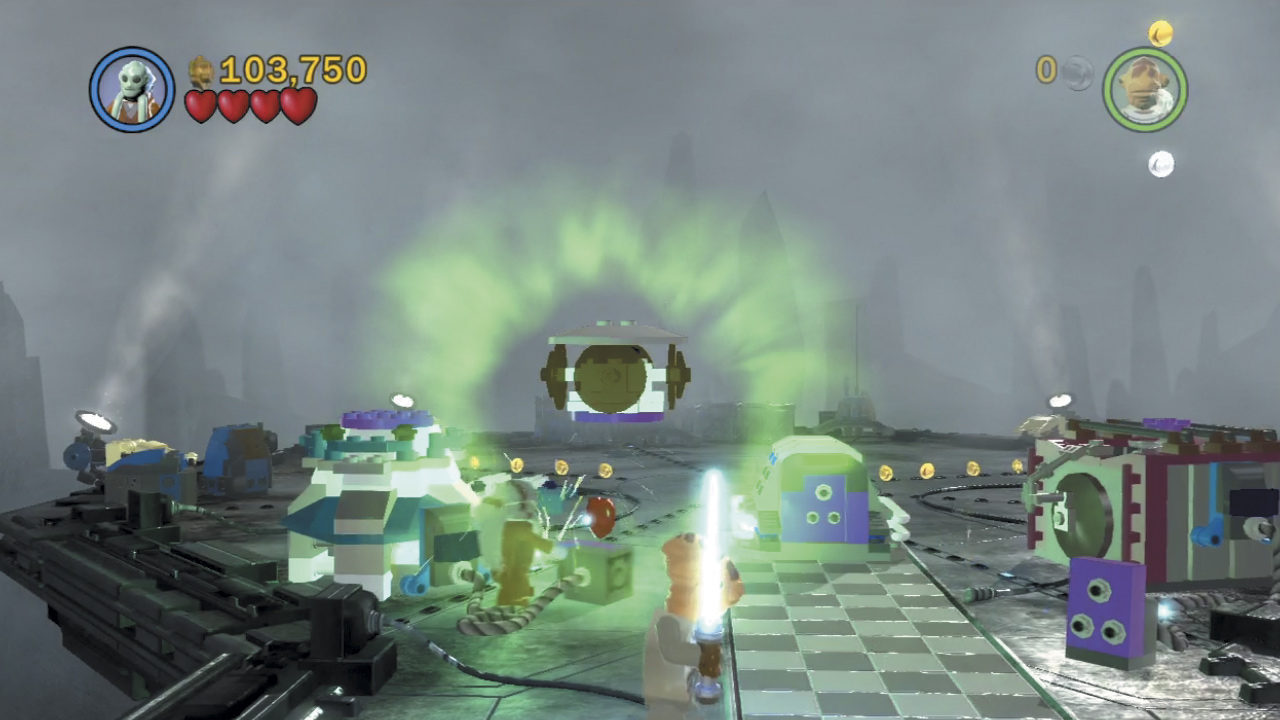
Minikit 10
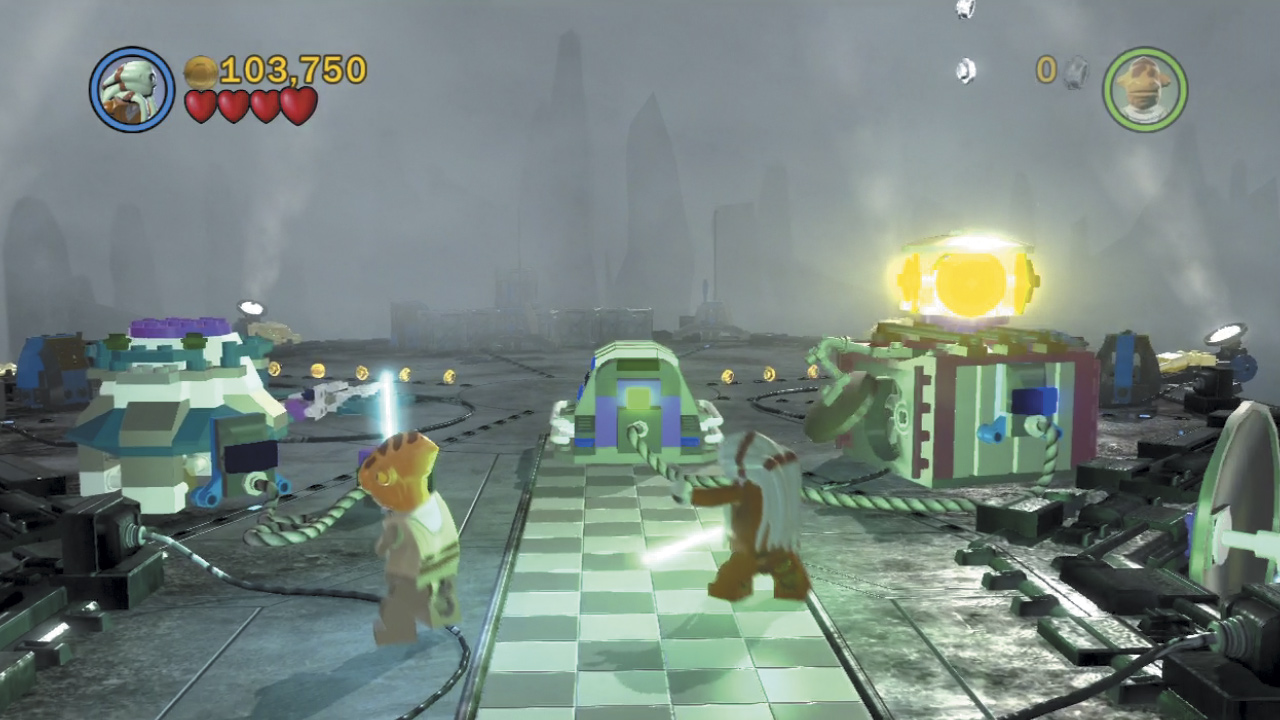
Force-move the top of the left tower onto the tower on the right, then use the Force to insert the right tower’s power plug into the generator that you shoved down the checkered track. The top of the right tower quickly explodes, revealing a hidden minikit!
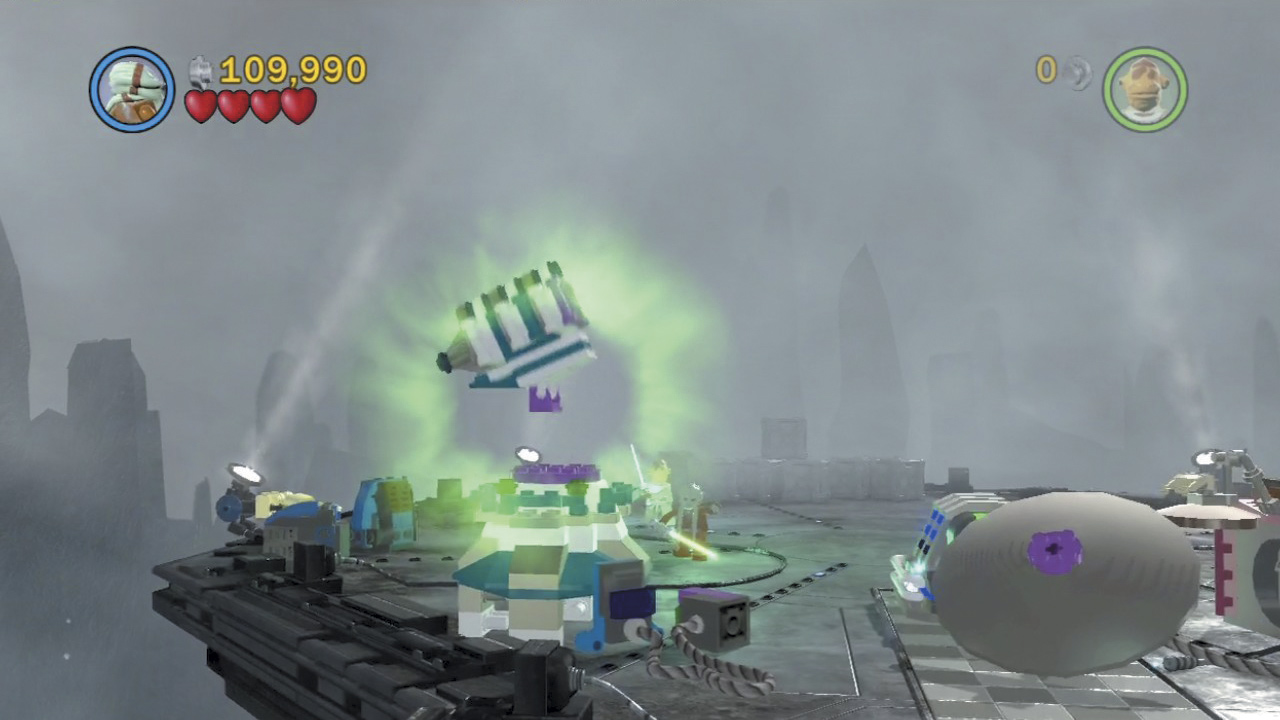
Next, build the loose pieces you find on the landing pad into a square-shaped object. Force-move this object onto the top of the left tower, replacing the part that you just removed.
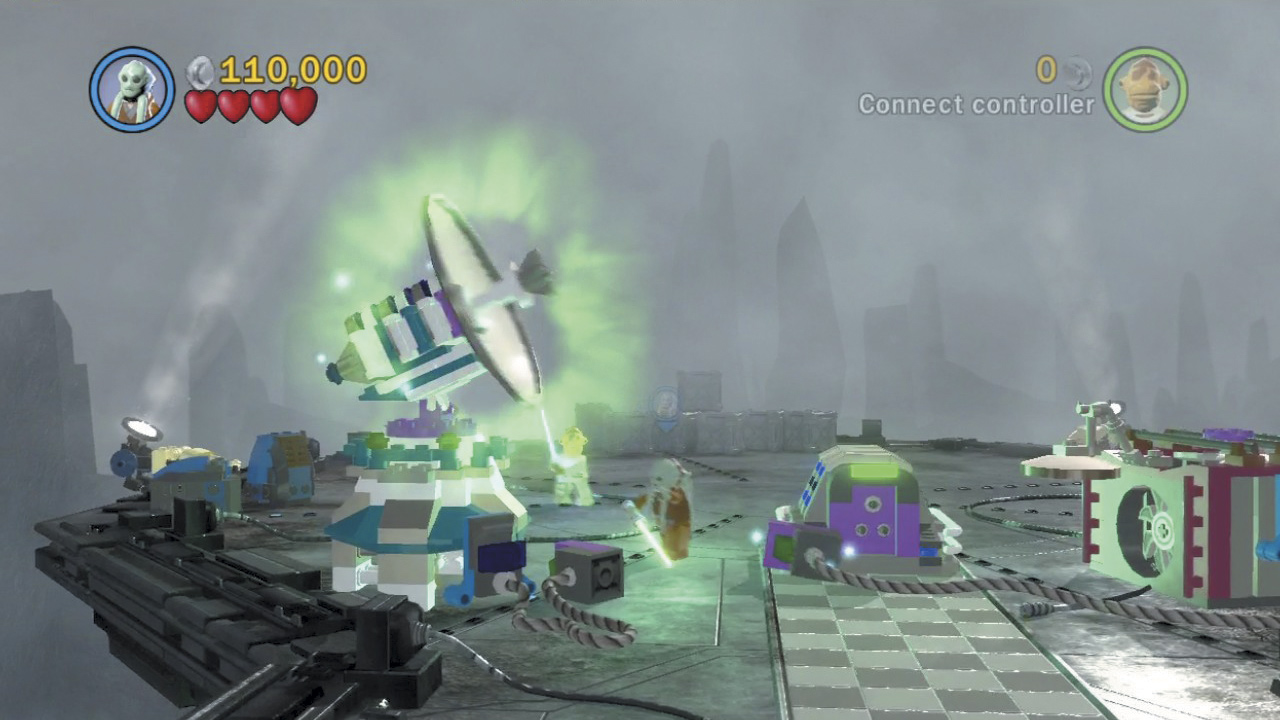
Lastly, Force-move the nearby satellite dish onto the left tower to complete it. Now simply plug the tower’s power cord into the generator to activate it and send out a call for evac.
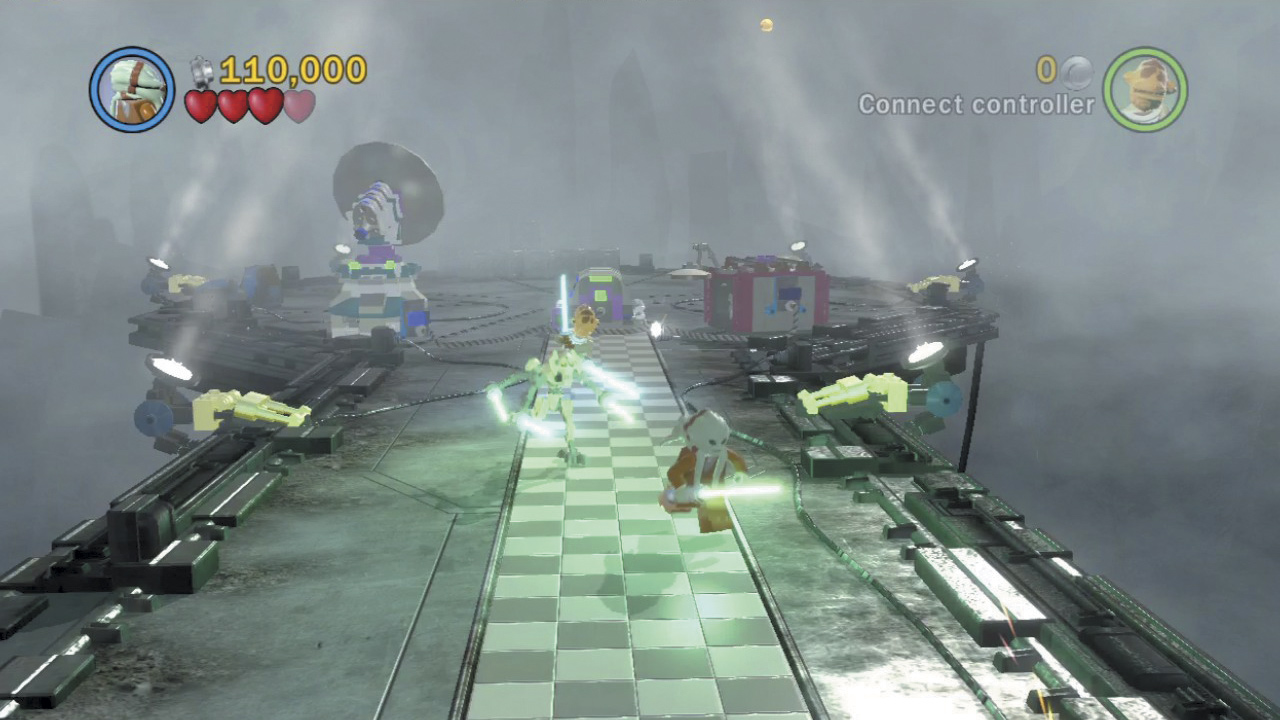
Before transportation can arrive, General Grievous makes one final appearance. The vicious Droid is fully operational now, and far more than a match for you. Keep away from Grievous until your getaway ship arrives, then hurry over and jump in the cockpit to make good your escape.