Prima Games eGuides
primagames.com Browse Redeem a code Help
Lego Star Wars III: The Clone Wars eGuide
Sign in My Guides

Sign in or create an account

We'll email you a link. No password needed, and if you don't have an account yet, the link makes one.

By creating an account or signing in, you agree to our Terms of Service and Privacy Policy.

Have a password?

Had an account on the old eGuides site, or a code from a printed guide? Help and troubleshooting

Sign in with a password

By signing in, you agree to our Terms of Service and Privacy Policy.

Check your email

A sign-in link is on its way. It works once and expires in 15 minutes. Open it and you're in, with an account if you didn't already have one.

Contents

  • Essentials
    • Padawan Training
      • Introduction
      • Adventurous Actions
      • Space Combat
      • Ground Assaults
      • Tantalizing Treasures
    • Secrets and Extras
      • Secrets and Extras-Introduction
      • Space Combat
      • Secrets and Extras
      • Secrets and Extras
      • Cheat Codes
    • DS Game Basics
      • The Hub (DS)
      • Game Modes (DS)
      • Game Progress (DS)
      • Character Abilities (DS)
      • Characters (DS)
      • Ships (DS)
    • Cast
      • Unlocking Characters
      • Cast
    • DS Checklists
      • DS Checklists
  • Walkthrough
    • Hub Areas
      • Battleship Resolute
      • The Invisible Hand
    • Prologue
      • Geonosian Arena
      • Freeplay
    • Count Dooku
      • Chapter I: Battle of Geonosis
      • Chapter II: Gungan General
      • Chapter III: Jedi Crash
      • Chapter IV: Defenders of Peace
      • Chapter V: Weapons Factory
      • Chapter VI: Legacy of Horror
    • General Grievous
      • Chapter I: Duel of the Droids
      • Chapter II: Shadow of Malevolence
      • Chapter III: Destroy Malevolence
      • Chapter IV: Lair of Grievous
      • Chapter V: Rookies
      • Chapter VI: Grievous Intrigue
    • Asajj Ventress
      • Chapter I: The Hidden Enemy
      • Chapter II: Ambush
      • Chapter III: Blue Shadow Virus
      • Chapter IV: Storm Over Ryloth
      • Chapter V: Innocents of Ryloth
      • Liberty on Ryloth
    • Epilogue
      • Epilogue
    • Separatist Missions
      • Chapter I: Hostage Crisis
      • Chapter II: Castle of Doom
    • Ambush (DS)
      • Ambush-Introduction (DS)
      • Ambush-Act 1 (DS)
      • Ambush-Act 2 (DS)
      • Ambush-Act 3 (DS)
    • Destroy Malevolence (DS)
      • Destroy Malevolance-Introduction (DS)
      • Destroy Malevolance-Act 1 (DS)
      • Destroy Malevolance-Act 2 (DS)
      • Destroy Malevolance-Act 3 (DS)
    • Rookies (DS)
      • Rookies-Introduction (DS)
      • Rookies-Act 1 (DS)
      • Rookies-Act 2 (DS)
      • Rookies-Act 3 (DS)
    • Lair of Grievous (DS)
      • Lair of Grievous-Introduction (DS)
      • Lair of Grievous-Act 1 (DS)
      • Lair of Grievous- Act 2 (DS)
      • Lair of Grievous-Act 3 (DS)
    • Gungan General (DS)
      • Gungan General-Introduction (DS)
      • Gungan General-Act 1 (DS)
      • Gungan General-Act 2 (DS)
      • Gungan General-Act 3 (DS)
    • Jedi Crash (DS)
      • Jedi Crash-Introduction (DS)
      • Jedi Crash-Act 1 (DS)
      • Jedi Crash-Act 2 (DS)
      • Jedi Crash-Act 3 (DS)
    • Hidden Enemy (DS)
      • HIdden Enemy-Introduction (DS)
      • Hidden Enemy-Act 1
      • Hidden Enemy-Act 2 (DS)
      • Hidden Enemy-Act 3 (DS)
    • Blue Shadow Virus (DS)
      • Blue Shadow Virus-Introduction (DS)
      • Blue Shadow Virus-Act 1 (DS)
      • Blue Shadow Virus-Act 2 (DS)
      • Blue Shadow Virus-Act 3 (DS)
    • Storm Over Ryloth (DS)
      • Storm Over Ryloth-Introduction (DS)
      • Storm Over Ryloth-Act 1 (DS)
      • Storm Over Ryloth-Act 2 (DS)
      • Storm Over Ryloth-Act 3 (DS)
    • Liberty on Ryloth (DS)
      • Liberty on Ryloth-Introduction (DS)
      • Liberty on Ryloth-Act 1 (DS)
      • Liberty on Ryloth-Act 2 (DS)
      • Liberty on Ryloth-Act 3 (DS)
    • Weapons Factory (DS)
      • Weapons Factory-Introduction (DS)
      • Weapons Factory-Act 1 (DS)
      • Weapons Factory-Act 2 (DS)
      • Weapons Factory-Act 3 (DS)
    • Legacy of Teror (DS)
      • Legacy of Terror-Introduction (DS)
      • Legacy of Terror-Act 1 (DS)
      • Legacy of Terror-Act 2 (DS)
      • Legacy of Terror-Act 3 (DS)

Lego Star Wars III: The Clone Wars Guide › Walkthrough › Count Dooku

Chapter I: Battle of Geonosis

“Around the Survivors a Perimeter Create.”
The attempt to thwart the Separatist plot to overthrow the Republic continues. Vast core ships have been discovered deep in the Geonosian desert. A few bold Jedi and their clone army muster for battle against apparently overwhelming Separatist forces....

No.

Icon(s)

Mode

Notes

1

1

Story

Obscured by the cliff on the left of the level.

2

1-5

Story

Destroy five “totem rocks” spread around the level (they look like trees/plants).

3

-

Story

Destroy three Hailfire Droids (rolling two-wheeled foes).

4

4

Free Play

Activate the bounty hunter panel near the start, then defeat 50 Droids.

5

5

Free Play

Enter the north crawl space, then slide down the slope, hitting every button.

6

1-10

Free Play

Destroy ten rocks covered in pink crystals spread around the level.

7

7

Free Play

Shatter the Dark Force rock near the crawl space.

8

8

Free Play

Build and activate the astromech Droid control panel near the Dark Force rock, then collect the studs that appear.

9

9

Free Play

Activate the protocol Droid control panel at the bottom-right of the level, then race across the pads that appear.

10

10

Free Play

Charge up the power panel near the protocol Droid control panel to reveal a minikit.

True Jedi Stud Requirement: 80,000

Story Characters

Mace Windu

Kit Fisto

Ki-Adi-Mundi

Note

This is the first mission in the Count Dooku storyline. If you’re following a different storyline, please turn to the appropriate section of this walkthrough.

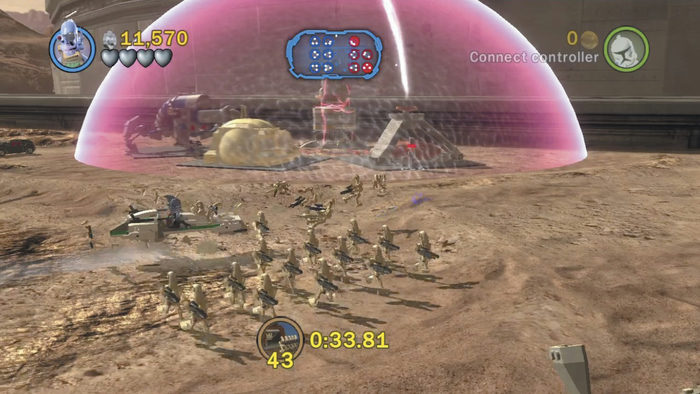
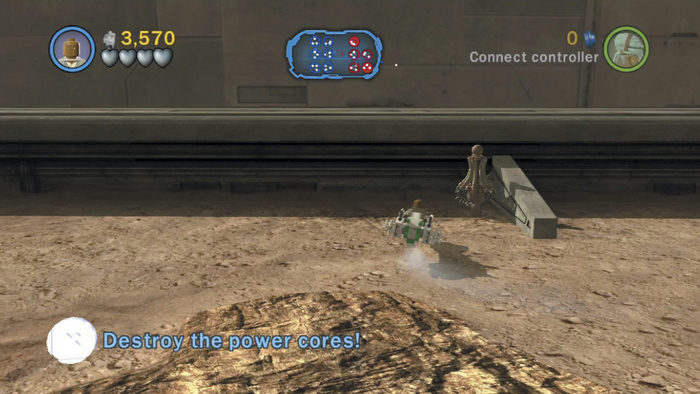
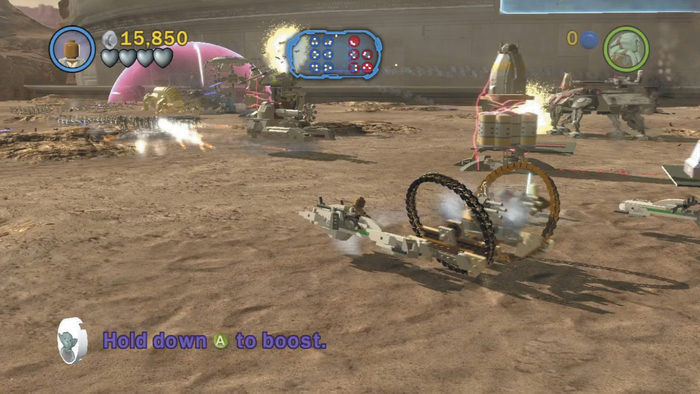
Your goal in this mission is simple: Destroy the five power cores that fuel the enemy’s bases. Begin by hopping onto one of the nearby speeders—it’ll help you get around this wide area. Hold the Jump button for a burst of speed as you zip toward the pink dome in the distance.

Note

Large battles such as this provide a minimap at the top-center of your screen. Blue circles are Republic-controlled bases (good guys); red circles are Separatist-owned bases (bad guys). White blips are base structures, and your current position is marked by the crosshairs. Use the minimap to help keep your bearings, and review the previous “Padawan Training” chapter of this guide for more details on these frantic missions.

Tip

If you ever lose your speeder, sprint to the left a bit (back toward the Republic forces) to make another one spawn in. You can also pilot any of the Republic vehicles—some of which pack some serious firepower!

Each enemy base features a tall power core that you must destroy. However, some bases are protected by pink, dome-shaped shields, and these shields deflect attacks and keep vehicles at bay. Get close on your speeder, then hop off and sprint through a shield on foot.

Once inside a shield, you have a few options. You can attack the base structures directly with your Lightsaber, or you can pull the lever on the shield generator to disable the protective dome, allowing powerful vehicles to bear down with mighty fire.

Tip

To acquire True Jedi status, methodically destroy every enemy structure and hurry to collect the many studs that spill out afterward. Do “donuts” in a speeder to quickly snag all those loose studs, favoring the blue ones, which are worth 1,000 apiece!

To hurry things up, search near the middle ground between the Republic and Separatist bases to locate a torpedo generator (a small device with a glowing pink orb). Pass over this object to collect a torpedo, which trails behind your speeder.

While carrying torpedoes, viable enemy targets will become highlighted by pink reticles. Press the Action button to fire your torpedo at any enemy structure. Torpedoes are incredibly powerful, and many structures will be destroyed by just one hit!

Note

Torpedoes won’t pass through shields, so deactivate them first.

Tip

Strike each base’s central power core with a torpedo to quickly obliterate all of the base’s structures. Then hurry and collect all of those loose studs before they vanish!

Minikit 1

Before destroying the final power core (and thus ending the mission), take a moment to swipe some minikits from this stage. One’s just sitting out in the open, slightly obscured by the far-left cliff. Mosey over and grab it at your convenience.

Minikit 2
Please click to enlarge

Five special “totem rocks” are hidden around the level—they have a unique plantlike look. Simply hunt down and destroy all five of these objects to receive a minikit for your efforts. Check the map to discover their locations.

Minikit 4 (Freeplay)
Please click to enlarge

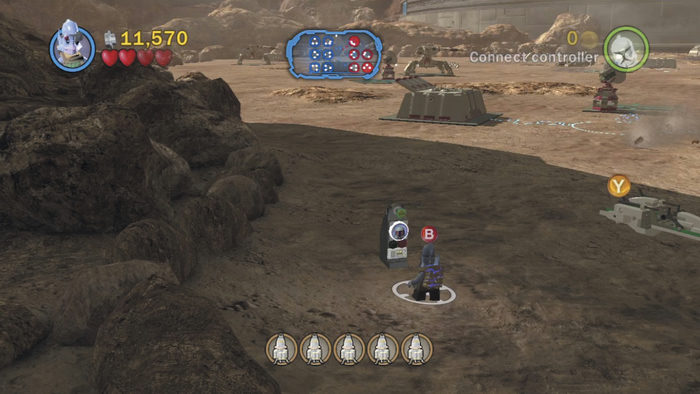
Before wiping out too many enemy bases, use a bounty hunter character, such as Cad Bane, to activate the bounty hunter control panel near the starting point. A timer starts ticking—you must defeat 50 enemy Droids before time expires to receive this prize!
Please click to enlarge

Time is short, so speed to the nearest enemy base. Look for short brown structures, from which battalions of enemy Droids emerge—these are called barracks. Hang out near one of these and wipe out each cluster of enemy Droids that marches out. Simply remain in the speeder and drive over the Droids to quickly eliminate them. If time runs out, return to the bounty hunter panel and try again.

Note

You need to seek out and destroy a barrack’s active battalion of Droids before more will emerge from the structure.

Minikit 3

Please click to enlarge

Notice those odd-looking Separatist vehicles with the two big wheels? These are known as Hailfire Droids. Destroy three hailfires to earn a minikit.

Caution

Don’t destroy the Hailfire Droid vehicle generator (located within the enemy’s middle-right base) until you’ve wrecked three hailfires, or no others will spawn!

Tip

In a pinch, use a Jedi or Sith’s leaping Force slam attack to wipe out whole clusters of Droids.

Minikit 5 (Freeplay)

Please click to enlarge

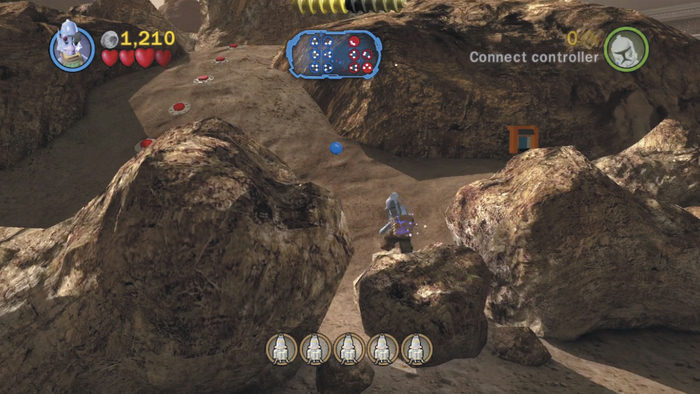
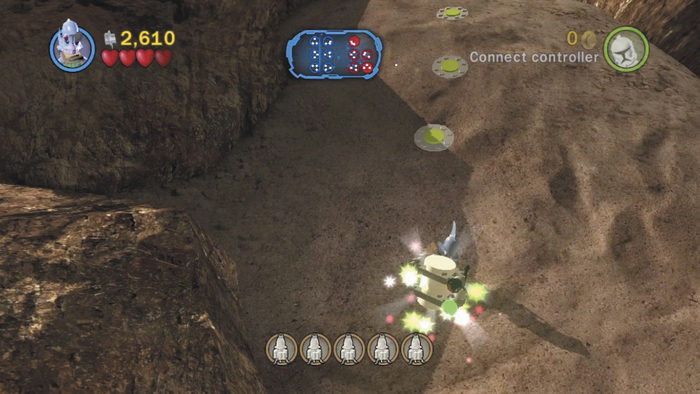
Spy a little crawl space hatch on the far north cliff. To reach the hatch, leap over the rocks where a single blue stud hovers. Then use a small character such as Yoda to enter the hatch.
Please click to enlarge

You emerge on a higher ledge. Slide down the slope to return to the lower hatch, passing over all of the red buttons as you go to turn them green. If your sliding skills are sharp, a minikit will be yours!

Minikit 6 (Freeplay)
Please click to enlarge

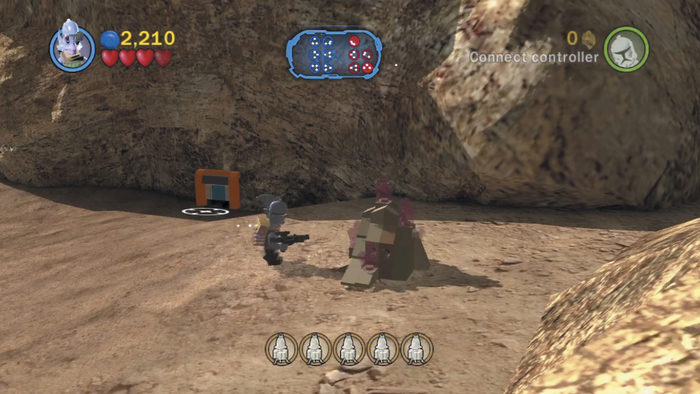
Ten small rocks covered in pink crystals are dotted around the landscape. Destroy all 10 of these rocks to earn a minikit. You can only do this in Free Play mode because one of the rocks is hidden beyond the crawl space hatch. Check the map to find the locations of every crystal-coated rock.

Minikit 7 (Freeplay)
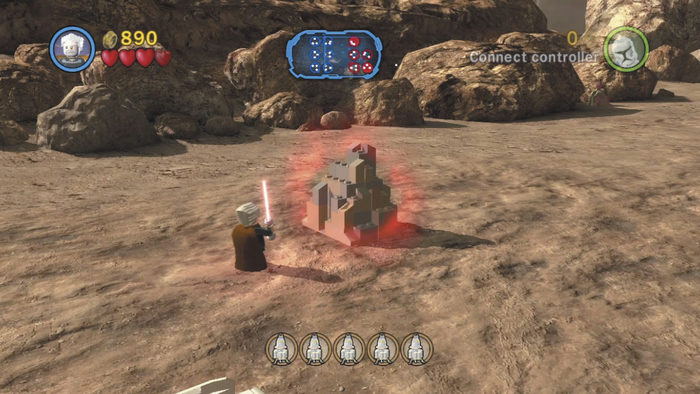
Please click to enlarge

Not far from the north crawl space hatch, an odd-looking rock glows with red light. Use a Sith character to shatter the rock with the Dark Force, revealing a hidden minikit!

Minikit 8 (Freeplay)
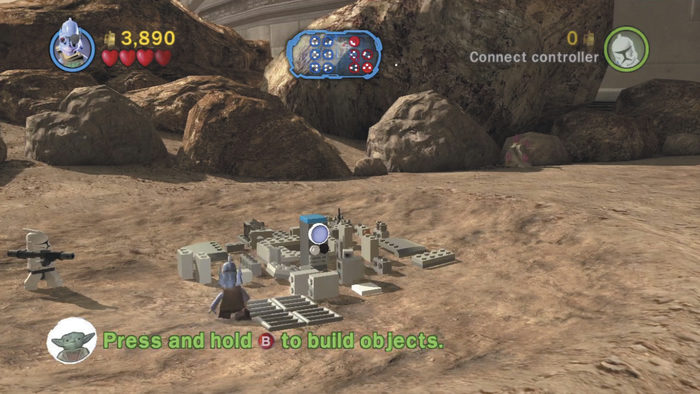
Please click to enlarge

Venture east from the Dark Force rock to discover a jumble of LEGO pieces on the ground. Build an astromech Droid control panel of these pieces, then use an astromech Droid, such as R2-D2, to activate the panel.
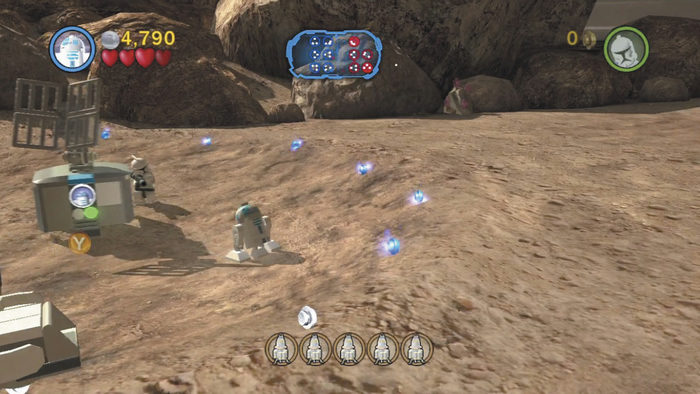
Please click to enlarge

Activating the panel causes a vehicle to deploy nearby and spawns a ring of studs around you. Collect all of these studs to score a secret minikit!

Minikit 9 (Freeplay)
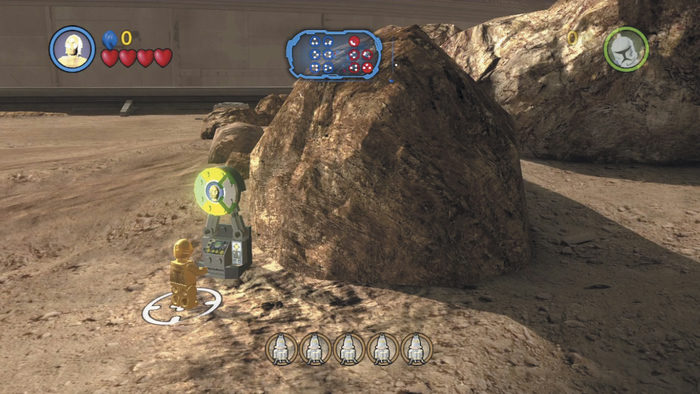
Please click to enlarge

Use C-3PO to activate the protocol Droid control panel in the level’s southeast corner (according to the minimap). Simply imitate the pattern that lights up on the panel to activate it, causing a big orange pad to appear nearby.
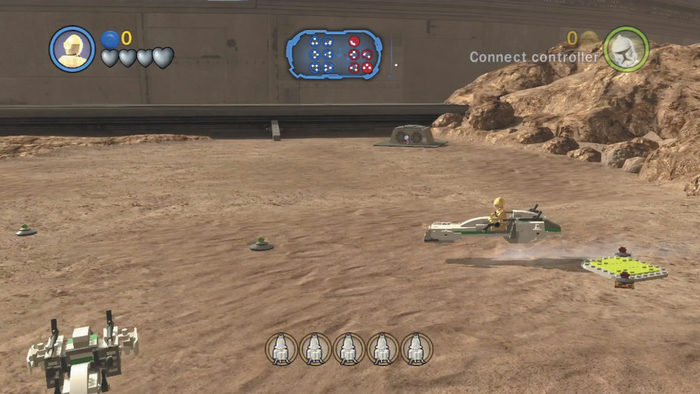
Please click to enlarge

Return to your speeder and pass over the pad to change its color from orange to green. Follow the string of green beacons to the next pad, and keep following along until you’ve passed over every pad. Don’t dally or the pads will reset to orange, forcing you to start over. A minikit appears as your reward at the end of the run.

Minikit 10 (Freeplay)
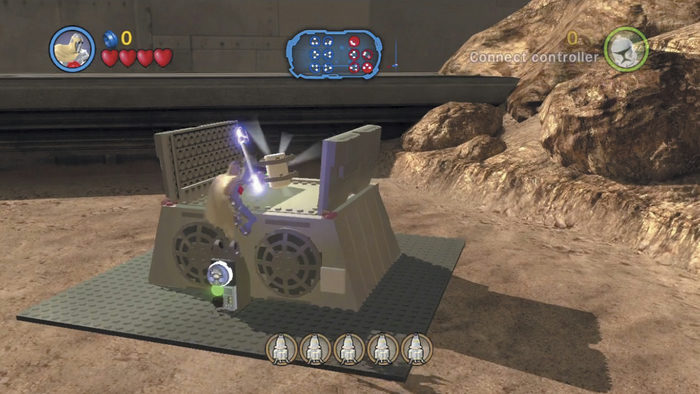
Please click to enlarge

This one’s a gimme: Just use a MagnaGuard or similar character to charge up the power panel near the aforementioned protocol Droid control panel, and a minikit will appear. Hop up and grab it without delay.

Note

Now that you’ve beaten at least two levels, you may be able to visit new areas of the Resolute. See the “Battleship Resolute” chapter for a thorough examination of the Republic’s hub.

Keep reading with a free account

The first 3 sections of Lego Star Wars III: The Clone Wars are open to everyone. An account opens the rest of it, and every other guide in the archive. It's free, and there's nothing to buy.

Bought guides on the old Prima Games site? Your account and every guide you own moved here, so there's nothing to buy again. Sign in.

Create a free account Or browse our free guides

PreviousCount Dooku NextChapter II: Gungan General