
Lego Star Wars III: The Clone Wars Guide Walkthrough Destroy Malevolence (DS)
Destroy Malevolance-Act 2 (DS)
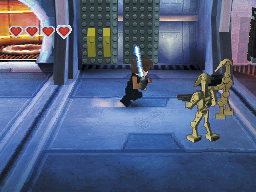
The level opens with Anakin, Obi-Wan, and R2-D2 boarding the Malevolence in an attempt to rescue Padmé and C-3PO. Step out of the hatch and clear the battle Droids to the right. Circle back to break the boxes and wall panels before moving on.
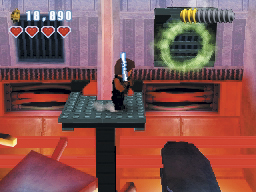
Approach the large gap in the floor and target the nearest wall grate. Use the Force on the wall grates to build new platforms and make your way across the gap.
Two battle Droids are waiting on the gap’s far side. Destroy them, then move to the right until two Super Battle Droids arrive on the lift. Rush in to get the jump on these Droids as they step into the hall.
minikit 5
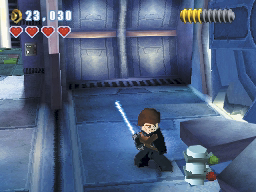
Continue to the right and destroy the boxes at the end of the hall. Grab the minikit, then turn around and use the Jedi pad on the lift.
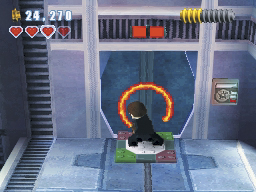
Activate the Jedi pad to climb up along the walls. More enemies are waiting at the top of the lift, so be ready to defend yourself. Smash the boxes to the right and use the bricks to build another Jedi pad. When you’re ready to leave the area, activate the pad to cut a hole in the door.
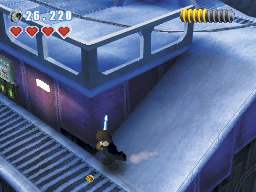
When you pass through the door, clear out the enemies to the right, then head down the ramp and follow the tracks back to the left. There is a control panel mounted above two green lights on the wall.
Minikit 6
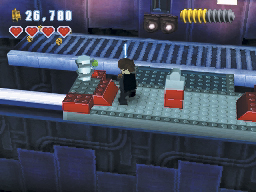
Use the Force to break the control panel. When the lights turn red, two battle Droids pull up in on a handcar; board the car to deal with the Droids and grab the minikit.
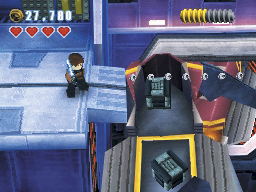
Head back up the ramp to the right. Target the debris at the top of the ramp, and use the Force to clear a path. When you reach the large gap, the game offers a brief jetpack tutorial.
Minikit 7
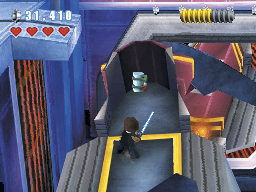
Instead of hovering through the silver LEGO studs, drop down to the rail jet car below you. Smash both boxes to reveal a build-it and a minikit. Grab the minikit, then build a Jedi pad and return to the main path.
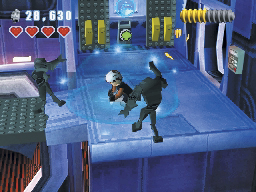
Switch to R2-D2 and and hold the Jump button to hover through the trail of silver studs. After you cross the gap, use the Droid control panel on the wall to extend a bridge. When the bridge snaps into place, two Super Battle Droids enter from the right. Select one of your Jedi characters to stun the Droids before they have a chance to attack.
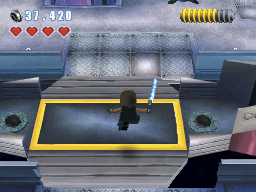
When you’re ready to continue, pass through the door to the right. Another group of Droids arrives on a rail jet car. Clear the area of enemies, then step onto the rail jet.
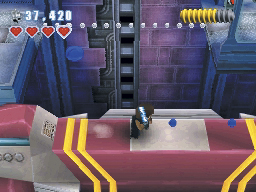
Before you cross to the next platform, move to the right and double-jump onto the next car. Grab the three blue studs above the rail jet, then hop back down and cross to the other side of the tracks.
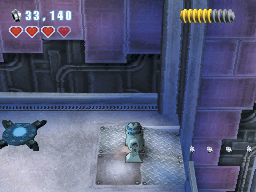
When you step off the rail jet, turn right and move to the ledge past the blue build-it pad. Switch to R2-D2 and hover through the trail of silver LEGO studs to reach the Droid control panel across the gap.
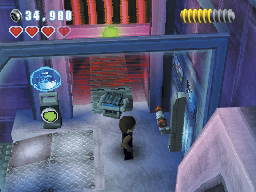
Use the Droid control panel to extend the bridge, then pull the lever to the right. Wait for the blue crate to appear, then carry it over to the build-it pad across the bridge.
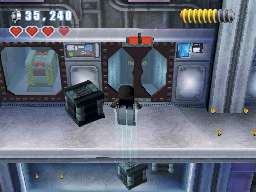
After you drop the crate on the pad, use the bricks to build a Jedi pad. Activate the pad to send one of your Jedi soaring up to the walkway high above you. When you land, smash the nearby box and build another Jedi pad from the contents.
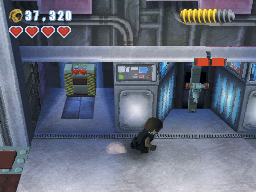
Activate the Jedi pad to cut through the glass, then push the sliding box toward the wall. When the box snaps into place, the door to the right opens to reveal a lever. Pull the lever to reactivate the rail jet. Drop down from the walkway or use the elevator to the left and return to the ground.
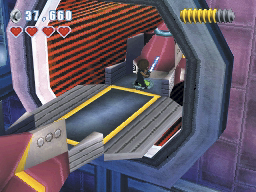
Return to the rail jet and destroy the newly arrived battle Droids. When you’re ready to move on, step on each of the car’s switches and continue to the next area.
When the rail jet stops, hop off and deal with the waiting Droids. Move to the right and pull the lever to raise a Jedi pad into place. Follow the ramp up to the Jedi pad to cut through the crane’s base. After the crane comes crashing down, move back down the ramp and return to the rail jet.
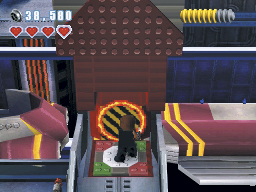
The wrecked rail jet offers a usable platform, but the two Super Battle Droids make it a dangerous leap. Deflect their blaster fire to defeat them from a safe distance. When the Droideka comes rolling in, double-jump across the gap and take it out as quickly as possible. Approach the hatch in the wall to rescue Padmé and C-3PO. Sweep the area for any studs you might have missed, then pass through the door to reach the next area.
Minikit 4 (Freeplay)
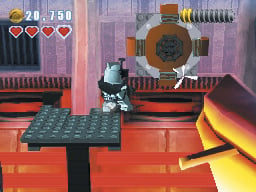
When you reach the last platform, switch to a heavy clone and shoot the flashing hatch. After you destroy the hatch, use a Jedi or jetpack character to safely collect the revealed minikit.
Red brick and minikit 8 (Freeplay)
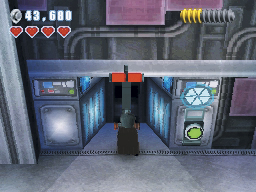
After you reactivate the rail jet, follow the walkway to the right. Select a valid character and activate the Separatist control panel near the locked door. When the door opens, pull the lever to open the door below the walkway. Move back to the left and take the elevator down one level.
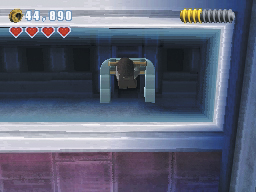
Step off the elevator and pass through the open door. Grab the studs to the right, and continue to the boxes near the end of the long window. Break the boxes and build a small door from the contents, then select a valid character to slip through to a secret area.
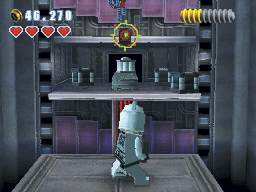
You appear in a small, secure room. Smash the boxes to reveal some bricks and then build a Jedi pad. Activate the pad to cut through the glass and walk through the opening. Use a light clone’s sharpshooting ability to shoot the controls across the gap. The conveyor belt starts up and drops a flashing crate on the ground.
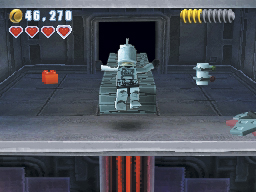
Use a heavy clone to destroy the flashing crate. Switch to a Jedi and use the Force on the crate’s contents. After the grapple pad appears beneath you, switch back to the light clone and swing across to grab the red brick and minikit near the conveyor belt. Use the bricks to build another grapple pad, then swing back over and head out the way you came in.
This mission’s red brick makes the Infinite Missiles extra available for purchase.
Minikit 7
Instead of hovering through the silver LEGO studs, drop down to the rail jet car below you. Smash both boxes to reveal a build-it and a minikit. Grab the minikit, then build a Jedi pad and return to the main path.
Switch to R2-D2 and and hold the Jump button to hover through the trail of silver studs. After you cross the gap, use the Droid control panel on the wall to extend a bridge. When the bridge snaps into place, two Super Battle Droids enter from the right. Select one of your Jedi characters to stun the Droids before they have a chance to attack.
When you’re ready to continue, pass through the door to the right. Another group of Droids arrives on a rail jet car. Clear the area of enemies, then step onto the rail jet.
Before you cross to the next platform, move to the right and double-jump onto the next car. Grab the three blue studs above the rail jet, then hop back down and cross to the other side of the tracks.
When you step off the rail jet, turn right and move to the ledge past the blue build-it pad. Switch to R2-D2 and hover through the trail of silver LEGO studs to reach the Droid control panel across the gap.
Use the Droid control panel to extend the bridge, then pull the lever to the right. Wait for the blue crate to appear, then carry it over to the build-it pad across the bridge.
After you drop the crate on the pad, use the bricks to build a Jedi pad. Activate the pad to send one of your Jedi soaring up to the walkway high above you. When you land, smash the nearby box and build another Jedi pad from the contents.
Activate the Jedi pad to cut through the glass, then push the sliding box toward the wall. When the box snaps into place, the door to the right opens to reveal a lever. Pull the lever to reactivate the rail jet. Drop down from the walkway or use the elevator to the left and return to the ground.
Return to the rail jet and destroy the newly arrived battle Droids. When you’re ready to move on, step on each of the car’s switches and continue to the next area.
When the rail jet stops, hop off and deal with the waiting Droids. Move to the right and pull the lever to raise a Jedi pad into place. Follow the ramp up to the Jedi pad to cut through the crane’s base. After the crane comes crashing down, move back down the ramp and return to the rail jet.
The wrecked rail jet offers a usable platform, but the two Super Battle Droids make it a dangerous leap. Deflect their blaster fire to defeat them from a safe distance. When the Droideka comes rolling in, double-jump across the gap and take it out as quickly as possible. Approach the hatch in the wall to rescue Padmé and C-3PO. Sweep the area for any studs you might have missed, then pass through the door to reach the next area.
Minikit 4 (Freeplay)
When you reach the last platform, switch to a heavy clone and shoot the flashing hatch. After you destroy the hatch, use a Jedi or jetpack character to safely collect the revealed minikit.
Red brick and minikit 8 (Freeplay)
After you reactivate the rail jet, follow the walkway to the right. Select a valid character and activate the Separatist control panel near the locked door. When the door opens, pull the lever to open the door below the walkway. Move back to the left and take the elevator down one level.
Step off the elevator and pass through the open door. Grab the studs to the right, and continue to the boxes near the end of the long window. Break the boxes and build a small door from the contents, then select a valid character to slip through to a secret area.
You appear in a small, secure room. Smash the boxes to reveal some bricks and then build a Jedi pad. Activate the pad to cut through the glass and walk through the opening. Use a light clone’s sharpshooting ability to shoot the controls across the gap. The conveyor belt starts up and drops a flashing crate on the ground.
Use a heavy clone to destroy the flashing crate. Switch to a Jedi and use the Force on the crate’s contents. After the grapple pad appears beneath you, switch back to the light clone and swing across to grab the red brick and minikit near the conveyor belt. Use the bricks to build another grapple pad, then swing back over and head out the way you came in.