
Lego Star Wars III: The Clone Wars Guide Walkthrough Ambush (DS)
Ambush-Act 1 (DS)
The level opens with Yoda near the wreckage of his escape pod. The path to the right is marked with two trails of LEGO studs, but don’t be too quick to leave the crash site.
Minikit 1
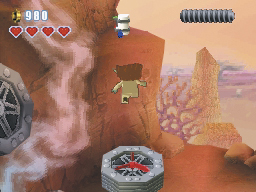
Target the escape pod’s thruster and use Yoda’s Force ability (hold ! or follow the touchscreen commands) to build a powerful fan near the rock wall. Hop onto the fan and float up to grab the minikit from the ledge above you.
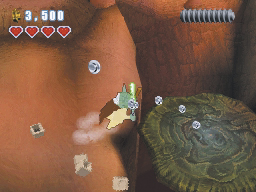
When you’re ready to continue, collect the LEGO studs from the groves to the right. Remember to smash any coral, grass, or rocks along the path; every stud you collect helps ensure that you reach True Jedi status before the end of the level. Jump through the trail of silver studs to head across the canyon.Follow the stud trails and use Yoda’s double-jump to clear the larger gaps.
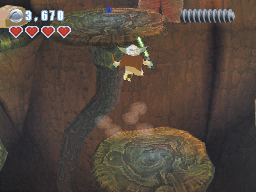
When you reach the canyon’s far side, move up and leap onto the platform near the top of the screen. The gap may look a little daunting, but a well-timed double-jump is enough to safely reach the platform. When you land, grab the blue stud and hop to the platform on the left.
Minikit 2
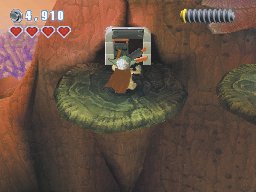
Smash the rock to create a pile of LEGO bricks. Stand near the bricks and hold the Action button to build a small door in the canyon wall. Take advantage of Yoda’s small size and hop through the newly constructed crawl space.
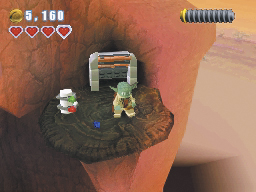
When you reach the other side, grab the minikit and blue stud from the platform, then use the crawl space return to the canyon. Hop along the platforms to reach the canyon’s right side and continue along the main path.
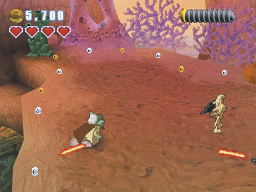
The AAT leaves two battle Droids to deal with you and retreats through a passage to the right. Press and hold the Attack button to deflect incoming blaster fire with Yoda’s Lightsaber. Defend yourself as you close the distance to the battle Droids. If the battle Droids manage to survive the deflected blaster shots, use the Lightsaber to deal with your attackers. Two more battle Droids repel into the area; deal with them and sweep the area for breakable objects and LEGO studs.
Battle Droid
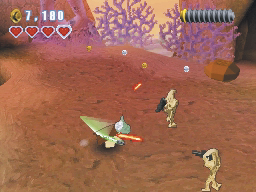
The basic battle Droid is the most common unit in the Separatist army. Battle Droids are poorly armored, but their blasters make them extremely dangerous in large numbers. Most character classes are more than a match for basic battle Droids. Use a Jedi to deflect incoming blaster shots and move in for close combat, or dodge a battle Droid’s attacks and return fire with any ranged character.
When you’re ready to leave the area, follow the AAT through the large passage to the right.
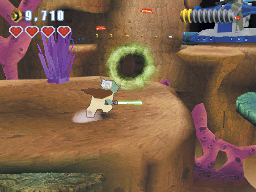
The ATT is waiting for you on the other side of the passage. As you approach, it lays down a heavy stream of blaster fire from across another canyon. Continue to the right until you target the boulder near the ledge, then use Yoda’s Force ability to throw the boulder across the canyon. The AAT falls from its platform and the resulting explosion blocks the way out.
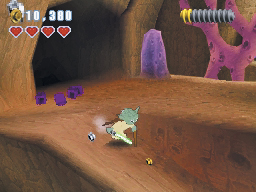
Search the area for LEGO studs, then head back to the entrance and follow the ramp down to the right. When you reach the end of the path, jump across to the green coral formation.
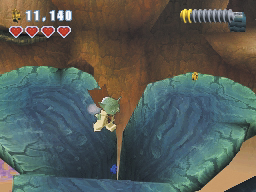
Make your way across the coral, but be sure to grab the blue stud at the center of the formation before moving on.
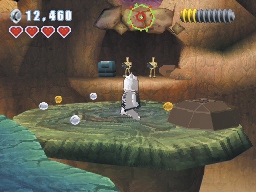
When you reach the next platform, switch characters and take control of your light clone. Hold the Target button to activate the light clone’s sharpshoot ability. Move the aiming reticle to the target above the two battle Droids, then release the button to bring several rocks down on your enemies.
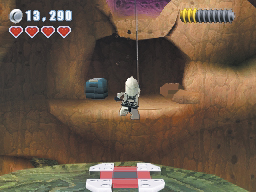
Tap the Attack button to fire the trooper’s blaster into the rock on the platform’s right edge, then use the pile of LEGO bricks to build a grapple pad. Stand on the pad and tap the Attack button (or follow the touchscreen commands) to swing across the canyon.
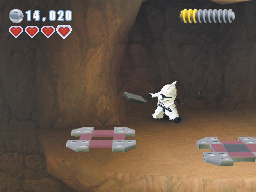
When you land, smash both the box and the breakable rock on the platform and use the LEGO bricks to build two new grapple pads. The pad on the right allows you to swing back across the canyon, while the pad on the left lets you grapple up to the platform above you.
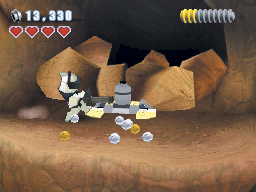
Use the grapple pad on the platform’s left side to reach the next platform. Blast the box in front of you to reveal a pile of LEGO bricks. Use the bricks to build a large bomb, then switch to your heavy clone. Activate the bomb to clear the passage, then head inside.
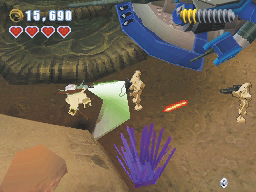
On the other side of the passage you find two battle Droids arguing near a crashed AAT. When the Droids finally notice your arrival, charge in and take them out. Deal with any reinforcements, then sweep the area for LEGO studs.
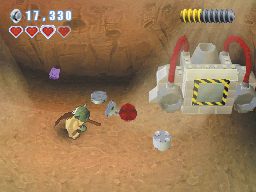
Move past the AAT and locate the device along the rocks. Build a power cell from the nearby pile of LEGO bricks, then use Yoda’s Force ability to drop the cell into the machine. When the power cell is in place, a small box pops out of the machine and breaks apart into LEGO bricks.
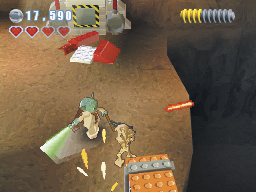
Move down and deal with the Droids guarding the nearby crate. Smash the crate to reveal a second pile of LEGO bricks, then use the Force to build the far half of a light bridge. Move back to the bricks near the machine and build the second half of the bridge.
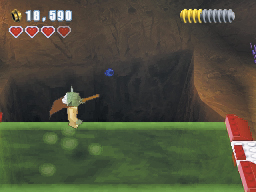
Head across the light bridge. Double-jump to grab the blue stud high above the bridge, then draw your Lightsaber and prepare to face some heavy resistance.
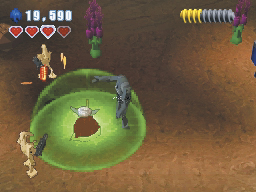
When you reach the far side of the bridge, three Droids open fire. By now, you should be fairly comfortable dealing with battle Droids, but the Super Battle Droid is a much tougher enemy. Deflect incoming blaster fire and perform a Jedi ground slam as you approach the Droids. Double-jump toward the attackers and tap the Attack button to weaken them, and then finish them off with a Lightsaber strike.
Super Battle Droid.
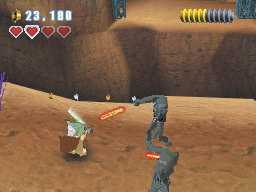
The Super Battle Droid is well-armed, heavily armored, and has a crushing melee attack to deal with nearby foes. Whenever you come across one of these formidable opponents, switch to an available Jedi or heavy clone. When combined with the Lightsaber’s defensive properties, the Jedi’s ground slam offers what is probably the safest option. However, the heavy clone’s blaster cannon and Droid poppers can clear even the most crowded battlefield in a matter of seconds.
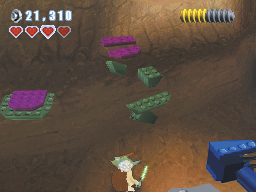
After you clear the area, two fresh battle Droids emerge from the nearby AAT. Deal with them, then search the area for breakable objects and LEGO studs. The two coral sprouts near the AAT turn into LEGO bricks when they shatter. Stand near the pile to the left and build a small platform on the rock wall. Target the second pile of bricks and use the Force to form another platform.
Minikit 3
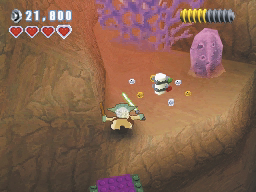
Jump up along the platforms to collect minikit from the ledge high above the AAT, then drop back down to the ground.
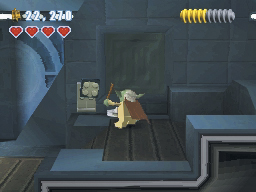
Head into the open AAT and take care of the battle Droids inside. Smash the destructible panels and collect the LEGO studs. You can use the pile of LEGO bricks to build a Separatist control panel, but none of the characters available in Story mode are able to use it.
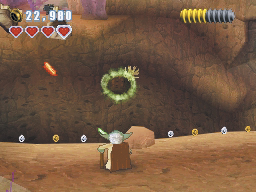
When you’re ready to continue, leave the AAT and follow the trail of studs to the next area. Watch out for blaster fire as you continue to the right, and target the boulder in the canyon wall and use the Force to throw it toward the battle Droids.
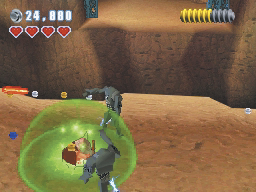
Keep Yoda’s Lightsaber handy and make your way toward the two Super Battle Droids to the right. Take out the Droids with deflected blaster fire, or use a well placed ground slam to stun both enemies.
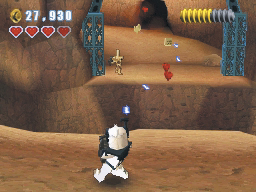
Switch to one of your clone troopers and face the battle Droids across the canyon. Hold the Attack button to lay down a steady stream of blaster fire and keep moving to dodge incoming attacks.
Hold down the Attack button to enable strafing while controlling any character equipped with a ranged weapon.
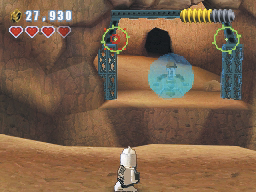
When the Droideka rolls up, switch to your light clone and sharpshoot the two targets across the canyon. You can’t move while the sharpshoot ability is active, so try to hit both targets before the Droideka opens fire.
Droideka
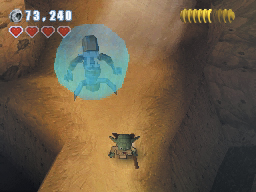
The Droideka is among the most dangerous units in any Droid army. The Droideka travels at high speeds by tucking itself into a wheel and rolling at its enemies. A fully deployed Droideka boasts massive firepower and a nearly impenetrable shield. Droidekas are vulnerable to blaster fire when they’re on the move—just be sure to stay out of their way. When you face a Droideka in direct combat, select an available Jedi or heavy clone. Use the ground slam or Droid popper to disable its shield, then finish the Droideka off before it recovers.
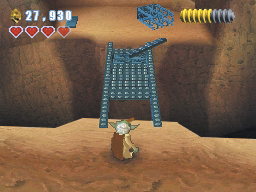
After the metal supports collapse on the Droideka, switch back to Yoda. Use the Force on the wreckage to build a bridge, then head across the canyon.
Red brick (Freeplay)
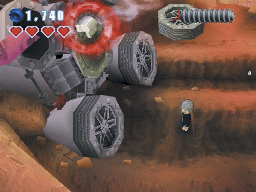
Select any Sith in your party, then target the latch above the escape pod’s hatch. Use the Force to open the pod and head inside. Four lights and a broken Droid control panel are mounted on the wall. To repair the panel, use the Force to turn on each of the lights.
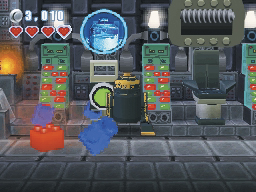
Select a Droid from your party and activate the panel. Successfully complete the Droid minigame to reveal a hidden crate. When the crate shatters, collect the red brick from the floor of the escape pod and head back outside.
After you collect this red brick, you are able to purchase the minigames for the rec room.
Minikit 4 (Freeplay)
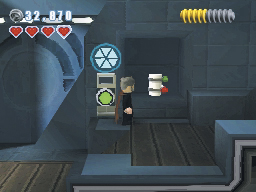
Clear out the open AAT and smash
the destructible panels at the end of the walkway, then use the LEGO bricks to build a Separatist control panel. Select a valid (highlighted) character and activate the panel and complete the Separatist minigame. Collect the minikit from the hidden compartment and head back outside.