
Lego Star Wars III: The Clone Wars Guide Walkthrough Asajj Ventress
Chapter IV: Storm Over Ryloth
“It is a rough road that leads to the heights of greatness.”
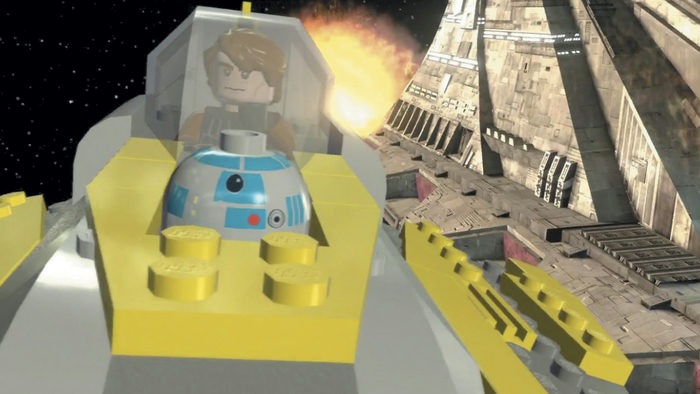
As ordered by Ventress, vile Separatist leader Wat Tambor has invaded the Twi’lek home world of Ryloth. While his Droid army plunders the planet of its treasure, his fleet of ships have formed a blockade in orbit around Ryloth to prevent any relief getting to the starving civilians. The Republic responds by sending Admiral Yularen with Jedi Generals Kenobi and Skywalker to break the blockade and defeat Tambor....
Minikits
|
No. |
Icon(s) |
Mode |
Notes |
|
1
|
— |
Free Play |
Use a rapid-fire ship to destroy the 10 gold objects on the front of the Republic battleship. |
| 2 |
— |
Free Play |
Use an enemy ship to destroy the red glowing object near the Republic battleship’s bridge. |
| 3 |
— |
Free Play |
Destroy the five enemy ships that are highlighted with green reticles. |
| 4 | 4 |
Free Play |
Destroy the silver crate inside the first turbo laser bay, then build and activate an astromech Droid control panel. Collect the minikit in space. |
| 5 | 5 |
Story |
While operating a turbo laser turret, destroy 10 enemy fighters. |
| 6 | 6 |
Free Play |
Activate the power panel on the left landing pad, then commandeer a Vulture Droid and walk it across the orange pads. |
| 7 | 7 |
Free Play |
Destroy the gold door on the bridge. |
| 8 | 8 |
Free Play |
Grapple the hook point on the bridge, then use the Dark Force to build a pad. Step on the pad. |
| 9 | 9 |
Free Play |
Use Jar Jar to leap up and grab the minikit that hovers near the ramp to the bridge. |
| 10 | 10 |
Free Play |
Use the crawl space hatch near the torpedo generator. |
True Jedi Stud Requirement: 70,000
Story Characters
Anakin Skywalker
Obi-Wan Kenobi
Objective 1: Destroy the First Enemy Warship
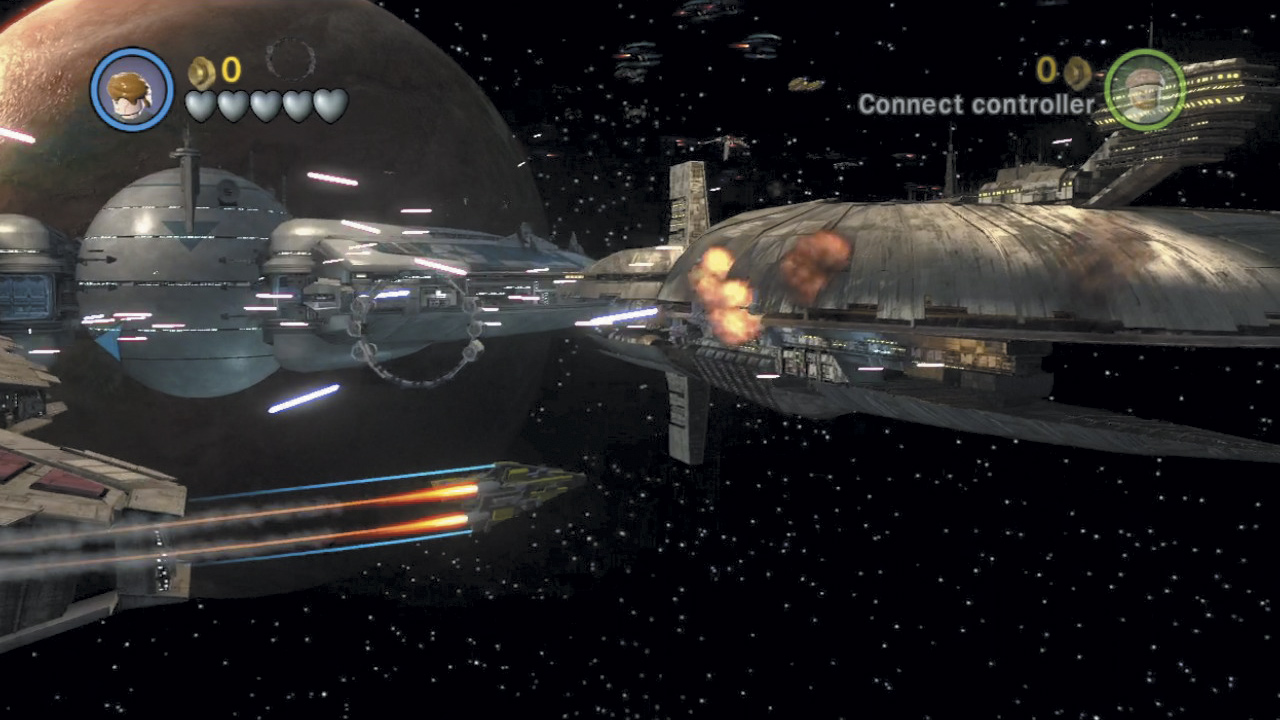
A Republic battleship has become surrounded by Separatist warships, and it won’t last long without your help! Get a feel for your starfighter as you survey the Republic battleship (the one in the middle, with the red paint). Hold the Jump button to boost, and double-tap the control stick in any direction to perform a quick, evasive maneuver.
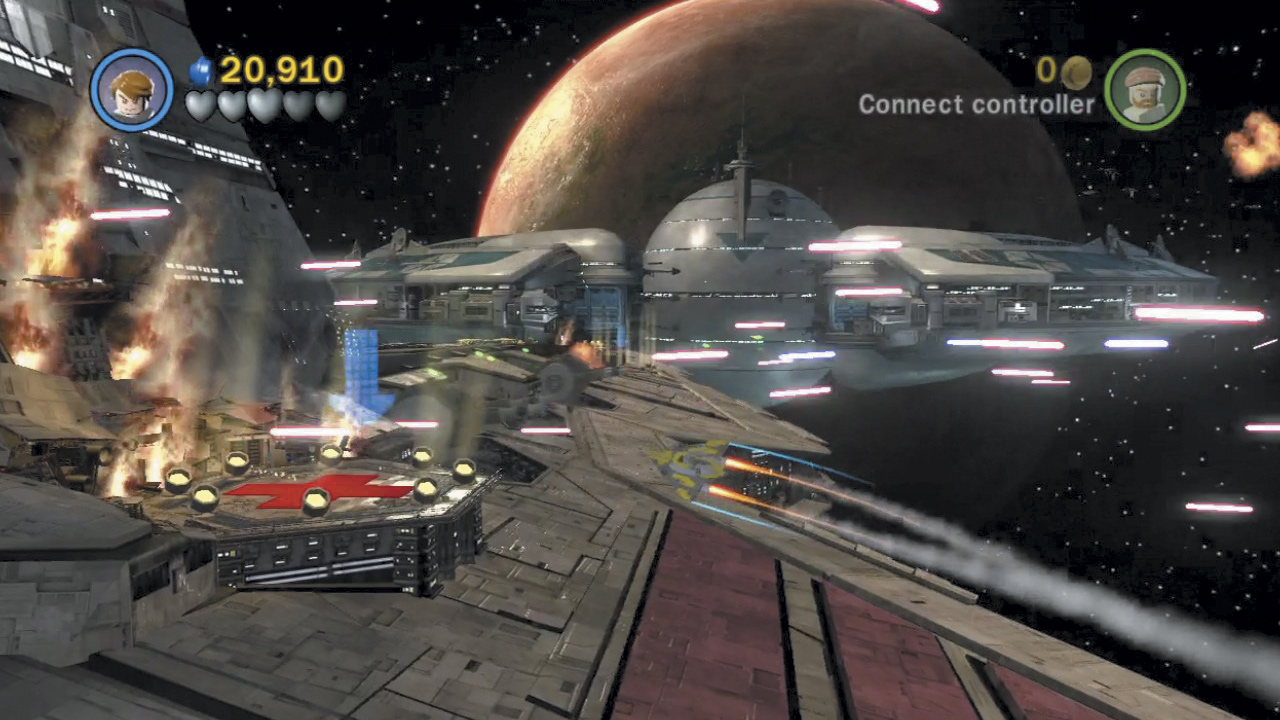
There are two landing pads on the Republic battleship’s right side. Fly up close to the one near the rear of the ship (closer to the foreground), which is marked by a blue arrow. Press the Change Character button to land when you’re close enough.
Minikit 1 (Freeplay)
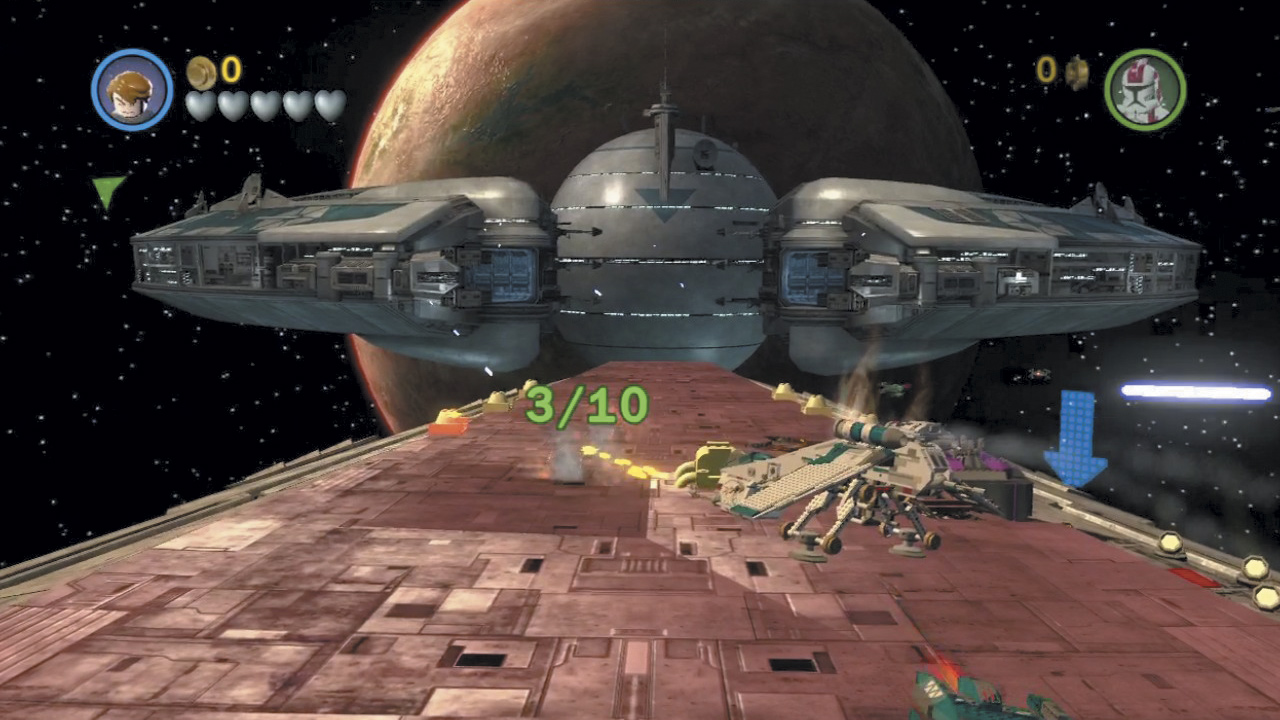
Before landing, toggle to a rapid-fire spacecraft and fly to the front end of the Republic battleship. Destroy ten gold objects on the front of the ship to receive a minikit!
Minikit 2 (Freeplay)
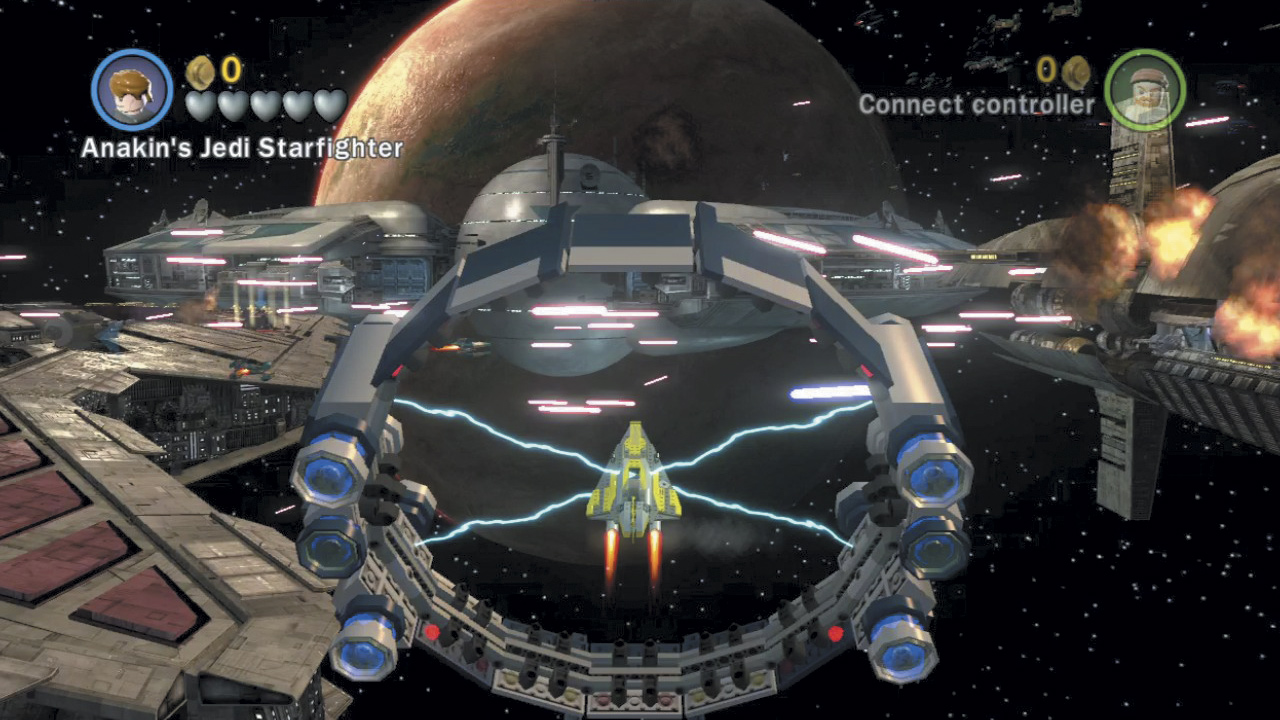
While flying around in space, look for a circular object and fly up close. These are called boost rings—press the Change Character button to dock at the ring, then press the Jump button to boost up to a higher elevation.
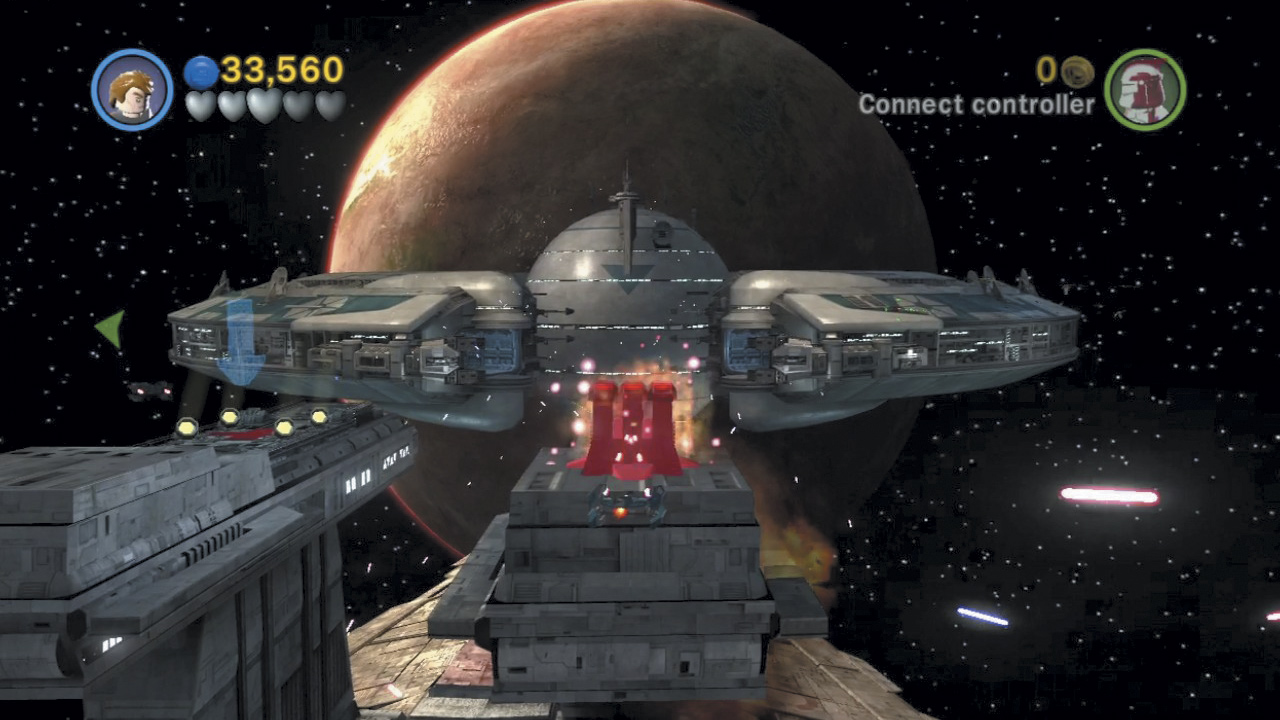
Toggle to any enemy ship, such as a Vulture Droid, and fire on the red glowing object you find atop the Republic battleship. The object explodes, and out pops a minikit! Find another boost ring and use it to return to normal elevation after collecting your prize.
Minikit 3 (Freeplay)
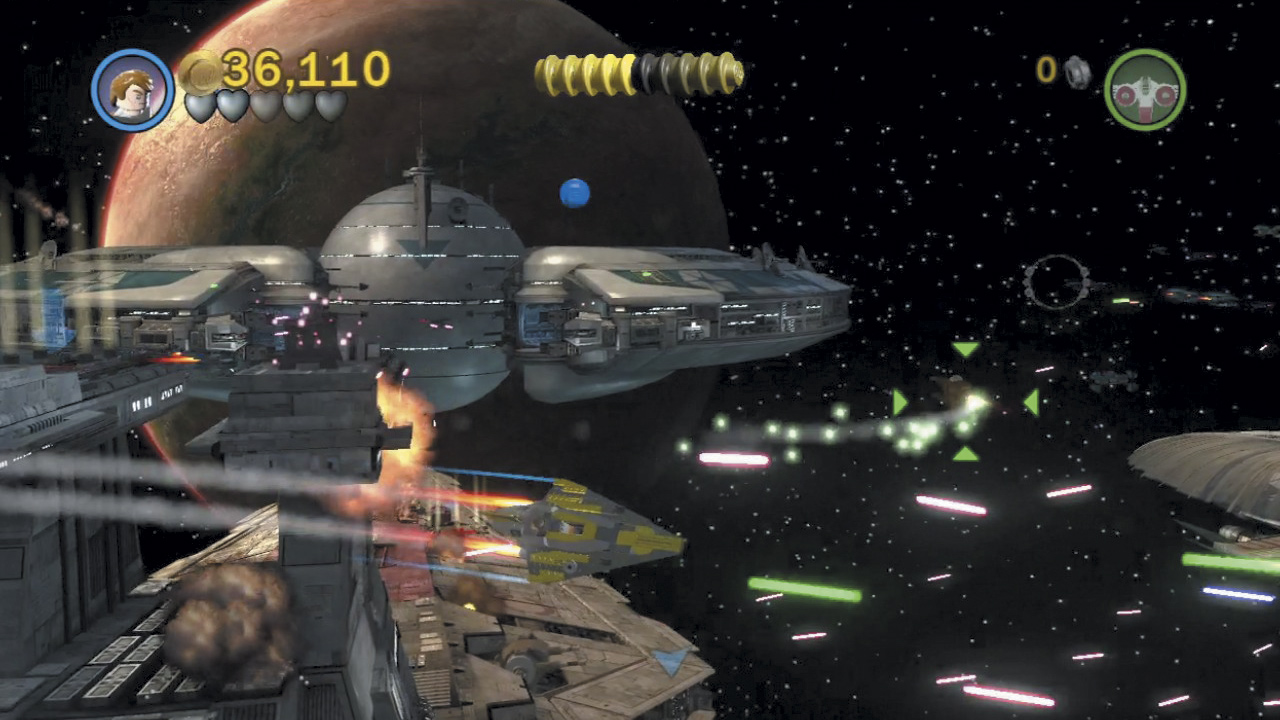
During Free Play, five enemy ships will be highlighted by green reticles. Seek and destroy these five ships right from the start to score a minikit! You may need to use boost rings to find them all.
Landing Pad A
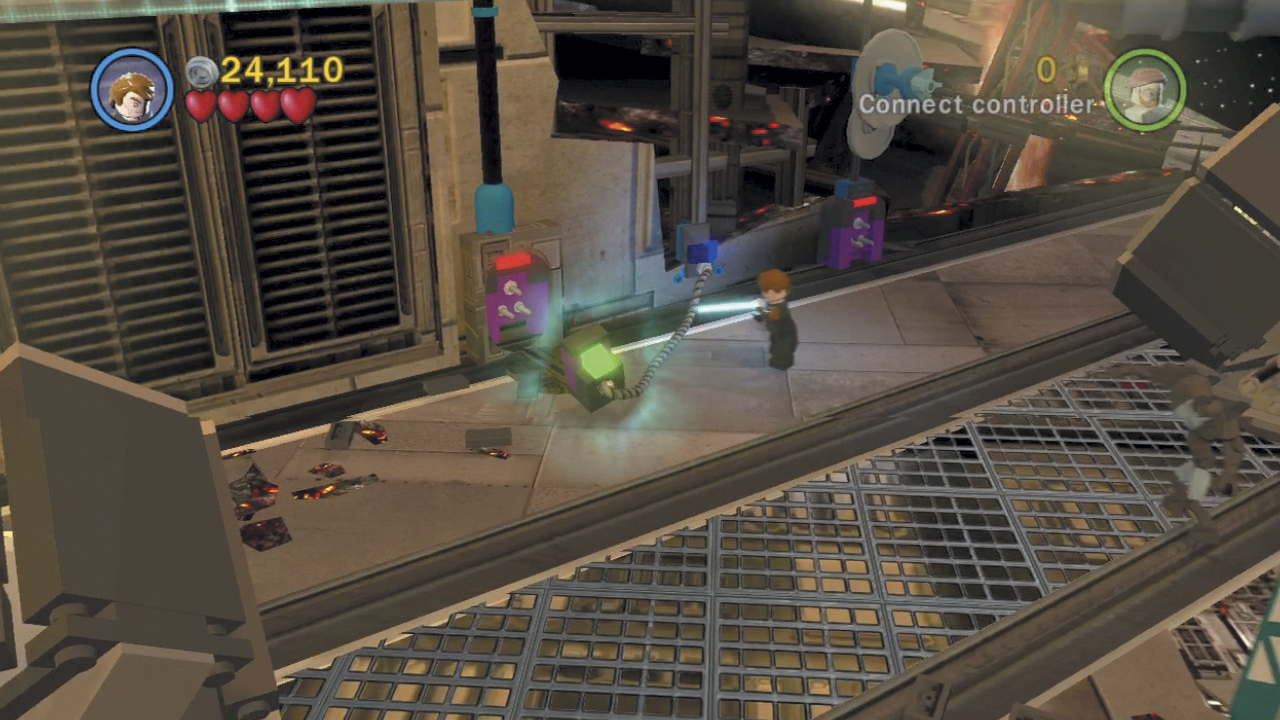
On the first landing pad, cut a small hole in the wall where the Jedi logo appears to expose a socket. Force-move the nearby plug into the wall socket, then enter the door that opens.
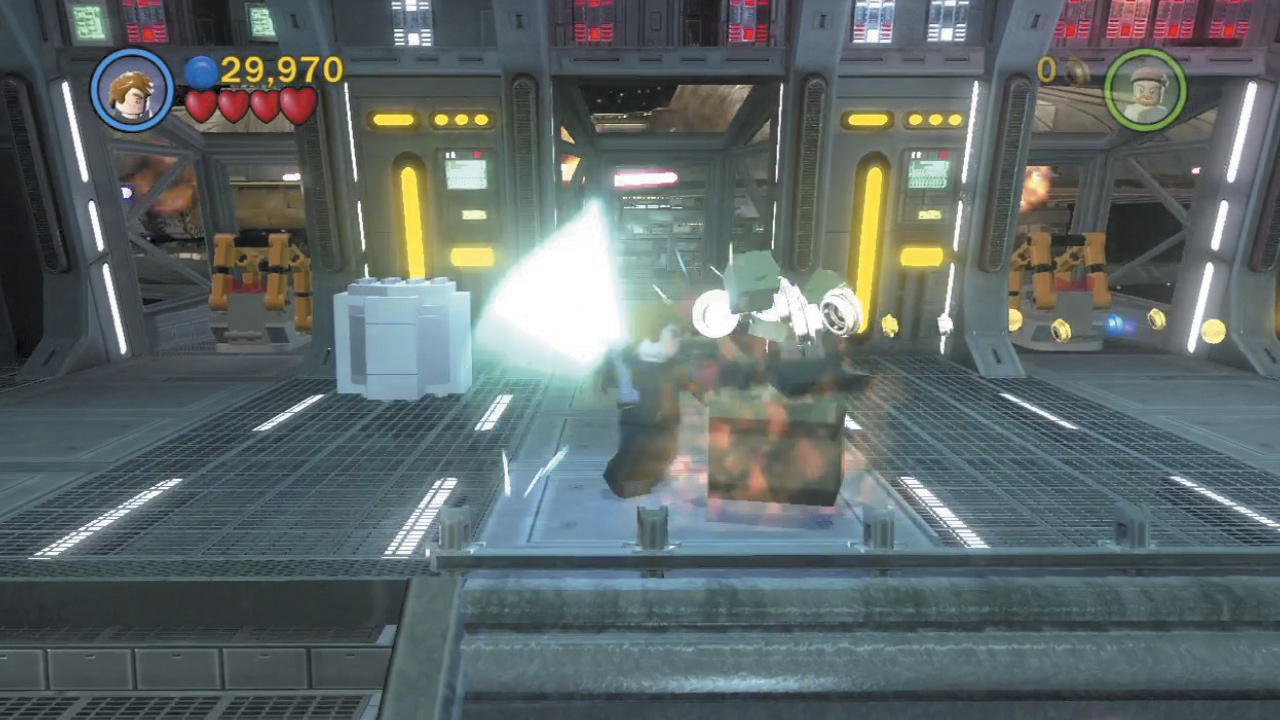
The door leads to one of the Republic battleship’s turbo laser bays. Smash up the place for studs, then hop into one of the gunner’s seats.
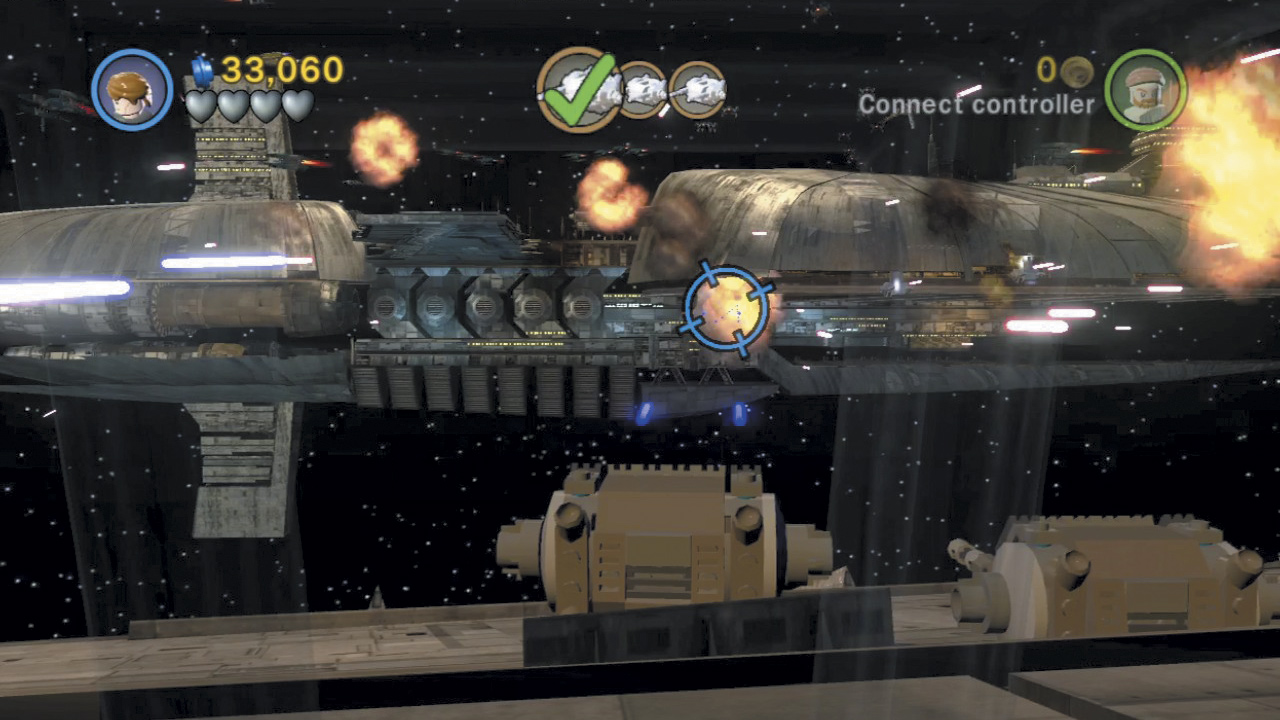
Pass your targeting reticle over the enemy warship and notice that three of the ship’s turbo lasers become highlighted. Fire on each of these three targets until they go boom, and the entire warship will be destroyed.
Minikit 5
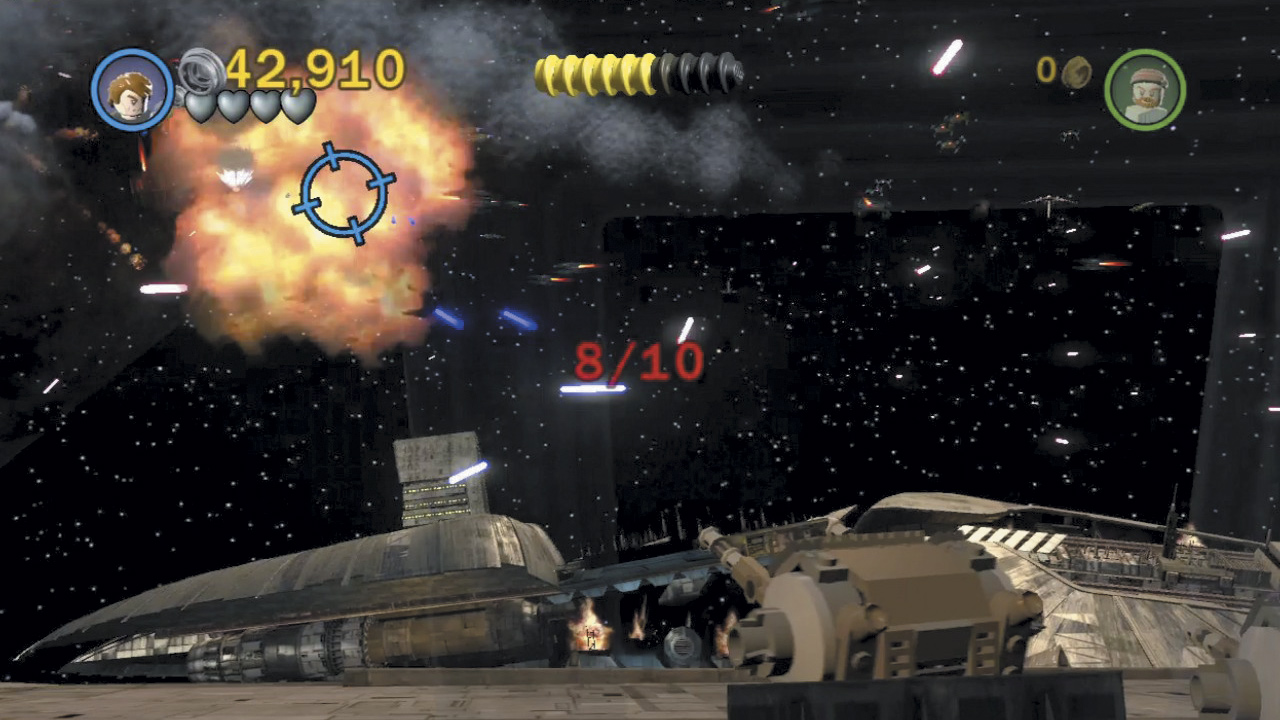
After destroying the first enemy warship, use your turbo lasers to shoot down ten enemy fighters—you’ll be rewarded with a minikit! This is also a great way to rack up studs for the mission’s True Jedi requirement.
Minikit 4 (Freeplay)
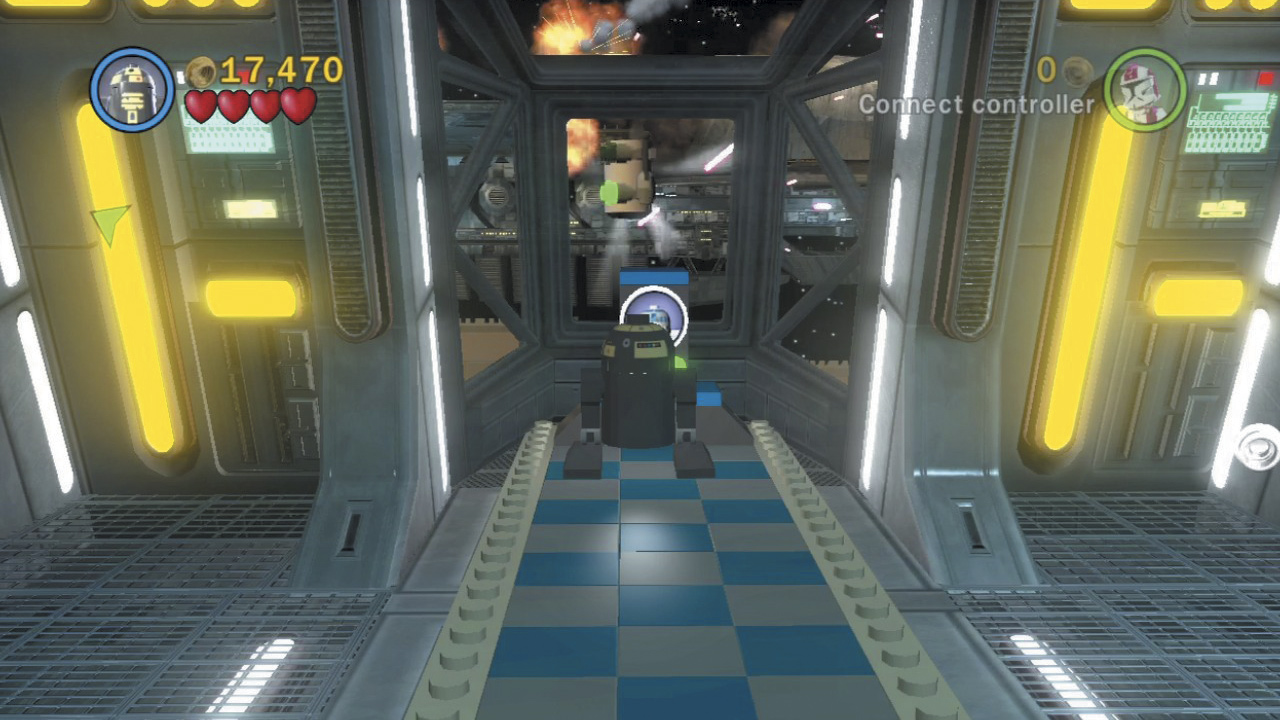
Toggle to a character with explosive attacks and destroy the silver crate inside the turbo laser bay. Build the remaining bits into an astromech Droid control panel, then slide the panel along the checkered track and activate it to make a minikit float out into space! Look for the minikit after you lift off—it won’t be far.
Objective 2: Destroy the Second Enemy Warship
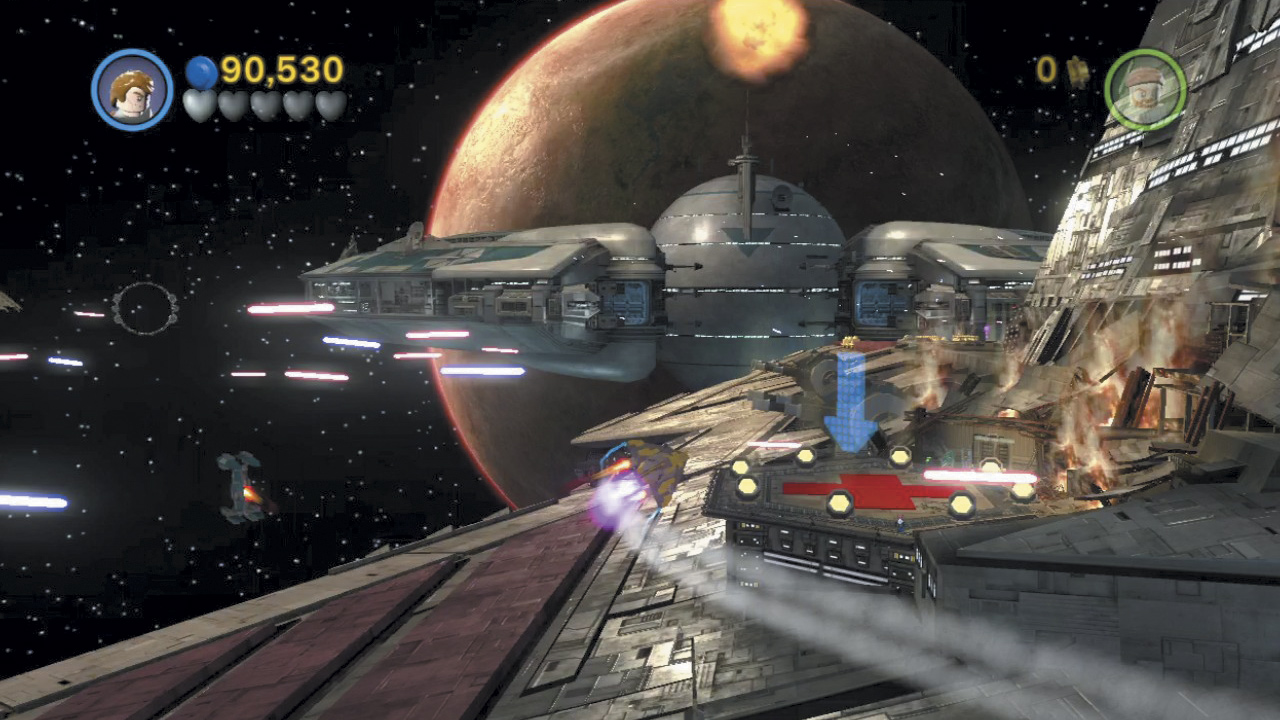
Return to your ship and take flight. Fly to the left to discover a landing pad on the Republic battleship’s left side, and touch down here.
Landing Pad B
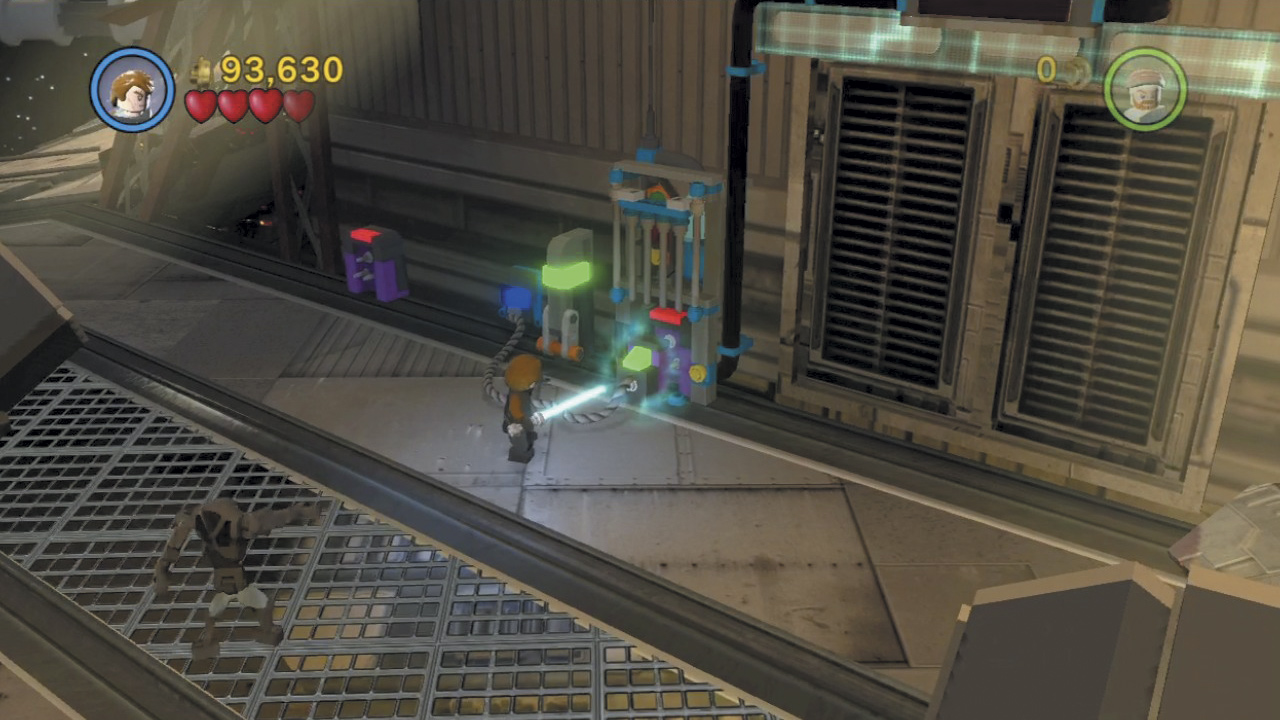
Spy a ruined vulture Droid on this landing pad and attack it to reveal some pieces. Build these to create a lever, then pull the lever to expose a wall socket. Force-move the nearby plug into the socket to open a door.
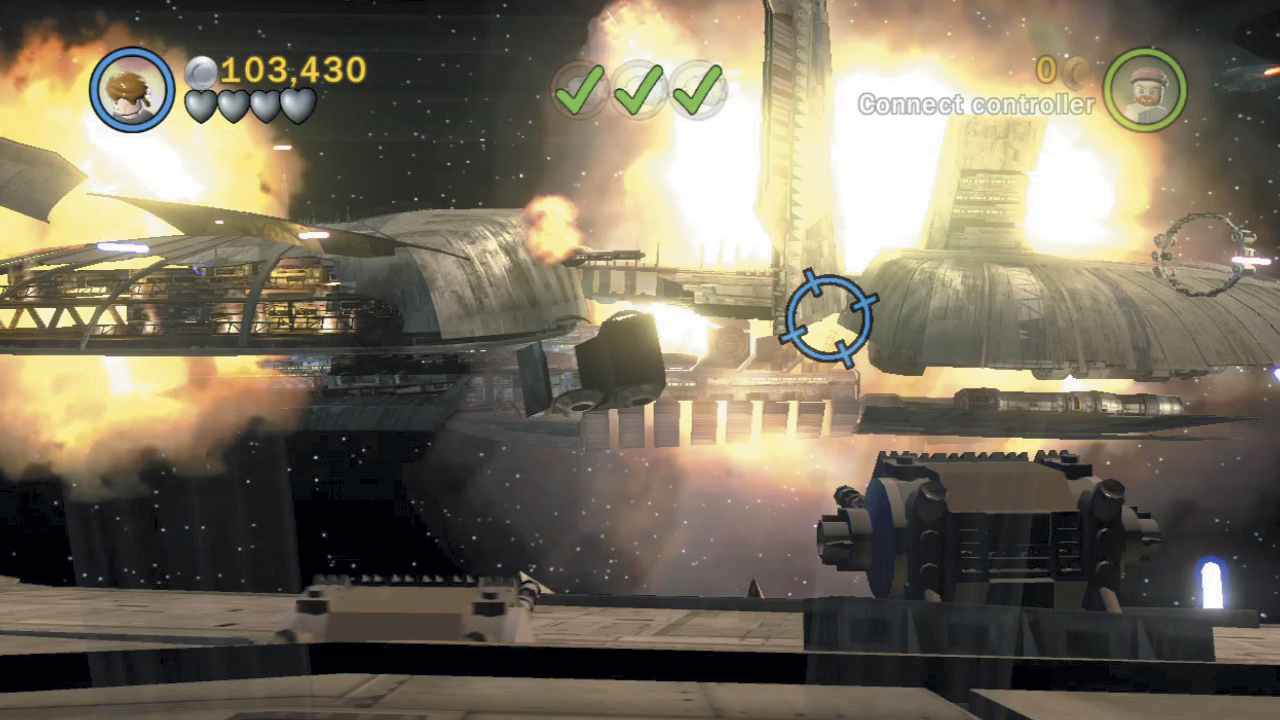
The door leads to another turbo laser bay. Hop into a gunner’s seat and pass your reticle over the enemy warship as you did before to highlight three turbo lasers. Destroy all three of these to bring down the ship.
Minikit 6 (Freeplay)
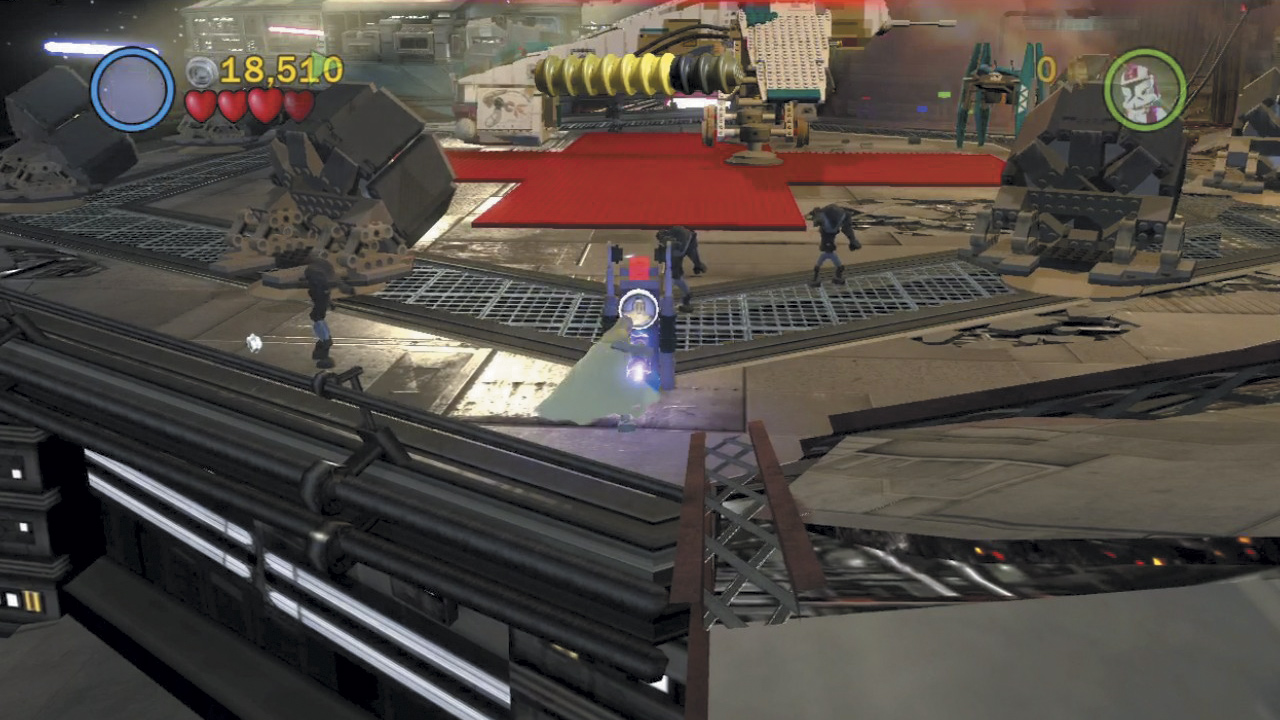
Toggle to a MagnaGuard or similar character and activate the power panel at the south end of the landing pad. This causes a number of orange pads to appear on the ground.
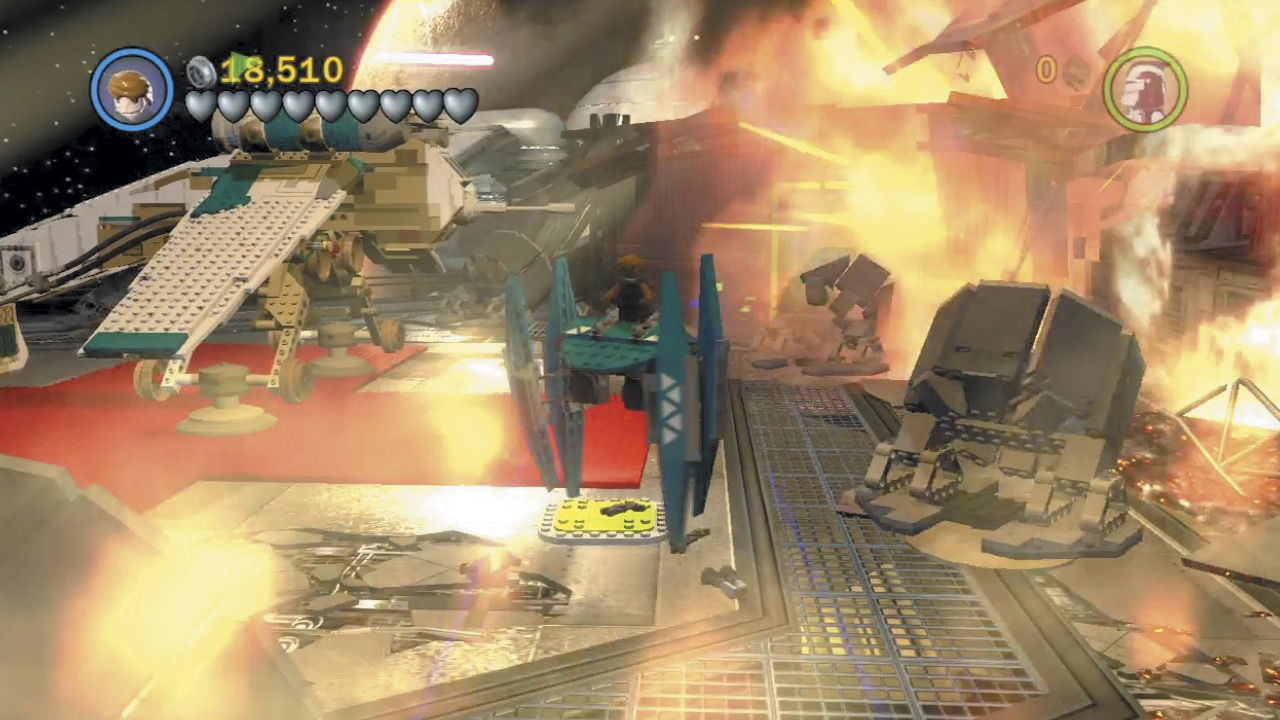
Attack a functional enemy Vulture Droid to disable it, then use the Jedi logo that appears in front of the Vulture Droid to sever its “head” and take control. Steer the Vulture Droid over each of the orange pads to turn them green and obtain a minikit! The pads reset to orange after a time, so you need to make a swift circuit of the area.
Objective 3: Visit the Bridge
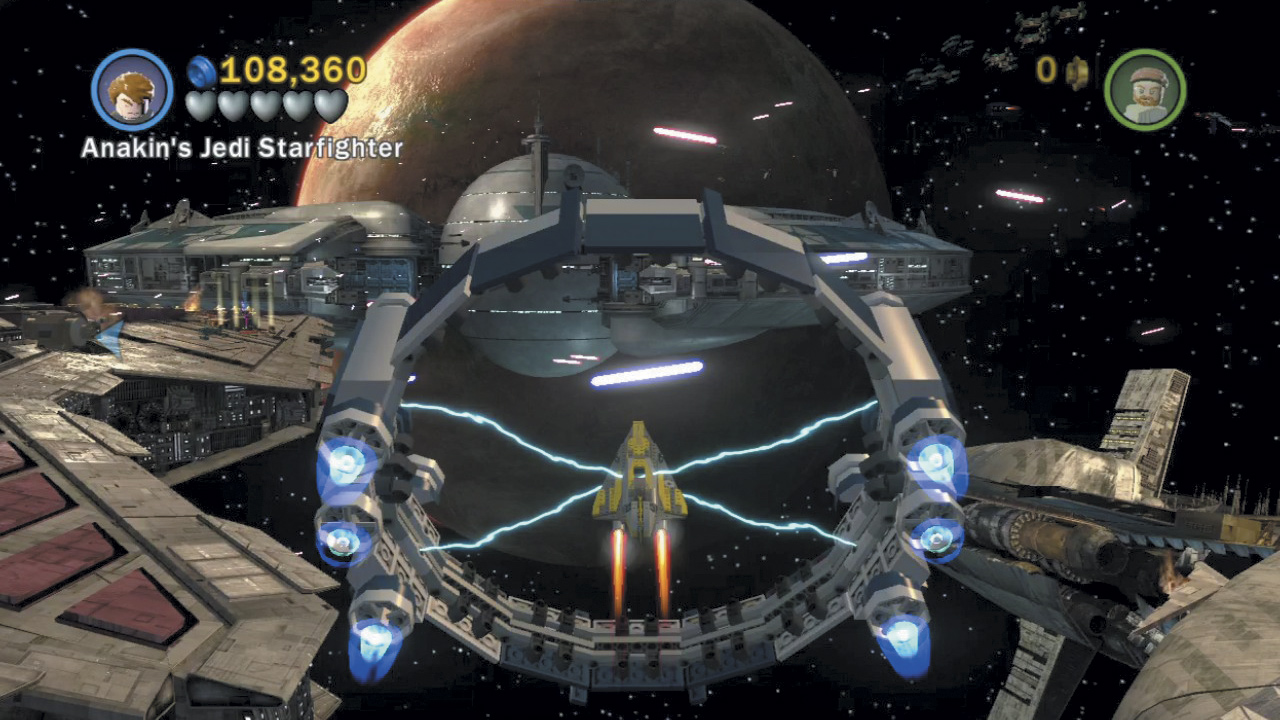
Destroying the second enemy warship enables you to land at a new site, which is located on top of the Republic battleship. Return to your fighter and take off, then look for a circular object in space, called a boost ring. Press the Change Character button to dock at the ring, then press the Jump button to boost up to a higher elevation.
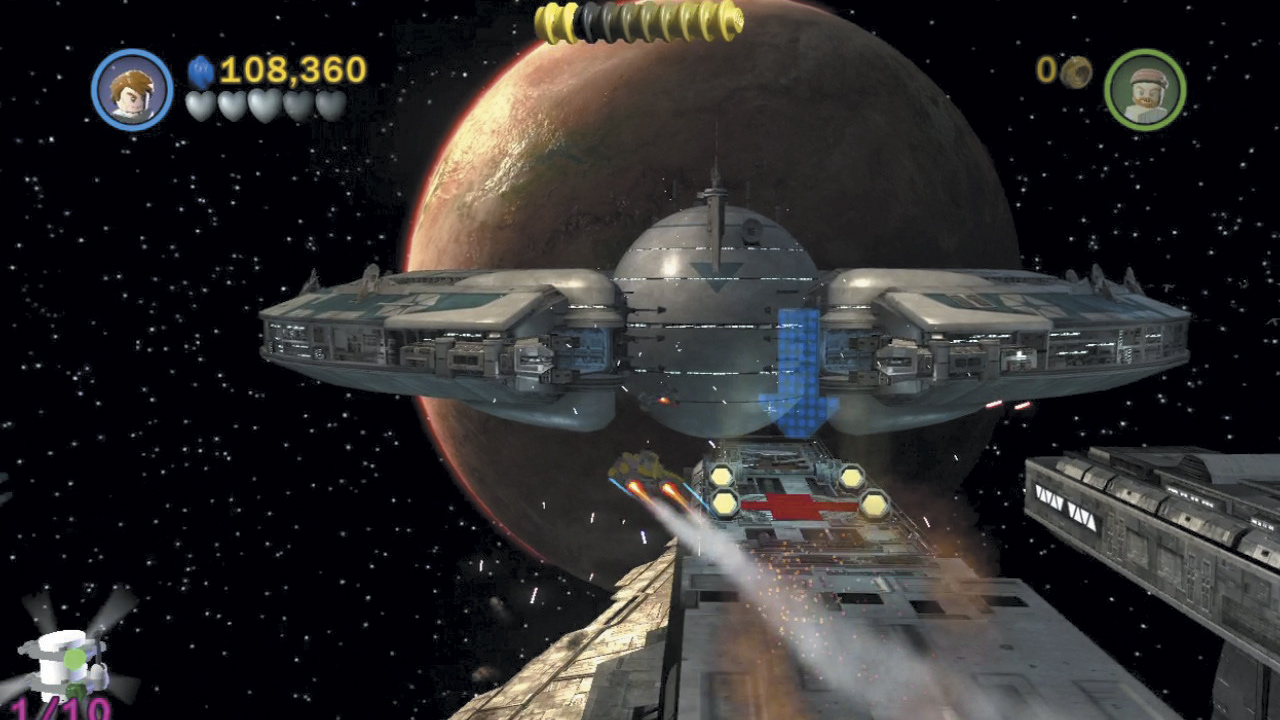
Fly close to the Republic battleship to discover the new landing site. Set your ship down here and descend the ramp to reach the ship’s bridge.
Landing Pad C
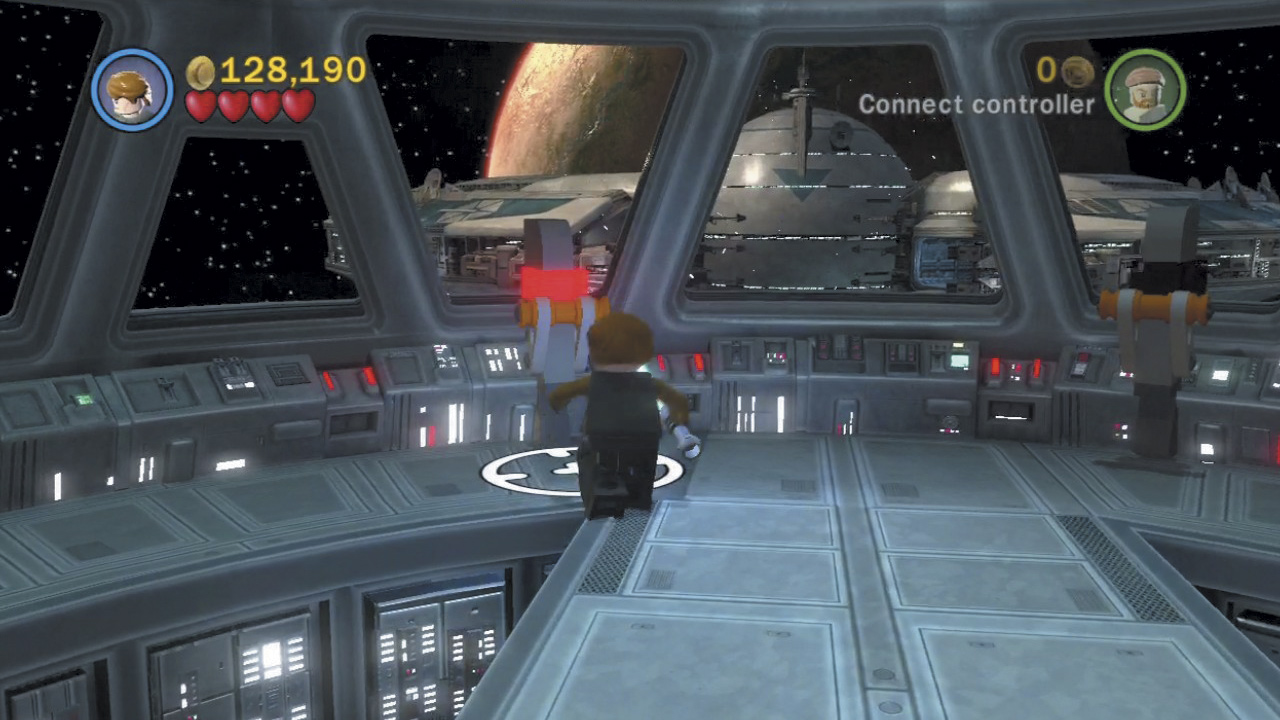
Smash up the bridge for studs, then run toward the background to discover a pair of levers. Only one of the levers is functional at present; pull it and then return to your ship.
Minikit 7 (Freeplay)
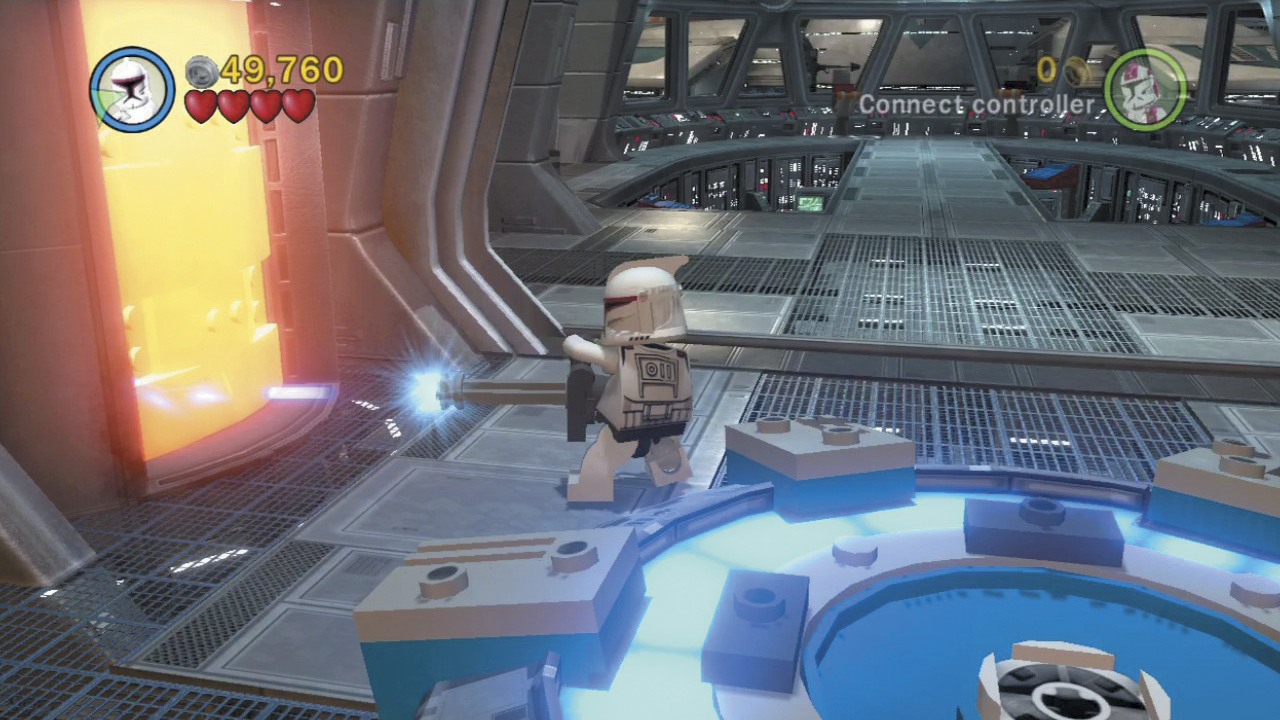
This one’s a cinch: Just use a rapid-fire character to destroy the gold door on the left side of the bridge, then claim the minikit from the nook beyond!
Minikit 8 (Freeplay)
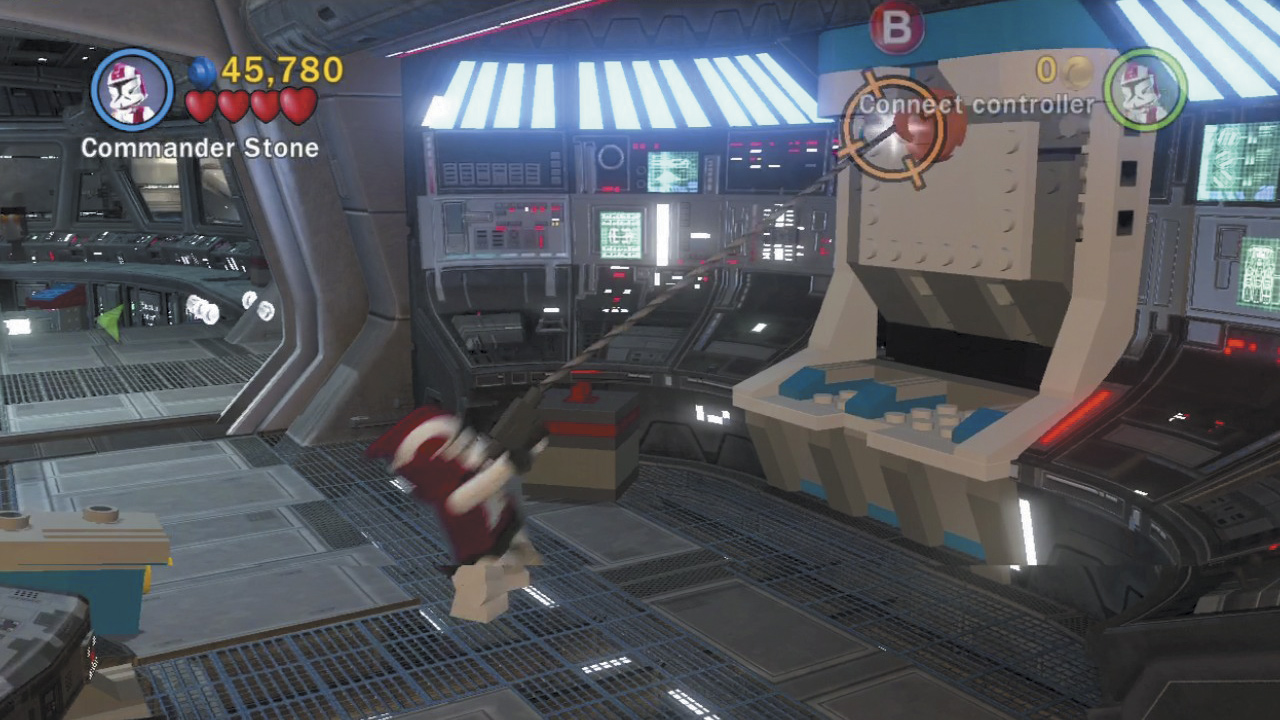
Grapple the hook point on the right side of the bridge, then use the Dark Force to create a pad near the bridge’s command console. Stand on the pad to make a minikit appear right before your eyes!
Minikit 9 (Freeplay)
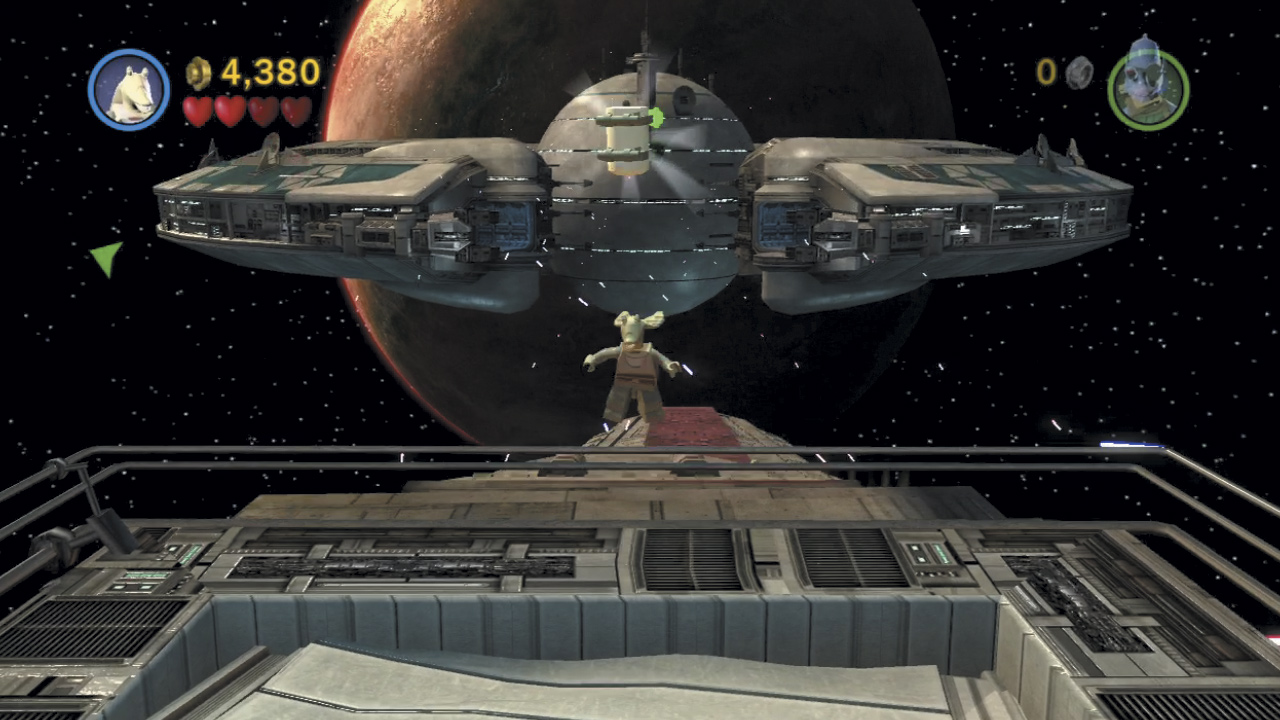
Before leaving the bridge landing site, run around the ramp and head toward the background. Spy a minikit hovering high above and use Jar Jar to reach it. You-sa will be glad you did!
Objective 4: Destroy the Final Warships
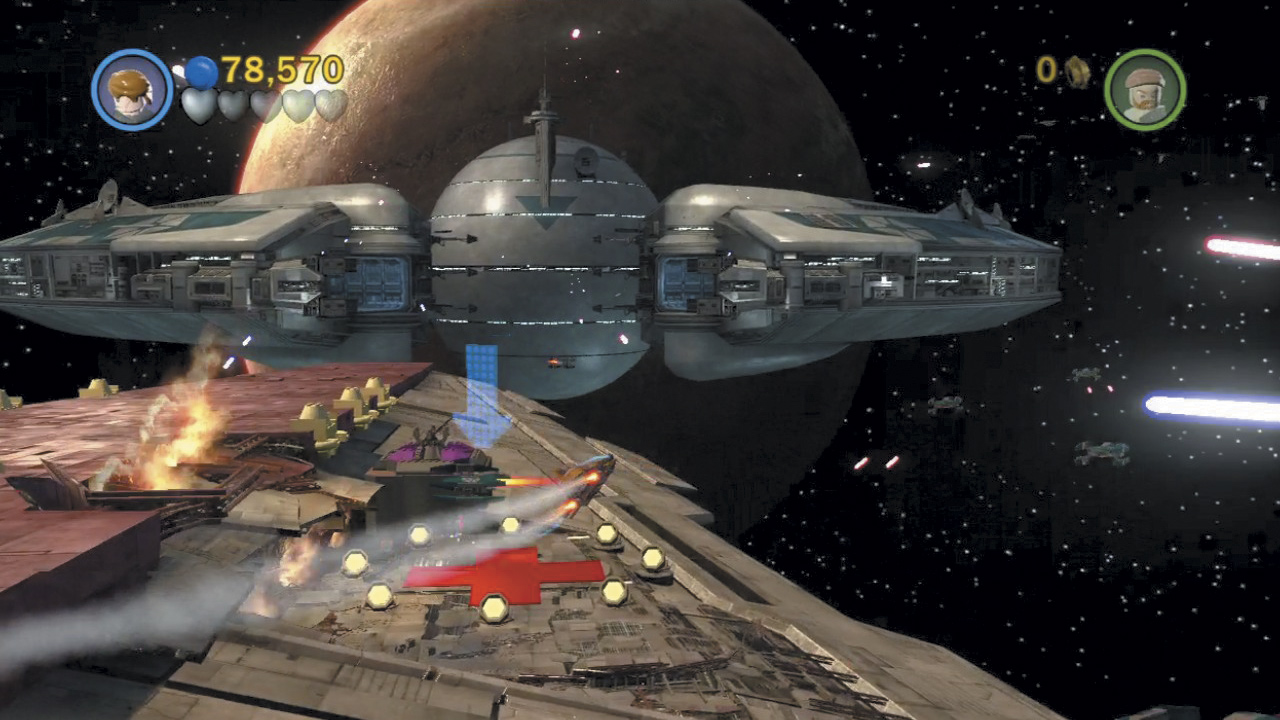
Two more Separatist warships enter the area after you pull the lever on the bridge. You need torpedoes to take these two out—use a boost ring to return to normal elevation, then fly toward the background and touch down at the other landing pad on the Republic battleship’s right side (the only one you haven’t visited yet).
Landing Pad D
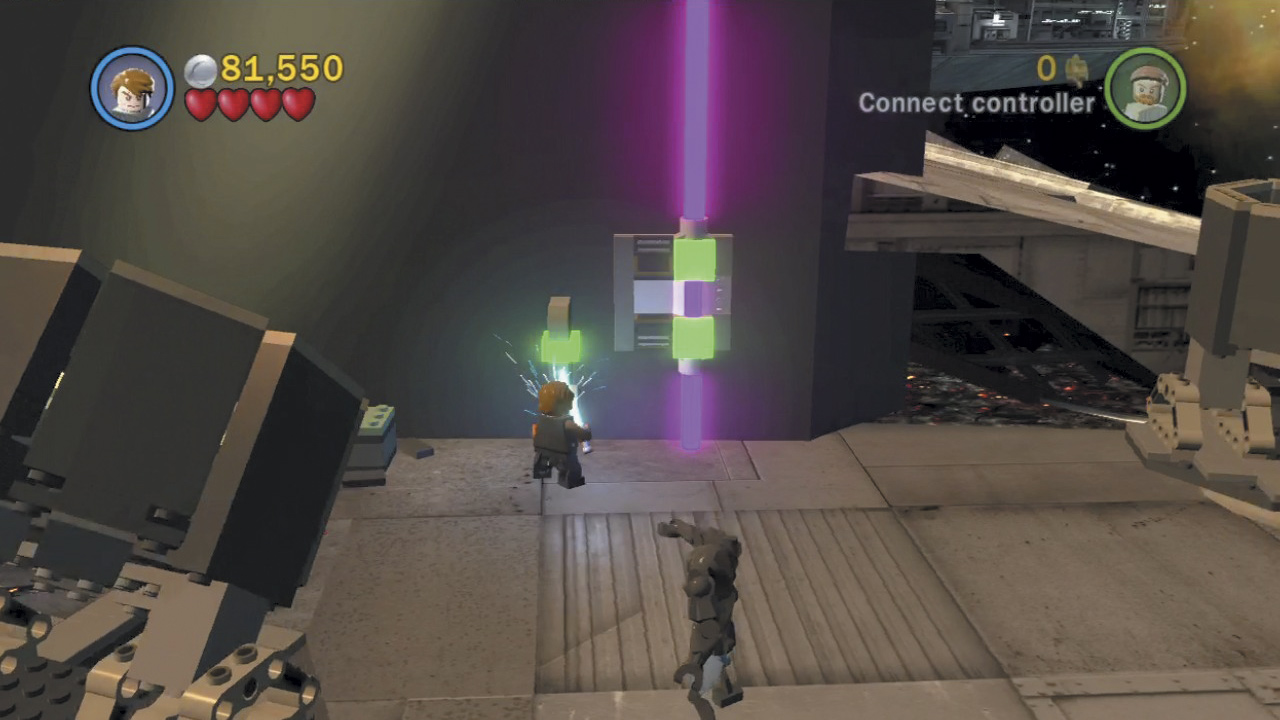
After you land, locate a lever and pull it to activate a torpedo generator. That’s all you need to do here—return to your ship and grab some of those torpedoes!
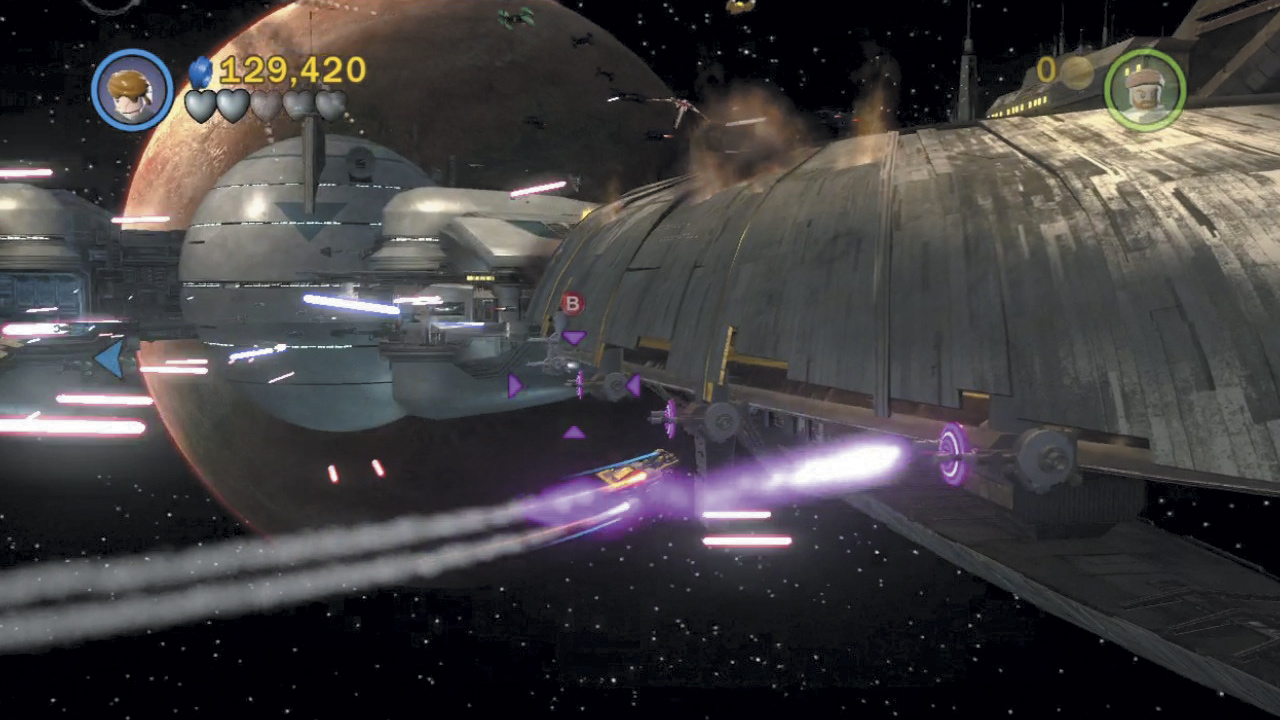
Once you’ve acquired some torpedoes, fly to the right or left and notice three pink targets on each enemy warship. Press the Action button to launch torpedoes at each pink target, obliterating all three to expose the ships’ silver turbo lasers. Return to collect more torpedoes as needed.
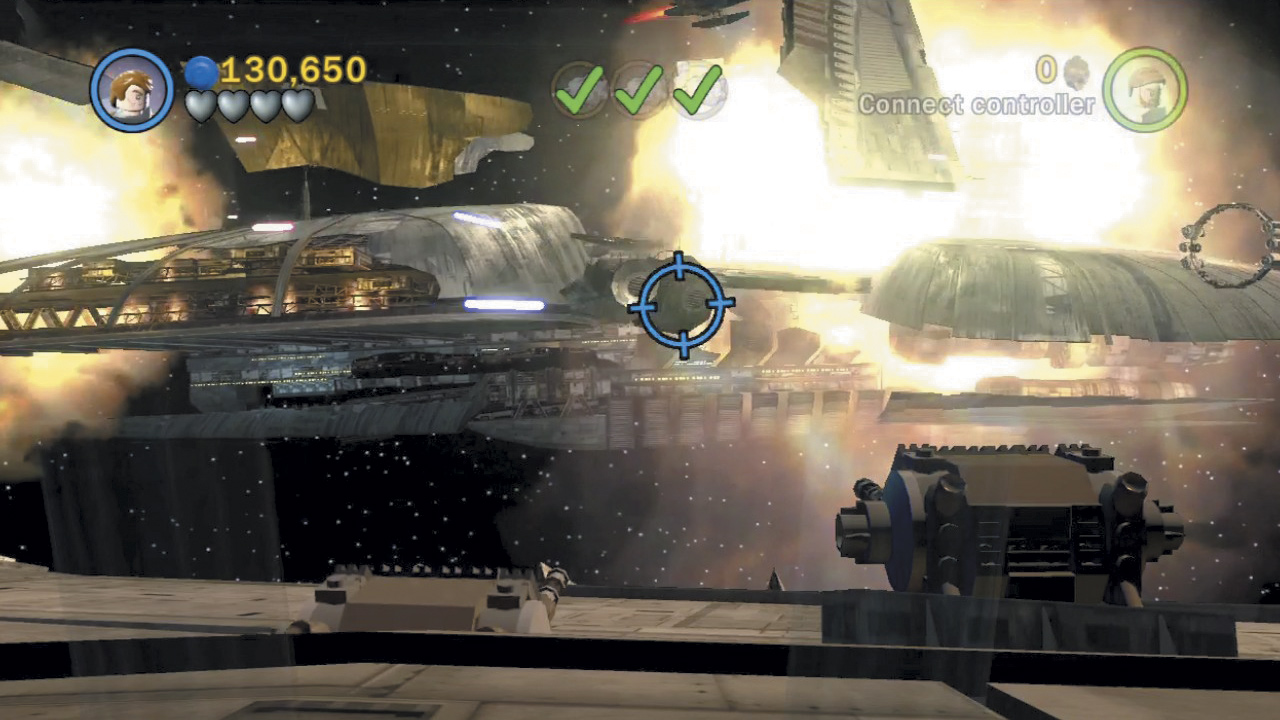
After torpedoing all the targets on both ships, return to the Republic battleship’s turbo laser bays, located off of its rear (foreground) landing pads. Use those turbo lasers again to bring down both enemy warships just as you did before.
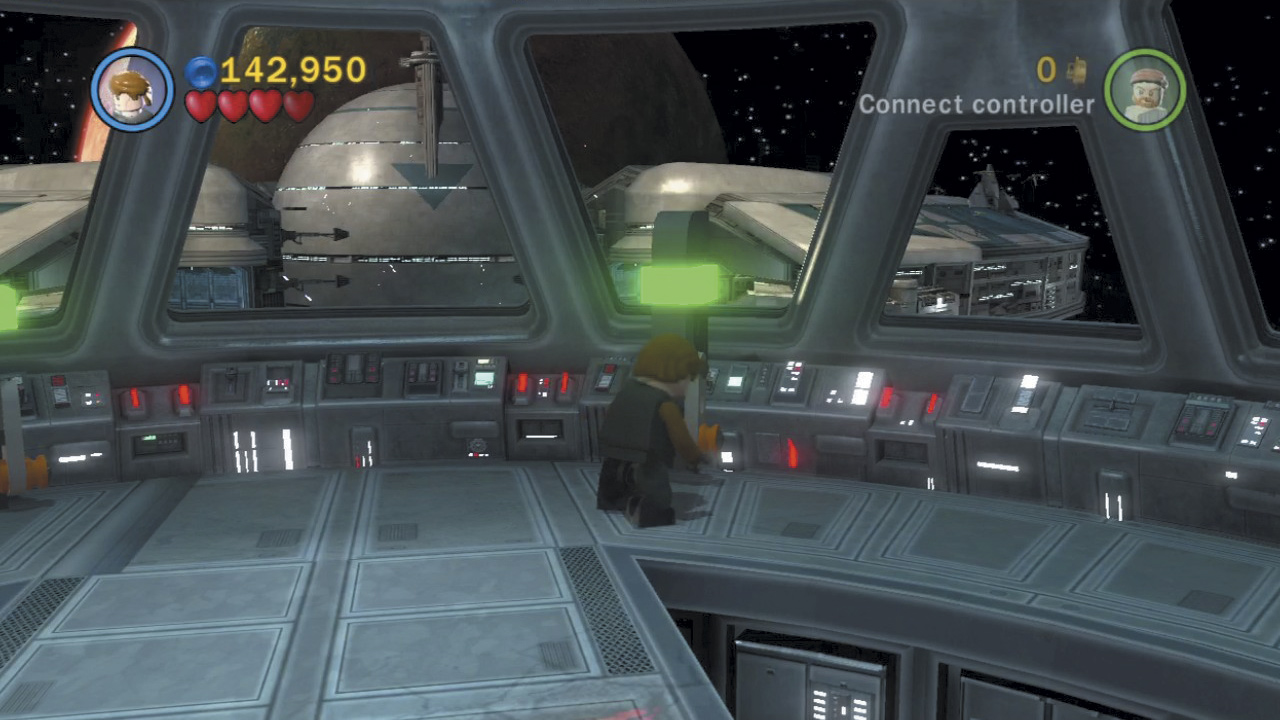
Excellent work! Now use a boost ring to return to the higher elevation. Fly back to the bridge, land, and pull the other lever—which is now functional—to bring this mission to a close. Nice flying!
Minikit 10 (Freeplay)
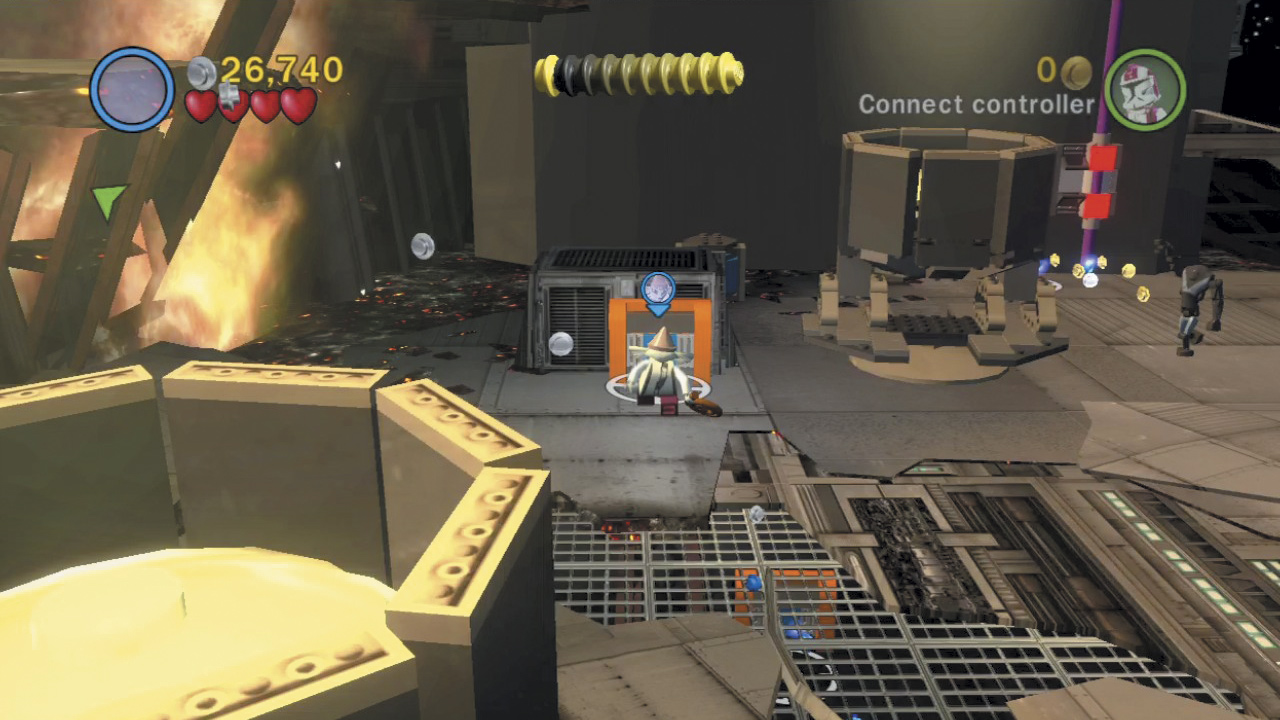
Before taking off, toggle to a small character and enter the crawl space hatch to the left of the torpedo generator. You emerge in a lower area—snag the studs down here, along with a hidden minikit!