
Dishonored 2 Guide Weapons, Gadgets, and Bonecharms
Weapons, Gadgets, and Bonecharms
You’re going to love this chapter! Here we go over all weapons, traps, tools, and charms you find in Dishonored 2. We talk about the general use of these items, and how you can use them to overcome a variety of challenges!
Weapons
Sword
Corvo and Emily both carry Swords and are highly adept in their use. These intuitive weapons are used at close range to dispatch enemies, whether they’re aware or oblivious to your presence. Unaware enemies can be killed instantly via assassination. This can be accomplished by jumping down at them, attacking from behind, or making an attack from the front if they don’t have their weapons out to defend themselves.
In our Gameplay chapter, you learned about combat, which included attacking, parrying, counterattacking, and blocking. Your Sword is required for all these techniques. When using it, stay close to your victims and dispatch them one at a time.
Sword-fighting is reliable against individuals and small groups. Against larger groups or distant, ranged enemies, it suffers a little. To survive these situations, invest in abilities like Reflexes and Blood Thirst so that your swordplay is both deadlier and more defensive.
After upgrading your Sword, you can craft a Masterwork version of it. Corvo and Emily get the same option here.
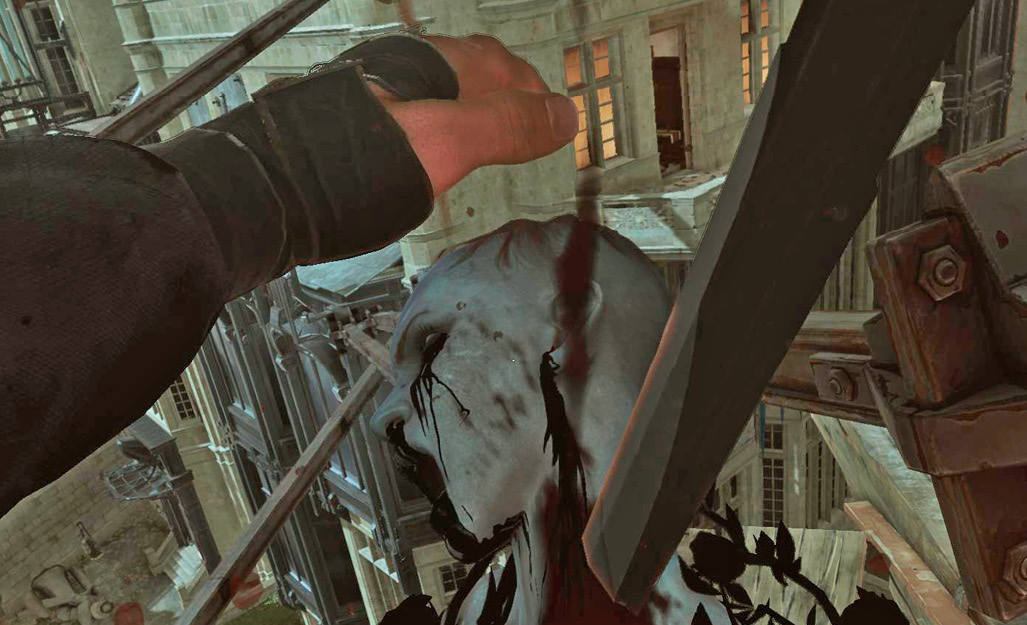
| Character | Sword Name | Effects |
|---|---|---|
| Either | Monkey Wrench | Deals way more damage against Clockwork Soldiers |
| Either | Occult Kiss | Deals more damage against magic-using enemies |
Pistol
Pistols are short- or medium-range weapons that deal moderate damage. They badly wound most targets if you strike them in the chest or limbs. Score a headshot and you’re likely to get an instant kill. When you wound a target, they are briefly stunned. When in this state, you can assassinate or grab your victim to begin a choke or use them as a human shield while you decide what to do.
The Pistol is best used during battle to weaken or eliminate enemies while you’re in between Sword swings. This makes it much easier to prevent your hero from being overwhelmed. Once you’re good at aiming, it’s fairly easy to take down someone with a Sword strike, fire a Pistol shot into another, and then finish a third victim all in the span of mere seconds. Even without additional abilities to help you, this can turn the tide of many battles throughout the game.
At really close range, the Pistol has a small amount of damage spread. This means that you can briefly stun a cluster of enemies if they’re right on top of you.
Be cautious about using the Pistol to start your encounters. This weapon makes a huge amount of noise, and you’re often better off killing enemies with your Sword or Crossbow if they’re unaware of your presence. Save your Bullets for fights that are already joined against multiple targets who clearly know where you are.
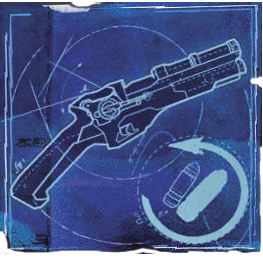
If you get all the Pistol upgrades [Accuracy 1 and 2, Reload 1 and 2, and Magazine +1 (3)] you get to craft a Masterwork Pistol. Each character has two choices for the type of Pistol they receive.
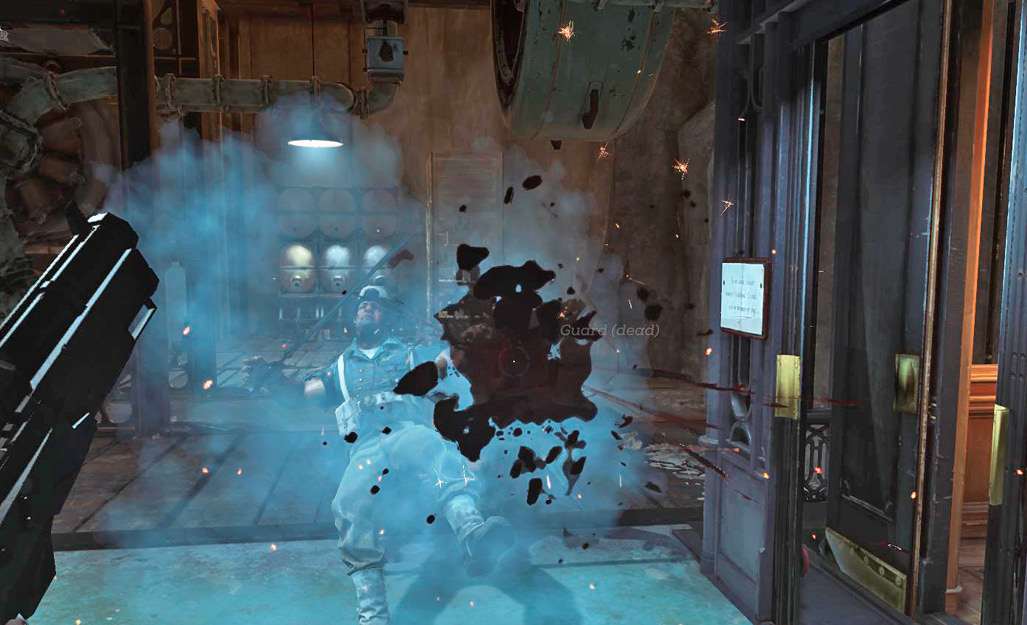
| Character | Pistol Name | Effects |
|---|---|---|
| Corvo | The Determined Traveler | Perfect accuracy when used with the Spyglass |
| Corvo | The Crimson Painter | Shorter range, but higher damage, and a shotgun-like spread |
| Emily | The Insistent Gentleman | Fires at an amazing rate |
| Emily | The Red Siblings | Accurate and fires in bursts |
Explosive Bullet
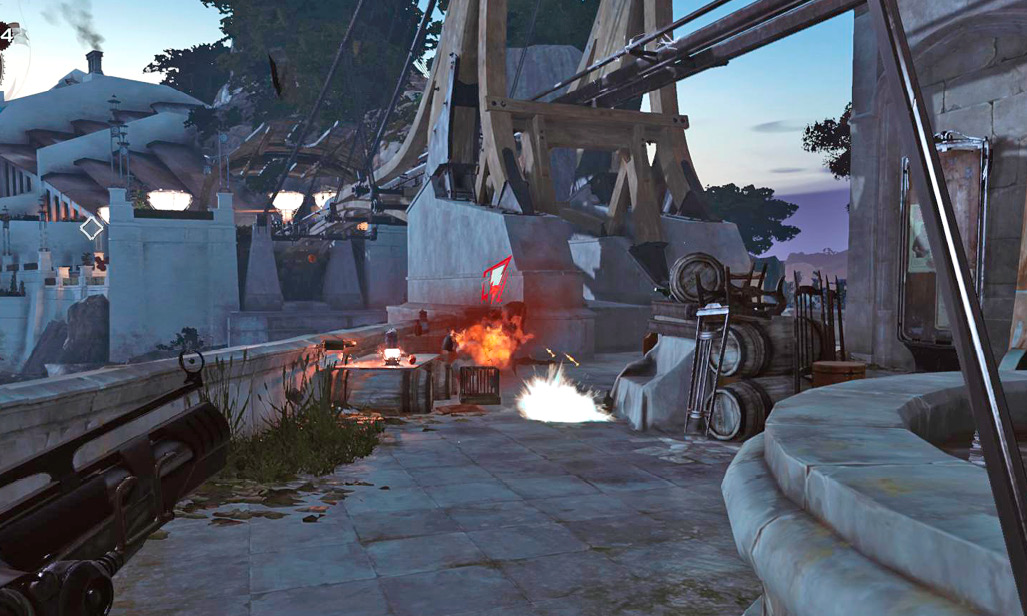
Explosive Bullets are meant to be saved and savored! These expensive items have an area of effect that damages everyone close to the place of impact and throws them around as well. This kills weaker targets immediately, and badly wounds just about anything else in your way. Never use these in smaller or easier battles. Save Explosive Bullets for risky fights. The more targets you can group together, the more effective this ammunition becomes.
To aid effectiveness, lure groups of enemies toward narrow hallways and corners. They naturally group together in these smaller spaces, allowing your explosives to do their work!
Crossbow
The Crossbow offers a different ranged weapon compared to the Pistol. Instead of a loud weapon for use in the middle of battle, you get an ideal assassination tool. Though still functional if you need extra damage during a fight, this weapon kills targets at long range without making much noise. Use it to eliminate ranged enemies before a fight starts so that they don’t give you trouble after someone raises an alert.
Headshots with Crossbow Bolts bring down almost any target. Because you’re going against unaware opponents with most of your regular Bolts, take your time and aim carefully. Never waste a Bolt on a body shot because you might not kill the target. They’ll make plenty of noise, call buddies, and then you’ve wasted your chance to thin the ranks before getting into a large melee battle.
Special Bolts are used to expand the versatility of your Crossbow. Once you get far enough into the game to gather these, you can use this weapon in even more exciting ways.
Merciful players sometimes forget to use their Bolts. Try to remind yourself to spend these whenever you fight targets that don’t count toward Chaos or general slaughter. For example, any player can kill wolfhounds without negative consequences. Use Bolts for this to remain quiet and stealthy. Also, you can shoot Crossbow Bolts into walls and other objects to draw people’s attention without immediately triggering an alert. Set up ambushes with this method.
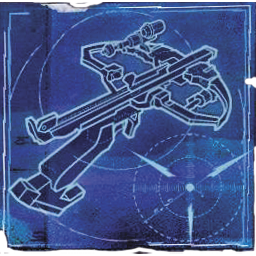
If you get enough Blueprints to upgrade your Crossbow far enough, you can create a Masterwork version of it. Upgrade your Accuracy, Extended Range, and Reload Speed to enable this. You can then choose from two Masterwork versions of the weapon.
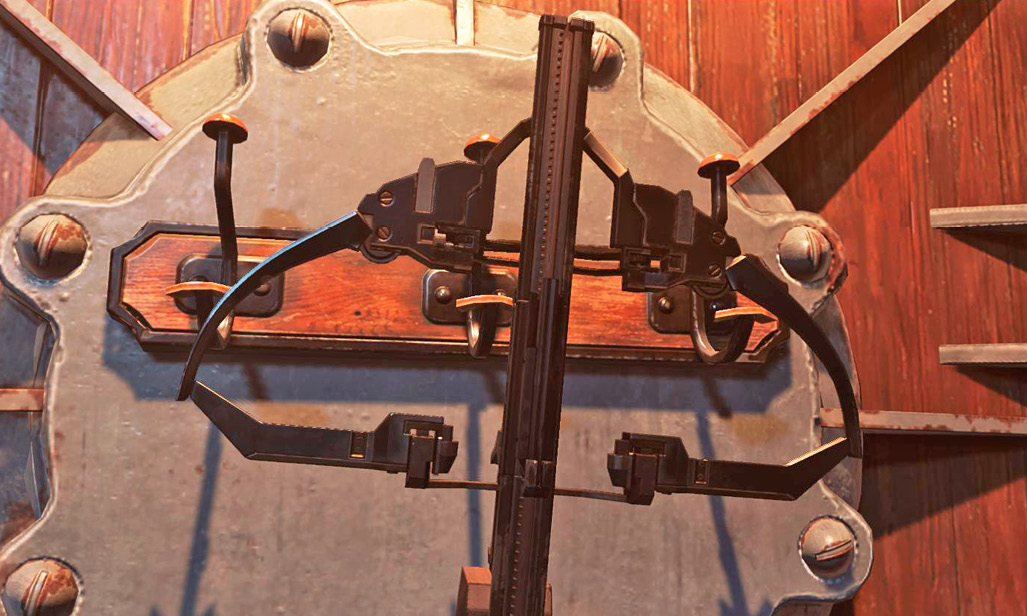
| Character | Crossbow Name | Effects |
|---|---|---|
| Corvo | The Dealer | Can lock on to three characters and fire simultaneously |
| Corvo | Coffin Nails | Very fast firing |
| Emily | Long Distance Lover | High damage, and perfect accuracy when used with the Spyglass |
| Emily | Piercing Insult | Best possible damage, can pierce through targets |
Sleep Dart
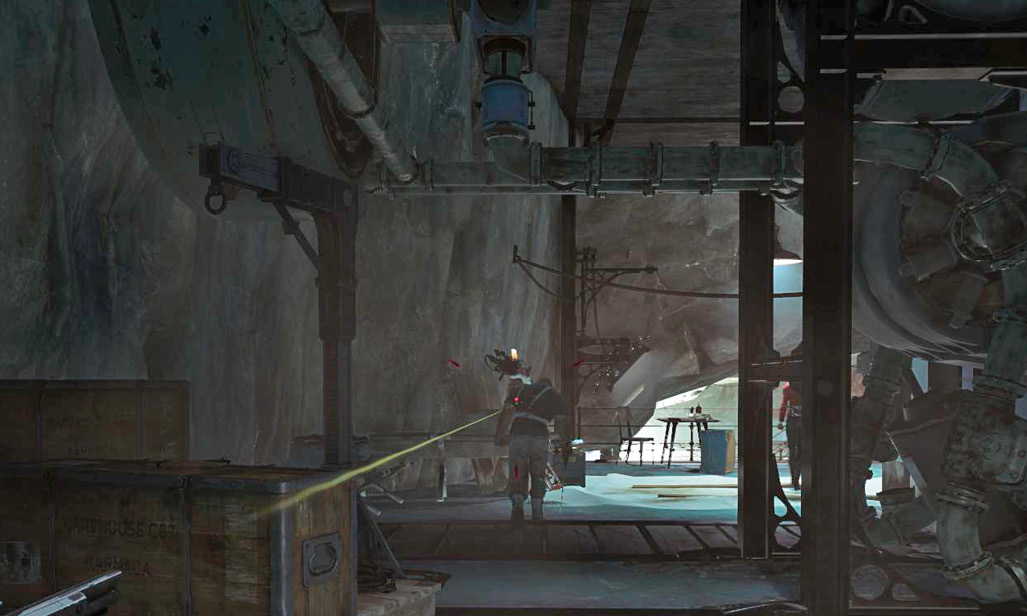
Sleep Darts give you the rare ability to bring down targets at range without ending their lives. For non-lethal players, this is a massive boon, because everything else in your arsenal requires more setup time or a lethal conclusion.
Watch enemy patrollers to find out when they’re out of the way. That’s the best time to put them to sleep. They won’t be discovered, so you don’t need to move their bodies. If there aren’t any secluded locations on their patrol, hit the target when they’re close to your hiding spot. Dart out, grab the sleeping guard, and get them someplace they won’t be found.
Normally, these darts take a few seconds to knock someone out. Headshots negate this problem and take out the target almost instantly. With a vital upgrade, Sleep Darts can be improved to work instantaneously, even during combat. This doesn’t help Ghost players, but it’s perfect for stealth users who sometimes get discovered yet don’t want to kill anyone. Pop someone with a combat Sleep Dart and be done with it!
Major stealth players in general should also look for Bonecharms that give a chance to recover Sleep Darts. Break these charms and remake them with Bonecharm Crafting. A charm with four sets of this ability gives you a very good chance to recover your Sleep Darts, allowing you to use them almost with impunity.
Incendiary Bolt
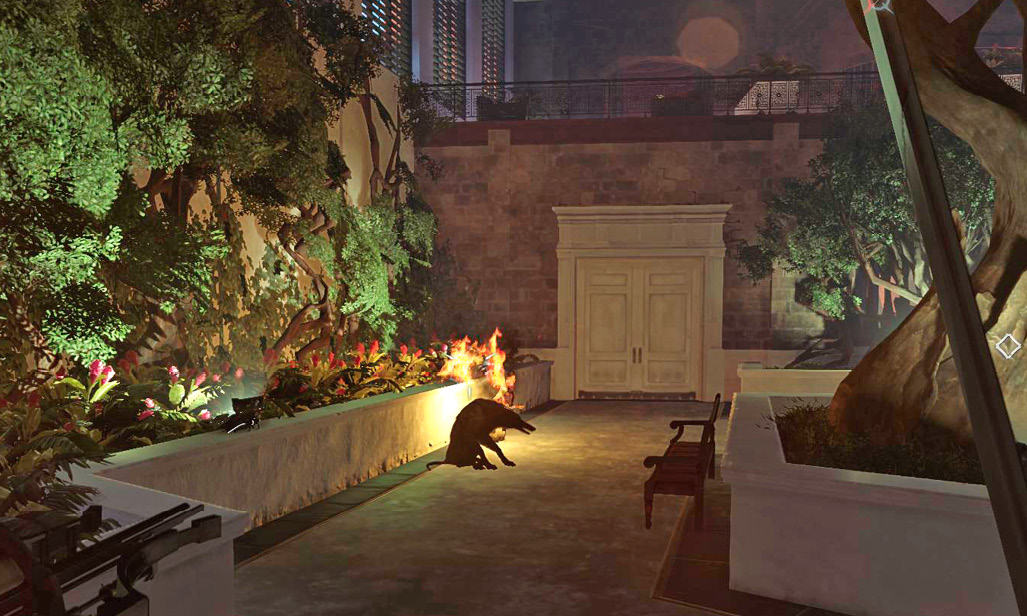
Incendiary Bolts do initial damage like a normal Crossbow Bolt, but then also deal damage over time to anything they hit. This supplementary damage is useful for helping to kill off heavier targets. However, Incendiary Bolts cause a huge amount of noise because the victim screams like murder. Use these during combat, or when a large fight is unavoidable.
Howling Bolt
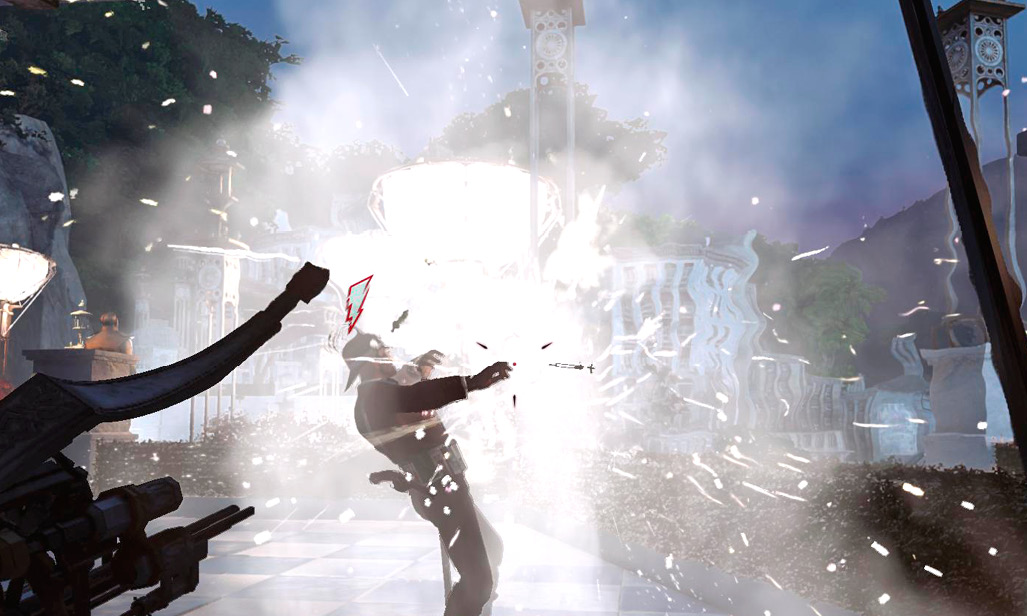
A gang of criminals in Karnaca developed the Howling Bolts. These special weapons blind and deafen a target for several seconds. The blindness fades first, and then the deafness goes about a second later.
Use these shots to disengage from combat with really dangerous targets you don’t want to fight directly. Slam a Howling Bolt into them and get out of their line of sight before they recover. You get a second chance to assassinate these victims, or you can leave the area altogether.
These weapons don’t have any effect on mechanical targets. Save them for Elite Guards, Veterans, and other tricky foes.
Stinging Bolt
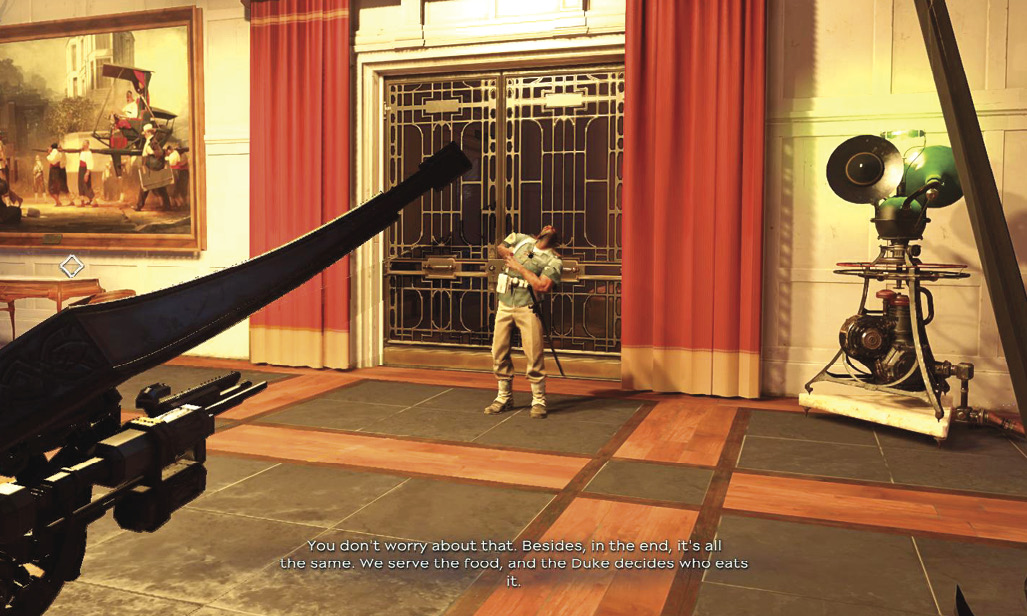
Enemies struck with a Stinging Bolt flee from the intense pain this item causes. This buys you time to finish a fight, escape, or get into more trouble. People who’ve been affected by a Stinging Bolt forget what they were doing. If you shoot a single target and move away before they recover, they’ll go back to their post and continue doing whatever they were doing.
If a single target is in your way and you don’t have a better solution, use a Stinging Bolt and get them out of your hair for a short time.
Gadgets and Consumables
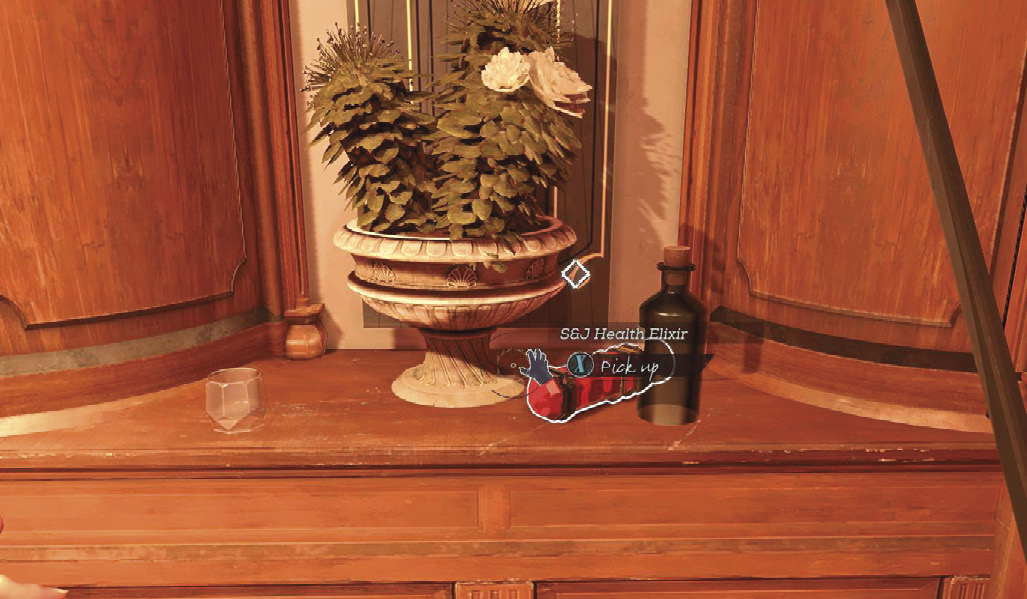
Health Elixir
Health Elixirs are bright red in color and restore quite a solid amount of Health. Their effect is instant, and you can save your life by drinking these when a battle turns against you.
Enter your Ability menu and look for your Elixirs to the upper left of the Radial section. That’s where you see how many Health Elixirs you have to spare.
Mana Elixir
Mana Elixirs restore lost Mana instantly. They’re hard to find, and heavy casters will rarely have more than they can spare. Mitigate the shortage by casting slowly and giving your character time to regenerate after each spell. Low-cost abilities like Blink, Far Reach, and Dark Vision can be used indefinitely as long as you do this.
The Heart
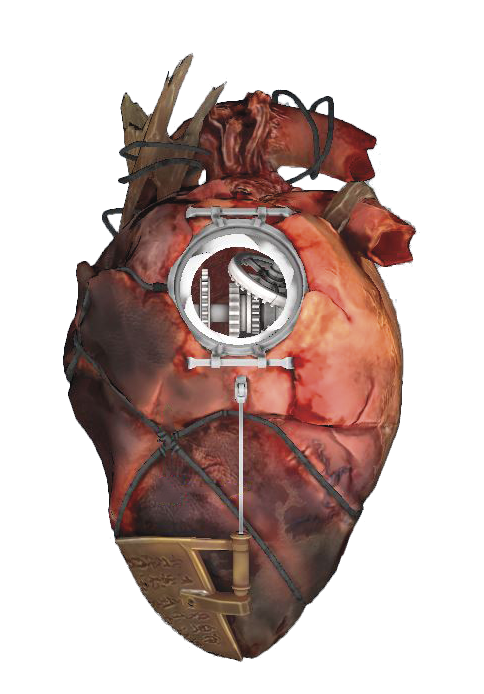
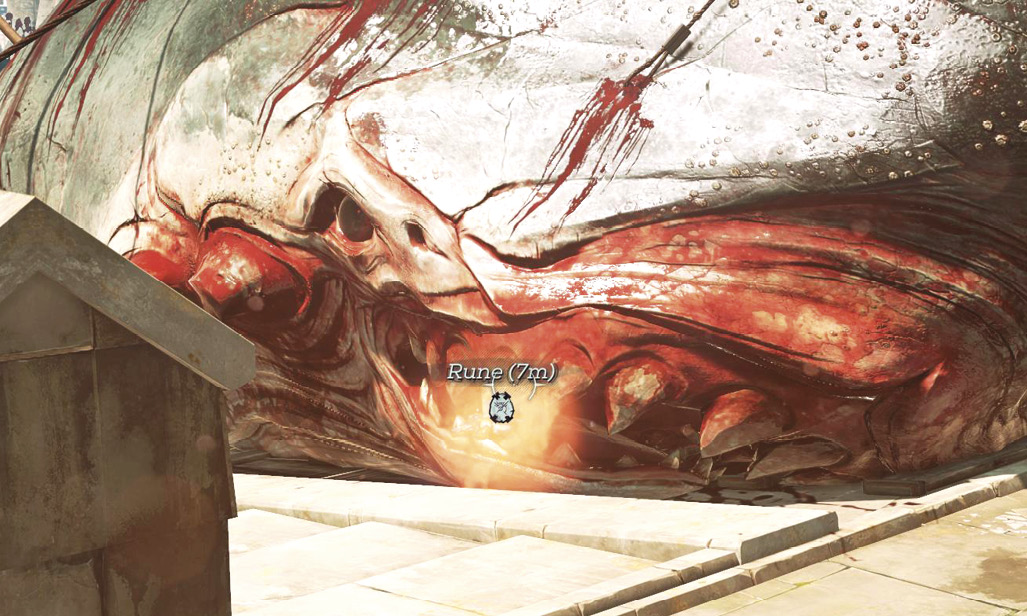
Equip the Heart to make Runes, Outsider Shrines, and Bonecharms appear on your HUD. You get to see their location, distance, and the type of item in question. This is invaluable for hunting rare collectibles.
If you highlight one of these items with the Heart out, you can pin the item’s location as a waypoint, making it even easier to track down the item you want.
Listen to the sound of the Heart as you approach a rare target. The Heart beats louder and louder to let you know how close you are. Once you’ve picked up the item, the Heart stops making noise so that you can focus on a new goal.
Using the Heart while targeting an area gives you more information about the background of that locale. Do the same thing while targeting a person to hear about that target’s thoughts and deeds.
Timepiece
This item is only used during a single mission, over halfway through the game. Equip and use it to shift between two time periods. This does not cost you any Mana, so it can be used constantly. The only restriction is that you can’t switch timelines if there is an object blocking you in the other timeline.
A lens is attached to the Timepiece. Unfold this to see the effects your actions have on the other timeline without having to go there. This is a fast way to see what is blocking your transition, and if there are any enemies ahead of you in the other time.
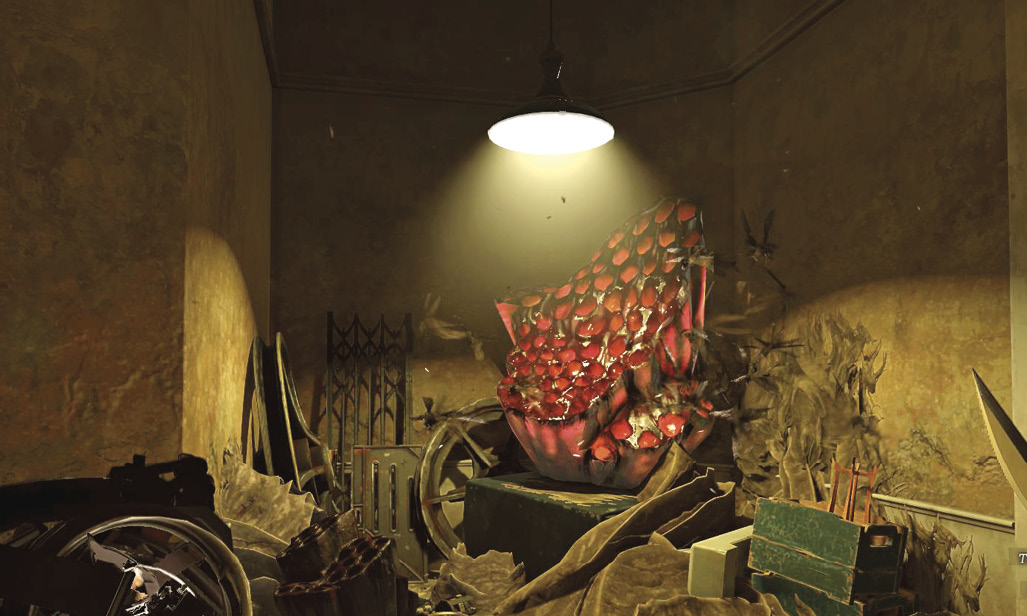
Impact Grenade
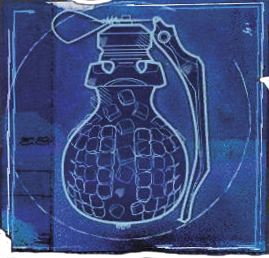
This is a standard thrown weapon. It explodes after four seconds of being lit, or instantly if it makes contact with a living target. You can cook your Grenades by holding down the Item button. This lets you burn down some of the fuse before throwing if you need the Grenade to explode soon after landing.
Don’t ever hold a cooked Grenade for too long. The effects are about as grim as you might guess.
Impact Grenades are wonderful when you have enemies coming toward an enclosed area. You can bounce one off a wall and into a group of enemies without exposing yourself. Very powerful.
Sticky Grenade
Sticky Grenades attach to walls, living targets, ceilings, floors, etc. They explode in four seconds and do a huge amount of damage to anything close by. When you’re chased by enemies, leave a Sticky Grenade on the wall as you sprint away. The fools who run after you are likely to get a painful surprise as they approach.
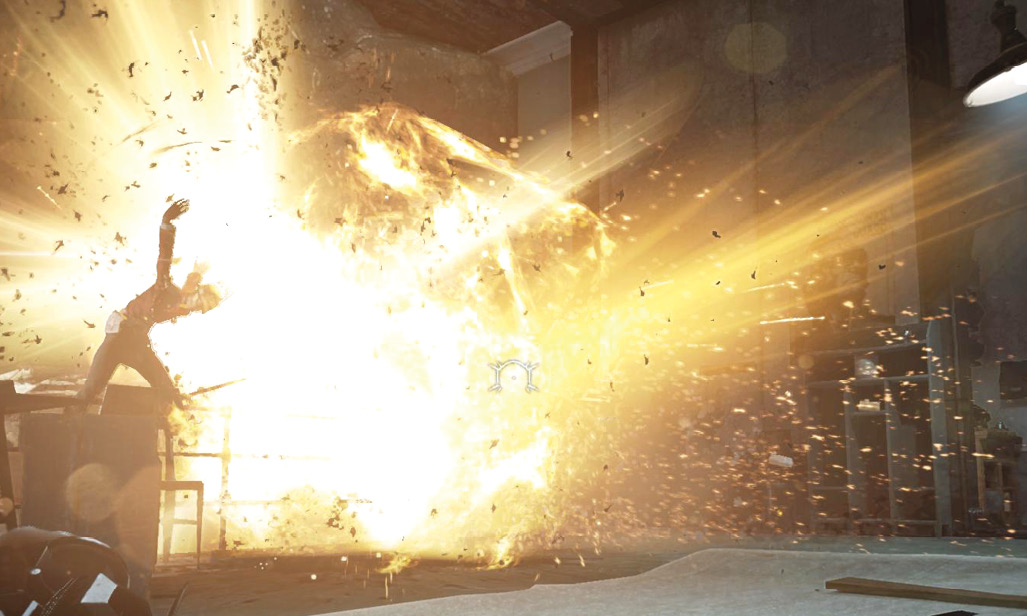
Spring Razor
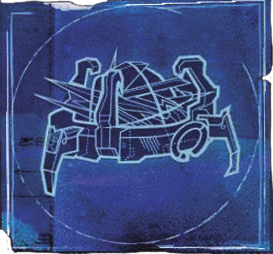
Spring Razors are useful traps because they don’t have a timer or detonator. Instead, they go off whenever an enemy gets too close. Set up lethal areas ahead of time in a place you’ve already cleared. Then, use noise to lure an enemy closer. Or shoot at a group from range, and run away through your trapped location. If you put the Spring Razor at a corner, people are almost certain to run over it as they chase you.
Watch out, though. Spring Razors won’t trigger on you, but they blow up whenever anyone else gets too close. That can kill civilians just as easily as it kills Guards. Use these in areas where there aren’t any friendlies around.
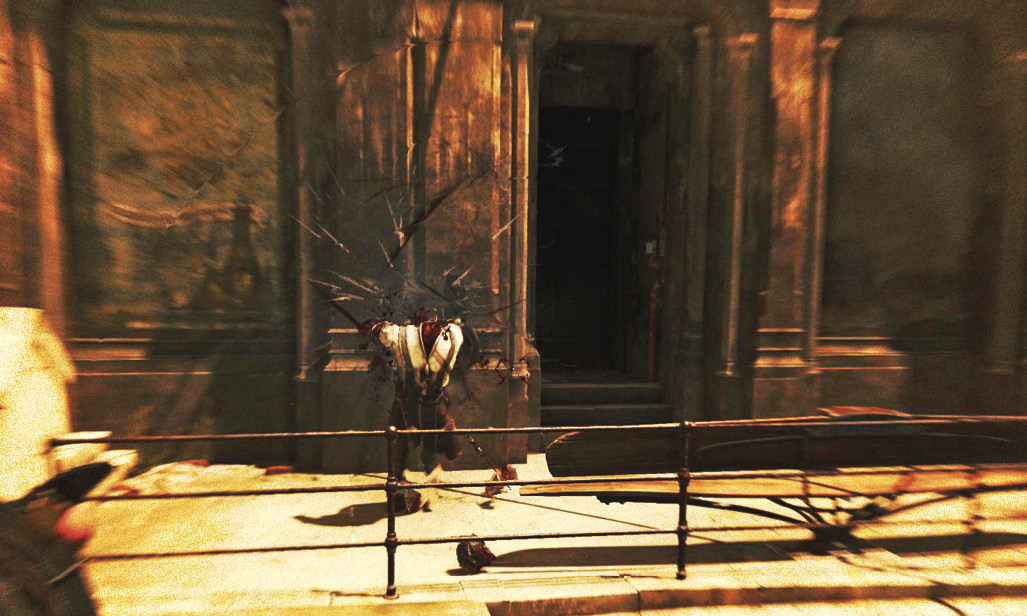
Stun Mine
Stun Mines take several seconds to activate, but when they blow up they’ll disrupt everyone within a moderate area of effect. Use this to safely take down targets without killing them. If you’re comfy with murder, you can always slice them up later.
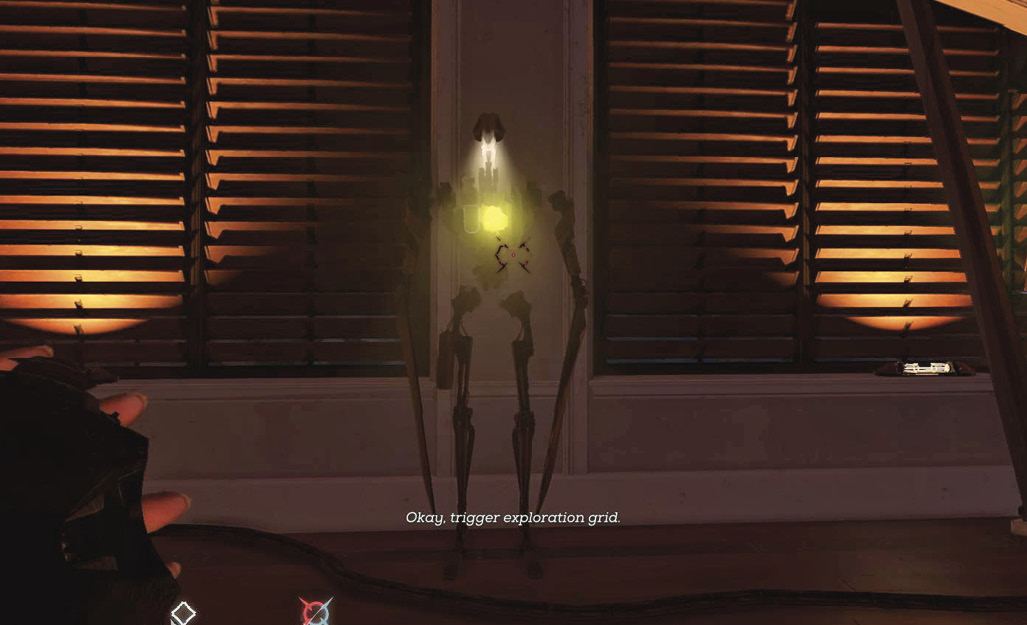
Stun Mines are perhaps the best weapon in the entire game against Clockwork Soldiers. Two of these, placed near each other, will kill a Clockwork Soldier outright. Even a single one is quite disabling for the powerful machines.
Place these in an area where you know the Clockwork Soldiers will follow, and then lure them over the mines.
Spyglass
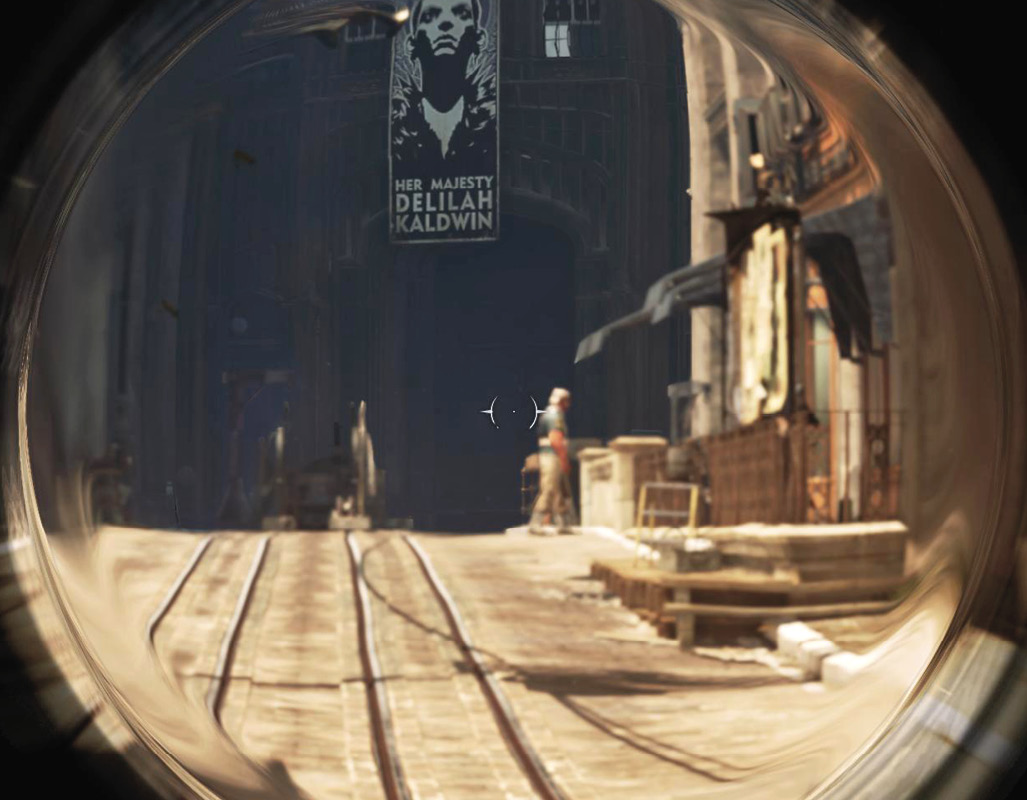
The Spyglass lets you zoom in on distant targets. You can hear their conversations much more easily, and see what they’re doing. This helps with aiming ranged weapons, figuring out patroller routes, and with general scouting.
Using precision weapons (like the Crossbow) is really fun when you have the Spyglass out. Headshots, even at very long range, are much easier to pull off. Use the Spyglass outside of combat to ensure you don’t miss when going after tricky shots.
Rewire Tools
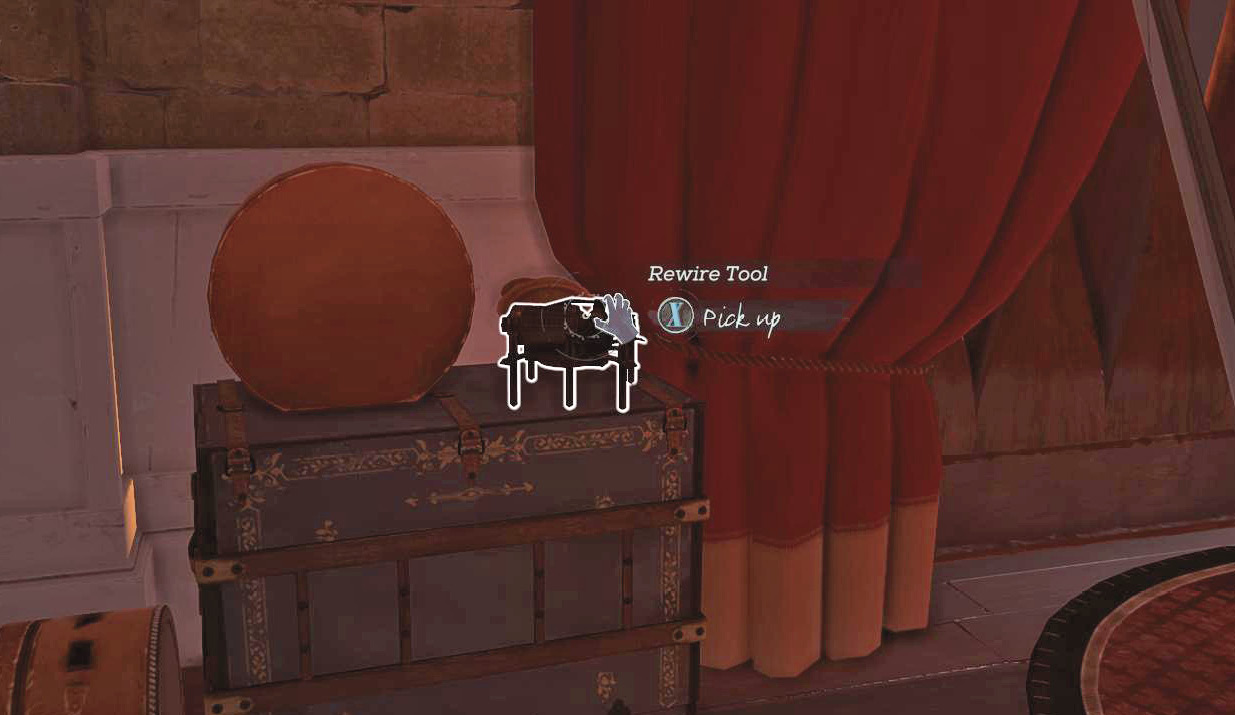
Rewire Tools allow you to change the properties of various mechanisms. These turn off security, allow you to use Walls of Light safely, reprogram Clockwork Soldiers, etc. Though expensive to purchase, these items are very powerful. Search carefully around people’s apartments to stock up on Rewire Tools; there are often enough of them in missions that you don’t need to buy them from the black market!
Upgrades
Purchase these improvements to your gear are at the black market. Some of them have no requirements (save for money to get the work done). Others require special Blueprints you find as you proceed through the game. These Blueprints are called out in the Walkthrough and again in our Collectibles section at the end of the guide.
Crossbow Upgrades
| Upgrade Name | Requirements | Effect |
|---|---|---|
| Accuracy | None | Improves accuracy |
| Ancient Howl | Master Ammo Blueprint from The Royal Conservatory | Howling Bolts disable magic users |
| Bolt Capacity +5 (+10) | None | Adds +5 to your Bolt capacity, and then +10 when you purchase the second upgrade |
| Coffin Nails | Master Blueprint Crossbow from the Royal Conservatory | Fires Bolts very quickly |
| Combustion Bolts | Must have unlocked Incendiary Bolts | Incendiary Bolts gain a larger area of effect |
| Deep Howl | Master Ammo Blueprint from the Royal Conservatory | Howling Bolts frighten Wolfhounds |
| Extended Bolt Range | None | You can hit targets from much farther away, and the Bolts fly faster |
| Hardened Bolts | Hardened Bolts Blueprint from Edge of the World | Bolts inflict greater damage |
| Howling Bolts | Howling Bolts Blueprint from Clockwork Mansion Streets | You can purchase Howling Bolts |
| Incendiary Bolts | Incendiary Bolts Blueprint from Edge of the World | You can purchase Incendiary Bolts |
| Instant Sleep | None | You can purchase Sleep Darts |
| Long Distance Lover | Master Crossbow Blueprint from the Royal Conservatory | Your Crossbow becomes a very good sniping weapon |
| Piercing Insult | Master Crossbow Blueprint from the Royal Conservatory | Bolts are higher damage and pierce targets |
| Reload Faster | None | Decreases reload time |
| Stinging Dart | Stinging Dart Blueprint from the Good Doctor | You can purchase Stinging Darts |
| The Dealer | Master Crossbow Blueprint from the Royal Conservatory | Aim-lock up to three targets and fire simultaneously |
Gear Upgrades
| Upgrade Name | Requirements | Effect |
|---|---|---|
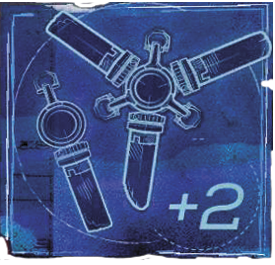
| Bonecharm Slots +2 (+3) | None | Adds two more Bonecharm slots (then plus three for the second upgrade) |
| Collector’s Carapace | Master Armor Blueprint from the Duke’s Palace | Reduces damage taken |
| Moth Dust Wrappings | Master Armor Blueprint from the Duke’s Palace | You are less visible in poorly lit areas |
| Refined Lens Optics | None | Adds a second level of zoom to your Spyglass |
| Silent Running | Silent Running Blueprint | Make less noise when running |
| Silent Sprinting | Must have purchased Silent Running | Make almost no noise when sprinting |
Gun Upgrades
| Upgrade Name | Requirements | Effect |
|---|---|---|
| Accuracy 1 and 2 | None | Improves Pistol accuracy and reduces dispersion |
| Armored Bullets | Armored Bullets Blueprint from Clockwork Mansion | Bullets ricochet off of unbreakable surfaces |
| Bullet Storage +5 (+10) | None | Adds five Bullets to your storage (+10 for the second upgrade) |
| Explosive Bullets | Explosive Bullets Blueprint | Allows you to purchase Explosive Bullets |
| Explosive Clusters | Must have already purchased Explosive Bullets | Explosive Bullets fragment and explode individually |
| Magazine 1, 2, and 3 | None | Adds a Bullet to your magazine for each upgrade |
| Magnetized Bullets | Magnetized Bullets Blueprint from Clockwork Mansion Streets | Stuns Clockwork Soldiers briefly |
| Reload Speed 1 and 2 | None | Reduces Pistol reload times |
| The Determined Traveler | Master Pistol Blueprint from Crack in the Slab | Makes the Pistol extremely accurate with the Spyglass |
| The Crimson Painter | Master Pistol Blueprint from Crack in the Slab | Makes the Pistol more like a shotgun |
| The Insistent Gentleman | Master Pistol Blueprint from Crack in the Slab | The Pistol fires at a wonderful rate |
| The Red Siblings | Master Pistol Blueprint from Crack in the Slab | Bullets are fired in bursts of three |
Grenade Upgrades
| Upgrade Name | Requirements | Effect |
|---|---|---|
| Impact Grenade | Impact Grenade Blueprint from the Royal Conservatory | You can purchase Impact Grenades |
| Discreet Inquiry | Master Grenade Blueprint from Death to the Empress | Reduces Grenade noise |
| Sticky Grenade | Sticky Grenade Blueprint from the Dust District | You can purchase Sticky Grenades |
| Storage | None | Increases Grenade storage by two |
| The Expansive Lady | Master Grenade Blueprint from Death to the Empress | Expands Grenade blast radius |
Spring Razor Upgrades
| Upgrade Name | Requirements | Effect |
|---|---|---|
| Double Slice | Spring Razor Double Slice Blueprint | Each Spring Razor works twice |
| Max Radius | None | Increases the damage radius of Spring Razors |
| Storage +2 | None | Improves Spring Razor storage by 2 |
Stun Mine Upgrades
| Upgrade Name | Requirements | Effect |
|---|---|---|
| Chain Lightning | Chain Lightning Blueprint From Clockwork Mansion | Hits enemies near the primary target when the Stun Mine goes off |
| Charge 1 and 2 | None | Allows Stun Mines to function twice (and then three times if both upgrades are purchased) |
Sword Upgrades
| Upgrade Name | Requirements | Effect |
|---|---|---|
| Crossing | None | Makes it easier to win when Swords get locked |
| Monkey Wrench | Master Sword Blueprint in Death to the Empress | Deals more damage against Clockwork Soldiers |
| Occult Kiss | Master Sword Blueprint in Death to the Empress | Deals more damage against magic-using enemies |
Bonecharms
There are almost 100 Bonecharms in the game, not including those you craft on your own. This leaves a huge number of effects to improve Emily’s and Corvo’s stats. You get to equip several of these as soon as you get a collection together, and additional upgrades to your gear let you put on more and more of them.
Use Bonecharms to focus your build around your primary activities. Don’t add effects for Health and combat if you’re a stealth player; get Bonecharms that help with your Mana supply, movement, and ability to remain undiscovered. Similarly, combative players should focus on their Health, ability to kill quickly, and anything that improves their deadlier abilities.
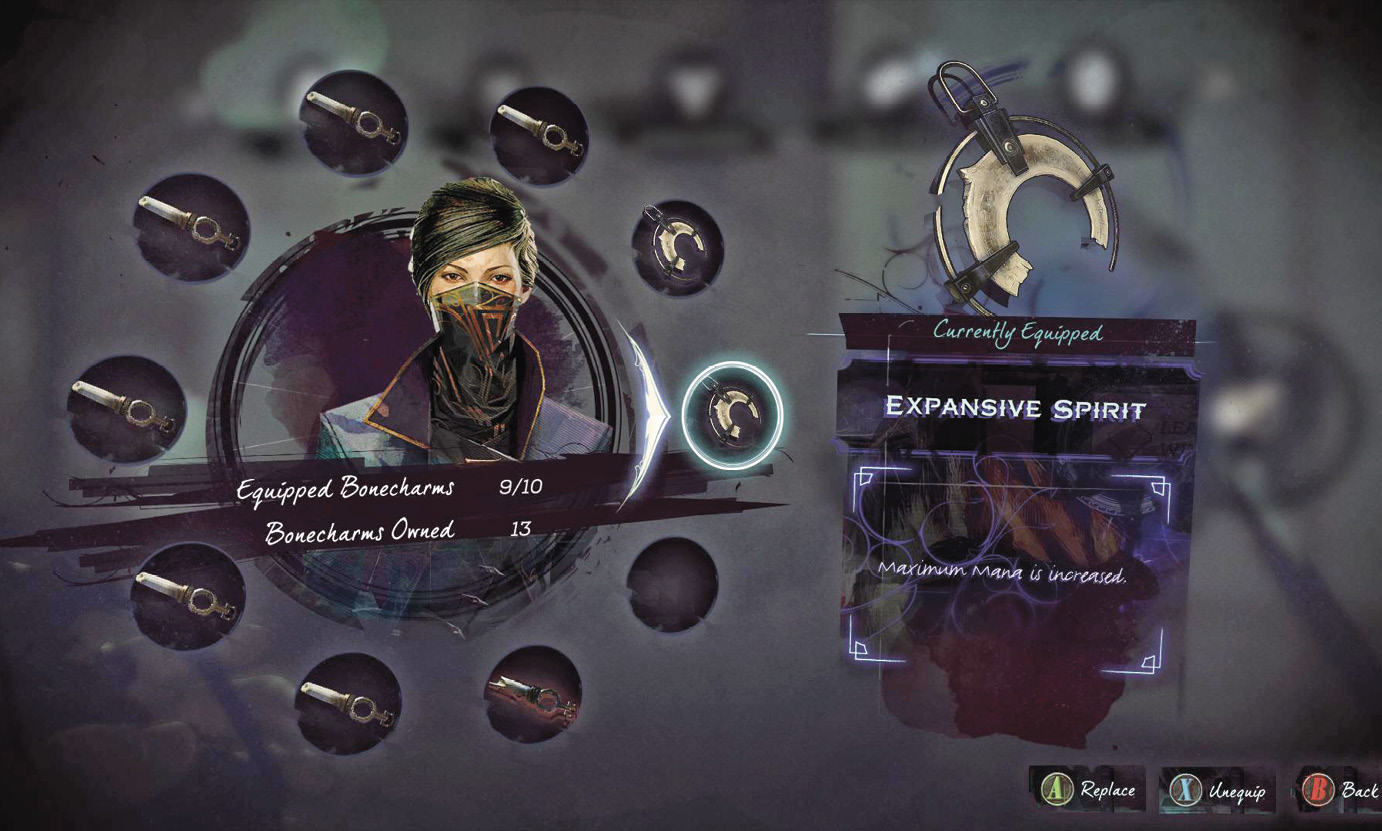
Some Bonecharms have only a single effect, but others can have multiple effects (some of them negative). Look carefully at each as you decide what you need the most and what you’re willing to sacrifice. Some negative effects might be irrelevant to your character, so these corrupted Bonecharms can still be incredibly powerful. For example, Shivering Silhouette lets you avoid ranged damage more often, but you are spotted more easily. This is absolute garbage for a stealth player. However, it’s perfect for a combative player who doesn’t care about being seen. If you like wading into battle, there is no tradeoff here to worry about.
Later in the game, you get enough Raw Whalebone and Runes to master Bonecharm Crafting and use it heavily. Crafting multiple Bonecharms with your favorite bonuses is incredibly powerful and allows you to make your character focus almost entirely on your preferred style of gameplay.
Regular Bonecharms
| Bonecharm Name | Effect of Charm |
|---|---|
| Accommodating Host | Animal Possessions last longer |
| Acrobat | Increases your climbing speed |
| Agile Recovery | You recover from falls a bit faster |
| Agile Will | Possession lasts slightly longer |
| Albinos | Rat swarms include more White Rats |
| Aquatic Nature | Increases your swim speed |
| Assassin’s Fortune | Bolt packs have a chance of restoring one extra Bolt |
| Bird of Prey | Restores some Health when you do a Drop Assassination |
| Bitter Blood | Bloodflies attack you only if you get really close to their nests |
| Blade Ballet | Spring Razors have a slight chance to destroy a victim’s body |
| Blast Resistant | You receive less damage from explosions |
| Blood Sacrifice | Killing Bloodflies and Rats restores your Health |
| Carrion Killer | You gain Adrenaline from killing Rats and Bloodflies |
| Combustion | Your Grenades deal more damage |
| Deep Grave | Causes Gravehounds to sometimes die automatically when summoned |
| Duelist’s Skill | Increases the damage of your Bullets |
| Electrical Burst | Increases the area of effect for your Stun Mines |
| Enduring Allies | Doppelgangers last longer |
| Exacting Aim | Increases the damage of your Bolts |
| Falling Star | Drop assassinations restore some Mana |
| Fencer | You win locked-Sword contests more often |
| Firestarter | Incendiary Bolts have a larger radius |
| Ground Glider | You slide faster |
| Gutter Feast | Consume White Rats to restore Mana |
| Healthy Appetite | Food restores more Health |
| Hot Cocktail | Exploding bottles deal slightly more damage |
| Leviathan’s Mind | Regenerates Mana when you’re underwater |
| Liquid Sustenance | Drinking from fountains restores a bit of Health |
| Lucky Needle | Raises your chance to recover Sleep and Confusion Darts |
| Relocation Sickness | Witches sometimes stumble after magical relocation |
| Resilient Allies | Doppelgangers have more health |
| Resounding Shriek | Howling Blasts are louder and have a larger radius |
| Restorative Glimmer | Health regenerates when using Dark Vision |
| Robust | Elixirs restore slightly more Health |
| Savage Scream | Nestkeeper’s screams have a chance to kill all surrounding Bloodflies |
| Shadow Embrace | Shadow Walk lasts slightly longer |
| Spirit Water | Drinking from fountains restores a bit of Mana |
| Spirited | Elixirs restore slightly more Mana |
| Spiritual Fortune | Drinking and using Mana Elixirs sometimes restores you to full Mana |
| Spiritual Pool | Mana regenerates faster |
| Spiritual Sacrifice | Killing Bloodflies and Rats restores your Mana |
| Strong Arms | Enemies are choked faster |
| Strong Lungs | You can hold your breath longer underwater |
| Submerged Rage | You gain Adrenaline while underwater |
| Swift Shadow | Increases movement speed in stealth mode |
| Swift Stalker | Increases movement speed when your weapons are sheathed |
| Synergetic Swarm | Rat swarms last slightly longer |
| Tricky Timing | Enemy Grenades take longer to explode |
| Undertaker | You move a bit faster when carrying a body |
| Unfortunate Craftsmanship | Enemy Grenades sometimes malfunction |
| Unnerving Target | Enemies sometimes drop Grenades and debris at their feet; oops! |
| Unsteady Hand | Enemies have a greater chance to miss with their projectiles |
| Vengeance | You generate Adrenaline when you take melee damage from an enemy |
| Void Rapture | Sometimes enemies fall unconscious when Mesmerize ends |
| Whirlwind | Raises your Sword’s attack speed |
Corrupted Bonecharms
| Bonecharm Name | Effect of Charm |
|---|---|
| Armored Bones | You take far less damage, but movement speed is reduced |
| Bright Moon | Doppelgangers deal more damage but last half as long |
| Clumsy Assassin | You gain invisibility briefly after knocking out or assassinating an enemy, but enemies can see and hear when you lean |
| High Pressure | Grenades, oil tanks, and bottles deal more damage but have a smaller blast radius |
| Lightweight | You take less damage from falling, but you lose half of your Health regeneration rate |
| Power Slash | Your Sword blows deal greater damage, but your Sword attacks are slower |
| Risky Parry | Your parries always throw enemies off balance, but you take more damage while parrying |
| Shivering Silhouette | Enemies miss more often at range, but you are more visible to enemies |
| Splintering Bolts | Bolts inflict far more damage, but they always break on impact |
| Stolen Breath | Pulling enemies with Far Reach is now quiet, but it consumes more Mana for all uses |
| Vengeance Trade | You accumulate Adrenaline faster |
| Void Winds | Windblast is more powerful, but costs more Mana |
| Witch’s Skin | Taking damage drains your Mana before your Health |
| Zephyr | Raises your walking and running speed, but you take more damage |
Black Bonecharms
| Bonecharm Name | Effect of Charm |
|---|---|
| Bloodfly Alchemy | An enemy’s first ranged attack turns into Bloodflies |
| Cornered Animal | You deal much more attack damage when your Health is low |
| Dark Extraction | Shadow Walk assassinations restore some of your Health |
| Expansive Spirit | Increases your maximum Mana |
| Fading Light | Far Reach and Blink cost zero Mana if used right after an assassination |
| Familiar Scent | Wolfhounds cannot smell your character |
| Fickle Beasts | White Wolfhounds fight on your side |
| Fleet Fighter | Your movement doesn’t slow down when your weapons are unsheathed |
| Hardiness | Adds to your maximum Health |
| Invisible Thread | You are invisible during Far Reach movement |
| Iron Roots | You are much less likely to be knocked down |
| Leech Cuts | You gain Health when hitting people with your Sword or finishing assassinations |
| Leviathan’s Breath | Running out of breath lowers your Mana before it starts lowering your Health |
| Lucky Jam | Enemy Pistols have a higher chance of misfiring |
| Mind Runner | You can sprint while inside human hosts during Possession |
| Separation Trauma | Enemies are rendered unconscious when you end Possession |
| Shadow Repose | You regain Health automatically during Shadow Walk |
| Solid Landing | A shockwave damages enemies and objects when you land after falling from a great height |
| Twin Leech | You regain Health while your Doppelganger is active |
| Undying Swarm | Rat swarms repopulate over time |
| Void Armor | Most of the damage you take is subtracted from Mana |