
Dishonored 2 Guide Stealth Walkthrough
The Clockwork Mansion
Anton Sokolov is being held at the mansion of Kirin Jindosh, Grand Inventor to the Duke and creator of the Clockwork Soldier. Get inside, rescue Sokolov, and eliminate Jindosh before he builds an army of Clockwork Soldiers.
Collectibles
| Runes | 4 |
| Shrines | 1 |
| Bonecharms | 7 |
| Coins | 4802 |
| Blueprints | 3 |
| Paintings | 3 |
Special Actions
| Ghost Between the Cogs | Reach Jindosh without revealing your presence |
| Hidden Repository | Discover Jindosh’s hidden repository by manipulating the walls of the mansion |
| Flawless Extraction | Free Sokolov without alerting the Clockwork Soldier in the Assessment Chamber |
| A Man of the People | Kill Paolo, the Howler Leader (Once) |
| Black Market Heist | Blast your way into the black market |
| Looted Aventa Station | Rob the ticket booth in the station |
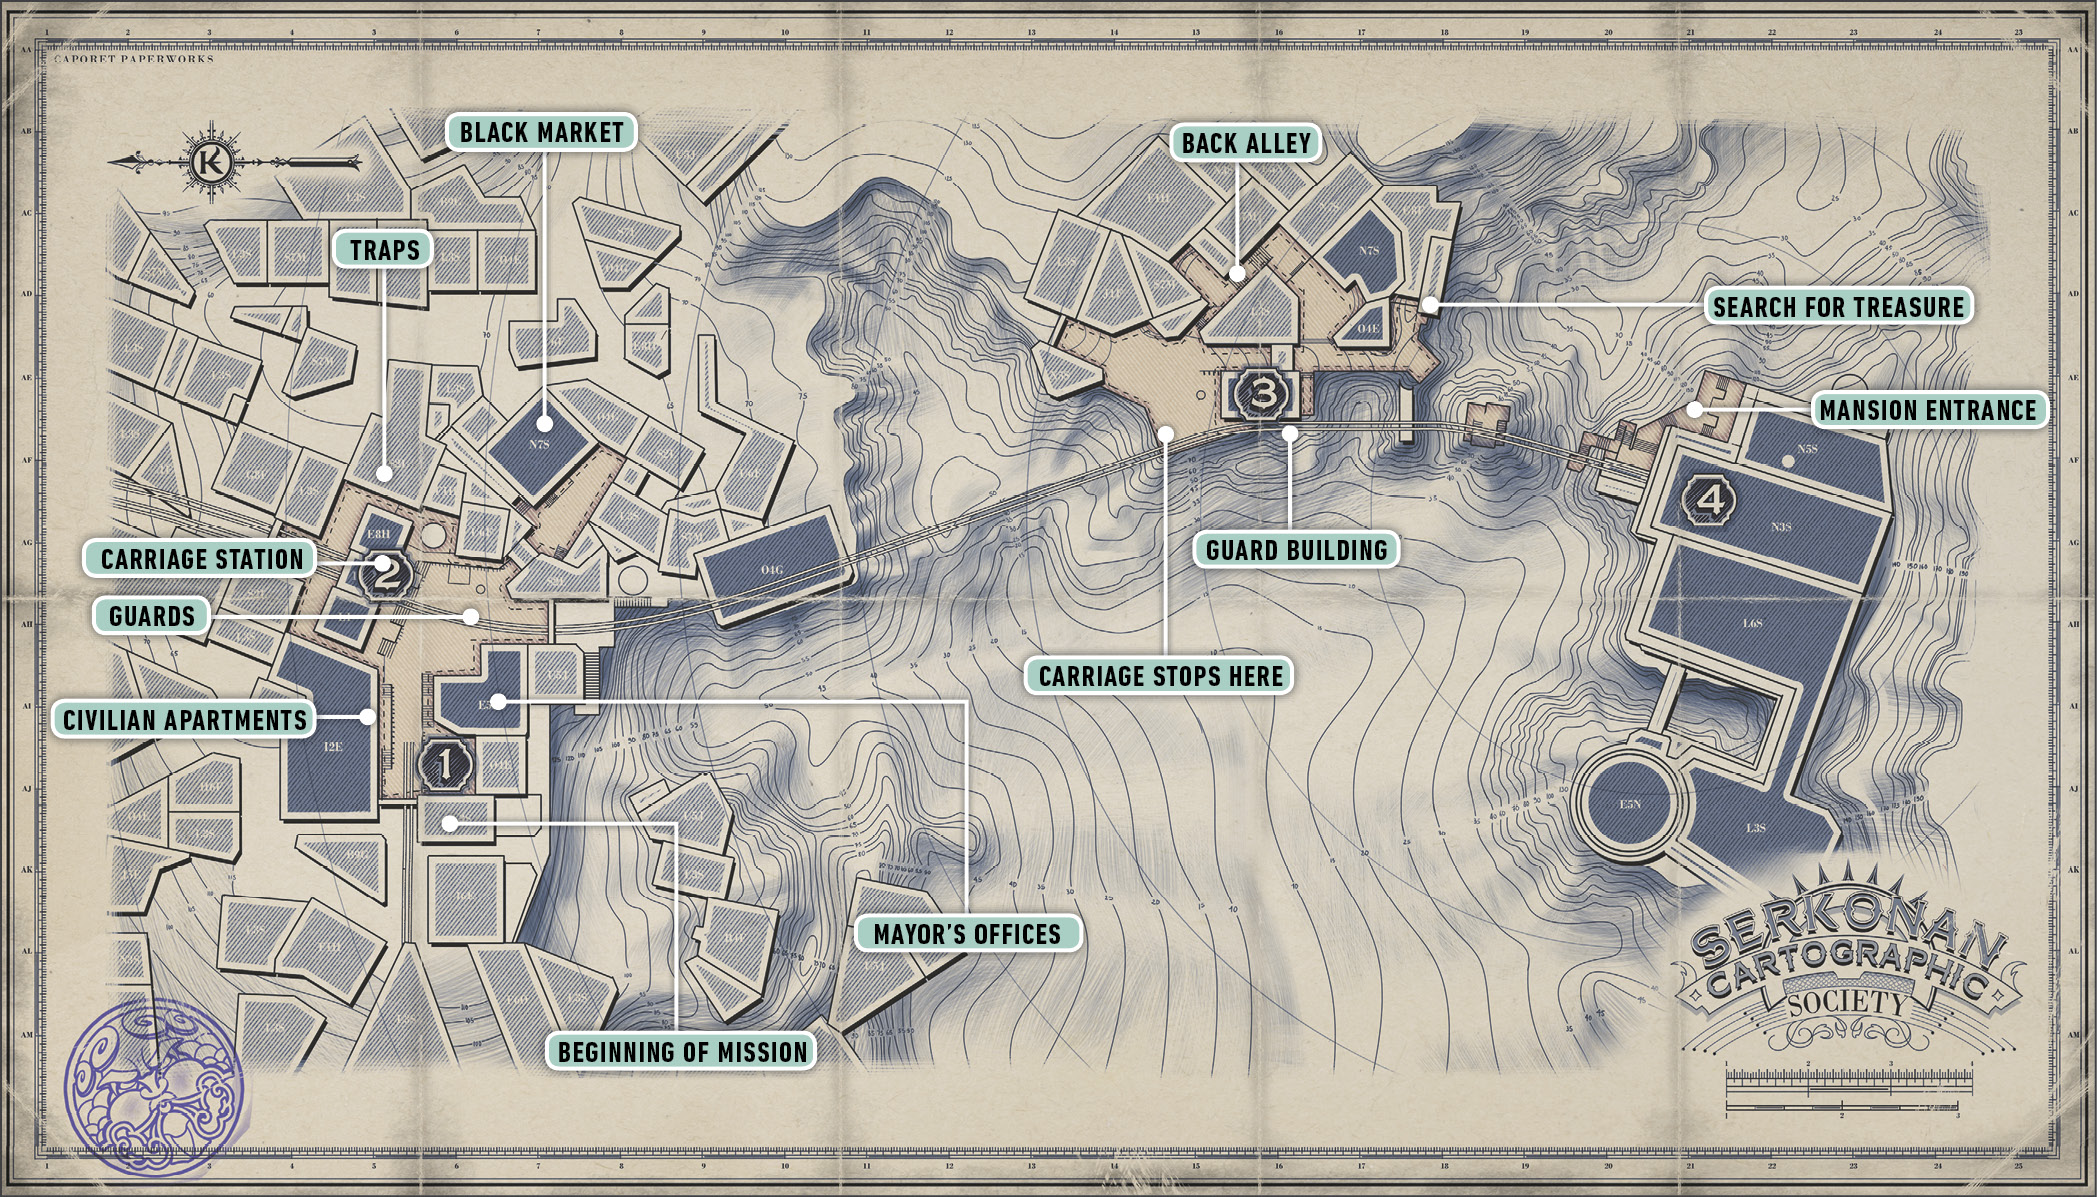
Aventa District
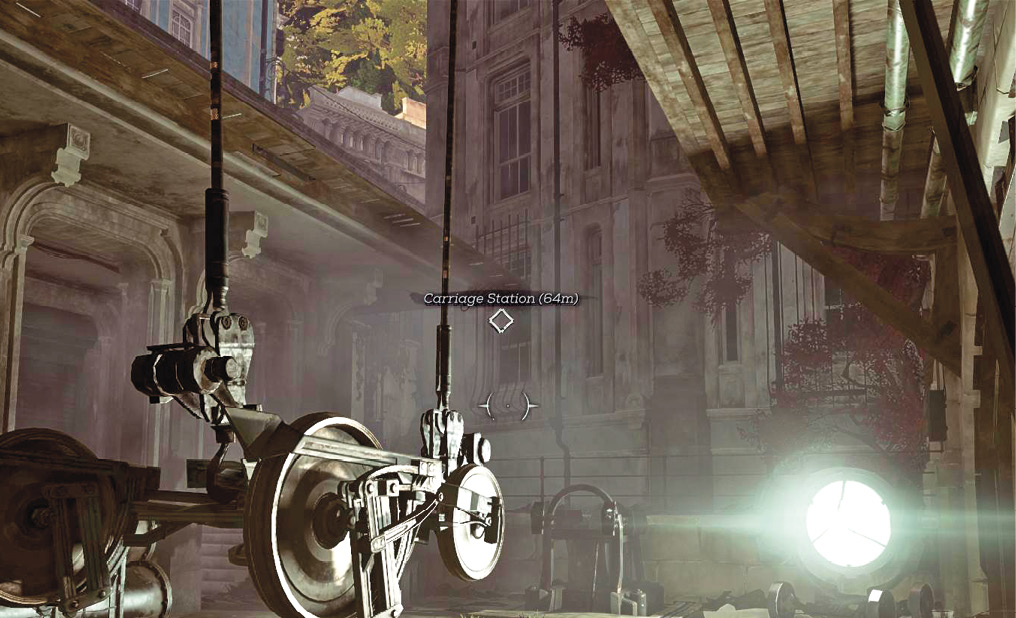
Enter the Carriage Station
Captain Foster takes you into the Aventa District. You pass through two guarded parts of the city before you reach the mansion. Luckily, there are quite a few items to collect along the way, so your time is far from wasted!
There’s some money where you begin, and a Health Elixir on the right side. Grab these small goodies and then take the way forward to enter the city.
The initial street has patrolling Guards and a good number of civilians. Wait for an opening in the patrol, which doesn’t take long. Then turn left and approach the quiet end of the street (near the civilians). Find a small entrance to an abandoned building there. It’s filled with four Bloodfly nests, but it’s nothing new or difficult to handle.
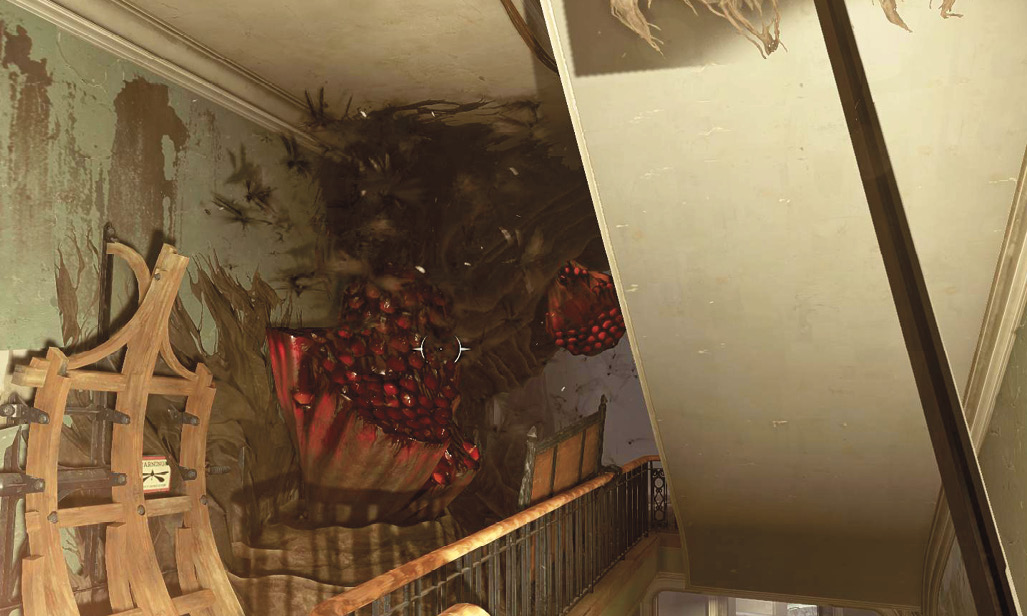
Search the second floor for basic loot, and the third floor for an Outsider Shrine. To get to it, bypass a locked door. Jump through the open window beside the door to reach the locked areas.
Leave the building and stay on the upper walkway where the civilians are congregating. This keeps you far away from the Guards. Progress along the street, then turn into an alley to the left. Another building is accessible from the alley, behind a metal shutter.
Climb to the second floor and search around for many items.
The room on the third floor is locked. To access it, return outside and Far Reach onto a nearby building. Climb to the top and Far Reach back onto the upper balcony of your current building. Steal everything, including a Black Bonecharm and more money inside the apartment. A Painting hangs on the wall, near the balcony.
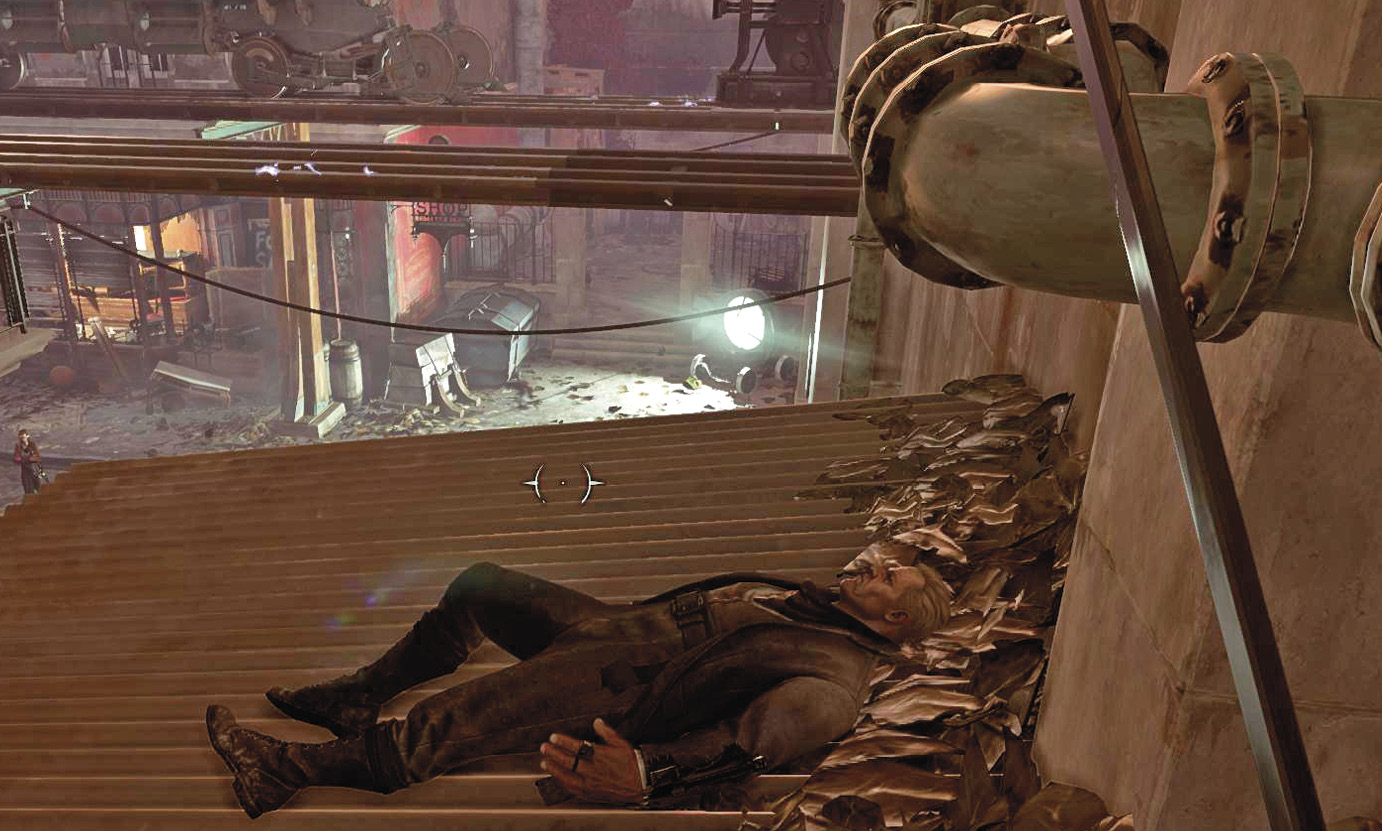
The open yard ahead conceals a trap. A woman calls for help, but she’s part of the same gang as the patrolling man. If you approach her, she summons all her buddies, and they come in with steel bared. Far Reach onto the balcony to the left while you observe them. The Rune you want to steal is toward the back of the yard. Spot it with your Heart so you know where to Far Reach. Having Mesmerize or Shadow Walk really helps. Steal the Rune and then back away, the way you came in.
Go to the main street of the district and cross to the other side. Far Reach on top of a small wall near another building. Far Reach again to reach the balconies above it, and go through an unlocked door into the higher floors. The Guards shouldn’t see this as long as you crouch while you work.
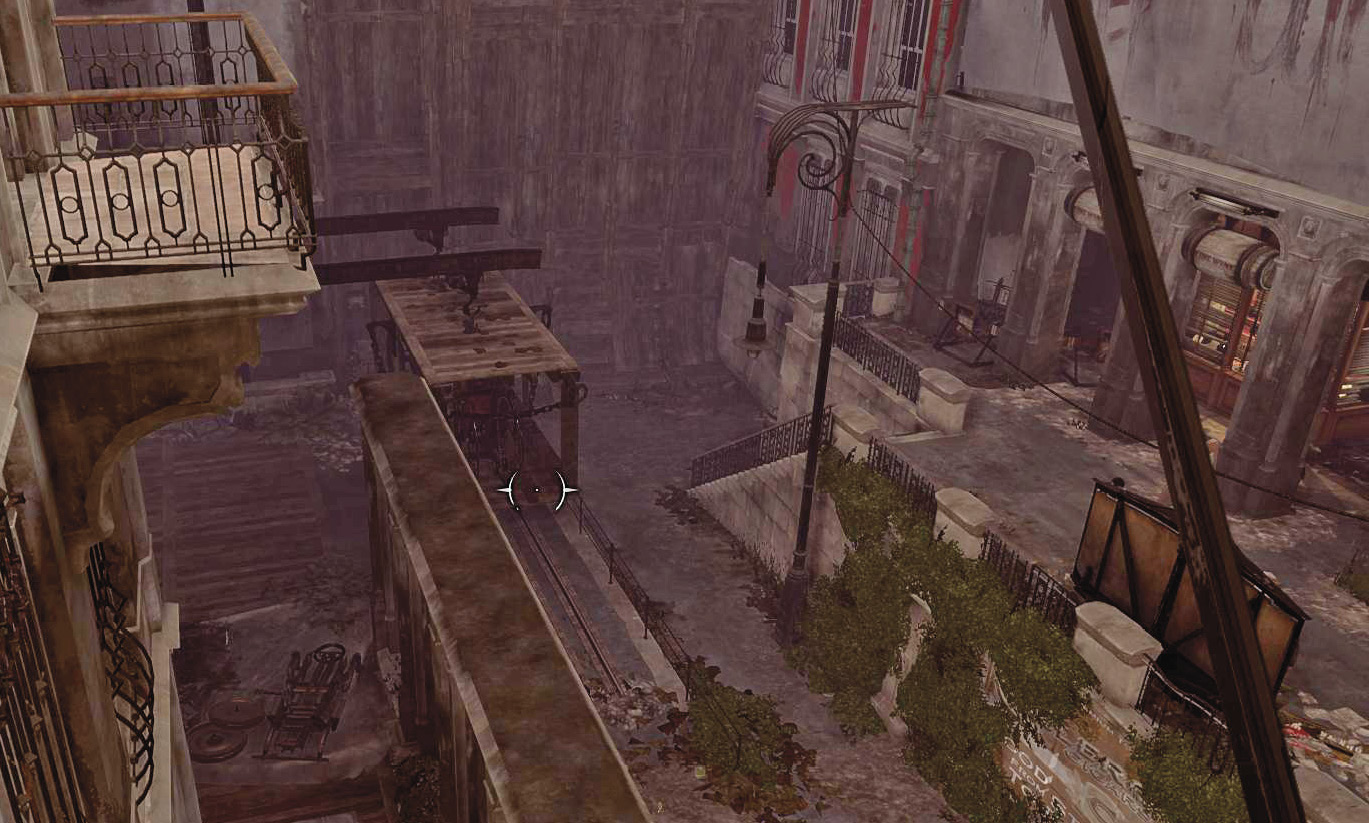
Break into a china cabinet to get a Bonecharm. Loot the desk for a valuable Medal, and steal a Painting from the wall. All in all, quite a bit of money for a quick job.
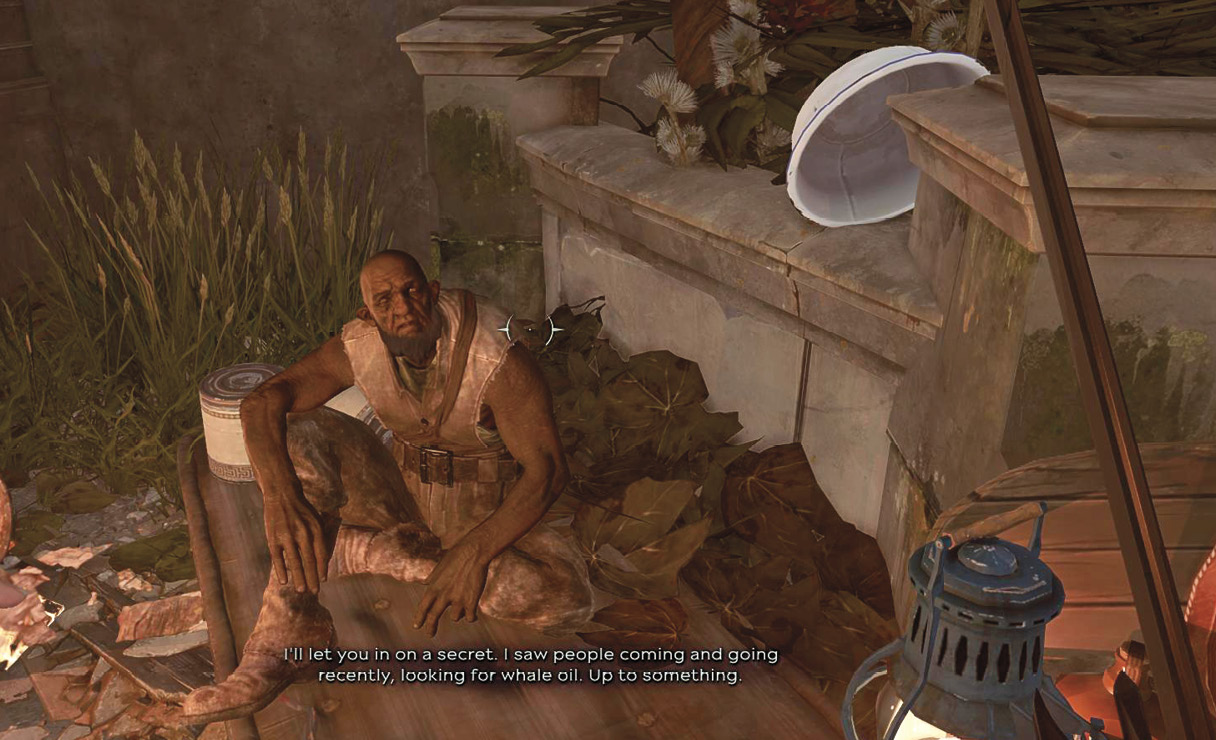
Exit to the balcony and move carefully around the corner onto a lower, small roof. Wait for the patroller to move farther away, and note the post beneath you where another Guard is standing duty. Far Reach ahead and to the right as far as you can to avoid these observers. Then sneak into the unwatched yard ahead. A beggar is there, but he’s a good fellow. He gives you a warning if you pay him five coins. It sounds like there are even more disreputable fellows lurking in the region.
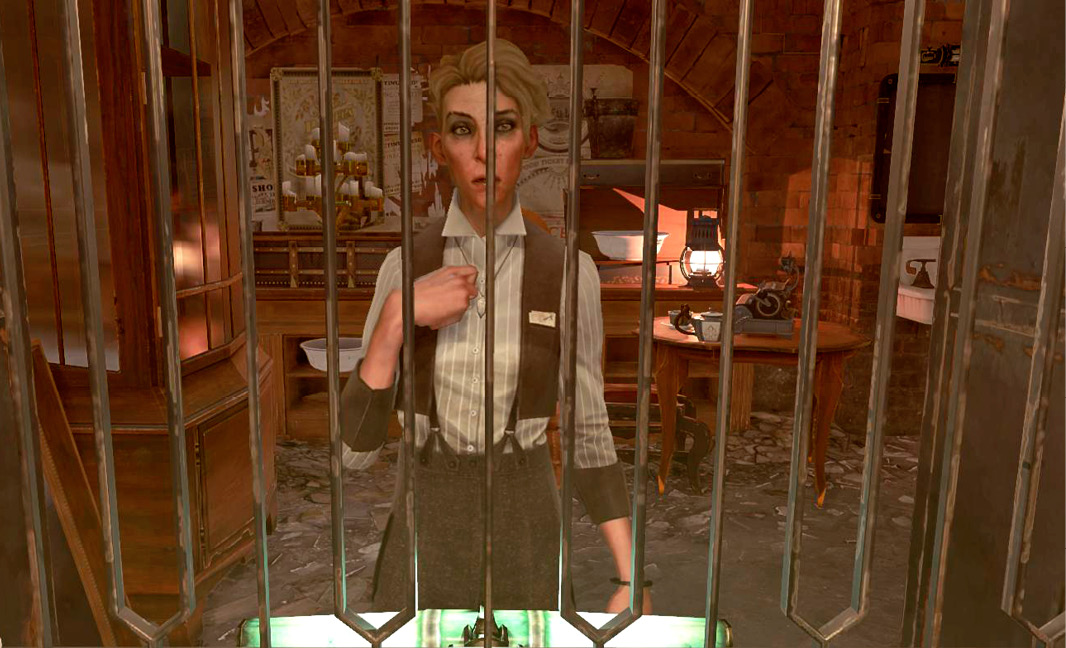
A basement entrance from this yard gains you access to the black market shop. Talk to the woman inside, though she can’t sell you anything yet. After she tells you this, try to leave, but stop when the woman speaks again. She says the nasty sorts are here. Use a brick pillar at the side of the room to hide. Crouch there while the merchant talks to her visitors.
Don’t move while the criminals are in the shop. Once they’re gone, you can buy goods without any issue.
Black Market Goods
| Item | Cost |
|---|---|
| Crossbow Bolt | 20 |
| Pistol Bullet | 30 |
| Sleep Dart | 30 |
| Grenade | 70 |
| Stun Mine | 70 |
| Spring Razor | 50 |
| Addermire Solution | 150 |
| Health Elixir | 75 |
| Rewire Tool | 200 |
| Rune | 400 |
| The Key to Unlock the Ticket Booth | 250 |
As long as you have cash to spare, buy the Key. It’s useful within minutes. Beyond that, get the Rune, a Rewire Tool, and whatever else you like. It comes out to under 1000 for the big-ticket items, and you’ve probably pulled in over twice that since your last time at the market.
Finish shopping and exit into the street. Use the balcony area across from the market to gain a higher vantage. Far Reach from there, on the balconies above the black market. You have to get up to a fourth-floor entrance to access the locked building on this side of the road.
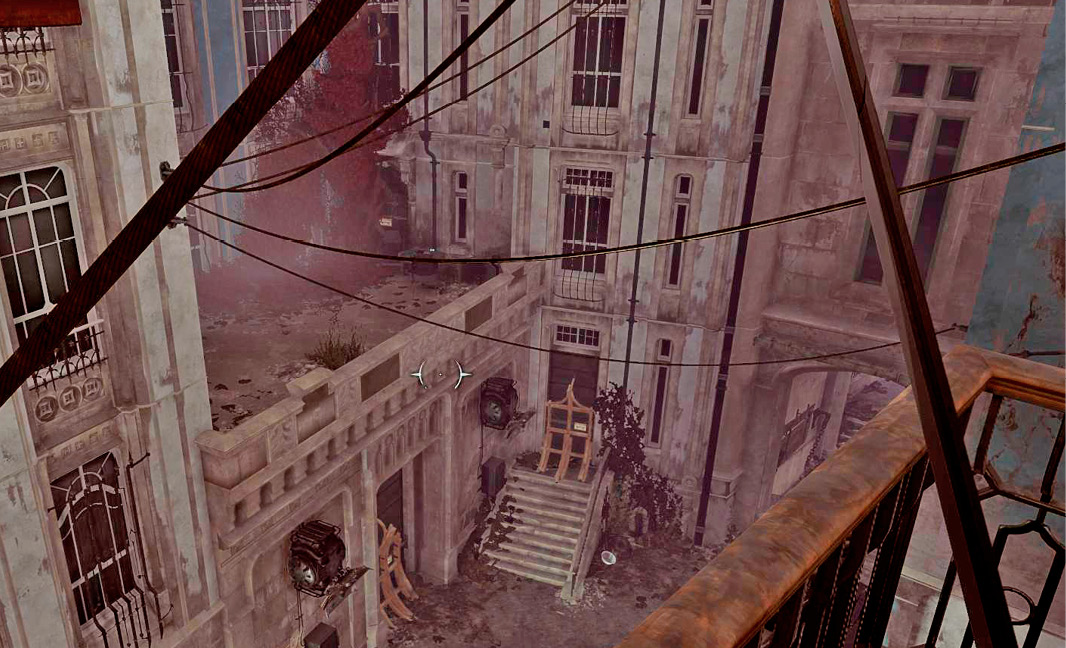
Go in through the balcony and explore. You get a bit of money on the Bloodfly-infested fourth floor. There is Raw Whalebone and some minor loot on the first floor. Approach the basement entrance with care (it’s outside the house, but still within the locked gate’s area).
Enter the basement and crouch while you listen to two criminals talking about explosives. Let the two split up after they’re done talking. That’s when you can go after them safely, and quietly.
Once you’re done, take your Rewire Tool back to the front street. Clear the patrollers when they’re at the far end of their route (closer to the shady area you just explored). Leave their unconscious bodies back in there, and then rewire the Security Panel to the right of the Wall of Light.
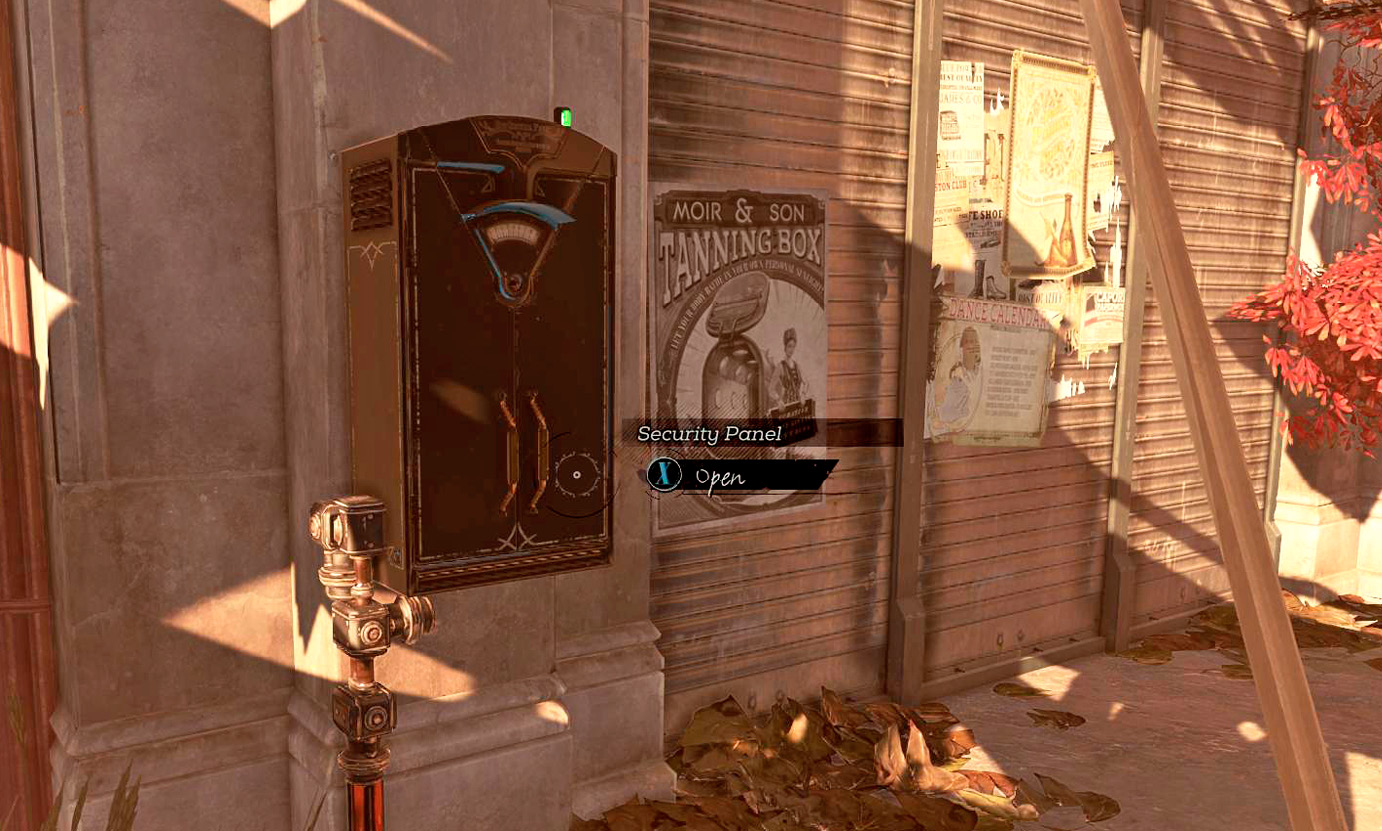
You can safely walk through the wall now, and into the carriage station. If you bought the Ticket Booth Key, use it to open the booth ahead. It contains an unlocked safe with almost enough money by itself to cover the cost of the Key. Open a cash register for even more, and take the free Blueprint on the nearby desk. Good stuff.
Climb the stairs to the second floor of the carriage station and Far Reach from the steps onto the other side of the second level. Guards are watching the primary way up, but their backs aren’t protected. Knock out the Elite Guard when the other patrols toward the stairs, and then follow suit with the patroller.
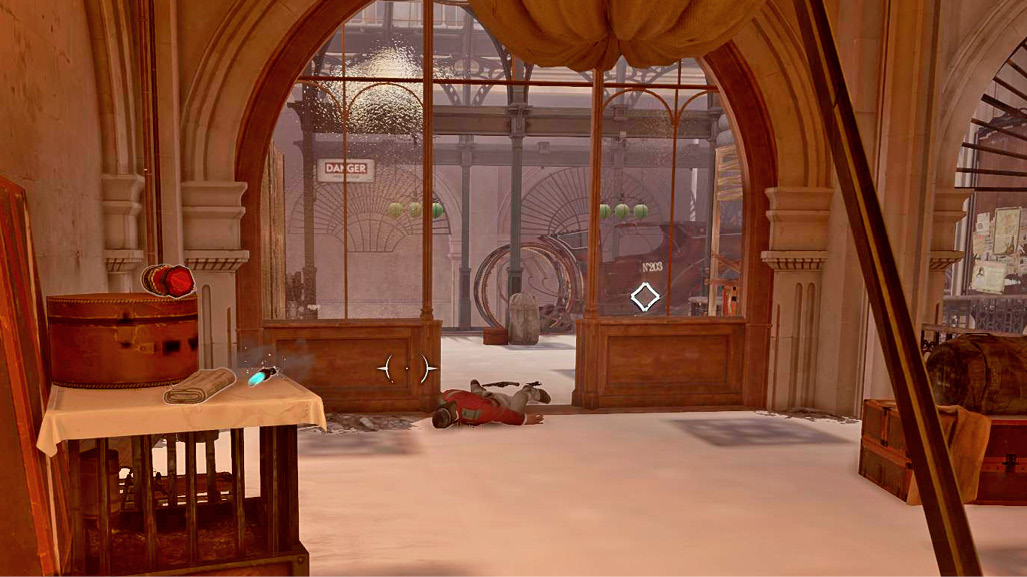
Search for a Bonecharm here on a few small cages. Then take the carriage to the next district.
Upper Aventa District
Enter the Mansion
Crouch as soon as you get to the next station. Turn right and advance toward a soldier’s barracks. The door isn’t too far away. Far Reach past the main desk when you get inside, and sneak behind the two men. They’re both working and are easy to ambush and knock out. Hide them in the tiny internal room behind the front desk.
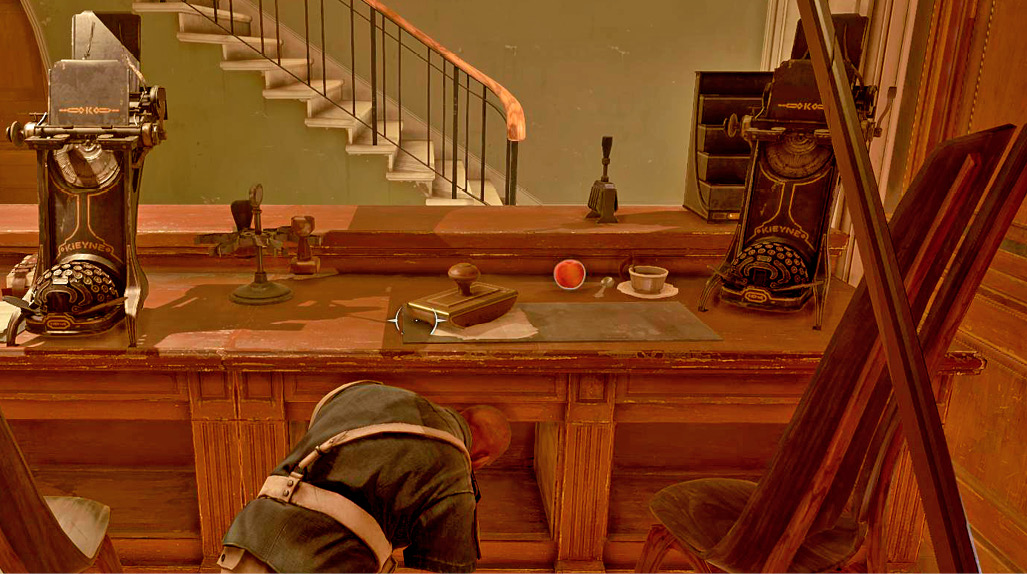
Climb to the second floor. Both men here are in the same room, so they’re a little harder to deal with. Make a bit of noise to lure one out. Ambush him for a knockout, and then sneak up on the guy left in the typing room. As before, hide the bodies far away from the stairs, in case anyone patrols in here later. Search there for a Bonecharm before you go.
A Veteran at the top of the building holds a Side Gate Key. He’s resting on the new Gate Code Document as well. But he’s almost asleep. As long as you didn’t start a huge battle, he’s a joke. Creep into his office, knock him out, and loot the place. You now know the gate code.
Just outside that office is a Blueprint sitting out in the open. Take it when you leave.
Return to the carriage and go the long way around to the left side of the yard. Avoid the patrollers by staying at a good range from them. The side alley is locked with an iron gate, but you’ve already discovered the Key to it. Go through here, where it’s much quieter. This circumvents the Wall of Light.
Now that you’re behind it, crouch and go around the periphery of the next yard. To avoid the patrols, enter the first building you can; it’s across from the iron gate. Look for a Rune at the back side of the second floor. There are only civilians inside the building. Also grab the Hound Figurine from the room at the end of the hall. It’s worth a fair amount.
Leave the building and slip around the corner when the patrollers are away. You can see the mansion ahead, but this isn’t how you get to it. Climb down a chain at the end of the route for a little more money, then immediately come right back up. Use your Heart to locate one final building, which is actually a bit behind you when you come back up the chain. Open a window to get inside, and clear out its Bloodflies. A Corrupt Bonecharm awaits you inside.
Go all the way back to the carriage and enter the code from the soldiers’ outpost into the console next to it. Re-enter the carriage, and use it to approach the Clockwork Mansion. When it stops, go up to the main doors and enter the building. This is the estate of Jindosh, one of the two greatest inventors in the Empire. He’s helping your adversaries seize control of the throne.
We’ll see what can be done to remedy this situation honorably and decisively.
The Clockwork Mansion
Rescue Anton Sokolov
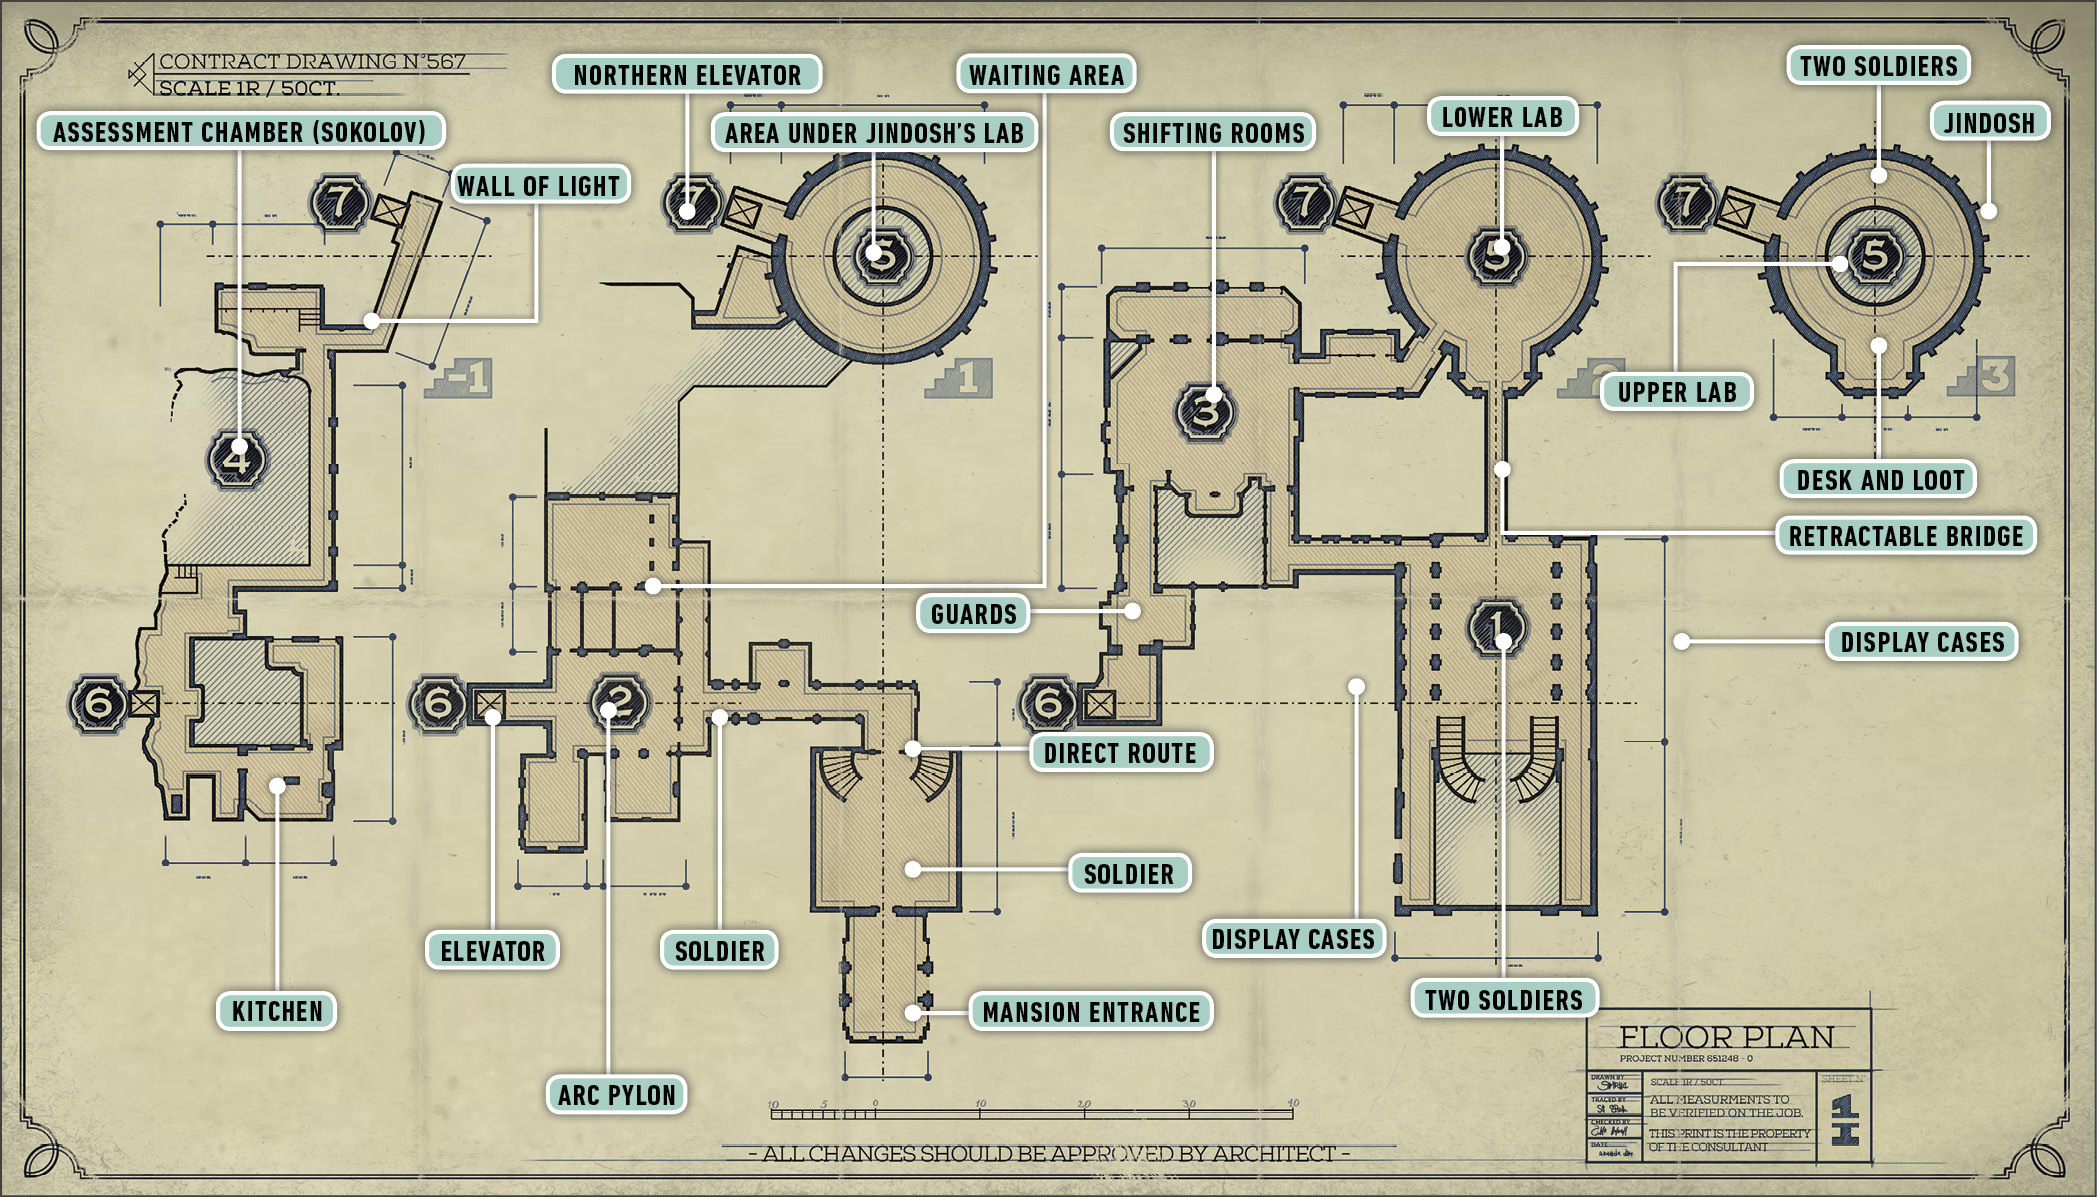
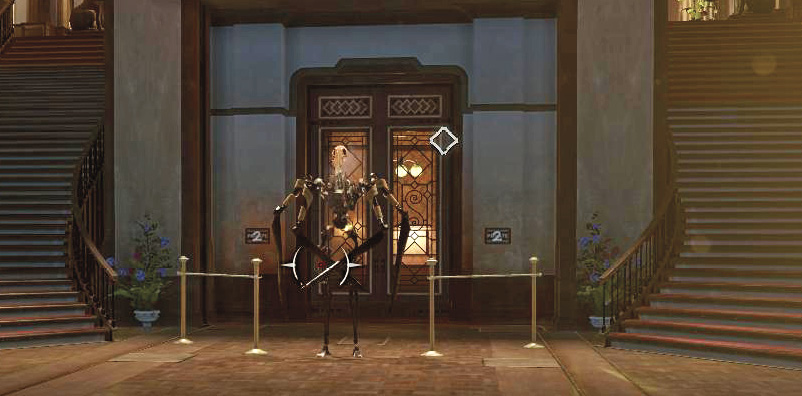
The first two rooms of the mansion are lovely and barren of dangers. Walk into the large room adjoining the entrance, and use a mechanism to the right of the door. This lets you change the room to access the rest of the house. A Clockwork Soldier is ahead, but it isn’t on duty. It doesn’t detect you or attack. At least, not yet.
After the room finishes its transformation, head to the upper floor and look the display cases on each side of the chamber. The right side contains a Mana Elixir, a Stun Mine, and a Rewire Tool!
After grabbing the goodies, activate the transformation mechanism again. This time, turn left and Far Reach up to get onto a display case and then the ledge above it while the room is engaged in its transformation. If successful, you reach the inner workings of the room before it finishes. This lets you avoid Jindosh’s sensors, re-establishing your advantage of surprise.
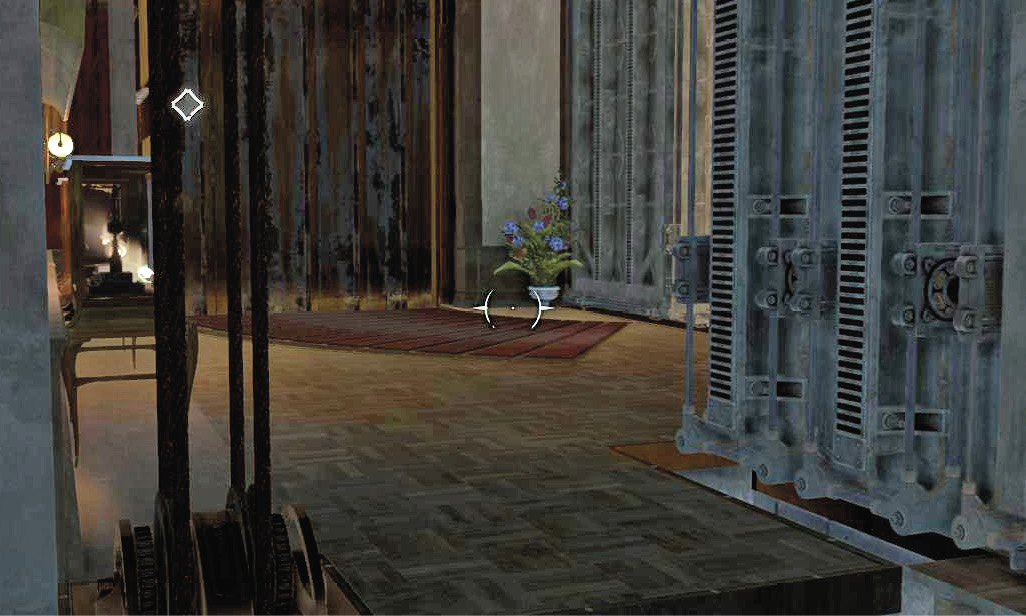
Follow this internal hallway until you approach a group of windows. Open the one on the right and emerge into a carpeted hallway. Two Elite Guards are on one end of it, talking. Head in the opposite direction.
If you wait around the far corner, one of the Elites comes to you on her patrol. Knock her out and leave her there. Now you can go where the two were talking, because the other is off on his patrol too.
Search the rooms here for loot. A Clockwork Soldier is in the hallway you just explored, but it doesn’t activate unless a fight breaks out. Use Dark Vision to track down the other Elite Guard, and knock him out before he can uncover you. A third Elite comes into the main room (with the piano) from time to time, so don’t leave the bodies out in the open. Put them to the side and wait for your final target. Once he’s knocked out, your task becomes much easier.
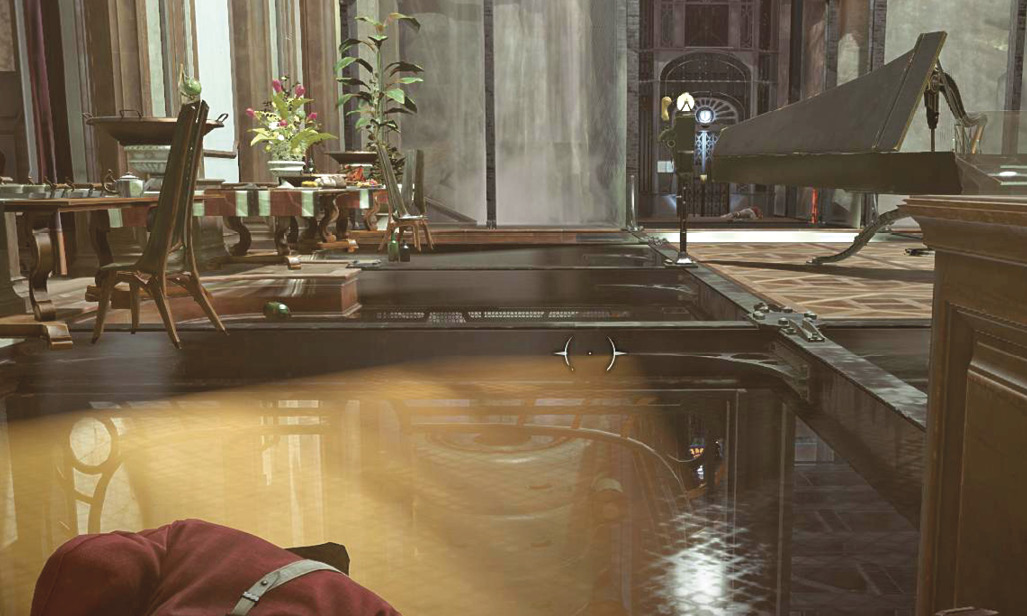
Go into the elevator at one end of this route. It connects three levels, and you’re on the middle one. Select the Assessment Chamber, the lowest. That’s where Anton Sokolov is being held. Wait for a patroller to approach the elevator, and knock him out.
Look through the kitchen and go around the back of the area. A mechanism lets you pull the waiting room down here to be searched. It doesn’t hold too much of interest, but you don’t have to deal with the Guards protecting it as you do if you examine the place from the level above. A small connecting area between the two floors of the waiting room grants you access to a special place. Get in between the floors and use the Configuration Mechanism inside to send the floor up. At the top, exit into another recessed space. A Bonecharm is hidden there, on a body. Use a hatch to get back onto the elevator and escape from this place.
When you’re done, continue deeper into the level. No matter how you approach the Assessment Chamber, you bump into it quickly because it’s huge. Stay on the upper walkways above it for now.
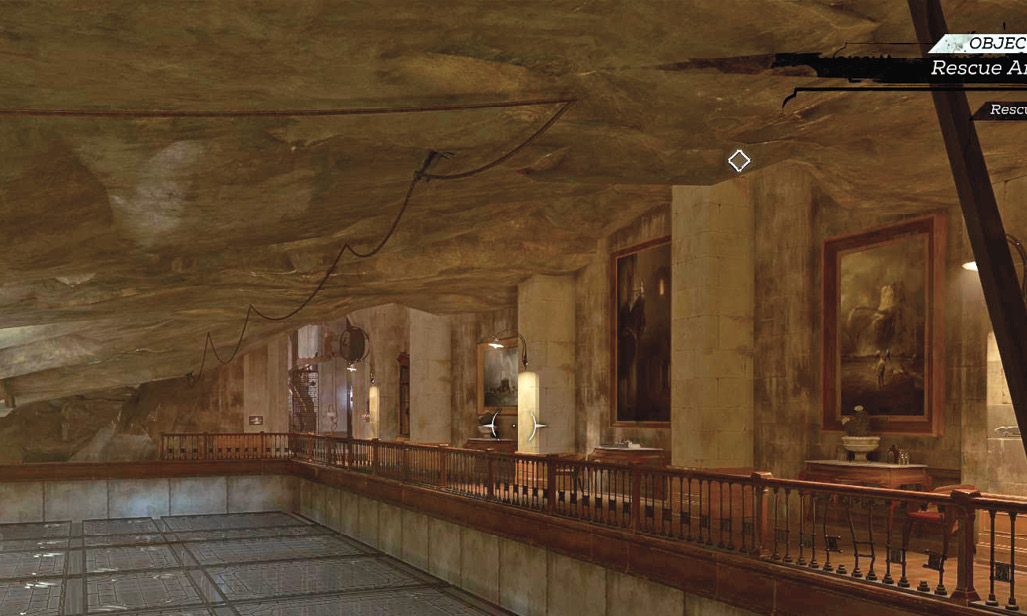
Hide until you spot the Elite Guard at the other end of the chamber. She’s usually on the other side of an open doorway. Far Reach over to ambush her, and choke her out. The tiny room behind her contains a Bonecharm inside a desk drawer.
Get back over the Assessment Chamber and look for a metal staircase that leads down. Descend the stairs. A mechanism opens the Assessment Chamber, and the place is a bit of a puzzle. Each golden square you step onto changes the configuration of the walls. If you don’t take the perfect route, you bump into a Clockwork Soldier and are spotted.
Open the front door and then take the following path:
- Step into the puzzle and move onto the first square
- Far Reach forward and right to skip a Clockwork Soldier
- Step on a square ahead, as you continue forward and right
- Let the walls finish shifting, and then look around the corner ahead and left of your position
- Break a set of wooden boards on the floor
- Step on the revealed square
- Anton Sokolov’s cell opens
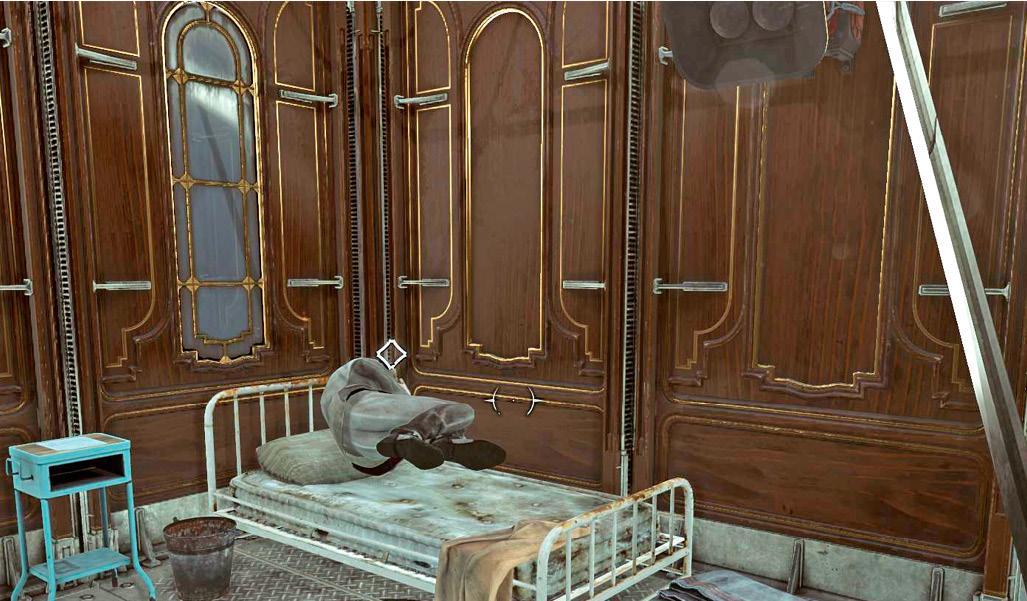
Wake up Sokolov. Finding him is good news. Take the Painting inside the cell, and then break another set of boards over a square. Pick up Sokolov and step on that square. This opens the cell again. Far Reach out of it, and use the square outside to change the walls. Head toward the exit door, careful not to alert the Clockwork Soldier still in the area.
Use a square to the left (if you’re facing the exit) to open the tiny entrance area. It’s pretty clear from here, so hurry out and get Sokolov back to the elevator.
Ride the elevator back to the middle level. You already knocked out the Guards, so follow the waypoint back through the cleared room and hallway beyond. Use the Configuration Mechanism at the end to open the way out.
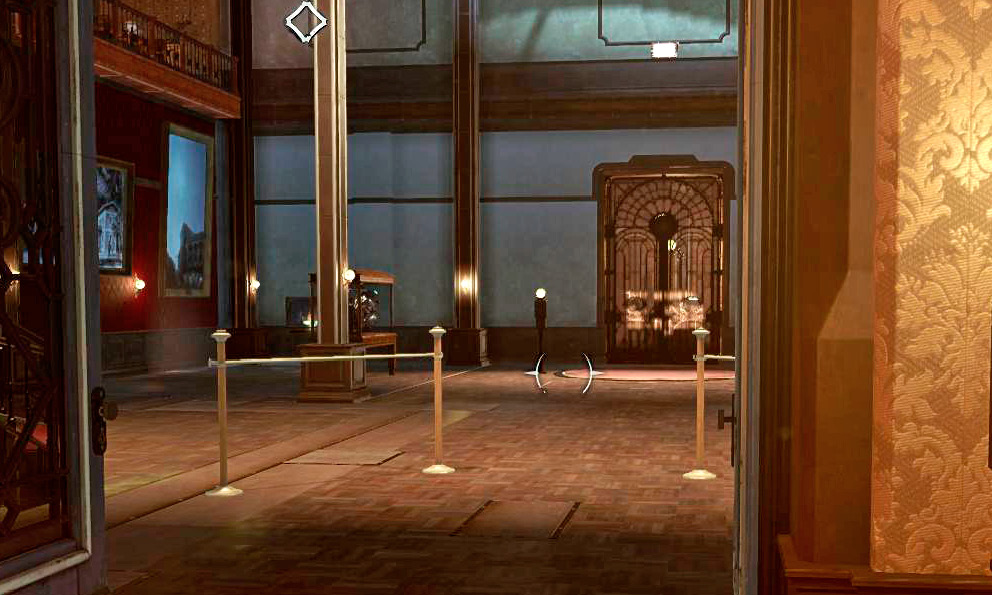
Leave sleepy Sokolov by the door. He’ll be fine.
Eliminate Kirin Jindosh
Don’t leave yet. You have to stop Jindosh from being a threat to your rule, but you don’t have to murder him. Instead, return to the Assessment Chamber and examine the Elite Guard’s room. She’s already unconscious, but there’s a Wall of Light in there that you can’t pass.
Use Shadow Walk and skitter into the Rat hole in the wall to avoid the Wall of Light, and disable it from the other side. You also discover an elevator that goes right into Jindosh’s laboratory from underneath. No more Guards or Clockwork Soldiers stand in the way.
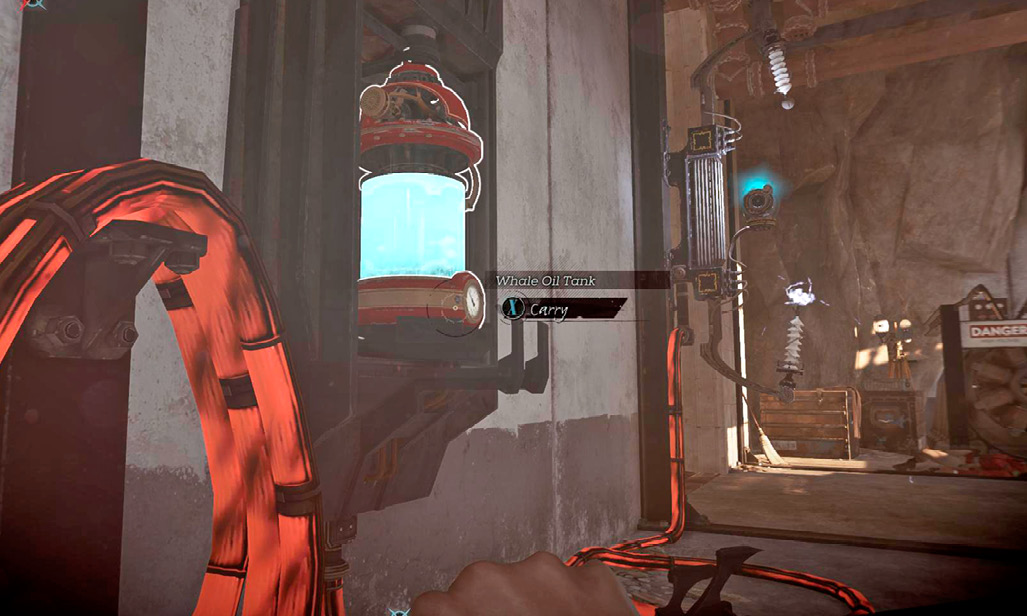
Press Button 2 in the elevator to ride up to the lab. The top floor is much harder to sneak into. Leave the room by a side hallway with a red carpet. The adjoining hallway takes you past a small room with some Documents, and then into a room with a spinning internal mechanism. Use a Configuration Mechanism and then ride the inner section while it spins into another room. Far Reach into a small door by the corner. The tiny room there has a secret below it; use a mechanism to lower the floor, collect a Black Bonecharm, and then retrace your steps back to the laboratory.
Sneak around to get the lay of the middle area. The Electroshock Machine you need is underpowered, so a few other things must be disabled before you can use it. Two Bay Control Panels are a few feet away from the Electroshock Machine.
Press the Optics button on Bay 1’s panel. Press the Anatomy Platform button on Bay 2. A Rune is on the Anatomy Platform, which is now on the middle level. Pick it up as soon as you can get it without drawing attention from the Clockwork Soldiers patrolling above. If you want to explore and grab a couple more minor items, descend into the lower portion of the lab while the bays are changing.
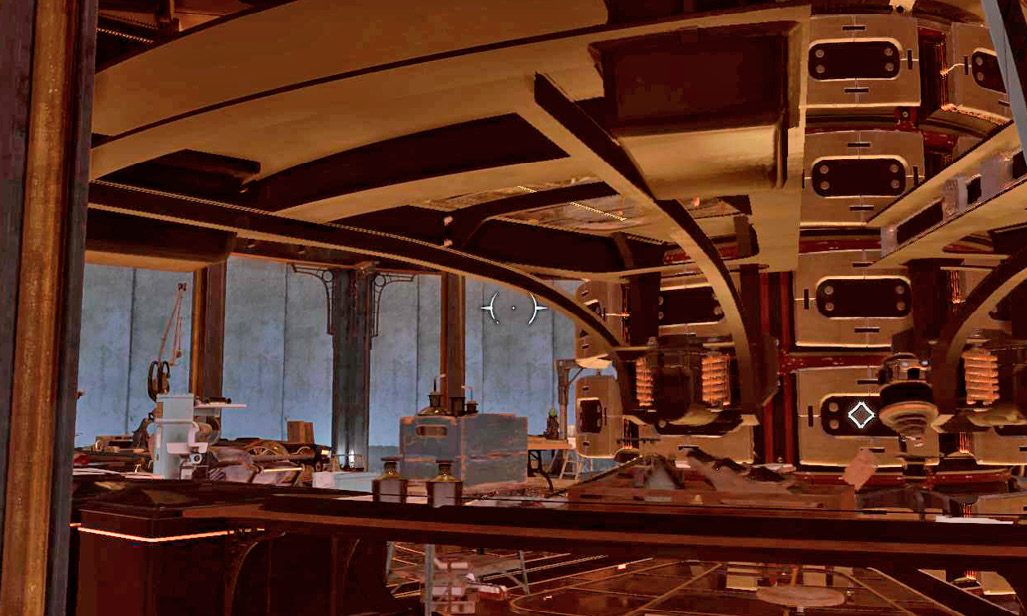
Once the new platforms are in position, the Electroshock Machine receives its power. Use the elevator to ascend to the third floor, and Shadow Walk through the Rat tunnel to get close to Jindosh. He wanders, but gets pretty close to the Rat tunnel exit. Ambush him while you’re still in Shadow Walk, knock him out, and Far Reach to safety with his body as soon as you can.
Bring him to the middle level and go around the outer edge to avoid visual detection. Place Jindosh in the chair and then turn on the machine. This effectively eliminates him as a rival, but he doesn’t die.
If you’re still in the mood to search before leaving, the upper tier of the lab contains a Painting behind Jindosh’s desk. Inside the desk is a Blueprint.
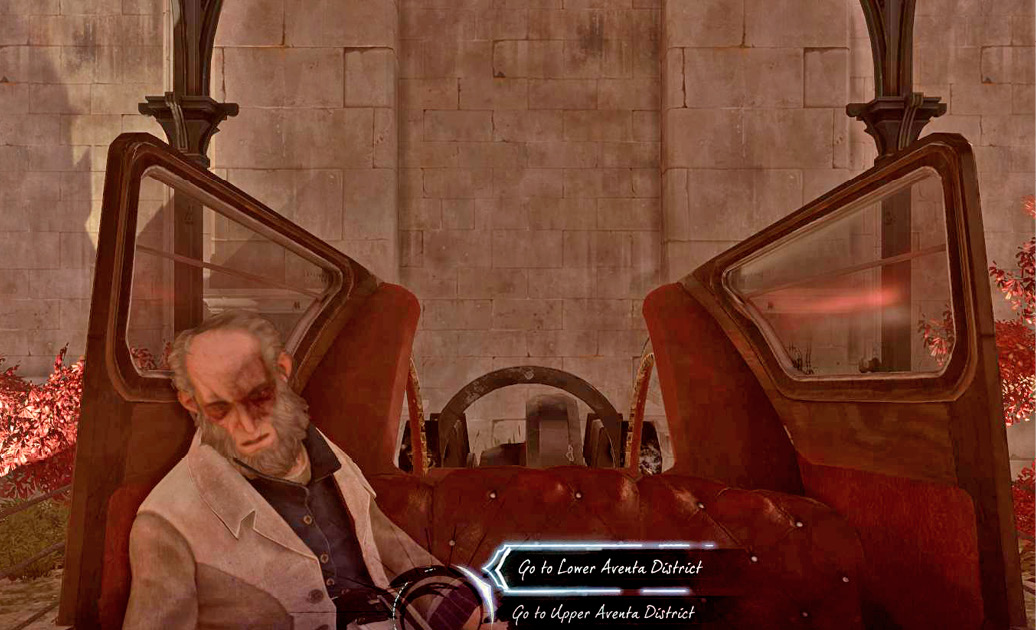
A floorless hallway leads back to the beginning of the level. Use a lever beside it to raise the floor and give yourself an easy escape. Take Sokolov out of this horrible place. Carry him through the main doors to reach freedom.
Ride the carriage back to Lower Aventa. Grab Sokolov and carry him back to the boat. Take the rear exit out of the station to avoid detection. Far Reach up onto the roof of the building around the next corner, and from there onto the balcony of the black market structure. Descend to the lower floor, exit the building, and from there it’s a simple run to the end. The Guards don’t see anything, and you don’t even freak out the civilians this way like you would if you stayed on ground level.
The Void Calls Again
Emily wakes, but she quickly discovers this is another of her journeys into the Void. Get out of your bed and open the door. Follow the waypoint toward a meeting, not far away. Listen to what the other person has to say, then keep following the waypoints to learn about the past. There isn’t anything you can do here besides walk forward and observe.
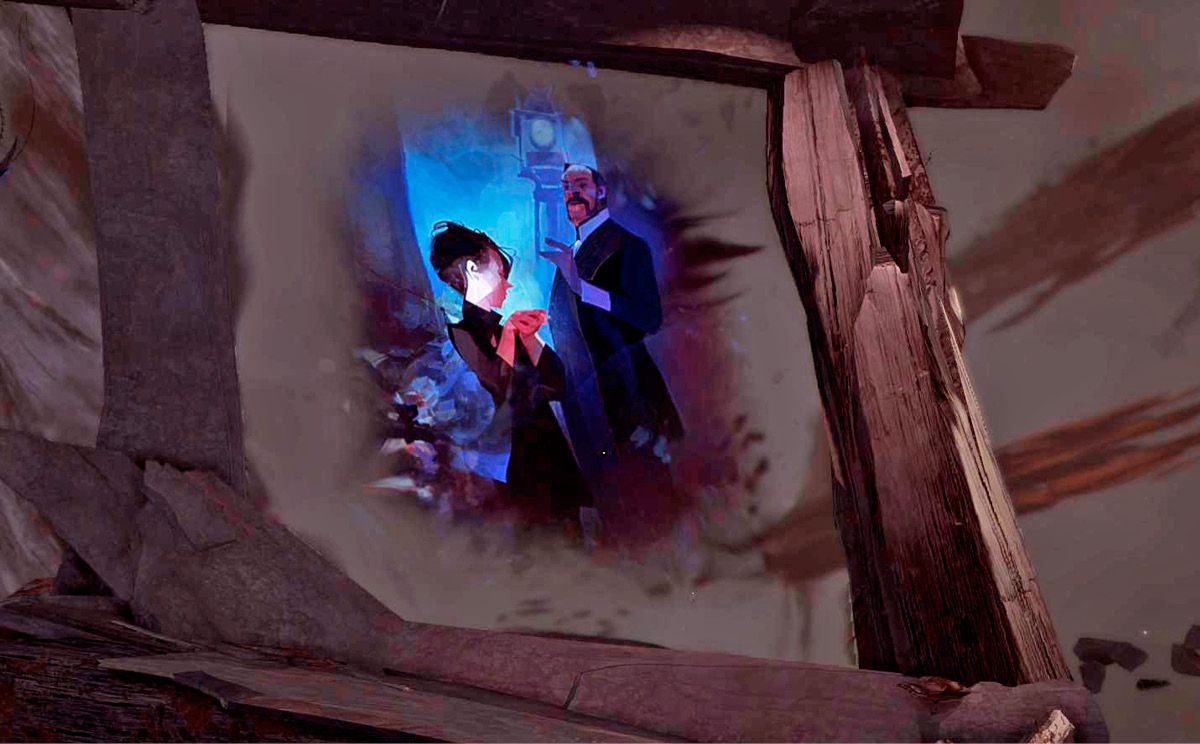
Soon, you find a way out and are taken back to the Dreadful Wale.
Safe on the Seas
Get up again, and write in your journal. When you’re done, go to the briefing room and talk to Captain Foster and Anton. Look in the back room afterward and read a Document on the Bloodfly tank, which gives you the secondary task of clearing out all the Bloodflies on the ship. Examine the painting of Delilah in the briefing room for some extra background.
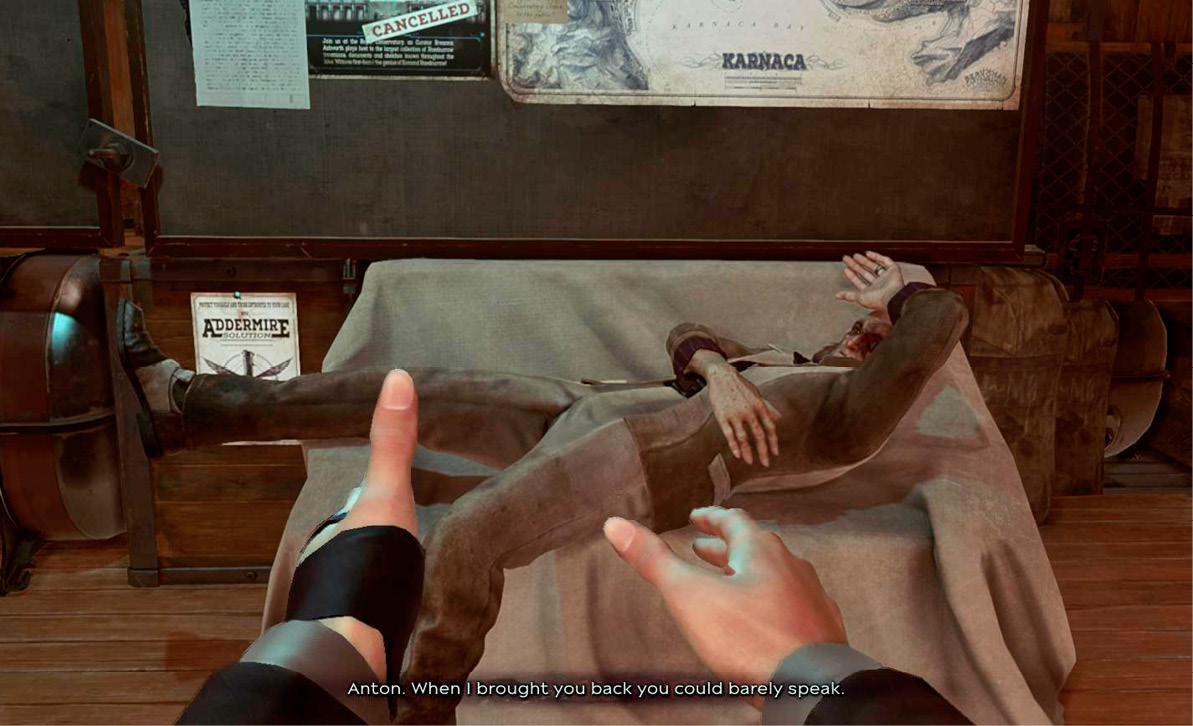
Progress through the vessel in search of Bloodflies. You find them in the boiler room. Walk down there and slash them to pieces.
Meet Captain Foster up by the skiff to start the next mission.