
Dishonored 2 Guide Stealth Walkthrough
The Good Doctor
Eliminate the Crown Killer, who’s been murdering your enemies to make you look guilty. Find your ally, Anton Sokolov, last seen being carried toward Addermire. Alexandria Hypatia, who runs the place, should know more.
Collectibles
| Runes | 5 |
| Shrines | 1 |
| Bonecharms | 4 |
| Coins | 2206 |
| Blueprints | 1 |
| Paintings | 2 |
Special Actions
| Sunken Wreck | Swim out to the submerged boat |
| Abandoned Basement | Find the basement |
| Release the Hounds! | Let the starving Wolfhounds out |
| Three Witnesses | Save Hamilton, read Valiente’s letter, and talk to Vasco |
| The Counter-Serum | Craft an antidote |
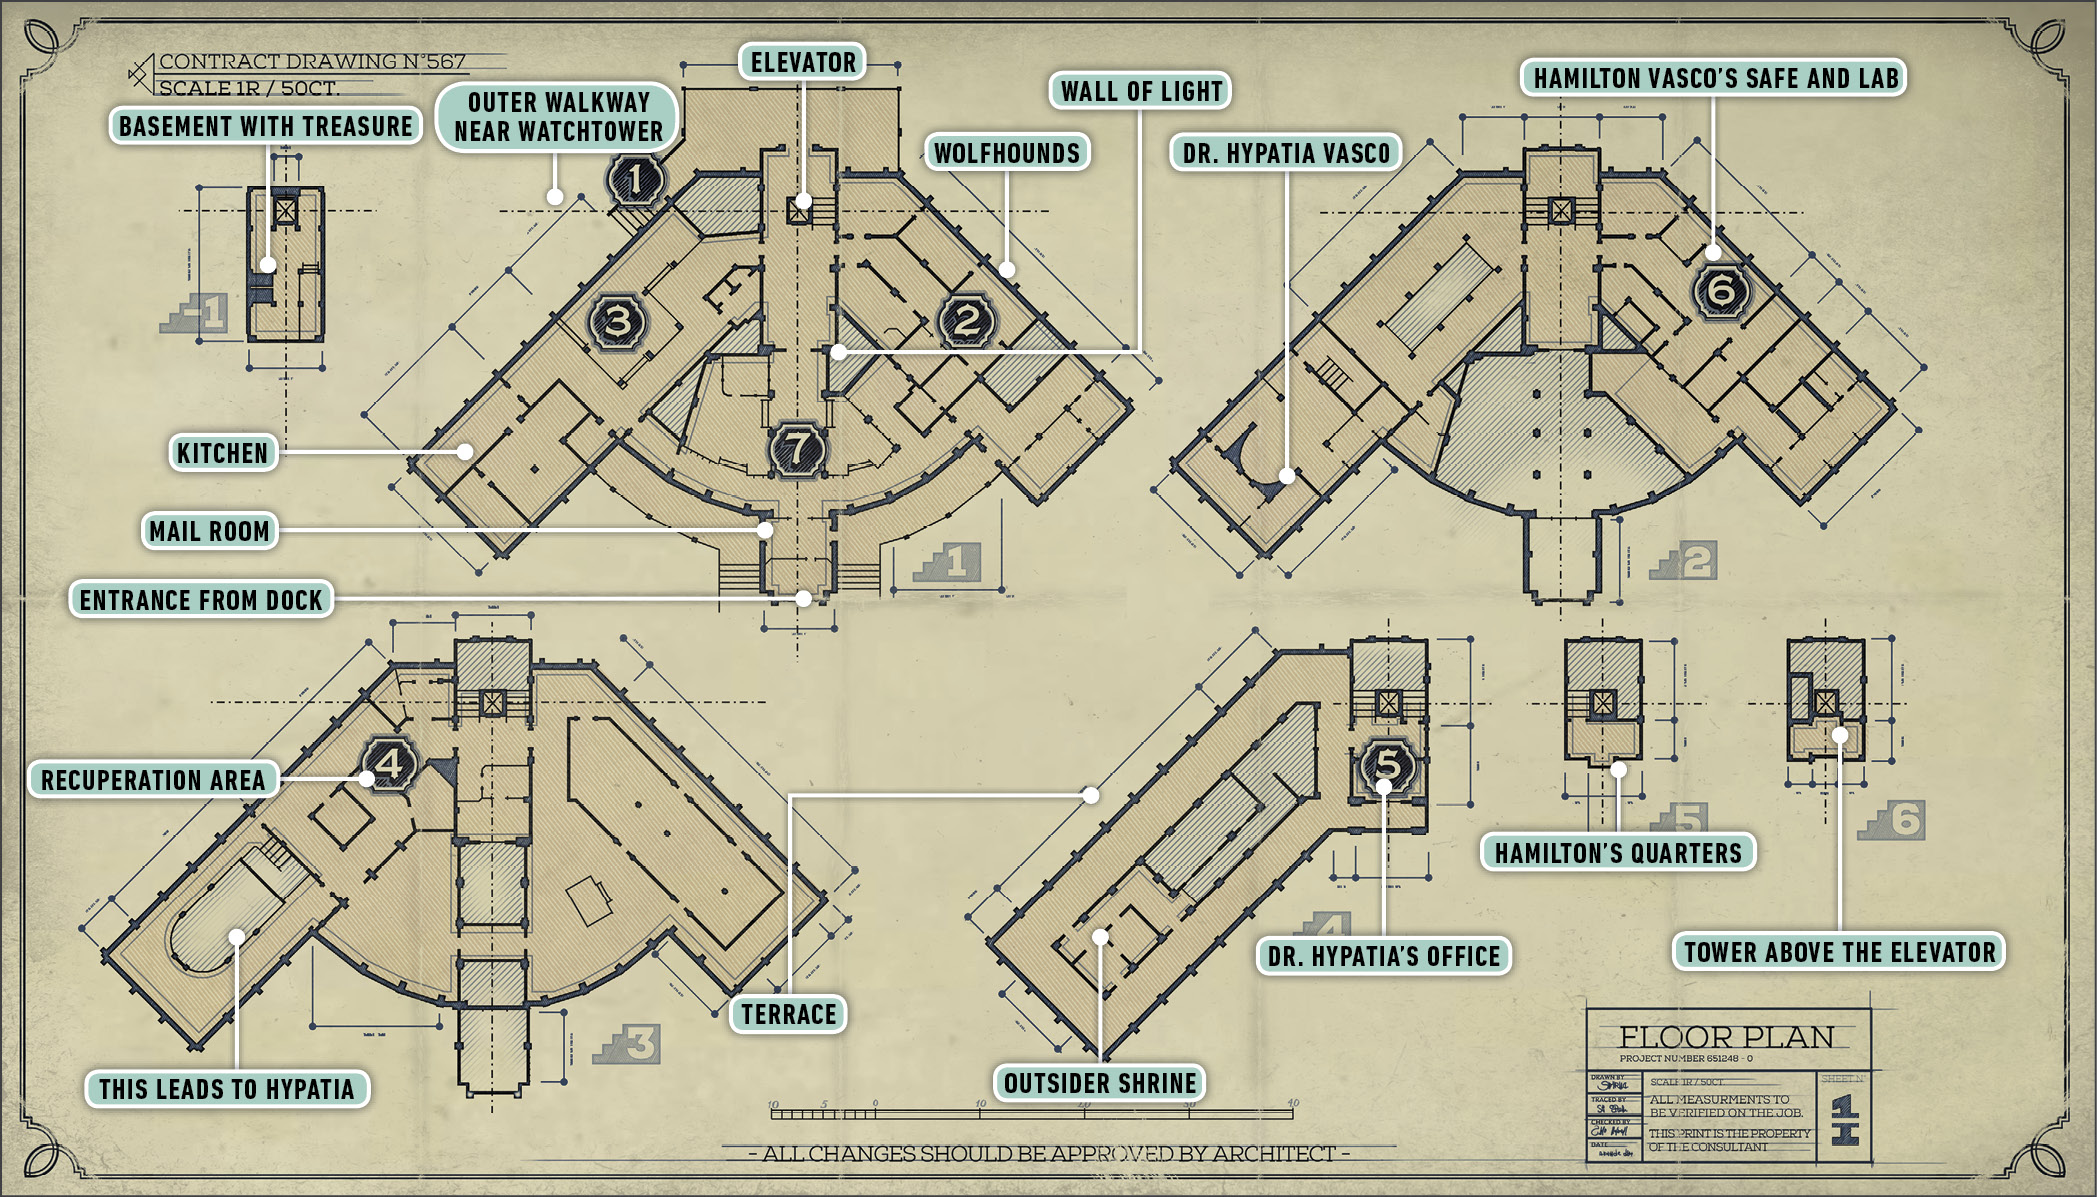
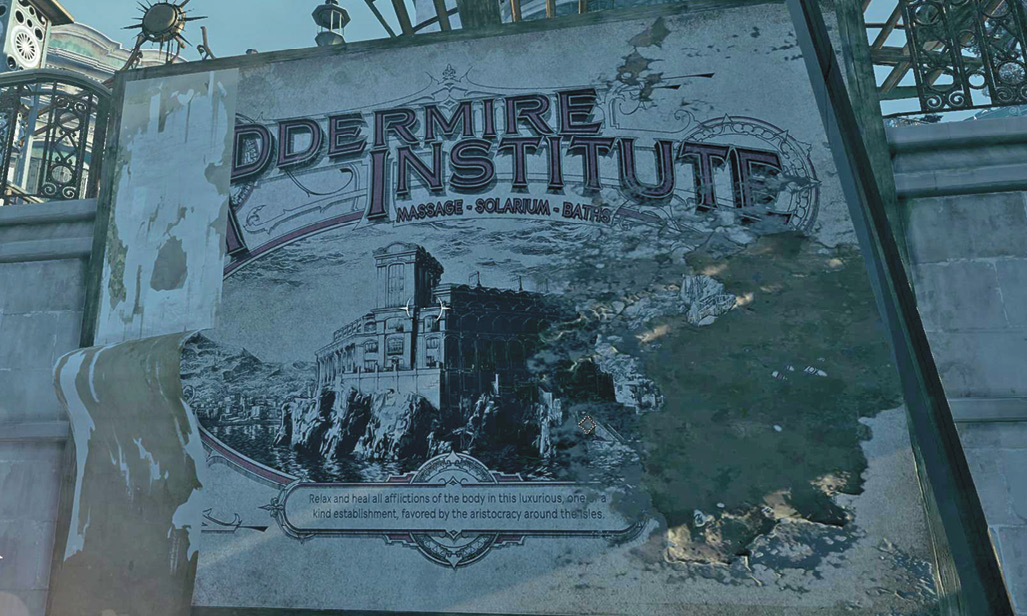
The Addermire Institute
Get a Map of Addermire
The carriage quickly takes you over to the institute, which is on an island that looks creepy, isolated, and miserable. That’s not far from the truth. If you read the Documents around the place, you learn that even the people who work here totally hate having to be here.
Once you disembark, go to the edge of the landing and look for a pipe below you. Drop onto it and seek a recess underneath the stonework. A Bonecharm is hidden there, and your Heart makes it fairly easy to find once you know about the pipe to land on.
Far Reach back up, and climb the steps toward a small building above.
Three Guards are congregated in a mail/storage room. You pass a pool with fish in it along the way. If you like Possession, turn a valve nearby to raise the water level, and Possess a fish afterward to get farther into the complex.
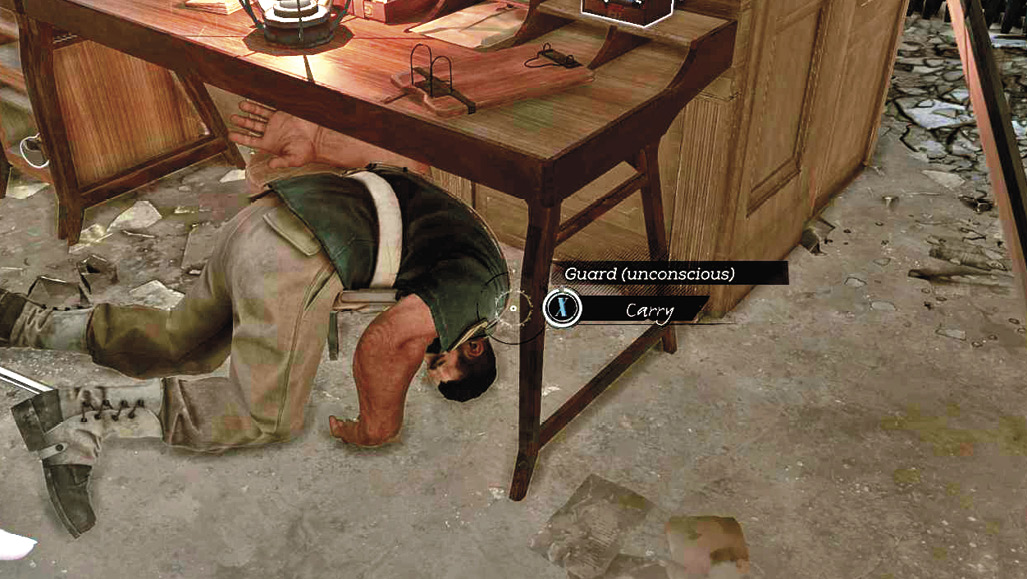
Otherwise, watch the three men talk. One Guard leaves early to start his patrol. Follow him and take him down. You don’t need to move the body right now. Wait for the second one to leave (he goes in the opposite direction). Knock him out and then come back for the guy who stays in the mail room. With this trio down, you have the run of the initial area.
The route to the right doesn’t go far, but it leads to a piece of Raw Whalebone. These are useful later on, so grab it. Then take the path on the left. You hit a series of cliffs, but it’s possible to walk on them (carefully). Take them around until you find a window into the facility. Going in this way bypasses some serious trouble.
You arrive in the pantry and kitchen. There isn’t too much to loot, so crouch and move out to the dining hall. There are patrollers and relaxing people everywhere. You’re looking at multiple mobile Guards, some Elite Guards as well, and a challenging stealth situation. To make it worse, a Rune is in the middle of the dining hall. Combative players have it so easy; you have to work for this one!
Use noise to lure out one of the dining pair. They’re the biggest rub, so choking a single person from that pair makes everything else quite doable. Make the noise behind the curtain on the left, and hide until the person investigates and then starts to return. Once that’s done, get an angle on the other two diners and hit them with Sleep Darts. It’s much easier than luring yet another person off for a choking session.
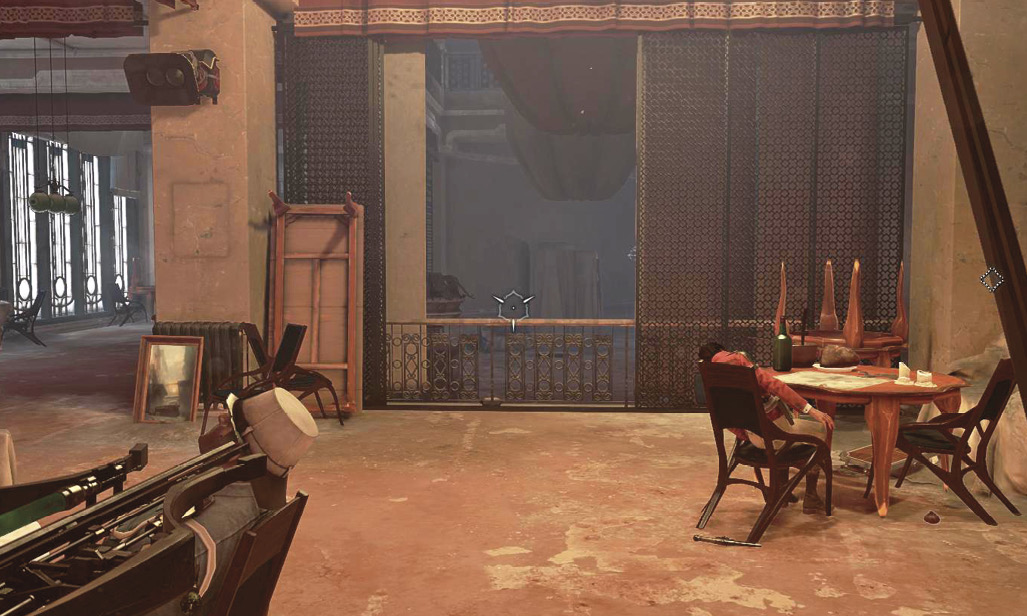
Knock out the lone guy on the right side of the room. He’s easy to sneak up on. Get the Rune from the placard in the middle of the hall, and put the bodies somewhere safe and out of the way. The rear of the pantry where you entered will do.
Open the gate to the right; it leads to the front of the area, but you can assault it from a safe position now. Knock out the Guard near the gate. Lure him toward you with sound if need be. Then sneak up behind the patroller and give him more of the same.
Use your Heart to find a Bonecharm in the room. It’s a freebie, and isn’t hard to grab. With control of that room, loot a Painting near a Wall of Light. Far Reach up to a higher level to grab a Whale Oil Tank. This brings down the Wall of Light instantly.
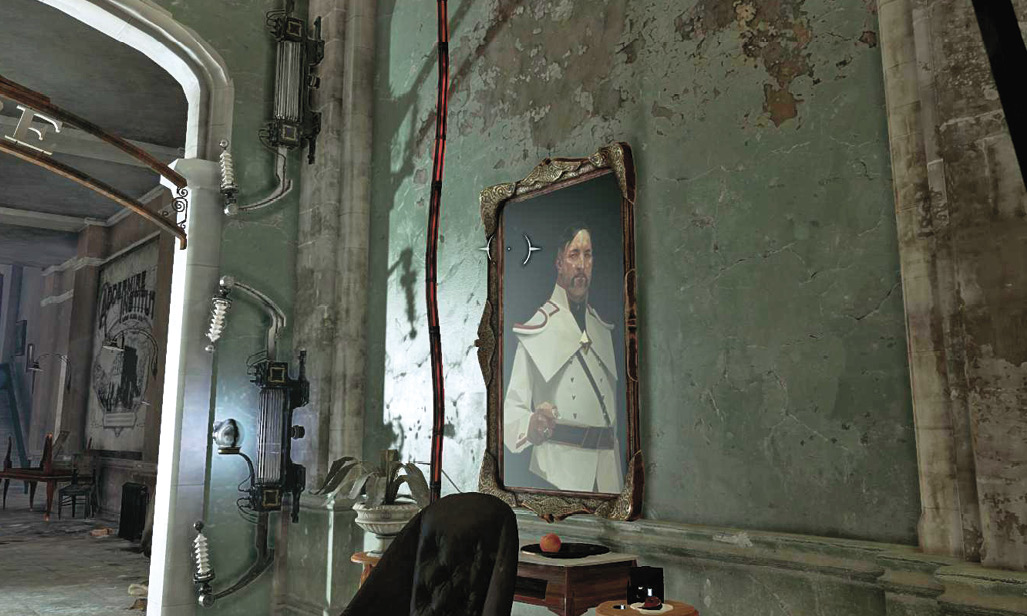
Stay on the upper level and search the entire flank. There are tons of minor items to pick up. The most important goodies are inside one of two safes. Find the combination near the wall, not far from where you encounter the safe. Read the Documents to get the code.
Inside the safe is a Blueprint (Combat Sleep Dart Formula).
Go through the Wall of Light and take a look at the map in the main corridor. This completes one of your goals here, and it shows you a solid layout of the region.
Go to Dr. Hypatia’s Office
Head to the main stairs and wait for a patroller to come down. Once he exposes himself, take him down and bring him back to either of the cleared areas. Leave him there and climb the stairs to the upper floors.
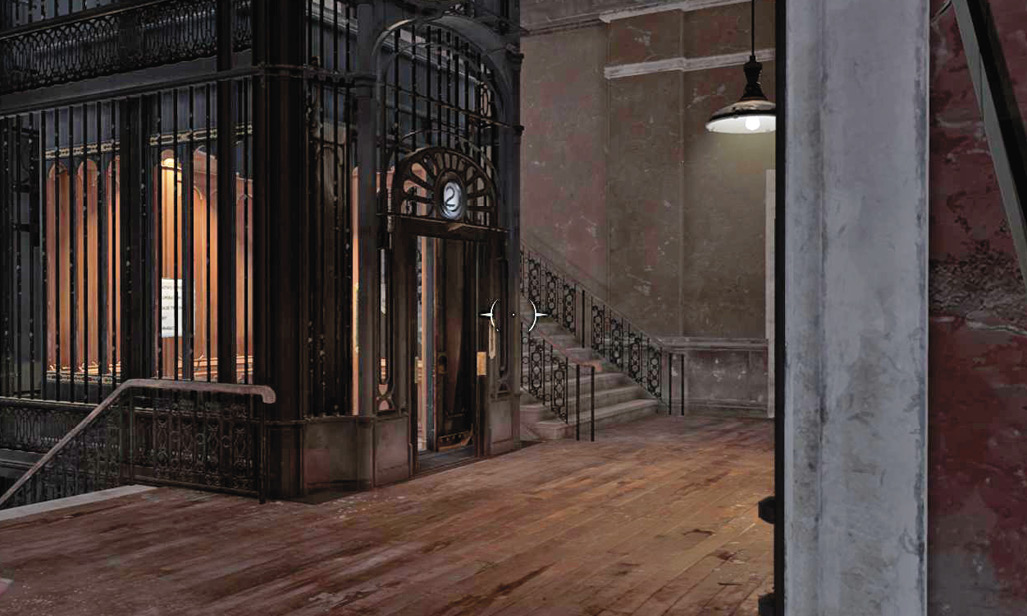
Get off at the second floor and look for an Elite Guard ahead. Knock her out while she’s relaxing, and leave her there. Return to the stairs and take the open route to the side. A Guard working in that balcony area can also be choked without difficulty. Search for several valuable monetary items.
The rest of the second floor is locked for now. Go the stairs and make a tiny bit of noise. This lures one of two Guards down to your area. Hide on the lower steps until he turns around, and then take him! Far Reach to the chandelier above the second Guard and use a Drop takedown on him for extra cool points.
Climb up to the fourth floor, but slow down near the top. Wait for two Guards to head out on their patrols. They go onto the upper terrace and split up. If you want, follow each and knock them out in turn. This nets you some extra goodies. Equip your Heart and look for the Outsider Shrine on this level. It’s in a room off this upper terrace. Have a nice little talk with your dark buddy. Afterward, Far Reach onto the roof. It’s high up, but explore there until you see a window into a tower. You can’t reach this part of the building internally without riding the elevator to the top and Far Reaching up and out of it. That way is slightly more fun. Anyway, Far Reach inside that window and get a Rune!
Jump back to the roof where you were, but don’t leave. Get onto the smokestack and Far Reach to the absolute highest rooftop. A bird’s nest is filled with a Black Bonecharm. Return down to the terrace once you find it.
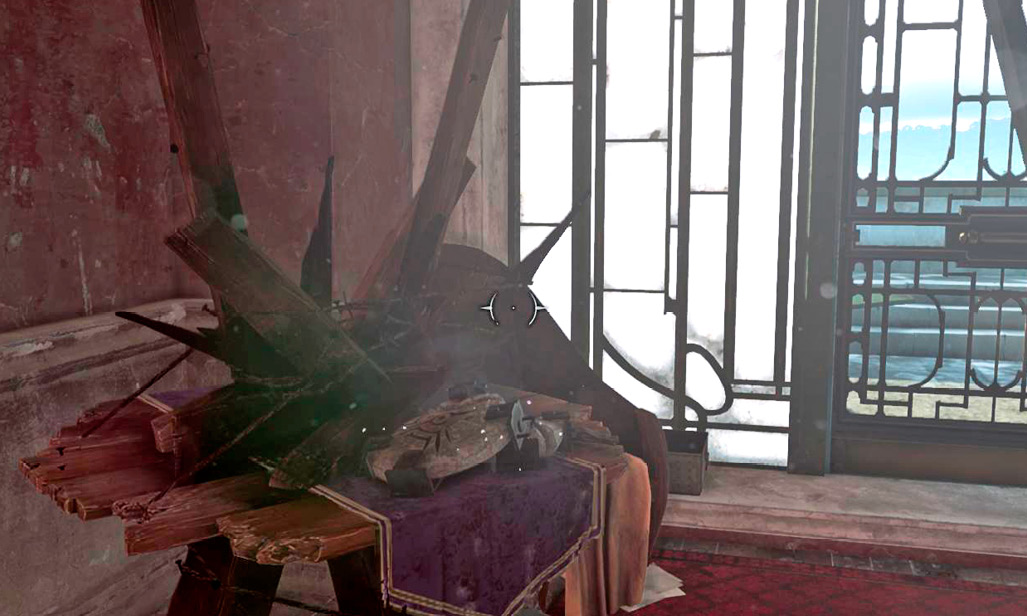
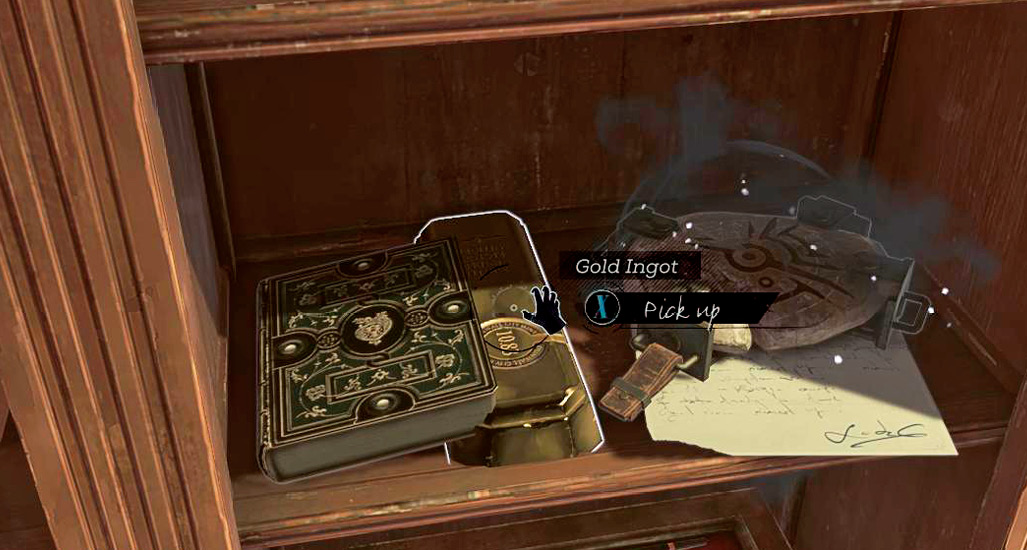
Dr. Hypatia’s office is on the other side of the level, by the stairs where you came in. Approach and read the notice on her door. Enter and search everything. Look in a bookcase to the right of the door to find a hidden Gold Ingot (sweet)! Dark Vision really helps for finding goodies like this.
Read a journal on the floor and retrieve Dr. Hypatia’s Key from her desk. Also, listen to an Audiograph to learn more about what’s happening here.
Talk to Hamilton
Descend to the second floor and unlock the doors to your left. The Key you just grabbed opens them without a hitch, but take cover. There are more Guards in there. The closer one is a regular Guard who looks easy to take, but he’s watched by an Elite Guard farther back. Don’t give in to temptation and rush for the “safe” choke.
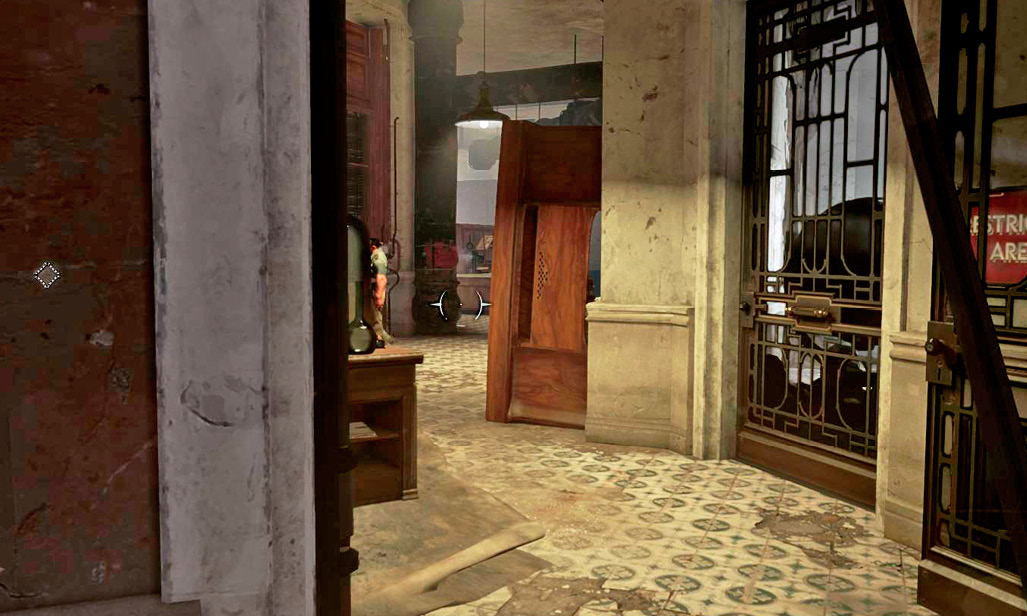
Wait for the two to meet, talk, and split up. When the Elite Guard is totally gone, choke the closer guy and bring him back to the hallway. The Elite Guard is now alone, so stalk her at leisure.
After you deal with her, use the Key again to get into the room with Hamilton, as marked on your HUD. Talk to him to learn more about the Crown Killer.
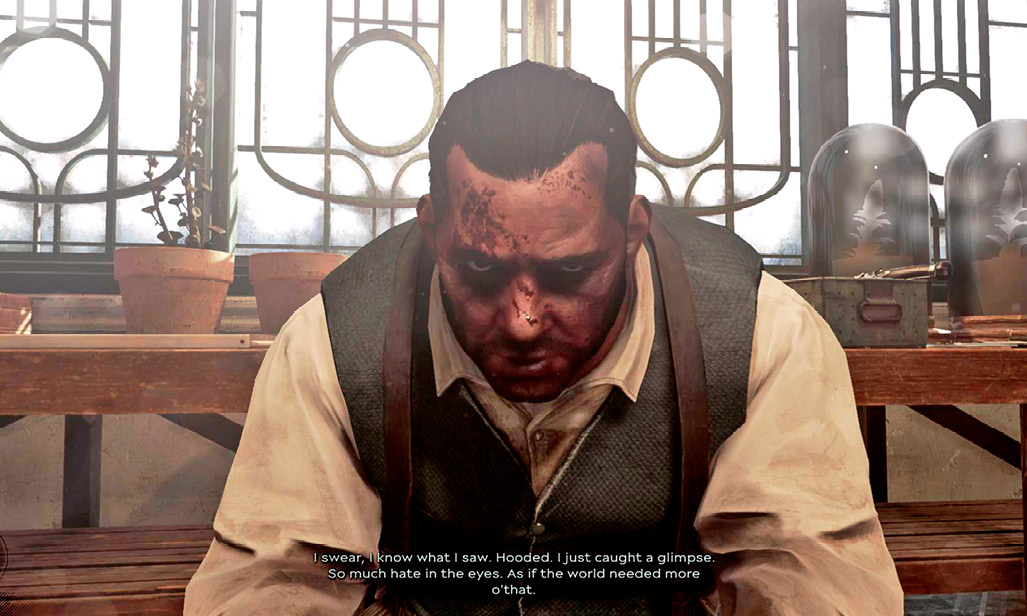
Get Hamilton’s Quarters Key when you leave. It’s in a small pan behind the patient.
Search Hamilton’s Quarters and Find Vasco
Take the staircase to the top. A separate, private staircase is around the corner. Take that up, and watch out for a tripwire attached to a Bolt-thrower. Use the new Key to unlock the private quarters, and start looting. Among the items, you find a Blueprint (Memory Vapor Distillation). In the back of the room, you get to read Hamilton’s diary.
This leads you toward the Recuperation Area. Go to the third floor and unlock the doors on the right. Bloodflies have taken over, so you get to do a little fighting.
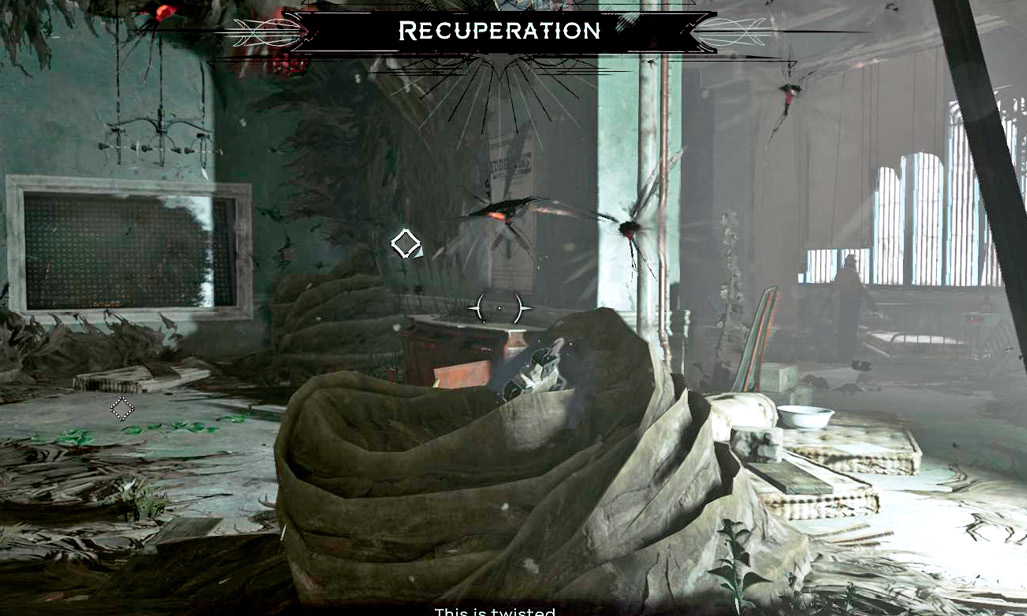
Destroy the nests as you go, and look in the remains of the first nest’s debris for a Rune. A Bonecharm is also in the region, but it takes a moment to find. Use your Heart to get close, and look for a few tanning tanks. Open these to reveal a path into a subroom that is otherwise blocked off. Crawl through to nab your Bonecharm.
Follow the waypoint to the Recuperation Area, and get away from those Bloodflies. Descend the stairs as you arrive, and search for a Corrupt Bonecharm at the bottom. Behind it is a Painting on the wall. You’ve come to a series of labs. There aren’t any Guards to bother you, and Dr. Hypatia is close by. Talk to her now.
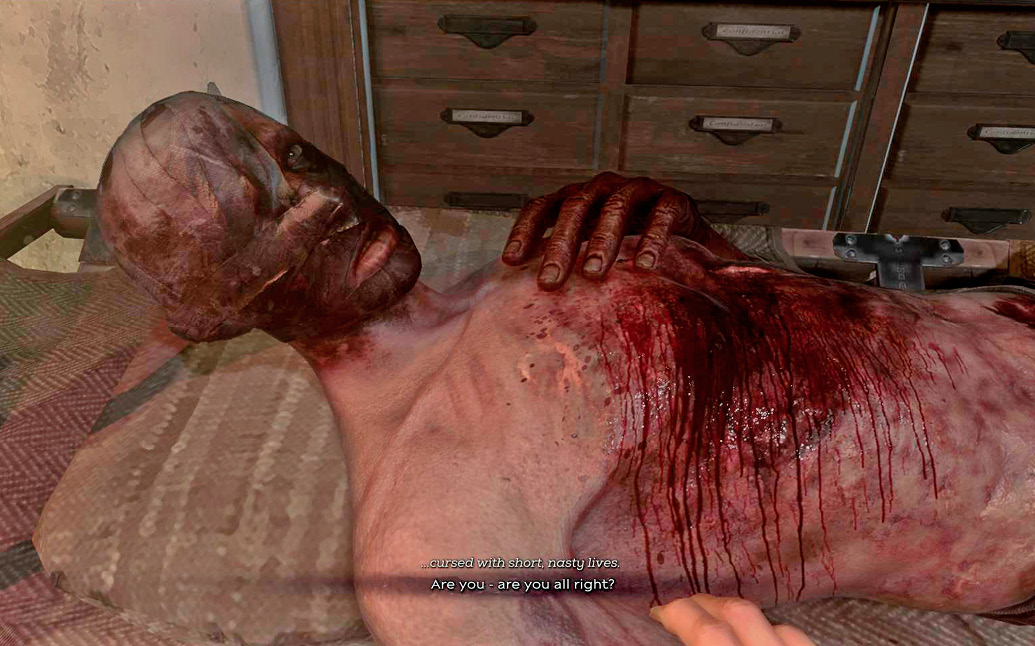
Go through the area and loot everything. Vasco is a patient in the back. Things proceed quickly once you talk to Vasco, so don’t do that until you’re ready to face the Crown Killer. Once you talk, a cutscene plays, and you have some new goals to work on.
Find Vasco’s Journal
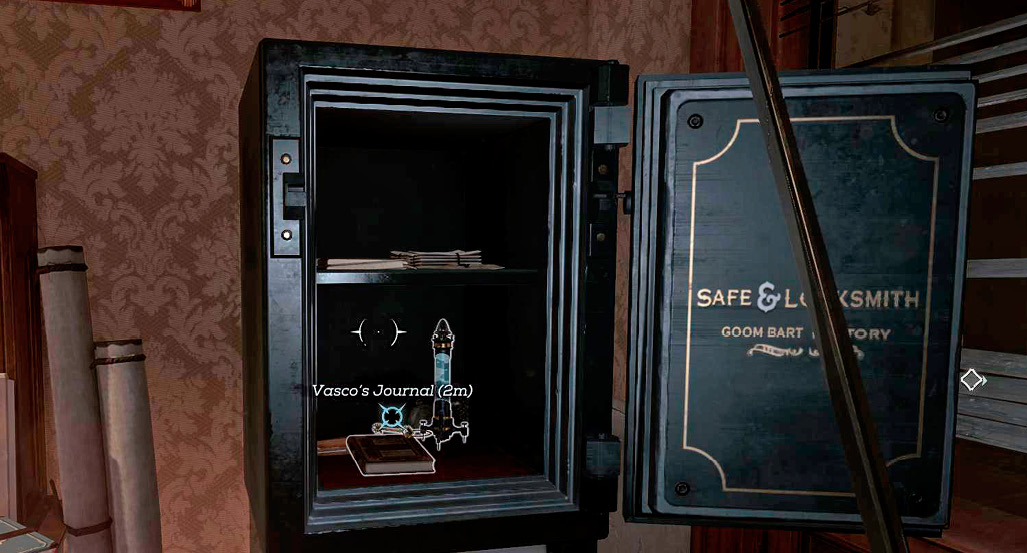
Sneak away from the Recuperation Area and go back to the second floor, near Hamilton. If you explored there already, you might remember a safe in one of the offices back there that didn’t have any codes. Well, now you can use that. Vasco gives you the proper code when you first talk to him. Open the safe and retrieve the Notes inside.
Unlock the lab practically next door, and get a Syringe from the counter. Listen to an Audiograph there as well. Take the Syringe and use it on a dead body in the Bloodfly area, a short distance away. Obtain your sample, bring it back to the lab, and make a special Serum. Collect this final product and return to the Recuperation Area.
Eliminate the Crown Killer (Non-Lethal Version)
Dr. Hypatia is in real trouble. You have to save her now, and the only way to do that is to destroy the Crown Killer. Don’t worry; this solution doesn’t hurt your Merciful rating.
Follow the waypoints to the Crown Killer. They don’t know you’re coming, so stealth is still on your side. Hide behind the columns of the area for cover, and use Dark Vision if possible to watch the Crown Killer’s position so you can sneak up behind them. Failing that, watch the objective marker, and wait for it to move away before you break cover and approach the target from behind.
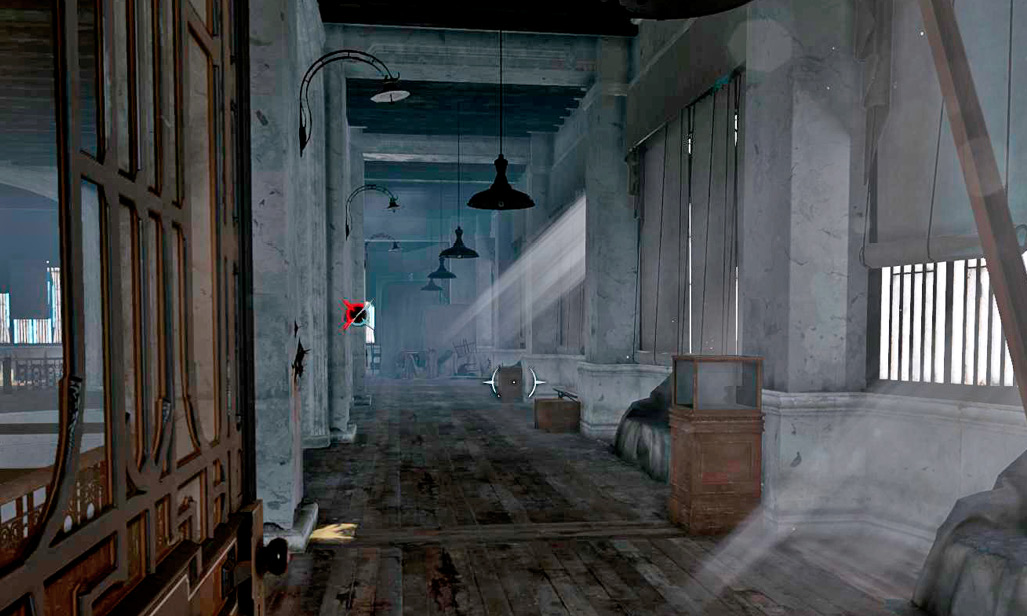
Use the Syringe on the Crown Killer. This completes the primary mission. If something went wrong and you didn’t get to talk to Dr. Hypatia earlier, you still have to find out where Dr. Sokolov has been taken.
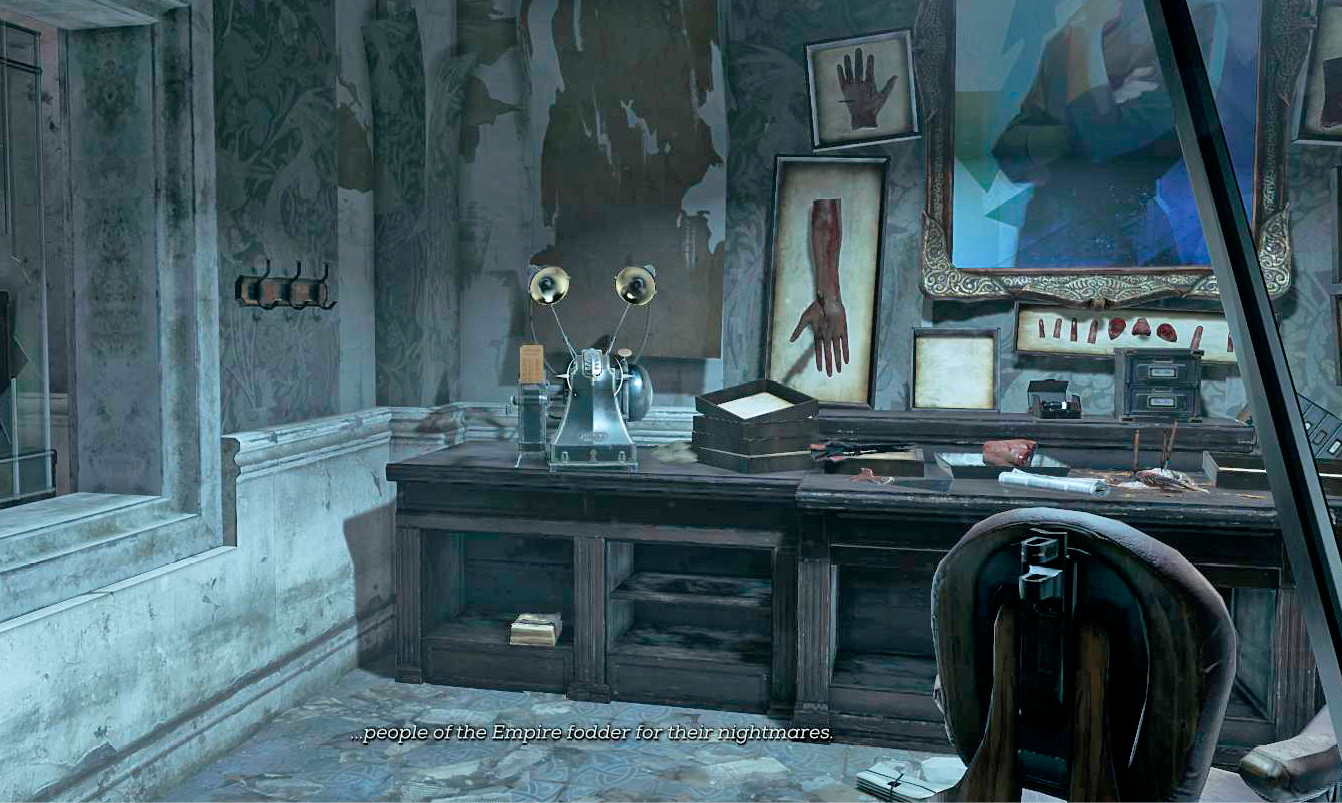
Head into the laboratory and look for a Blueprint on the main working counter (Dispersed Incendiary Release). Take it, and listen to an Audiograph in the corner room. That gives you Sokolov’s location if you can’t get it any other way.
Explore the Basement
Your primary task is done here, but take a second to explore the last part of the institute that you haven’t seen yet: the basement. To get down there, climb up to the roof, Far Reach on top of the terrace, and enter a tower area through a window. Look for the top of the elevator inside. Shoot the red canister on the elevator cable, and listen as it barrels down through the shaft. Follow it (safely), and hop down at the bottom to access the basement.
There, search for a Rune, a Painting, and some spare money.
Shut Down the Watchtower
With the Crown Killer dealt with and the area looted, leave the institute. Captain Foster is ready to pick you up, but she can’t dock with the Watchtower still powered. Take it down to get out of this crazy place.
Return to the kitchen area on the first floor. Unlock a door that leads outside. One of the men there is an Elite Guard, and the other is a normal one.
Make a small amount of noise, or almost let yourself get spotted so one of the Guards comes toward the building to investigate. Ambush and choke them as they arrive, and leave the body inside. Sneak up behind the second target, and knock them out. No one else can see this part of the walkways, so you’re in the clear.
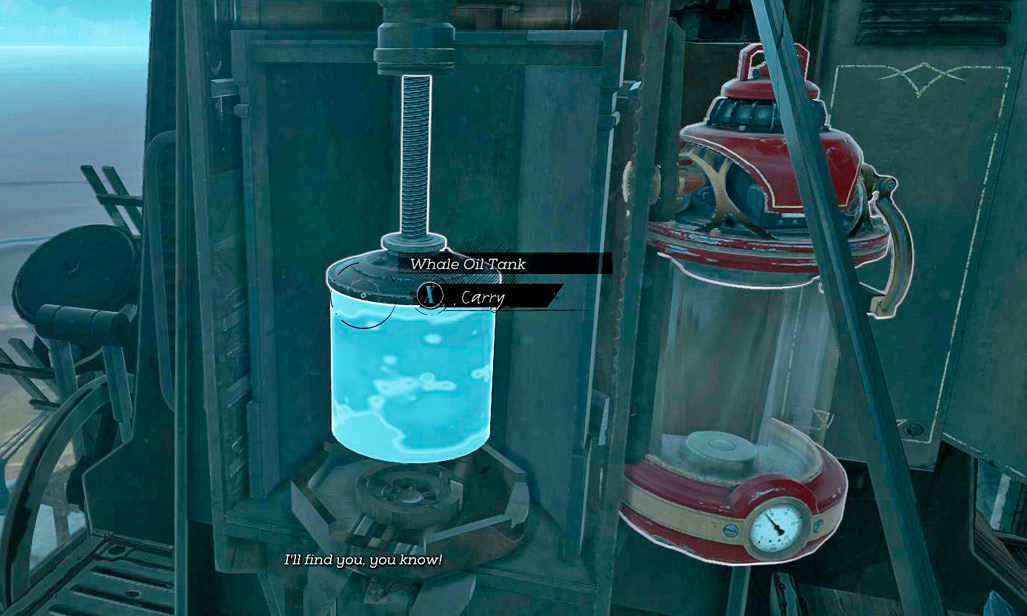
Far Reach over to the Watchtower close by. Open the Whale Oil Tank’s container, remove it, and then you’re good to go. Captain Foster arrives in about a minute. Far Reach down toward the lower docks, meet her, and leave (unless you have anything else you’d like to do here)!
Aboard the Dreadful Wale
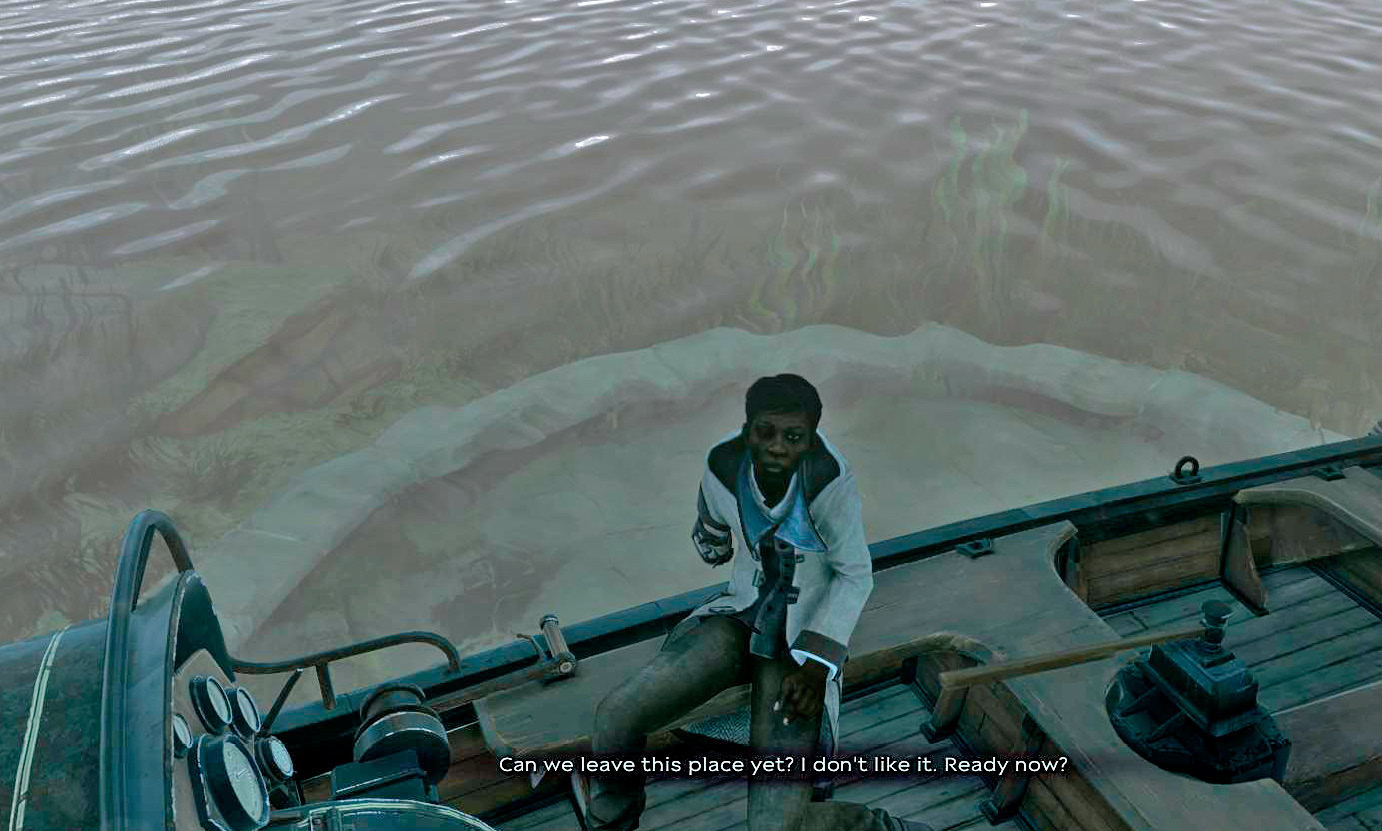
You wake again on the Dreadful Wale. Get up and go out into the hallway. Read a maintenance list for a small table, and then talk to Captain Foster. Don’t follow her when she heads up on deck. Instead, enter the briefing room on that level and look for a wheel. Take it from a large table at the back of the room and then follow your new waypoint into the boiler room.
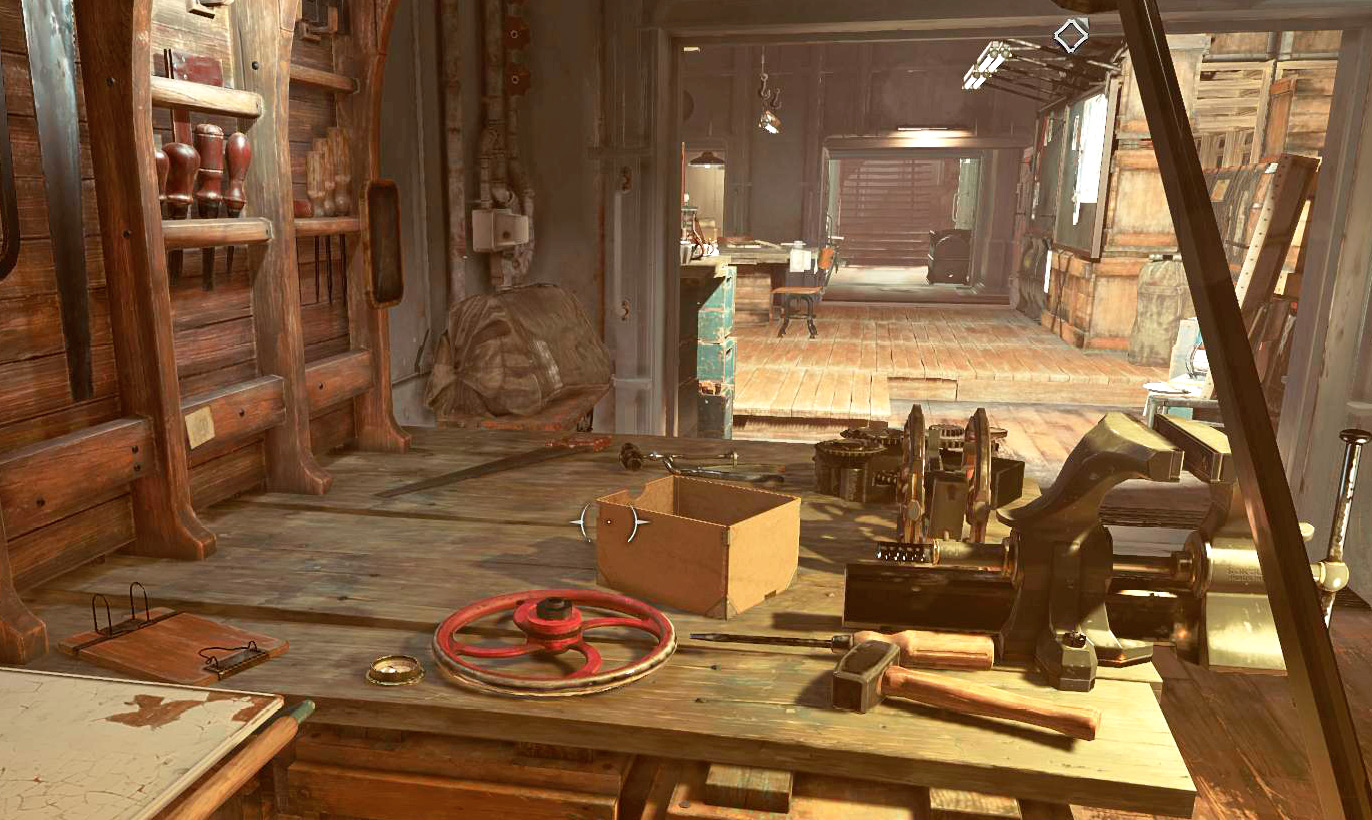
Get down there and install the wheel on a pipe. Turn it to shut off the water and keep the ship in good shape. Read the nearby book, and then find the captain on deck. She’s standing by the skiff, ready to take you out into the city again.
When you’re ready, tell her to head out.