
Dishonored 2 Guide Combat Walkthrough
Dust District
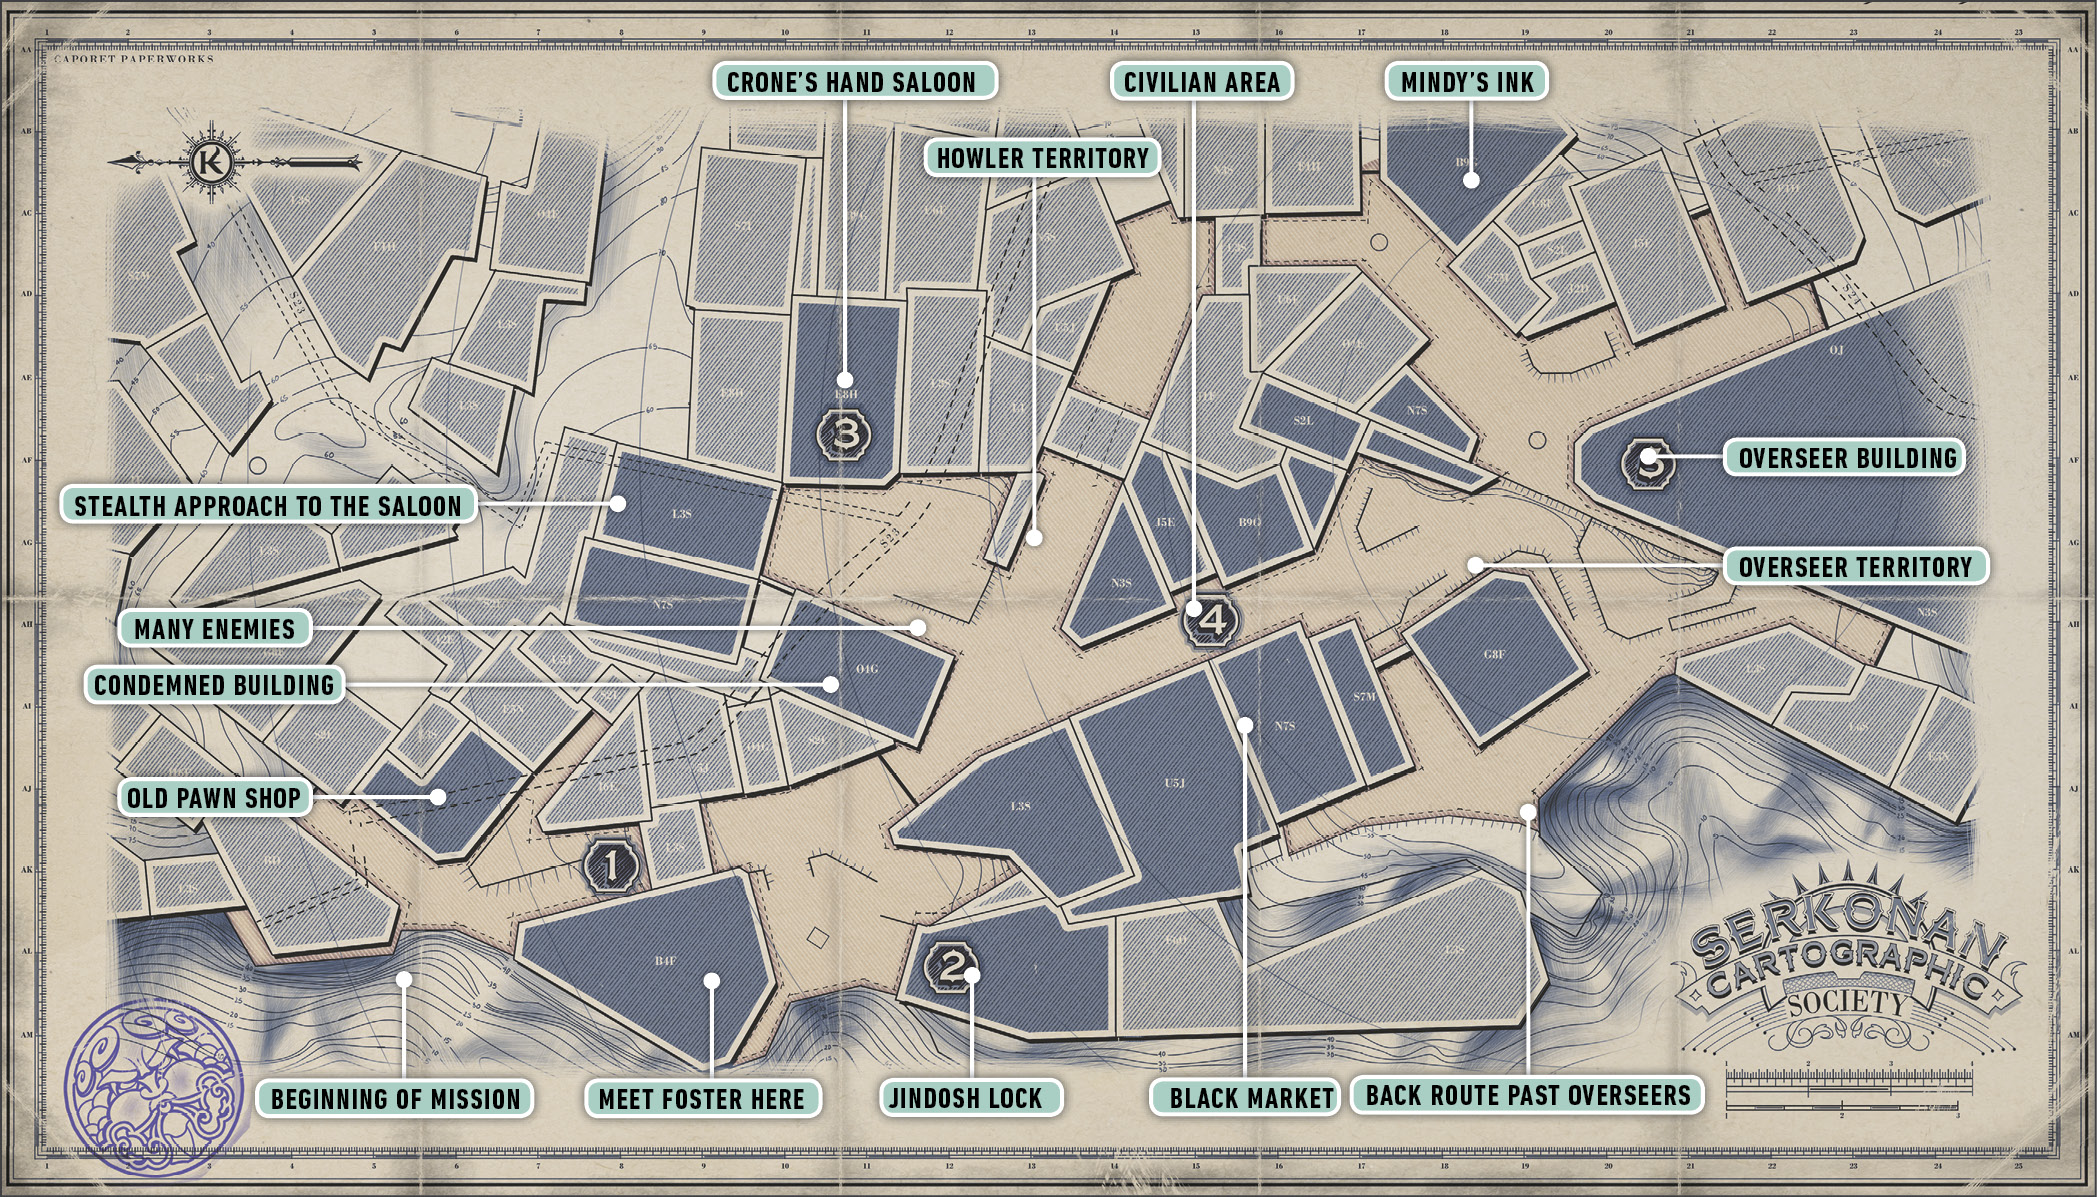
You must travel through the Dust District to Aramis Stilton’s Manor, which contains more of Delilah’s secrets. Vice Overseer Byrne and his religious followers are at war with Paolo, leader of the Howler gang. Either Byrne or Paolo will aid you, for a favor.
Collectibles
| Runes | 5 |
| Shrines | 1 |
| Bonecharms | 8 |
| Coins | 3973 |
| Blueprints | 3 |
| Paintings | 3 |
Special Actions
| The Jindosh Lock | Solve the Jindosh Lock on your own |
| Childhood Home | Explore Corvo Attano’s childhood home |
| Power of the Streets | Side with the Howlers |
| Theocratic Support | Side with the Overseers |
| Book of the Fallen | Add Byrne’s name to the Book of the Fallen |
| Another Solution | Eliminate both faction leaders |
| Black Market Heist | Rob the black market |
| Uninvolved | Don’t take sides with either faction |
Approaching Your Destination
You’re taken back to the Dreadful Wale. Get up and enter the briefing room. Talk to Sokolov, and search for a few minor pieces of equipment before meeting Sokolov again on deck. Ask him to take you into town when you’re ready to start the next mission.
Entering the Dust District
Find Meagan Foster
Sokolov drops you off in some underground docks. There isn’t much close by, so make your way out of there. Look for a single piece of Raw Whalebone at a station near the exit.
Leave the dock area to find yourself on a scenic overlook of Karnaca. Climb the stairs up to street level, and watch for Guards. There are four of them ahead; one of them is a Veteran, but the rest are nothing. Blink into their midst for an assassination, and then destroy the others. It’s fairly easy to get two before the fight starts, even without stealth.
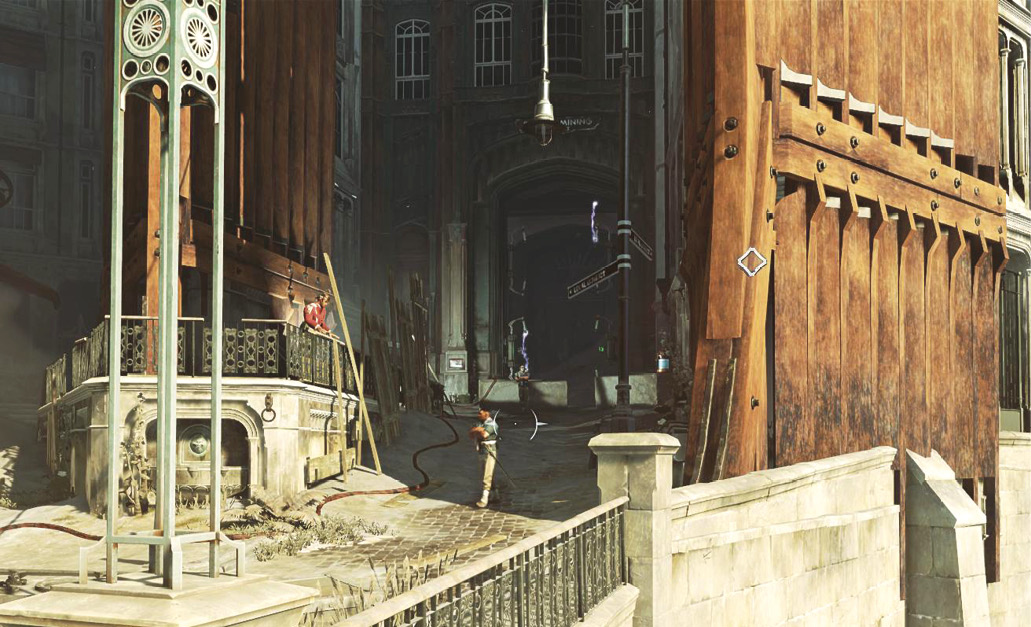
A Rewire Tool is sitting on a table past the Guards. Take it, and use it on the Security Panel they were protecting. Alternatively, enter a plain building on the left side of the area. Climb to the roof to encounter two more Guards. Kick one off the roof and murder the other. A Blueprint sits on a bench up there if you haven’t found a version of it in earlier missions. You can turn off the Windmill that’s powering the Wall of Light. Either way, pass through the Wall of Light, and Blink into a damaged building on the right. A dust storm is coming soon, and it’s best to get inside before it hits. The storm comes and goes repeatedly throughout the day. When it’s around, you get a massive boost to your stealth because no one can see anything in that mess. Use that to help infiltrate some of the trickier areas if you run into trouble.
There are Bloodflies all over the old building.
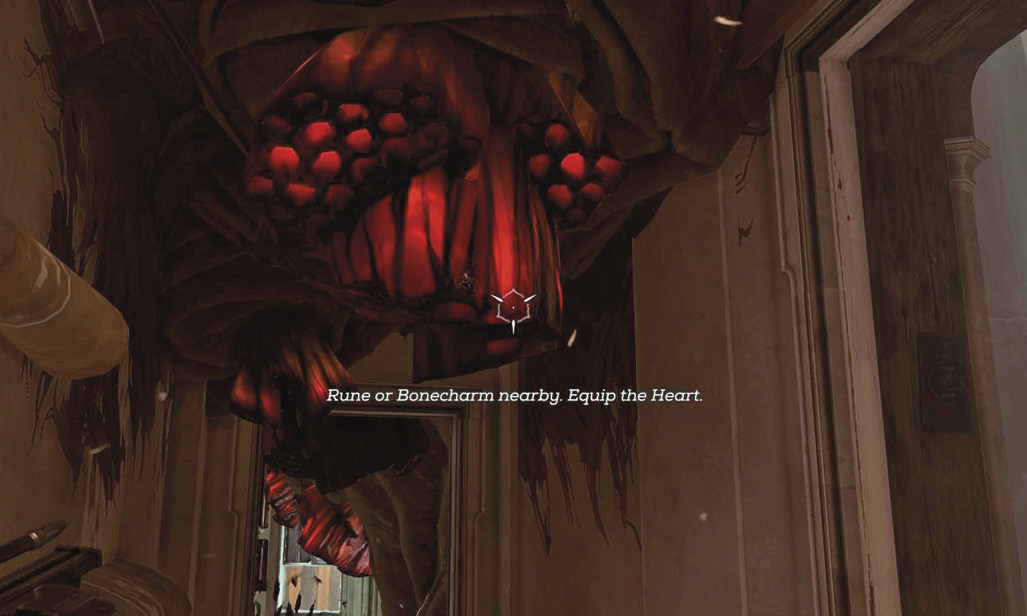
Destroy the nests and eat some food if you take damage. It always feels dangerous to eat food from Bloodfly buildings, but somehow it still helps. Blink up to a higher floor to proceed, and follow your waypoint toward Captain Foster.
Talk to the captain and search a side room for more Raw Whalebone. Then leave the building using the exit behind Foster’s position..
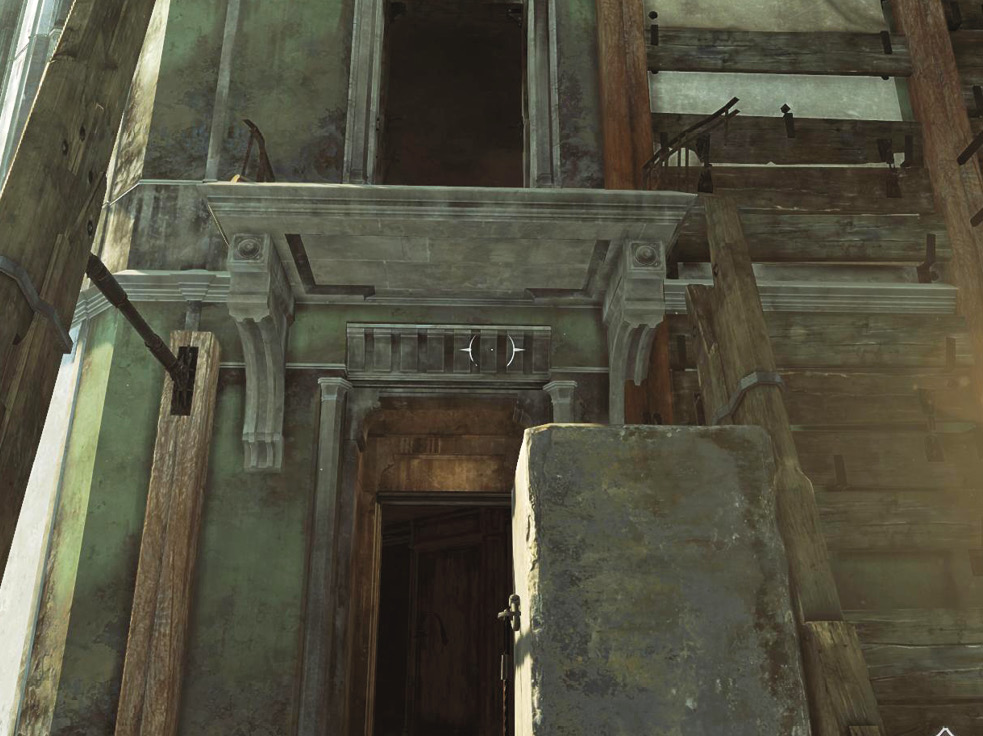
Immediately turn around after dropping to the street and return inside by breaking a door down. A Rune is inside the lower apartment, hidden in a locker. Go back out after grabbing the Rune, and examine the district. Directly ahead of you is the end goal. That building contains the Jindosh Lock you’re here to crack. But you don’t have the tools to accomplish that yet.
Instead, turn left and take the only route into the main district.
Find and Kill Paolo
To obtain the information you need, one of the big leaders of the area has to fall. Either Paolo (of the Howlers) or Byrne (of the Overseers) suffices. We choose Paolo in this Walkthrough, but you enter the buildings for both factions and loot the heck out of them either way.
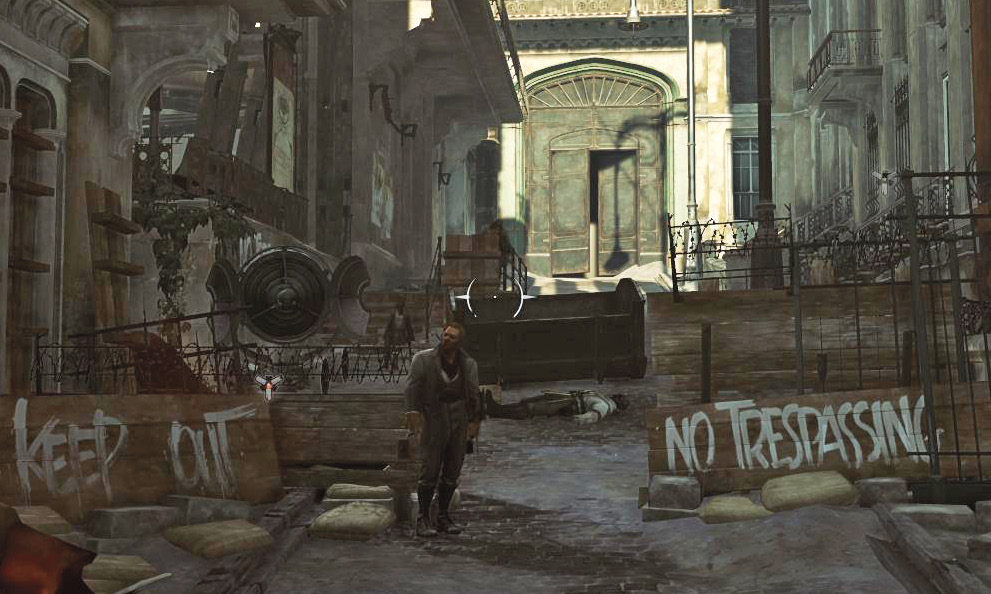
Stop at the entrance into the district and search everything before entering restricted Howler territory. To your right are a couple of stores. Steal a Rewire Tool and some money from the safe shop.
Look for steps that lead down toward a soup kitchen and the black market. Climb down the stairs and use your Heart to locate a Bonecharm a few feet away, inside the black market. Search for the green door that grants you access.
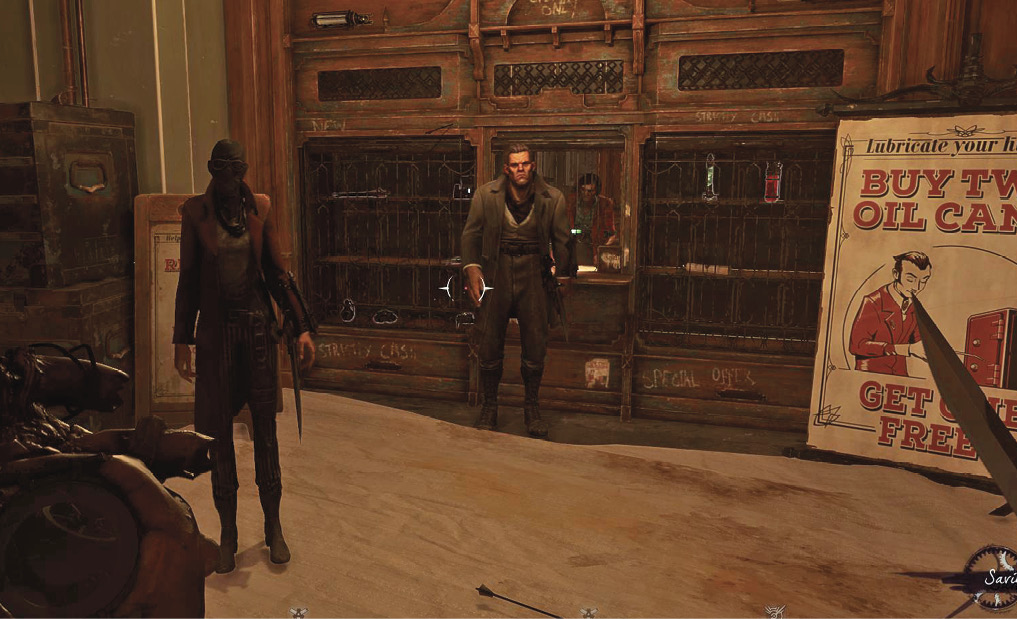
Two Howlers threaten you as you enter. Assassinate the first, and lay into the second. Don’t use ranged weapons during the fight, because you can’t afford to spook the shopkeeper before you’ve purchased things you need. They’re totally cool with you slaughtering the Howlers; those guys are a major hassle. The fight may cause the shopkeeper to shutter the market for a moment, but it opens very quickly after combat ends.
After buying the upgrades you want, it might be time to steal from the market again.
Black Market Goods
| Item | Cost |
|---|---|
| Crossbow Bolt | 20 |
| Pistol Bullet | 30 |
| Sleep Dart | 30 |
| Grenade | 70 |
| Stun Mine | 70 |
| Spring Razor | 50 |
| Addermire Solution | 150 |
| Health Elixir | 75 |
| Rewire Tool | 200 |
| Map of Stilton’s Home | 250 |
Return to the front of the district and look for a condemned building on the left. Blink up to the second-floor balcony, and destroy the Bloodflies within. Use your Heart to search for a Rune on the second floor.
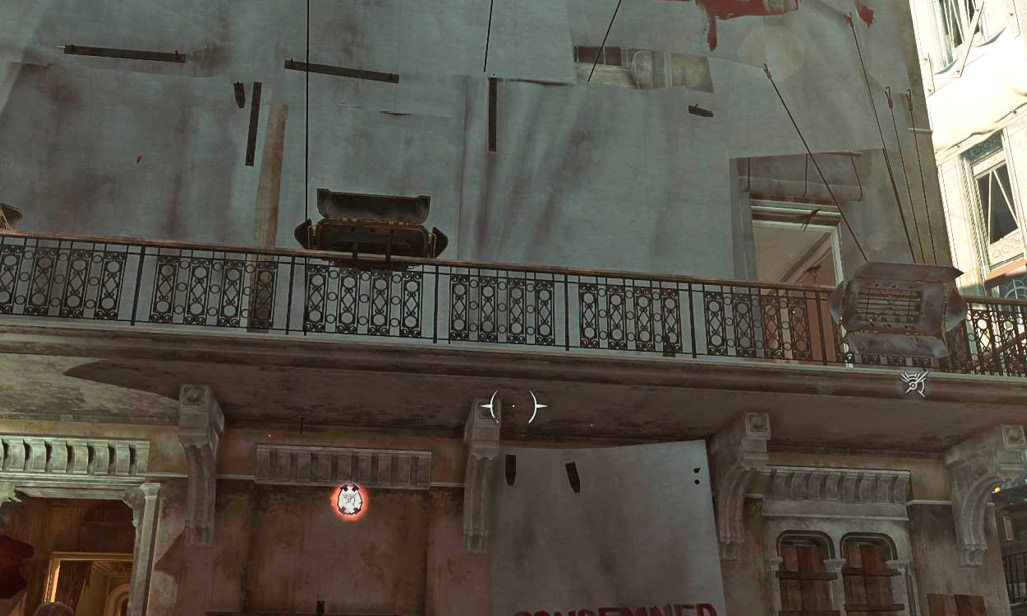
Use the condemned building to infiltrate the Howlers’ territory. Or go back out to the main street if you have something to prove and want the Chaos!
Charge the huge force of Howlers there. Assassinate the first target with a Blink attack, and then toss a couple of Grenades at the reinforcements that approach. Switch to your Pistol and burn down the rest, but be ready to drop a Health Elixir or Blink back to the condemned building if you become overwhelmed. It’s a crazy (and wonderful) fight.
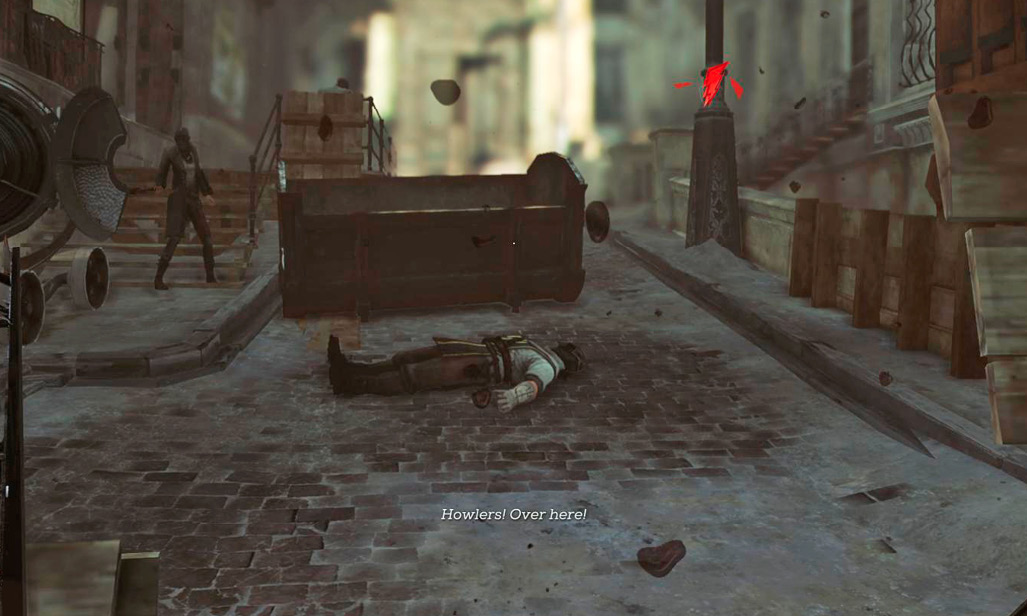
Howler Territory
Follow your waypoint to sneak toward the Crone’s Hand Saloon, and use another Grenade when you find Paolo and his buddies. Cook the Grenade so it explodes soon after you throw it, and race into the midst of the group to destroy them afterward.
Paolo turns into a horde of Rats. Slash at them and finish off any remaining Howlers nearby.
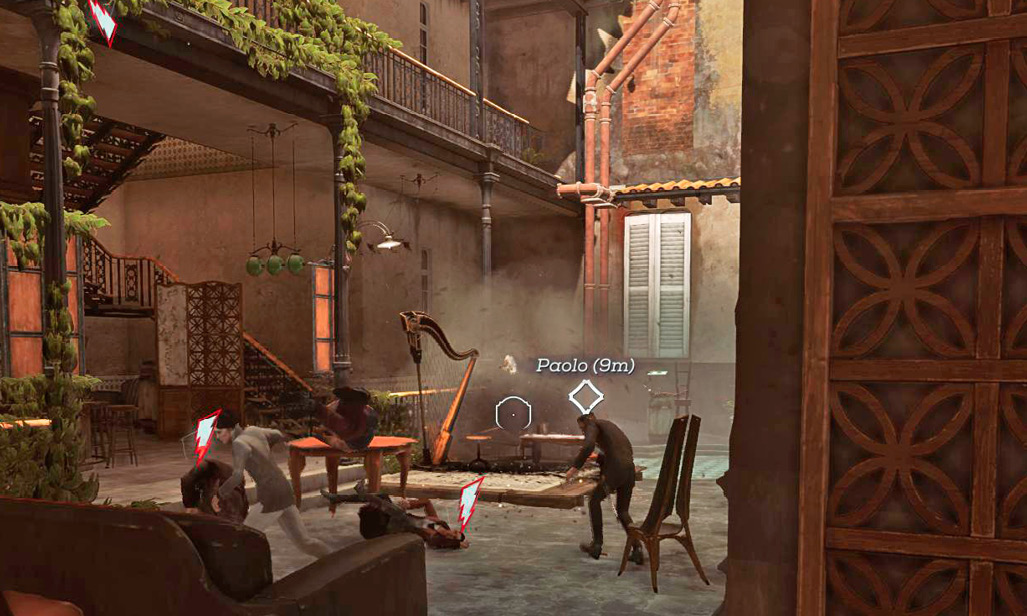
This fight has a slow burn, because some of the Howlers are on upper tiers of the building. Don’t relax and start searching while people are still talking or running around.
Paolo isn’t dead quite yet. He has to die twice in one day for it to stick! You must find him again.
A Blueprint is on the second floor of the saloon, inside one of the larger apartments (Paolo’s). Locate a steel crate in the apartment; open that to claim the Blueprint. Then search the rear of the apartment for piles of money.
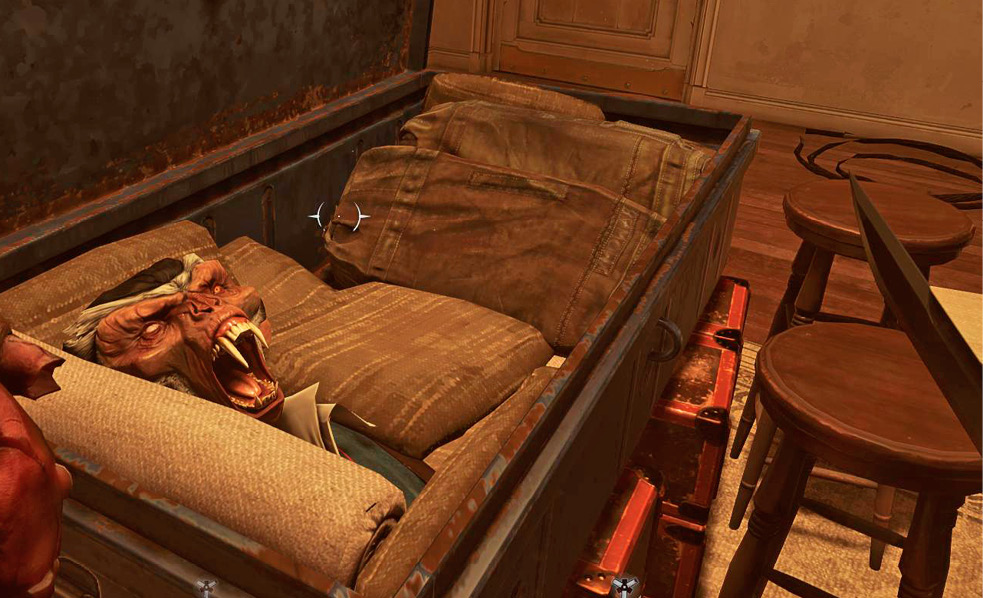
Climb to the third floor. Paolo reappears up there, so track him down inside another large apartment. A few Sword attacks and a Bullet to the head finish him for the long term.
Loot his body for a Bonecharm and a cute cutscene. Also, scour the place for an Outsider Shrine and two Paintings! Crime paid off for this guy, though not for long.
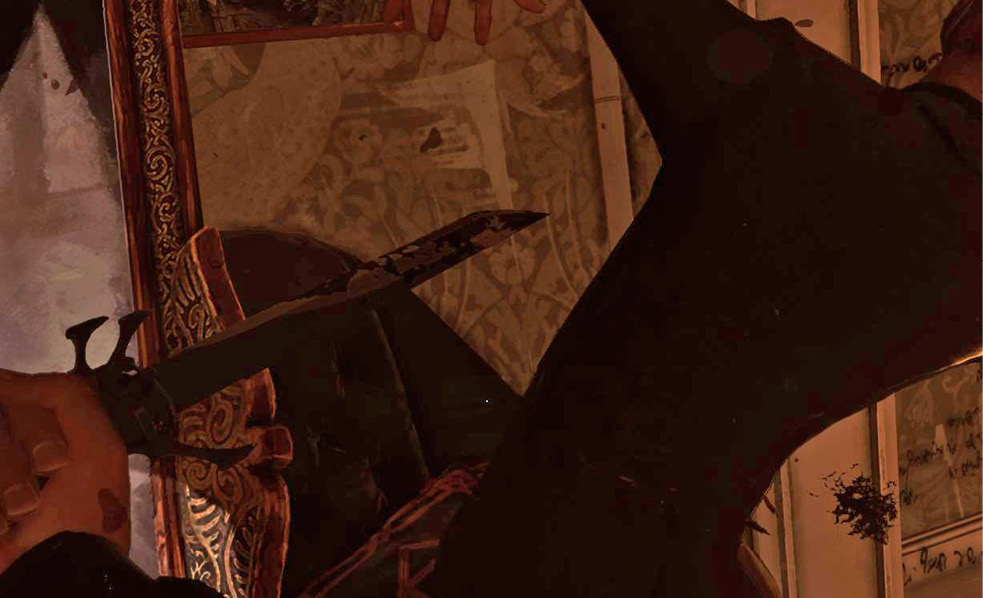
Leave Paolo’s body here for now. Finish searching the building before you start lugging this guy across the world. There isn’t much on the fourth floor, so skip it. The other door on the second floor is locked—it’s the office of a guy named Durante. Opening it requires a Key from all the way over in the Overseer’s area. If you get the Key, return, and unlock the office, you obtain the code to the Jindosh Lock. You also find a Bonecharm on the desk inside the office.
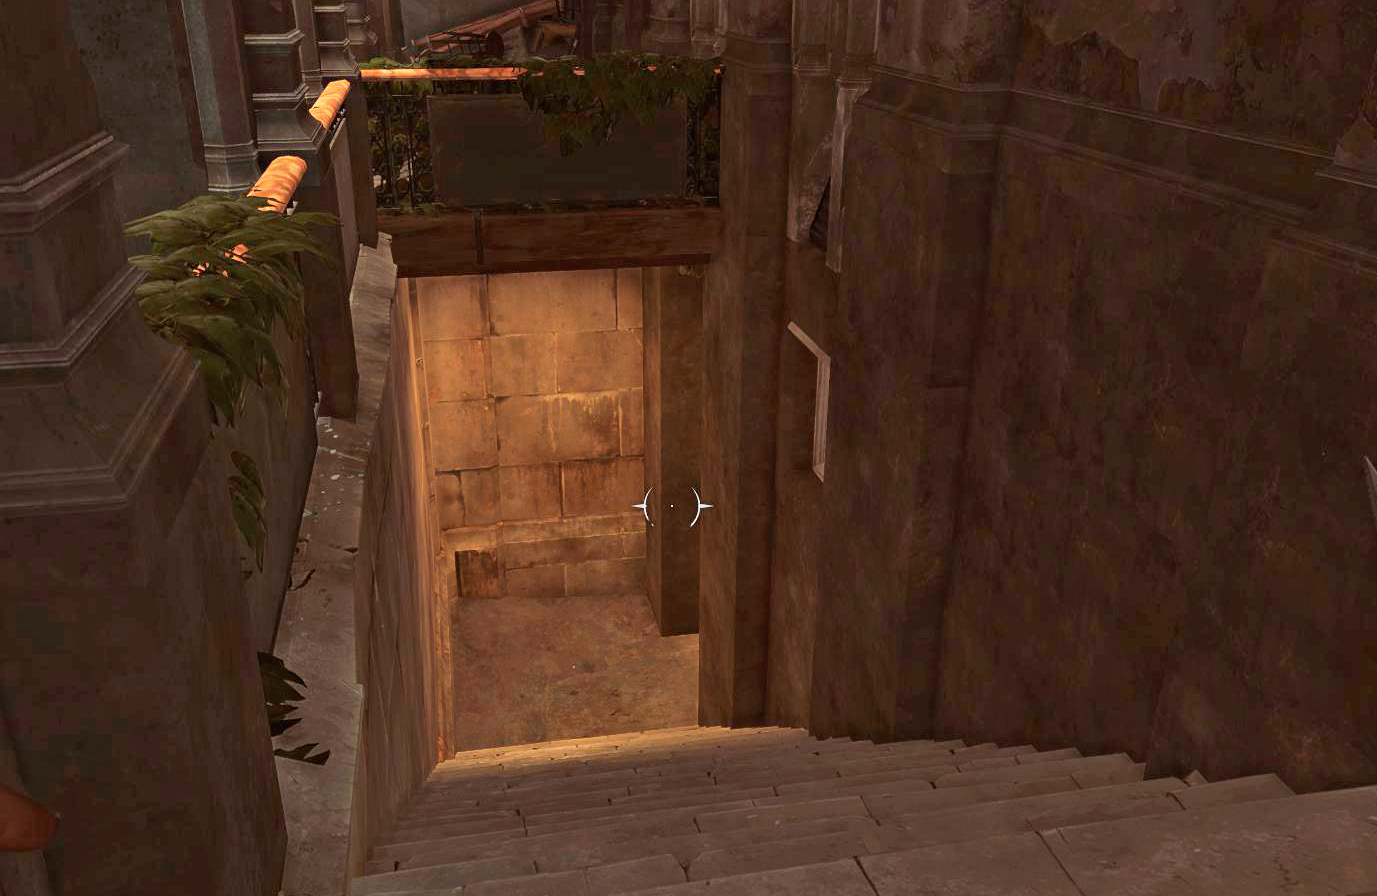
Near the saloon entrance are stairs that lead down into a basement. Take these and look for a Bonecharm and a Blueprint below. Neither is hidden, nor hard to find.
Take Paolo to the Overseers
Retrieve Paolo’s body and hoof it back into neutral territory. The Overseers are marked on your map, so you know roughly where you’re heading.
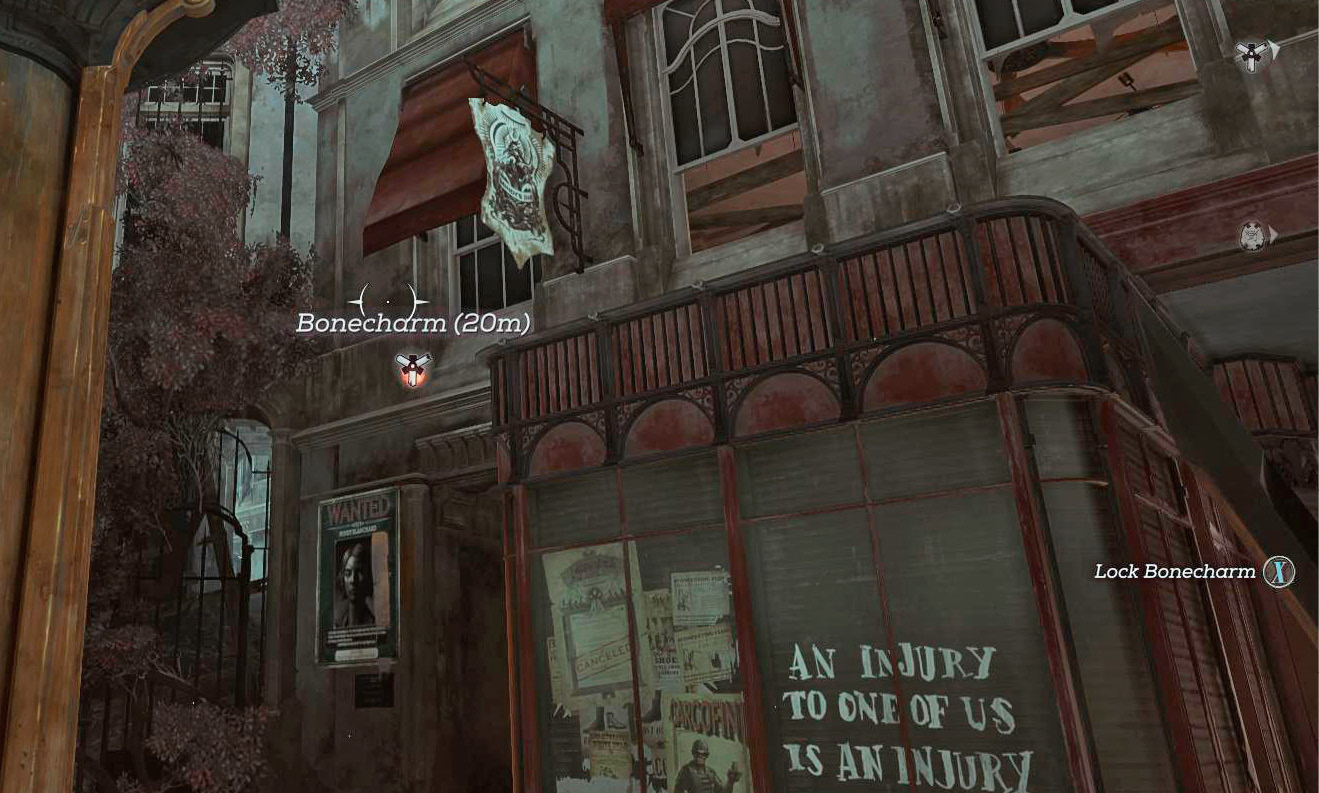
Stop on the way to grab a Bonecharm. Your Heart reveals it on the left as you get close to the Overseers’ checkpoint. Look for blockaded windows above you. Blink up to them and break through the boards. Get inside and steal the Bonecharm, some Raw Whalebone, and many minor items.
Leave Paolo’s body in neutral territory and clear most of the Overseer compound ahead of time. This ensures you get the most loot and have the most fun. Just don’t get into a fight with Byrne (we tell you when to stop).
Overseer Territory
The front of the compound is guarded by numerous Overseer patrollers and a few Wolfhounds. The safe play is to snipe the Wolfhounds and some of the Overseers with your Crossbow. Let the survivors come out to you so you aren’t caught out in the open against too many targets.
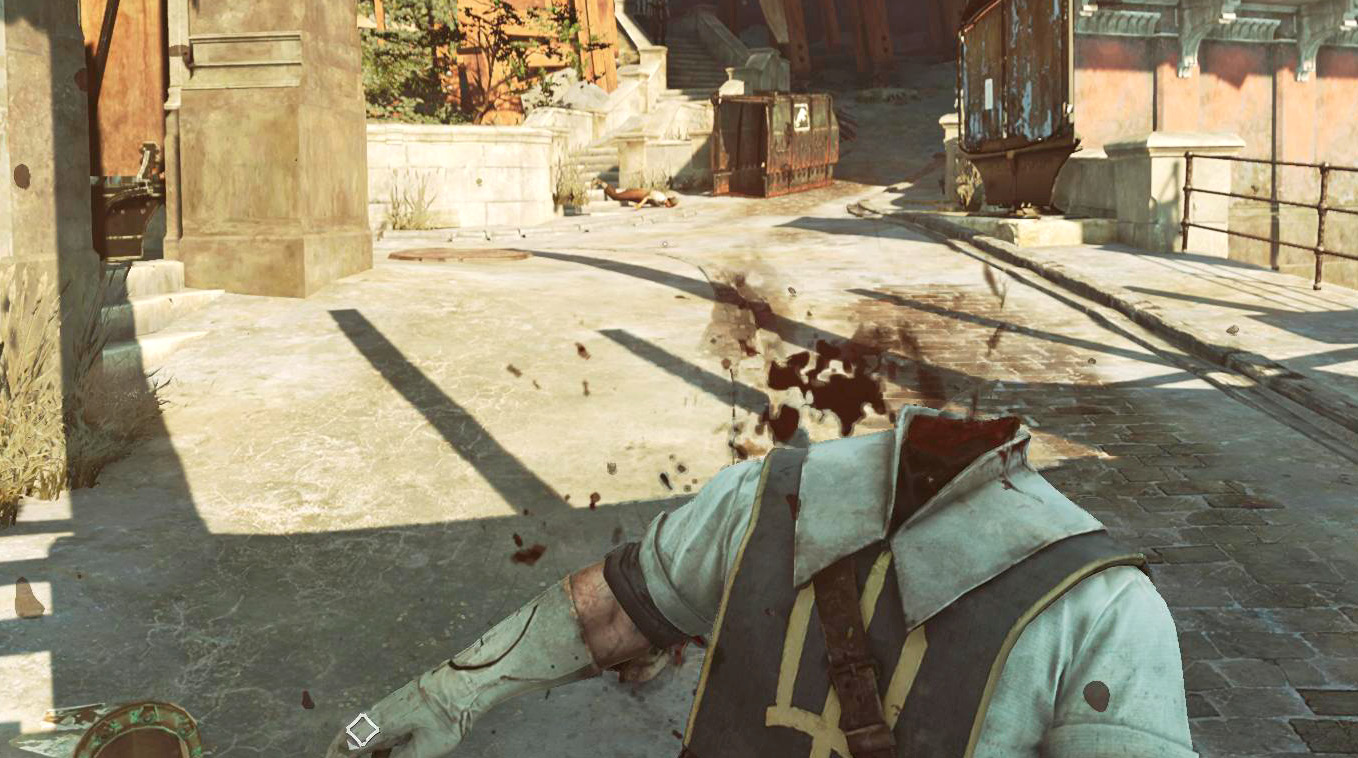
Remember to flee quickly whenever a Grenade is tossed your way. Bonecharms that increase Grenade malfunctions (or make people drop them) are very useful.
When the coast is clear, enter the main building. There aren’t many people left on the main floor because of your fighting, but kill the couple still standing. Search the ground floor for minor items, then go upstairs to the second floor. A barracks/medical room is near the top of the steps.
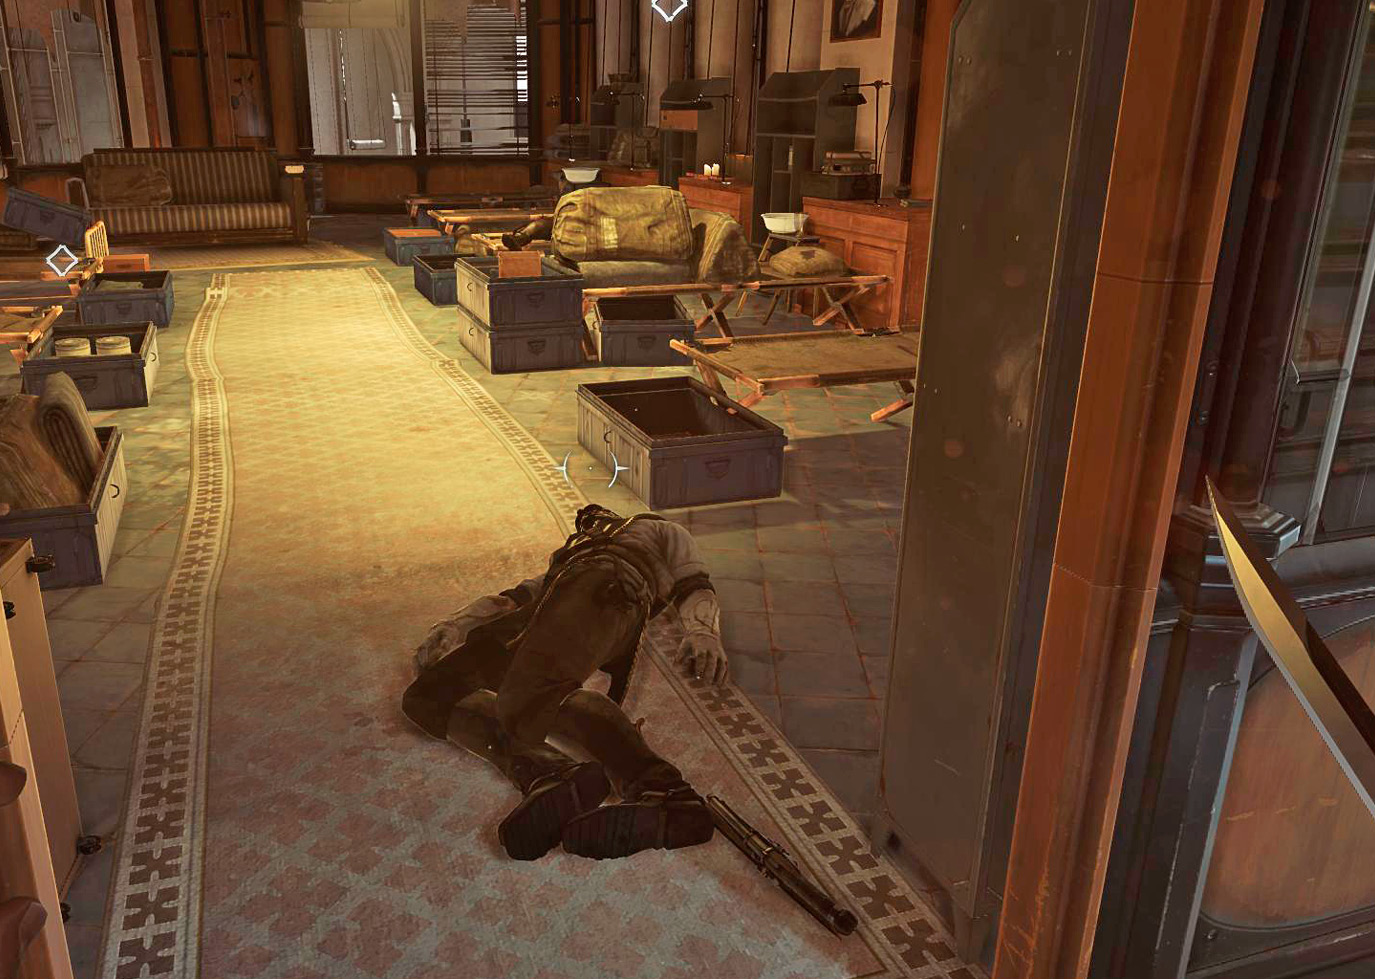
Kill the Overseers able to fight, and loot their bodies and the wounded Overseers on the cots as well. You get a Key from one of the men.
A locked door is in the corner of the same level. Unlock it with the new Key and search for Raw Whalebone, money, a Rewire Tool, and a Rune!
Return to the stairs and climb to the fourth floor, skipping the third for now. Creep through a window ahead to reach a tiny walkway. Hug the right side of the area, and jump through a broken window farther along. A Painting is hidden up there, and it’s super easy to miss.
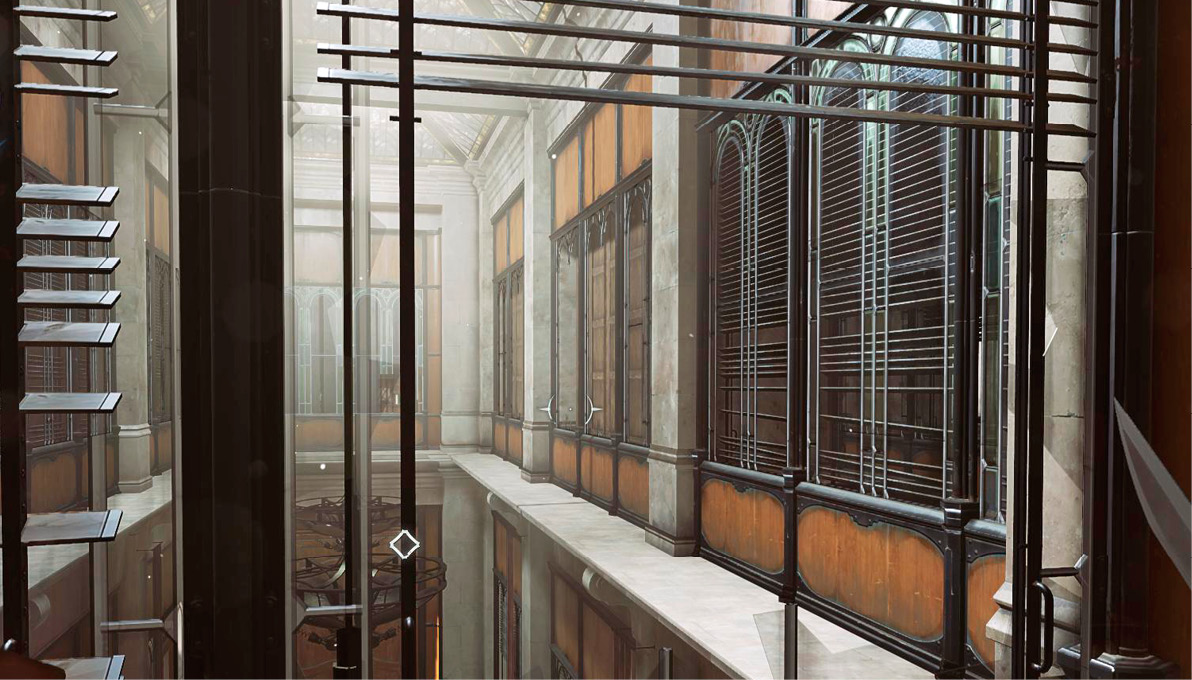
Bring Paolo’s body up here with you, and Blink down into the Vice Overseer’s room while carrying it. That is a freaking entrance! Byrne, impressed with your abilities, gives you the code you need to open the Jindosh Lock.
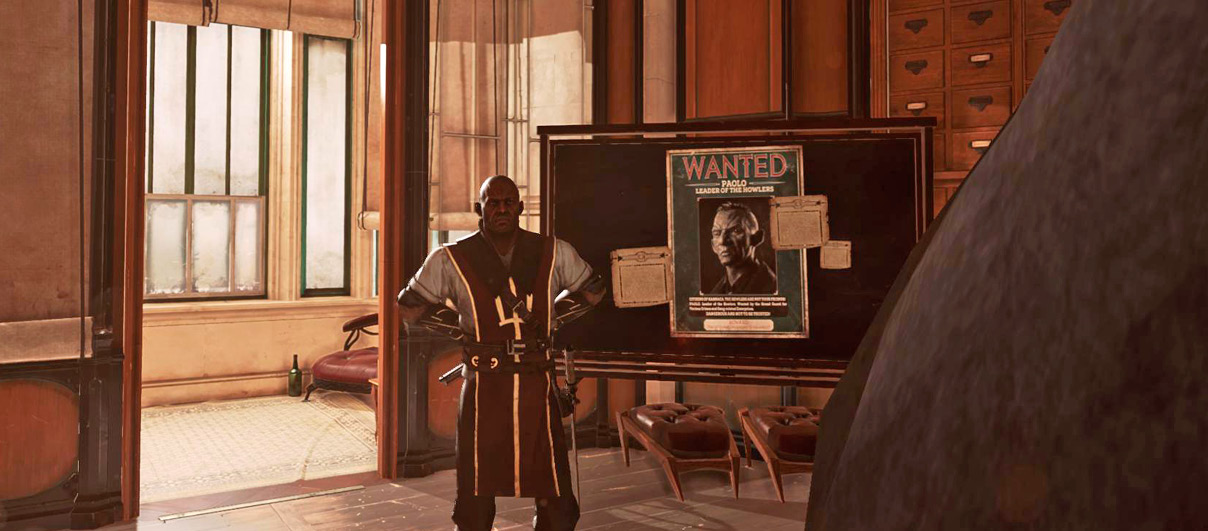
For maximum brutality, you can always kill Byrne and the rest of his people on that floor after you finish your conversation. Either way, steal a final Bonecharm from a desk along the side wall before you leave.
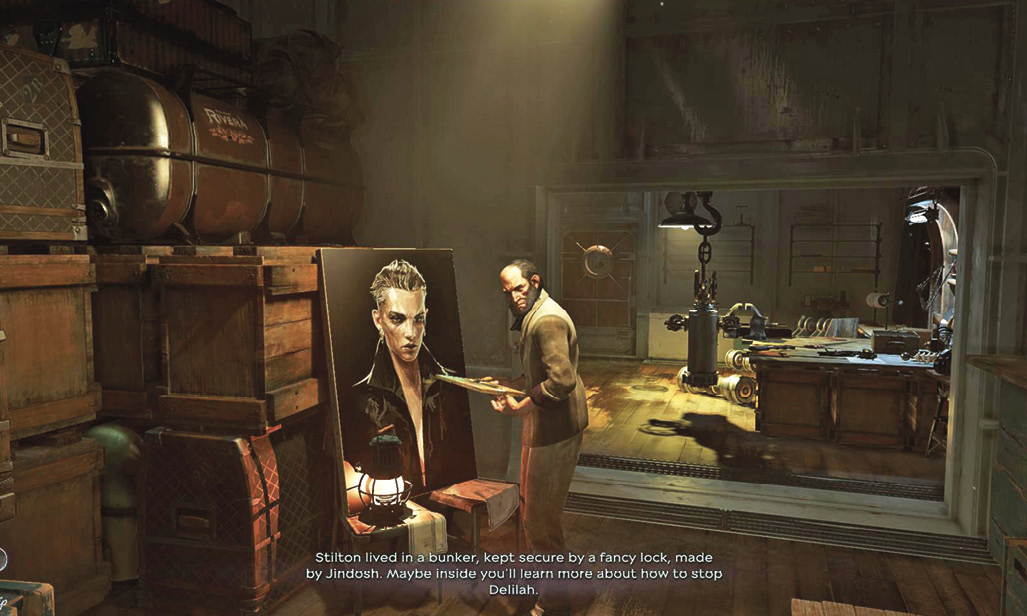
Return to the Jindosh Lock, near the beginning of the mission. Use the clue you gathered from the Overseers to open it. It’s in your Mission menu. Failing that, use the Key from Overseer Byrne’s room to unlock Durante’s office (in the Crone’s Hand Saloon). The answer is also up there.
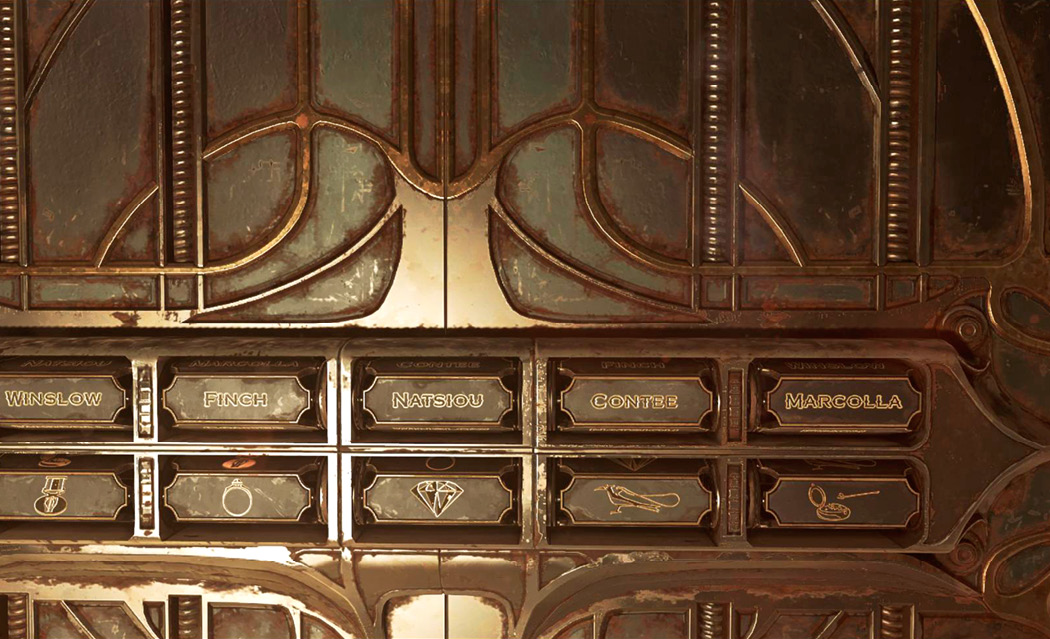
The correct combo opens the way. It changes each time you play the game, so we can’t slip you the answer. You must complete the tasks to solve the lock.
Start the next mission immediately after you open the lock.