Dishonored 2 Guide Combat Walkthrough
A Crack in the Slab
A strange ritual was performed three years ago in Aramis Stilton’s Manor, involving Delilah Copperspoon and her followers. Once inside, find out what you can about Delilah’s secrets.
Collectibles
| Runes | 3 |
| Shrines | N/A |
| Bonecharms | 3 |
| Coins | 3334 |
| Blueprints | 1 |
| Paintings | 2 |
Special Actions
| Under the Table | Steal the Master Key while hiding under the dining room table |
| Temporal Investigator | Reach the study without using the door code |
| A Mind Made Whole | Save Aramis Stilton from going insane |
| Leaky Basement | Find the Rune in the basement |
| Collapsed Balcony | Manipulate time to collapse the balcony |
| A Better Today | Visit Aramis Stilton’s office in the altered present |
Aramis Stilton’s Mansion
Find Stilton
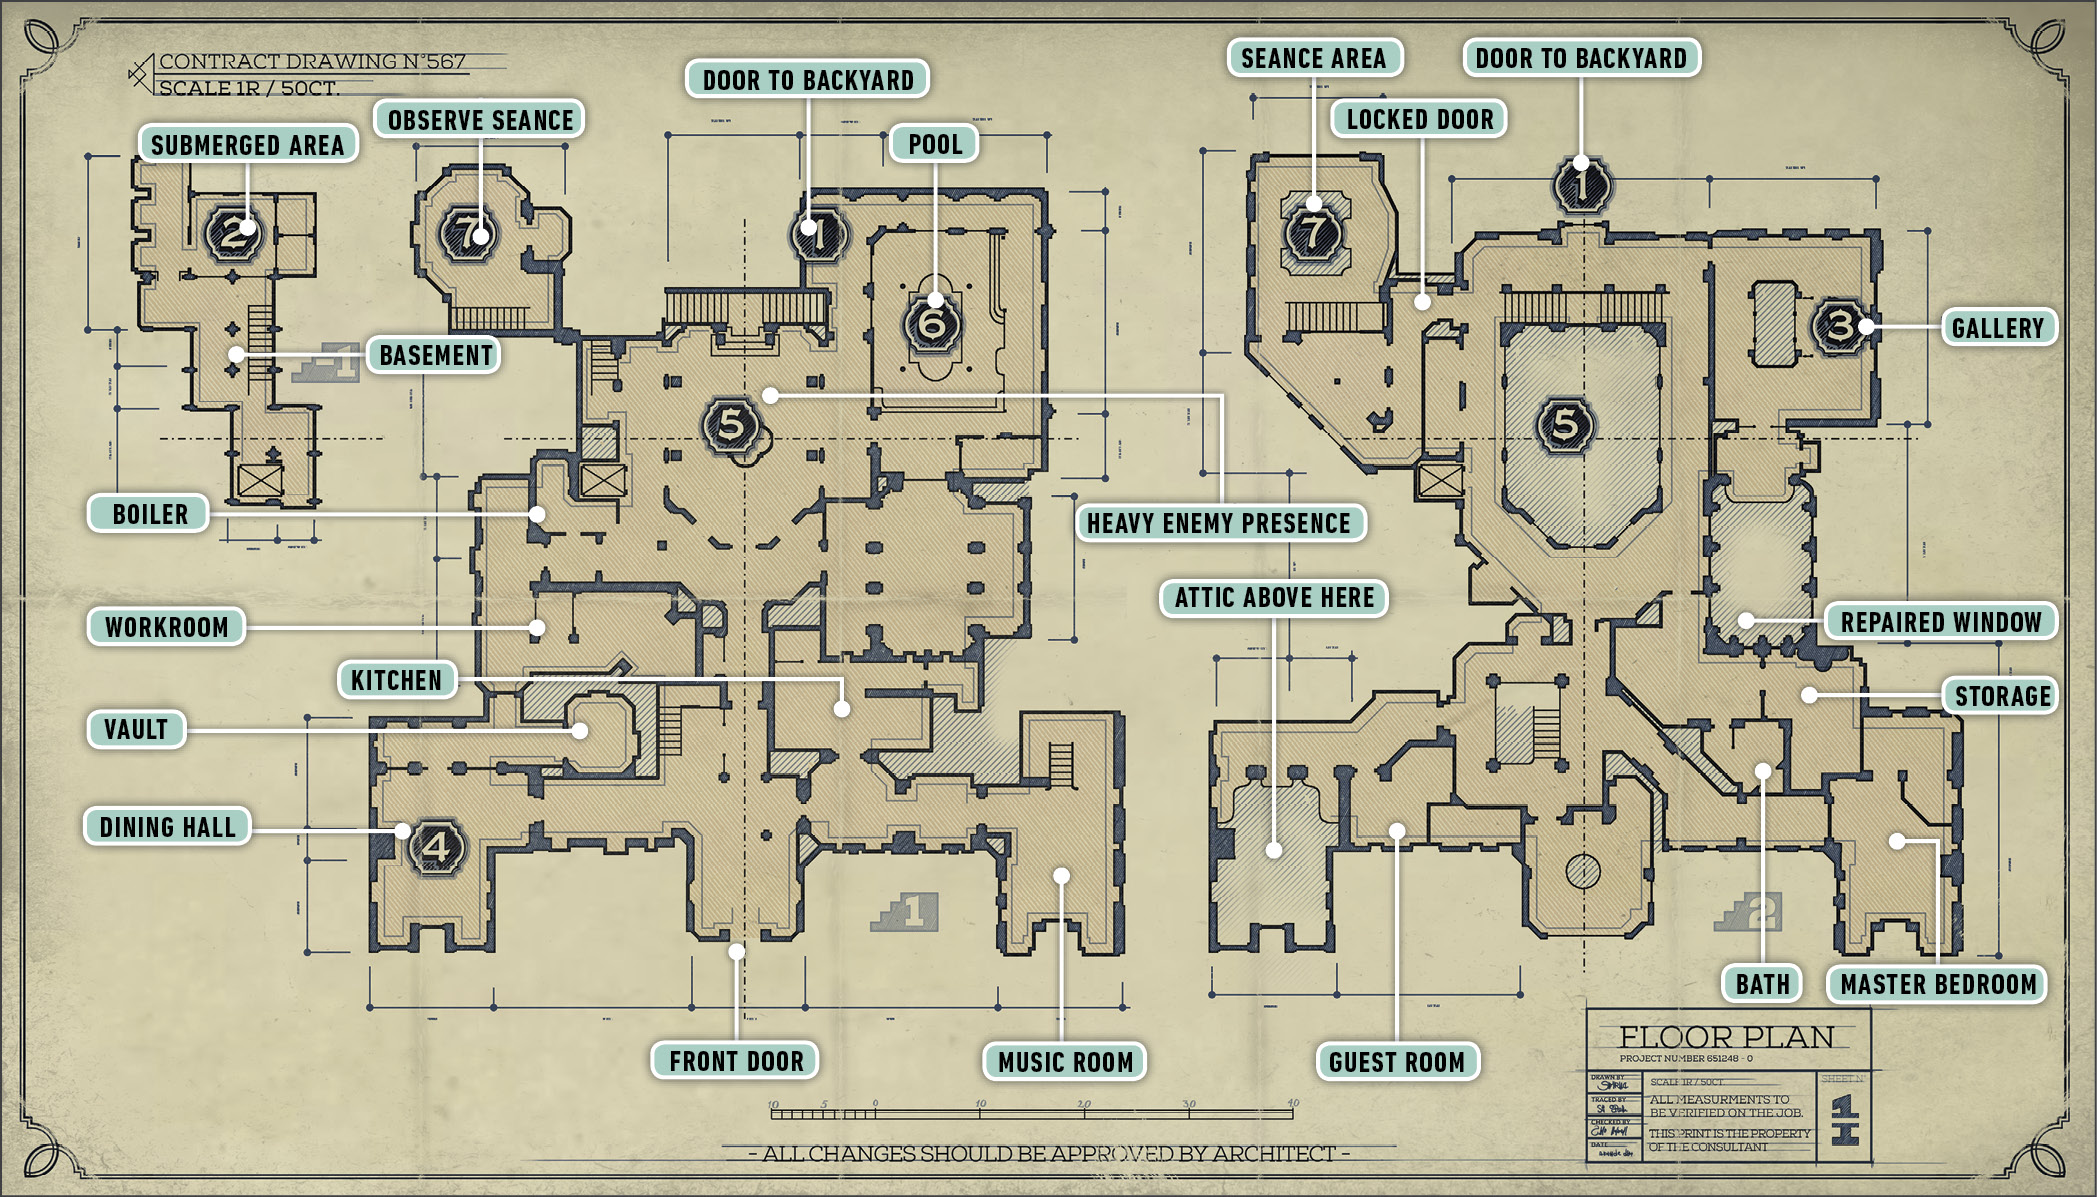
Stilton’s mansion isn’t really guarded at the moment, so you’re free to explore. Only a few items show up as collectible when you equip your Heart, but this level has a few tricks up its sleeve, so there are more items than you expect.
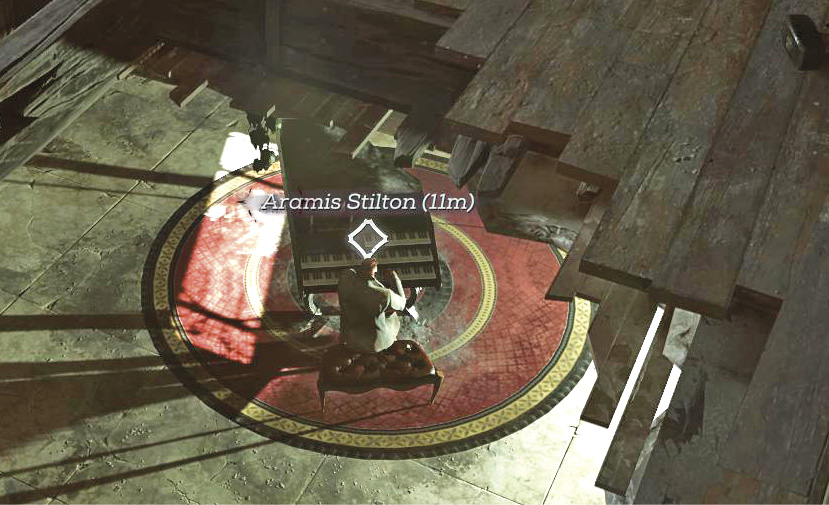
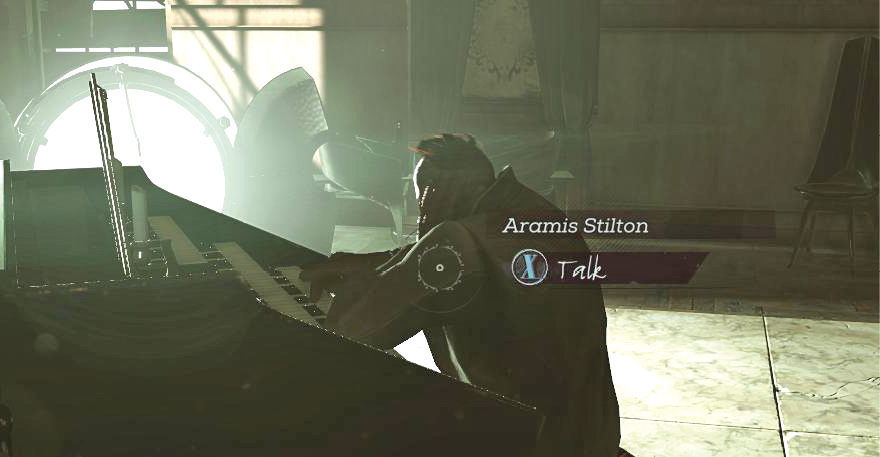
Walk upstairs and turn right. Grab a Rune lying on the floor, not far from the top of the stairs. Then go toward the noble’s private quarters, and drop down through the floor into his music room. Talk to Stilton, and then to the Outsider as well. You receive a new tool: the Timepiece.
When the cutscene ends, you’re left in the music room. Try out the Timepiece, and switch back and forth between time periods. Raising and lowering a lens on the device lets you catch a glimpse of the other timeline without switching, but it obstructs your vision of the current area and should be kept down most of the time.
Exploring and Collecting
Before you leave, consider what should happen to Stilton.
Then walk out of the broken doors and stop at the barricade beyond them. Use the Timepiece to shift into the past. If you’re quick, you can assassinate a Guard by the door and down the Elite nearby before she has time to fight.
The doors to the right lead into the kitchen, where two civilians are working. Pass it by for now, unless you need food for health (there is a massive amount in the kitchen).
The left side of the main hallway passes the front door. Wolfhounds and Guards are outside. They’re weak targets, but there’s no loot to steal, so it’s not important to go out there.
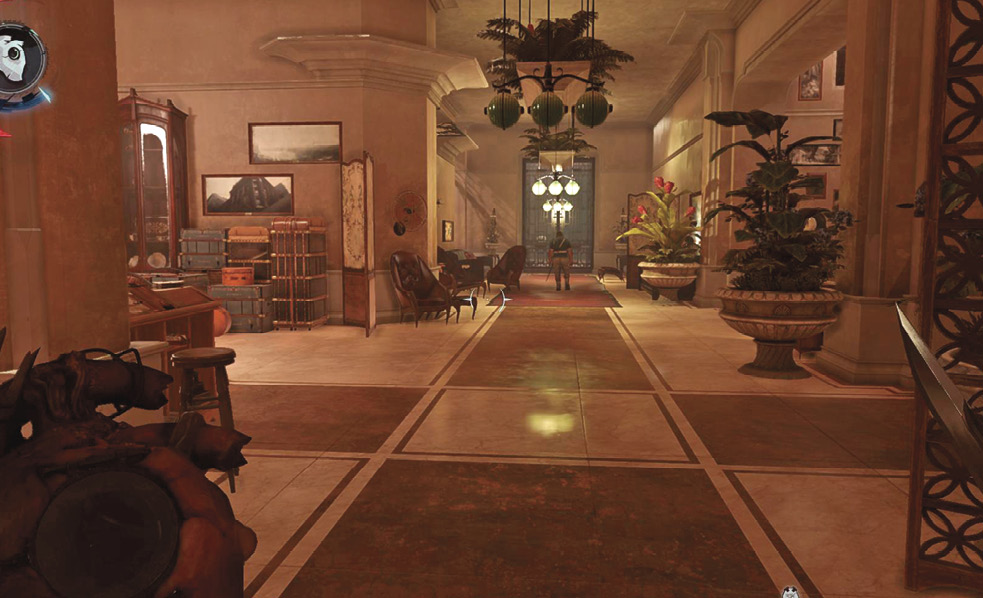
Open the doors toward the end of the hallway and get your weapons ready. Multiple Veterans and some Guards are in the next room. They have an alarm set up, and a fight here can chain for a good while. If you hurry across the room, you can kill the Guard by the Alarm to limit the intensity of the engagement a little bit.
Use your reserves of Grenades and other heavy weapons if things aren’t going as planned; this is one of the only big fights in the mansion, so splurge a little.
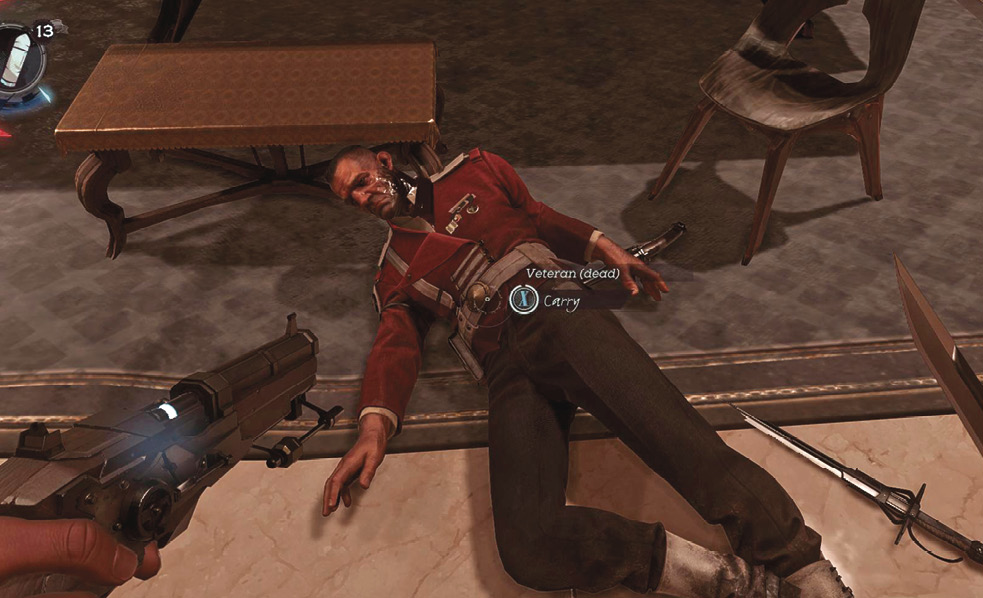
Loot one of the dead Veterans for a Master Key! You can access most of the mansion with this. This isn’t required because the Timepiece can get you around the mansion by shifting around the various doors and barricades. But, some people prefer a direct route!
Head around the corner inside this dining room and look for a Vault door. Shift to the present to pass it, and then back again to loot a massive safe. A Blueprint is inside. You also get money and a Painting from the Vault.
Let’s back up for a moment to get more items. Go to the kitchen again, off of the main hallway. Look for the Kitchen Key in the present, inside a cabinet. Use it to unlock the door in back.
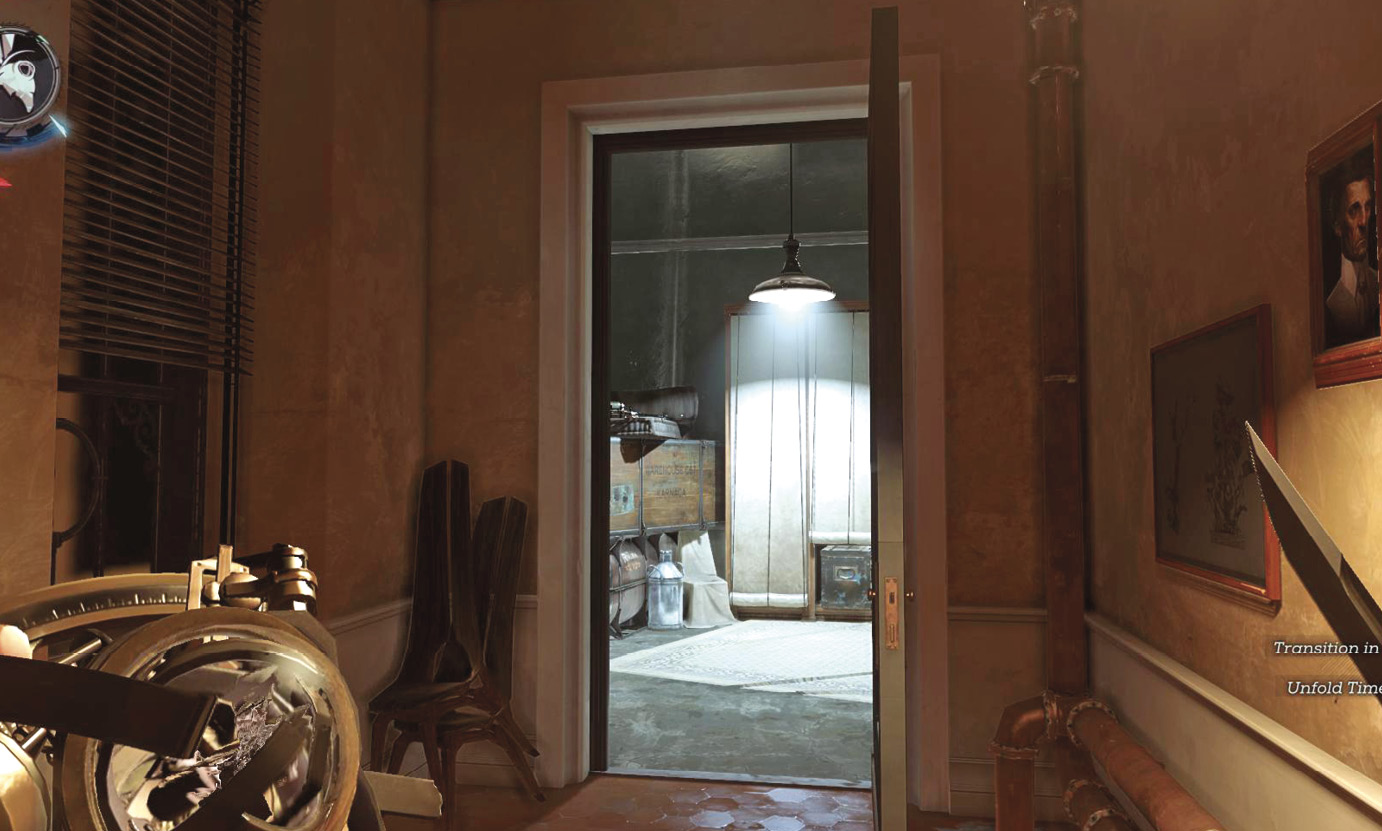
Shift to the present and go through a broken window in the next room. You gain access to many side chambers, and it takes a few minutes to explore everything. In the present, you only have to watch out for Bloodflies and a wandering Nestkeeper. It’s not too bad. Guards inhabit the past. Use the lens on the Timepiece to see what you’re getting into before you jump.
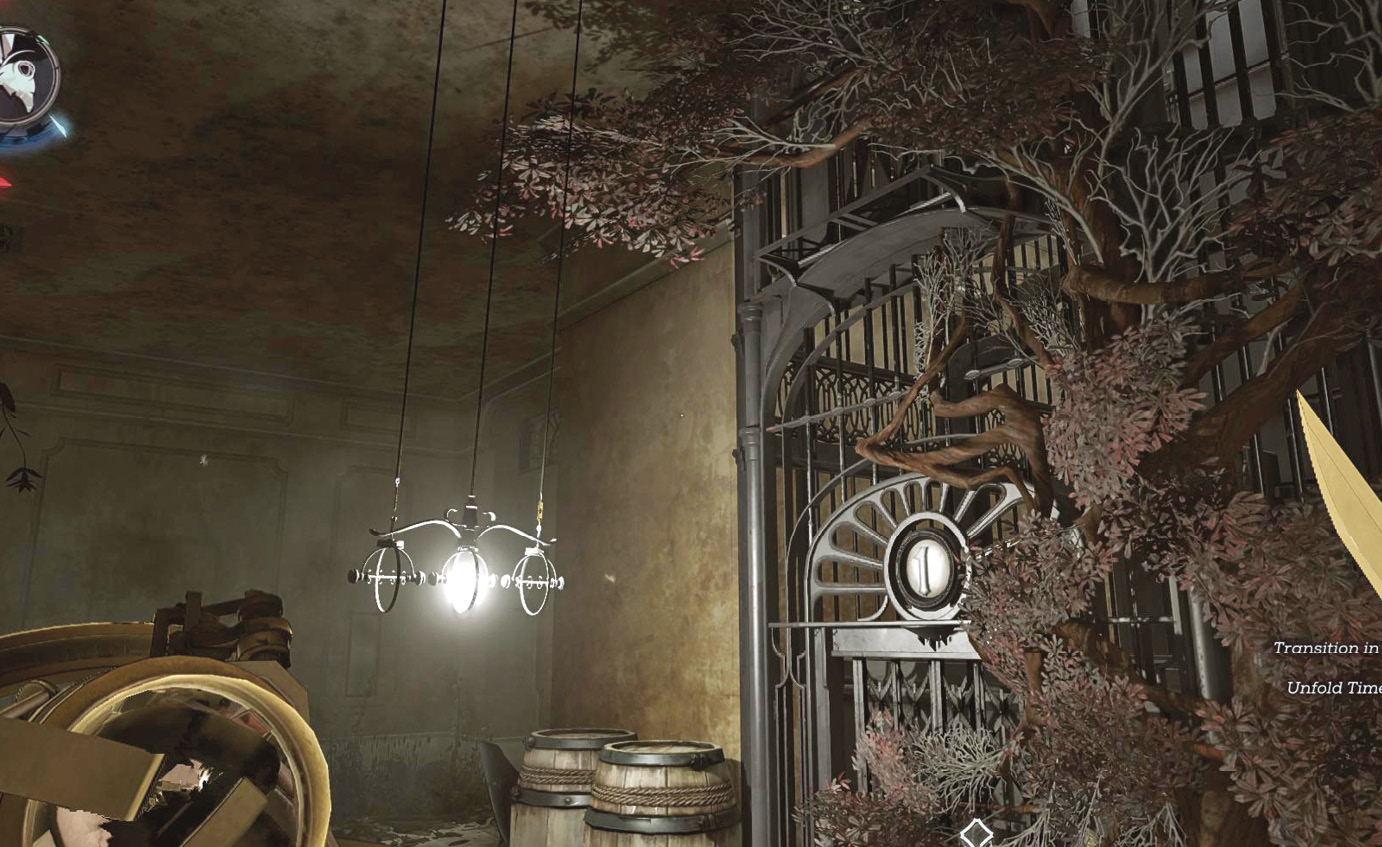
Locate the elevator near the center of the house while you’re wandering the ground floor. With your Heart, observe the Bonecharm tucked into the shaft, in the present. Reach it by jumping onto a barrel and then up to the lip over the elevator. Shift timestreams, open the hatch to the elevator, and creep forward as far as you can without falling. Transition back to appear inside the elevator. Grab the Bonecharm.
Leave the elevator and look to the right for a set of steps leading down. They take you into the basement. Watch out for Rat swarms, and look for a submerged room. There is a Rune inside, but it takes some work to acquire: Go into the past and ambush two Elites working nearby. When they’re down, get a valve off the shelves in the corner. Throw it into the room that becomes submerged in the present. A small breach in the wall provides you enough space to do this. Jump forward in time, attach the valve to a pipe in the watery area, and then jump up to grab the Rune.
Return to the ground floor. An iron gate held with a wooden board offers another exit from this major set of rooms. Destroy the board and open the gate. Go around the new bend on the right, and look at a collapsed pile of debris.
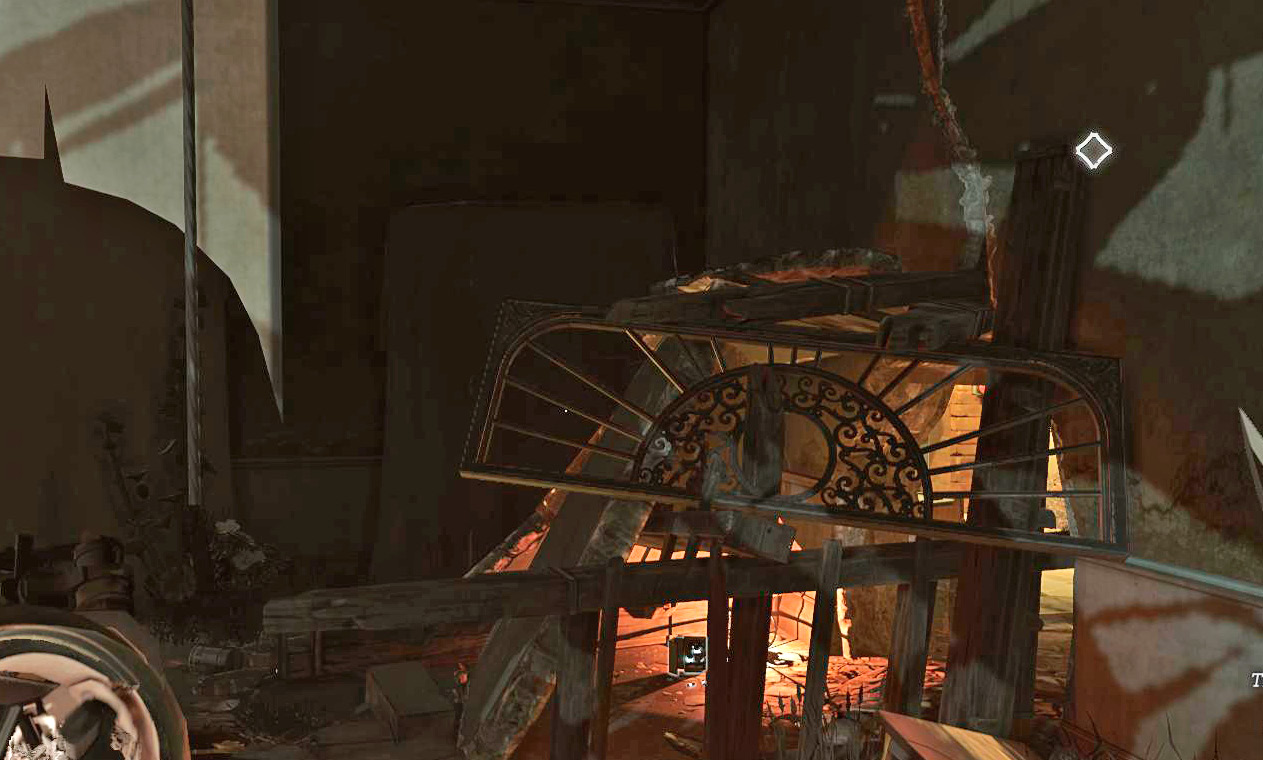
Shift to the past and loot a desk in the same spot. Crawl underneath the desk afterward and find a place to transition. This allows you to avoid the barricade and enter the locked boiler room ahead. In the past a Black Bonecharm is there, inside a safe. You also get 135 items’ worth of money. To claim it, take the body of a dead Wolfhound in the past and put it into the furnace. Press a button to turn on the furnace and wait for it to finish cremating the body. When you return to the present, the safe displays the correct combination on its door. Record it, and go back to the past to open the safe.
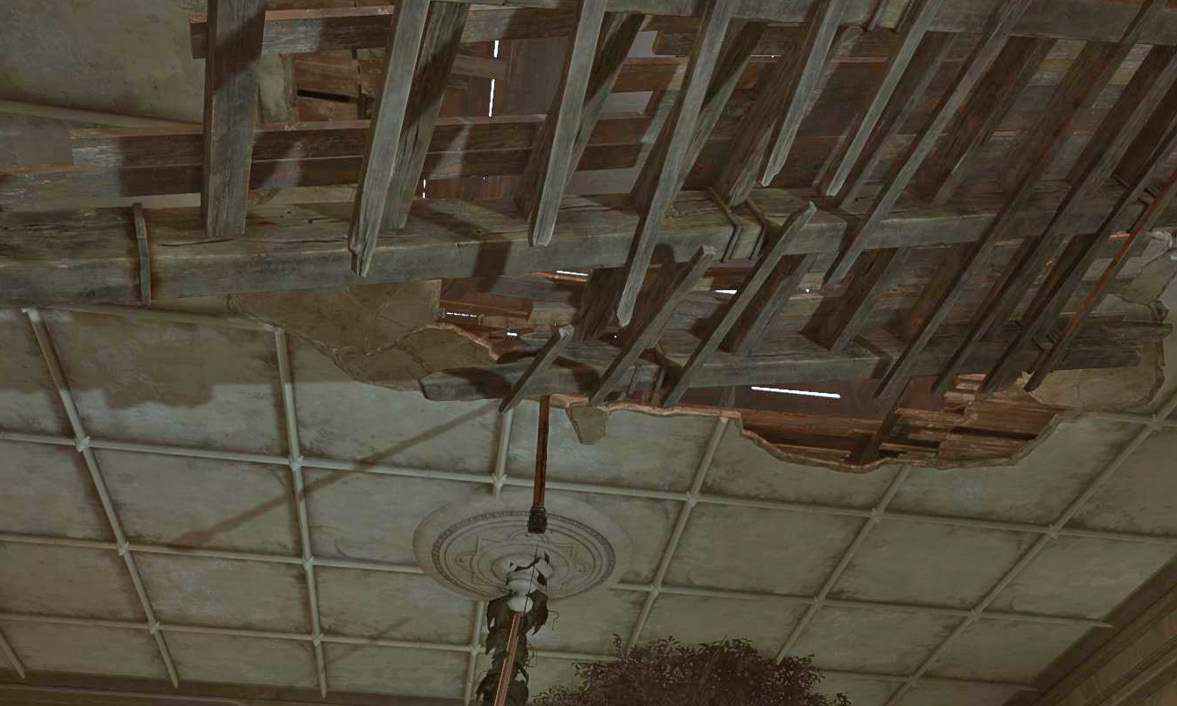
There is one more collectible on the left side of the mansion. Above the dining room are three chandeliers. Hop onto the farthest one while in the past, transition, and then leap up to a broken set of joists in the present. The Bonecharm is in an attic area above the dining room.
Return to the open yard where the Bloodflies congregate. Climb a hill of dirt to reach the second floor. Walk around the balcony and look for a window with a Document on it. It talks about the repairs to the window. Shift to the past and kill the worker and Guard standing by the same window. Because it didn’t get repaired, the window is gone in the present. Climb onto a small set of vines to get over to another broken window. Enter and transition to the past again. Deal with three Guards in the room, and take your Rune. Go back out the window and use the same pipes to reach the opposite side of the mansion. Jump over onto a balcony and shift to the past. You find a Painting in that room. It’s protected by multiple Elites, but you find a Health Elixir and Raw Whalebone to compensate you for your time.
Find the Combination to the Study
That’s enough gathering. Return to the kitchen, pass through into the large hallway beyond, and walk into the big yard. Climb to the upper tier of the room again and get right next to the waypoint (it says “Combination”).
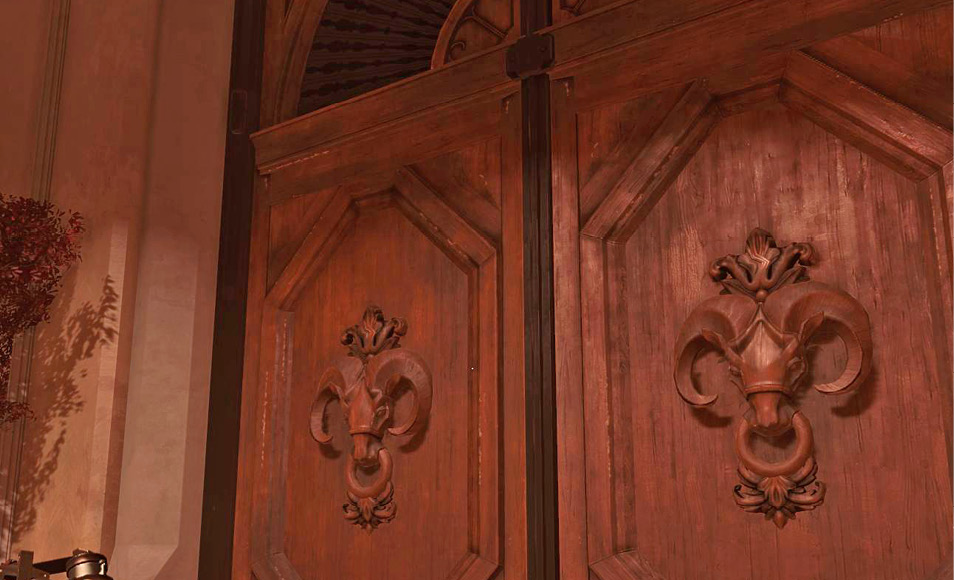
Switch to the past there. You end up right behind a Veteran, but he doesn’t know you’re near him. Use the marked door to exit the mansion and enter the backyard.
Stilton’s Backyard
The backyard isn’t too large an area. Go to the edge of the railing ahead and use your Spyglass to look out over the yard below. A handful of skilled Guards and Elites are protecting Stilton, who is standing in a gazebo.
Kill the only Guard on your level. He’s alone and can be assassinated almost instantly. With him down, pull out your Crossbow and snipe targets all over the yard below. You haven’t gotten any good Crossbow time in lately, so it’s a fun break. Your enemies don’t have a long enough range to counter this.
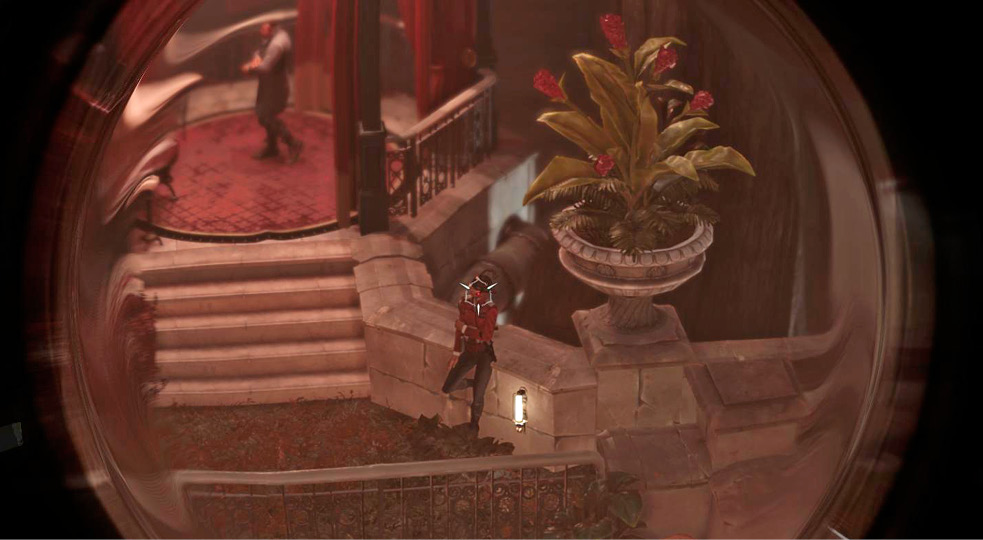
Get the door combination from the gazebo once everyone is down. Turn around and head back into the mansion, using the lower doors.
Get into the Study
The study is your marked waypoint now. Get upstairs and find the locked doors. You get a nice fight on the stairs if you want one. Prepare a Grenade and then charge into the enemies. When they start to gather, toss the Grenade into their midst and continue to the top of the steps to finish off anyone who makes it up there alive.
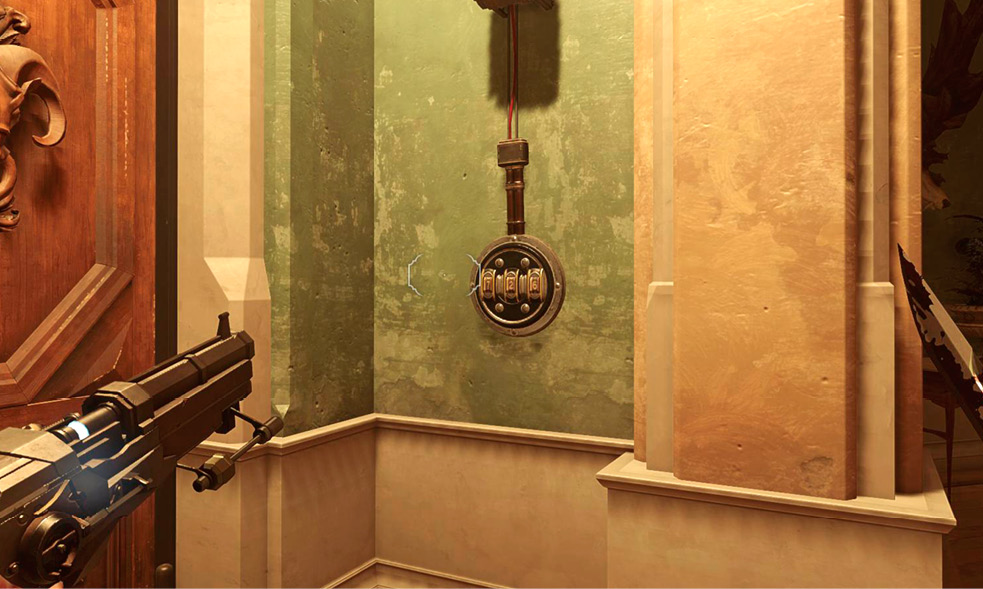
Use the code from the gazebo to open the séance doors.
Go through the study and the séance room below. You witness a couple of events, and everything you see is important. When it’s finished, retreat from the mansion and try to return to the Dust District.
Visit a Very Old Place
When you walk out the mansion’s door, you’re transported somewhere else. The Outsider explains what you’ve seen, and he walks you through several places in the Void. There aren’t any challenges or tricks here, so just watch and learn.
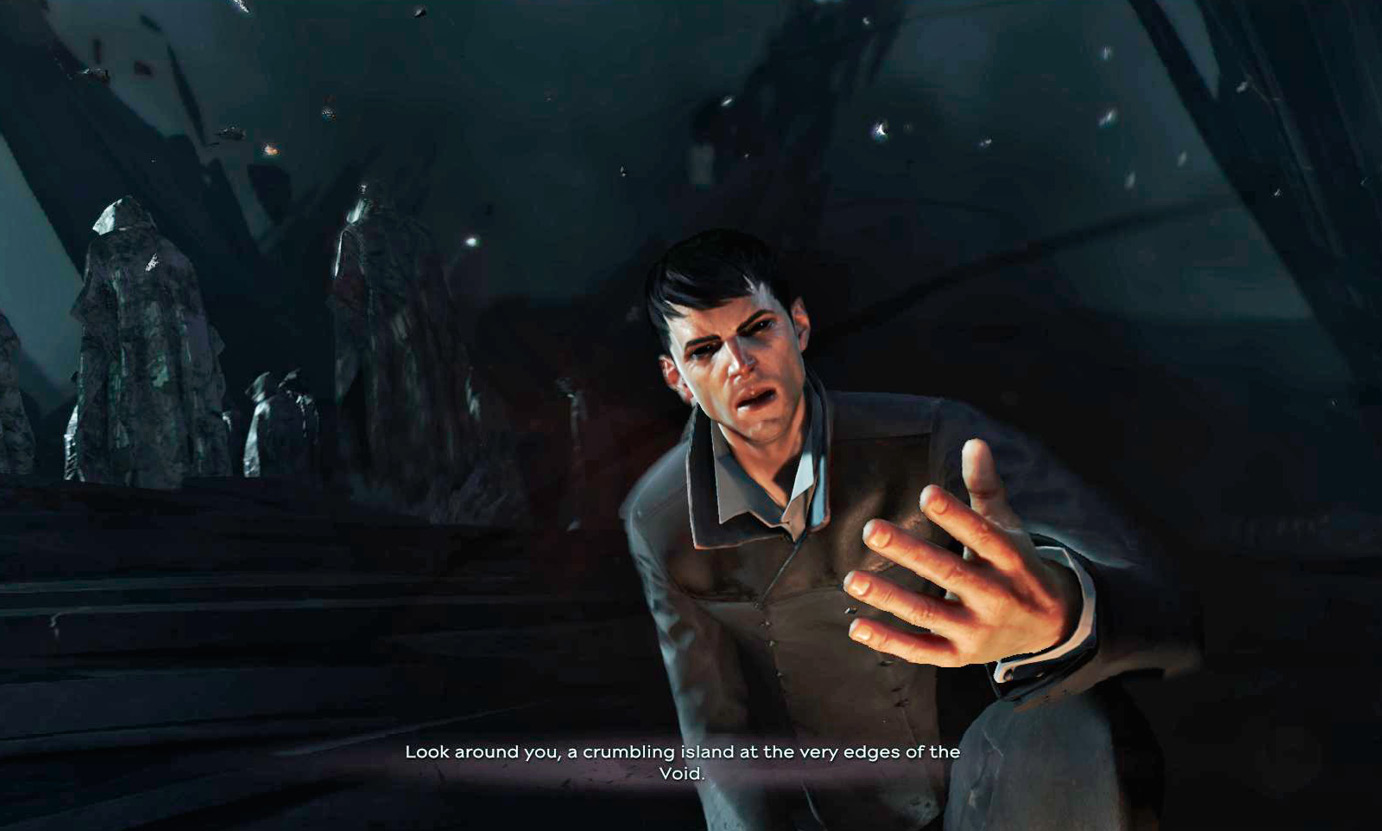
When he’s done, you return to the world.
Return to Your Allies
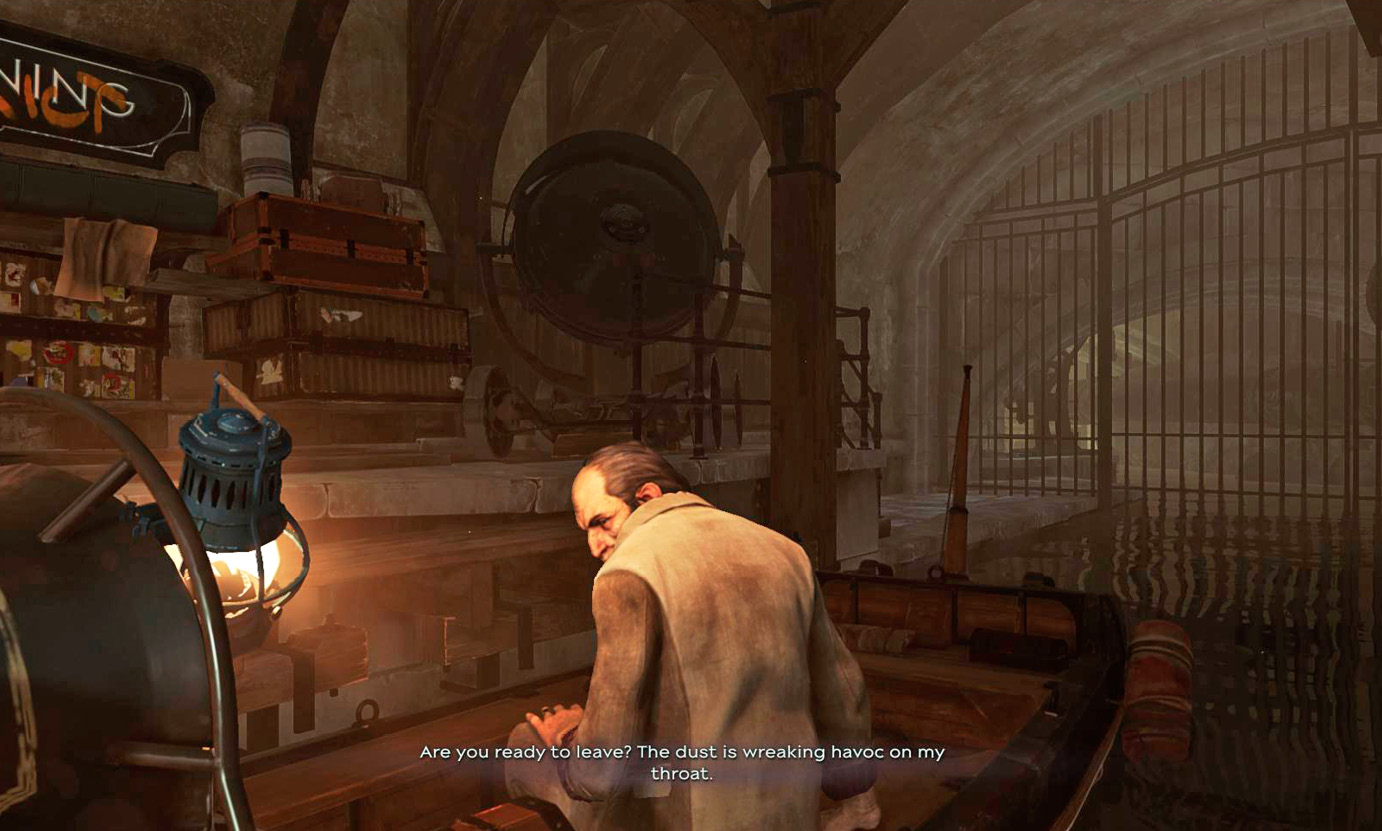
Run back through the Dust District. Your waypoints are marked, and there are few Guards. It only takes a minute or two to find Sokolov and Captain Foster back by the skiff. Leave this place, and return to the Wale.