
Dishonored 2 Guide Combat Walkthrough
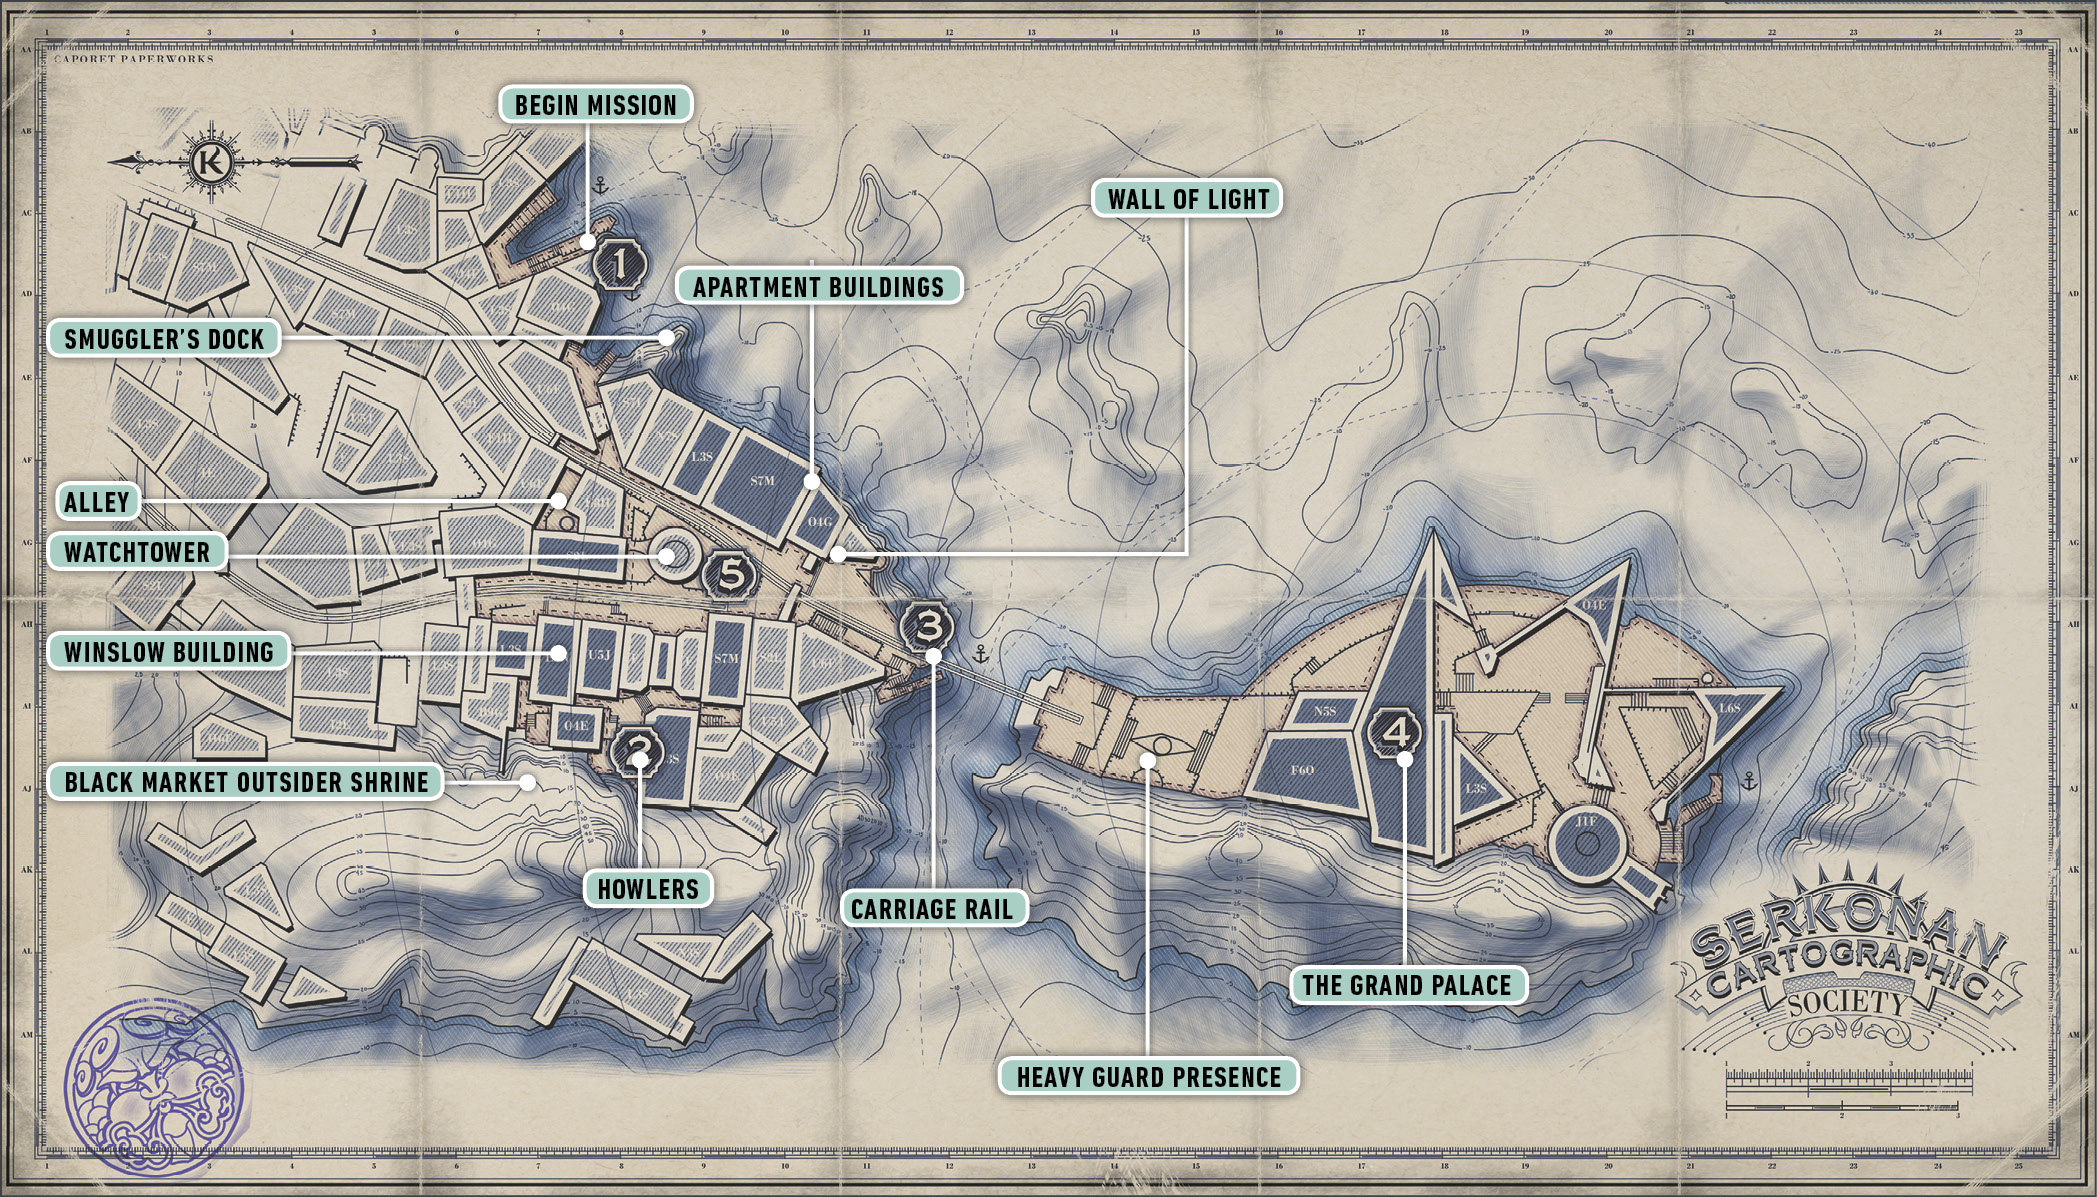
The Grand Palace
Self-serving and corrupt, Duke Luca Abele rules Serkonos, and orchestrated the Coup against you. Enter the Grand Palace to find and eliminate the Duke, who protects himself from assassins with a body double. You must also locate Delilah’s spirit, the only means of counteracting her immortality.
Collectibles
| Runes | 5 |
| Shrines | 1 |
| Bonecharms | 7 |
| Coins | 4430 |
| Blueprints | 3 |
| Paintings | 3 |
Special Actions
| Through the Pantry | Enter the Vault through the secret pantry passage |
| Sunken Storage | Swim into the submerged storage room beneath the Palace |
| Friends in High Places | Place Duke Luca Abele with his body double |
| Haunted by the Past | Steal the broken gazelle from the Vault |
| Black Market Heist | Steal yet again from the black market |
| Addressing Karnaca | Use the speaker in Duke Abele’s chambers |
On the Dreadful Wale
You get some rest back on the ship, and then wake up a few hours later. Meet Captain Foster on deck and talk to her. She and Sokolov are figuring out what needs to be done during the assault on the Duke’s Palace.
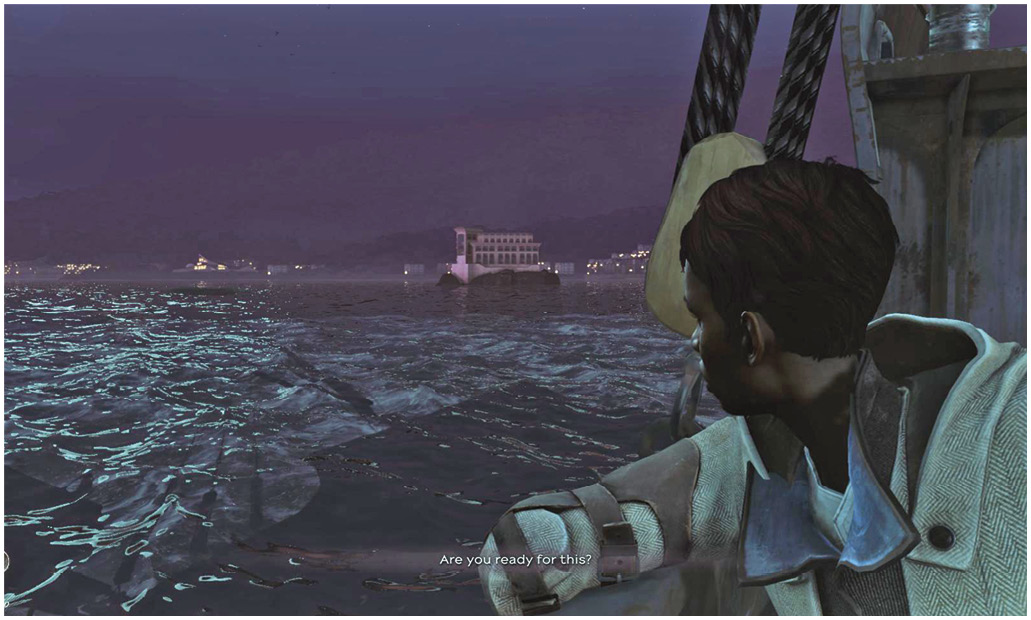
There’s a new Audiograph down in the briefing room, if you’re interested. After you finish with everyone, head to the skiff and tell Foster you’re ready to go!
Ravina Boulevard
Clearing the Right Side of Town
Disembark from the skiff at the docks and follow the only route up toward street level. A small fish stall on the right contains Raw Whalebone, so stop there briefly.
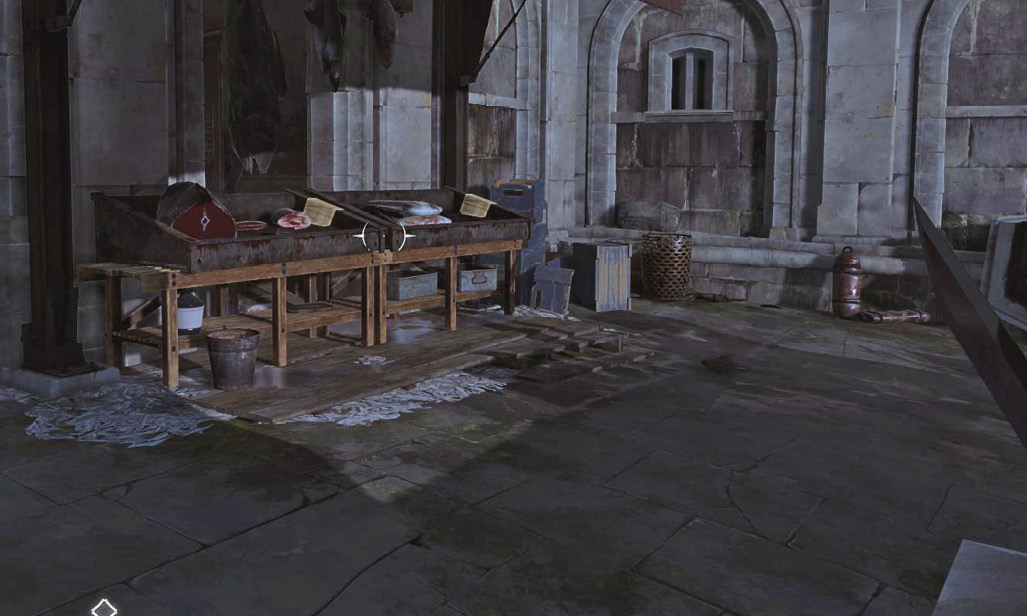
The path takes you up and around a small harbor. Two smugglers are below, talking about their trade with the black market. Ambush them to steal the weapons from their crates nearby.
This is also where you return after getting the Delivery Boat Key from a woman near the black market. The boat holds a code for the back door to the market (for your stealing purposes). It also contains another cache of weapons, and some money too.
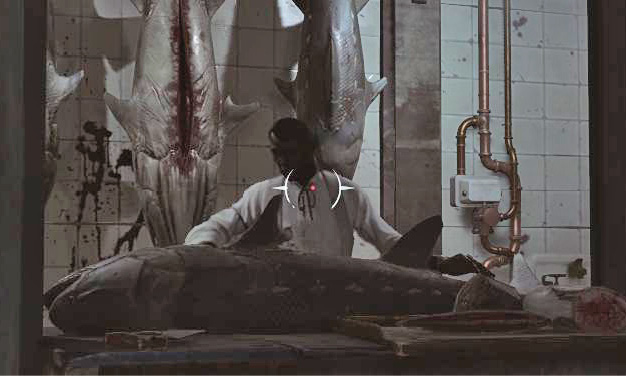
Get back up to the street and head into the center of town. You pass a fishmonger out working on a shark. Look behind him for another piece of Raw Whalebone.
When you hit the main part of town, the path splits off to the right or continues straight forward. Explore the right path first, because it’s a bit smaller and has multiple items to collect. Also, it leads toward the black market.
Pass by a beggar who doesn’t have much of value to say (he divulges a tip about a shrine location). Then cut into a couple of Bloodfly nests ahead.
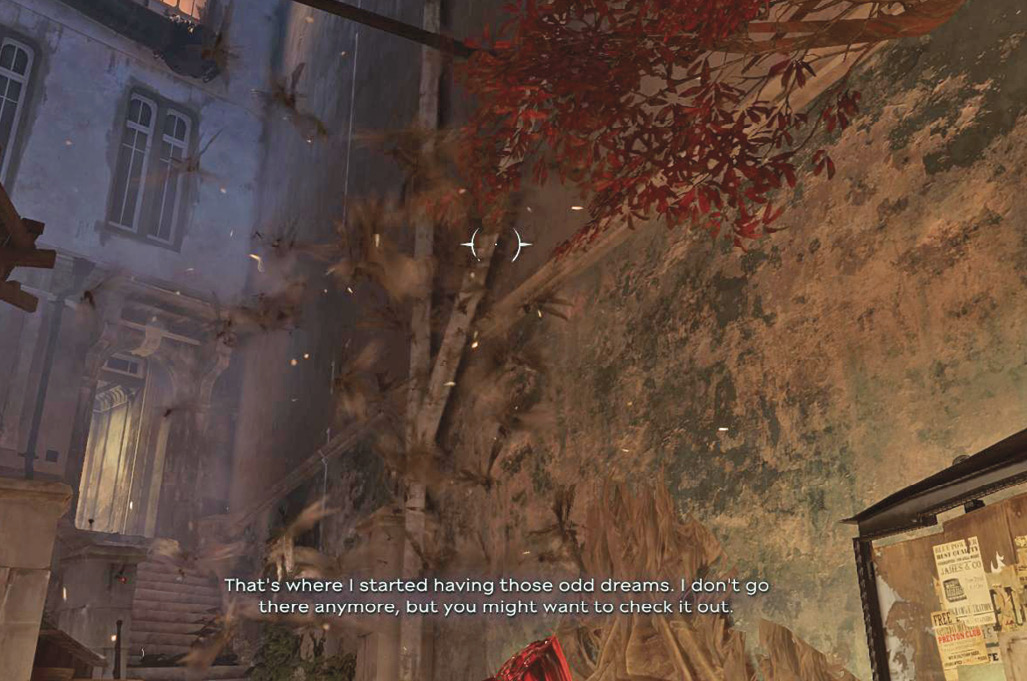
This route takes you to another road pretty quickly. There are a few patrolling Guards around. Blink over to the Elite on a railing to kill him first, because the other two are chumps.
With them down, Blink to a balcony on your original side of the road. Bloodflies are inside, along with a Black Bonecharm locked in a vise. Open the vise to claim your prize.
Loot the Winslow store on the other side of the street. Knock out the civilian who works there, and grab the gate code from the back of the store. Also, locate a cash register that contains a Key. It unlocks an apartment on the other side of town.
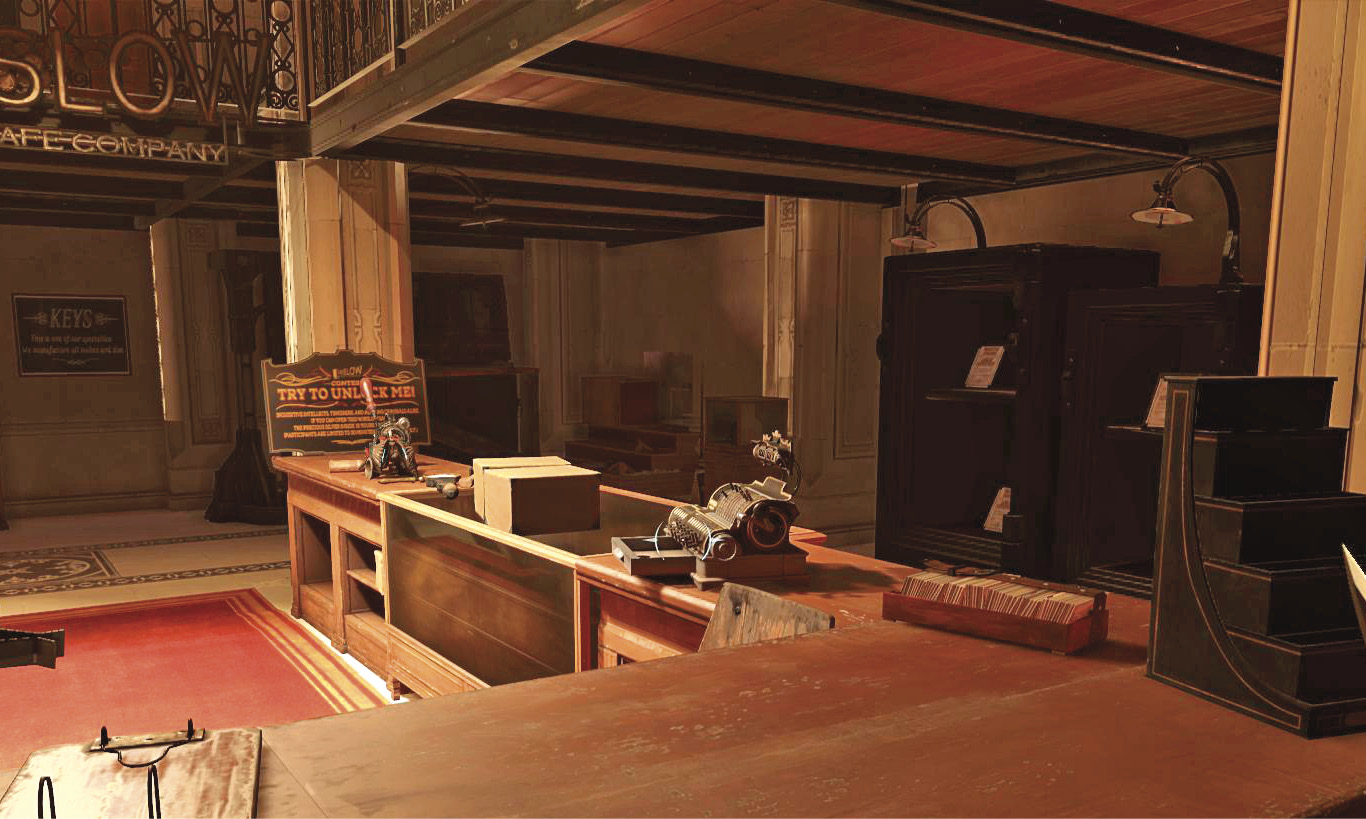
Use the gate code to open a locked gate next to the store. Crouch and sneak up on a woman complaining to the black market shopkeeper ahead. Steal the Delivery Boat Key and then return to the boat you passed earlier.The boat has been robbed (although there is an instance where, after getting the boat key, if you’re really really fast, you’ll find the guards in the process of robbing the boat). To find the missing Audiograph, search the first floor of the building with a windmill on its roof.
Approach the door by the black market and use the password to gain access to the building. Steal the Black Market Key from the shopkeeper, and unlock the front of the store. Go through to buy upgrades from him before robbing the place.
Black Market Goods
| Item | Cost |
|---|---|
| Crossbow Bolt | 20 |
| Pistol Bullet | 30 |
| Sleep Dart | 30 |
| Grenade | 70 |
| Stun Mine | 70 |
| Spring Razor | 50 |
| Addermire Solution | 150 |
| Health Elixir | 75 |
| Rewire Tool | 200 |
| Disable the Carriage Rail | 250 |
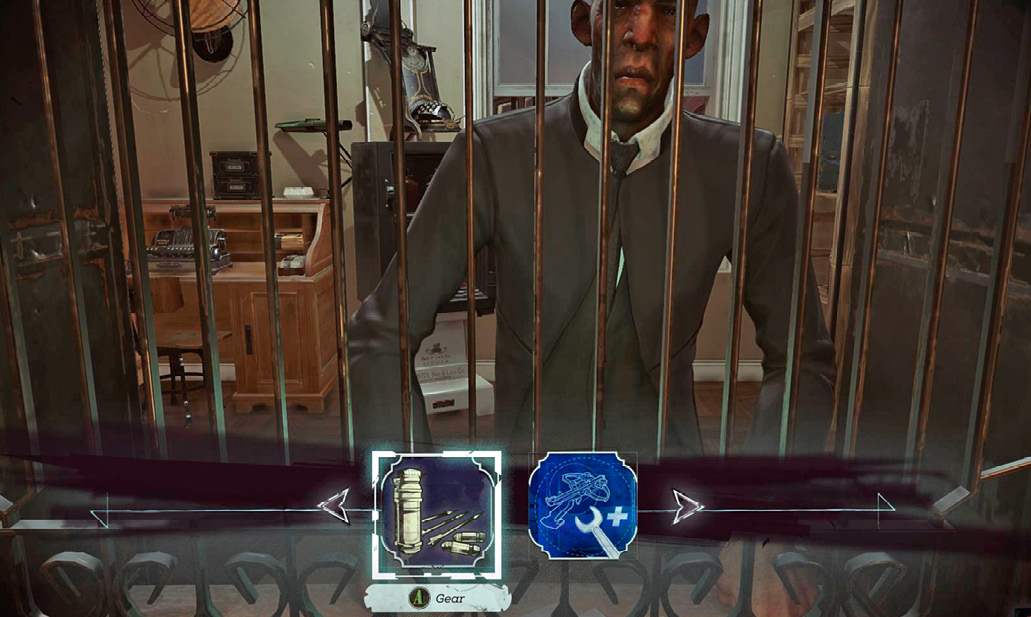
Assassinate the Howler inside the market before you leave. Then walk outside and Blink up to the balconies to start dealing with all his aggressive friends. There are only a few of them, but they have ranged weapons and are a real nuisance if you don’t use Blink to quickly close the gap against them.
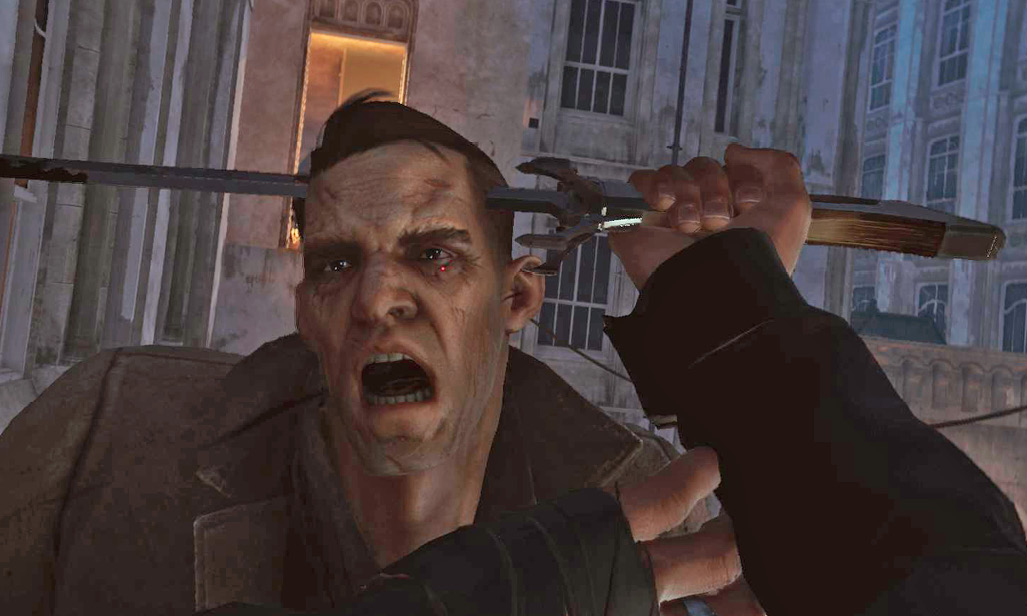
Clear that street and then examine the right side of the path. Jump up some rocks and search for a wooden barricade with a light above it. That’s a secret area; break inside and explore to find Raw Whalebone and an Outsider Shrine.
Return to the market entrance and search the Howlers’ bodies for a Key. Blink onto the balcony above the market. Blink again to get through an open window into a nearby apartment building.
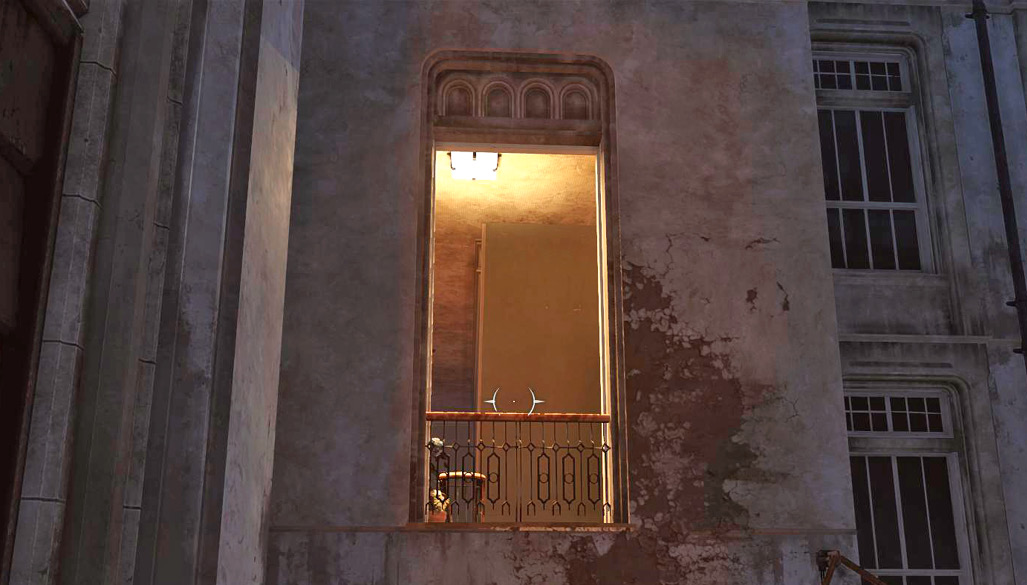
Unlock the first apartment you find with the Key you grabbed. Loot that place for extra cash. Return the market balcony and Blink to another apartment across the street. Loot that as well.
Clearing the Left Side of Town
Hug the right side of the road while you continue. Another apartment building is down that side of the path. The other route takes you into the very center of town, with a Watchtower and all the Guards.
Climb up to the roof and kill a Guard and an Elite. Both are looking away from you, so sneak up on them for melee assassinations.
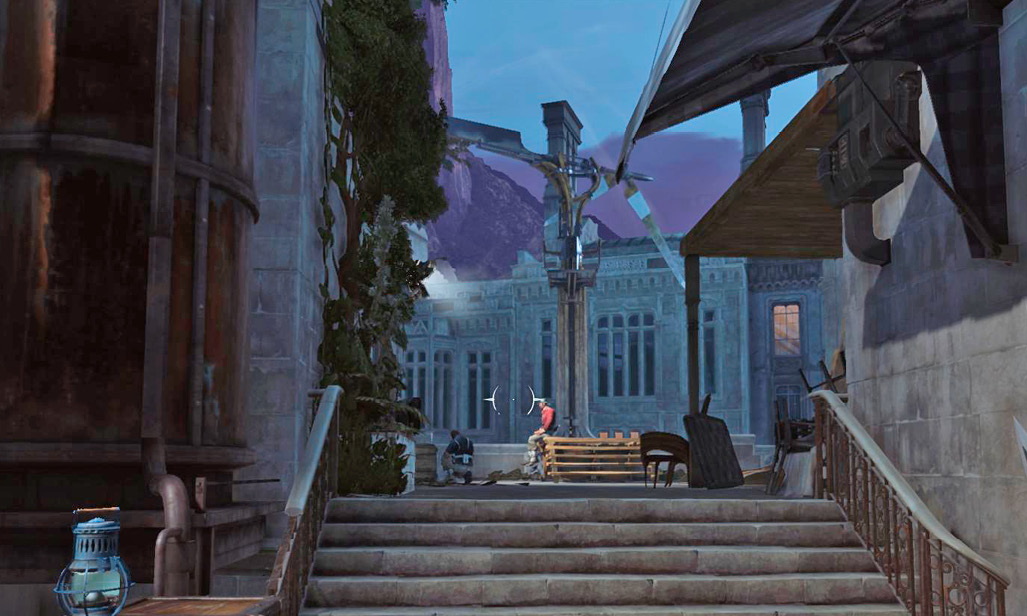
Blink up and turn off the Windmill, then carefully look over the edge of the roof. Blink down to the balcony beneath the Windmill and enter the blockaded apartment. Bloodfly nests are all over the place, and a Nestkeeper lurks toward the rear of the apartment most of the time. Get your Pistol out and clear the nests and the Nestkeeper. Guards below may hear the noise, but this is your high-Chaos run. Let them freak out!
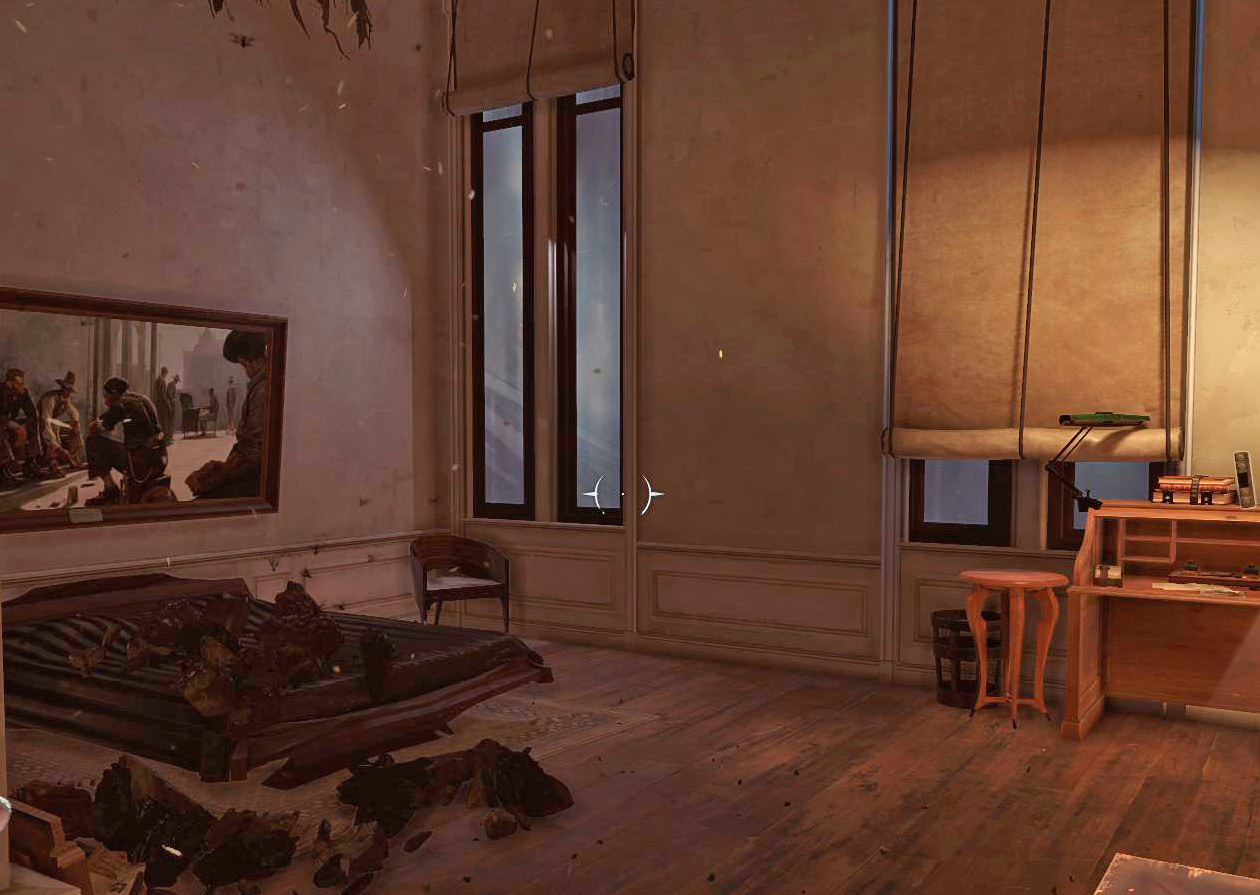
Search the bathroom of the apartment for a Rune. The bedroom contains a Painting. Corvo remembers that guy all too well.
Get back onto the balcony and Blink up to the Watchtower. Pull out the Whale Oil Tank, or rewire the system to be really nasty. Either way, Blink off the Watchtower when it no longer threatens to splatter you, and take care of the massive fight below.
Plenty of Elites/Veterans and a few Guards protect the streets. It’s a rolling battle that lets you really test your ability to switch between melee, ranged attacks, and defense. It’s so much fun.
The Guards try to sound an alert as soon as they see you. Kill the ones who rush for the siren to keep the fight half under control. Or let them sound it, and then stay mobile to prevent the enemies from grouping up well against you.
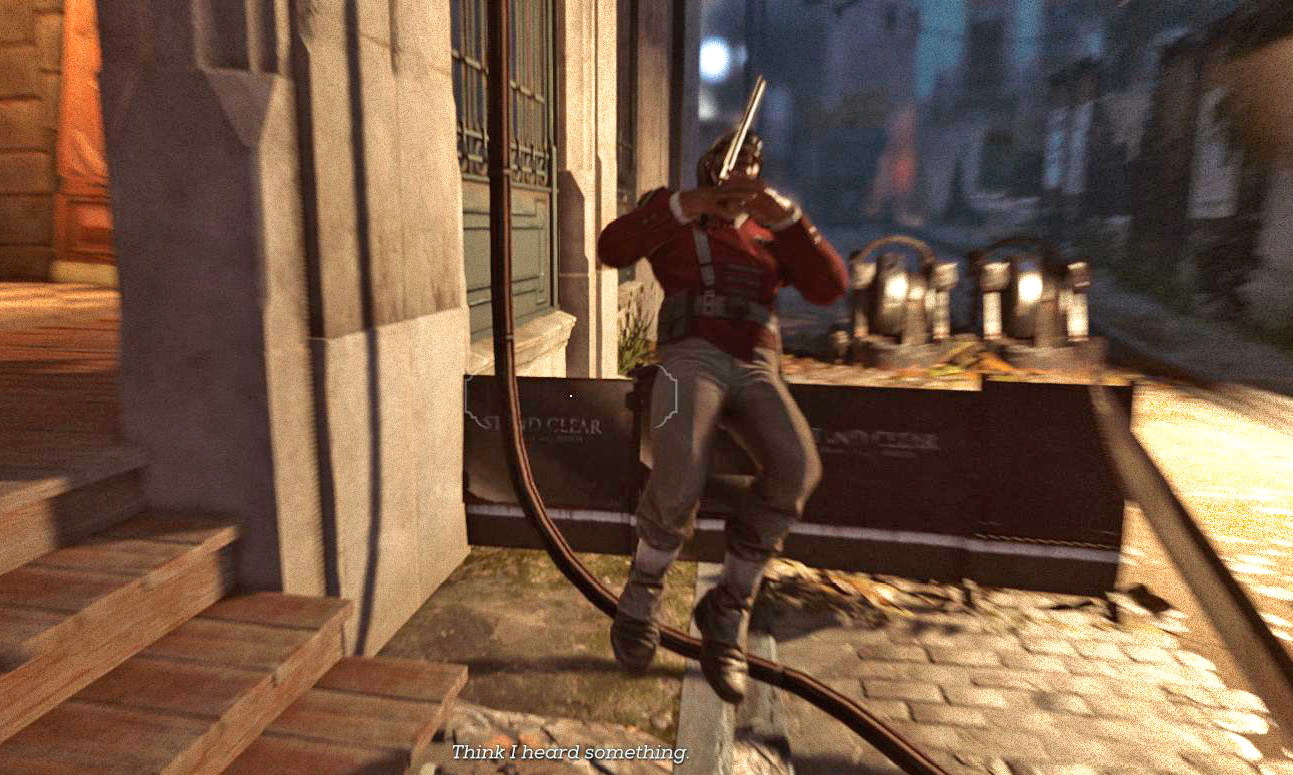
If you set traps in one of the apartment buildings that line the street, it’s easy to lure Guards into them.
In any case, defeat the enemies and then search the last two buildings in this district. Both are apartment buildings on the left side of the street.
The first one houses two Guards and a civilian on the second floor. They’re not looking at anything too valuable, because the place has been trashed already.
The third floor is more lucrative. Go upstairs and search the bathroom of the apartment above for a Bonecharm. There are also a few items of modest value.
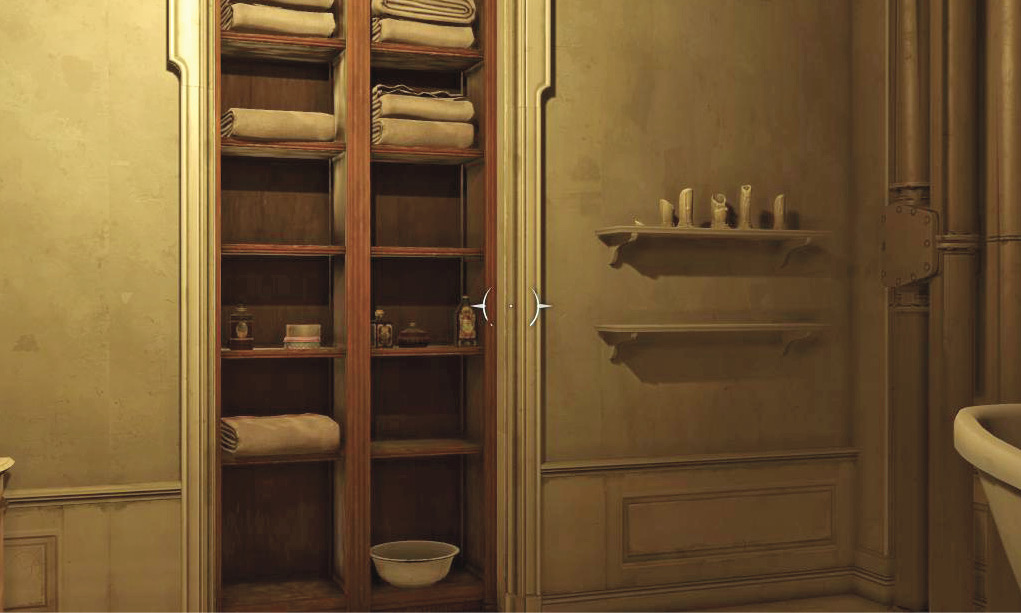
The last apartment building contains a locked door on the third floor. Get the Key from the Winslow store and unlock this apartment when you can. You find a Blueprint inside, on a desk. Knock a pillow off the bed in the bedroom to grab a Bonecharm as well.
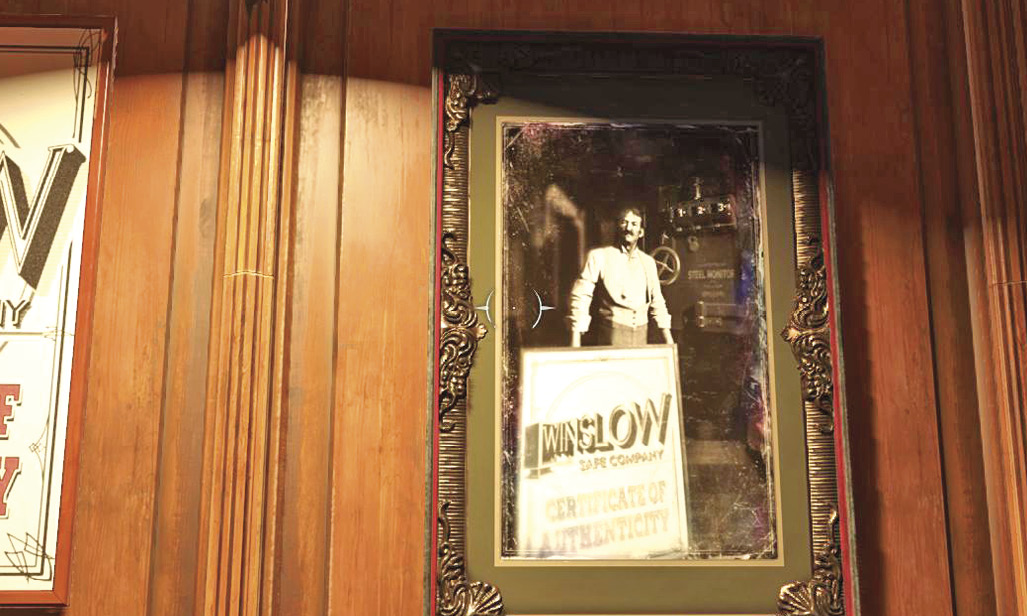
A safe in the apartment contains money and Bullets. Search the area by the desk to locate a picture of a man with a safe behind him. The combo is right there in the picture (123).
Now that you have everything you need, use the back door of this apartment or the door behind the Wall of Light to leave Ravina Boulevard and approach the Grand Palace. The door by the Wall of Light is a direct route.
Palace District
Clear Out the First Floor and the Gardens
Walk forward on the other side of the door and locate two talking Guards. Blink over to them and murder both before they can speak.
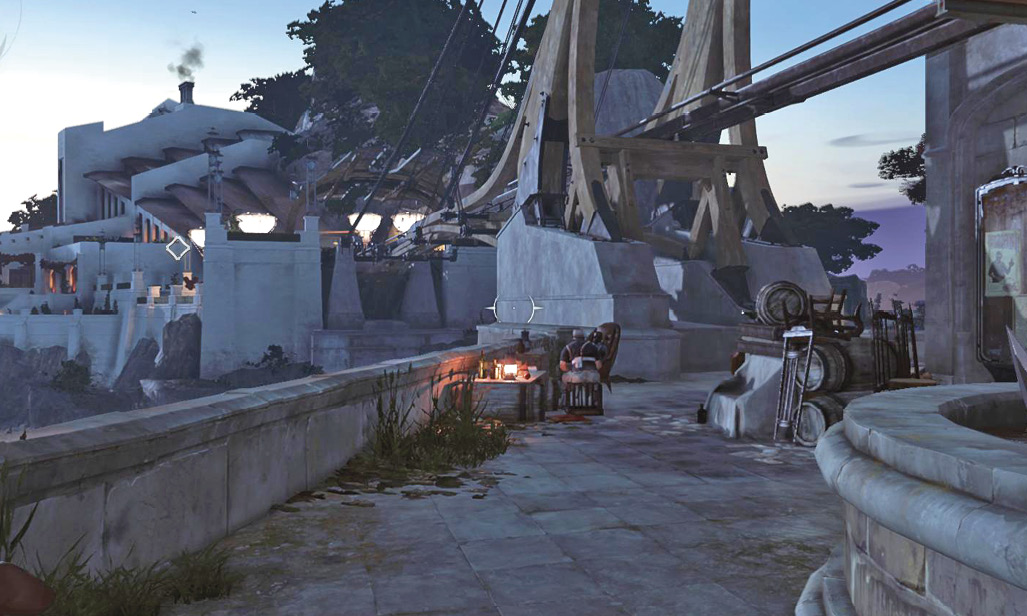
Approach the bridge that leads to the Palace, and cross it using Blink and careful walking. If you didn’t have the power cut to the bridge, take a carriage across and arrive loud and proud. But stealing from the black market usually includes cutting the power.
It doesn’t matter too much either way, because you’re about to wake up everyone in front of the place. There are Veterans, Elites, Guards, and a Wolfhound or two. It’s entirely possible to sneak in here, using patience, Sleep Darts, and the gardens to the left or some Fish Possession.
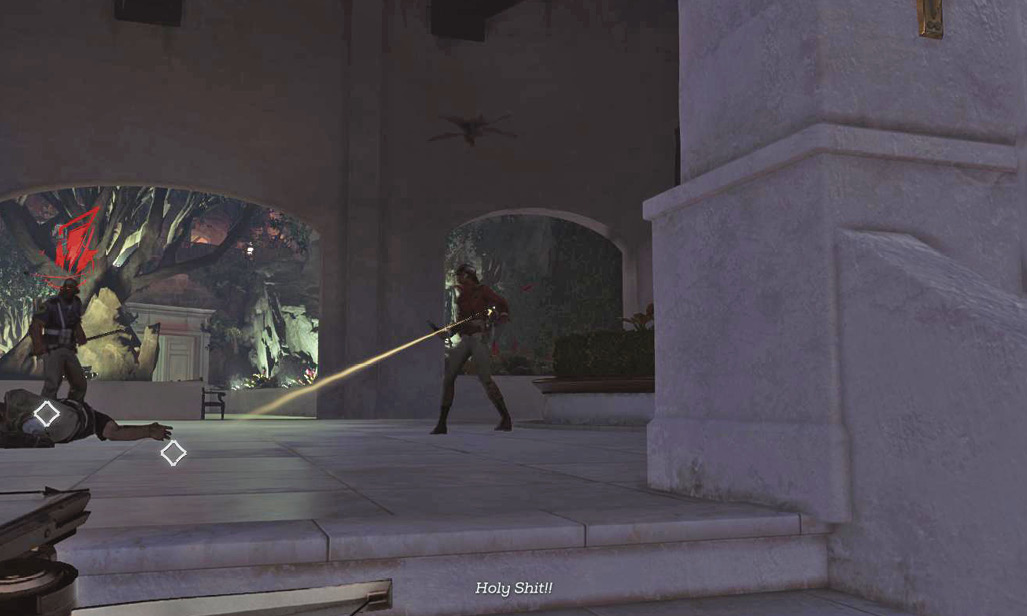
But screw that. Get out your Crossbow.
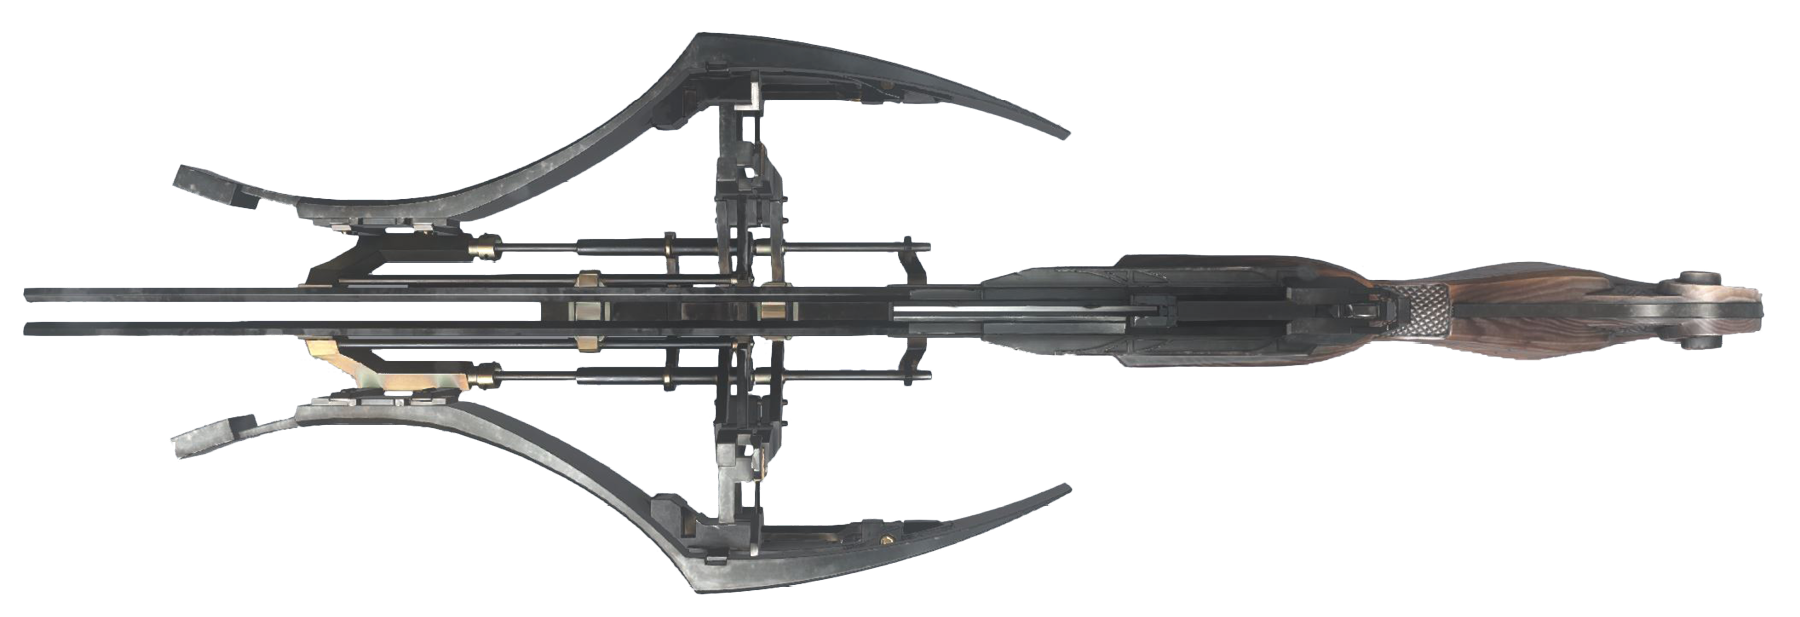
Spend your Bolts liberally as you charge up to the front doors. Make the Wolfhounds and the Elites/Veterans your primary targets. Save Sword attacks for the weak Guards, and watch the resistance melt before you. They have a big weakness: though there are tons of targets, they’re spread out and end up coming at you in a trickle. As long as you’re tossing out enough ranged damage, you can overwhelm them. It costs 6-10 Bolts or Bullets to do it, but that’s what they’re there for.
Literally smash through the front doors and stride into the banquet hall. Another major fight breaks out, but somehow you still have the advantage of surprise. Walk up to the first man for one assassination, try it again for the second, and Blink if you’re lucky enough to get the drop on yet one more target.
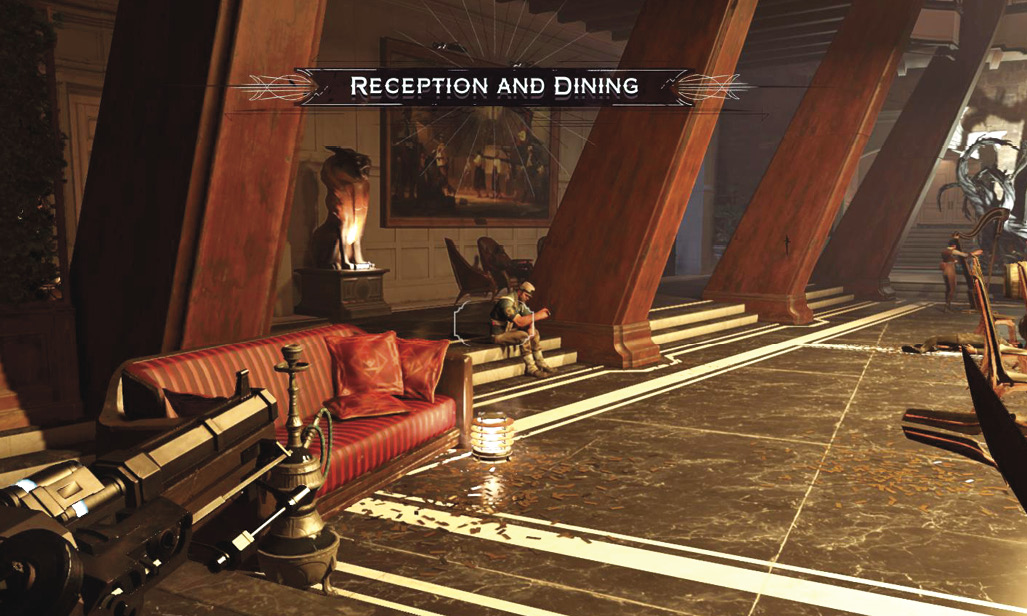
Ignore the civilians in the room, and eat food from the table to restore your Health instead of using Elixirs (unless you get desperate).
When the fighting ends, heal yourself and go out the far end of the room. You are outside again. Veer to the right to approach the private gardens the Duke loves so much. A Clockwork Soldier and at least one Guard intercept you soon after you get out there. Use your Pistol and Sword to cripple the Clockwork Soldier, especially if you’ve grabbed some Magnetized Bullets. Stun Mines, as always, also work well against these mechanical enemies.
After that fight, hop over a short wall to gain a good view of the gardens. The Duke would be there if the alarms hadn’t gone off, but he probably hasn’t gone far.
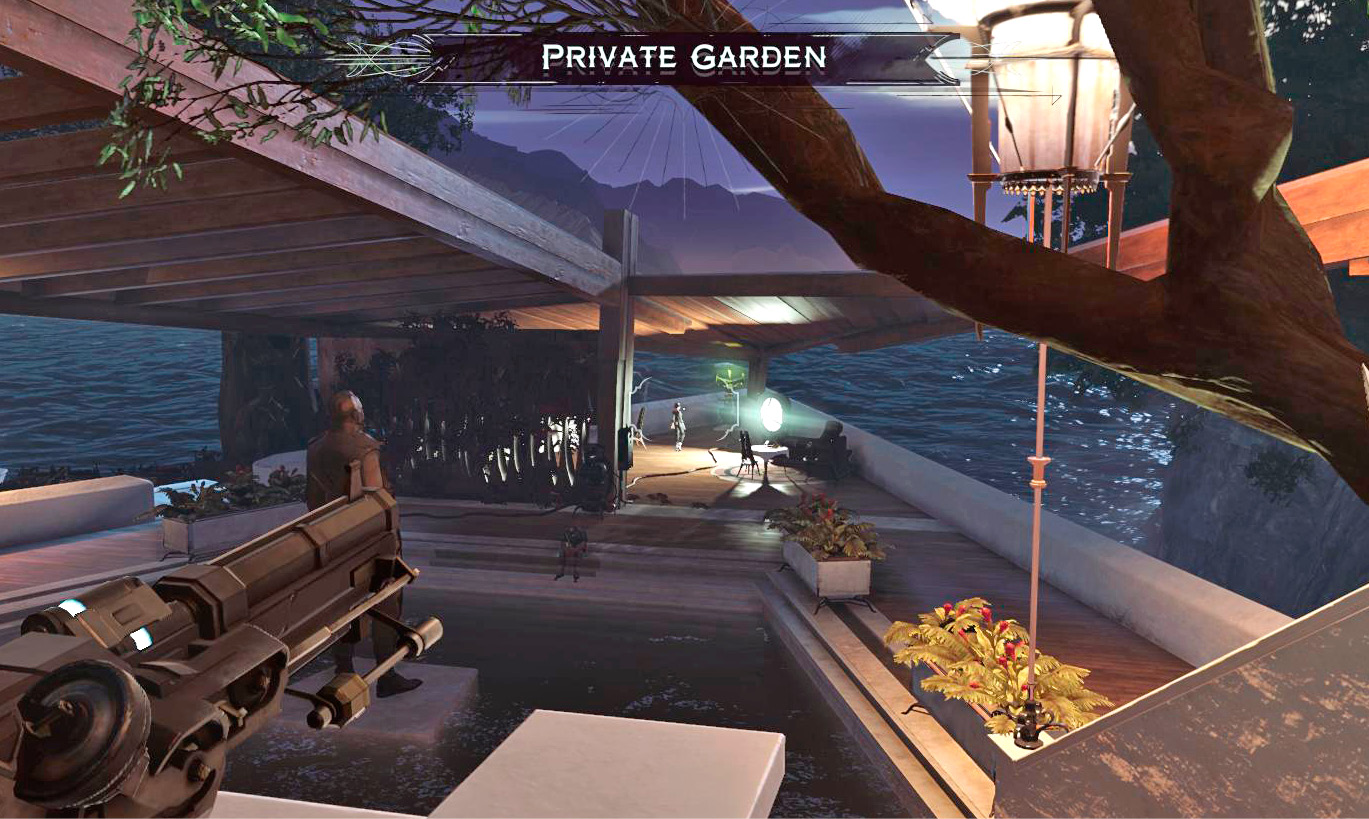
Time to explore. Turn to the left and follow a power line that leads to a Security Panel. Look over the edge of the railing there to find the Whale Oil receptacle that powers everything. This is attached to an Arc Pylon, so it’s a good idea to disable the device. Take the Whale Oil Tank out of the receptacle, and then look for a wooden barricade down there.
Destroy the barricade to enter the abandoned storage area.
Trash a few Bloodfly nests and look for a submerged part of this basement. Swim in the water and use your Heart to locate a Rune at the bottom.
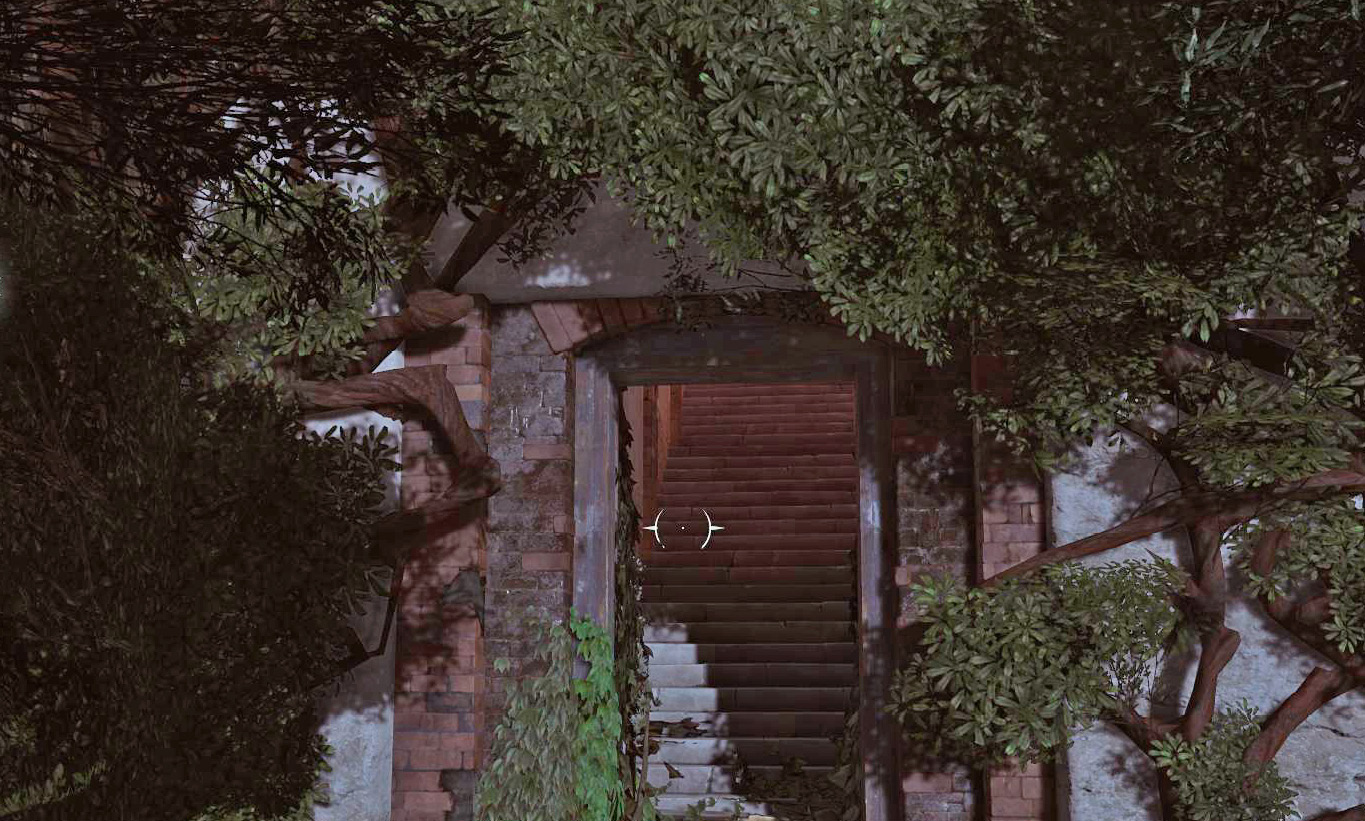
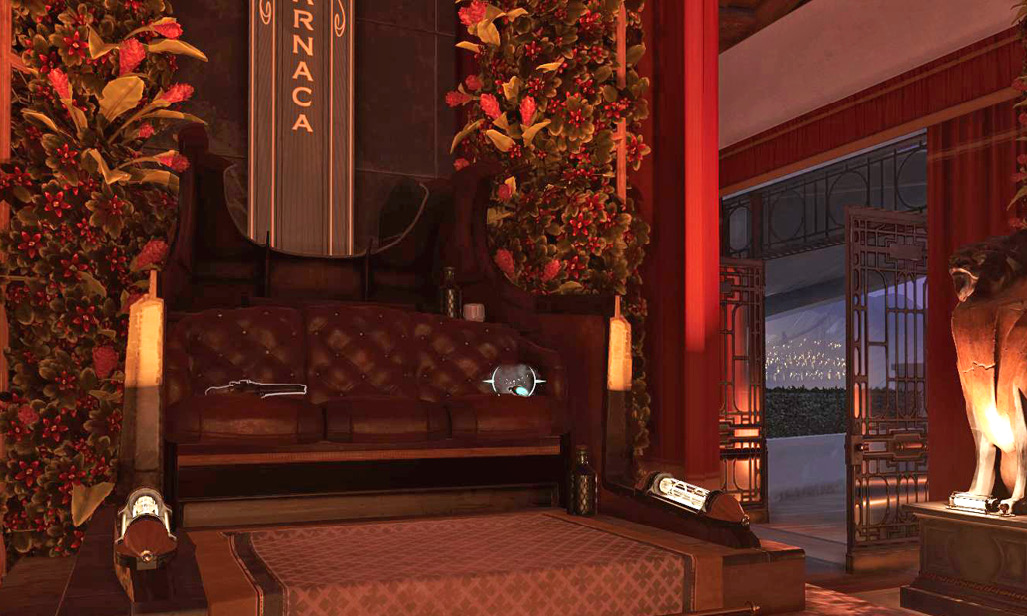
Break through another barricade to exit the storage room from a different angle. This puts you closer to the throne room. Fight two regular Guards outside the room as you approach. Using your Heart allows you to see a Bonecharm inside. Watch out when you open the doors; the Arc Pylon in the room can rip you in half if you’re reckless. Blink to the other side of the room and use the throne for cover. Open a Whale Oil receptacle and remove the tank. This turns off the Arc Pylon.
Take the Bonecharm off the throne and clear out any Elites who arrive to check out the noise. For fun, throw your Whale Oil Tank at them when they approach.
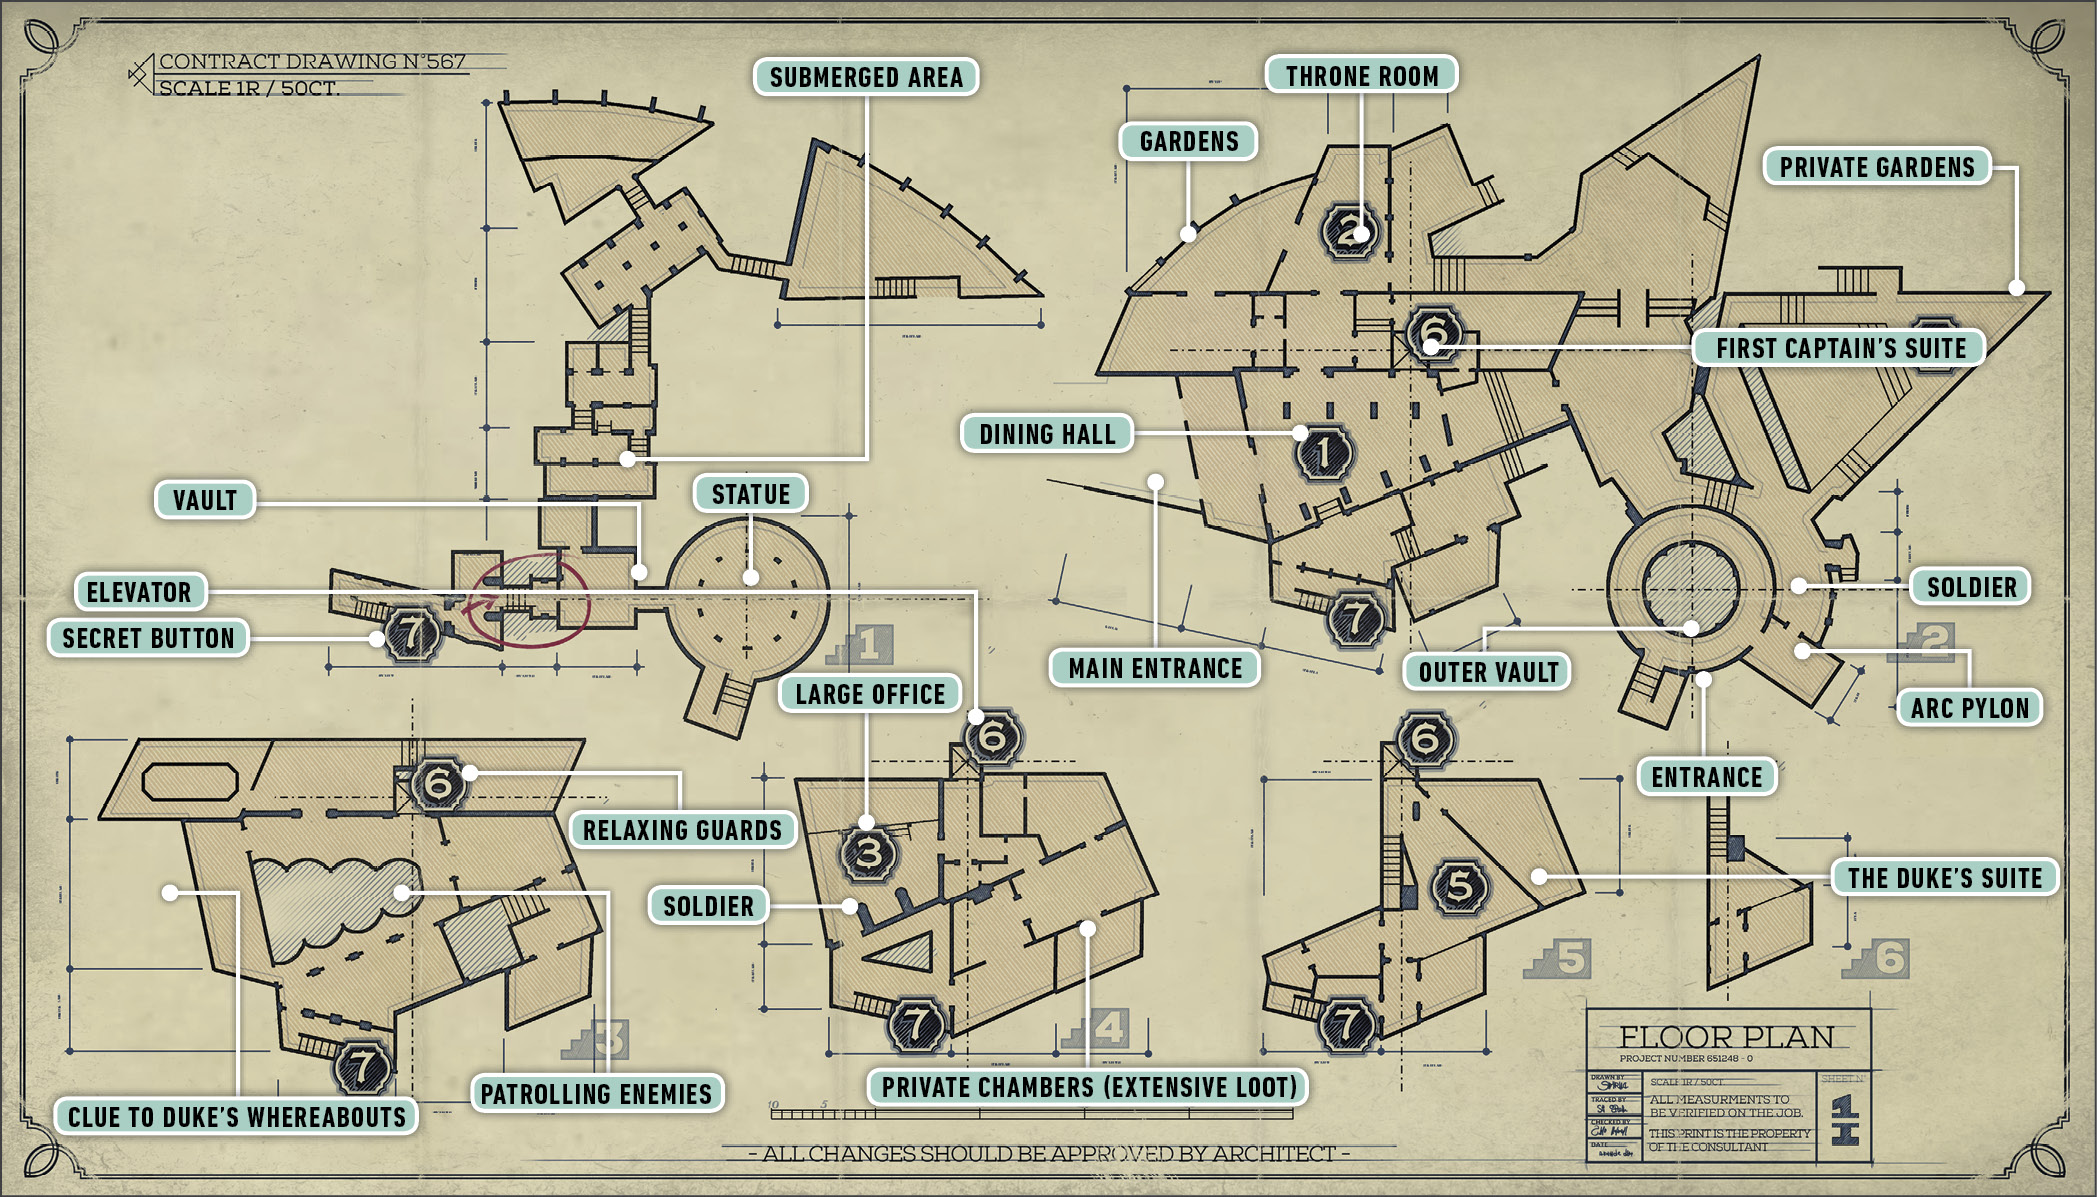
Stay inside the Palace. Walk through the main doors that lead into a sitting room, and turn left. You quickly reach the First Captain’s Quarters. A side chamber within contains a few weapons and two Guards who are sleeping it off. Murder them and loot the room.
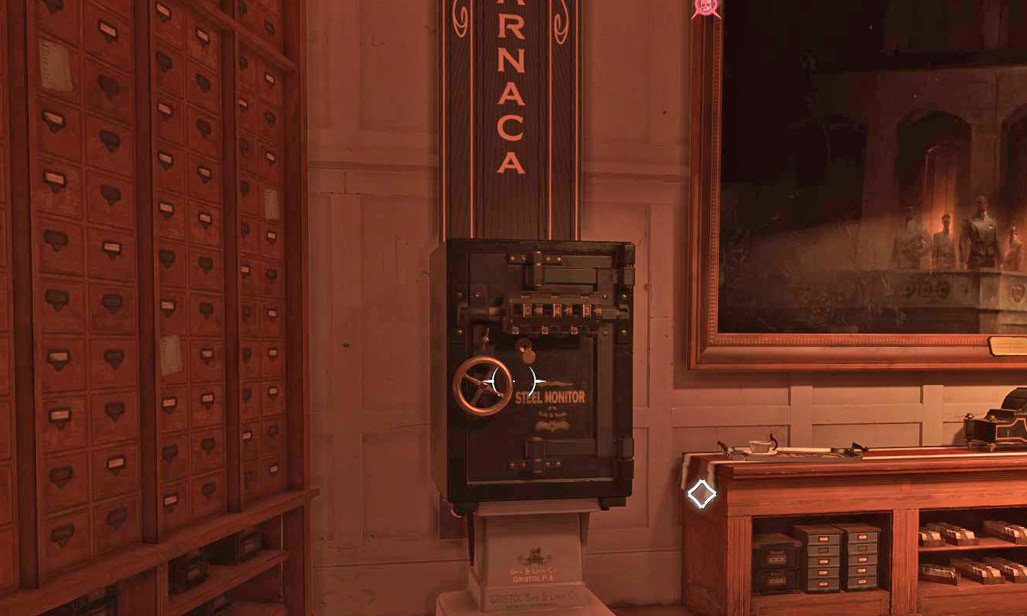
The main part of the suite houses a safe and a few more decent pickups. The safe combination is upstairs, in the Duke’s third-floor office. Come back here later to unlock it, and you get a Rune and hundreds of coins for your efforts.
On the other side of the banquet hall is another room worth visiting. Use your Heart to track a Bonecharm to an unguarded room inhabited by two civilians. Go in and take it.
Go Downstairs
You’ve gotten pretty much the entire first floor’s treasure and enemies out of the way. Return to the banquet hall and look for a side room with a staircase. It leads both up and down throughout the Palace. For now, head down.
Ambush and kill the two Guards in the pantry. There’s nowhere else to explore at first, and you don’t find loot here either. There’s a ton of food to eat, if you need it, but that’s it.
Yet, if you search well, you find a button hidden in the pantry. Press it to open a secret door.
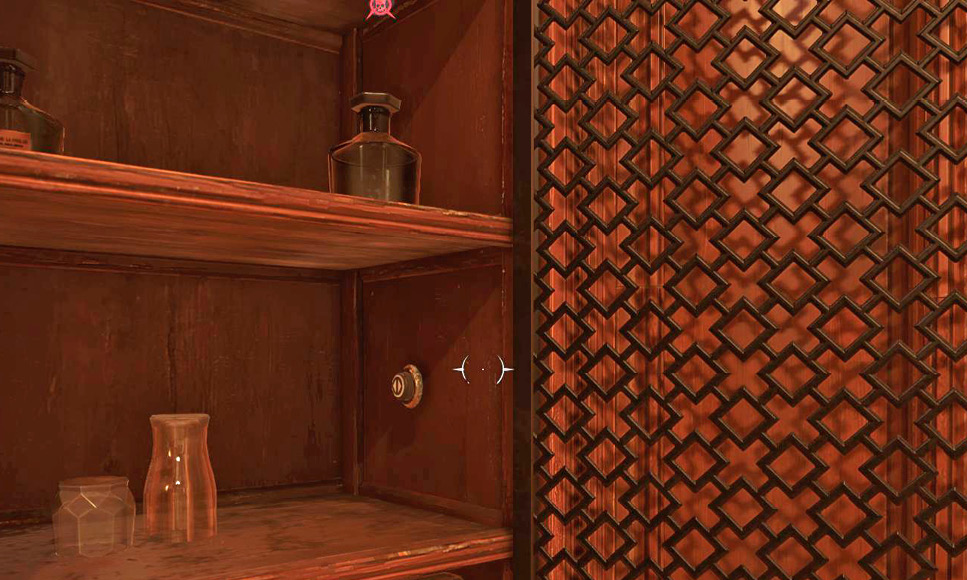
You’ve found the first half of the Duke’s Vault. Take everything inside. A Blueprint sits on a large table in the main room. You also get a Black Bonecharm from a side chamber.
You can’t get into the remainder of the Vault until later, but both sides need to be opened either way.
Climbing the Stairs
Retreat to the stairs and ascend to the second floor for more money. There isn’t anything important there, but Elites are playing cards in one room, and there is a fair amount of total money if you loot their bodies and the cash that’s spread around.
Watch out for a patrolling Clockwork Soldier. If that thing shows up, back off and fight it away from any potential reinforcements.
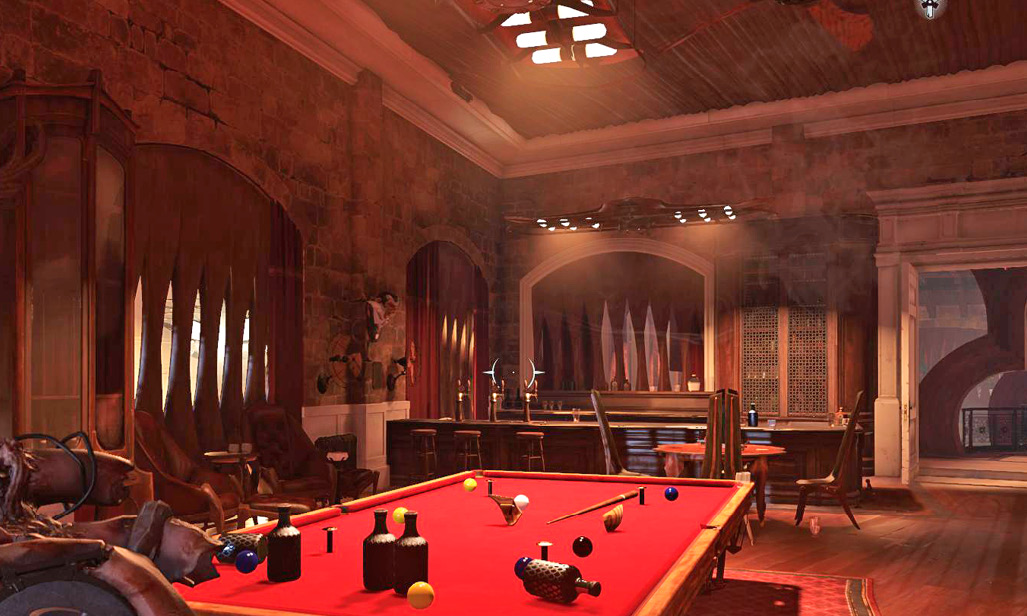
More important items are on the third floor. Climb up there and open the door on the left first. This one leads into a huge office with another Clockwork Soldier. It’s alone, so you’re safe(ish). Aim for those white joints and break the machine apart.
A desk in the office holds a Blueprint.
The Duke’s body double might be in here. He’s sometimes in the suite upstairs, but his location varies. Because you’re playing high Chaos, you’re safe in killing both the body double and the Duke just to be sure you get the guy. If you dislike wanton killing of innocents, then search the second floor for a Document that reveals where the Duke is located. You can also listen in on the servants’ conversations to figure it out. It’s your call.
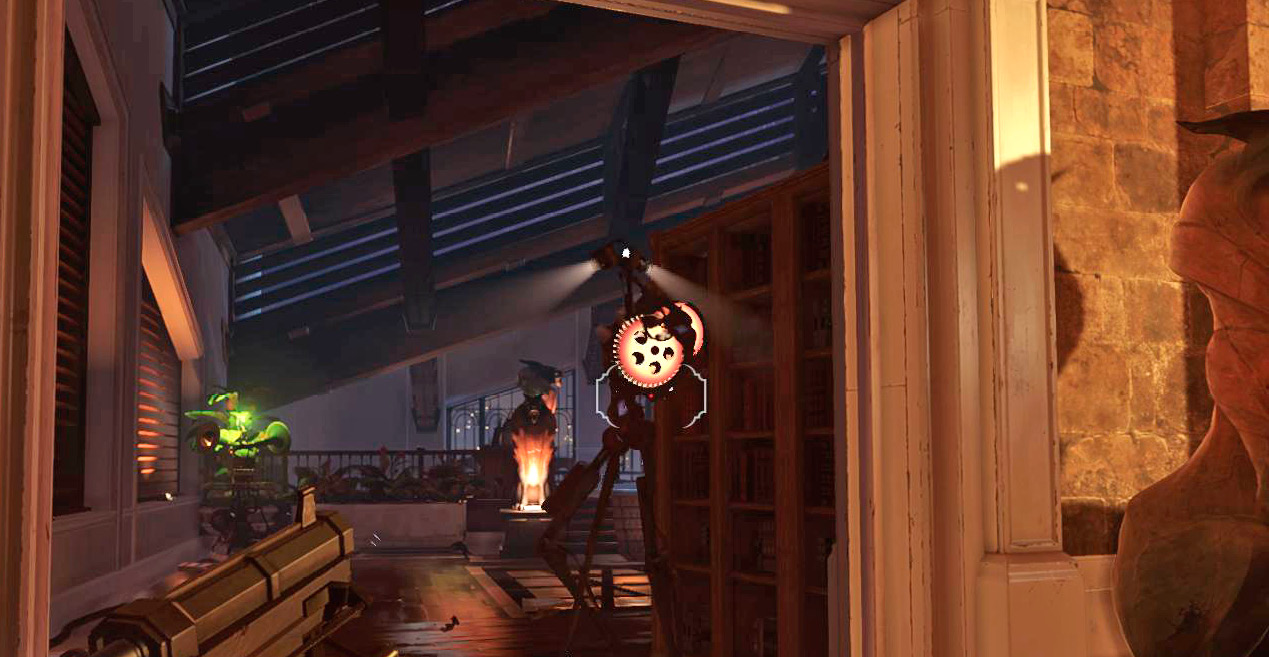
Get the combination for the First Captain’s safe while you’re up here. Return to the first floor, open the safe, and grab your Rune and money.
Finish looting the remainder of the third floor. One of the bathrooms contains a Corrupt Bonecharm. There aren’t many other Guards, so the fighting is minimal and easy. The fourth floor belongs to the Duke’s private quarters. Climb up there after you finish looting the rest of the third floor.
Raiding the Duke’s Suite
If you haven’t already bumped into the Duke in the private garden or the office on the third floor, he’s at the top of the Palace. The fourth floor features a suite with multiple rooms. Charge into it and clear out any Veterans; there’s usually one if the Duke is present.
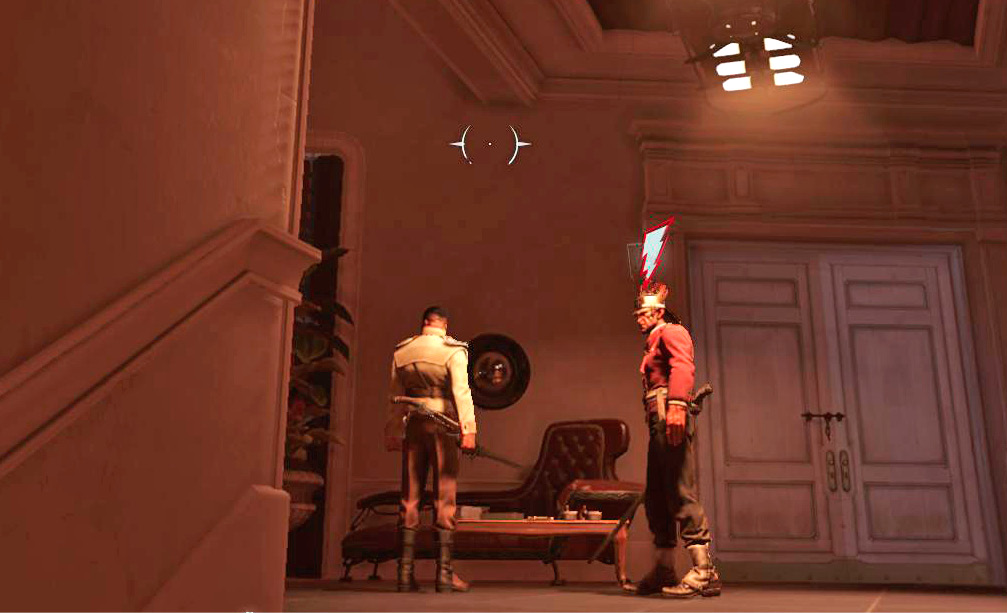
The Duke is armed and tries to fight, but you can kill him with a single Pistol shot or an assassination. Loot his body for the Vault Key to take the other half of his treasure before you leave!
If you don’t find the Duke here, try to look again in his private gardens outside, or in Delilah’s chambers.
Retrieve the Raw Whalebone and coins from his desk, and listen to an intriguing Audiograph from his upper bedroom. The lower tier of the room contains a chest with money and Bullets.
Back to the Vault
Return to the staircase and descend to the basement. Walk into the Vault and use the Key you obtain from the Duke to open the inner Vault Door.
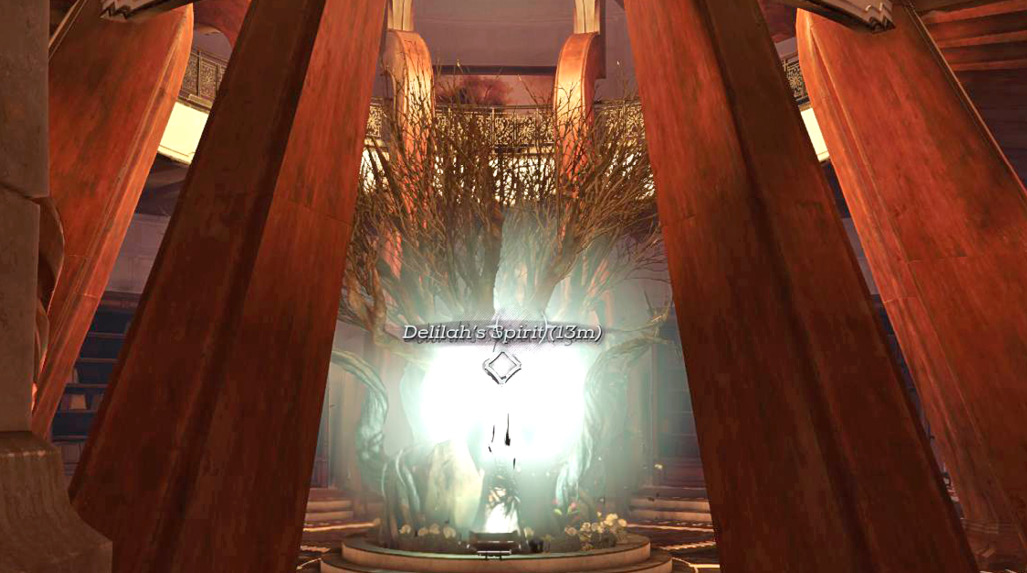
Use a Stun Mine as you ambush a Clockwork Soldier inside the Vault. Once it’s destroyed, search the room for a gazelle statue, Raw Whalebone, and minor valuables. Your waypoint takes you to the middle of the room afterward. Trap Delilah’s spirit by interacting with the strange statue there.
Leave the Palace
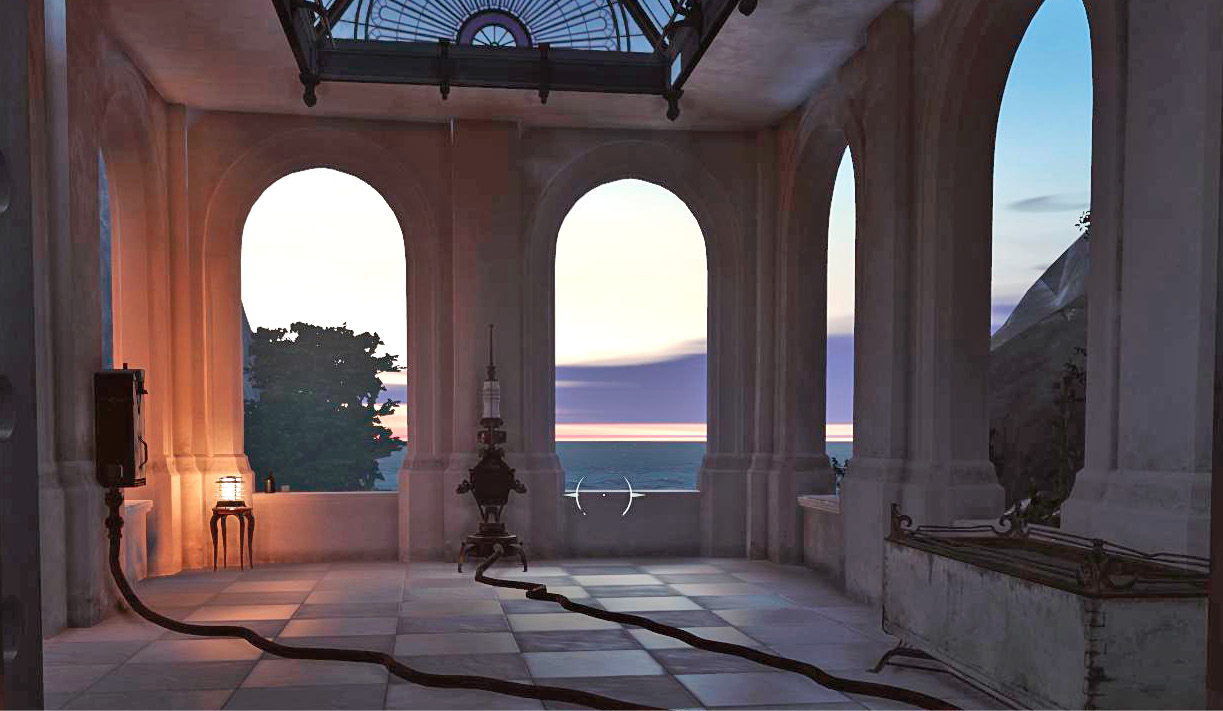
Either backtrack to get outside or use the other Vault door. The latter is much faster, but it requires you to Blink past a Clockwork Soldier and an Arc Pylon. Choose whether to be prudent or expedient, as both routes get you to the lower docks that are your new waypoint.
If you take the quick route, go to the upper tier of the inner Vault. Look for a button on the wall, and press it. This opens the big door to the outer gardens.
Grab a Whale Oil Tank to disable the Arc Pylon ahead, and then make for the docks. If you haven’t killed the Clockwork Soldier out here already, have a Stun Mine prepared and go to town once you see the machine.
Reach the waypoint and hold there a minute. Your ride is on its way! When Captain Foster arrives, Blink, swim out to her, and leave the Palace..
Last Trip on the Dreadful Wale
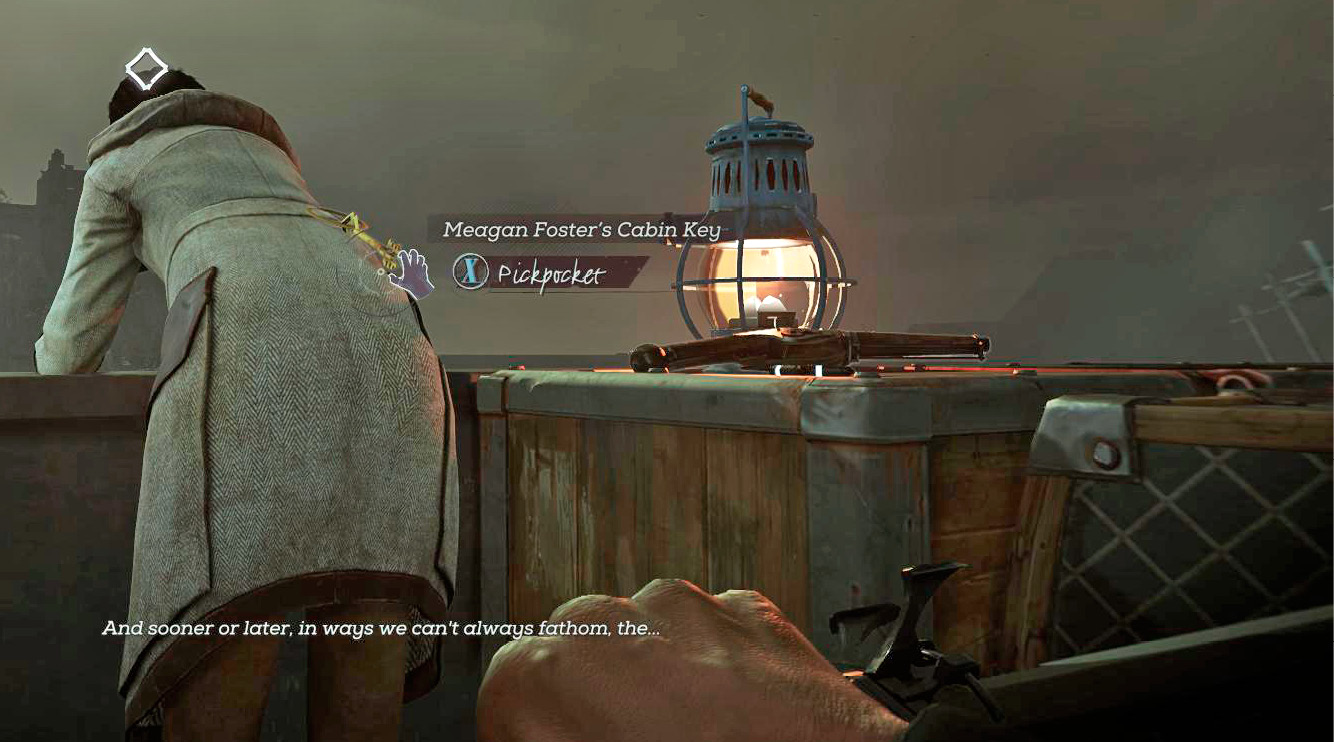
Wake up on the Dreadful Wale and head to the briefing room. Talk to Sokolov and look at his most recent painting. Search the room behind it for a Blueprint on the worktable, then meet Captain Foster on deck and talk to her. Pickpocket a Cabin Key when the conversation is over, and return belowdecks. Open Captain Foster’s cabin (beside the briefing room), and steal two Bonecharms from a desk.
With all that done, use the skiff to go ashore.