Dishonored 2 Guide Combat Walkthrough
The Royal Conservatory
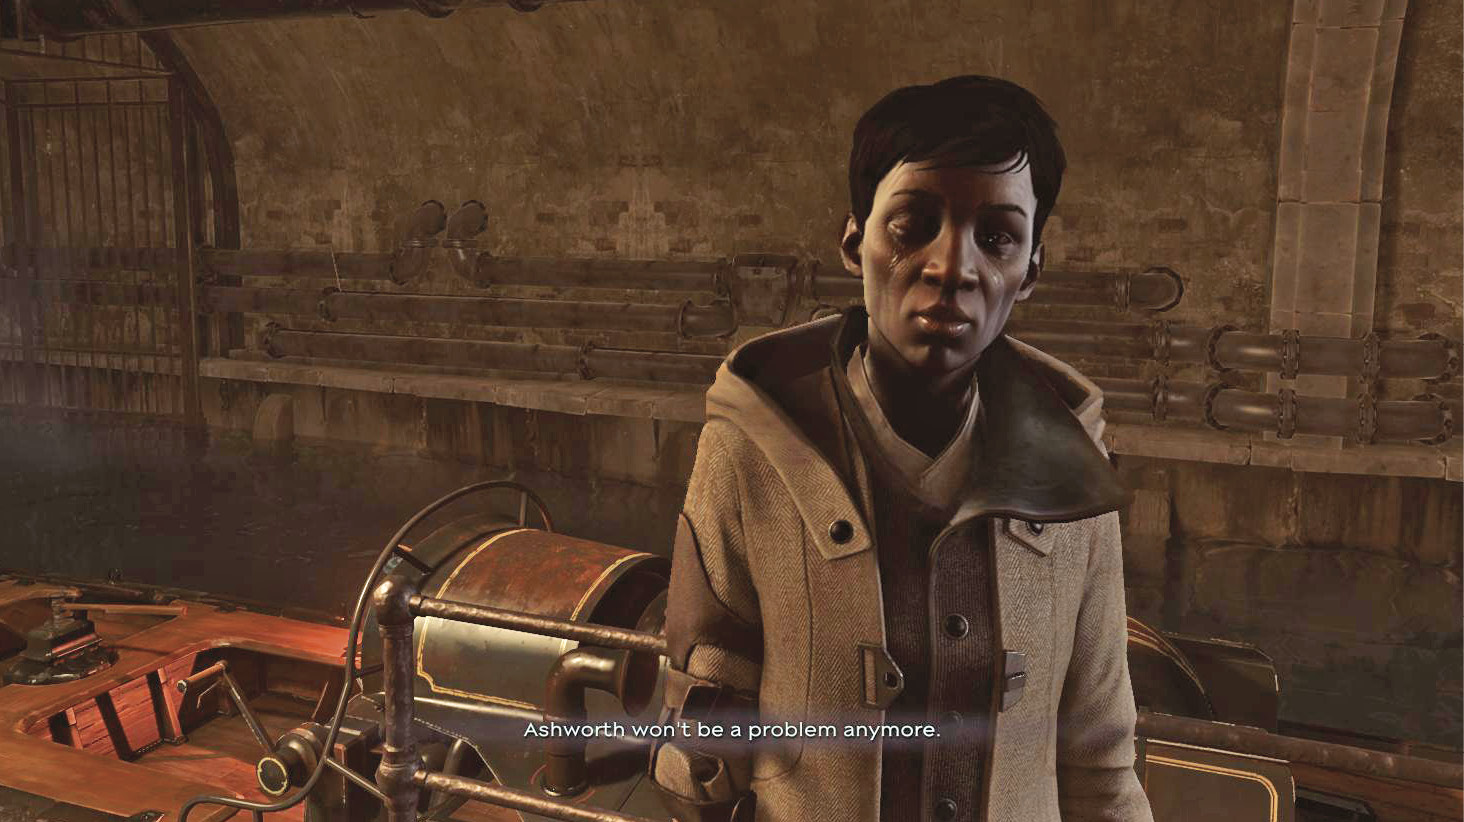
While held captive, Anton Sokolov learned the identity of one of Delilah’s chief allies, Breanna Ashworth. An architect of the coup that took the throne in Dunwall, Ashworth is powerful and full of secrets. She is building a mysterious device for Delilah. Breanna Ashworth must be eliminated.
Collectibles
| Runes | 6 |
| Shrines | 1 |
| Bonecharms | 9 |
| Coins | 3813 |
| Blueprints | 3 |
| Paintings | 3 |
Special Actions
| Shrewd Negotiations | Get the best price for the Roseburrow Prototype |
| Parley with Delilah | Talk to the statue in Ashworth’s office after eliminating Ashworth |
| Witch No More | Sever Ashworth’s connection with the Void |
| Black Market Heist | Rob the black market |
| Spying Overseers | Find Vice Overseer Byrne’s outpost |
On the Dreadful Wale
A Briefing and a Mission
Get up on the real ship and look for your allies in the briefing room. Talk to Captain Foster and Sokolov, then examine the painting in the corner.
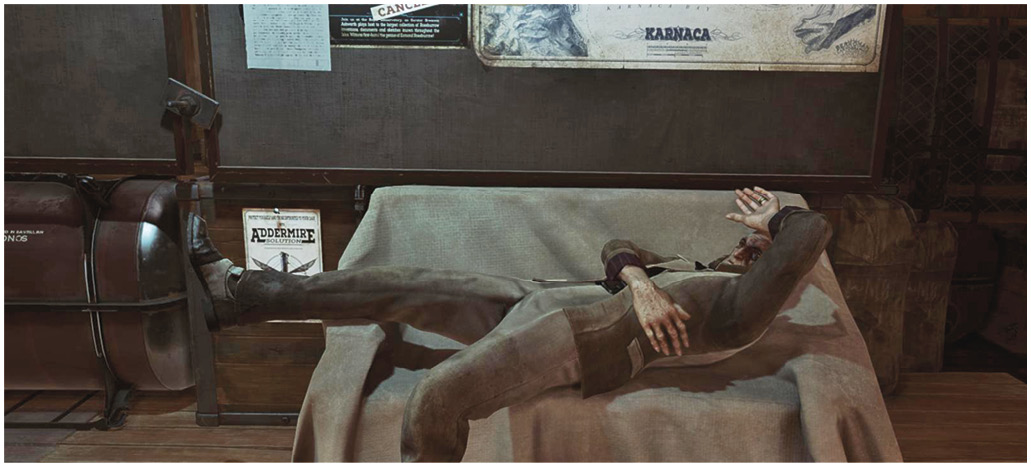
Go into the room in back and read a Note on the Bloodfly container. It looks like there’s a minor infestation aboard the ship. Walk down into the boiler room, like you did before the earlier mission. This time, kill a small cluster of Bloodflies to keep the ship nice and safe.
Find Captain Foster topside, and talk to her to begin the next mission.
Cyria Gardens
Into the Royal Conservatory
Foster takes you into the city. Walk through a small district and then break into the Royal Conservatory to find your target.
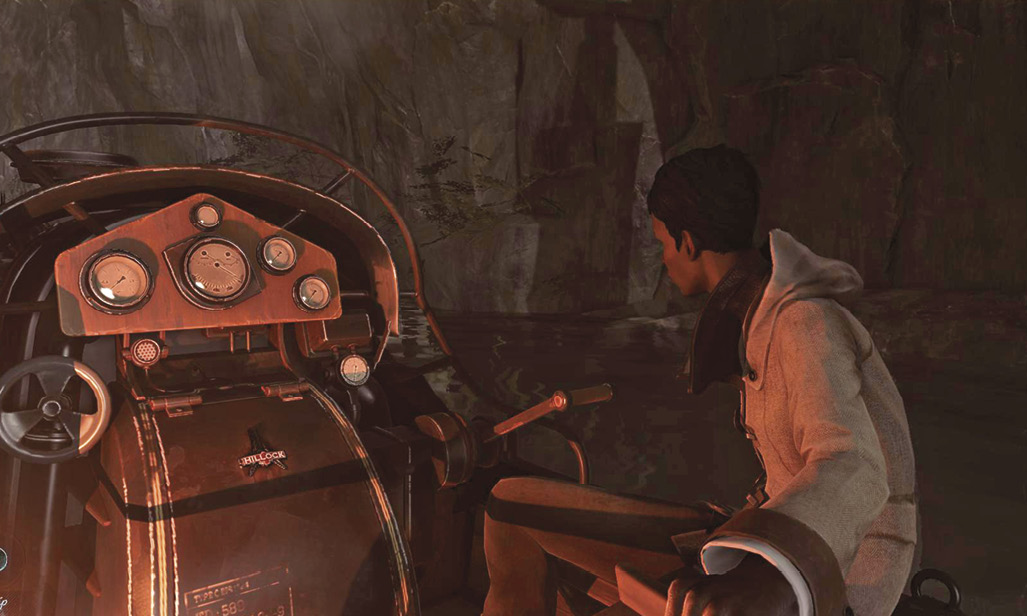
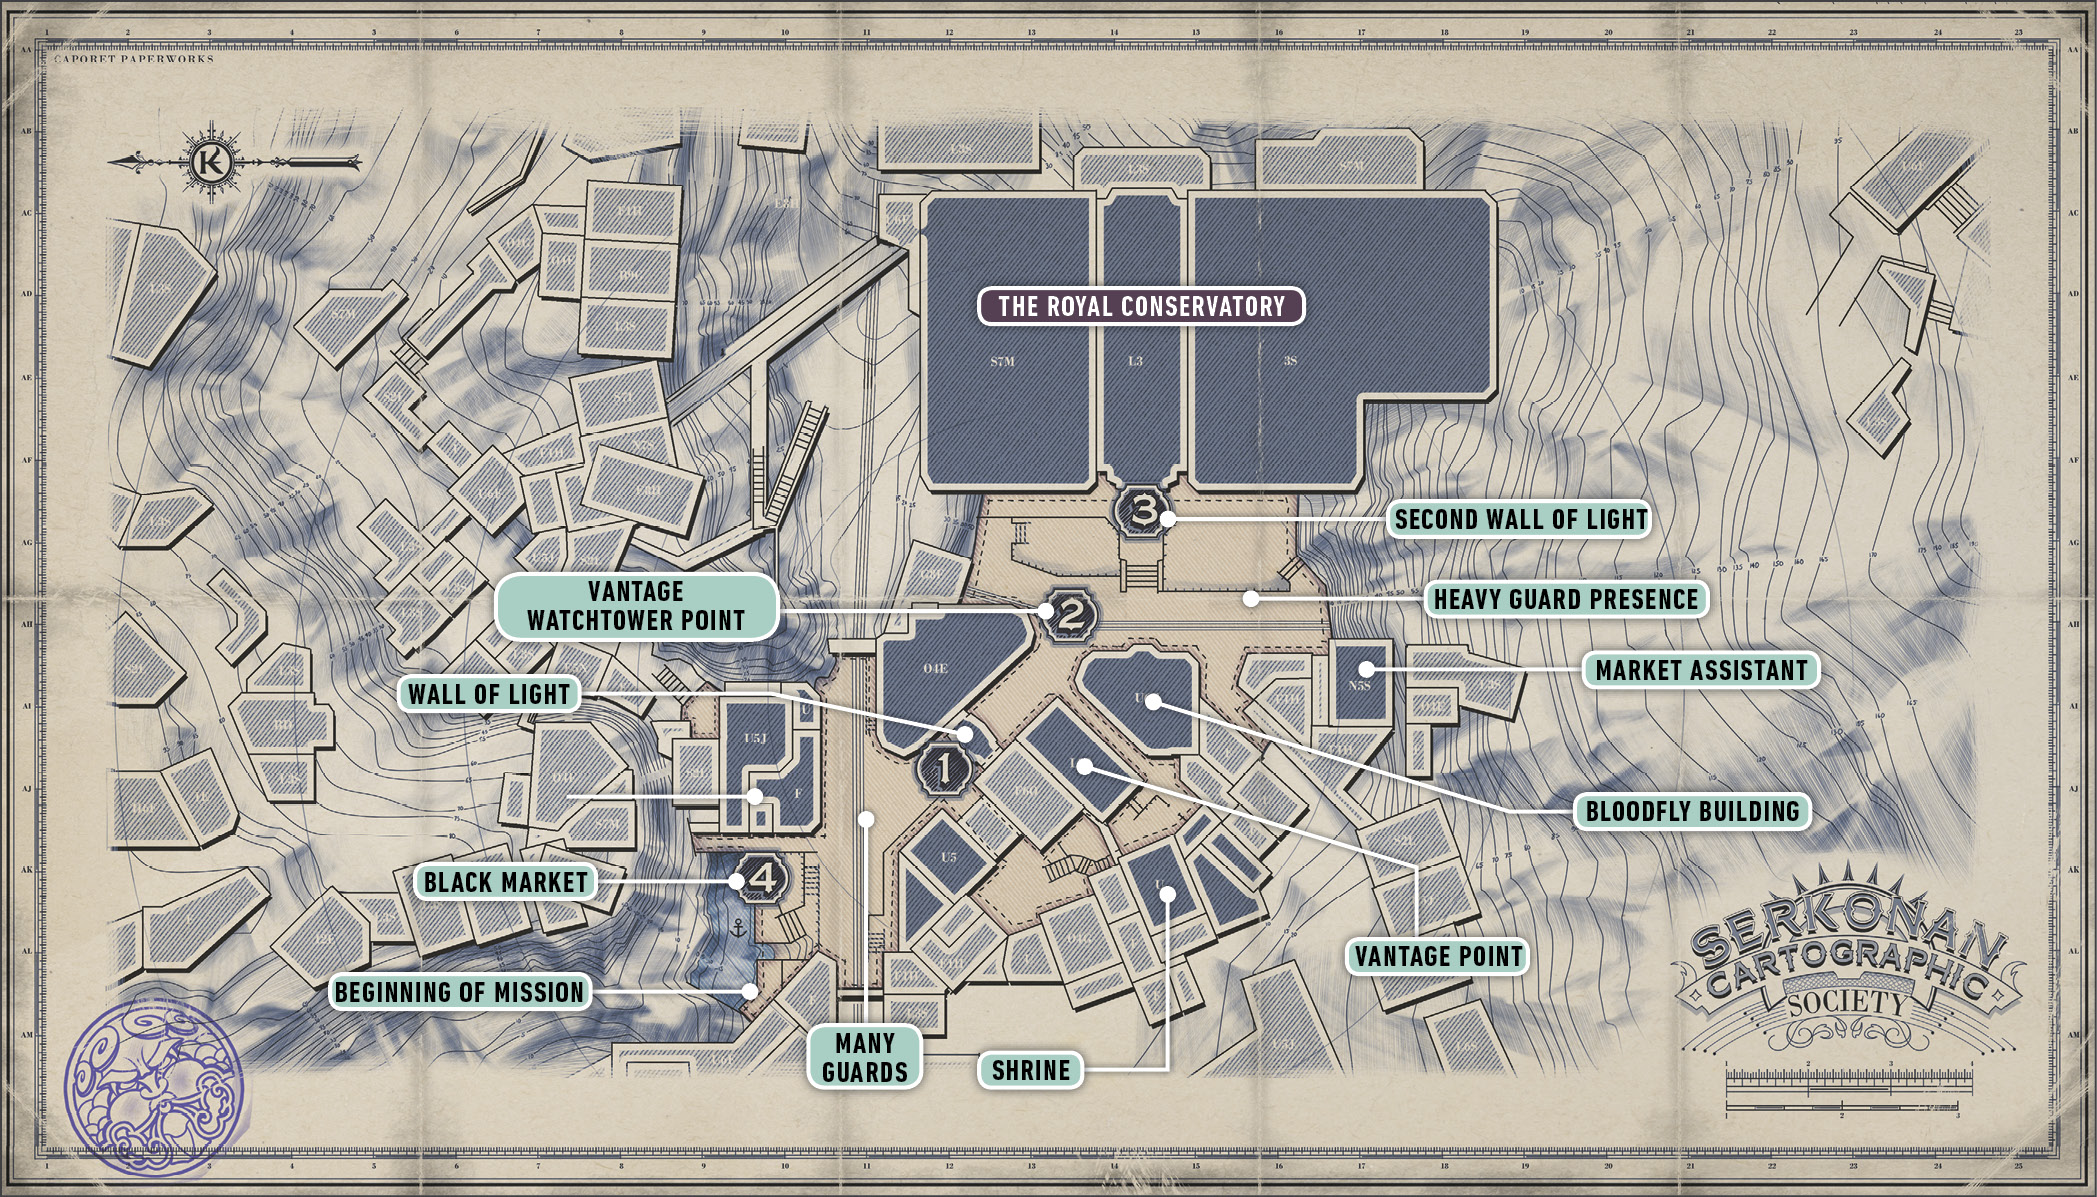
After landing, get off of the skiff and walk forward. Minor loot is inside a room to the right as you advance. You quickly reach the end of the docks. Search a ship for an Elixir and some other little goodies, then Blink to the bridge above. Turn left and search for the black market.
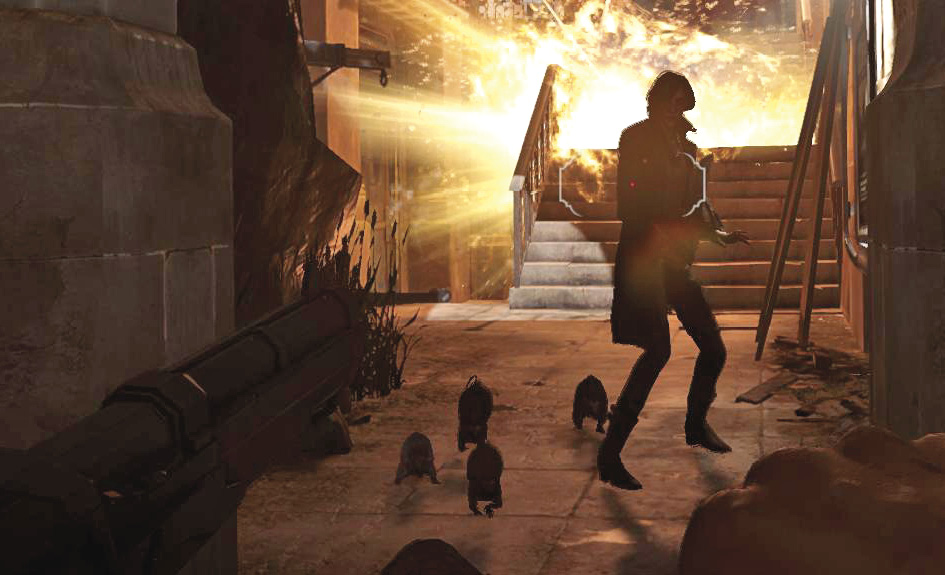
Kill a couple of Howlers who harass you in the next alley. They deal disorienting Crossbow attacks and Grenades, but they don’t stand up well in direct fights. Use a Grenade of your own to destroy the pair as they approach the bridge, and then lay into them with traditional attacks.
The market is in their territory, on the left. Head inside and see if you can afford any nice upgrades!
Black Market Goods
| Item | Cost |
|---|---|
| Crossbow Bolt | 20 |
| Pistol Bullet | 30 |
| Sleep Dart | 30 |
| Grenade | 70 |
| Stun Mine | 70 |
| Spring Razor | 50 |
| Addermire Solution | 150 |
| Health Elixir | 75 |
| Rewire Tool | 200 |
| Safe Combination | 250 |
| Rune | 400 |
After shopping, leave the store and climb a small flight of stairs outside. Look for an open window, and slip into a building. Climb through the structure, noting a locked door on the second floor. Continue to the top, and exit onto the roof.
There are two Guards and an Elite there, but the entire group is distracted. Assassinate the Elite, kill the Guard on the left before he realizes he’s done for, and then solo the final target. It’s brutal and quick.
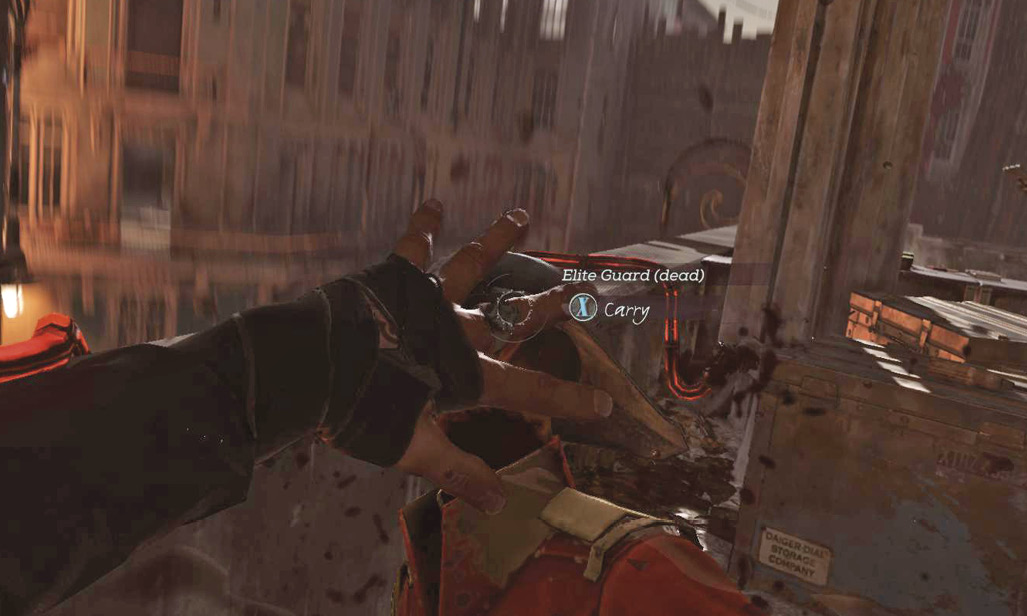
Jump down through a skylight into an Overseer’s apartment. Weapons are all over the place, but watch out for a trap by the door. Take everything you can, and open a balcony door to escape.
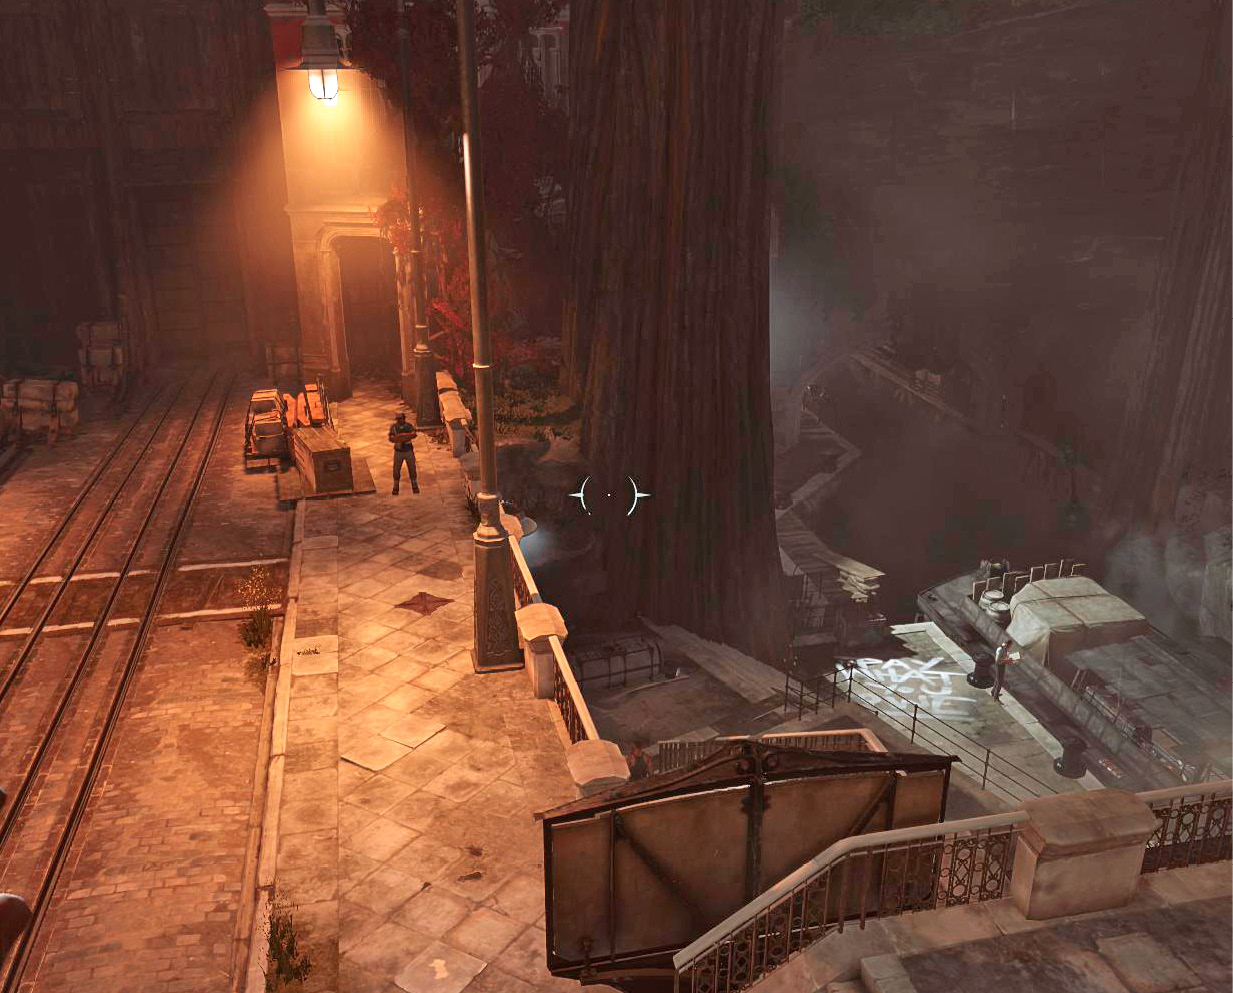
The lower streets are guarded wonderfully. Elites and regular Guards are everywhere, and a fight with one or two of them is likely to balloon into a much nastier battle. If you’re nervous, Blink to the balconies and rooftops to explore. This allows you to circumvent the Wall of Light down below without fighting any big groups.
Or you can do it the best way—kill them all! Start with the Guards on the right. They’re closer to the waterway and aren’t grouped together as well. You can possibly kill them without being noticed even if you aren’t subtle.
Once the big group realizes what’s going on, you get rushed. Most of these targets are Elites. Use a Grenade on the initial cluster to wound or kill some of them, then switch to your Sword and keep them off balance with magic (Windblast/Devouring Swarm) or multiple ranged attacks so they don’t surround you and deal too much damage.
Rewire the Wall of Light when the battle is done. Its panel is only a few feet from the device.
Before heading through the gap, walk into an apartment building to the right. Climb to the second floor and hunt your targets; there are two Witches in the place, along with a civilian or two. Avoid the civilians while you look for the much more dangerous Witches.
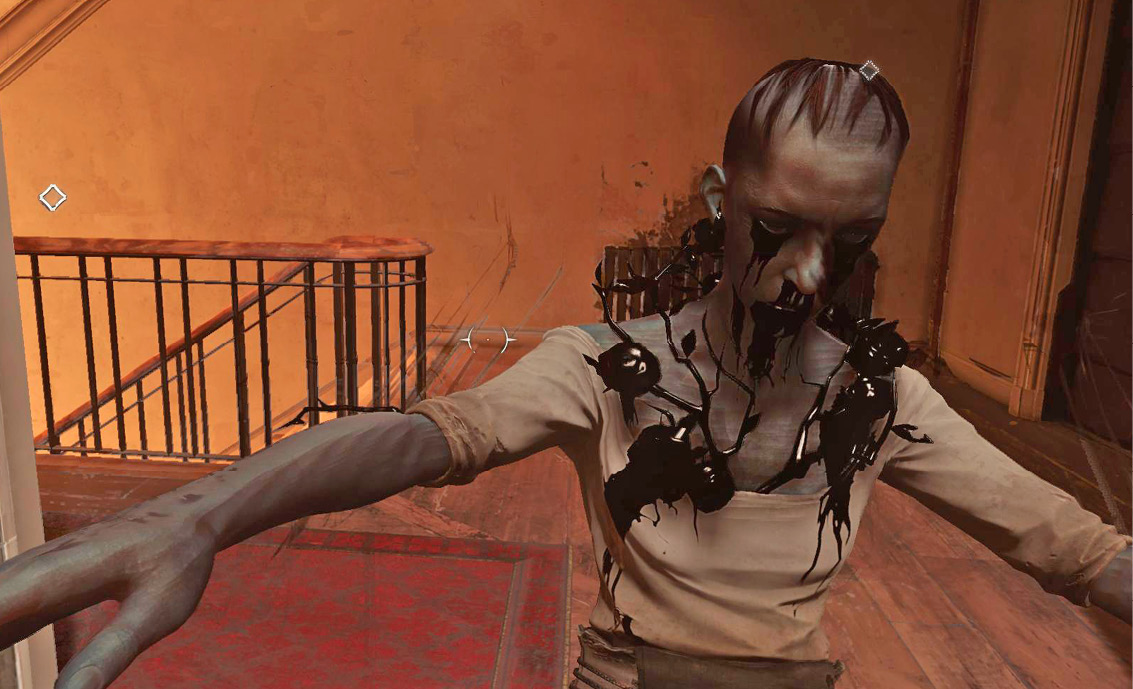
Clear the Witches out, and search around. You don’t get anything too powerful inside the building, but it’s good to be thorough. Leave when you’ve gotten a bit of money.
Walk through the Wall of Light outside and observe the Guards ahead. Another large battle begins if you rush everyone. That’s not the worst of it, though; a Watchtower here is armed with a strong cannon. It blows you apart if you fight underneath it.
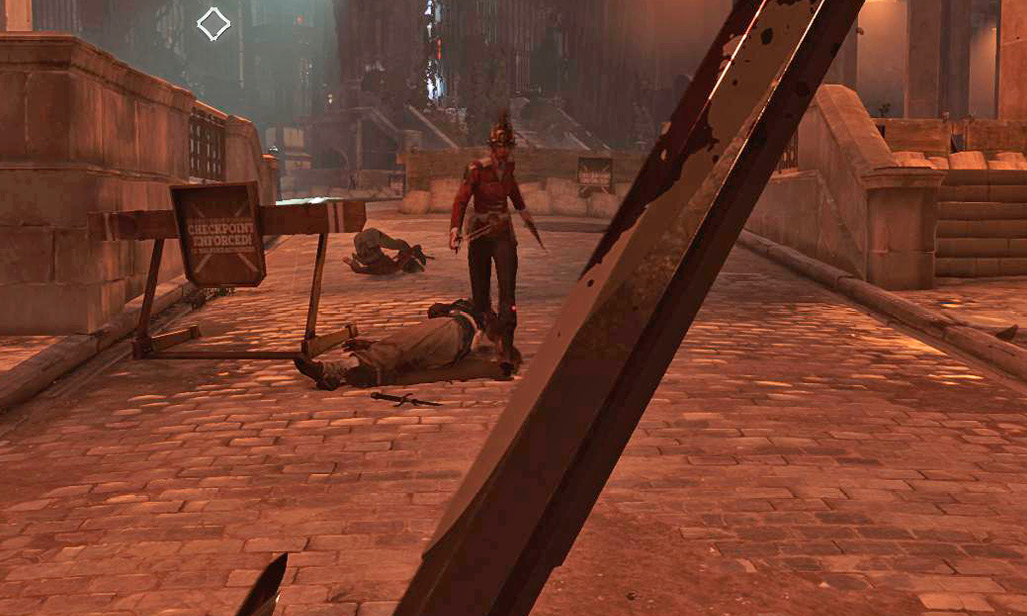
For safety, use your Crossbow and pull the Guards over to the Wall of Light. Kill multiple enemies at range, and finish off any survivors who get close. Now that the road is clear, hug the right wall as you advance, and enter another apartment building.
The first floor is clear. Climb to the second and kill two Elites out back. A door takes you outside, where they’re patrolling. You start seeing Veterans around this time. They’re basically Elites, but they have helmets that mark their station and provide decent protection against headshots. If you have trouble with one, put a Bullet in their torso and assassinate them while they’re recovering.
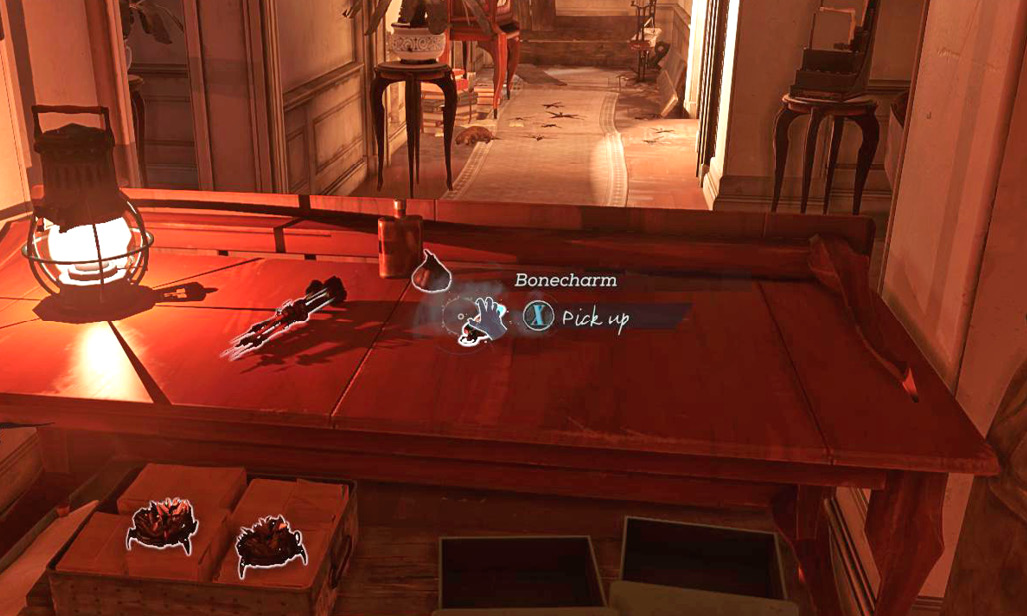
Back inside, find a bar at the front of the building on the second floor. A Bonecharm is on a table, and bodies are everywhere—they’re not even your fault for once! A Note suggests the Howlers were making a point.
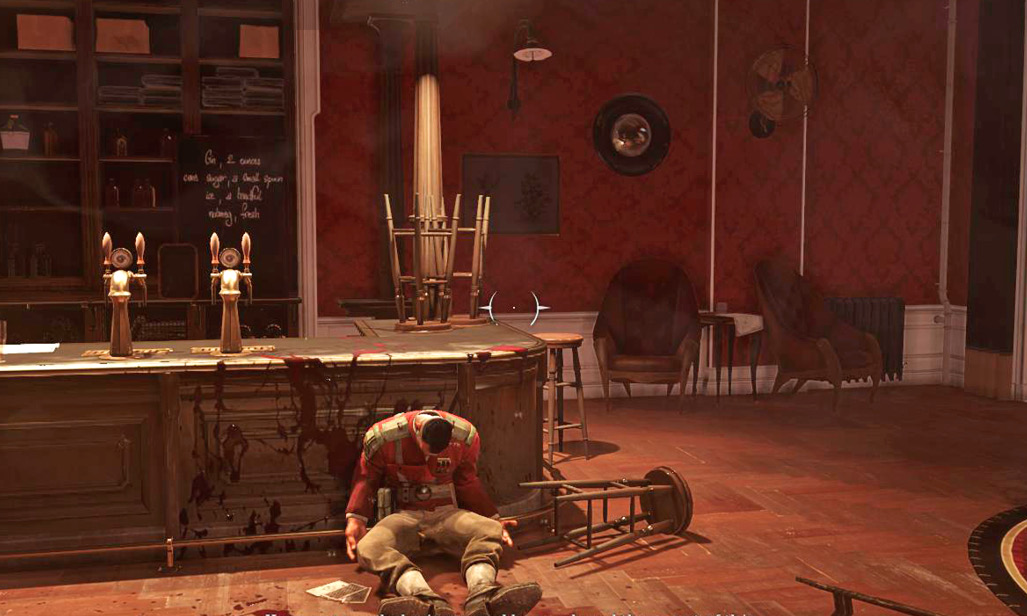
Eat any leftover food, and climb up the building stairs to the roof after you leave. Kill a solo Elite talking to a civilian, and then knock out the civilian. With the run of the roof, you can reach a couple of important places from here.
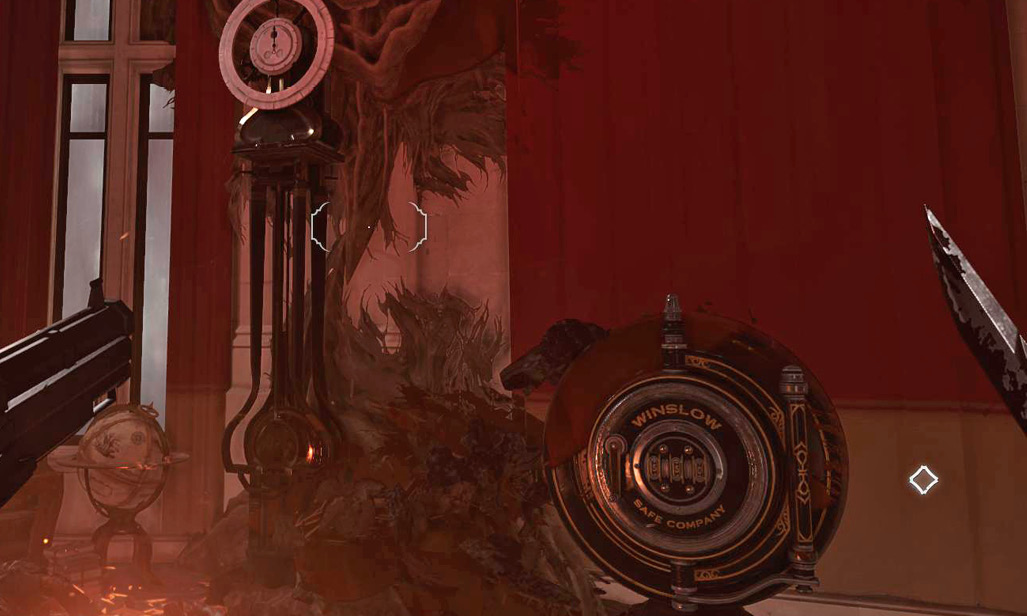
Blink across to the balcony of a condemned building. Get out your Pistol or Crossbow, and have it ready while you explore. Kill the Bloodfly nests inside, but don’t even think of relaxing until you’ve discovered and killed a wandering Nestkeeper as well. He’s the big threat. You’re well-rewarded, because a room at the back contains a large safe and a Painting. The safe holds Pistol ammo and loads of money. Buy the combo from the black market to get in.
Retreat to the previous building’s roof. Face the old condemned building and turn right. There’s another apartment you can reach. Blink twice to get over to it, and carefully advance through the place. It contains multiple Crossbow tripwires to disarm. Blink to the upper floor when you find a damaged ceiling, and use an Outsider Shrine.
Retreat to the last rooftop again. From the opposite side, Blink across the street and into a different infested apartment. Clear its nests to grab a Health Elixir, then look for a side balcony. Climb out and Blink onto that nasty Watchtower to disable it.
To get into range, exit onto a white door lying on the balcony. Then jump and Blink to cross the distance successfully. Sabotage the Watchtower and then Blink back to ground level.
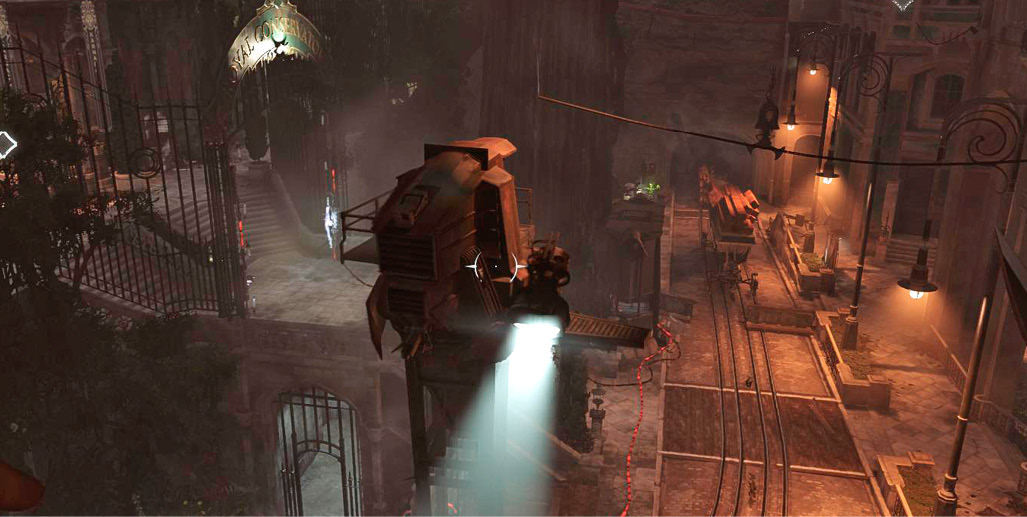
The street is yours. From the Watchtower, head to the right side of the street. Assassinate two regular Guards, and enter a normal-looking building. Climb to the second floor, and jump over the banister to get past a barricade.
Watch out for traps as you proceed toward the second floor. Up top, you find a wealth of items—a Bonecharm and a Blueprint on a desk, plus an Elixir, a Rewire Tool, and other lesser goodies. You also find a Document that lets you advance the shopkeeper’s side mission (to find their associate). Continue this mission inside the Conservatory.
You’re done collecting for the moment. Go to street level and locate the passage that leads underneath the second Wall of Light. A couple more Guards patrol down there, because that’s where the Whale Oil Tank for the wall is hidden. Get down there, kill the Guards, and disable the Wall of Light.
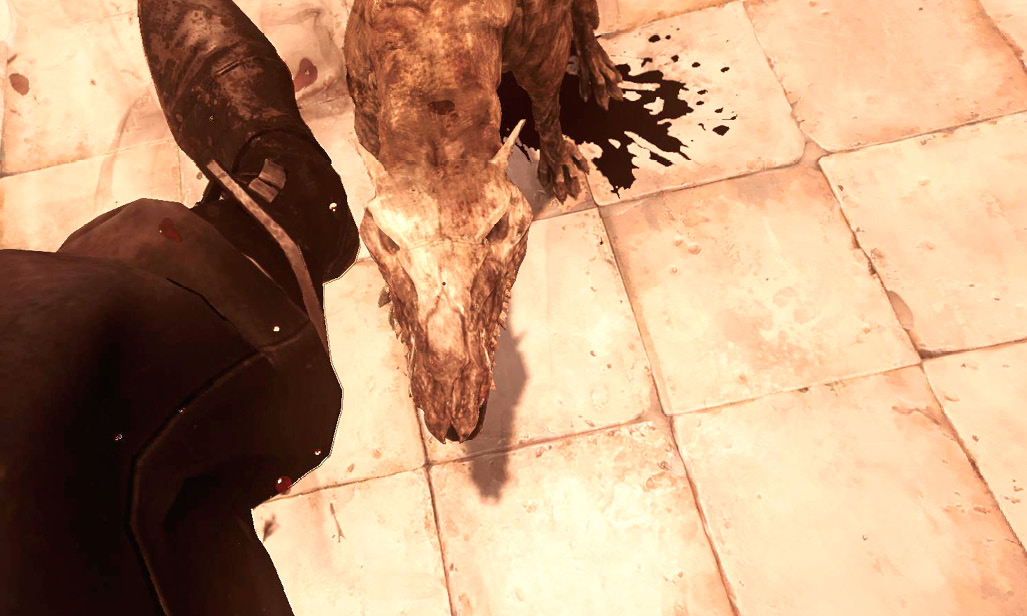
You’re safe to approach the front gate of the Conservatory now. Do so, and slaughter a Gravehound waiting to appear as you enter. Gravehounds are easy to kill, like Wolfhounds, but they have the same high damage output. In addition, they come back to life after you kill them. Stop them by slashing the skulls of fallen Gravehounds. One shot does the trick.
Inside the Conservatory
Clear the Basement
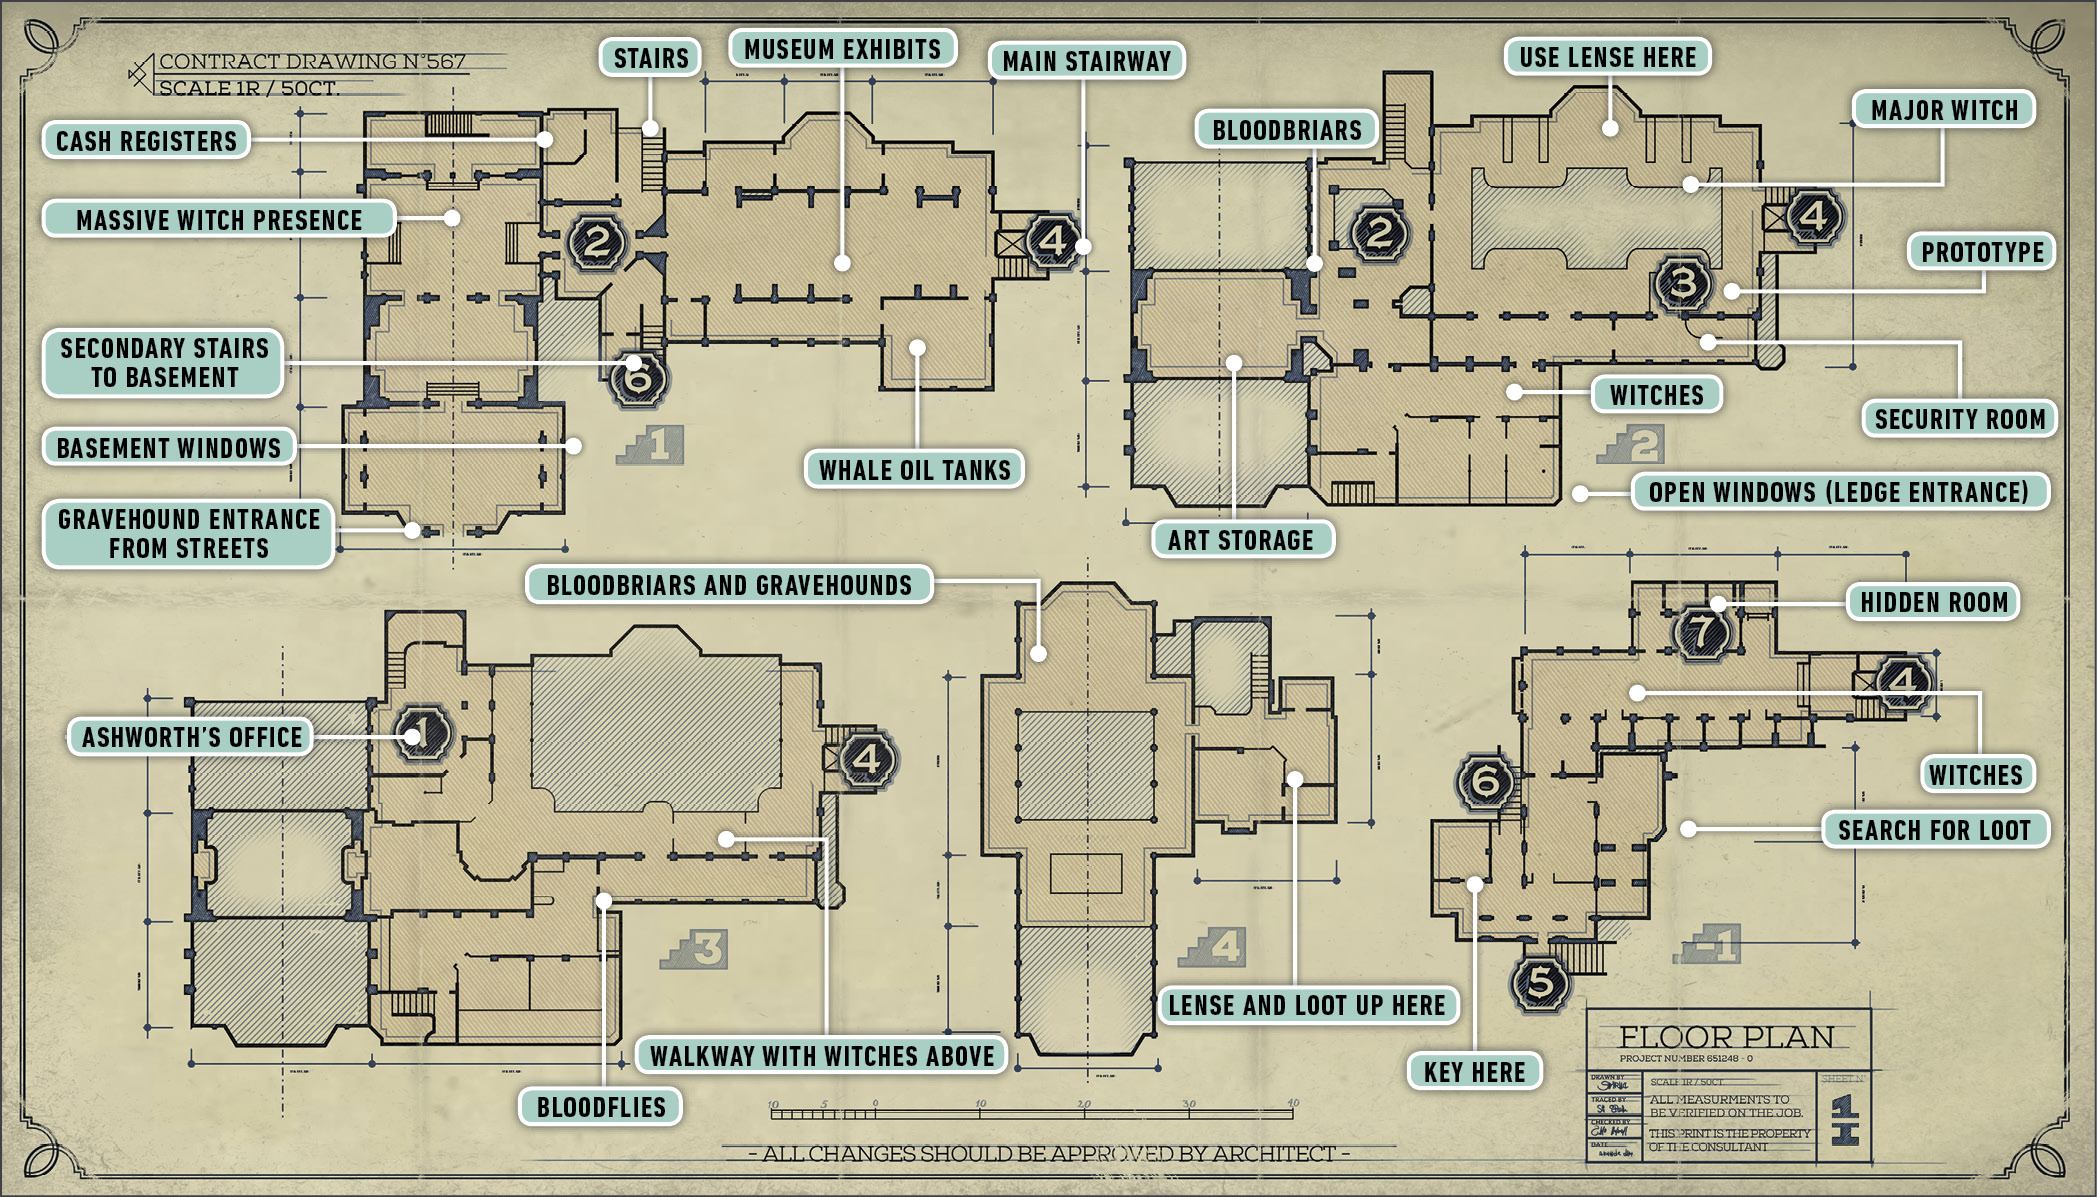
Turn right and look for two small windows at ground level. They lead into the basement. Crawl in through the one on the left. Inside it you find an Archive Key, a map of the area, a Bonecharm, and a Rewire Tool.
Explore the rest of the basement by going through the other window, or by breaking the door that keeps you inside this storage room.
You have to kill another Gravehound, but that’s the only protector in this portion of the basement. You discover three pieces of Raw Whalebone as you explore.
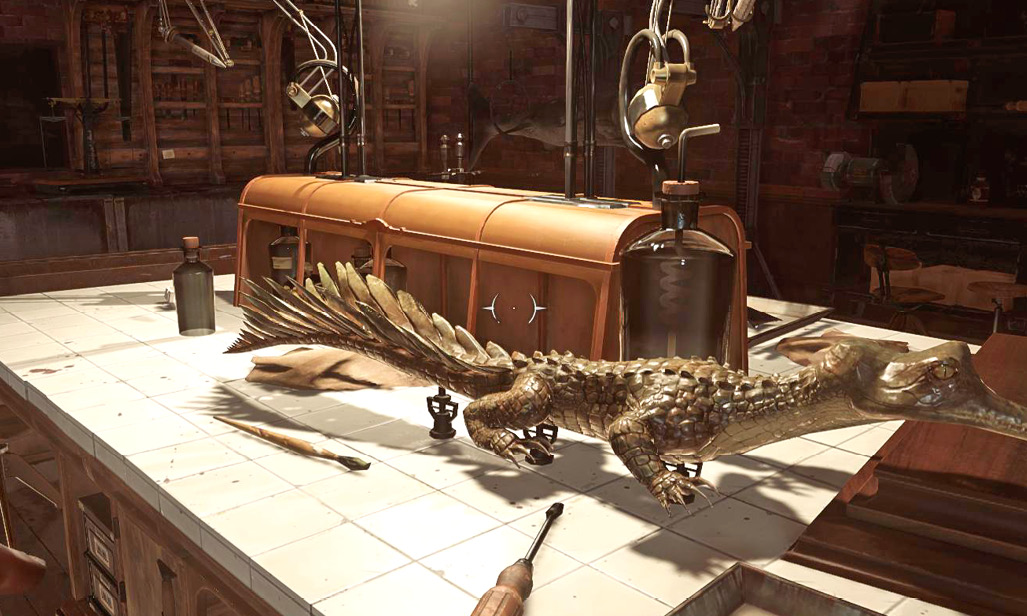
Slow down as you get deeper into the level. Two Witches are conversing near a Bloodfly nest. Setting them off prematurely leads to a deadly battle. The safer plan is to alert them but flee into the earlier section of the basement. This forces them to fight you away from the Bloodflies. Ambush them around a corner, and set traps ahead of time for extra help.
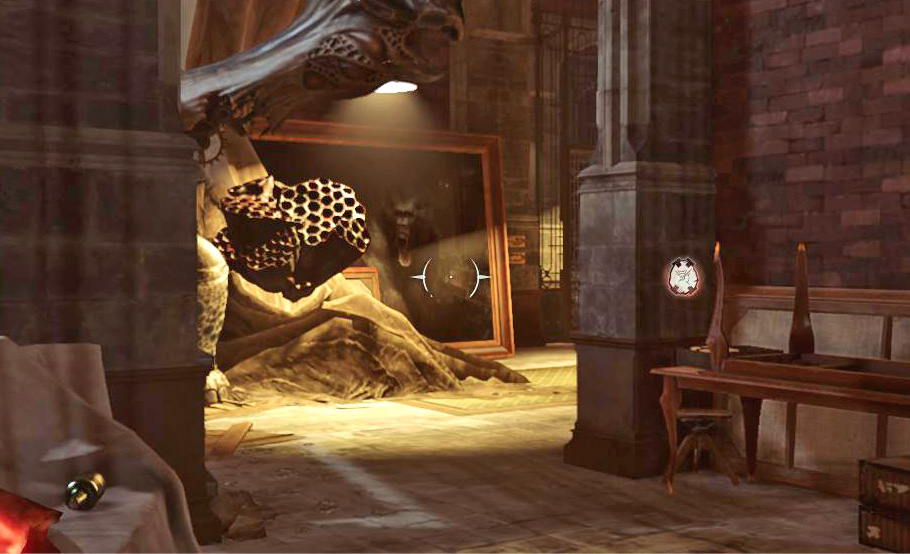
Alternatively, you can sneak up on the Witches and assassinate one. Turn, shoot the second, kill her during the stun, and then run away from the Bloodflies before they do too much damage.
Unlock the Archive door in the back. The Archives house a Rune inside a glass case. Break the case and claim the Rune as soon as you can. Blink over the bookcase in the rear and jump down into a hidden area. A Painting is there.
Leave the Archives and locate the stairs and elevator at the end of the basement. Climb up to the first floor when you find them.
Search the First Floor
Break through boards to access the ground level of the Conservatory. Two Gravehounds are on the floor as skulls, and Witches lurk close by. Use your Crossbow to shoot the skulls from a distance, and then deal with the Witches once they have no extra support. Shoot one of them if they haven’t noticed anything amiss, and then retreat to the stairs so the fight doesn’t draw more and more targets forward.
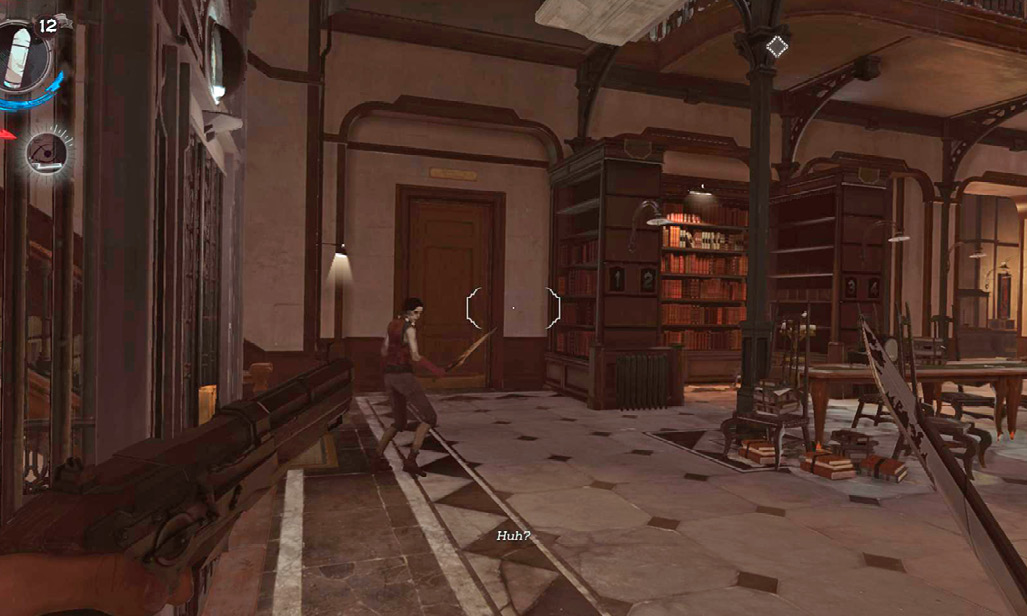
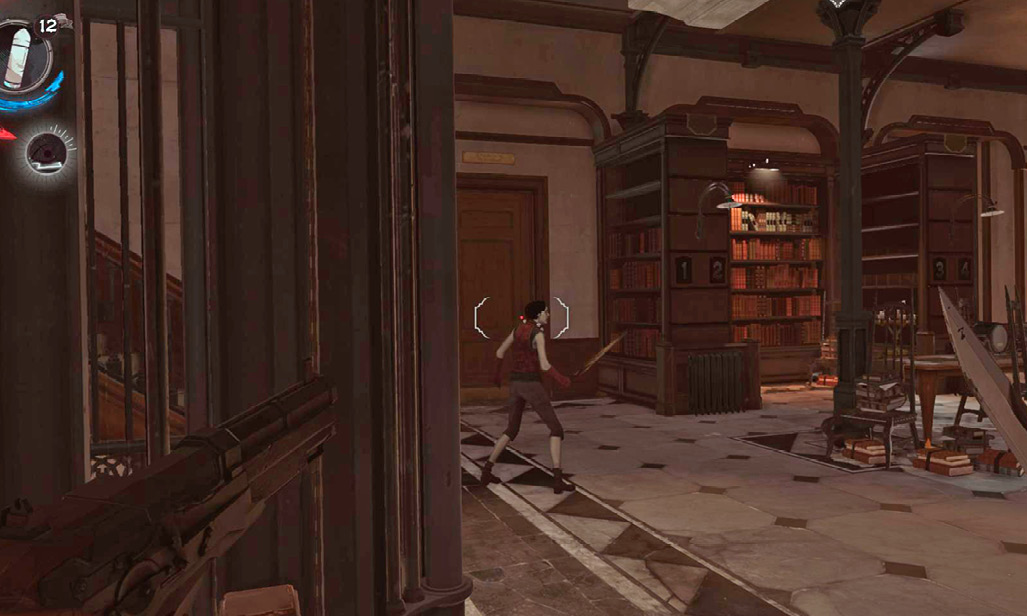
Use Bullets or Bolts plentifully to keep the Witches from pouring on their damage. Killing them outright is nice, but it isn’t necessary with your ranged attacks. As long as they’re taking damage, they can’t cast for a short time. So shoot one, kill her, and back off to lure any additional Witches forward.
If you fight them out in the open, they slaughter you. Easily. Their ranged magic does too much damage, and several of them might attack at once. That’s why you always pull them back to an area you’ve cleared. The smaller the location, the better off you are, because they can’t teleport to any places that surprise you.
A room to your left contains Whale Oil Tanks, a disabled Wall of Light, and a Blueprint. The rest of the level is fairly weak for good items. The cash registers on the other side of the floor hold a little money, but it’s not heavily worth your time.
Instead, climb to the second floor.
The Shopkeeper’s Request
You hear talking from above. Sure enough, there are two Witches on a chandelier. They’re so high up that they couldn’t hear the big fight on the first floor. Aim carefully, and nail one of them with a headshot so you can explore without any worries in the future.
The other one teleports down to your level. Fight her among the bookstacks to keep her at close range. It’s easier to overwhelm her that way.
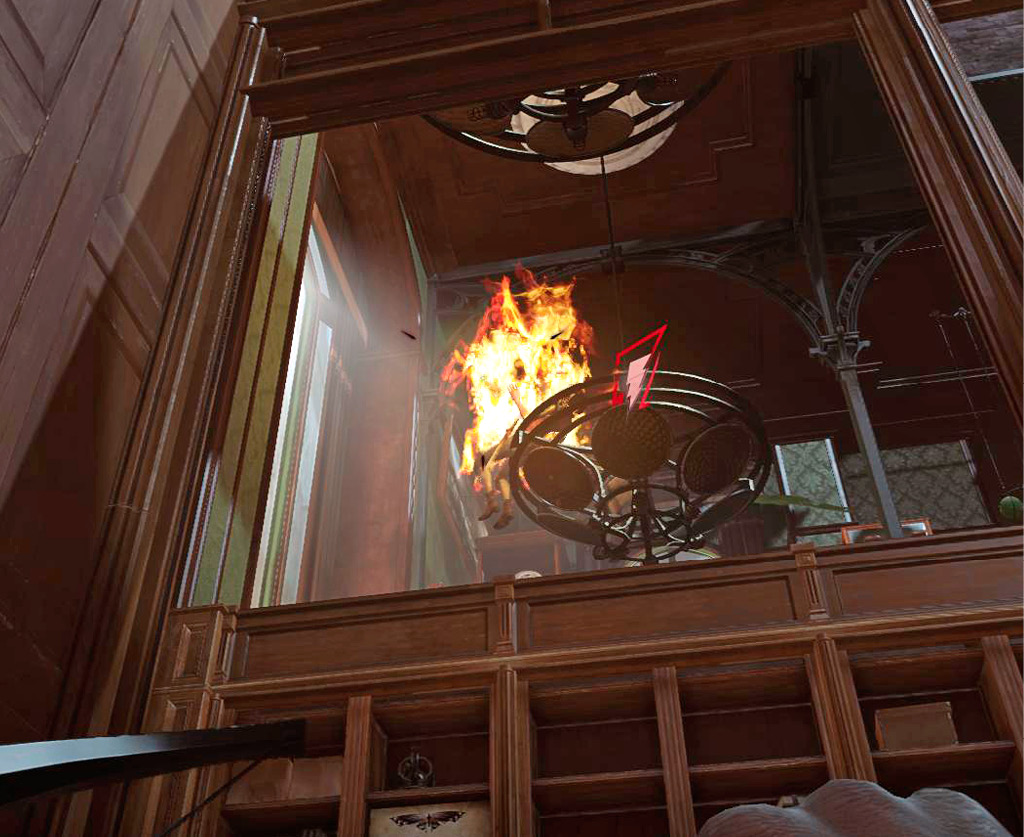
It’s pretty safe to run around the library now. The other two Witches within notable distance are on the left side of the level, past a door. One is a patroller, and the other is chilling out on a bed on top of a display case. Ambush the patroller, and then snipe the relaxing Witch.
Traverse the halls and track a Rune that isn’t far away. Grab it from an overgrown room by the corner.
One door in that hallway is locked. Break through it with your Sword; no one hears. You uncover a security room. Rewire the Security Panel inside. Then, with the security disabled, steal the Roseburrow Prototype—marked as your objective—and take it back to the black market at your leisure. Remember to rob the place after you’re done!
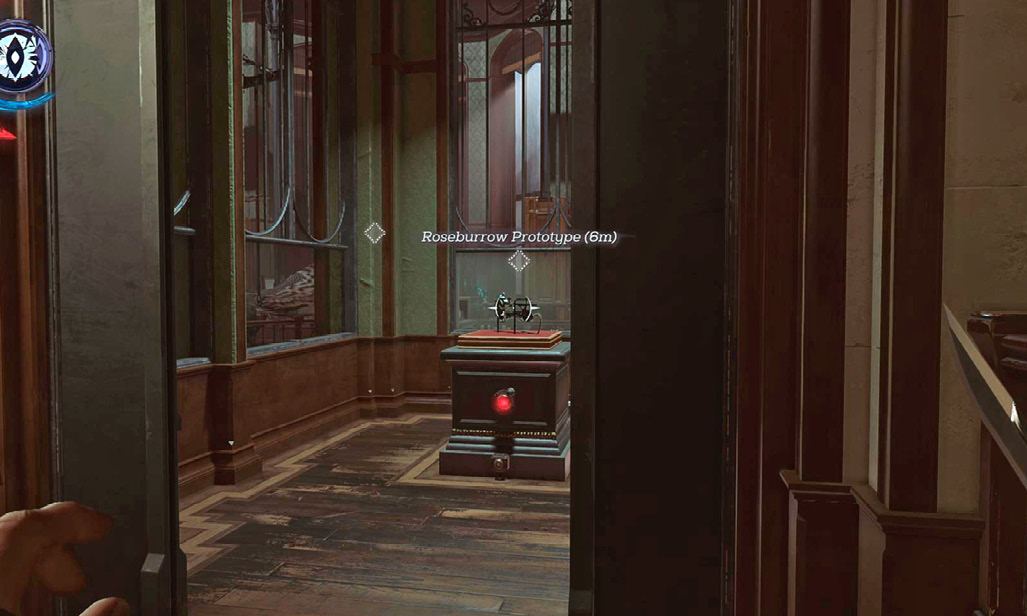
Return to the main stairs and ascend to the third level.
Kill Curator Ashworth
It’s quiet on the third floor, so searching isn’t a problem. Your target, Breanna Ashworth, is on the opposite side of the level from the staircase. Turn left and examine that side of the level instead. Steal museum pieces here and there for cash, and track a Bonecharm farther ahead.
The Bonecharm is floating in front of a board on the front side of the building. Pass several Bloodfly nests to reach it.
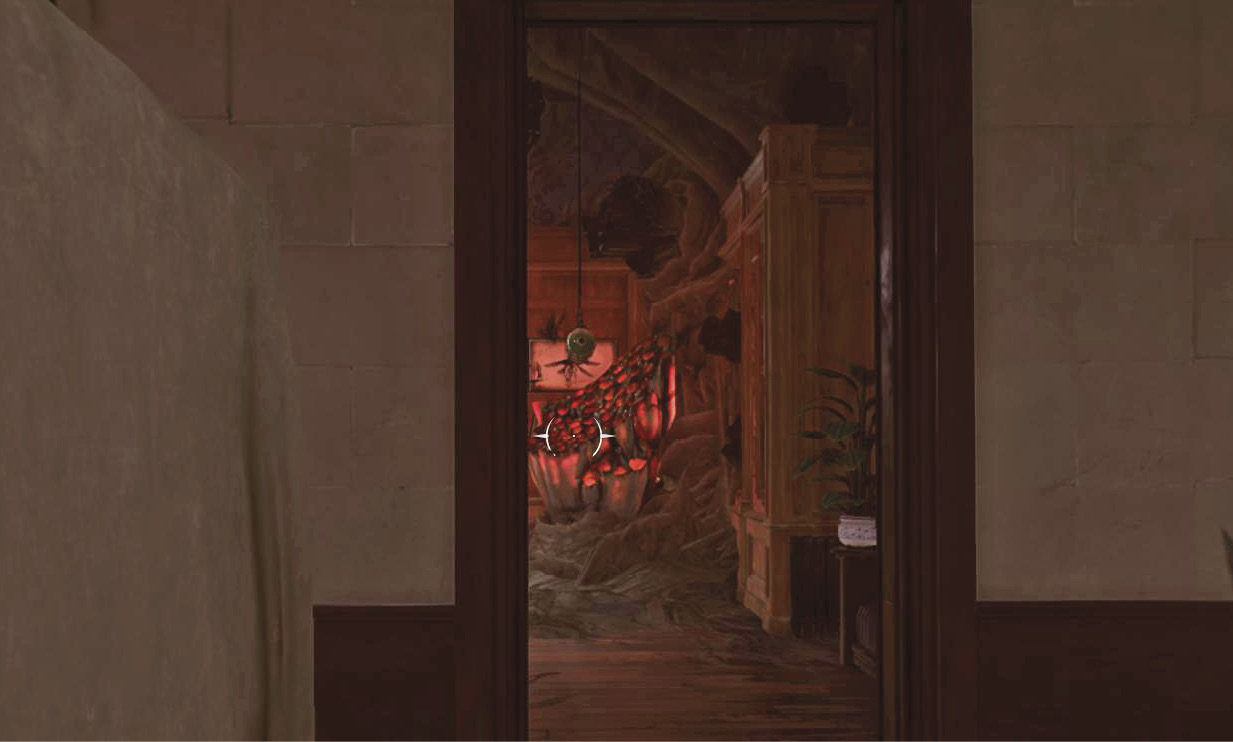
Breanna herself is in a large office that feeds into the library. Have your Crossbow ready when you come into the room, because she has two Gravehounds. If you shoot and eliminate them early in the fight, Breanna can’t do much to you. She’s just a single Witch, really.
Kill her with ranged attacks while you close on her, and mix in Sword strikes as soon as you can. Her health runs out quickly. Remember to loot her after she’s dead for two Black Bonecharms.
Talk to the statue inside the office. You get to do a bit of gloating, and it is sweet.
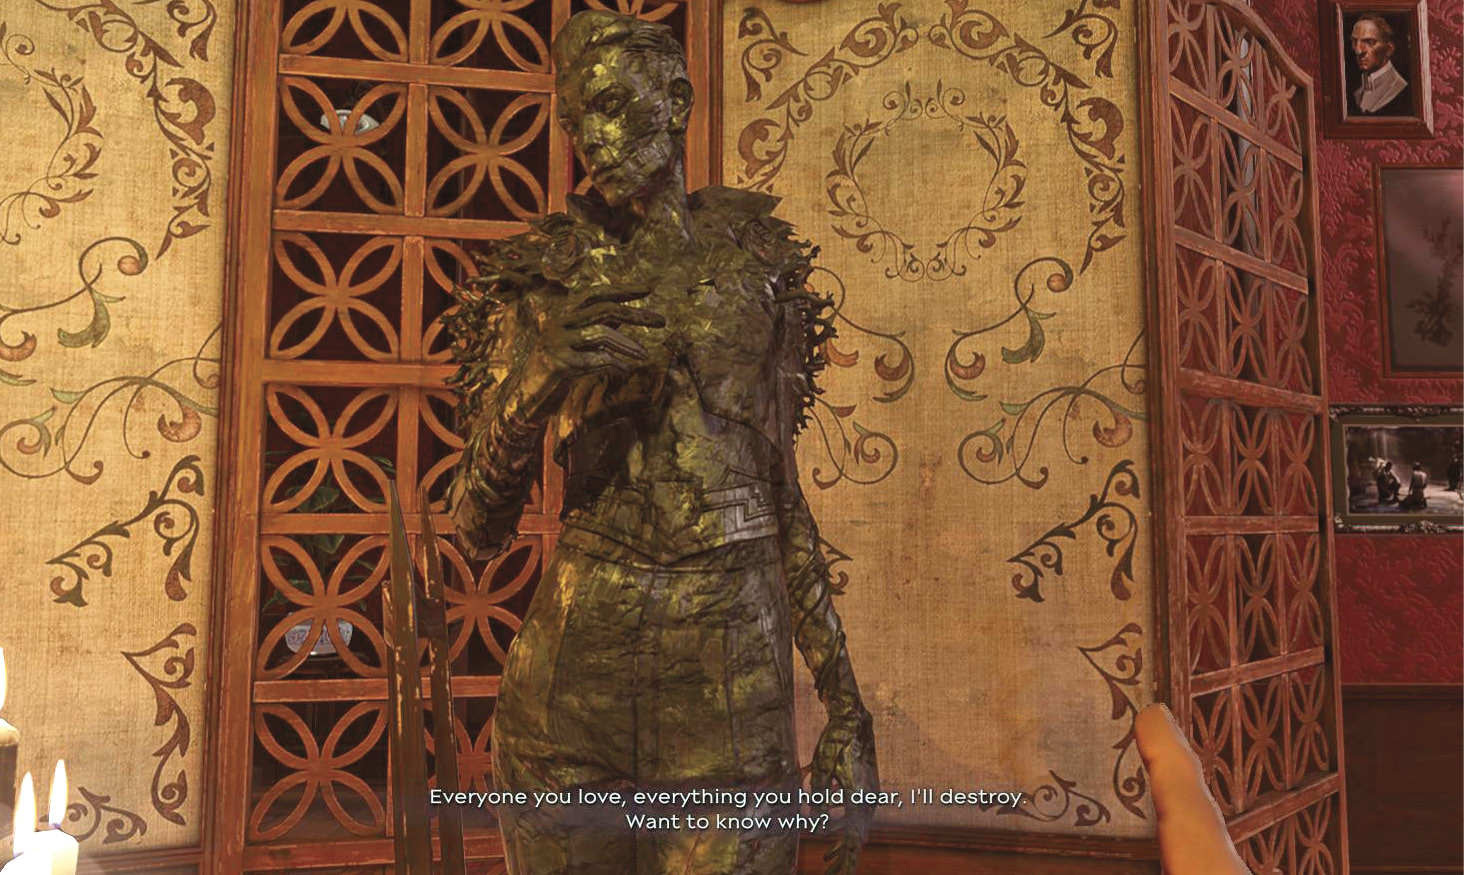
Loot everything on the desk and climb the steps at the back of the office. Take a Painting off the wall, and continue up toward the fourth floor.
Getting a Few Final Items
A storage area is at the top of the stairs. You gain Raw Whalebone and massive amounts of money with just a few seconds of looting. It’s so nice. A set of Lenses is up there too, but you don’t need those.
Take a door that leads onto an outer terrace. Two Bloodbriars out there attack if you get close to them. Instead of approaching, pull out your Crossbow and look for two skulls on the right side of the terrace. Shoot those so no Gravehounds spawn, then Blink past the Bloodbriars and search for a Rune.
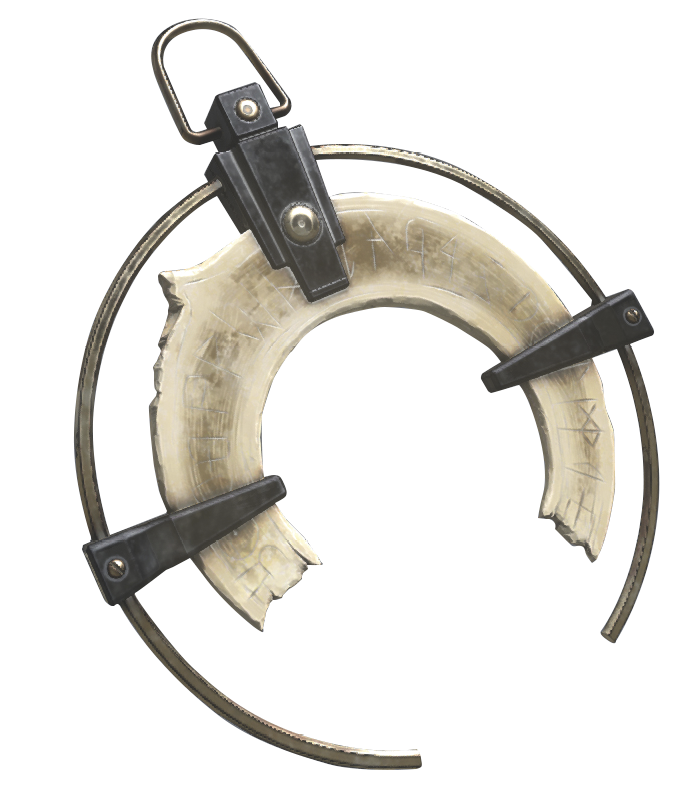
Return to the storage room and look for a door. It opens into an internal room with a Black Bonecharm. Leave the room and jump out a small window that gets you onto a walkway. Follow the walkway around the top of the library, and enter a claustrophobic area on the other side. Crawl through to gain yet another Black Bonecharm.
With all these items in tow, leave the museum and return to the skiff. Your mission here is finished.