
Dishonored 2 Guide The Supernatural Arts
Emily’s Unique Abilities
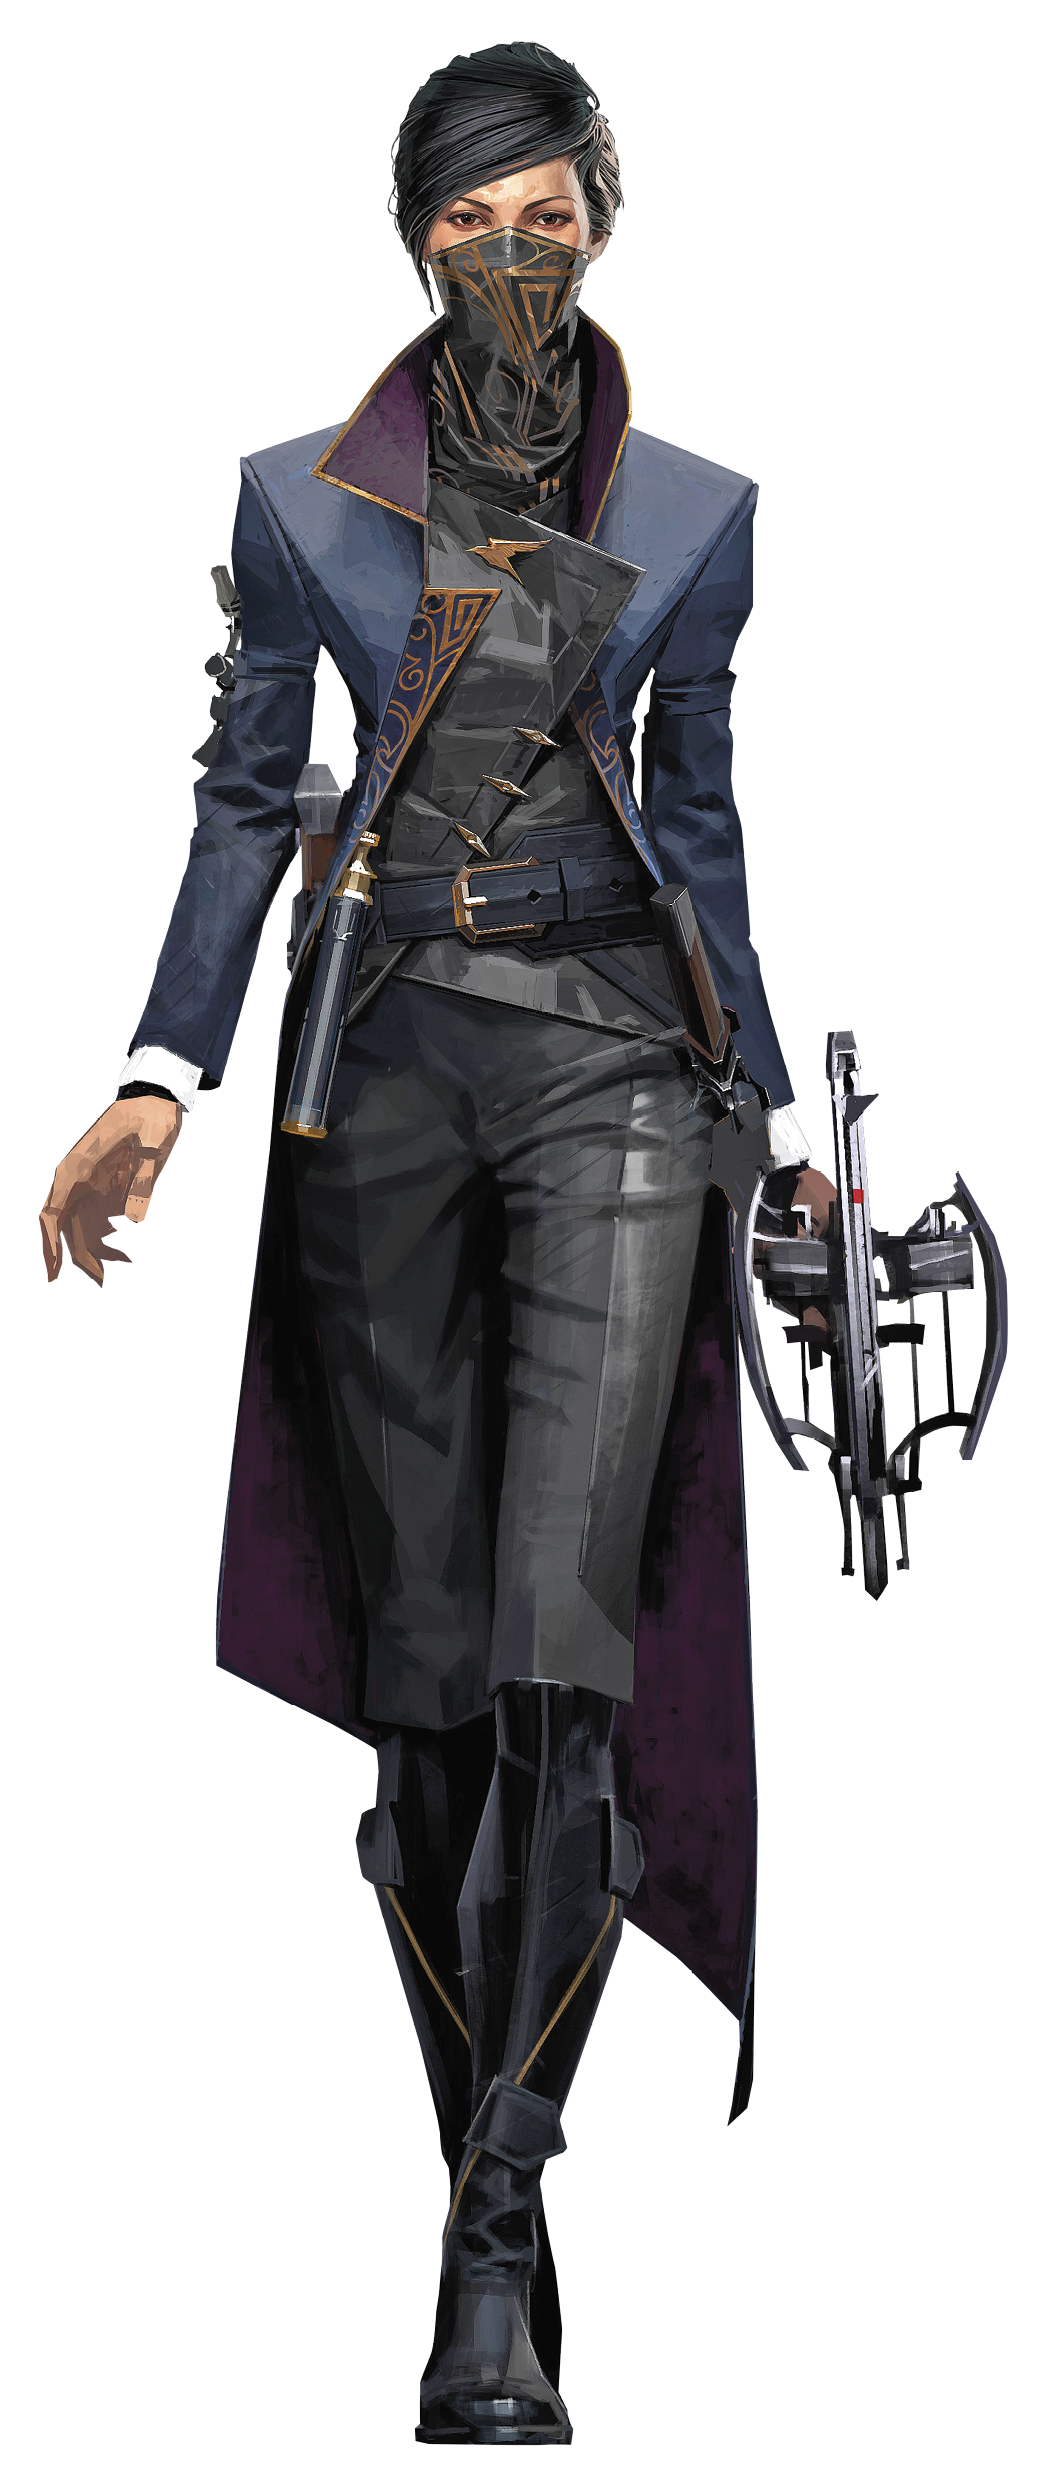
Domino—Cost 4
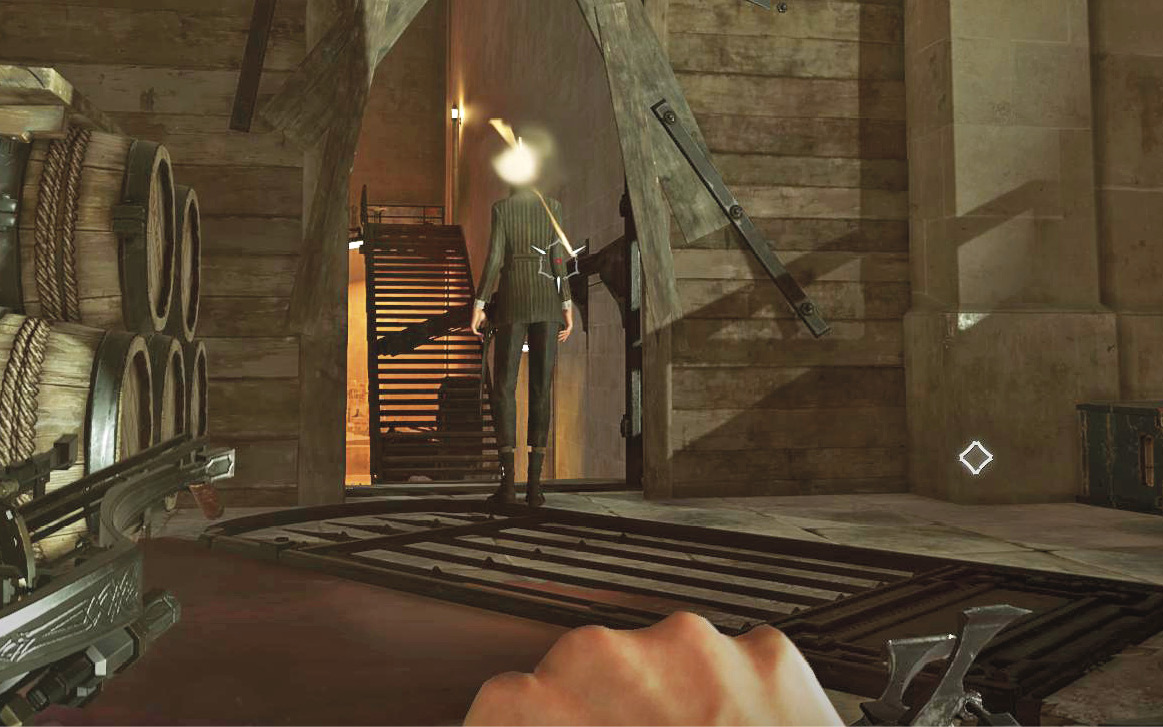
Link multiple human targets together. After you use this ability, the linked targets suffer from anything that happens to the other members in the link (damage, stuns, knockdowns, etc.). If you kill one of them, the group dies. If you put one to sleep, they all go to sleep. The base version of the ability links only two targets, but you can purchase bonuses to make this much stronger.
Domino helps both major playstyles. If you’re willing to purchase all the way to Link Four, it becomes a powerful way to bring down many targets with a single, safe Sleep Dart. Set this up from a dark corner to make it much easier to do a full stealth run and avoid causing Chaos.
Link Three
Cost 3
Add a third link target to your maximum.
Link Four
Cost 3
Add a fourth link target to your maximum.
Doppelganger—Cost 4

Cast this spell to summon a Doppelganger of yourself. The shadow distracts enemies, can trigger alarms, and gets into trouble by running away until it’s killed. At that point, the enemies in the area return to their previous patrols. Use that distraction time to slip through areas unmolested. This is a decent stealth ability, but the bonuses you get later on turn it into a much more combative choice.
Unless enemies see both you and your Doppelganger, they’ll assume that all is well after your clone dies. This causes them to return to their posts as soon as the clone falls.
Baffling Shade
Cost 1
Your Doppelganger’s death causes confusion for several seconds in a moderate area of effect. This gives you even more time to leave the area and avoid detection. It’s quite helpful for stealth, but it also gives you a moment to attack your enemies if you’re using the Doppelganger aggressively.
Transposition
Cost 2
Trade places with your Doppelganger. It’s tricky to use this bonus to its fullest. With considerable setup time, you can create your Doppelganger, rush into foes, kill a few, and then switch places. Then, start sneaking again to get easier kills as the guards return home with reduced numbers, thinking all is well.
Deadly Shade
Cost 3
Here is a very strong bonus for Doppelgangers. They kill unaware targets and fight to protect themselves. They become a longer, deadlier distraction. Send one of them to kill enemies who haven’t seen you yet, and use this time to flank the victims. Murder them from behind as they rush to aid their allies under attack from the Doppelganger.
Twin Shades
Cost 3
Finish off the Doppelganger line with Twin Shades. As a trio, you and your shadows can fight massive groups of opponents. This is an incredibly powerful crowning piece of a combative build for Emily.
Shadow Walk—Cost 4
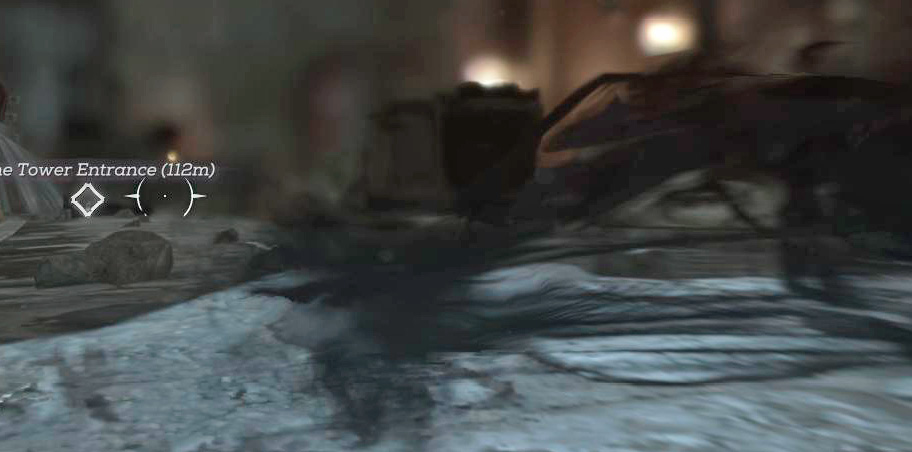
Reduce the range at which enemies realize you’re a threat. Move without being detected unless you get very close to your targets or spend a huge amount of time out in the open. Shadow Walk is a great purchase for stealth purposes, and gets to be a wonderful assassination tool as well. If you mix Shadow Walk and Shadow Kill, Emily becomes a silent killer who has little trouble wading through targets without direct battles. For non-lethal play, Shadow Walk, Shadow Run, and Rat Shadows provide better methods for traversing areas without knocking out and hiding as many guards.
Normally, you pop out of Shadow Walk after killing/disabling one target. However, this ability has bonuses that let you increase that number. The minor unavoidable downside is that Shadow Walk changes your perspective. Emily gets low to the ground in this form, and that makes it harder to see around her. If that is a problem for your style of play, avoid this ability.
Note that Shadow Walk is also a powerful tool for non-lethal takedowns. Because you can avoid detection and take out targets without killing them, this ability is a very nice choice for Merciful players.
Improved Shadow Attack
Cost 2
Kill or incapacitate two targets before popping out of Shadow Walk.
Rat Shadows
Cost 1
Move through Rat tunnels while Shadow Walking. This enables Emily to bypass more enemies through several sections of the game. Ignore this if you’re a combative player, but purchase it eagerly if you prefer full stealth.
Shadow Run
Cost 2
Your movement speed is increased while you use Shadow Walk.
Greater Shadow Attack
Cost 2
Kill or knock out up to three targets before leaving Shadow Walk.
Mesmerize—Cost 6
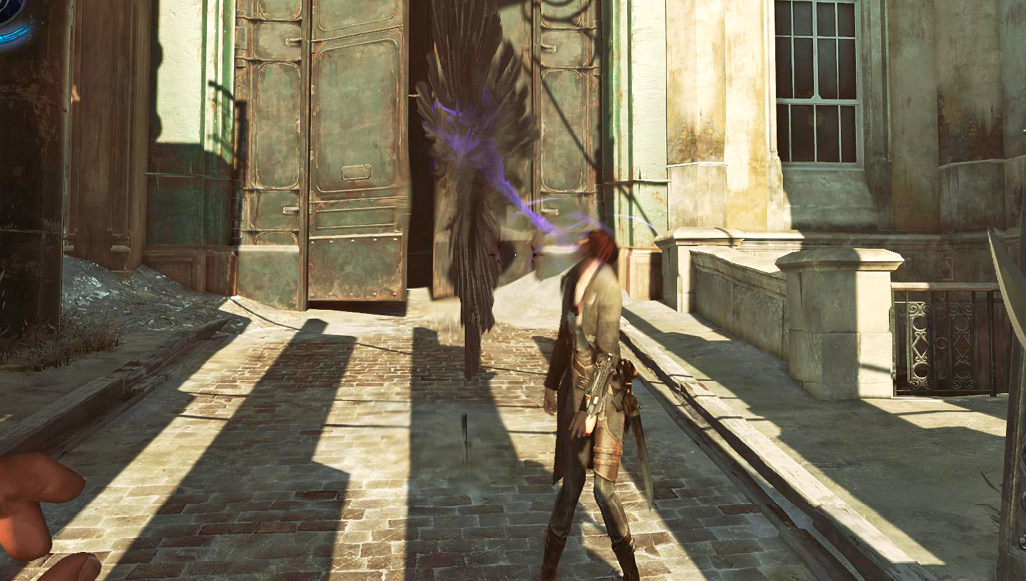
Completely enthrall and distract up to two nearby targets (upgradable to four with bonuses). You gain more than enough time to then murder the targets or hurry past without them remembering you were ever there. Due to the high cost of this spell and its bonuses, you’re best off taking this for stealth purposes. There are cheaper and easier methods for killing people. Instead, use Mesmerize to distract enemy checkpoints or rooms of targets as you wander through.
Merciful players get many benefits from being able to distract groups of targets using this ability. It’s a solid choice if you don’t fall in love with Shadow Walk. Both of them are reliable!
Mesmerize Three
Cost 3
Influence up to three targets.
Lasting Mesmerize
Cost 2
This bonus ncreases the duration that targets are mesmerized.
Mesmerize Four
Cost 3
Influence up to four targets.
Far Reach—Cost 0
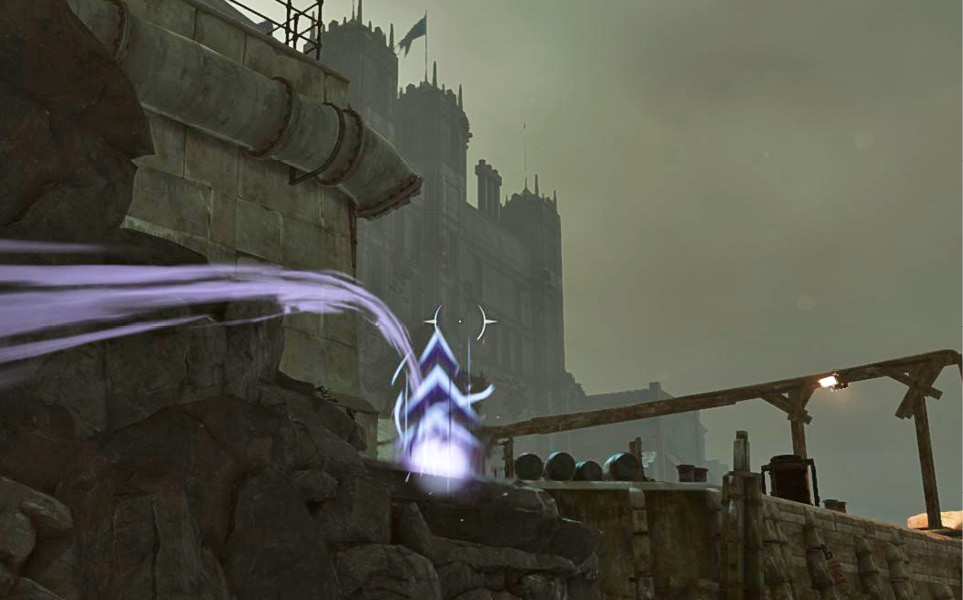
Far Reach is similar to Blink. It’s learned early in the story and helps constantly as you travel around the world. Use this to reach out-of-the-way places, set up attacks on unaware targets, or get out of trouble during battles. Far Reach is wonderful whether you’re interested in stealth or fighting.
Far Reach has a somewhat different feel compared to Blink. You don’t disappear and reappear at your target location. Instead, you aim Far Reach at a specific object and then trigger it. You’re then kind of pulled toward the object, arriving very quickly. Enemies can certainly spot you when doing this, so avoid their line of sight whenever possible. During battle, they’ll turn if you Far Reach behind them, because they can see you pass by them.
If you walk or run forward before Far Reaching, you can get more distance out of it. This technique is effective for crossing large gaps or fleeing from enemies.
Pull Objects
Cost 2
Bodies and inanimate objects are pulled over toward Emily. Step aside to have them zip past you, or catch the object as it arrives.
Decelerate
Cost 2
Time pauses if you start to fall while using Far Reach. This gives you time to aim carefully and either land safely or teleport to a distant ledge.
Pull Enemies
Cost 4
Your Pull Objects bonus applies to enemies as well. You can kill or knock out the people you grab this way, but it’s a costly maneuver. You need quite a few extra Runes to get to this point, but you gain a valuable combative power as a result. Pull Enemies doesn’t cost any more Mana than Far Reach’s base ability. As such, all your Mana regenerates afterward if you have enough time to let it reset. With this in mind, use Pull Enemies during battle to get practically free kills. Fight normally and let your Mana regenerate in between, and repeat to make your fights much easier.