
Dishonored 2 Guide Combat Walkthrough
A Long Day in Dunwall
Today marks the anniversary of the death of Empress Jessamine Kaldwin, assassinated 15 years ago. Visitors from across the Empire of the Isles have journeyed to Dunwall Tower for the occasion.
Collectibles
| Runes | 1 (During the follow-up) |
| Shrines | N/A |
| Bonecharms | N/A |
| Coins | 490 |
| Blueprints | N/A |
| Paintings | 2 |
Special Actions
| Freedom of the Press | Go to the upper level of the Dunwall Courier and knock out the Guard there before he slaughters the paper’s editor |
| Jessamine’s Words | Play an Audiograph from the old Empress |
| Time Capsule | Find a room boarded up since the Rat Plague |
| Coin of the Realm | Take the gold from the safe inside the tower’s Safe Room |
| Dr. Galvani’s Safe | Open the safe inside Dr. Galvani’s laboratory and take its contents |
| The Ramsey Fortune | Lock Mortimer Ramsey inside the Safe Room |
Shine and sharpen your blade. It’s time for high Chaos and murder. In this Walkthrough, we cut a bloody path through the entire game. Expect large fights, more danger, and a grim ending. We wouldn’t have it any other way.
Dunwall Tower
Escape the Imperial Chambers
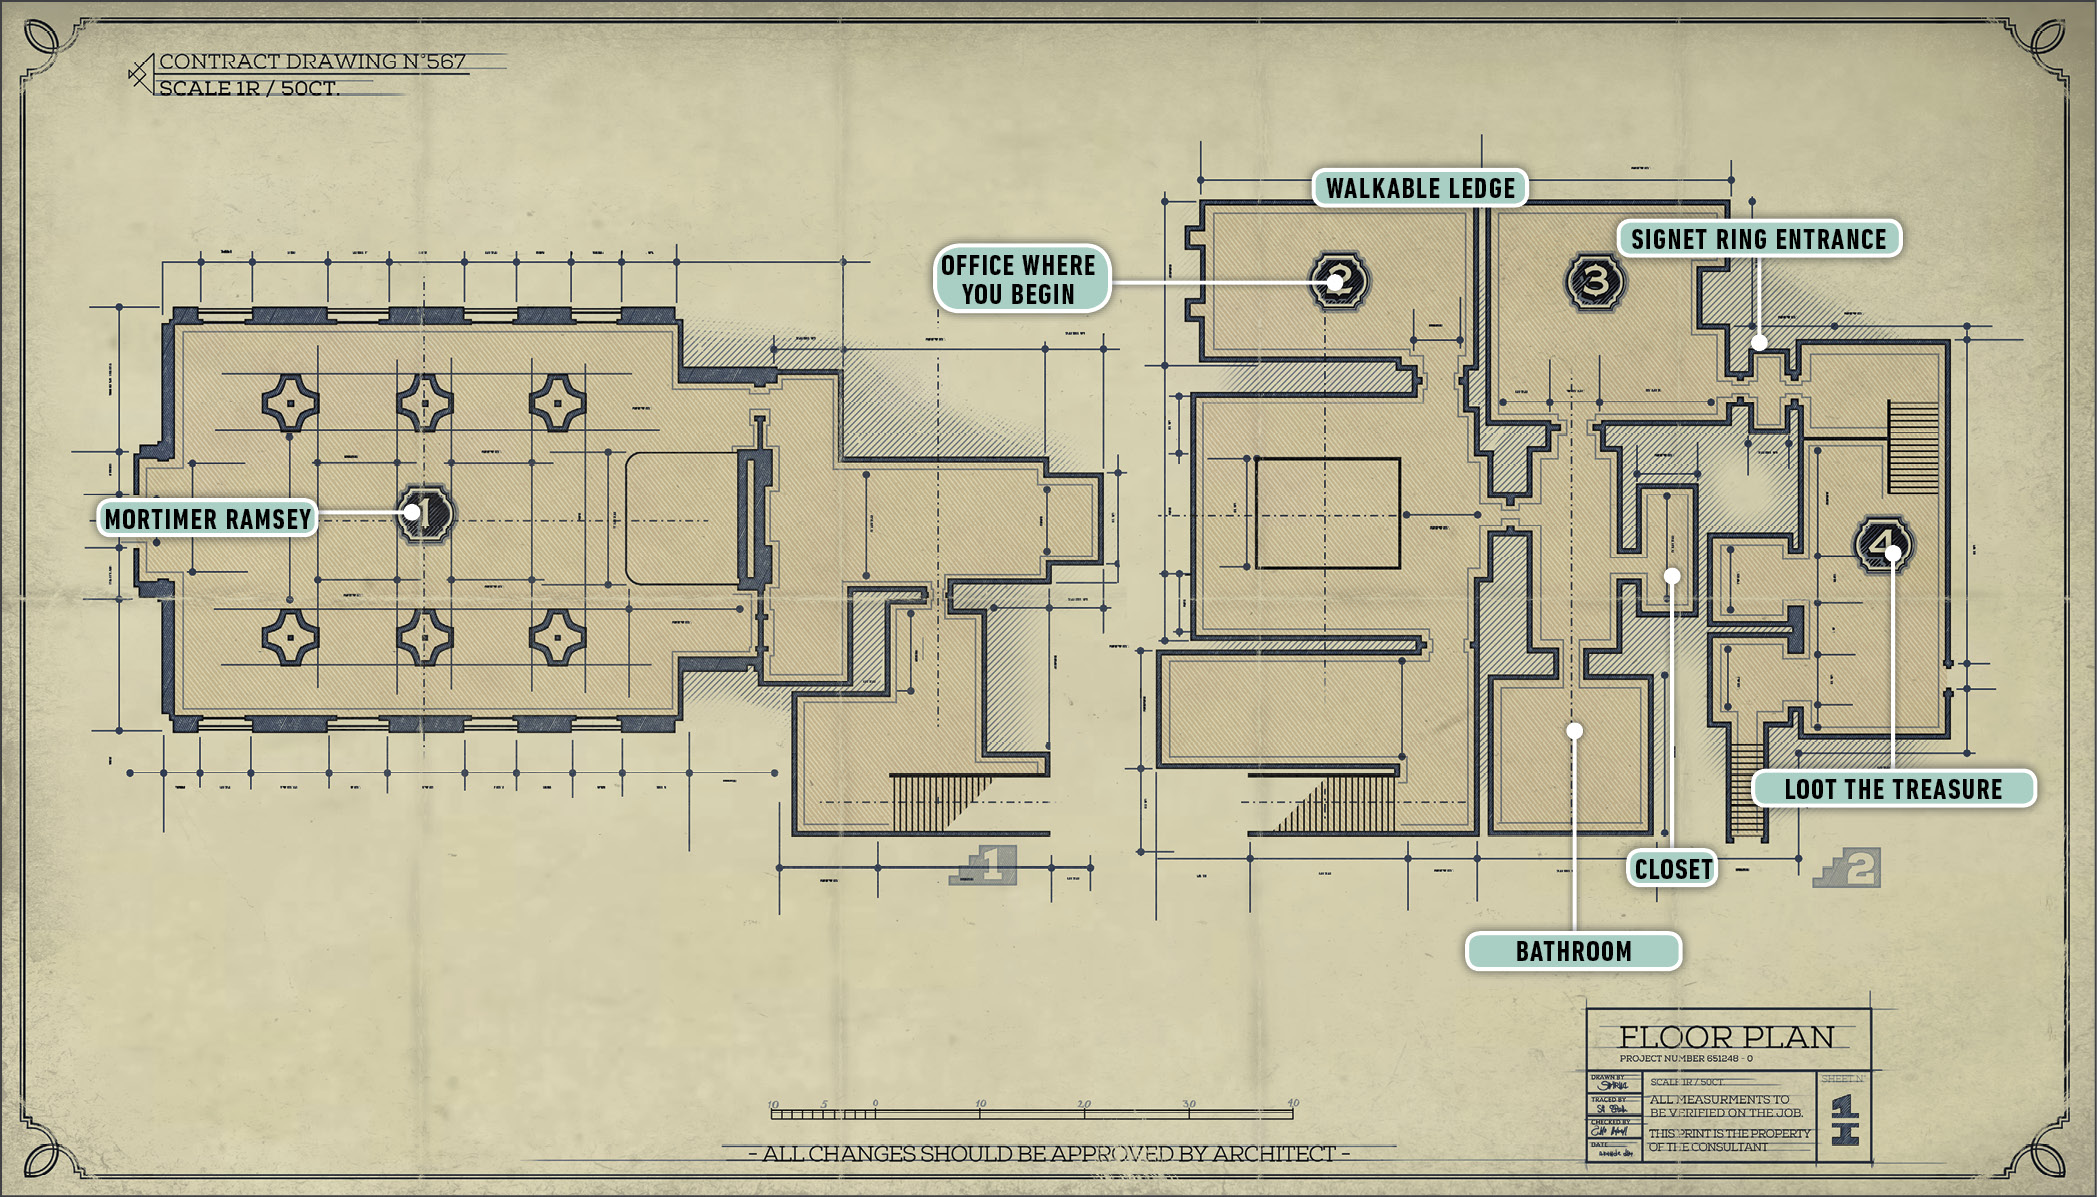
Choose Corvo Attano during the introduction of the game. You gain access to your character after watching the first few cutscenes. You’re taken to a private room on the second floor of Dunwall Tower. There, you’re locked inside a room and left to rot.
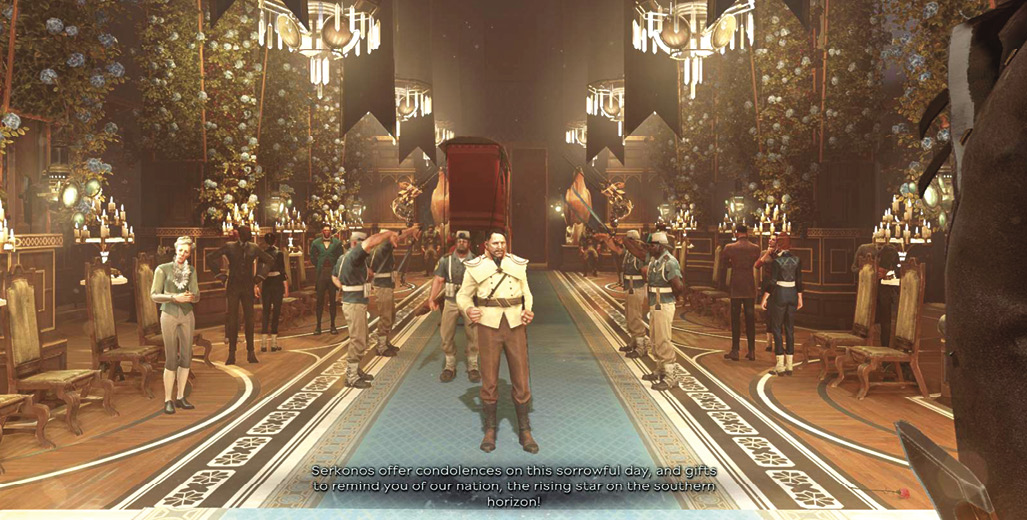
The rough treatment you’ve received has left you a bit low on health. Remedy this by eating the food on the right side of the room. Interact with it to eat everything, and then search for useful Documents. There’s some interesting reading on the desk.
Check on Alexi Mayhew
When you’re ready to leave, climb out the window on the left and emerge onto a ledge. Crawl from there over to another room, and go inside. Alexi Mayhew is collapsed on the ground close by. Talk to her. She’s wounded and dying. As she expires, you take her Blade and an Audience Request Document.
The hallway ahead leads to two rooms. One is the bathroom. Listen to an Audiograph there for more information. You can also search for some minor items (for coins).
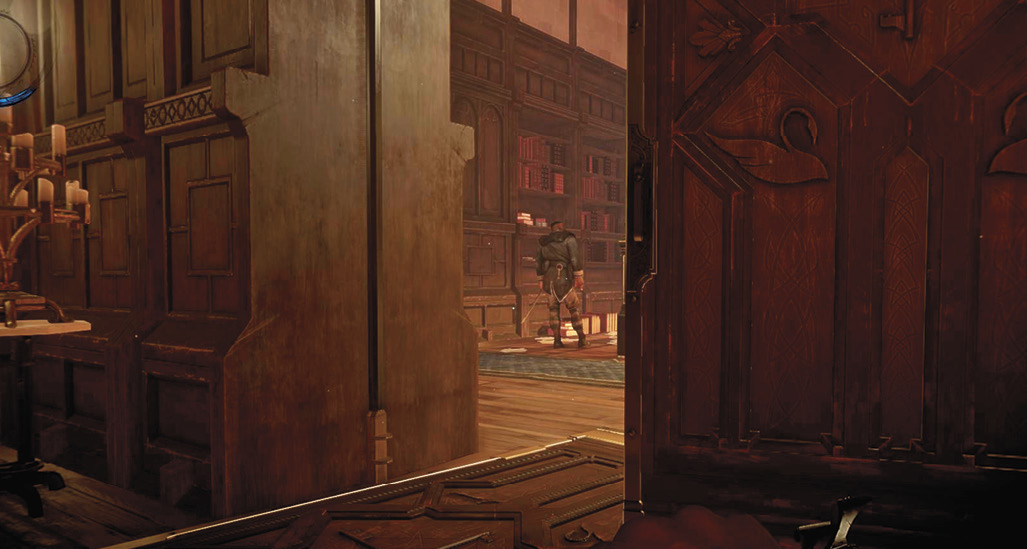
After looting the bathroom, sneak into the other room in the hallway and assassinate the Guard. He holds a Key to your room, which makes travel here easier in the future. Plus, killing him is your first piece of vengeance. To perform the assassination, crouch and creep up behind the soldier. When you’re close enough for a melee attack, tap the Attack button and watch Corvo end the man’s life in a mere second.
Look for another target in the side room, by the stairs. Kill him before he realizes you’re there.
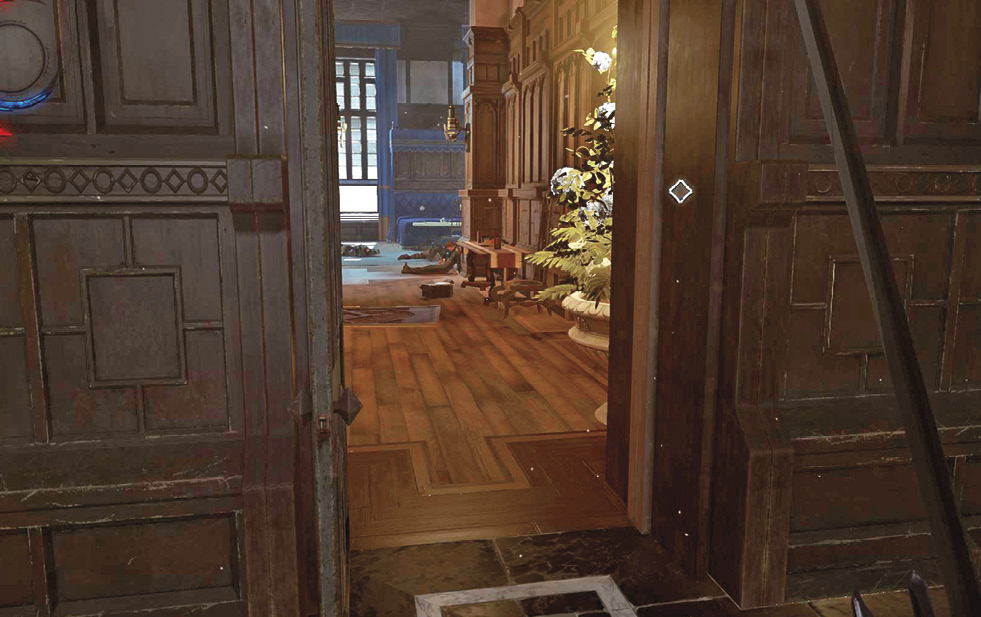
You’ve cleared the upper level of the Tower. Descend the stairs and search for a Paper and more fruit, if you need any more health.
Kill Mortimer Ramsey
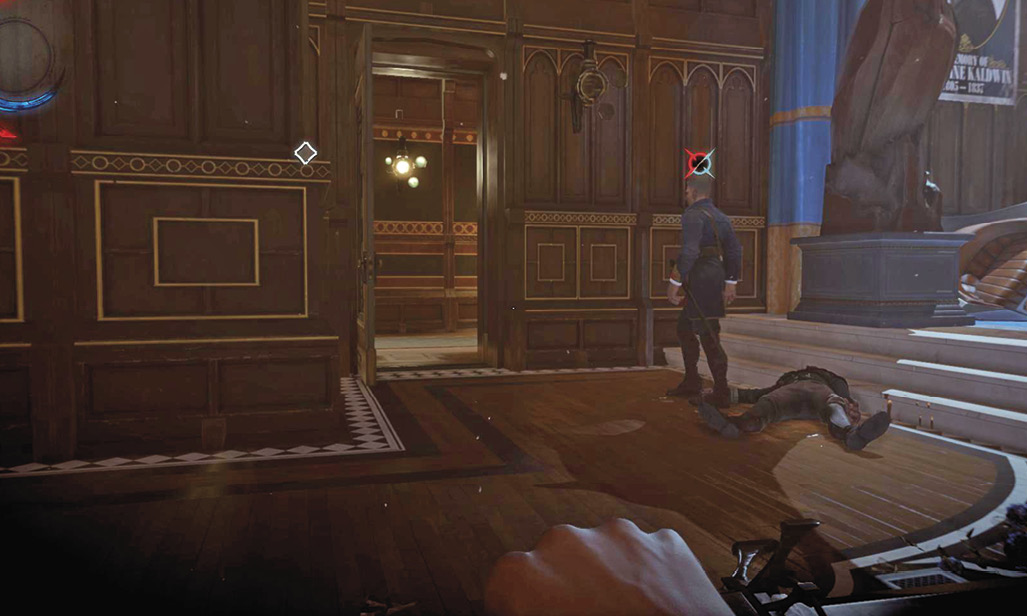
Follow the only hallway back into the throne room, where the game began. Mortimer Ramsey is talking to two Guards inside. Sneak into the room and wait for Mortimer to approach the doorway you just used to come in. Ambush him from behind. Assassinate Mortimer and then sneak behind the pillars on the right to get behind one of the two Guards in the room. Kill him with surprise on your side, and then charge down his buddy for a proper swordfight.
Open the Safe Room
Loot Mortimer’s body for a Signet Ring. You need that to exit the castle. Go back up to the second floor and follow the waypoint to a secret room. Your Signet Ring unlocks this, and a panel slides open to grant access to the chamber.
This room is a treasure trove. Look for Documents, a Health Elixir, Bullets, and your Pistol. This is a powerful sidearm that helps in larger fights. You also gain a huge stash of money if you search the safes in back.
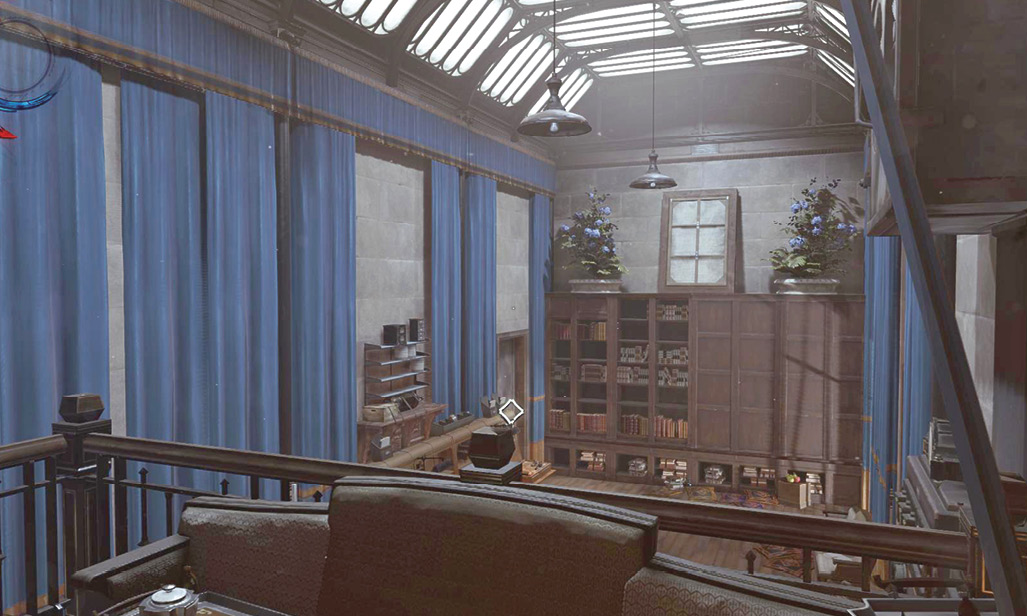
Once you’ve gathered everything, use the far door to exit into the Dunwall Streets.
Dunwall Streets
Reach the Streets
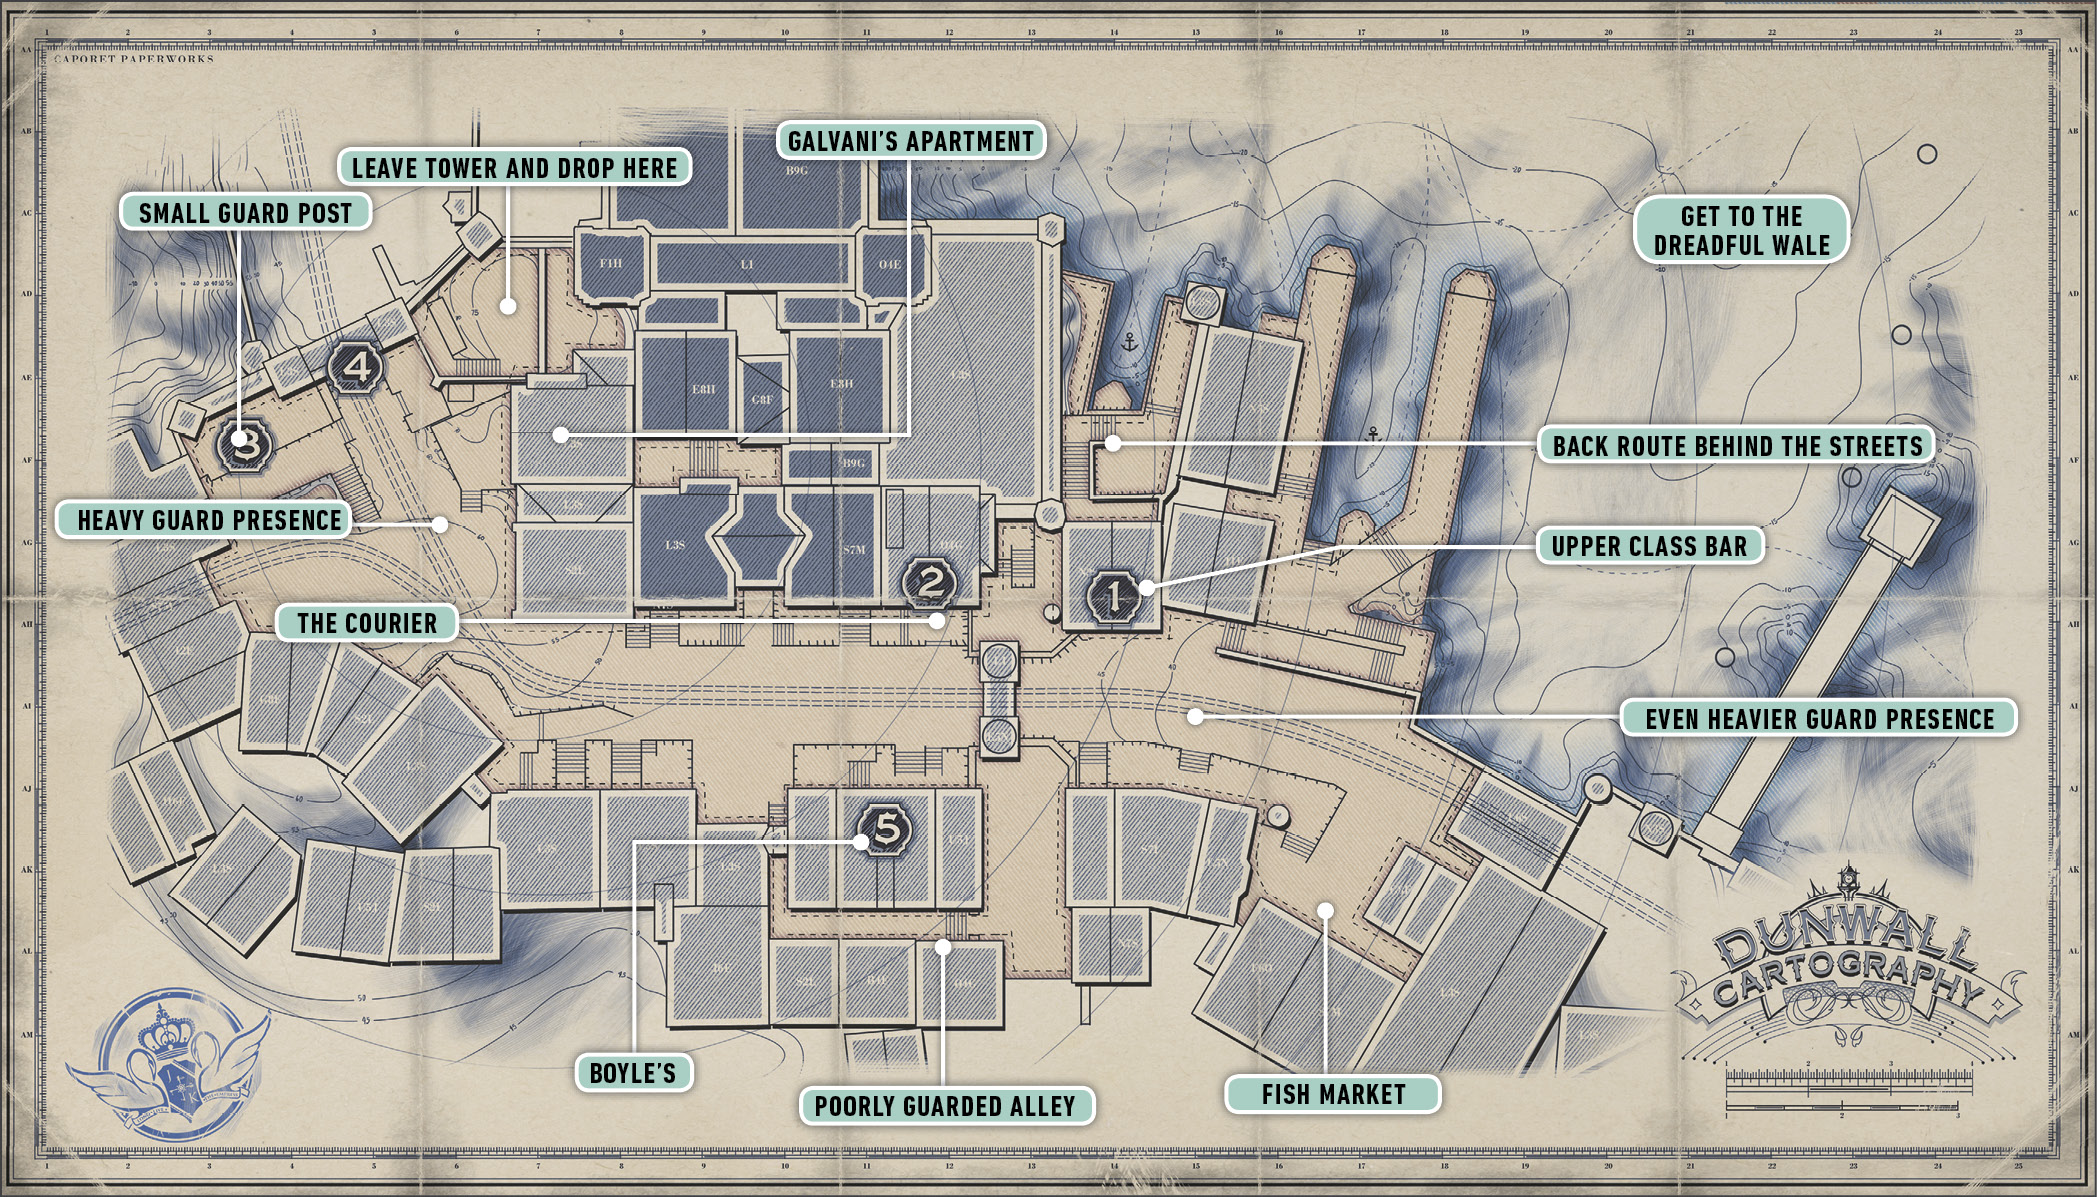
Take the passage that leads out toward fresh air and freedom. There are a couple of Documents in the passage, a collectible Painting along the right wall, and a few coins to loot as well. Unlock the door at the end of the corridor, and go outside.
You’re now out on the rooftops. Climb down the stairs ahead and drop over the roof on the right. Many structures on the way down help you avoid damage. Continue right and look for a Guard in a small yard below. You learn how to do Drop attacks against him. Use a lethal attack to quickly bring the fiend down as you fall upon him from above.
Reach the Boat
Jump over another wall on the right, and crouch while you listen to four soldiers talking. Wait for the men to separate. In time, all of them face away from you, allowing for an excellent chain of kills. Crouch and sneak up on the captain, who was barking orders a moment ago. Slice his throat, do the same for his buddy ahead, and enter the building on the right. Another Guard is searching that house for you (probably for loot). He doesn’t hear you if you’re still crouching. Cut him down and search for fruit and a Health Elixir. Break the glass on the corner case to reach it. Another Elixir is outside, sitting on a container by the main road.
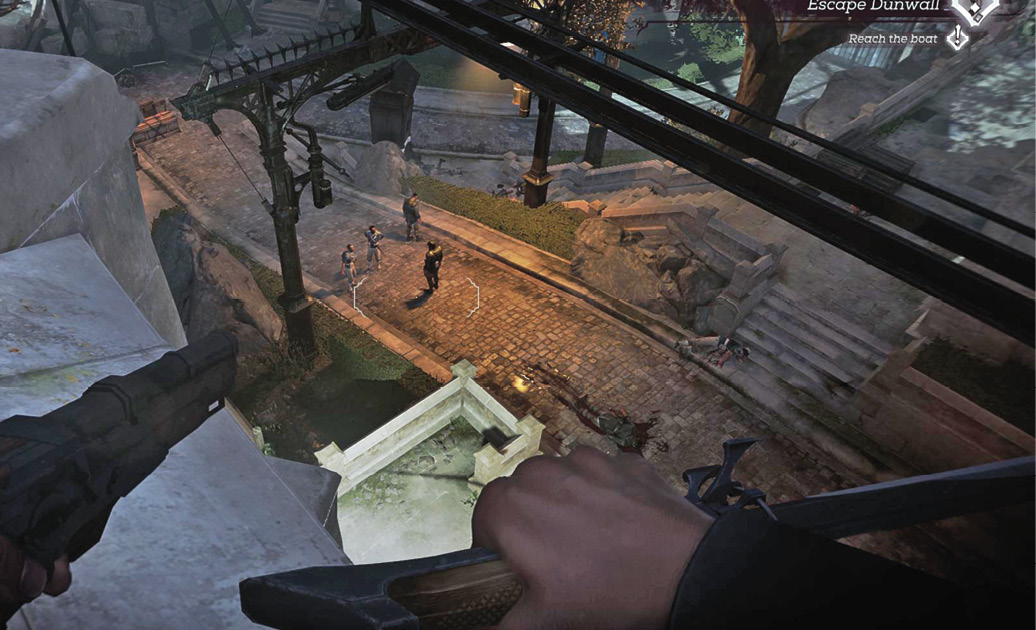
After clearing the area, enter the laboratory on the left. One Guard might still be inside, if he didn’t hear the fighting. Kill him quickly and search around for a Health Elixir in the first room.
A lab is in the second room. Grab a Painting off the wall in there, and locate a code scratched into the frame behind it. Use the code (451) to open the safe there. You receive 150 coins and more Bullets for your time.
Search a couple of smaller buildings behind you, or proceed immediately to make it through the area quickly. In road ahead, six more men are clustered into a couple of groups. This is a good time to learn how to deal with larger fights.
Assassinate the first Guard and attack the one to his right immediately afterward. Use aggressive attacks or a parry plus counterattack to kill him before anyone is ready to respond. The other Guards begin to charge because of the noise, so give ground to buy yourself time. Use your Pistol to shoot the first fool who approaches, and cut him apart if he survives the ranged shot. For the others, practice parrying and scoring instant kills with your counterattacks. This is rather easy once you’ve got the hang of it. If you ever miss a parry or get into trouble, use the Pistol to wound or kill your enemies while backing up to retain your footing!
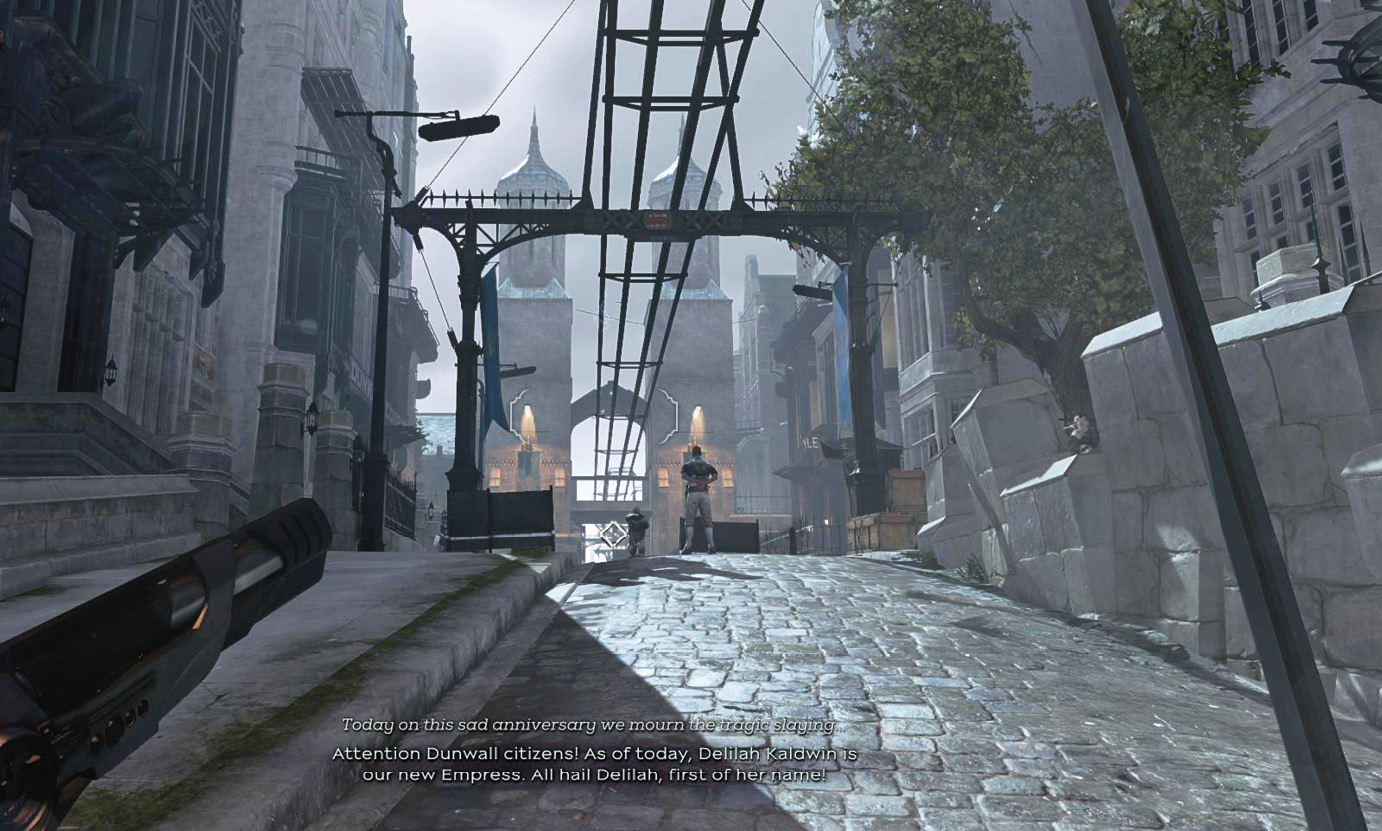
You’ve taken the main street. The Dunwall Courier is on the left. Many Documents are inside, and you can listen to an interesting conversation on the second floor between a soldier and the editor for the paper. Assassinate the soldier so he doesn’t encourage any more propaganda in the future. Search the ground floor for a Health Elixir, inside the lockers.
A place called Boyles is on the right. Two men are talking inside, and you learn more about the Crown Killer. You don’t need to go in, but it’s interesting stuff. Sneak up on both targets to assassinate them without difficulty. A third Guard patrols the street outside and sometimes comes in to check up on things. Cut him down when he enters. Boyles has quite a bit of loot, so search well if you go in!
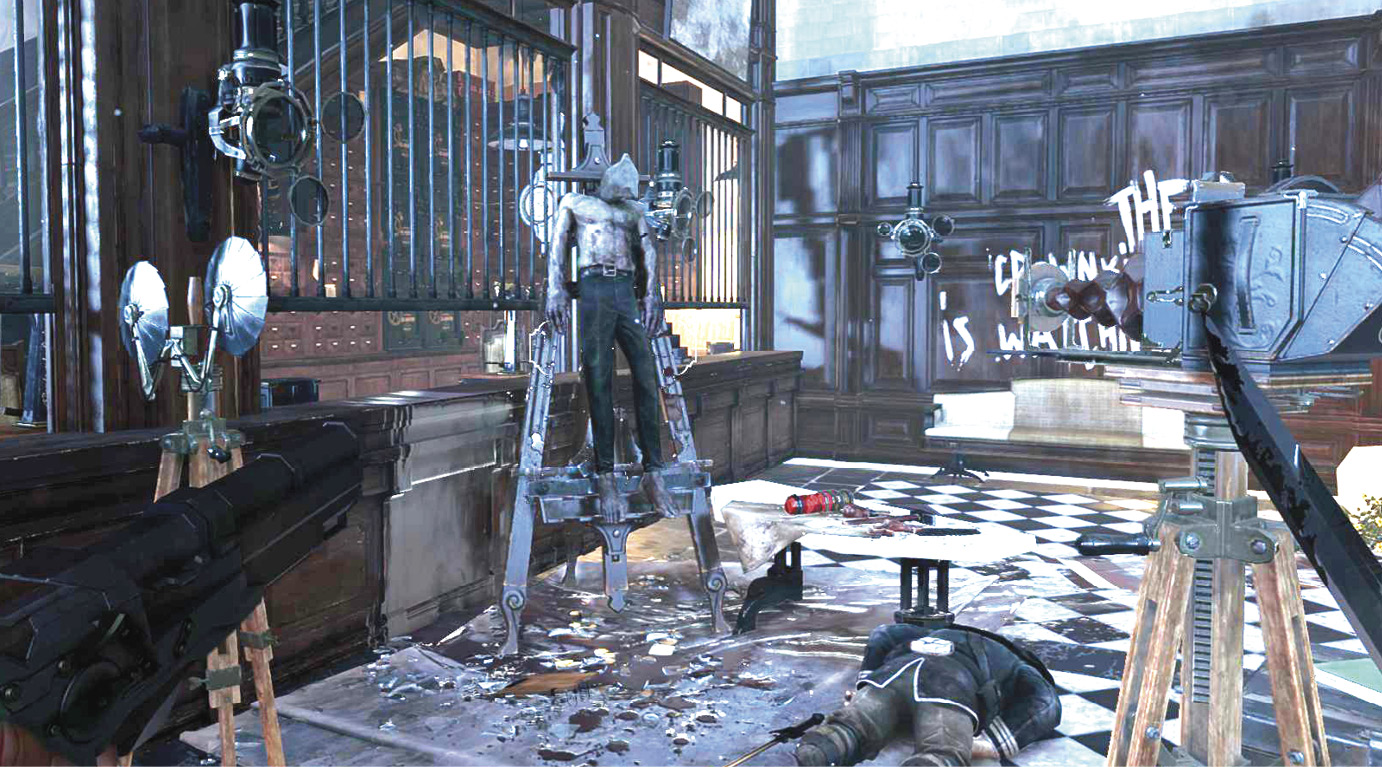
The main street leads toward the docks. Head straight after you finish looting the nearby buildings. Sneak up the street and assassinate both soldiers on the left. They’re paired together, but fast work dispatches both before they scream. The real fight usually starts when you approach a tiny Guard station farther along the road. Lure the man inside back down the road to keep your enemies in the same direction (several more approach now that you’re making noise).
As with the last fight, a mix of parries, counterattacks, and Pistol shots ensure you kill these adversaries without taking substantial damage. Even if you lose, it’s well worth your time to practice and refine these techniques, because they form your combative backbone throughout the game.
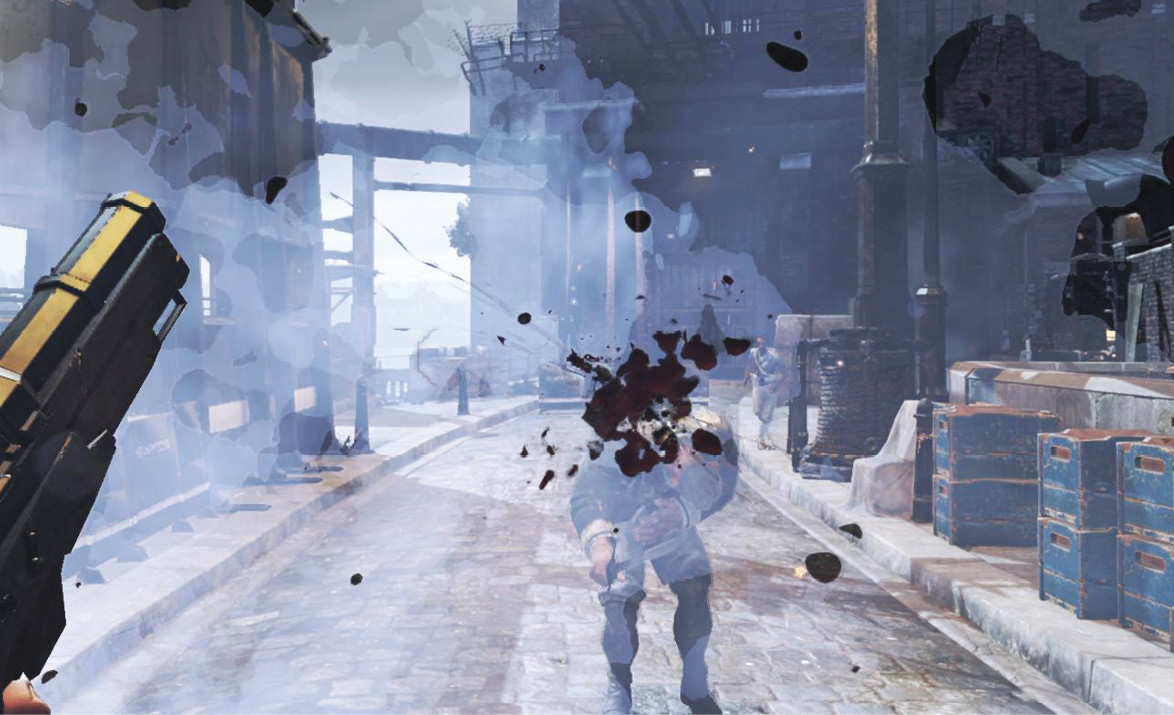
A side yard on the right has minor loot and a Paper to read, and the Guard station holds an Order that comes straight from the Tower. Read these, and then go down to the docks. Walk to the end of the pier and then swim out to the ship marked as your objective.
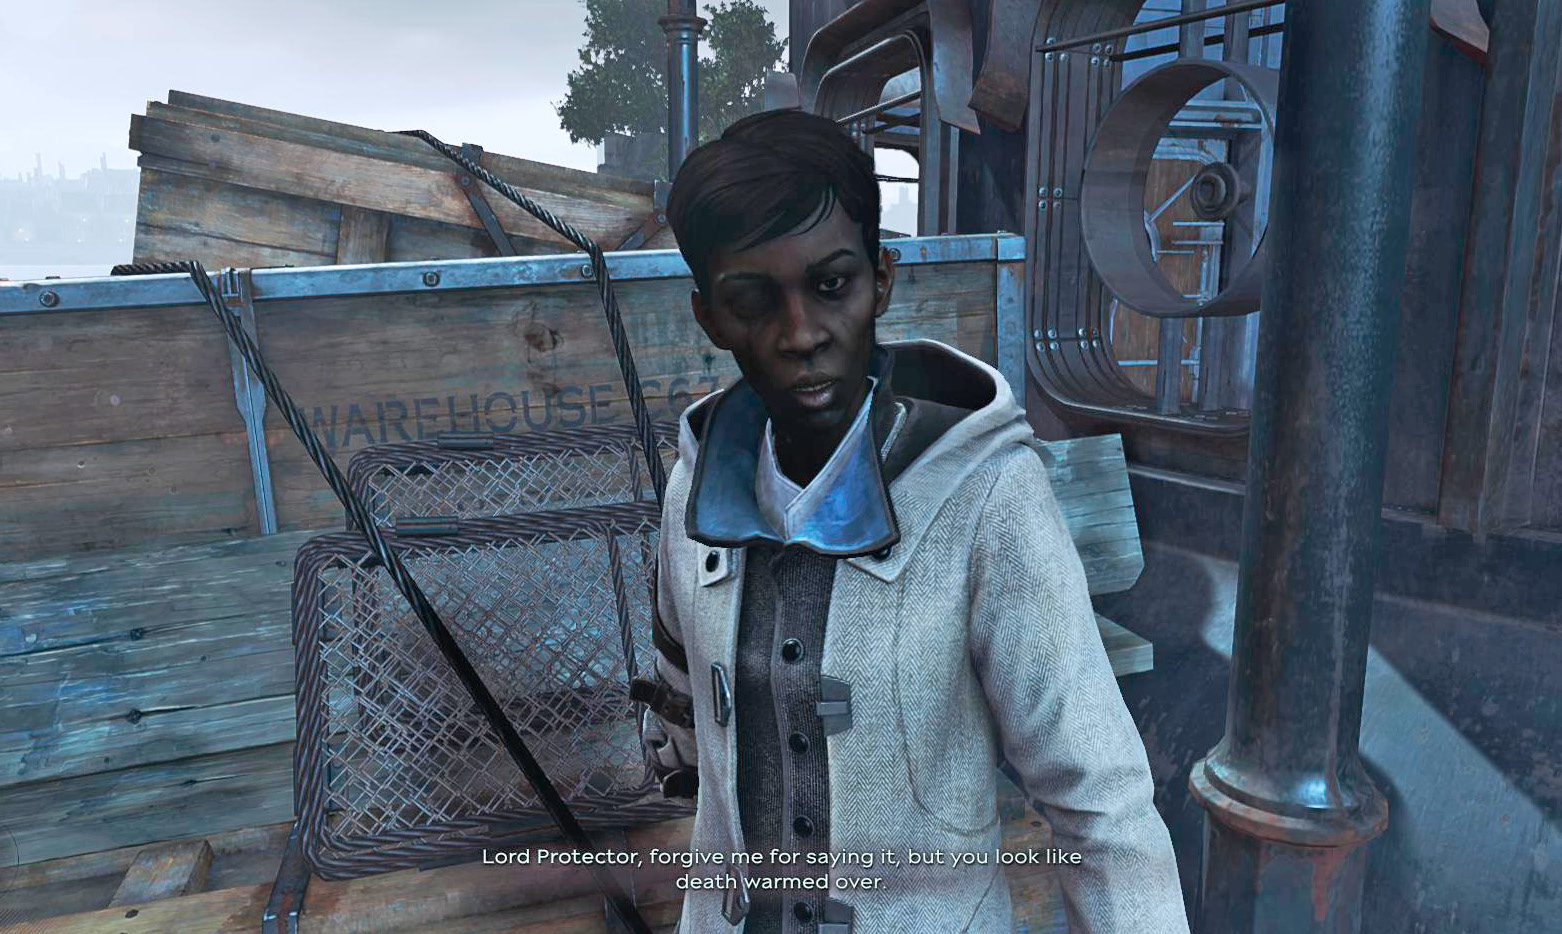
Talk to the captain of the ship to complete your mission. Her name is Meagan Foster, and she’s one of the only friendly faces you see this day.
In the Void
Cross the Floating Island
You wake up in your cabin aboard the ship, but something is very off. A familiar feeling stirs within Corvo, as he’s taken to a distant realm he’s seen several times before. Try to open the door to your cabin, but turn around afterward. The wall fades away, and you see the Void again.
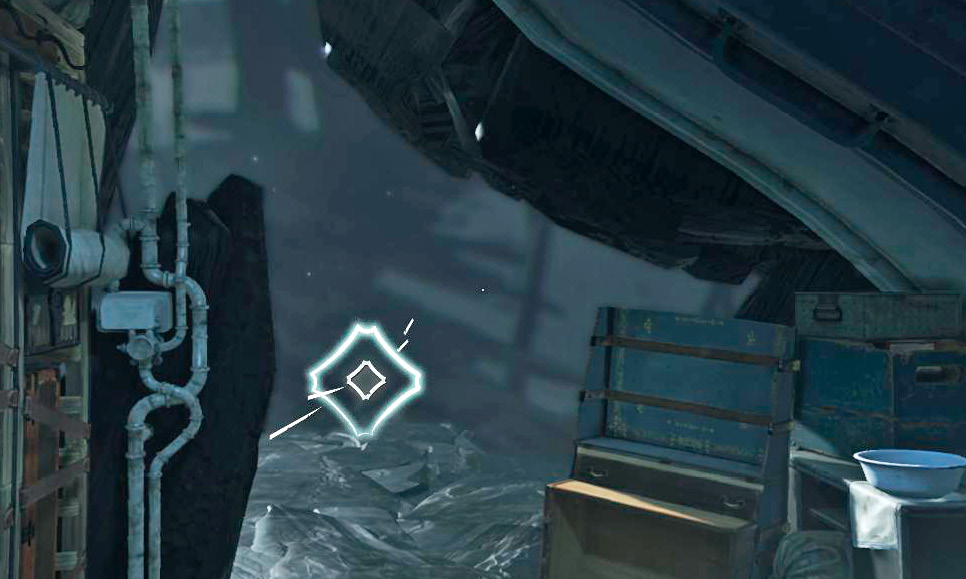
Walk forward until you meet the Outsider. He speaks with you briefly, and then asks if you want to receive the Outsider’s Mark a second time. If you refuse, you go through the game without the use of supernatural abilities.
This makes the game a bit harder, but it’s an interesting way to play. This style is far more viable for combative players rather than stealth players, because you can still focus on your weapons and equipment.
If you accept the Mark, you immediately learn Blink and go through a tutorial that shows how to use this ability. Blink to the platform across from Corvo. Notice that you can jump across a gap and still Blink in the air to get even more distance!

Look up at the second gap. Blink up to reach a higher platform, then jump and Blink to cross the divide. You find a grisly scene on the other side, but you don’t have to do anything with it.
Instead, run to the end of the area and collect a Heart. Corvo meets and talks to someone. You can then equip the Heart, which helps track down Bonecharms and Runes.
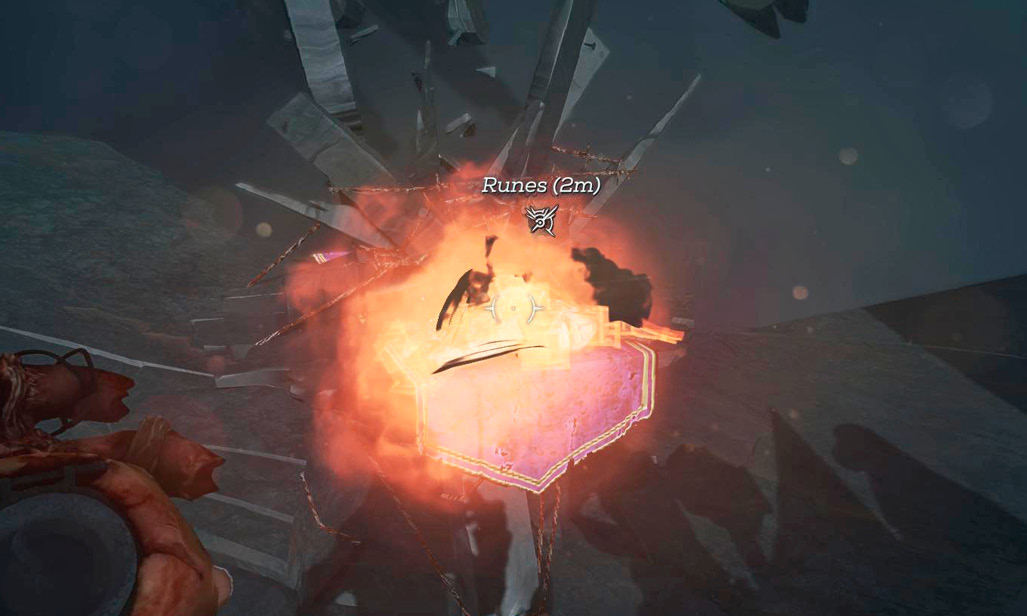
Let the Heart guide you to a Rune farther ahead. It’s out in the open, so it’s easy to find. The level ends after you pick it up.
Aboard the Dreadful Wale
Meet with Meagan Foster
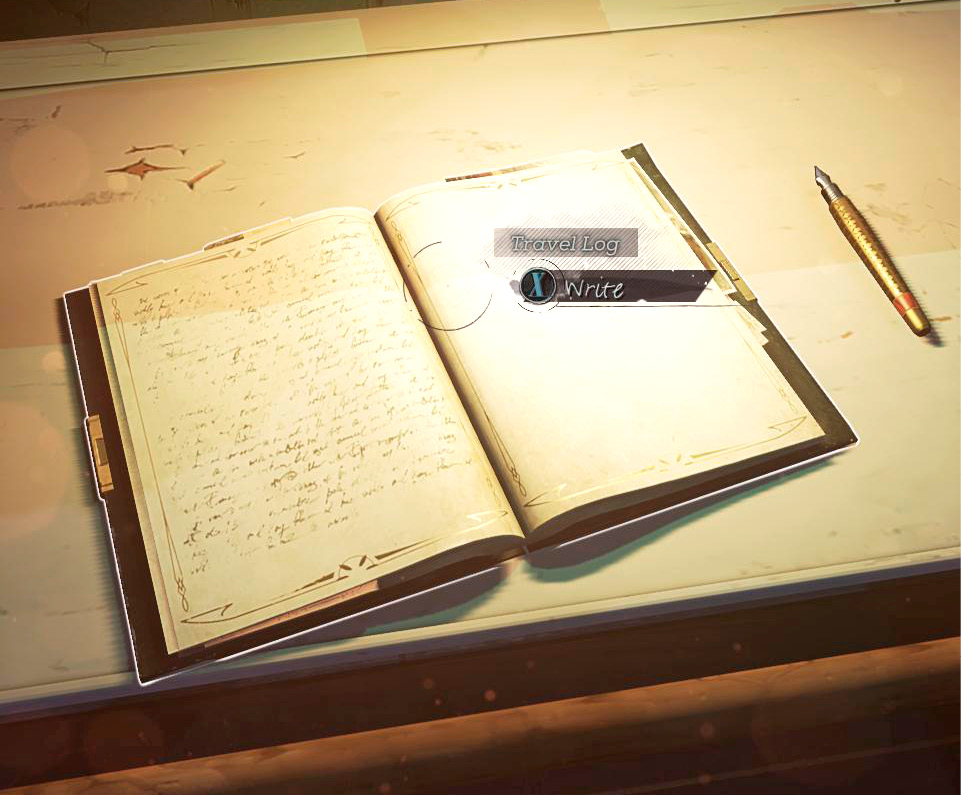
You wake up aboard the Dreadful Wale again. This time it’s in the real world, so get up and search your cabin. Write in your log, if you wish. A Crossbow hangs by the door. Take that and the Note next to it. Captain Foster tells you about the hidden markets throughout the region (marked with two hands, to let people know the black market is nearby).
Well, you’re better armed than you were, and you have a fighting chance. It’s almost time to leave the ship. Open the door to your cabin and explore the lower level.
Follow the objective marker toward Captain Foster. Meet her in the briefing room and talk to her. Listen to her, then search the room and the private berth behind it for more goodies. You gain a couple more Elixirs!
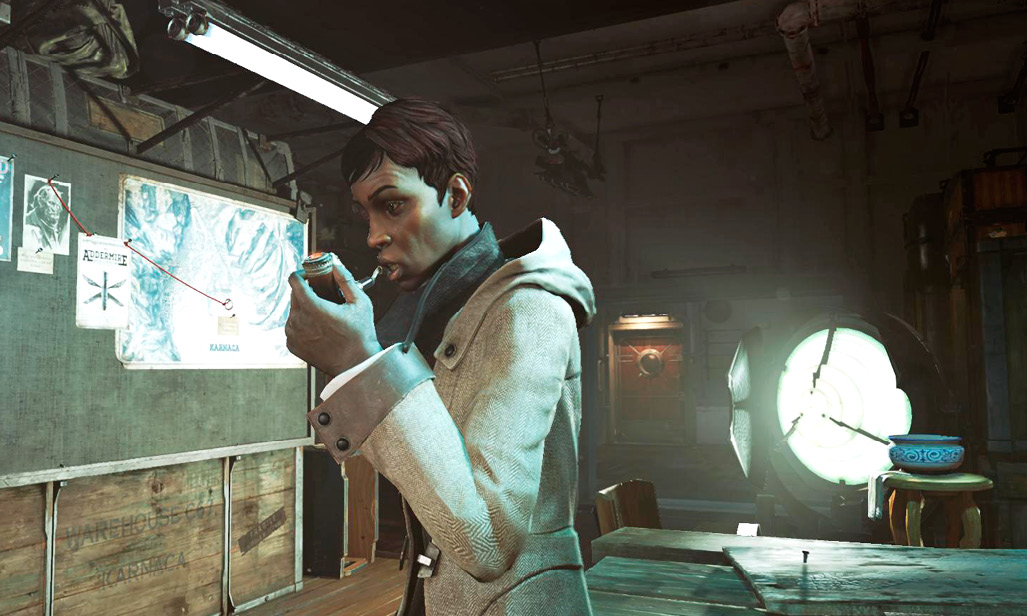
A blocked cabin lies on the other side of the floor. You can’t force it open, so search for an open hatch inside the briefing room. Climb out onto the side of the ship and head right. You reach another hatch farther down, which leads you into the barricaded cabin. You find Notes, money, and a Mana Elixir (called Addermire Solutions).
Ascend to the upper levels of the ship and head out onto the deck. Meet the captain again there, and tell her you’re ready to go ashore. This starts the next stage of the mission.